
How to Make Faux Scientific Resin Molds
Psssst… this post *might* contain affiliate links: see my disclosure here.
Halloween Resin Molds
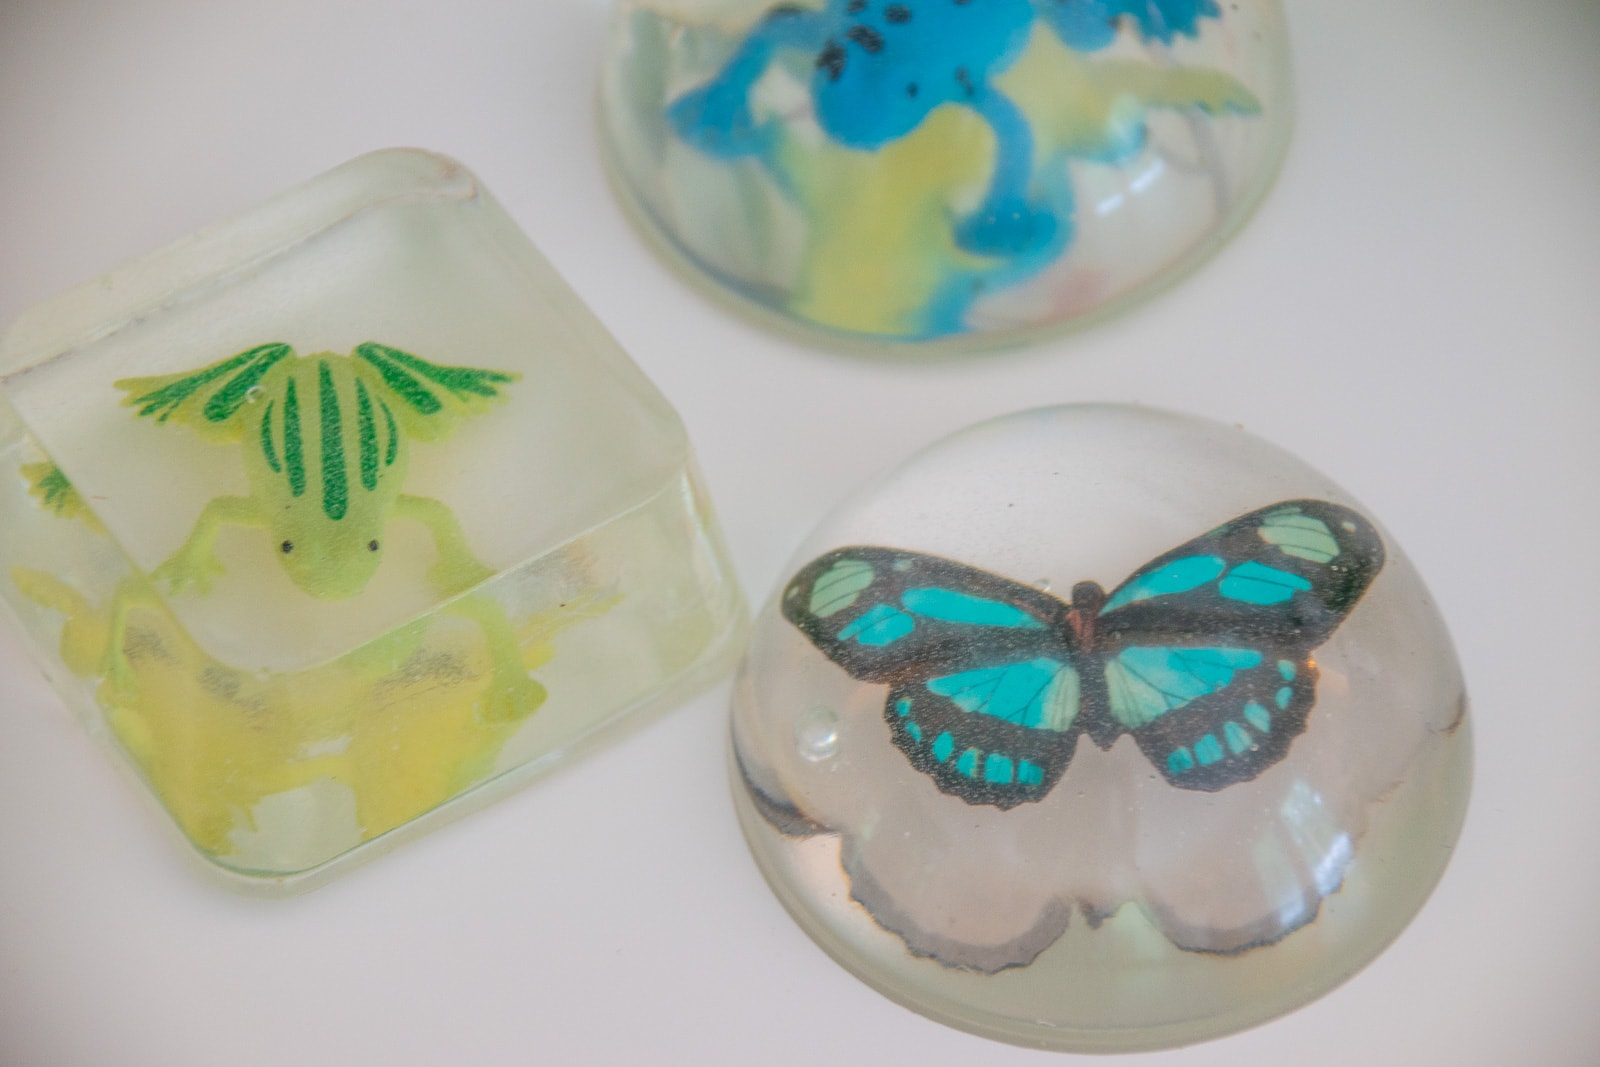
I made these fun resin science molds with plastic frogs and lizards just in time for whimsical Halloween decor!
Disclosure: I’m partnering with JOANN for this Halloween DIY Craft project.
Shop my favorites!
Resin crafts are popping up everywhere so I figured why not create something fabulous with resin just in time for Halloween! There’s no question that resin can be a little bit tricky to work with BUT… it doesn’t have to be if you know a few tips and tricks. When I lived in New York City, there was a scientific curiosity shop around the corner and I was always so intrigued by the colorful and sometimes gruesome simplicity of the insects and creatures preserved in resin. Obviously JOANN doesn’t sell preserved insects, buuuuut…. where there’s a Halloween will, there’s a Halloween way! Full materials list at the end of the post, but read through to see how to make these fun scientific resin molds just in time for Halloween.
Step 1. Prepare your work surface
Resin can get a bit messy and it’s impossible to clean up once it’s cured so prep your surface accordingly with newspaper and have some paper towels and cleaner nearby for any drips. It’s not a quick project so make sure you’re set up somewhere that won’t be disturbed for a day or so while the resin molds are curing.
Step 2. Gather your materials
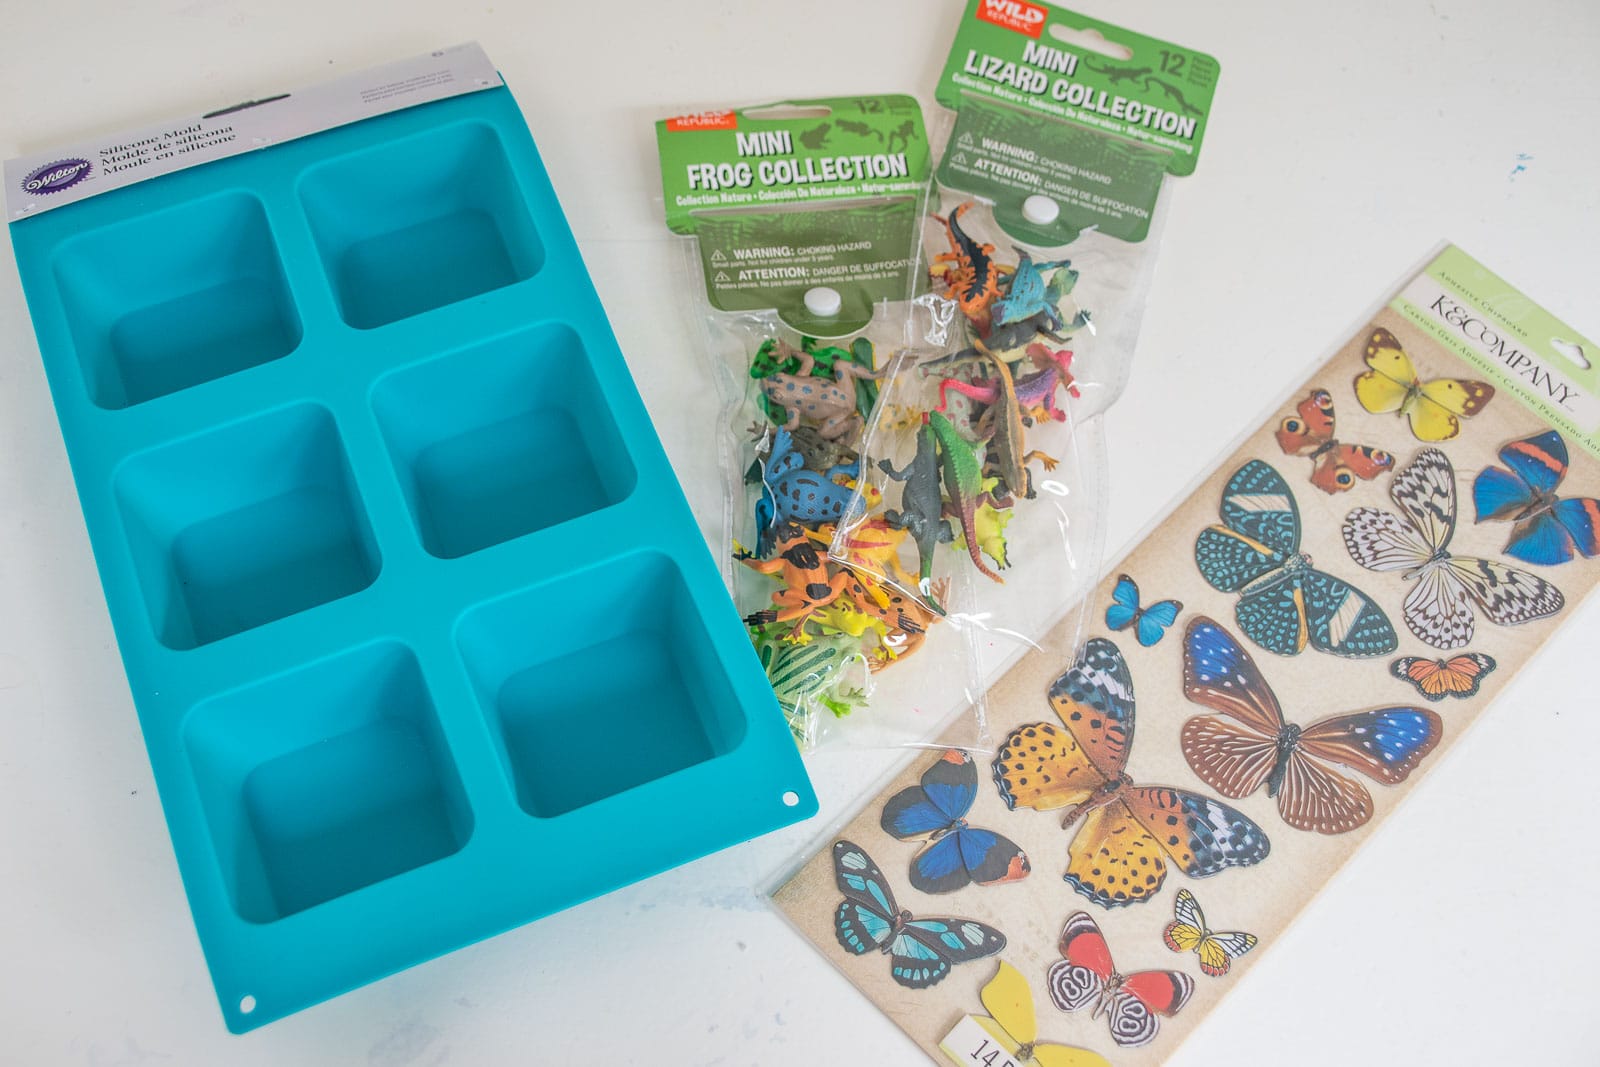
Resin doesn’t set up immediately, but you do want to have everything ready to go first. I’m working with two types of silicon molds but neither needs any release agent thankfully. I placed my molds on cookie sheets so that they were easy to move to a safe spot while they cured. I’m using small plastic lizards and frogs as well as some cardboard butterfly stickers.
Step 3. Mix the Resin and First Pour
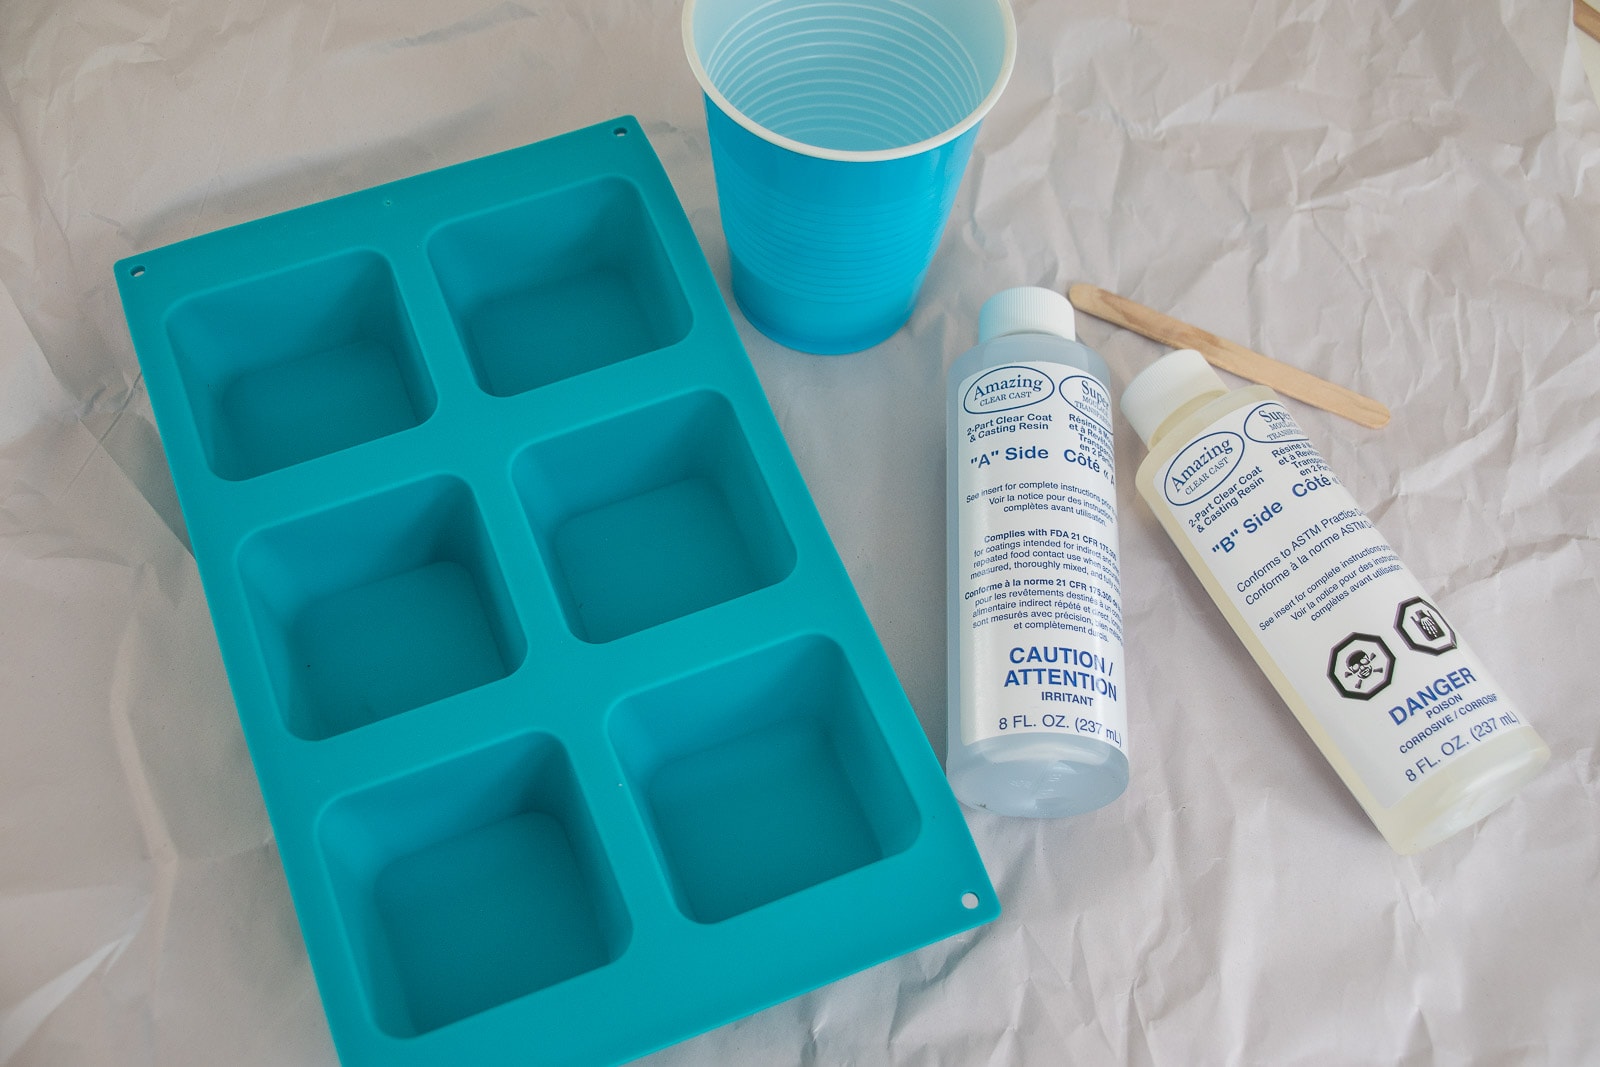
Always follow the directions on your specific resin. In general, you’re going to mix together part A with part B and stir for *at least* 2 minutes. Mixing the two components is KEY to resin success. Pay careful attention to how you’re measuring as the ratio is also important. Finally… temperature and humidity matter. The recommended temperature is between 70 and 80 degrees so if it’s much cooler or much warmer, the resin might take longer to set up or remain tacky. Final note: when resin cures it’s technically a chemical reaction so it gives off heat. This is why it’s important not to pour too much resin at a time and to pay careful attention to how much resin you can pour at one time.

Step 4. Let’s Make Some Science Molds
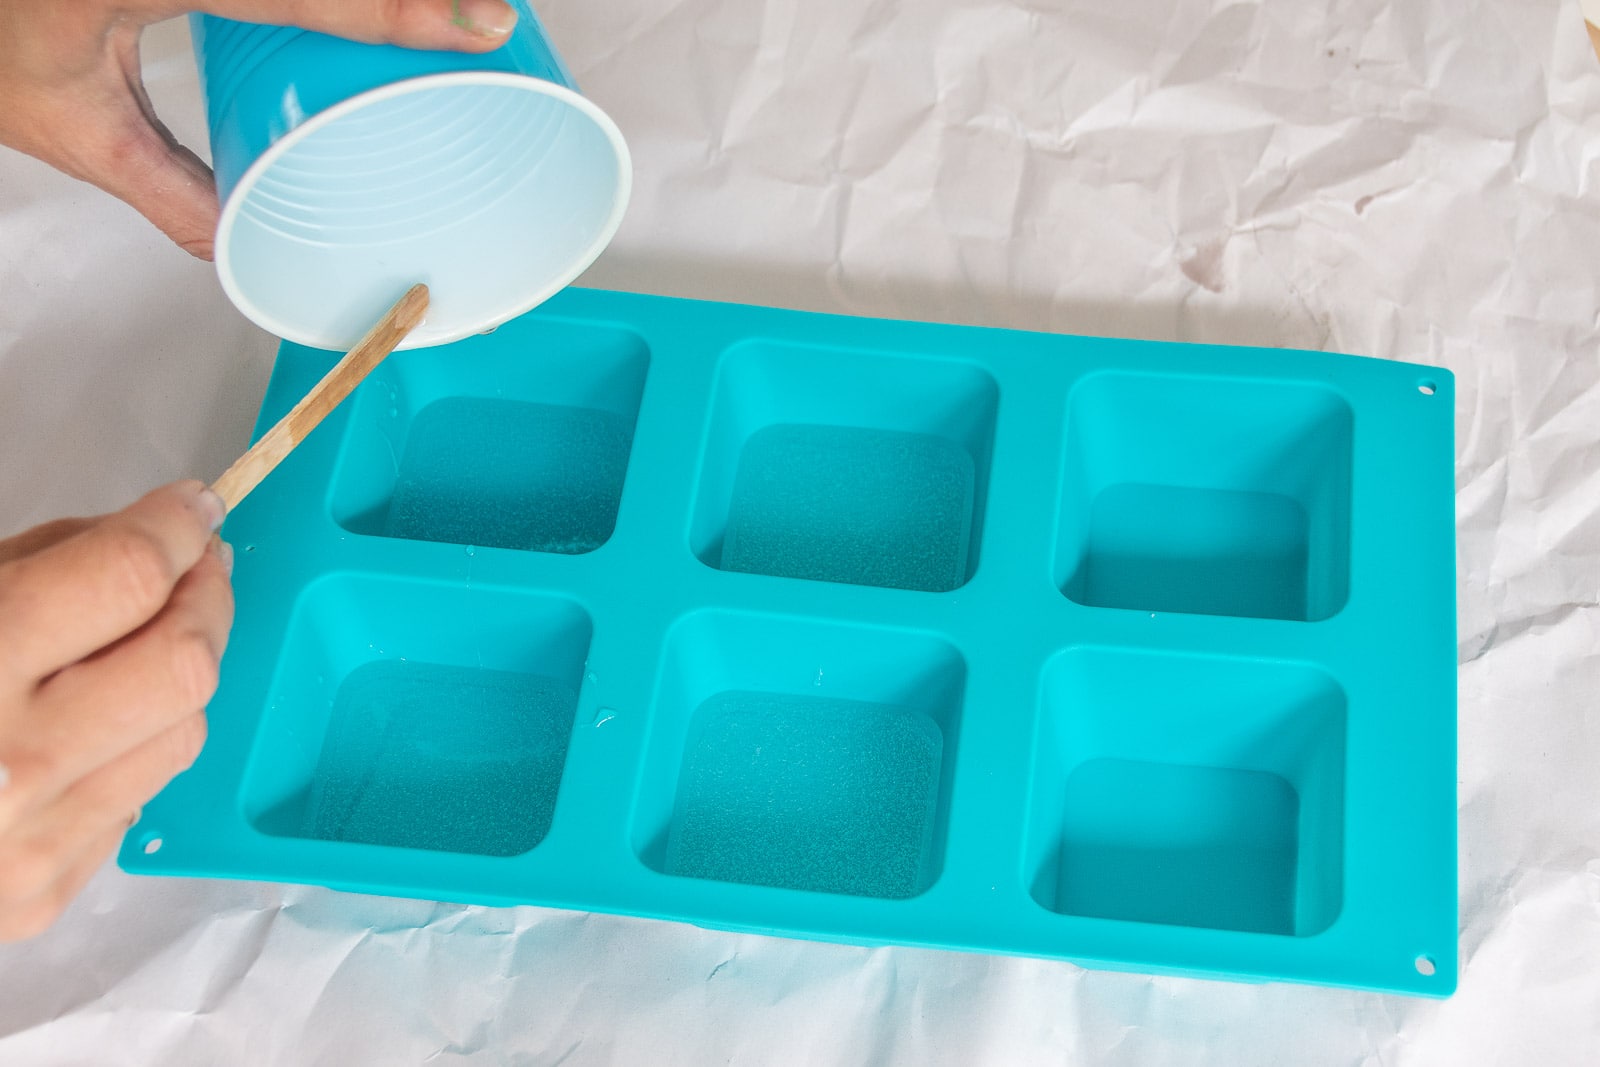
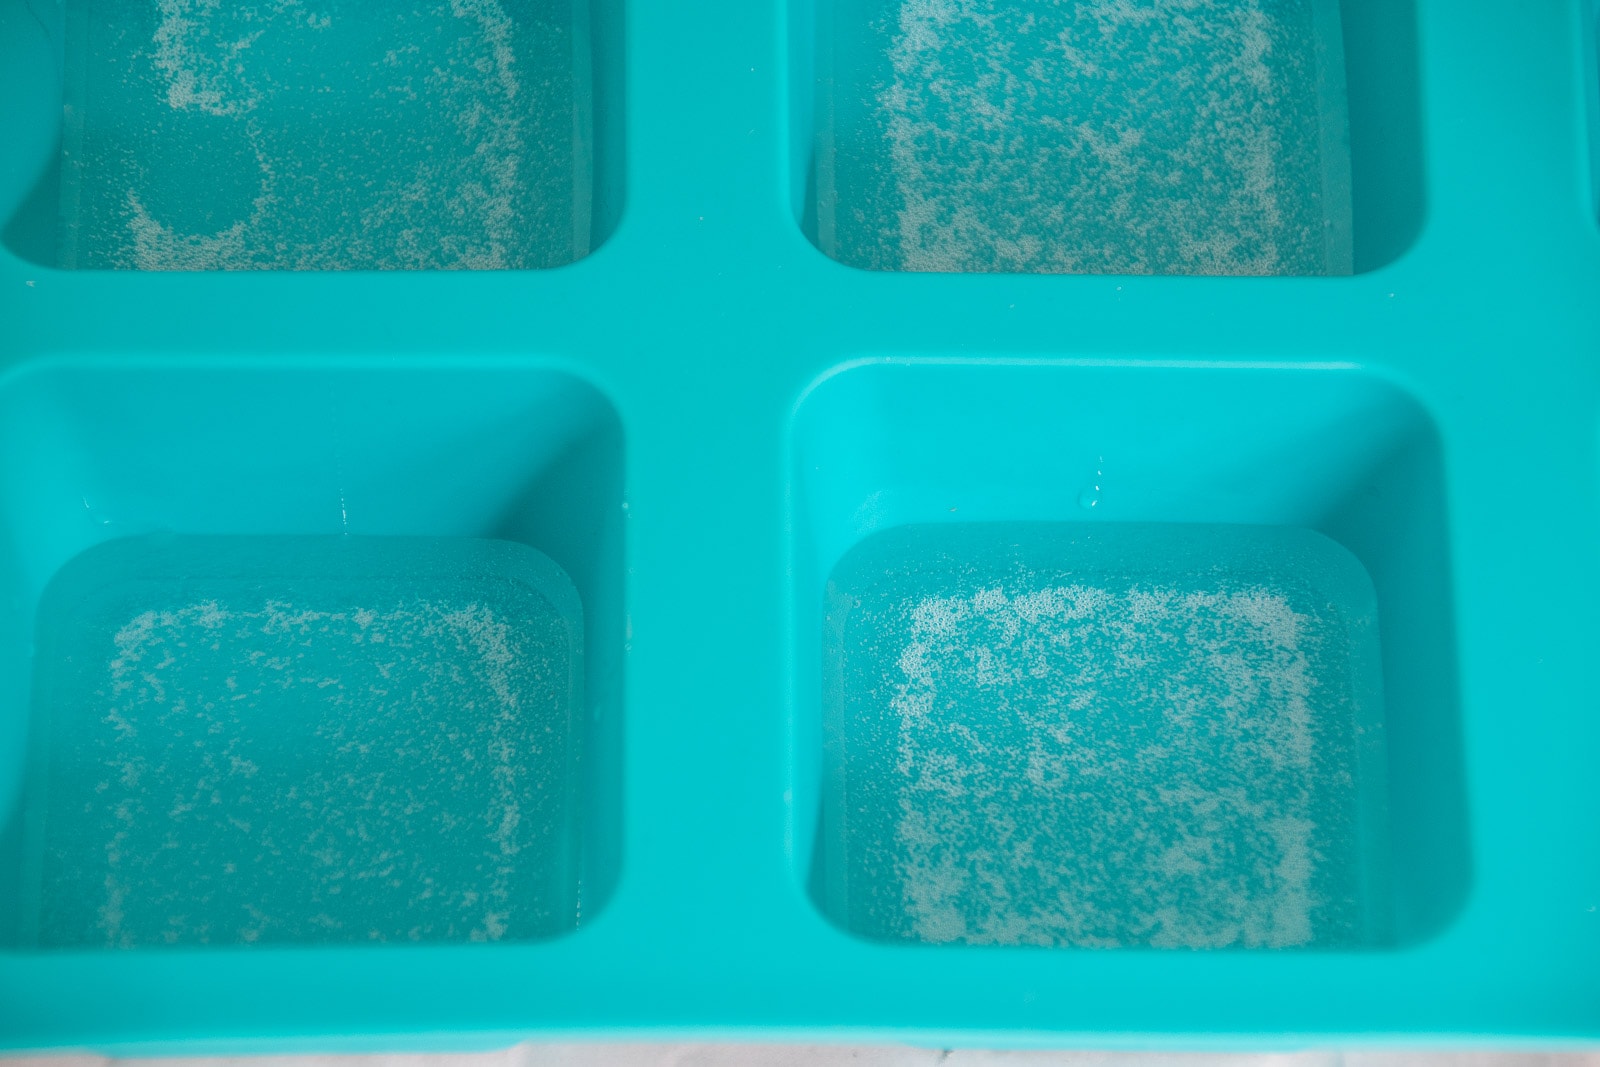
For these molds, I wanted it to look like the items were floating in the middle of the clear resin block. To achieve this look, I had to mix and pour the resin in two steps. The first step was to mix the resin and pour each mold about 1/3 full and leave it to cure. The directions on my resin said to wait 8 hours before the second pour, but your resin may say something slightly different. With resin, there will always be bubbles. For some, you can remove the bubbles by exhaling across the surface of the resin or lightly waving a heat gun. The resin I’m working with was mostly bubble free and you can see that after 5 or 10 minutes, most of the bubbles had worked their way out. For any stubborn remaining bubbles, use a toothpick to help remove the air.
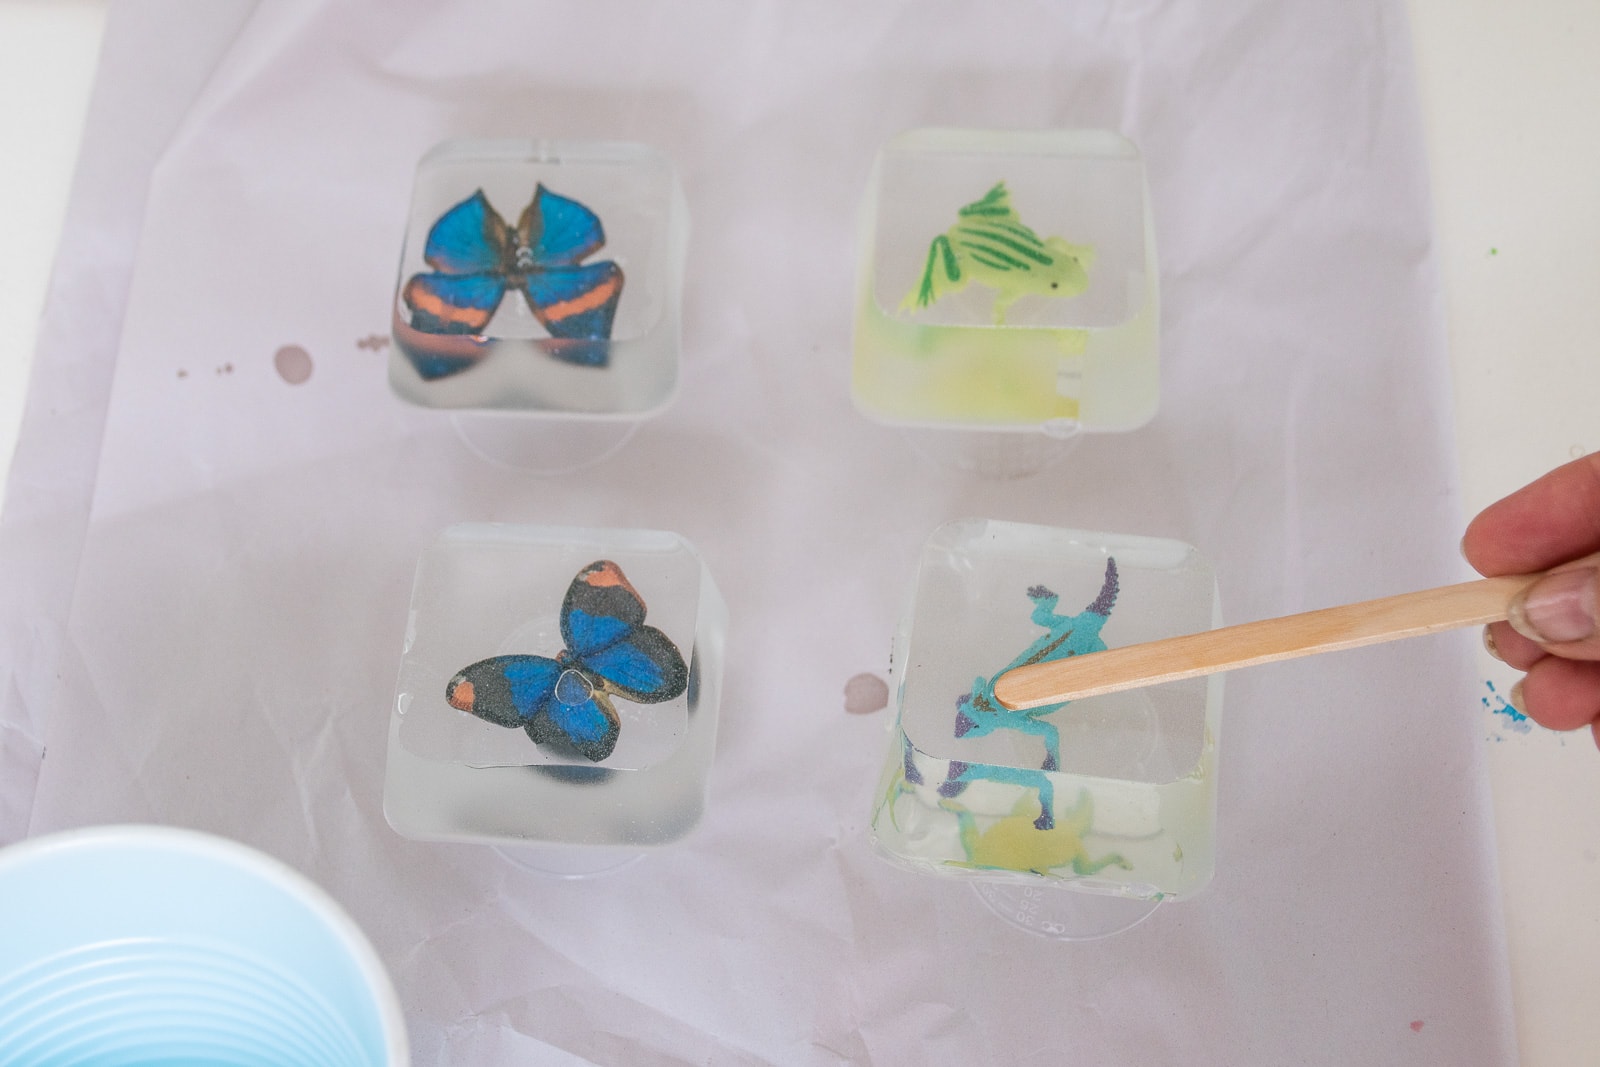
Step 5. Adding Items and the Second Pour
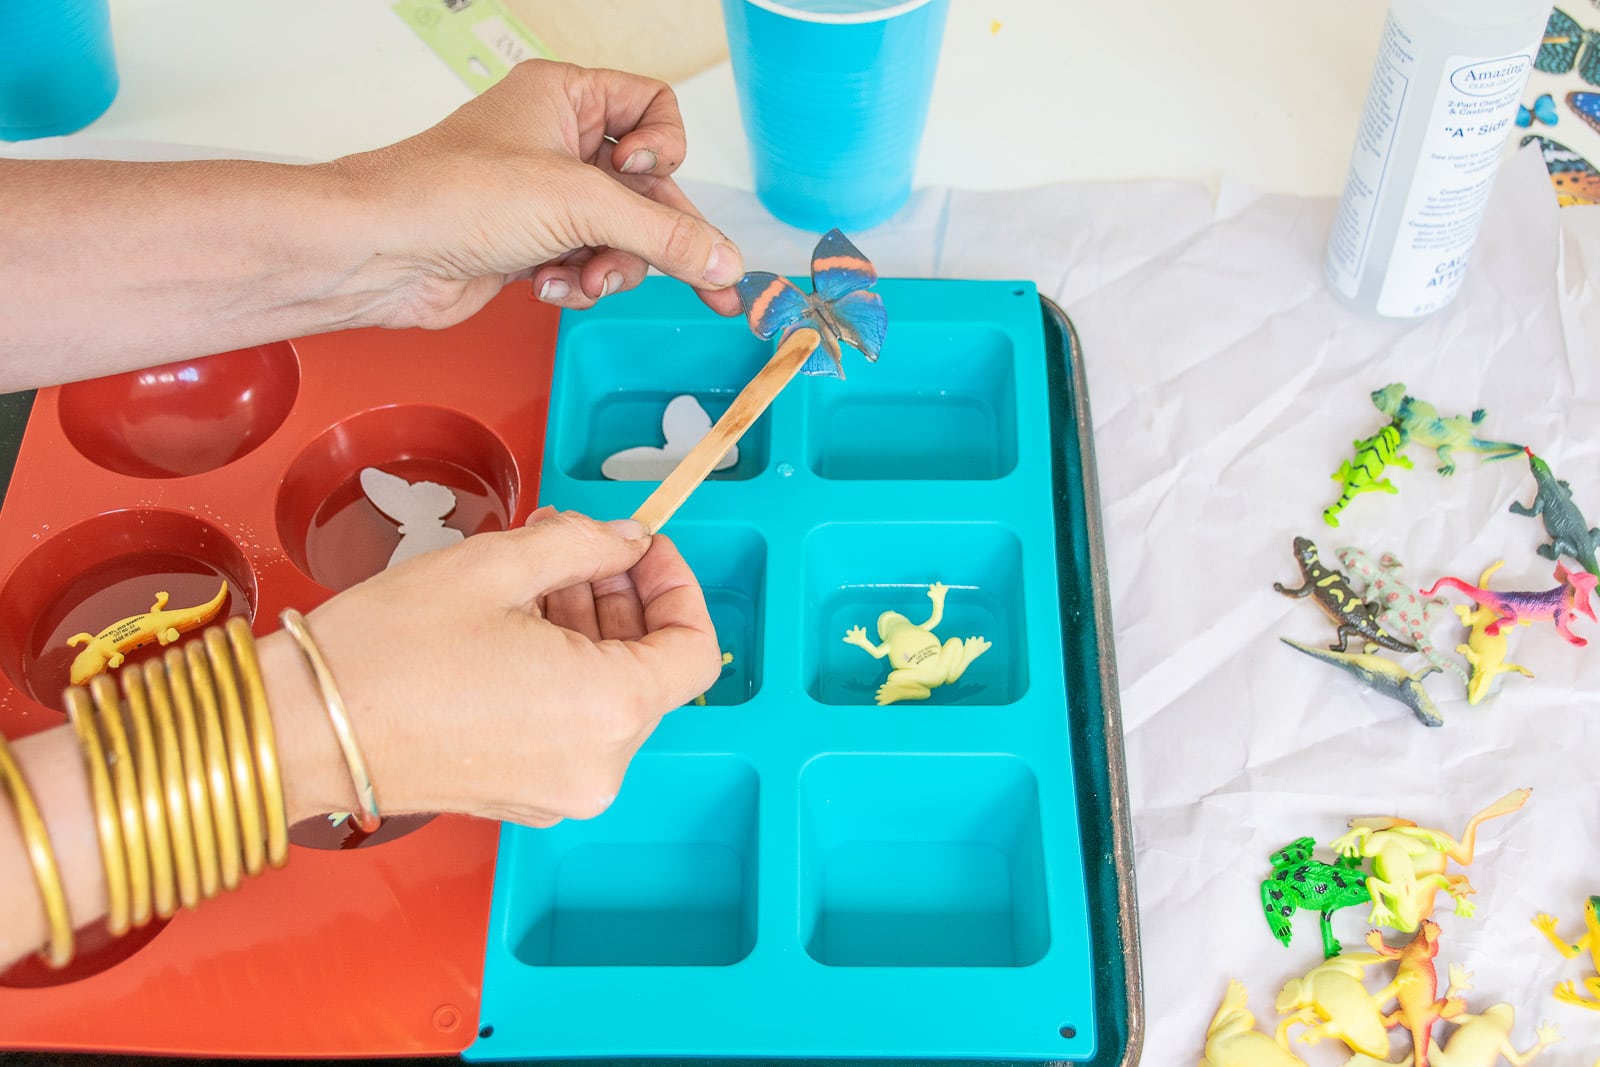
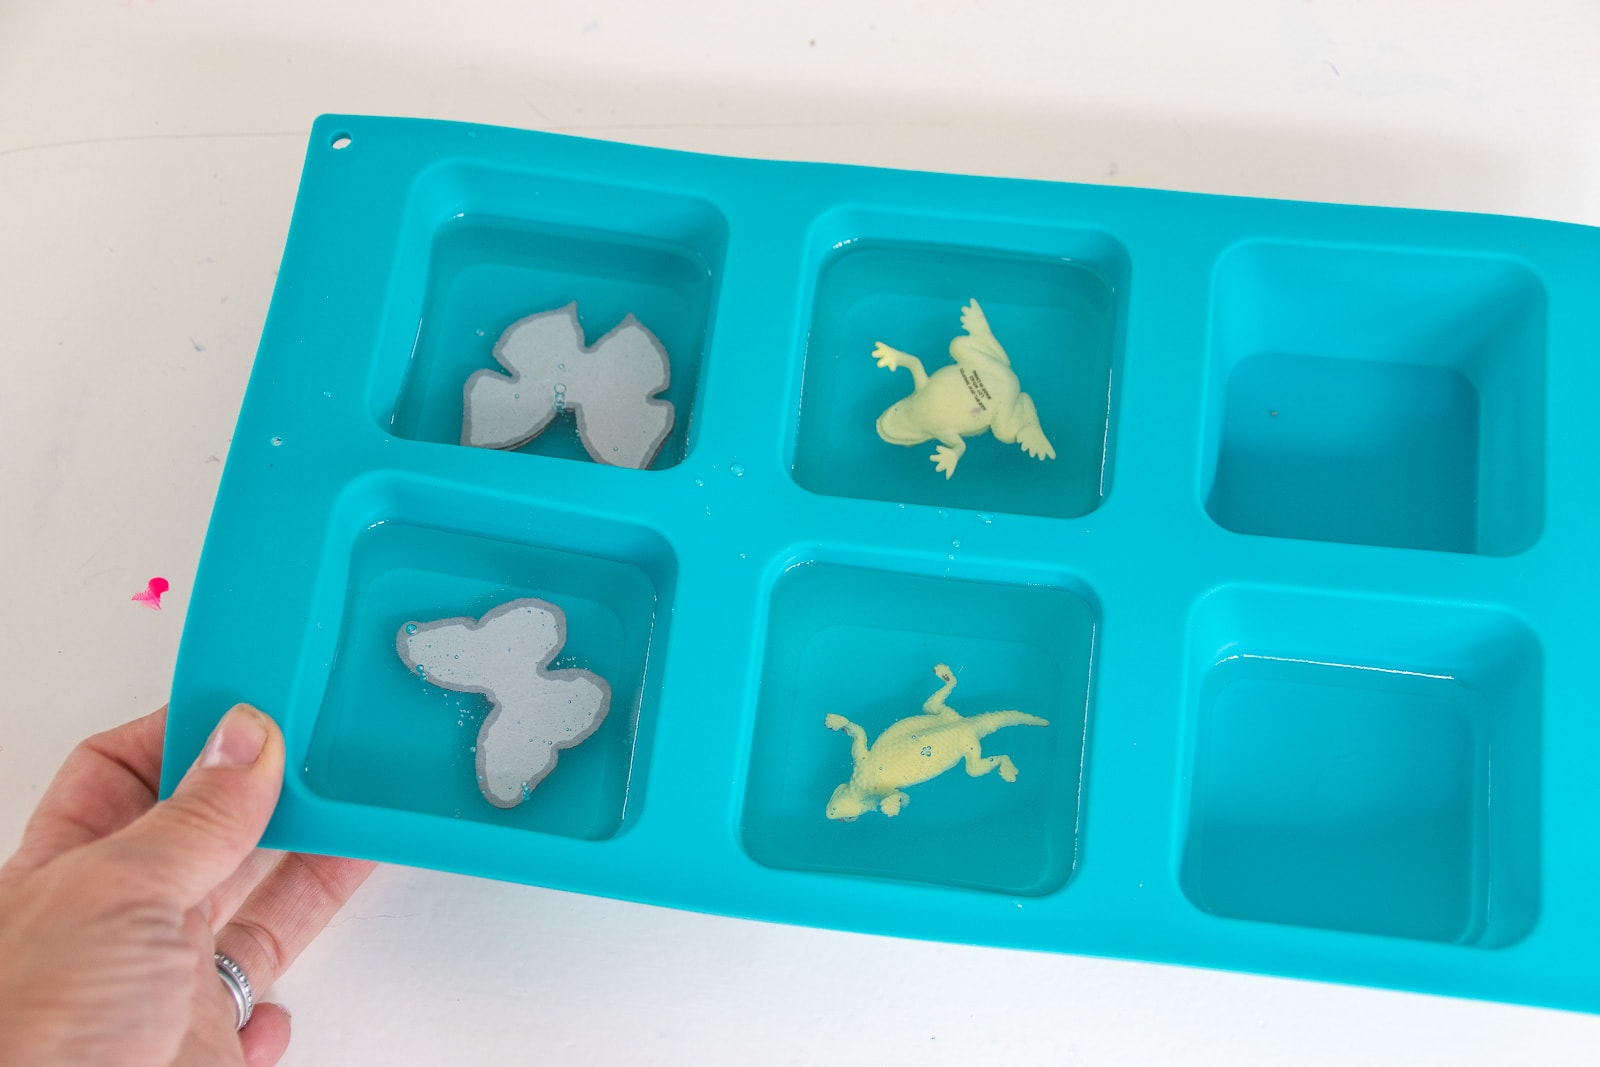
After 8 hours, I placed my frogs and lizards upside down into my 1/3 filled resin molds. I’m also using these cardboard butterfly stickers so I painted them lightly with resin first and then stuck them in place onto the resin in each mold. With my frogs, lizards and butterflies in place, I mixed another batch of resin and poured it over by frogs and butterflies. I made sure to move the frogs a tiny bit within the resin to make sure there weren’t any air bubbles trapped. For the flat butterfly stickers, I had to check on them for the first 10 minutes or so to make sure they weren’t floating to the surface.

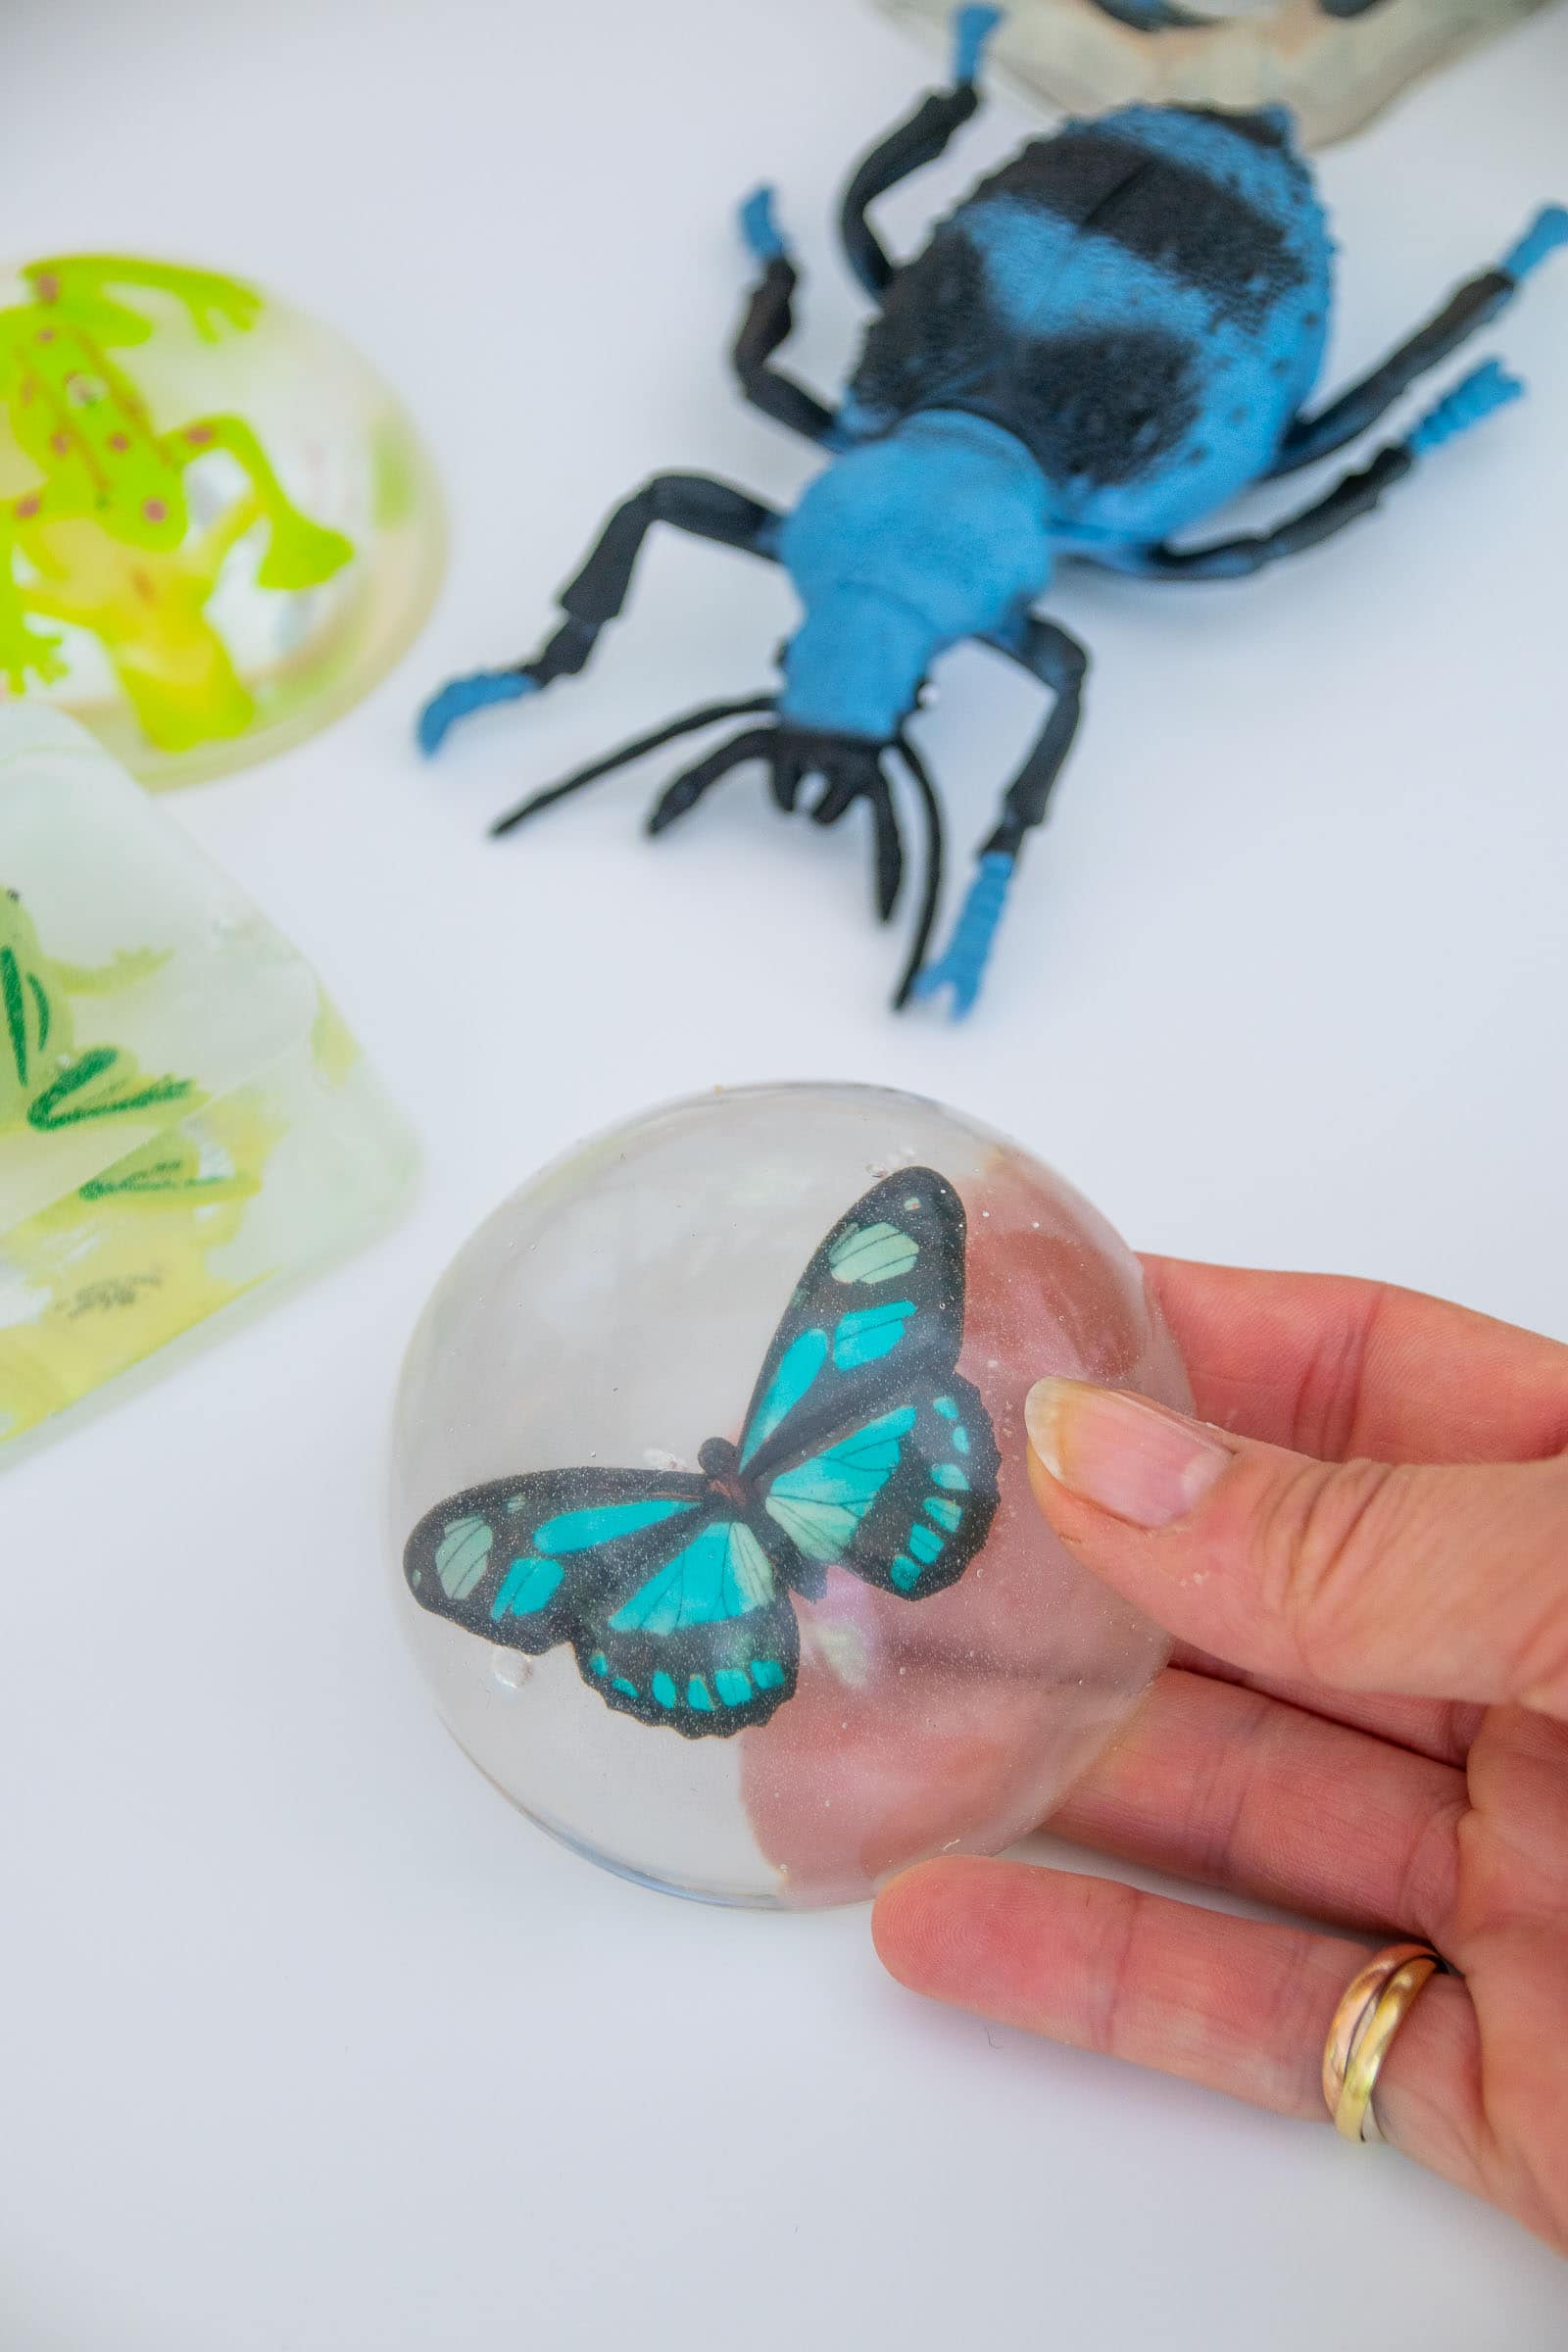
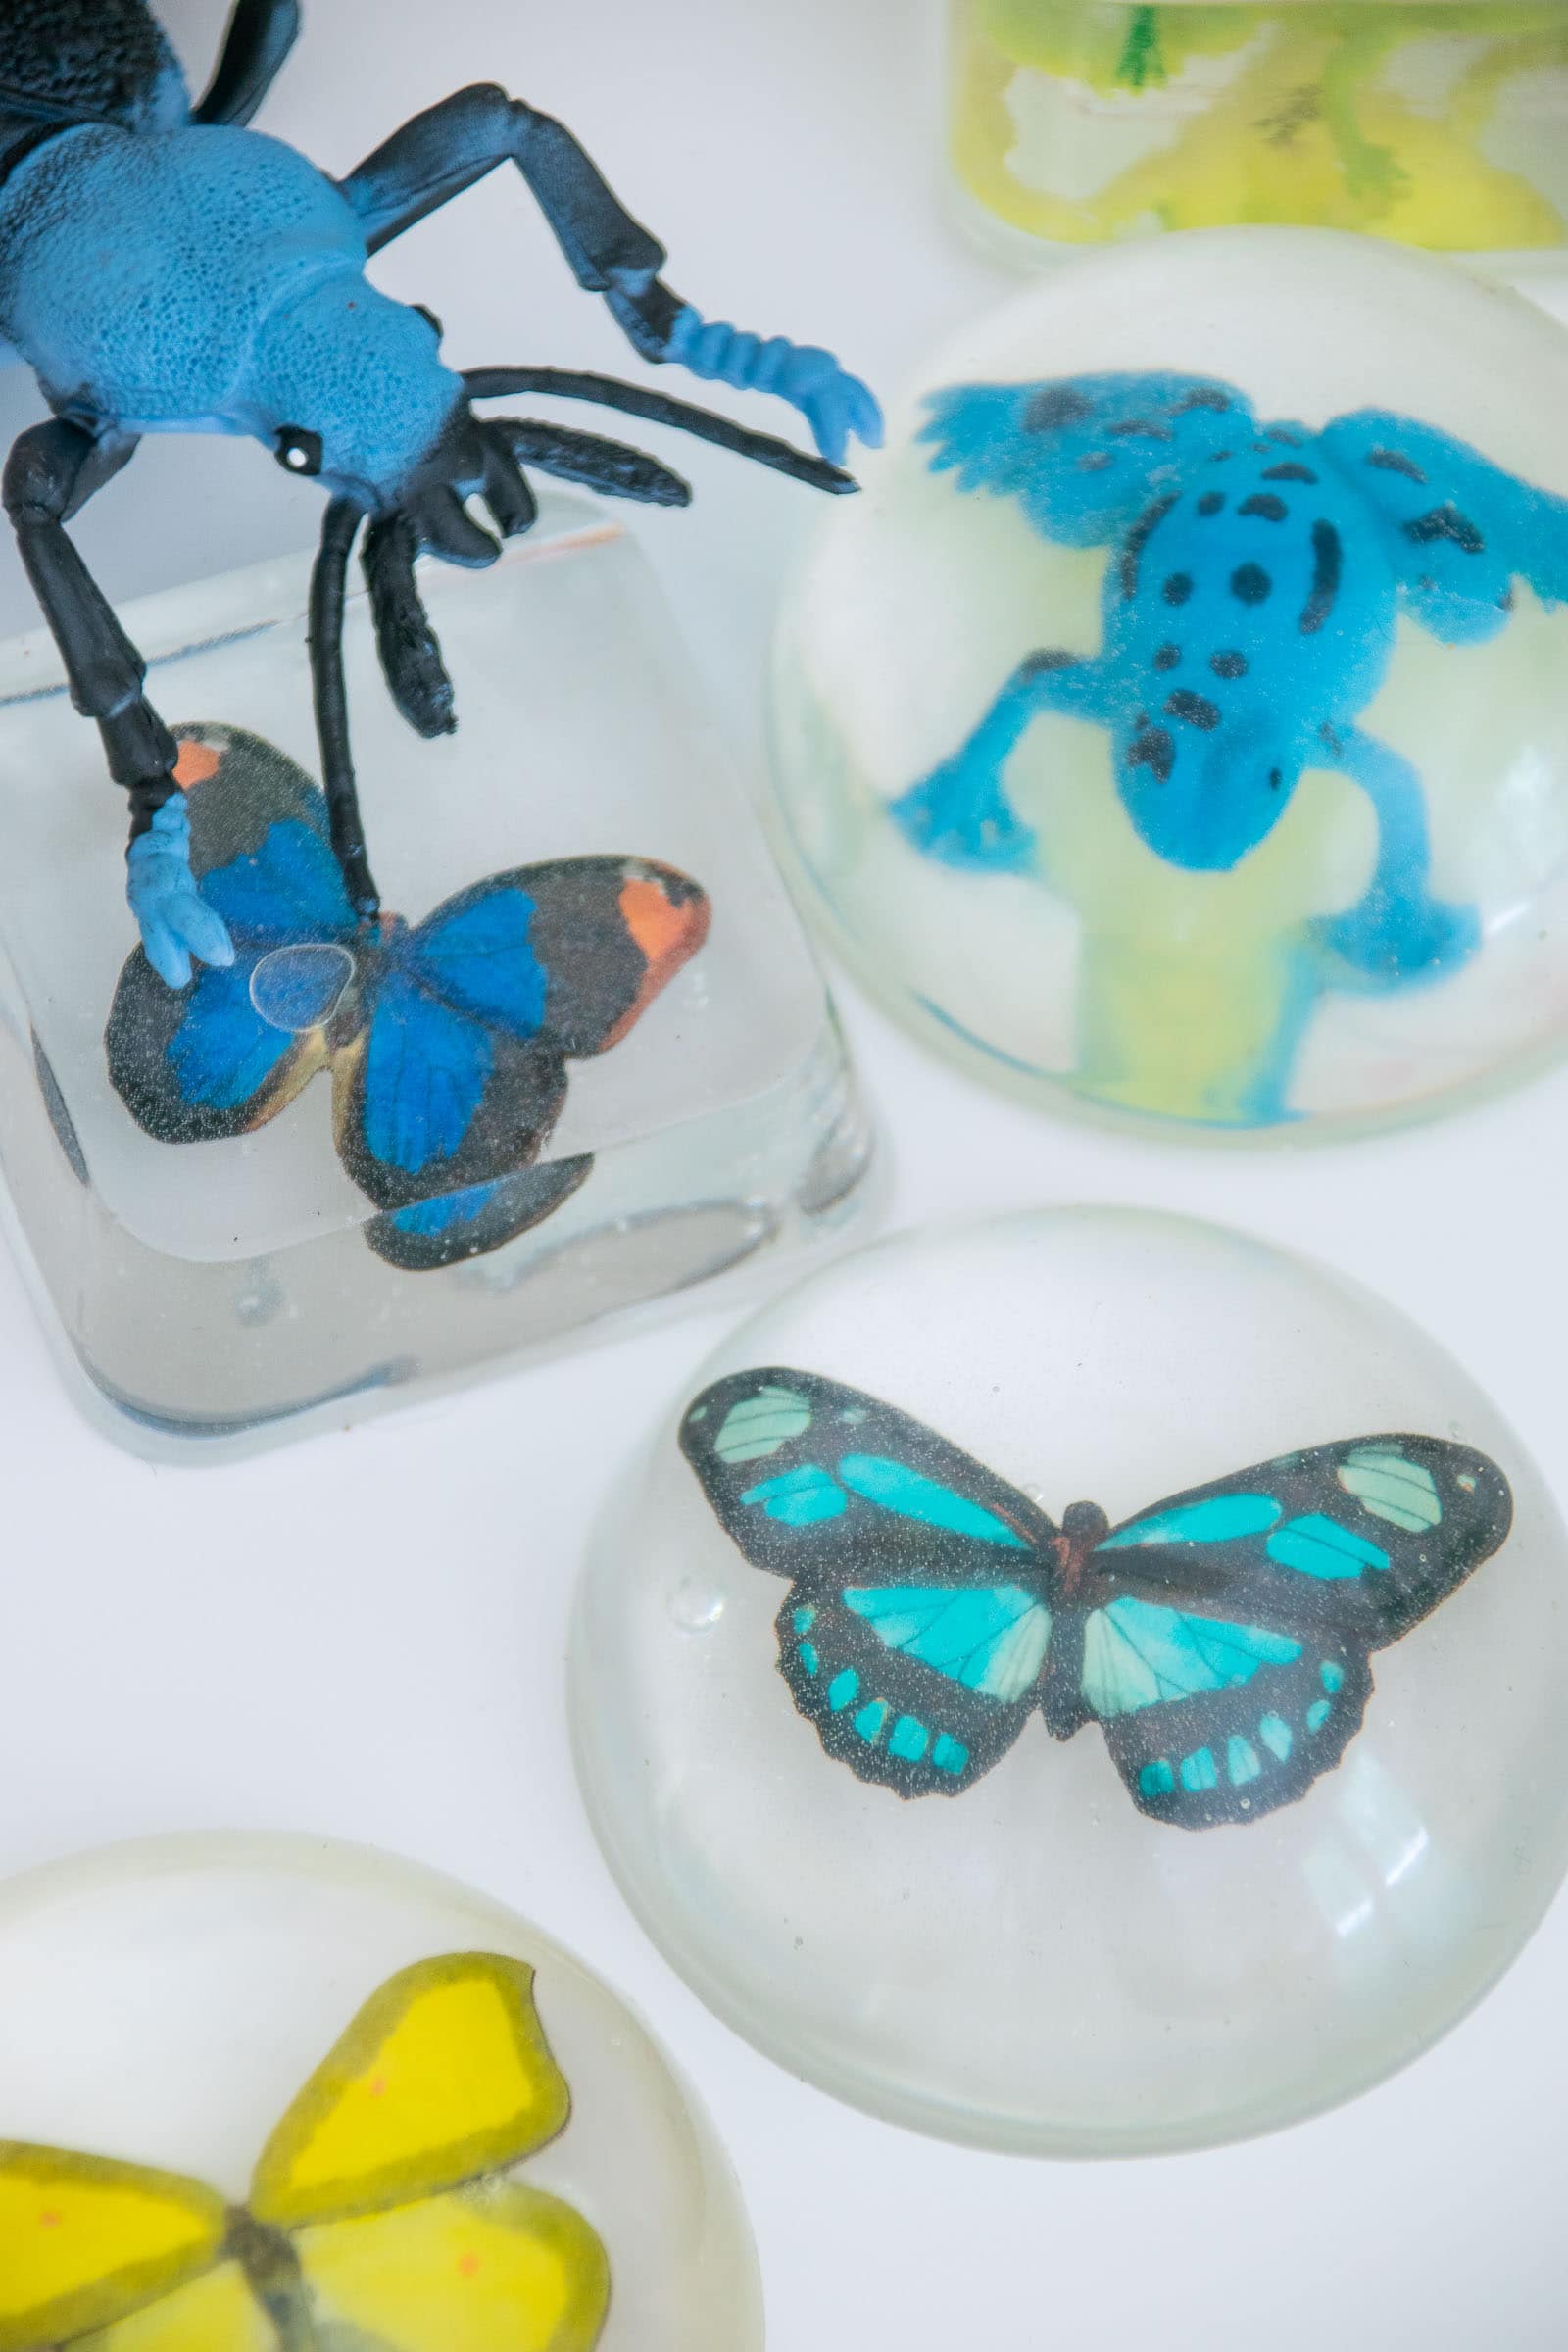
Step 6. Demolding the Frogs, Lizards and Butterflies
The square mold I used had a slight bit of texture to it so you can see that when I released the molds, it looks foggy and almost out of focus. Which is obviously not what I was going for. To correct for this, mix a small batch of resin and pour/ brush it onto the foggy surface of the mold. This top coat will fill in the texture and bring you back to that shiny surface. This top coat will have to sit for another 12 hours or so, but then you should be left with a perfectly clear resin mold to enjoy for Halloween!
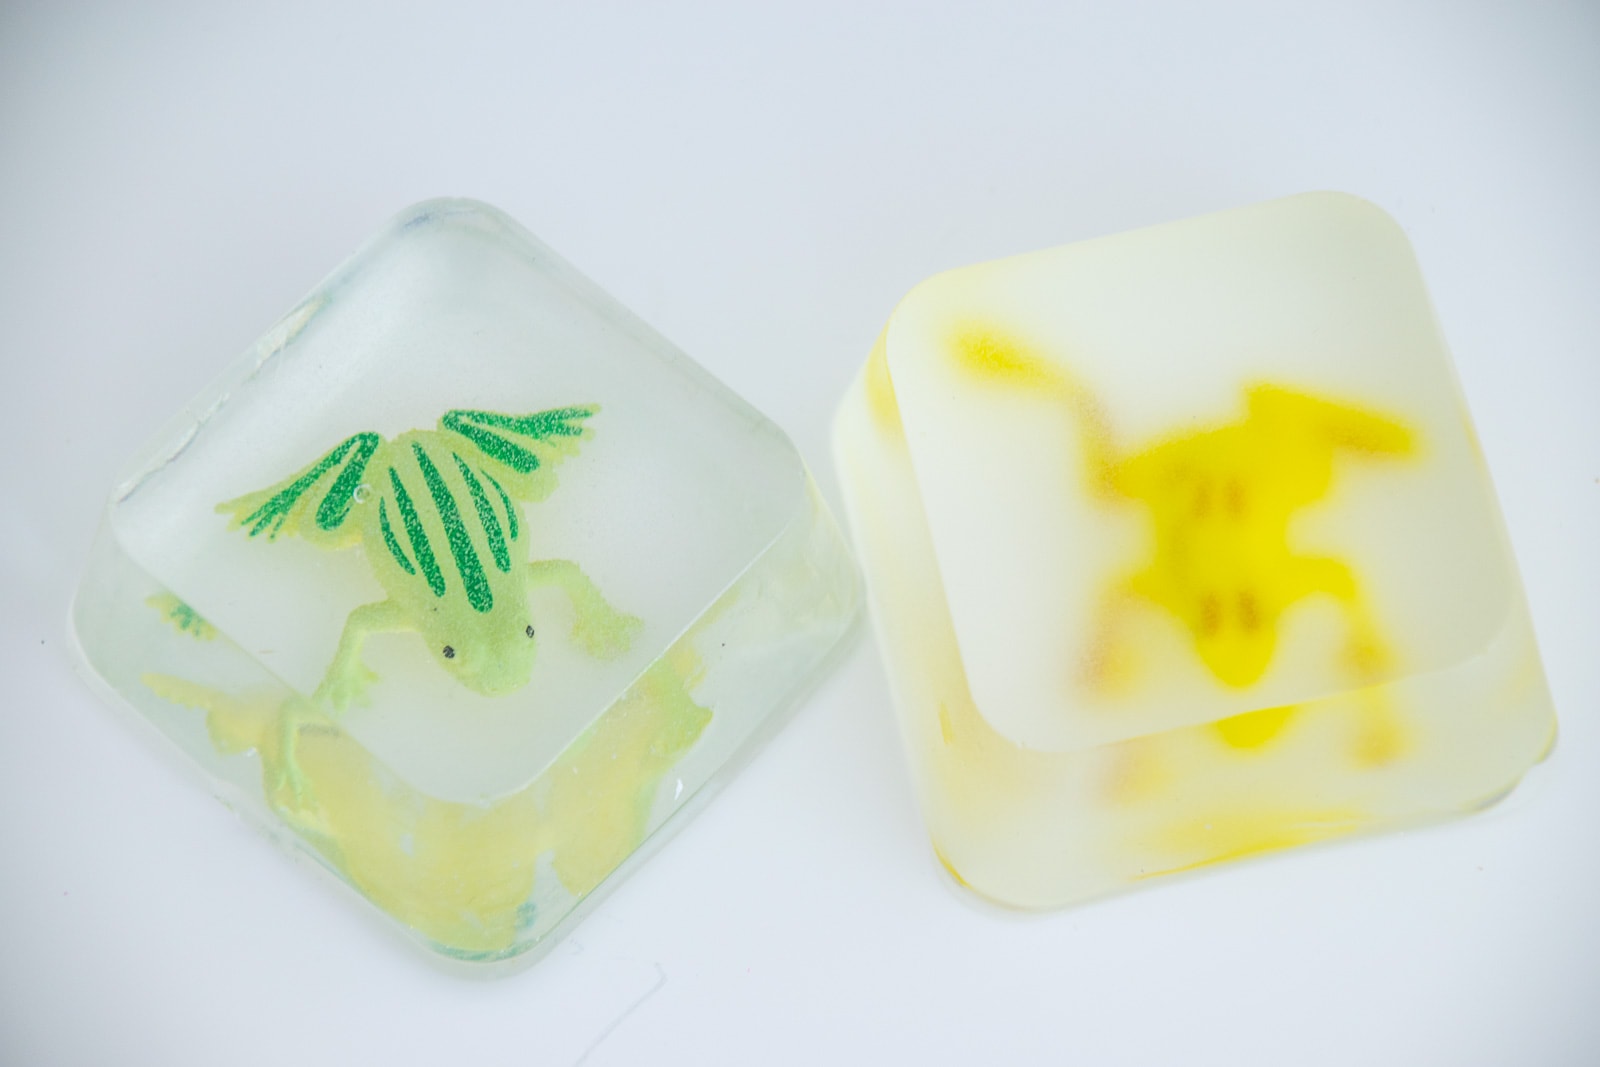
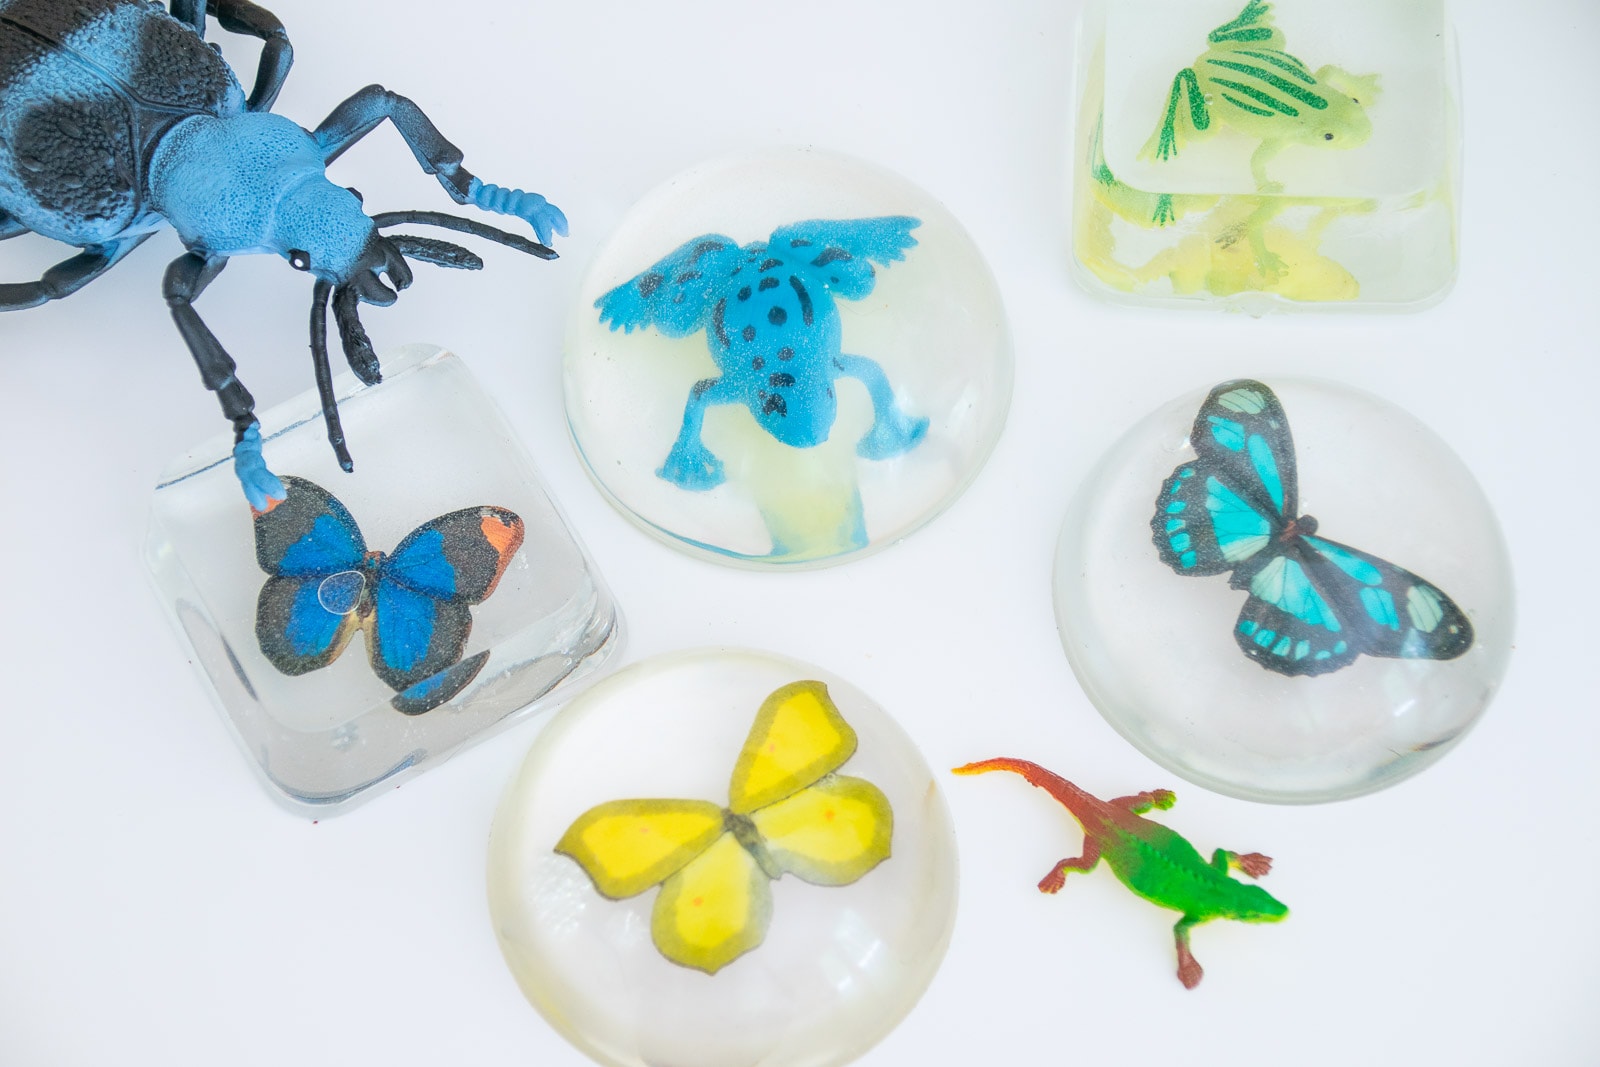
I love how the resin brings out the vibrant colors of these plastic frogs and lizards. You could even embellish the plastic reptiles more by adding your own pattern or texture with paint pens or detail brushes if you really wanted to take this project over the top. I ended up using 3 boxes of resin for this and made 8 larger molds so keep that in mind when planning your project. Resin can be pricey, so it may not be reasonable for you to use as much as I did, but I will say that every time I work with resin I get more confident and end up with a cleaner project so there’s that.
Have you ever worked with resin? What did you make? Leave me a comment and let me know!!

so much fun is this, really beautiful, i will try it to make a pendent. thanks for the awesome idea.
Thank you!!xx