
DIY Gifts Using Crayola Craft Supplies
Psssst… this post *might* contain affiliate links: see my disclosure here.
Crafting Gifts with Crayola
We had the best time playing with these assorted Crayola craft materials and using them to make some easy DIY gifts!
Disclosure: This post is sponsored by JOANN but all fun and opinions are entirely my own!
Shop my favorites!
There is nothing that makes me happier as a parent than seeing my kids independently engaged in something creative. Whether coloring quietly or doing chalk in the driveway or making sculptures with pipe cleaners, watching them use their imagination and problem solve through making is my happy place. So imagine my kids’ delight when we were asked to partner with JOANN and try out some of Crayola’s many assorted craft supplies! We could have spent hours just playing with the Model Magic and the coloring books and the color magic markers and the stickers… but I wanted to see if we could come up with some ideas for DIY gifts while we were at it. The holidays are right around the corner and getting my kids engaged in the act of giving is always a challenge so this happy delivery from Crayola was win-win!
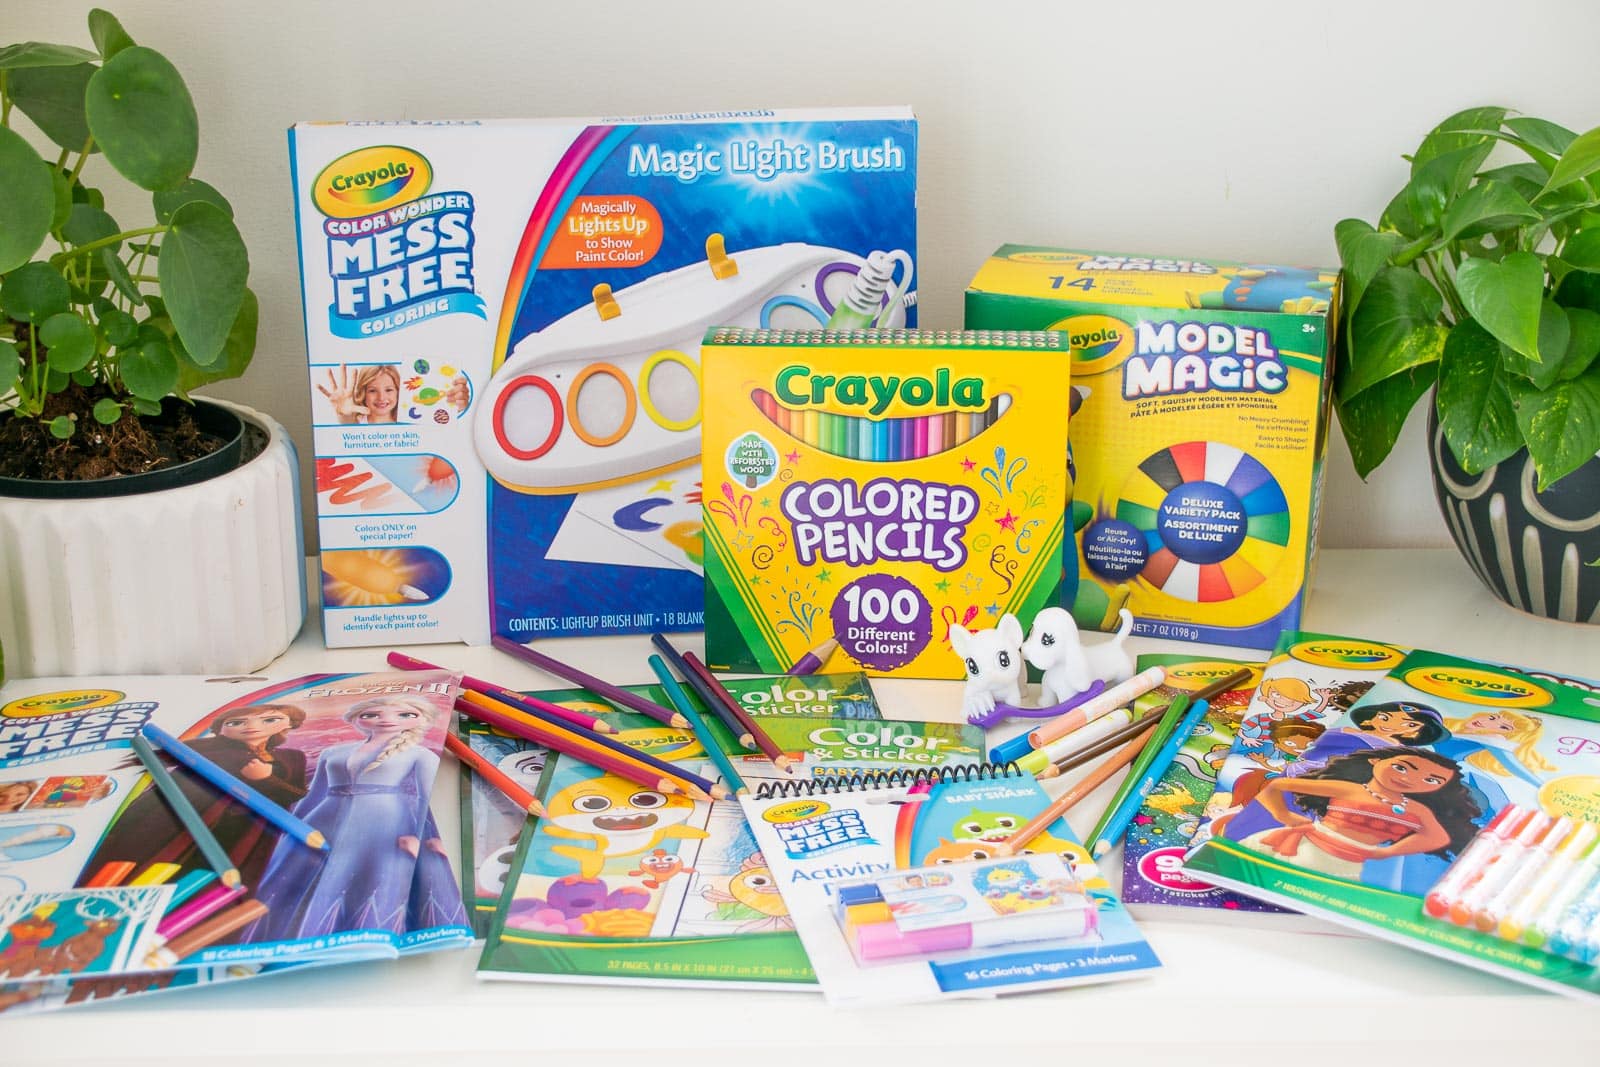
We received an assortment of Crayola products including:
- Crayola Model Magic
- Crayola Coloring Books
- Crayola Scribble Scrubbie
- Crayola Color Wonder activity pads
- Crayola Color Wonder coloring books
- Crayola Colored Pencils
- Crayola Magic Light Brush
Crayola Model Magic
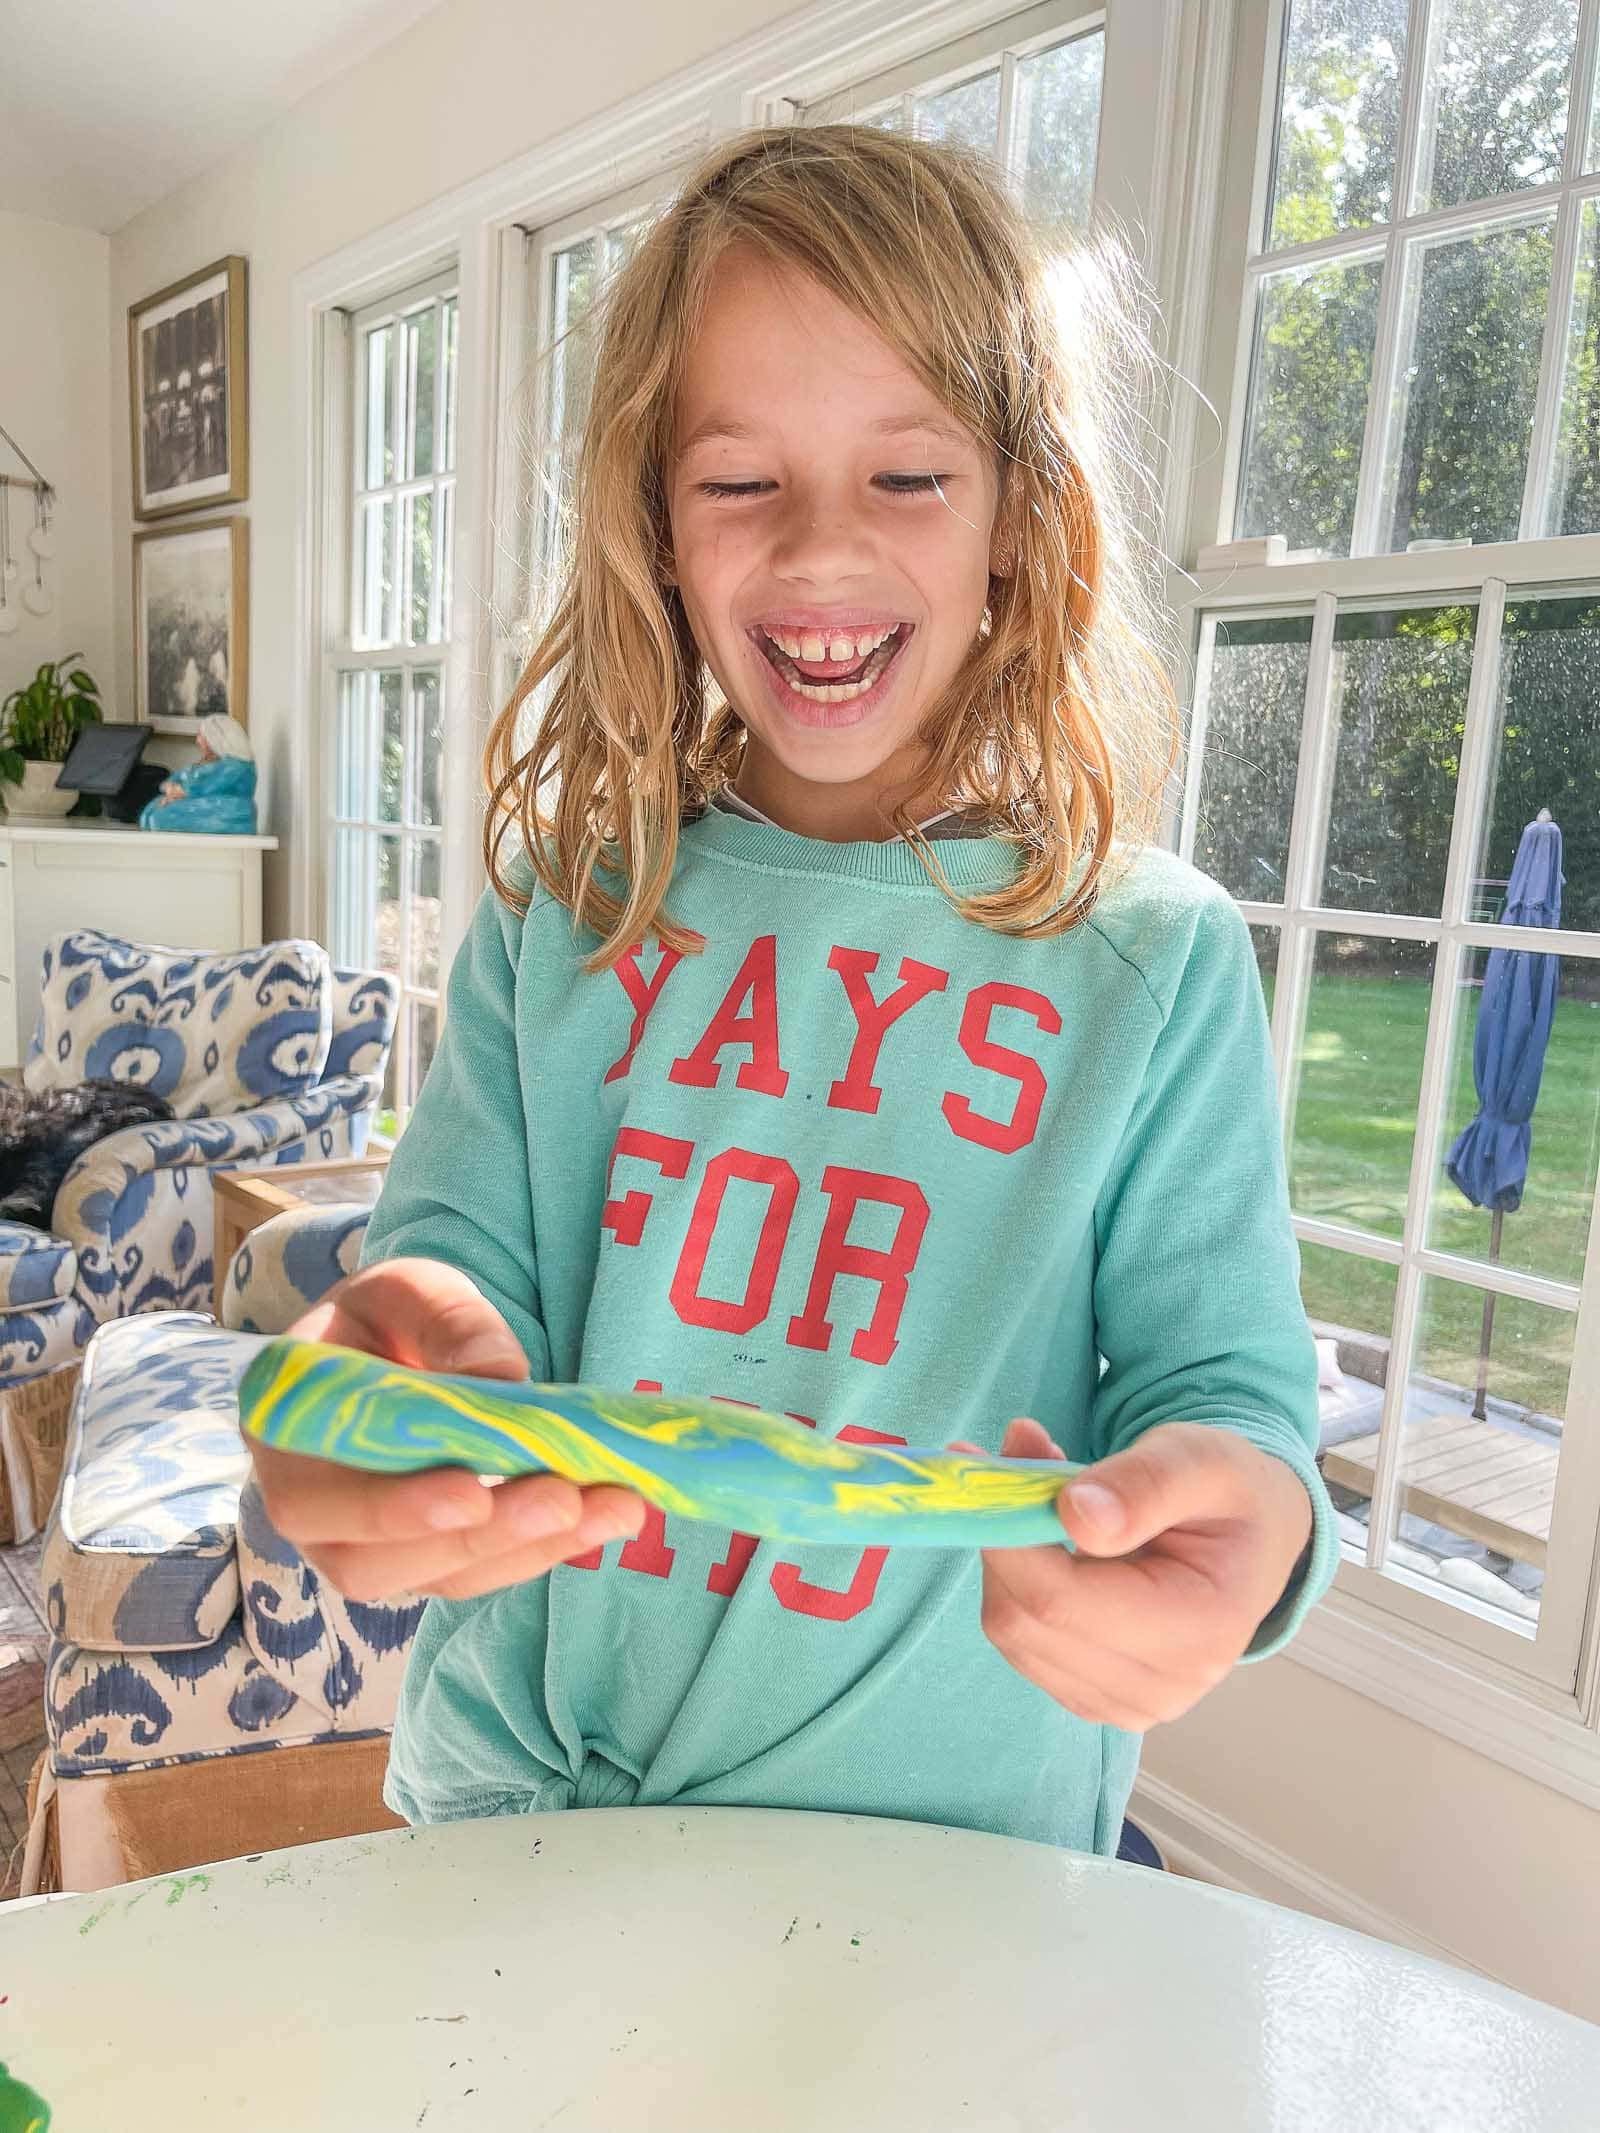
The kids dove into the Model Magic first. Whenever I introduce a new material, I love to watch them explore without any instructions or guidelines given by me. One of my favorite parts about working with the Crayola Model Magic is that it’s soft and easy to work with right from the start. Unlike other clay that requires a bit of fine motor strength to soften up, the model magic is easy for little hands to play with immediately. Here’s what the kids discovered: they could mix colors from the primary color pack to make any shade they wanted. They created sculptures like pumpkins and people. They also learned how to make a coil pot!
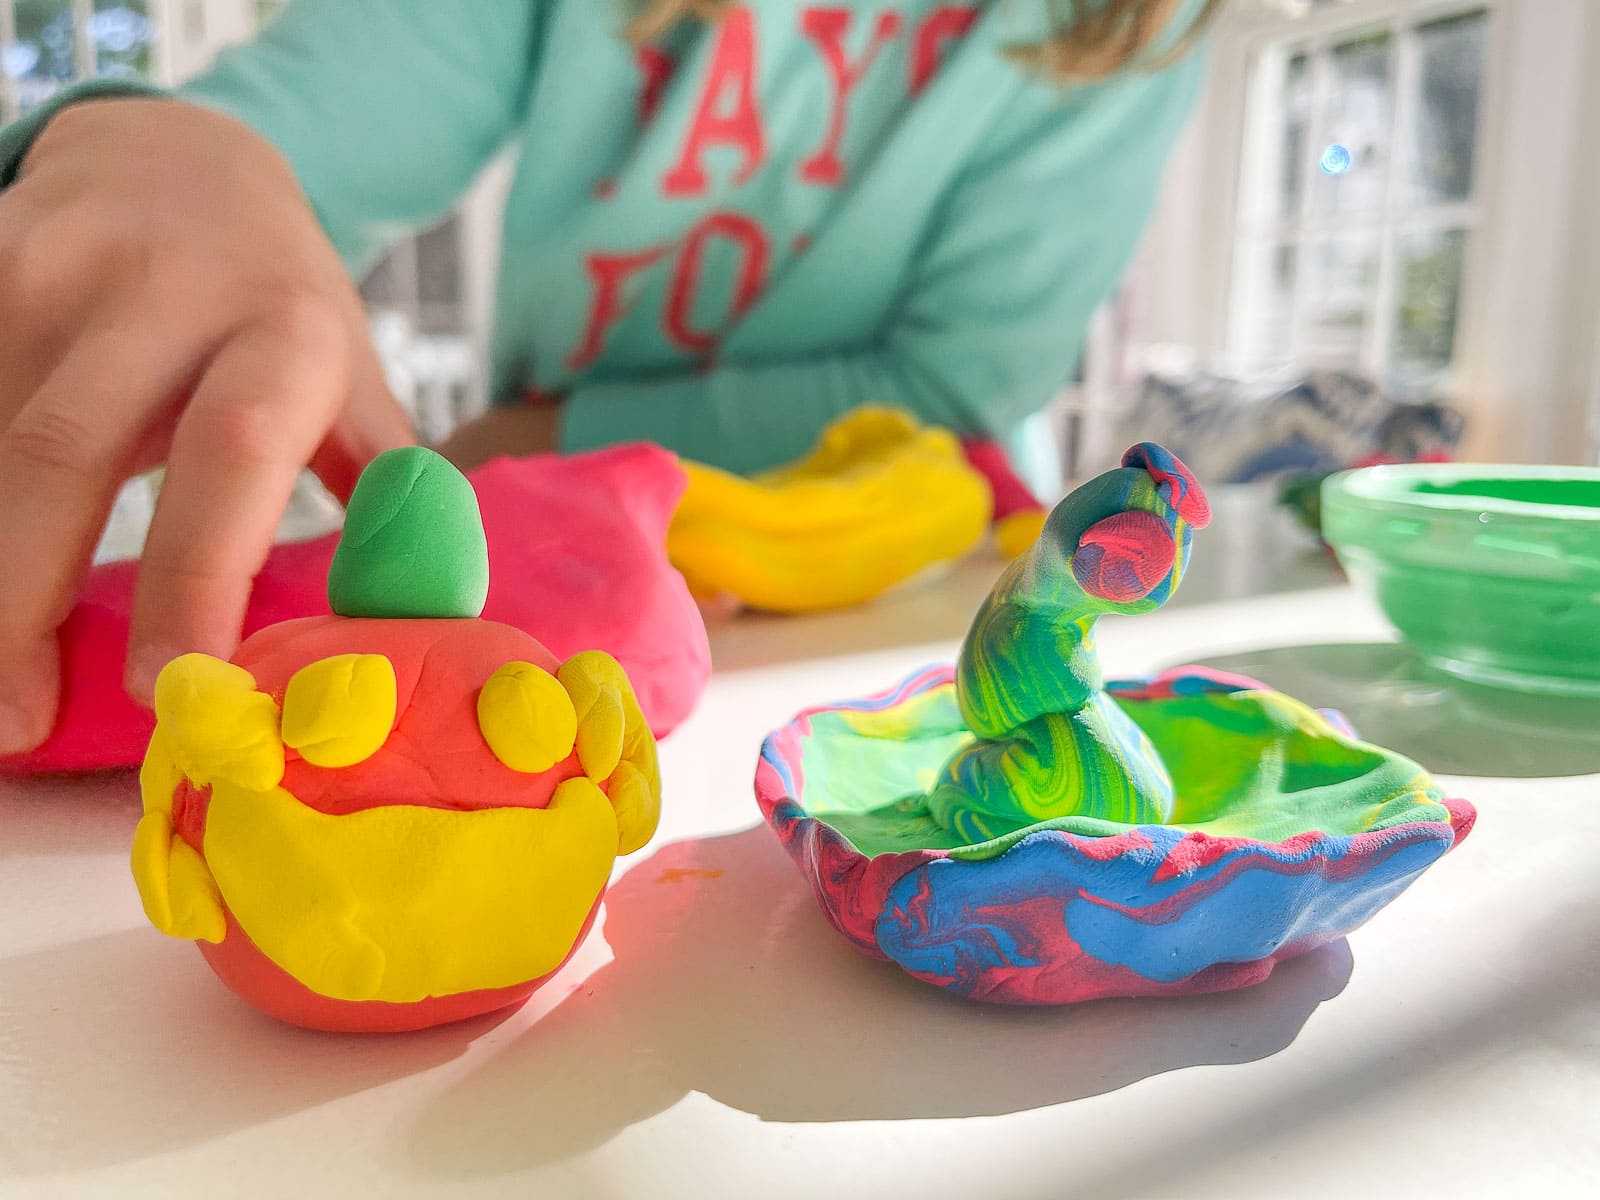

We experimented with using objects from around the house as forms around which we could mold the Model Magic, but learned once it had dried the recommended length of time, that it wasn’t as easy to remove from the forms as we’d hoped. The thicker bowls that were made by pressing the model magic INTO a bowl were able to come loose, but the bowls made by pressing the Model Magic onto the outside of the bowls didn’t hold up as well.
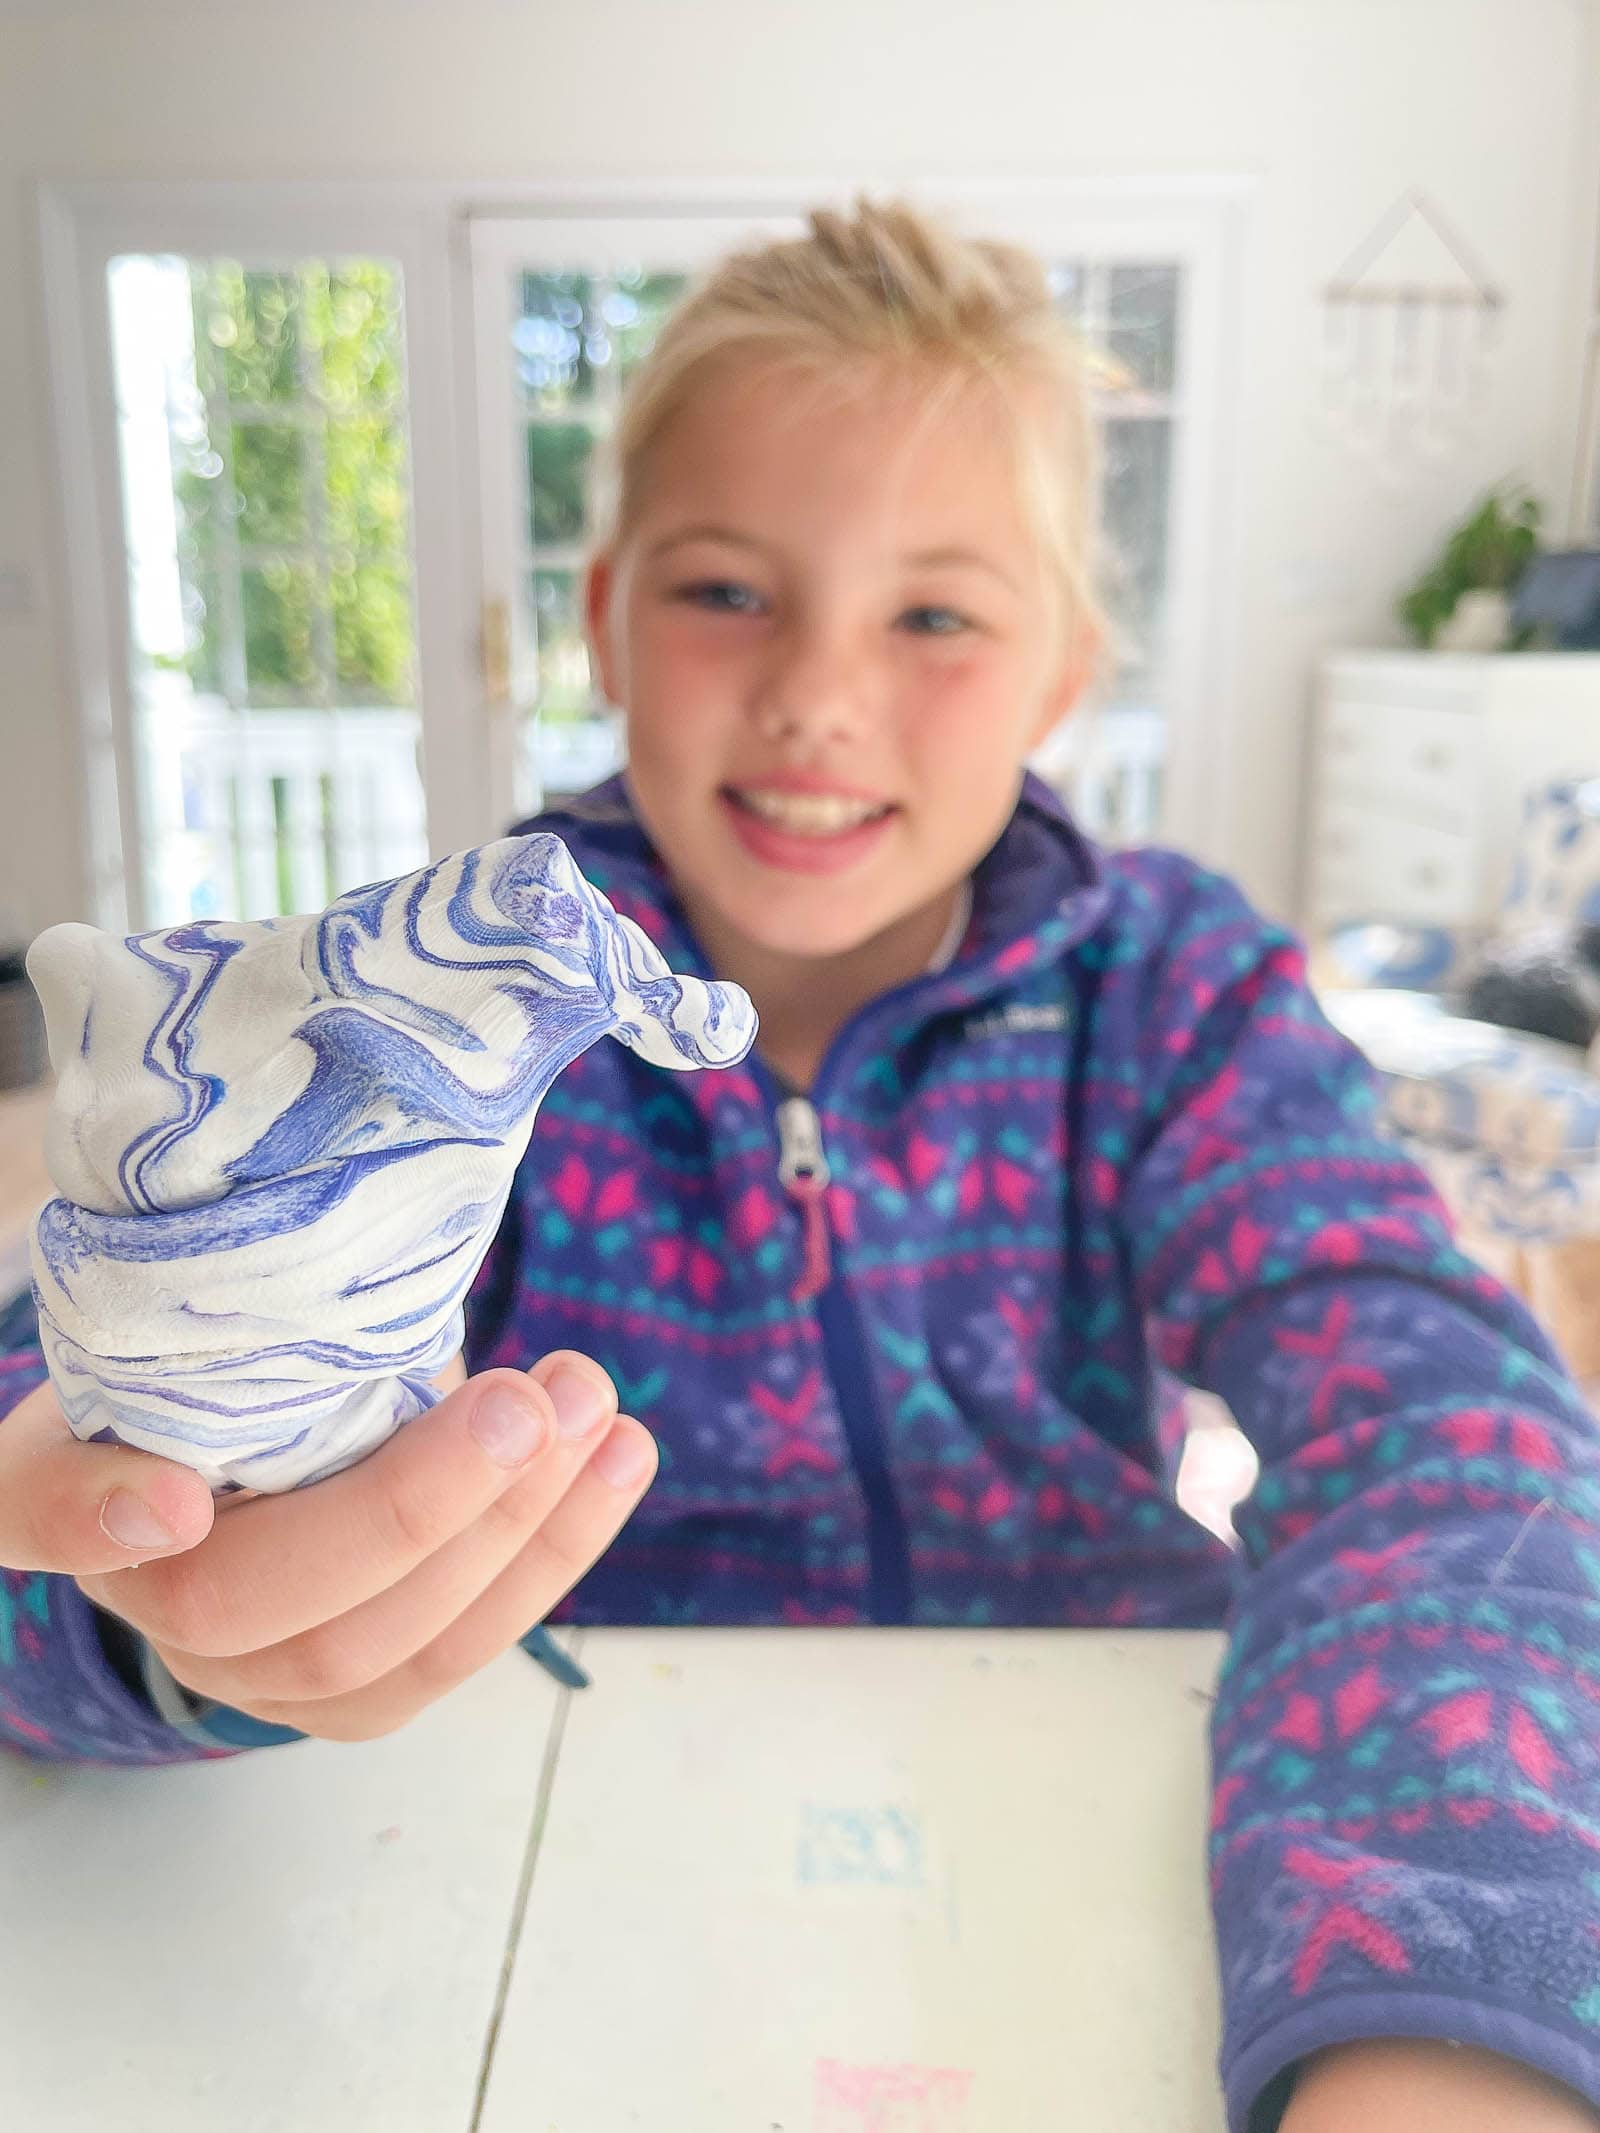
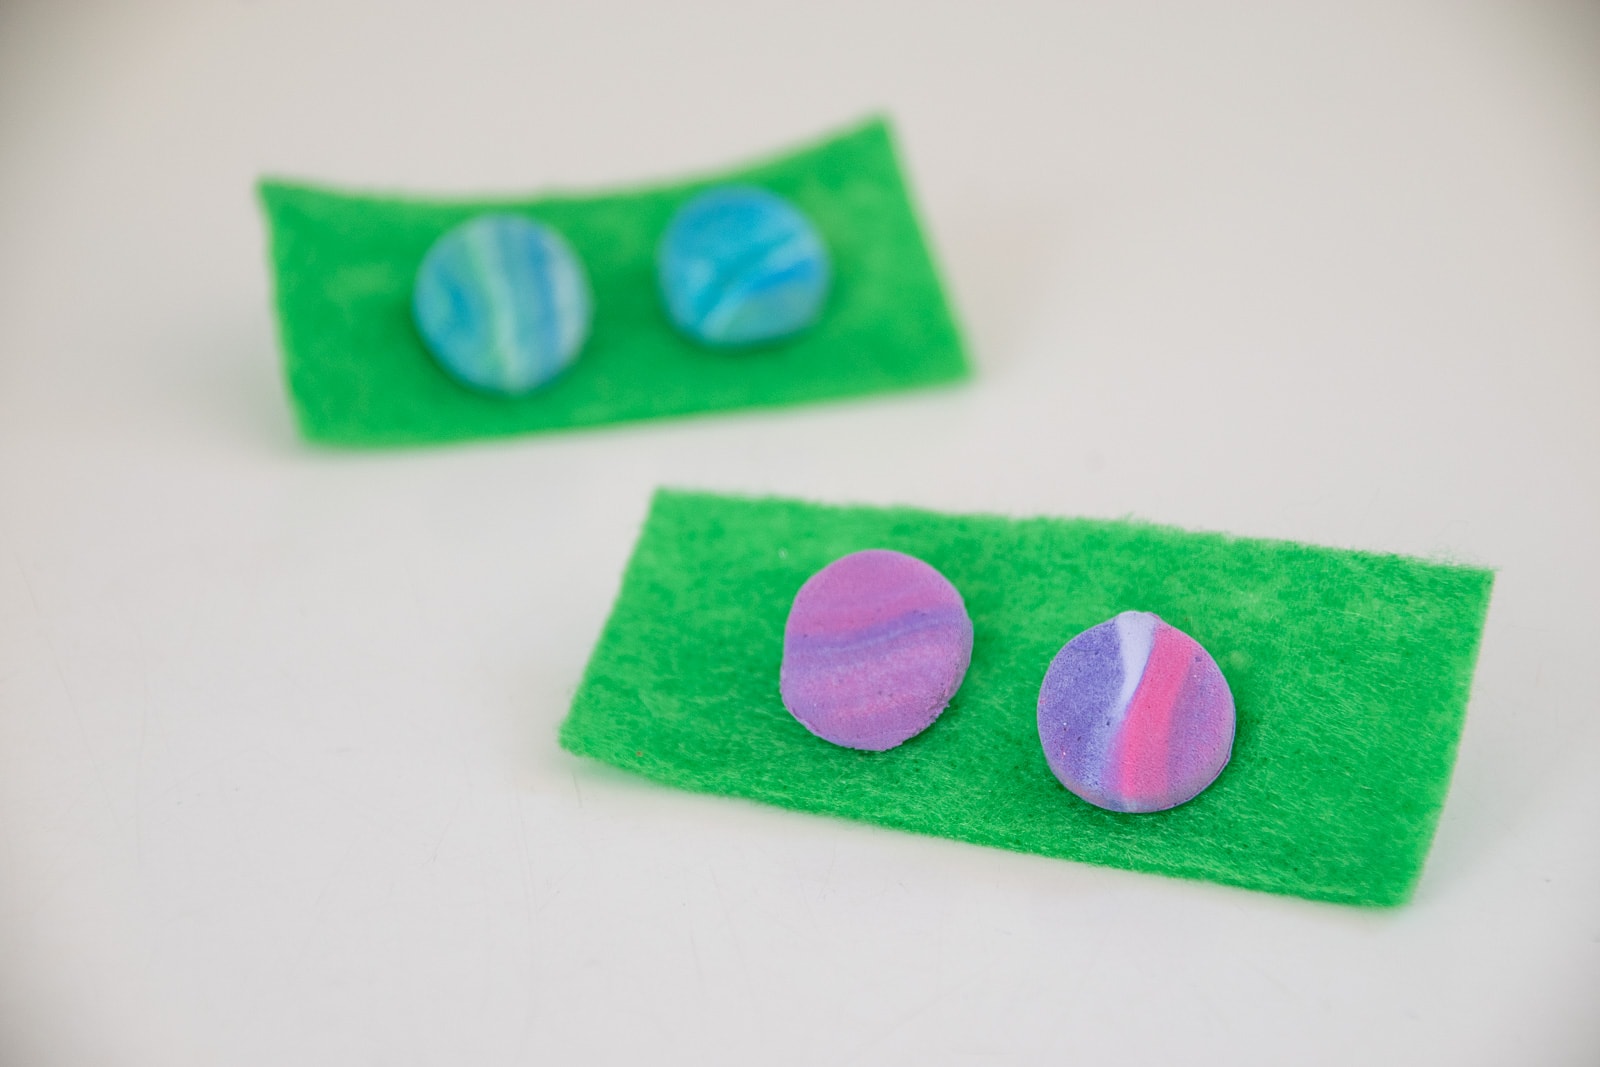
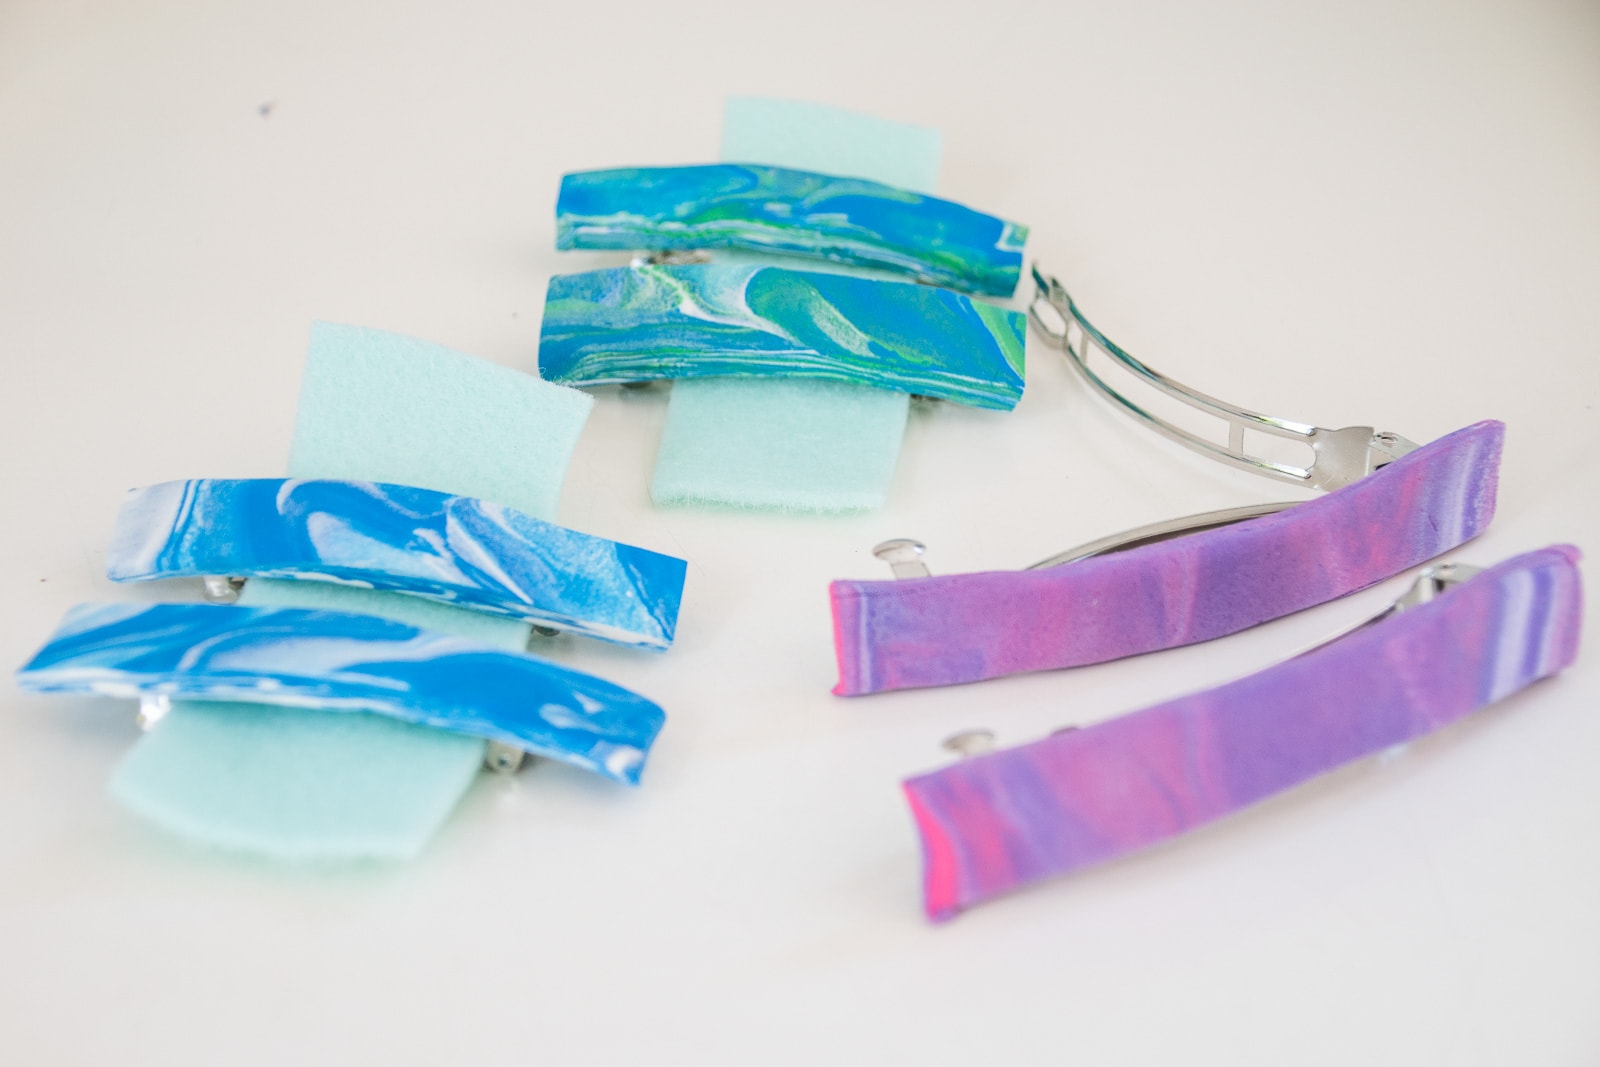
DIY Model Magic Earrings and Barrettes
My oldest daughter is 12 and just got her ears pierced so she had the idea of making some simple earrings. We loved how the Model Magic looked when two colors were mixed to a marbled look. I didn’t bother to bring out anything like cookie cutters or a clay roller so we used what we could find around the house but there are so many accessories like this in the clay section of JOANN if you like the idea of cutting out more intricate shapes. We also cut some marbled Model Magic into rectangles to try out on some DIY barrettes.
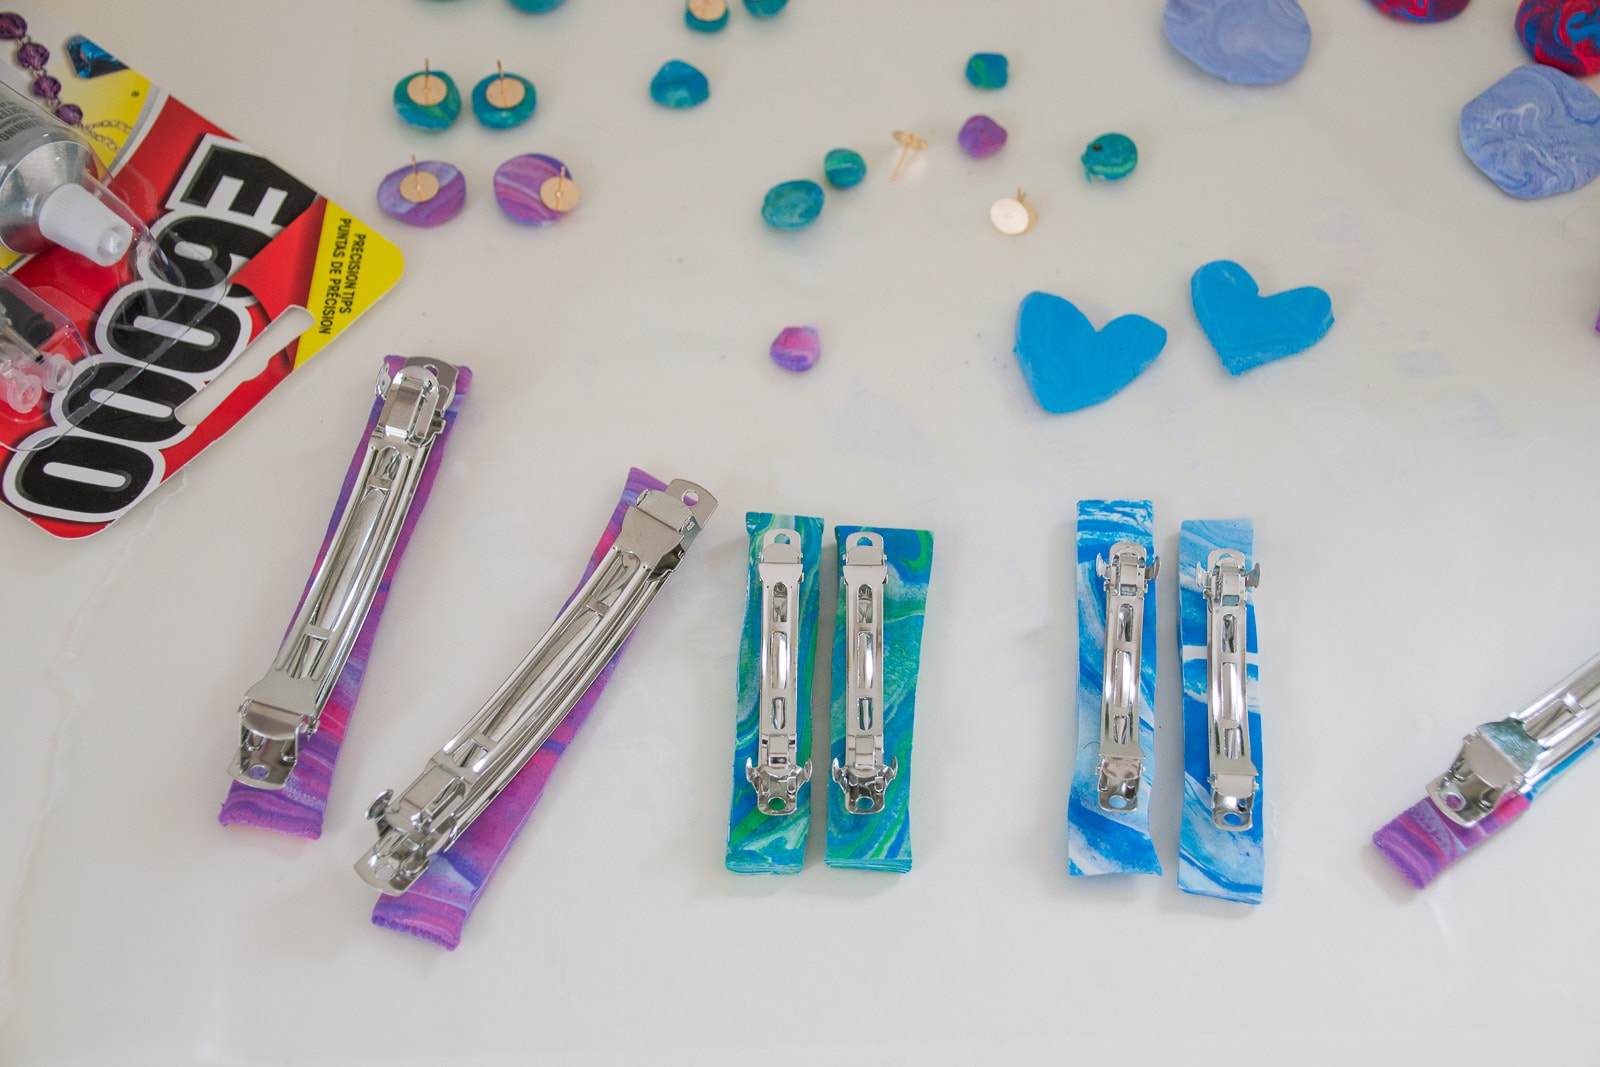
The Model Magic takes about 72 hours to fully cure but it will never harden like a traditional clay. It keeps its shape, but is definitely more fragile than other clay so plan your creations accordingly. Smaller, thinner pieces of clay may tear or break apart. I used e6000 jewelry glue to adhere the strips of dried Model Magic to barrettes and glued earring posts onto the earring shapes Eleanor had made as well. Again… it’s unclear how durable these pieces will be but they certainly seemed to adhere while I was moving them around to take these pictures. This may be one of those gifts where it’s the ‘thought that counts’…
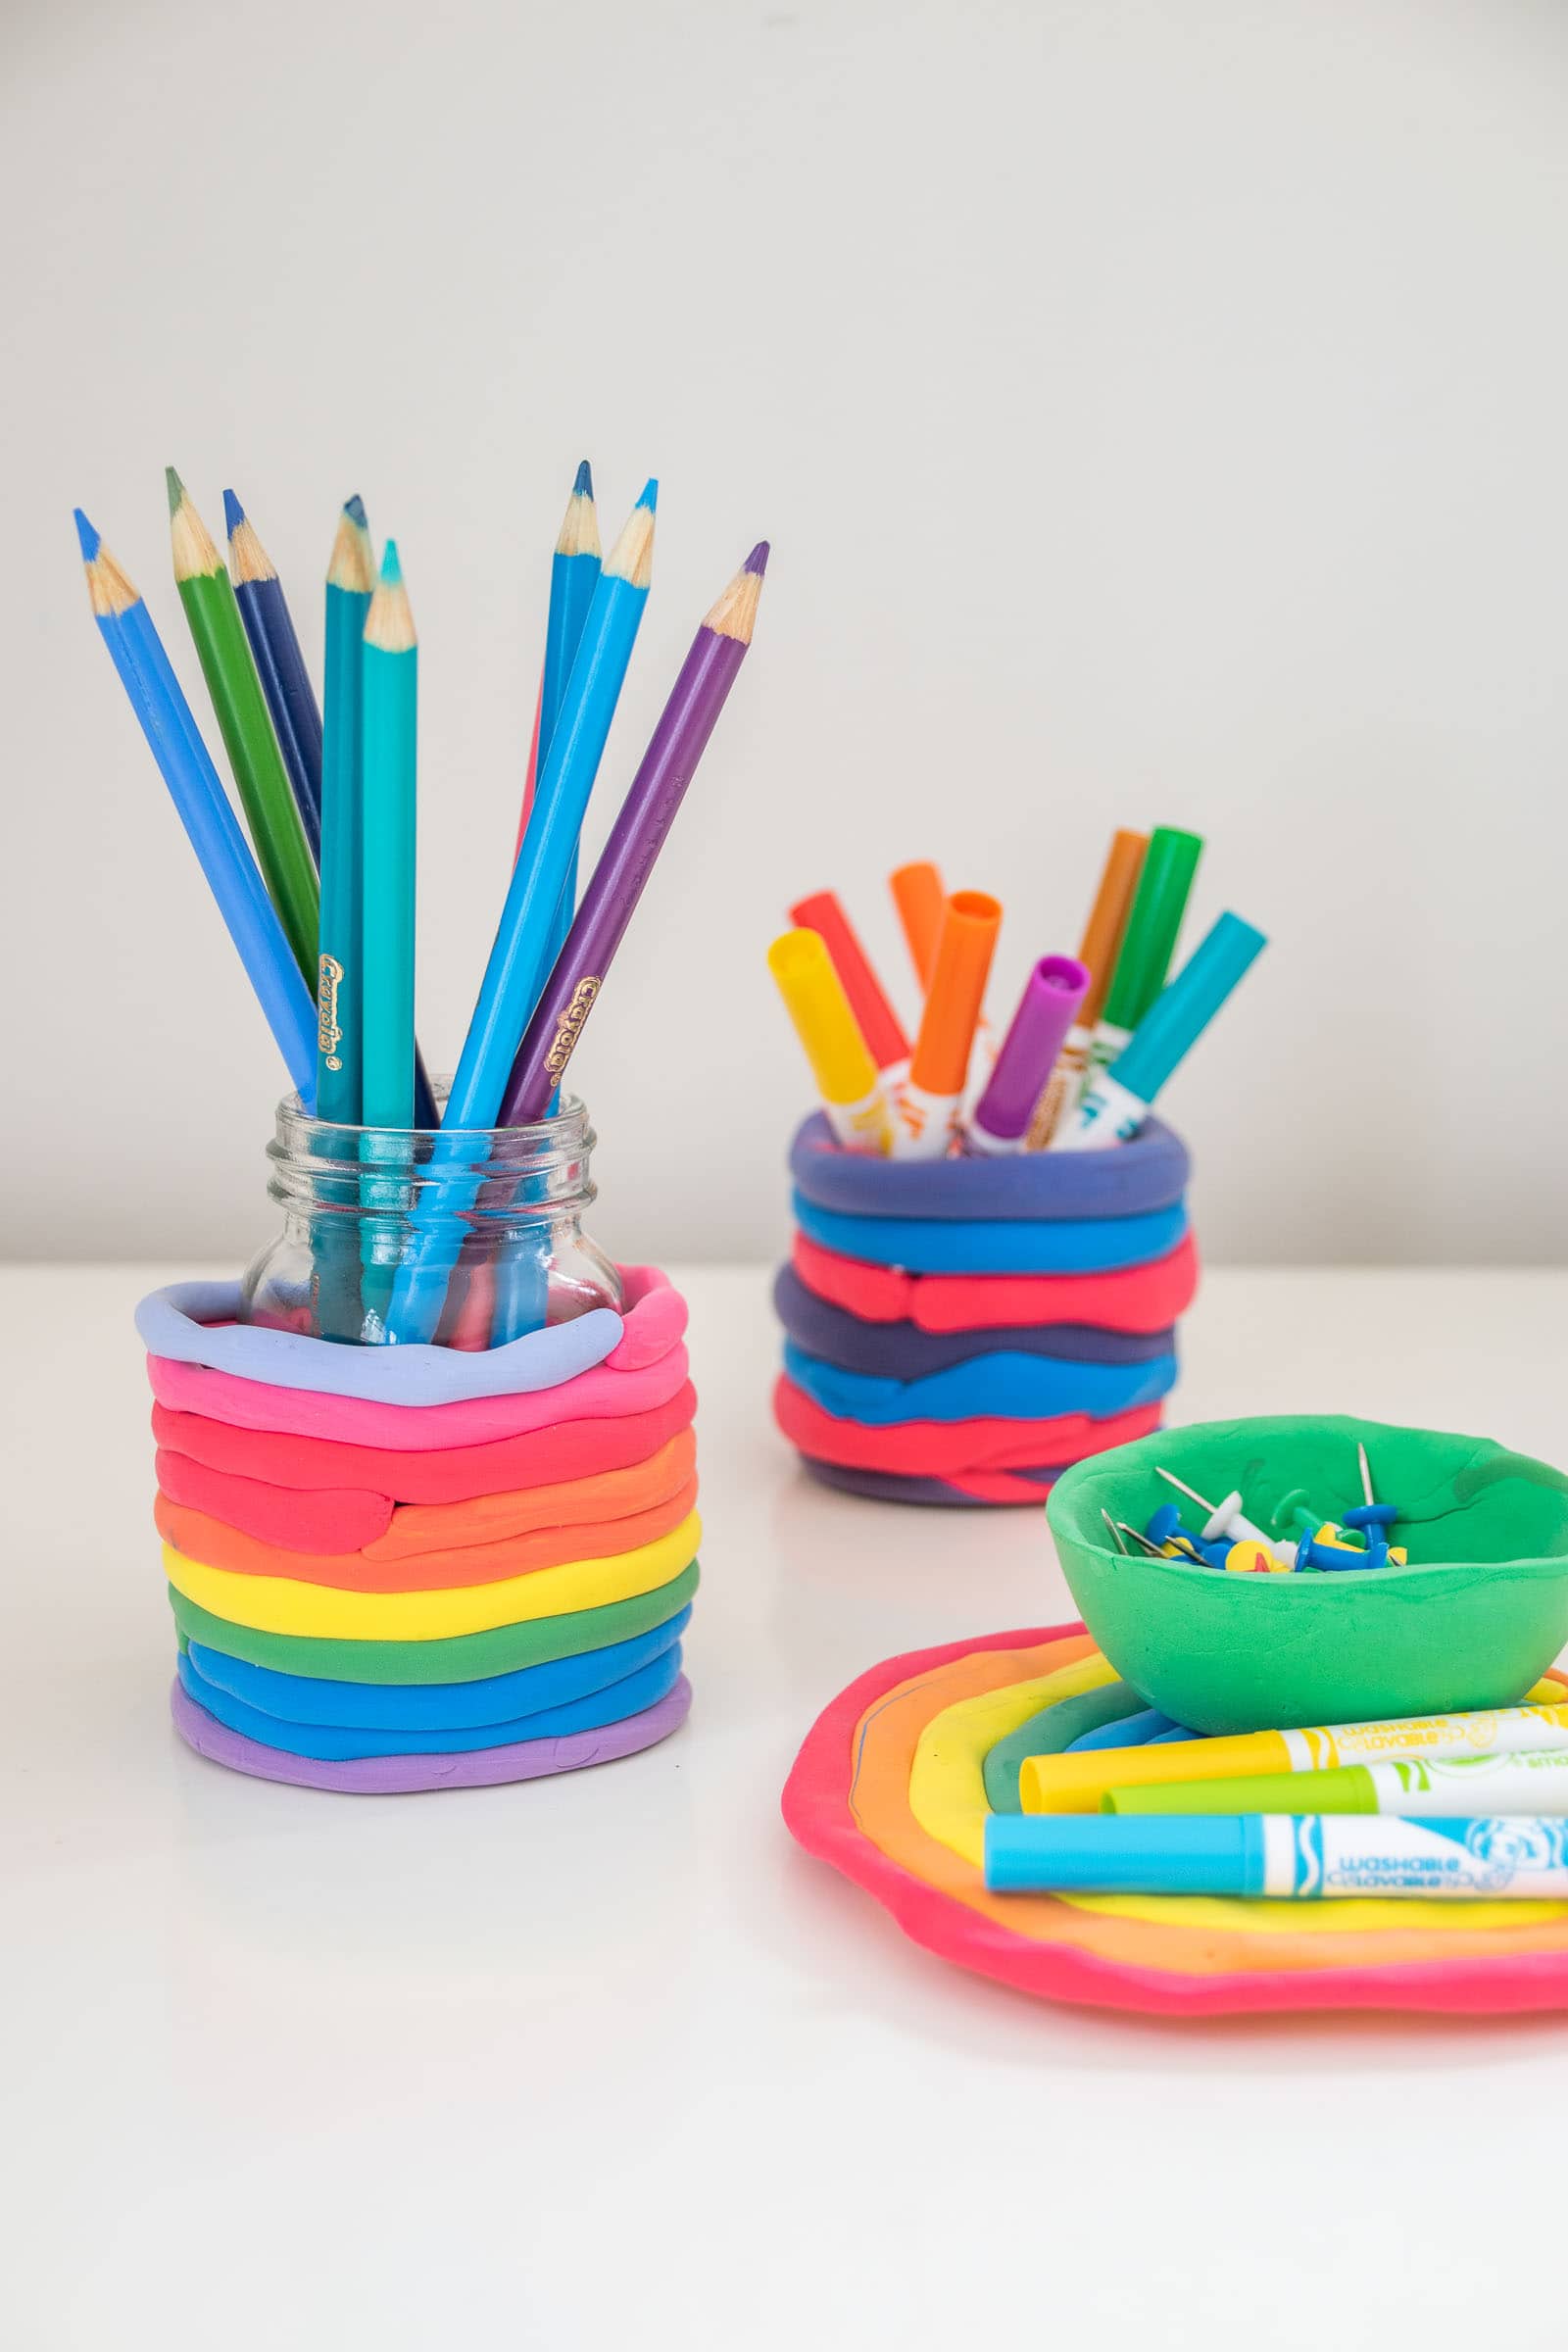
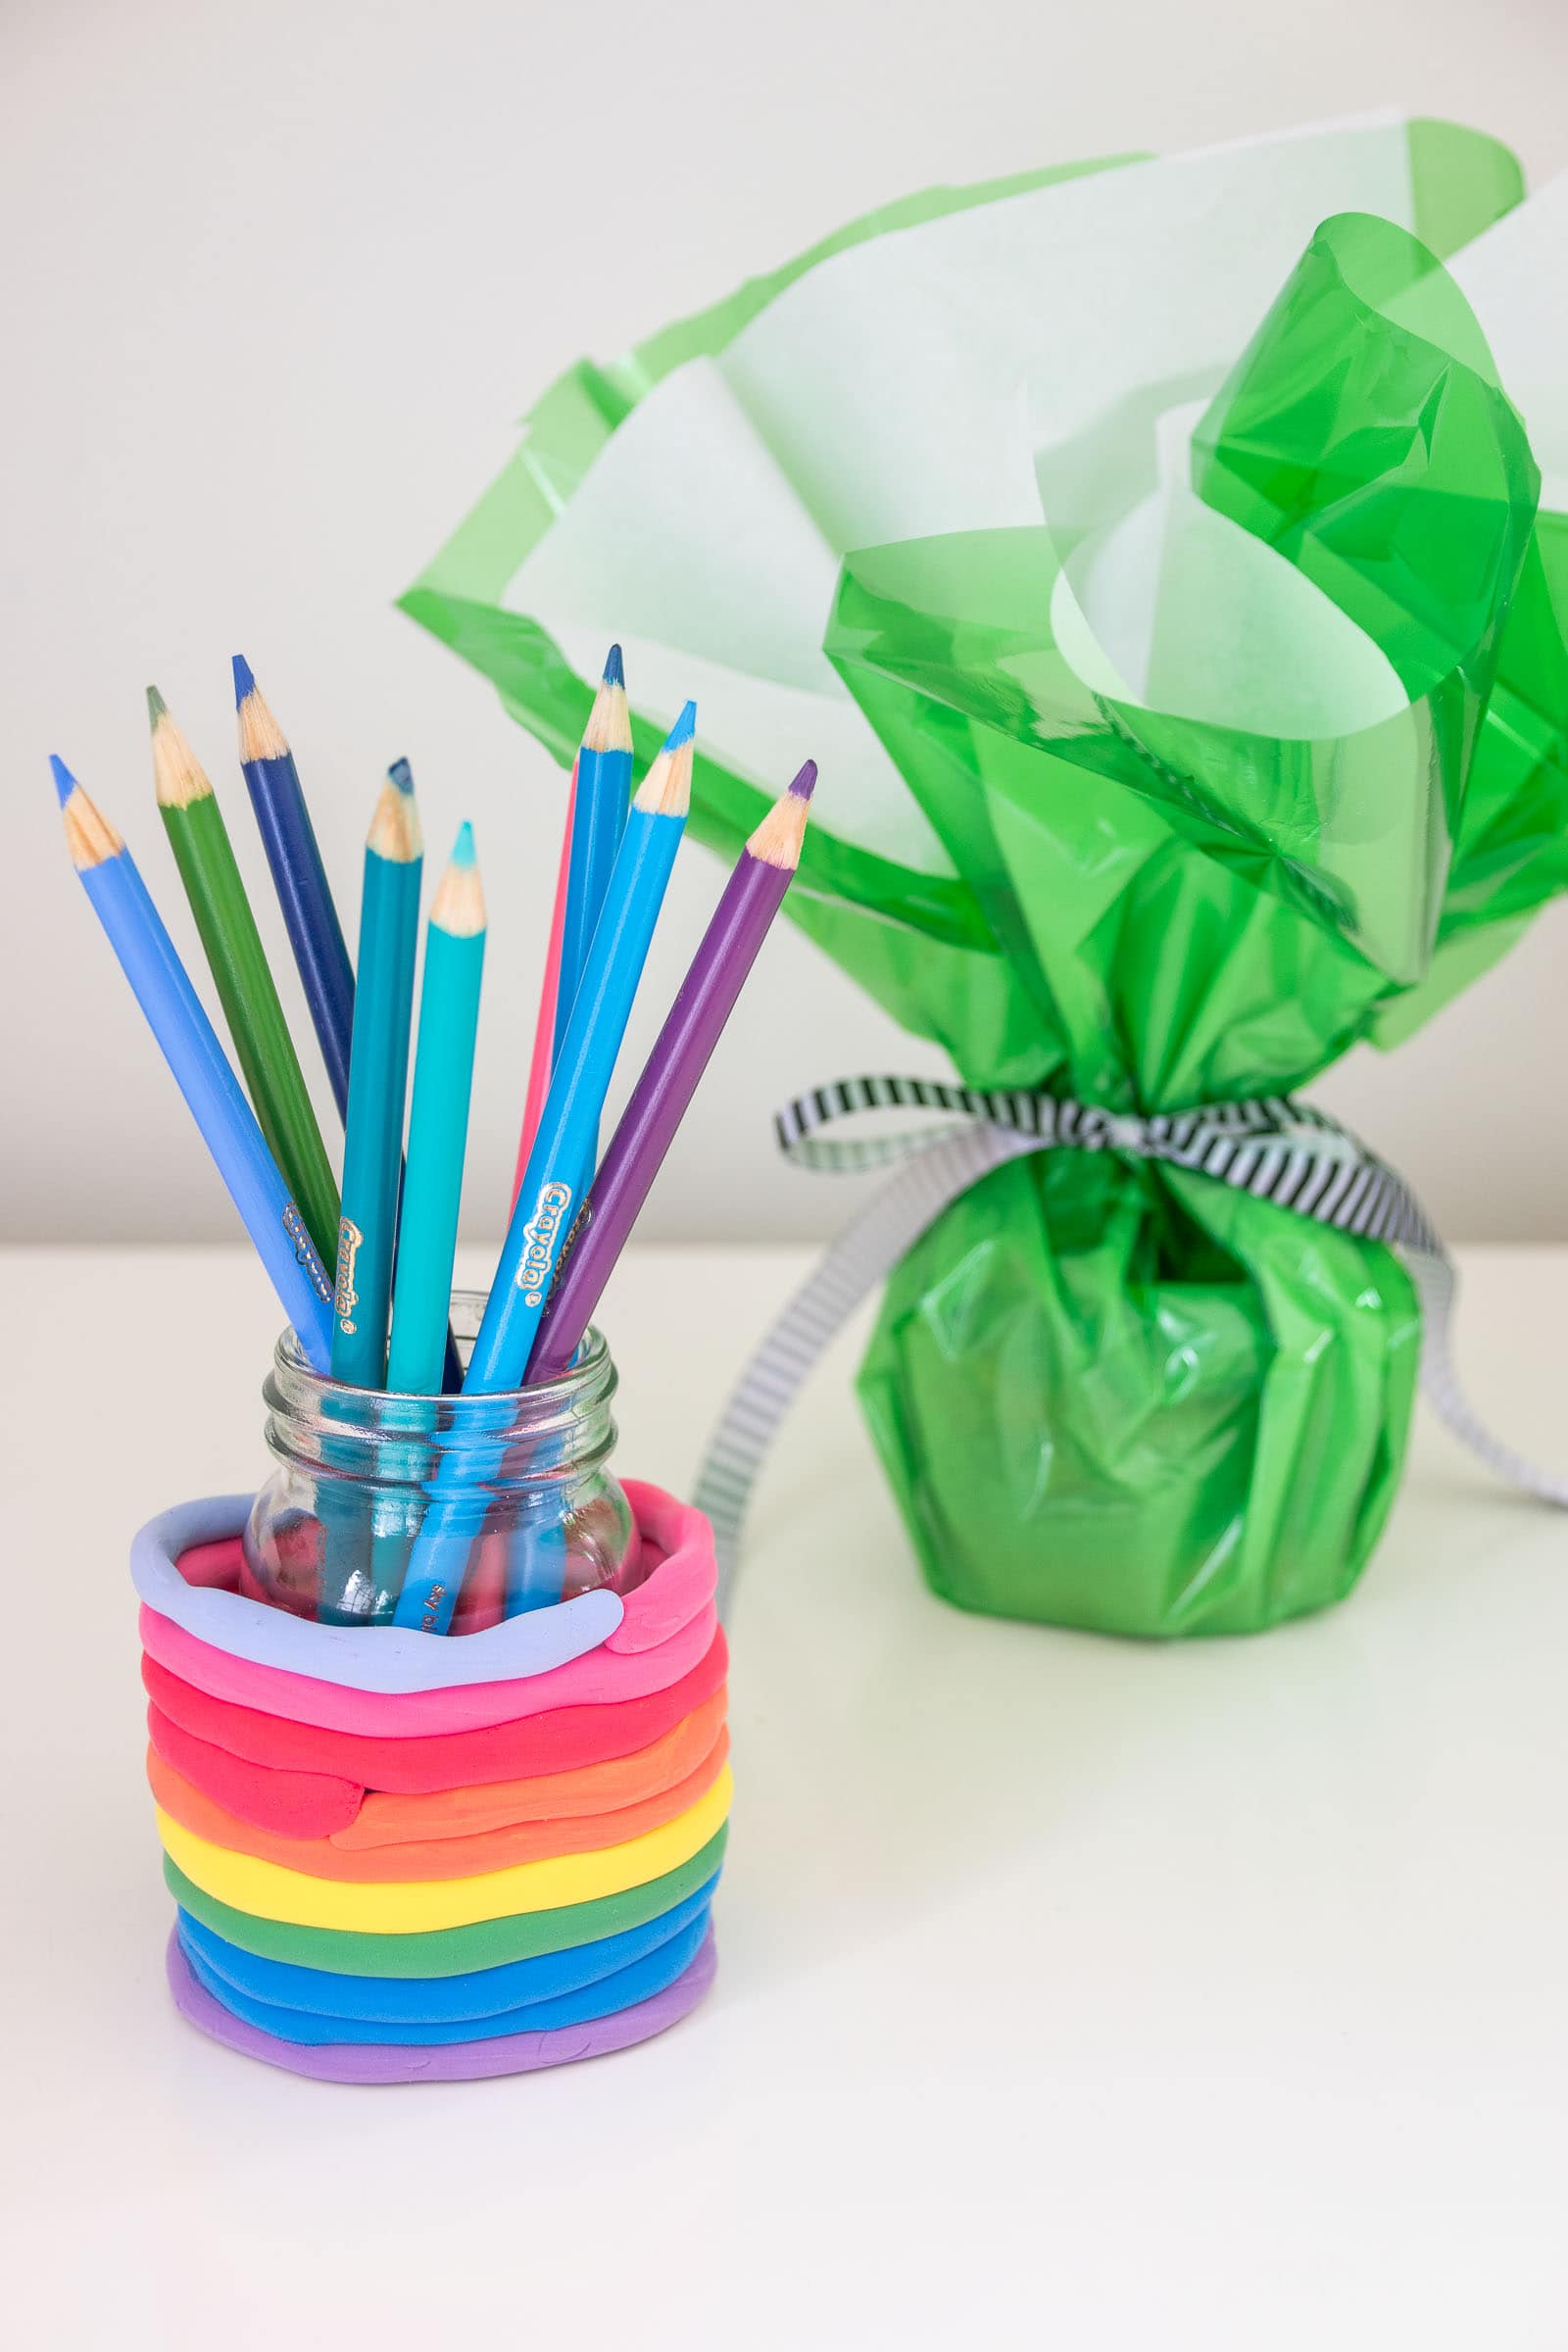
For the coil pots, we popped a small jar into one to use for pencils or a bud vase. In hindsight, I would have selected a slightly larger jar and created my coil pot AROUND the glass jar. Perfect teacher gift!
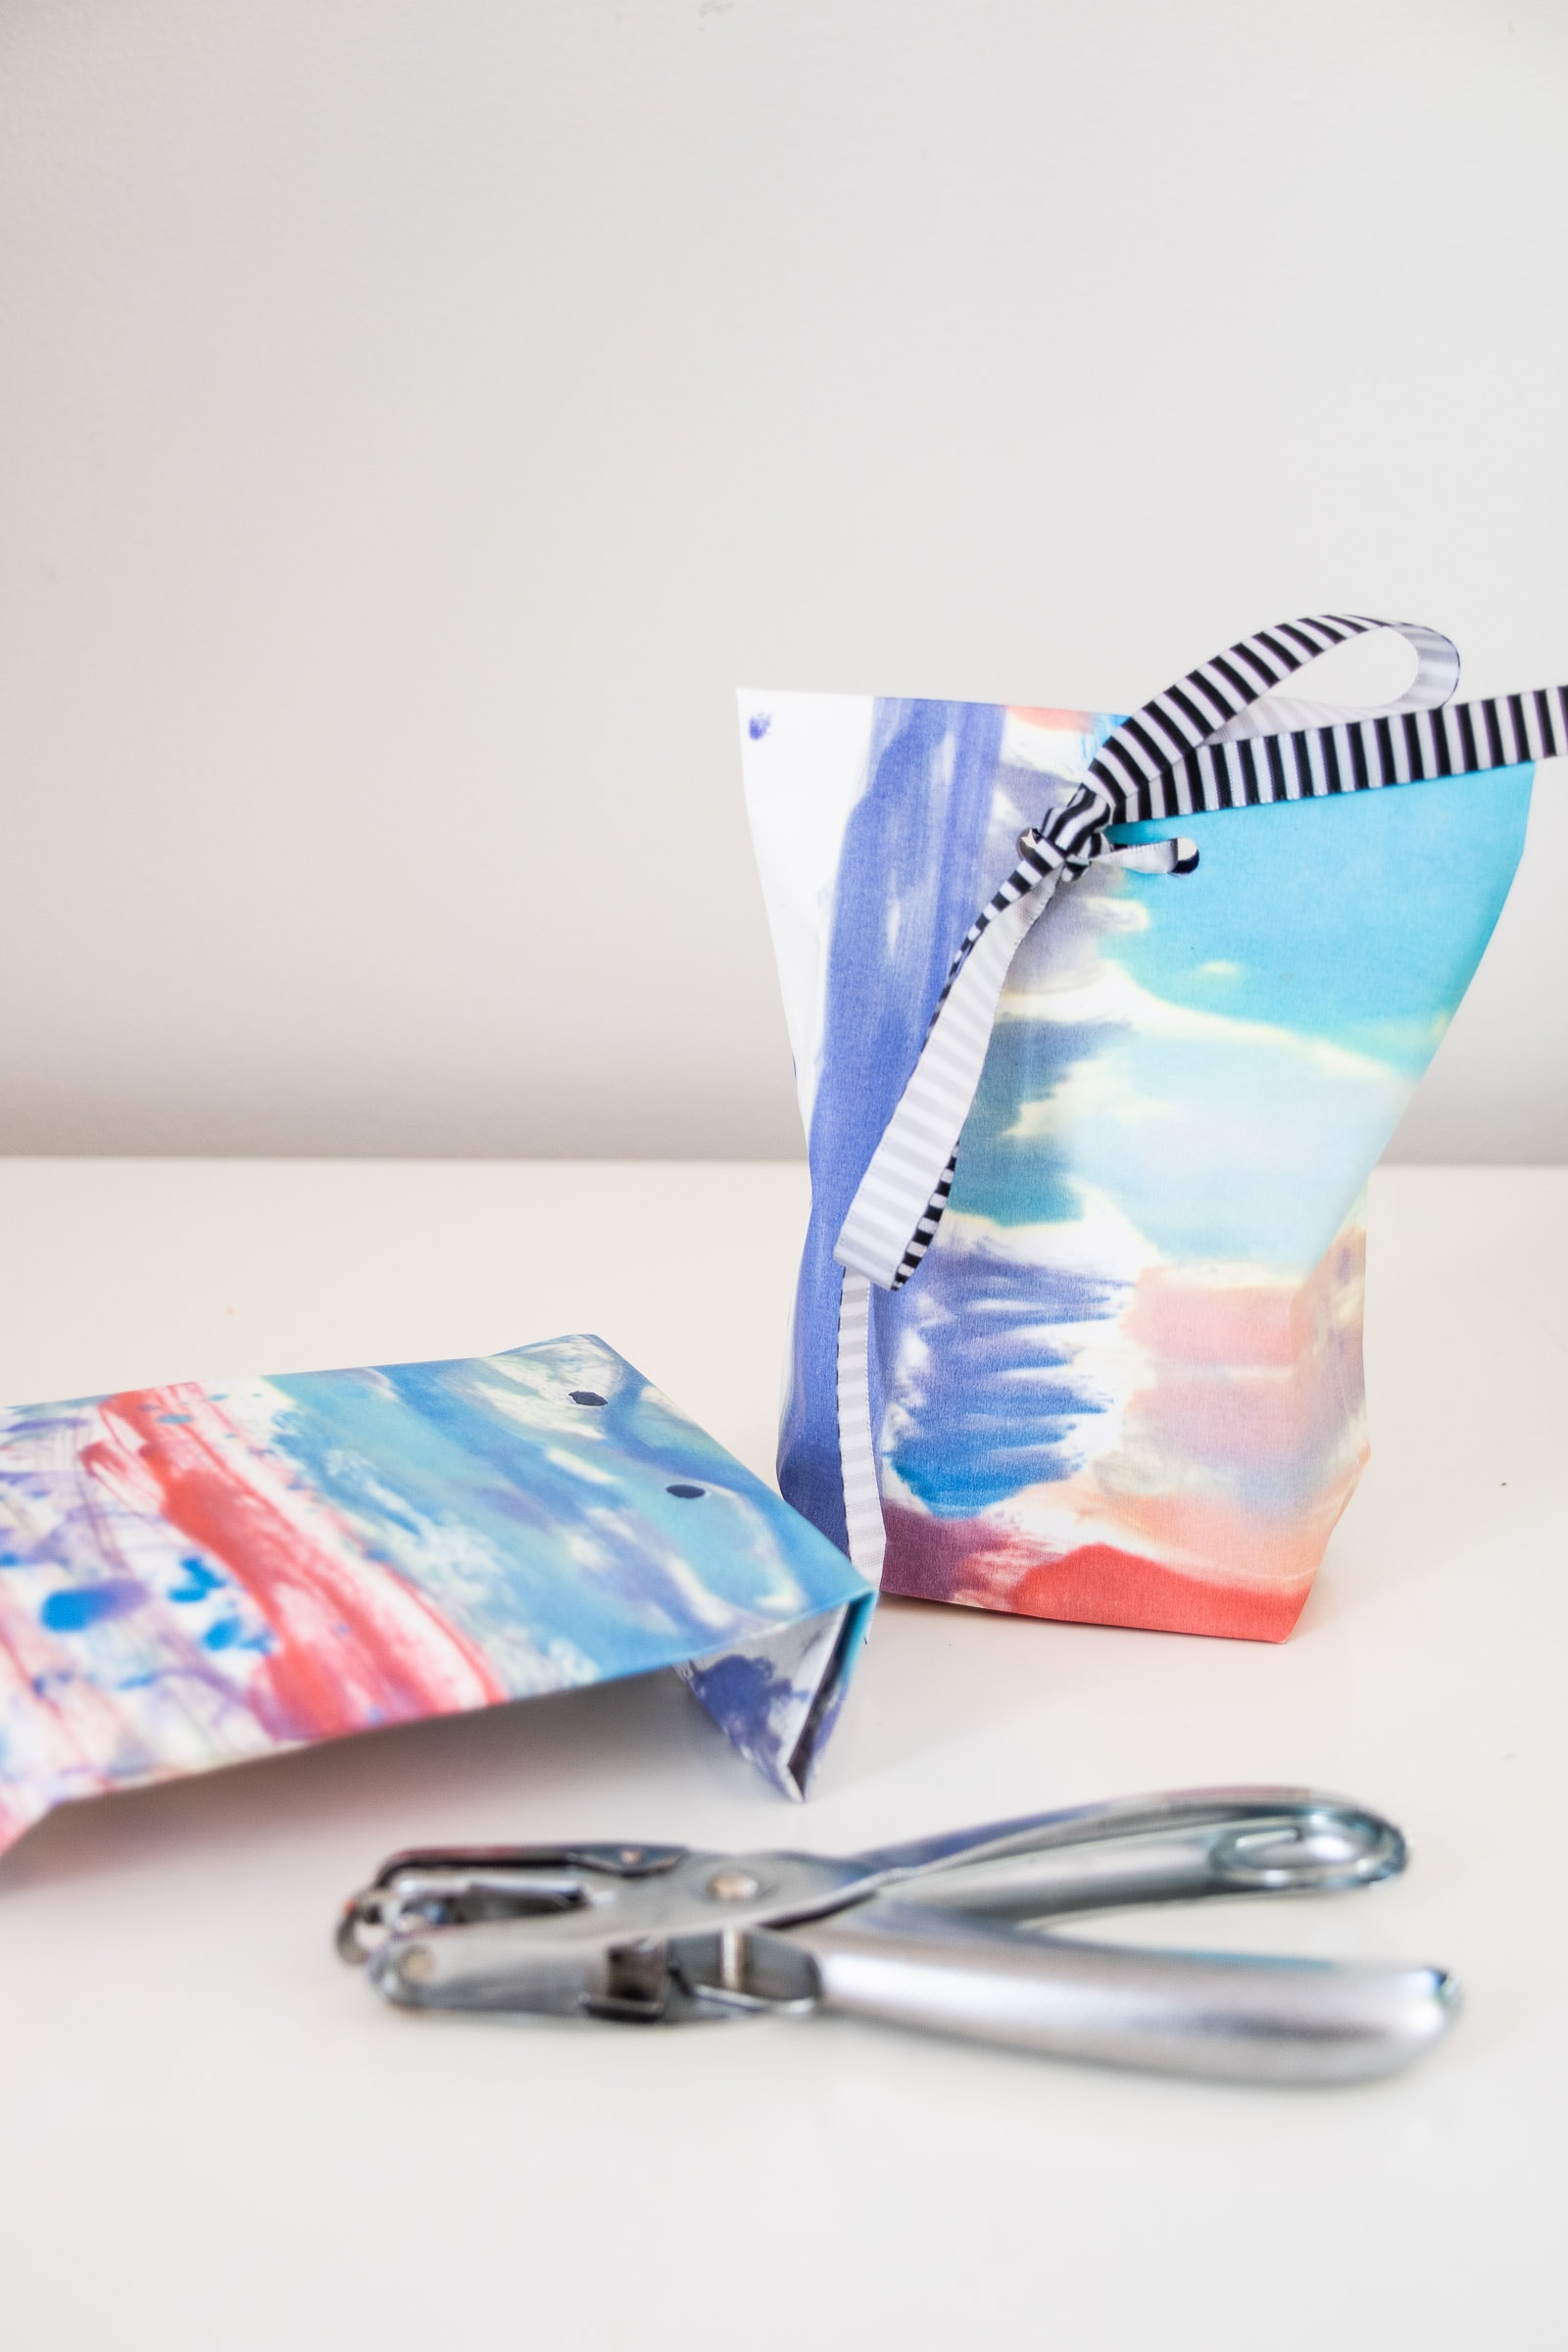
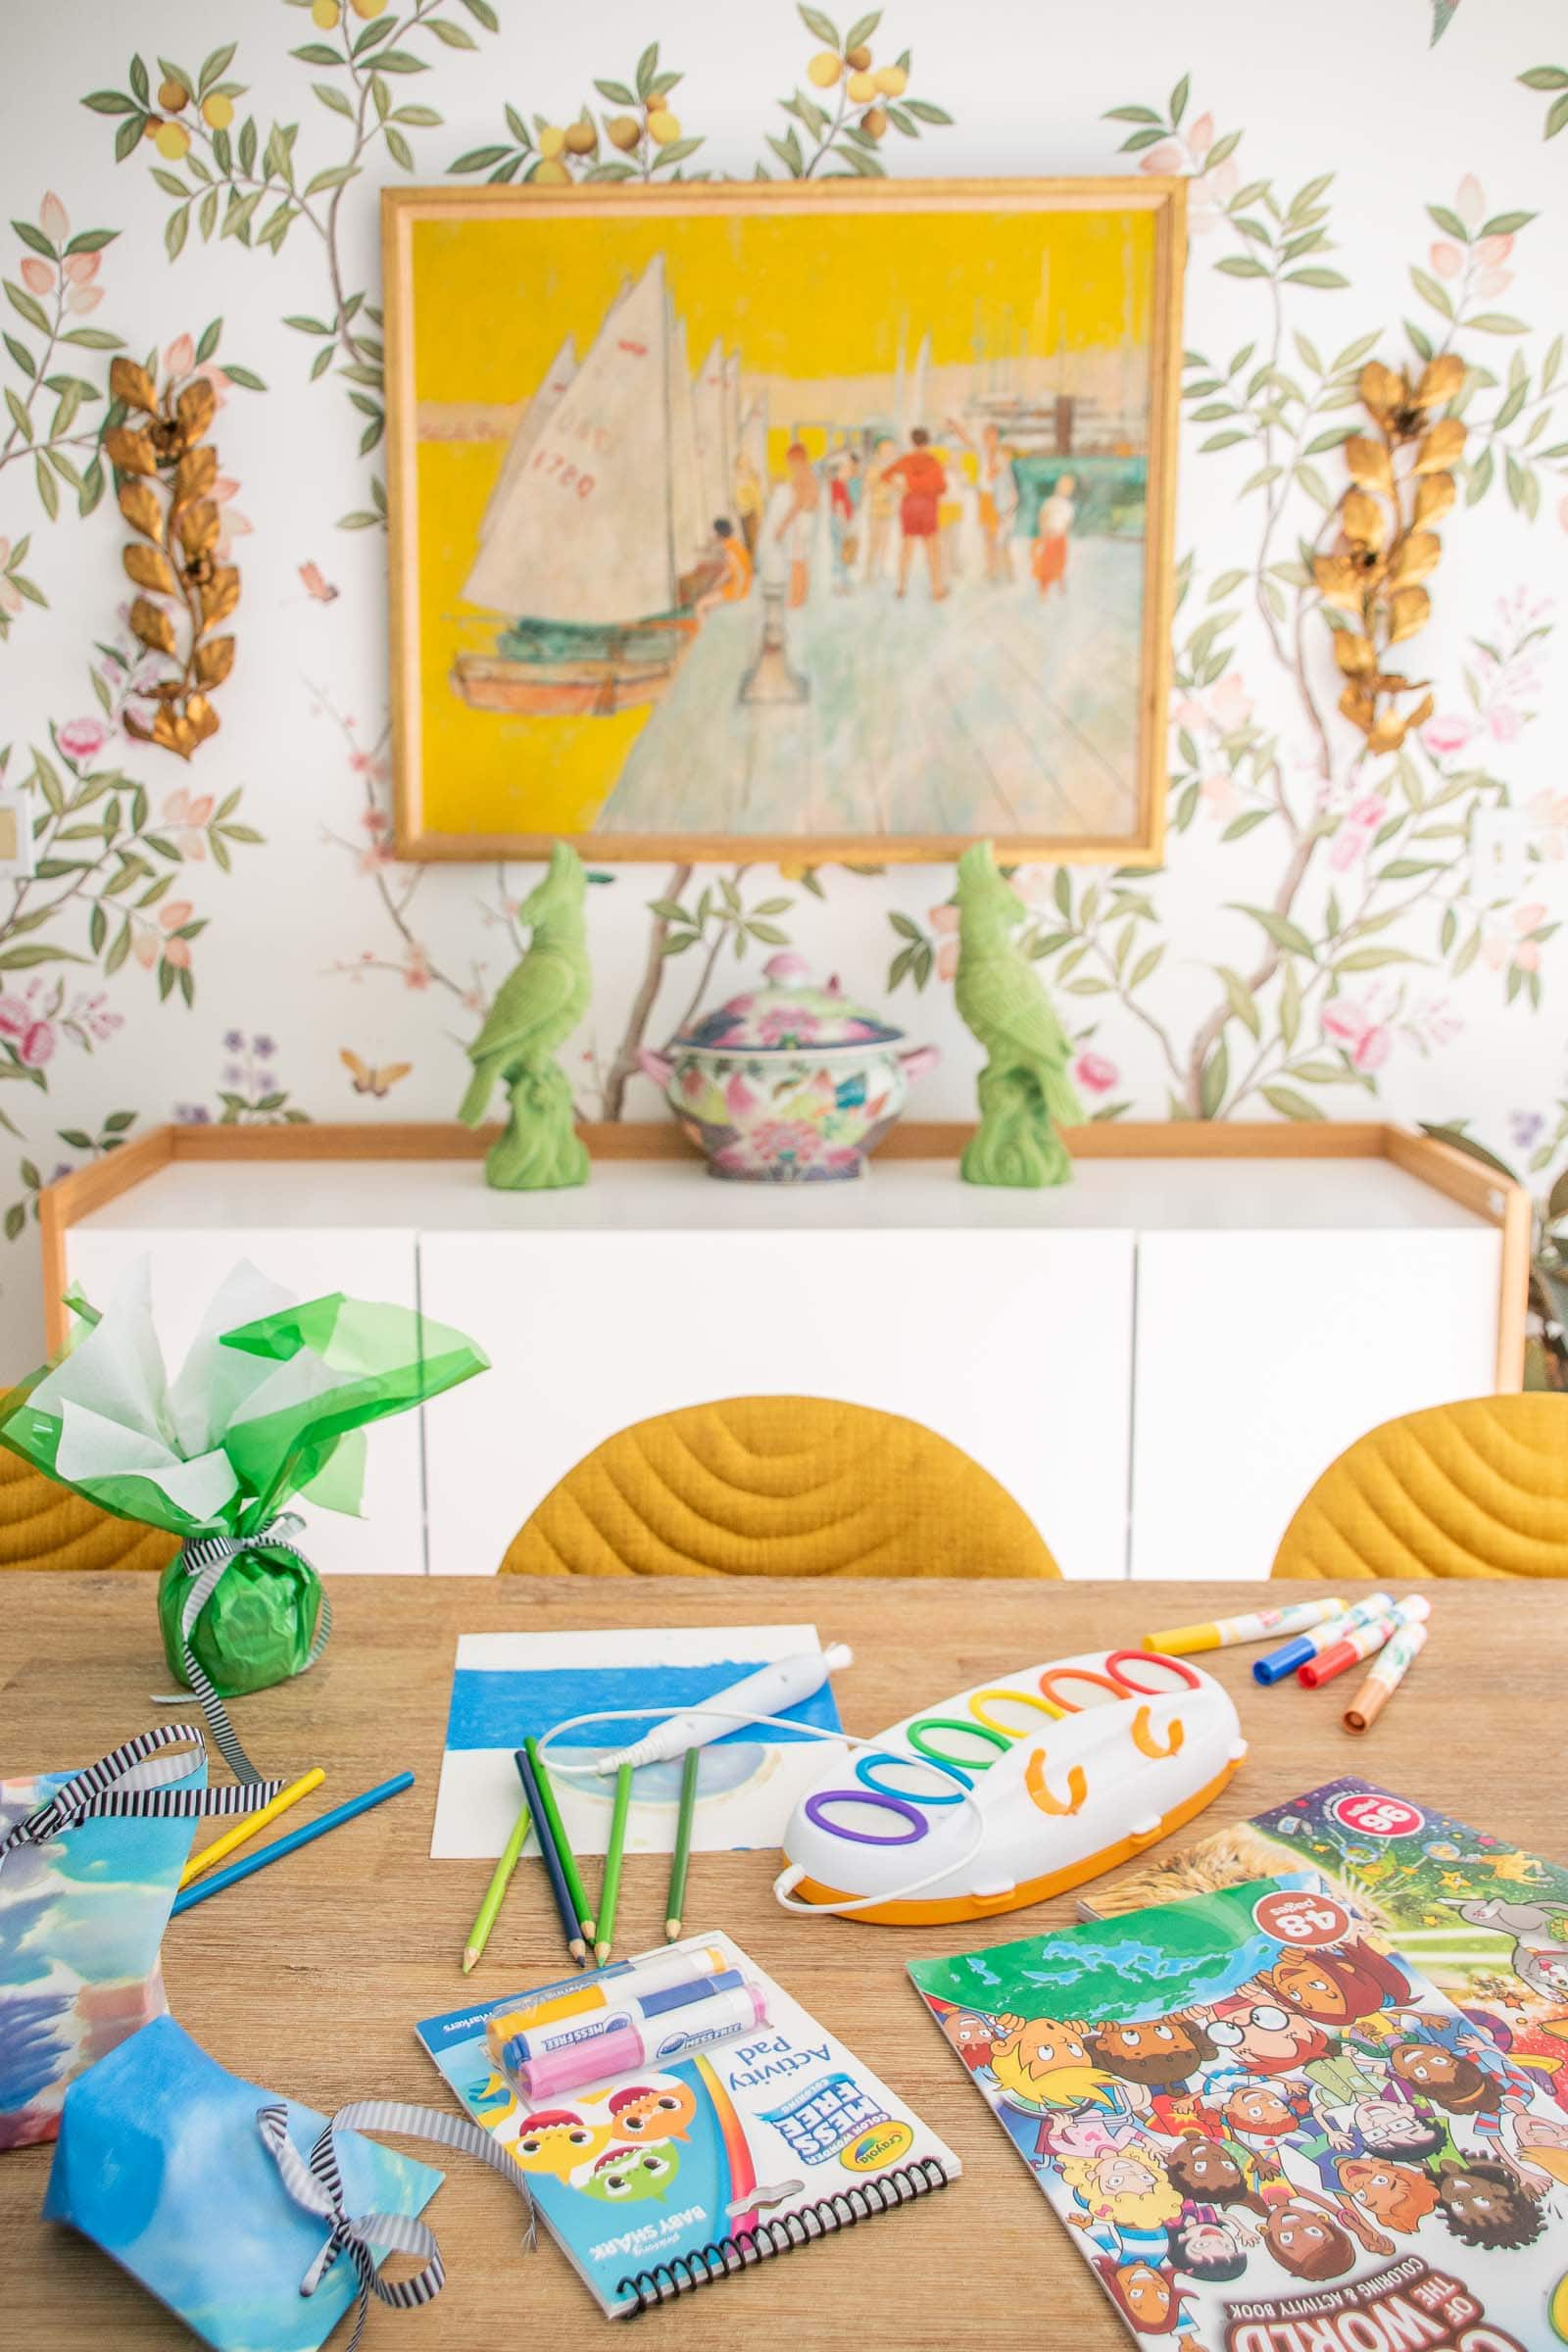
Coloring Page Gift Bags
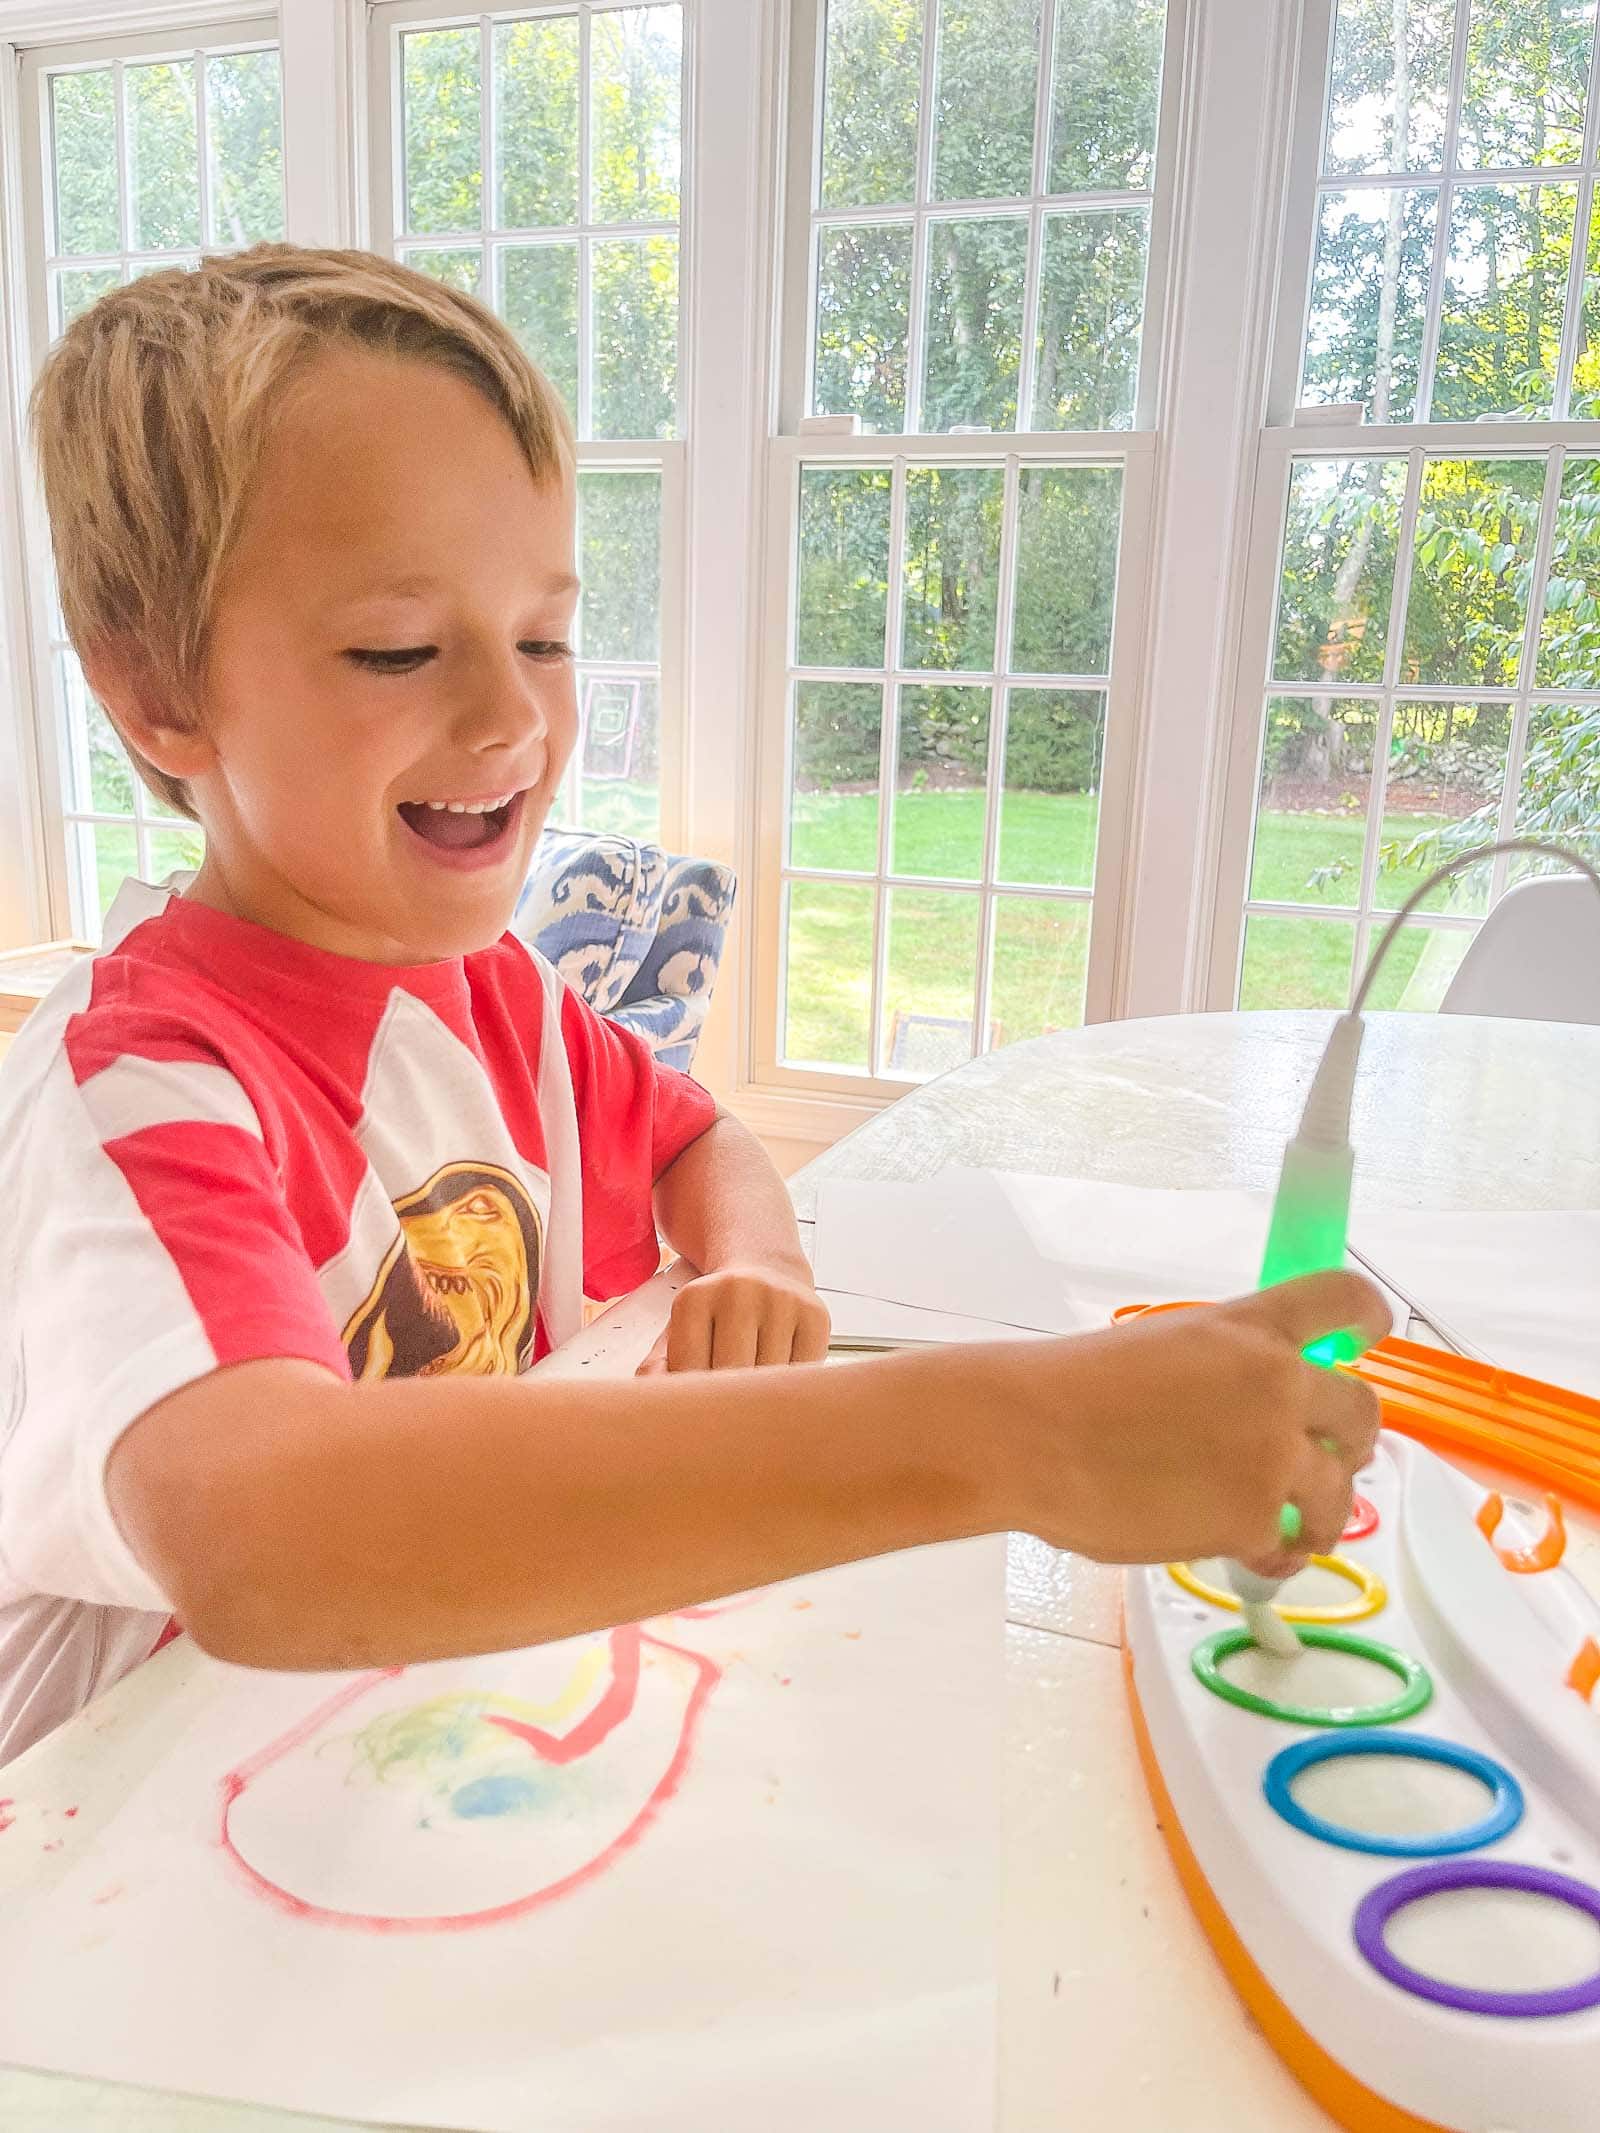
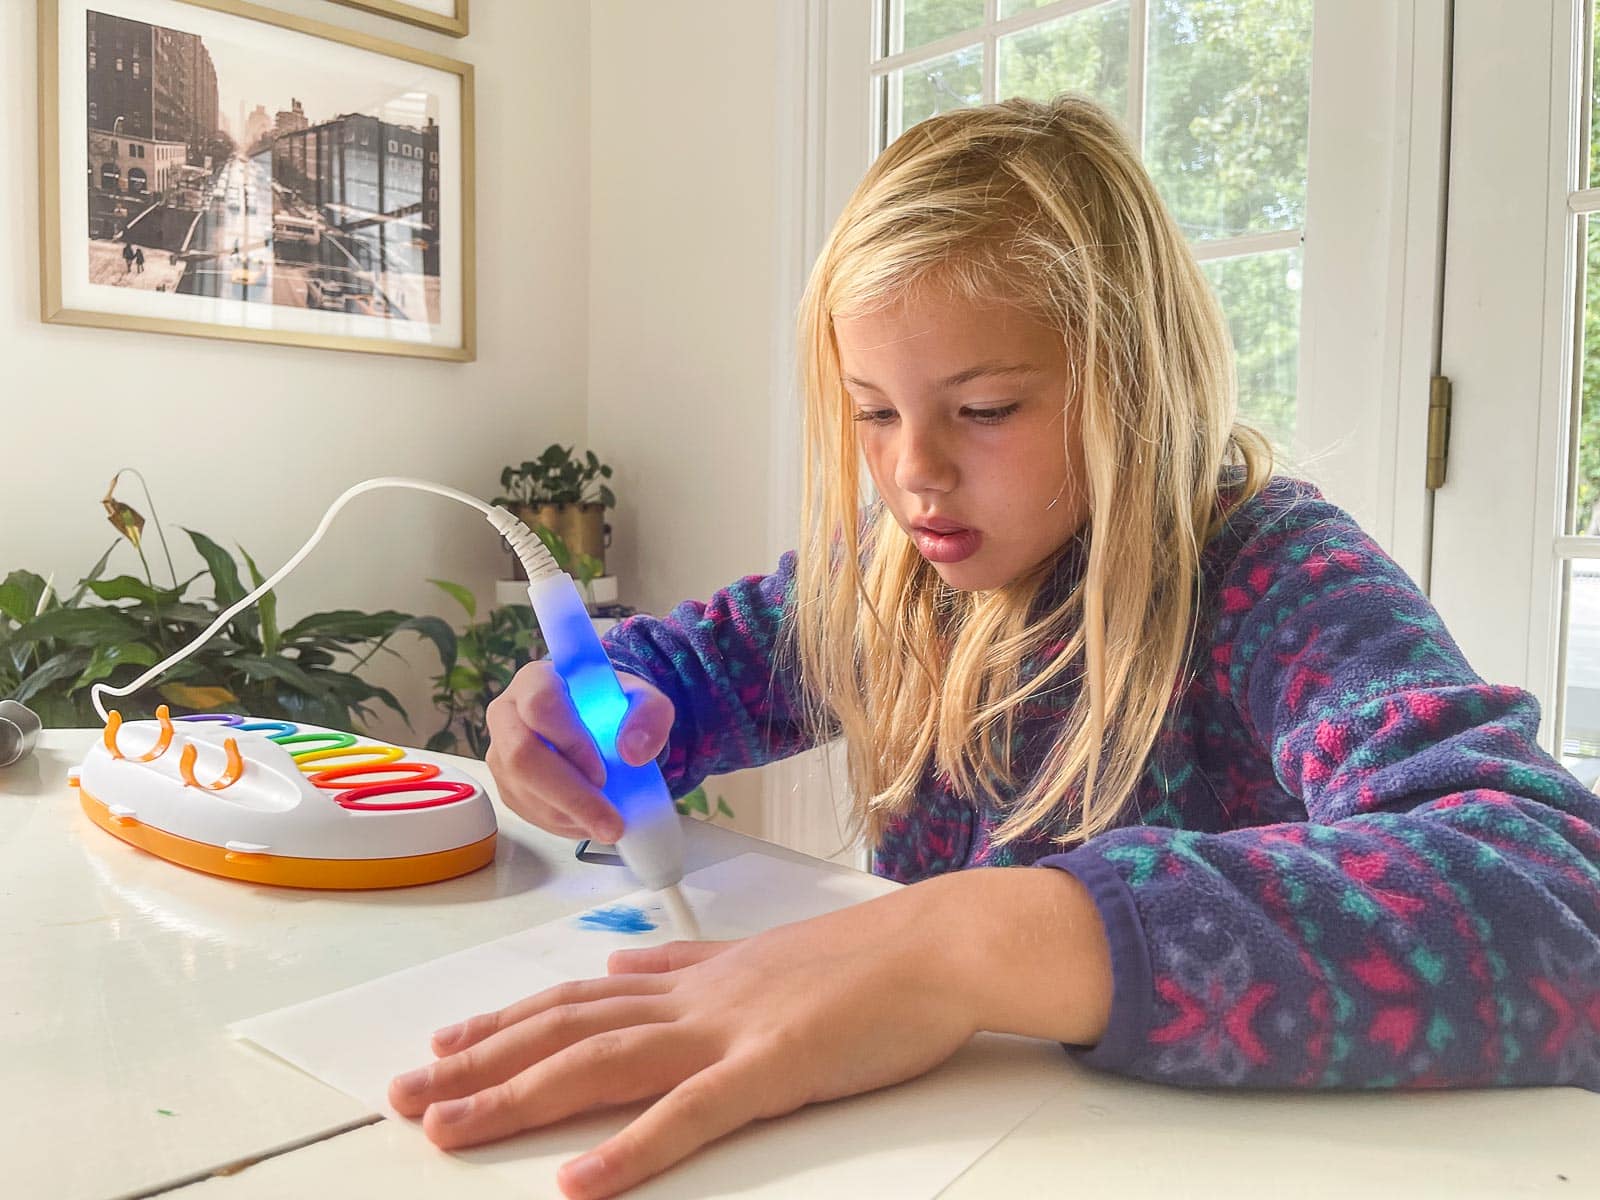
The kids have spent hours working through the various coloring books and coloring pages we were sent. They love the colored pencils for basic sketching, but I noticed Arthur and Louisa (6 and 7) particularly enjoyed the Color Wonder paper and Magic Light Brush. My kids are old enough that we don’t “need” the Color Wonder products the way we did when they were younger and more inclined to “decorate” the house, but the magic of the color revealing itself is still fun for them!
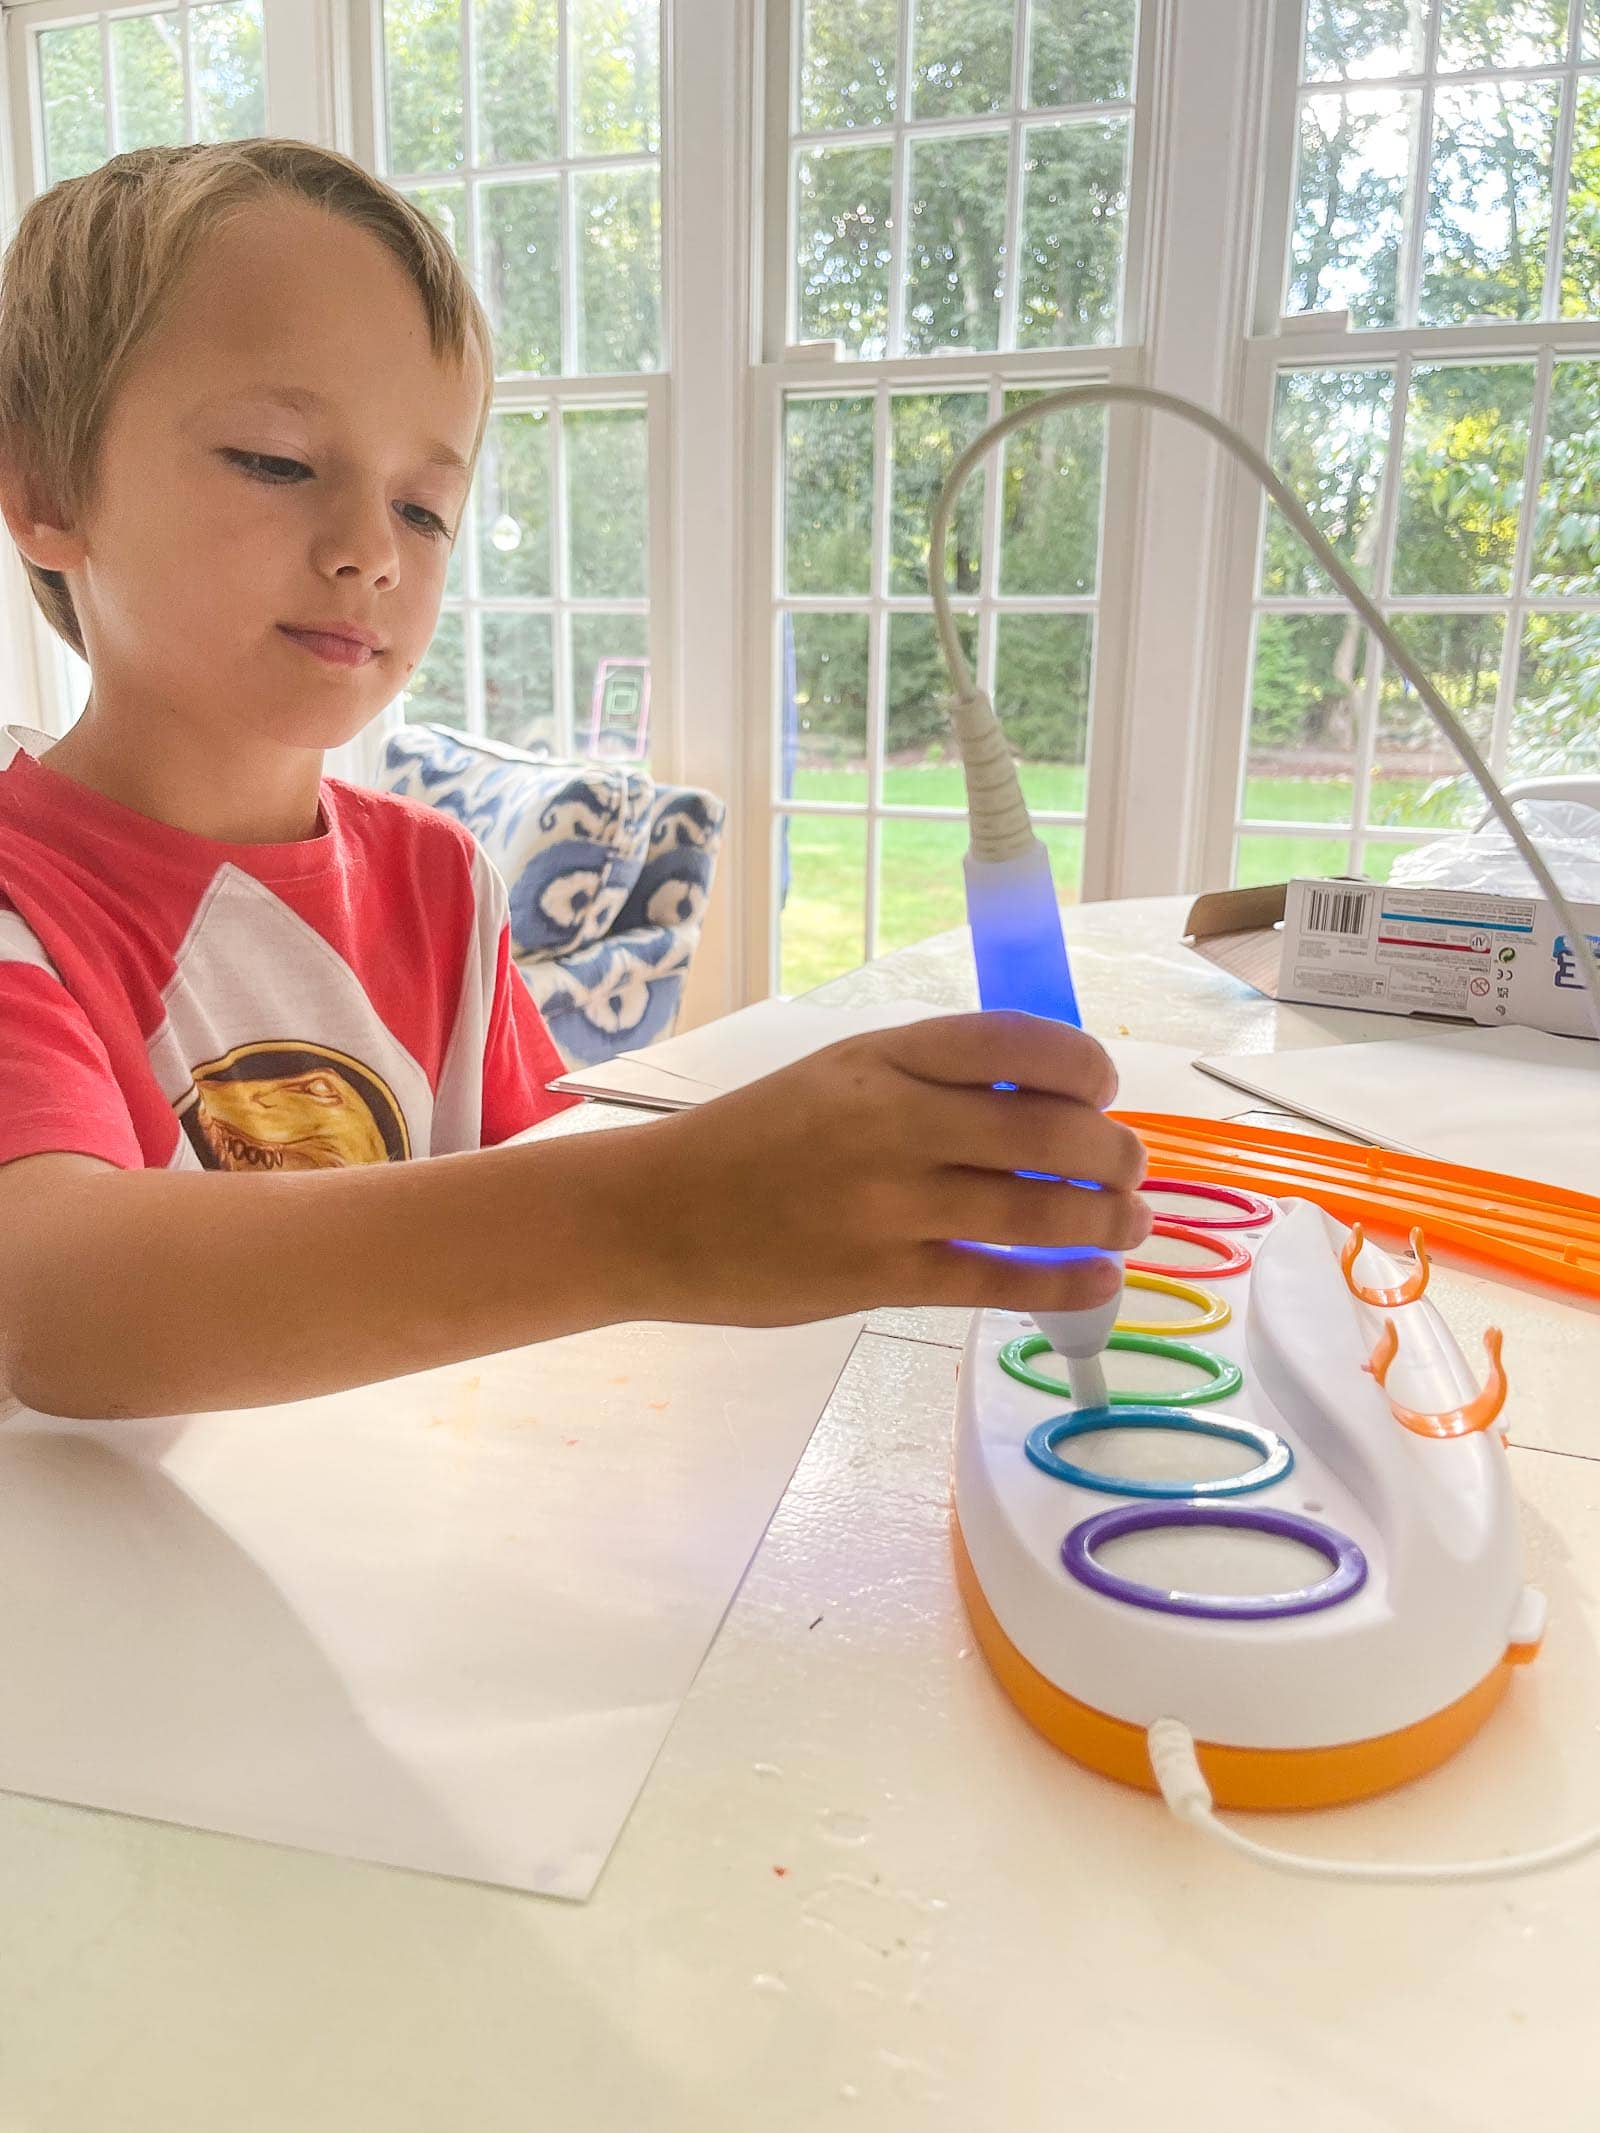
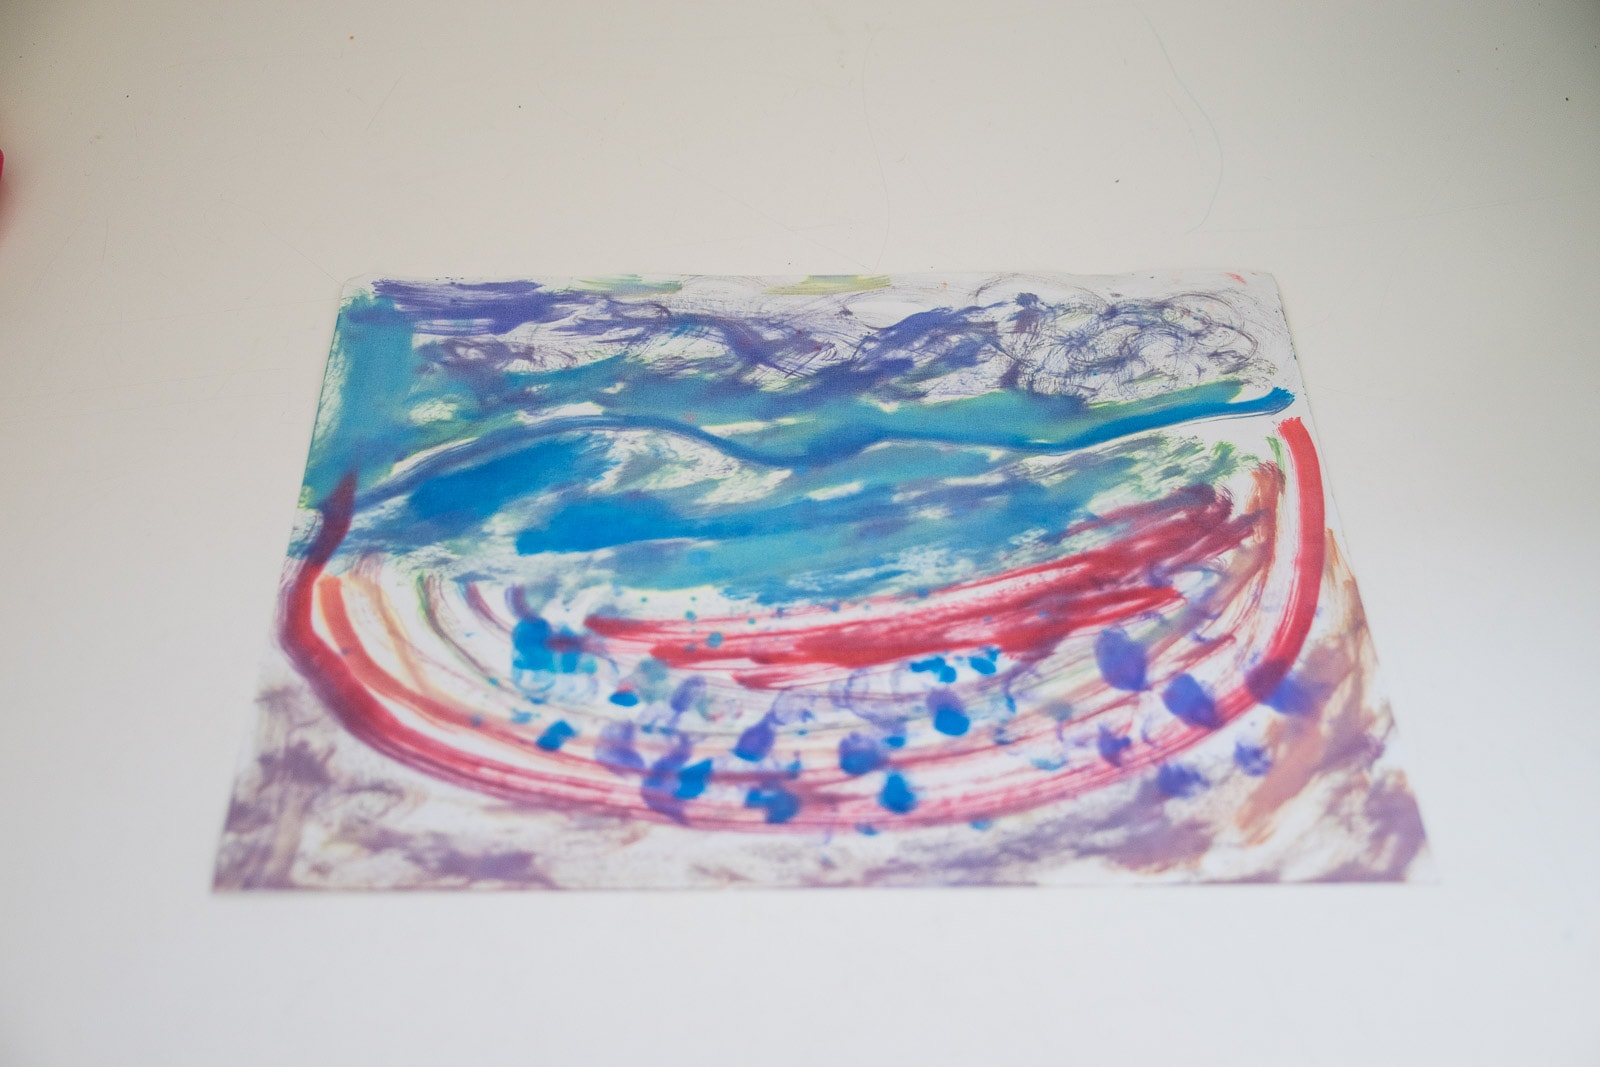
They’d never seen the Magic Light Brush and had lots of fun experimenting with that and seeing if they could somehow ‘trick’ the wand with different colors. (They could not.) I loved the abstract look of these coloring pages so decided to use those to make goodie bags for the jewelry and barrettes.
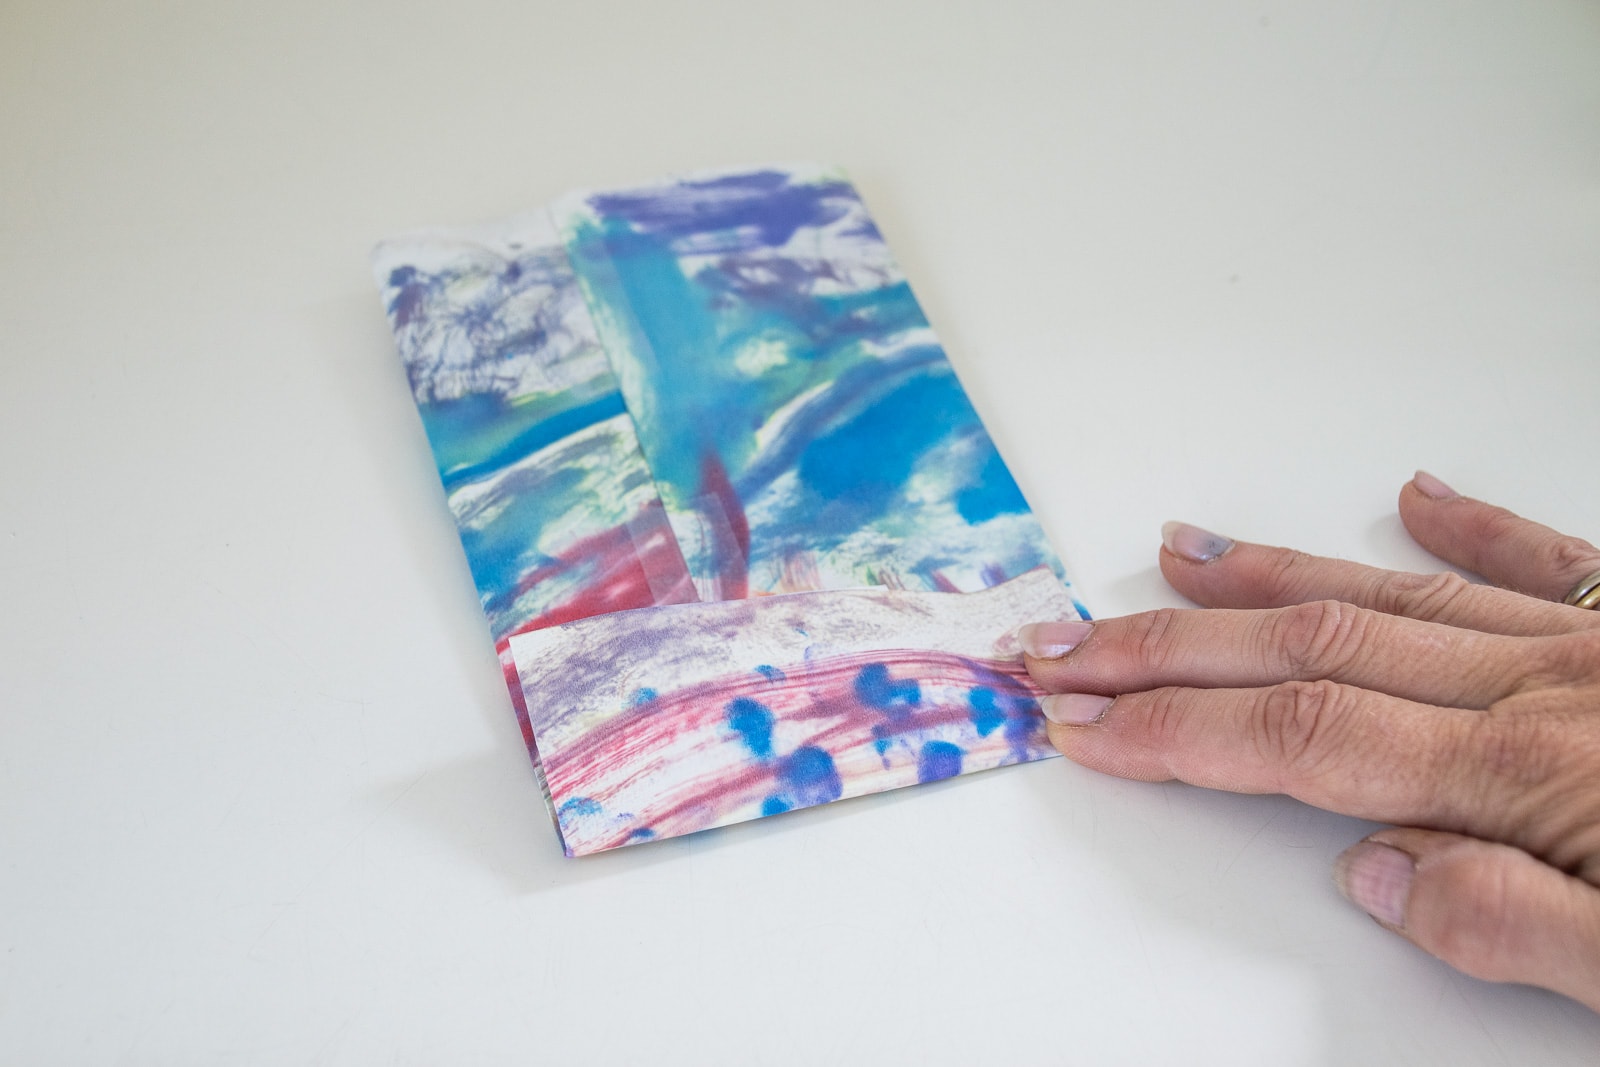
Fold the sides of the bag into the middle so that they overlap slightly and tape the center seam.
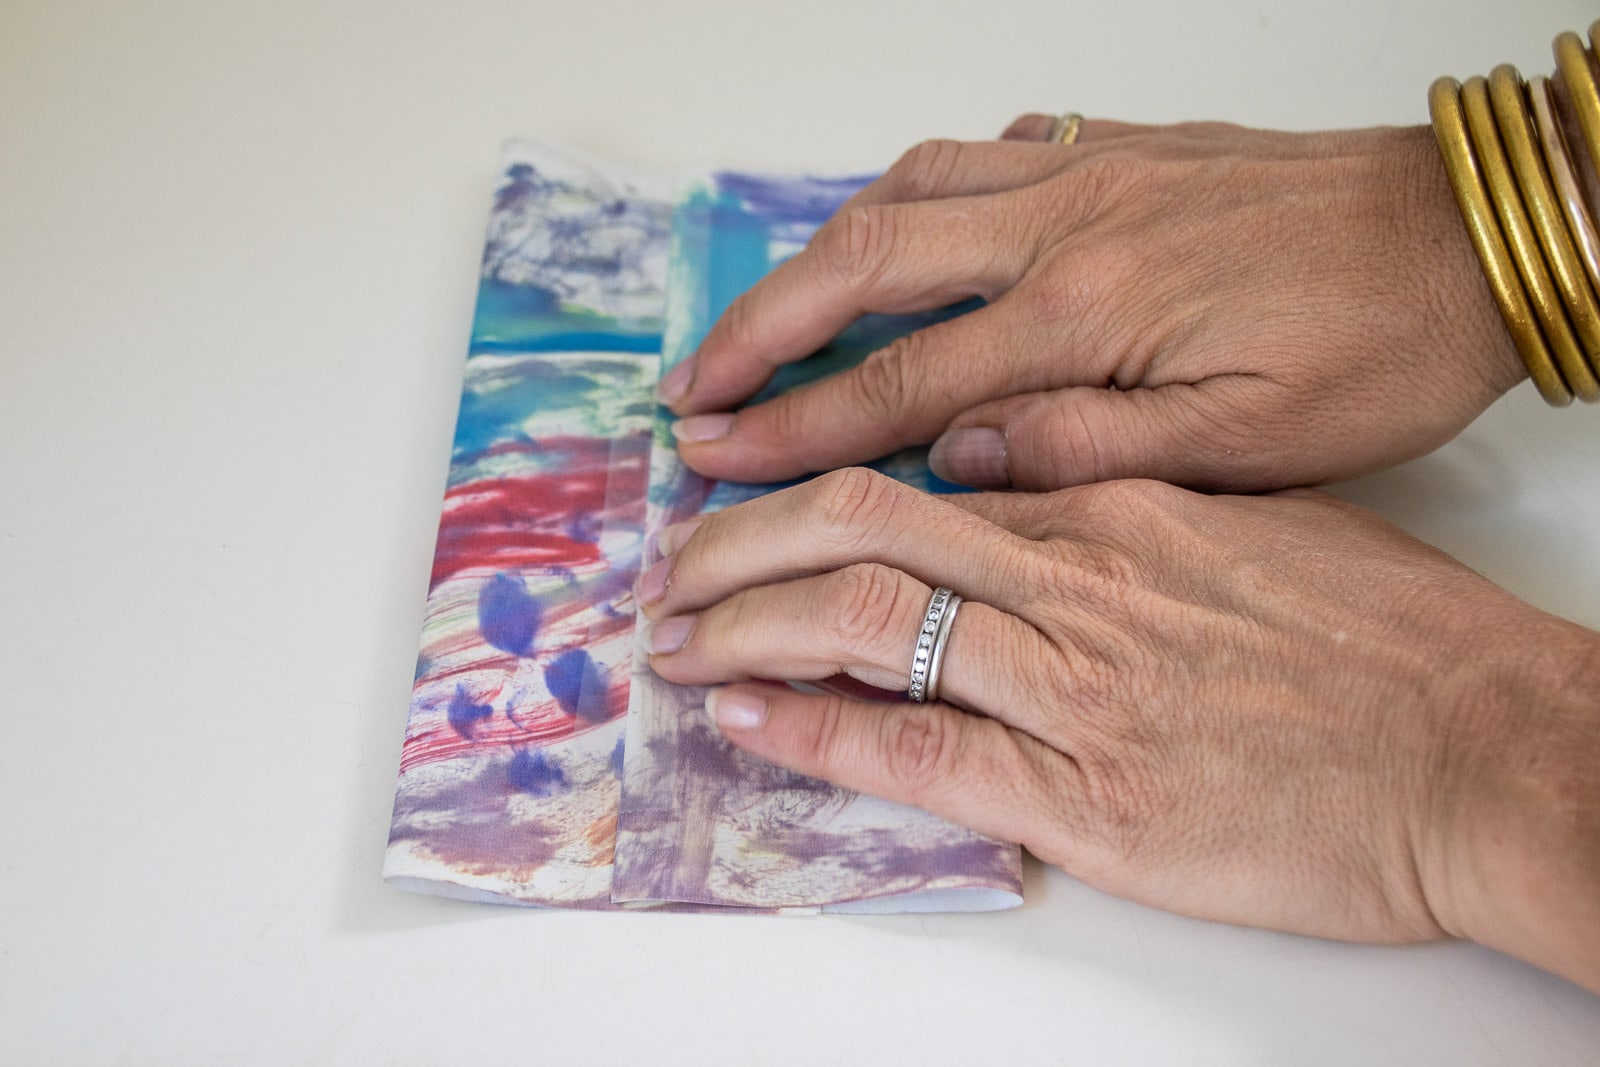
Fold the bottom of the folded paper up an inch or so. I’m not sure how I’d describe this next step so look at the picture… I guess you’re opening up the folded portion and then creasing the sides in towards the middle? Those words DEFinitely don’t make sense if you’re not looking at the picture…
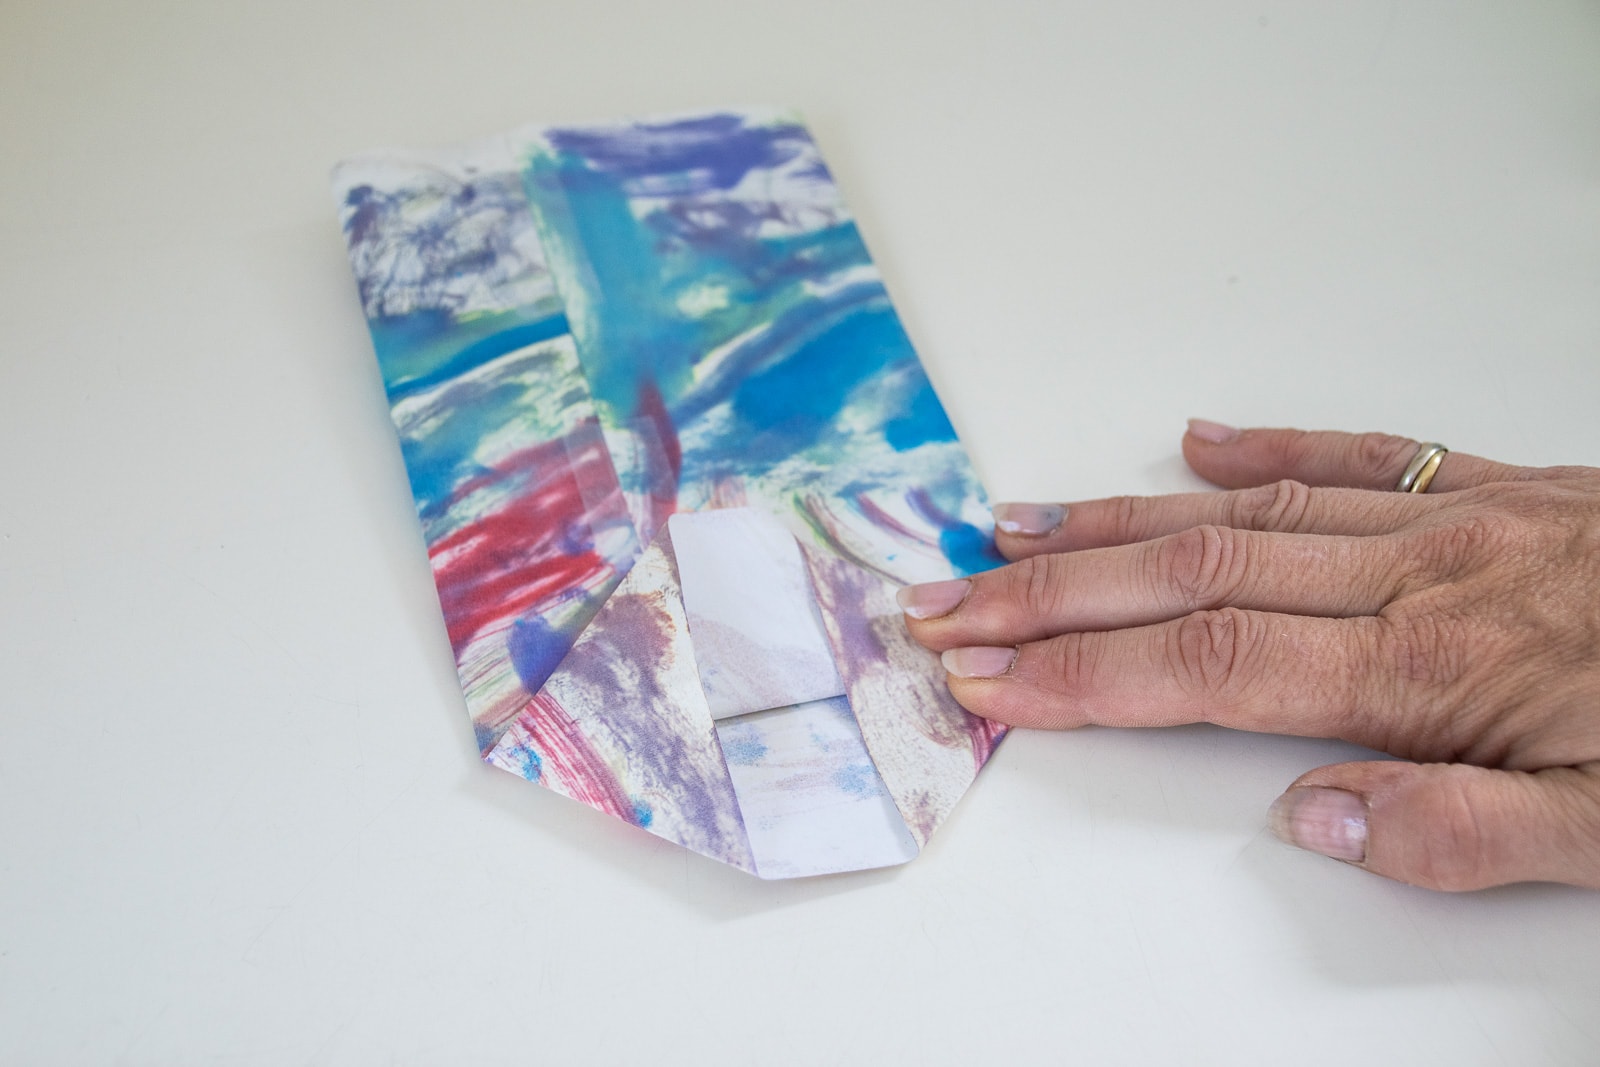
Fold the bottom and top corners of that bottom fold into the middle so that they’re slightly overlapping and tape to secure.

I usually just fold the top down and use a hole punch to make holes that I can tie with a ribbon to finish off the gift bag.
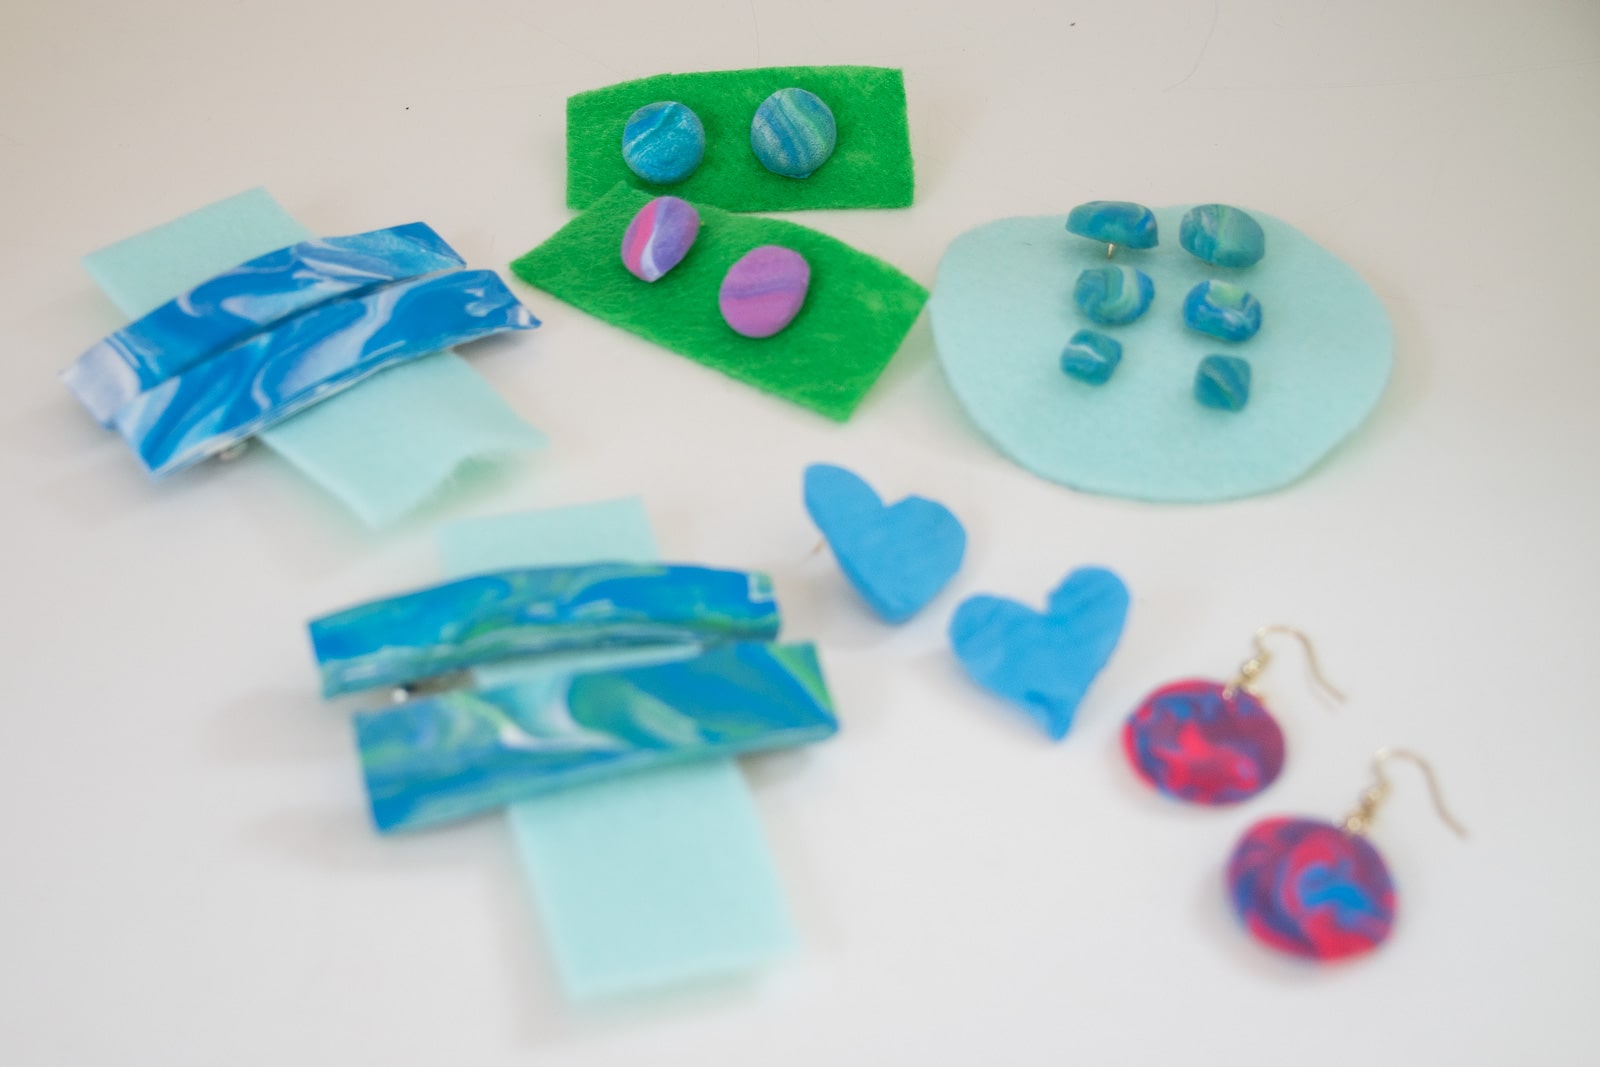
We mounted the earrings and barrettes onto felt so they looked a little more professional and Eleanor can’t wait to give them to friends and relatives as the holidays near! Again… we’re not sure how the softer Model Magic jewelry and barrettes will hold up, but it’s worth a try and certainly a fun activity for the kids regardless of the finished results!
Ever since we got our Crayola craft products, the kids have been selecting different activities to do before school or when they get off the bus in the afternoon. Whether it’s the coloring book (Louisa), or the Color Wonder markers (Arthur) or simply using all the colored pencils to design fashion (Martha), all of the kids are thrilled with their new craft supplies. The other day, the neighborhood friends were over after school and Louisa brought out the Model Magic for her friends and Arthur came inside to do some coloring books with his friends. Thank you, Crayola!!!


Such great ideas!
Thanks, Harlene! Always looking for gift ideas! 🙂
Fun Stuff!
yes! My kids play with it every day!!