
How to Paint a Backgammon Table
Psssst… this post *might* contain affiliate links: see my disclosure here.
How to Turn an Old Table into a Backgammon Game Table
I refinished this old table to use as a backgammon table.
Disclosure: I’m partnering with Frogtape and their design trend “SHINE” for this project.
Shop my favorites!
Story Time. Growing up, we spent a few weeks every summer at my grandparents house in Massachusetts. My grandfather was a woodworker and one of his creations was a backgammon table that lived in the sunny window of their living room. I remember the feeling of those solid red and white game pieces… the texture of the painted cork board. Sometimes I sat at the table playing against him… And sometimes I would just sit there alone building patterns out of the round pieces. I know it seems silly, but making this game table and having it in our sun room feels like a really wonderful full circle moment. Also? With the right materials, this is a *very* simple furniture flip!
I’m using a table we’ve had for years that came from the flea market. It’s pretty banged up with water stains and scratches all over so fundamentally it’s in great shape and I love the look but it could use some love.
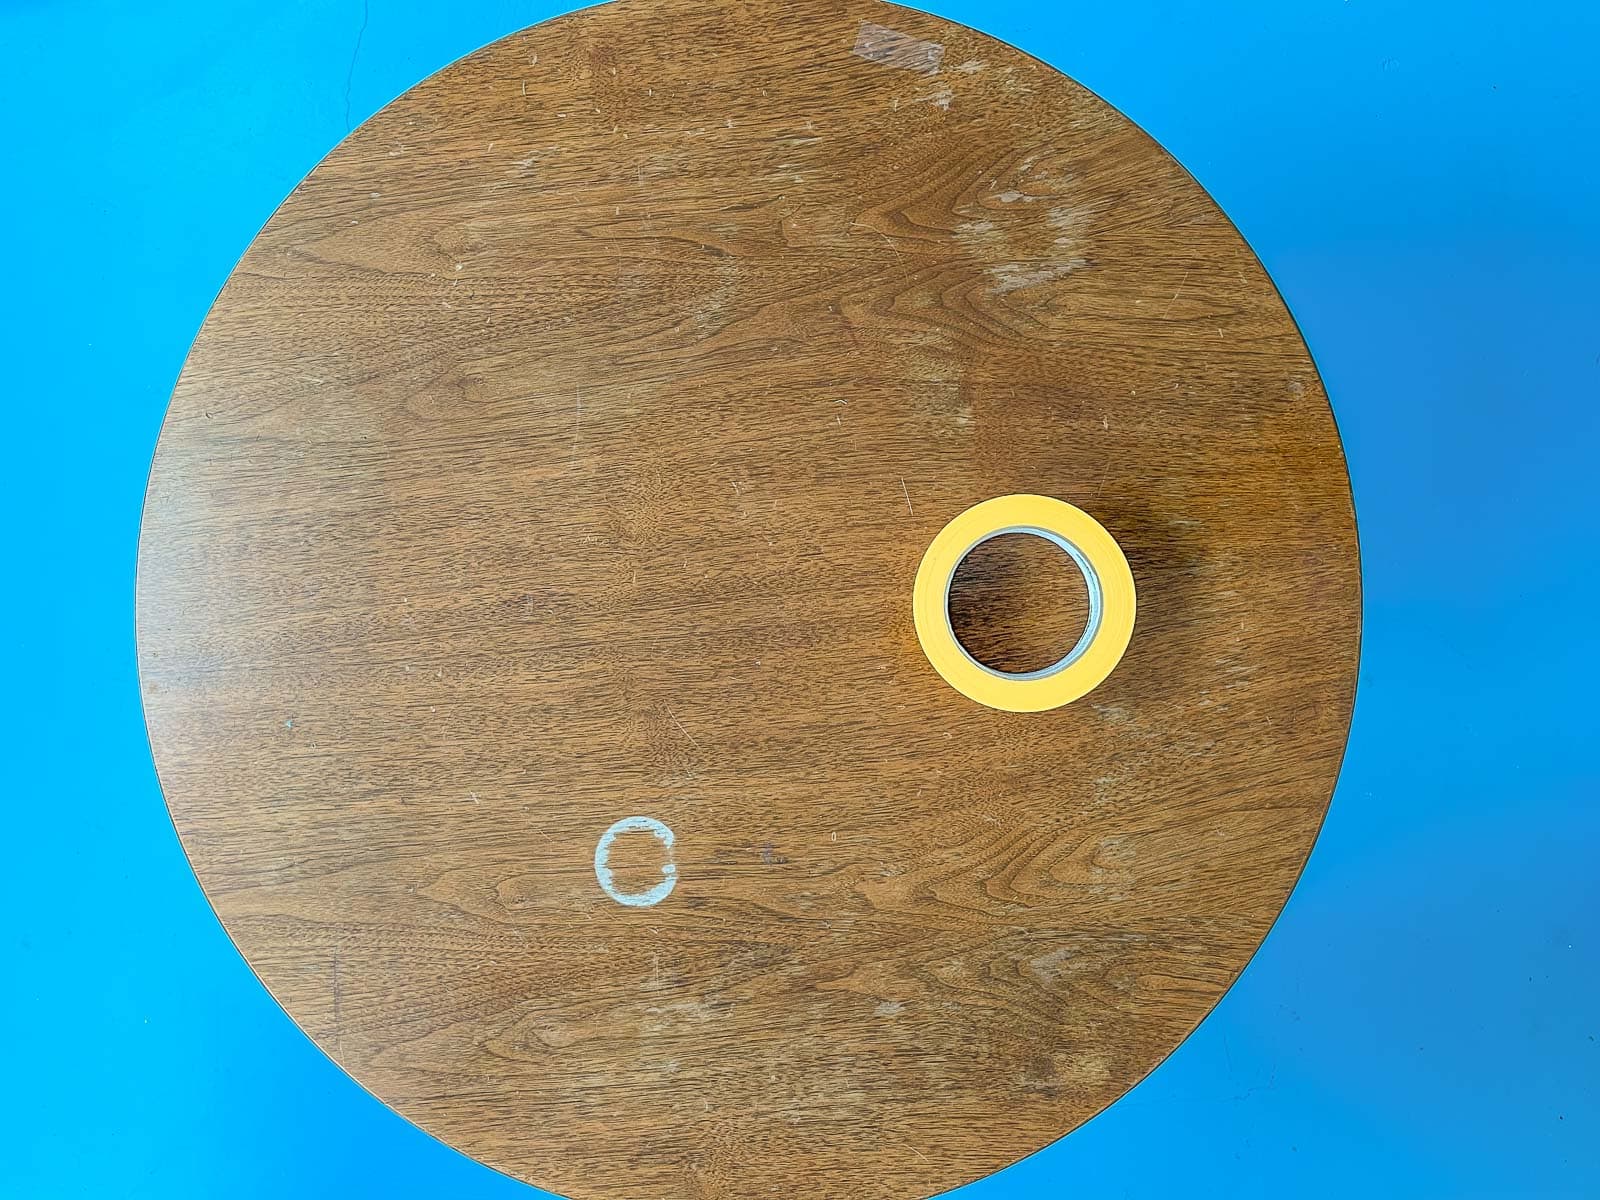
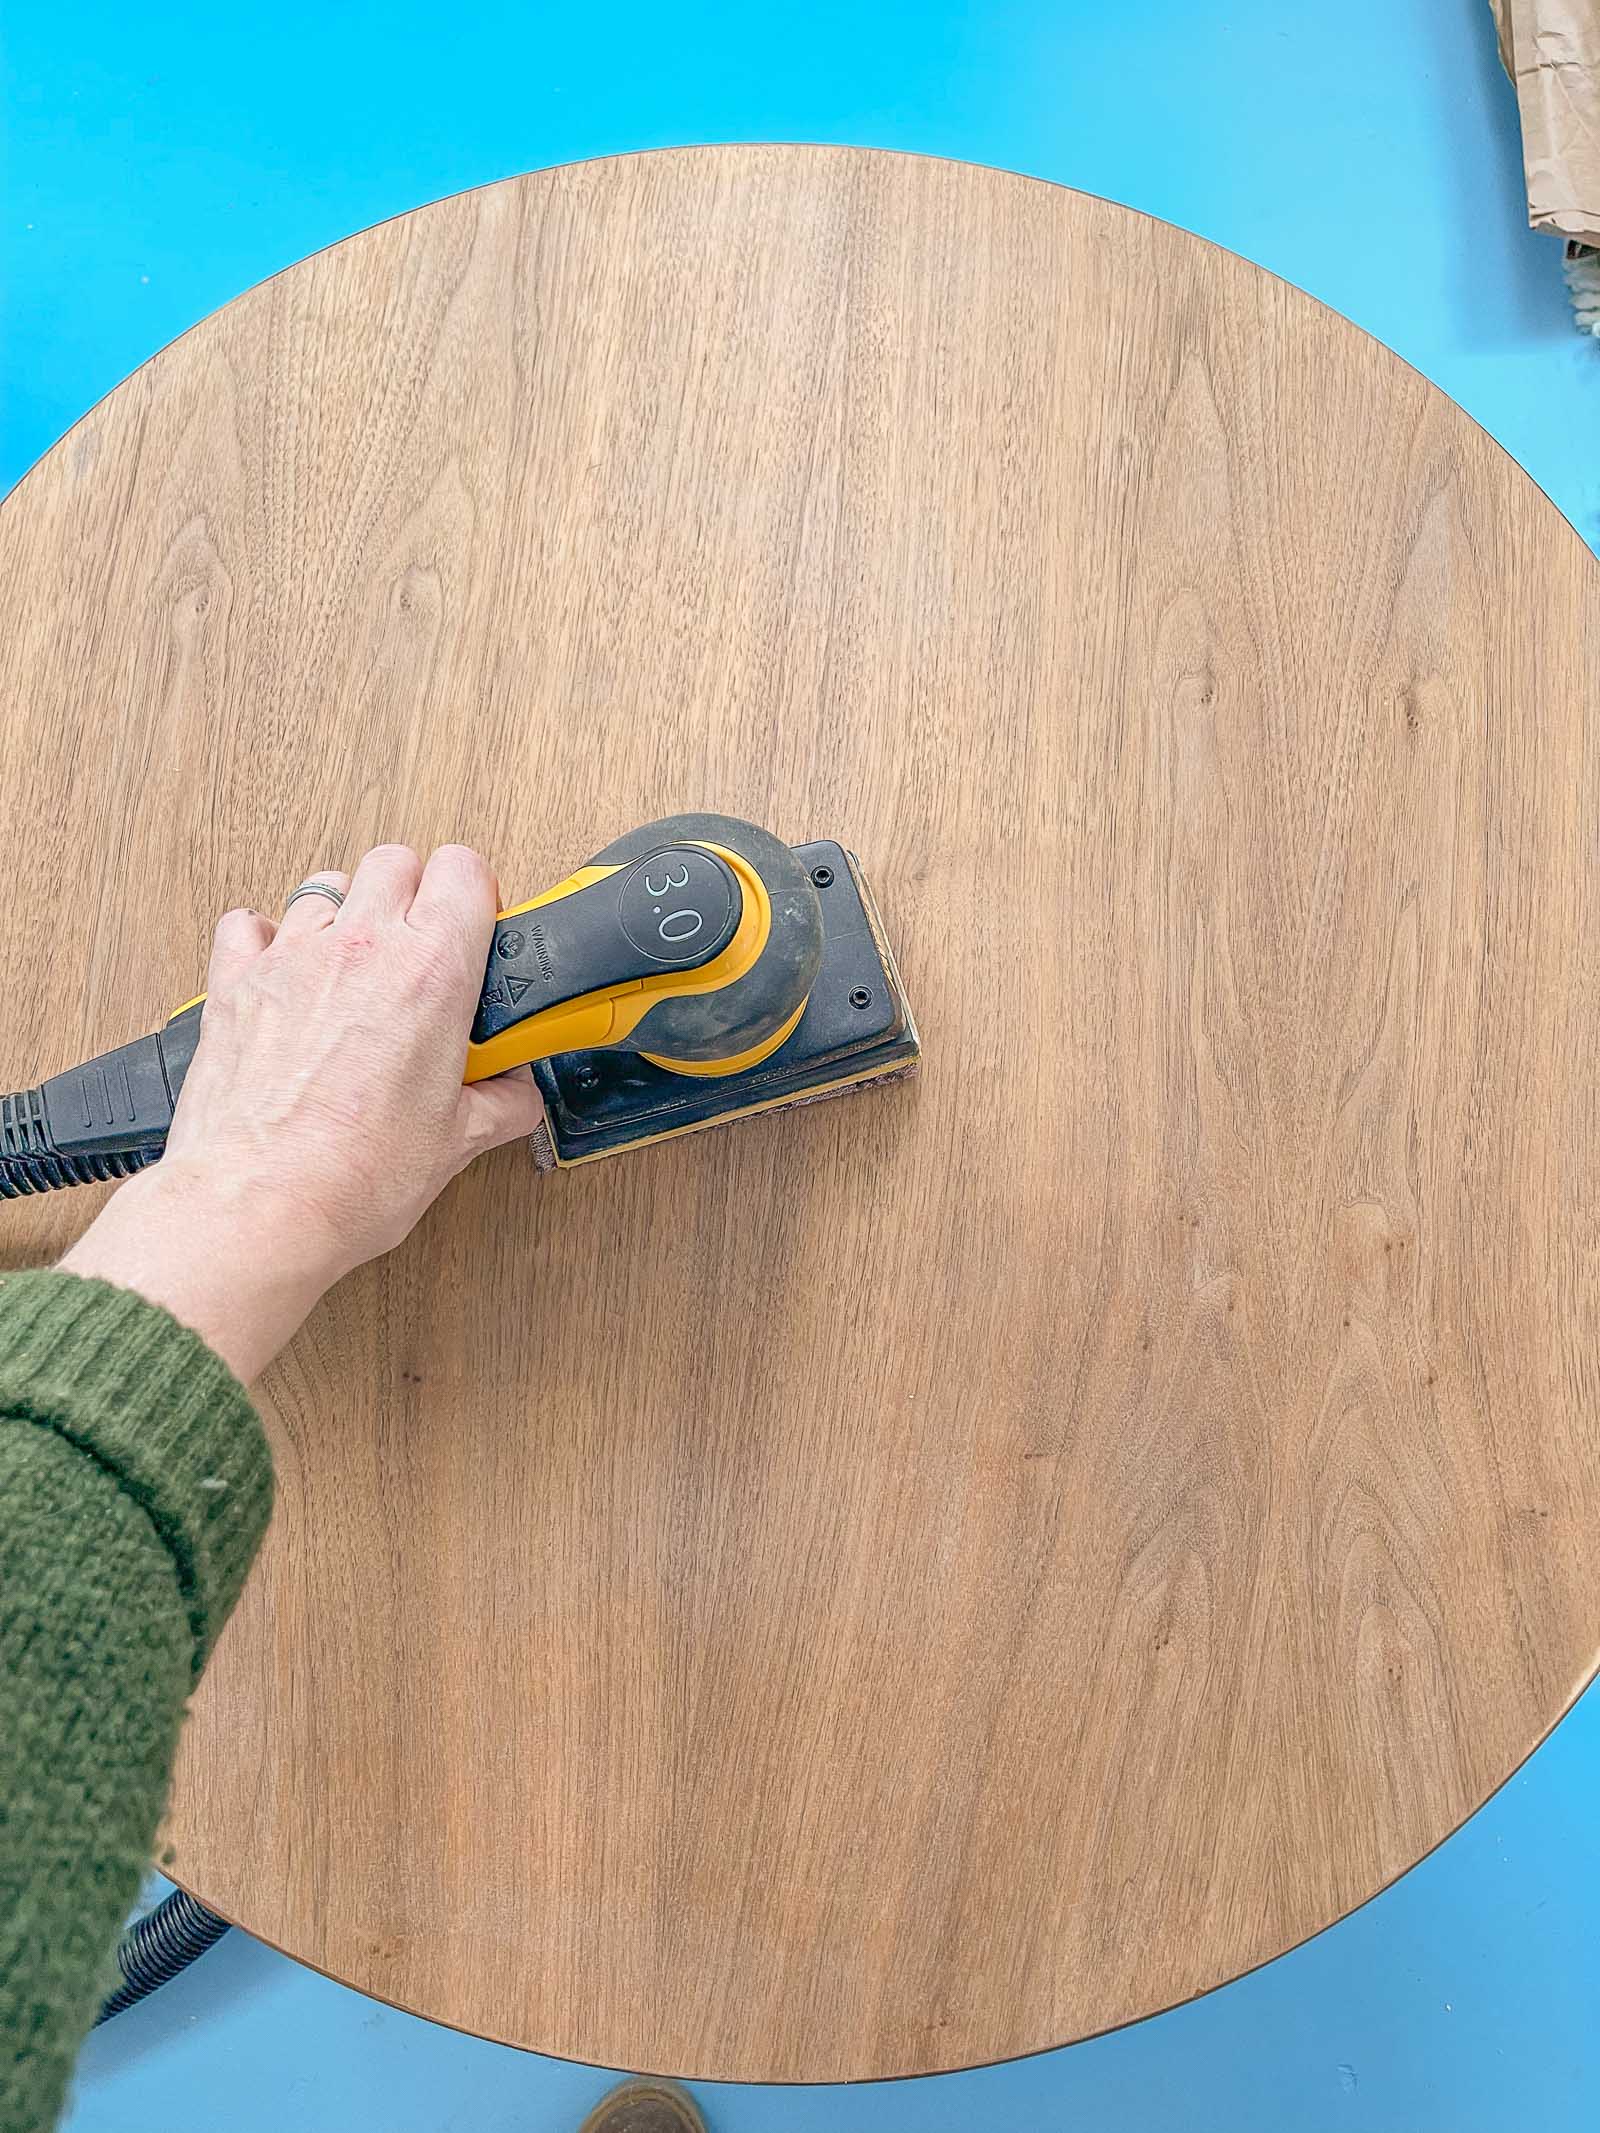
Step 1. Sand
I used a 150 grit sandpaper to sand the top of the table smooth. I didn’t want to sand so much to affect any veneer… just enough to remove the water marks and scratches.
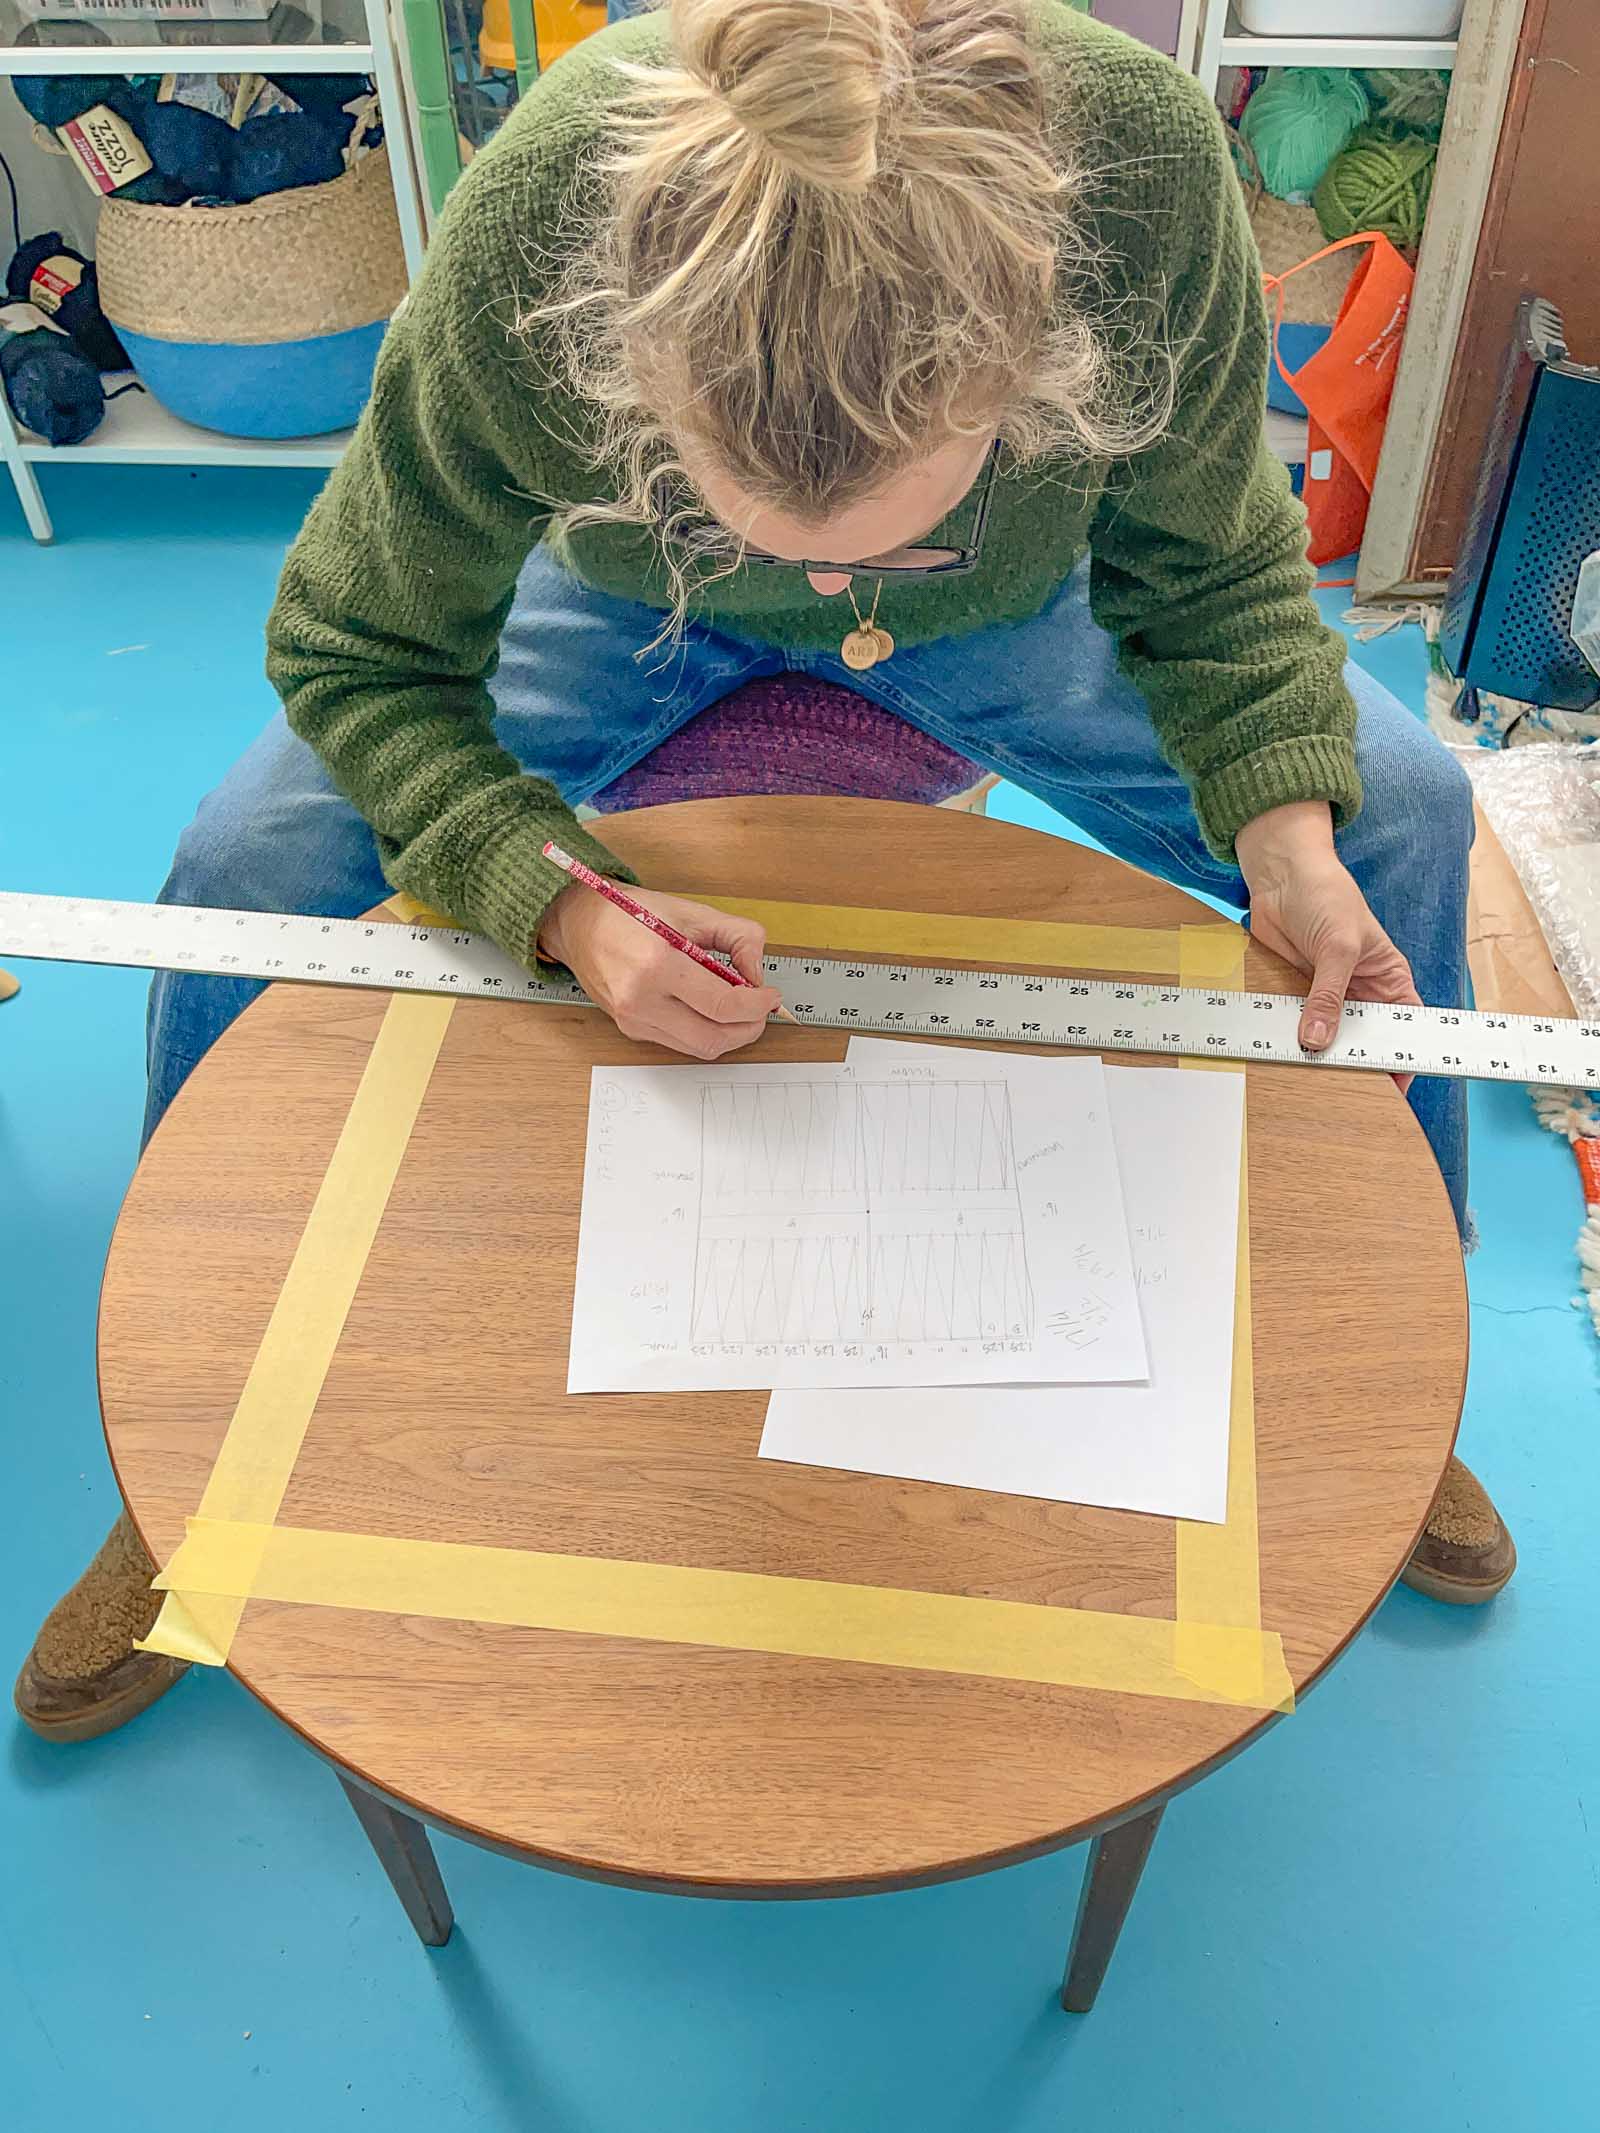
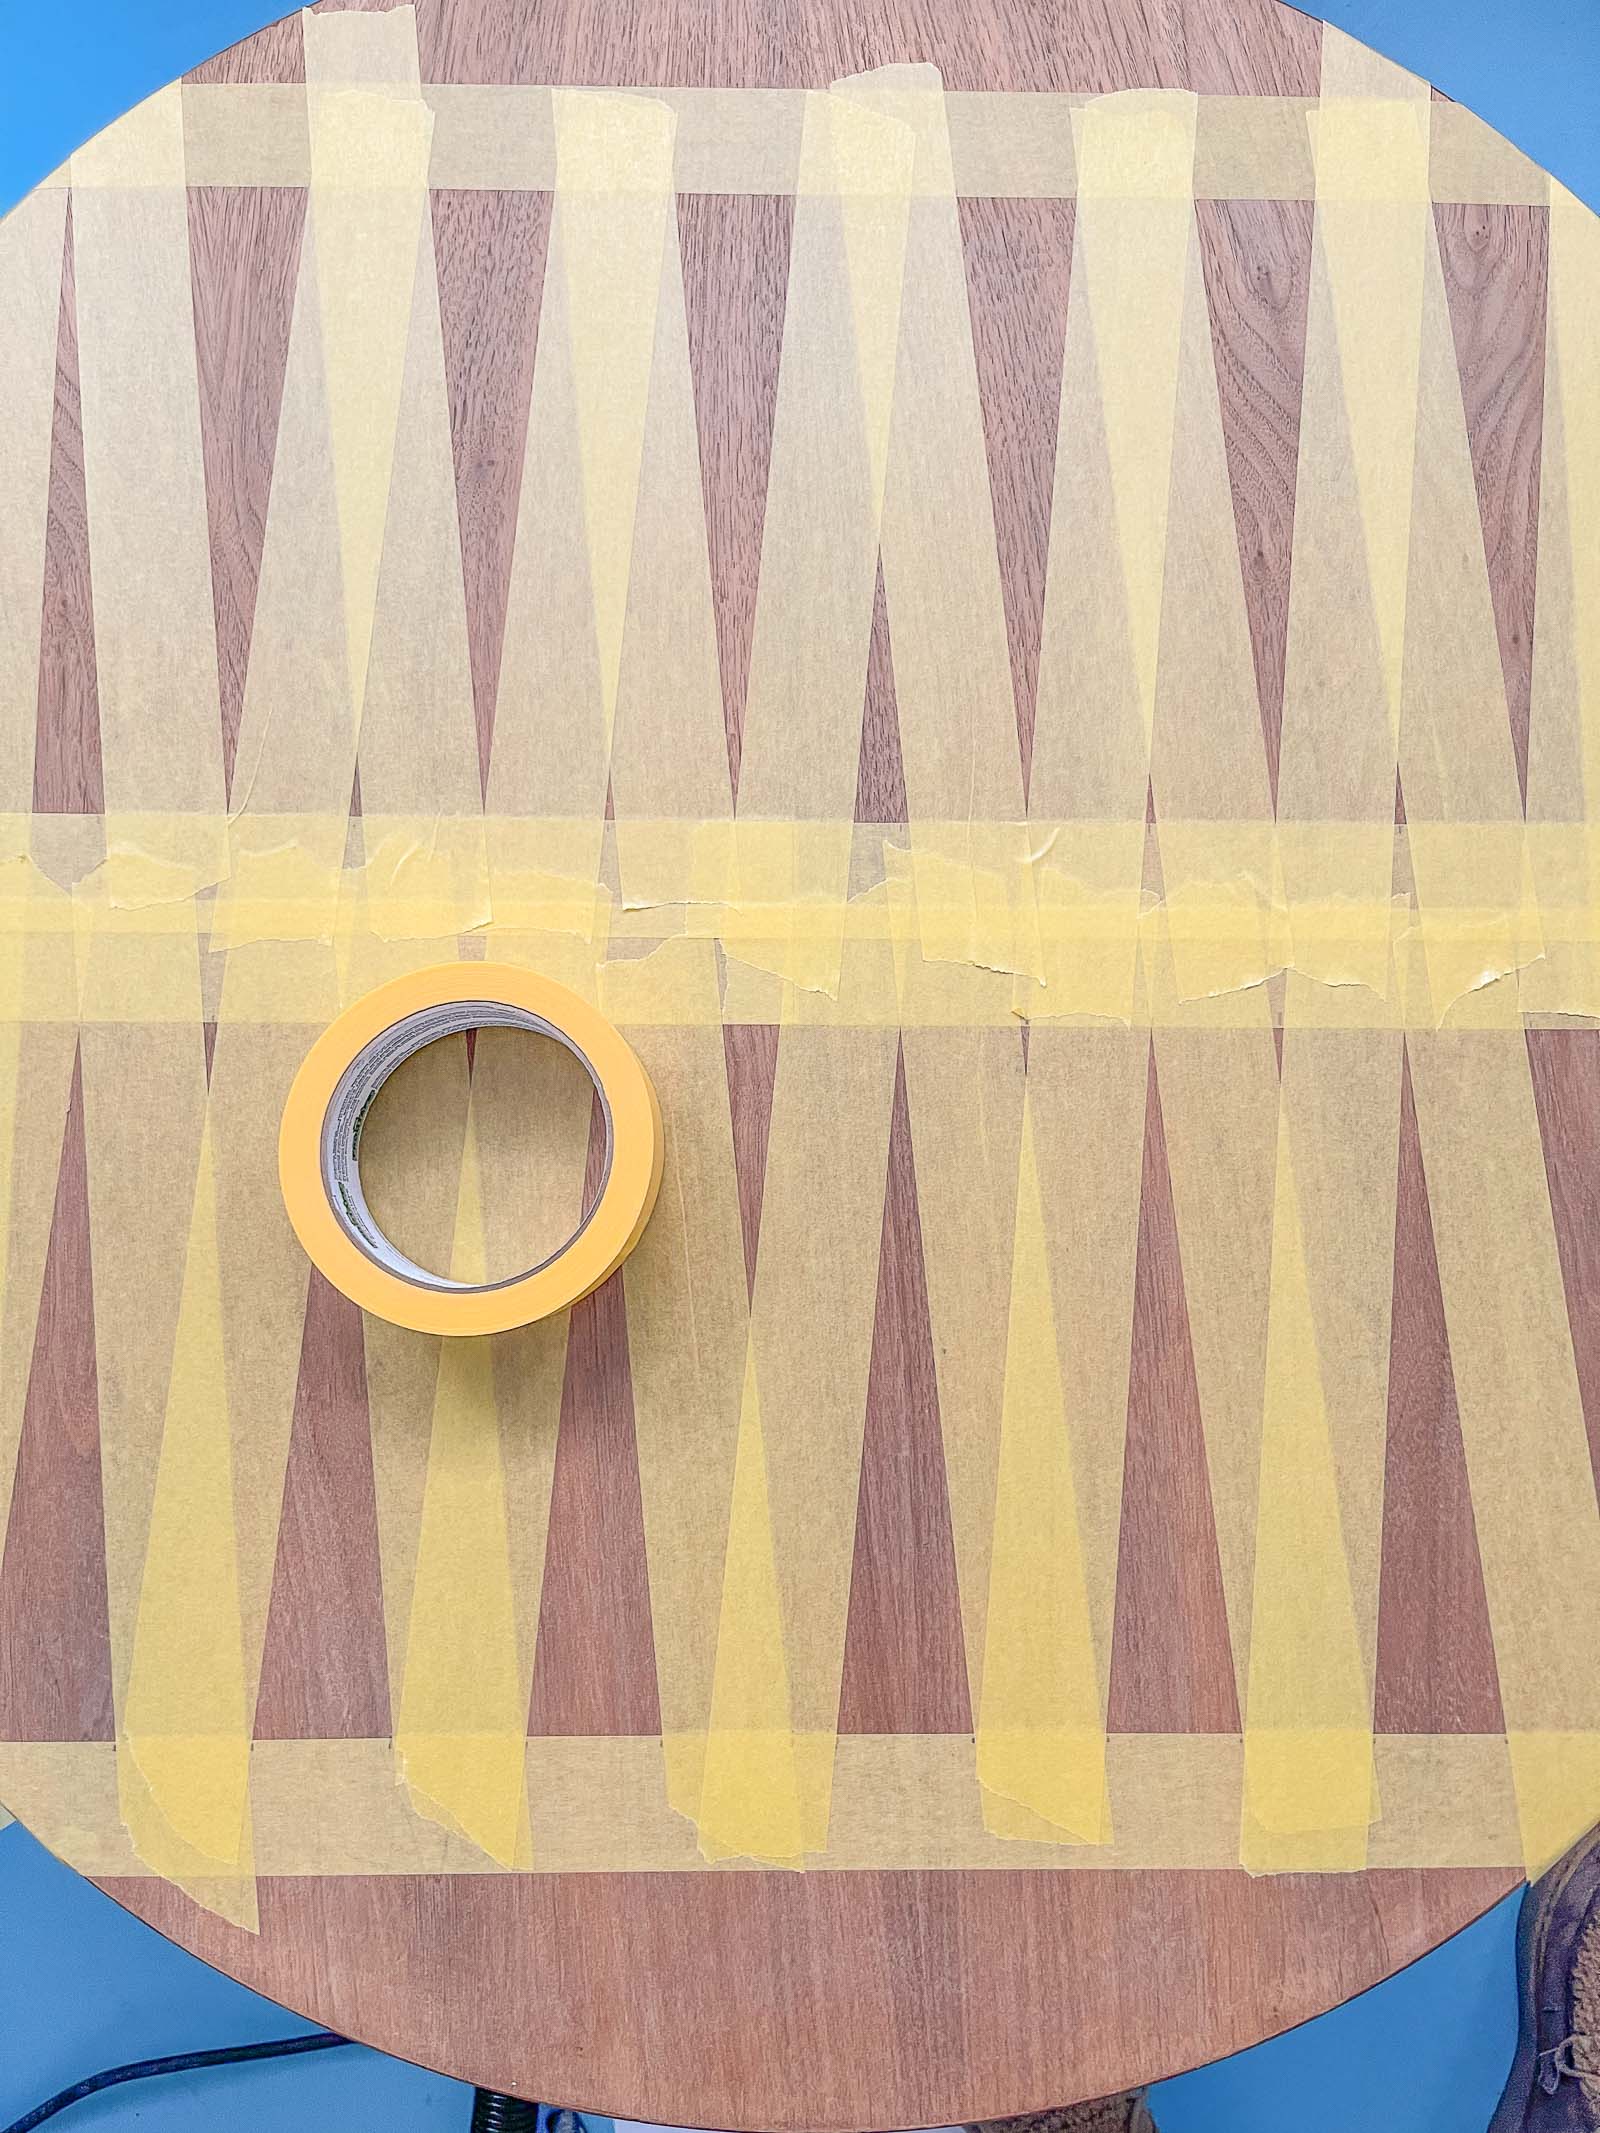
Step 2. Tape off the Game Board
I’m not going to sugar coat this next step… there was a bit of math involved and I had to sketch this part out a few different times. But that’s a “me” problem… you’ll do this better I’m sure! I’m working with the yellow delicate Frogtape which is essential to pulling this project off with nice crisp lines. The triangles of the backgammon board alternate in color so I was able to tape off the first color of triangles first.
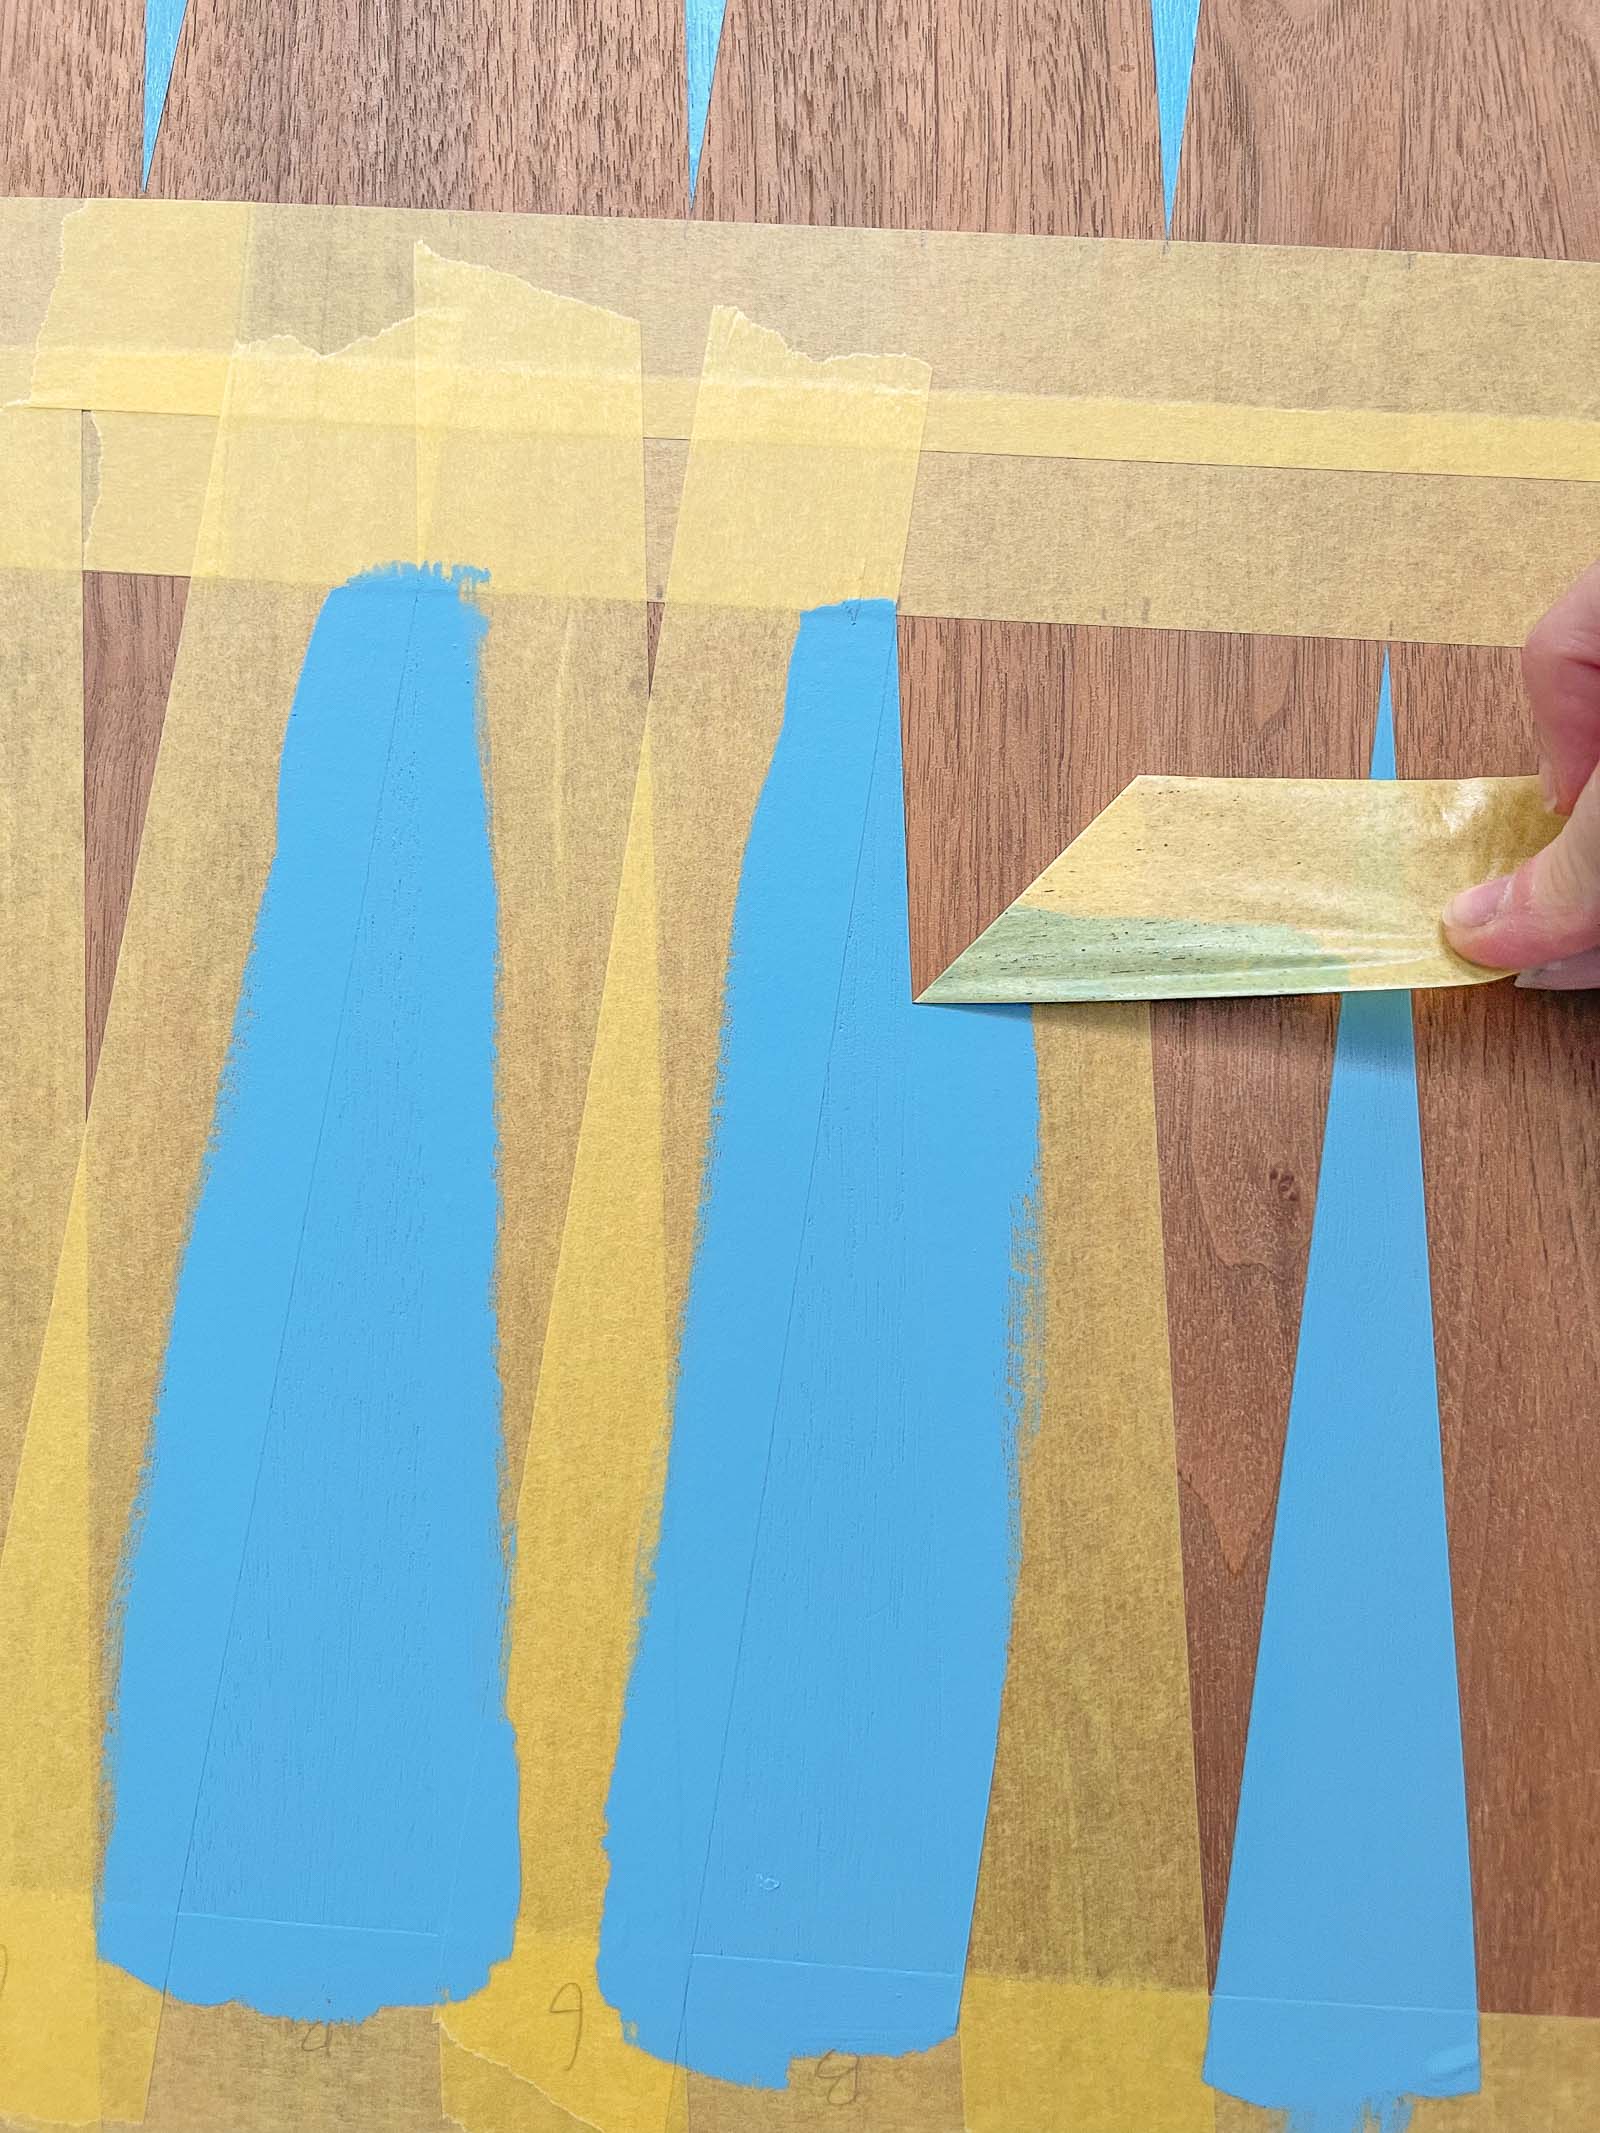
Step 3. Paint
I used a combination of regular ol’ craft paint and leftover latex paint. Because the tape is right on top of the wood and I couldn’t seal the edge with paint, I made sure to run a straight edge over the tape and I made sure my paint brushes weren’t loaded with paint. I removed the tape soon after painting.

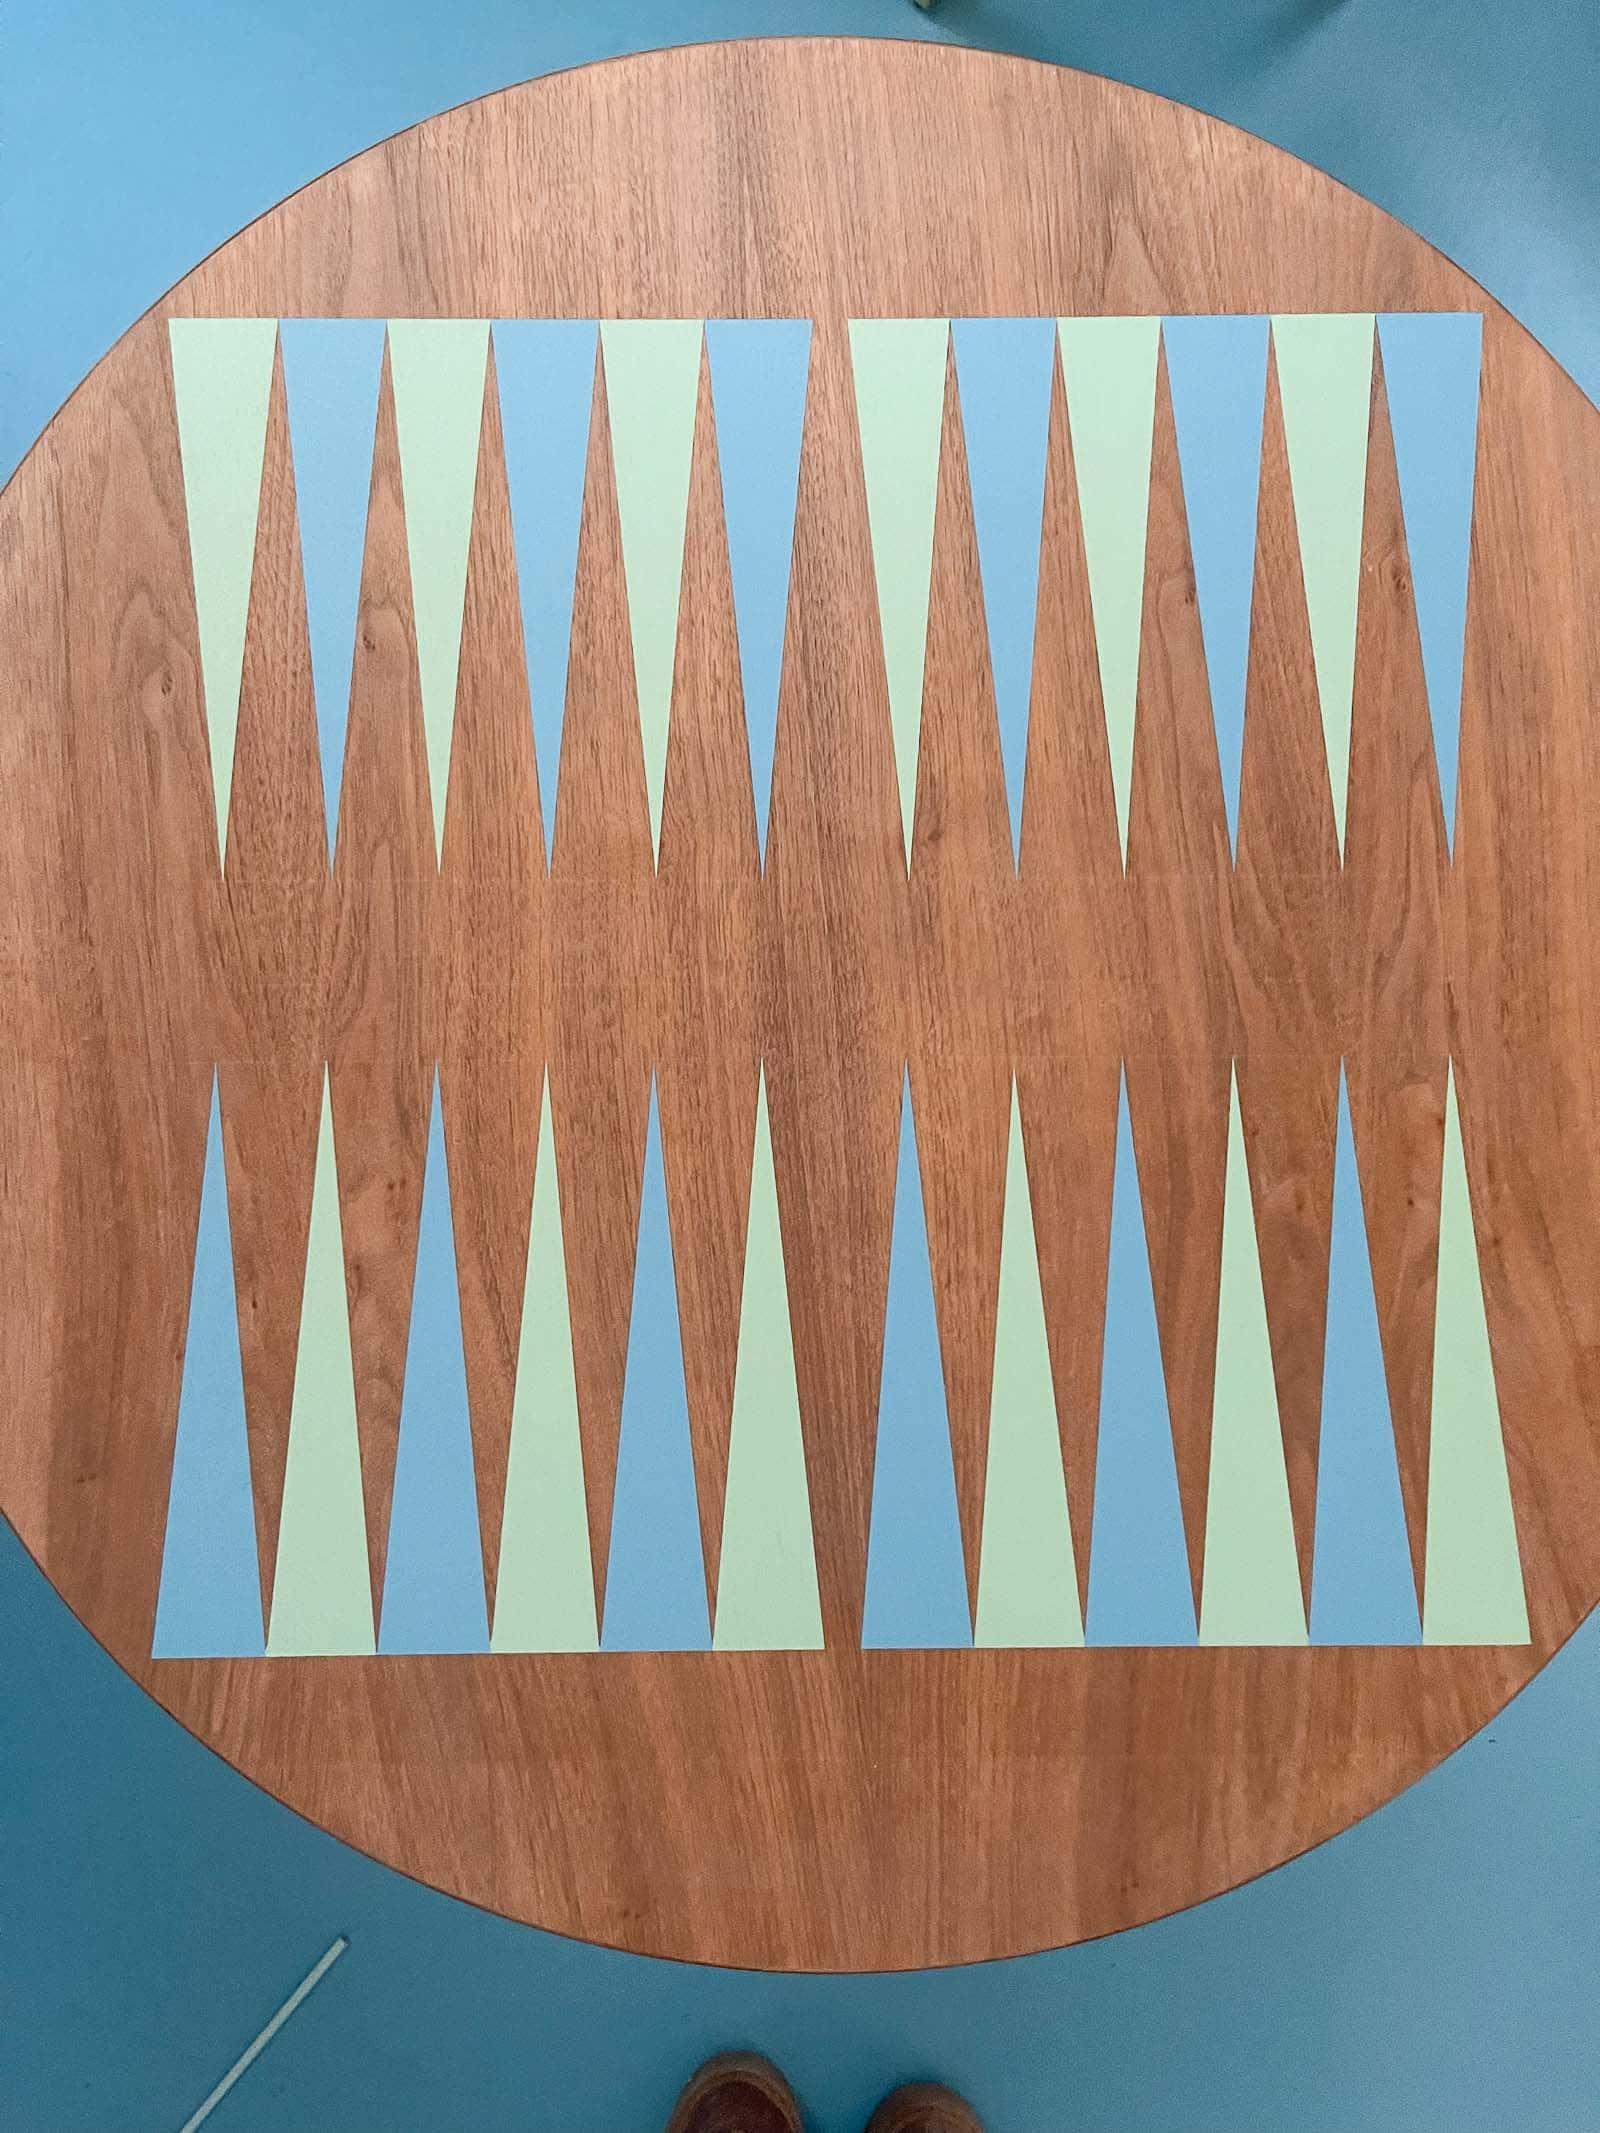
Step 4. ReTape and Paint again
The yellow delicate Frogtape is for newly painted surfaces so I was able to let the first coat of paint dry for a few hours and then immediately tape and paint the second color. Obviously the more time you can leave your paint to set up/ harden the better, but this delicate Frogtape is perfect for a project like this. I taped off the second set of triangles, then went back for one last round of taping off the straight lines down the center of the board and around the edge.

Step 5. Top Coat
I added a top coat of satin finish polycrylic just to protect the game board. It doesn’t get too much wear and tear so this step probably isn’t necessary, but I love the way the polycrylic brings out the grain of the wood a bit so it was nice aesthetically too!
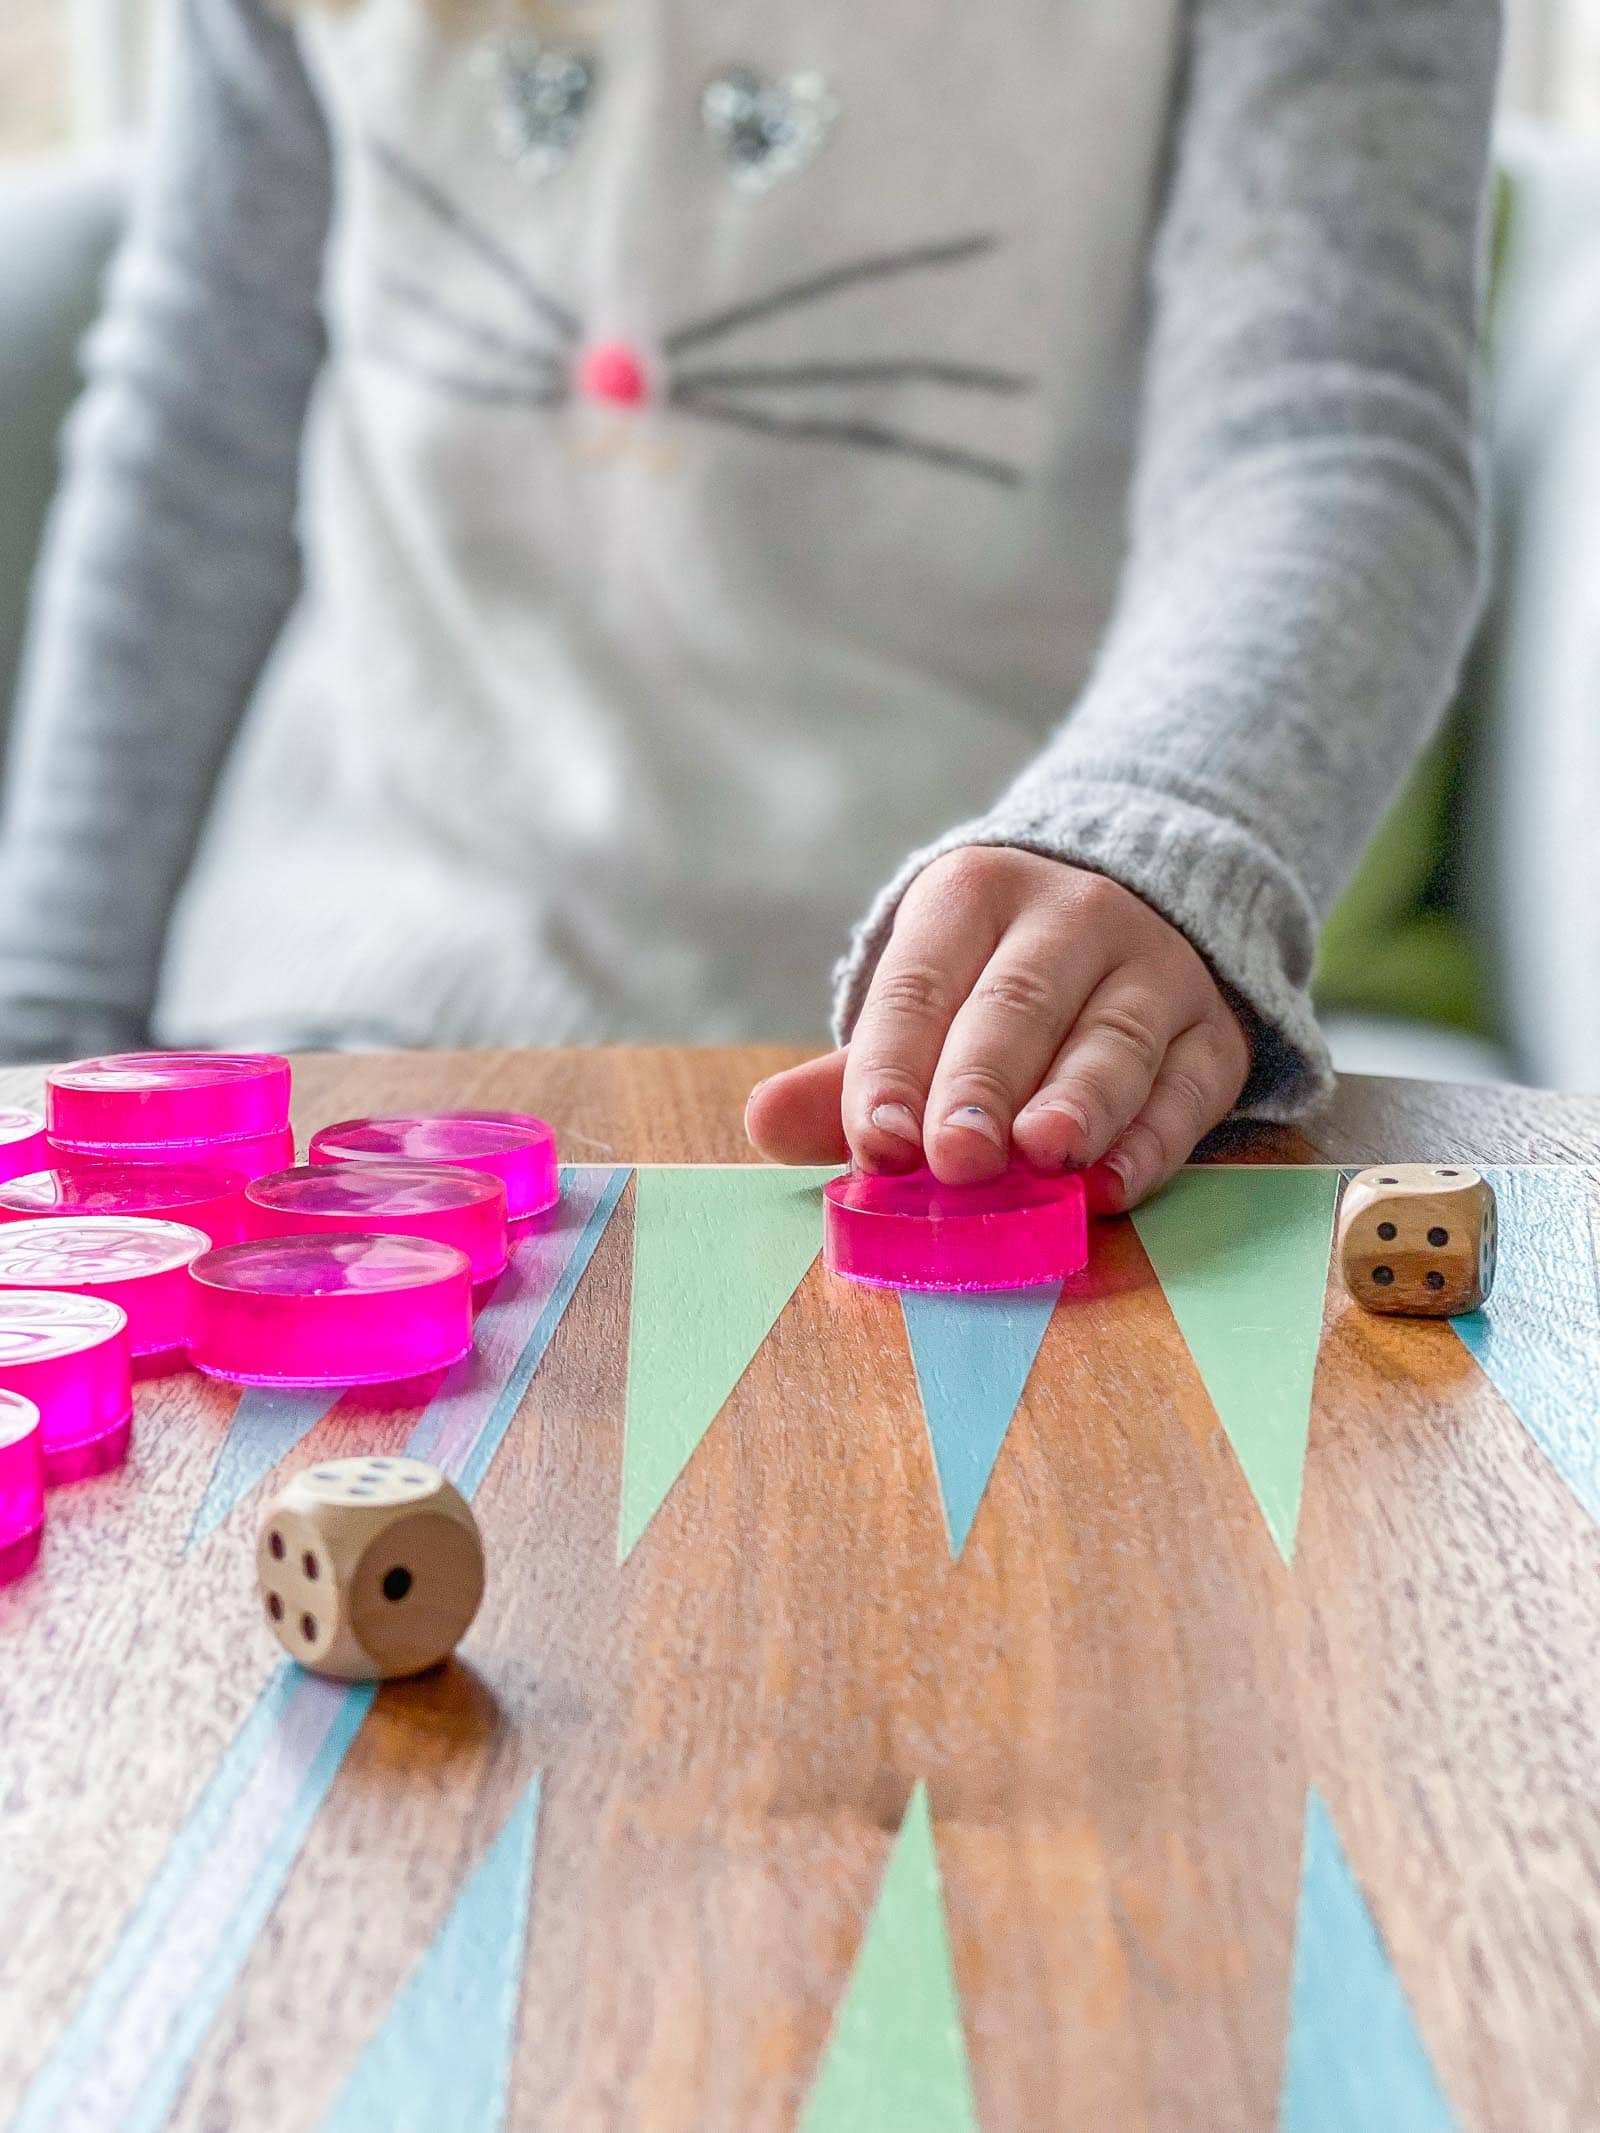
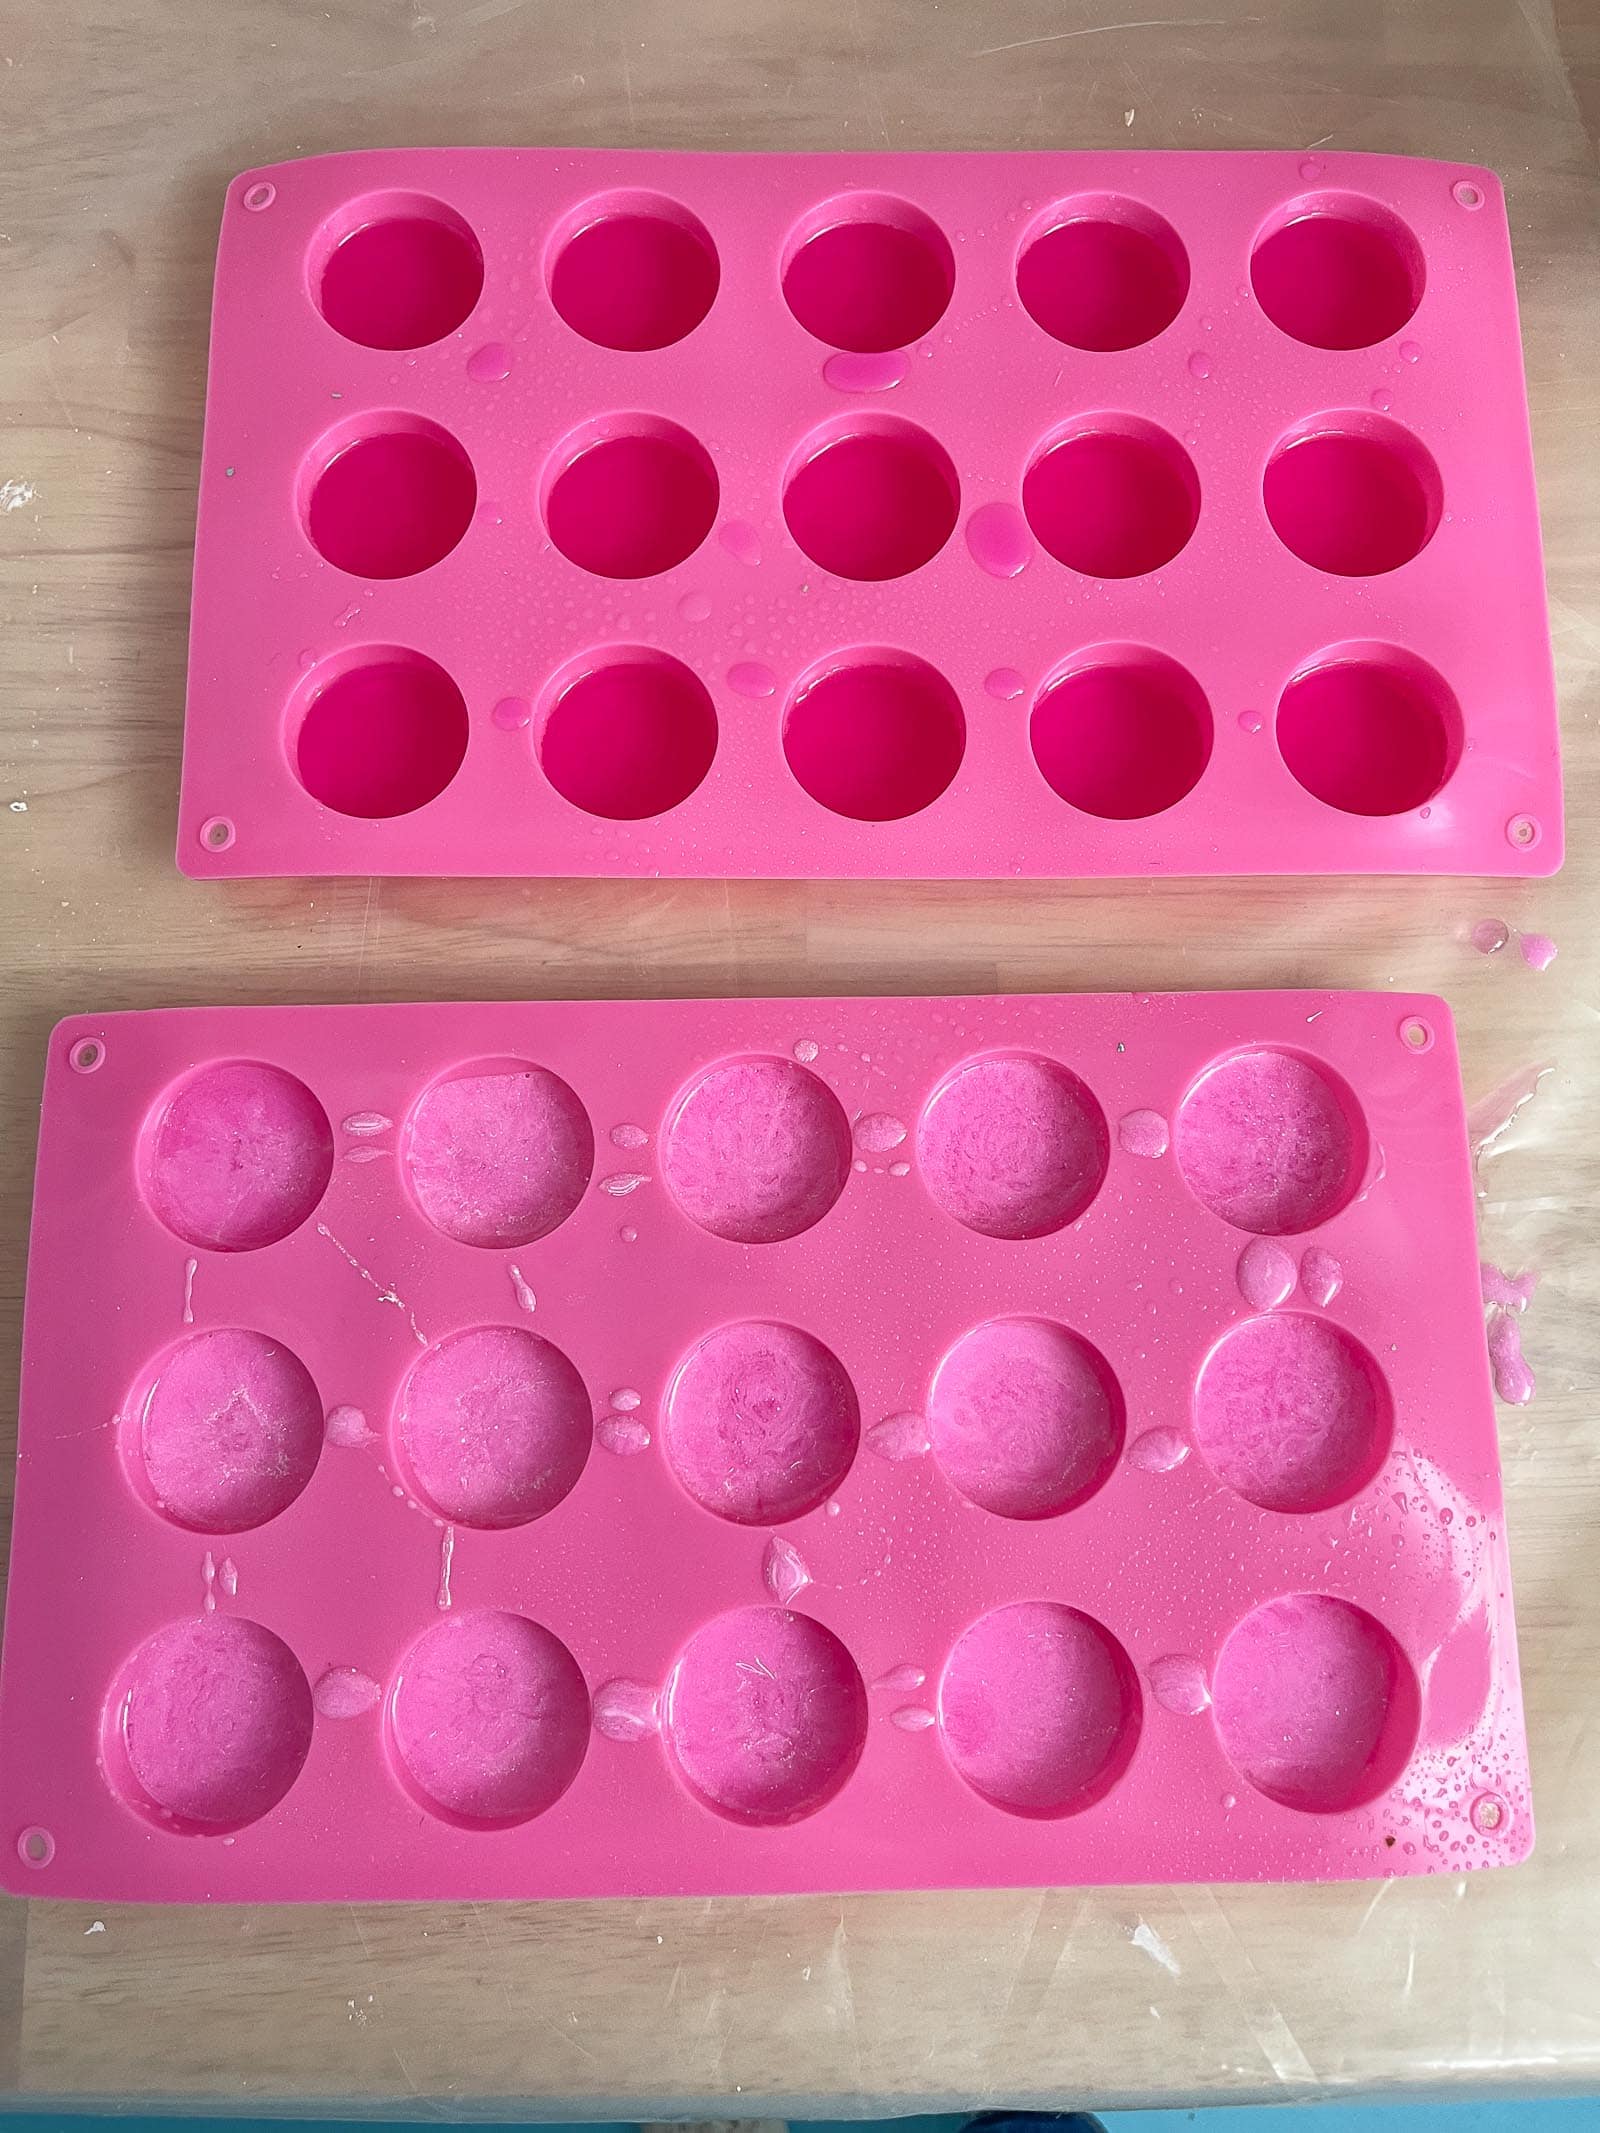
OPTIONAL: Epoxy Game Pieces
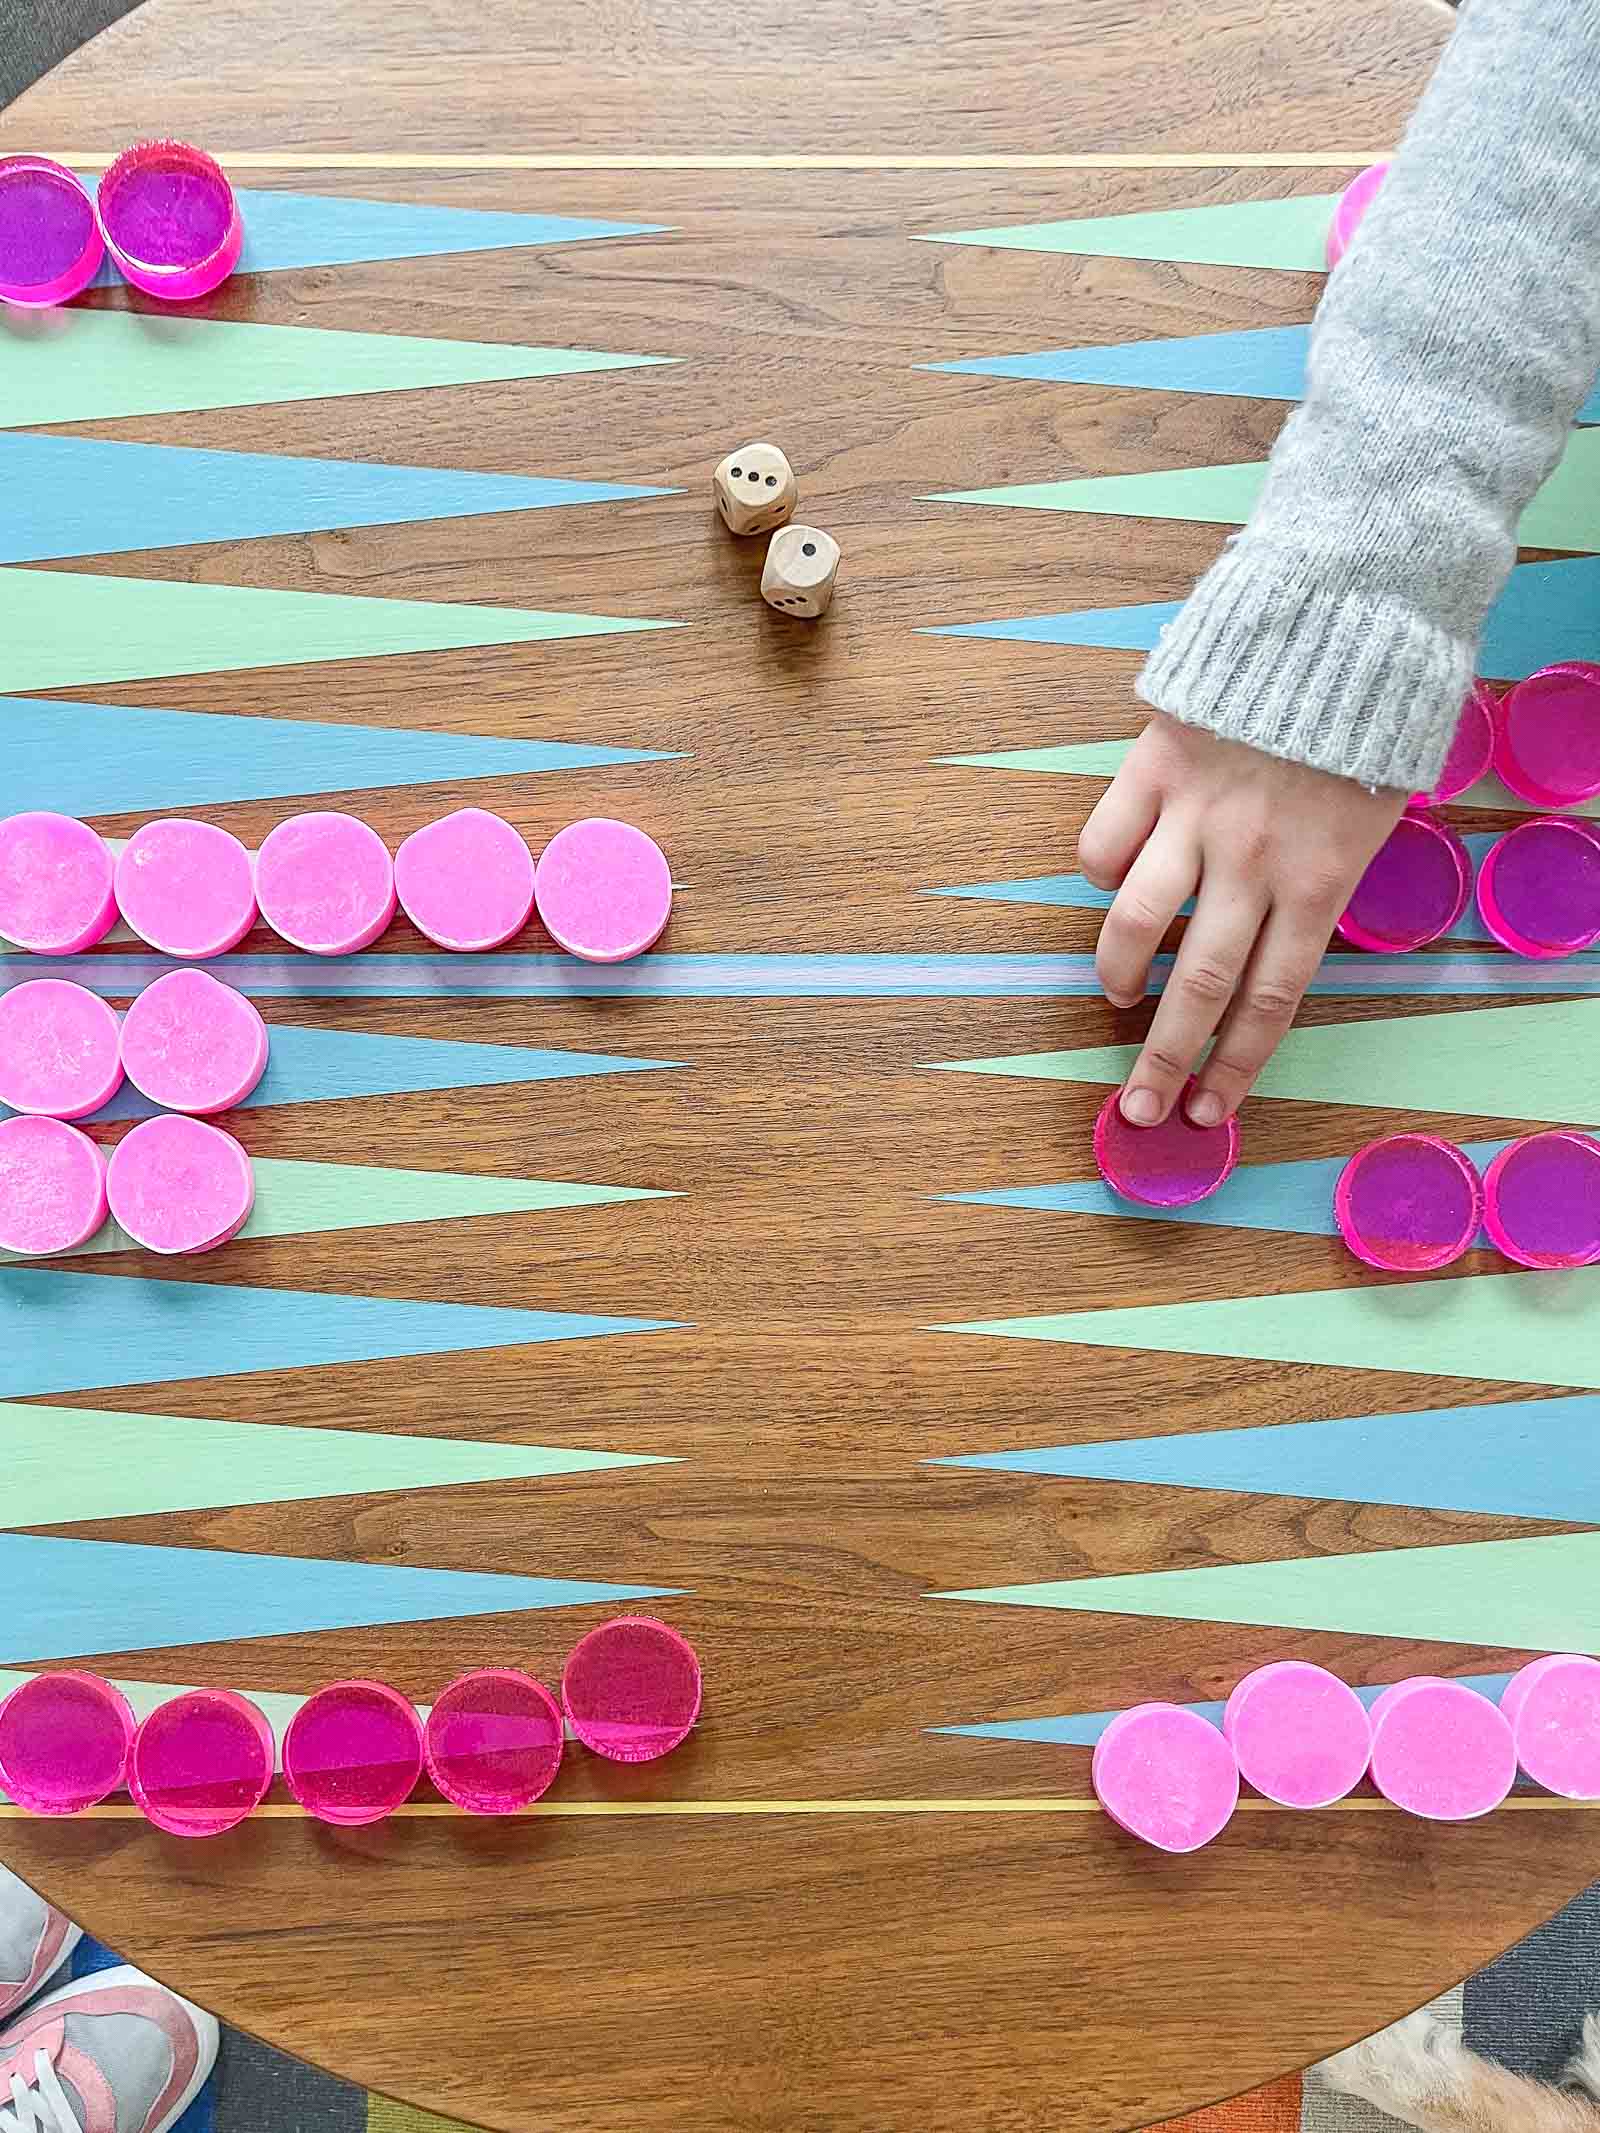
You can buy game pieces online or use something else, but I decided to be all #extra and make my own. I’ve worked with epoxy a bit and it’s pretty easy to work with once you have the right set up. Protect your workspace well, mix the epoxy per the directions on the box and then carefully pour it into the appropriate resin molds for the game pieces. I used some resin dye to color my pieces. A squirt of rubbing alcohol will help remove any bubbles and the pieces should be ready to de-mold after letting them set up overnight.
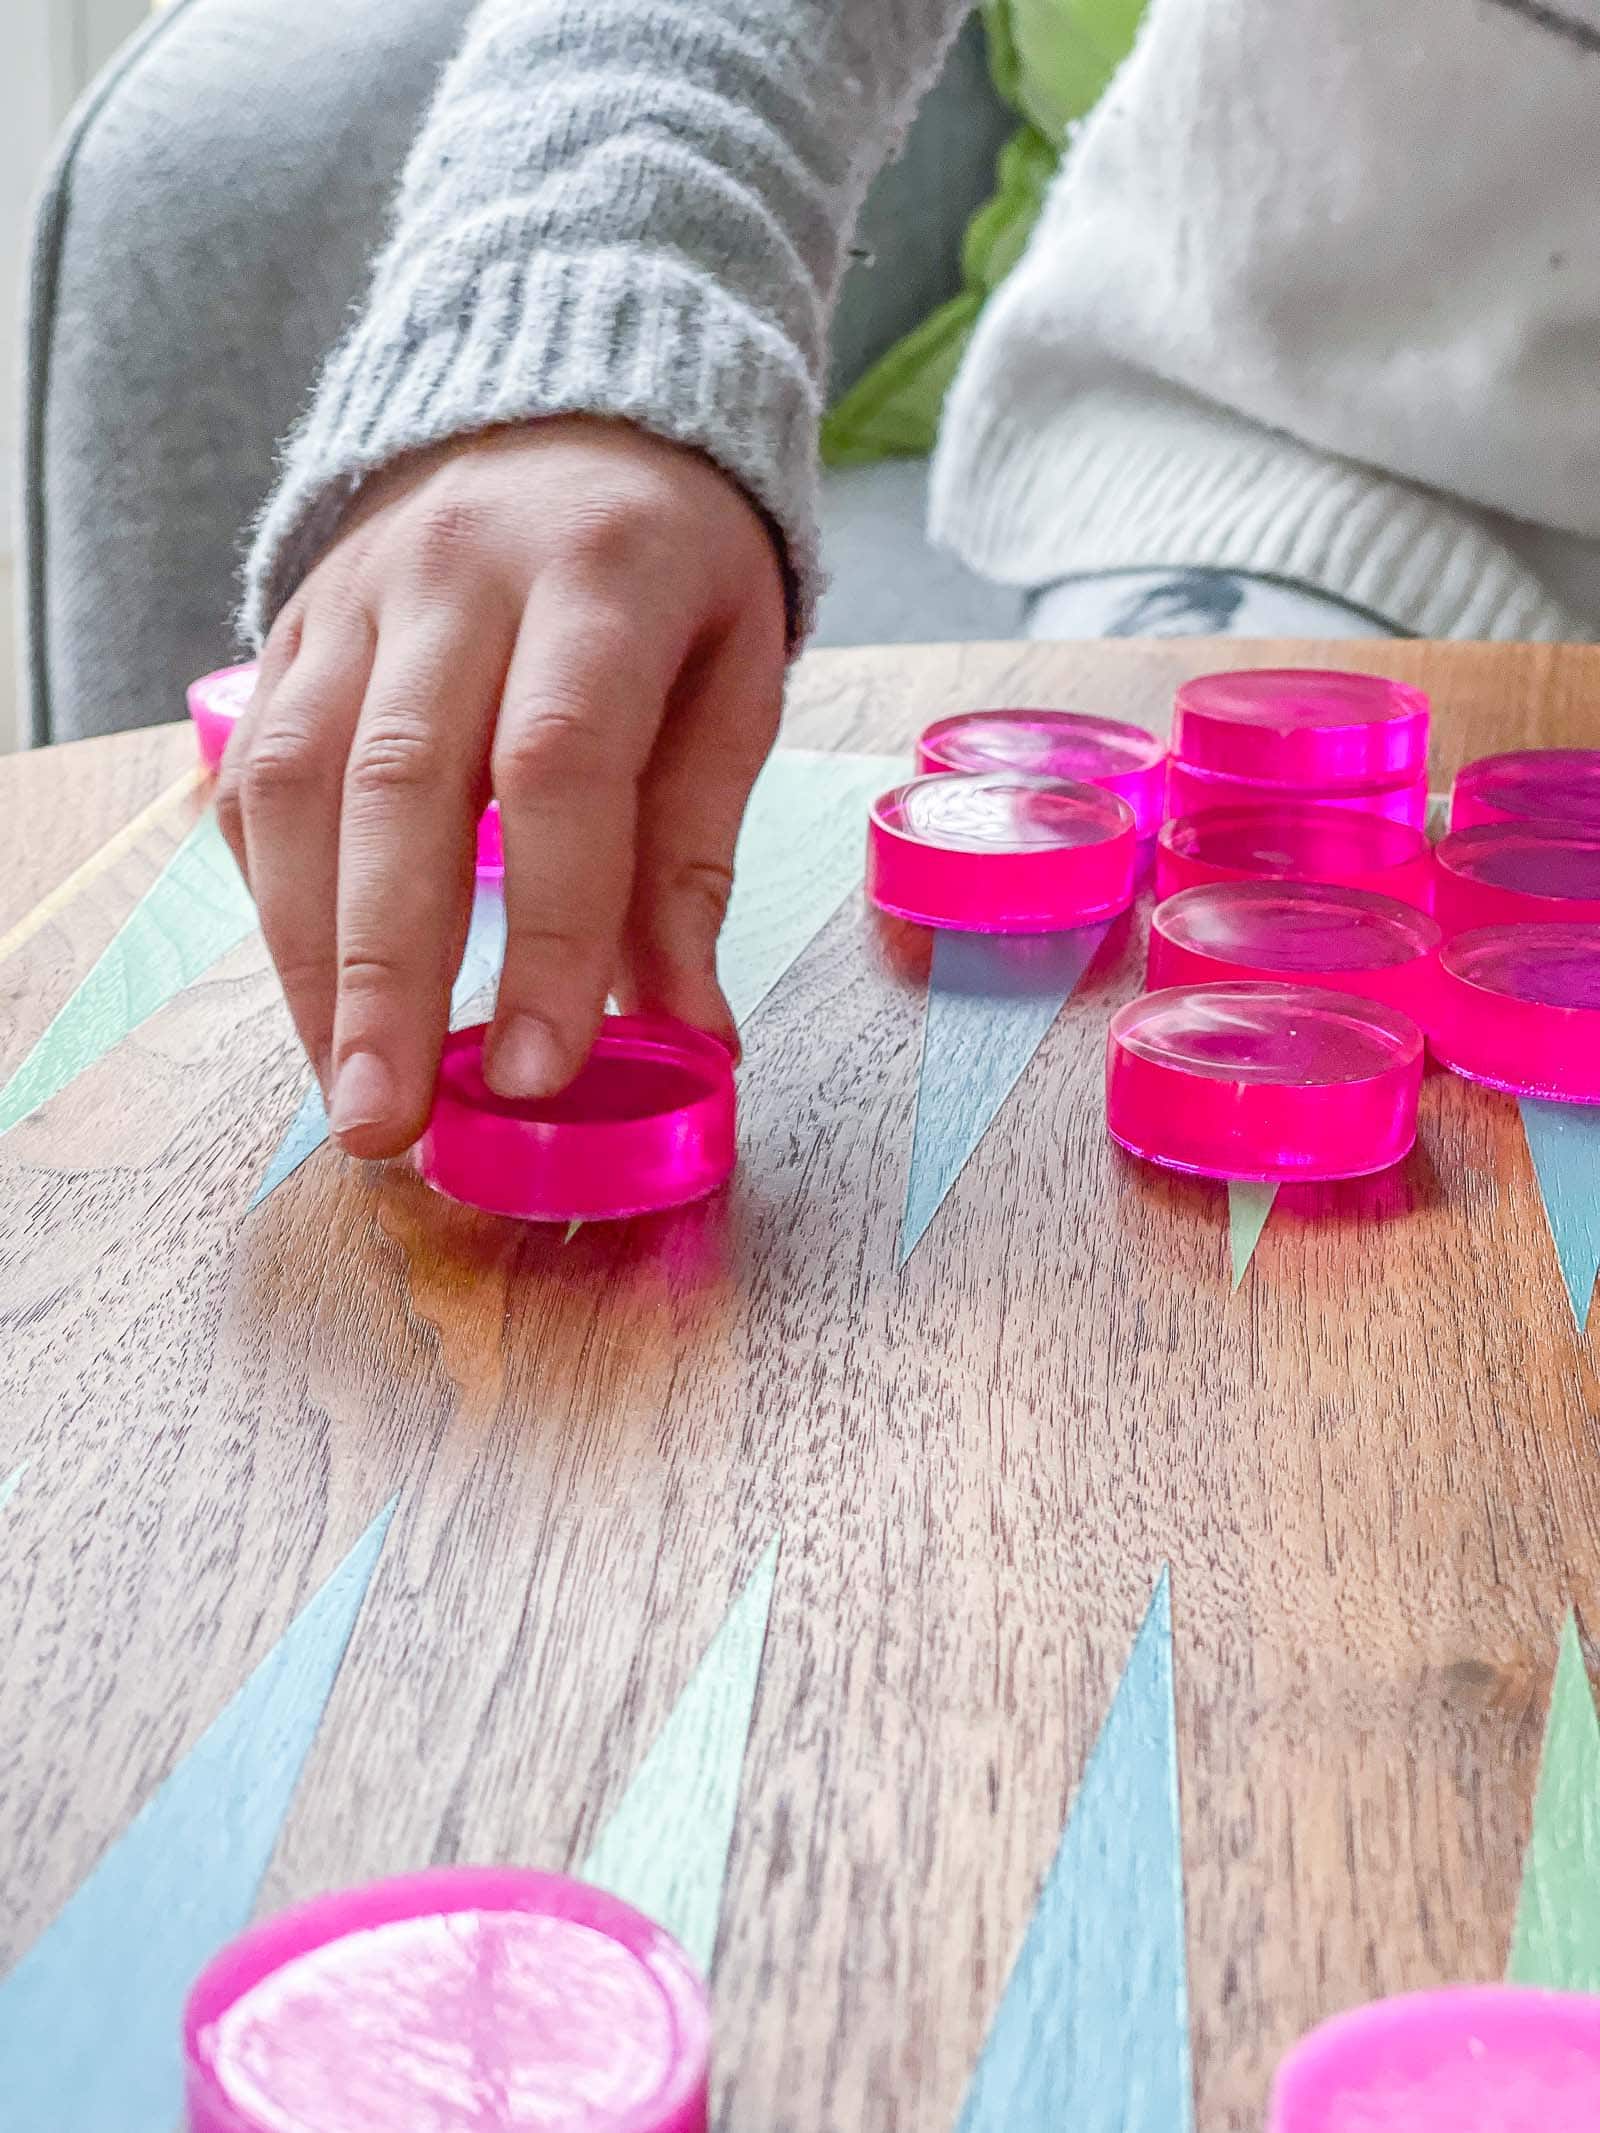
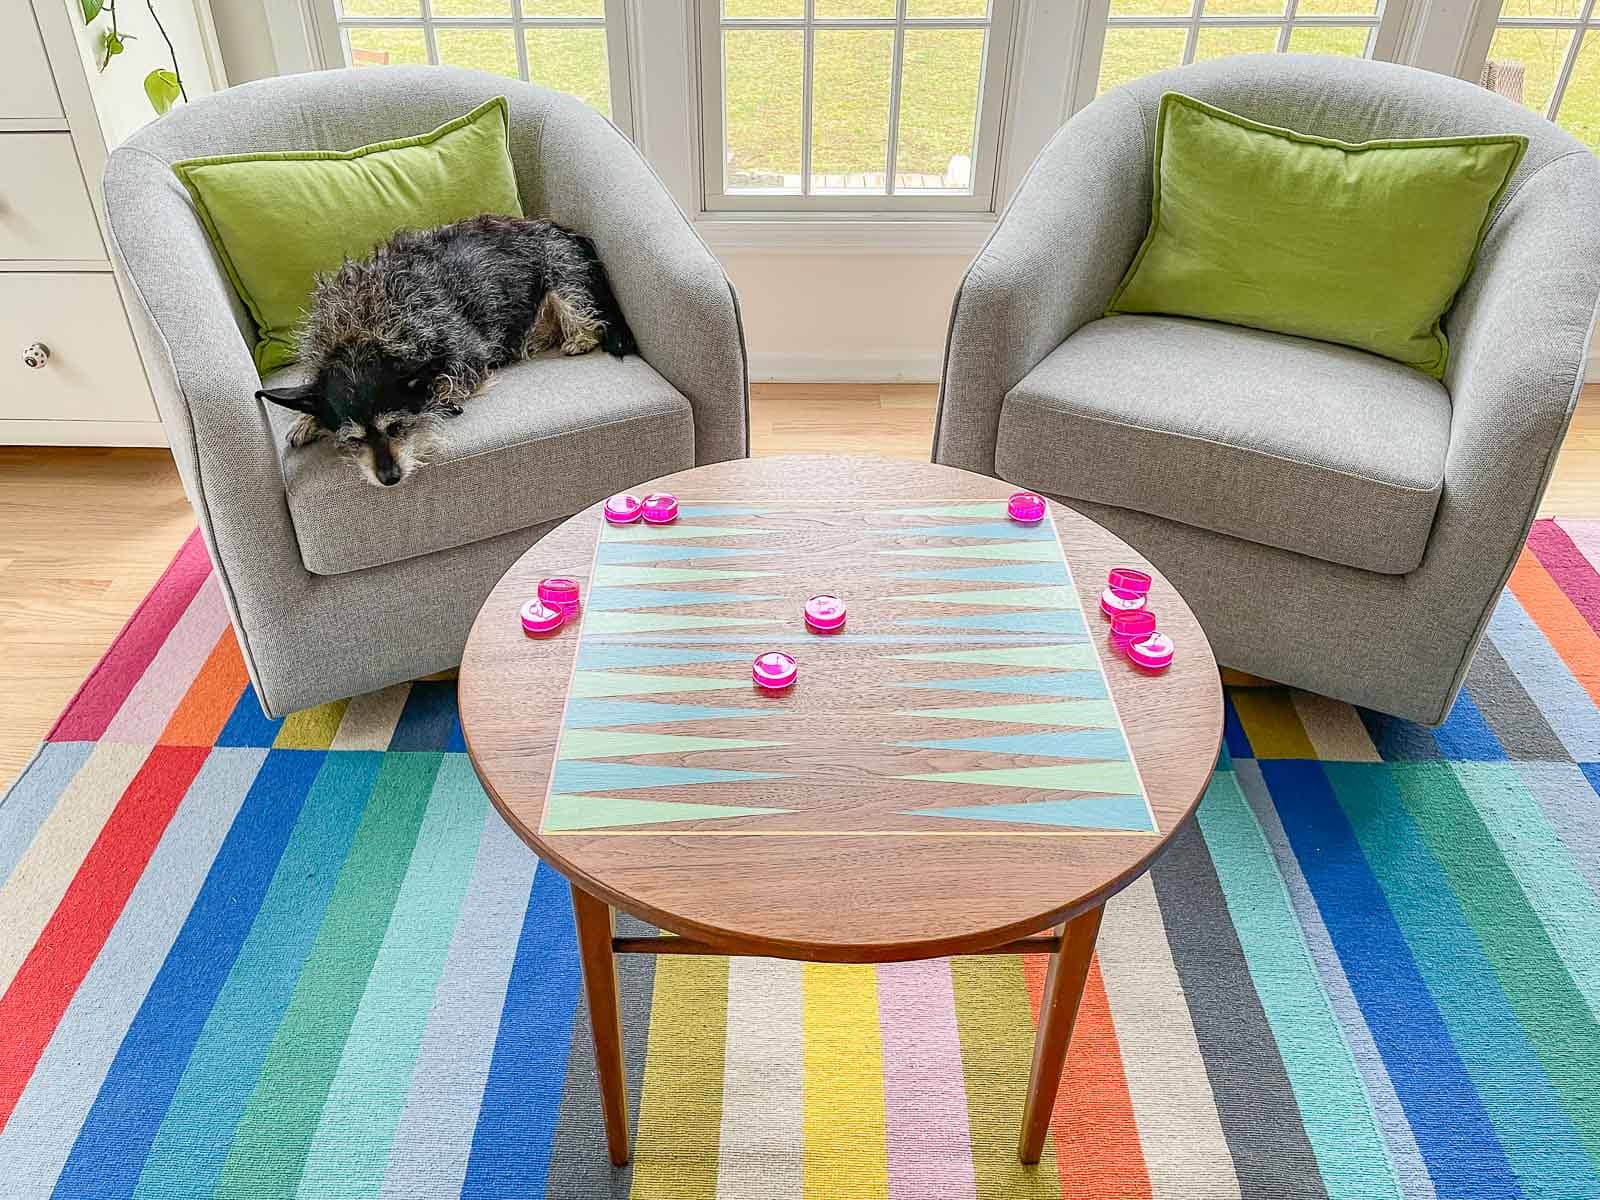
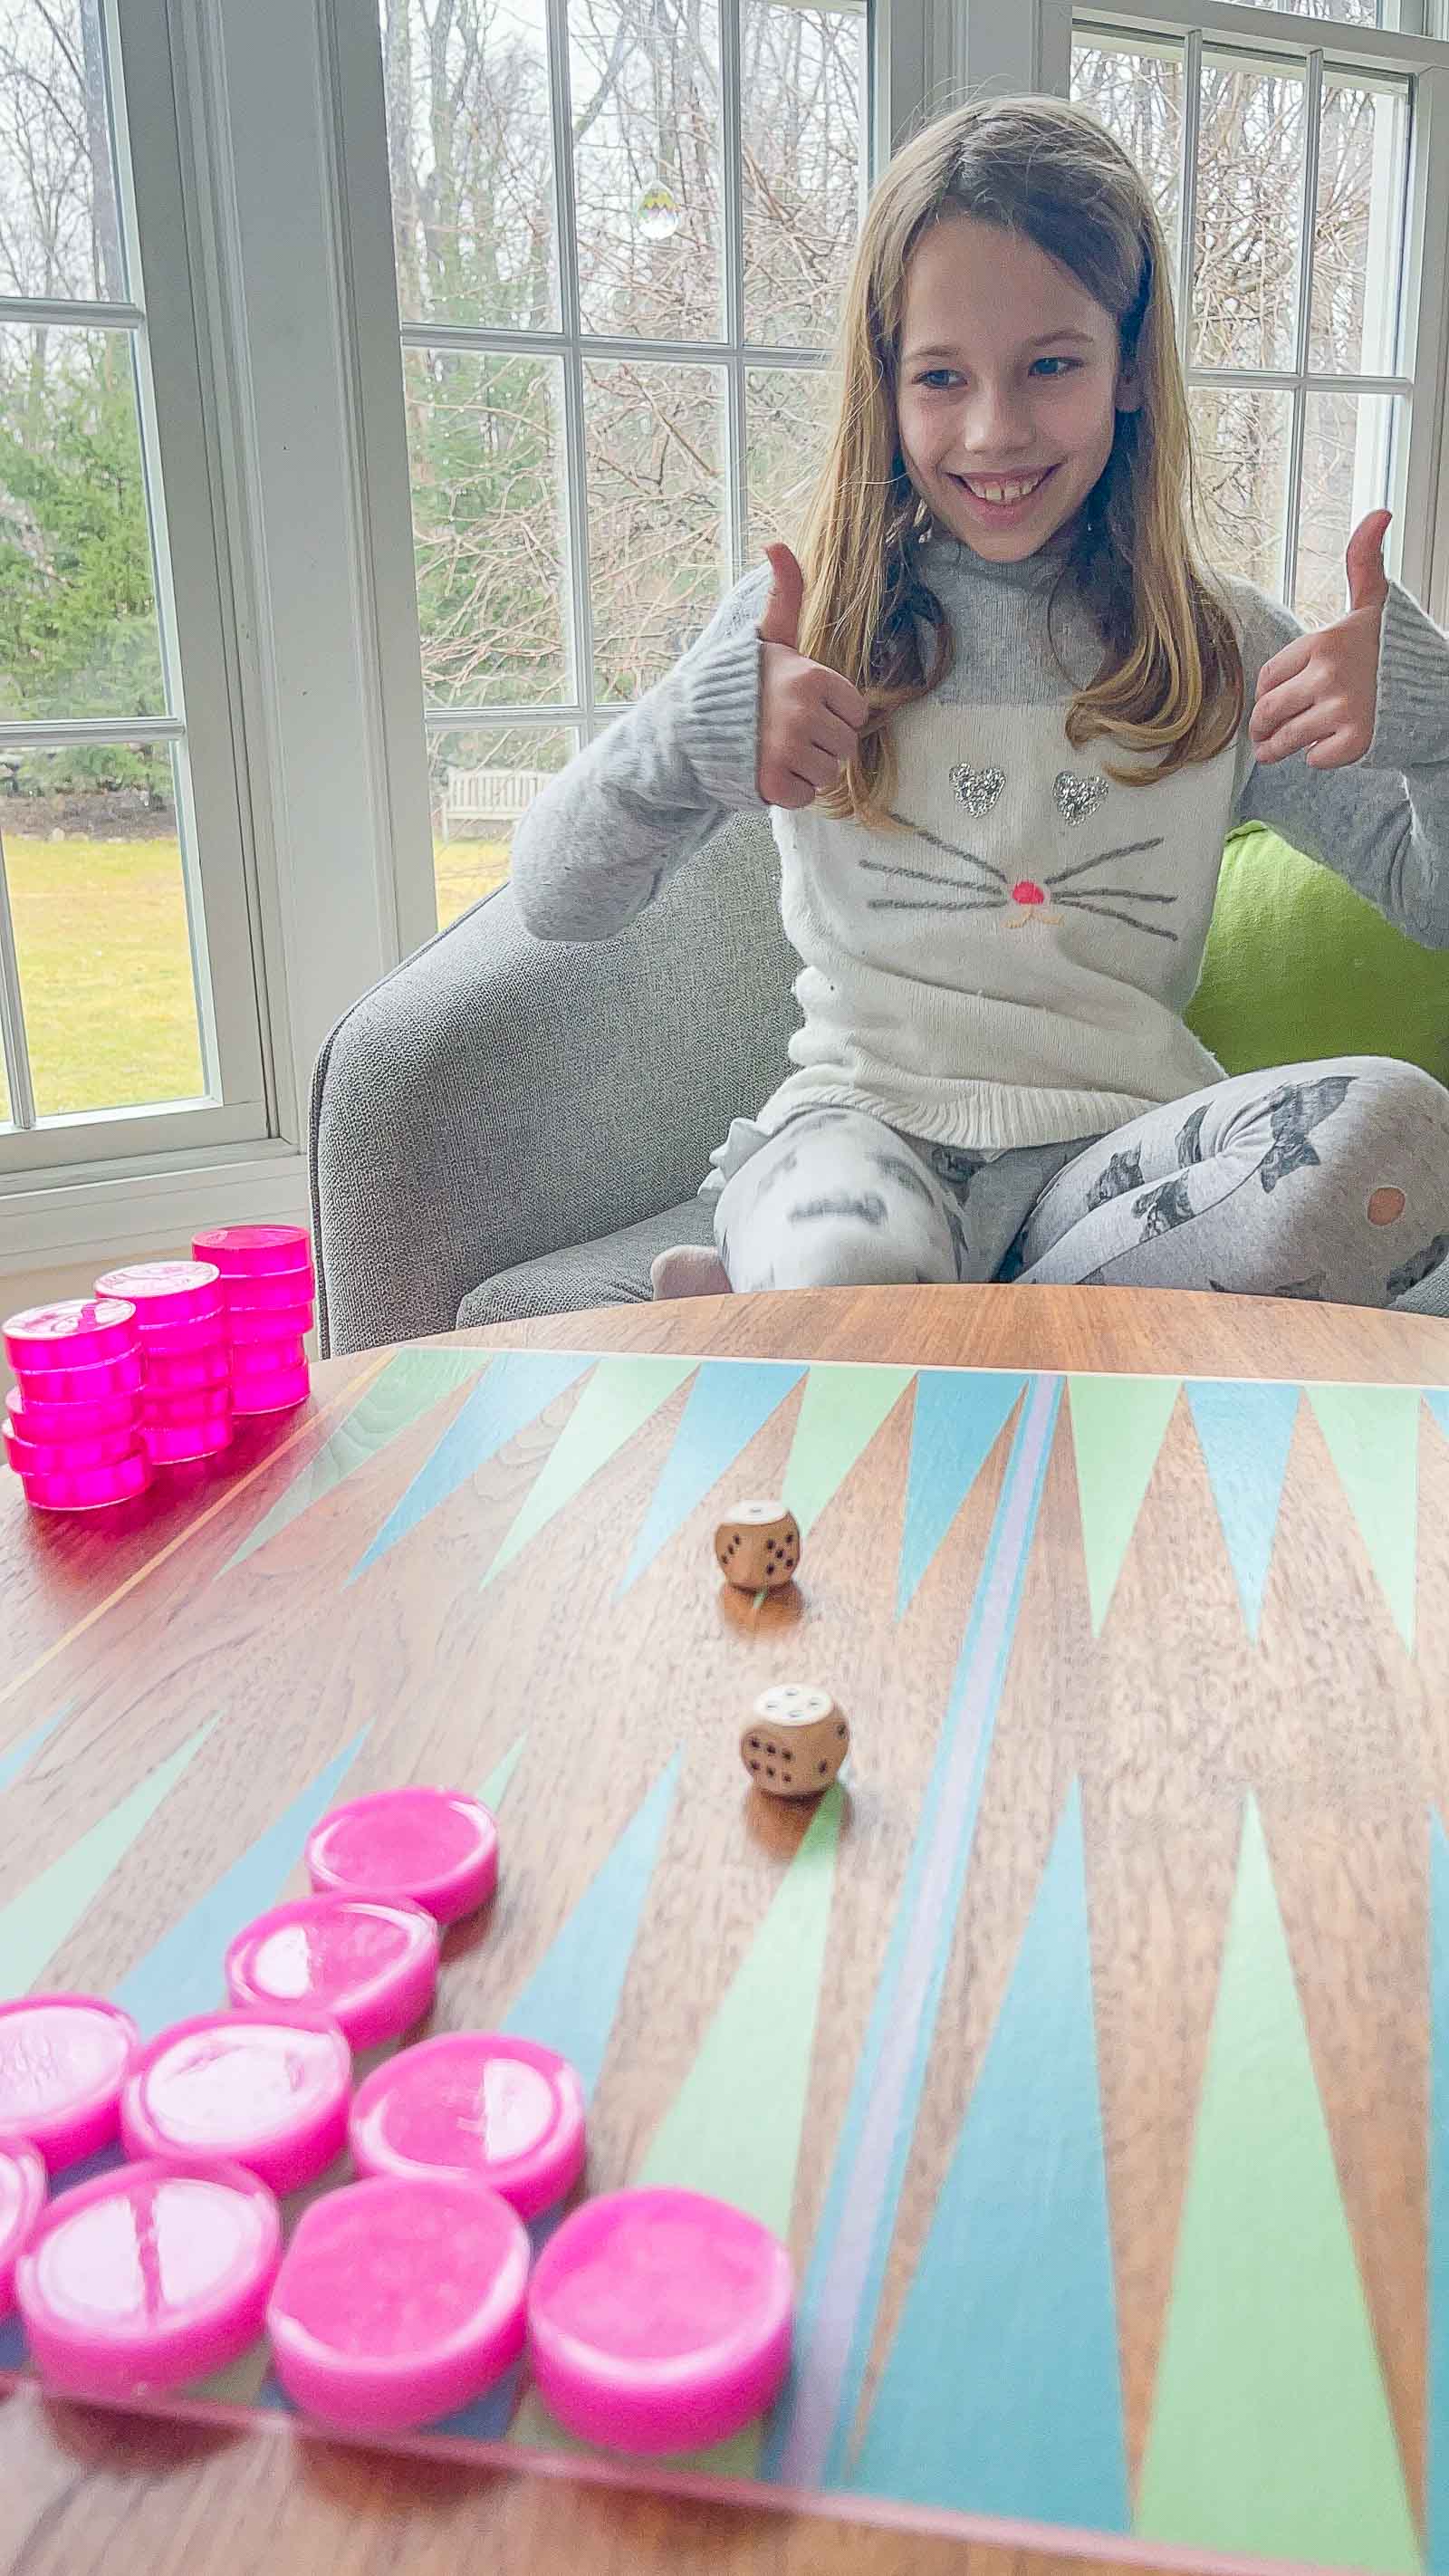
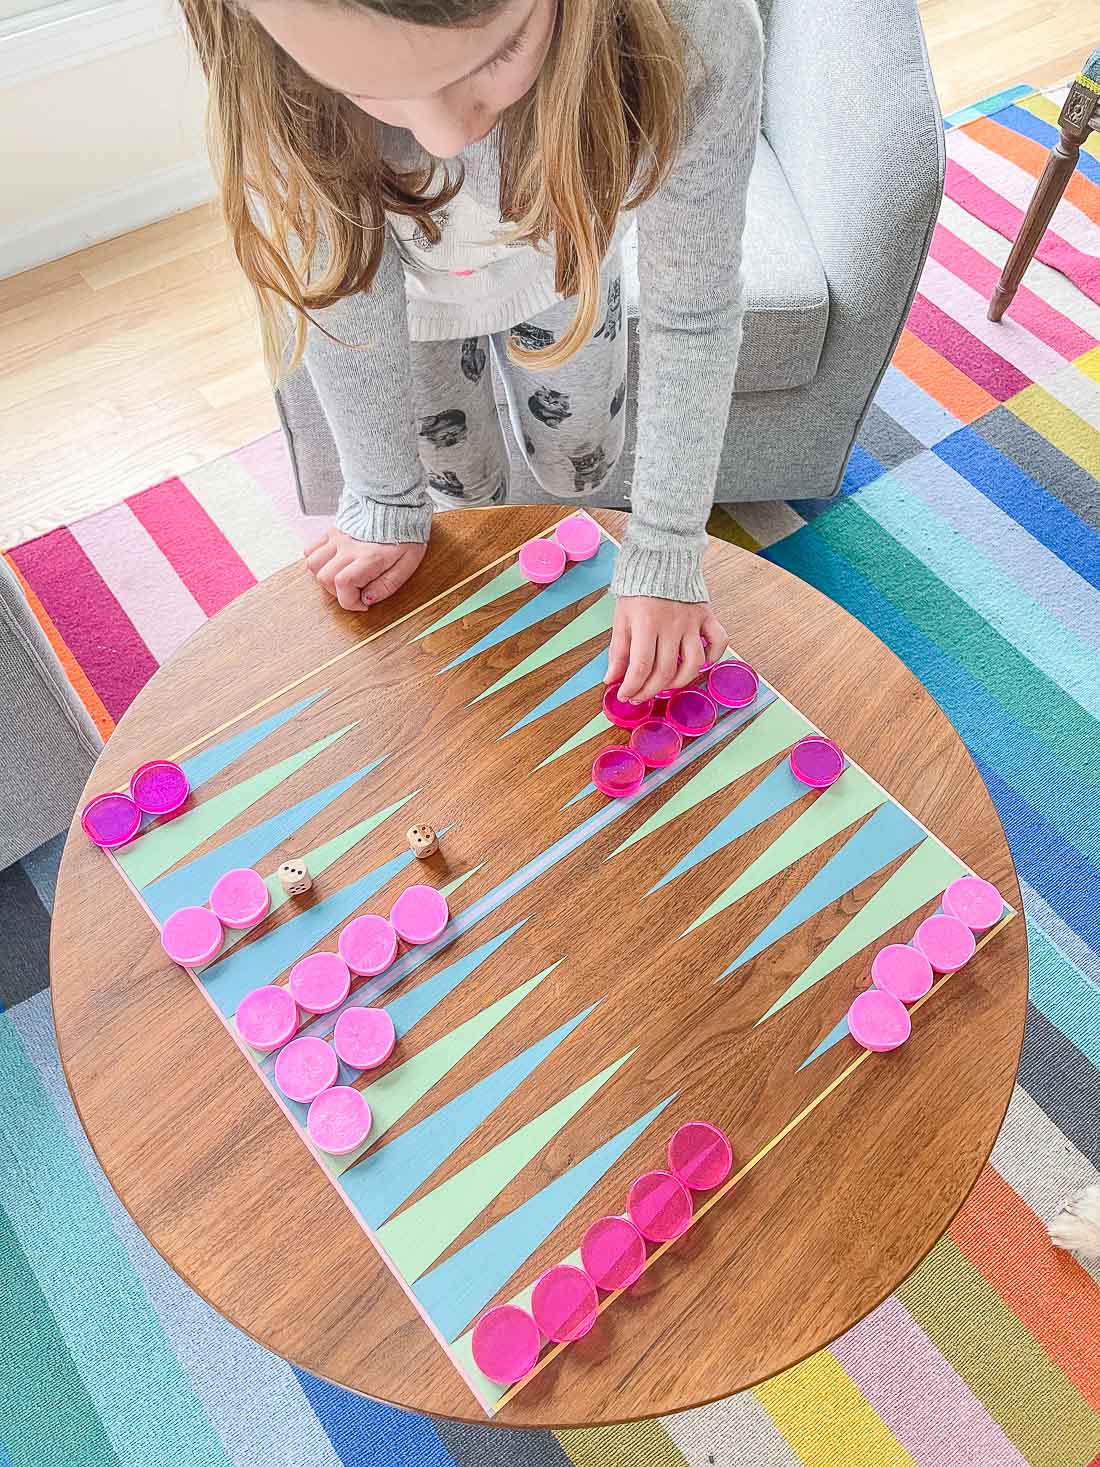
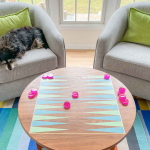
This game board now lives in our sun room and the kids will ask to play most days after school. Having the game board front and center means it’s so easy for us to grab a quick game after dinner or before school and I couldn’t be happier! The game pieces are often just set up for the next game, but they’re also easy to store in a bowl or box nearby.


Hi, I have a question about the epoxy part. You said a squirt of rubbing alcohol will remove bubbles. Do you mean you spray the rubbing alcohol all over the epoxy after it’s poured into the mold? (Not mixed with the epoxy)
Yep, exactly!