How to Paint an Area Rug
Psssst… this post *might* contain affiliate links: see my disclosure here.
Painting Colorful Stripes on a Cotton Area Rug
I wanted to add some budget color to this striped rug, so I painted it!
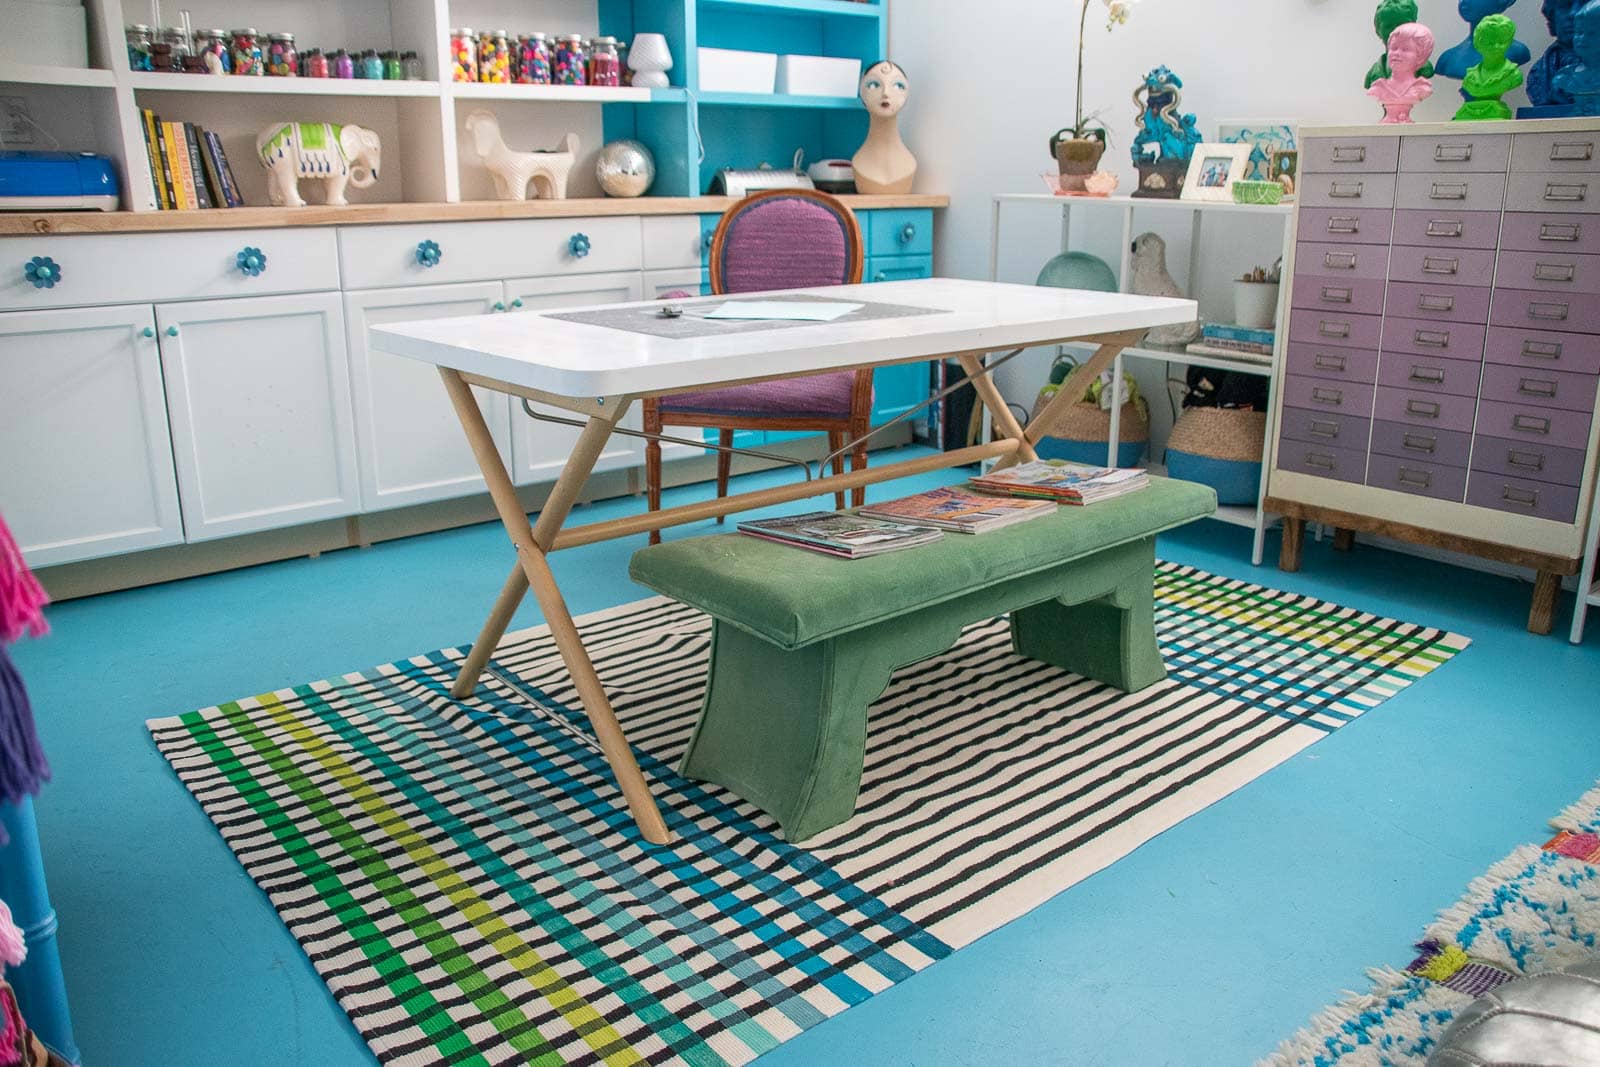
Disclosure: I partnered with Frogtape for this project and as you can see, the stripes are perfect. As always.
Shop my favorites!
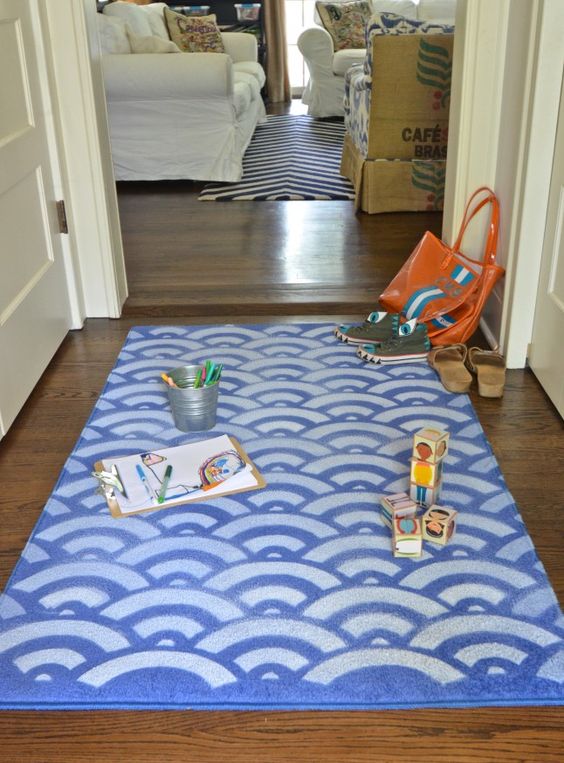
Storytime: Years and years and years ago, I was invited to contribute to my friends Mallory and Savannah’s blog, Classy Clutter. I’d love to think that the image I’m about to show you was a fine example of my project back in the day. I remember feeling pleased as punch with the execution of this project and I was even tickled by the styling. Now, needless to say, I have a different opinion of this project but I’m sharing it as proof of my first stenciled/ taped and then painted rug project. I’ll link to all materials at the end of this project so feel free to scroll ahead for sources!
Step 1. Find the Right Rug
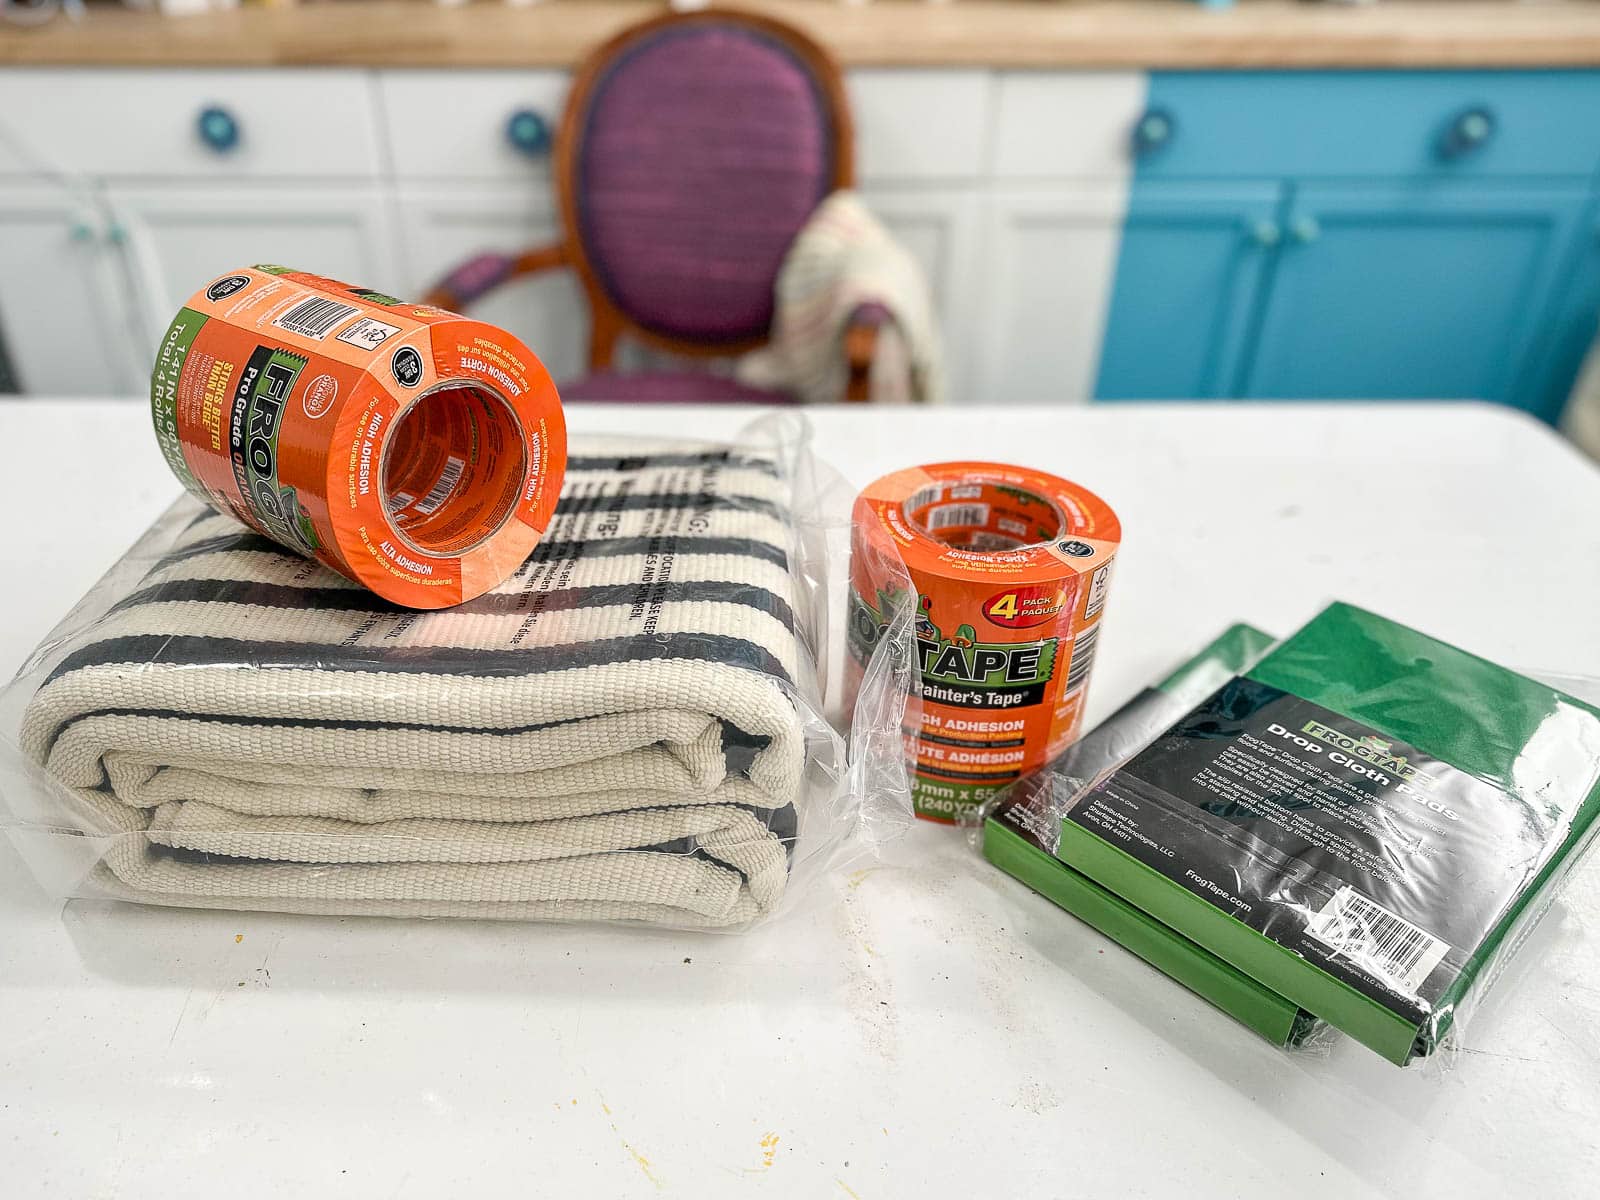
Frogtape works wonders, but it’s not a miracle worker. Look for a rug with a relatively flat weave. I’ve done it with a faux sisal type material and the one above is a cotton. Which was perfect.
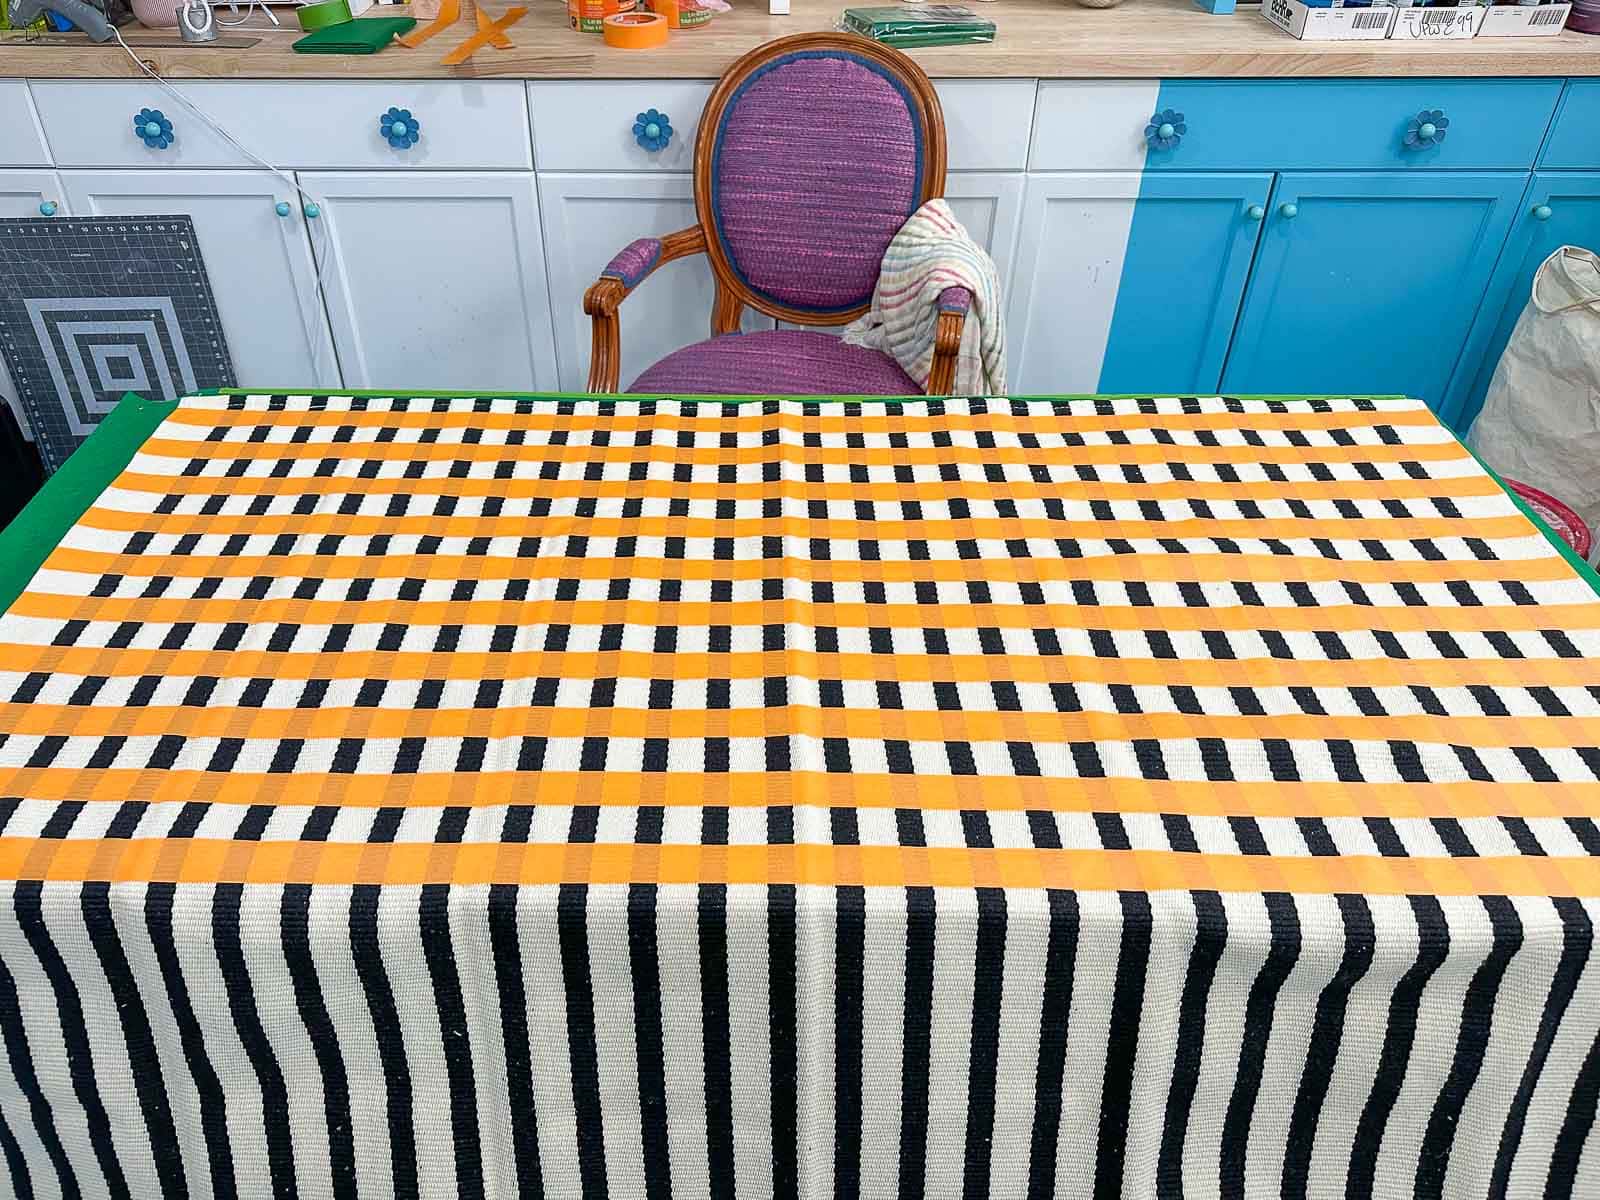
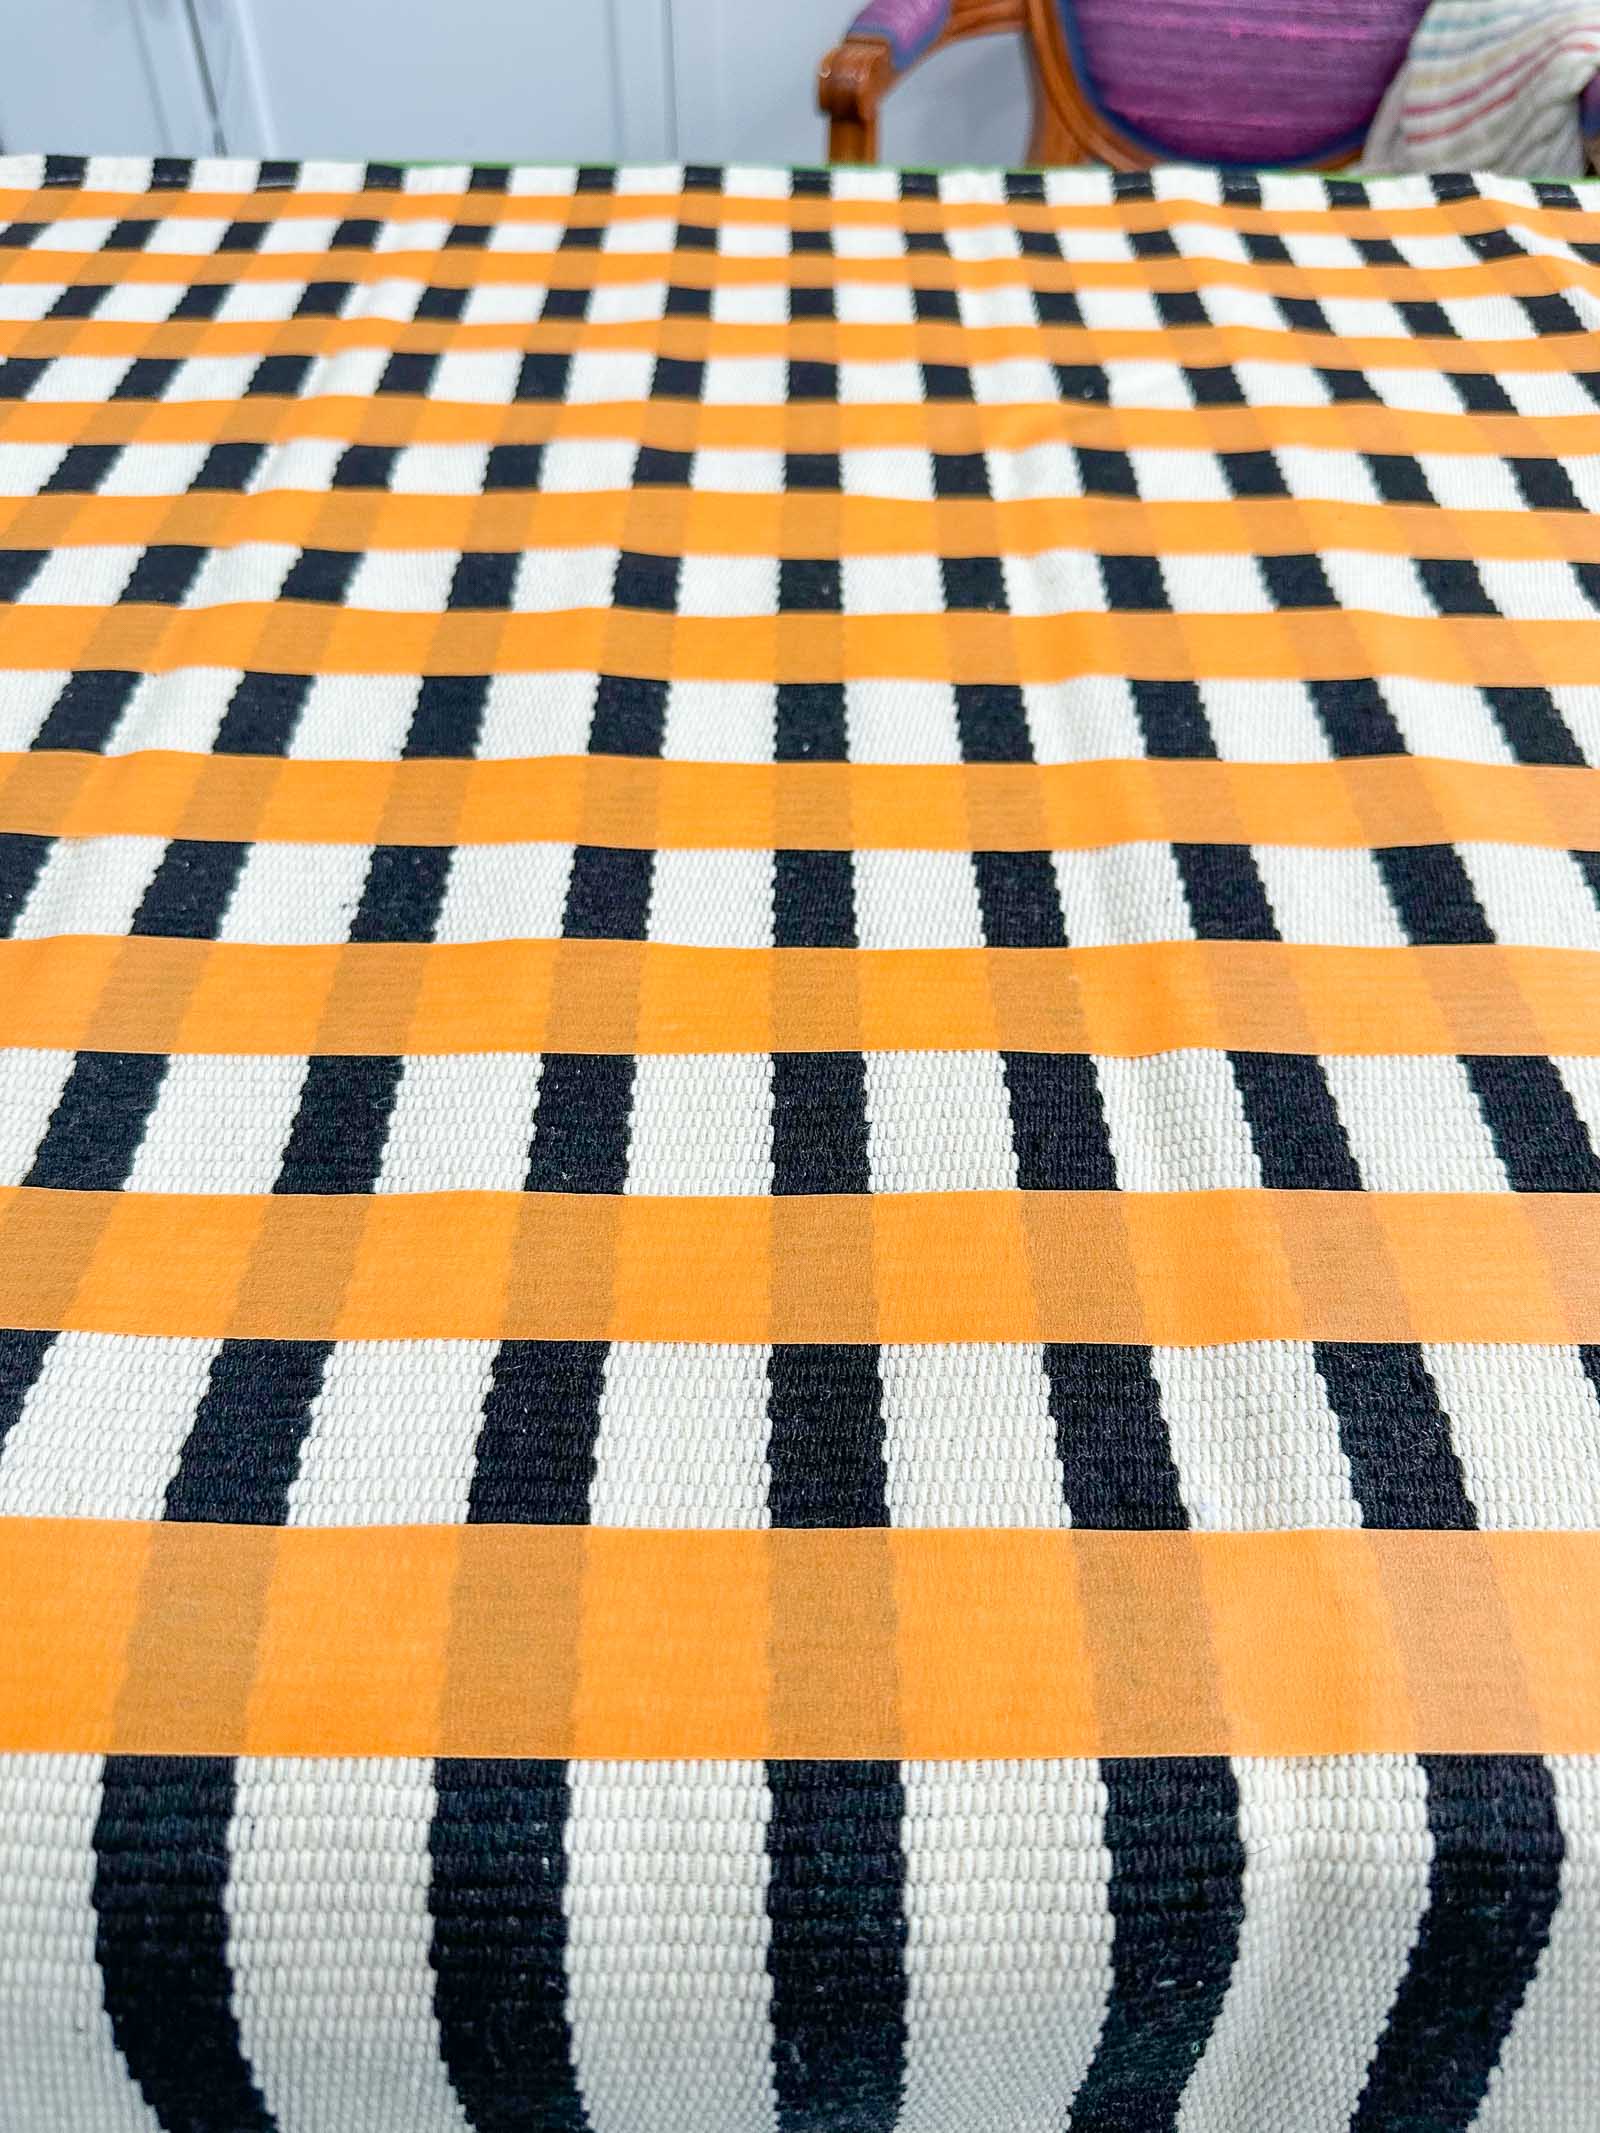
Step 2. Tape off Your Pattern
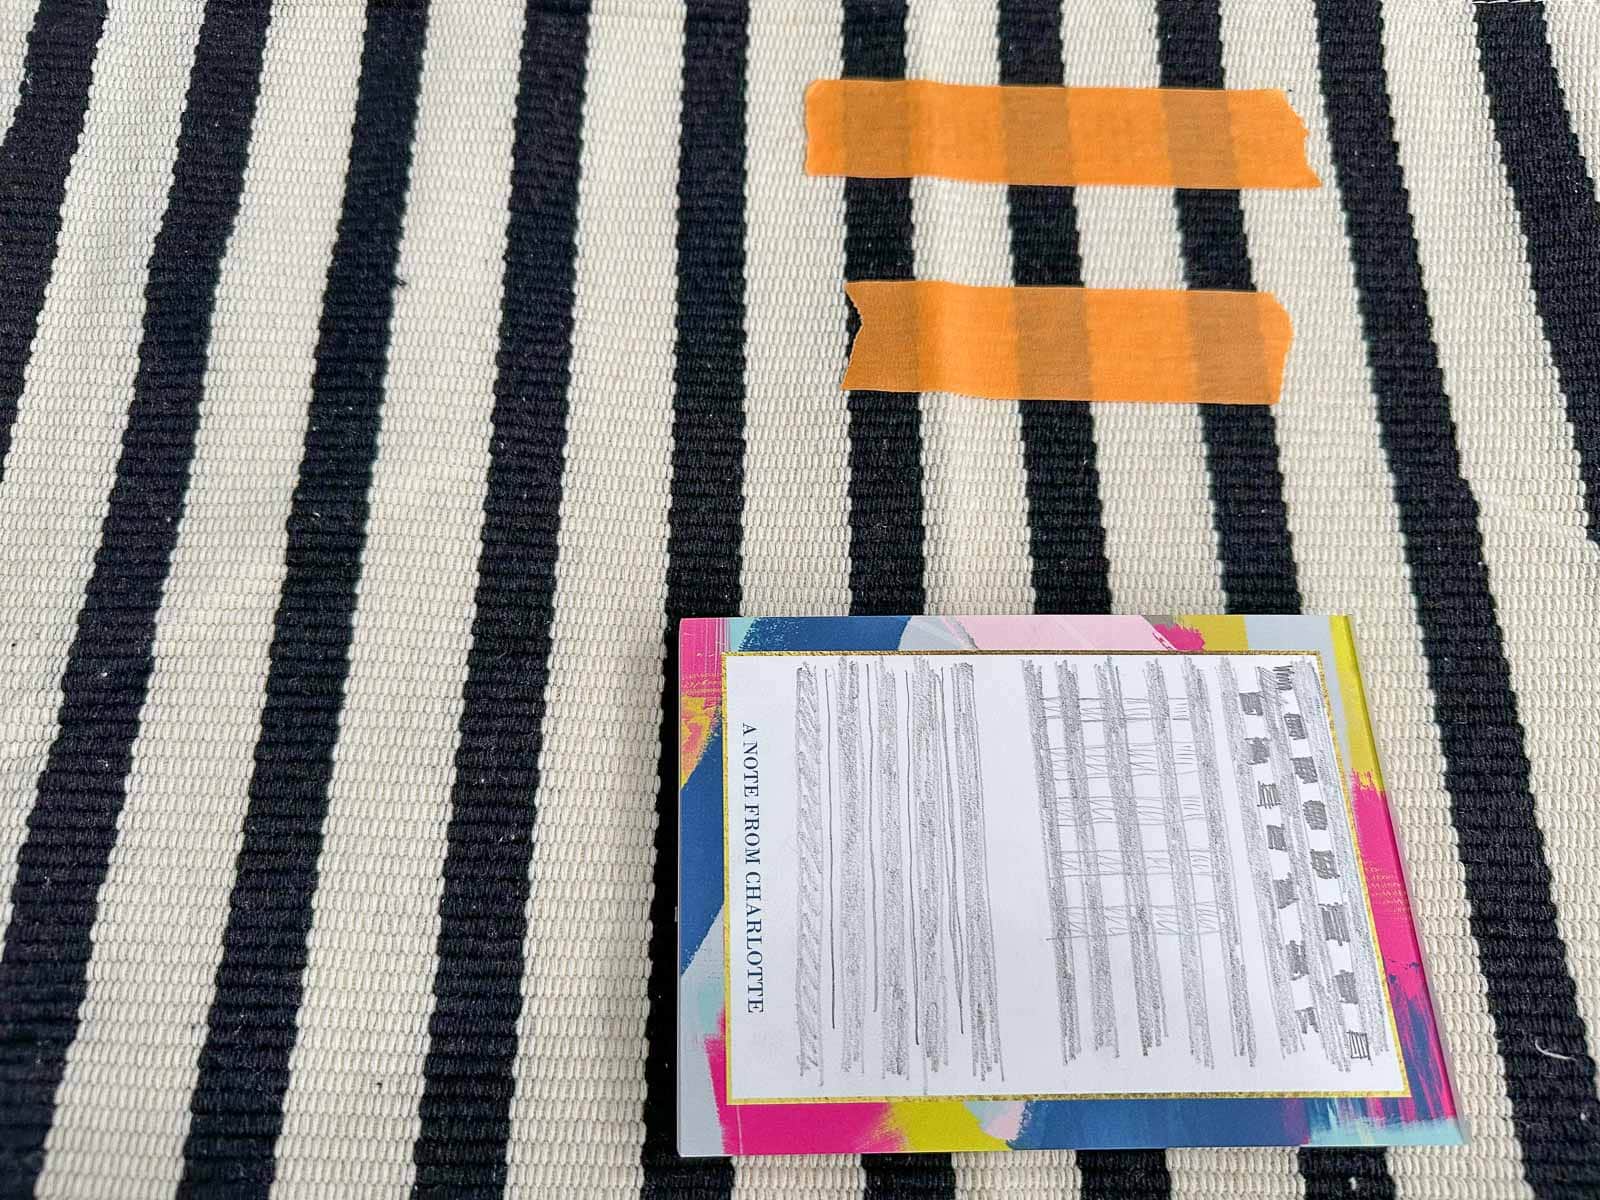
I sketched out a couple iterations of my pattern and then ultimately went with perpendicular stripes.
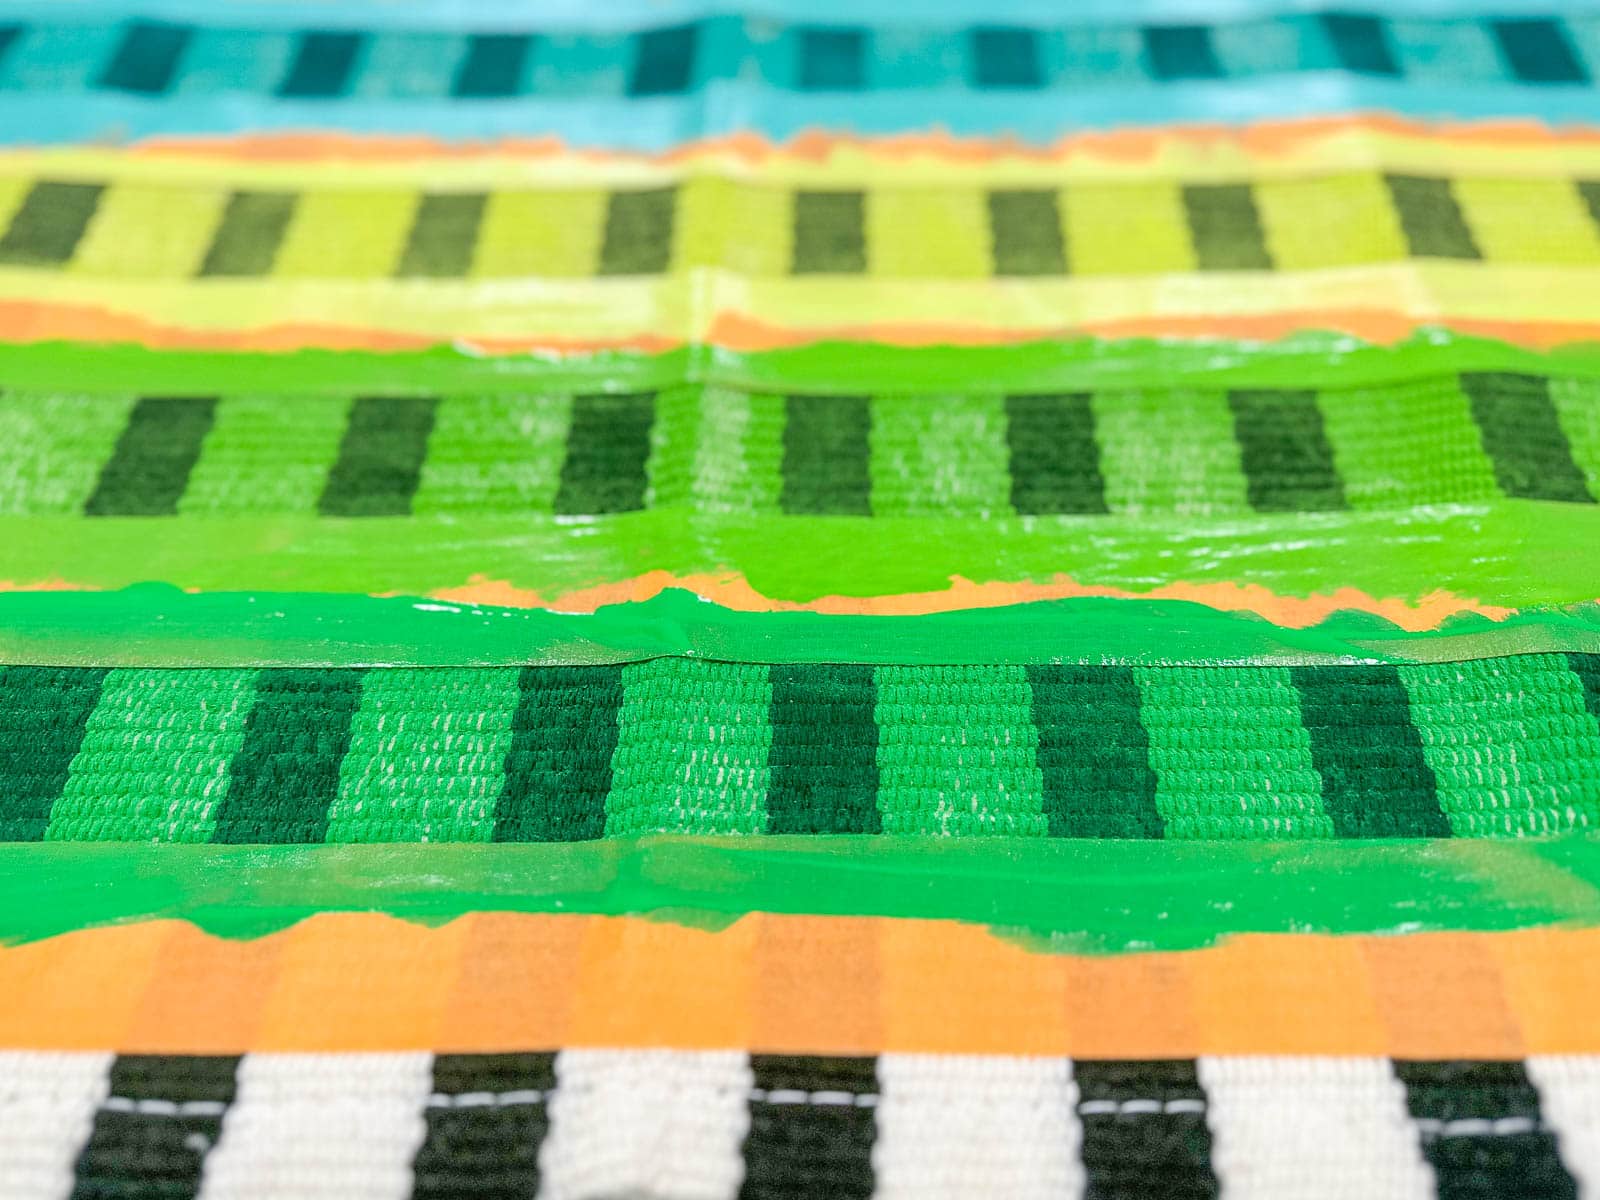
Whenever I’m taping fabric or a material with a weave, I try to follow the natural lines of the weave. I used the Frogtape Prograde Orange for this project, but I’ve used green Frogtape for a rug before and it worked also! Make sure you don’t adjust the tape at all when working on fabric. If you have to peel the tape off, just get a new piece of tape for optimal adhesion. Like any tape project, press the edges down as best you can before painting.
Step 3. Paint
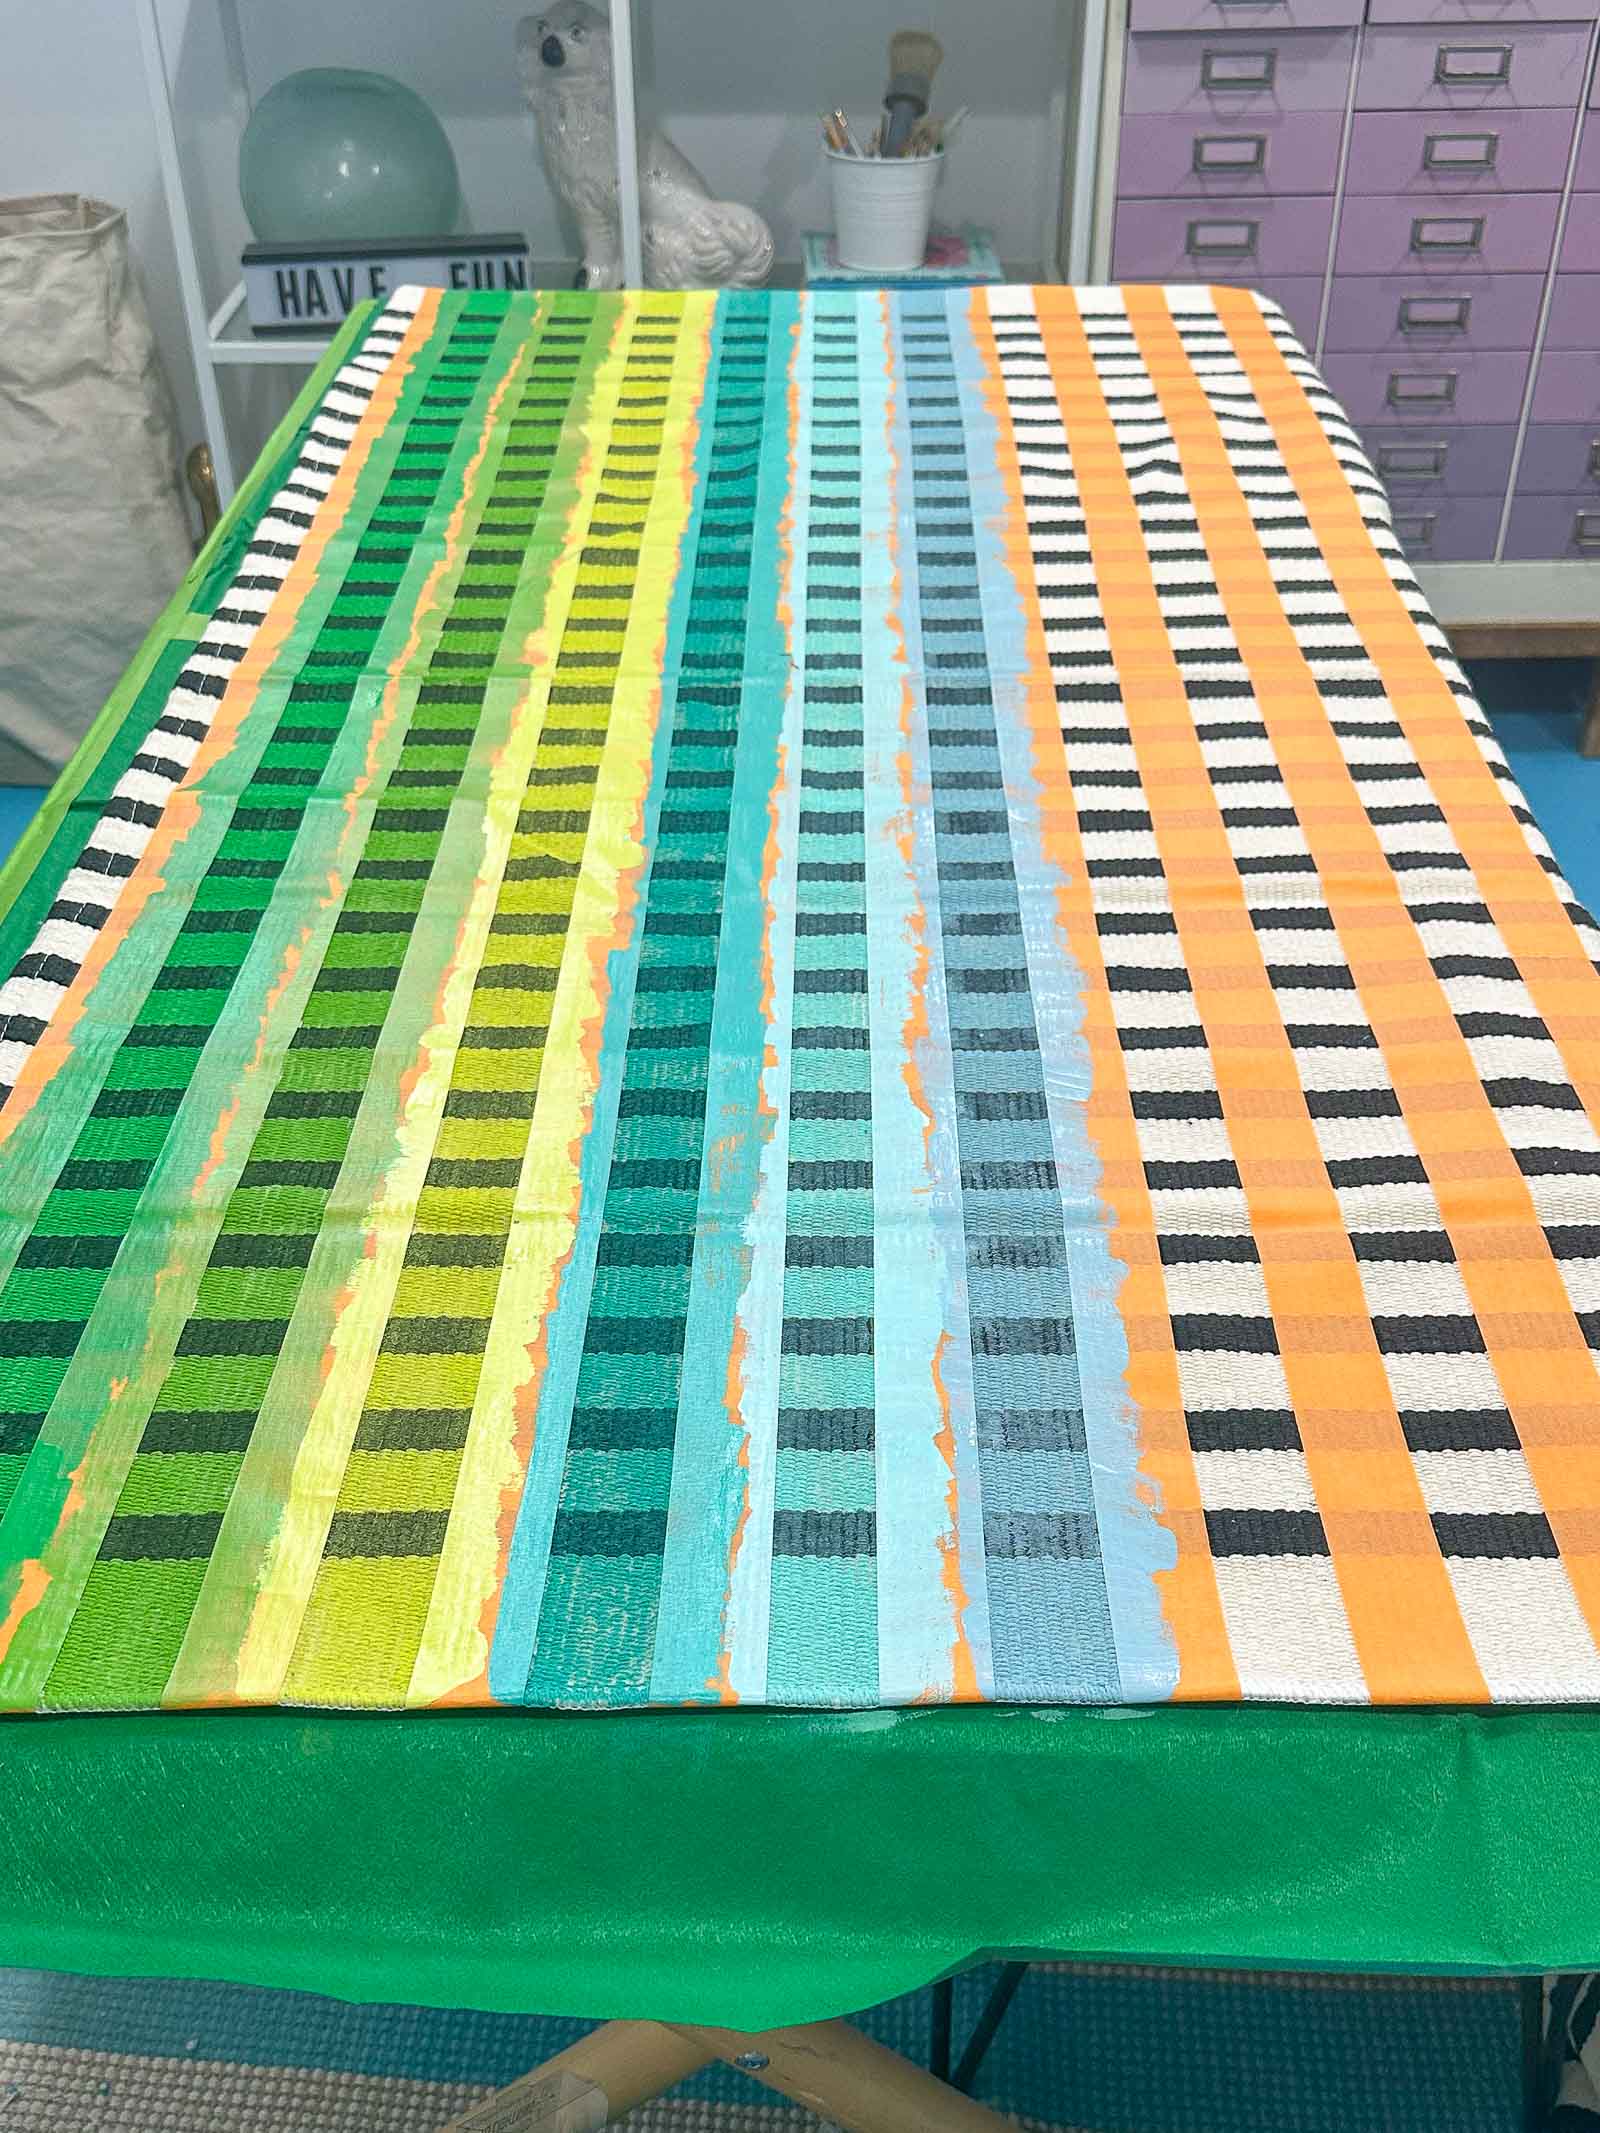
I mixed in a little fabric medium with my paint to give it a bit more flexibility before carefully painting the rug. I always make sure to paint *away* from the tape edge and to apply pressure to prevent any bleed through. I’m also careful not to load my brush with a ton of paint.

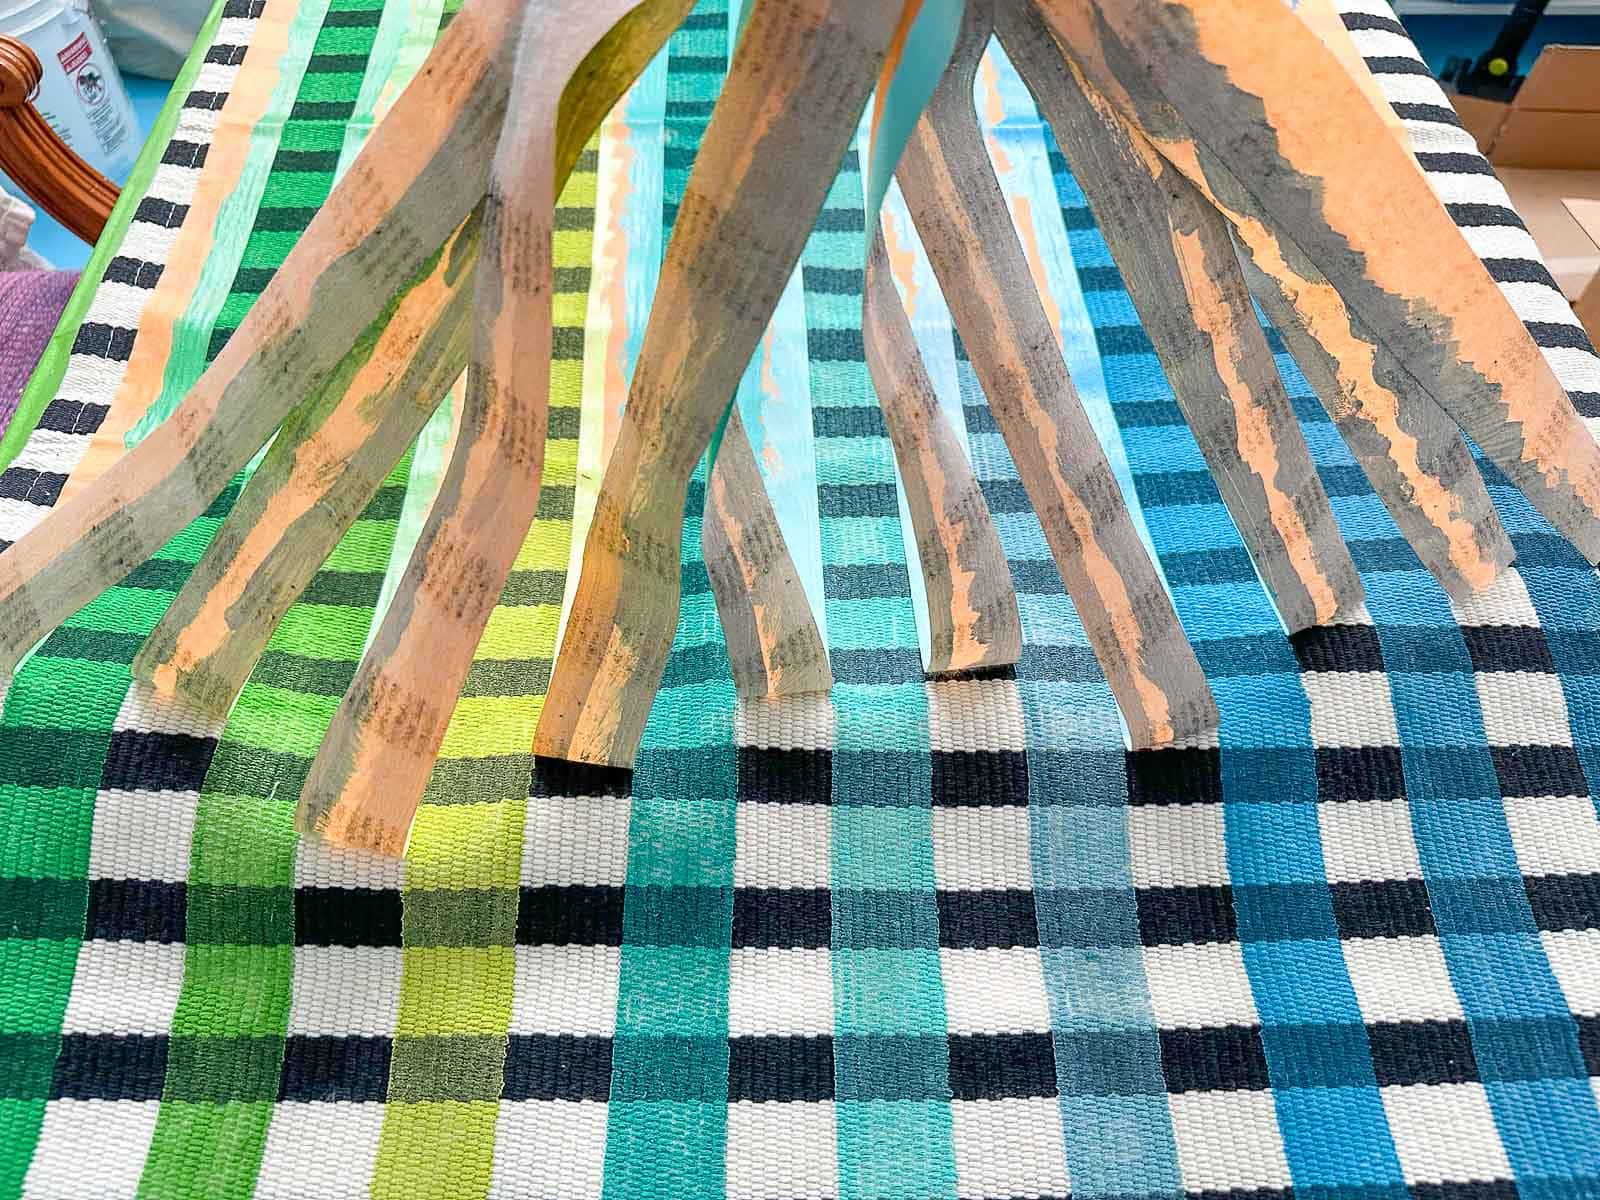
Step 4. Pull the Tape
Let the paint dry a little bit and then pull the tape. Just. Like. That. Painter’s tape MAGIC. Clean crisp lines every time!
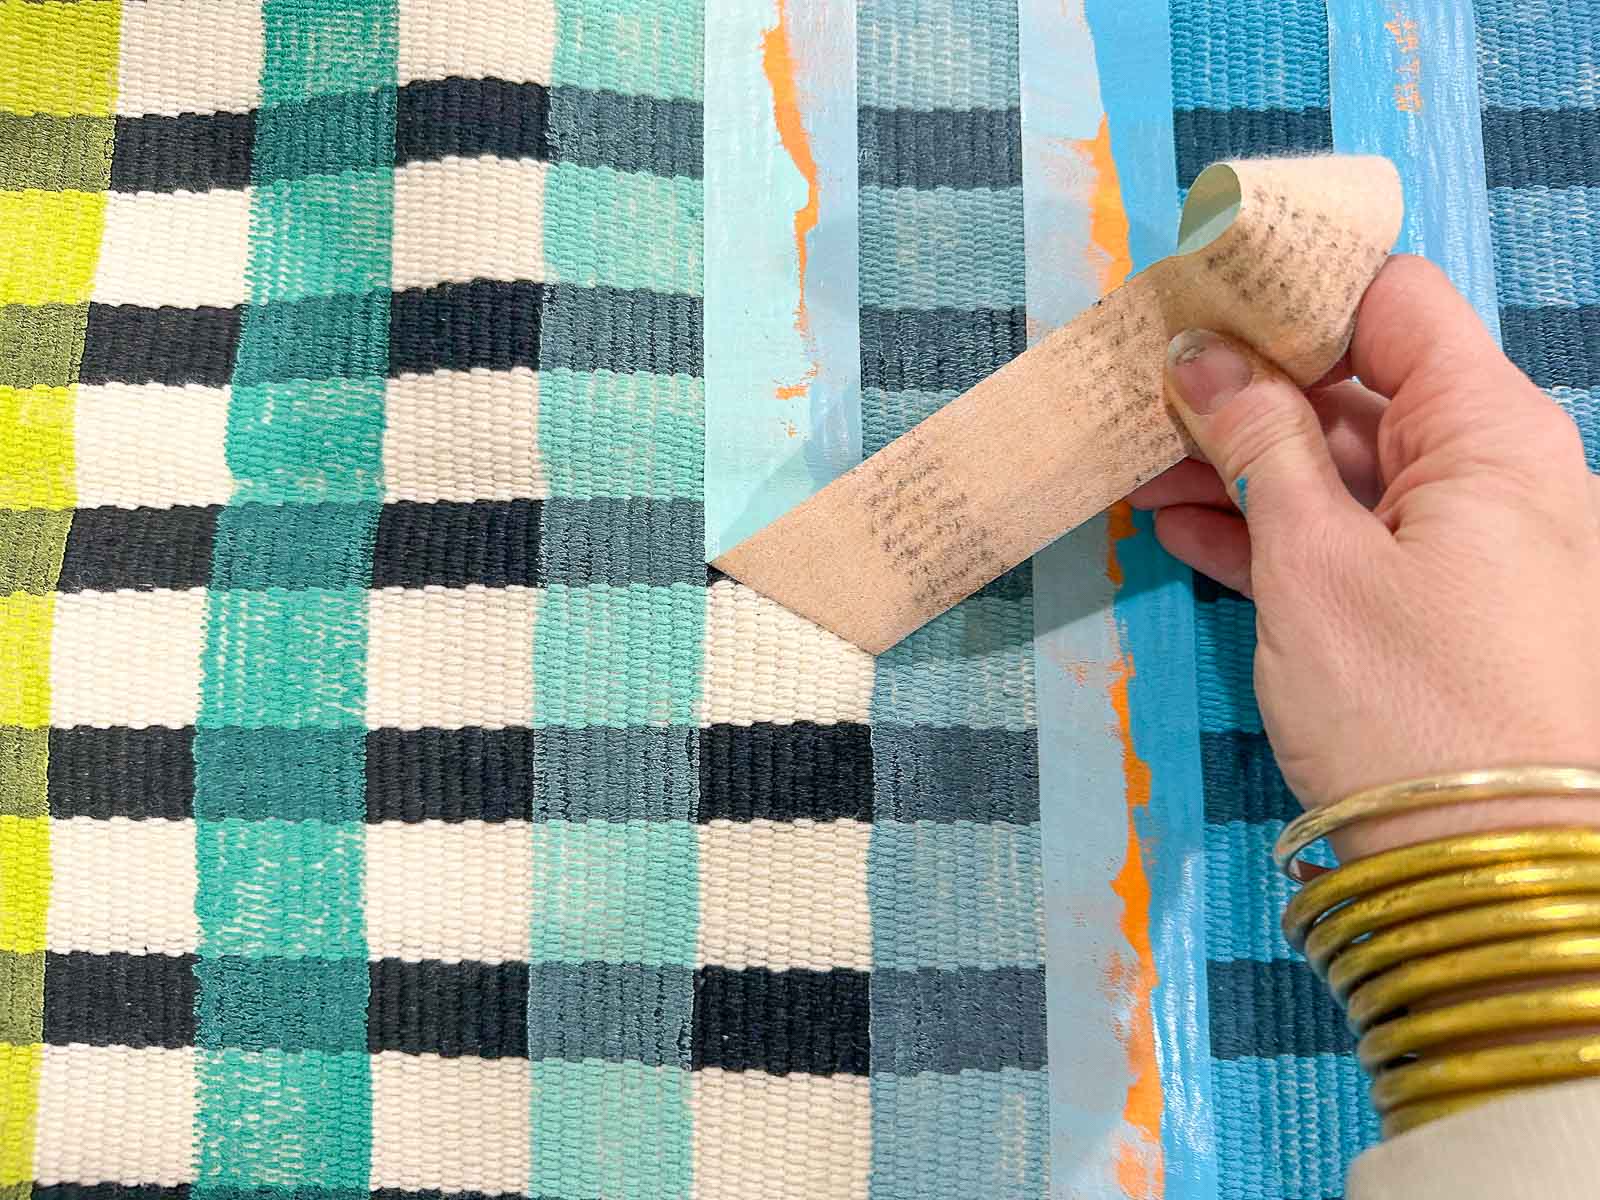
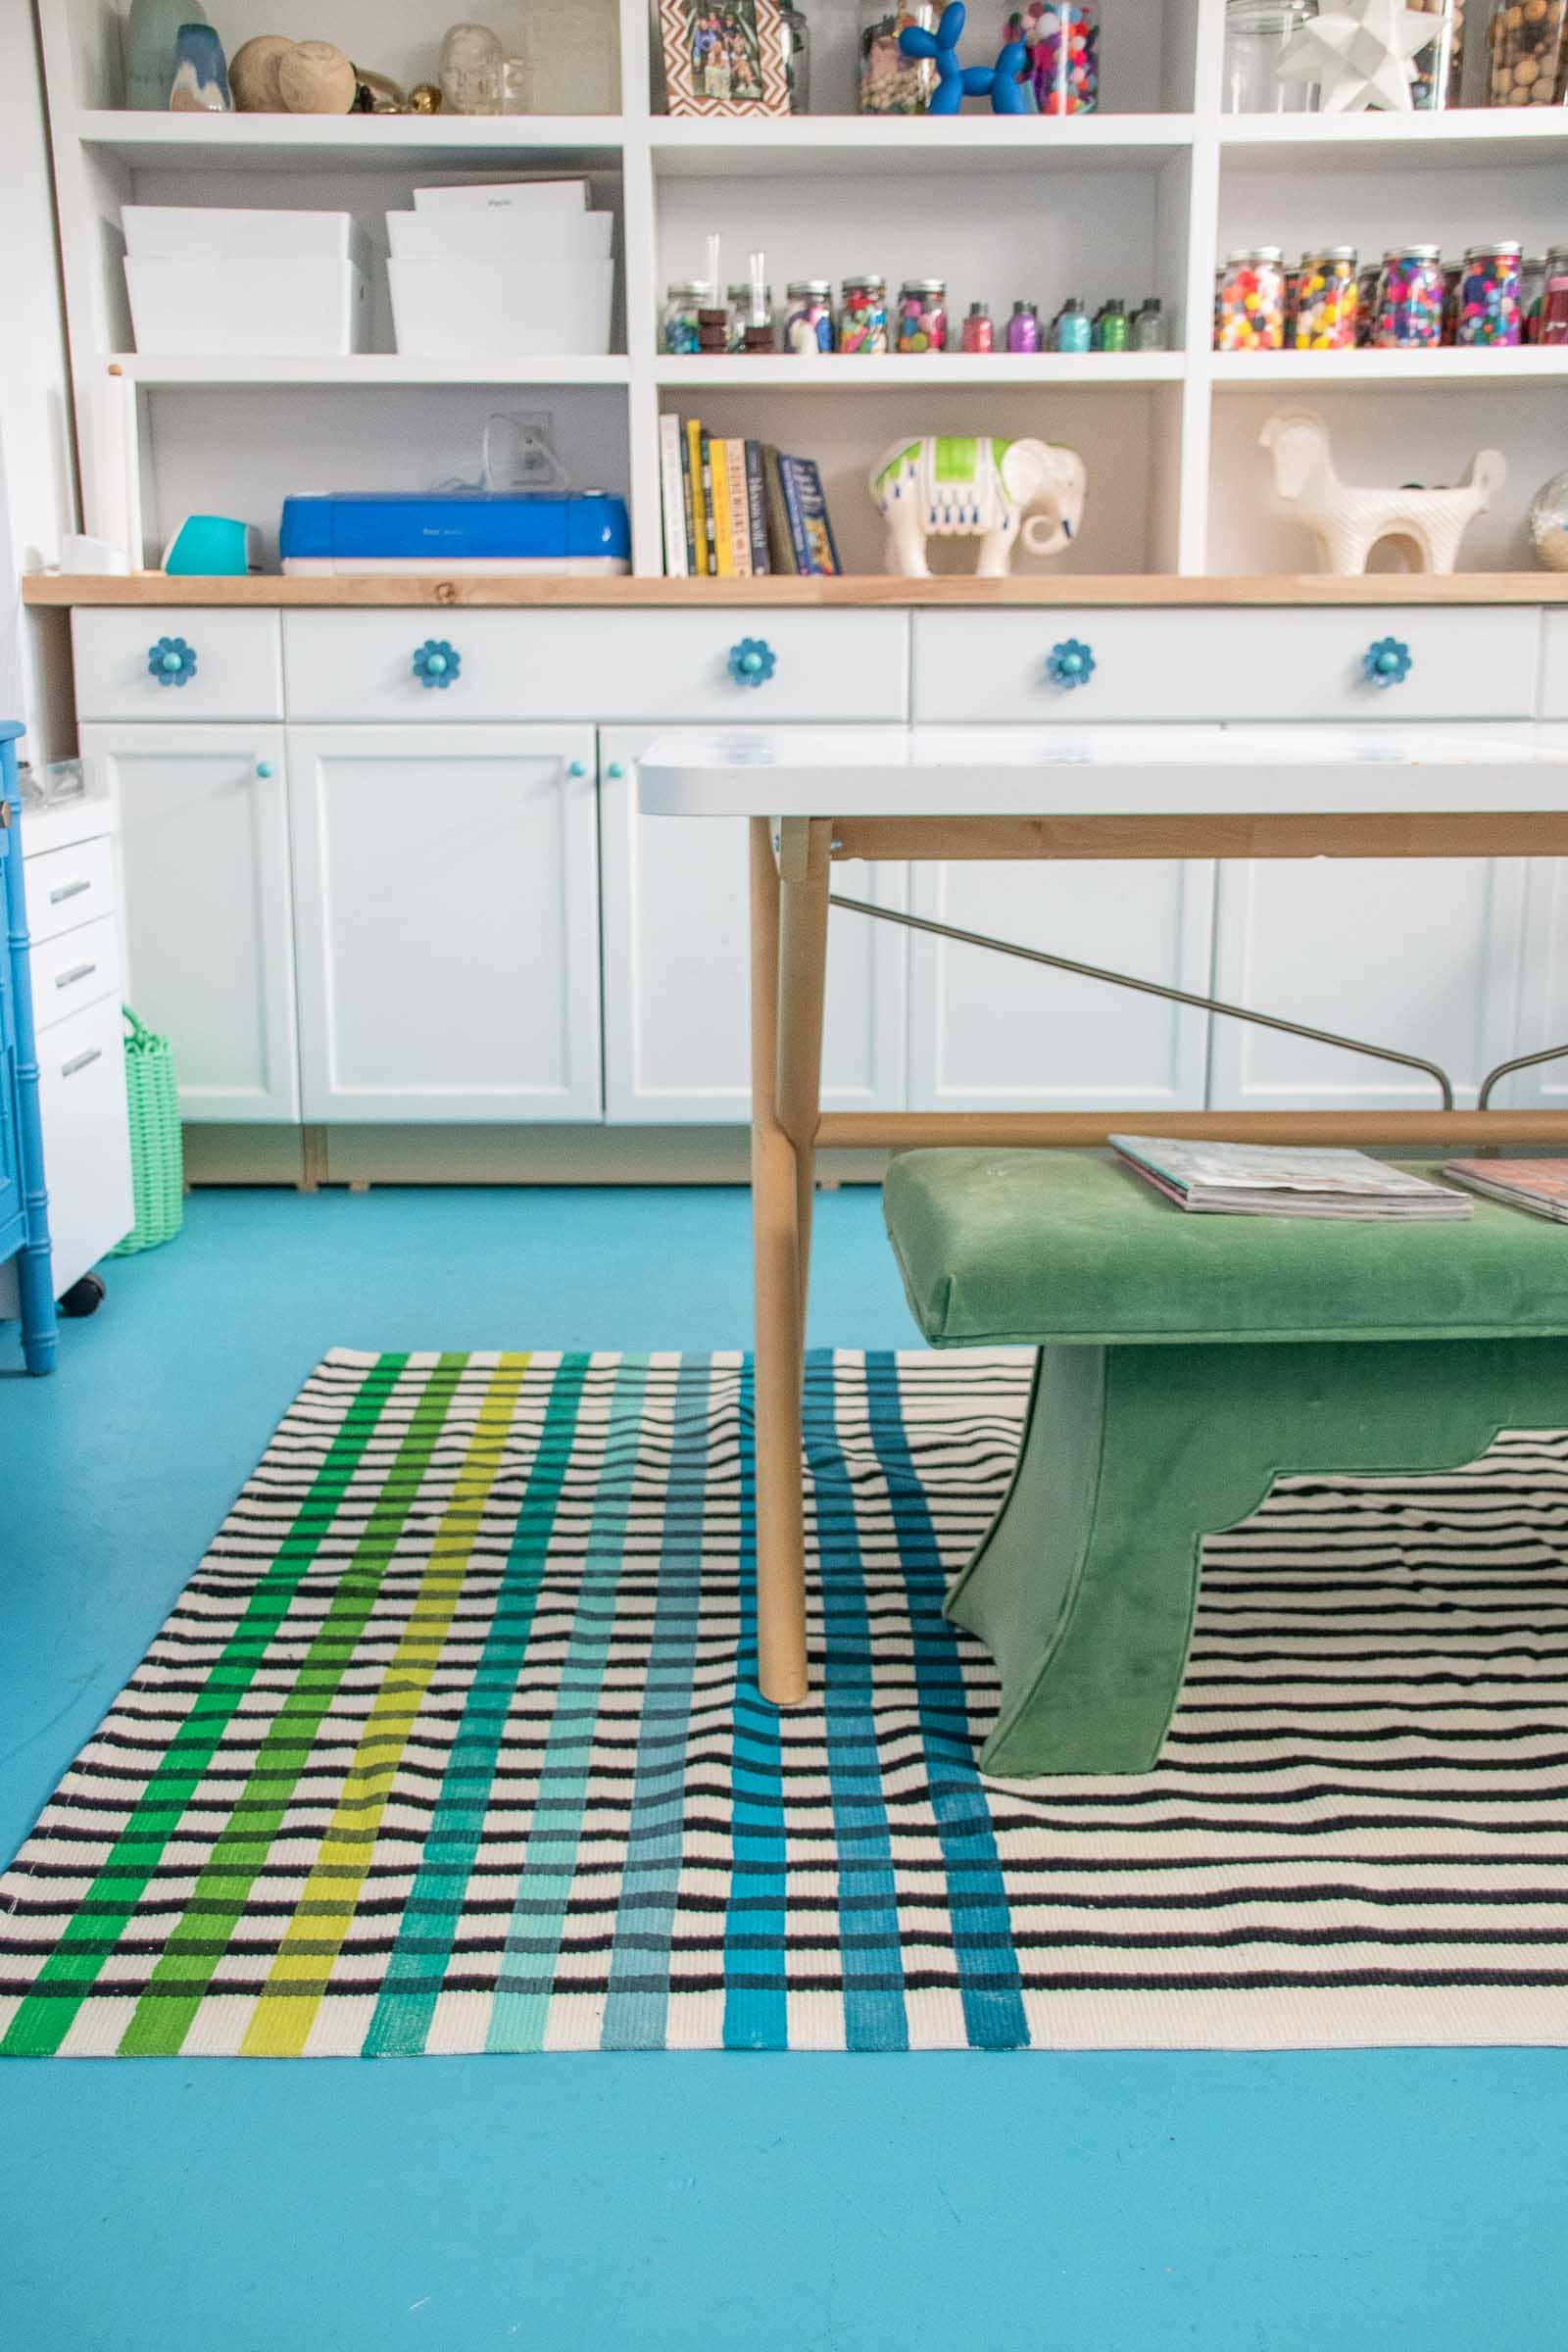
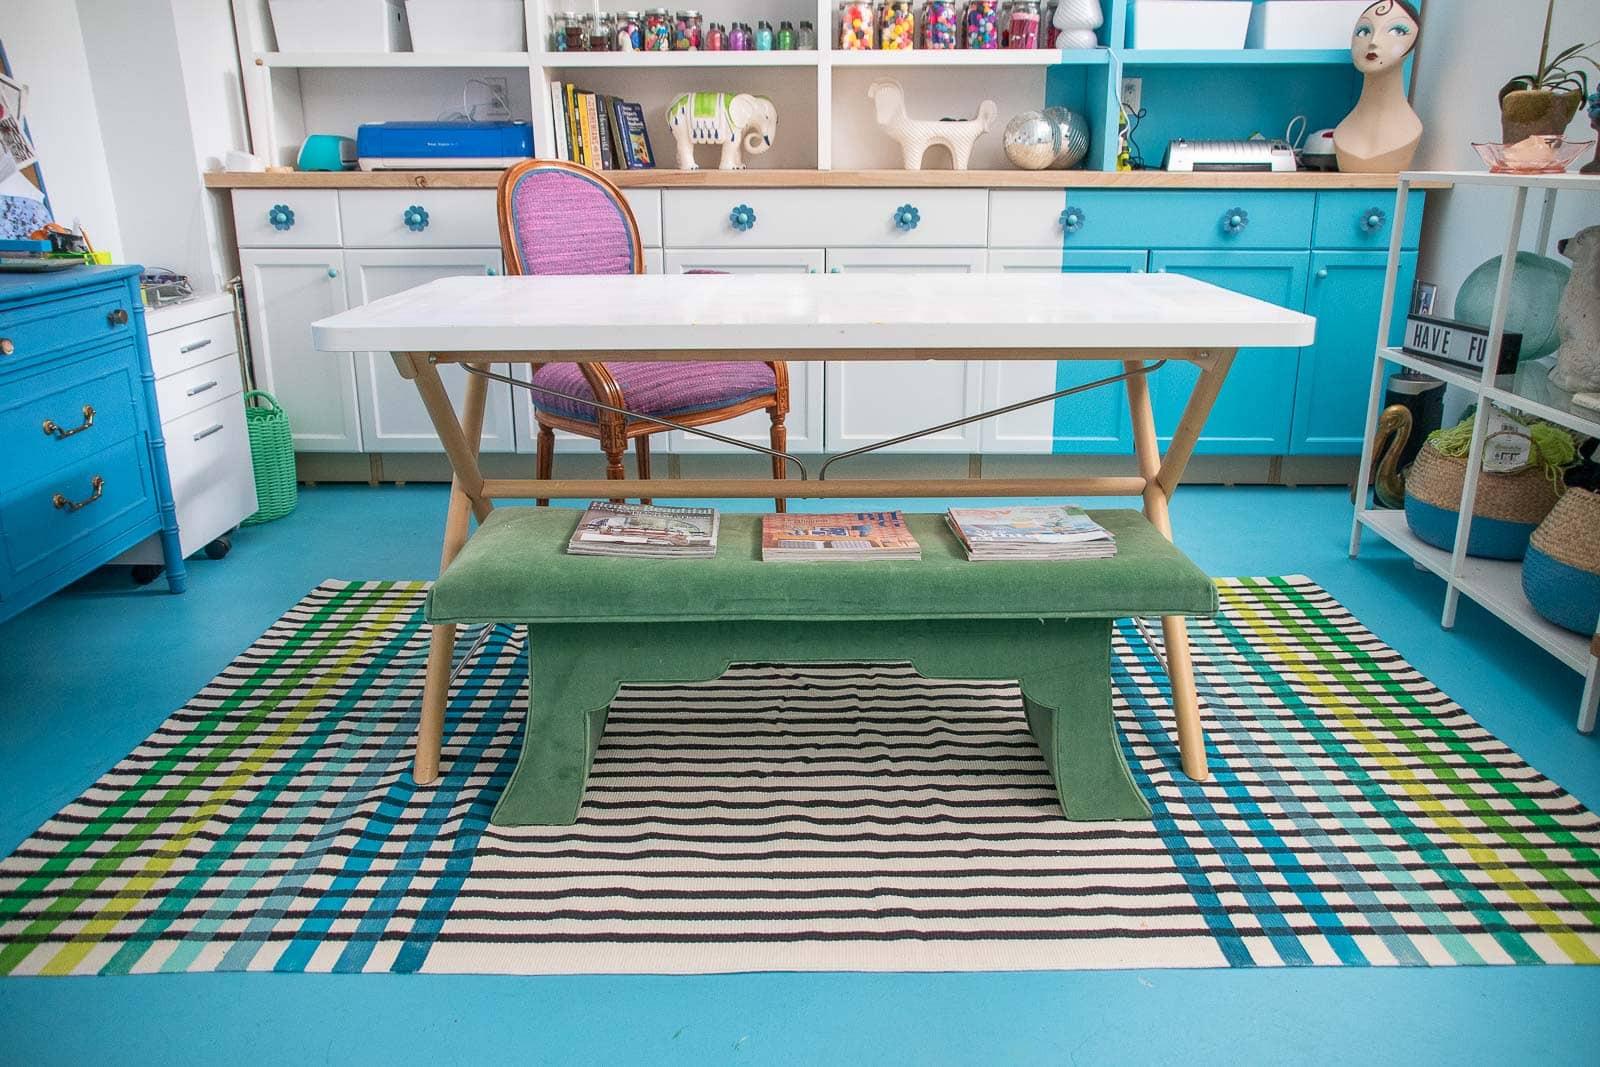
I’m using the same paint colors that are in my logo and I adore them. What I didn’t realize was how amazing they would love layered on the black and white stripes. I laid this rug down in my office and it’s a much better size than the smaller one I had down there before. The floor is concrete so it’s nice to have a rug to help dampen the sound and… because it was somewhat affordable I don’t worry that it’s under my work surface.




Don’t Miss Out
Become An Insider!
Signup for exclusive tips, and tricks from Charlotte’s House!
Let’s chat!
I love comments from you, so feel free to leave your thoughts and ideas below! And don’t forget to follow me on Instagram for even more!