
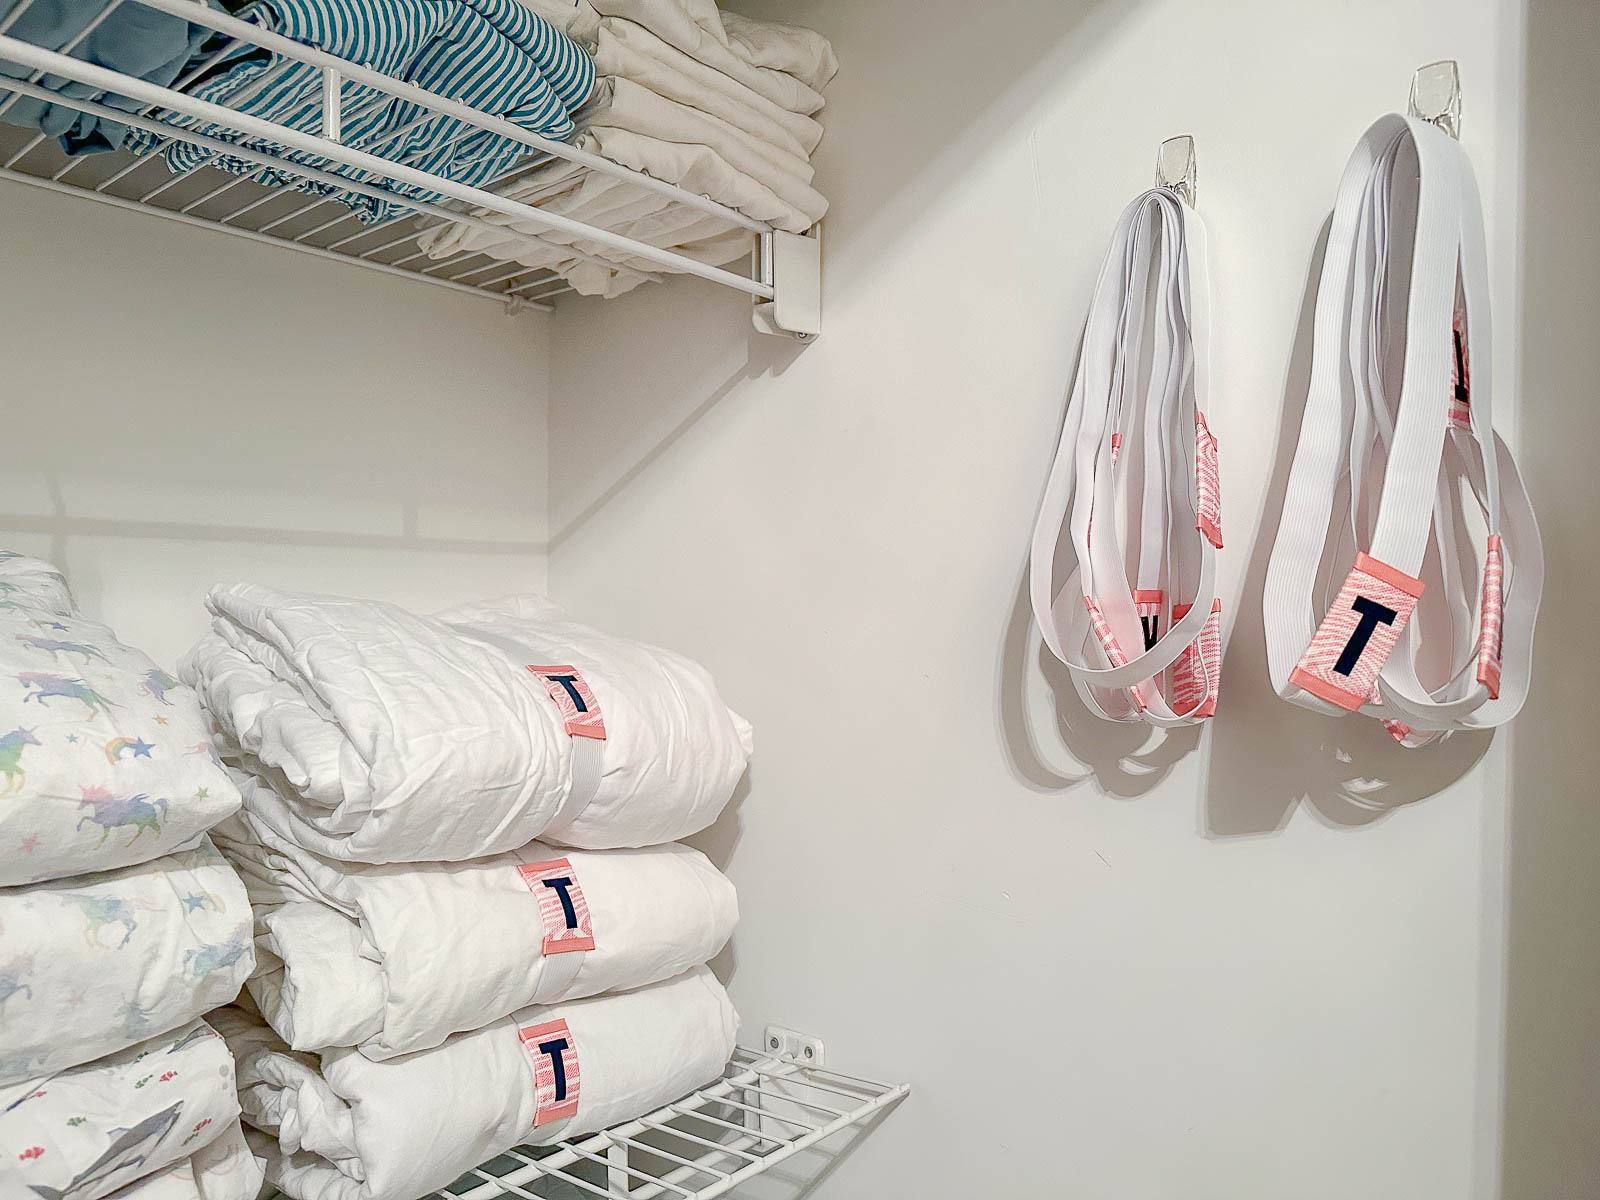
Organizing a Linen Closet with DIY Elastic Bands for Our Sheets
Psssst… this post *might* contain affiliate links: see my disclosure here.
DIY Sheet Organizers
I used basic 1-inch elastic and made it into giant elastic bands to help organize our linen closet.
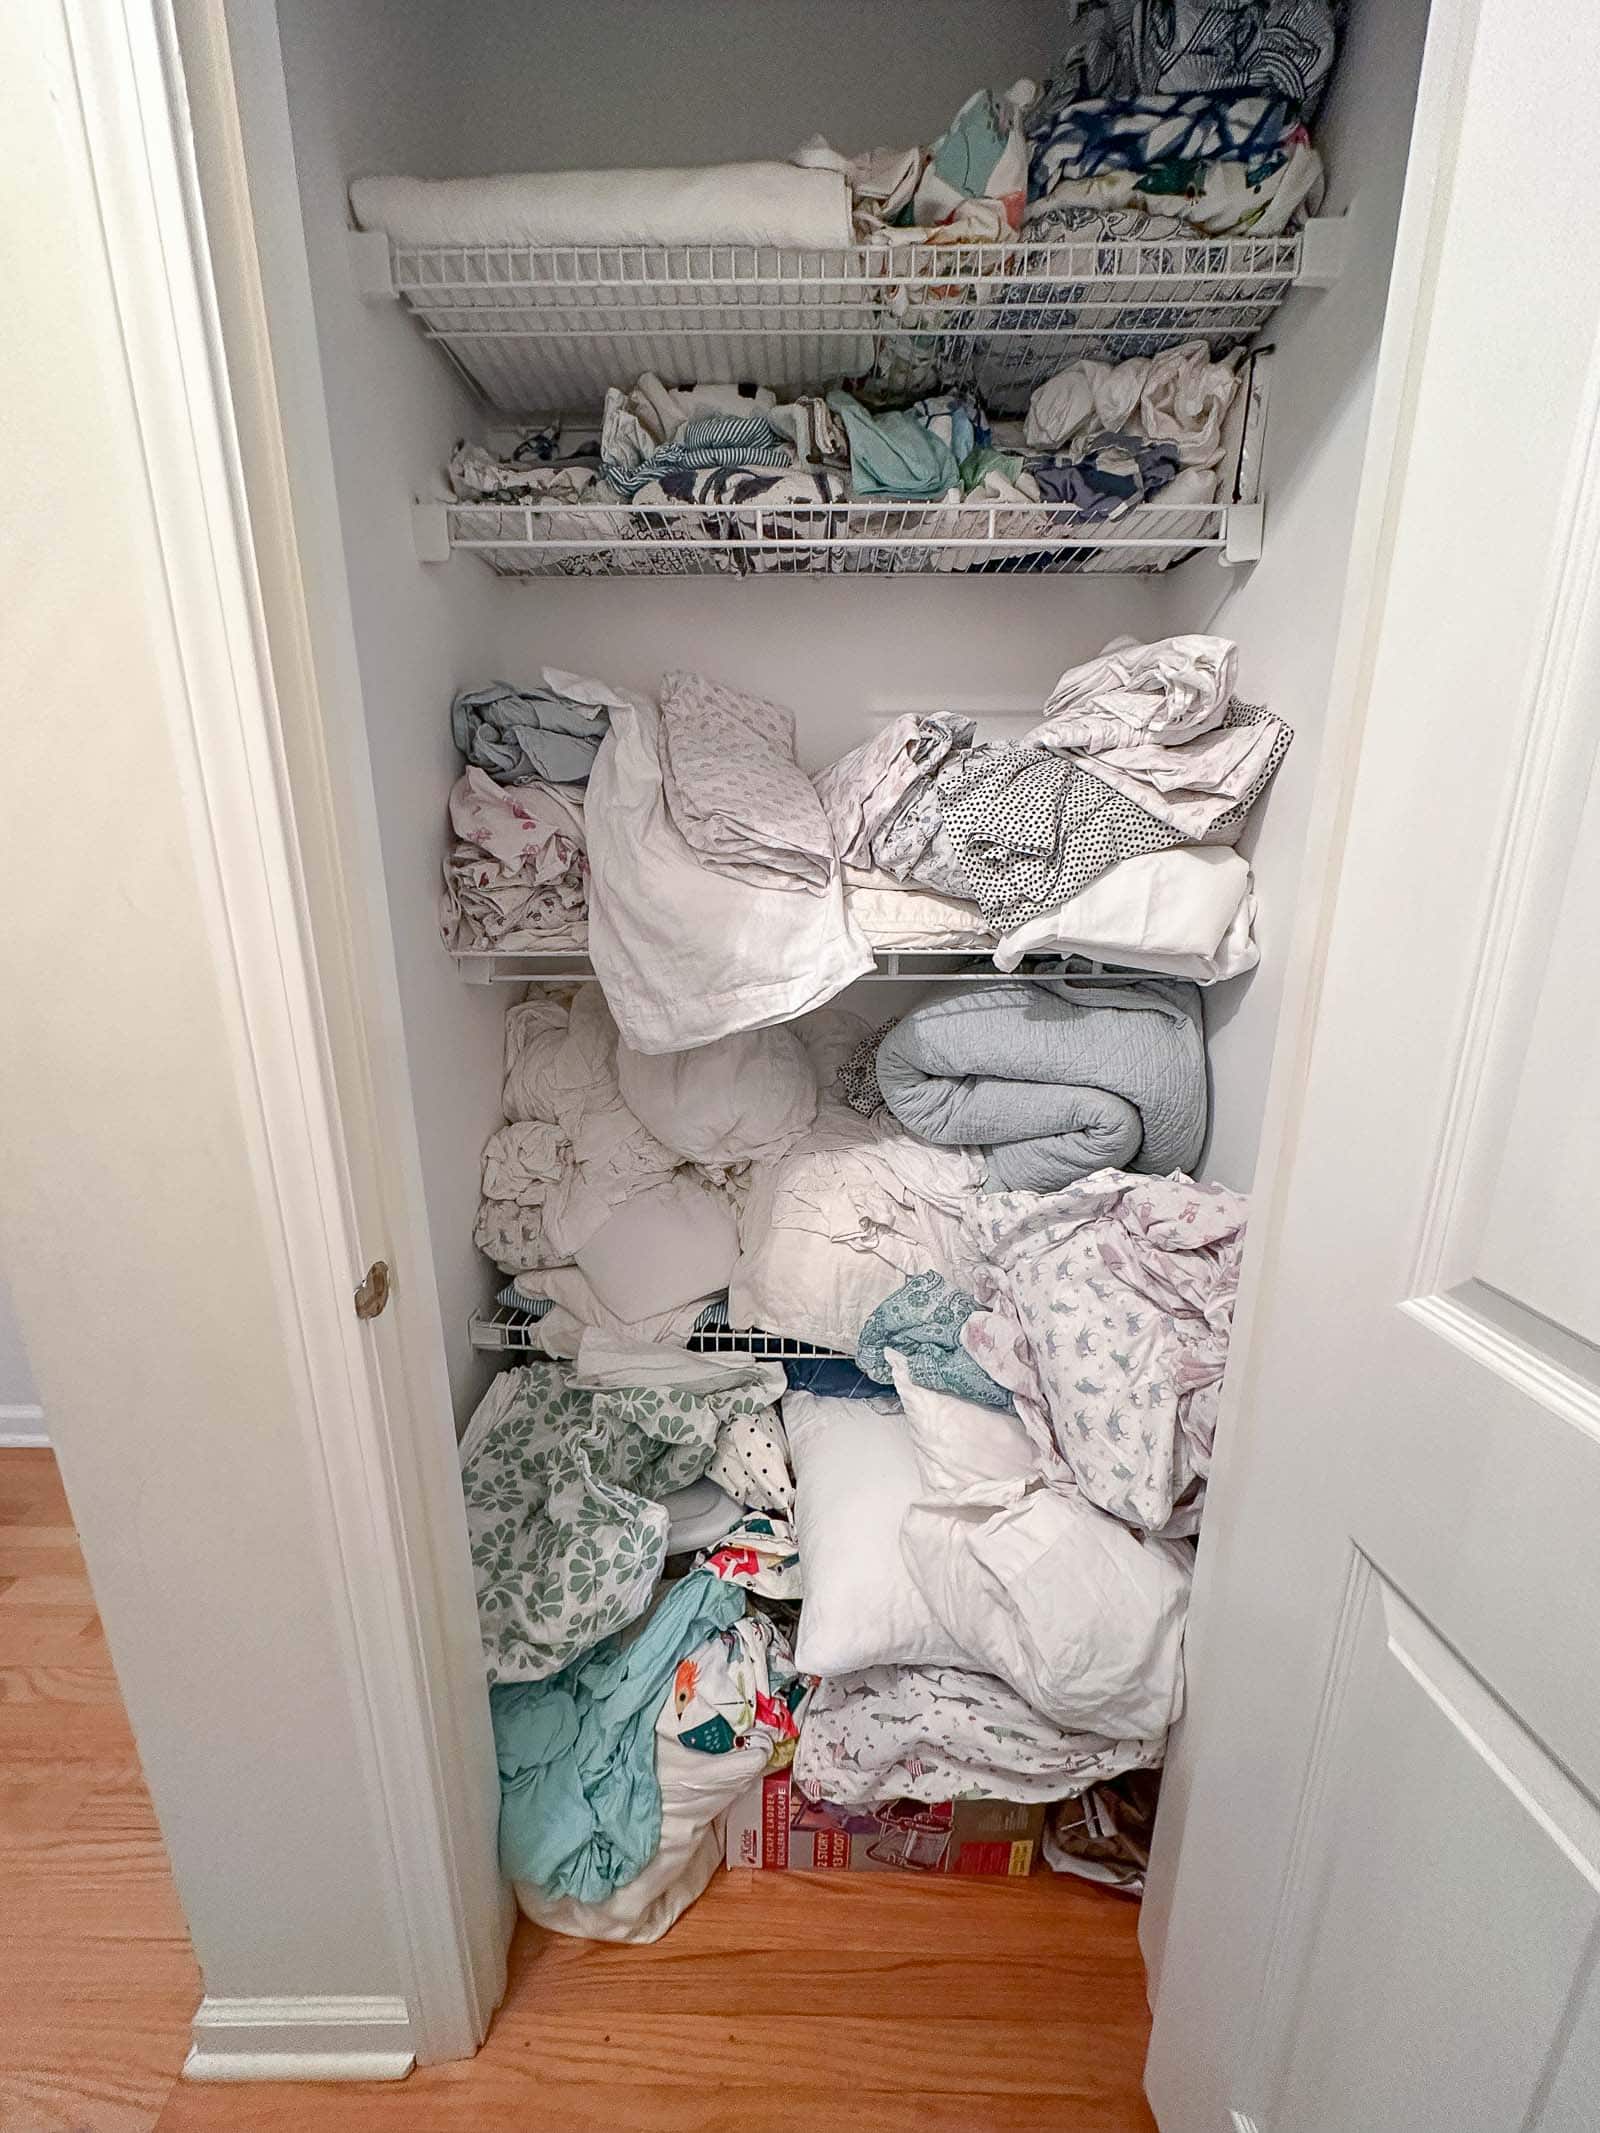
Storytime: This project was *not* intended to be posted about. The lighting is bad, the before and after picture isn’t much better, but… I had so many comments about it over on Instagram, that I had to write it up. Also… you should know that I did NOT come up with the idea of using elastic to help wrangle our linen closet into order. That idea popped up for me on a professional organizer’s page but the elastics they linked to were spendy mcspenderson. So then I looked on Amazon. Guess what. Those were also too expensive especially for a family like ours that would need 10+ elastics. Time to DIY. Note that you do NOT need to be as cute and fussy as mine are… a simple sharpie on the elastic will work as would stretchy heat press vinyl. But keep reading to see how I made mine!
Shop my favorites!
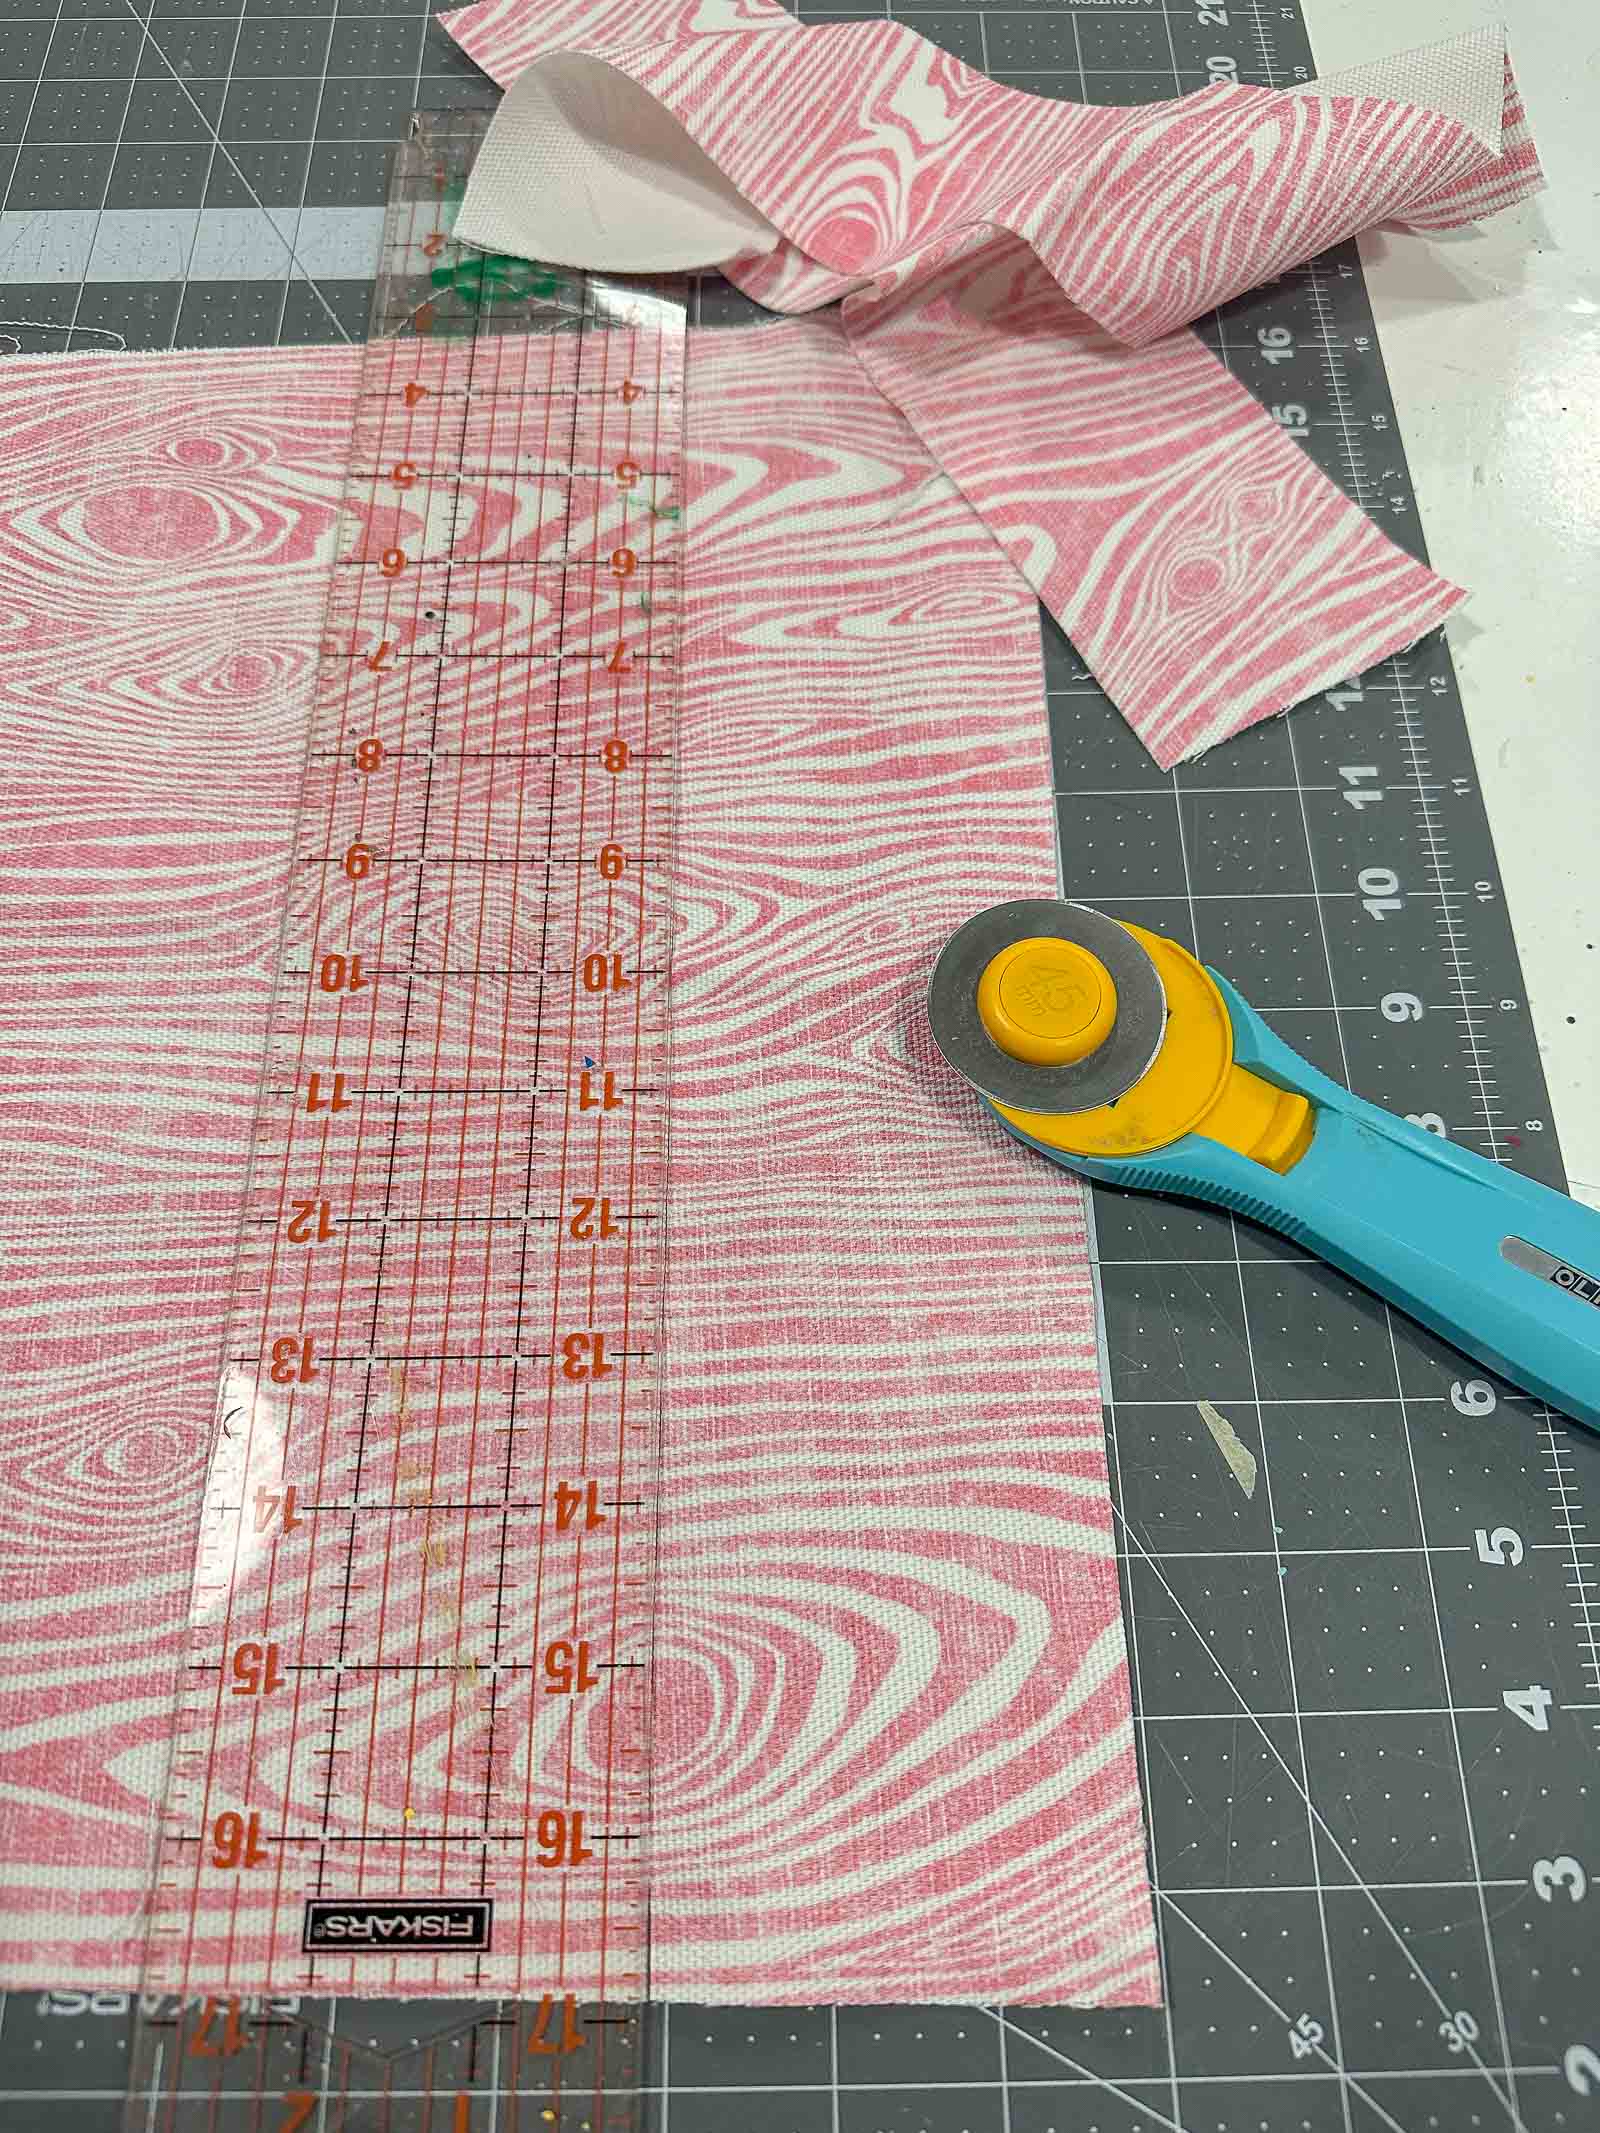
Step 1: Make the Label Sleeve
I’m using scrap upholstery fabric and cut it into 3-inch wide strips. Next I folded each strip in half, right sides facing, and sewed the rough edge together. The goal is to turn this strip inside out which I found was easier to do *after* cutting it into smaller 2-inch lengths.

Step 2: Print out Labels with Cricut
I’m using Iron on Vinyl transfers and cut out the letters T (twin), F (Full), Q (queen) and K (king) on my Cricut Joy. With my Cricut Heat Press, I pressed the letters onto each individual sleeve.
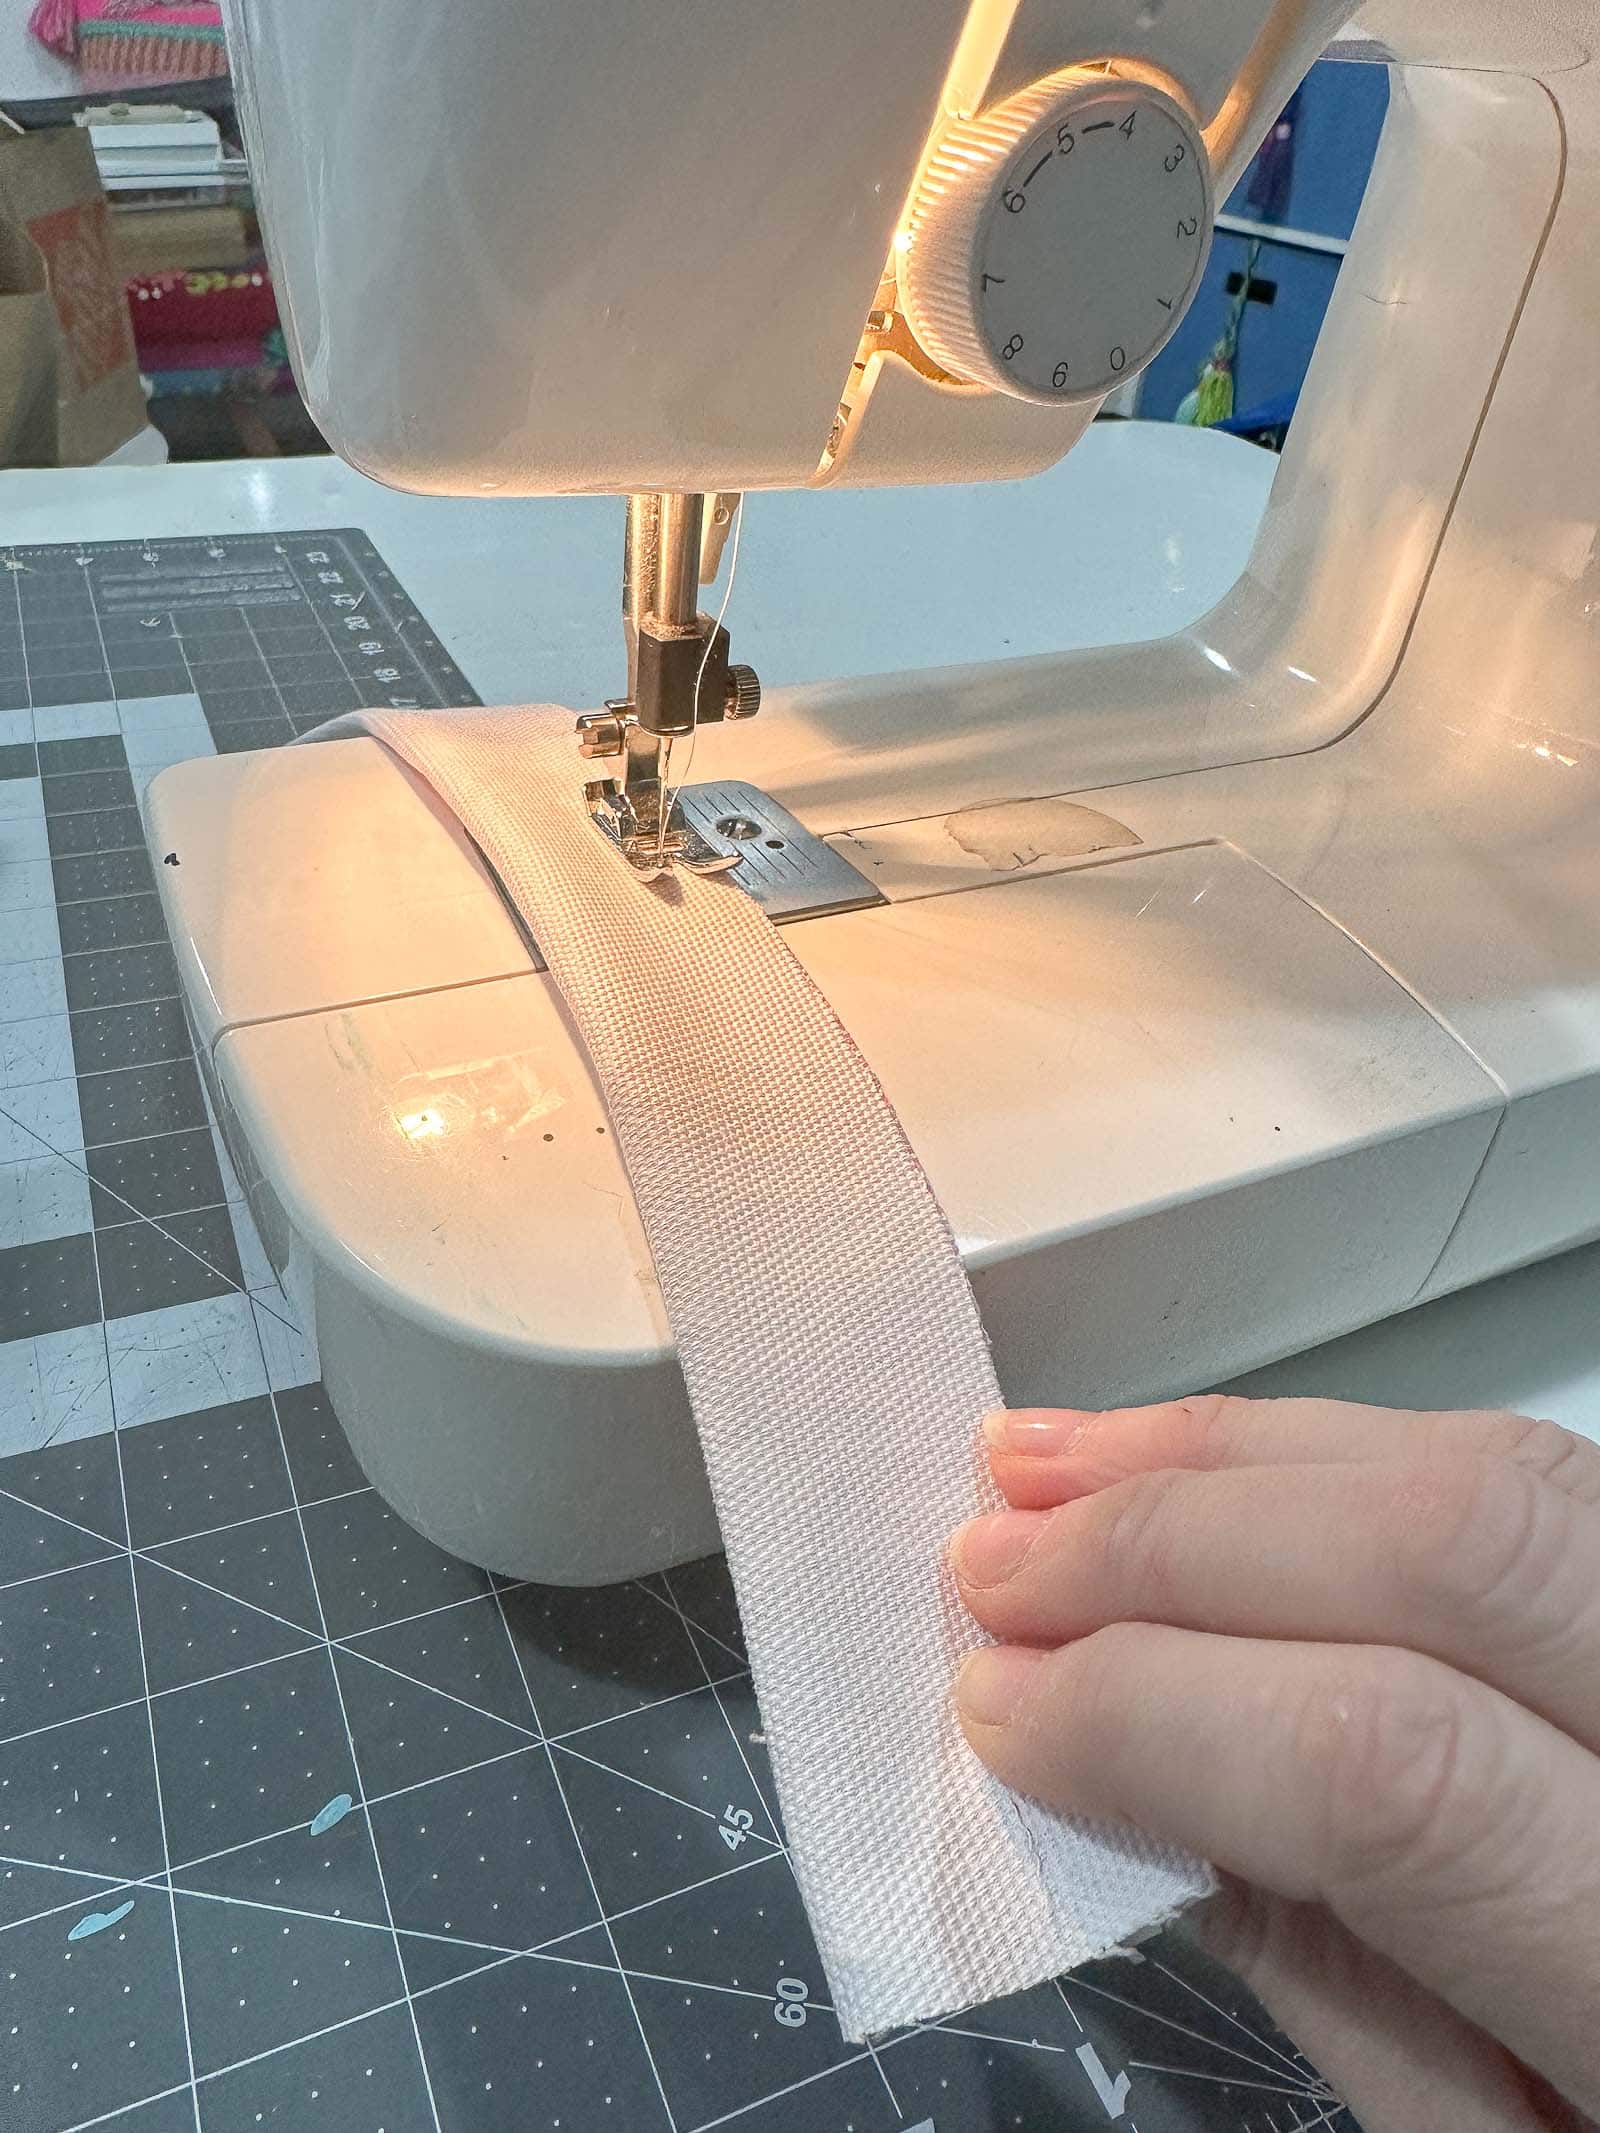
Step 3: Prep the elastic
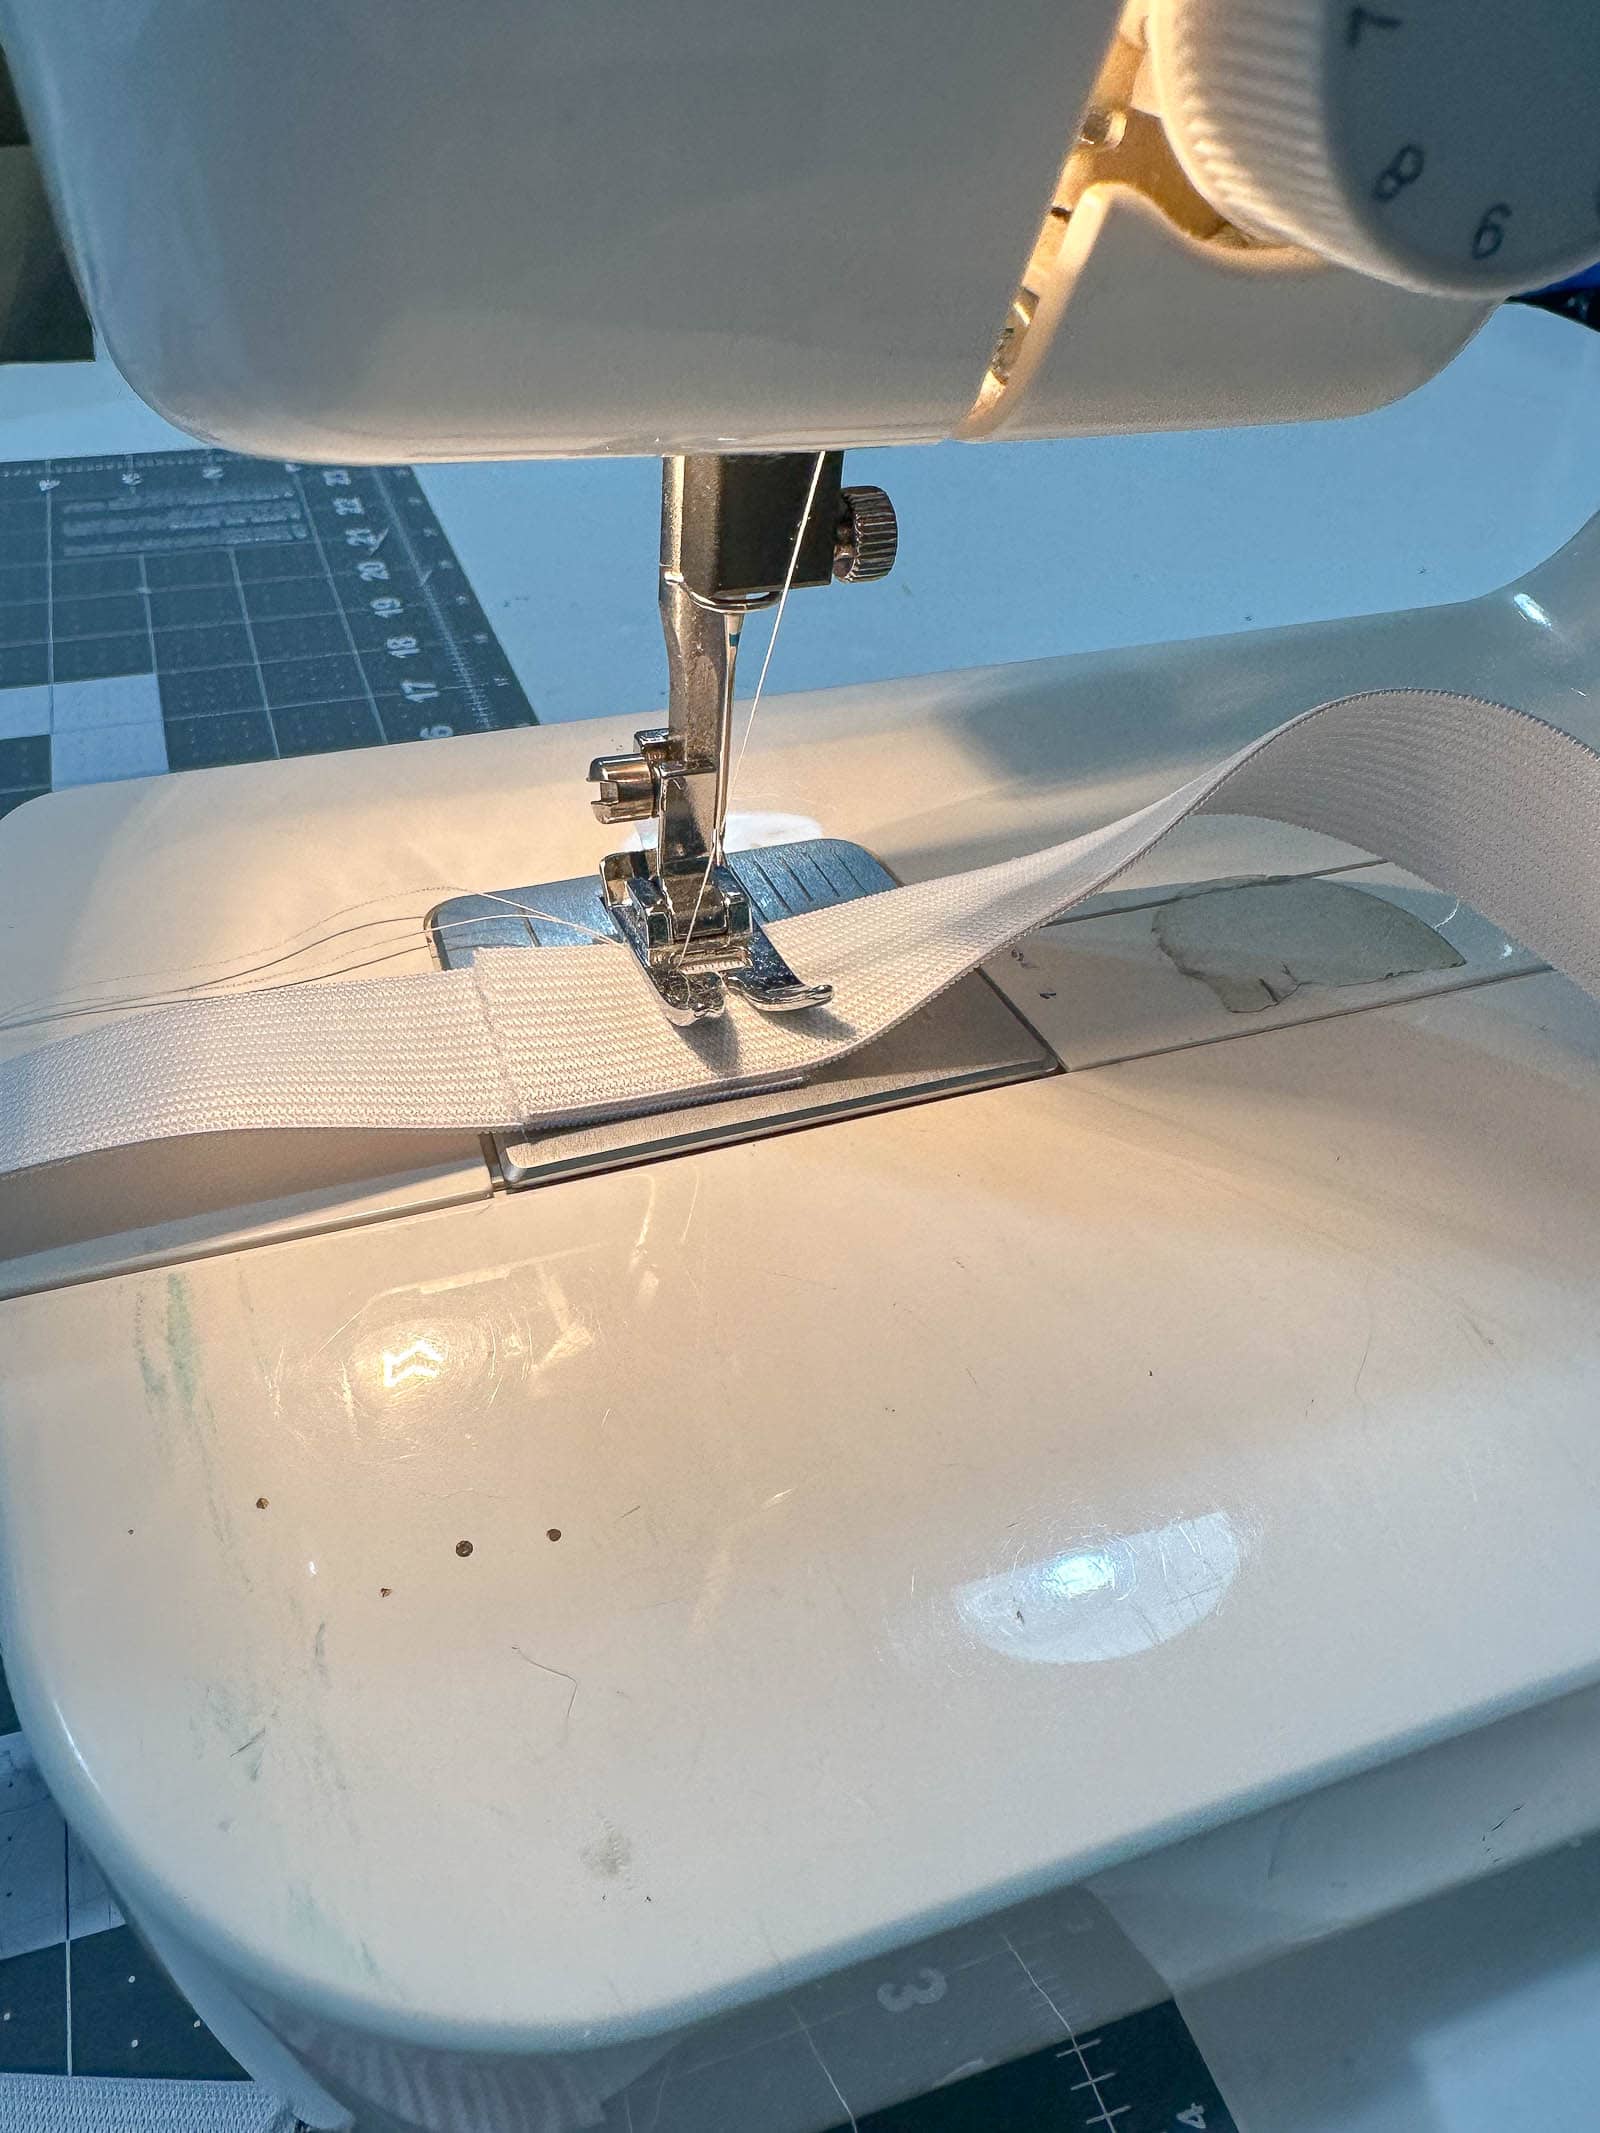
I cut each strip of my 1-inch elastic into 25-inch lengths. Before sewing the ends together, I slid the label sleeve onto the elastic. The ends of each elastic are overlapped by about an inch and then sewed together with a sewing machine.
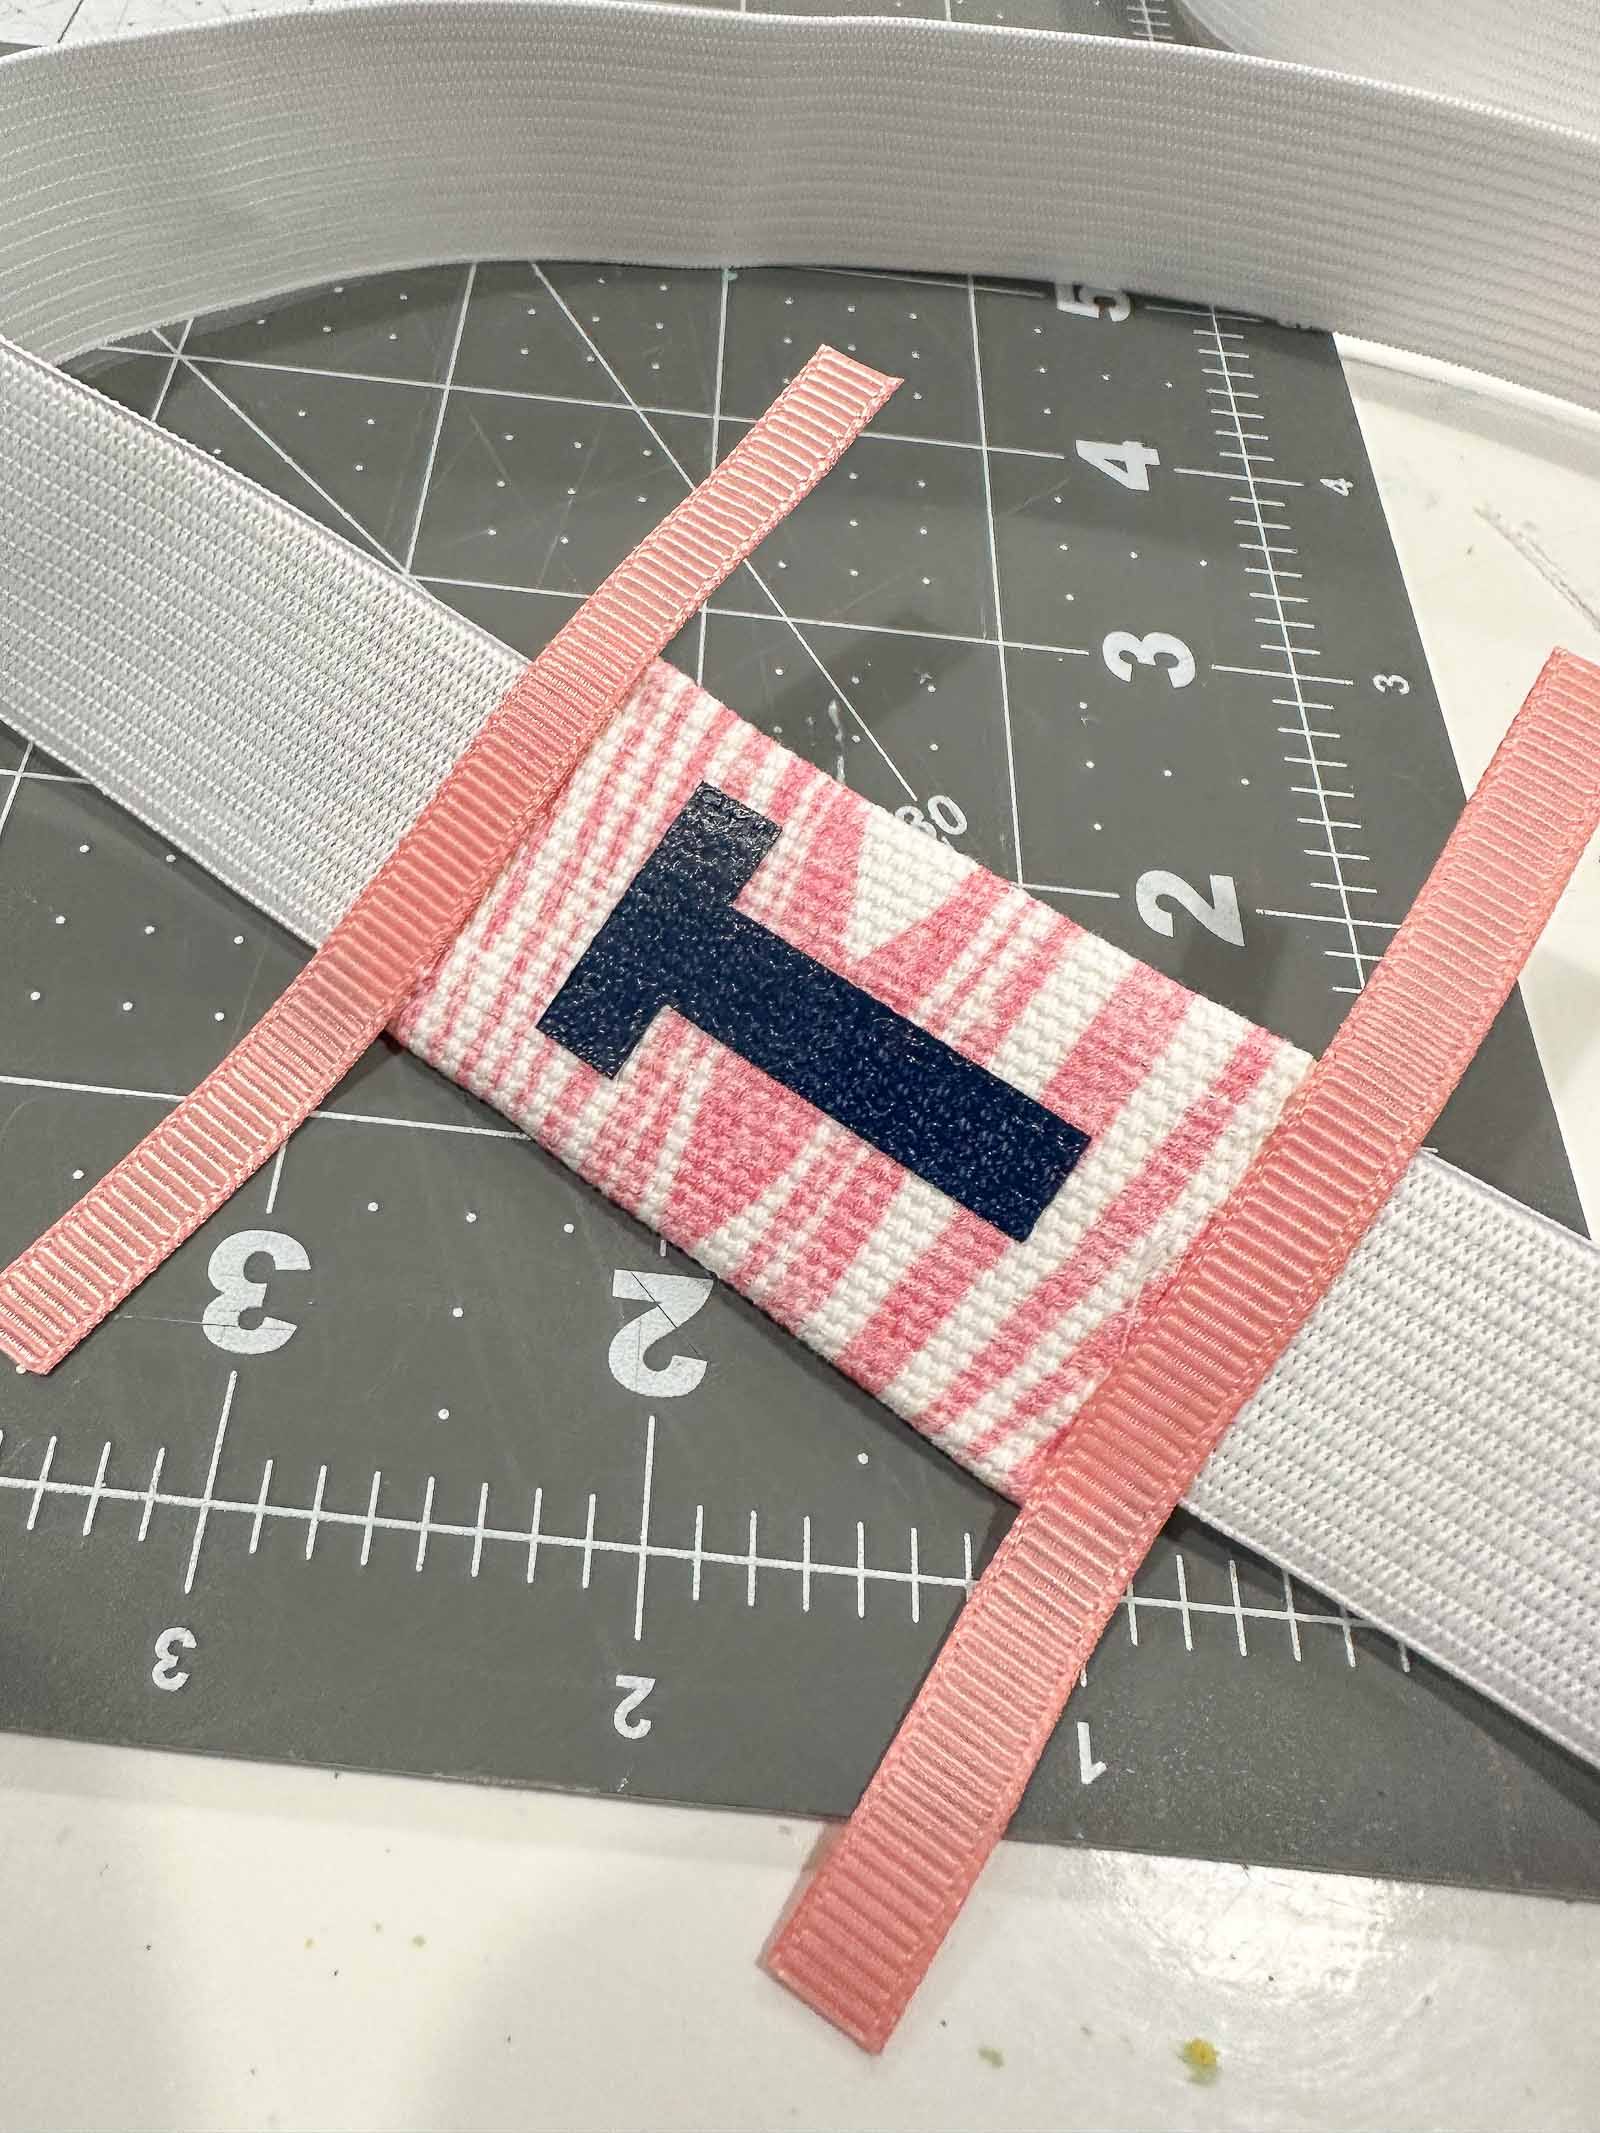
Step 4. Finish the Labels
I slid the label along the elastic until it covered the seam. I’m sure there’s an easier way, but I sewed the top and the bottom of each sleeve to secure it to the elastic. And then to cover the frayed edge, I used fabric glue to wrap a thin piece of grosgrain ribbon around the label.
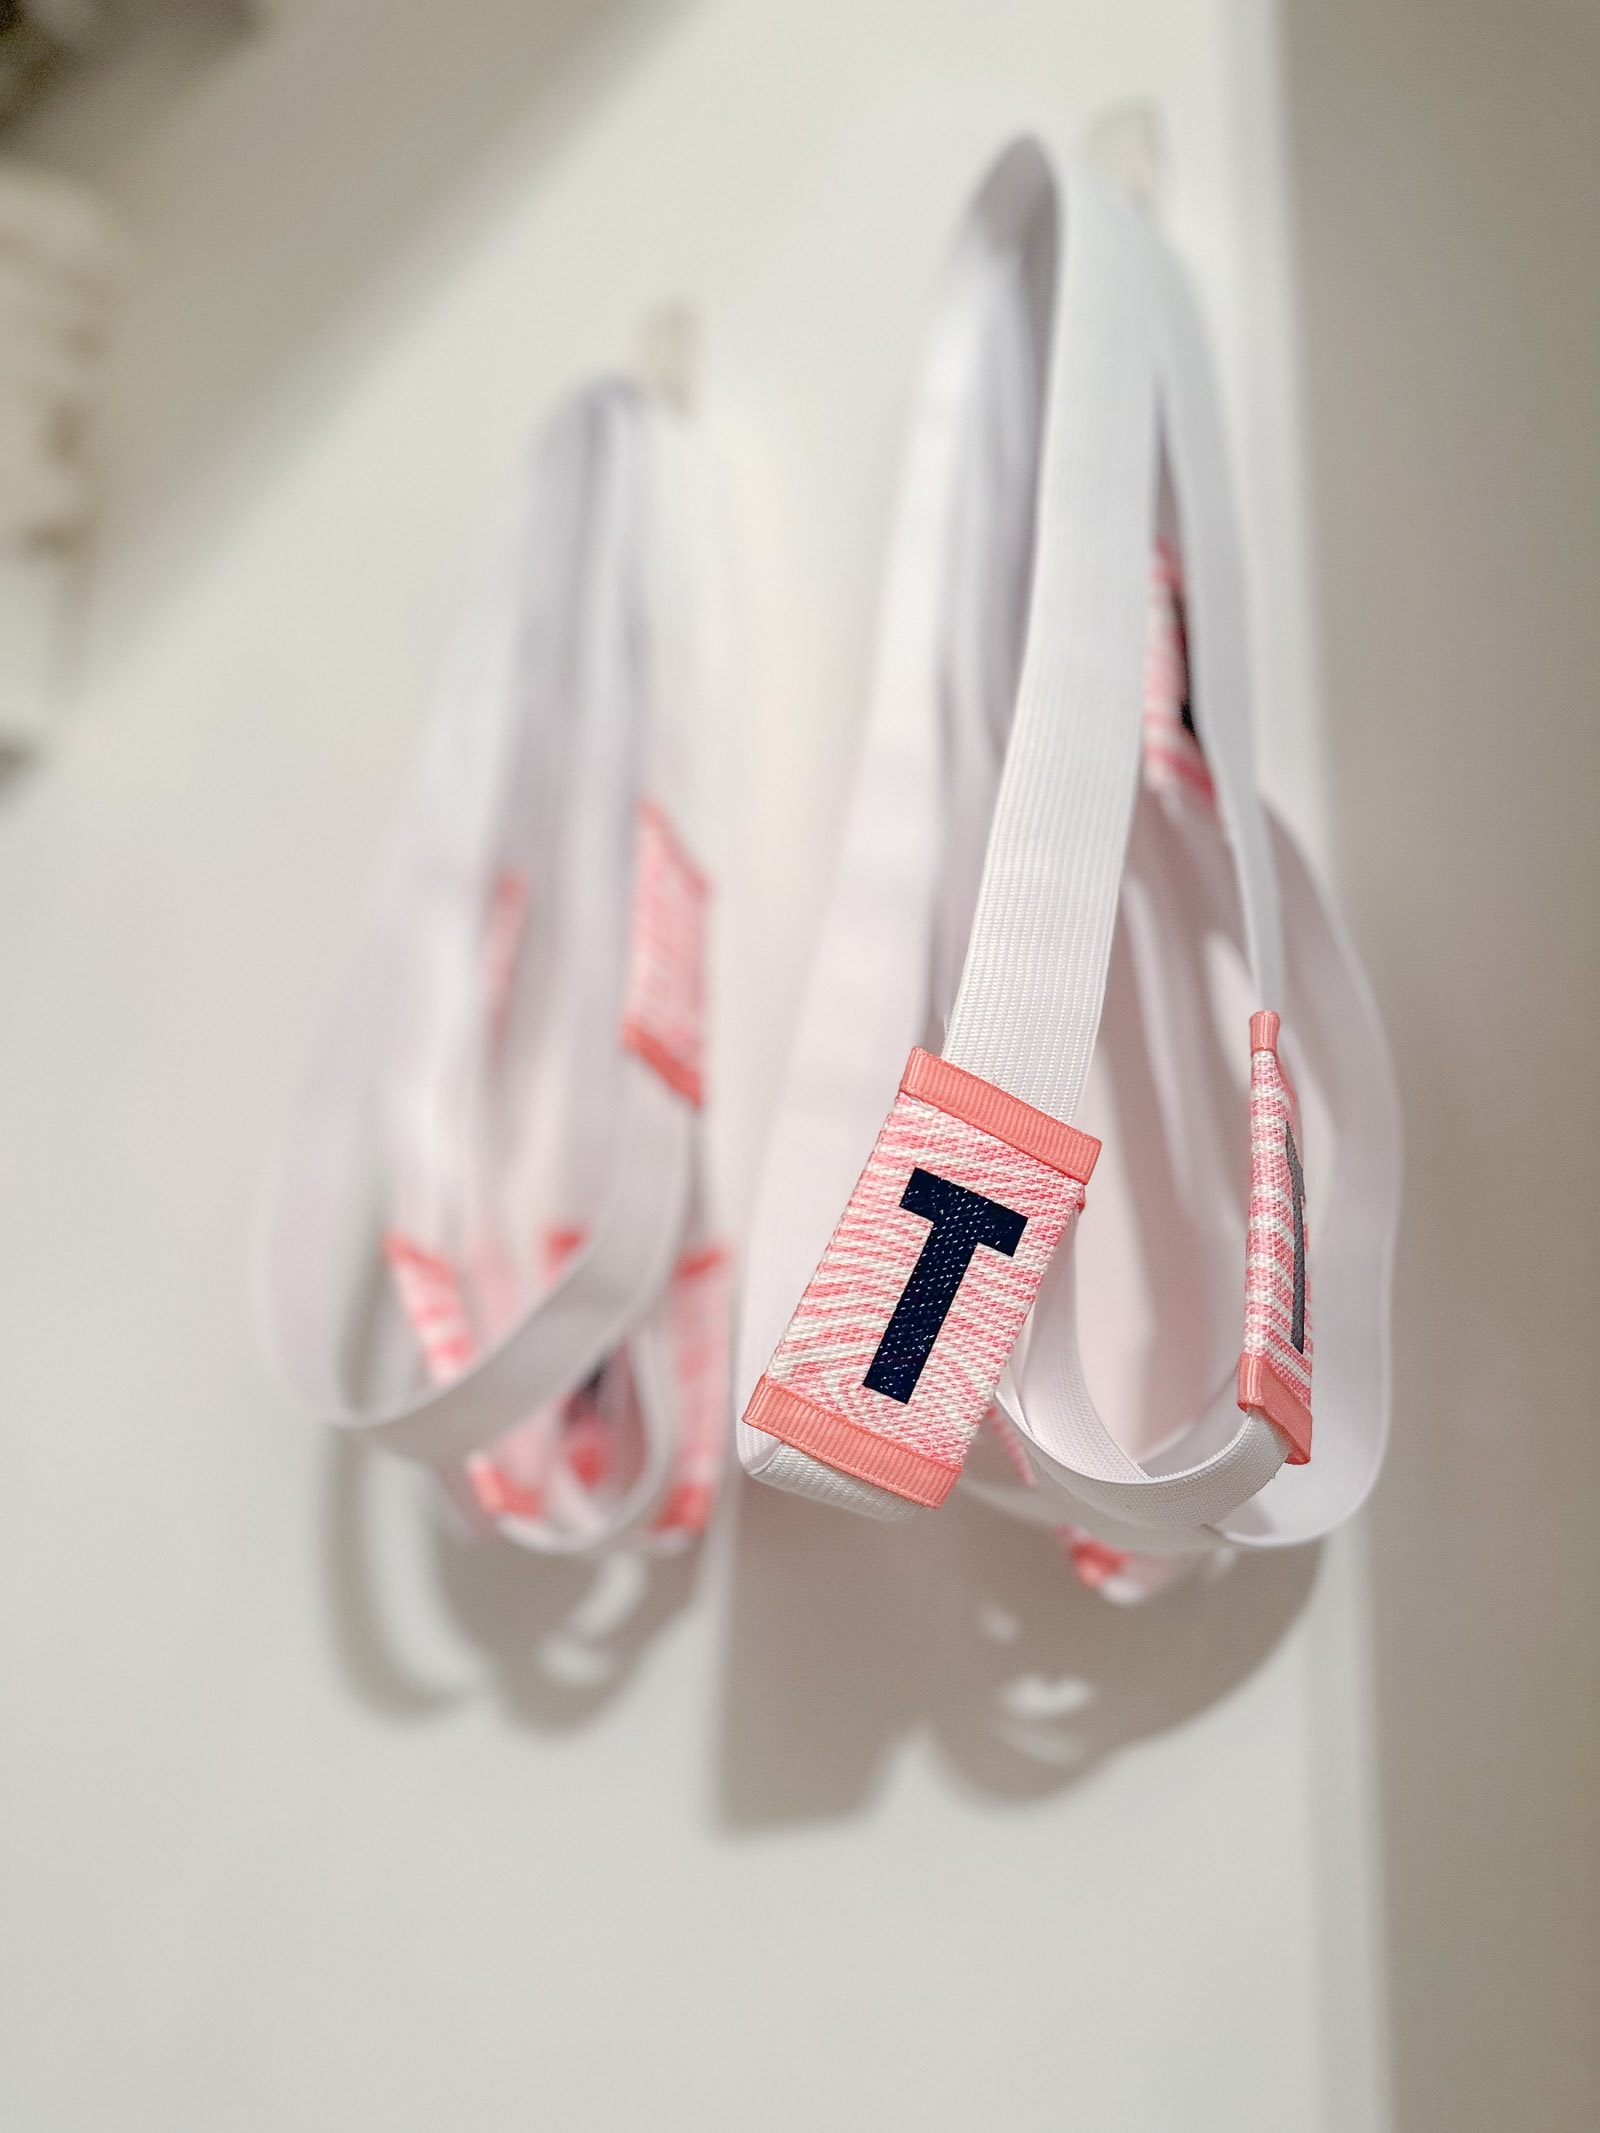
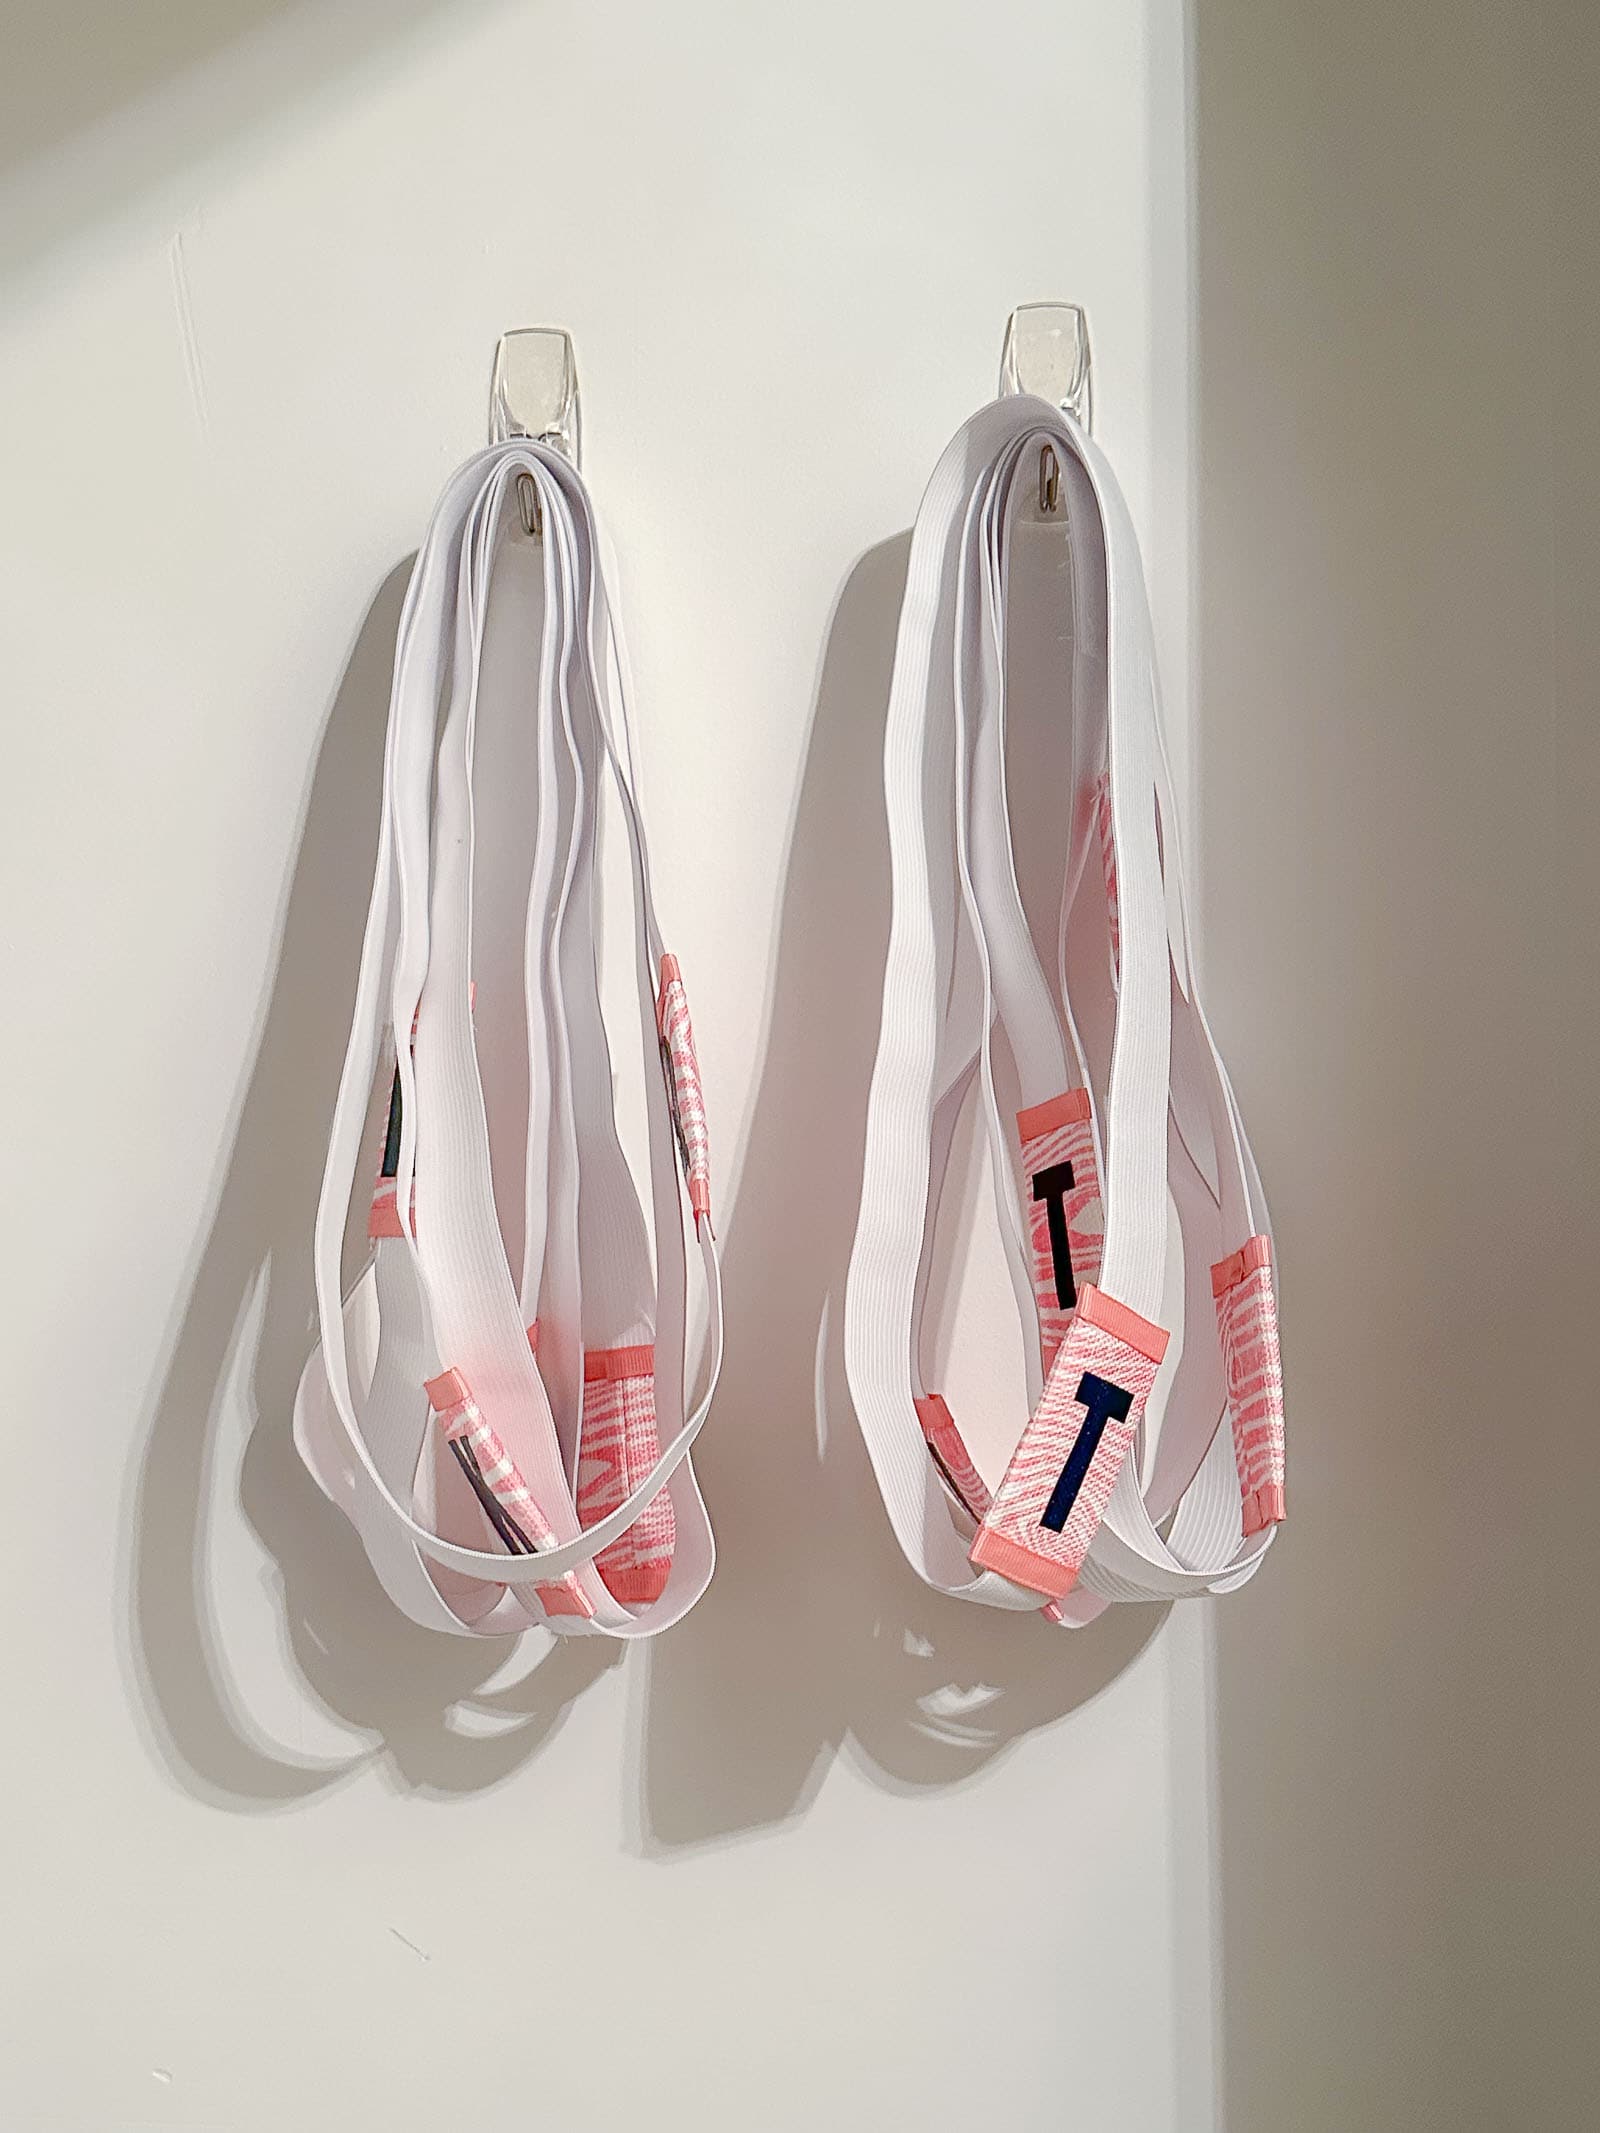
We are a big family with lots of sheets so I had to make lots of labels. Once I got in the swing of things, I was able to make a handful of label elastics in well under an hour. I stuck some command hooks inside our linen closet and hung the extra label elastics there! I had lots of suggestions on my social media to put the sheet sets into a pillow case first… that didn’t work for our family, but I *love* how nice and compact that makes the sheets so wanted to share.


Love this!
Thank you!
This is great! Thanks for the idea!
Youre welcome! xx