
Paint Pour Art in Colorful Wood Frames
Psssst… this post *might* contain affiliate links: see my disclosure here.
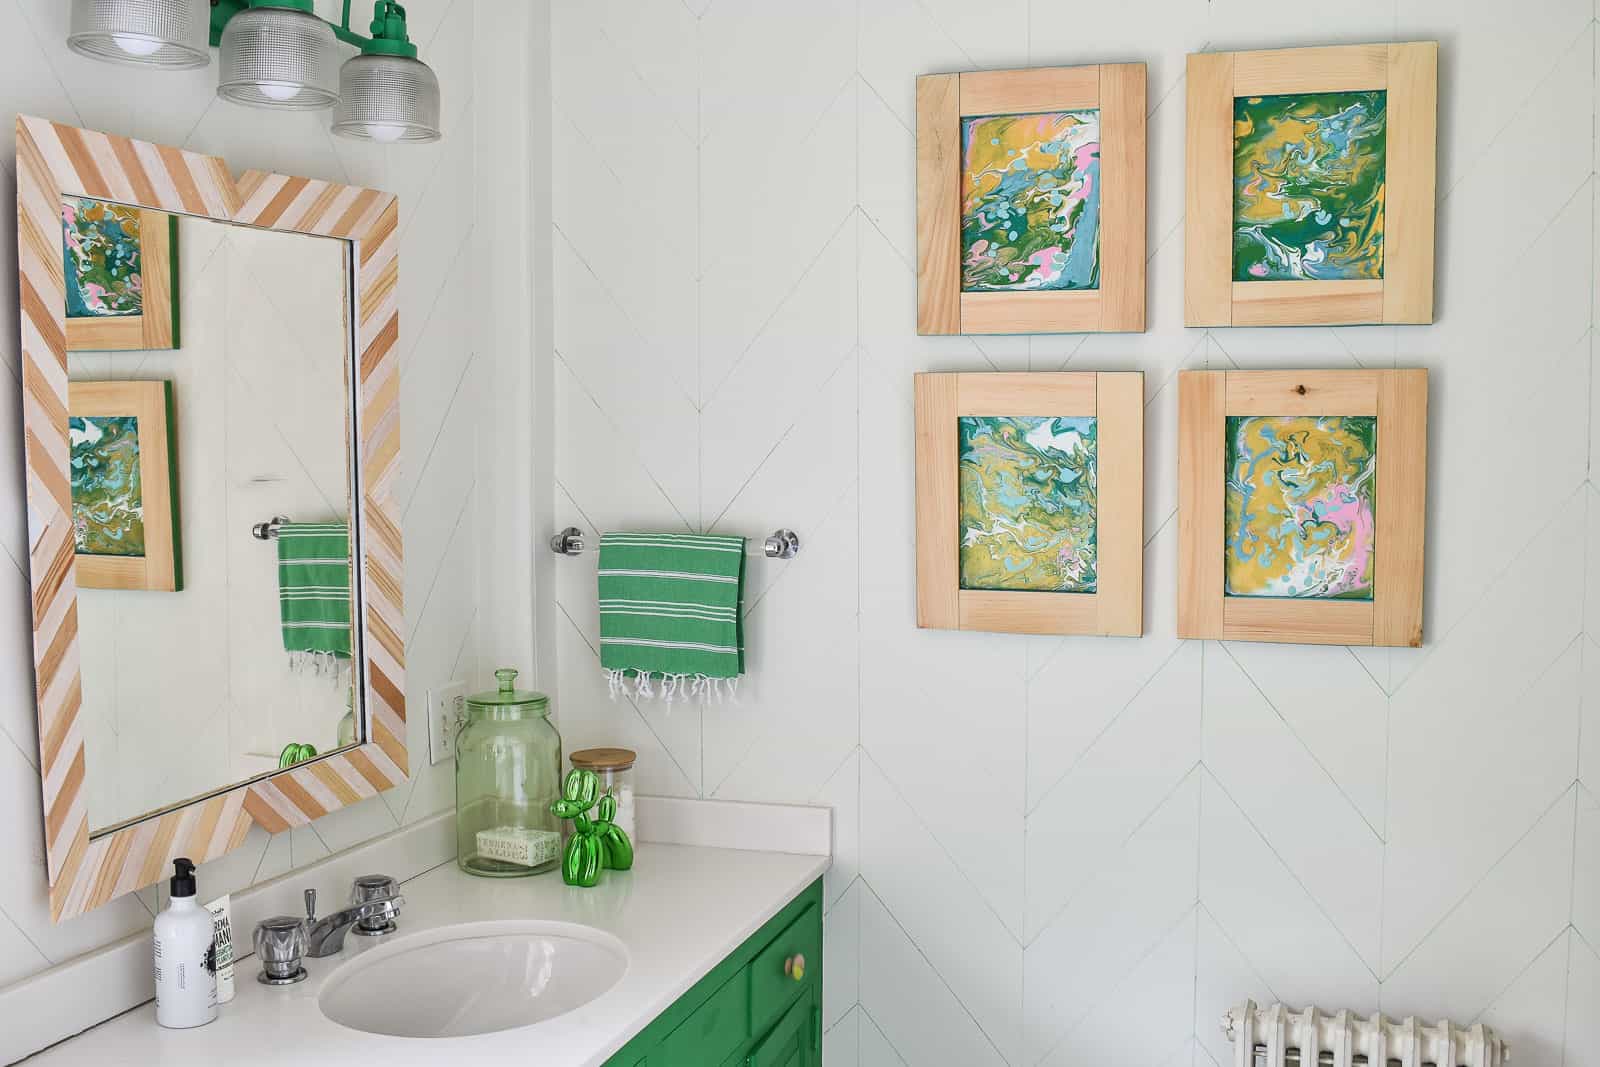
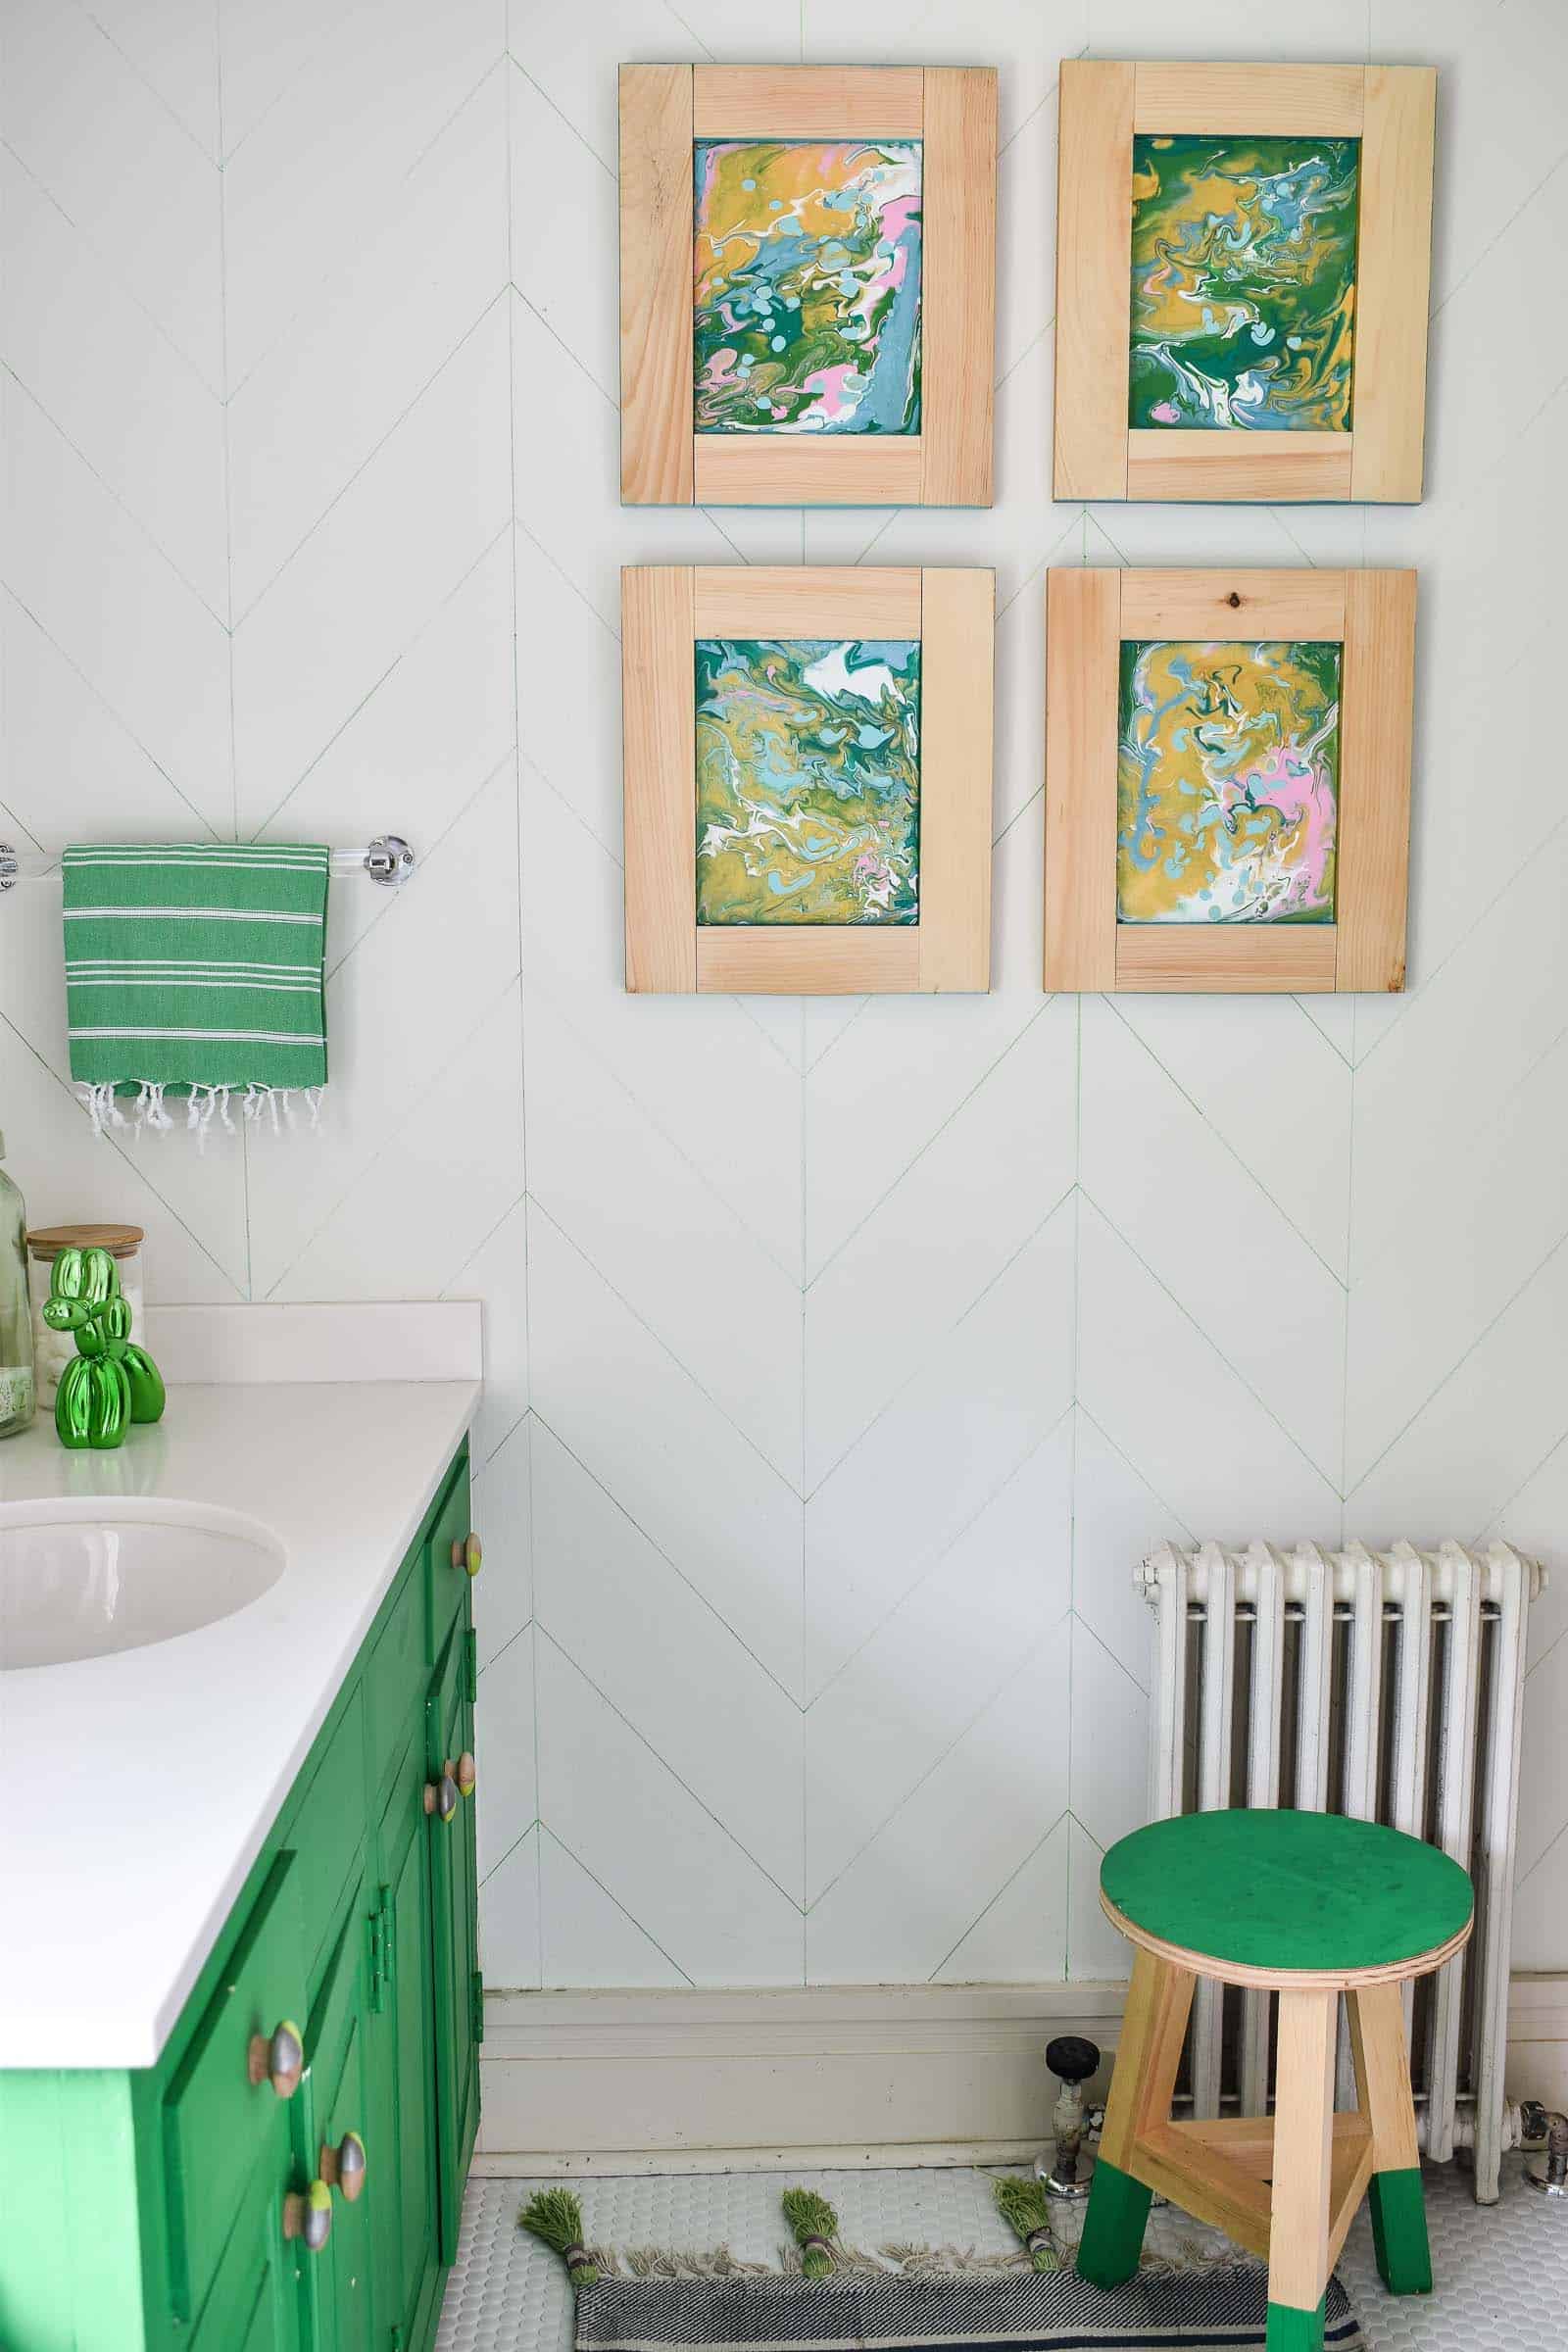
Colorful Paint Pour Gallery Wall

Remember a couple of weeks ago, when I made over a thrifted mirror using my favorite new craft technique; paint pouring? Well I’m back trying it again, and this time I think I like it even more! I made this wooden gallery wall for the girls’ bathroom using scrap wood, cheap canvases and more paint pouring! (Materials list at the end of the post.)
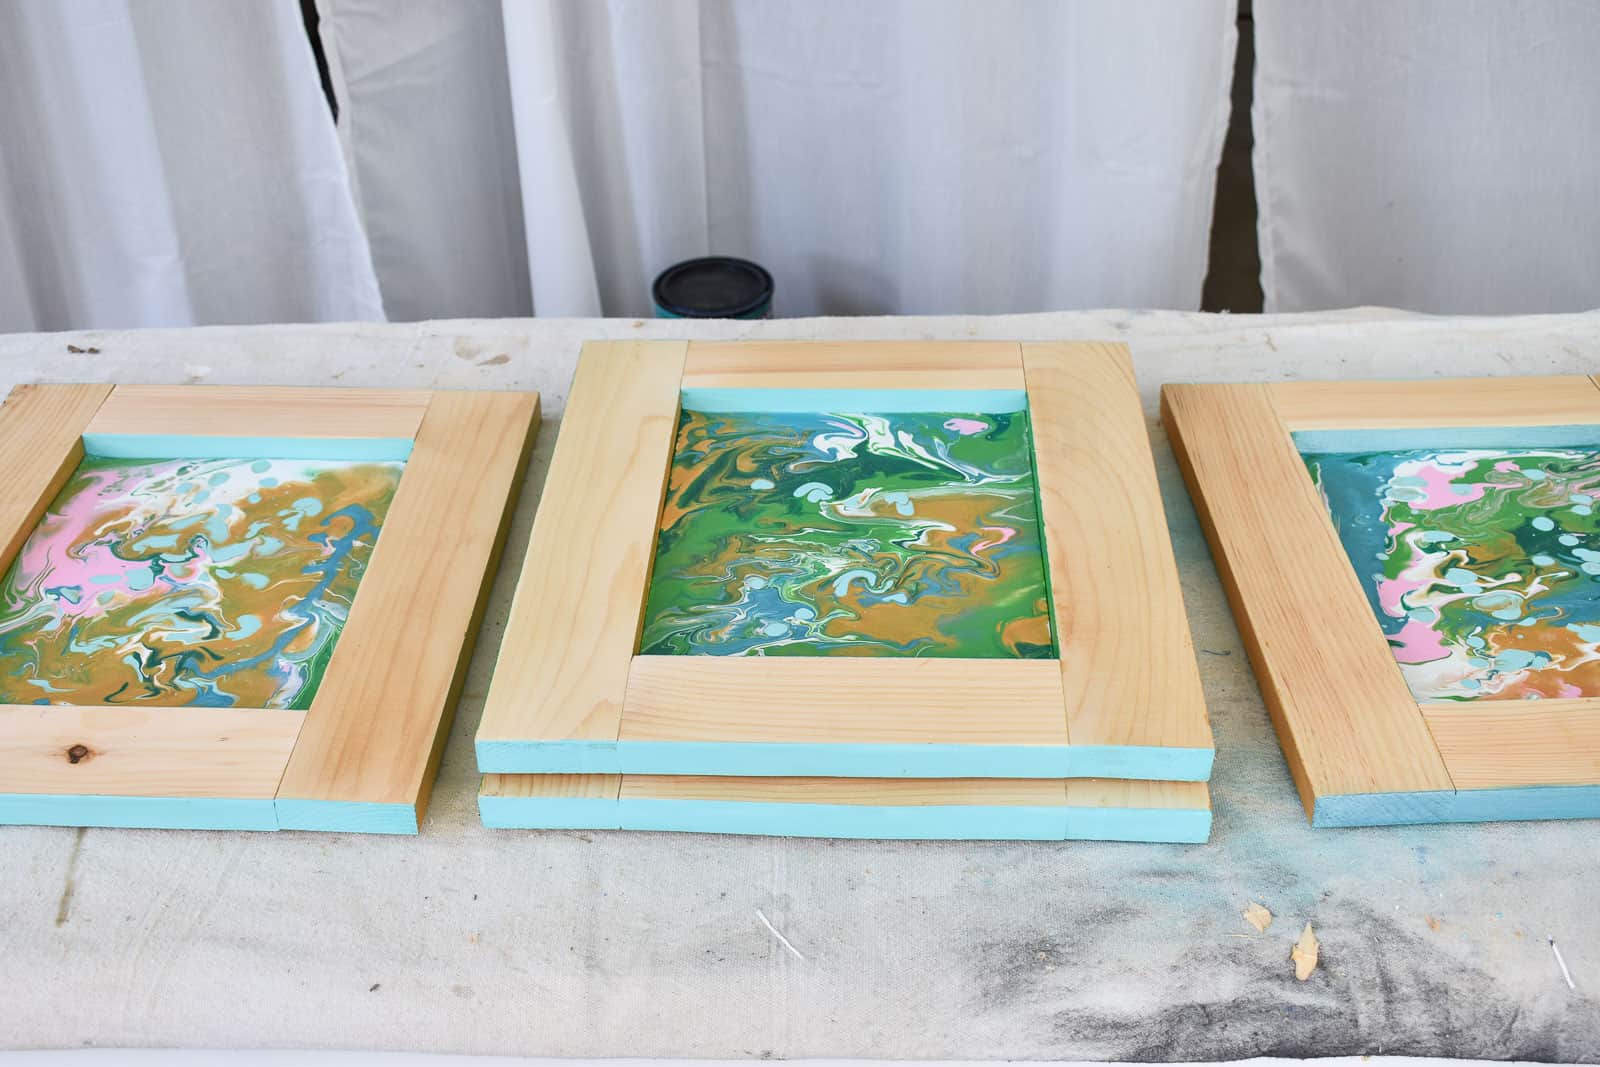
Step 1. Create Paint Pour Canvases
I’m using these flimsy (read: cheap) canvases and they held up pretty well. Just like before, make sure you prep your work area, find some rubber gloves, and have an elevated stand available on which your canvases can dry.
Shop my favorites!
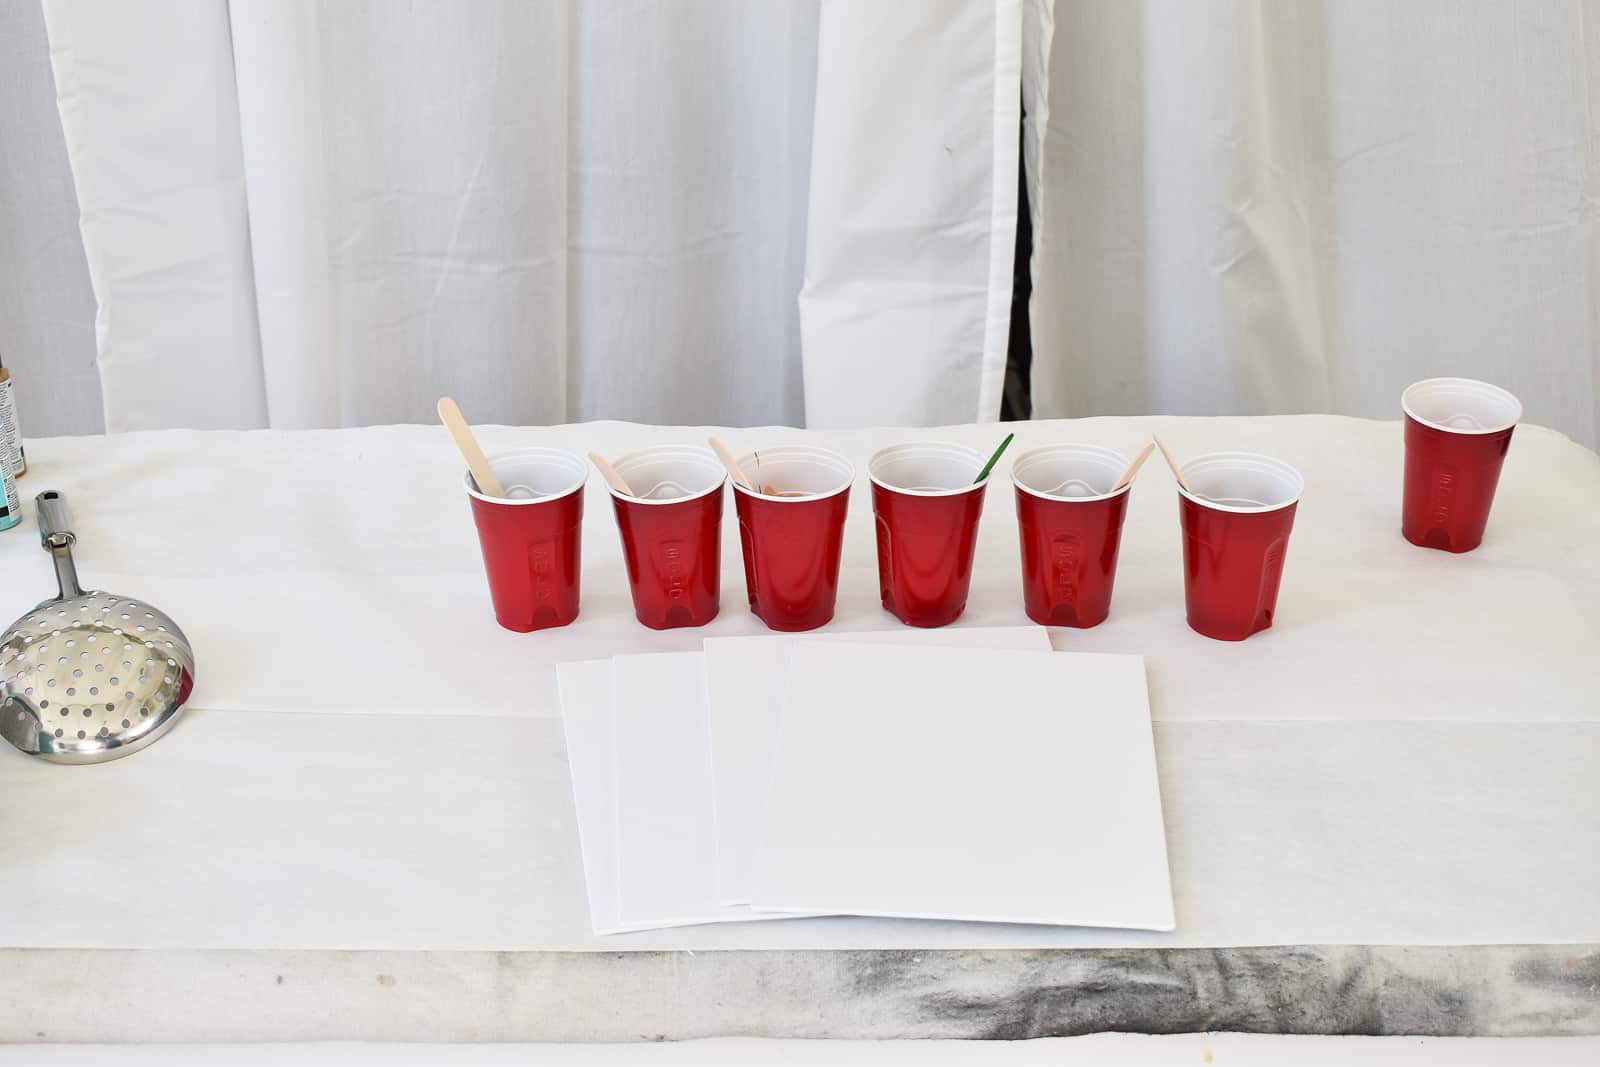
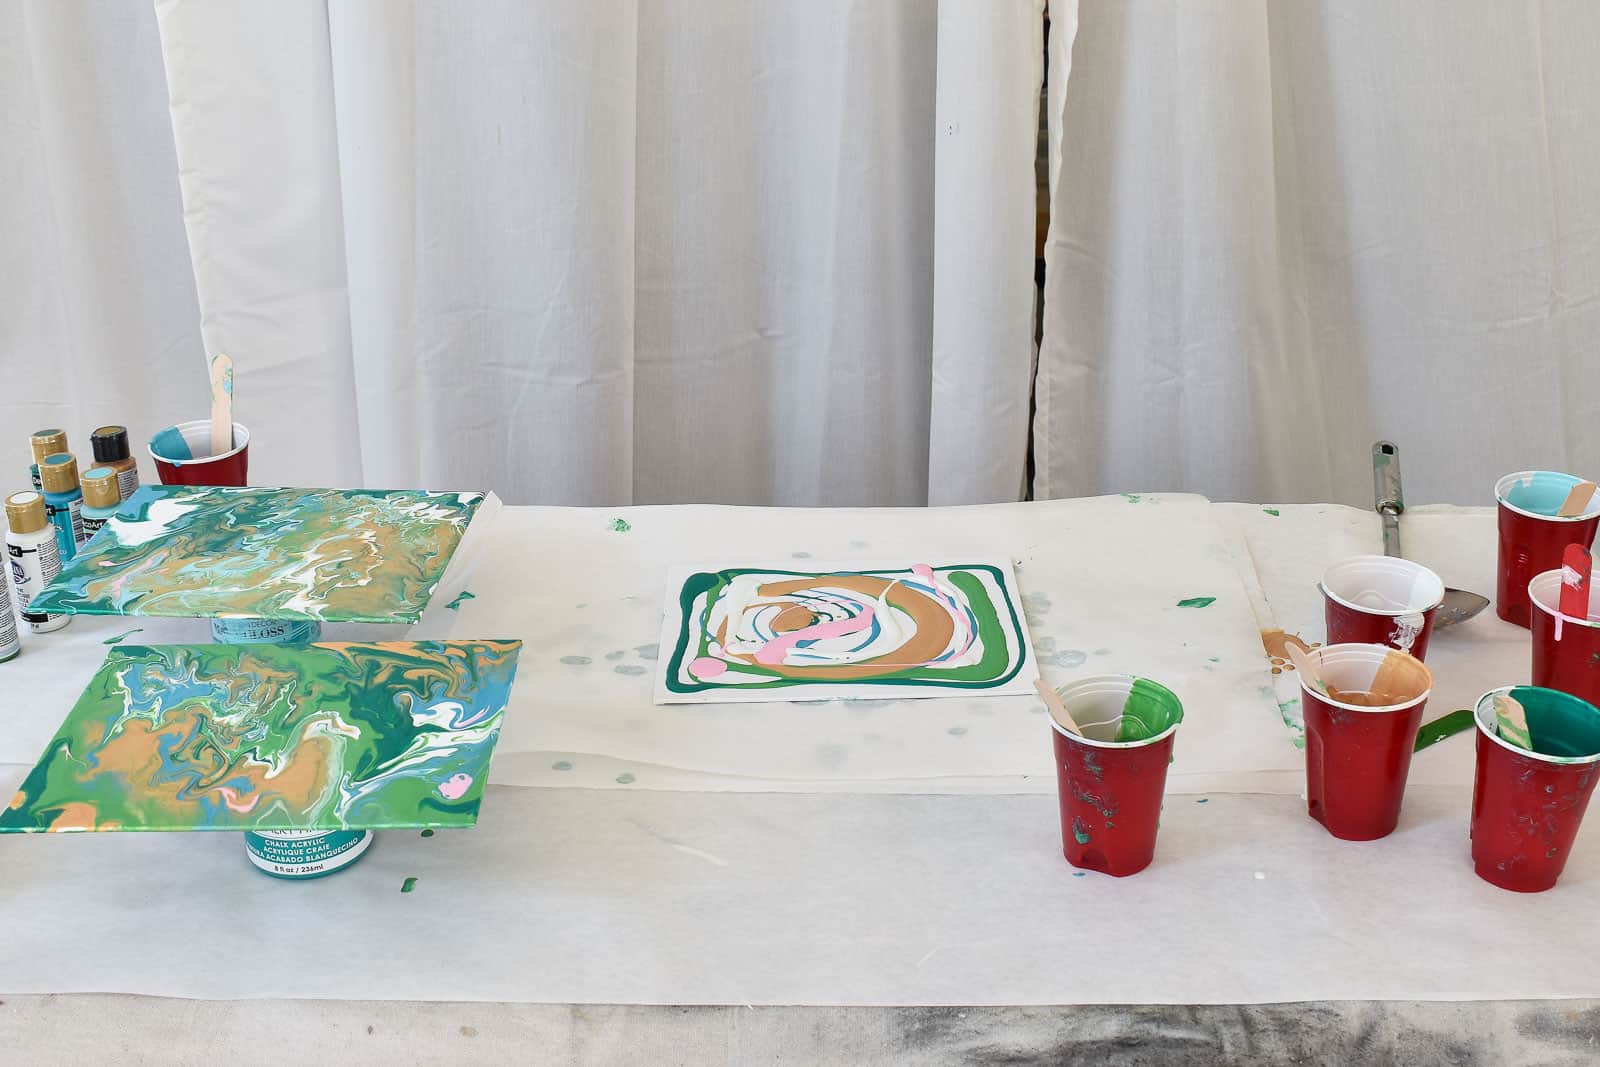
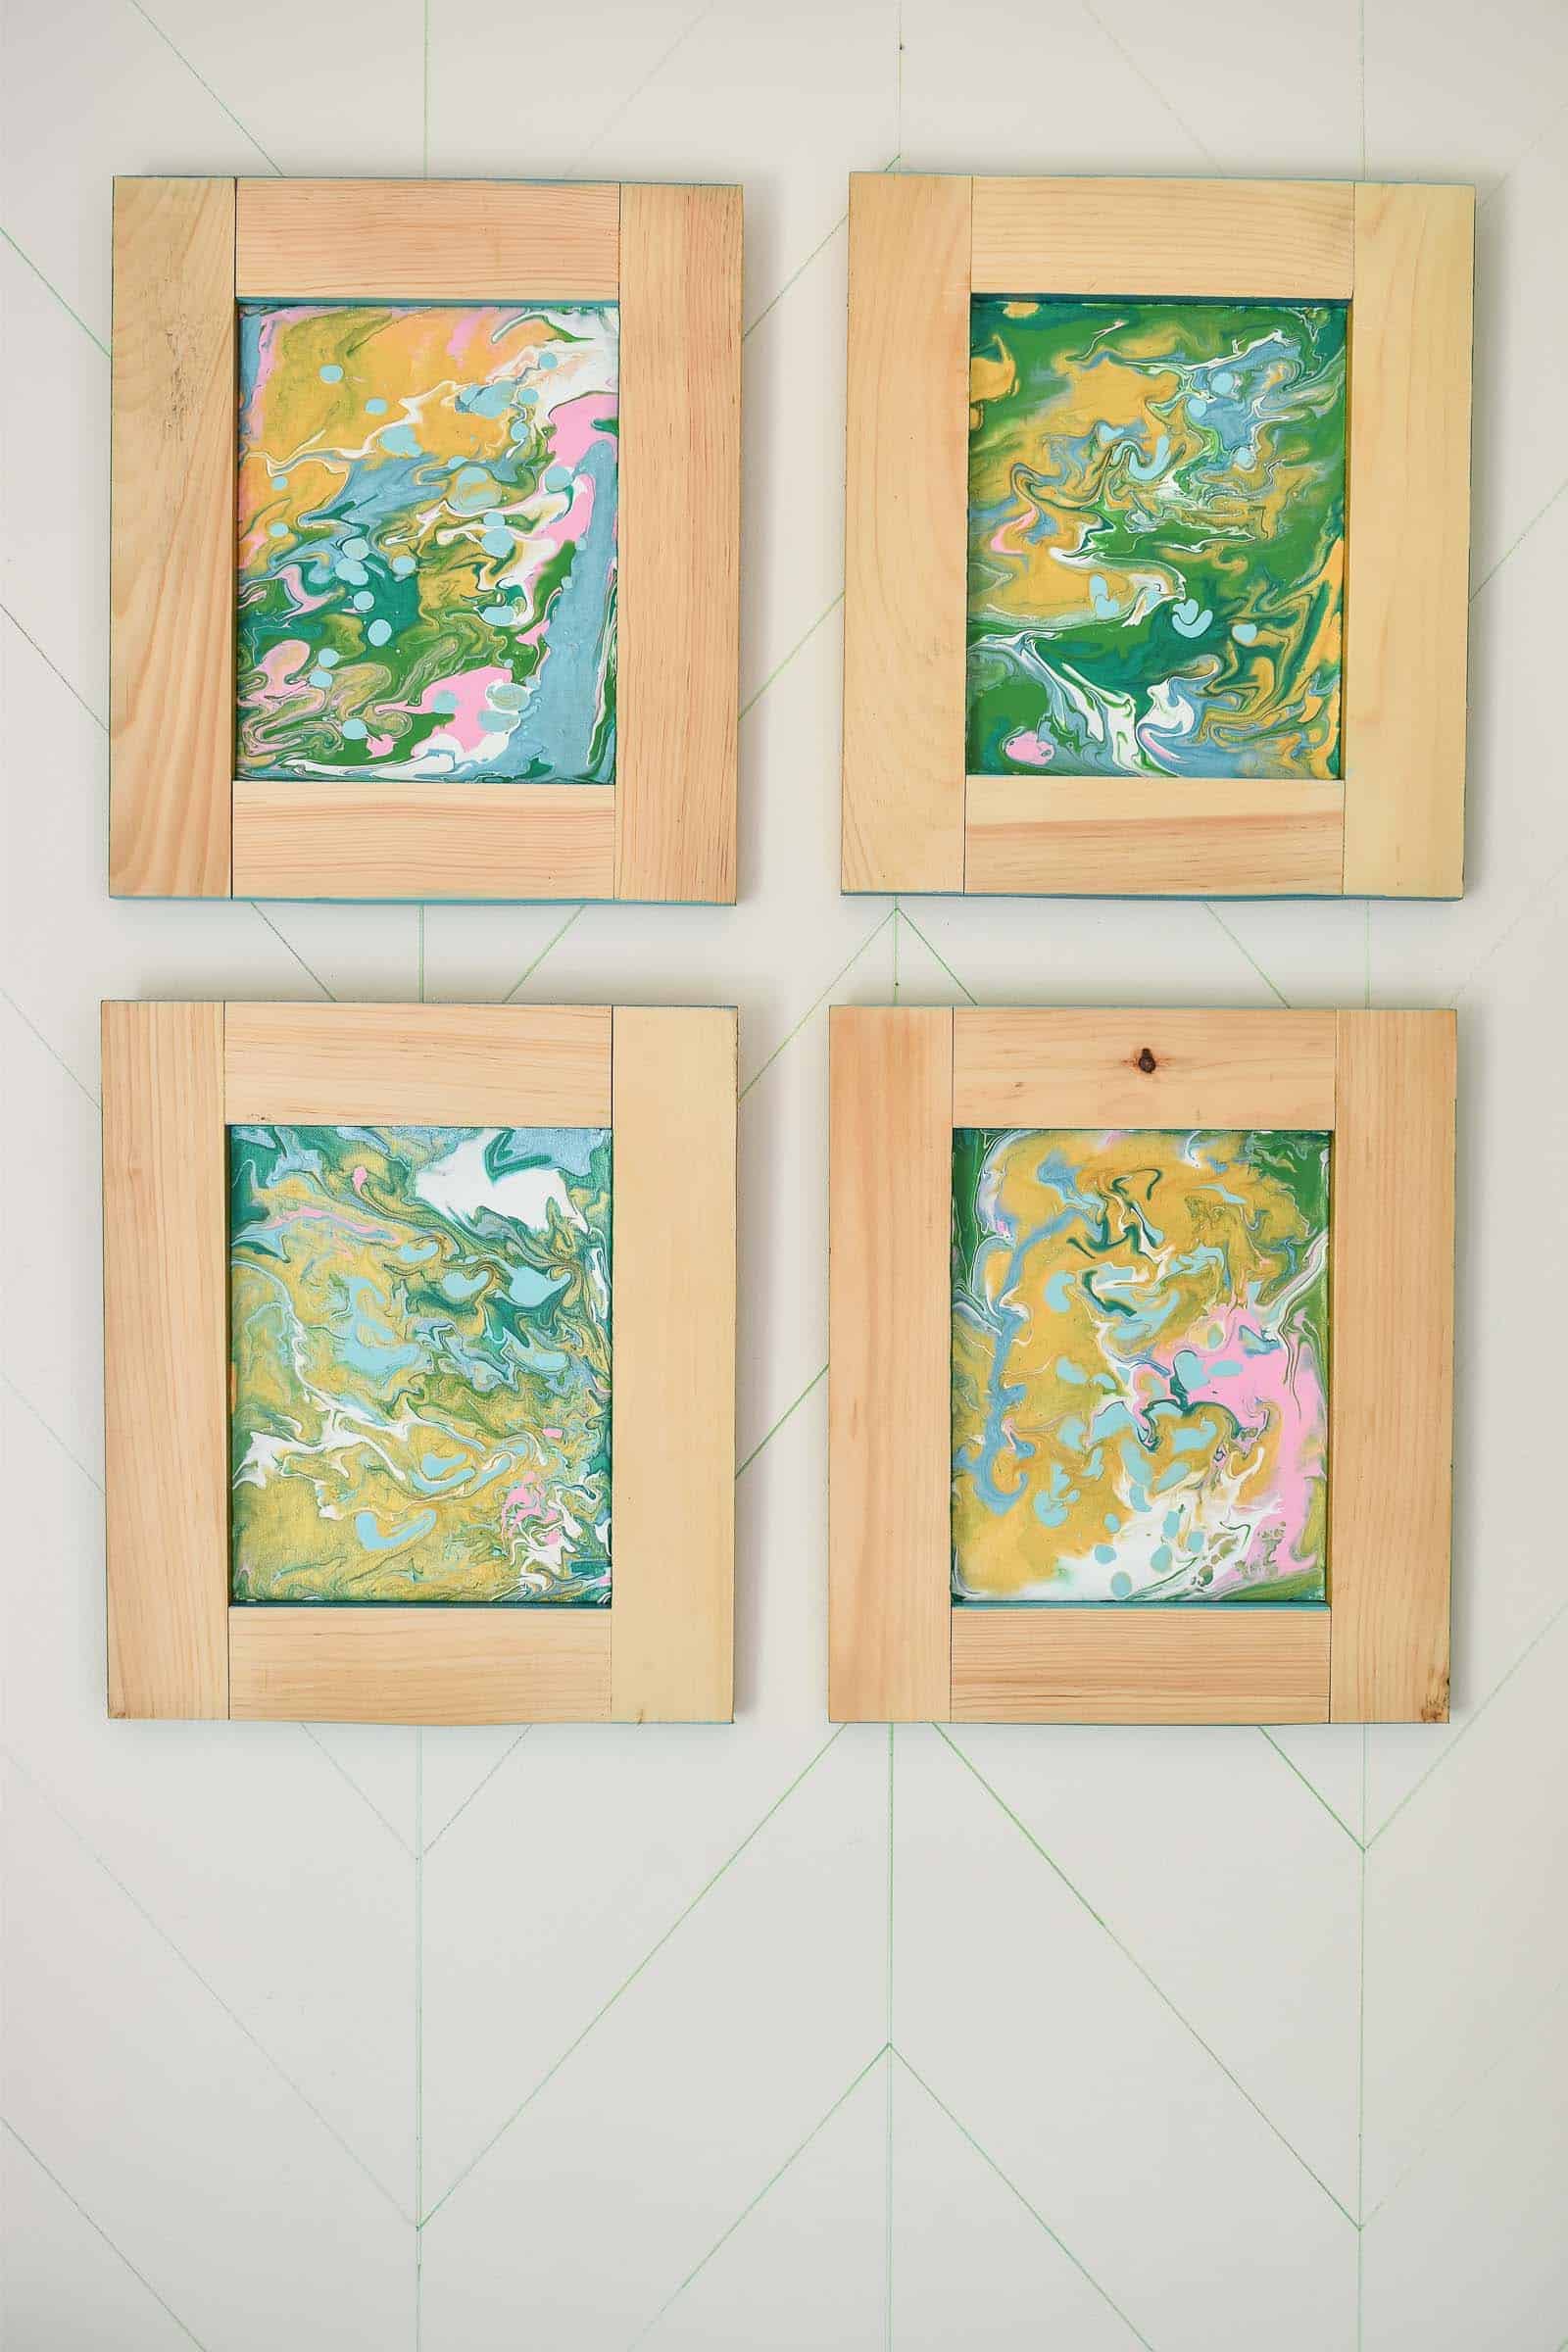
Mix the paint with the pouring medium (read the label but typically 1:1) and drizzle onto your canvas one color at a time. Holding the canvas with gloved hands, tip it back and forth until the paint has run across the entire surface of the canvas. Leave each canvas to dry elevated from the table top so the paint can drip off. (Check back in for a video showing the process.)
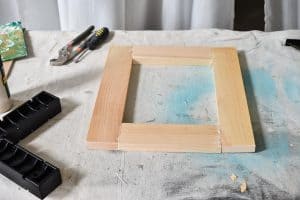
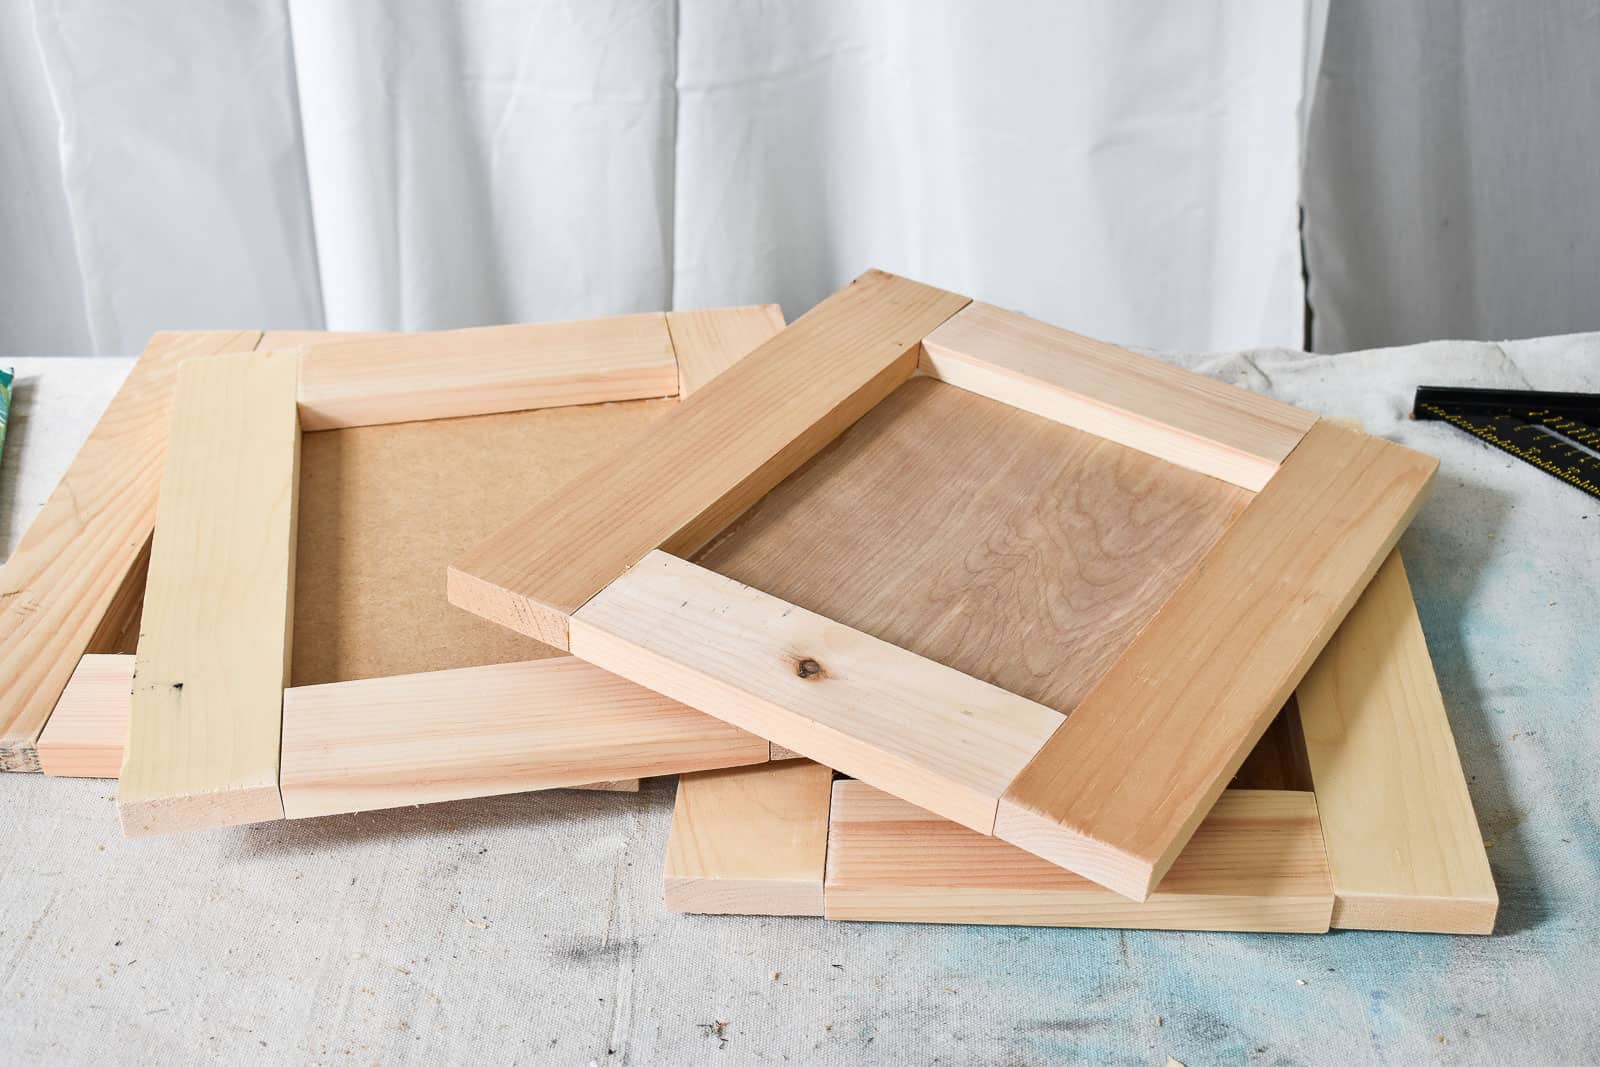
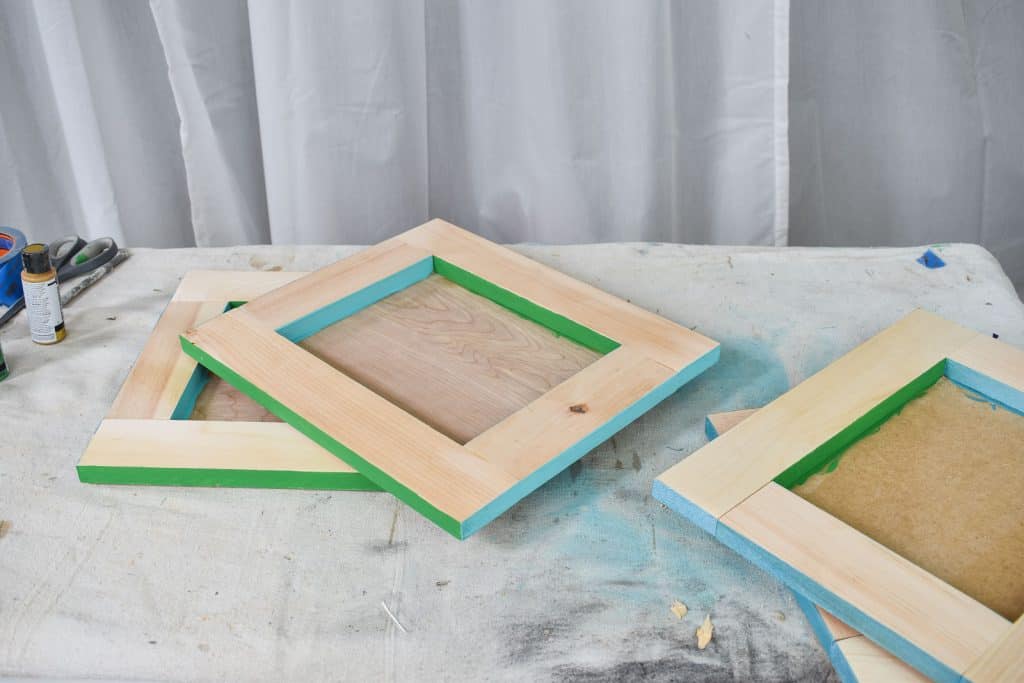
Step 2. Make the frames
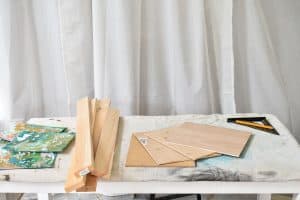
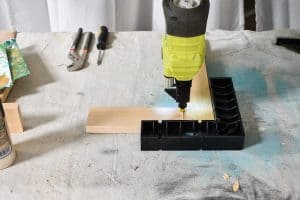
I looked to my scrap pile, and used 1×3 common pine lumber. I’m guessing that it took 3 or 4 8-foot lengths so maybe $20 for the lot ($5 a frame). I didn’t miter the corners, so each frame had two 15-inch lengths and two 8-inch lengths. I used wood glue and my Ryobi nailer to build them and then added a 9×11 back piece the same way. Let the glue dry and sand with fine grit sandpaper.

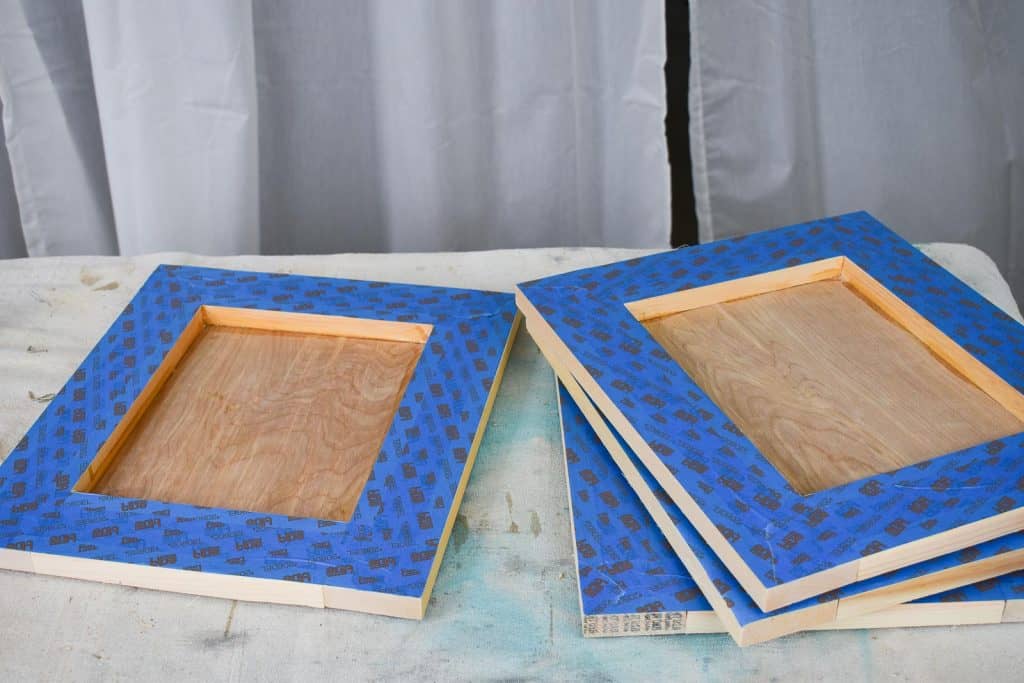
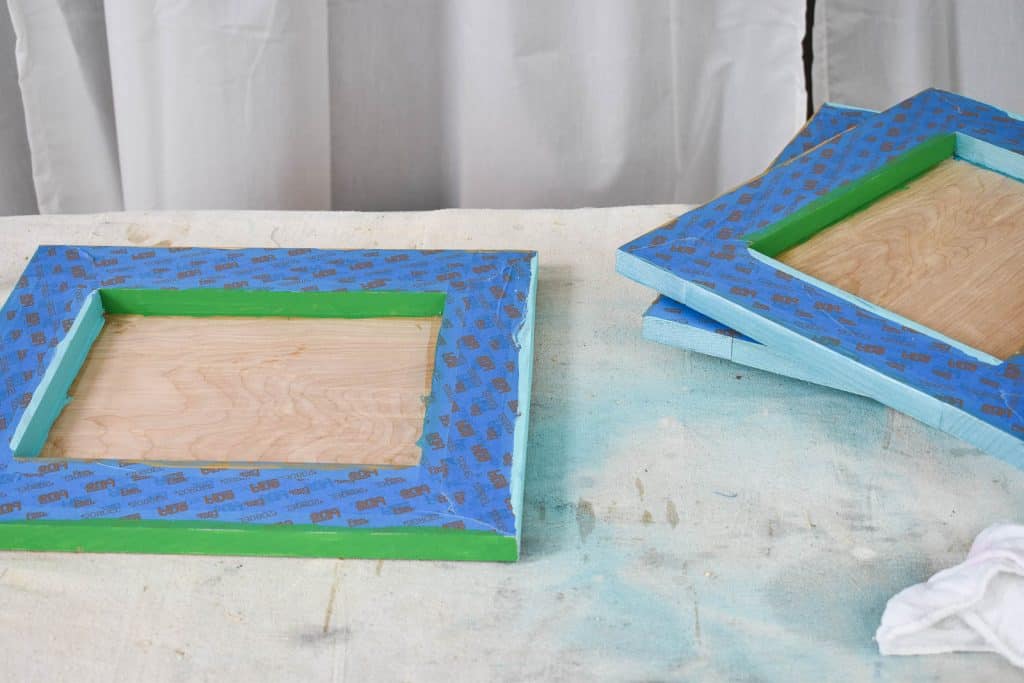
Step 3. Add color
To give the frames a modern twist, I grabbed four of the colors from the canvas and painted one inside edge and one corresponding outside edge with each color. I taped off the top of the frames just as an added level of security from my shaky hands. Once the acrylic paint had dried, I went over with a coat of polycrylic and let it dry overnight.

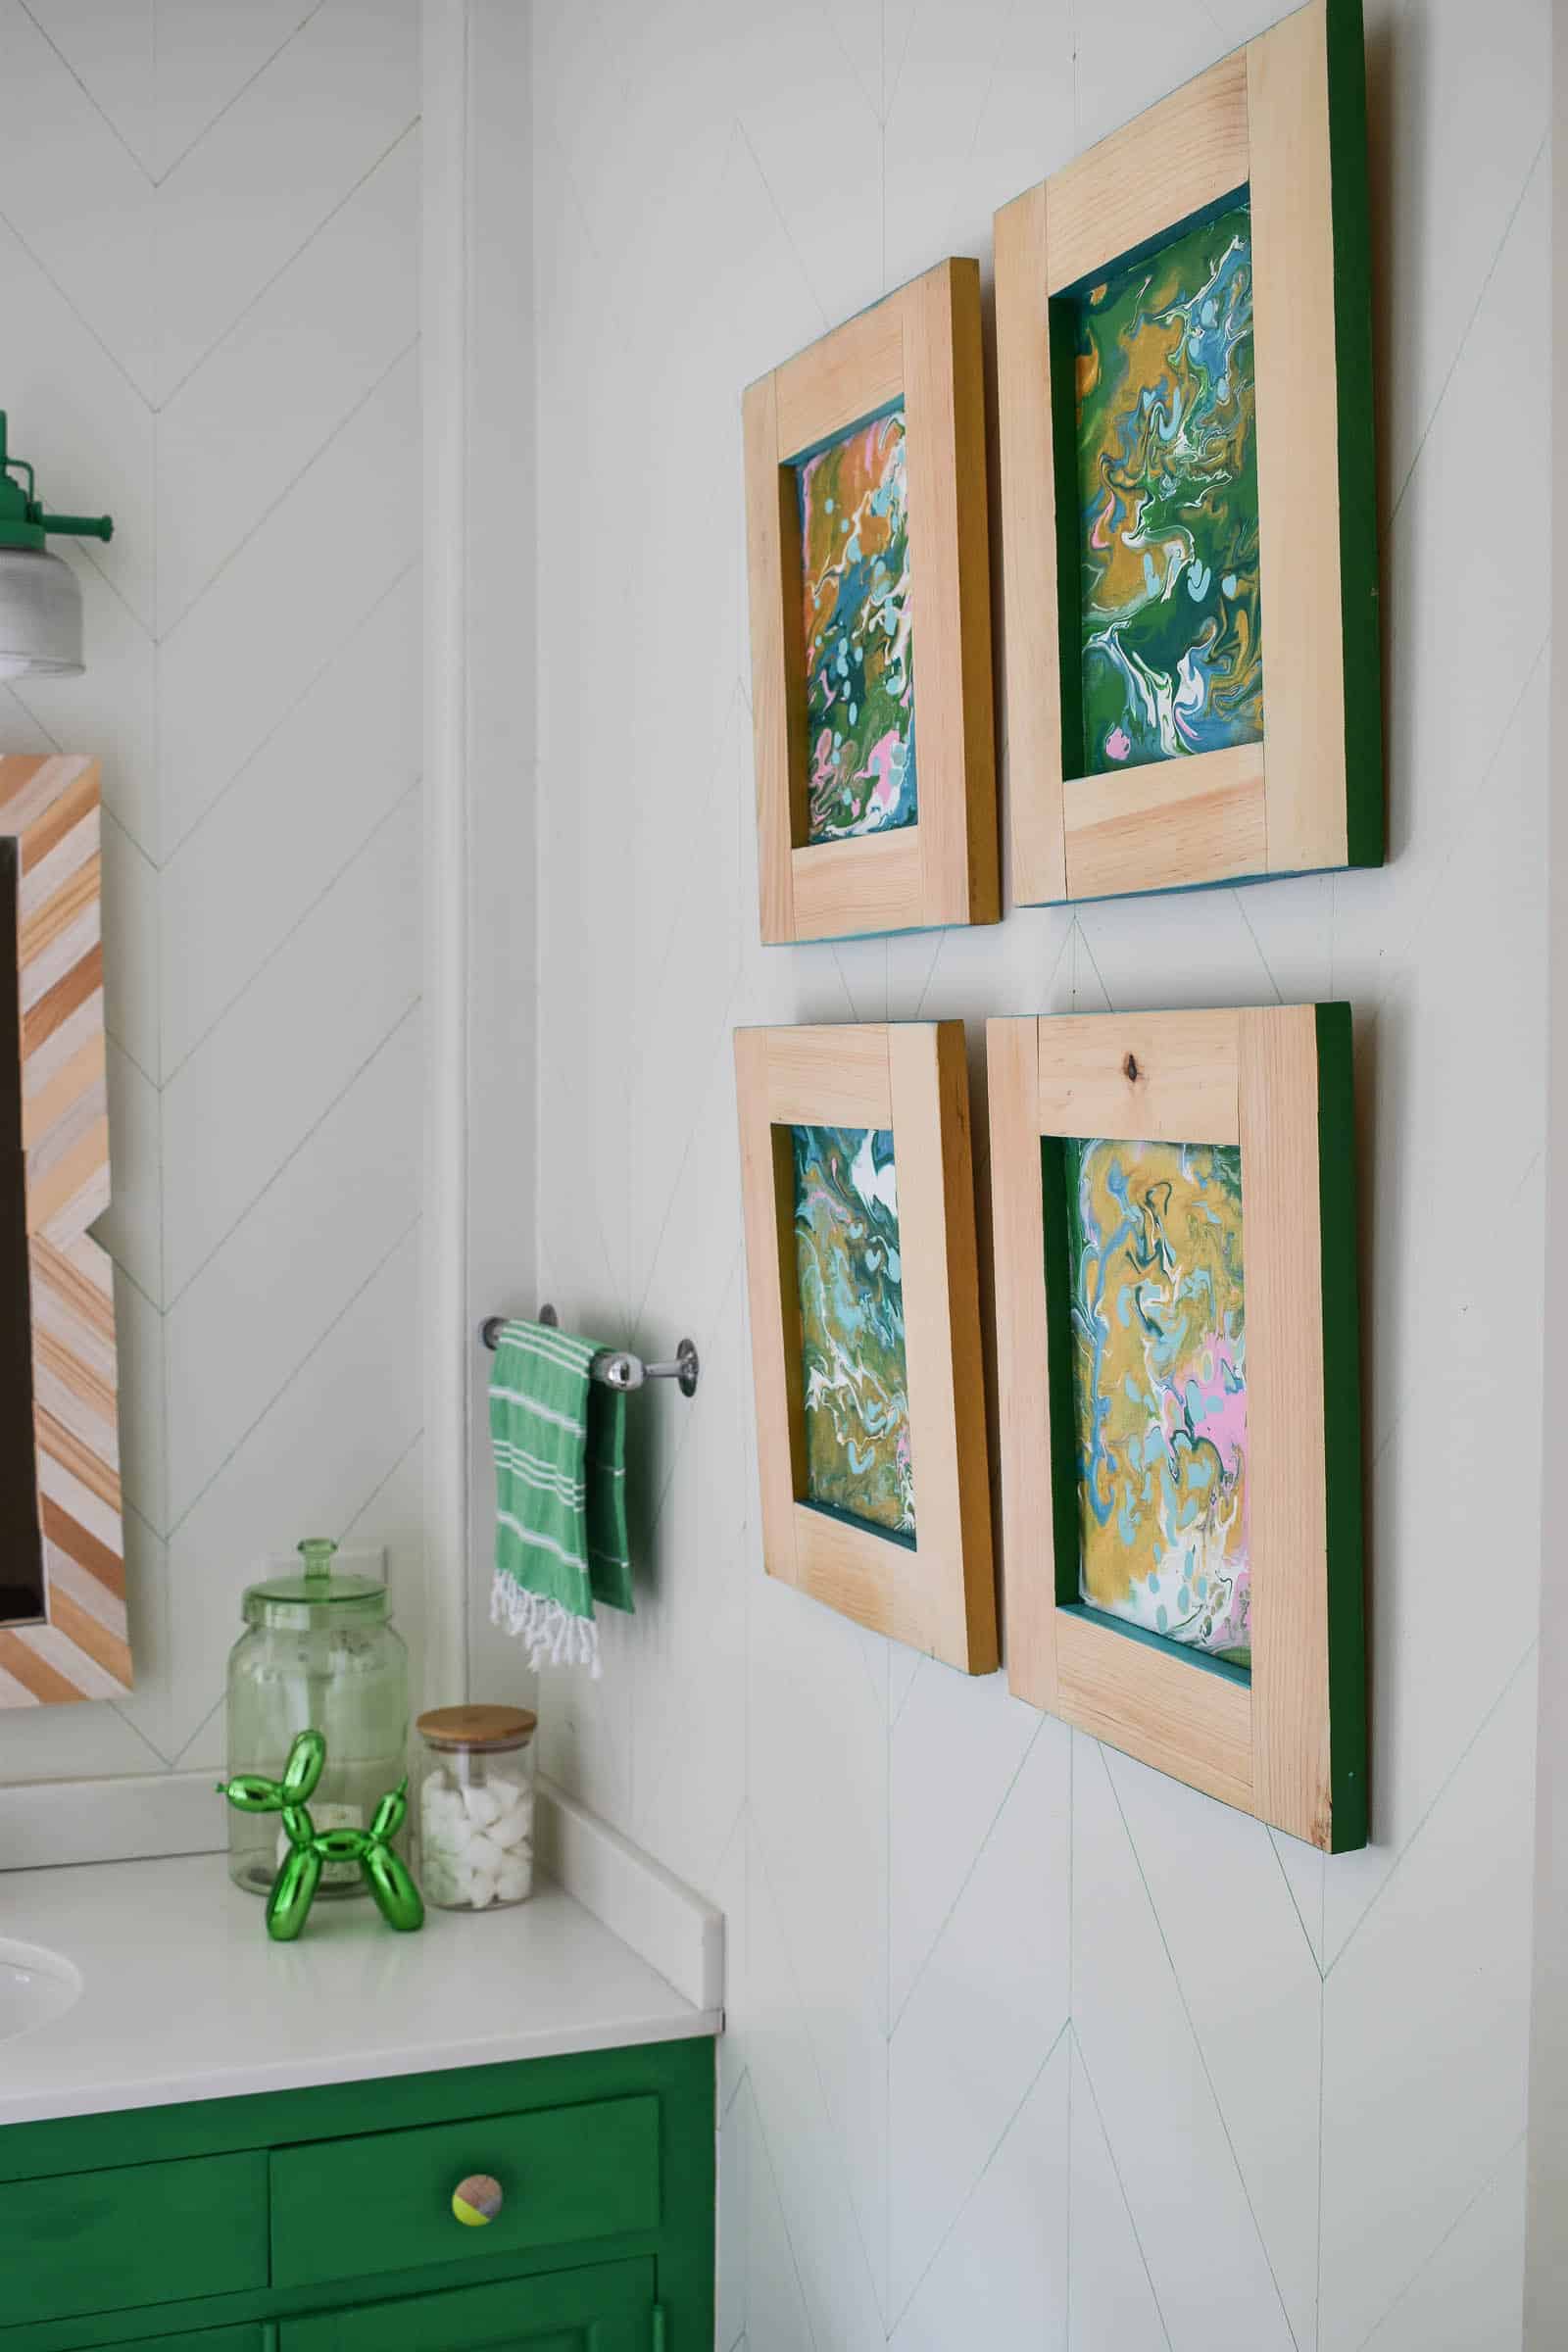
Step 4: Add hanging hardware
These frames are fairly light so I simply screwed in a pair of short screws and wrapped the wire around each one to hang the frames.

My canvases fit into the frames so tightly that I didn’t need any tape or glue! If yours fits looser, any craft glue or hot glue should work… the canvases are super light so it won’t take much to hold them in place.
I love how these look in the girls’ budget bathroom. The green compliments the rest of the space perfectly and you know I love the way the paint pouring looks!
Materials
- Americana Craft Paint (green, blue, gold, pink)
- Americana Metallic Paint (metallic blue, metallic green)
- Paint Pouring Medium
- Canvas Panels
- Ryobi stapler
- Wood glue


Thanks for your helpful article