Paint Stick Chic?
Psssst… this post *might* contain affiliate links: see my disclosure here.
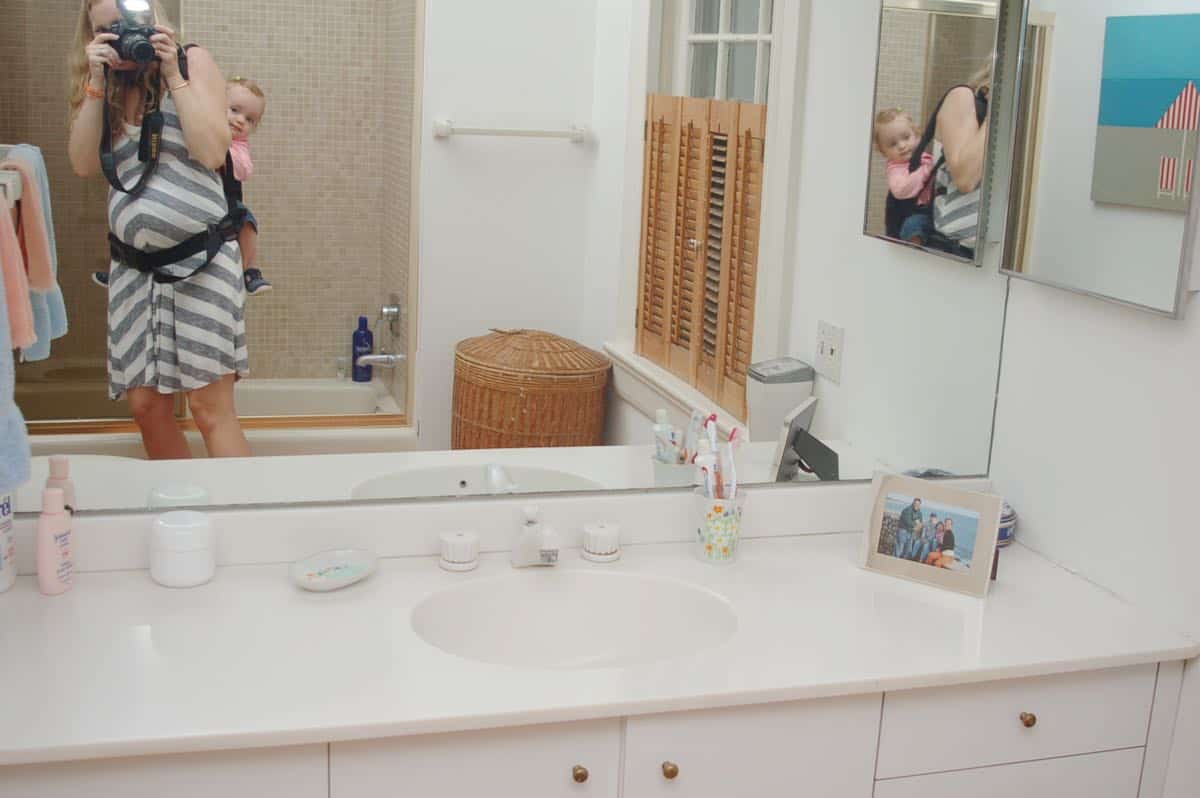
Last week I gave our master bathroom a little update. The cost? $0. Yep, zero dollars. Just to reiterate… there’s not much that will make our master bathroom look nice other than a full gut. The floor tiles are ugly, the shower tiles are uglier, the lighting sucks, the toilet and bathtub are even ugly. We’ve done some minor improvements but beyond that… there’s just no helping this old girl. I was going through our walk-through photos recently and found this picture of the old bathroom… amazing; that’s Eleanor on my back and Oliver is about 3 months away from delivery!
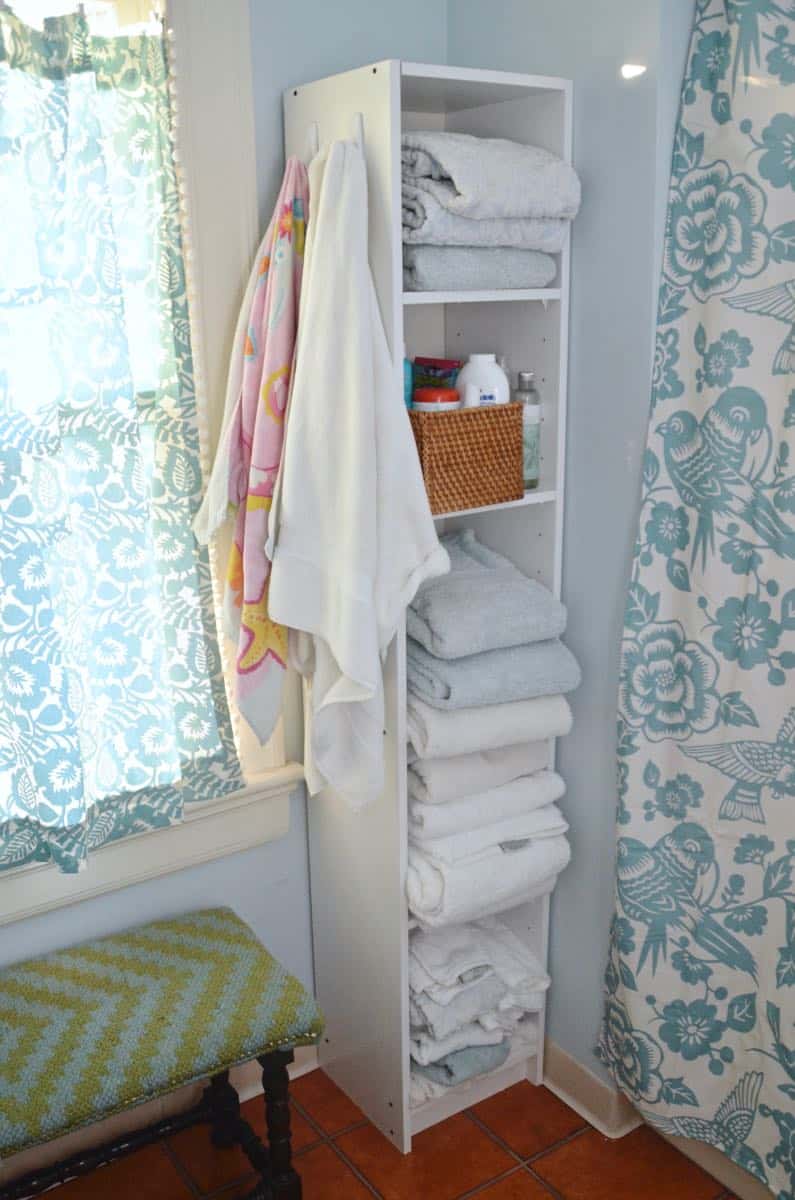
Because there’s no real storage in the bathroom, we use this old tower shelf to hold our towels. It’s fine, but it’s well… it’s as Ikea as they come. (Like how I styled it up all pretty for this shot?)
Shop my favorites!
I had a vision for this shelf. A vision that took a few false starts, but ultimately, I’m good with the finished product. I think. And if I change my mind in a few weeks… I’ll bust out a can of white paint or just head to Ikea with $20. I’m mildly obsessed with reclaimed wood planked walls. We don’t have any obvious walls in this house that I can plank (yet!) but I liked the idea of maybe bringing in some texture and ‘planking’ these shelves. (Update… I planked this wall in our new house!!)
Paint Stick Planked Shelves
I was all set to hit up the Depot and get some wood cut to size, but… this shelf is like 6 feet tall and 12″ deep so to cover the sides, I’d need approx. 72 feet of wood. Even if I found something less than $1.00 per foot, that’s still more than I wanted to spend just to experiment on our bathroom shelving! Wanna know what’s 12″ long, about an inch wide and free? Paint stirrers. (Housekeeping: affiliate links are included in this post for your convenience.)
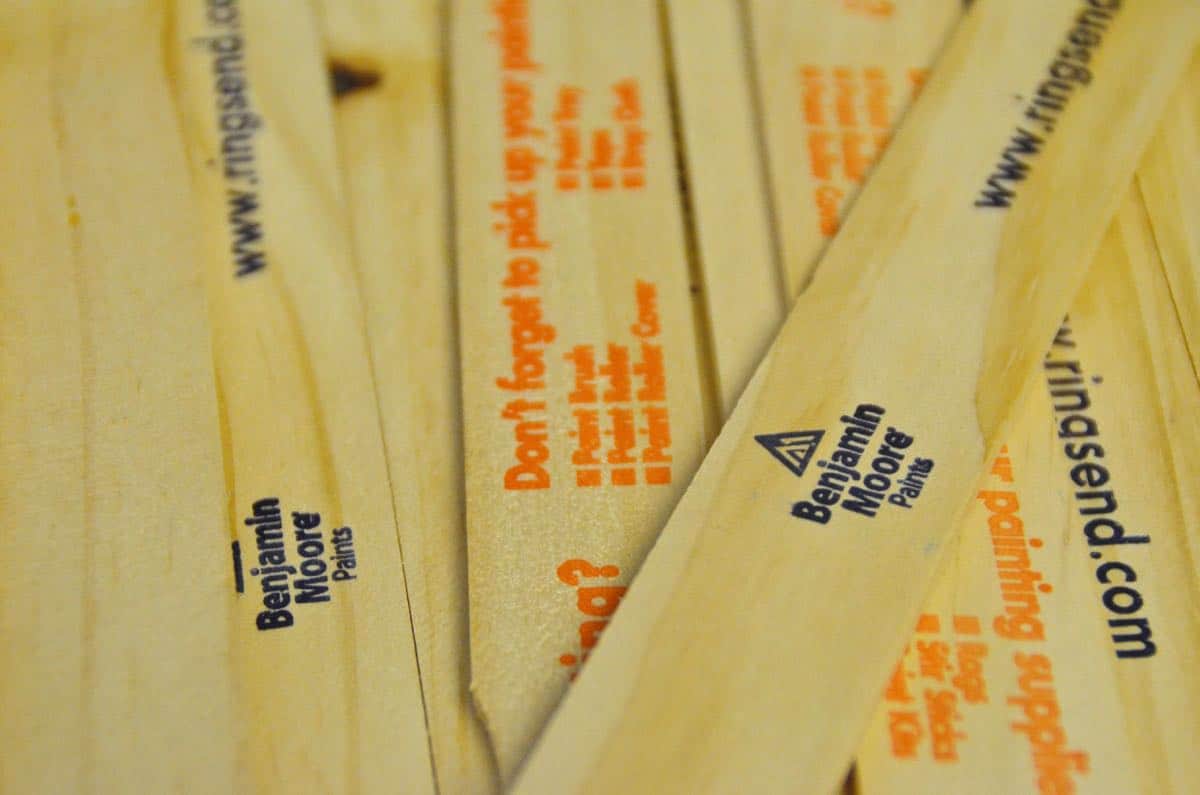
Step 1: Gather up some paint stirrers!
Most paint places are pretty generous with their paint stirrers if you ask, and it only took me 3 paint stores to collect enough to cover these shelves! (I was actually buying something at all of these stores so I didn’t feel as awkward asking, but I’m sure they would have given me some regardless…)
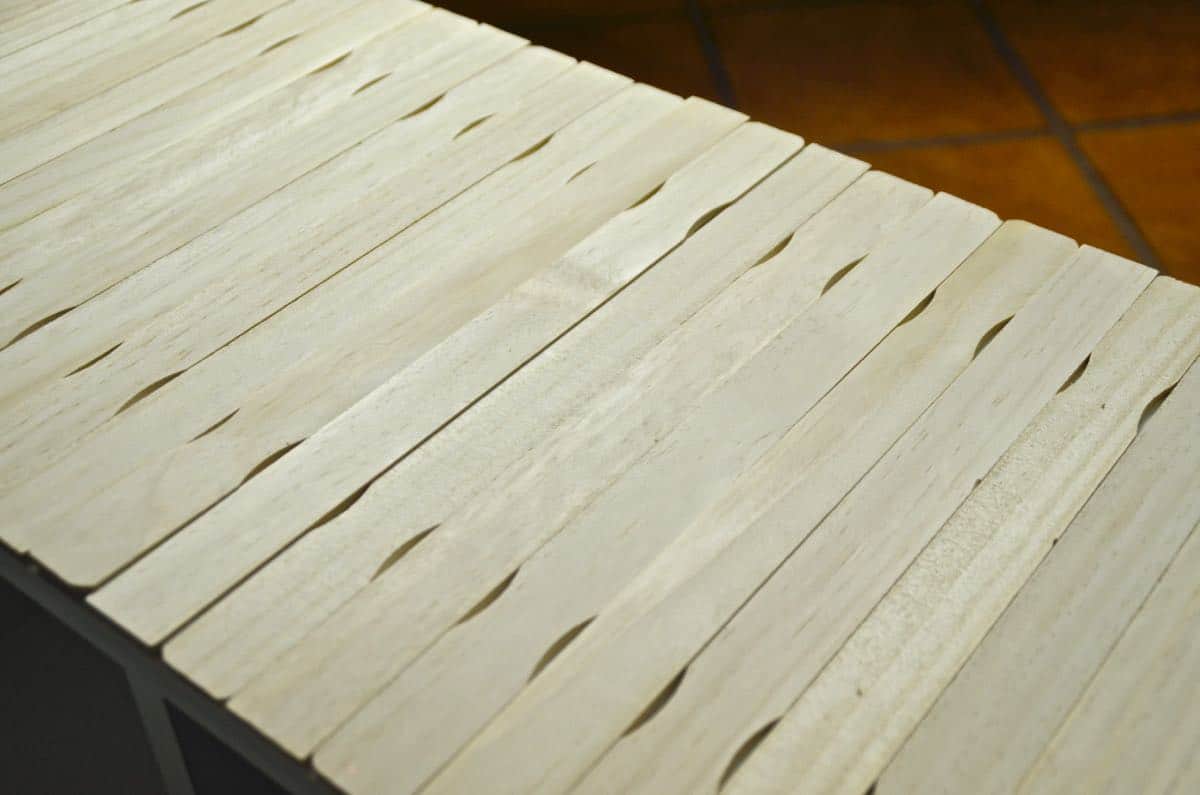
Step 2: Glue onto shelf
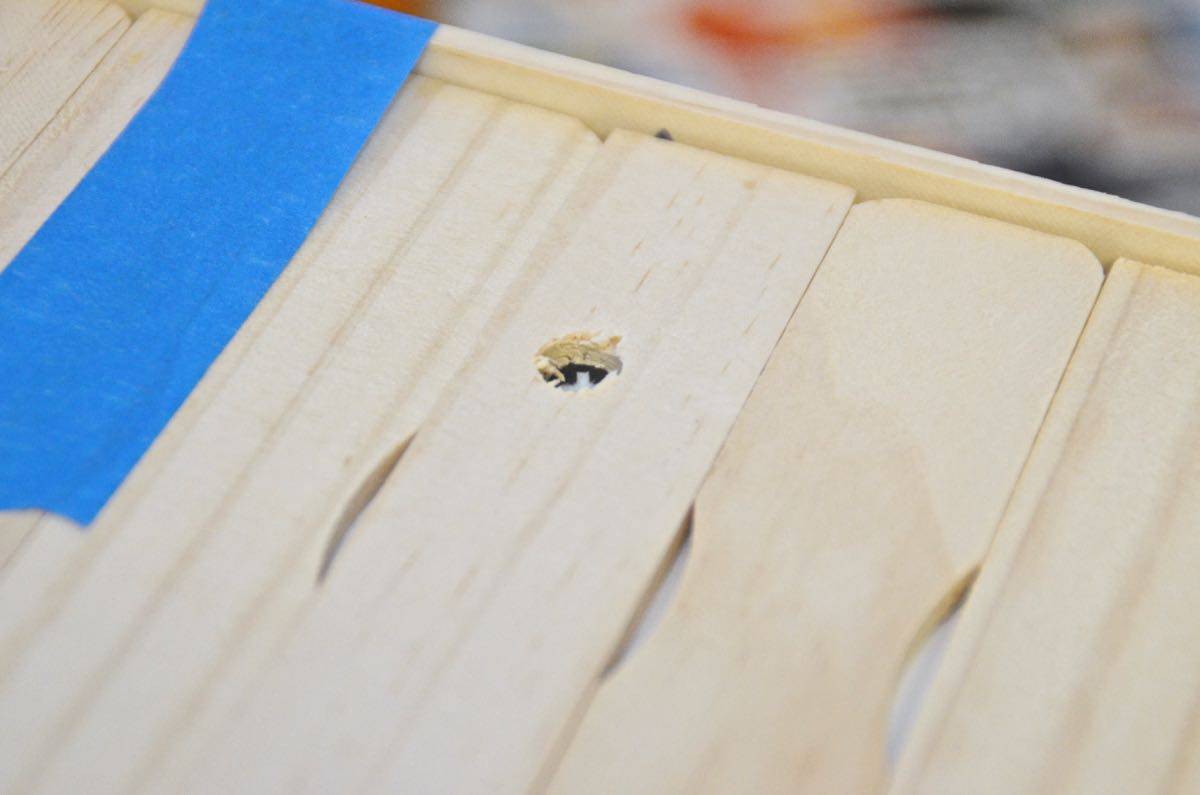
I used gorilla glue to stick these guys onto the shelf. There were a few screw heads that I had work around, but I quickly drilled a hole in my stirrers so they would fit.
Step 3: Stain
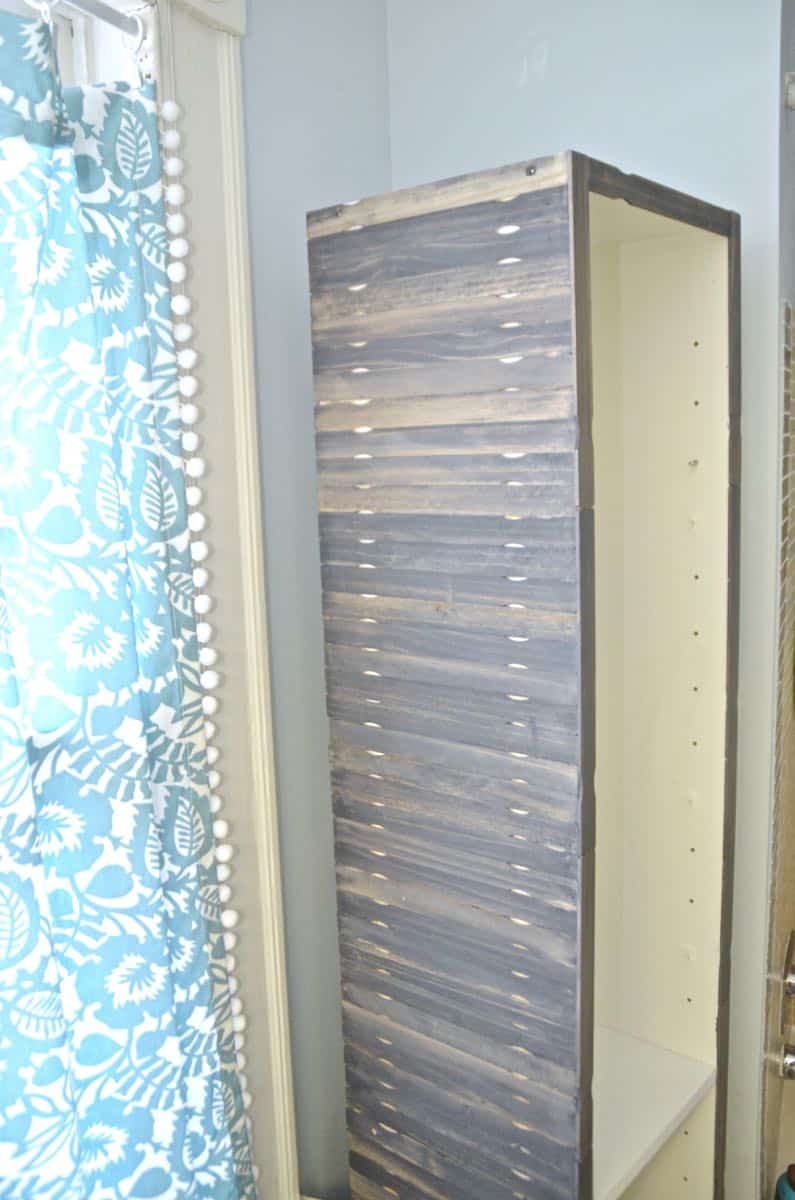
When the glue was dry, I used a gray Minwax stain and wiped it off immediately. The stain set differently from stirrer to stirrer, but that rustic textured look was what I was going for. (Stain is stinky… do this step outside or in a well ventilated area!
Step 4: Whitewash Over Stain
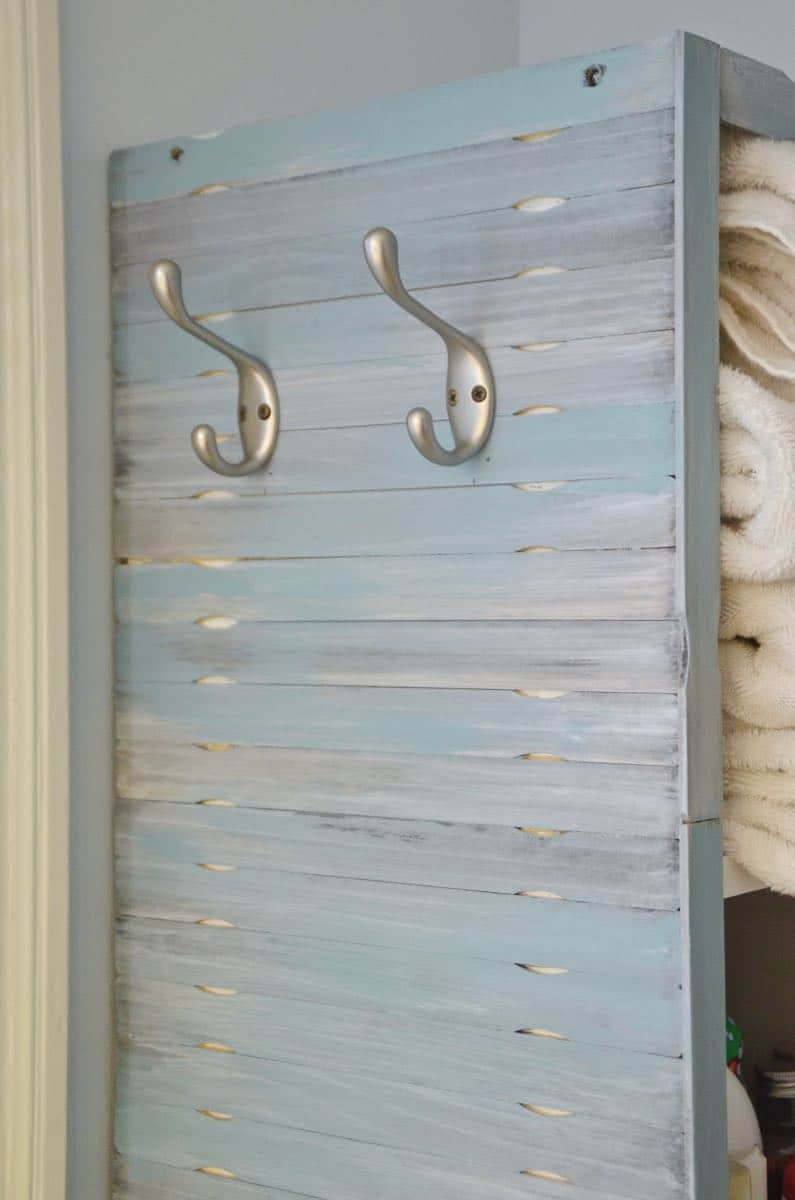
Next, I went back over the shelves with a white wash like I did for this project. Lastly, I grabbed some leftover Annie Sloan chalk paint and a dry brush to bring in some age and some color.
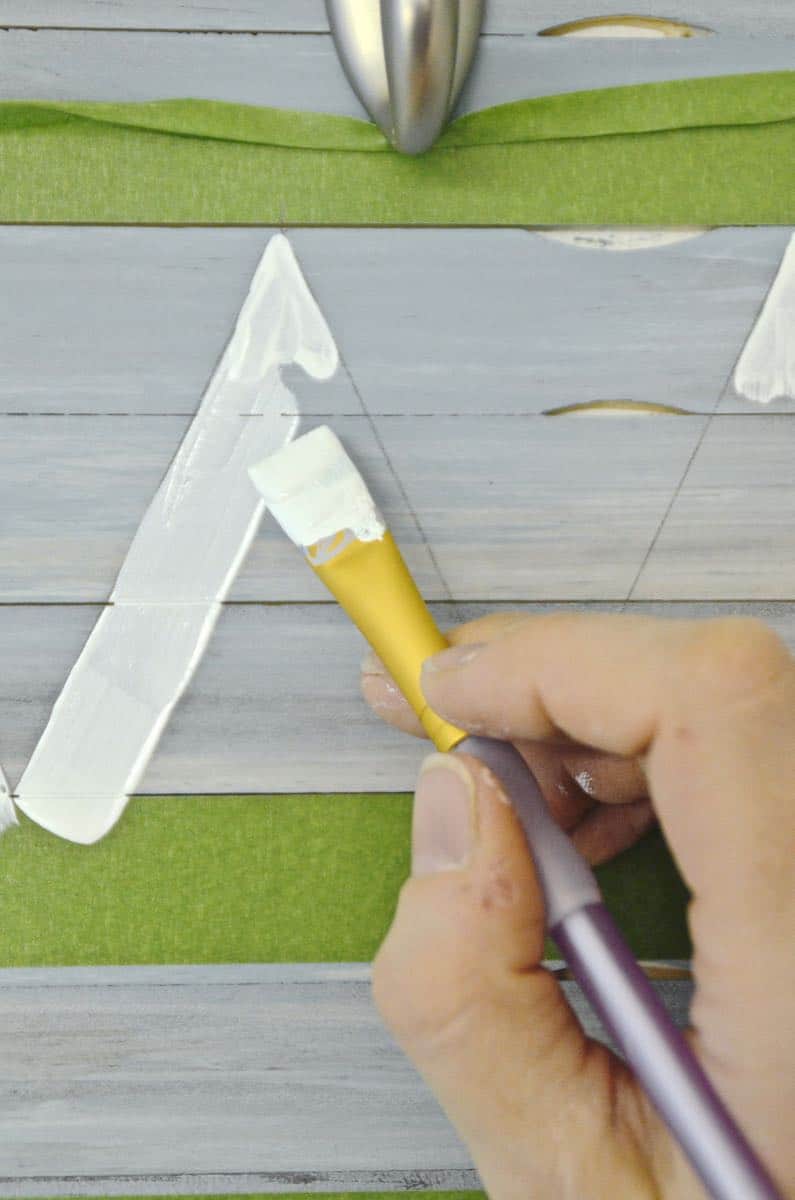
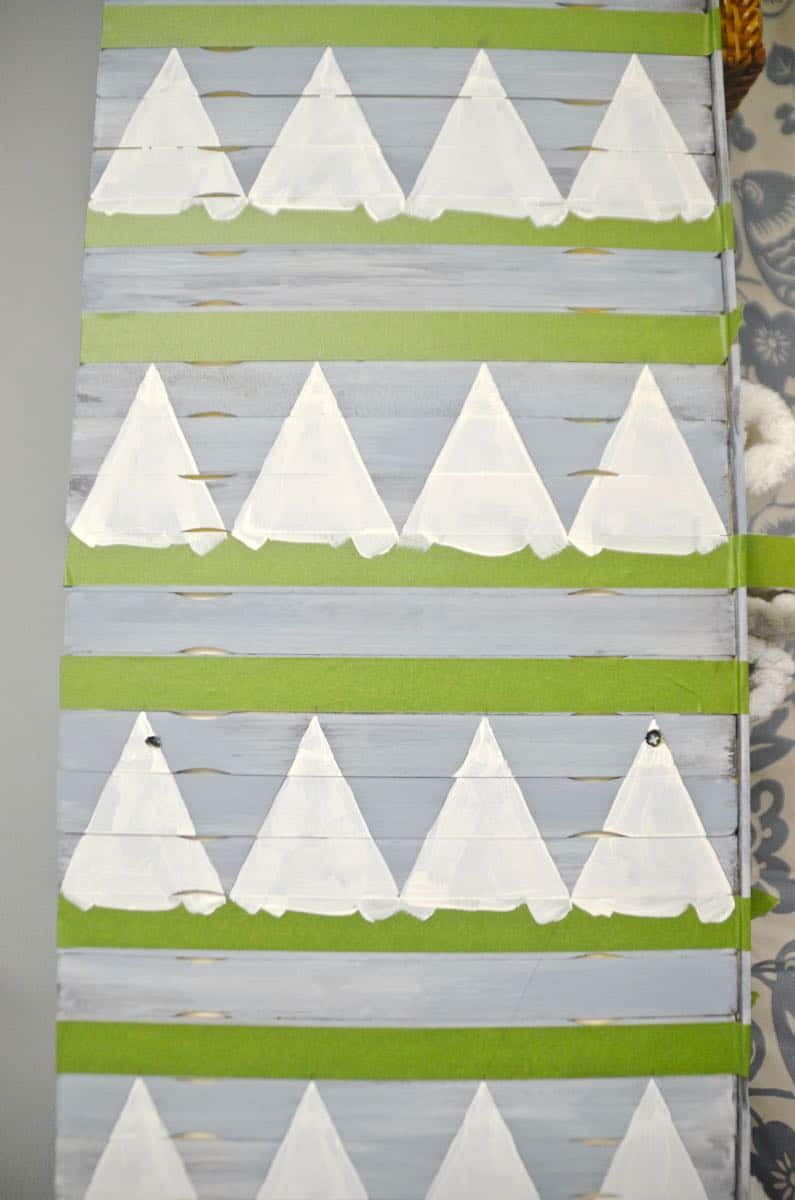
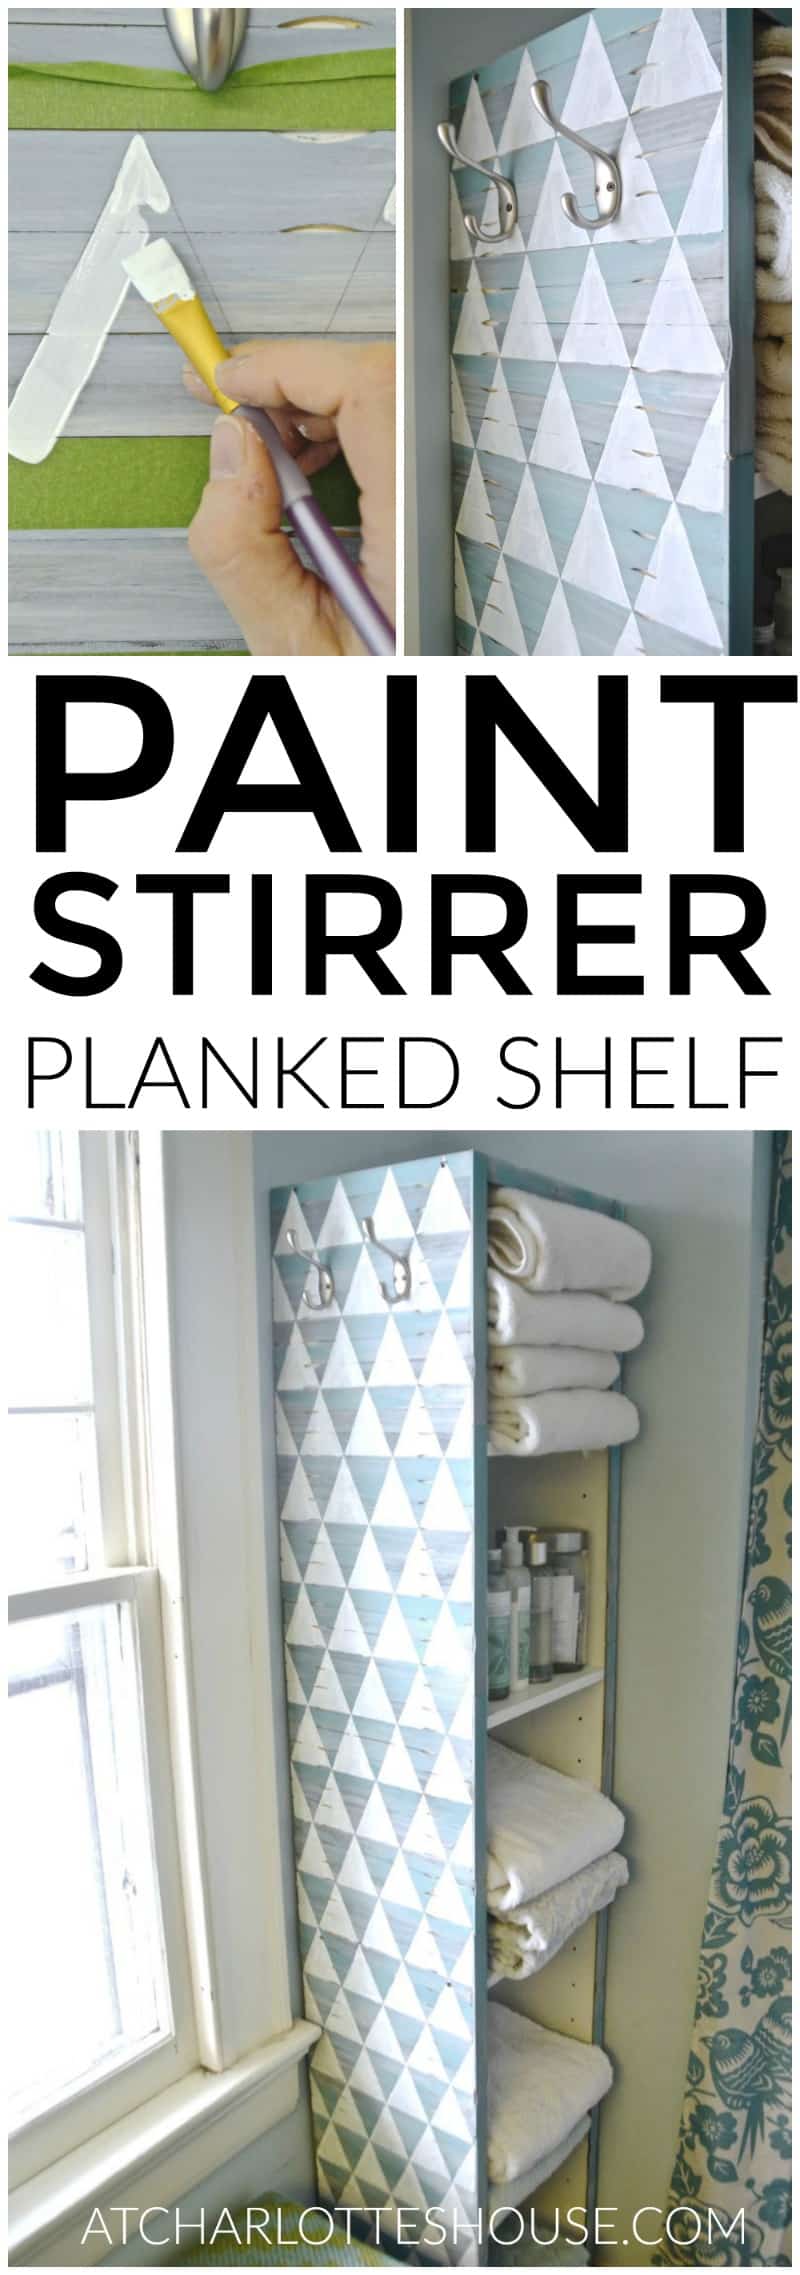
Step 5: Tape Off Your Pattern
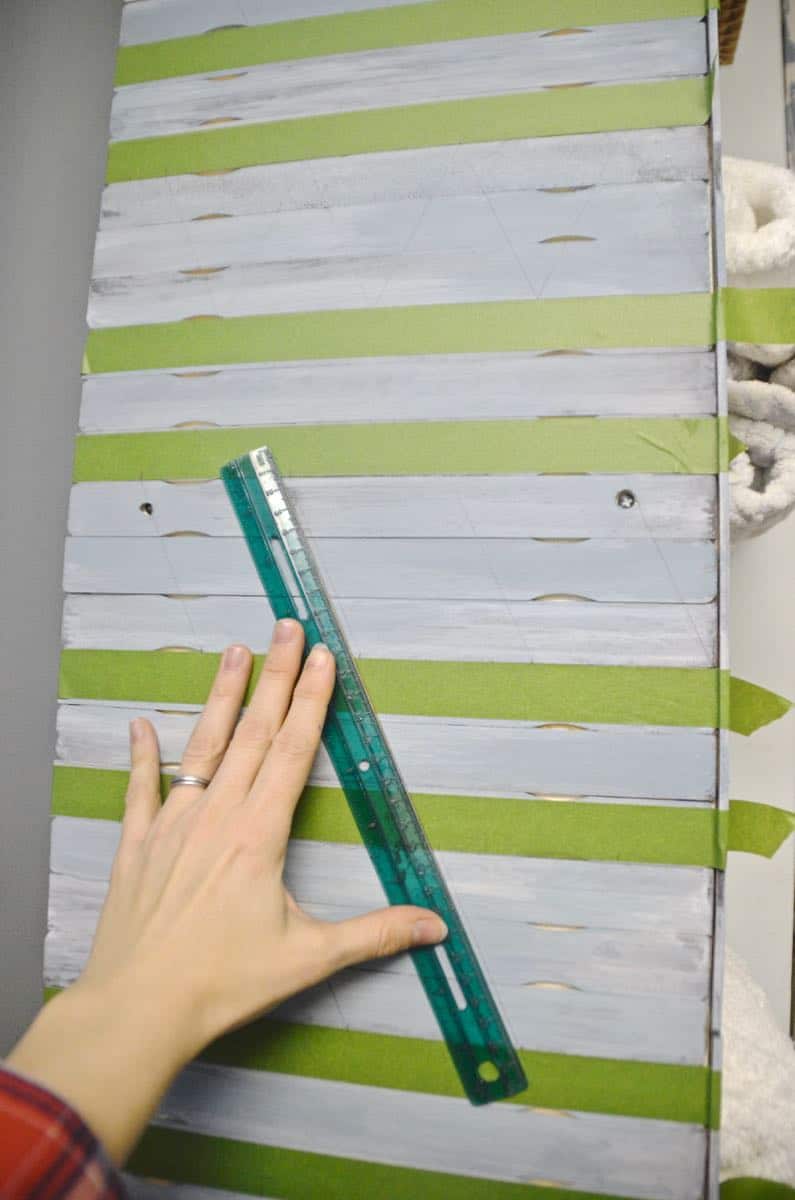
This was the point where I was sort of regretting the whole thing. It was pretty much what I’d envisioned, but I didn’t love it. Maybe the paint stirrers weren’t substantial enough? Who knows… It looked a little too home ec for my liking. I was wishing I’d taken the time to stain individual stirrers and create a fun herringbone pattern or something. I was all set to just paint the whole thing white when, I figured why not go back over with some painter’s tape and give the whole thing one last go of it. Like trouser pants with an elastic ankle, I keep trying to make them work.
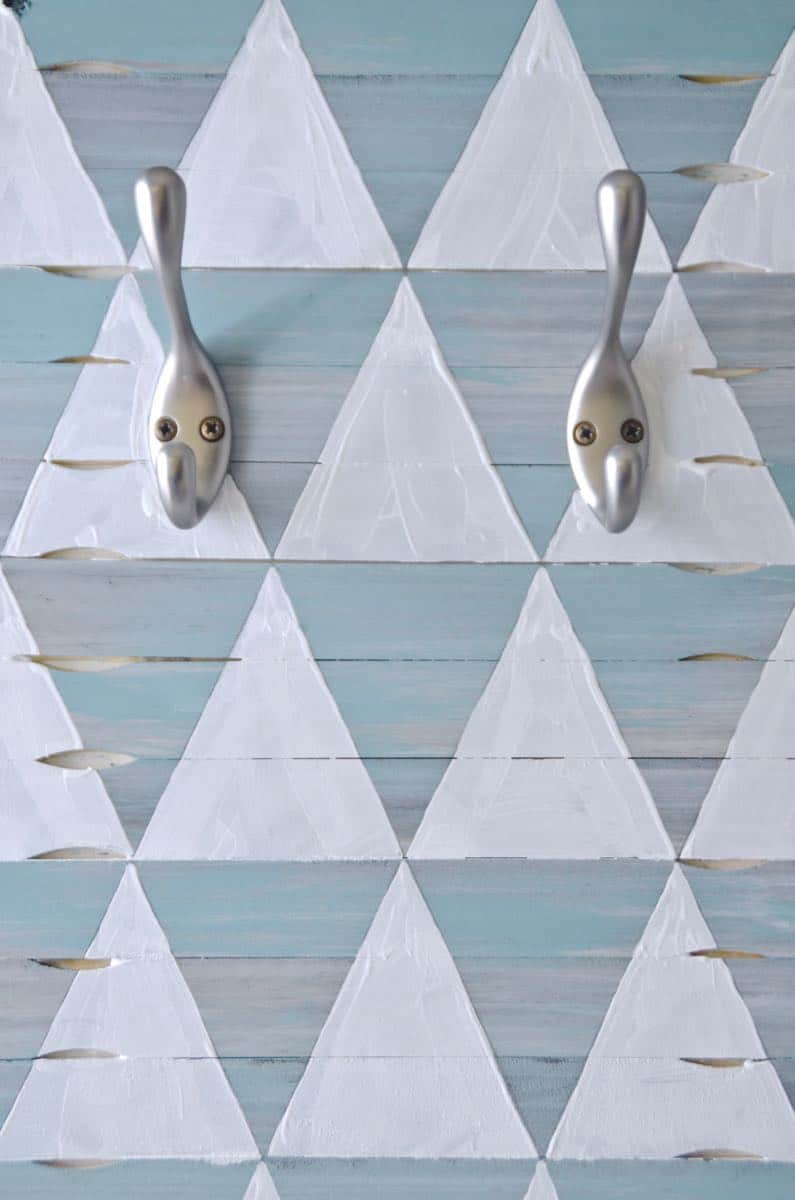
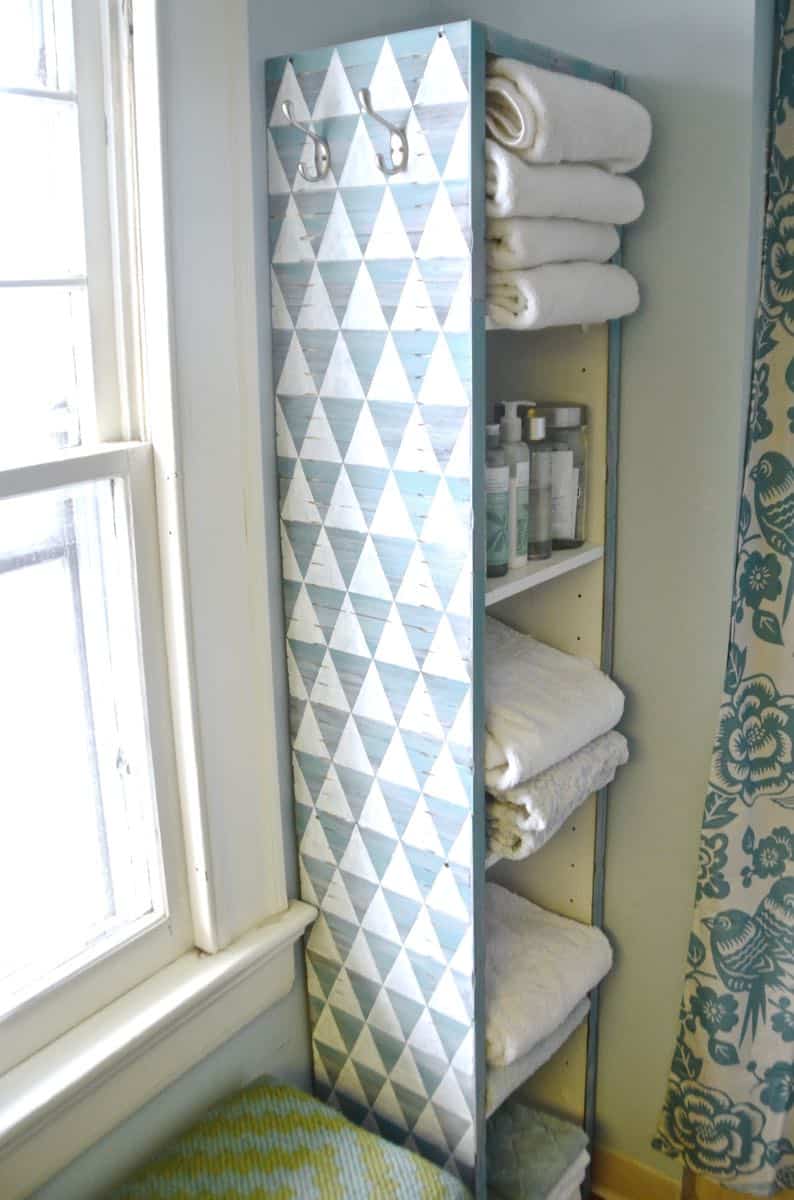
I think the shelf finally came together! What do you think? Should I head to Ikea for a new one, or does this work in the space?
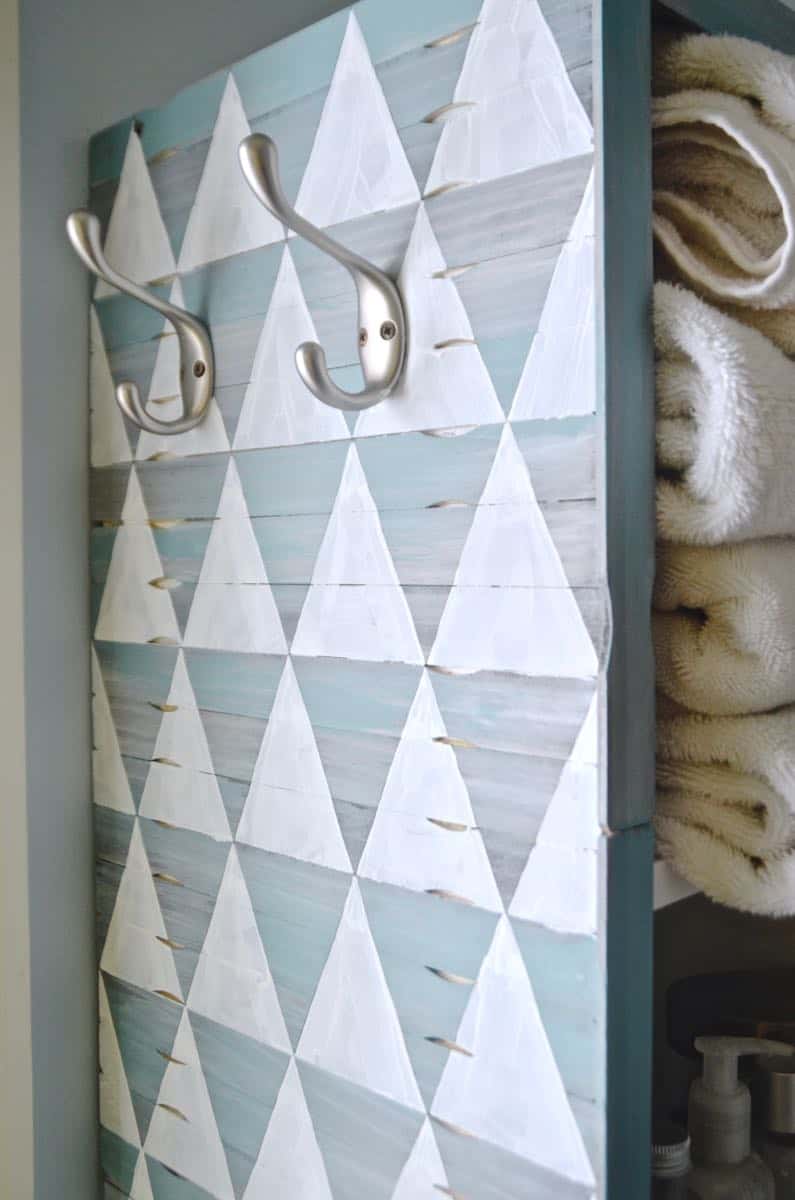



I like it. I like it.
Thanks, my lovely! xx
LOVE IT!!!!!!! Many ideas flooding into my brain….
Ooohhh…. please share if you ACT on any of those idea. 🙂
Very nice Charlotte. I’ve been thinking about doing something similar with shims. Now I’m convinced I have to give it a try! Great job girl!
Oooh… love that idea. They wouldn’t have the weird little semicircle that paint stirrers have… I’m still moderately hung up on the idea of a herringbone pattern and shims might be the way to go! GOod tip. 😉
I like it! Perfect fit!
Thanks, Jacqui!
Agree triangles look great 🙂 Ideally suited for hangers
Thanks, Rilane!
My jaw just hit the floor. And I’m at work right now… haha. This is one of the best things I’ve seen in a long time. AMAZING!! *Picks jaw up off floor because co-workers are staring* Erin 🙂
HAHAHA! Thanks! I’m glad you like it! I think if it were ANYwhere but that awful bathroom, I’d like it more… but I’m definitely happier with the makeover after the triangles. 🙂
That tip about using toothpaste is genius!! And I think the finish look is great…I am glad you kept going with the project until you liked it.
Thanks, Frances! Not sure where I heard about it, but it’s a good one! 🙂
Very crafty, love the hand painted effect! Reclaimed timber walls and any recycled timbers as features are also awesome.
Thanks, Jason! I was too impatient to tape out the triangles and figured I could free hand well enough! 🙂
I loved just the gray/whitewashed finish . . . UNTIL the last three pictures shown together. You nailed it with the pattern! I would have stopped with the safe original finish, but you’ve shown me what stepping out of my comfort zone could do. Love it.
Thanks, Kay! The middle version felt a little dull to me in person but probably because the space is so dreary! But I love the finished product! Worth the ‘risk’ :).
WOW! This is just what I need for my crazy bathroom with no shelves and a big blank lopsided square of plain drywall where the giant medicine cabinet used to be before it fell off the wall into my arms – ouch! The colors are exactly what will work too! I will use the paint stirs for the background and make floating shelves coming out of the wall. Lookout Home Depot – expect a shortage of paint stirs after enough people see this beautiful re-do, up-do, GOTTA-DO!!
Andi, I LOVE that idea. 🙂 I definitely hedged when the paint guys asked how many stirrers I needed… I think I said something like, ‘as many as you’ll give me!’ Good luck pillaging!
This is absolutely an amazing transformation! I can’t believe those are paint sticks. I love the pattern you painted. It makes such a statement. I’d love for you to link this up to the Thursday S.T.Y.L.E. Link Party I cohost. https://addicted2diy.com/2014/02/06/thursday-s-t-y-l-e-link-party-6/
Thanks, Katie! Heading over your way now. 🙂
Wow!! Love that idea…it looks great!
Thanks, Kerri!
This turned out so nicely, I love it!
Thanks, Heather!
This is such an AWESOME idea!! So genius to use the paint sticks. I love this! Thanks so much for linking up at Thursday STYLE!
Thanks, Angela!! Love linking up. 🙂
I LOVE this!!!! I think it turned out really well. I absolutely love that you used paint stir sticks to make this a unique piece. I looks great and I think the design looks amazing. I am really impressed!!! Great job!
Thanks, Morgan!! I really like this design too! I might use it on something else in the house. 🙂
Thanks so much again for linking up this week! Your Paint Stick Chic bathroom storage was the most clicked link this week! We’ll be featuring you tomorrow night. We hope to see you again this week!
Thanks, Katie! SO exciting! 🙂
This looks great! Thank you so much for sharing the fantastic idea with us! Now off to find some shelf that I can redo! 😀
Ha! Thanks!! Happy hunting. 🙂
Personally I liked the first finished project but that’s just me but when you finished it the second time it looks great too! One project two ways to go with it 🙂
Thanks, Lisa! I didn’t mind the first one either… but it only matched one room that no longer had, er, room for it! 🙂
I LOVE THIS!! Beautiful colors, very crafty & great use of any scrap wood/pieces instead of wasting them. Almost a no brainer but highly creative & something ive not seen on pinterest in a while. HOw did it take 6 years for me to accidentally come by this? One of my favorite diYs?
Thanks so much! Super kind of you! xxx