
How to Easily Create a Garden Bed
Psssst… this post *might* contain affiliate links: see my disclosure here.
How to Create and Plant a Garden Bed in one Afternoon
Disclaimer: I’m partnering with STIHL for this post and showing you how easy it is to create a garden bed using their multi purpose STIHL Yard Boss.
When we bought our house, one of the first things I did was imagine where I could plant spring bulbs. For two years I’ve passed over this simple landscape task and I was eager to get to work at the new house! Note: We live in Connecticut so I actually planted these back in November before the ground froze so this was technically my first project at the new house! (Finger’s crossed something will actually sprout come spring!)
Shop my favorites!
Step 1. Mark out your bed
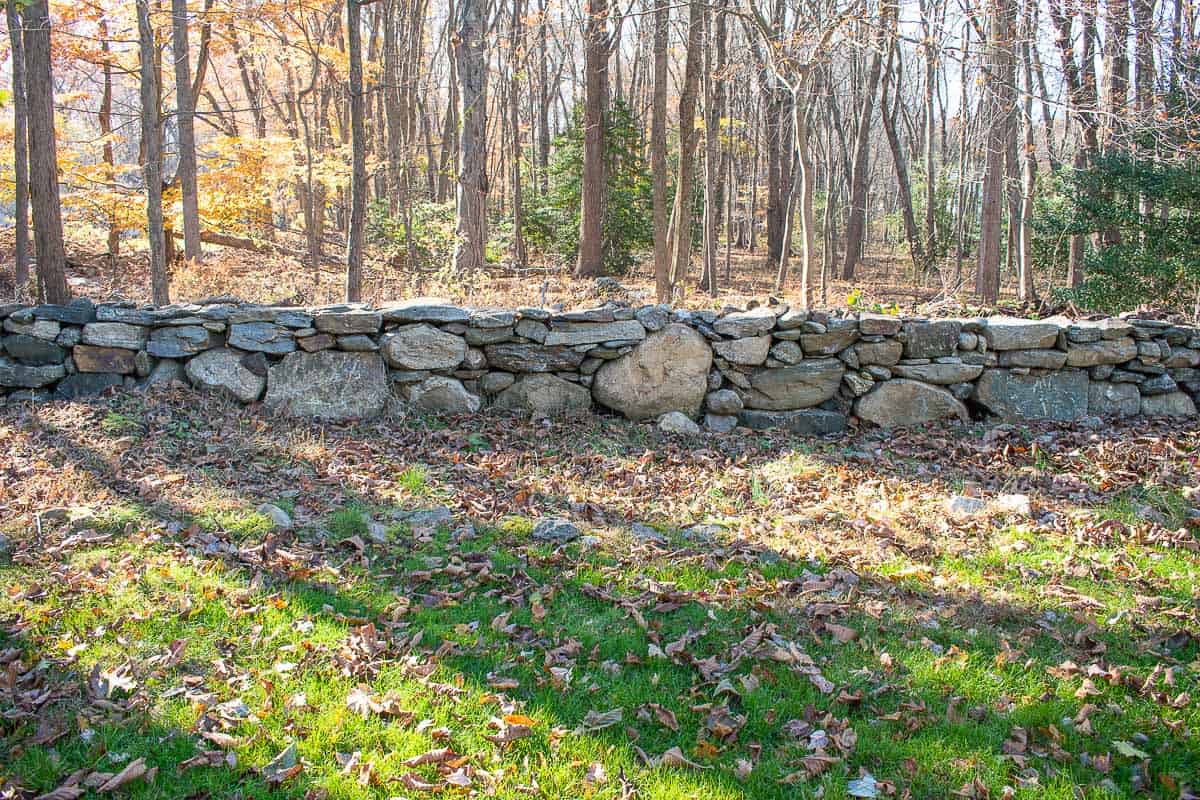
I started by walking the property and looking for a good place in which I could plant bulbs. The back bed appeared to have lots of other plants and bushes and without seeing what comes up in the spring, I didn’t want to start digging it up. As lovely as bulbs are when they’re in bloom, I’ve learned that they can also be somewhat unruly/ unsightly when they’re finished which only means that I didn’t want them front and center in a bed right near the house either. On one side of our yard is a lovely stone wall with evidence that there had once been plantings, but nothing appeared to be there anymore! Perrrfect. Along the stone wall in the backyard was where the new bulbs were going! What next.
Step 2. Clear the area
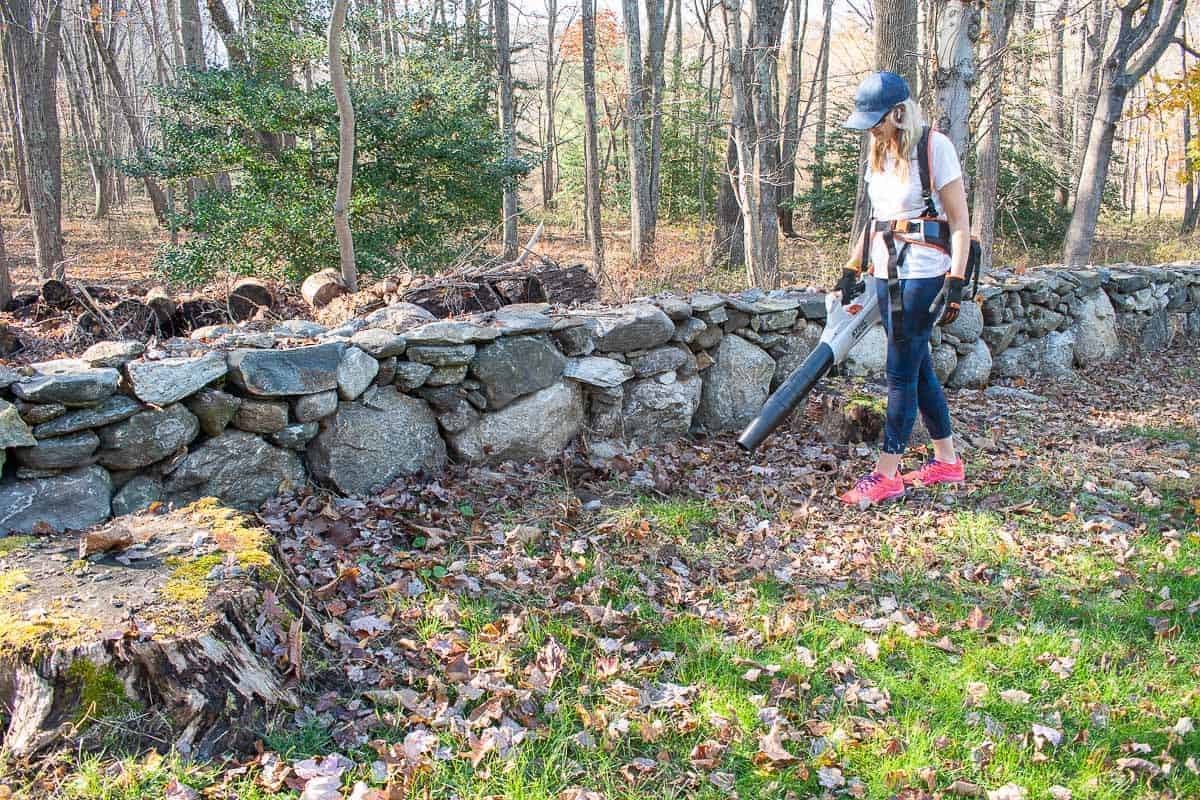
I was planting in November (which is even a little late for Connecticut, but we had a mild spring) which meant looooots of leaves on the ground. I wasn’t planning to be forensic with this bed (no additional top soil) but I did want it to be as clean as possible so I used my STIHL leaf blower (STIHL BGA 100 blower) to remove the leaves. I wrote all about this battery powered tool back in this post, but I love how easy it is to use (just pop in the battery and press the power button). Reminder: always wear recommended safety gear (glasses, gloves, face shield, pull your hair back, etc.)… I posed for this picture before getting all my gear on!
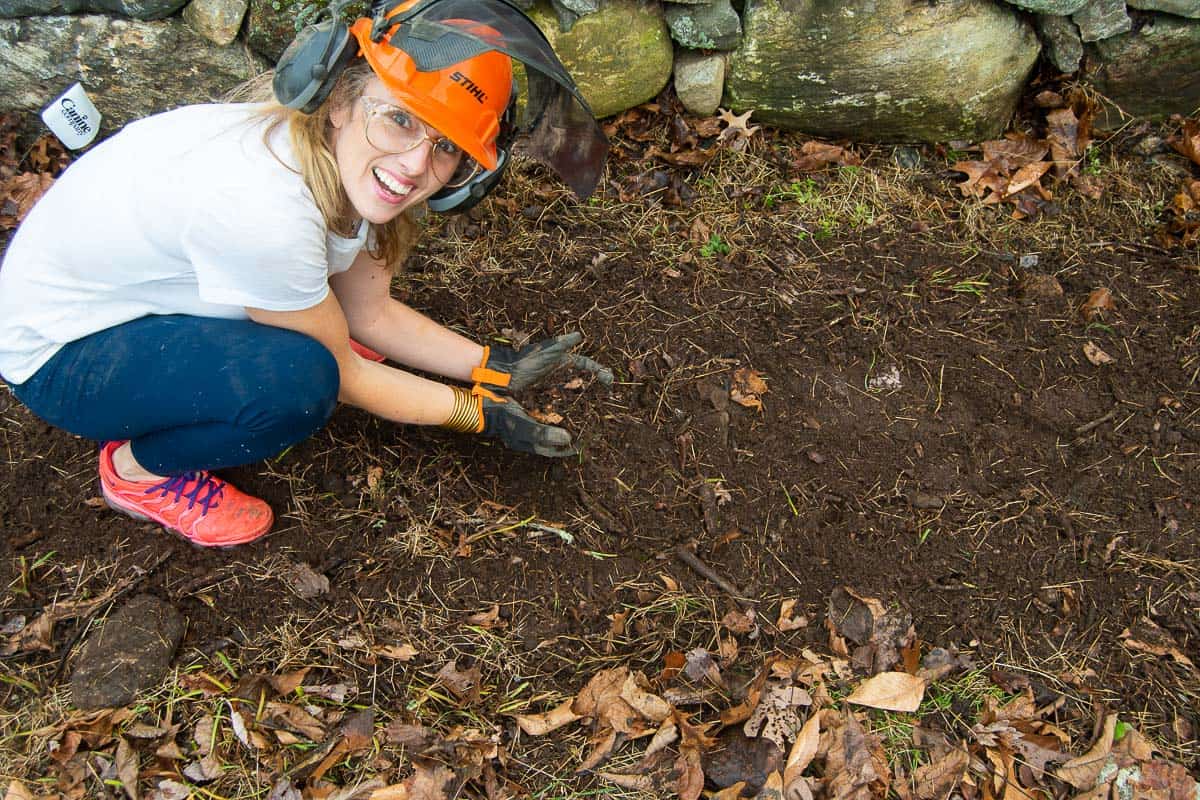
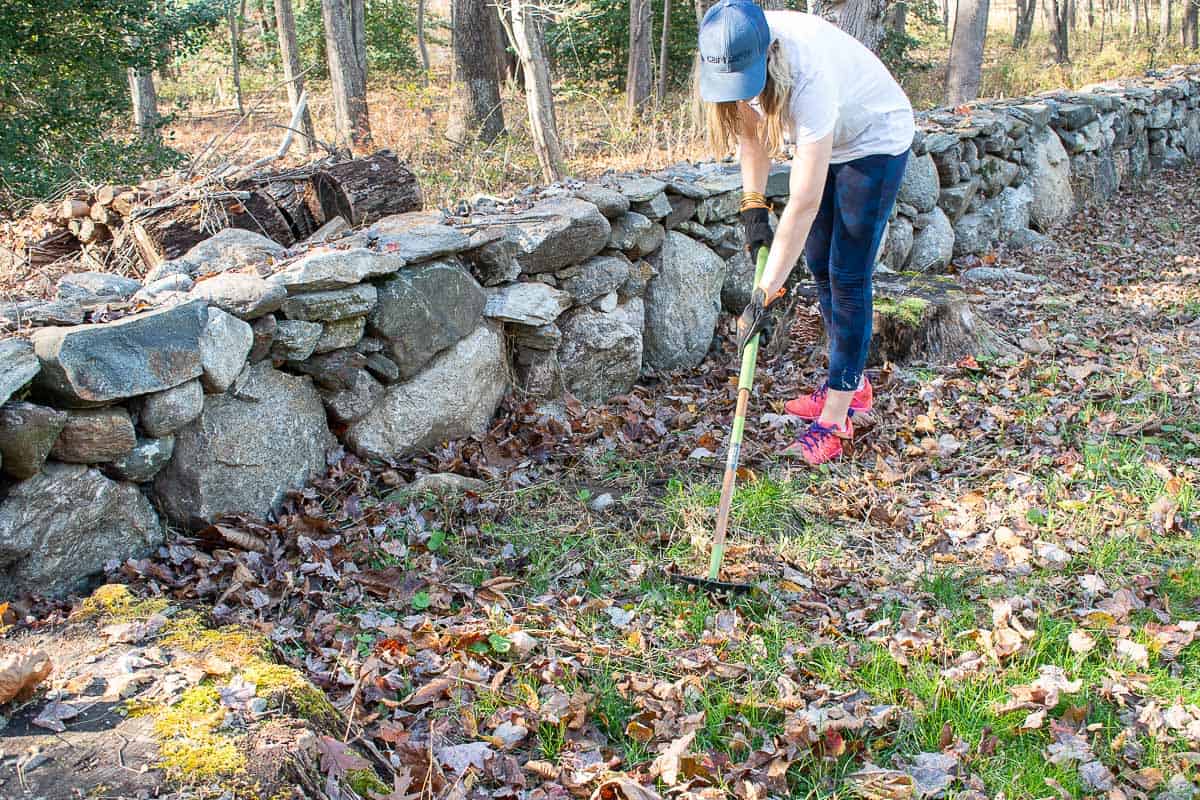
Again, I’m just planting bulbs and only had a few hours in which to do it so I didn’t bring in additional top soil…. obviously that is gardening best practice. Because I wasn’t adding to the existing soil, it was really important to me that I tilled up the soil as best I could first. There was clearly an existing flower bed under all those leaves, but it was overgrown with weeds and grass. I went over the area with a rake first to remove as much of this surface debris as possible. The ground was still fairly soft so the rake did a good job removing a good deal from the surface but didn’t do much with the packed earth beneath.
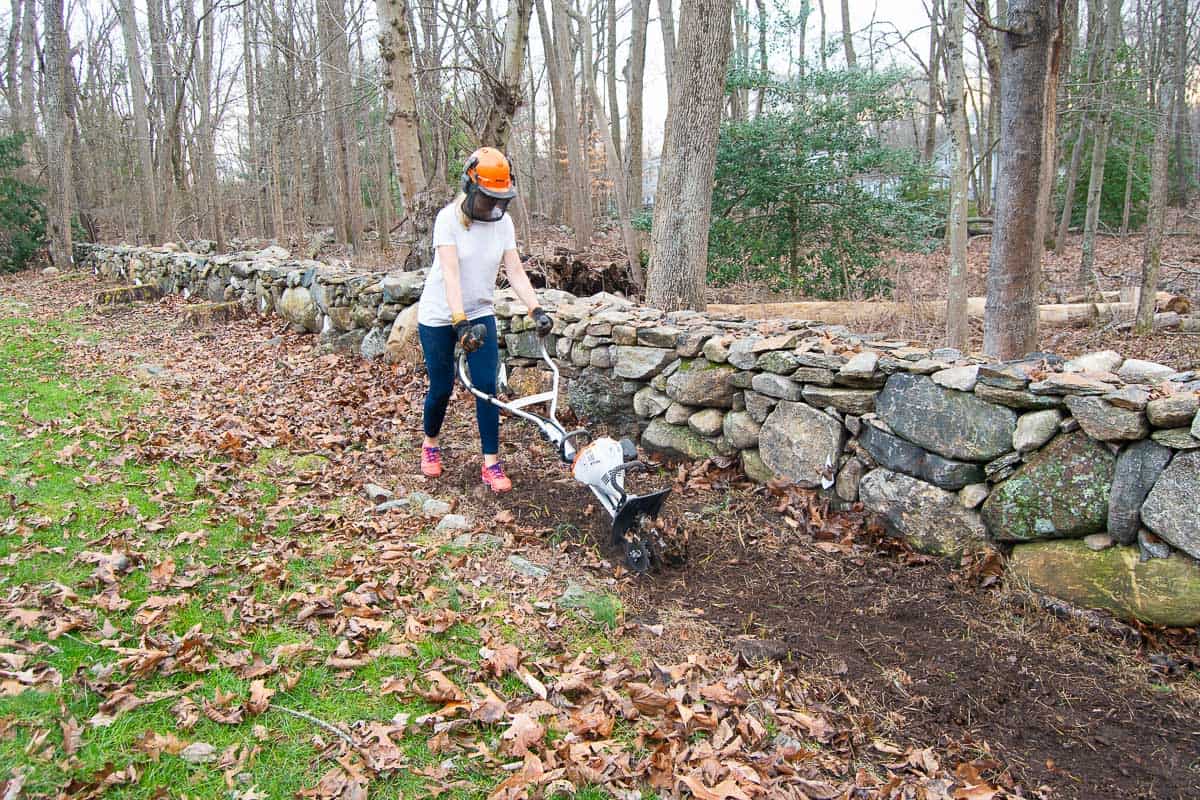
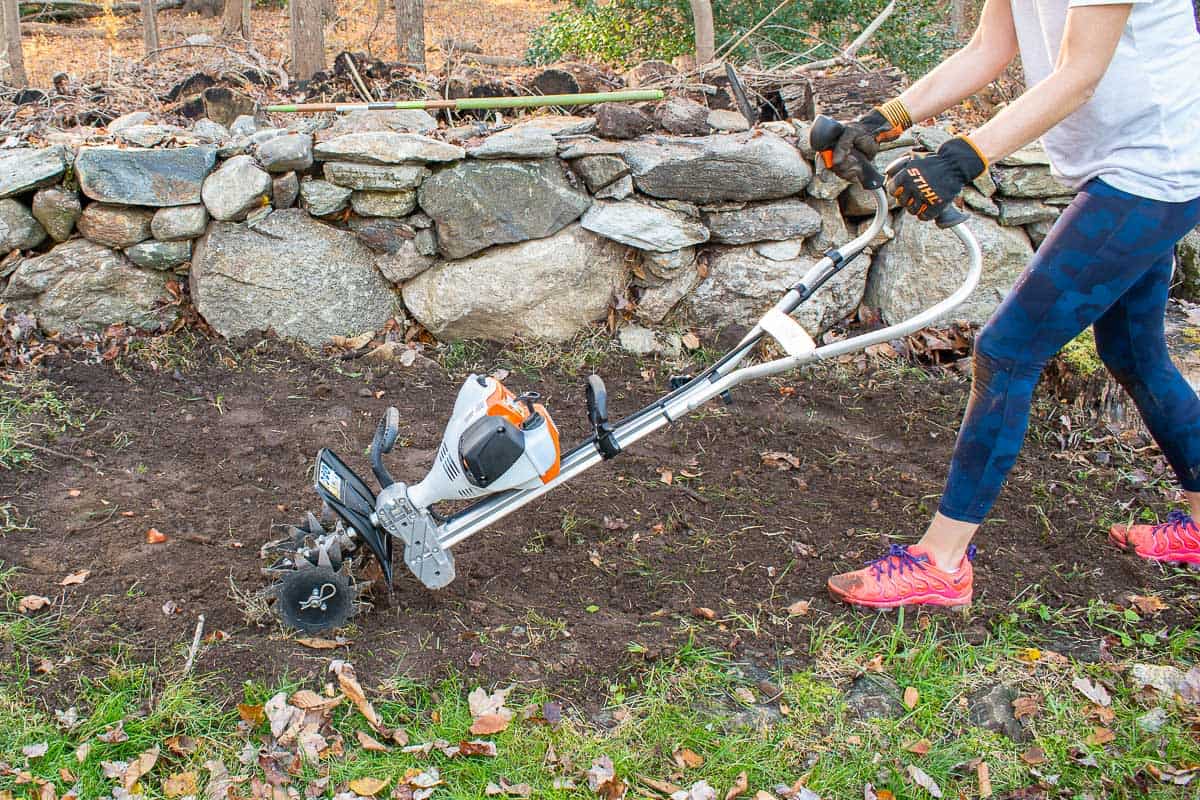
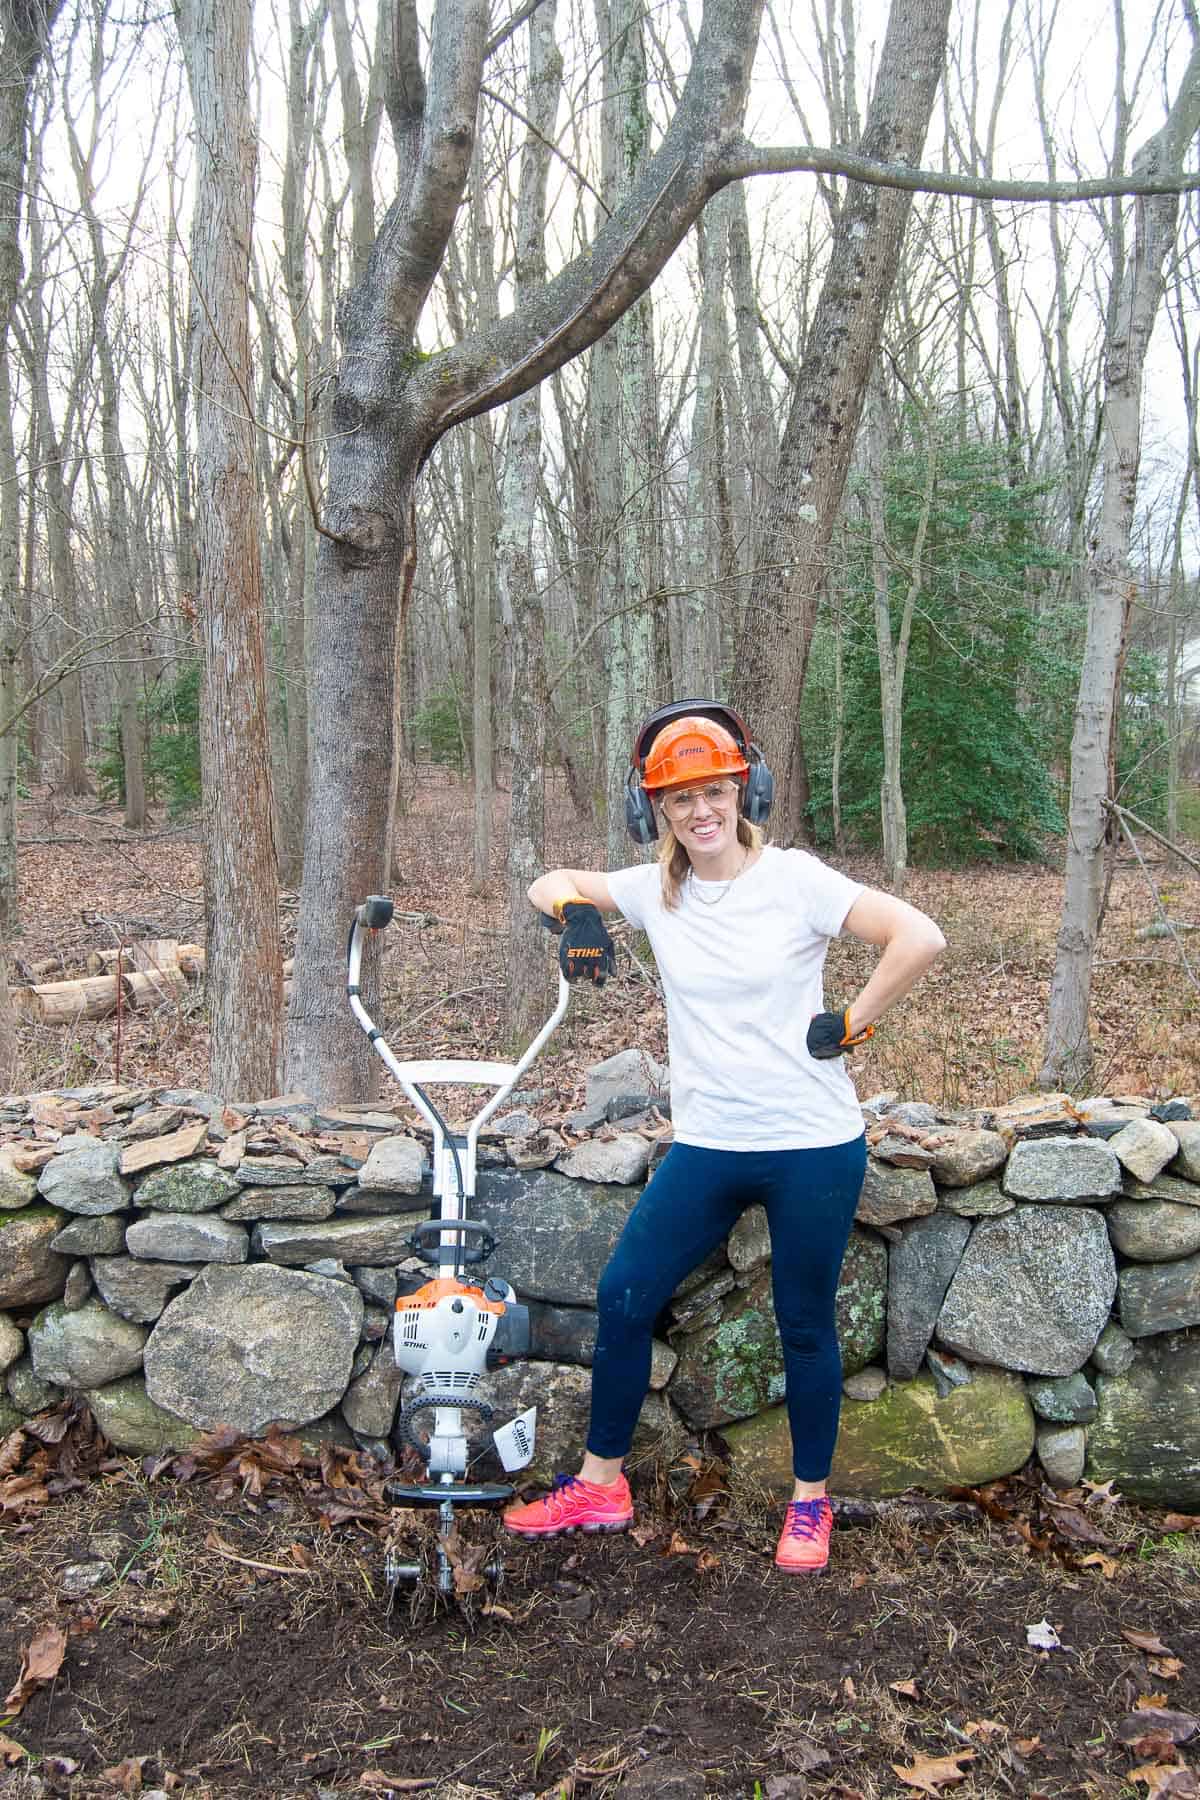
Step 3. Till the soil
Could I have turned up and tilled the soil with a pitch fork or rake? Maybe. But it would have taken HOURS. Also… so. many. sore. muscles. With the STIHL Yard Boss it took 15 minutes. Total. Unlike my other STIHL tools, the Yard Boss is gas powered. The only difference for me is that it starts by pulling a starting chord. The Yard Boss has a handful of attachments; for this bed, I’m using the cultivator attachment. If you let the machine pull itself forward it will naturally turn up the top few inches of soil. If you need it to till a little deeper or you have soil that’s a little more compact, pulling the wheel slowly backwards as it turns allows it a bit more ‘grip’. And that’s it. I was able to turn up all the soil along the stone wall by simply walking up and down the bed with the Yard Boss in well under an hour! Just a walk in the park!
Step 4. Planting the Bulbs
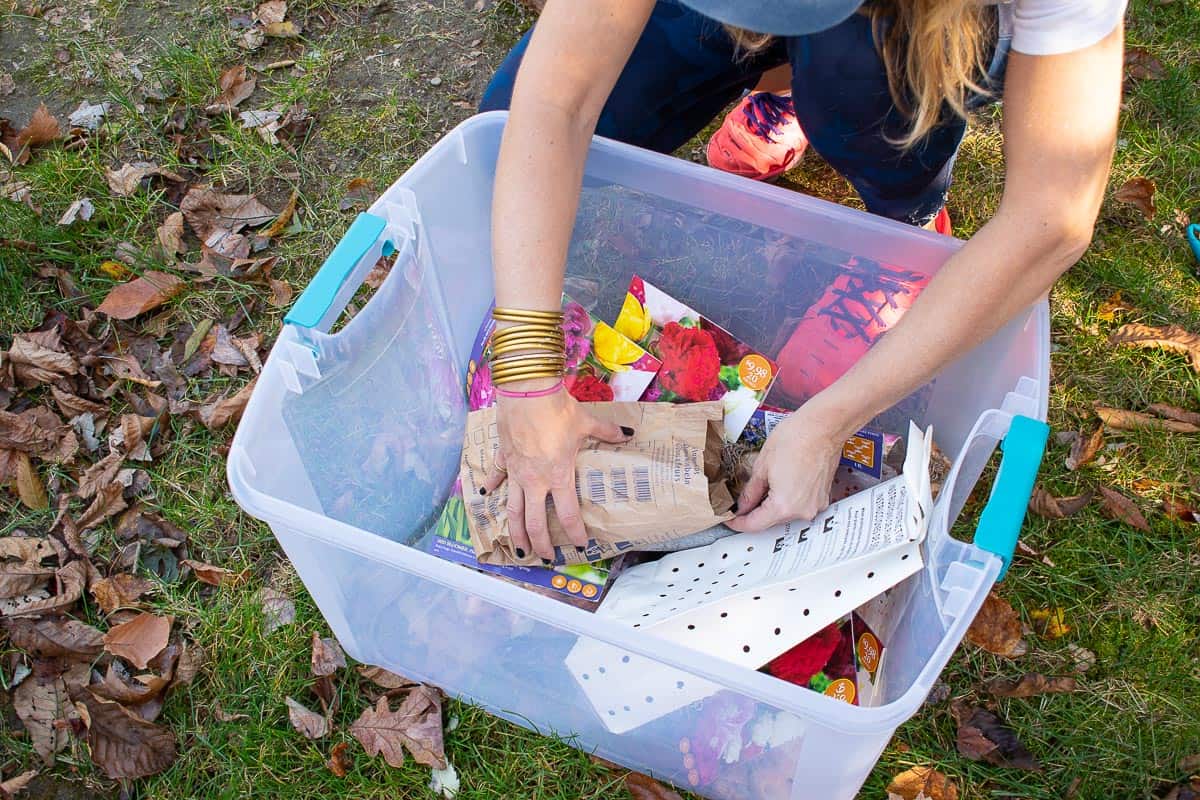
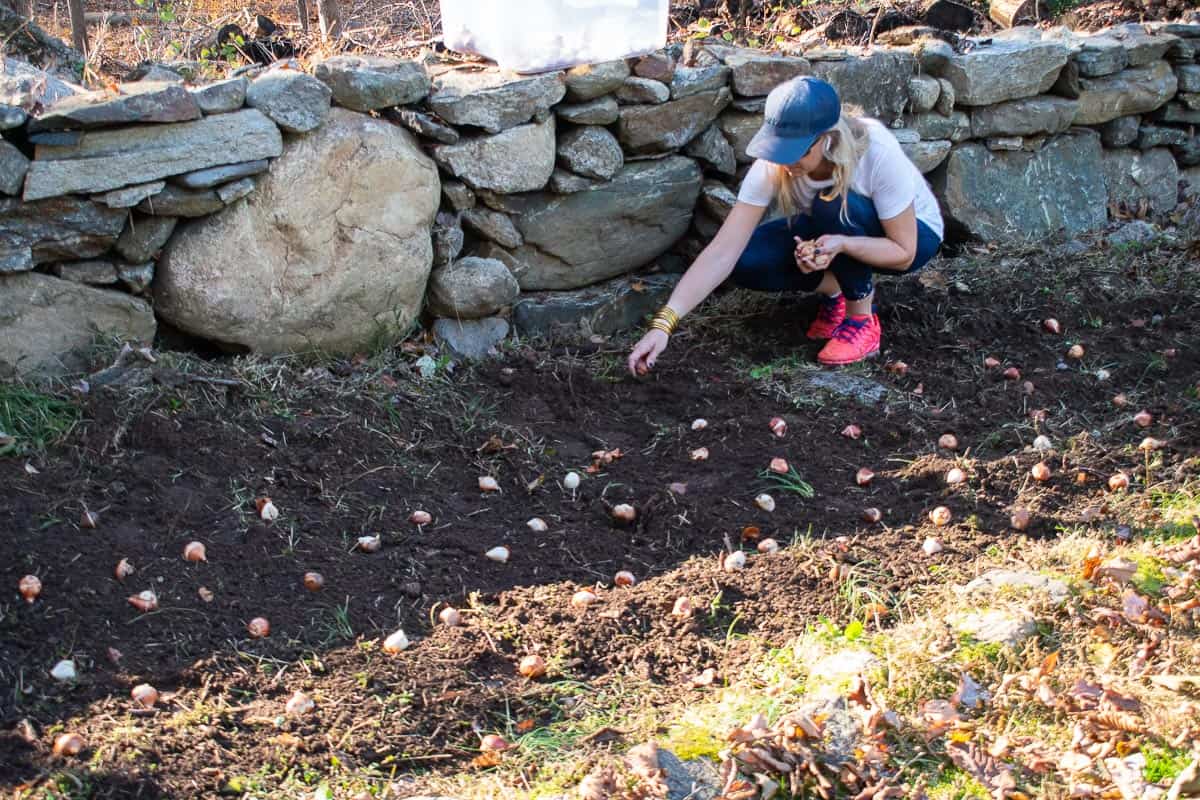
I picked up whatever bulbs were still leftover at the store in November which was an assortment of tulips and daffodils. I dumped out all the tulips into a large bin to mix them together before planting. The suggested spacing for these tulips was every 10 inches or so… I basically followed this suggestion but I suspect I might decide to add more to the area next season to make the bed feel fuller. (More full?) I went back and forth between using a basic trowel like this and a bulb planter like this. (A bulb planter is a cool gadget that digs down into the soil and allows you to remove the soil from the hole in order to place the bulb at whatever depth you choose.) Because my soil was all soft and churned up, planting hundreds of bulbs took a fraction of the time that it would have taken otherwise!
Step 5. Pest Prevention
Do deer eat tulips? Yes. Like candy. So this spring, I’ll have to keep a close eye on this bed and the minute the flowers start to bloom, I’ll have to install a simple deer fence. It’s a bummer because obviously these flowers would look much prettier without a big ol’ fence around them, but maybe next fall I’ll research which plants are a bit more deer resistant. Tulips, although technically perennials (the come up each year) typically *don’t* come back each year in our neck of the woods so chances are pretty good I’ll have to replant bulbs next fall! Daffodils are much better for deer resistance so I’ll make sure to grab some of those before they’re sold out!
In conclusion… I’m excited to see what happens around our landscaping this spring since it will be our first season in the house. I love the idea of ‘decorating outside’ using plants and flowers. I’m a total rookie with all this, but being able to quickly clear a bed of debris to start planting is HUGE and the Yard Boss allows for exactly that. It also has an edging attachment which might come in handy as well as tools for grass maintenance (an aerator and dethatcher). Thanks again to STIHL for providing me with tools that are so easy to work with. I said it last time I shared their products with you, but as a woman it’s always wonderful to find power tools that aren’t too heavy and make me feel in control and safe when I’m using them! If only they had a tool to keep the dogs from digging up the grass….
Check out the video below to watch how I created and planted this garden bed in one afternoon!


Don’t Miss Out
Become An Insider!
Signup for exclusive tips, and tricks from Charlotte’s House!
Let’s chat!
I love comments from you, so feel free to leave your thoughts and ideas below! And don’t forget to follow me on Instagram for even more!