Painted Furniture Makeover
Psssst… this post *might* contain affiliate links: see my disclosure here.
Mod Painted Desk Makeover
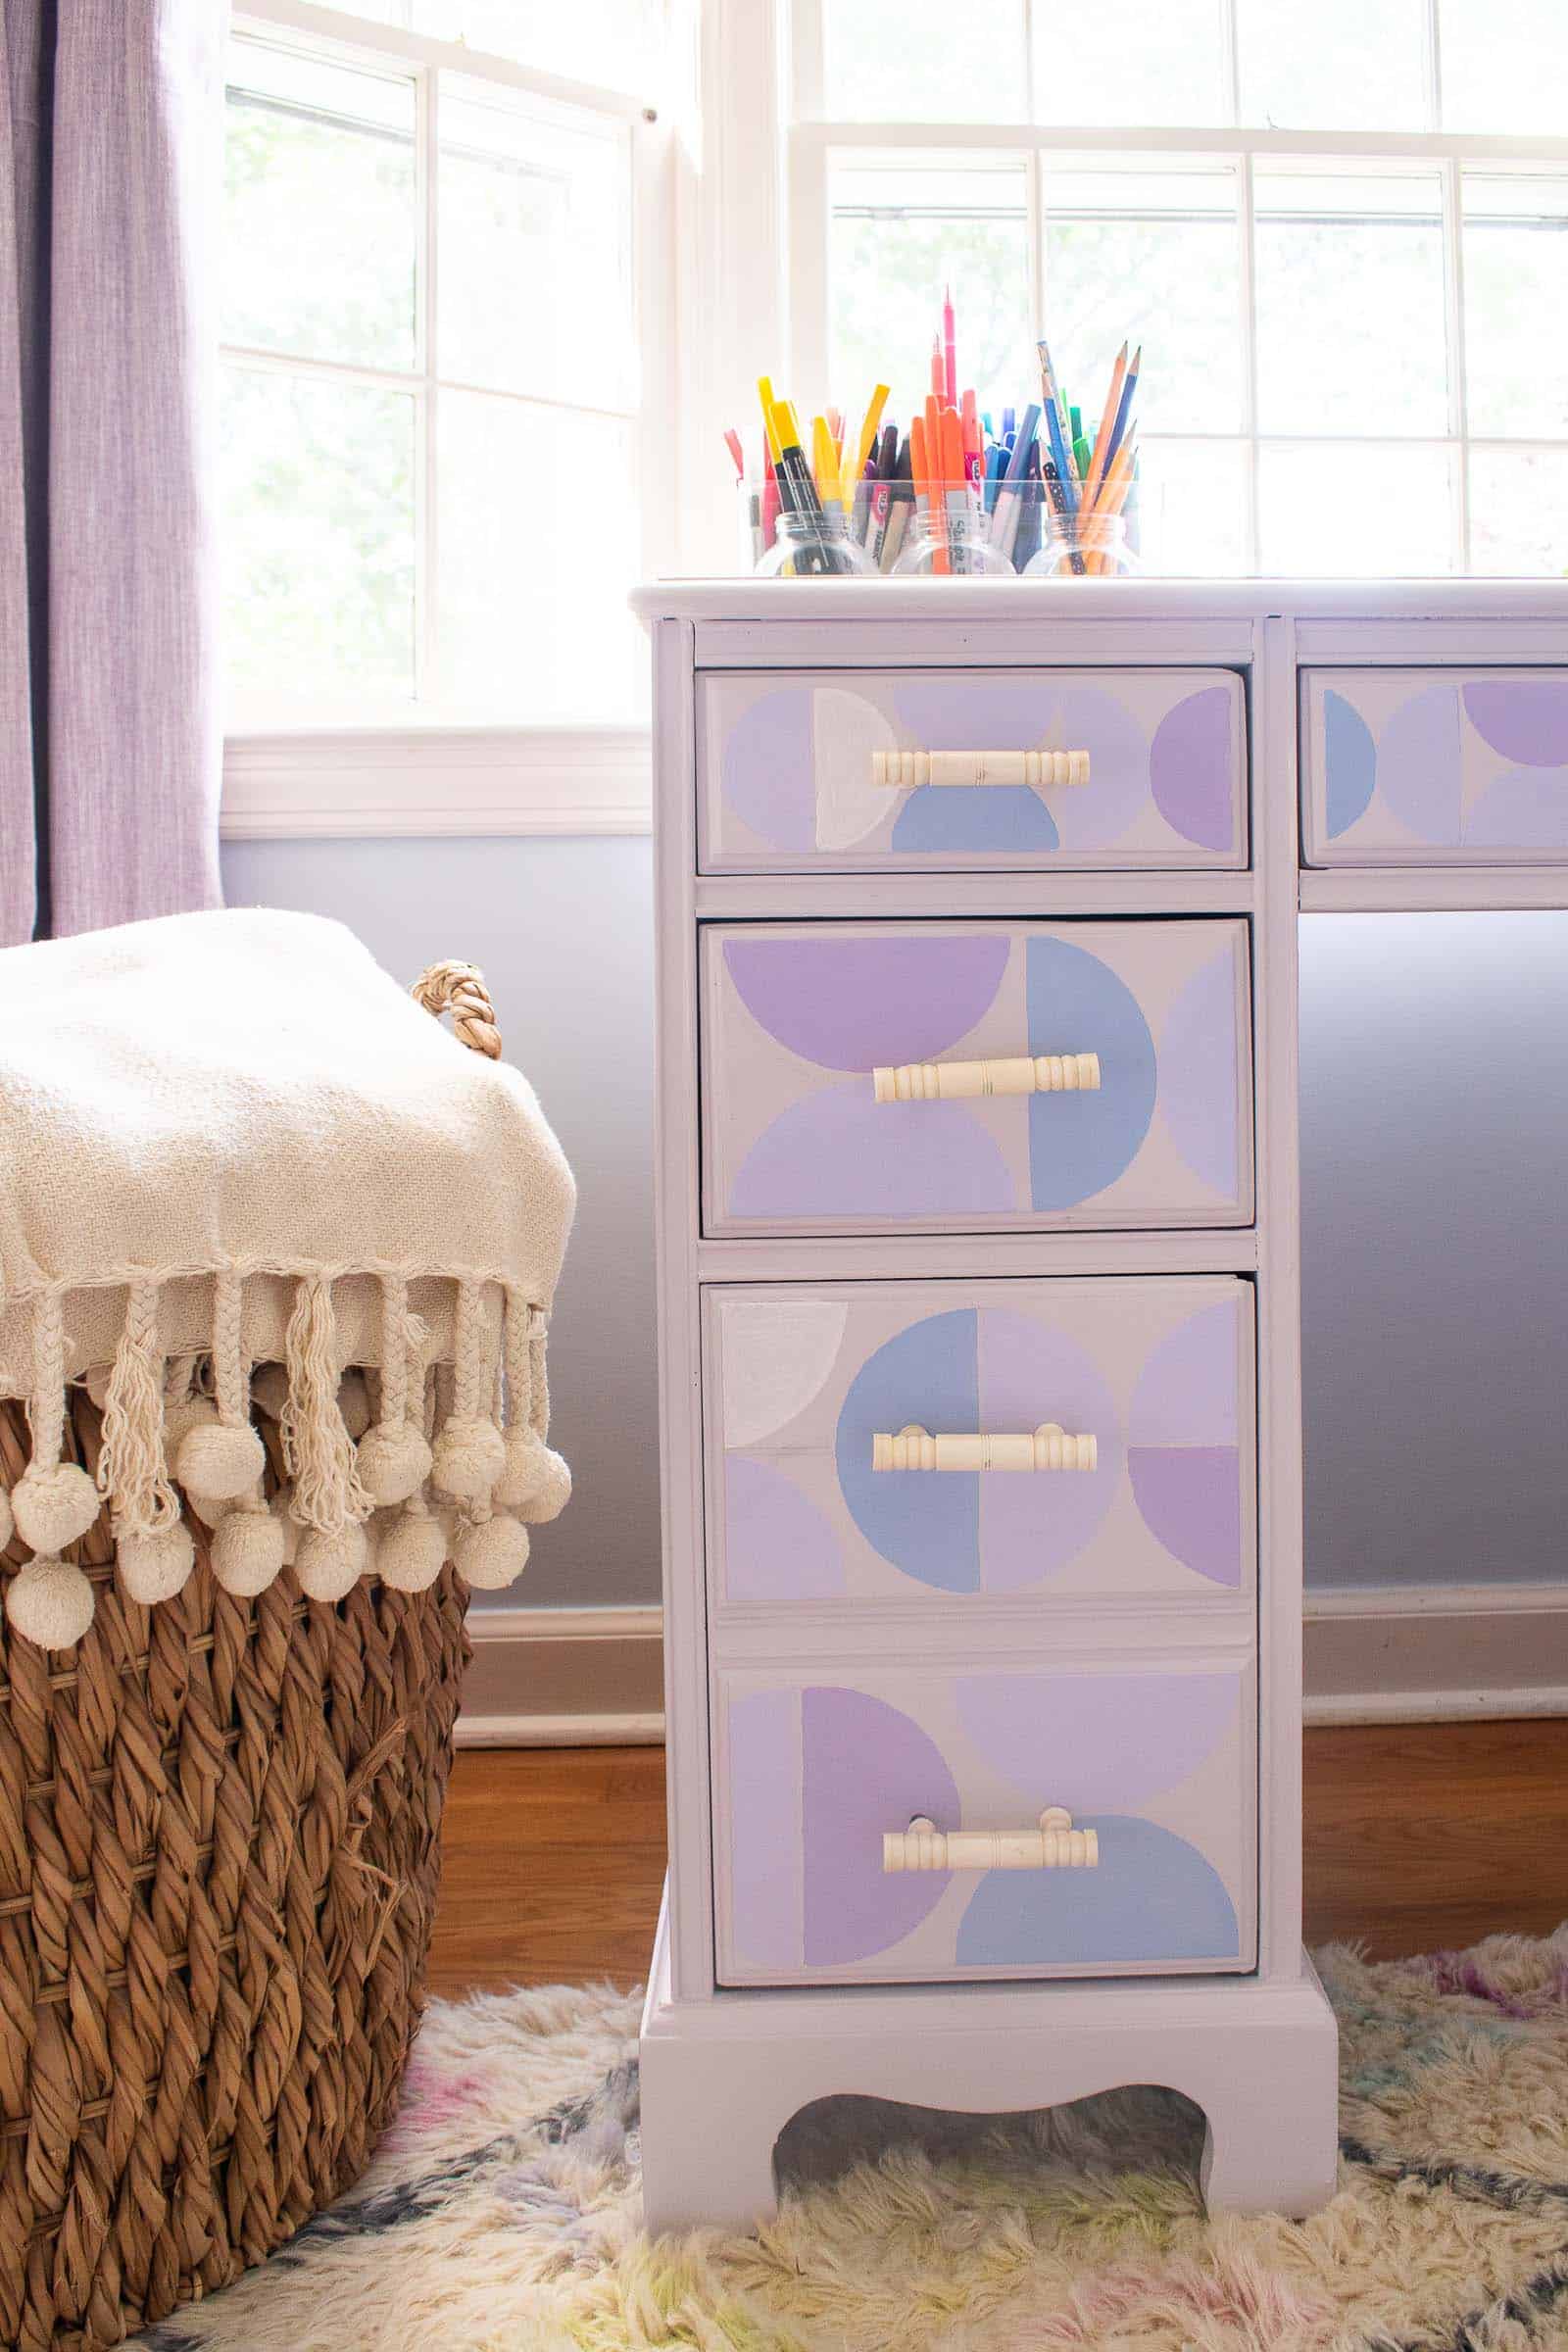
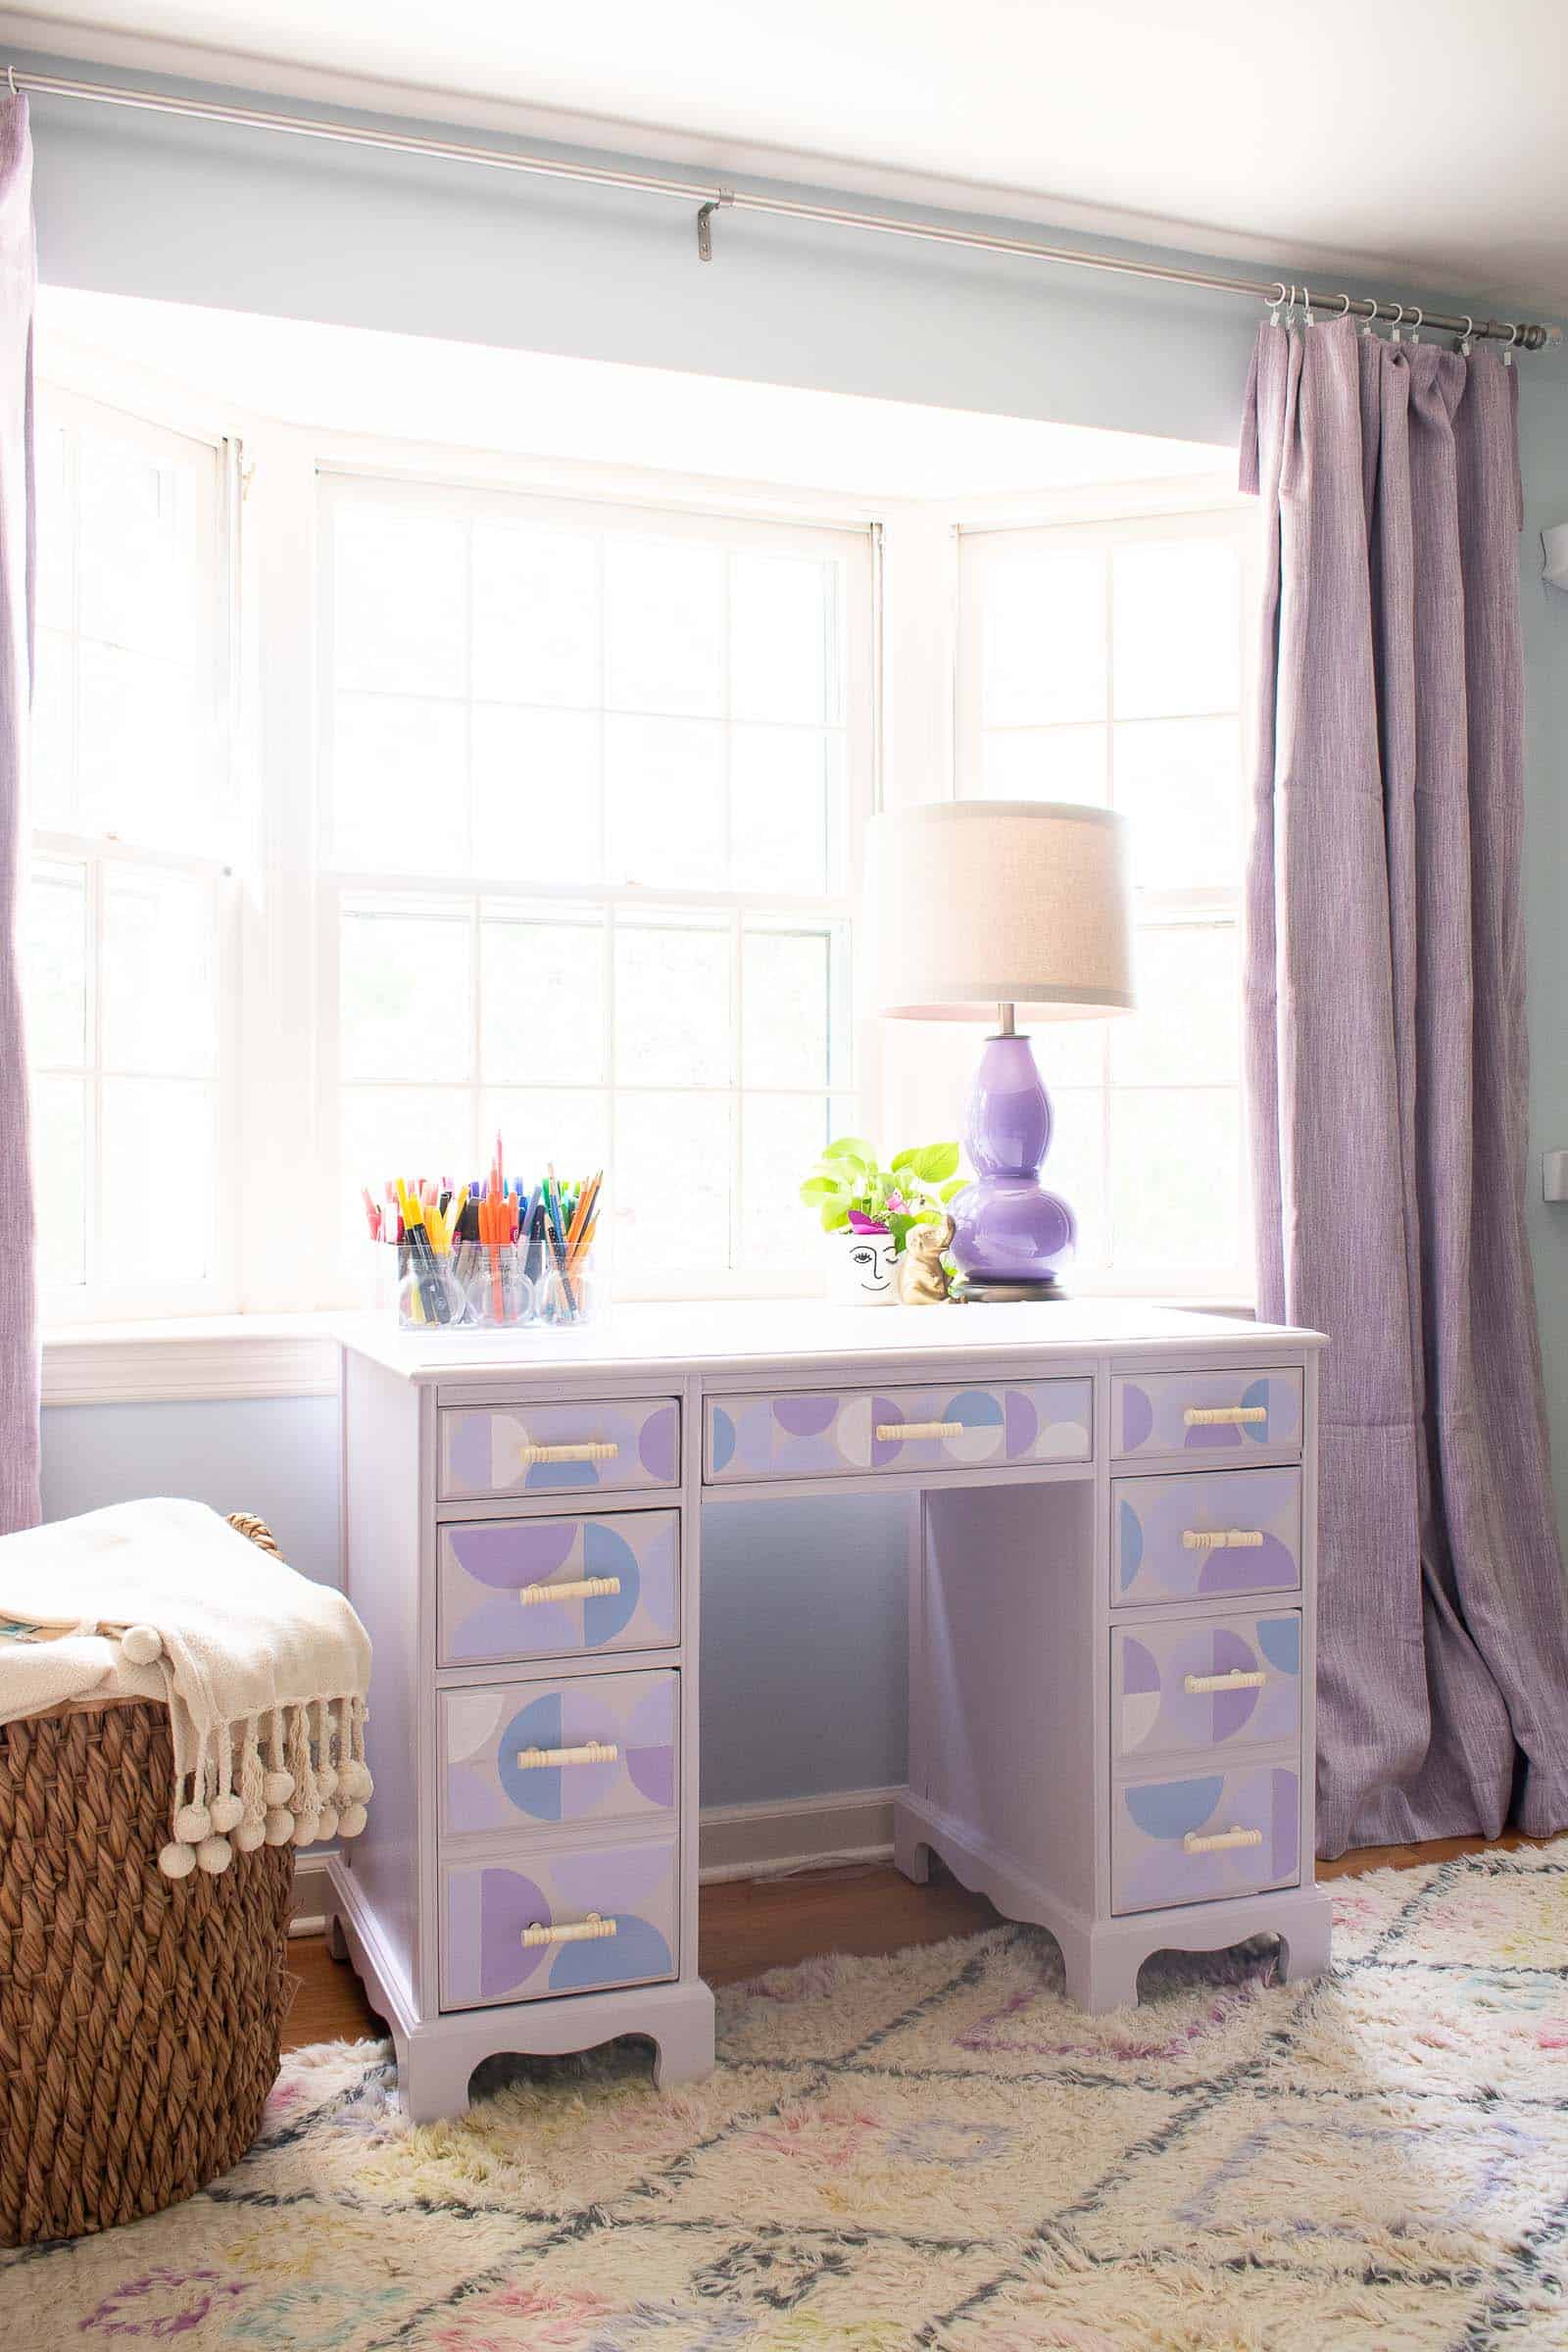
I painted a thrifted desk with an easy mid century pattern to give it a colorful makeover.
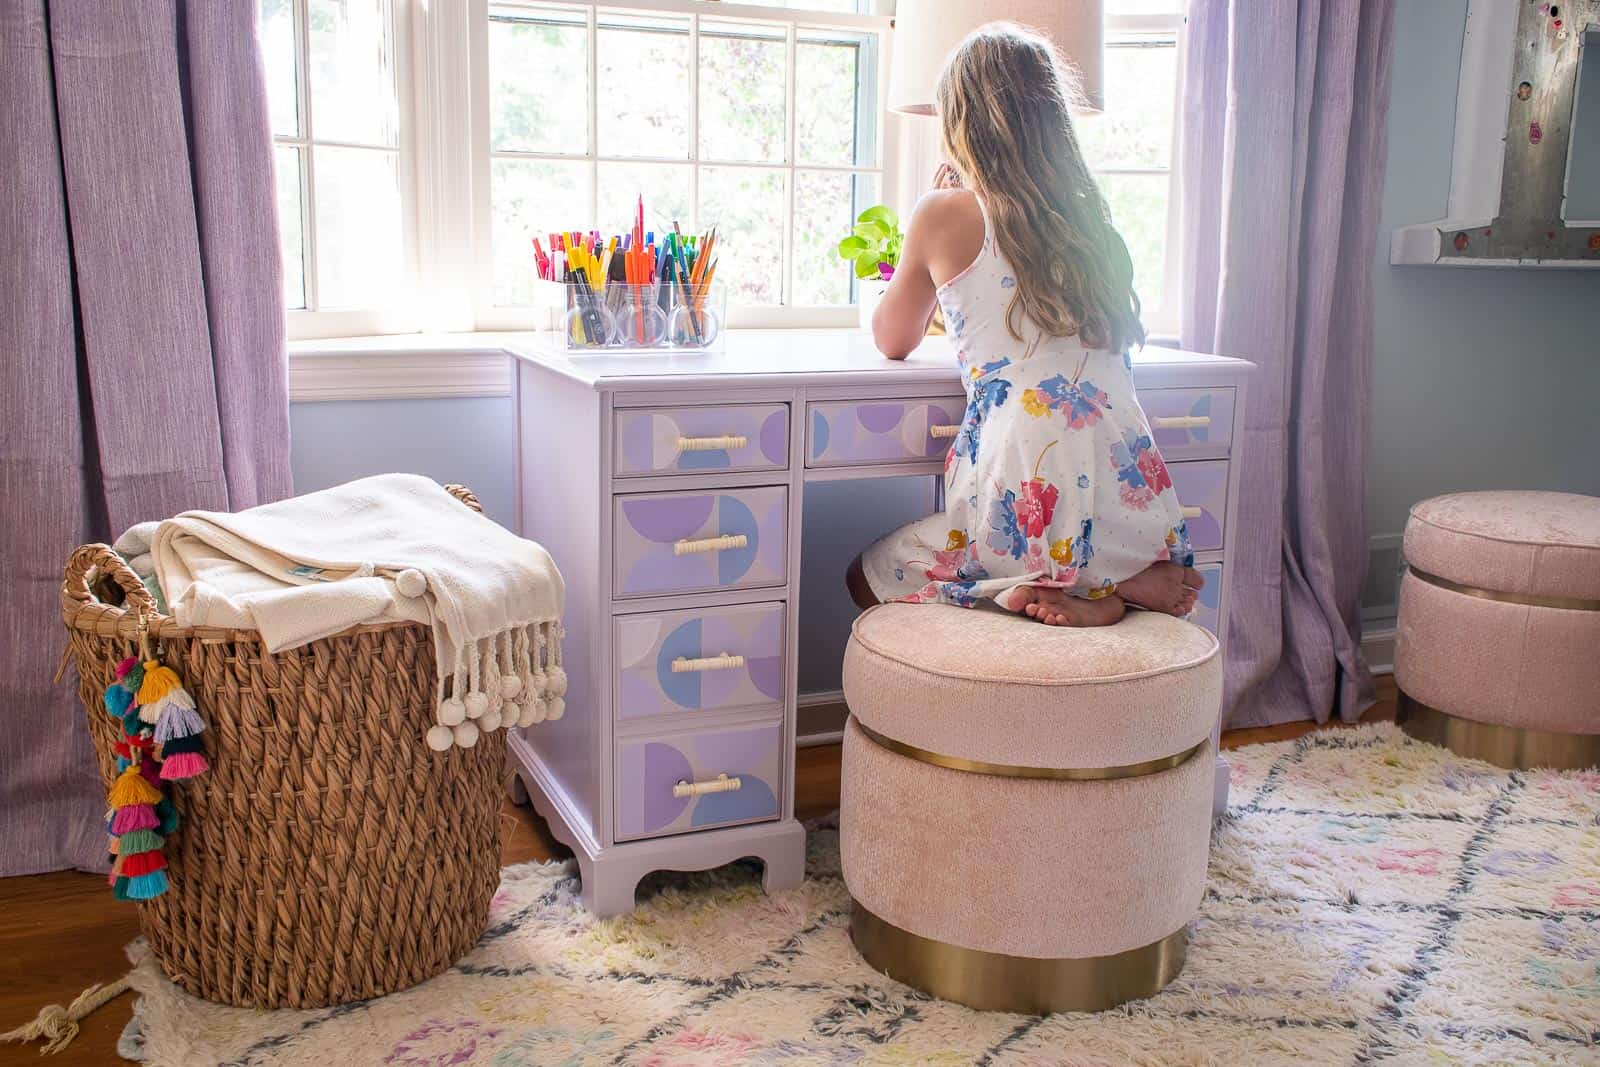
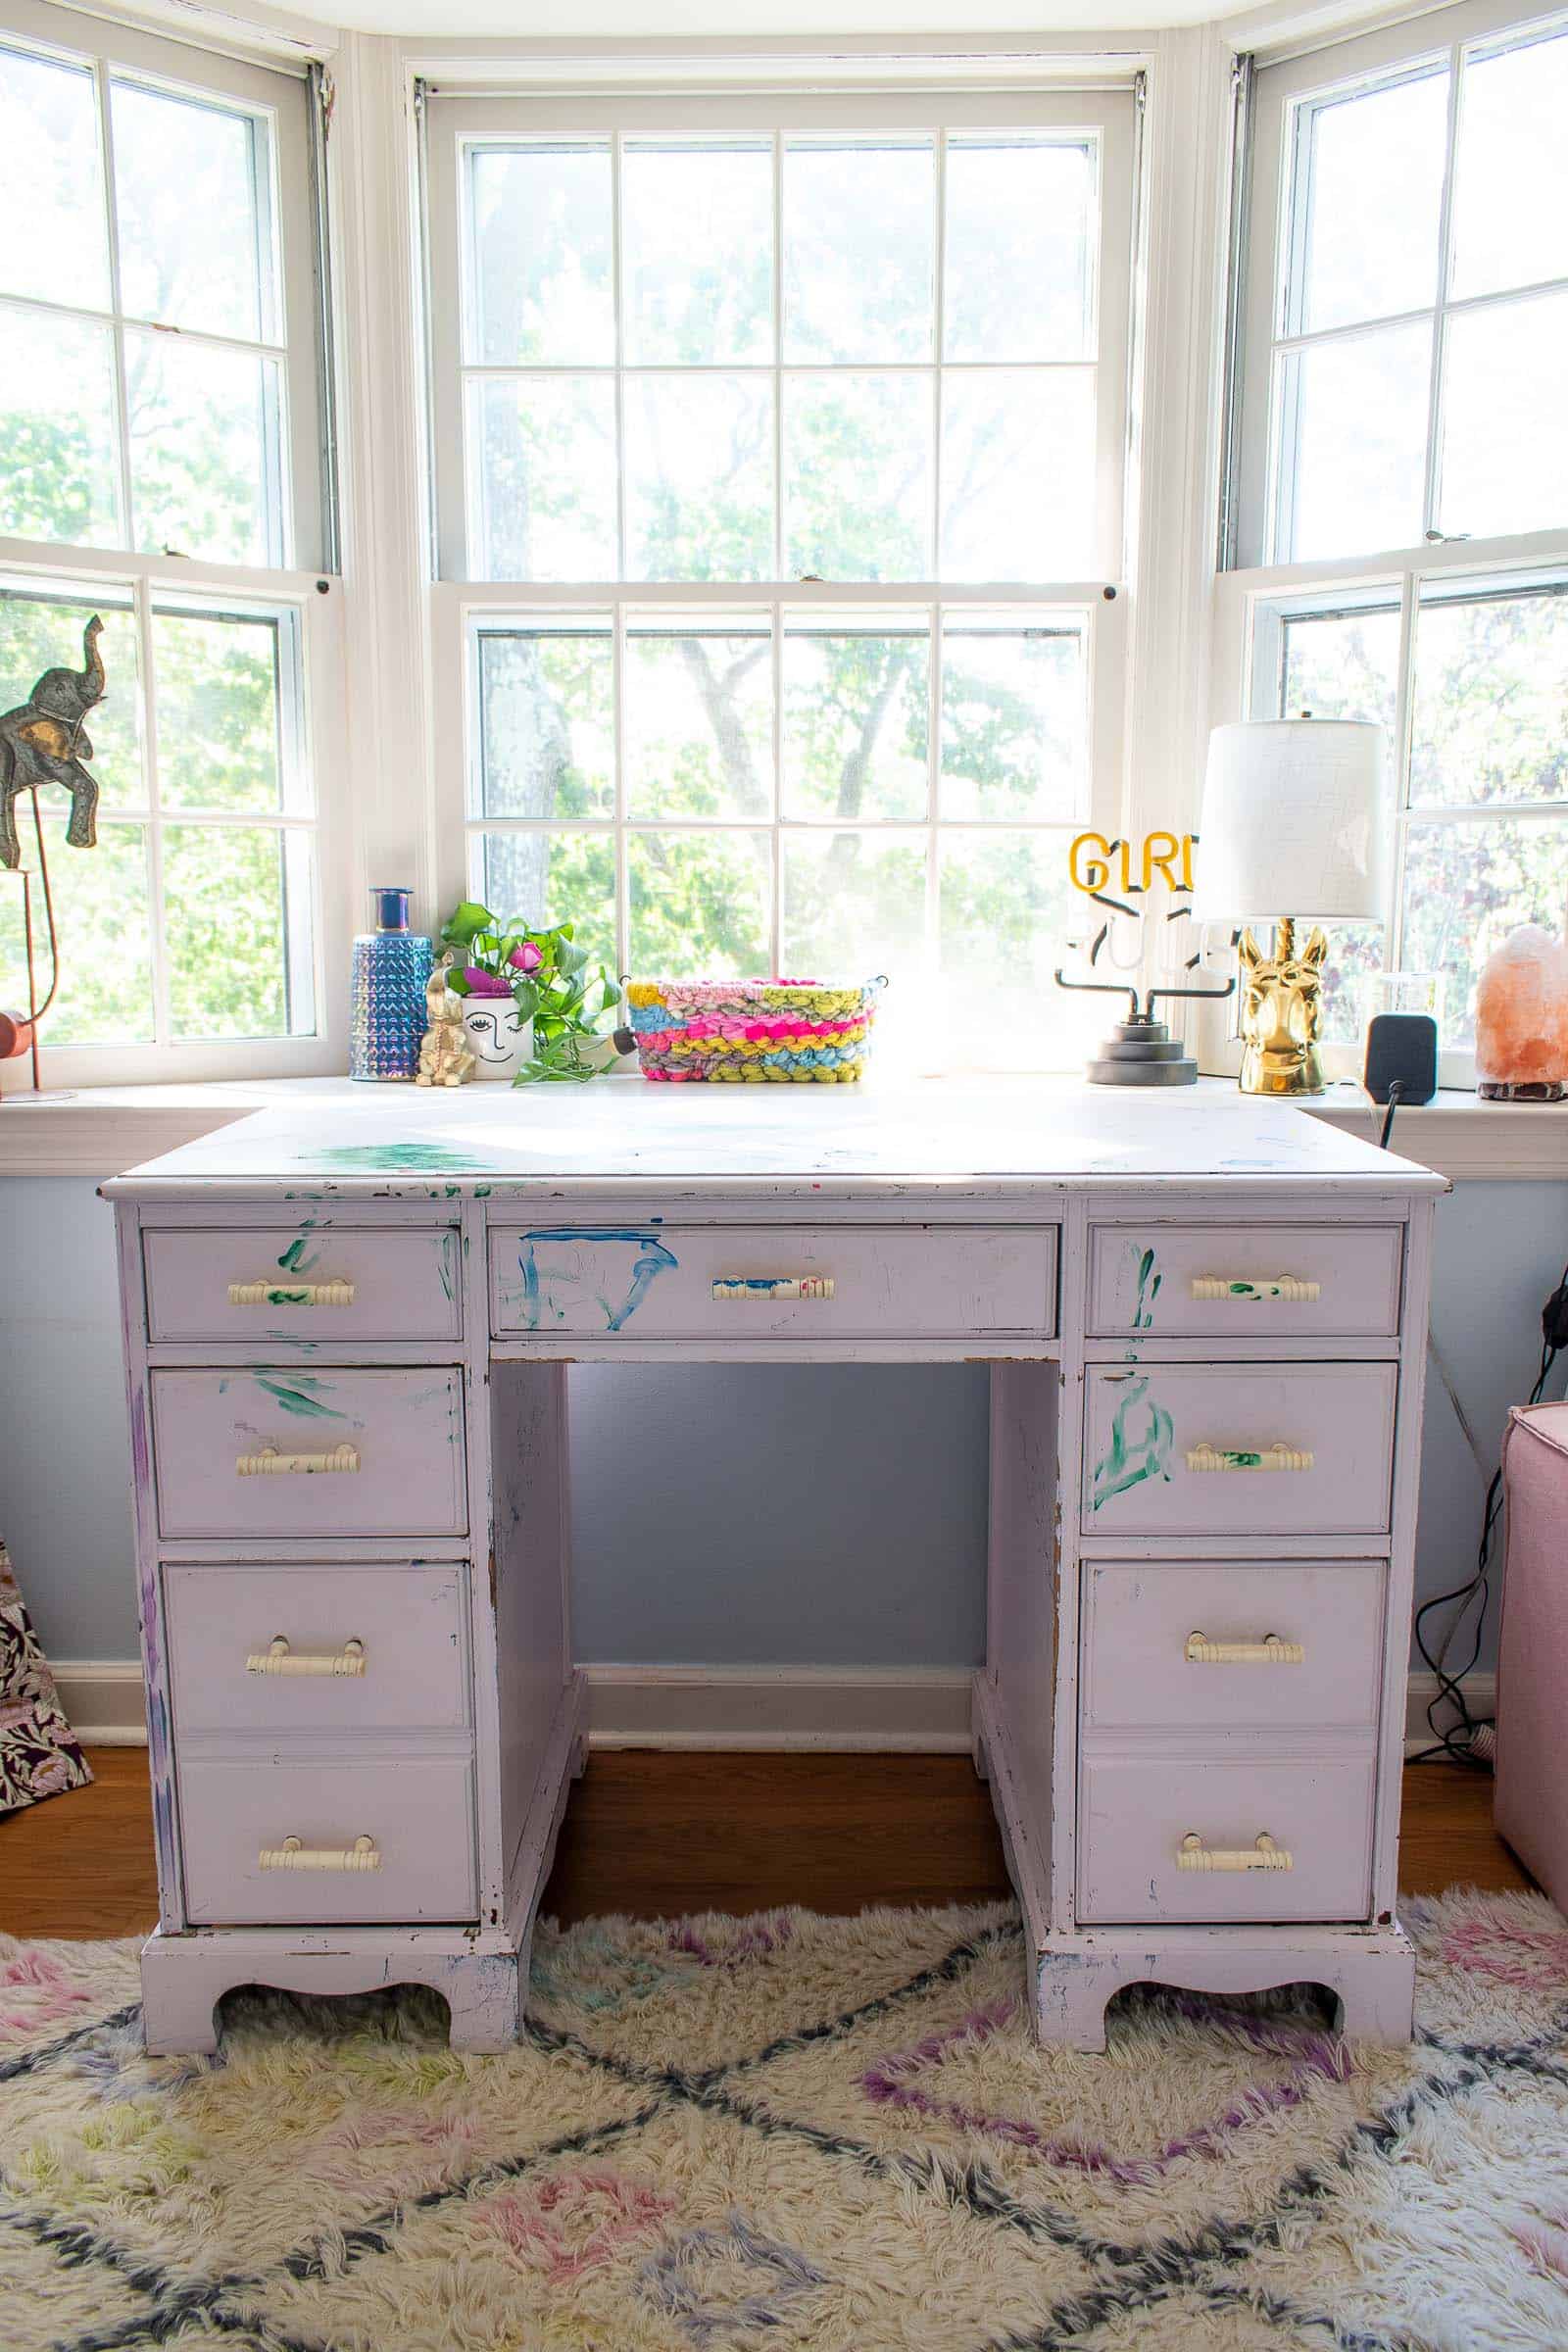
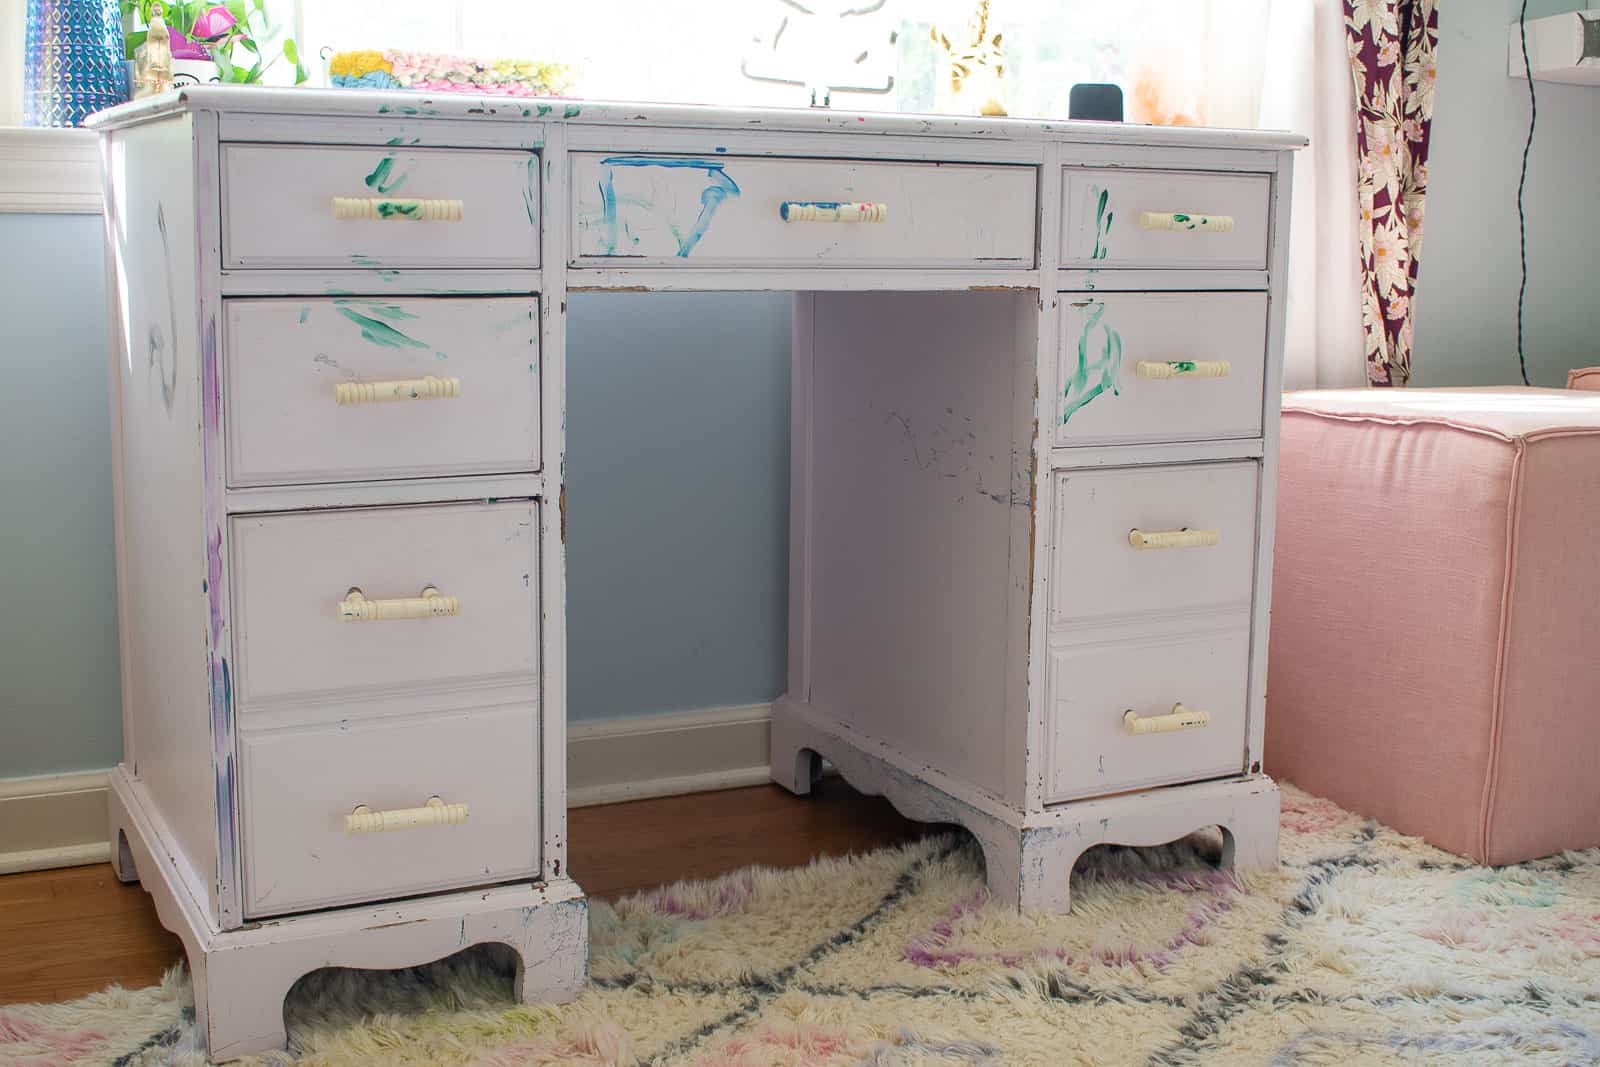
A few years ago, Eleanor and I found a small desk at the Restore and gave it a simple makeover for her room. The painted desk held up great… until a painting project of Eleanor’s got away from her. I’m honestly not sure what she was doing, but a few drips turned into a haphazard finger paint situation that did not look cute. The desk works great and she didn’t want to get rid of it, but it felt a little messy so I decided to give it a second paint makeover.
Shop my favorites!
Step 1. Prep the surface
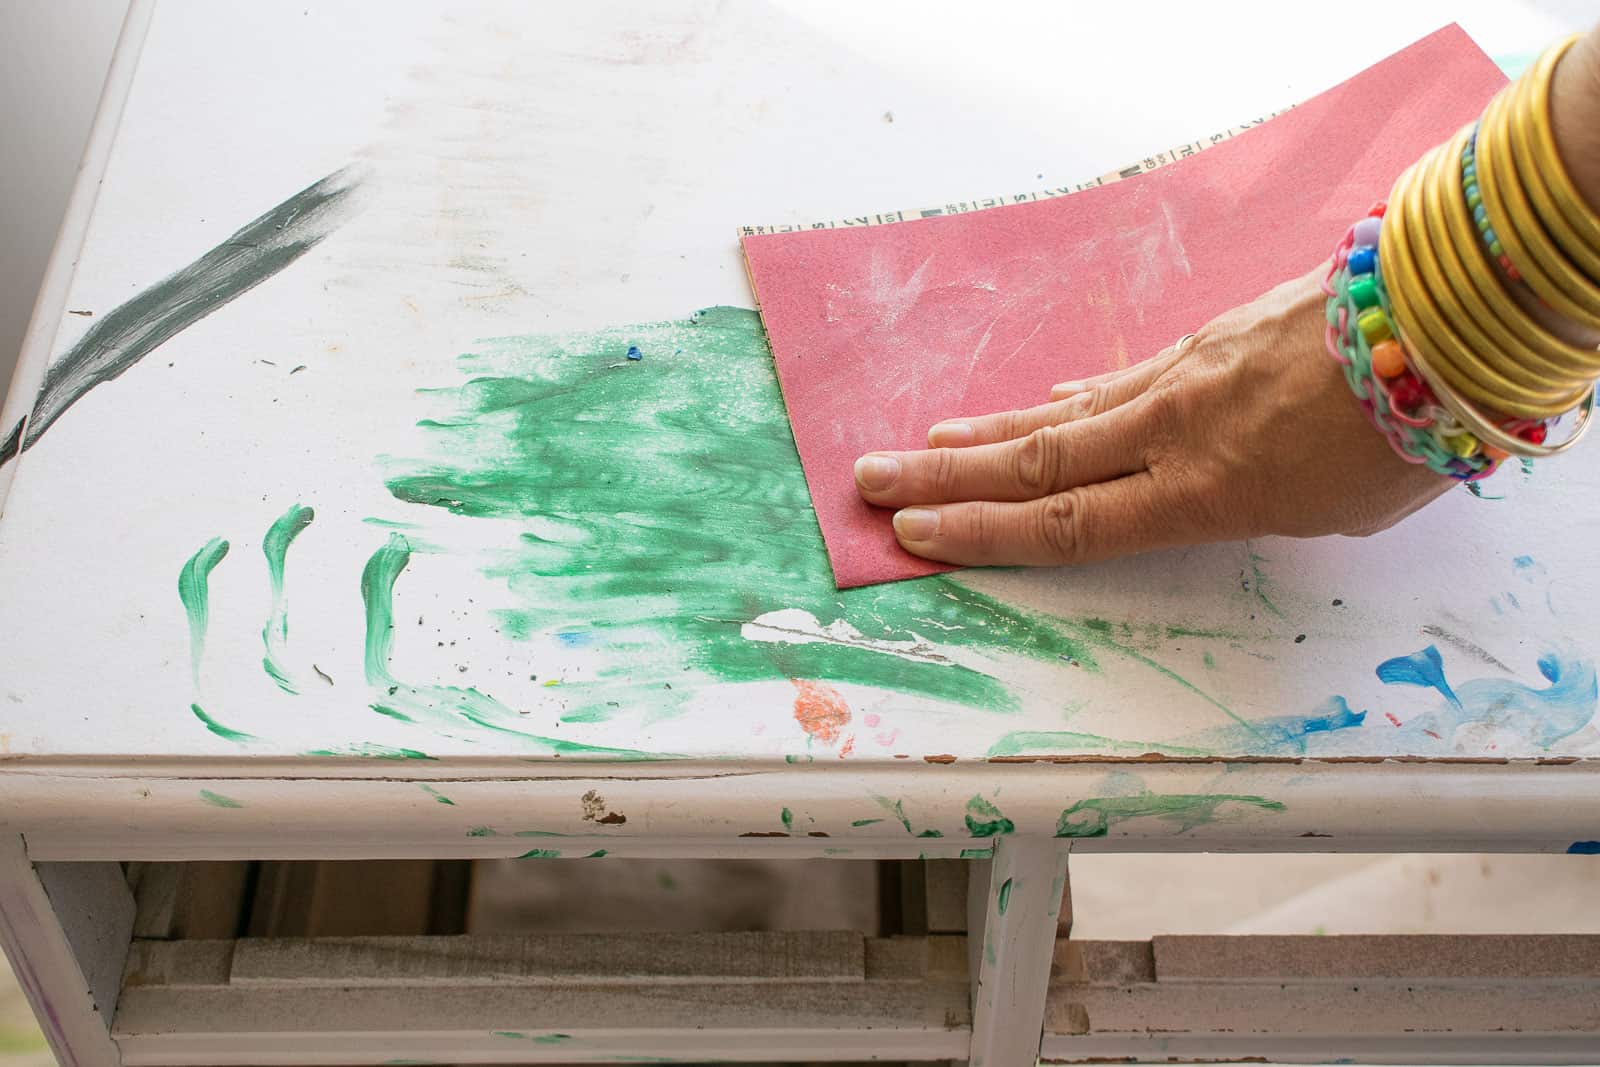
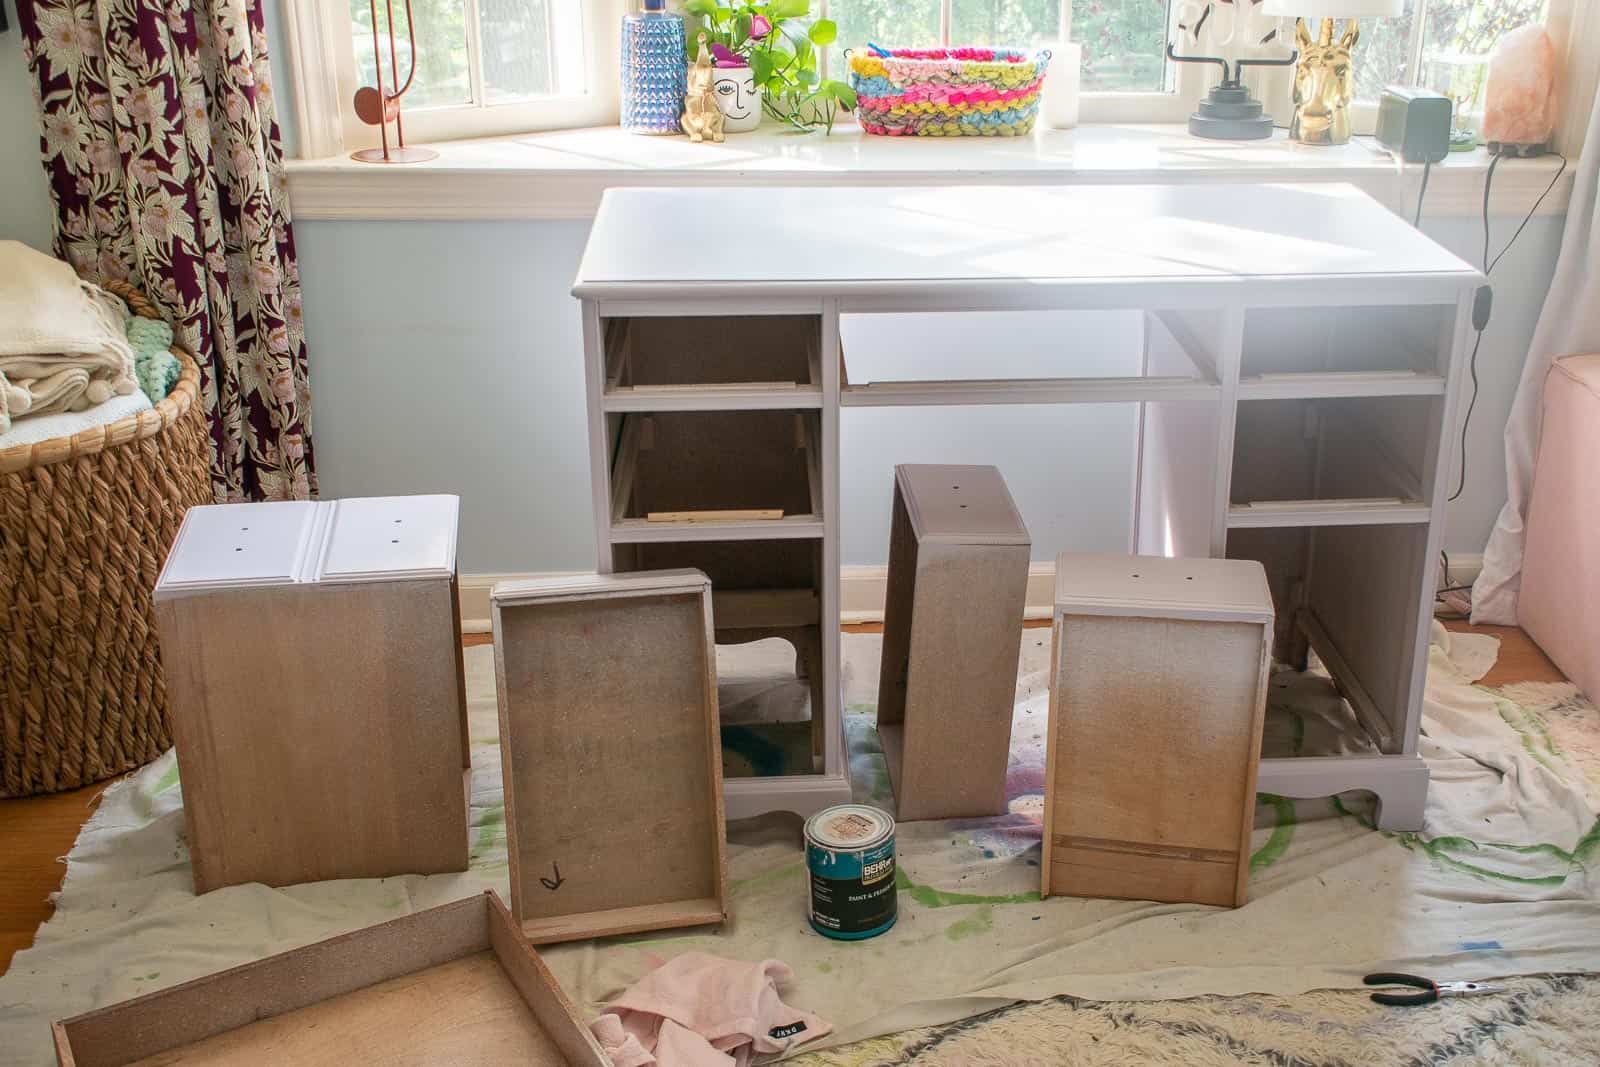
With every paint project, if you can lightly sand the surface first you should. I removed the drawers and hardware and went over the desk with light sandpaper being extra careful to sand the paint splotches smooth or scrape off any peeling paint. Clean thoroughly to make sure there’s no dust left behind.
Step 2. Paint the desk with solid color
First order of business was the cover the messy spilled paint so I gave the entire desk a new fresh coat of paint. The original paint we used was a pale pink, but the paint I used to cover the mess was more of a pale lavender. You can hardly tell the difference in photos but Eleanor liked the purple more.
Step 3. Pencil in Your Pattern
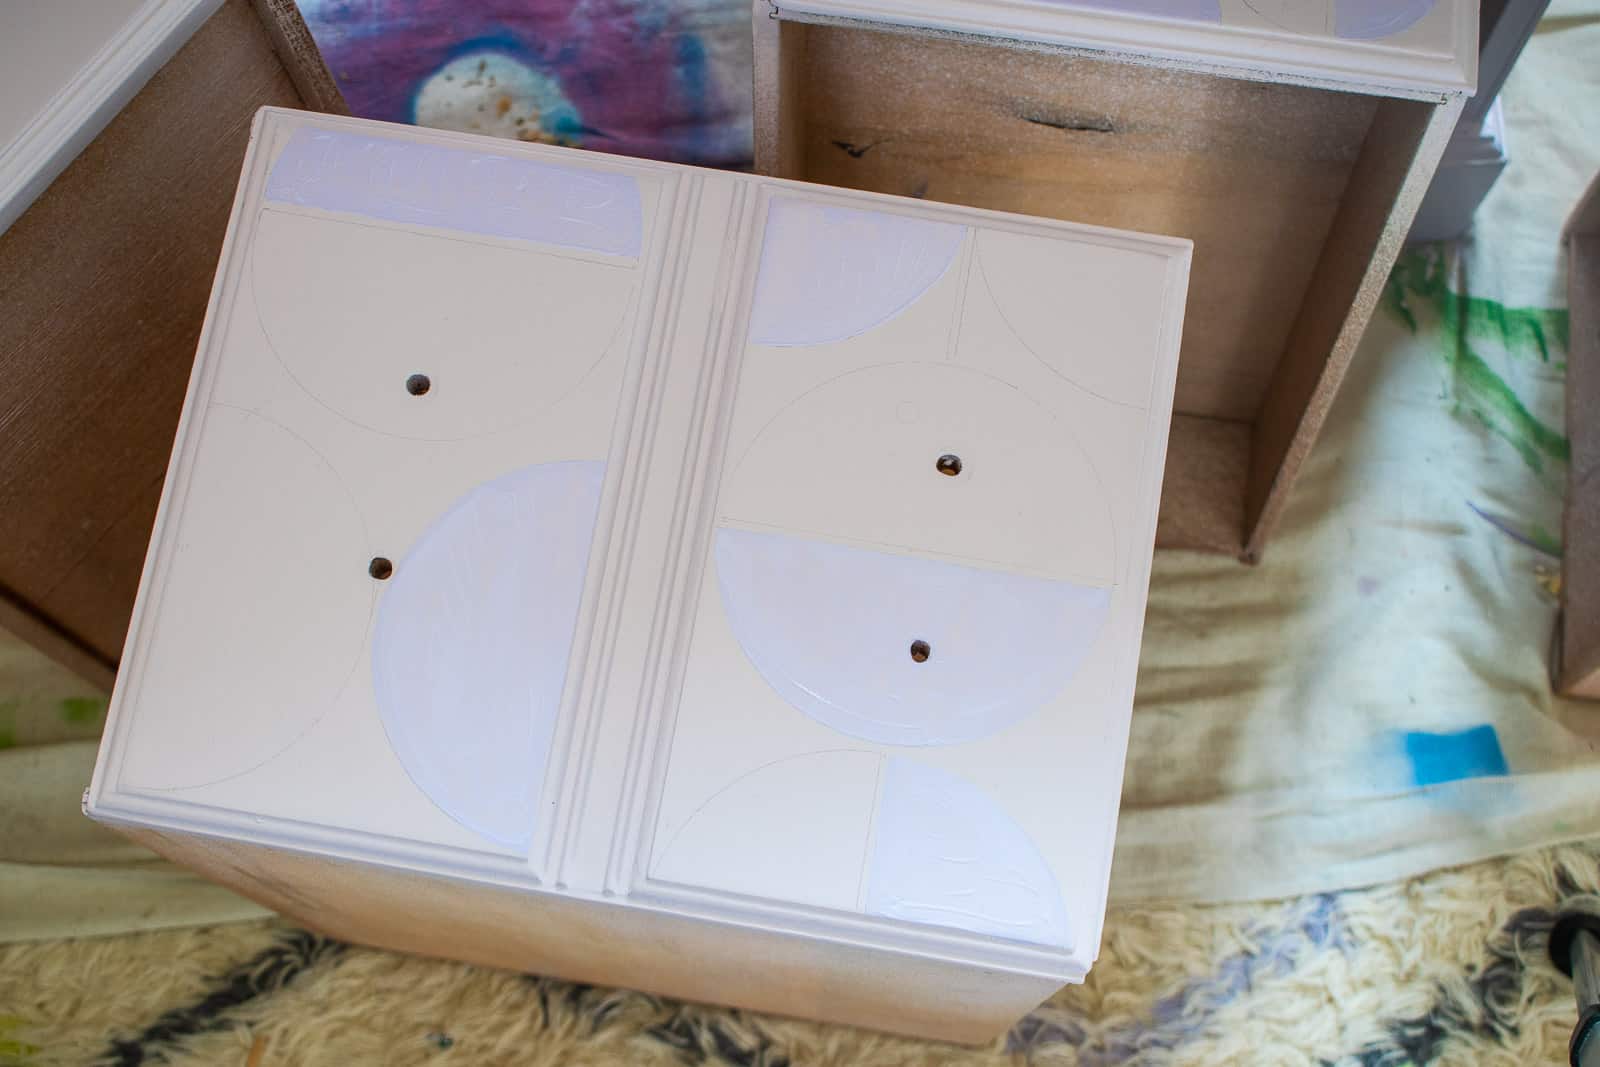
I wanted to add a subtle mid century pattern to the desk just to keep it interesting. The ones I found online that I liked the most were scattered semi circles. At first I used a round lid to trace but then- doy- I cut out a semi-circle stencil from cardstock. Note that the semicircle stencil was MUCH easier to work with. I just traced right onto the desk surface with a light pencil mark.
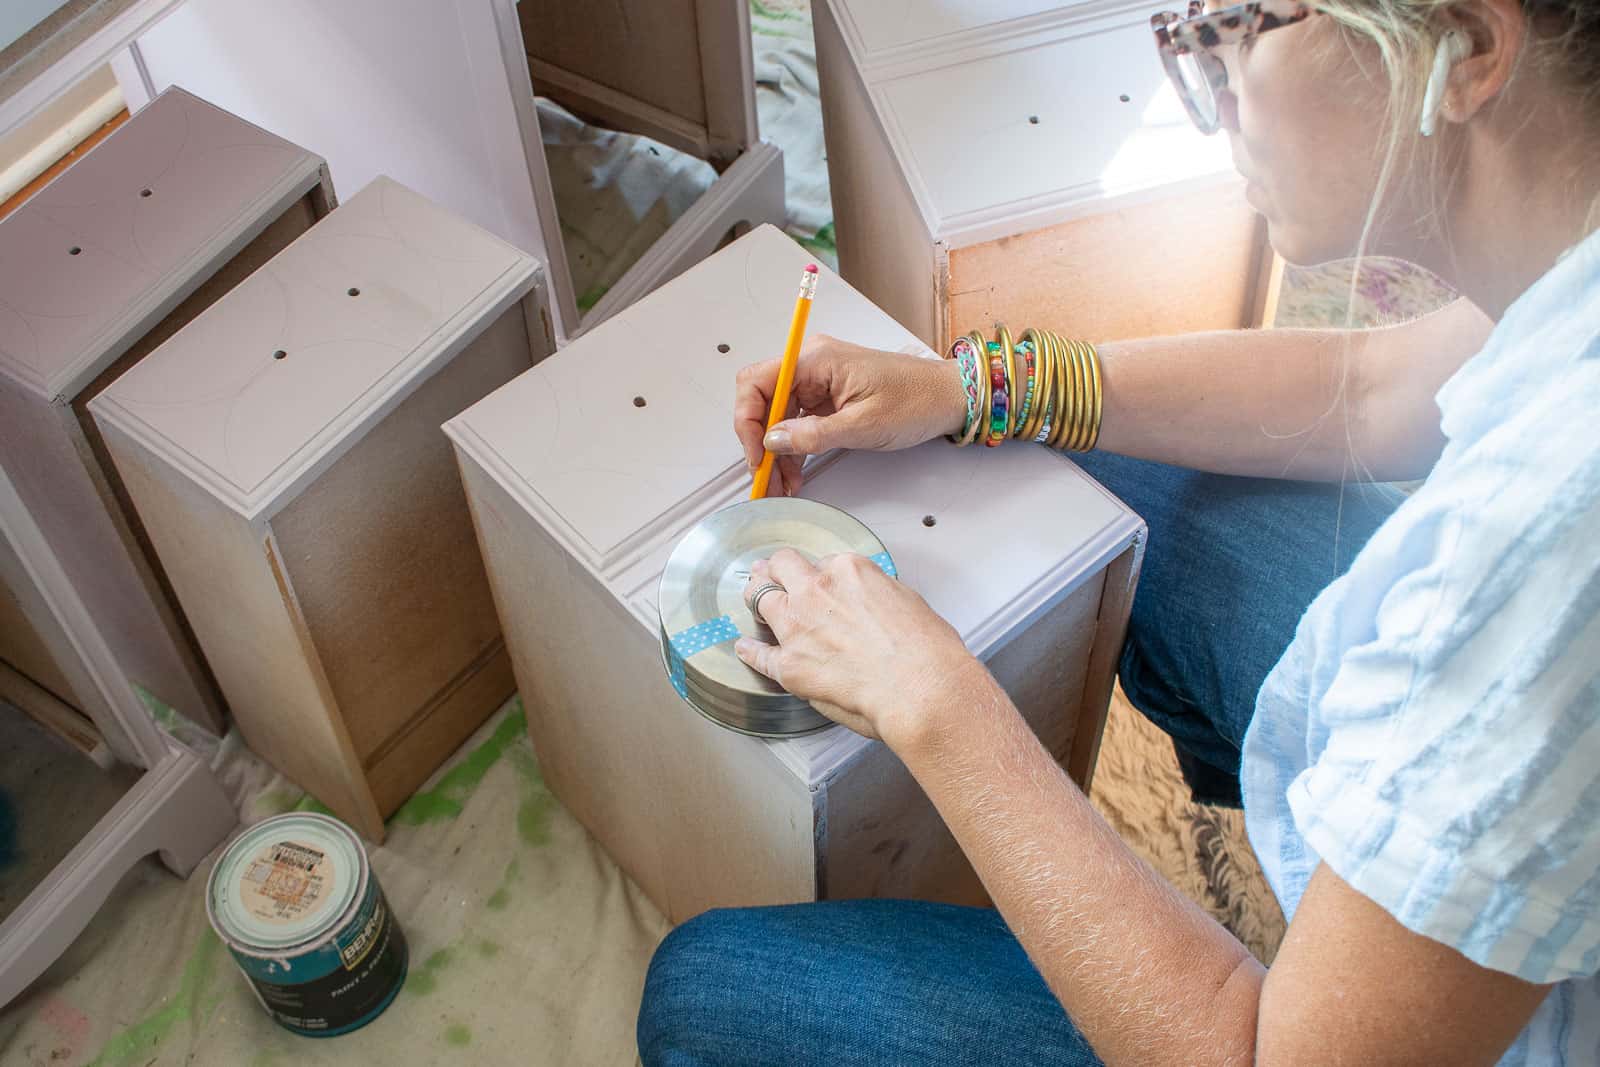
Step 4. Fill in the Pattern
I’m working with Colorshot acrylic paints for this desk. They sent me a variety of colors and then I mixed a few different versions of soft pink and lavender colors to match the rest of the space. No trick to painting in the pattern… I just used small craft brushes and tried to have a steady hand. The more opalescent finishes required several coats but the flat colors went on nice and easy. Latex paint would have worked as well, but I was eager to try this craft paint and overall I think it’s more affordable because I only need a small amount of each color!
Step 5. Top coat optional
When it comes to top coats, I am lazy. A painted piece like this would benefit from a clear top coat with something like Polycrylic. Did I give this desk a clear topcoat with something like Polycrylic? No. No I did not. Do as I say… not as I do.
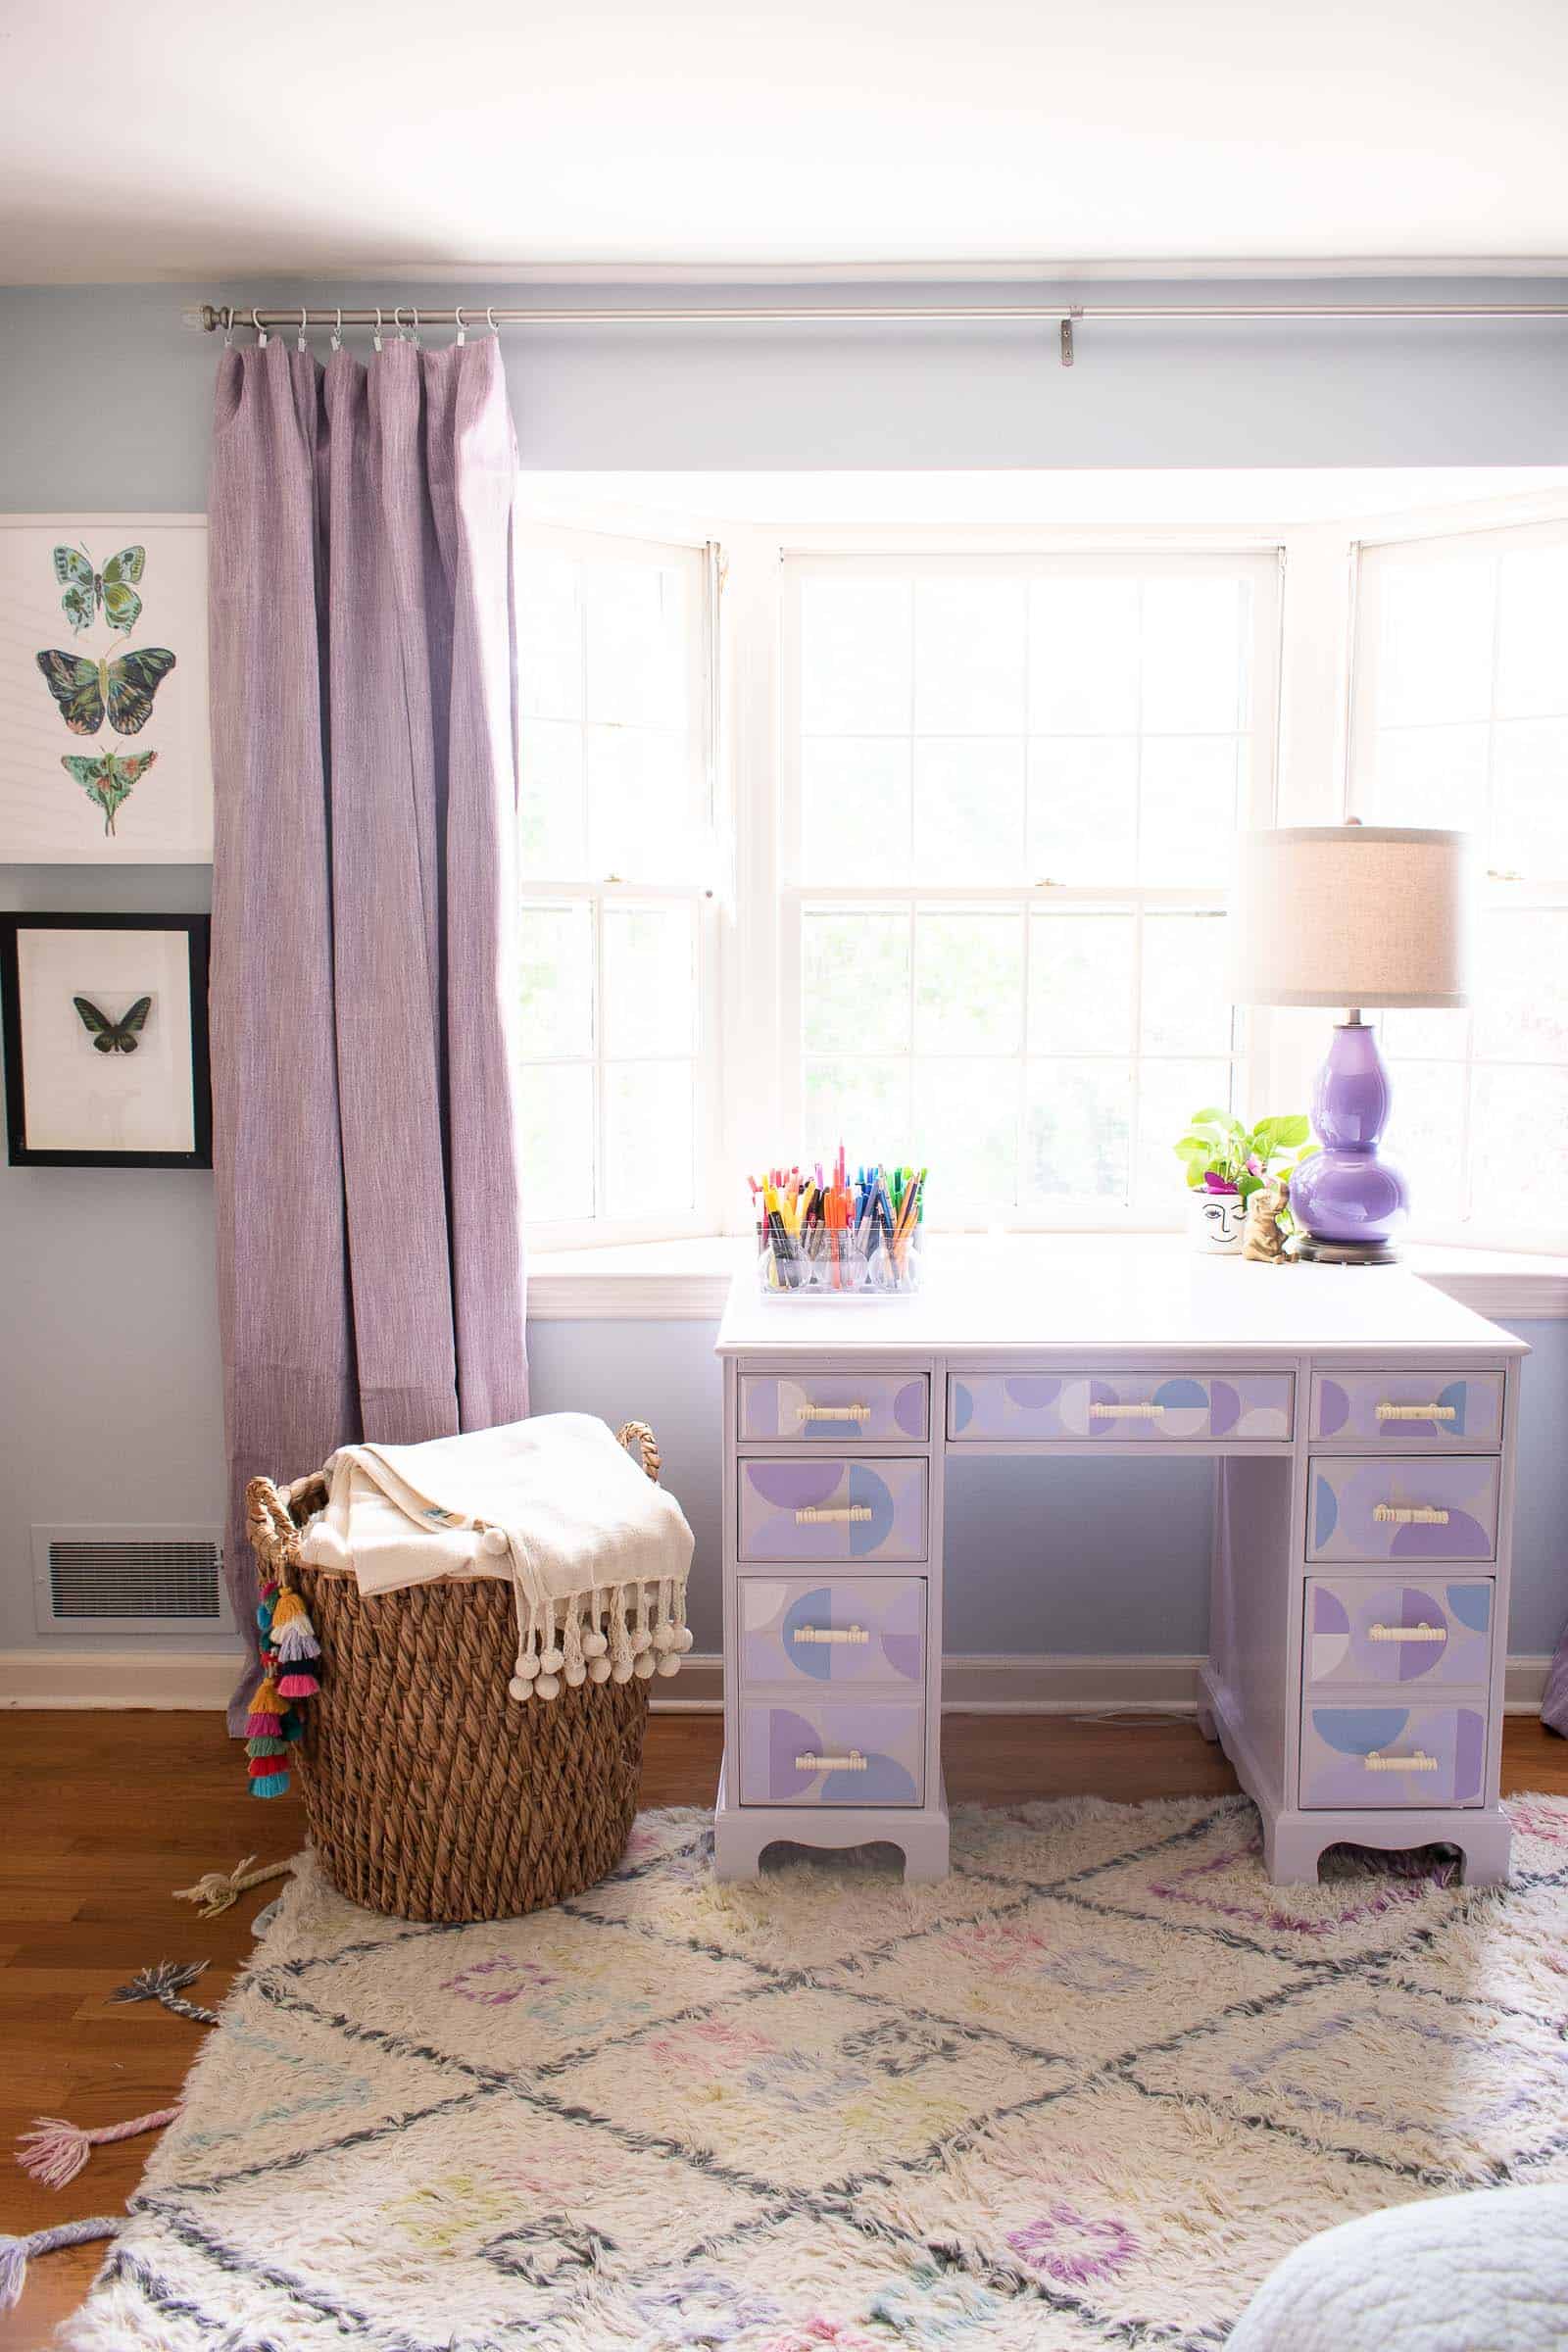
We cleaned the paint off the drawer pulls with nail polish remover and put them back in place. I am so pleased with the subtle pattern on the desk and how simple it was to give this thrifted piece a new look! The painting didn’t take very long and certainly didn’t cost very much so this was a super cost effective furniture makeover!
Here’s another Before and After to see them side by side!






Don’t Miss Out
Become An Insider!
Signup for exclusive tips, and tricks from Charlotte’s House!
Let’s chat!
I love comments from you, so feel free to leave your thoughts and ideas below! And don’t forget to follow me on Instagram for even more!