Pallet Wood Wall Planter
Psssst… this post *might* contain affiliate links: see my disclosure here.
A couple of months ago, I had lunch with a group of local bloggers at the incomparable Terrain in Westport. It’s one of those garden stores that just infuses inspiration into your brain. I snapped this picture with my phone thinking it could be a DIY for spring… Well, I came, I DIYed and you tell me whether I conquered.
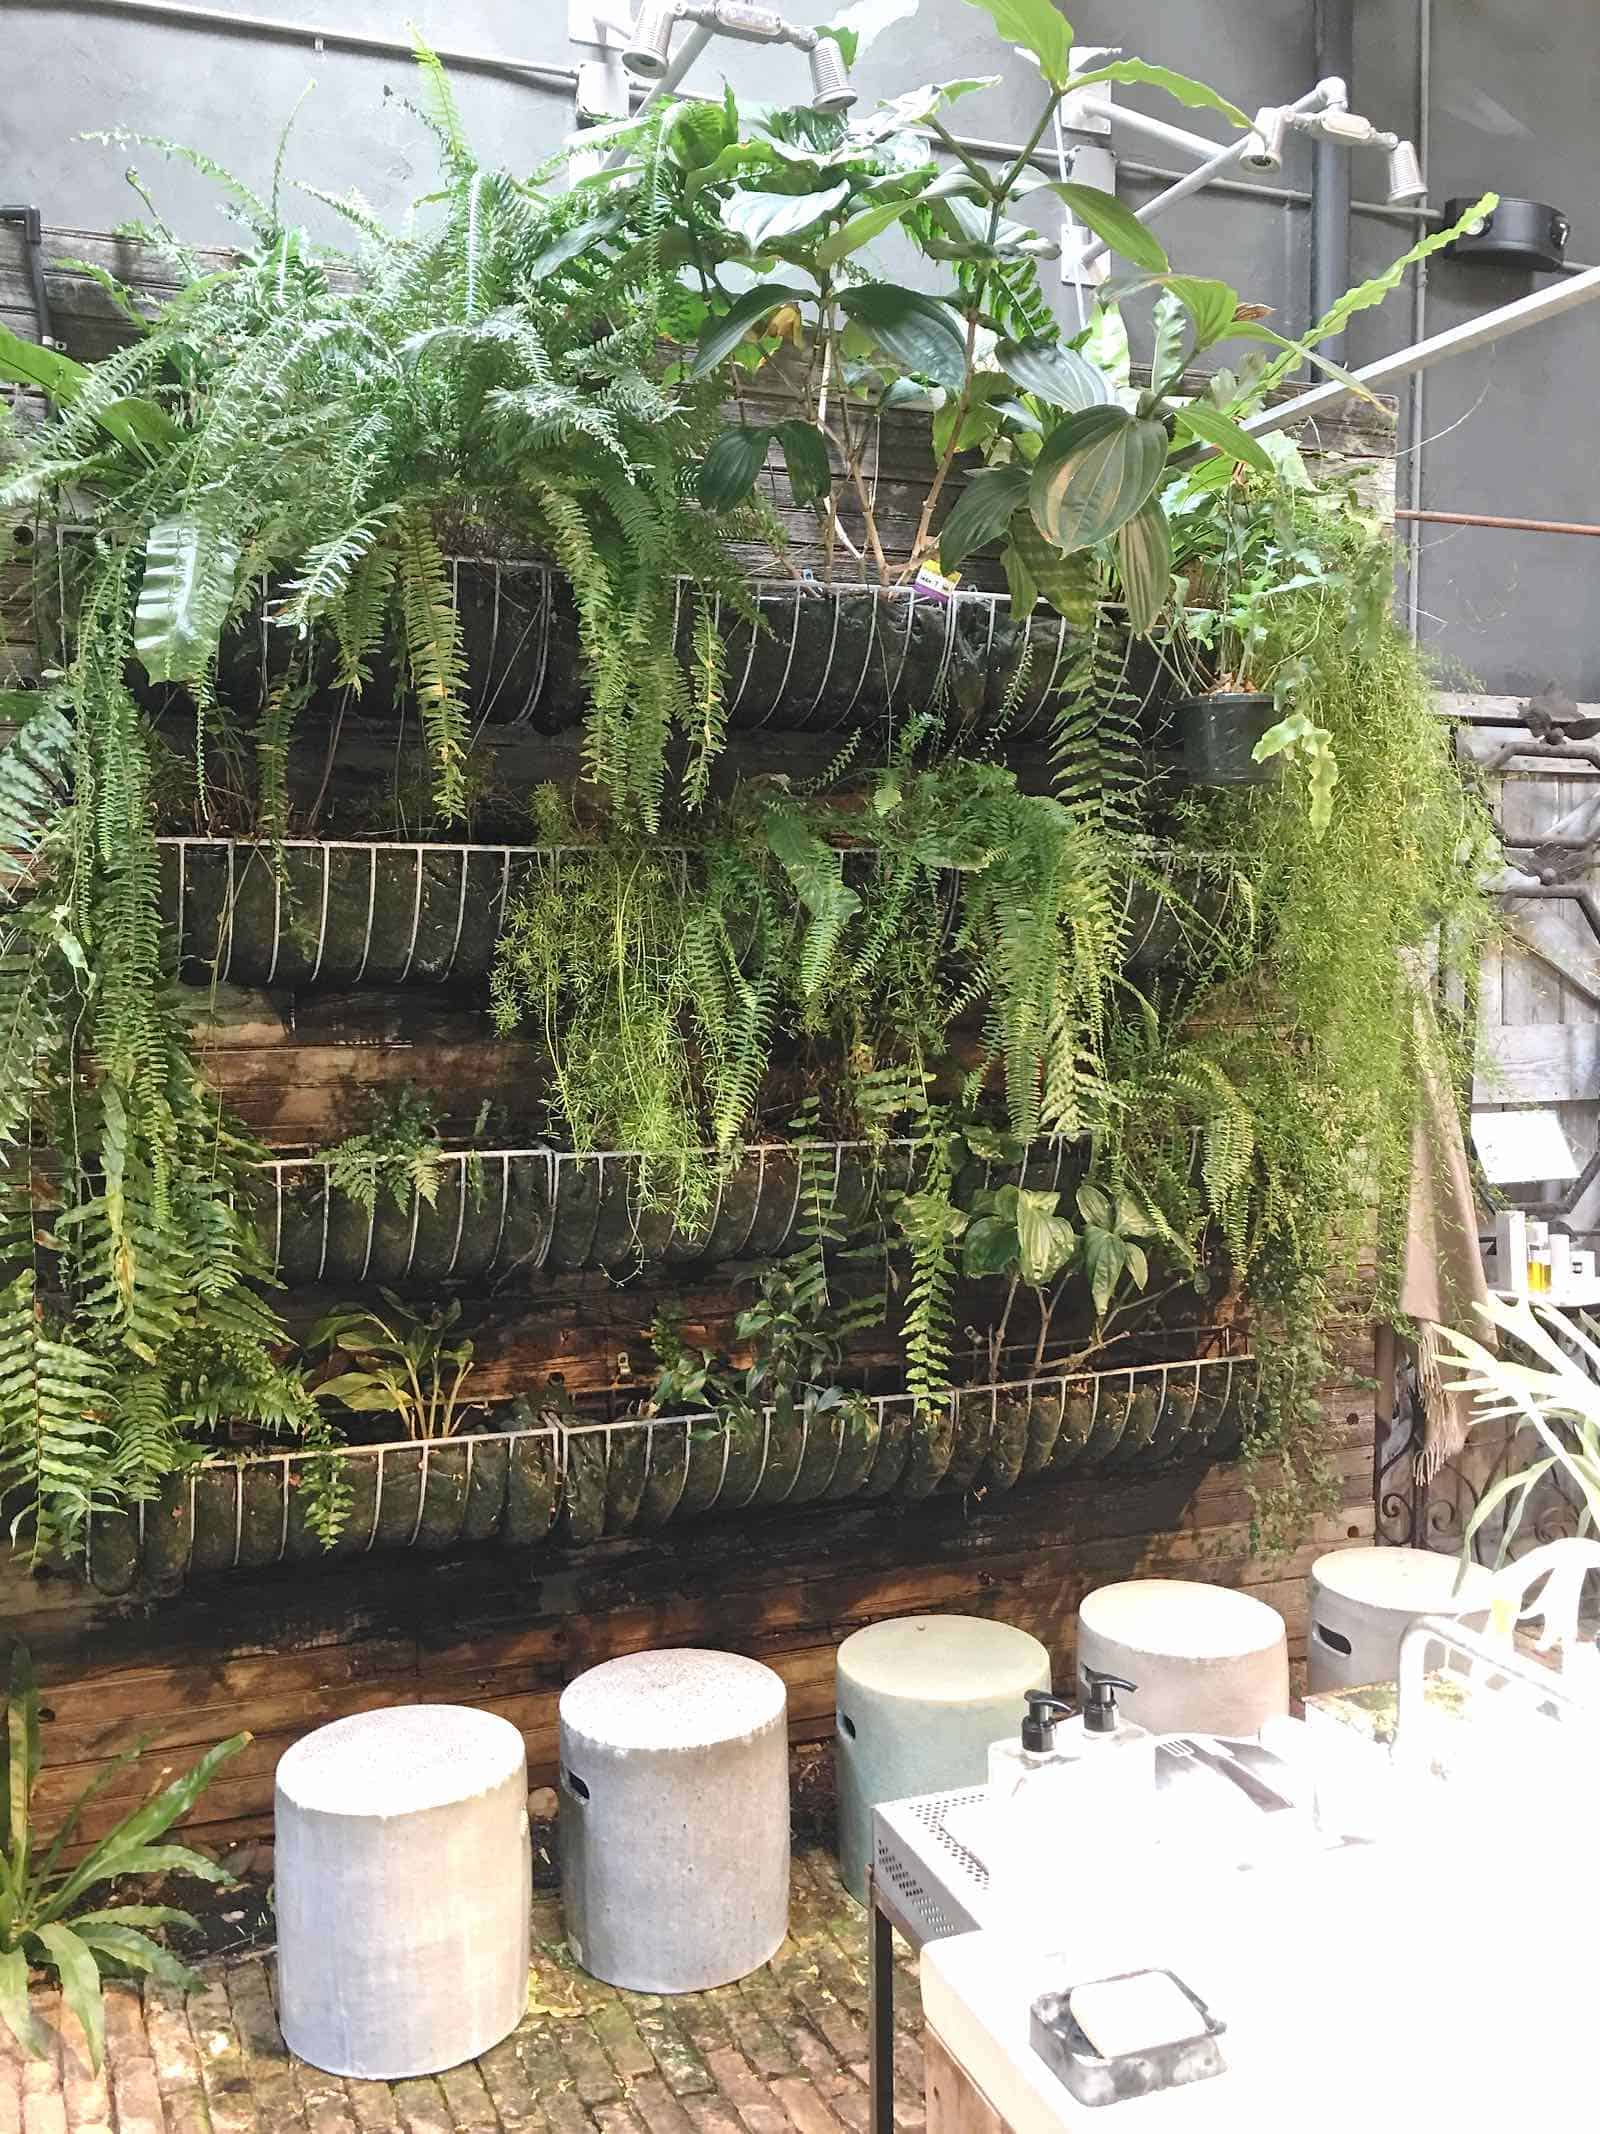
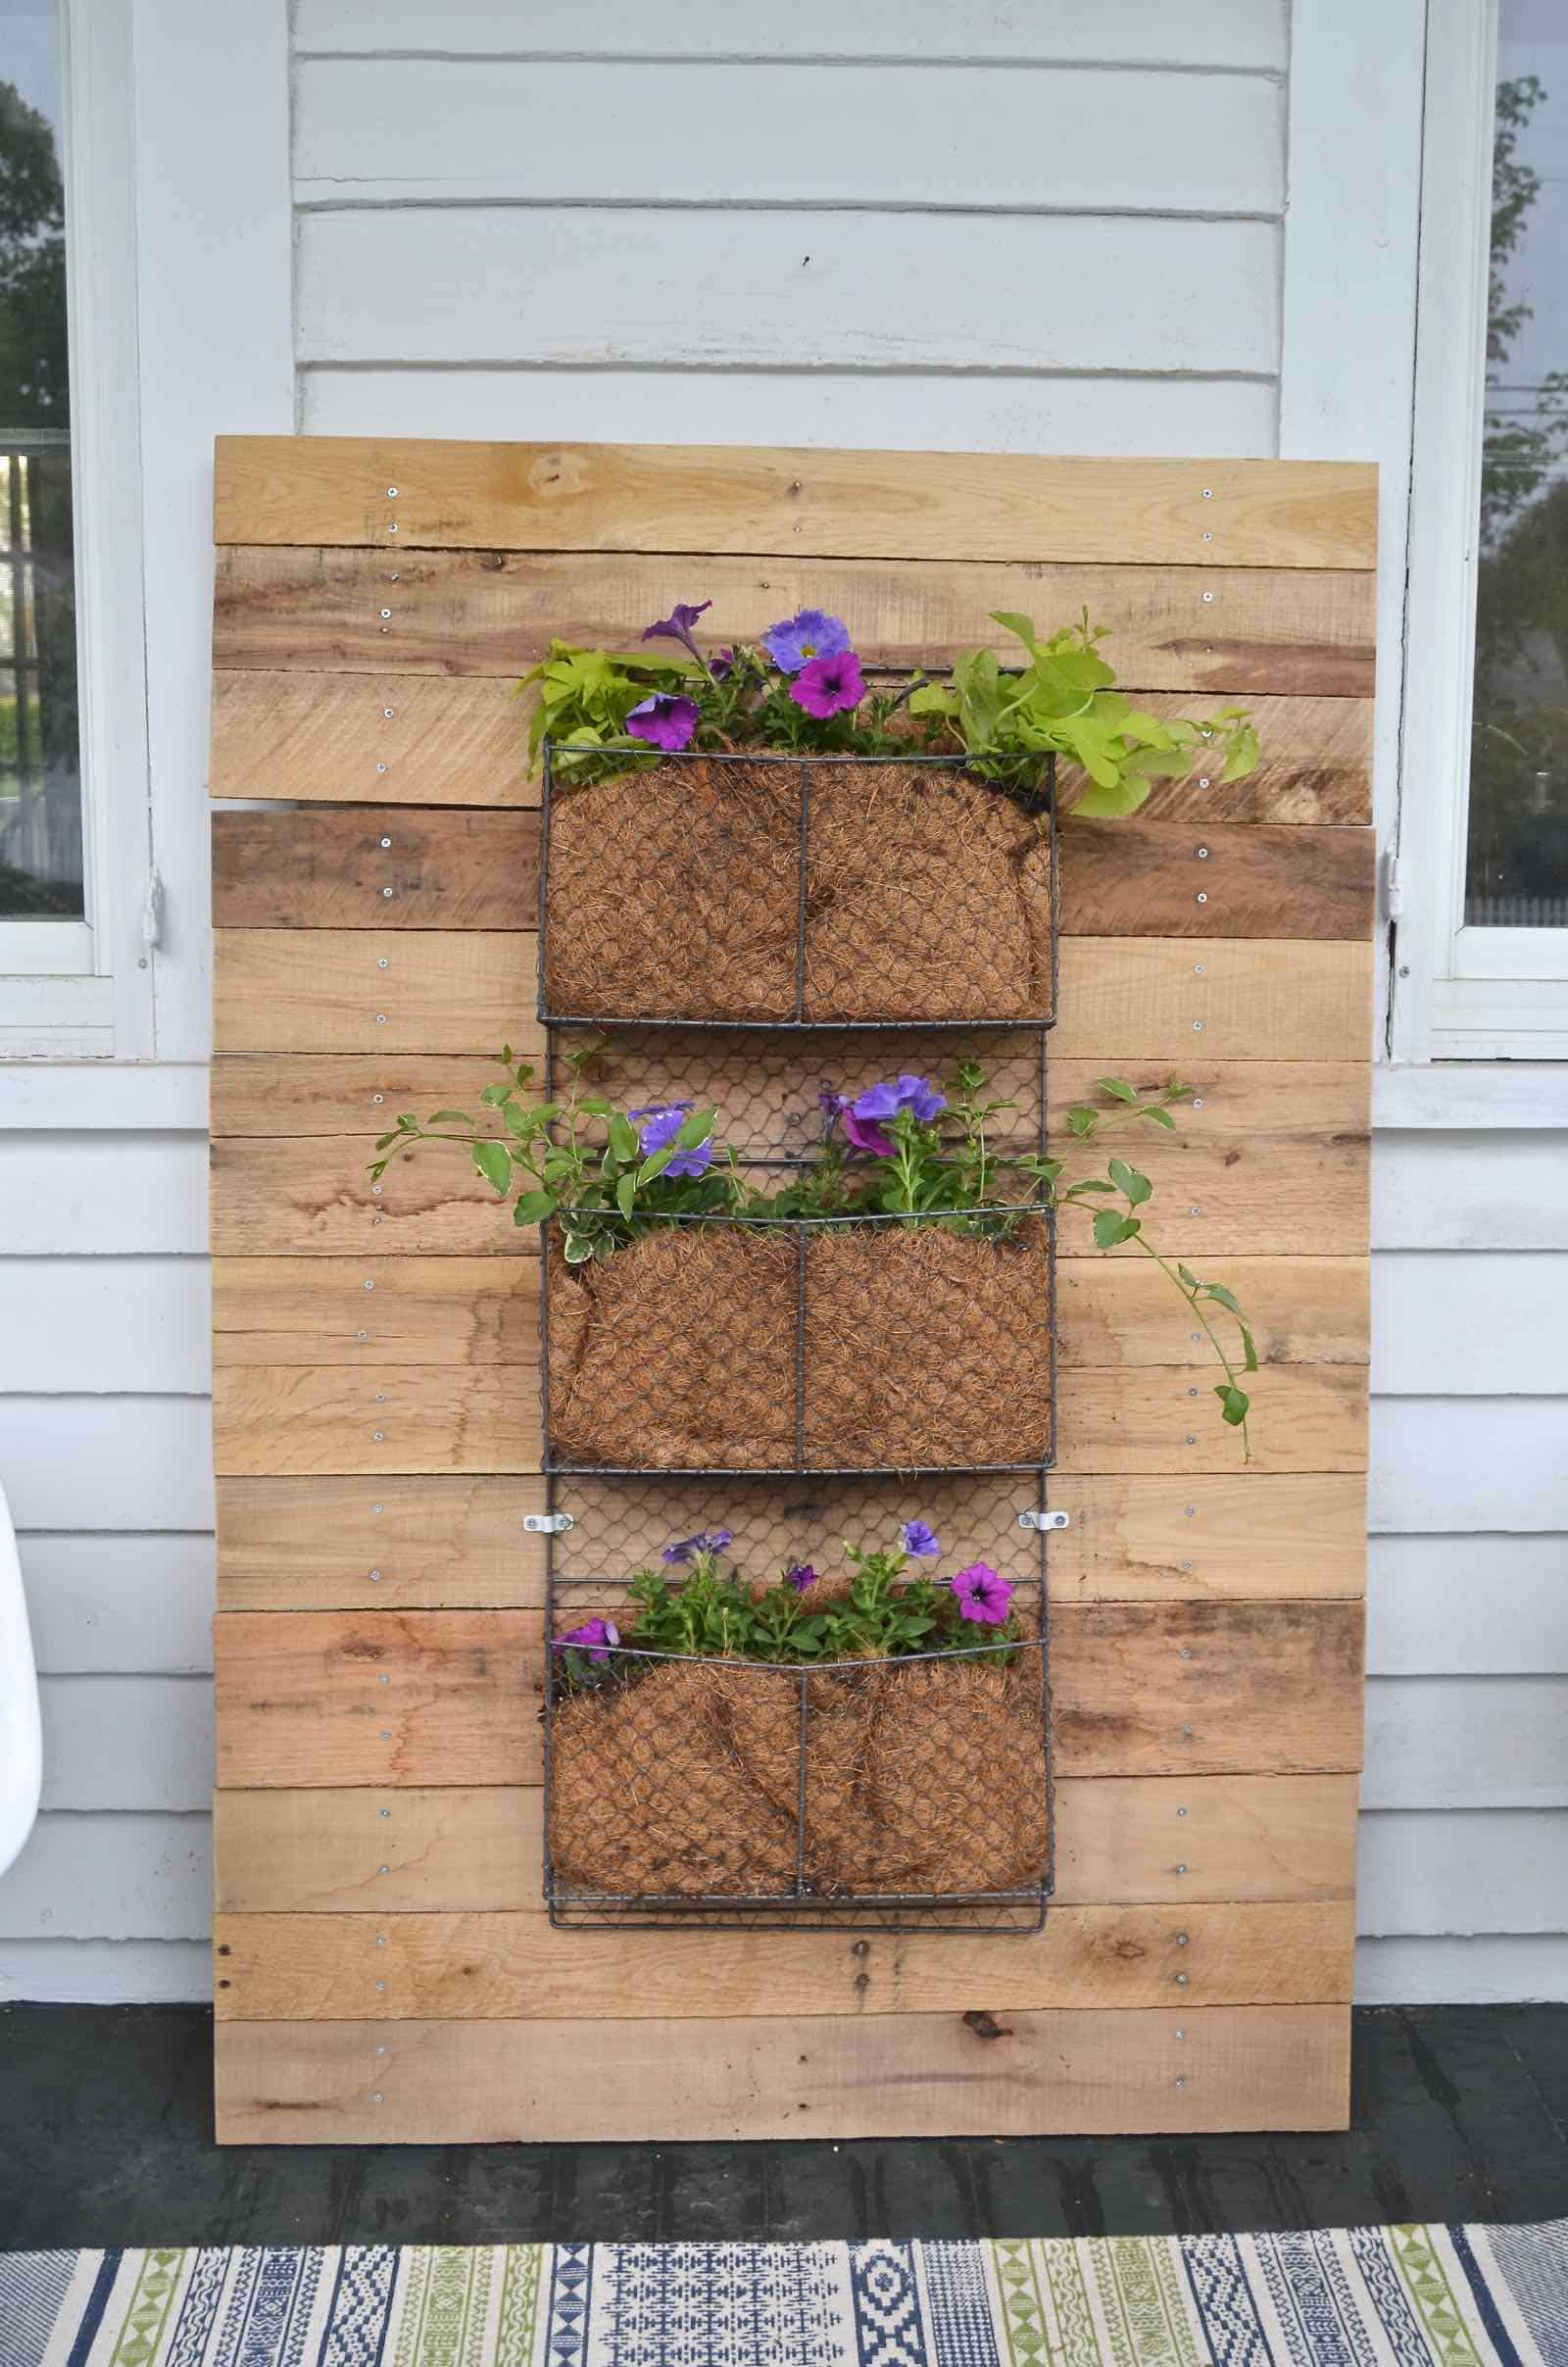
The materials required for this are pretty basic: a few old pallets, a couple 2x3s or 2x4s, plants, a set of wire wall hanging storage baskets (similar to these or these) and these coconut husk liners (affiliate) to contain the soil. (Author’s note: we made these a while ago, but I’m just now sharing with spring flowers abloom!)
Shop my favorites!
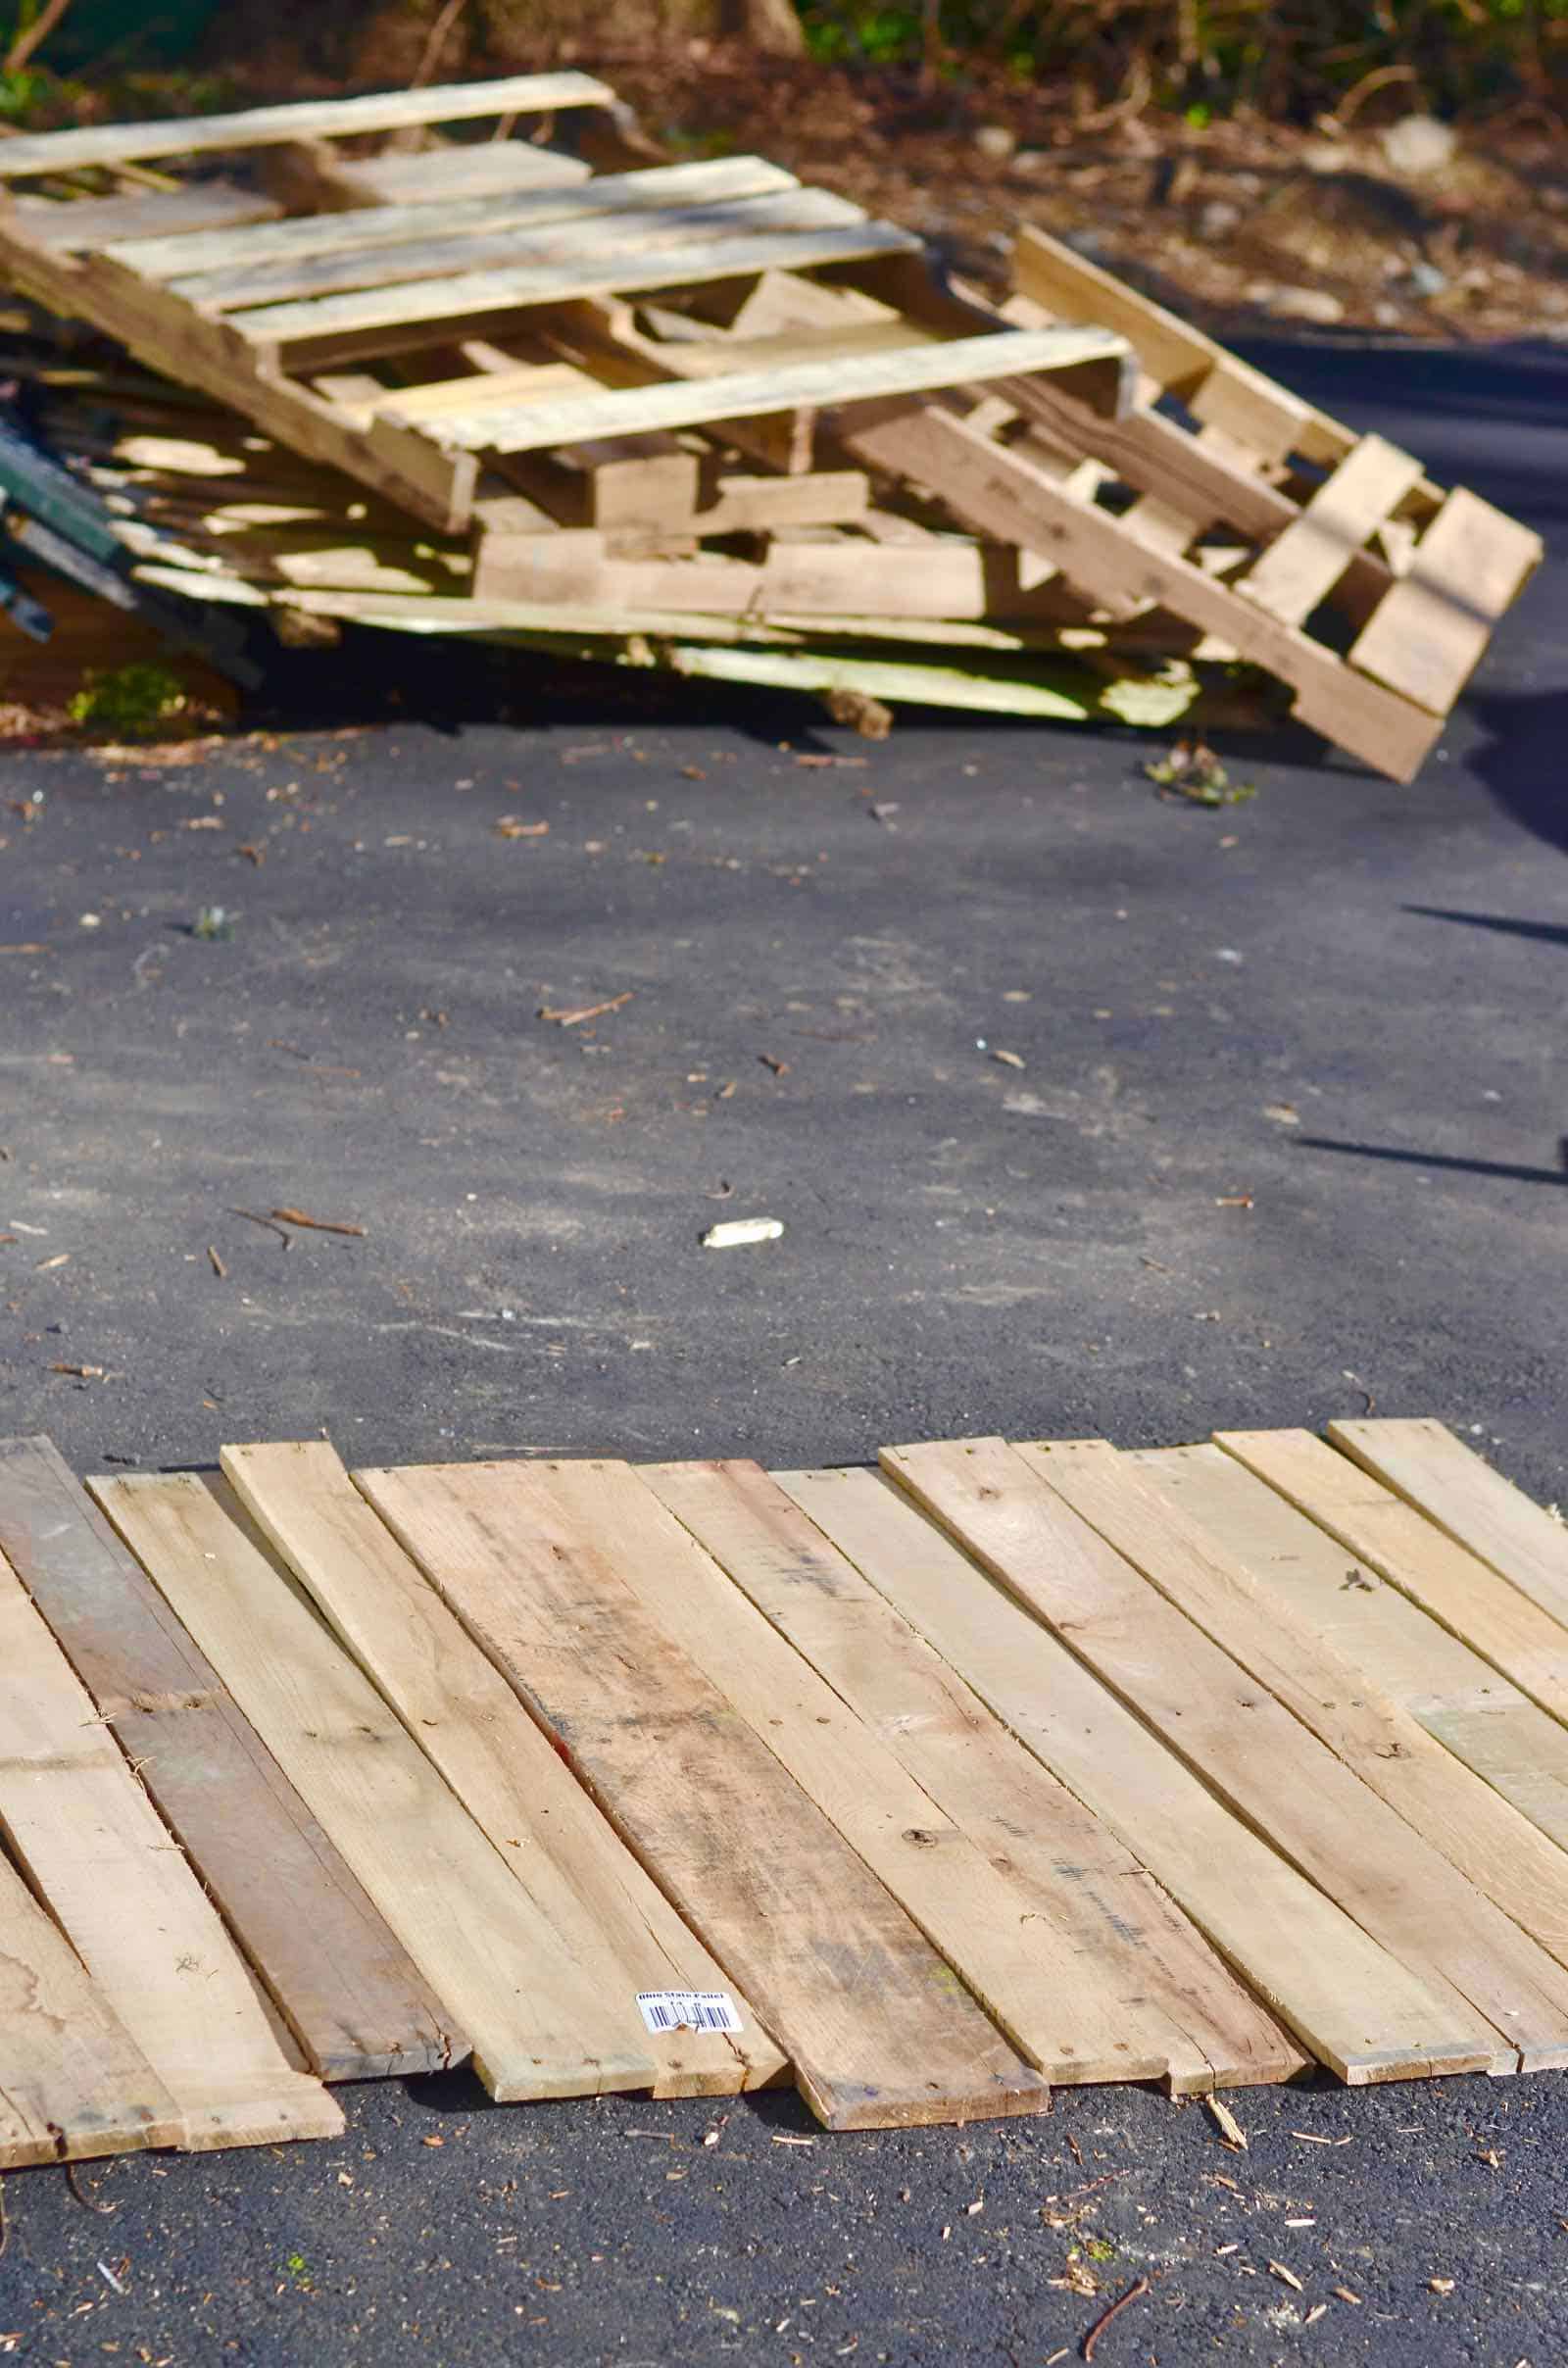
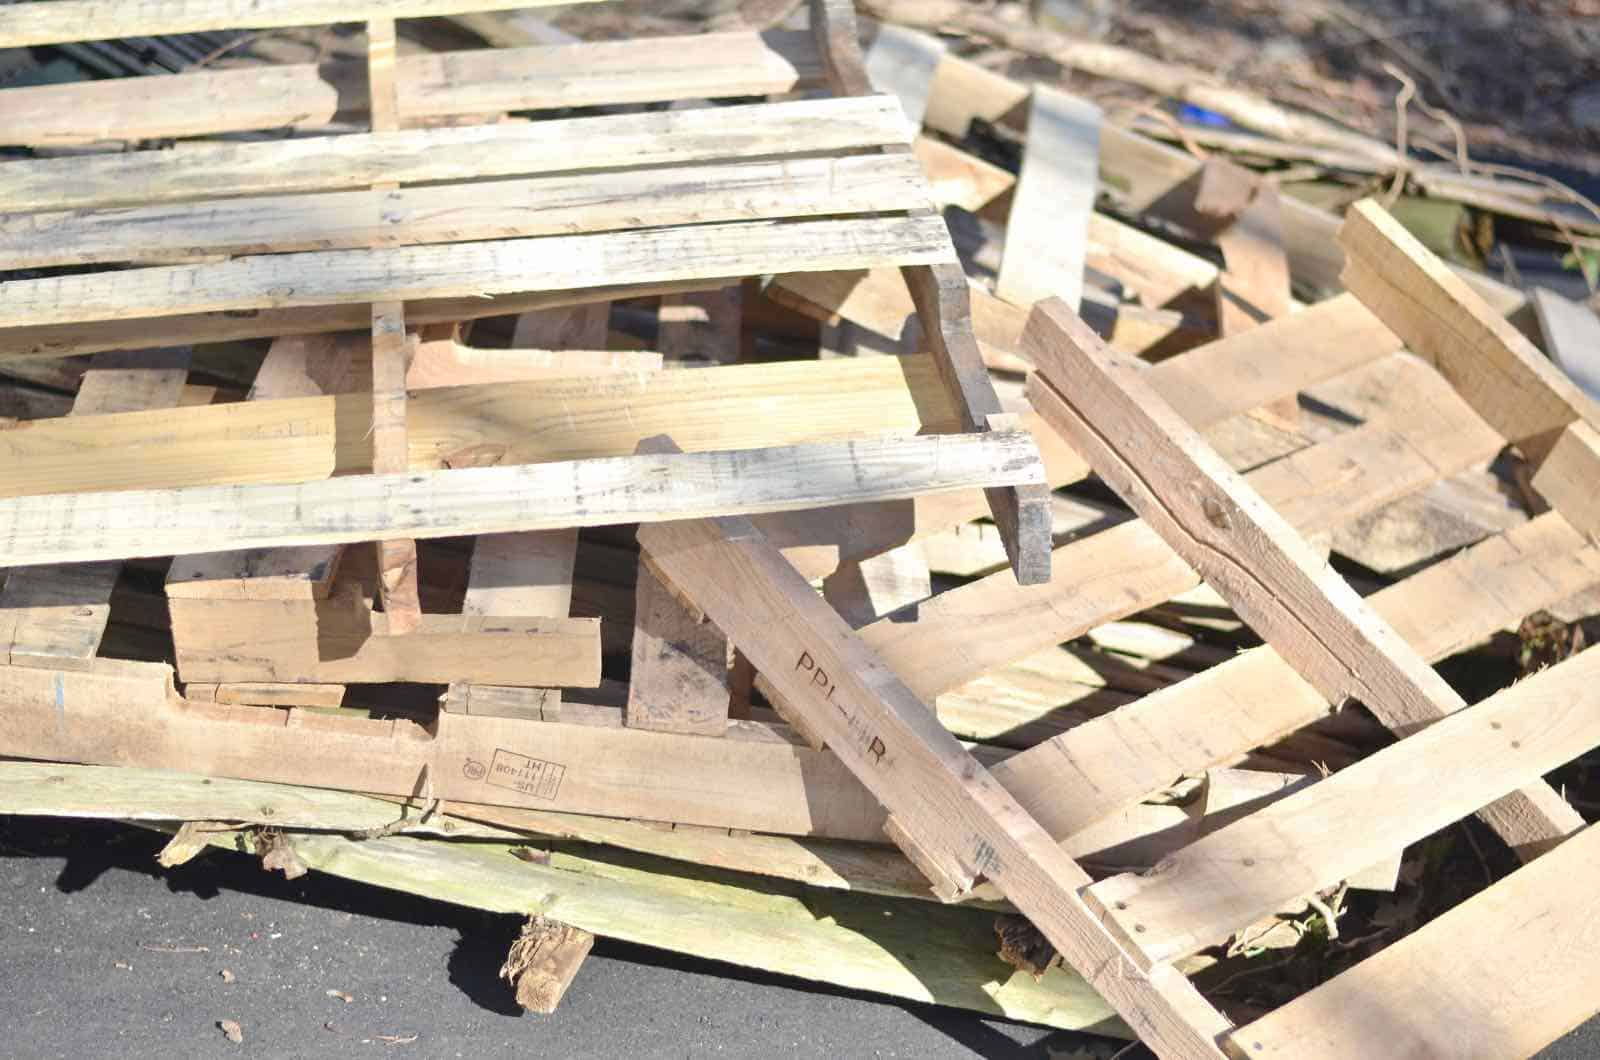
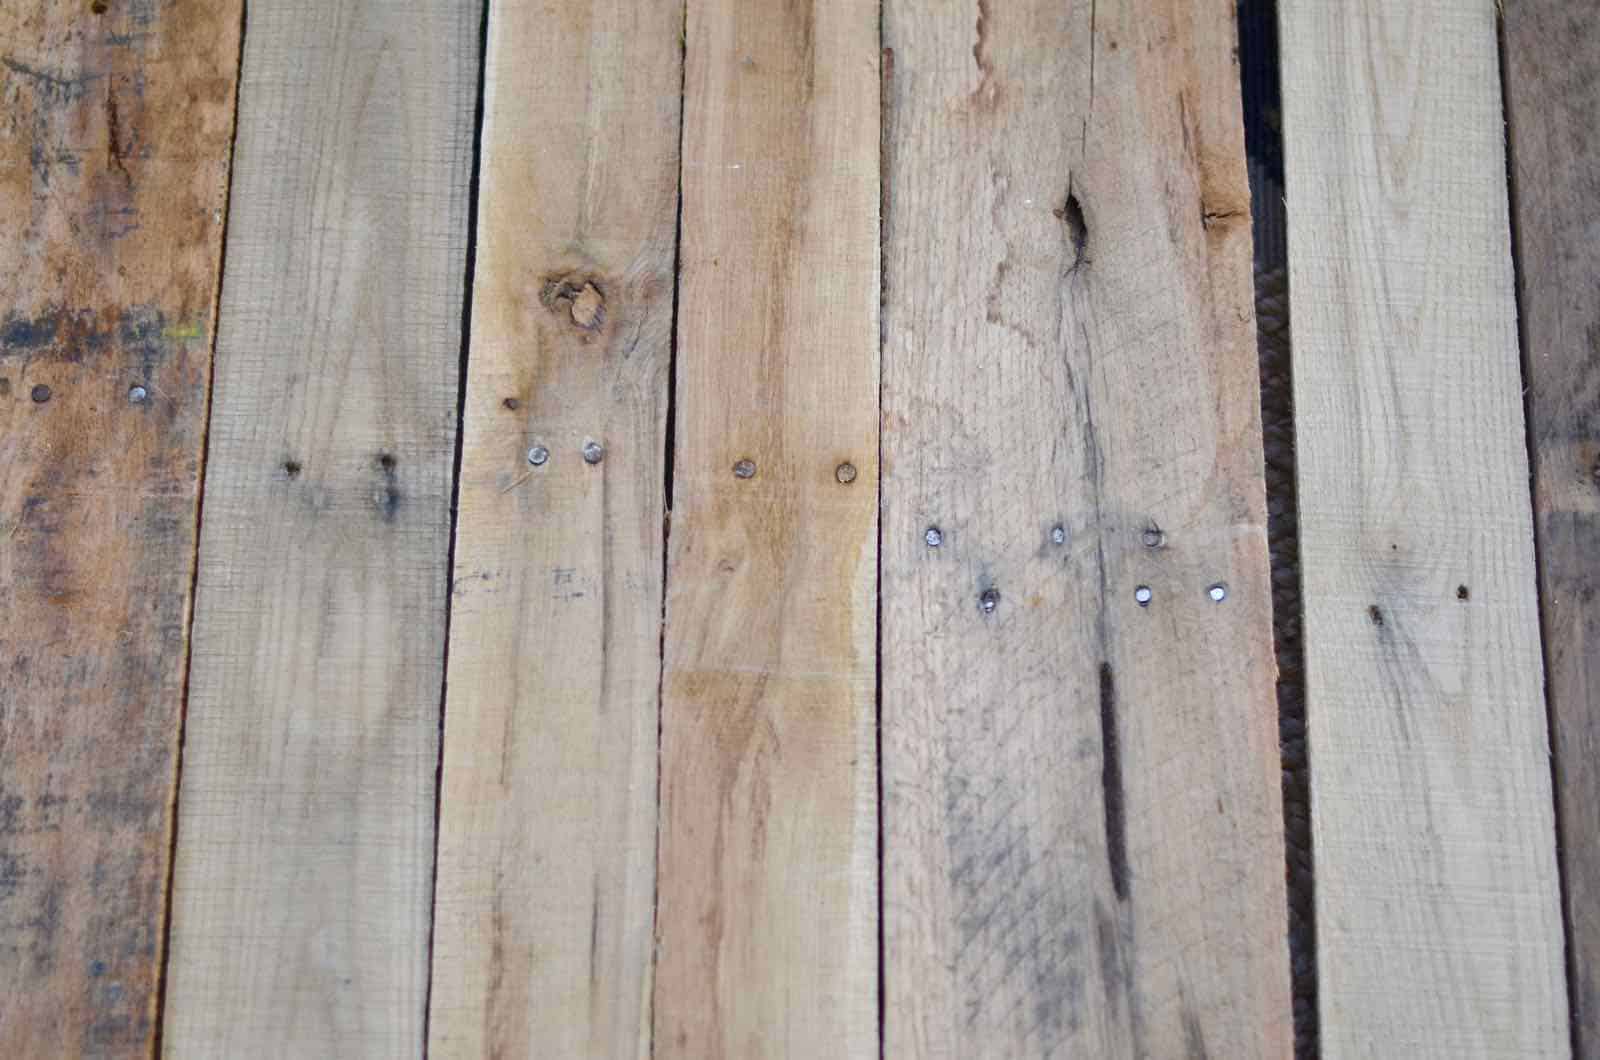
Step 1. Dismantle your pallets
Oliver helped me dismantle the pallets by standing on one side while I cut through the nails on the other. See my video HERE that details how to take apart a pallet. I had 4 pallets to choose from so was able to be somewhat picky about which boards I harvested!
Step 2. Lay out boards and measure
I lined up all the boards and lay my storage baskets on top to eyeball what dimensions I wanted. Once I knew my dimensions, I took all my wood into the shed to cut and assemble.
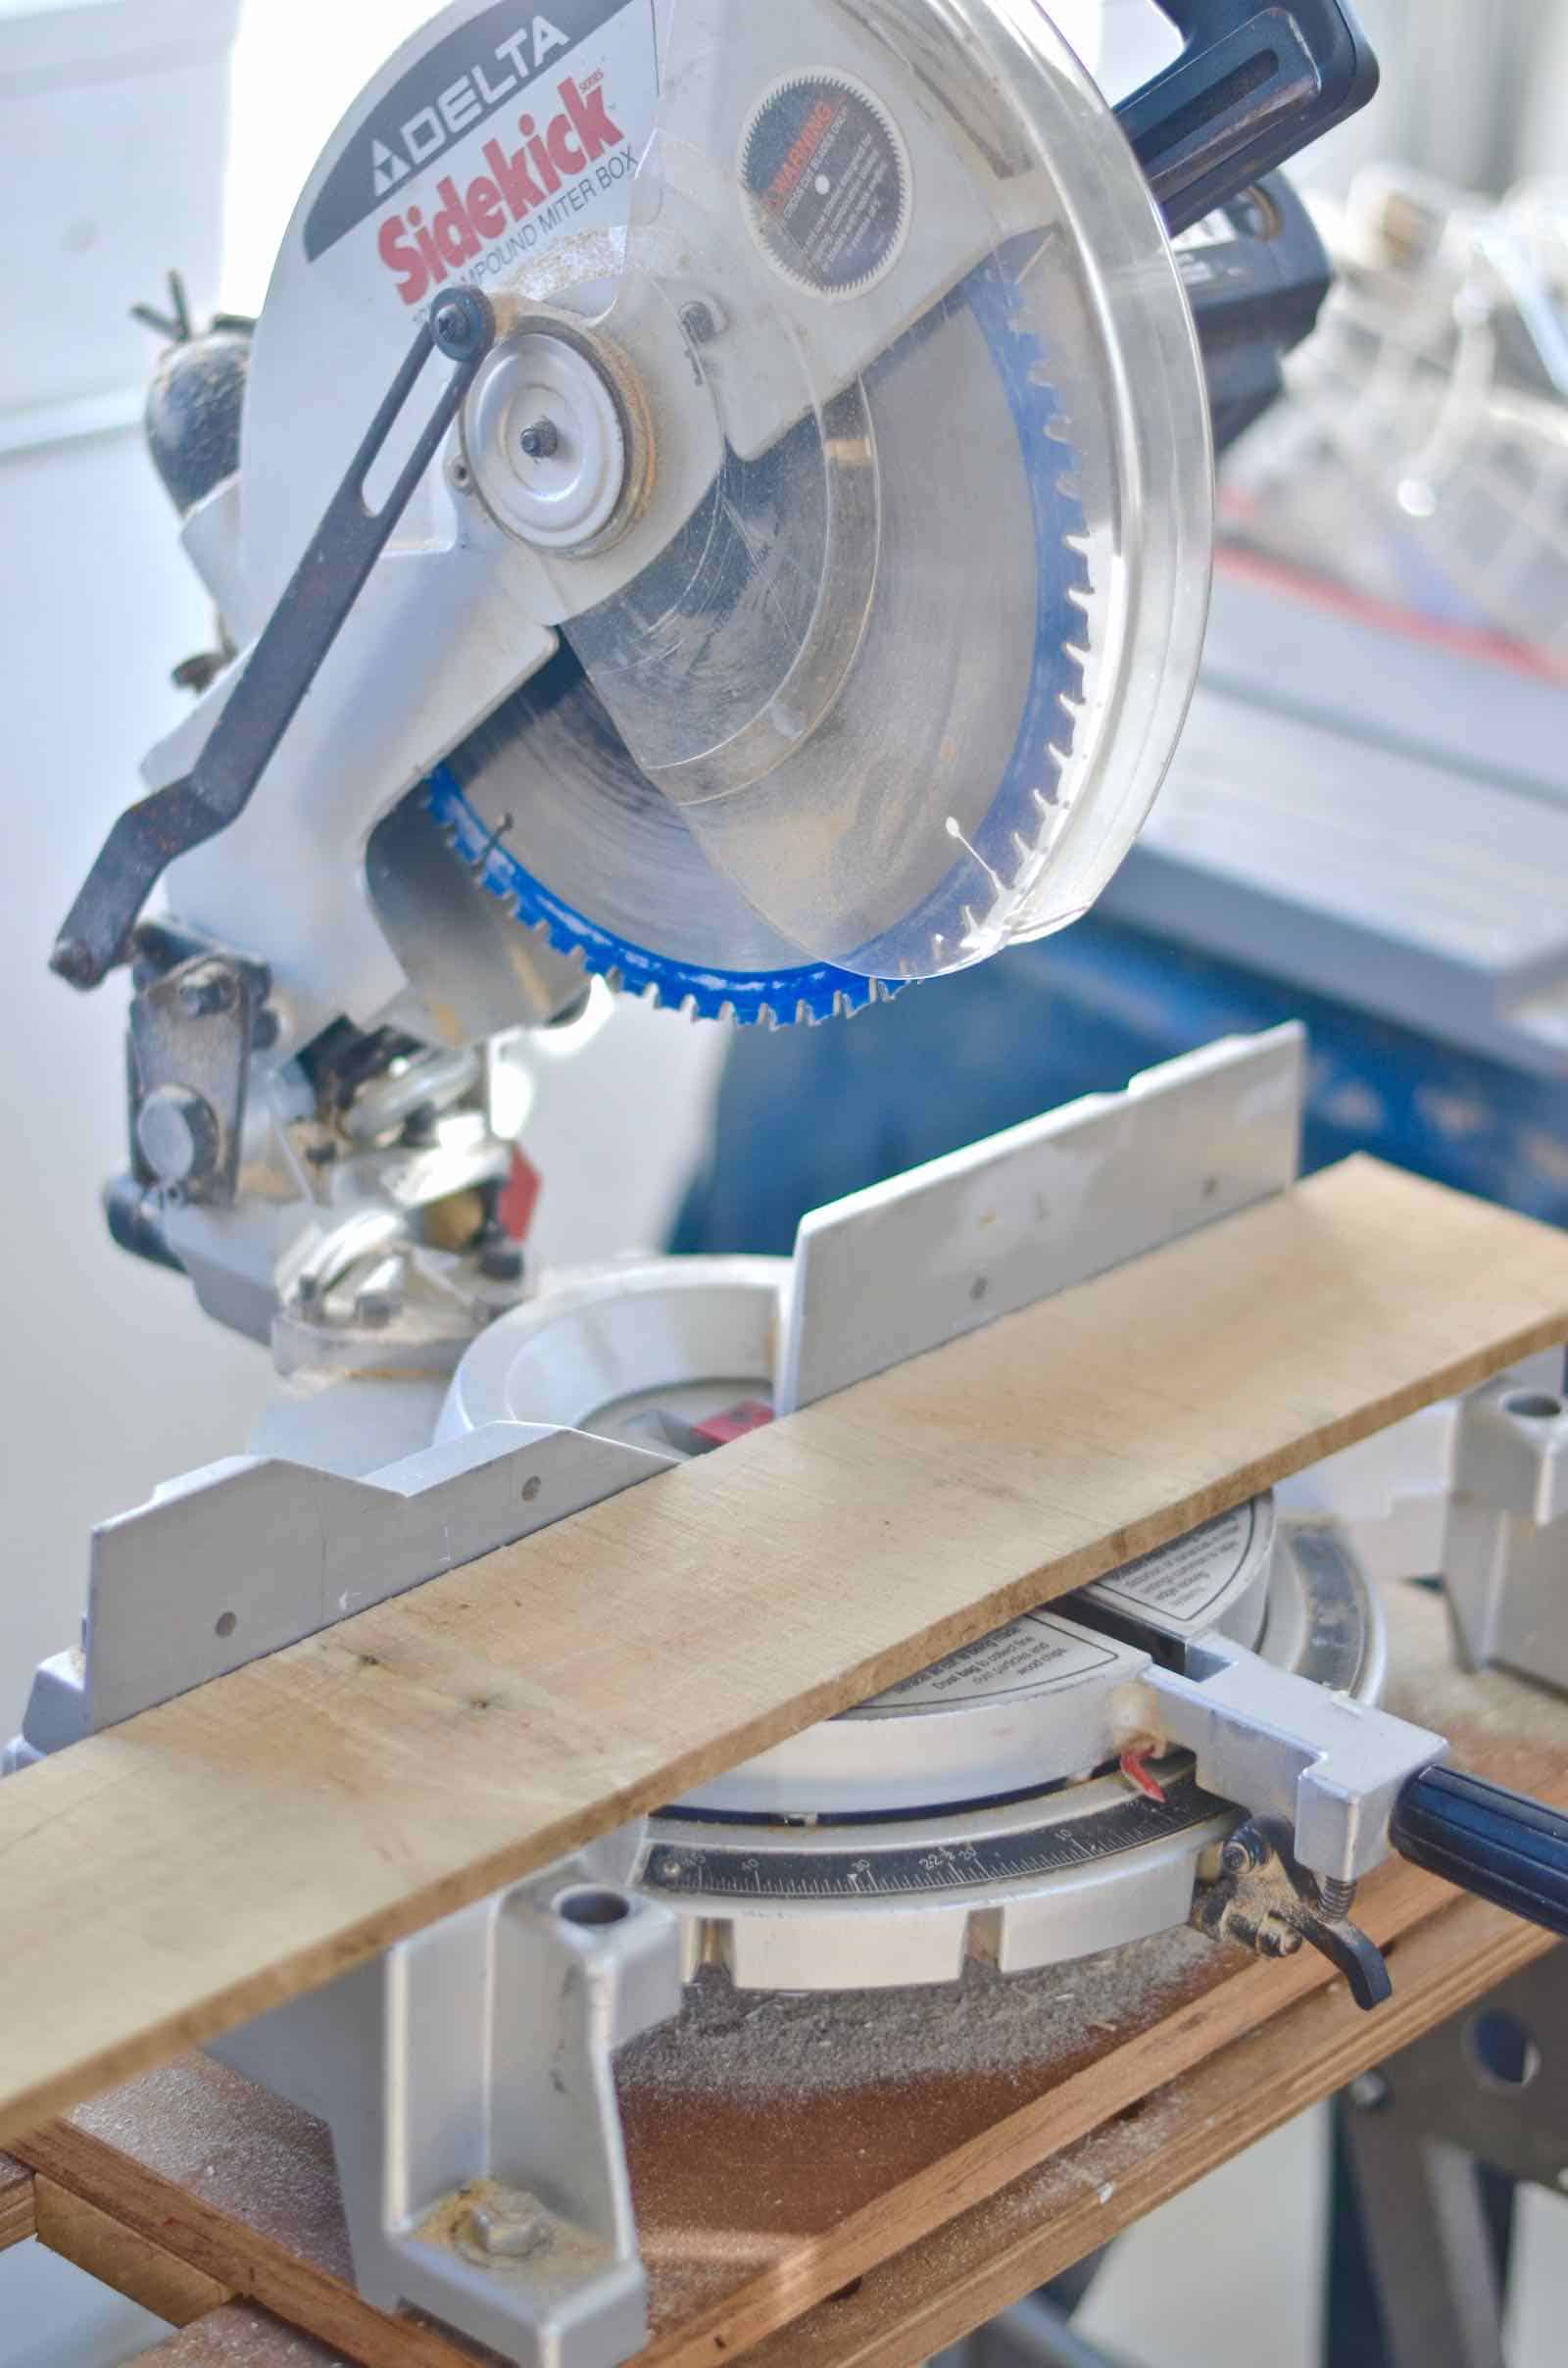
Step 3. Cut your boards
I measured and cut down all of my pallet boards. Then measured and cut two 2x3s across which all my pallet boards were going to attach.
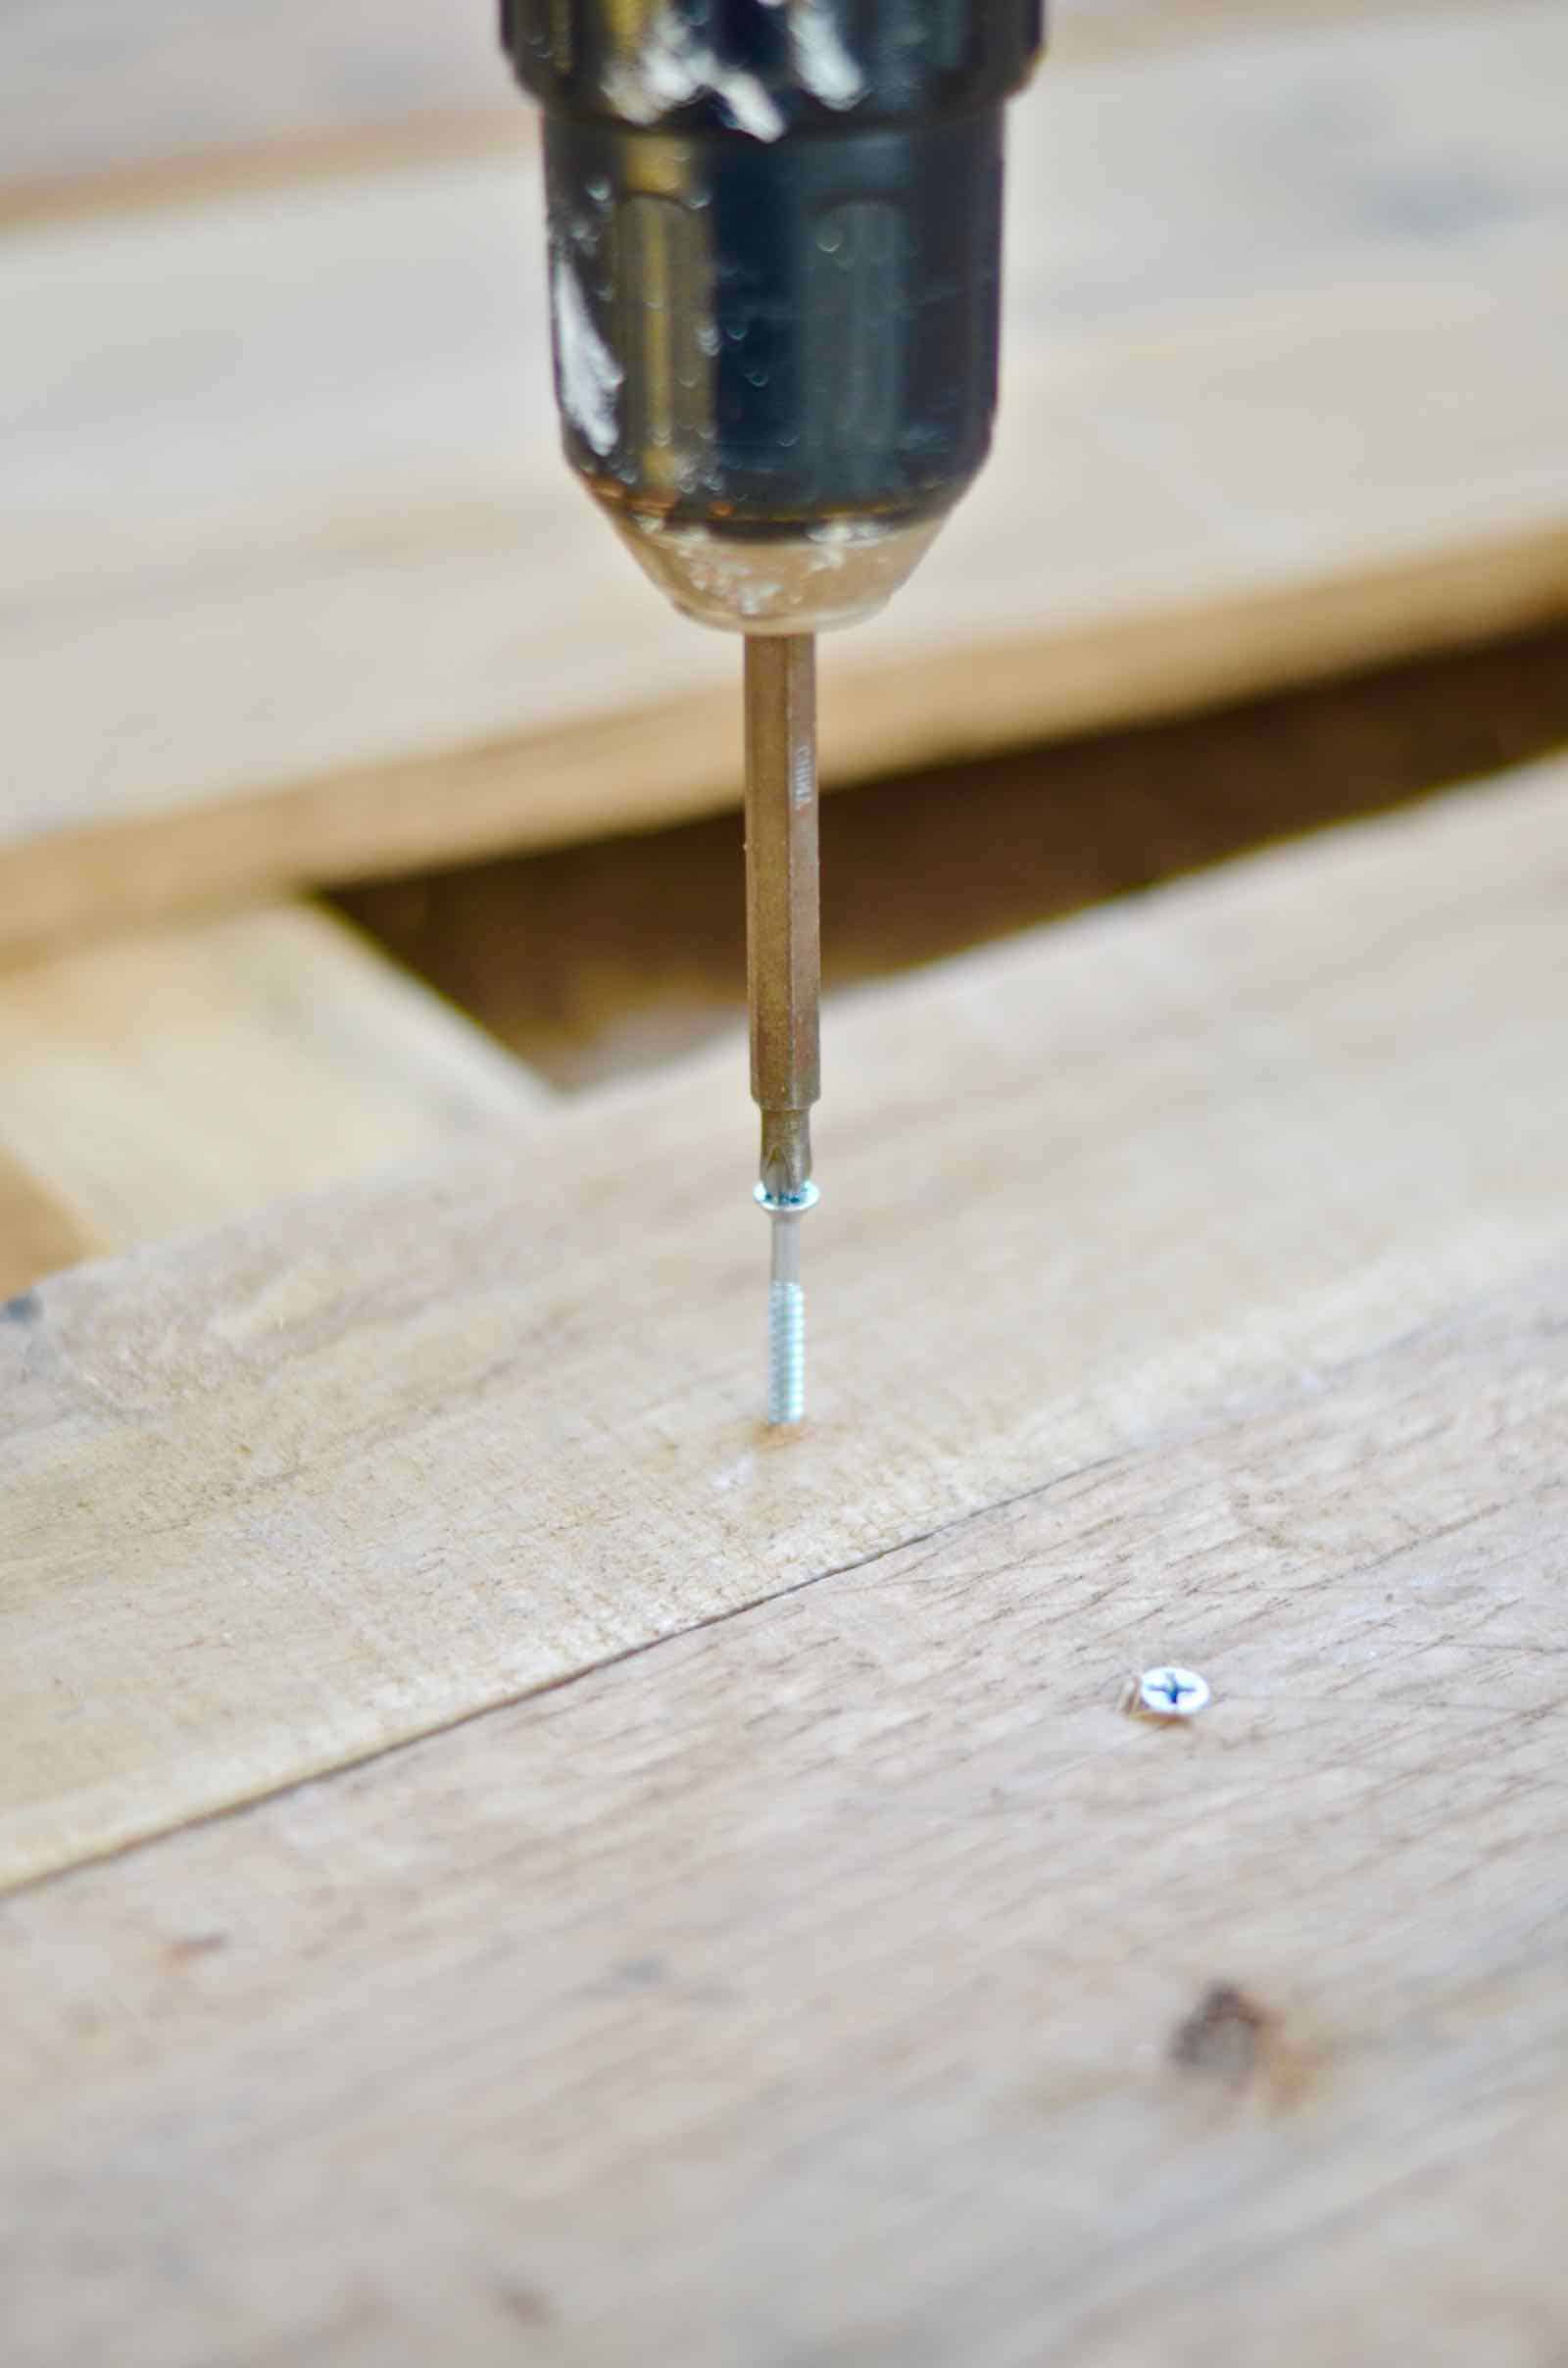
Step 4. Screw Pallet boards onto 2x3s.
Being careful to keep the pallet boards parallel, I screwed each one into the 2×3. I may be necessary for you to predrill, but I was able to screw in just about every board without predrilling.
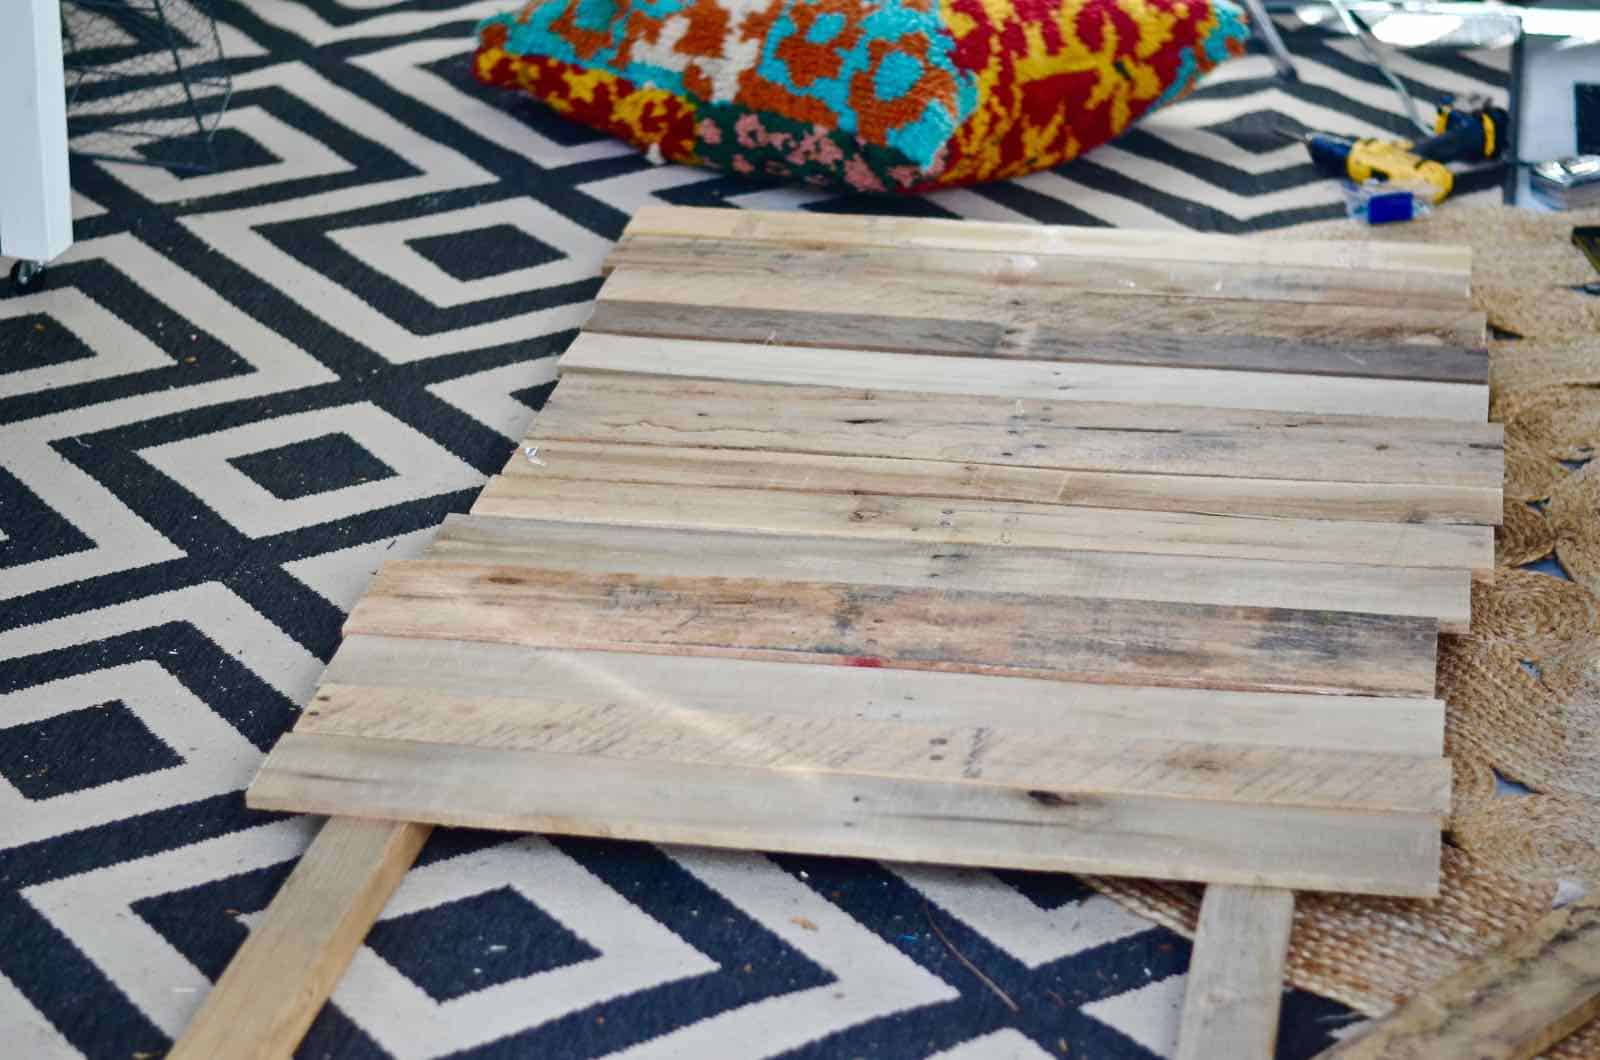
Across the bottom edge, I screwed in a 1×2, but honestly… I’m not sure why.
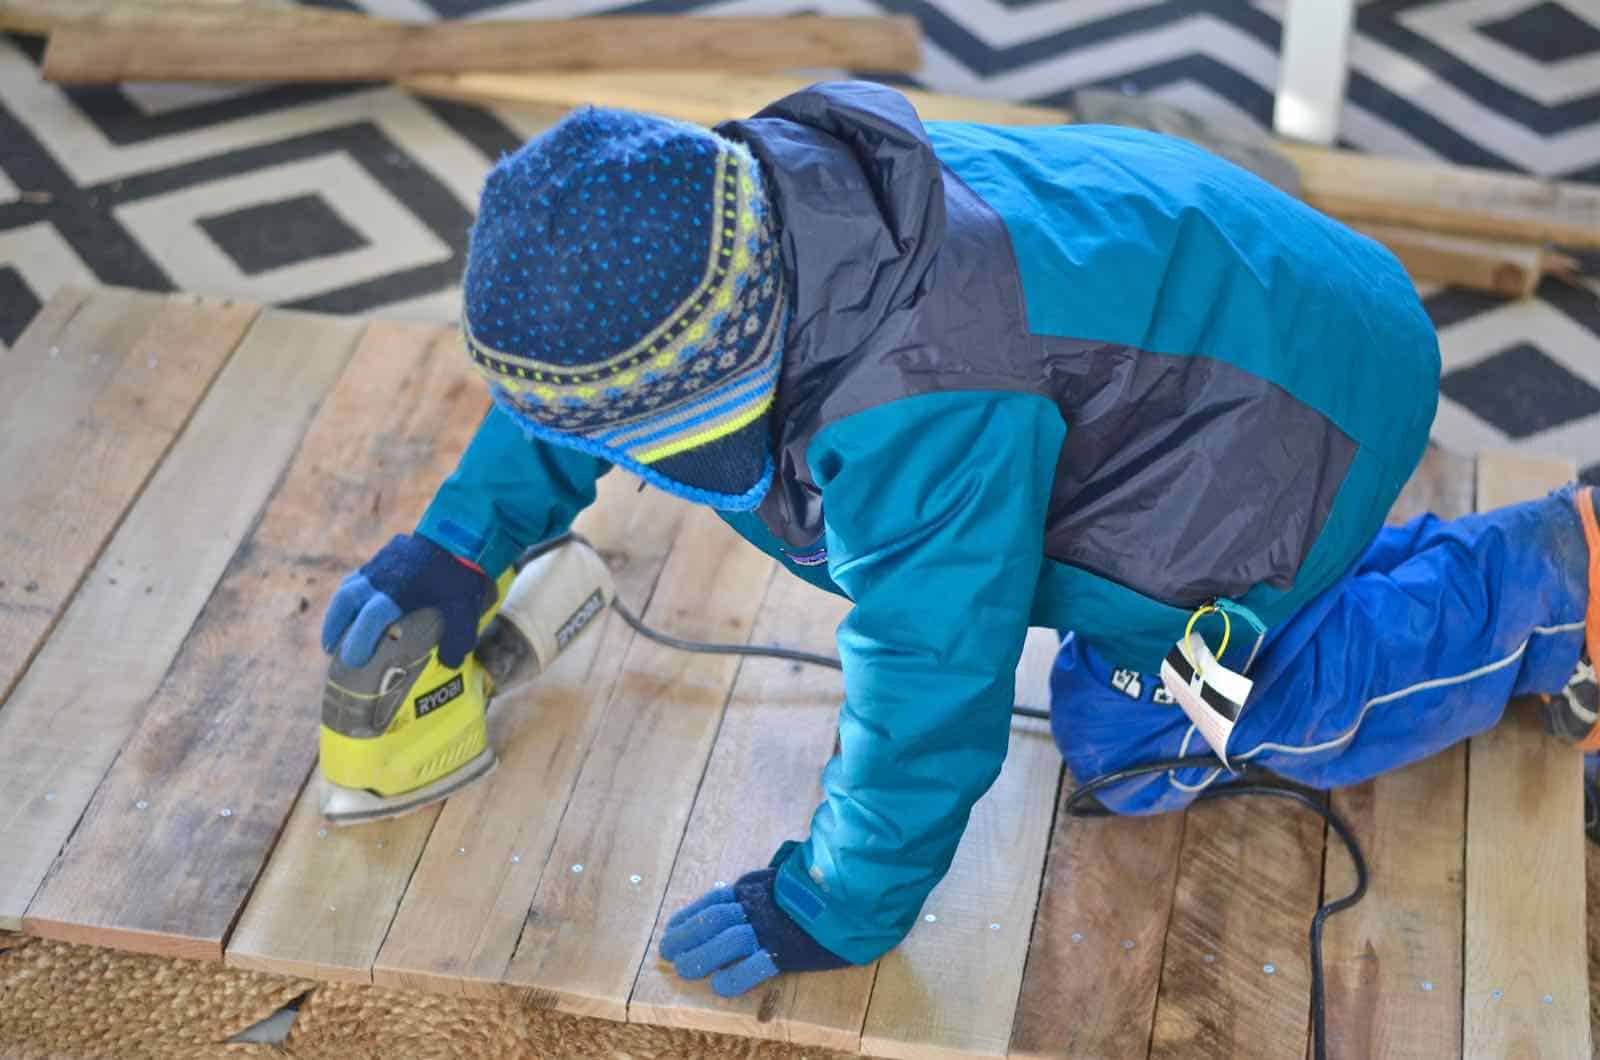
Step 5. Lightly sand
I let my assistant handle this one. Nothing too crazy since this is meant to be rustic and will be holding plants afterall.
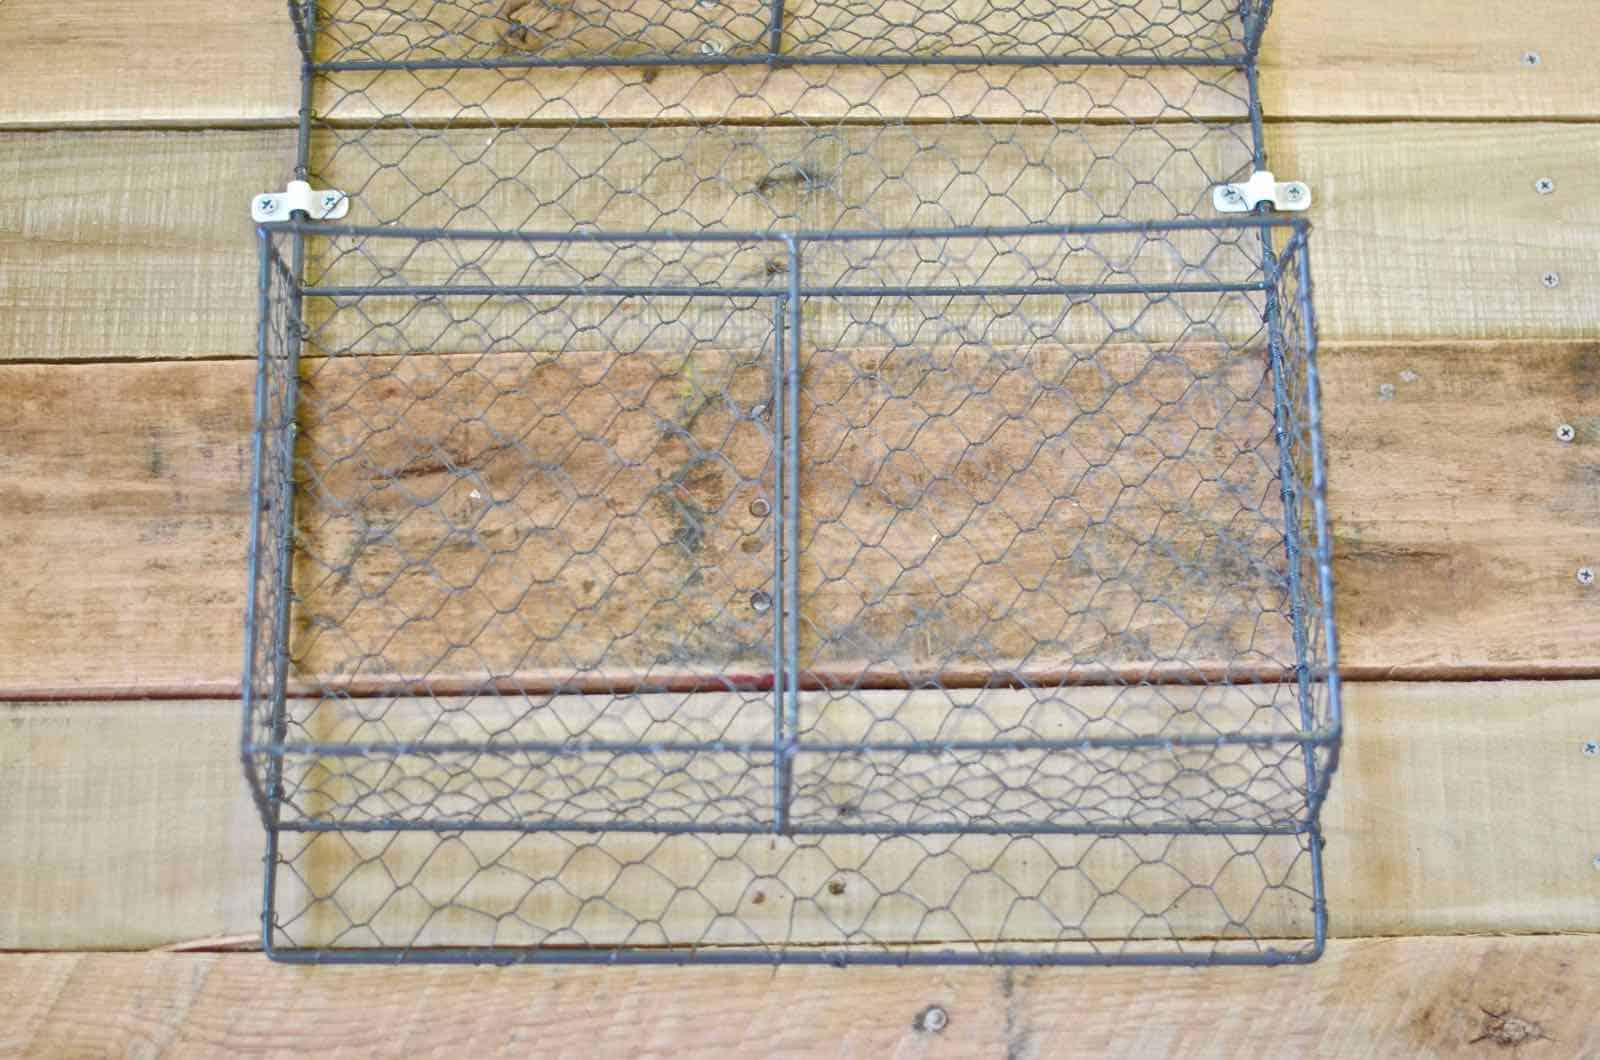
Step 6. Screw on Baskets
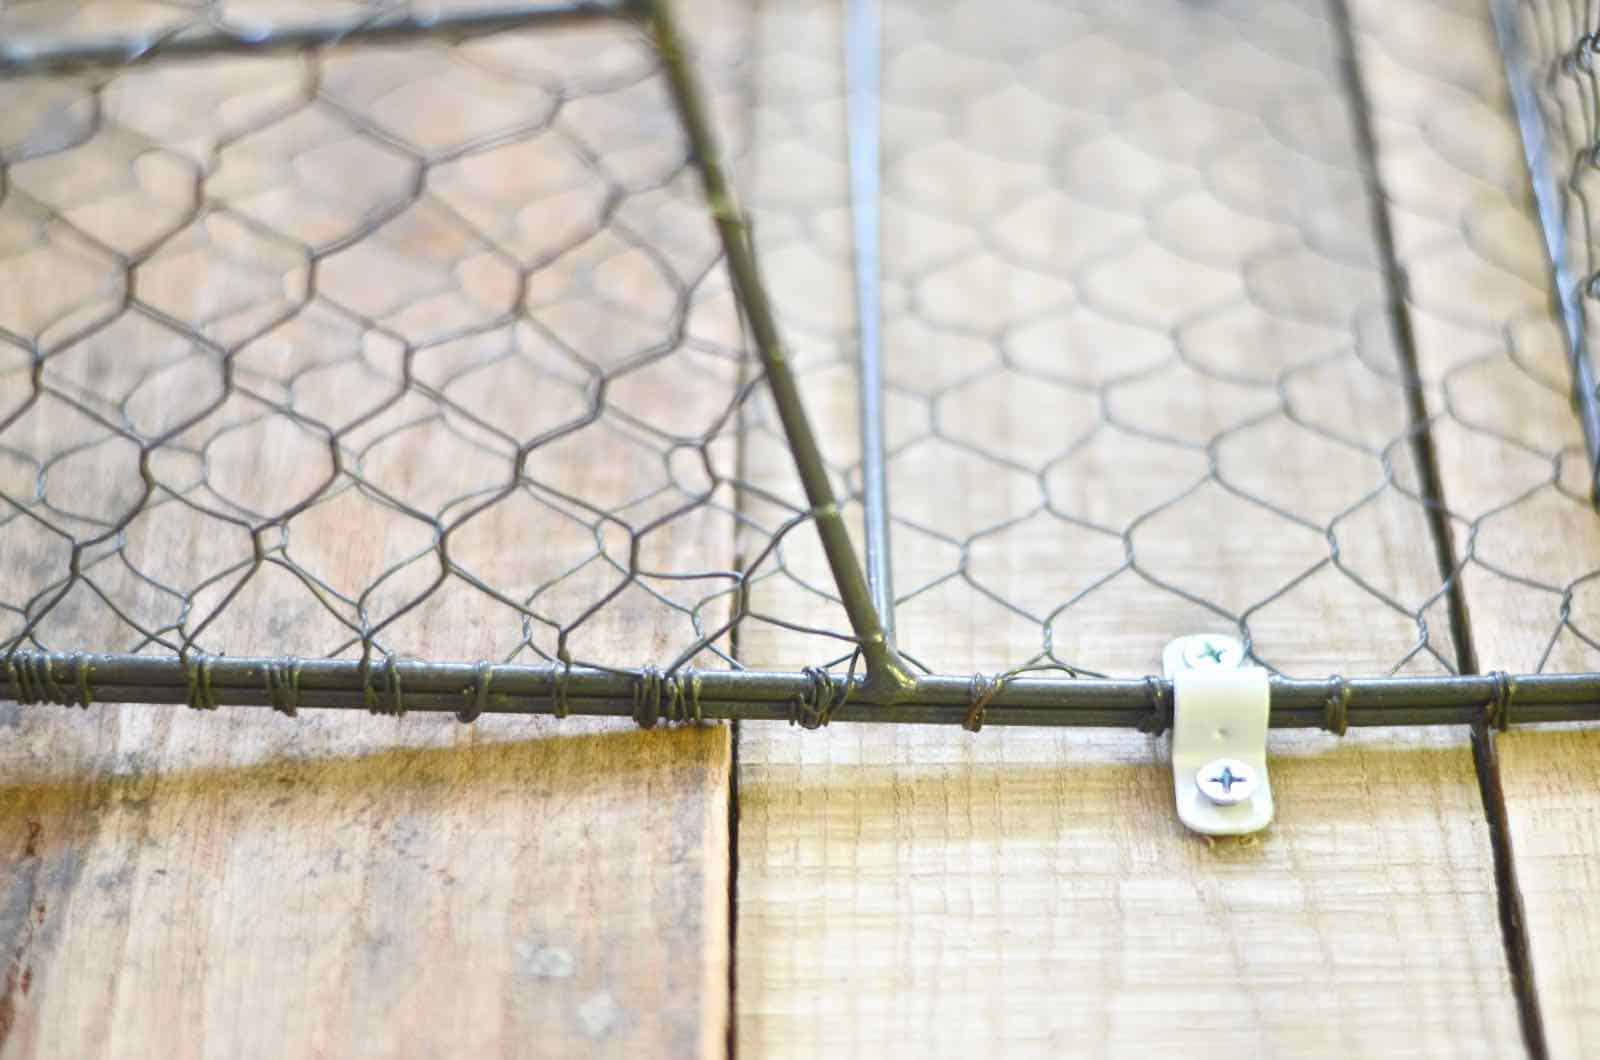
Screw on the metal wall baskets. Almost all of these come with little grooves along the top for mounting. I added two washers just to make these extra secure and then I used these shelf clips (affiliate) to hold in place towards the bottom as well.
Step 6. Add plants!
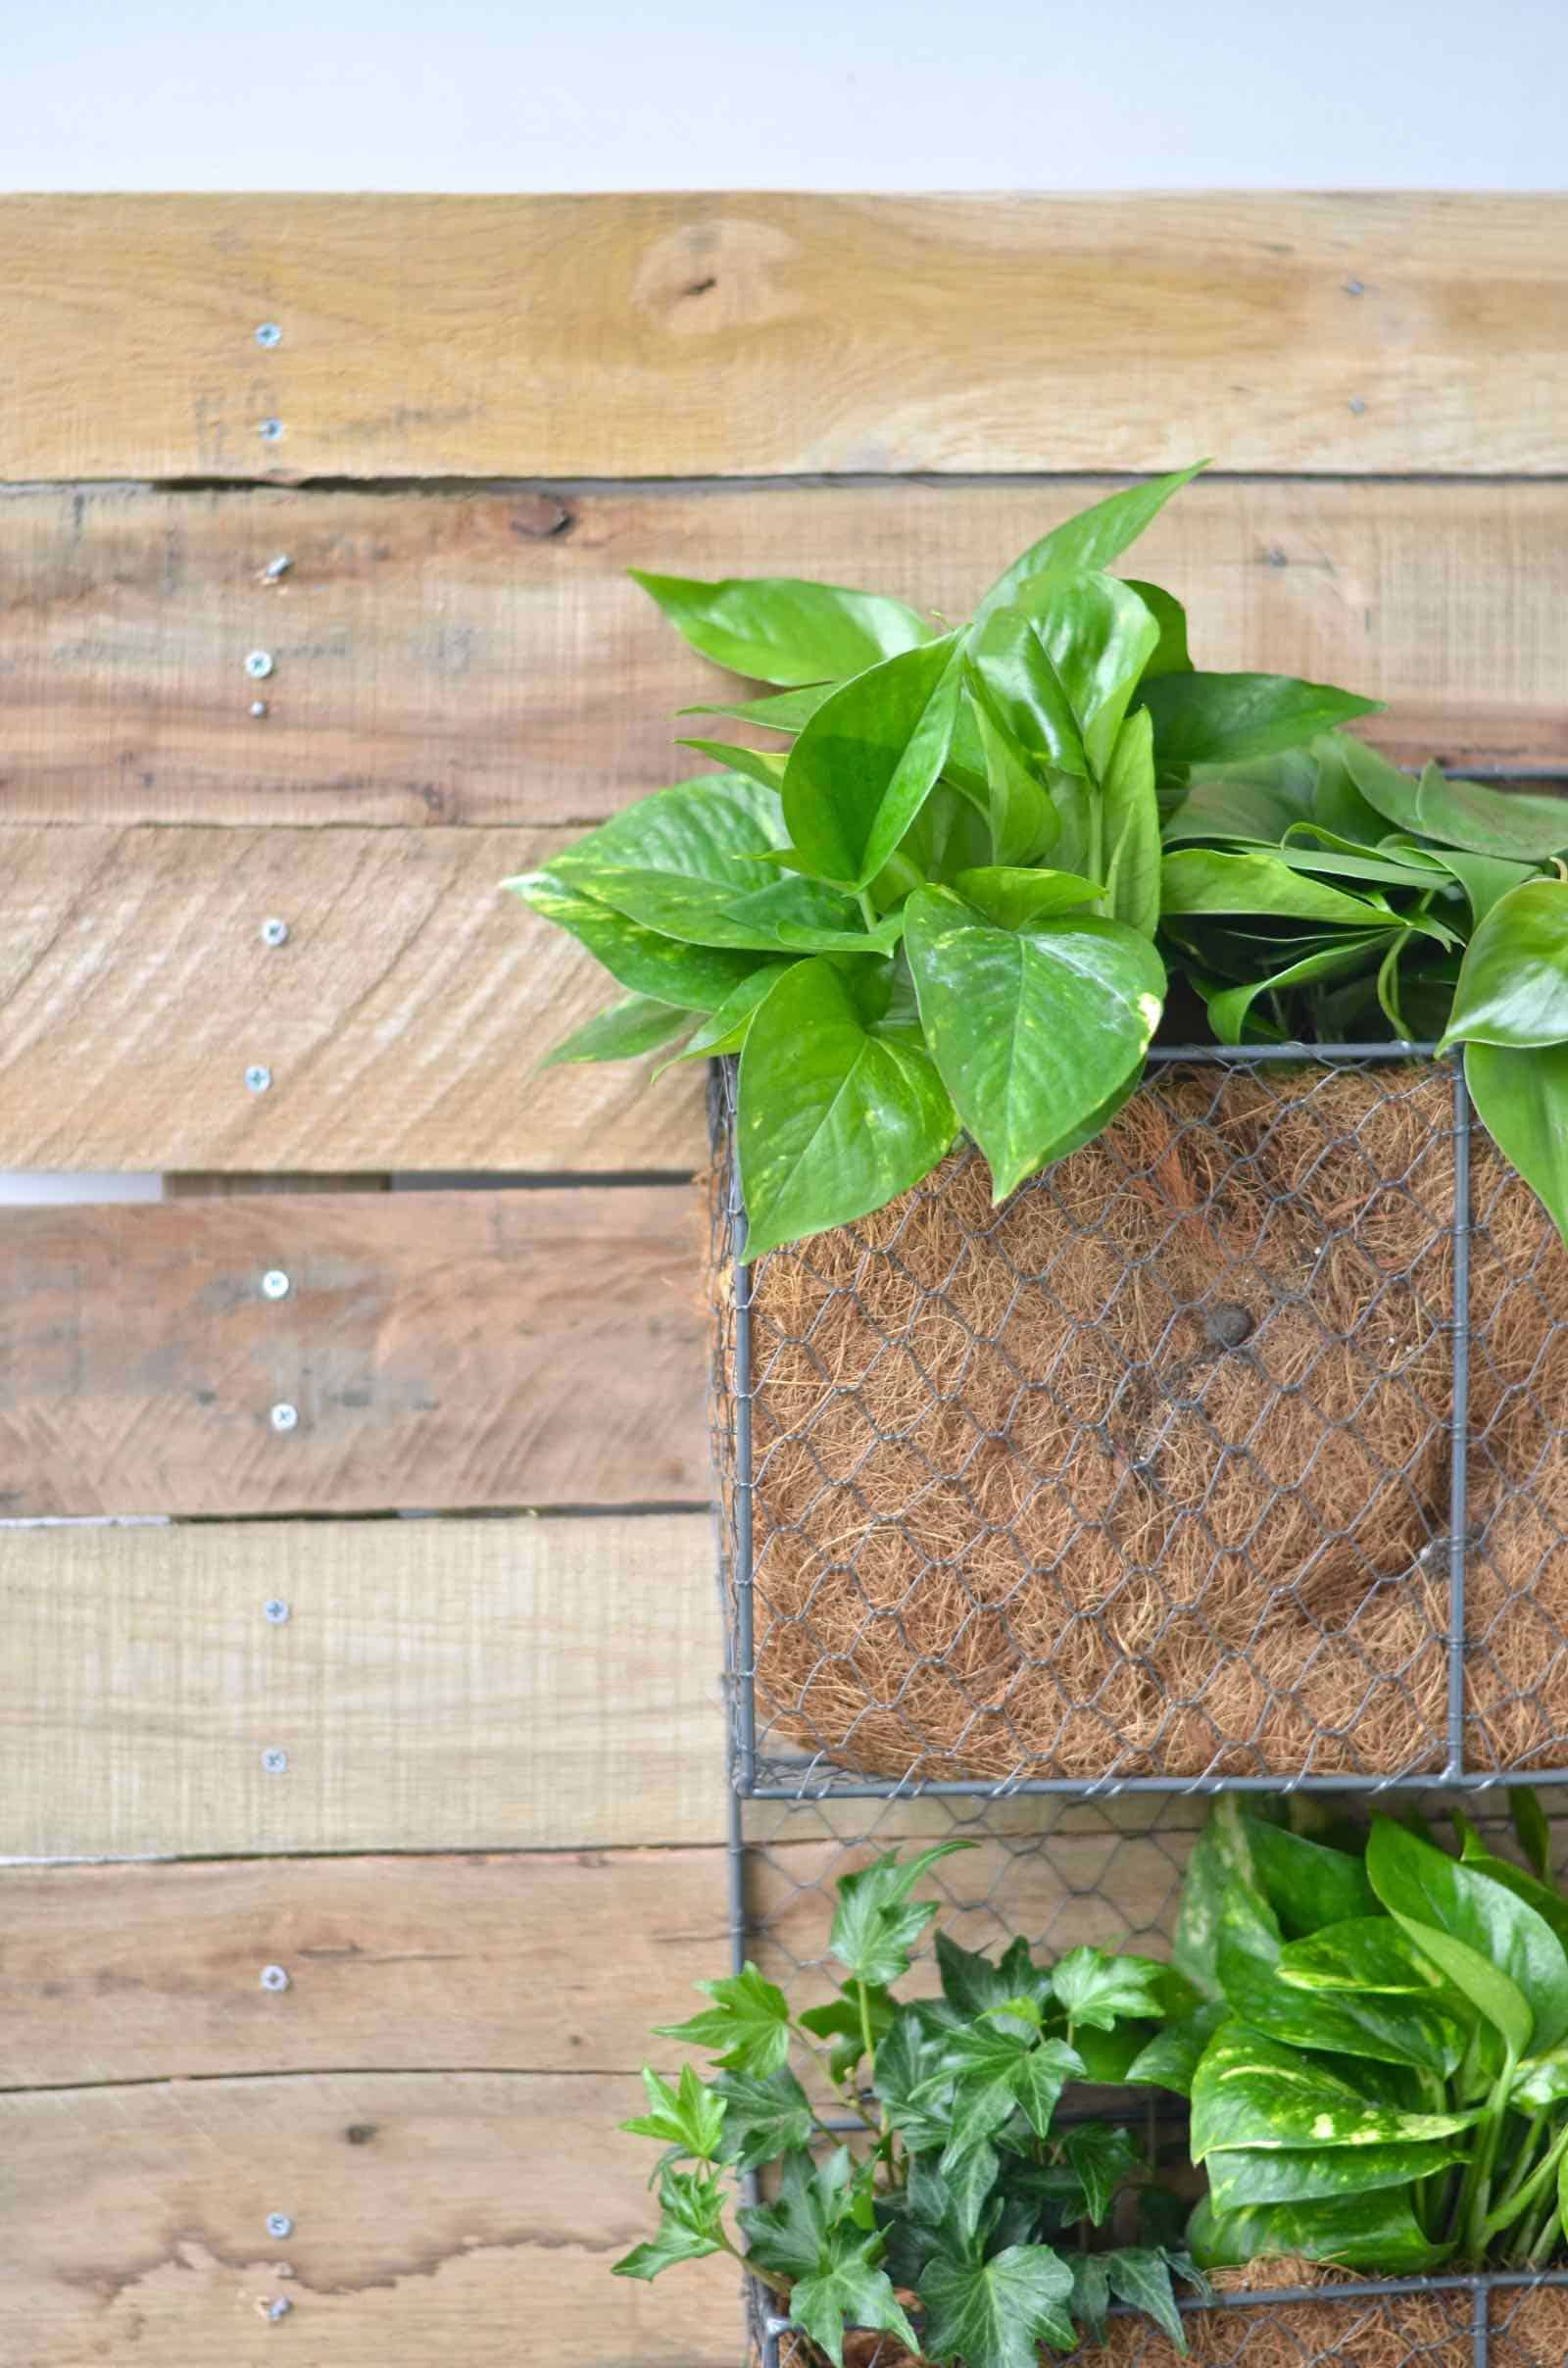
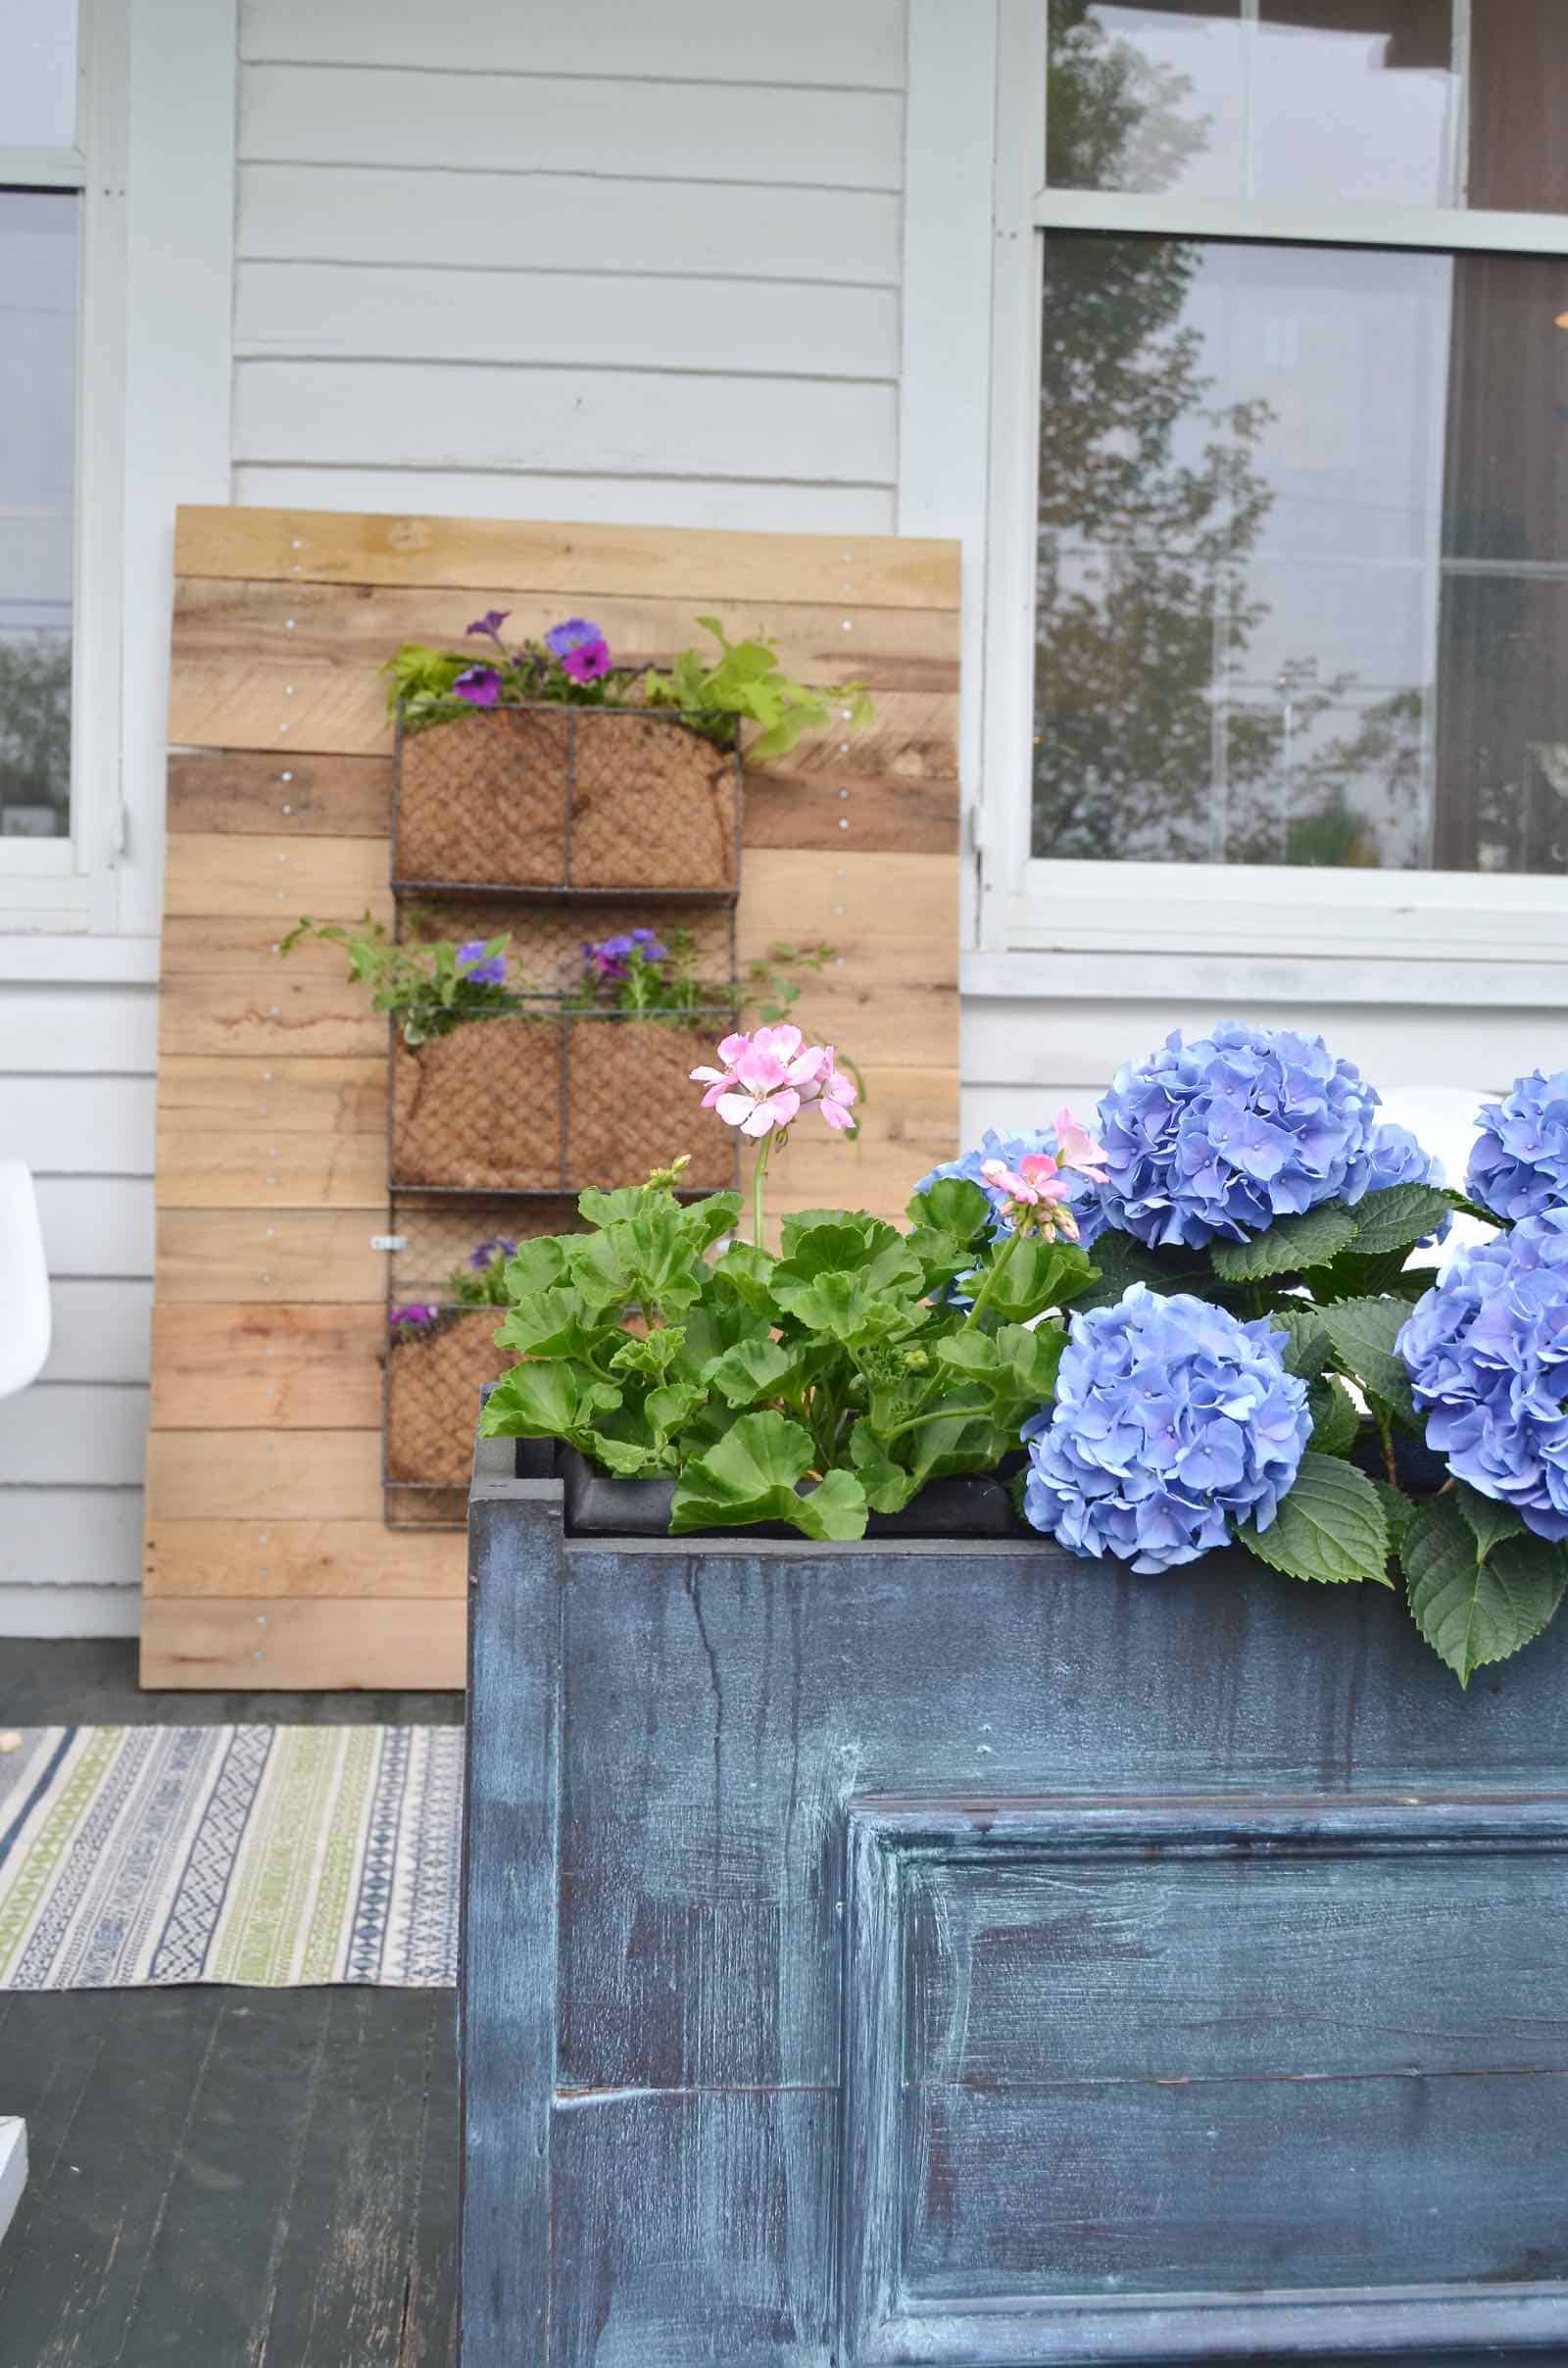
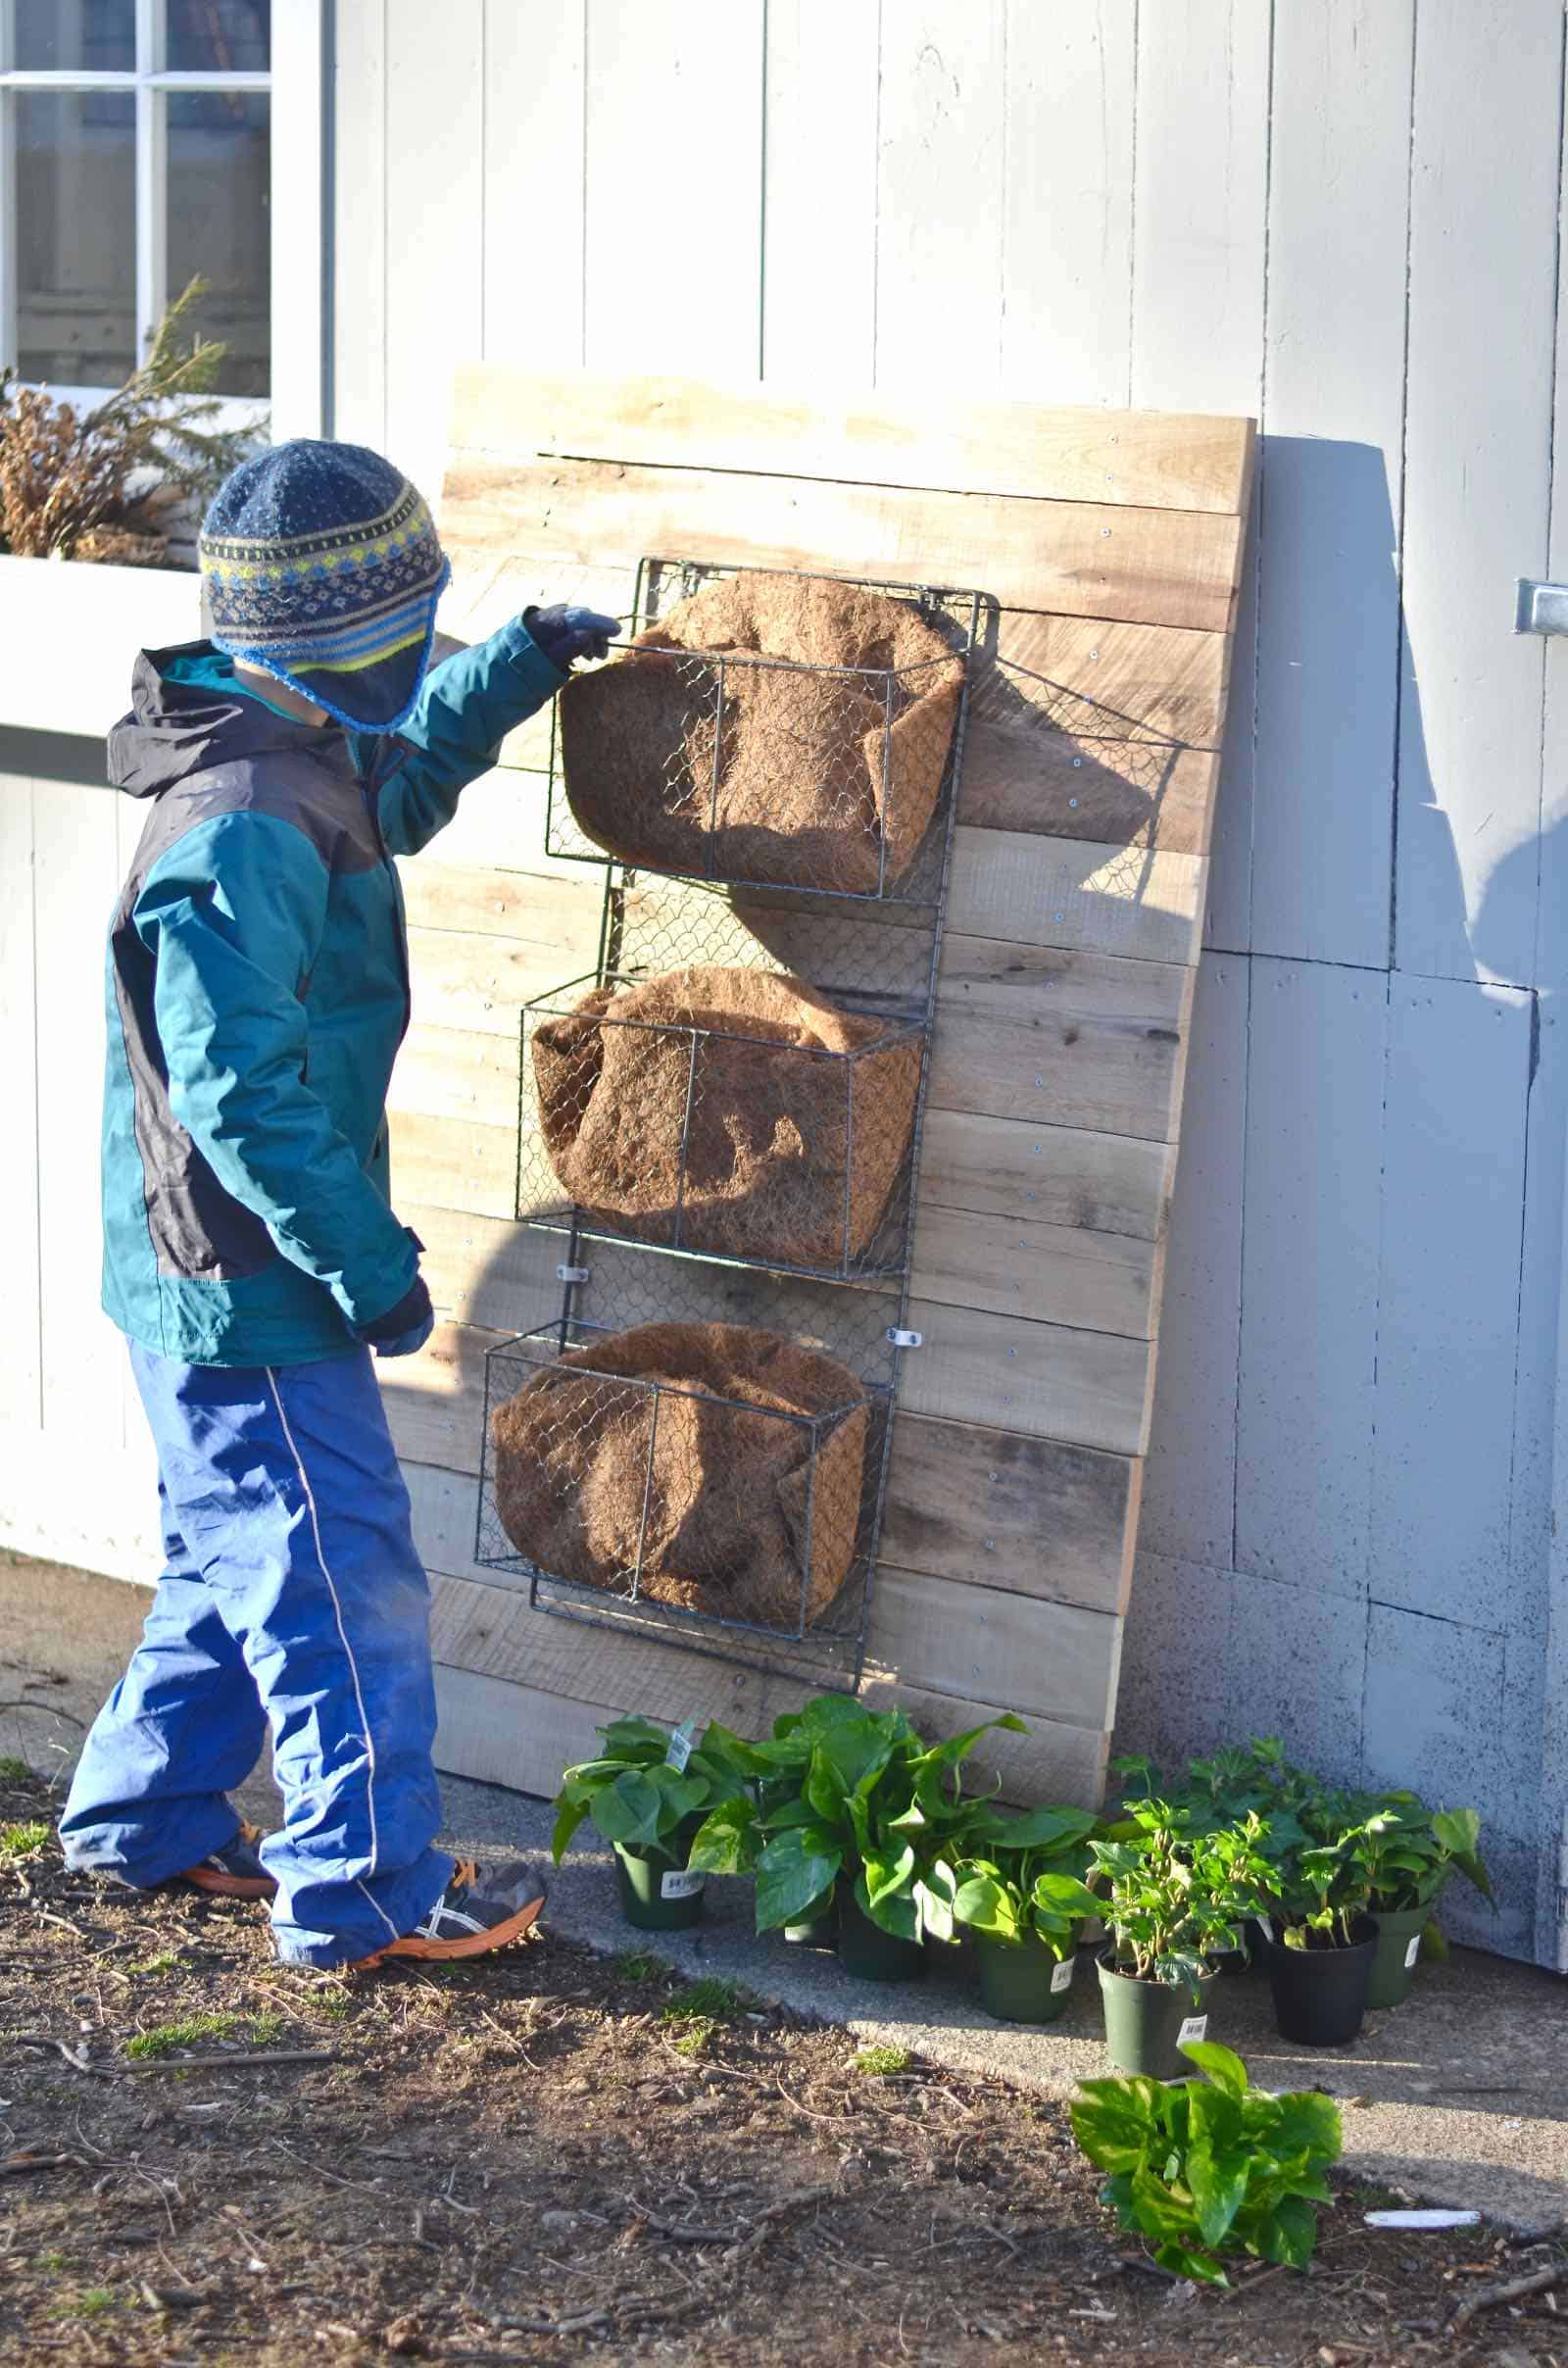
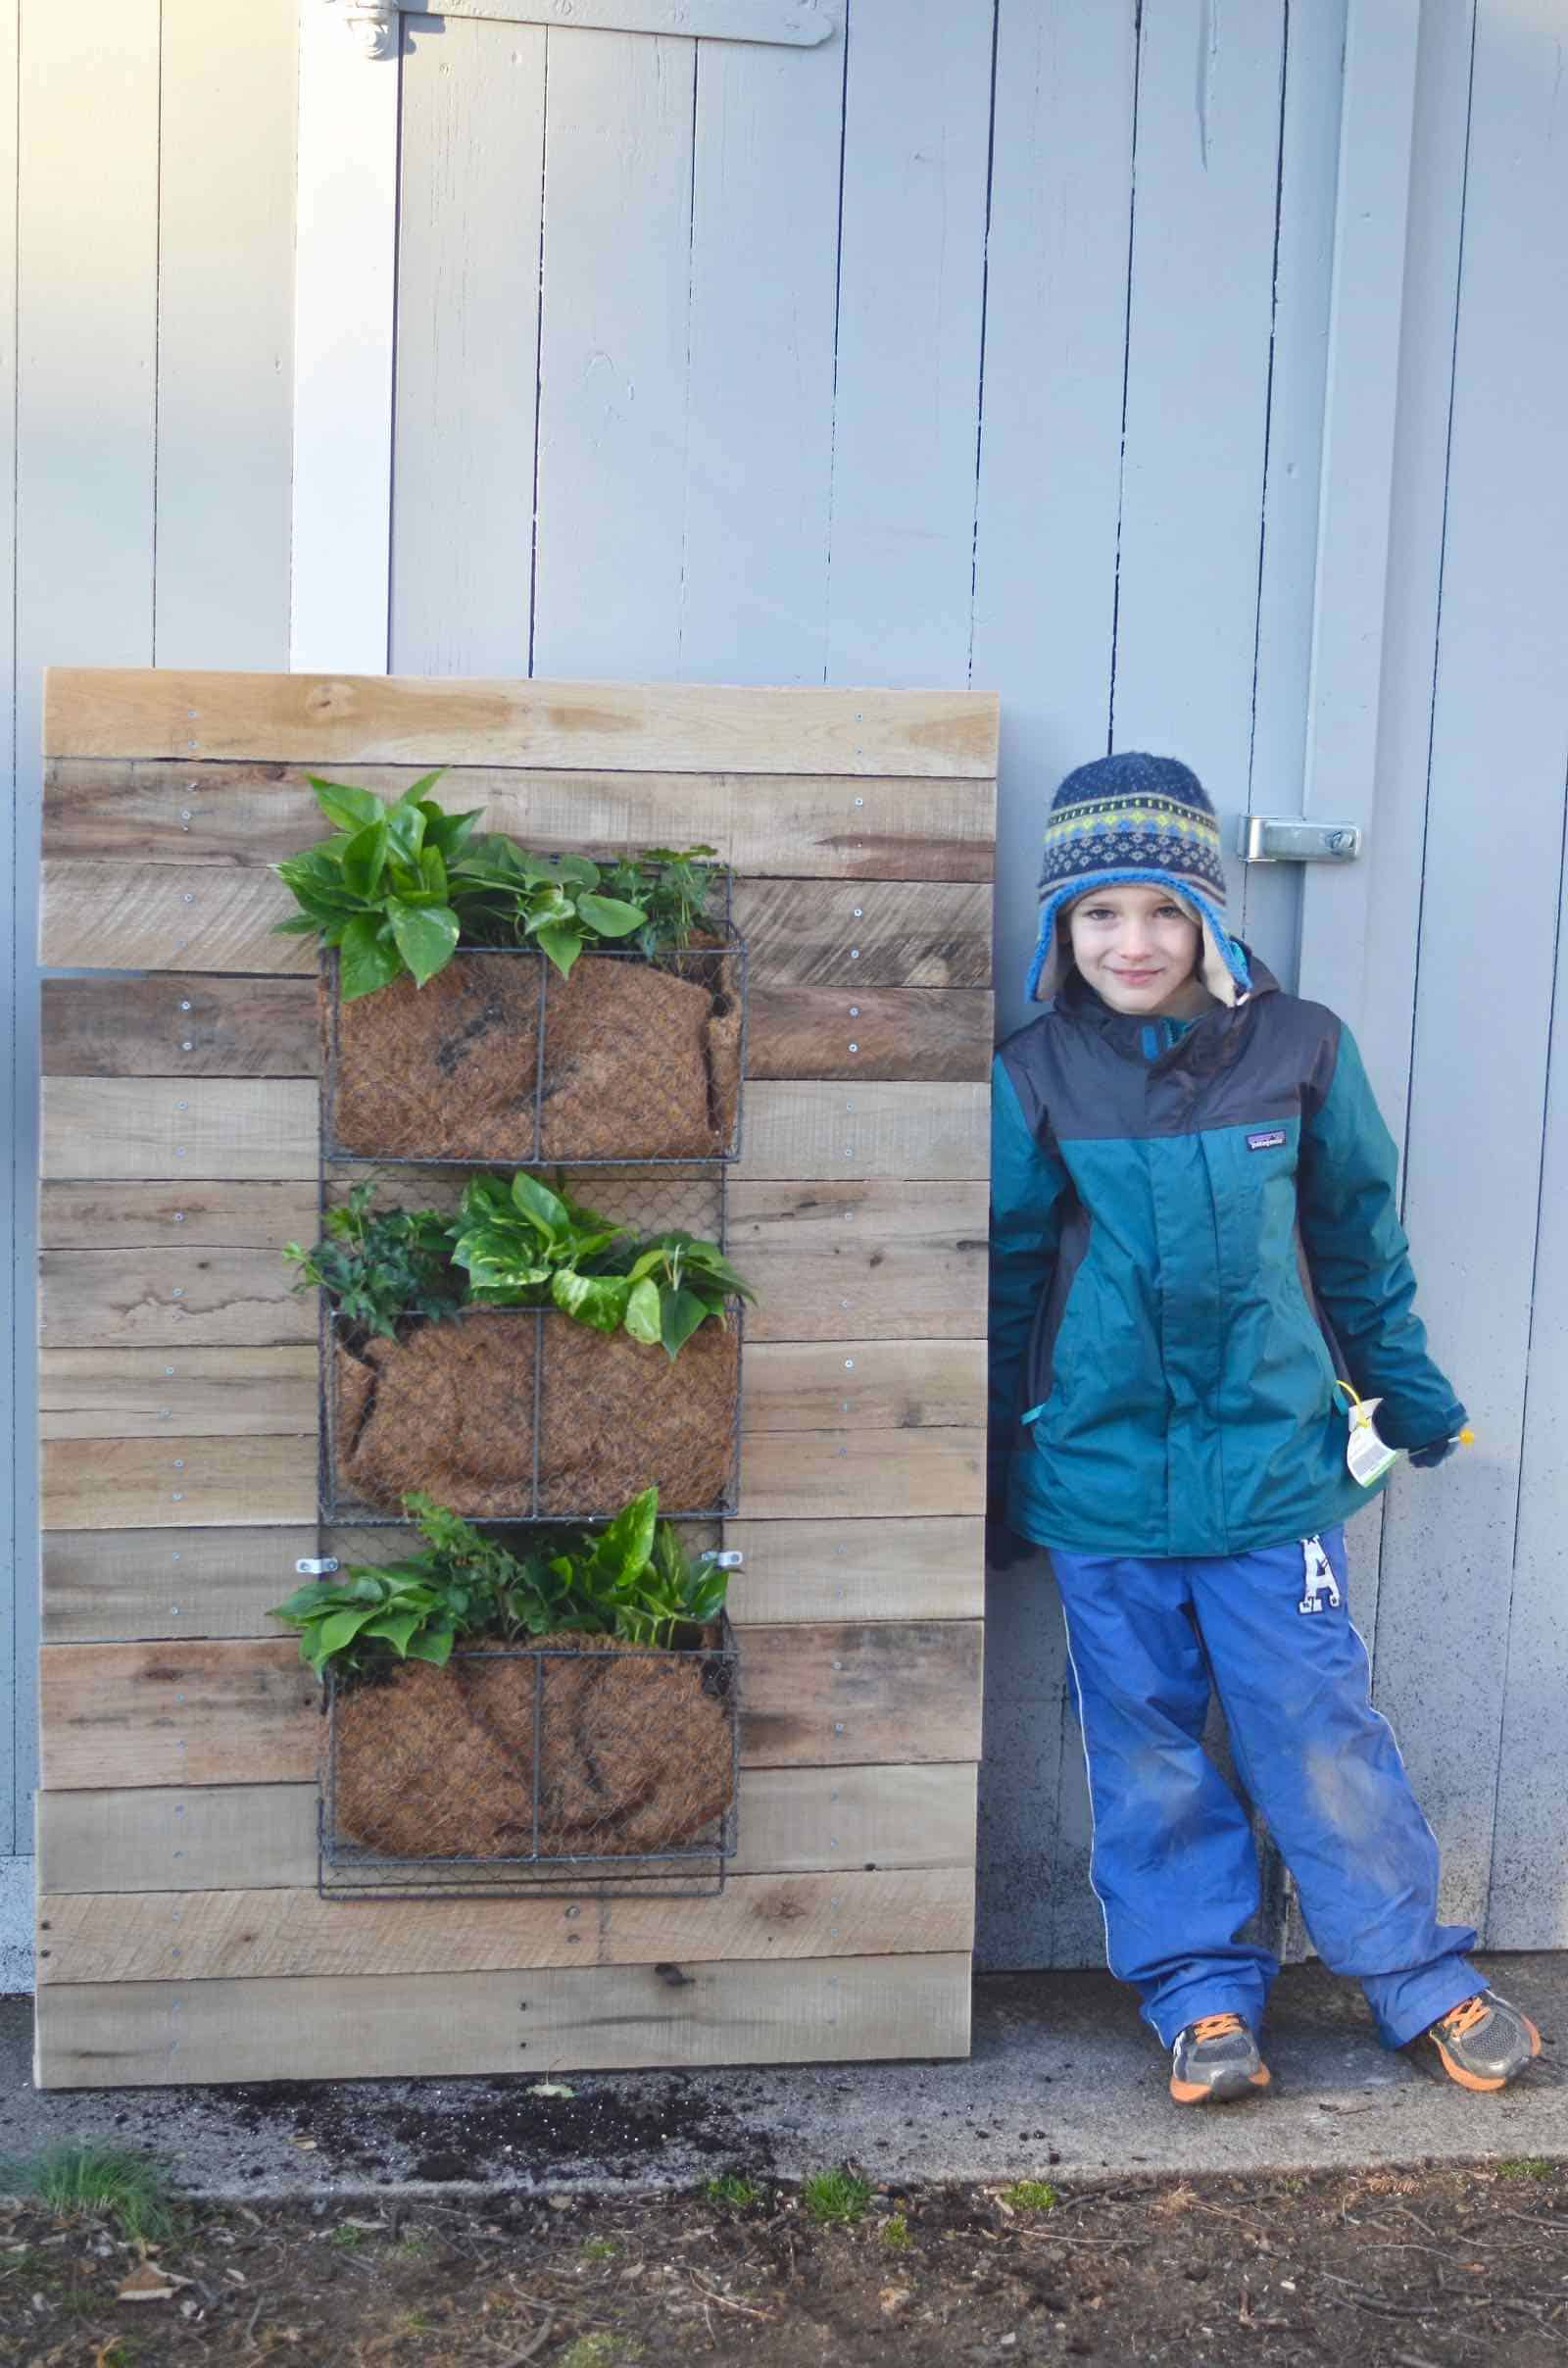
Tuck the coconut husk liners into each basket. They’re intended for round planters so you may have to fold and tuck, but jam them in any way you can. I chose small pots of plants that would grow over the edges of each basket and hang down. Update: the first round of plants didn’t make it. It was too cold outside for them so…. I had to replant.

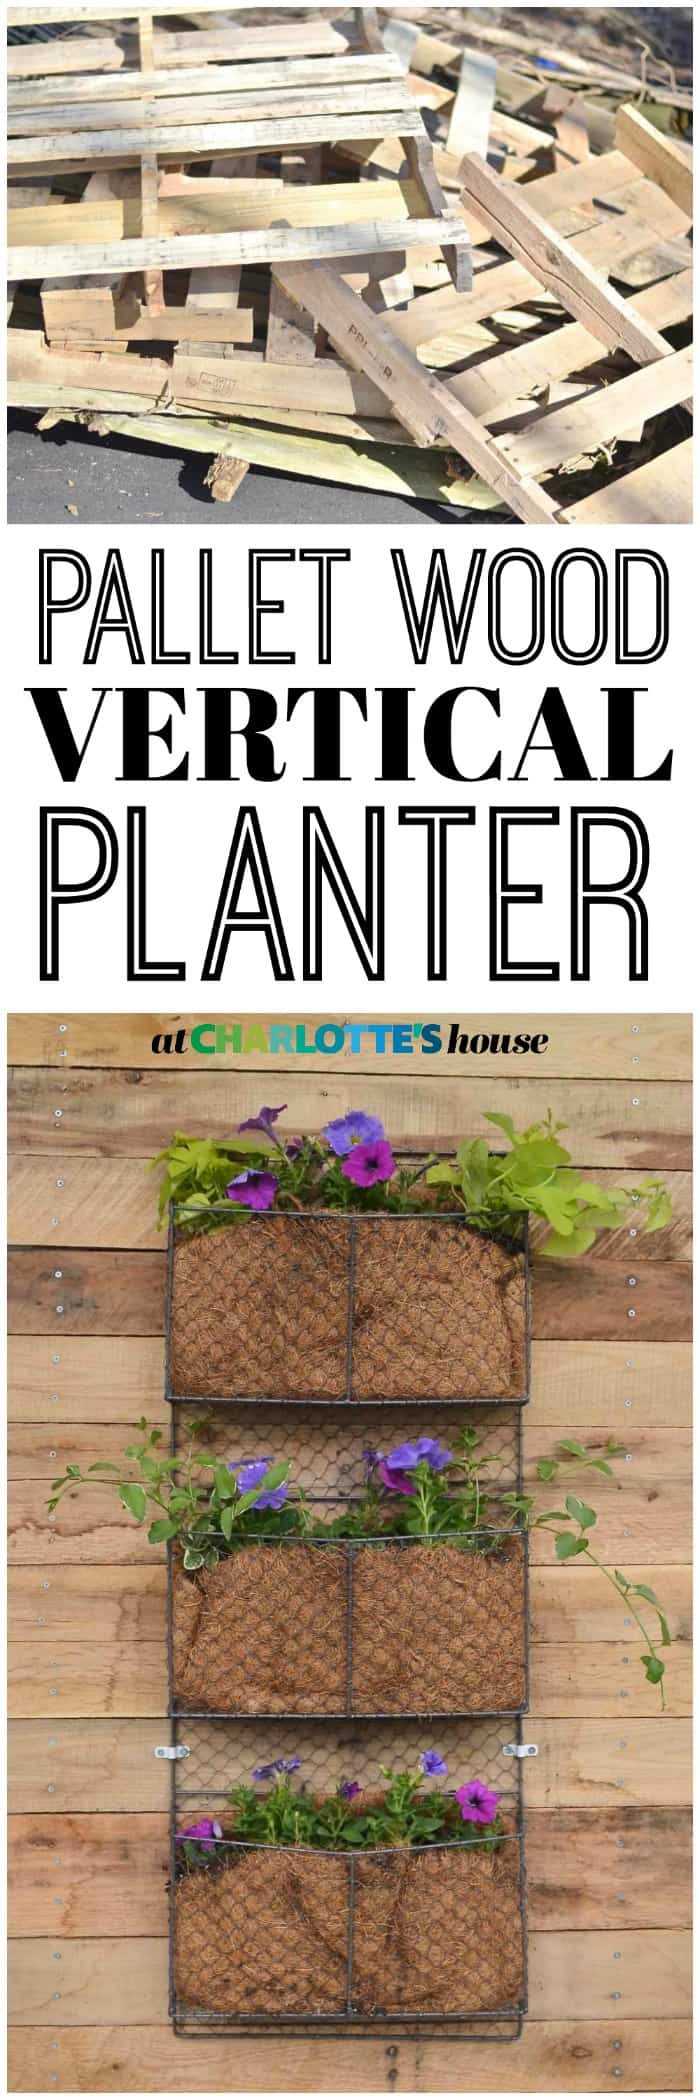


This wall planter is great
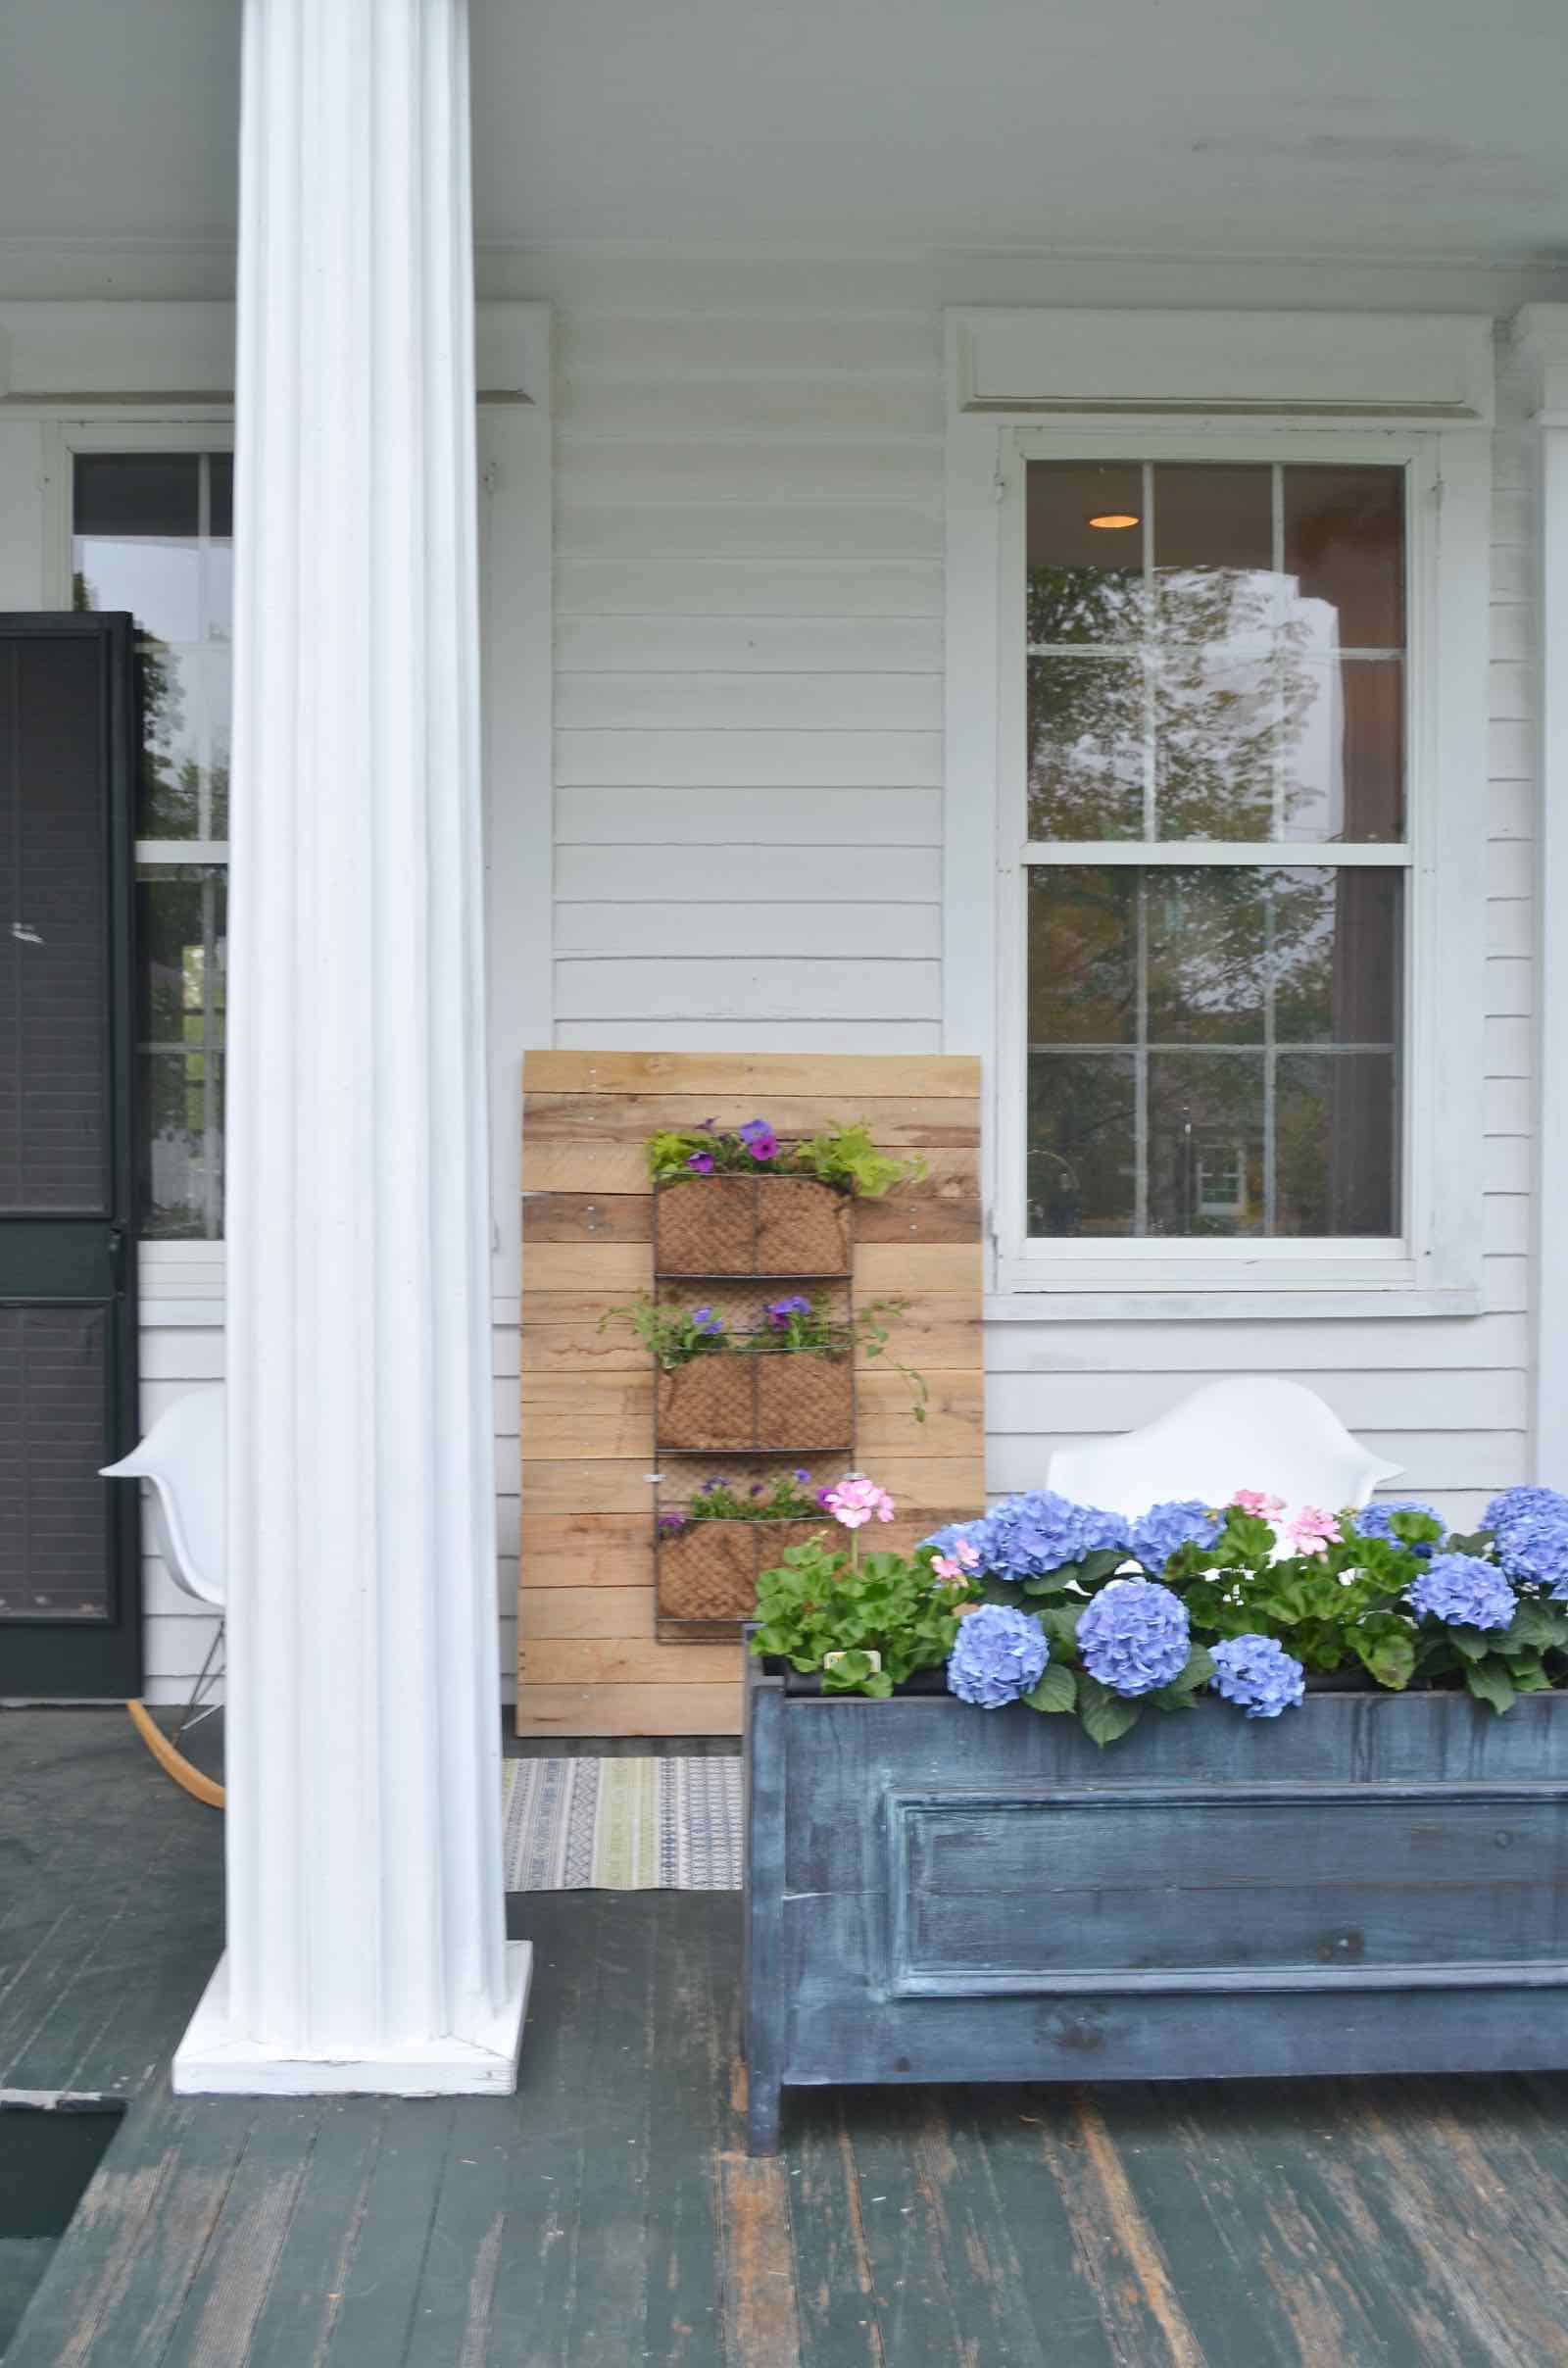
Thanks! It’s so pretty on our front porch these days!
Not sure which I Like the best. The wall HANGer or the sun fountain!! I’m doing both!!?.
Ha! Go for it! I LOVE having a fountain in our yard!