
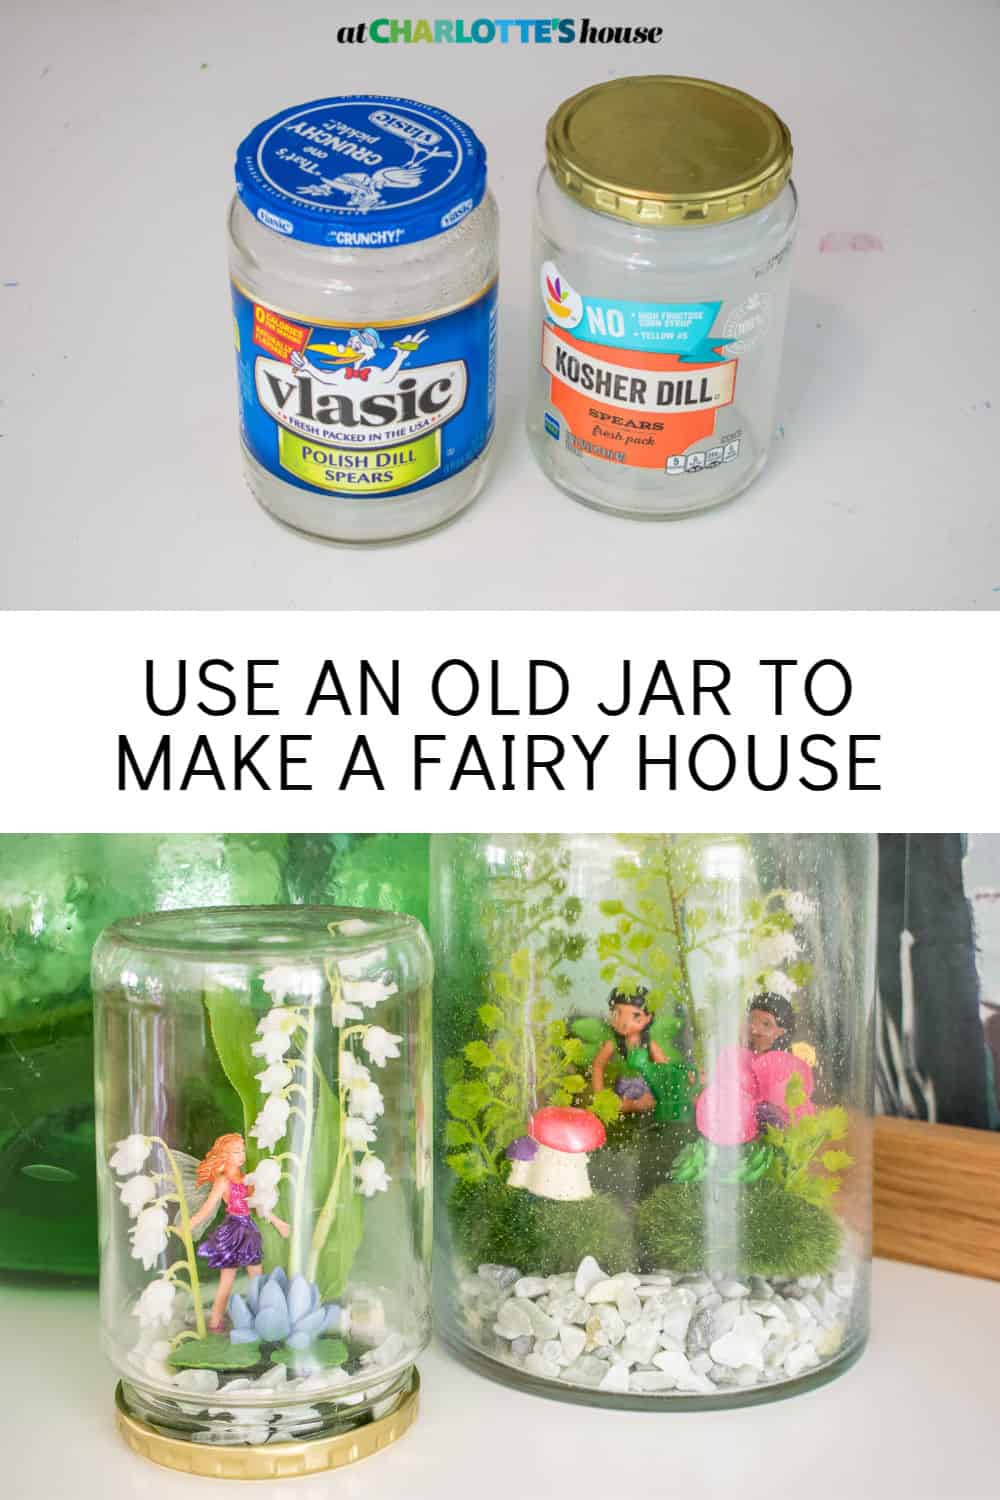
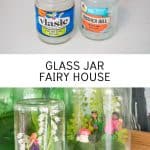
Pickle Jar Fairy House
Psssst… this post *might* contain affiliate links: see my disclosure here.
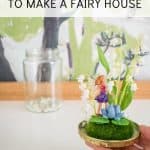
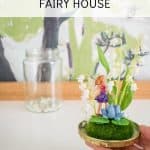
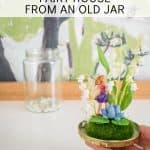
Recycled Pickle Jar Fairy Garden
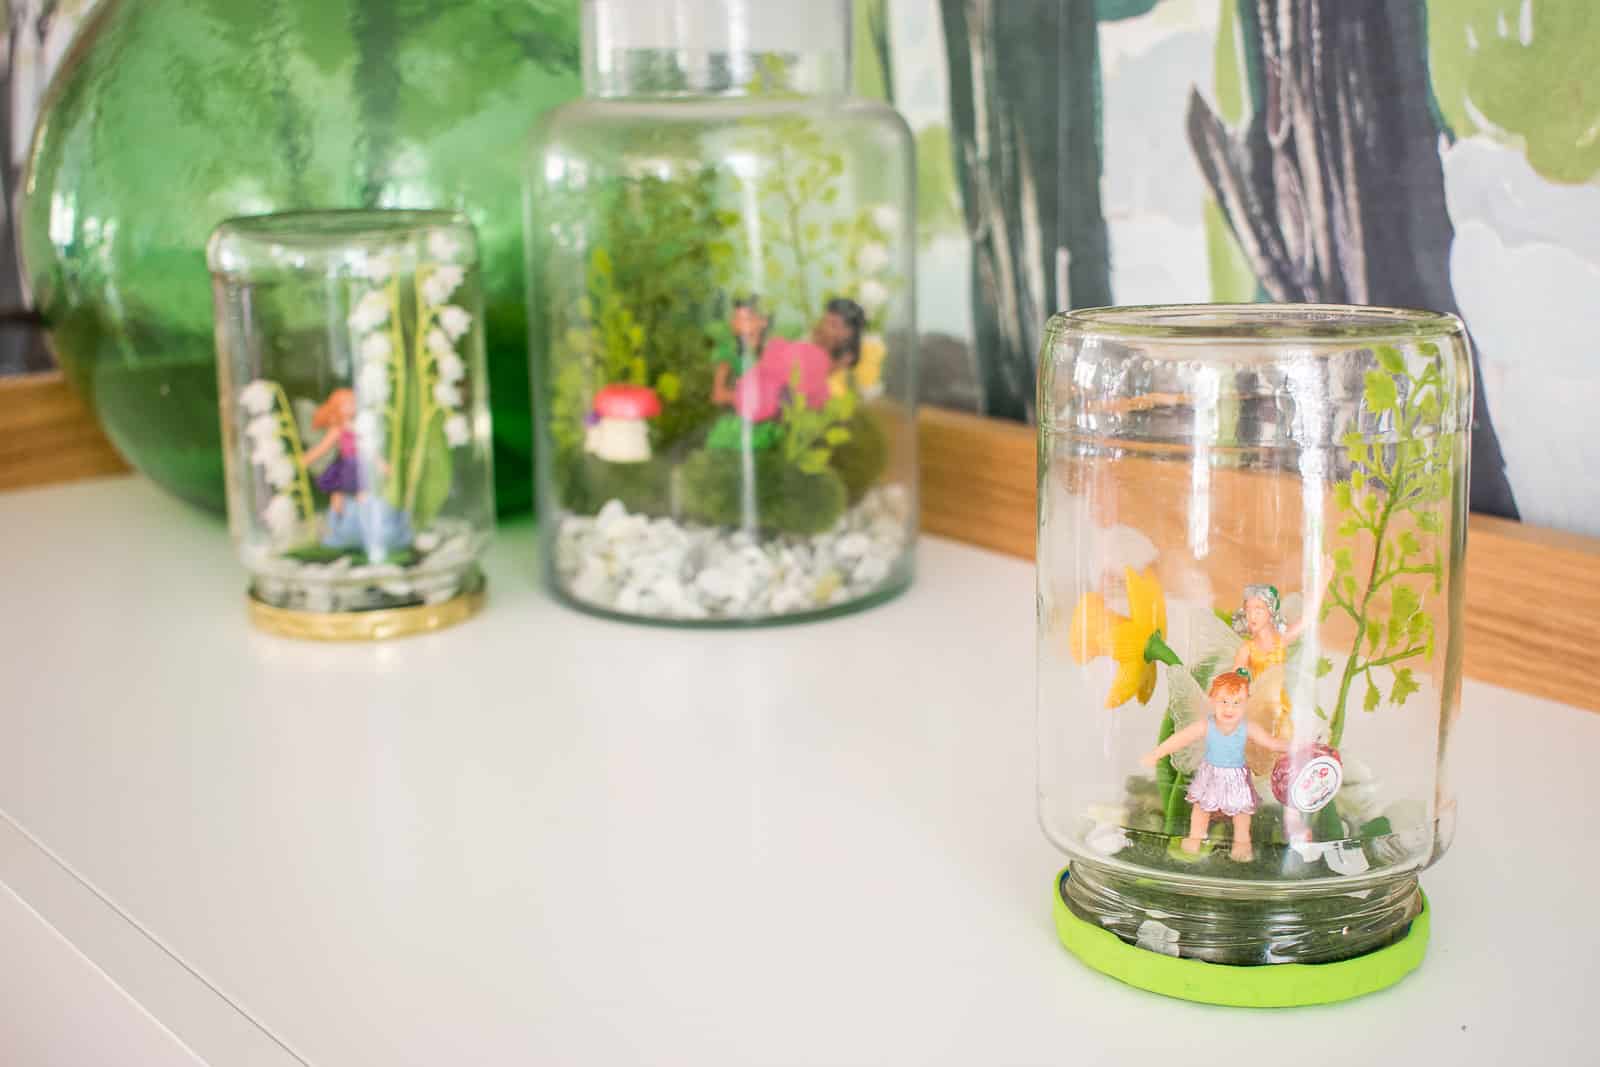
I used old jars and plastic fairy toys to make these cute fairy houses.
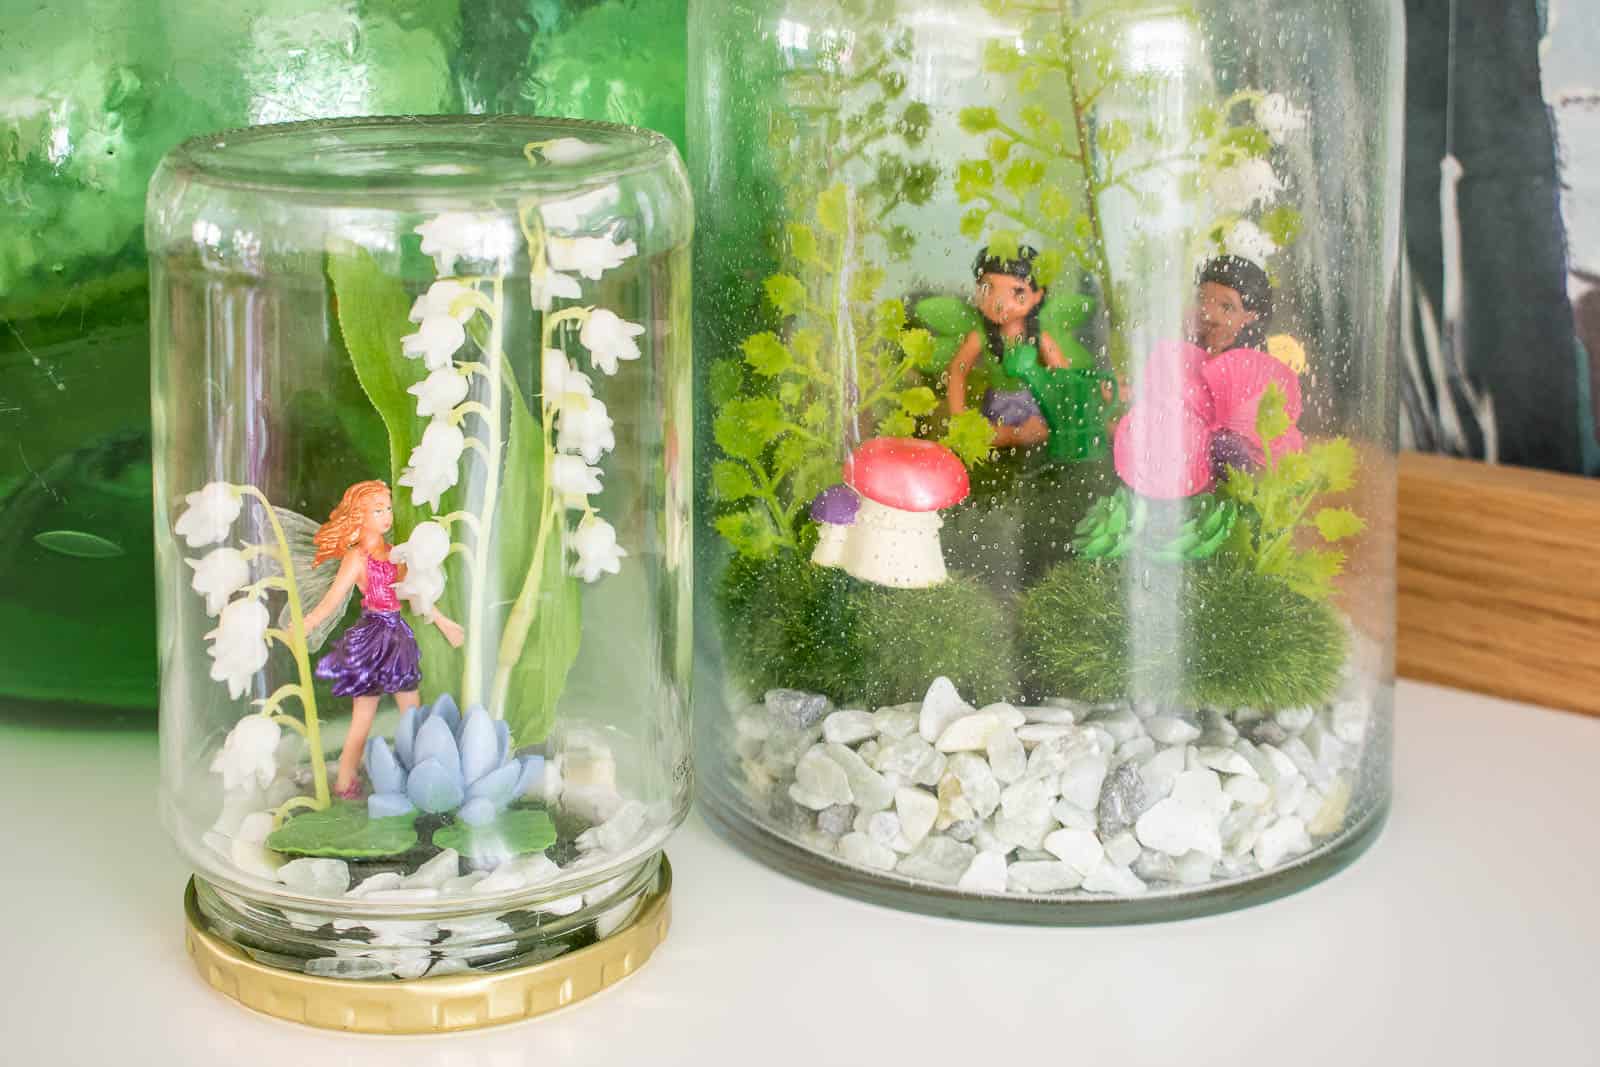
Boy oh boy do I love little fairy gardens and fairy houses so today… I’m sharing a quick and simple way to make both. At once. A fairy garden house. Made from pickle jars because… quarantine. You can make your fairy jar with anything you find around the house, but I’m using some plastic Safari, Ltd. flowers and fairies, faux flowers and then these moss covered rocks. For 15% off at Safari, feel free to use the code: Charlotte.
Shop my favorites!
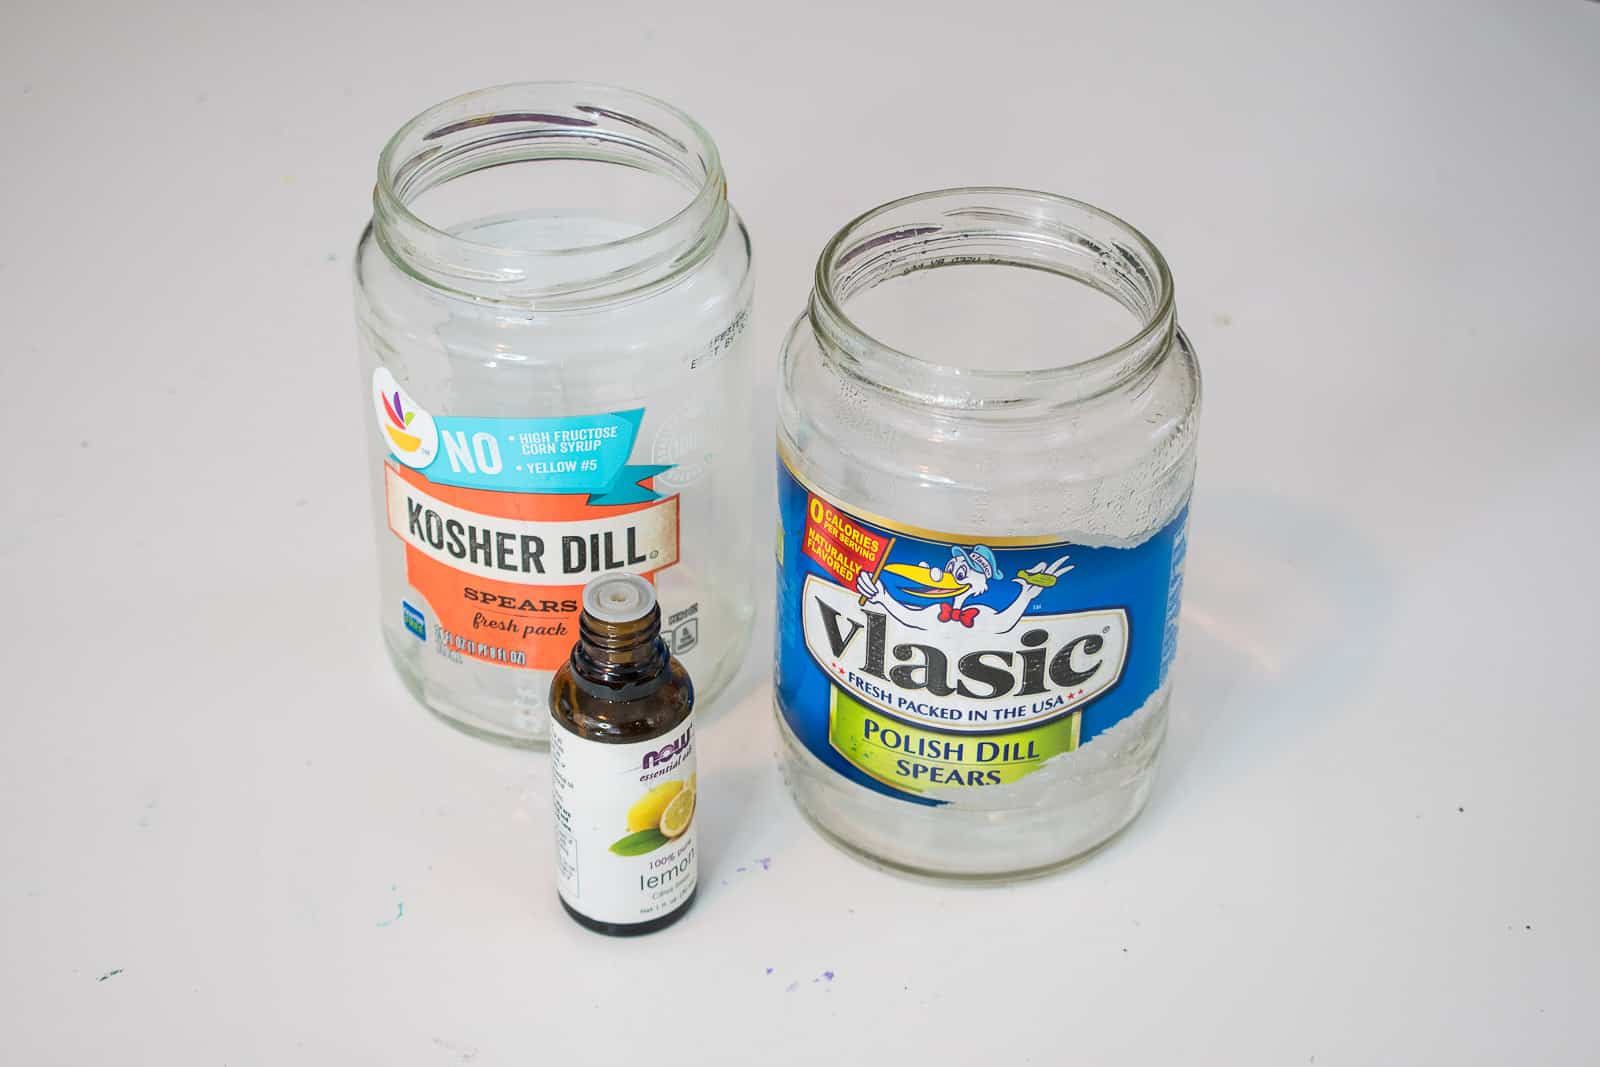
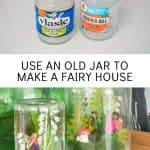
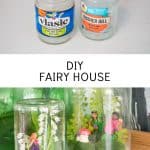
Step 1. Remove the labels on the jars
The first thing I reach for when removing adhesive labels is lemon essential oil. I cover the sticker with the oil and let it sit for a few minutes. Usually the sticker will peel right off. If this doesn’t work, then soaking the jar in boiling water should do the trick.
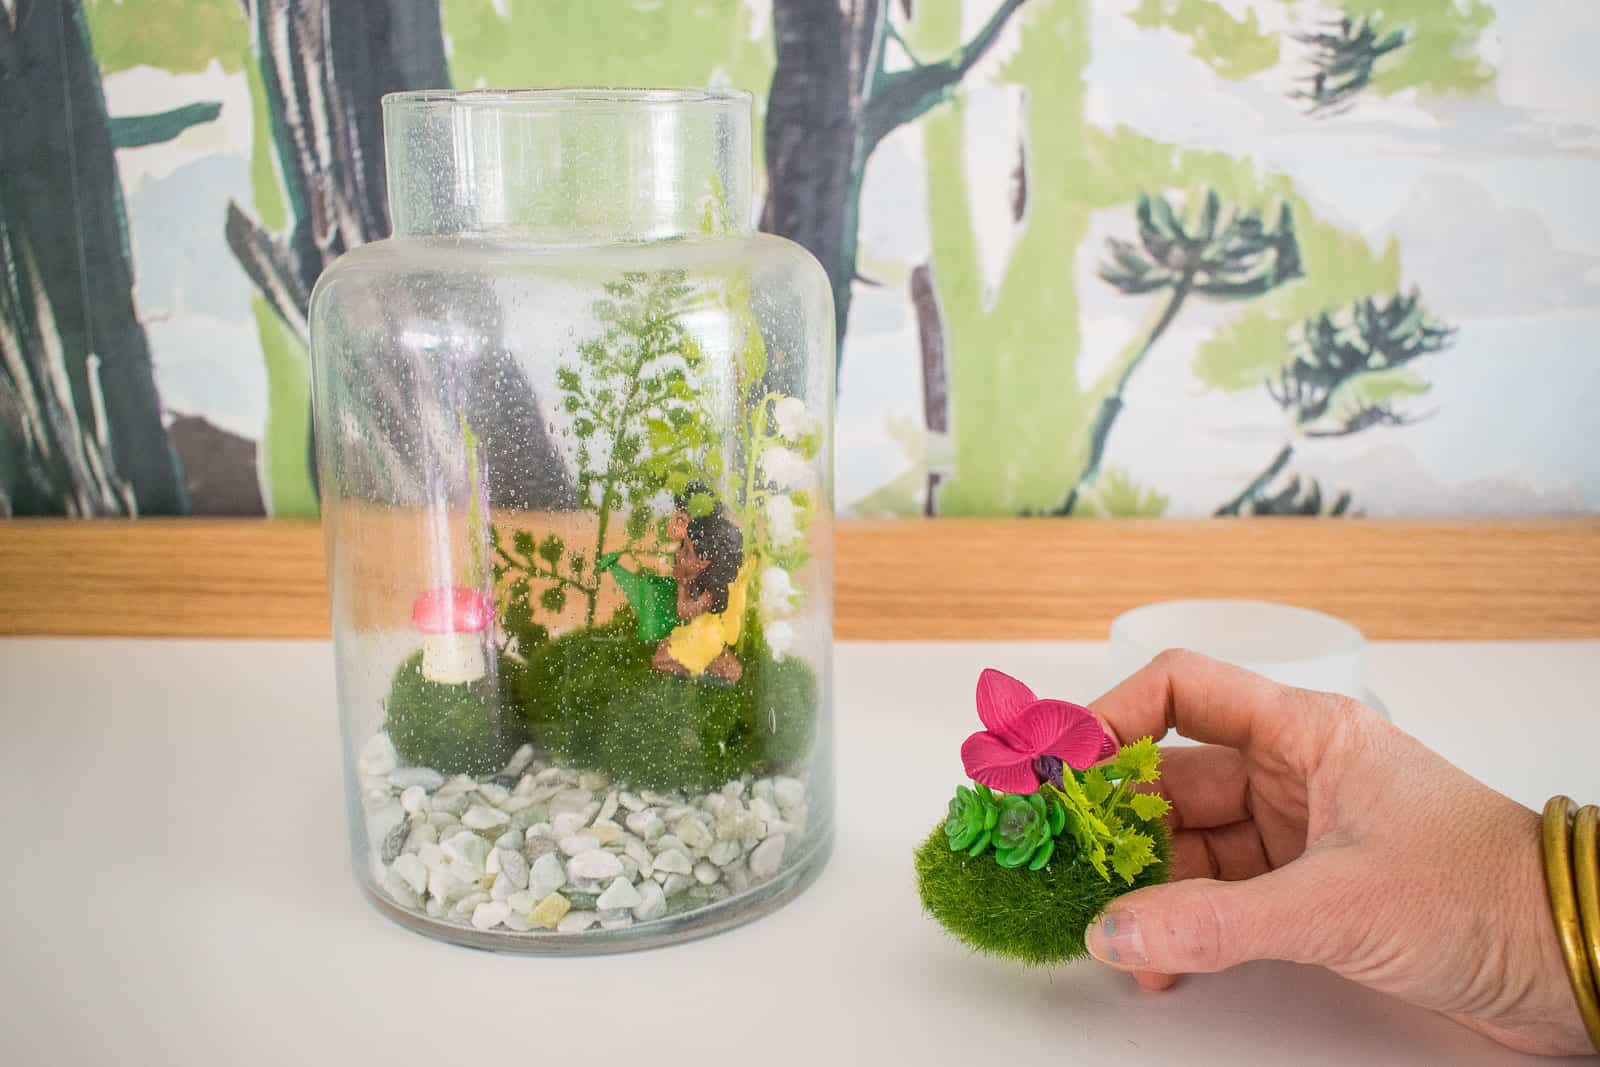
Step 2. Find a base for your figures
I had these faux moss covered stones in my stash, but real stones or clay would totally work. You need something that will fit inside the lid of the jar.

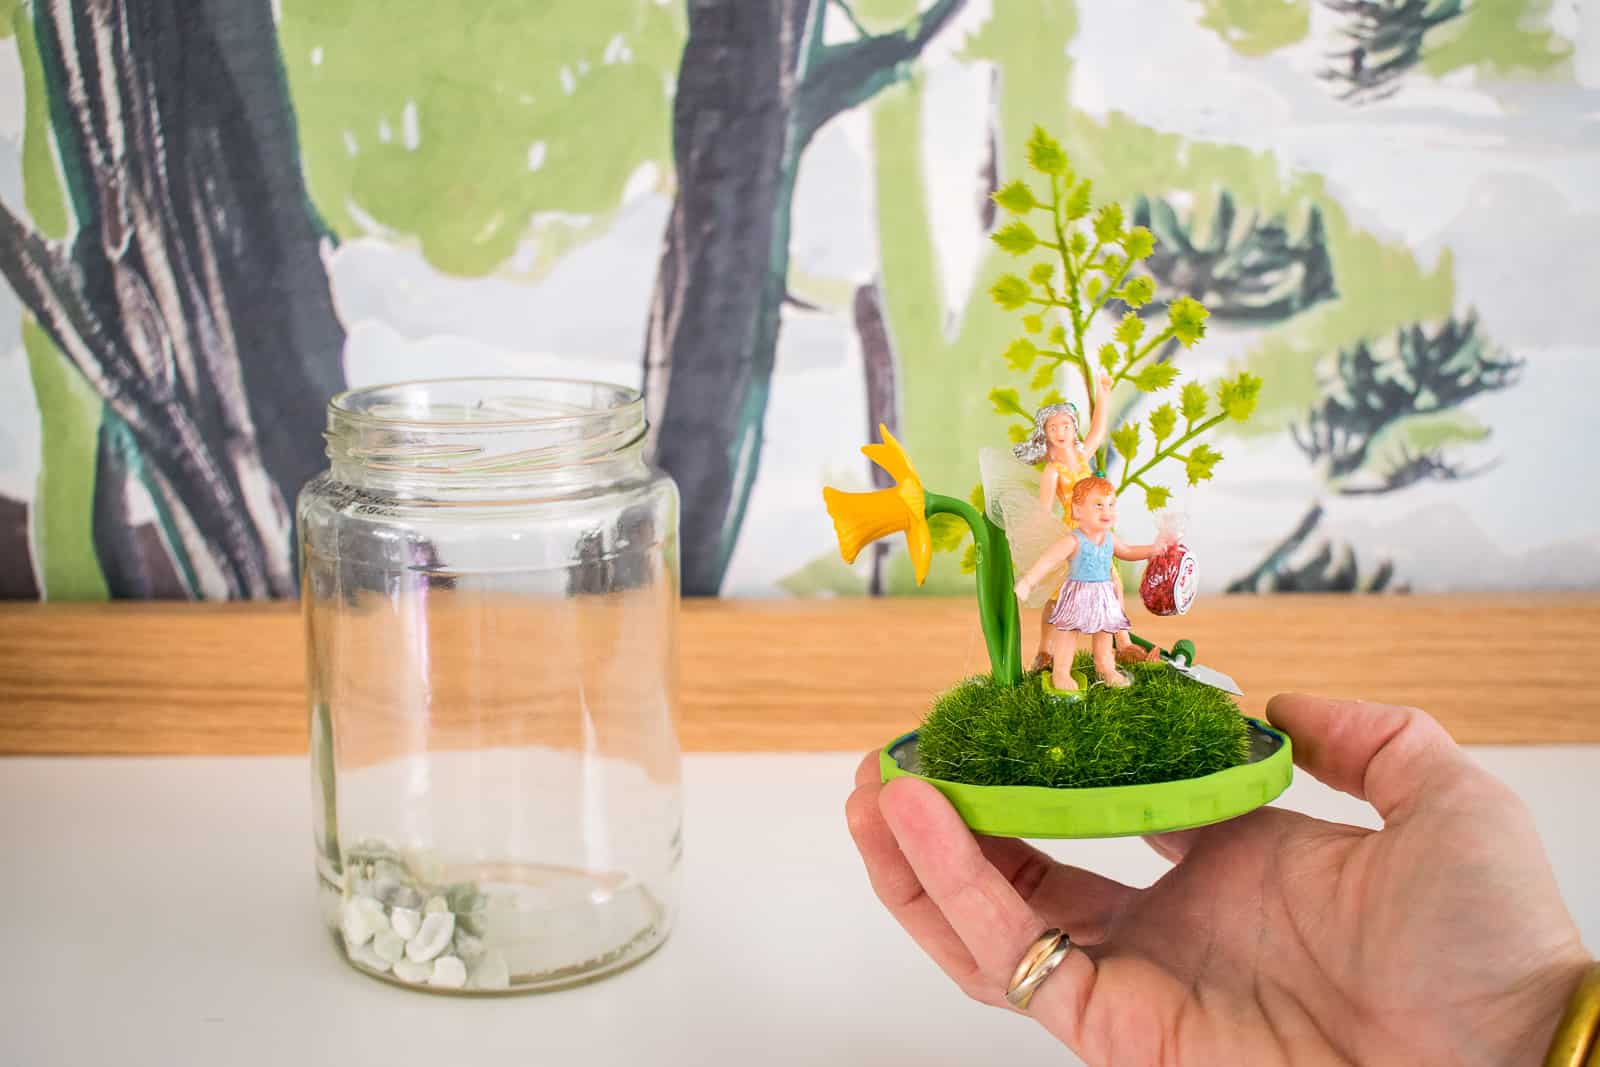
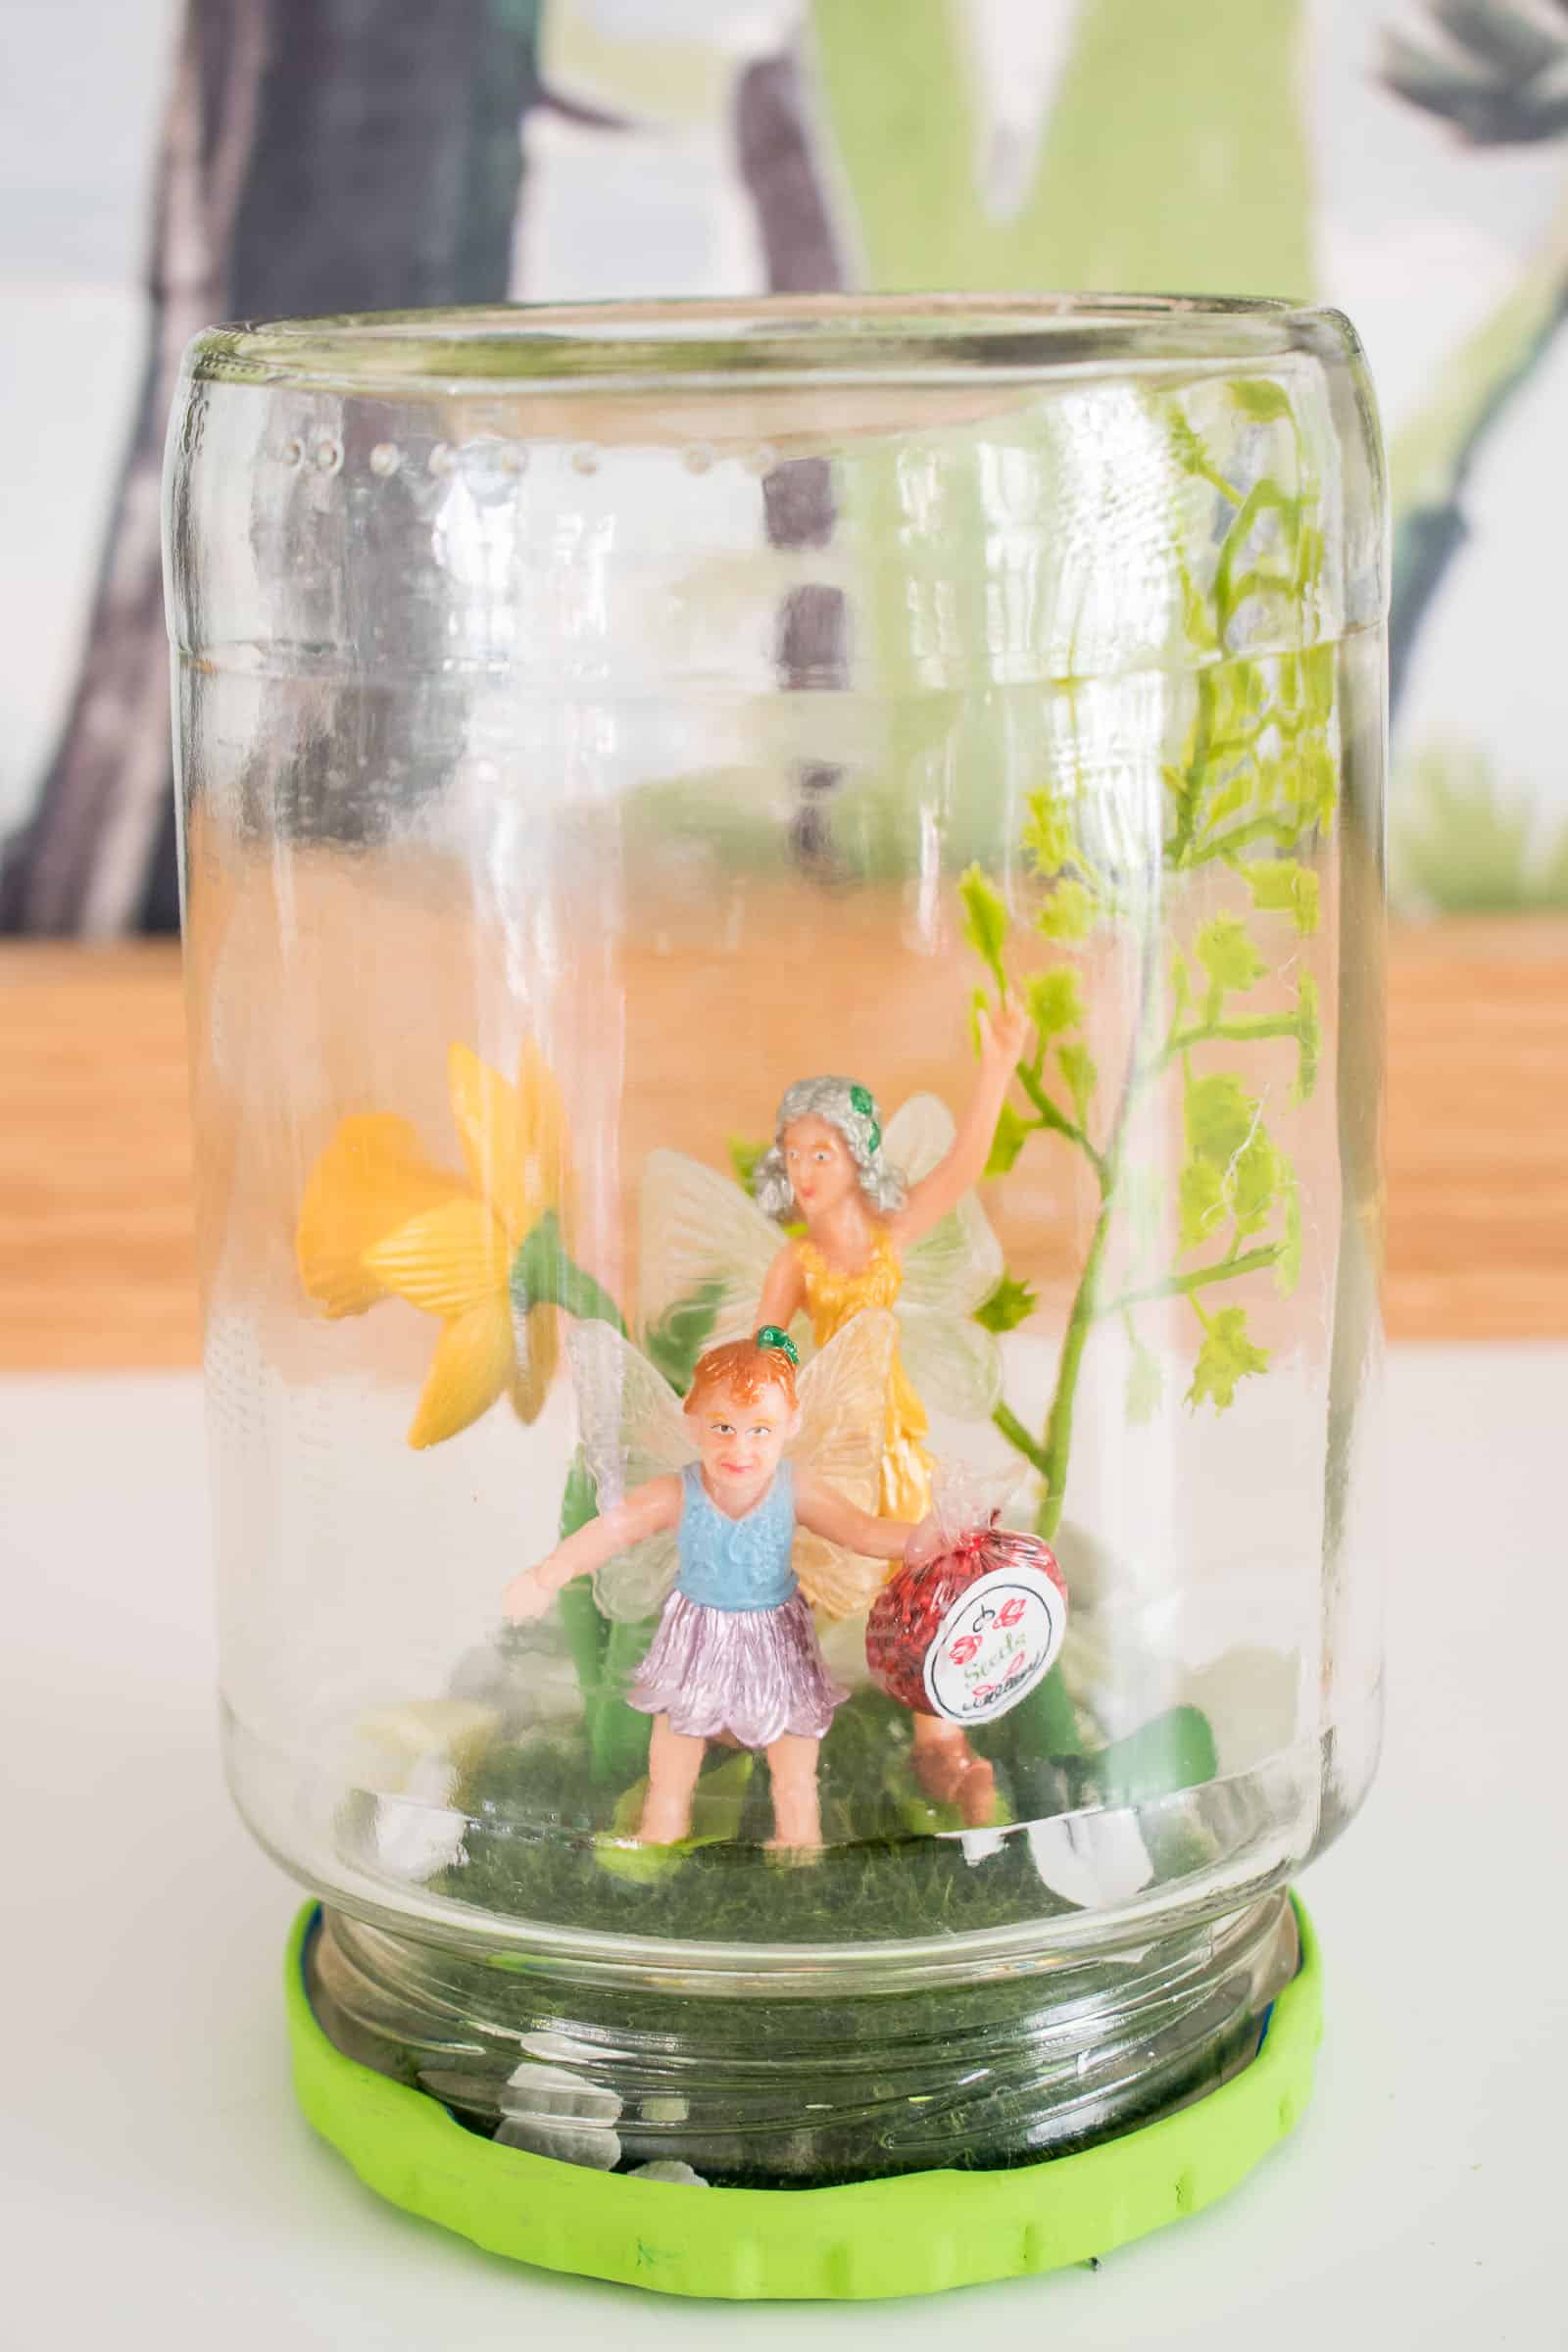
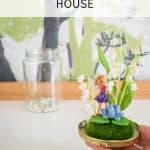
Step 3. Glue the fairies and flowers in place
With a hot glue gun, glue the fairies onto the ‘base’. My ‘mossy’ rocks are styrofoam so I poked a hold in the foam and stuck the faux flowers in place. I had some small little dollhouse accessories, so I also glued a mini watering can and other small details onto my base.
Step 4. Glue base onto the jar lid
My base was the moss covered rock, but whatever you’re using needs to be glued to the inside of the lid with a hot glue gun or craft glue. Again… be careful once you’ve glued the base, make sure the lid can still screw onto the jar.
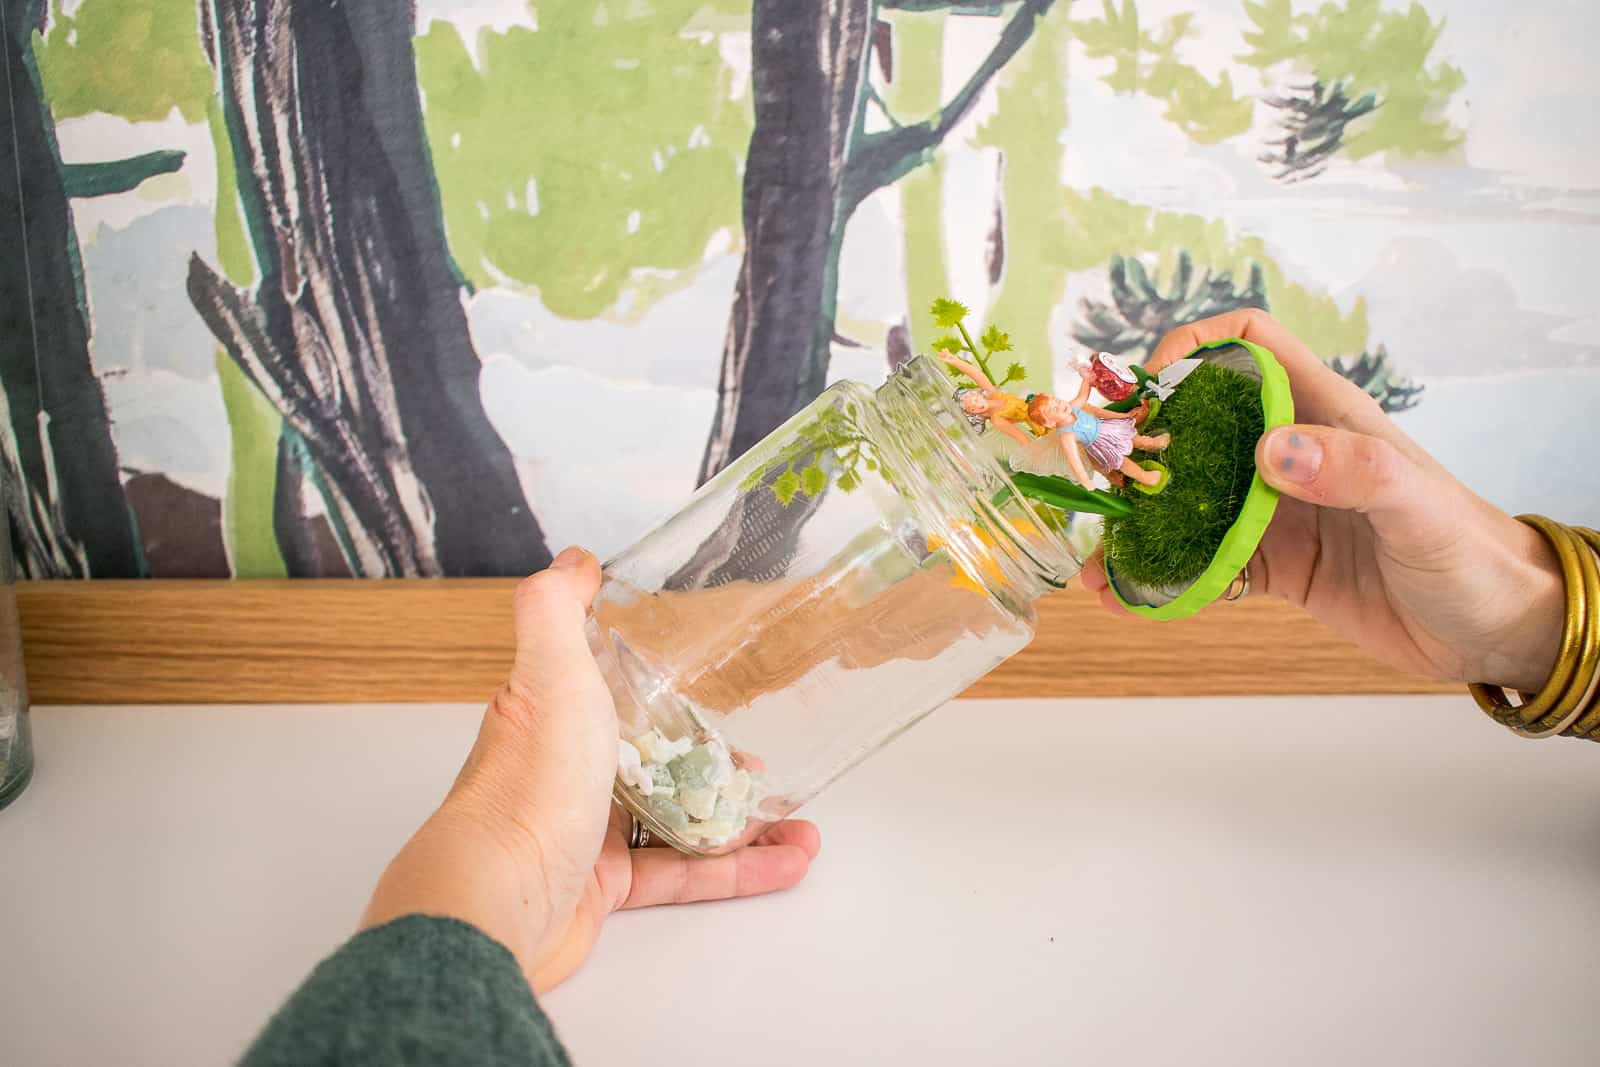
Step 5. Optional: add gravel or other embellishments
My mossy rock was a slightly narrower than the lid, so I added a small handful of gravel to cover the excess space once the lid had been screwed in place. You could add sand or glitter or sequins… or nothing at all. Screw your lid in place and… your fairy garden is complete!


ummmm holy hell i love these dinky jars so much! what a cute way to upcycle old jars – you could even put real plants in them and have fairy garden terrariums xxx
mia // https://beautiful-inspiring-creative-life.com
Yes! I love terrariums and these would be perfect for that!