
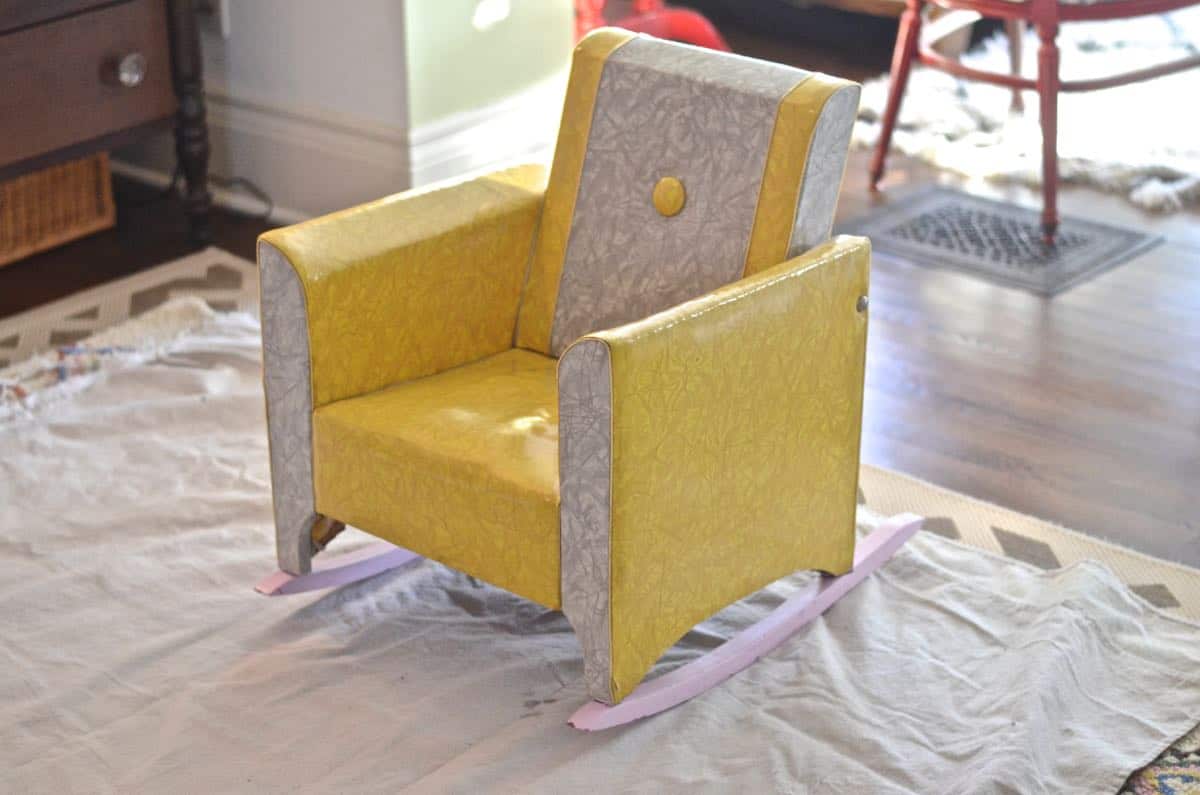
Reupholstered Kids Rocker
Psssst… this post *might* contain affiliate links: see my disclosure here.
Upholstery is hard, y’all. One of my goals for 2015 was to crack the upholstery code a bit, and today’s my first attempt. (I didn’t sew an inch of piping, so I’m still being a little pipe-ist in that regard… but one thing at a time.) I was reading my friend Jen’s blog for her wisdom on upholstery and she posted about the identical kids’ rocking chair to one I’ve had sitting in the basement for, oh… 8 months? So… upholstered rocker coming up.
Something about reading someone else’s post about a project makes it seem so easy and… do-able. So, I came. I saw. I upholstered. Upholstery is a tricky thing to give step-by-step instructions to because a lot depends on how you want the finished piece to look and what the actual piece of furniture is like! I made a few choices on this that I wouldn’t make on a grown up chair because, well… it’s for the kids so let’s be honest…they could care less. Bear with me and I’ll try to makes sense of this little chair in case if gives you some tips or ideas. Or something.
Shop my favorites!
How to Reupholster a Kids Rocking Chair
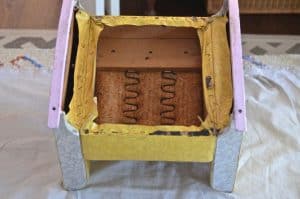
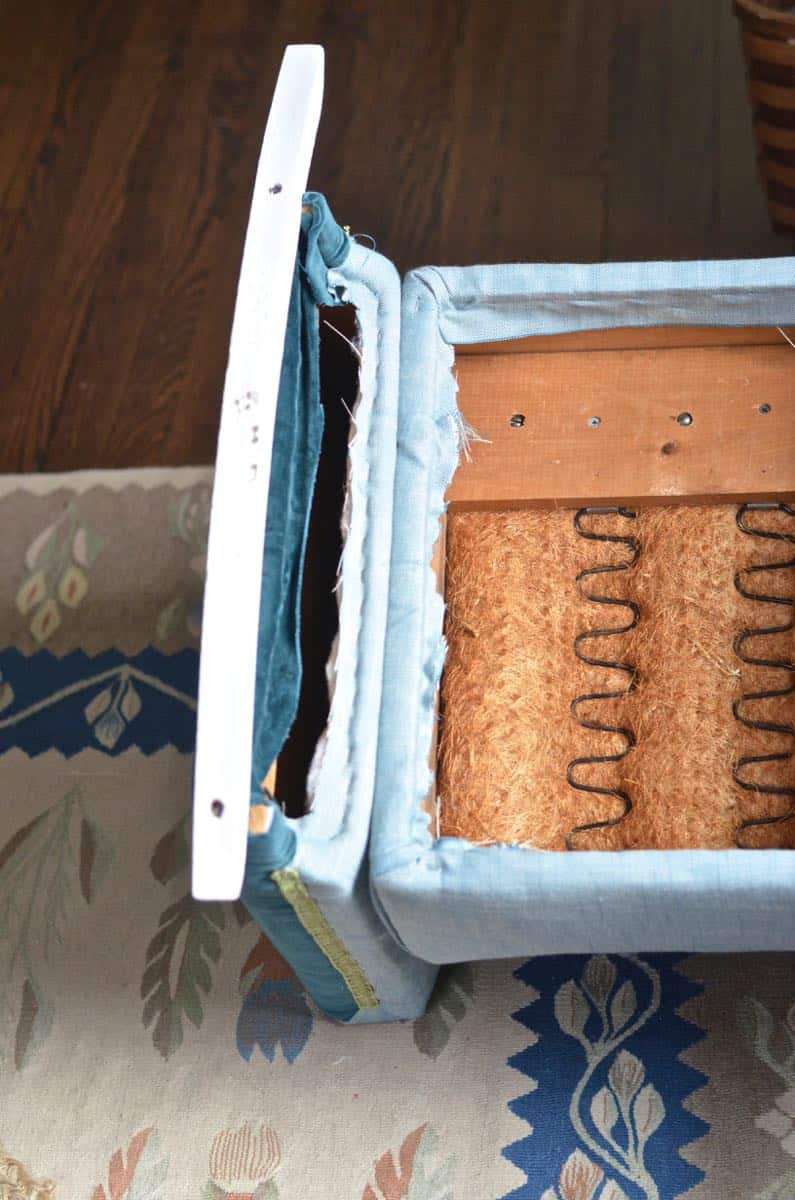
The first step with EVERY upholstery project is to take off the old nasty fabric. For this little rocker, it also meant taking apart the actual piece of furniture. I made sure to take pictures of it from all angles so I knew which way to put it back together. (Note: I still didn’t take enough and I ended up having to wing it with a few pieces at the very end.)
Jen suggested this tool![]() (affiliate link) and I wholeheartedly agree… I’ve used a flat head screw driver, and this was way easier. I like to get out all the original staples so I have a clean slate for the new fabric, and this guy was key. Be prepared… your old fabric will be DIS. GUSTING.
(affiliate link) and I wholeheartedly agree… I’ve used a flat head screw driver, and this was way easier. I like to get out all the original staples so I have a clean slate for the new fabric, and this guy was key. Be prepared… your old fabric will be DIS. GUSTING.
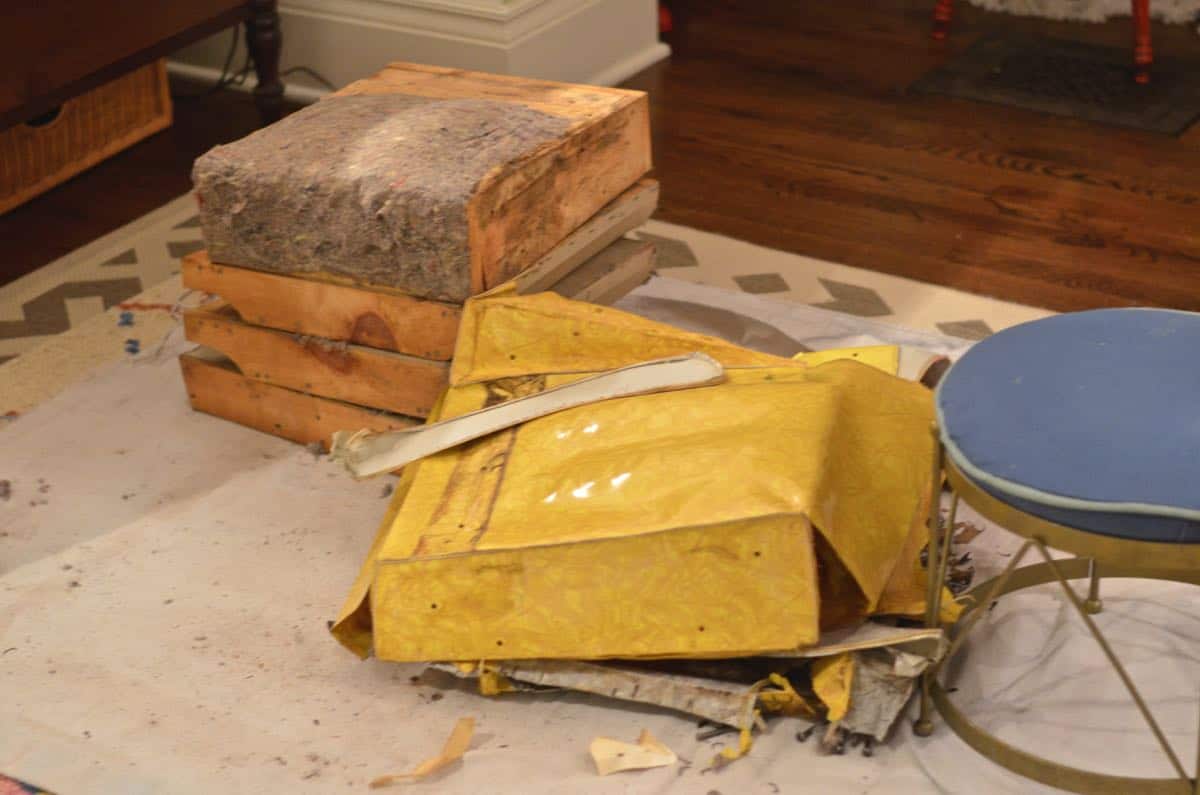
Here’s the chair without nasty fabric and moldy old batting. Arguably an improvement. This is where the ‘art’ of upholstery comes in. (And make no mistake… I am no artist…)

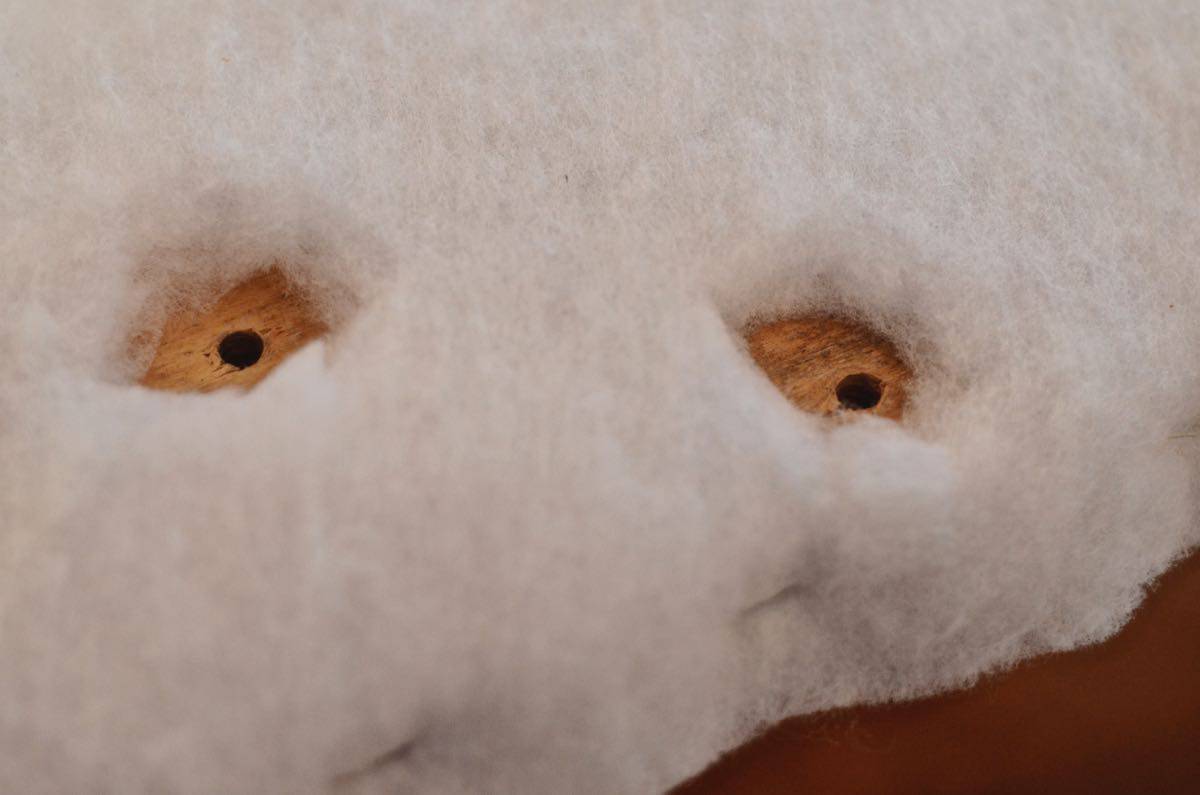
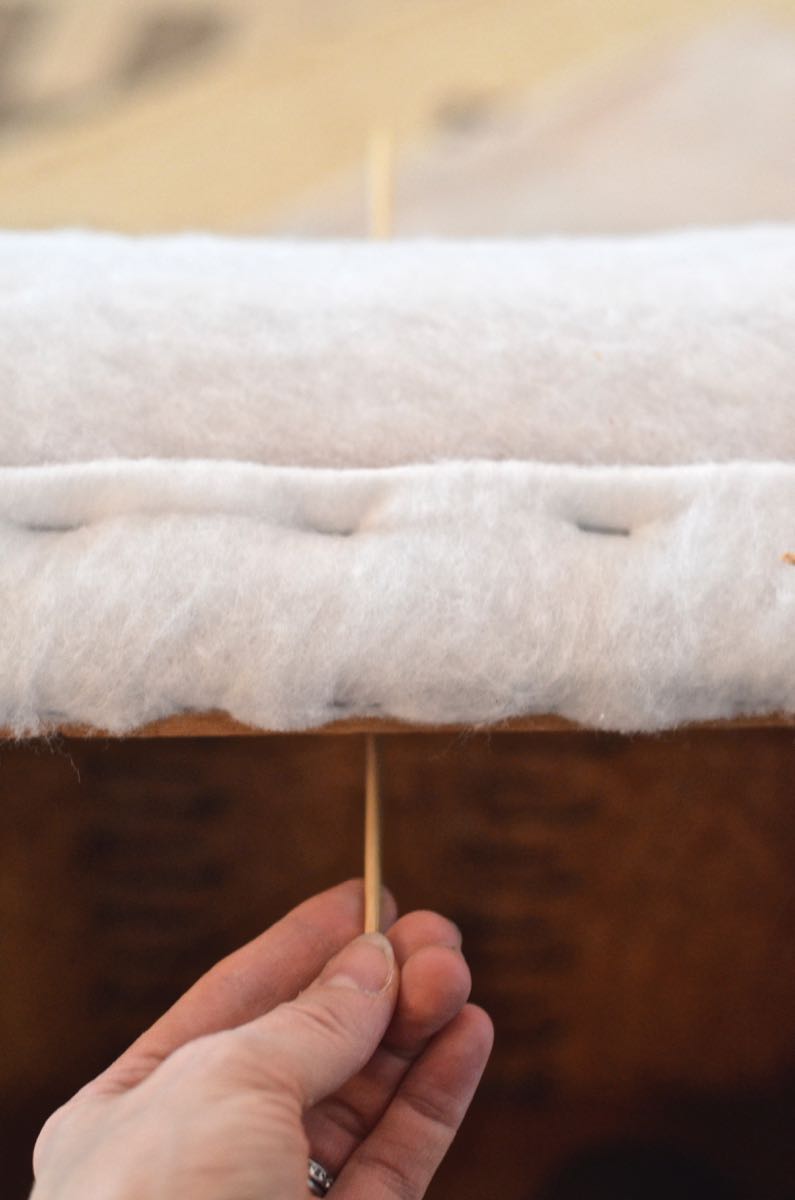
TIP: try your best to cut away batting and foam from existing nail holes. It will make it SO much easier to put your piece back together without worrying about the screws getting wrapped up in the batting and fabric. In some places, I used a bamboo skewer to mark the nail holes so I knew where to cut away.
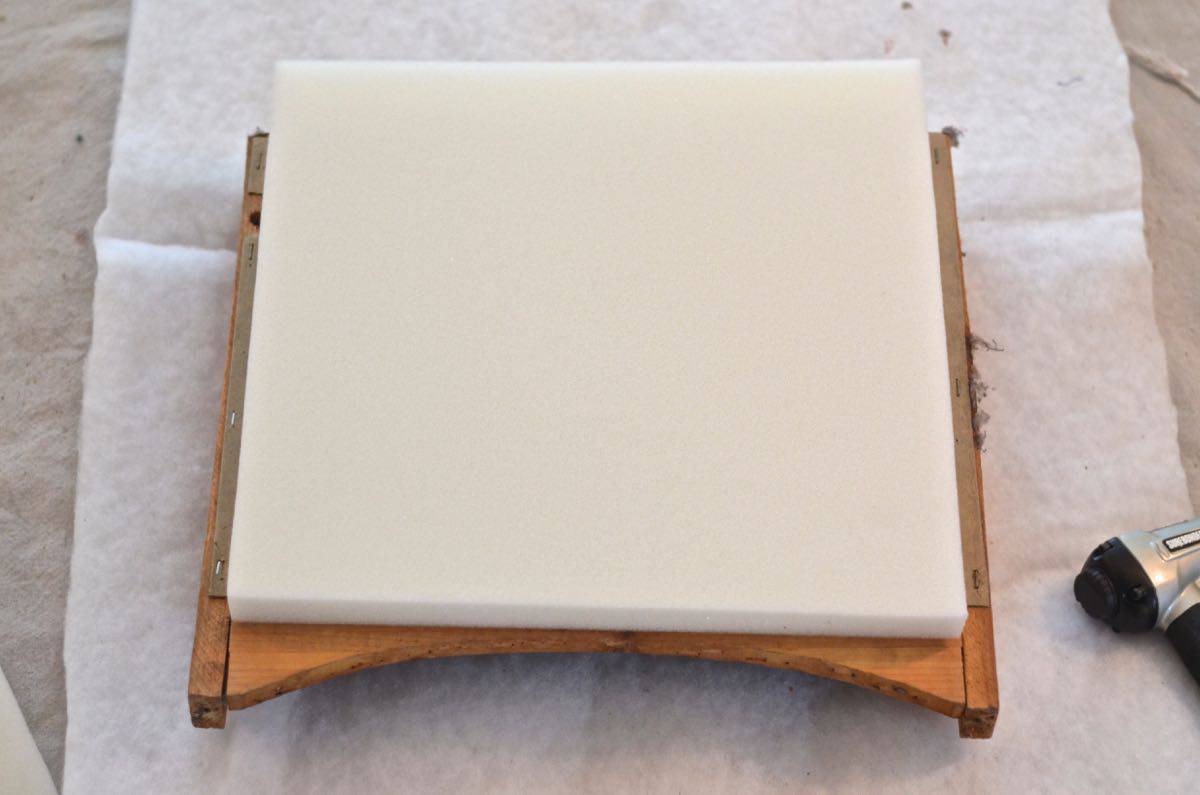
By far and away the most expensive part of any upholstery project is the foam. It can be more than $20 a yard depending on the thickness! Here’s my cheat for this. I grabbed a pack of 4 seat cushions similar to these at Walmart. For the seat, I used 2 sheets, and then for the rest of the rocker I just used one each on the front and back of the other three sides.
For this diminutive piece, I skipped things like tack strips and the sewing machine. For the seat, I was able to wrap the fabric around, pulling it as tight as possible and I stapled underneath. One piece down.
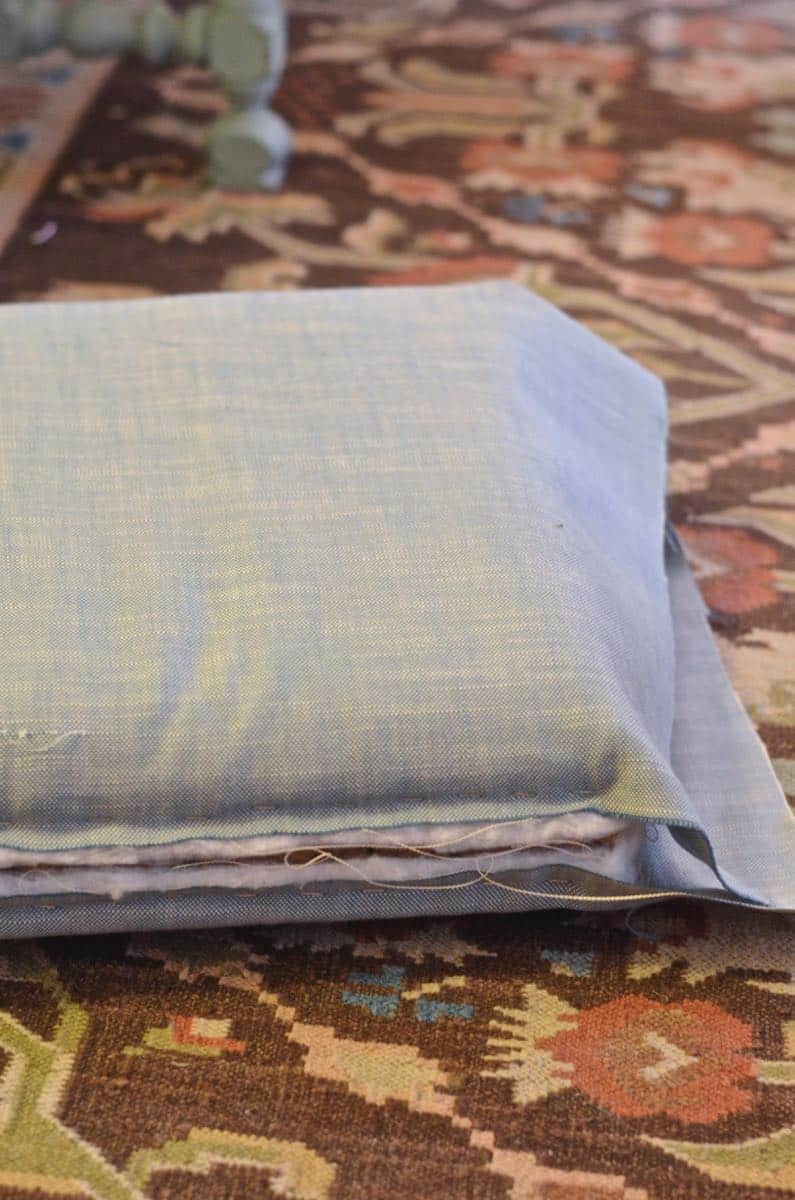
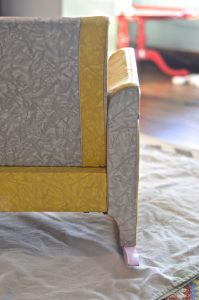
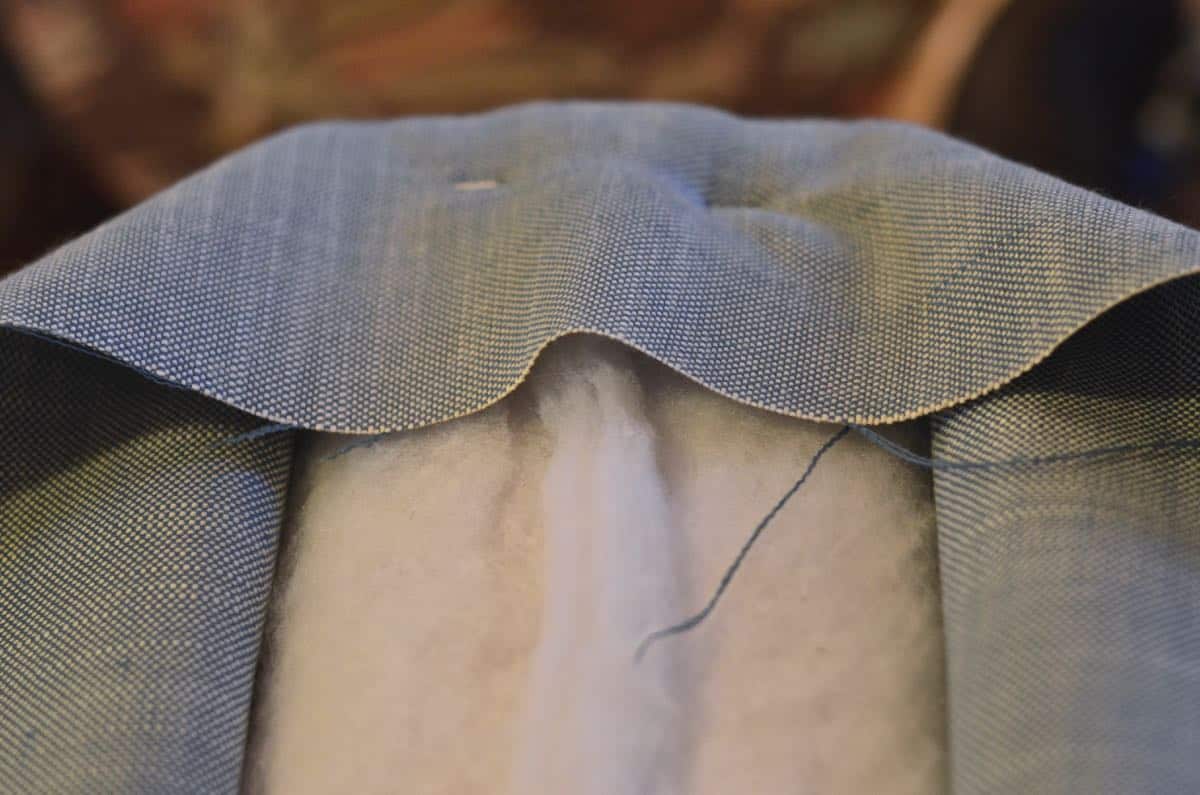
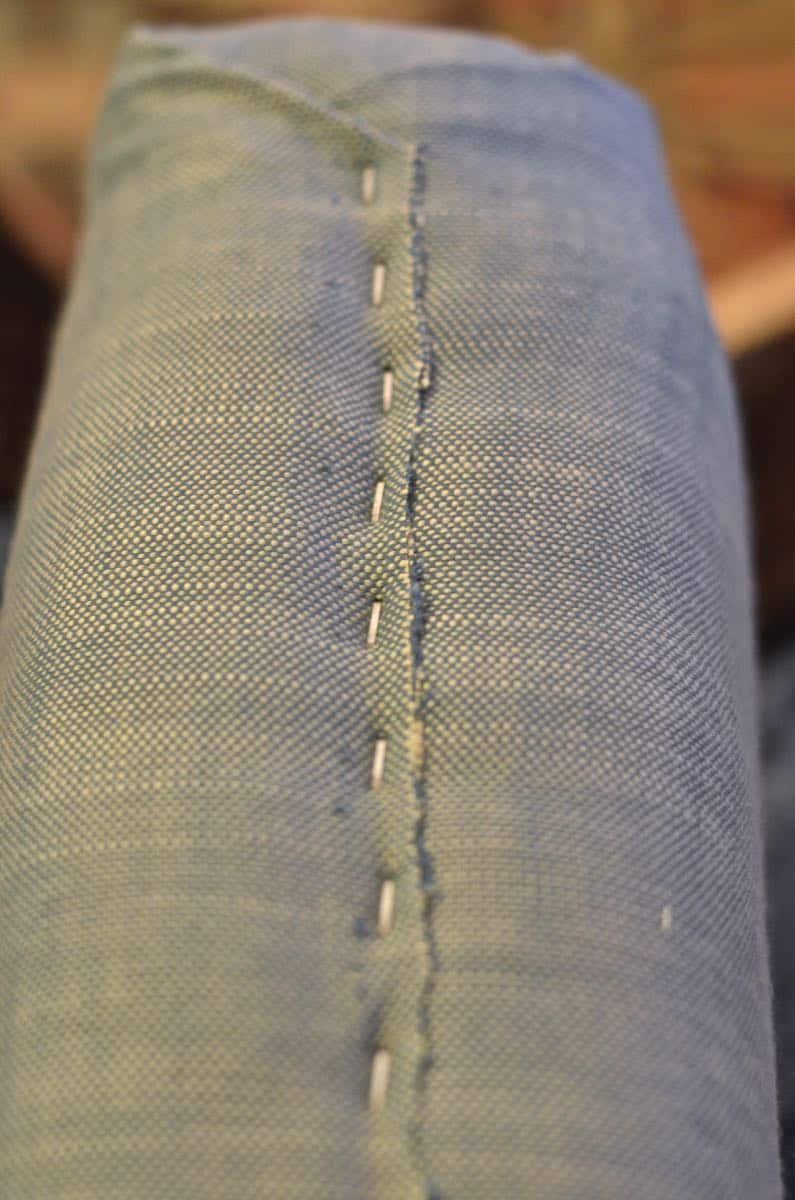
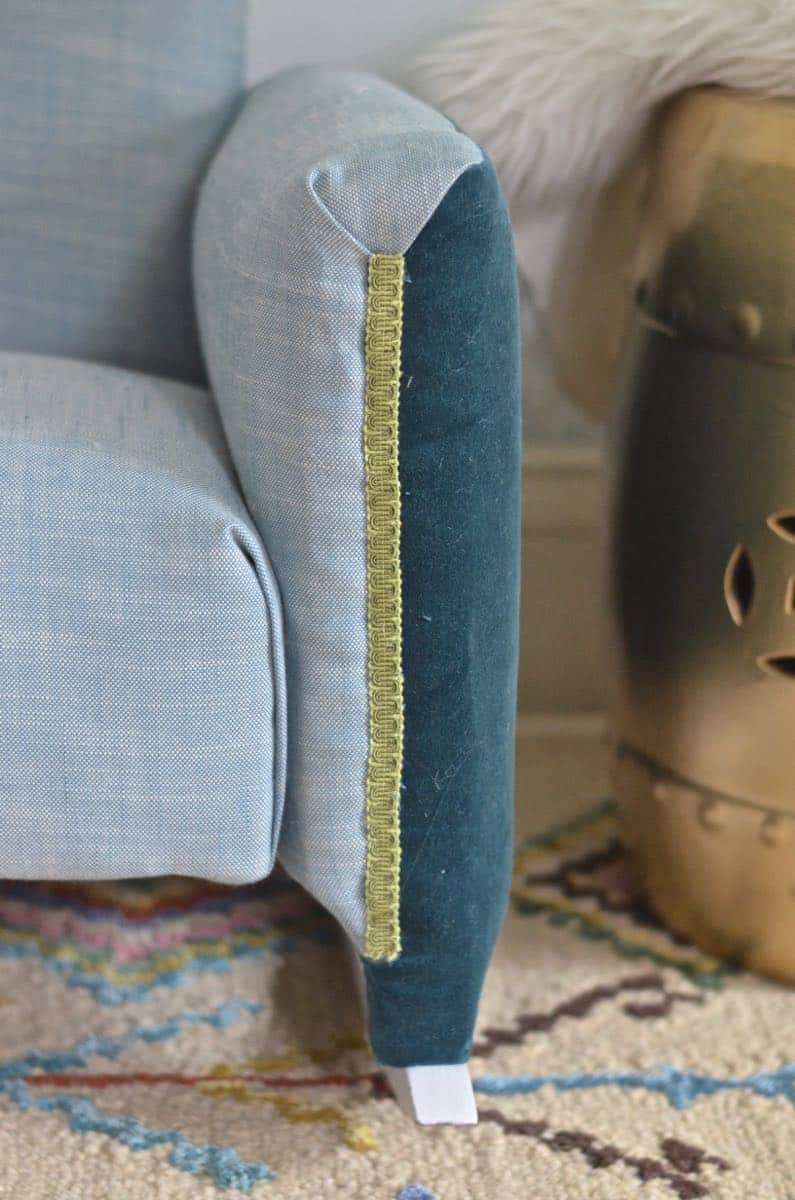
For the back and the sides, I did the same thing, but I was more deliberate about keeping the side seam nice and neat and straight. To oversimplify the process, each of these pieces was wrapped in a similar manner as I would wrap a present: tuck the corners in, and then fold over the ends. I decided to leave my seam right down the middle and then covered it with gimp.
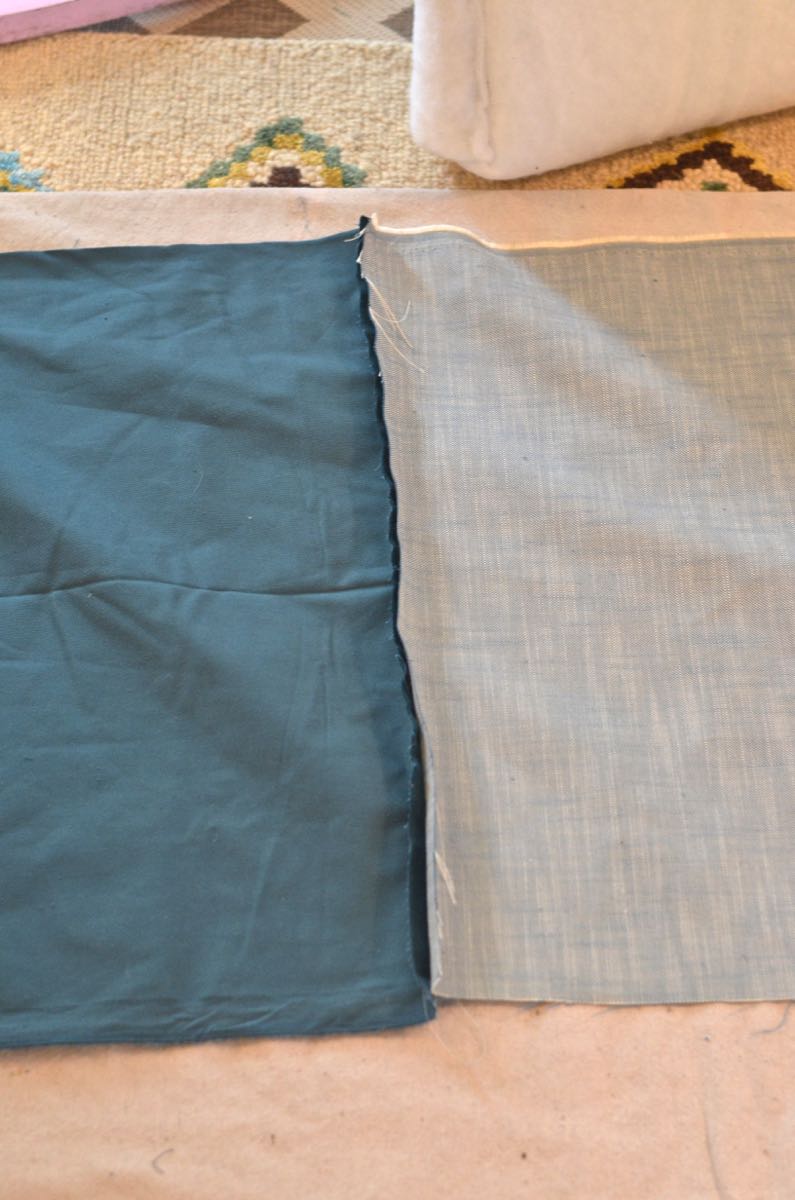
The color blocking on the two arms wasn’t entirely planned. Apparently I’m not much for “eyeing” the right amount of fabric so I ran out. Luckily, I have a stash of fabric scraps, and I don’t mind a little twist. I busted out the sewing machine to sew the two pieces of fabric together so I could wrap them around each arm without a staple line.
You can cover your visible staple lines with nailheads or gimp. I happen to have gimp on hand and not nail heads so… gimp it is! The wooden rockers got a coat of glossy white spray paint… bye bye, pink.
As expected, putting the chair back together wasn’t quite as easy as pulling it apart. I was glad to have a slew of before pictures to make sure the arms were facing the right direction and the seat was on correctly, etc. But I still had to problem solve in a few places. When it comes to upholstery, all’s well that ends well! There are a few differences from the original chair, but… it works!
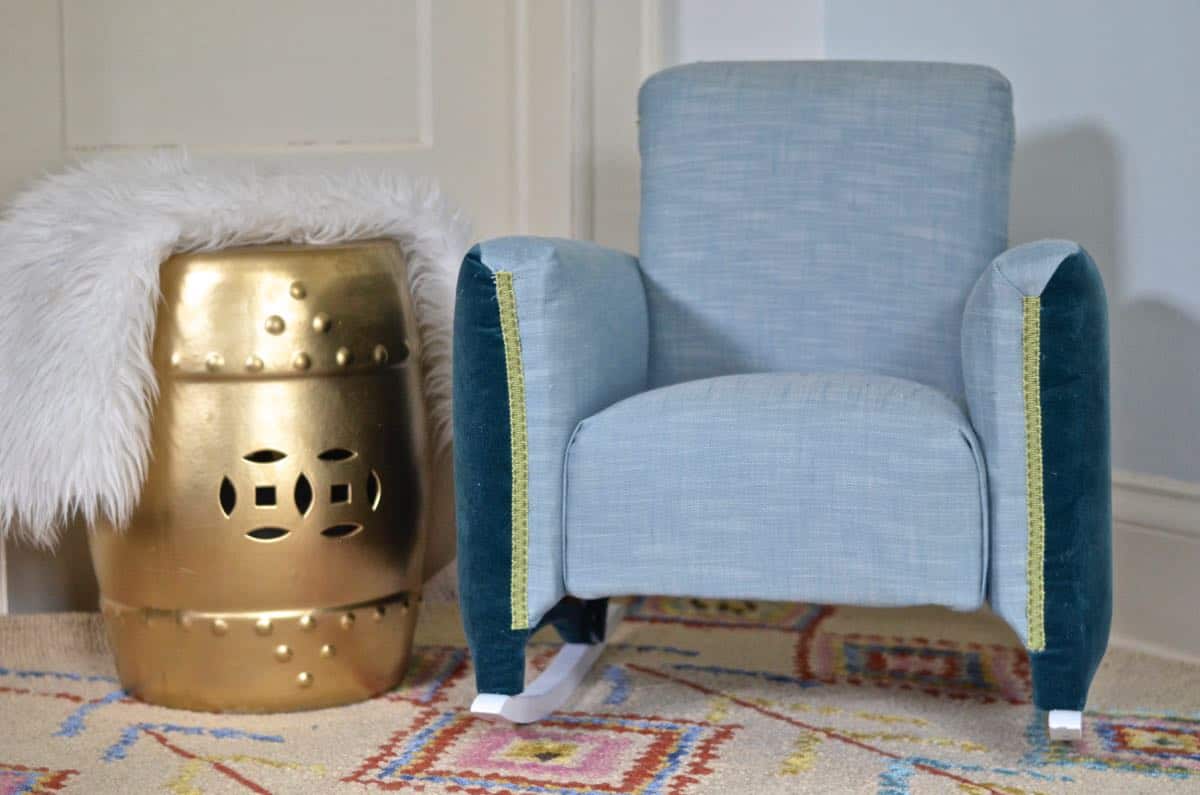
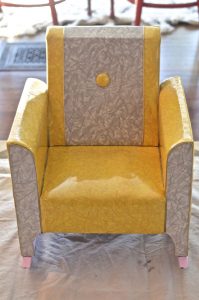
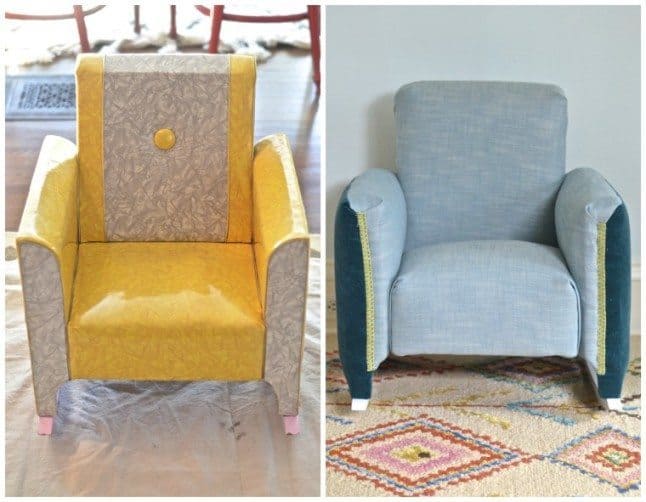
To save you from scrolling all the way back up, here’s a few shots of the before/ after!
My goals for the next piece are to bust out the sewing machine more often, see what tack strips and ply grip are all about and try to step it up one little notch at a time. Phew. I need some chocolate. Update… I did it. I tackled my first chair. I give myself a B-.


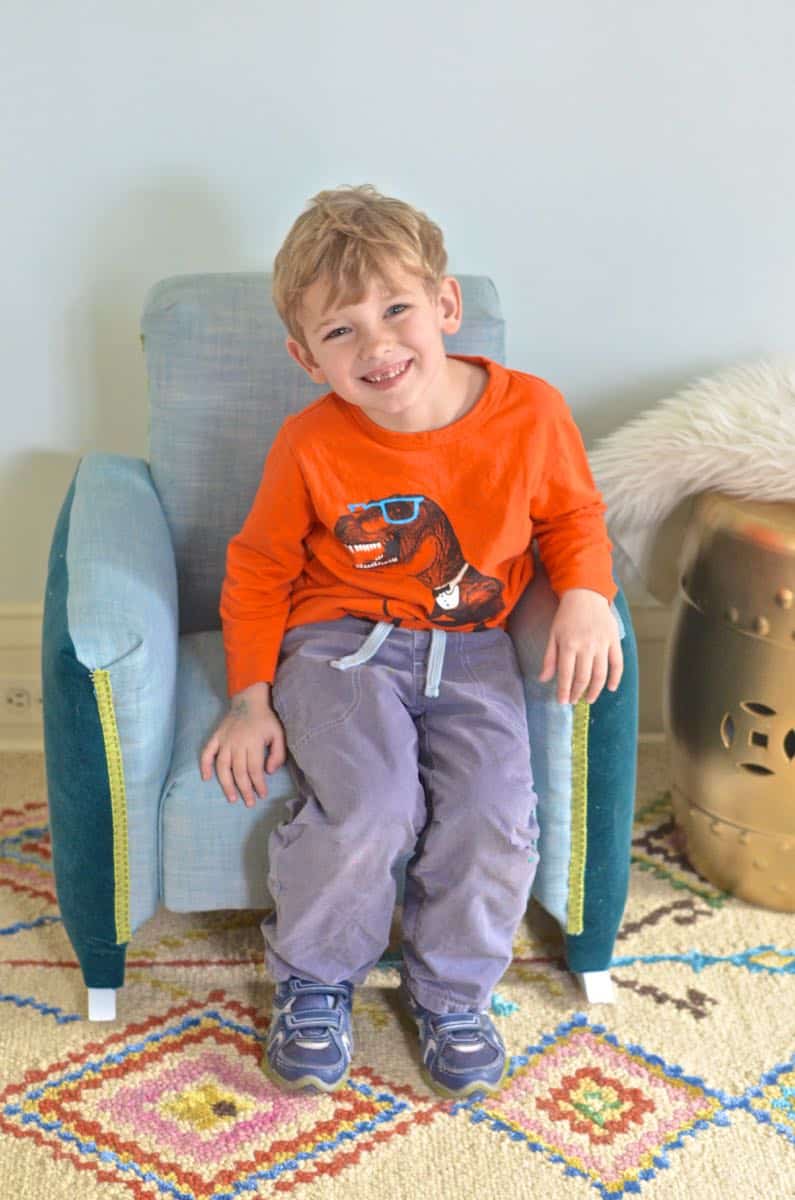
What a difference! This came out super cute, and isn’t the sweetest how much kids love a chair just their size?
SUCH a difference! I had the yellow one out for a week or so and surprise… they weren’t nearly as interested. 🙂 I guess dirty vinyl’s not their thing…
What a cute rocker! I have never seen anything like it.
Great job reupholstering it. I do a bit of reupholstering myself, and I agree; it is not easy. I find patience is the most important thing though. If I am impatient, it comes out looking horrid. Yours looks great!
So true! I get mixed up with silly things like stretching the fabric crooked or covering a screw hole or ripping the fabric when I take a staple out. But the nice thing about $10 furniture is that there’s nothing to lose! Thanks!!
Thanks for this tutorial! I have a similar small rocking chair (it was mine when I was little) that I’m working up the courage to reupholster. I have no idea how much fabric I will need to cover it. How much fabric did you need for your chair?
As you saw… I ran out, so I may not be the best person to ask. 🙂 But.. I’d say at least 3 yards, but probably 4 to be safe… I could only get one piece out of each width.