Rewiring A Chandelier
Psssst… this post *might* contain affiliate links: see my disclosure here.
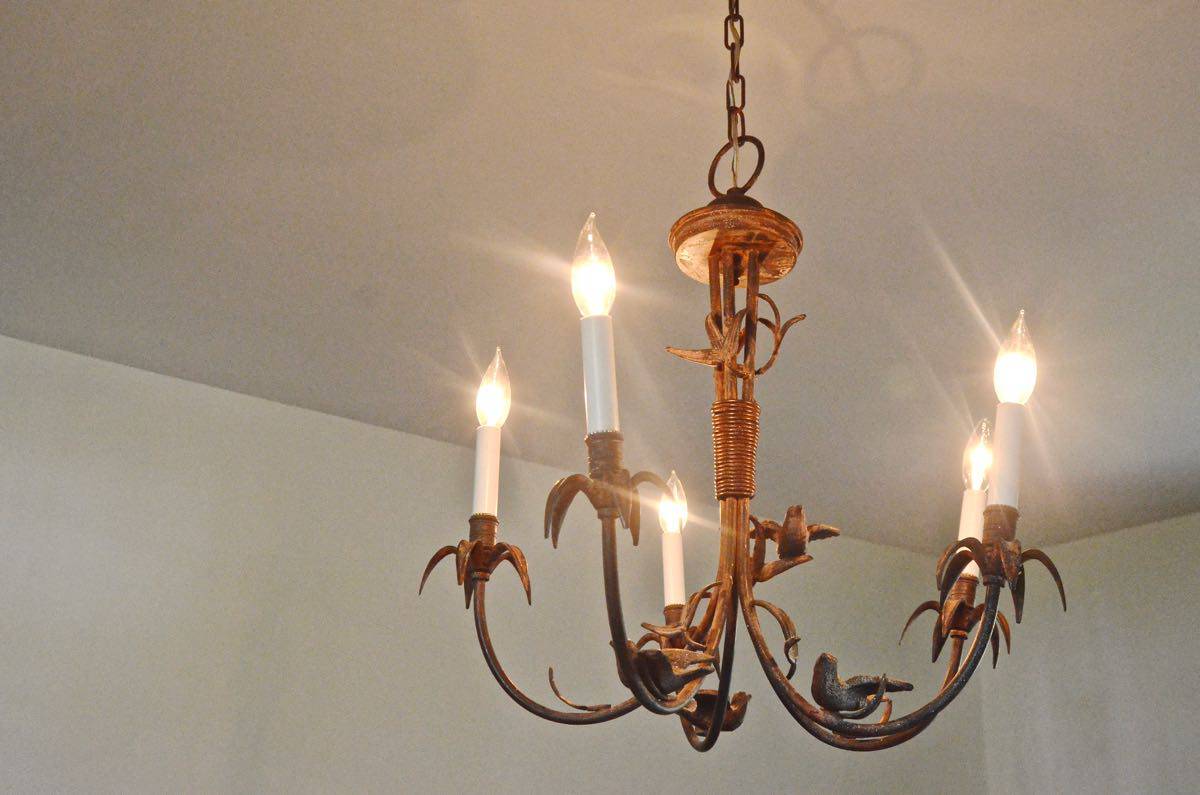
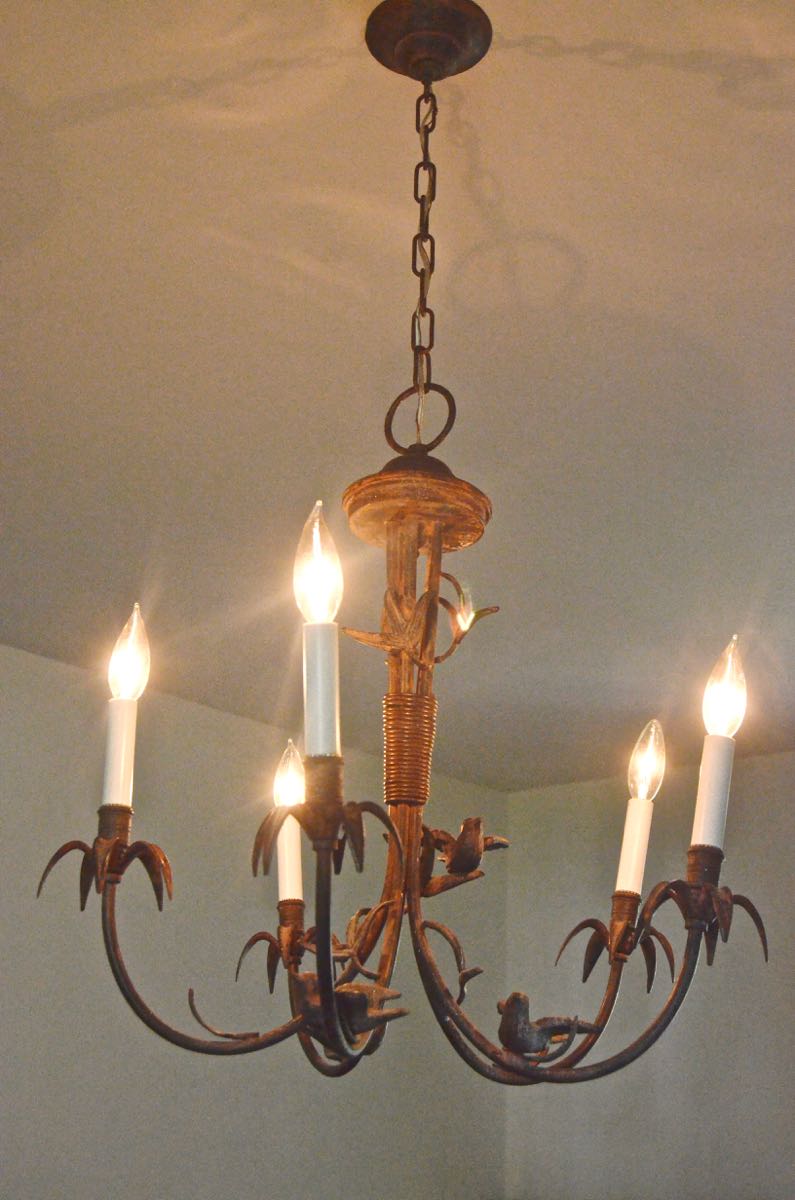
We have this adorable chandelier snagged from a consignment store. At one point, I’m sure I envisioned it as a bright kelly green somewhere, but it ended up in our ‘formal’ dining room and the metal tone made more sense. I love the whimsy of the birds, and I love that it cost $40. But… right when we listed our old house for sale, the bulbs started to flicker. At first we assumed it was a bulb but over time we realized that the same bulb was always ‘out’ and then another and another. I tried some simple little tweeks but nothing… clearly it needed an operation.
Rewiring an Old Chandelier is Easy!
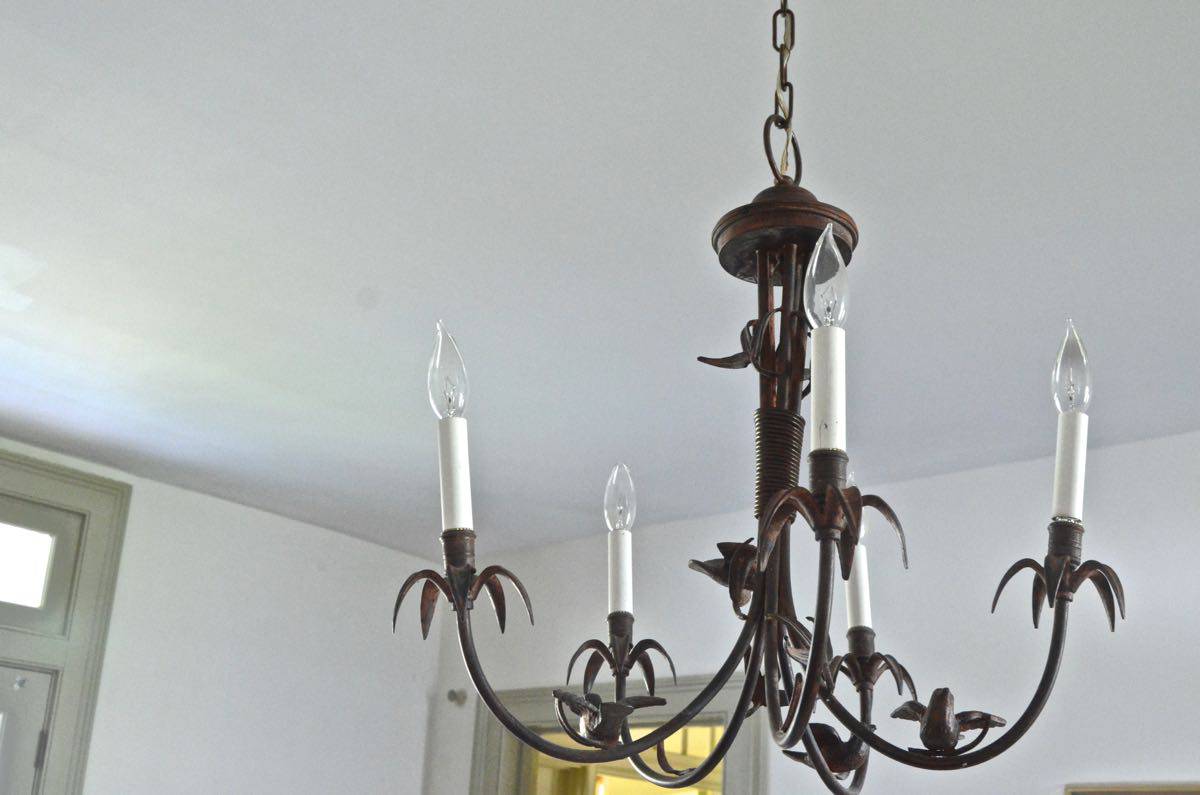
When we moved, the chandelier came with us, and before we hung it back up… time to rewire. Guys… rewiring a chandelier is MAD easy. Next time you see that KILLER pendant at a yard sale but worry it won’t work… just get it. Basic electric supplies are pretty cheap and the process is fairly basic. At least it was for this light. (Full source list at the end of this post.)
Shop my favorites!
(Disclaimer… I’m a lot of things, but electrician I am not. Take these instructions as my personal opinion. In no way am I responsible or liable or asserting to be a licensed professional.)
Steps to Wiring a Chandelier
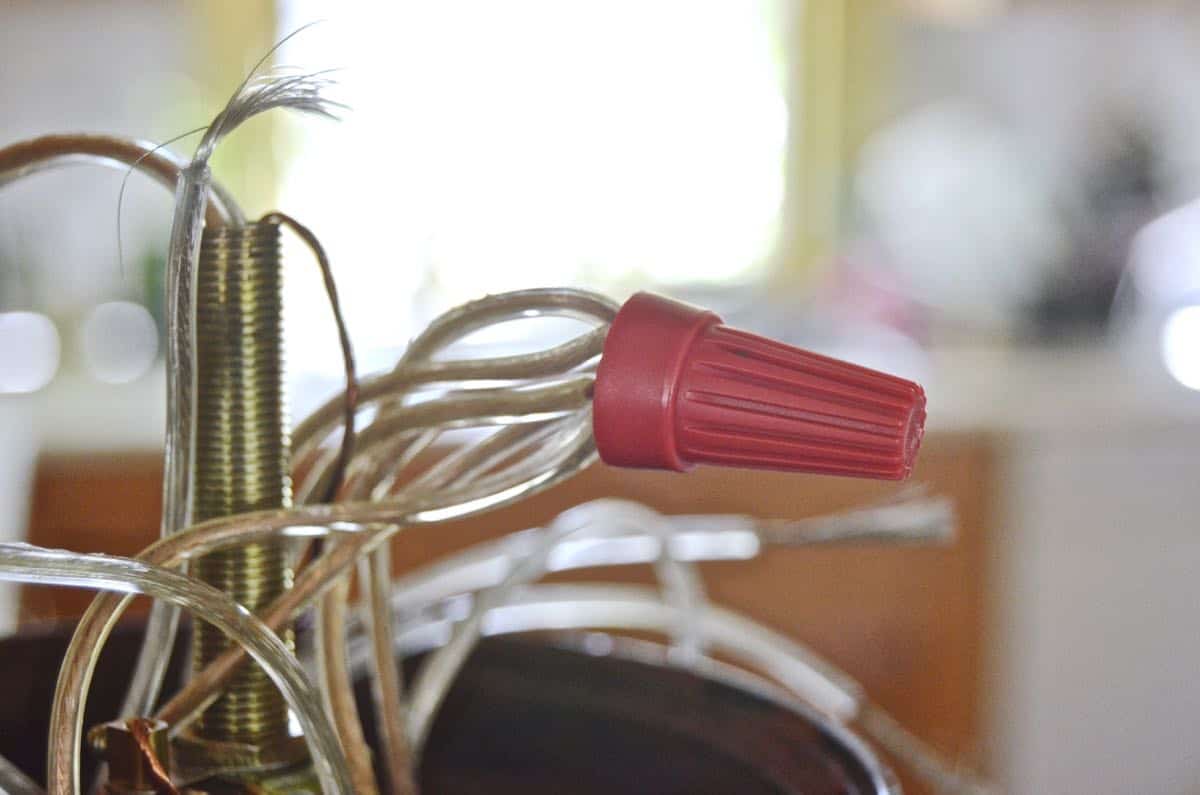
Unscrew what needs to be unscrewed to get to your wires up top. Typically a chandelier hangs from a threaded nipple in the ceiling that supports the weight, but you might have an added piece. You’ll probably see a web of wires all winding together and then capped off in two different places… don’t be skeered… just unscrew the cap, and pull all these wires apart.
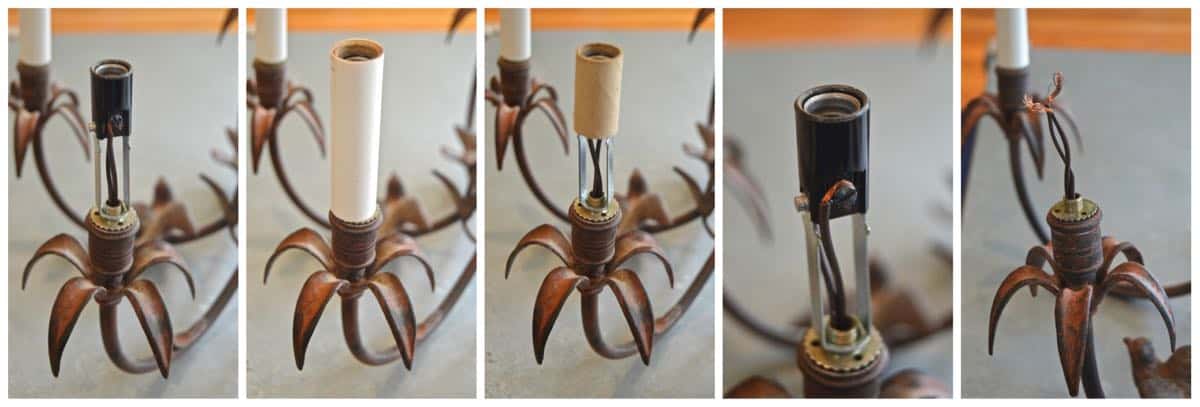
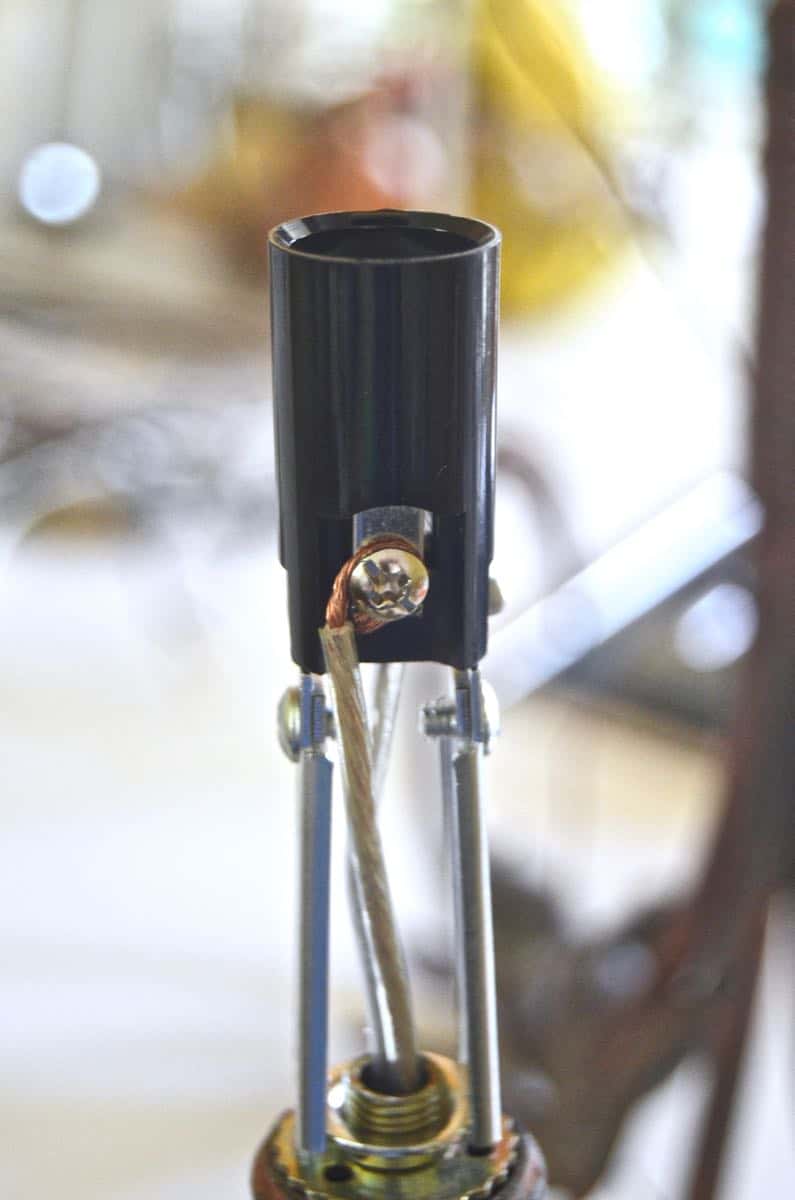
Next, get to your wires around the lightbulbs. Unscrew the lightbulbs (duh) and then remove the cardboard sleeve. It might be a little stiff, but ideally it will slide right off. You should be looking at the candelabra sockets of your chandelier. With a screw driver, loosen the screw on either side, and unhook the wire that’s wrapped around each side. The socket should unscrew from the chandelier.
If you’ve done everything right, the wires should pull right out of the arms of your chandelier at this point. Head on over to your local hardware store and grab some lamp wire, some new candelabra circuits, some electric tape and some of those wire caps that screw in to cover the exposed wires. I also grabbed a wire stripper
… made life much easier. (FYI, our Home Depot didn’t have candelabra sockets so I ordered mine on Amazon.
)
Okay. Time to bring your chandelier back to life.
Step 1. Thread new lamp wire
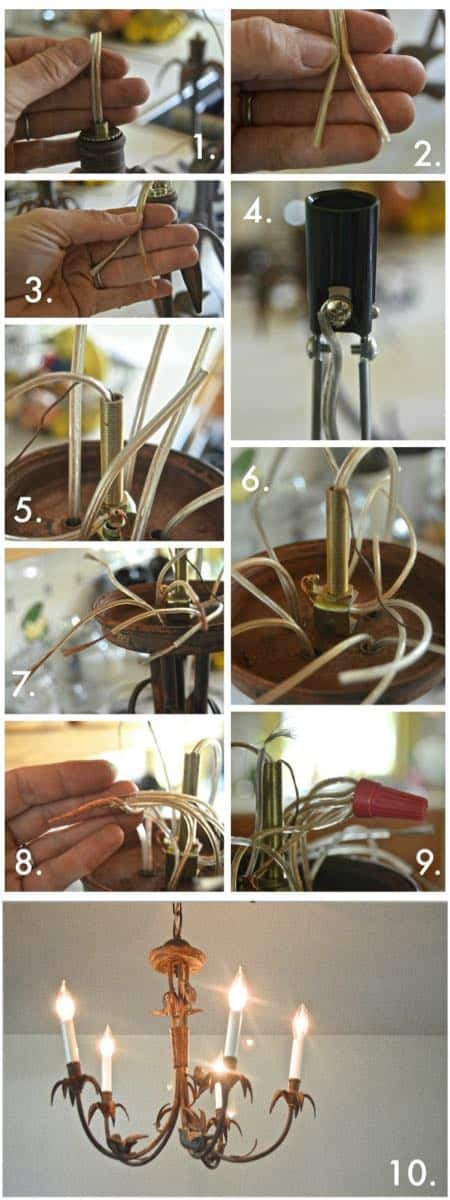
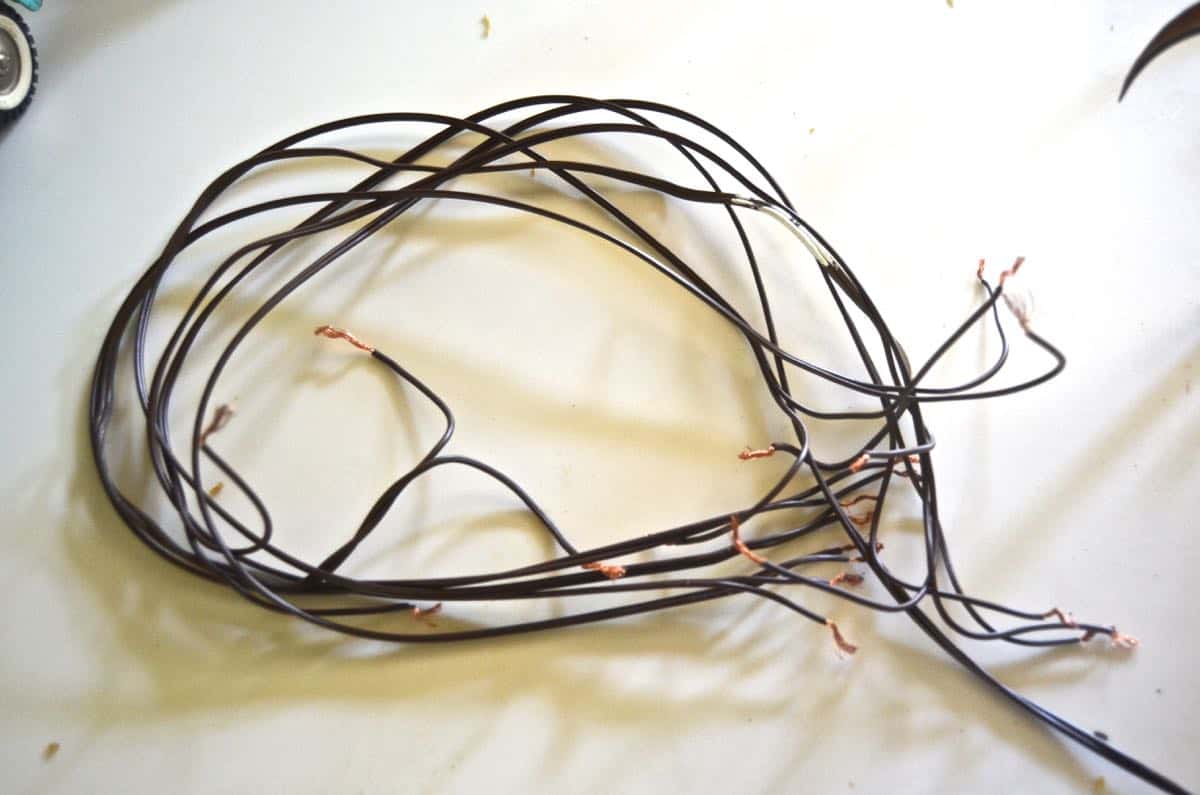
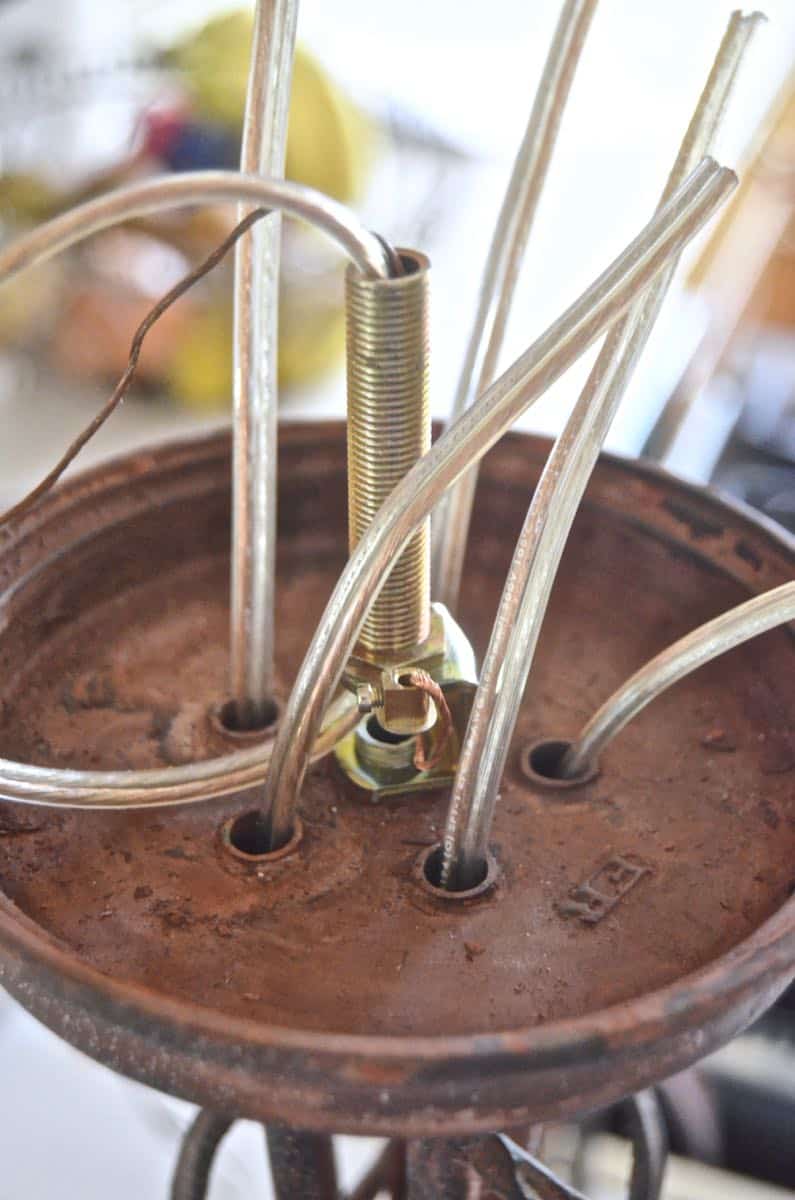
Cut your lamp wire into pieces and thread them through the arms of your chandelier. Mine threaded through way easily, but you might have to push a smaller piece of wire through first and then use this to pull your larger lamp wired back through the arms.
Step 2. Screw in lamp sockets and prep wire
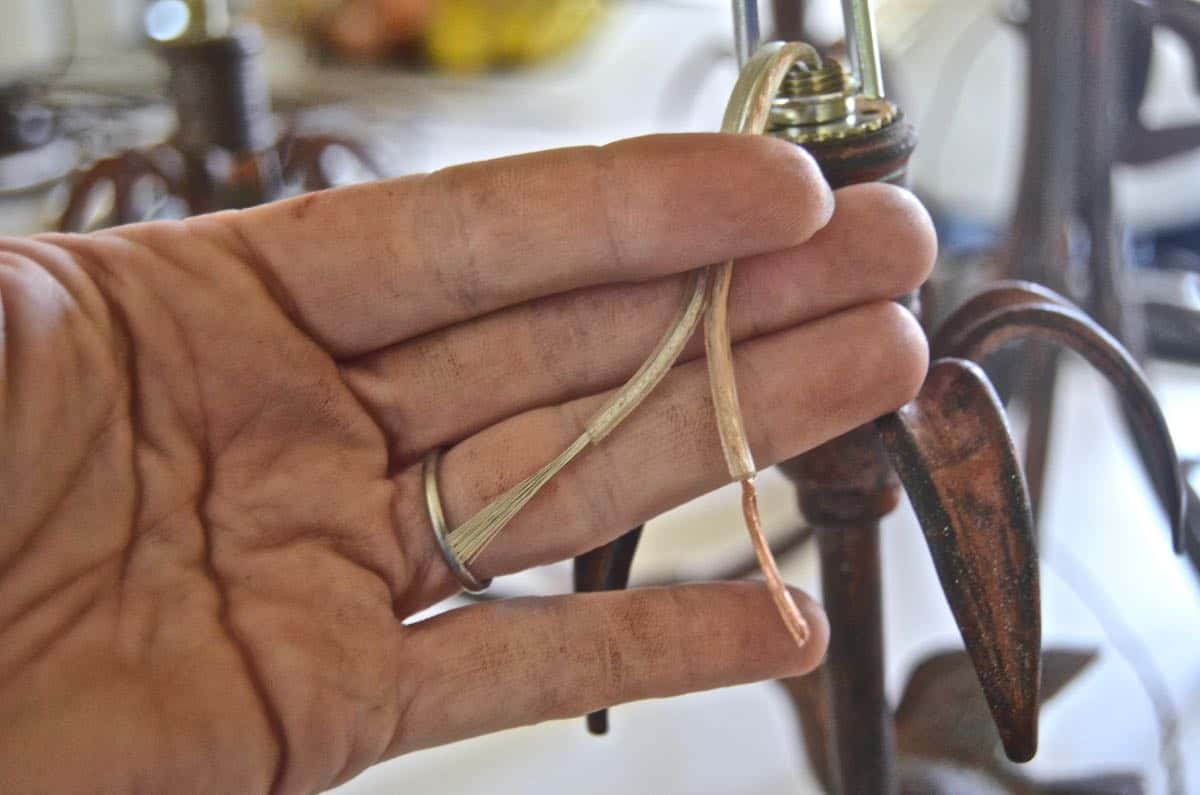
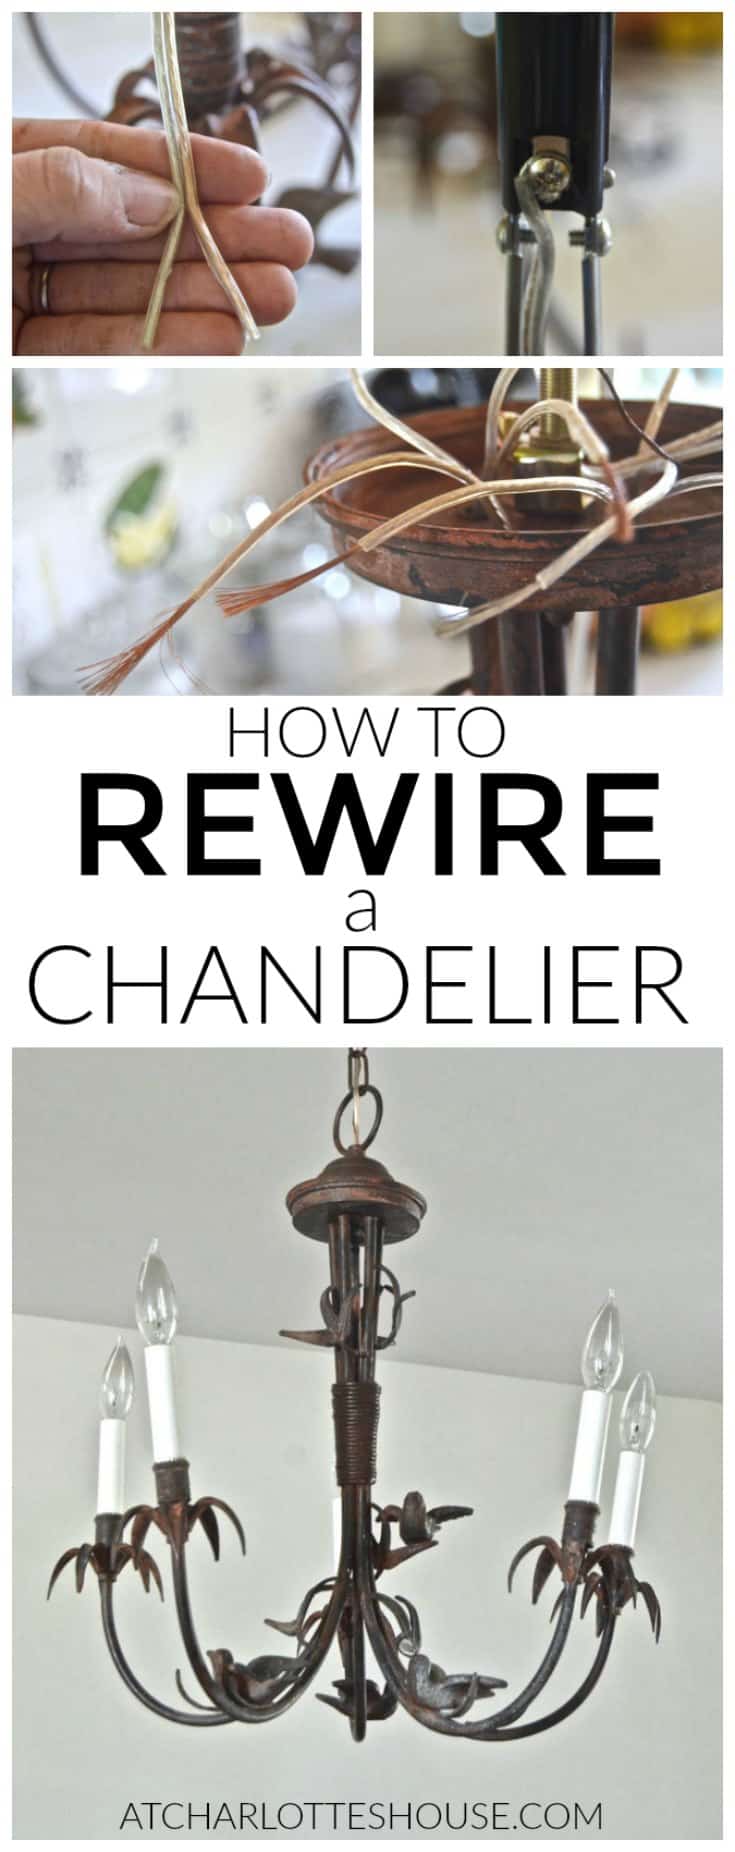
Screw in your chandelier sockets and split the lamp wire. Strip 1/2 an inch of the plastic to expose the wire underneath. If you bought the stripping tool, it’s super easy… just pinch the wire between the right sized holes on your tool and pull to remove just the plastic and none of the wire. If you only have pliers, then be careful how much pressure you apply when pinching the wire and just strip it this way.
Step 3. Wire the chandelier socket
I used clear lamp wire with 2 clearly marked sides (copper and silver). If you go with a different wire, then look for one side to have writing or perhaps a ridge… it’s important to note which is which…one is your hot wire and the other is neutral. (Typically the smooth side will be your hot wire…) My sockets had the same copper/ silver color coding as the wire so it made it easier to wrap my wire around the right screw. Twist the 1/2″ of your exposed wire, wrap it around the screw clockwise and tighten the screw. Repeat on the other side and replace the cardboard sheath. Continue until you’ve replaced all the chandelier sockets.
Step 4. Wiring the top of the chandelier
Remember that web of wires on the top of the chandelier? Time to tackle these… again, I promise it’s not as gnarly as it looks!
Step 5. Split and strip wires.
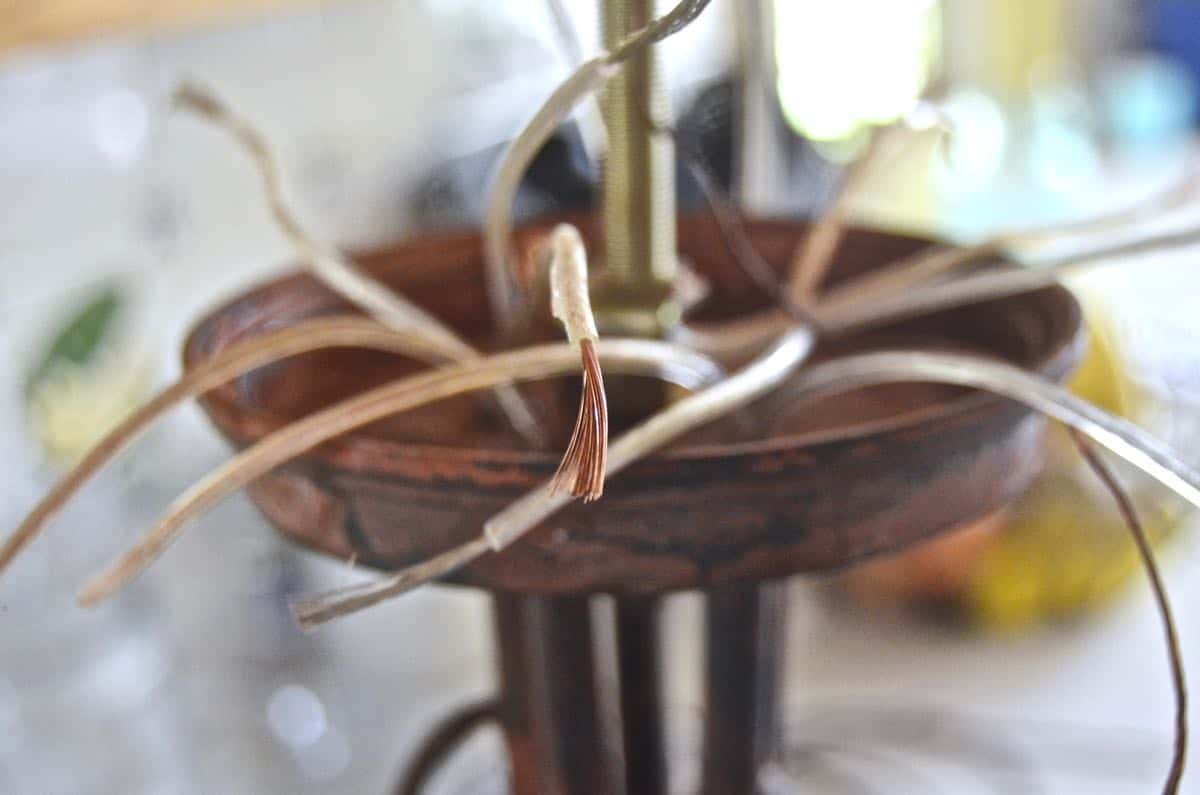
Split each of your wires like you did with the candelabra sockets. Expose the last 1/2″ of wire from the plastic sheathing.
Step 6. Wire the chandelier
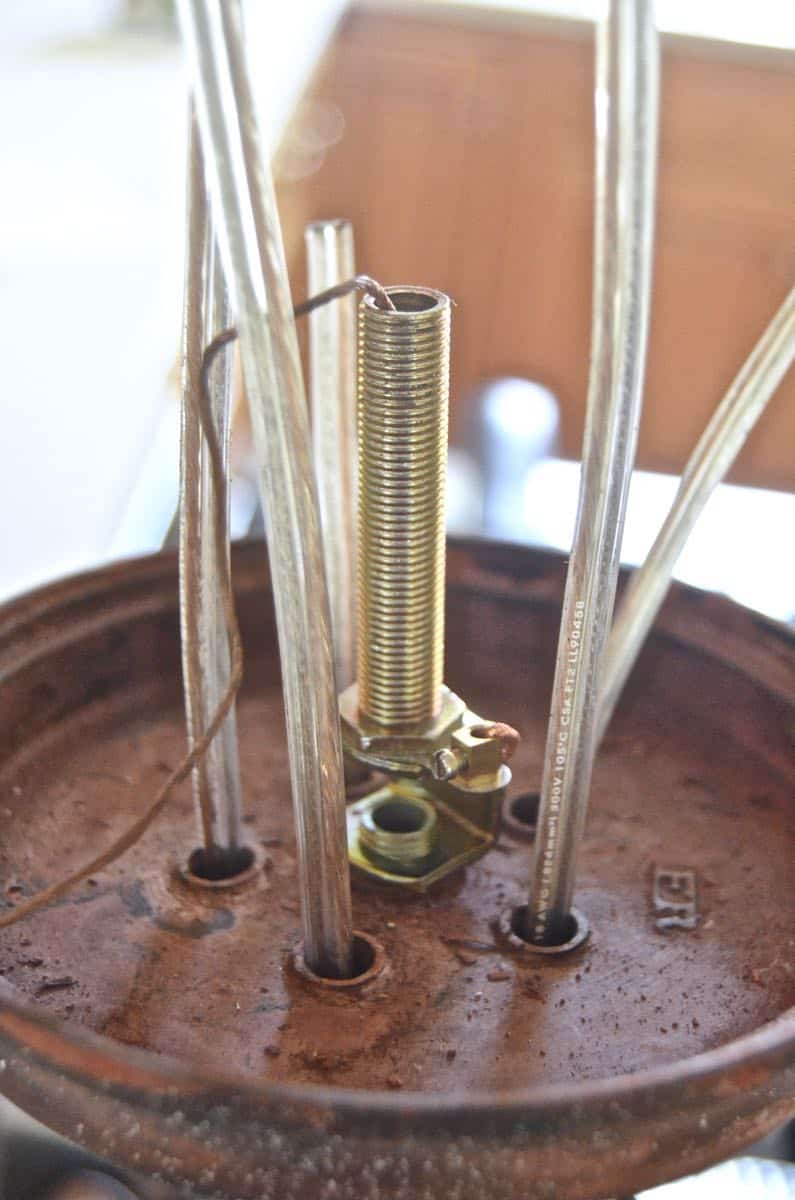
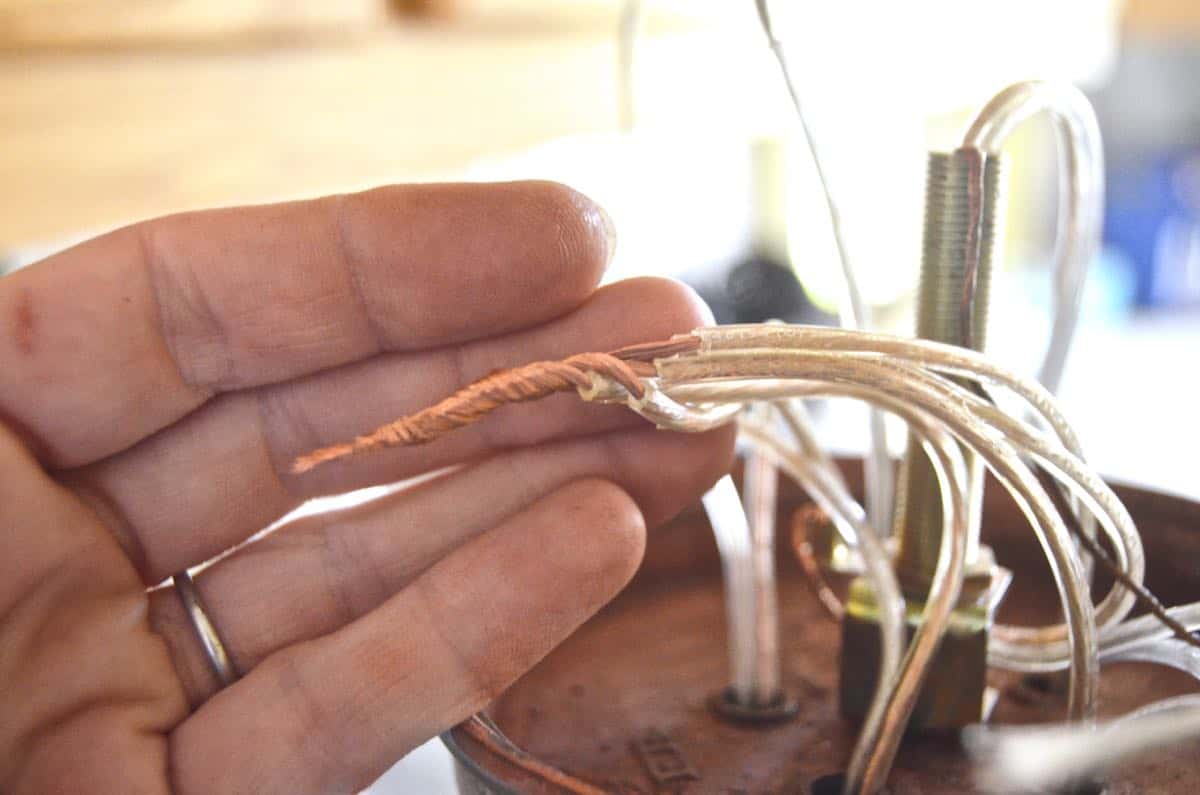
8. At this point, you’ll also need to feed a wire down through the main nipple of your chandelier… this will connect the chandelier arms to the hard wire in your ceiling. Gather all your neutral wires and twist the ends together. Again, for me… this meant all the copper wires in one clump, and all the silver wires in another.
Step 7. Cap off the wires
Cap them off and tape them up for good measure. Repeat with your hot wires. (My chandelier has 5 arms, so I was wrapping 6 wires at a time… the 5 from the chandelier arms and then one more going up to the ceiling.)
Step 8. Rehang Chandelier
That’s it. You’ve done it! Reattach your chandelier to the ceiling and revel in your electrical prowess.
Supplies
(Affiliate links included for your convenience)
- Wire connector caps
- Wire stripper
- Lamp wire
- Chandelier sockets
- Chandelier socket covers
- Electrical Tape
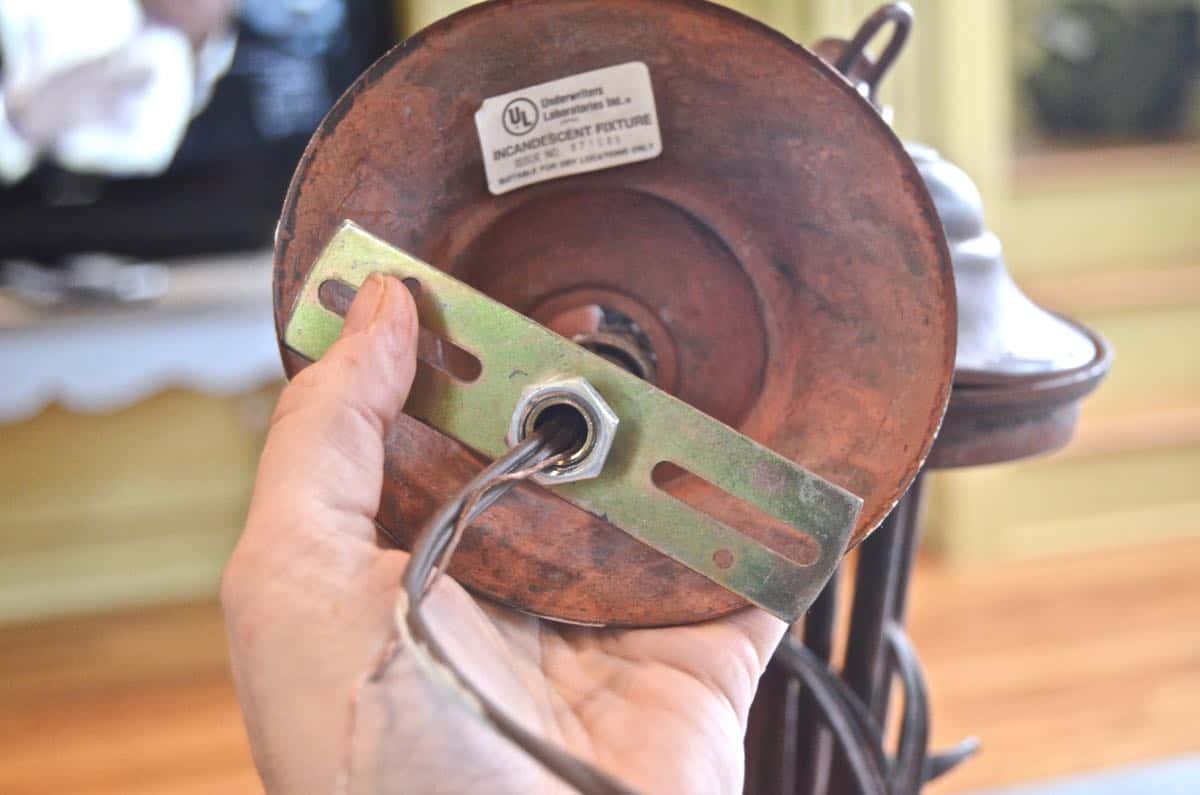
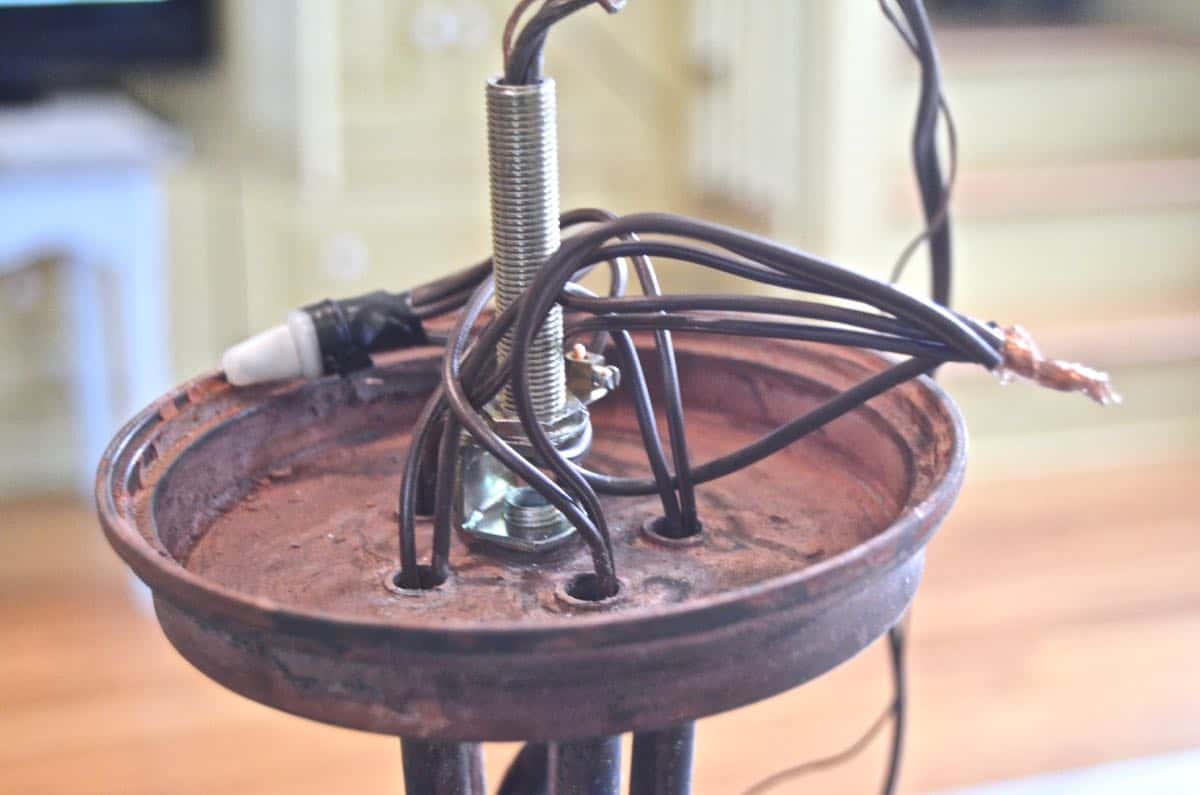



I just wanted to thank you for you pictures and details on how to rewire my chandelier. The chandelier came out of my parents house. I am going to put in the house I am renting. Thanks again. James
Oh great!!! It really is easier than it seems! Good luck!
I was given a chandelier that I adore. The tenet renting a house next door took down the chandelier and cut the lamp cord right at the chandelier top. I have purchased lamp wire. Do I have to rewire each light also?
I am *not* an electrician but in theory you should be able to connect the new lamp cord wires with the cut lamp cord wires and wrap with electrical tape providing you have a safe and secure way to hang without putting any tension on the wire itself!
One little suggestion. Before pulling the old wires out you can attach the end of the new wire still on the spool (careful not to create a huge lump) and pull the new wire in as you pull the old wire out. Then you can snip the wire off near the spool so you only use exactly how much wire you need (and don’t have to worry about cutting a wire too short).
(ALSO NO IDEA WHY THIS THING IS WRITING IN ALL CAPS. Sorry if it comes through that way)
That’s SUPER smart! And ha! No caps… but the idea is worthy of some volume regardless! 🙂 THANKS!
This is so fascinating! Thanks for the info!
Hi Charlotte,
I just have one question. You used the same exact wire to go to the ceiling as you used in each of the arms?
Thank you!
Yes! That’s correct… double check with your hardware store based on your fixture, but lamp wire should be fine!
Do you know if I can use 20 gauge wiring instead of 18? The 18 gauge is too wide to fit through the arms of my parents old chandelier.
Oh gosh… I have no idea! I asked the person at our hardware store for the same wire that was in my chandelier… perhaps you could bring in the wire that’s in the chandelier now and they can match?
Many of the older CHANDELIER and pendant lights used 20 gauge wiring in the arms. I have had several where the 18 gauge lamp wire just wont fit through the cast brass fixtures. I’ve run the 20 gauge wires through the arms which spliced with the 18 gauge lamp wiring running to the power supply. I’ve never had an issue with this setup with 40 (or less) watt bulbs.
Great tips. Good to know! Thanks!
the problem is getting the 5 arm wires X2 plus the wires to the source back into the little tiny space that holds all of it. That 18 gauge with plastic is just too big.
I need help! What do you do with the ground wire on the chandelier?
Hi! Obviously all fixtures are different (and I’m not a licensed professional), but typically the box in the ceiling has a screw around which you can wrap the ground wire! It’s usually a small screw that is only there for the ground wire. Hope this helps!
Wiring up a chandelier seems really scary to me. I really like the close up pictures in the article though. They’re really helpful. Thank you!
Thank you!
This was so helpful – thanks for sharing!
Great! Thanks, JOhn!
I can’t seem to figure out the center wire, where it starts and what it gets connected to. It seems to just show up in picture #4. Can you help? Thanks,
Hi Kathy! The center wire a 6th length of lamp wire that feeds through my threaded nipple. One end connects to all the wires from the chandelier… the other end goes up through the threaded nipple/ support to the wires from the ceiling. Does that help? Thanks!
I thought that the lamp wires are connected to the socket, then fed through the arms and THEN bundled up together at the top, black to black and white to white. I’m feeling dislexit! I took this apart years ago, now can’t quite remember how to put it BACK! Thanks for your help?.
Looking with fresh eyes, I think I’ve figured it OUT. My sockets are a bit DIFFERENT, with leads hanging down. Anyway, thanks for your help!
Kathy
HURRAY! Every lamp is a little different. I’ve gotten better about reminding myself to SLOW down so I can actually see how my lamp works before I rip it apart! Ha!
Hi Charlotte. My chandelier doesnt have a ground wire. This came from a south amer country, so, probably is an old lamp.i guess i can attach one to a metalic part of the lamp and tge other end to the ceiling .
Hi! I’m not sure, actually… I’d check with a licensed electrician to confirm!
Hello, Great instructions with photos. I had an issue with a fixture with a ground wire that came undone from inside the threaded nipple. Not sure where the ground wire should be attached. Could it be soldered to the inside of the nipple? I know the other end goes to the ceiling mounting box, but I am at a loss of where the appropriate connection should be made on/in the fixture (thru the nipple)
Hi there! I’m certainly not an electrician, but the fixture or electric itself should have a screw around which you wrap the ground wire. Older fixtures might not have this… in that case, it’s my understanding that the junction box should be grounded so you that could be enough. Alternately if the fixture is out of reach, there’s less concern about grounding. Ideally, both would be grounded, obviously so perhaps consult your electrician on this one!
I have a 3 shoenbeck Equinoxe chandaliers and a Swarkovski Chandalier. I am moving out of my present House and into a new one with higher ceilings and I am in need of getting longer electrical cables to reach the ceilings of my newer home and am trying to get sommeone to do this. is there any person/business that you could recommend that could to this?
I know a few guys here in Fairfield, Connecticut, but I would ask around for a good electrician in the area!
This is great thank you for sharing such great content. I really enjoy your site!
Hi! Can One rewire to change the vOltage from 120v to 220v ? I no nothing about Electrical stuff but want to buy a chandelier in the us and use it in Asia.
I’m not positive but I believe so! Speak with your local electrician to confirm which wires would be necessary for 220v. You’d have to replace the fixtures too and not just the wire.
Thankyou so much. There are alot of women out there wanting to be DIY doers. Like me!
Thanks, Karen!
You rock! Easy peasy! Thank you for The simple and Concise directions, they are spot on.
Thanks, Lisa!!
I think it is risky to offer general directions for this –
in many chandeliers, speaker wire (thin) has been used,
because it is easy to thread through the arms.
In multi-bulb fixtures, the wire must be of a guage
(thickness) to meet the demands of the watts in the
sockets. If you exceed the capacity of the wire,
the wiring heats up and can melt plastic.
You should really seek an electrician before rewiring –
it carries real risks, and an insurance company is likely
going to locate the cause of fire. Hypothetically, your job could
cost you your home, or use the correct wiring. Also, where
is your ground? You are out of your depth.
Hence my disclaimer: not an electrician… I simply replaced the existing wires to accommodate the existing sockets. Worked for my fixture.
Cách bạn triển khai chủ đề thật hấp dẫn.
Totally stuck on step 6, when you bubdle the two different types of wire into two clumps You put caps on each clump. I’m confused about what happens then. The wires are clearly too short to go anywhere else. Do you connect them to another cable? I don’t have any other cables, other than the onescoming from each lamp. Many thanks in advance!
You need to wrap each side of the the longer ceiling wire in with each clump… hope this helps!
Thanks!
Was there a grounding cable?
With older fixtures, not always.