
RockSolid Painted Garage Floor Coating
Psssst… this post *might* contain affiliate links: see my disclosure here.
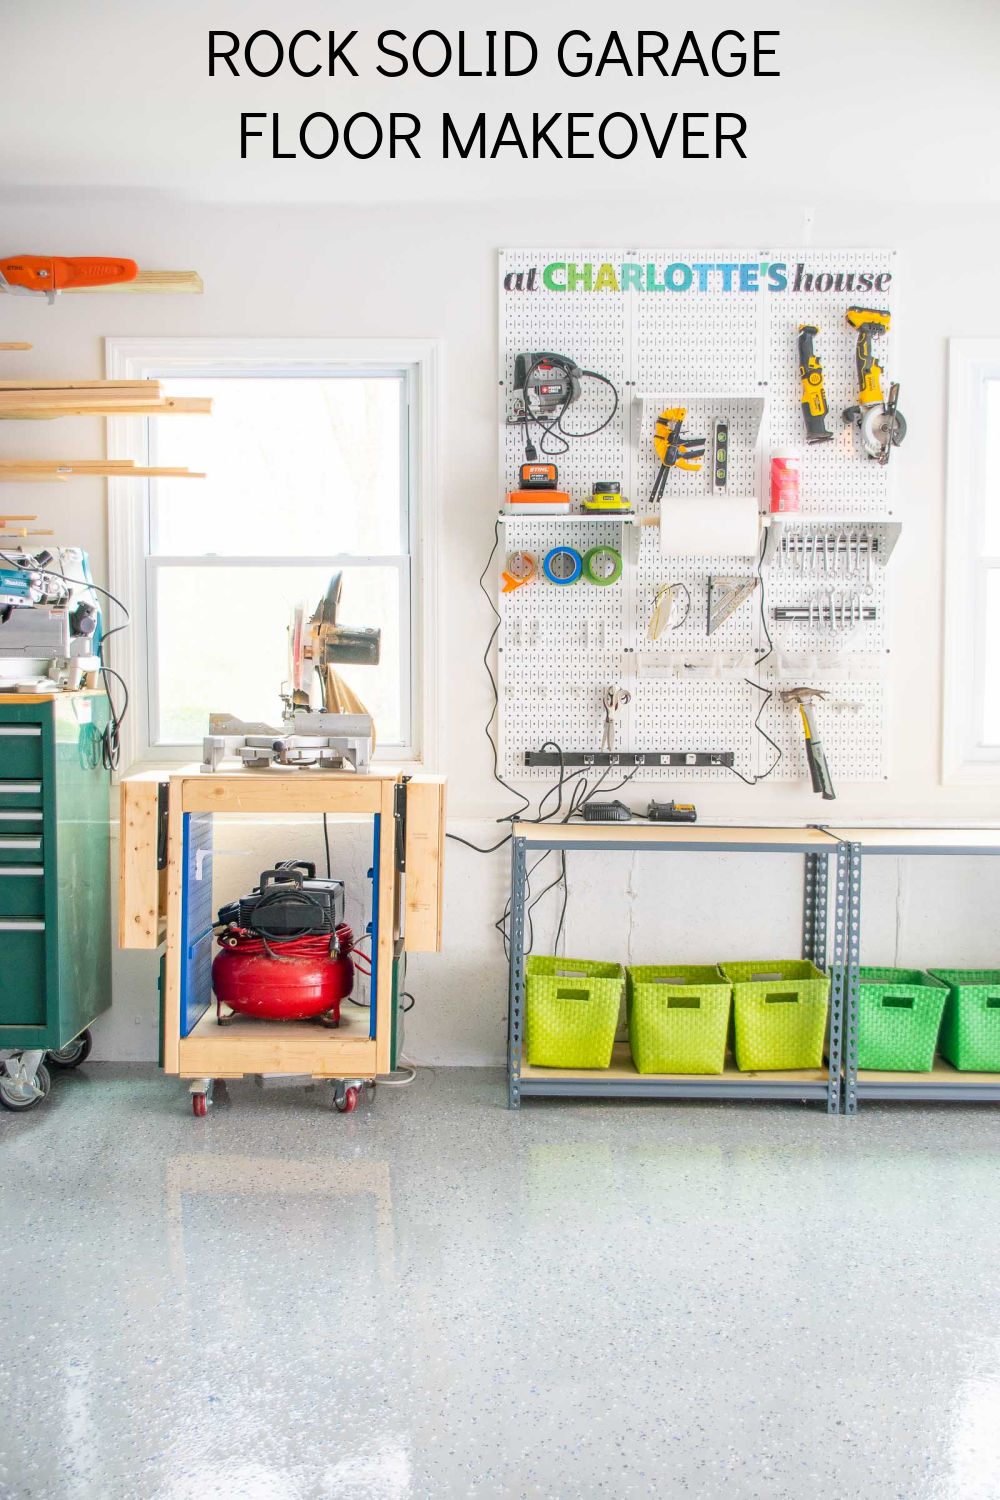
Garage Floor Makeover with RockSolid Floor Coating
I used RockSolid Garage floor coating to help transform our garage.
Disclosure: I am so grateful to RustOleum for sponsoring this project. The results are better than I expected!!
Shop my favorites!
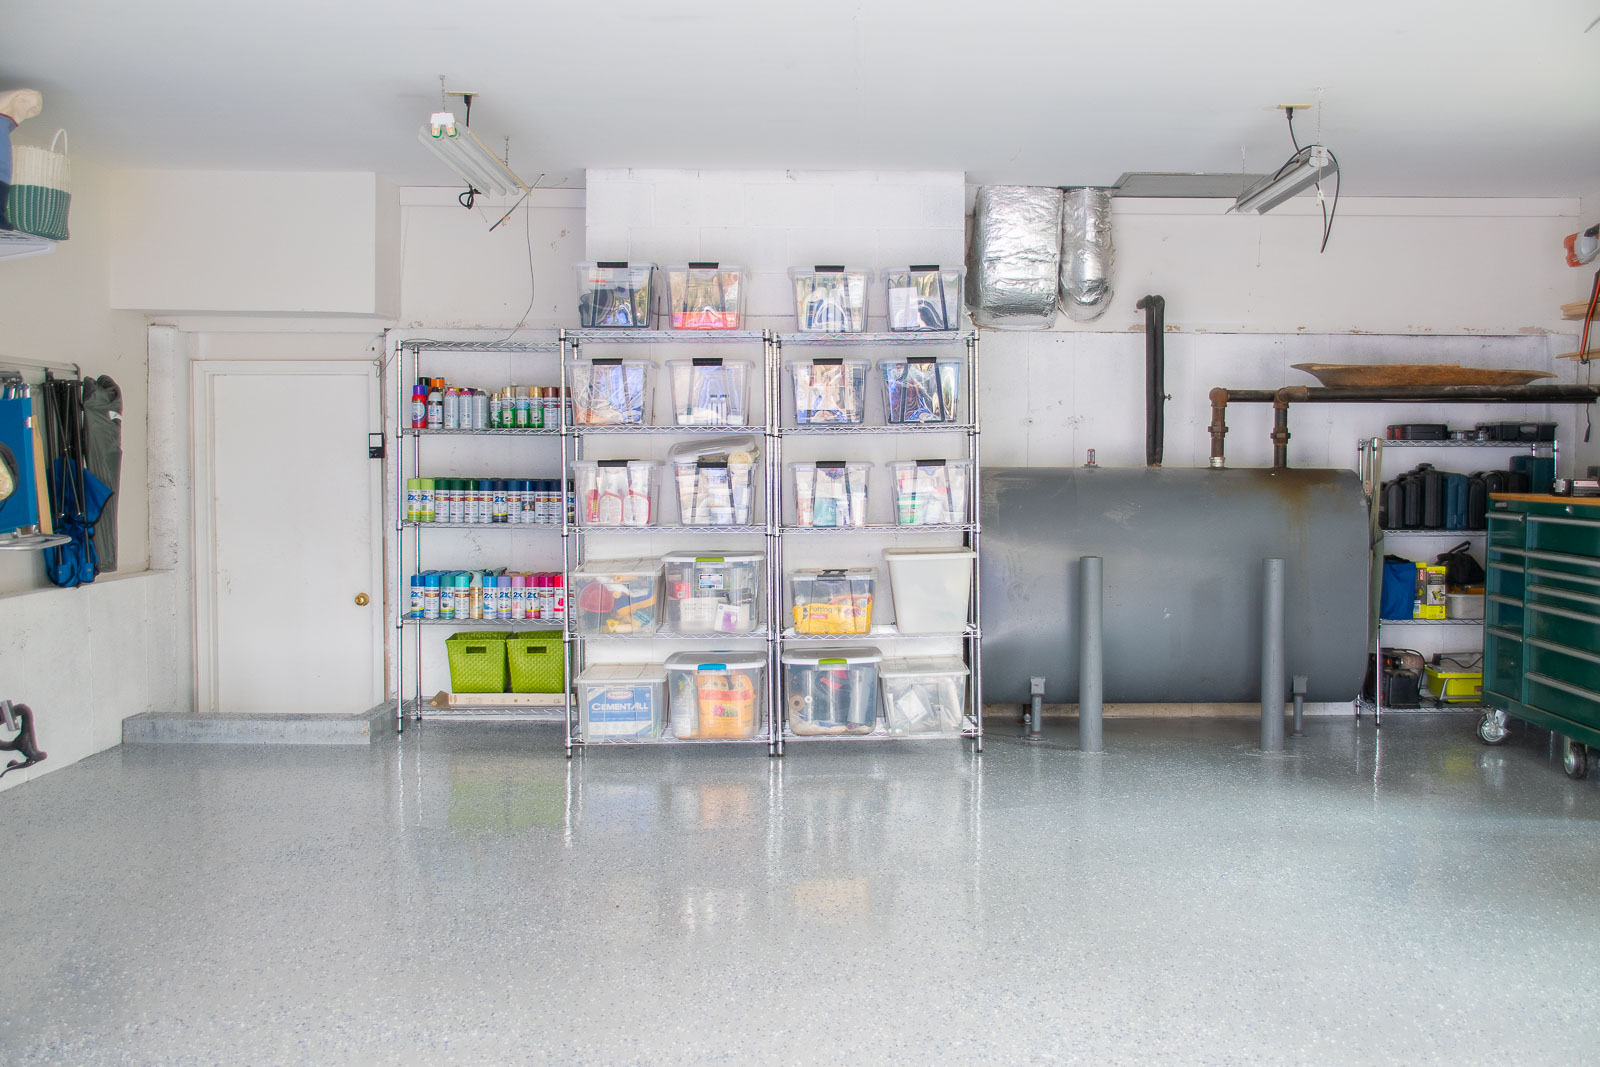
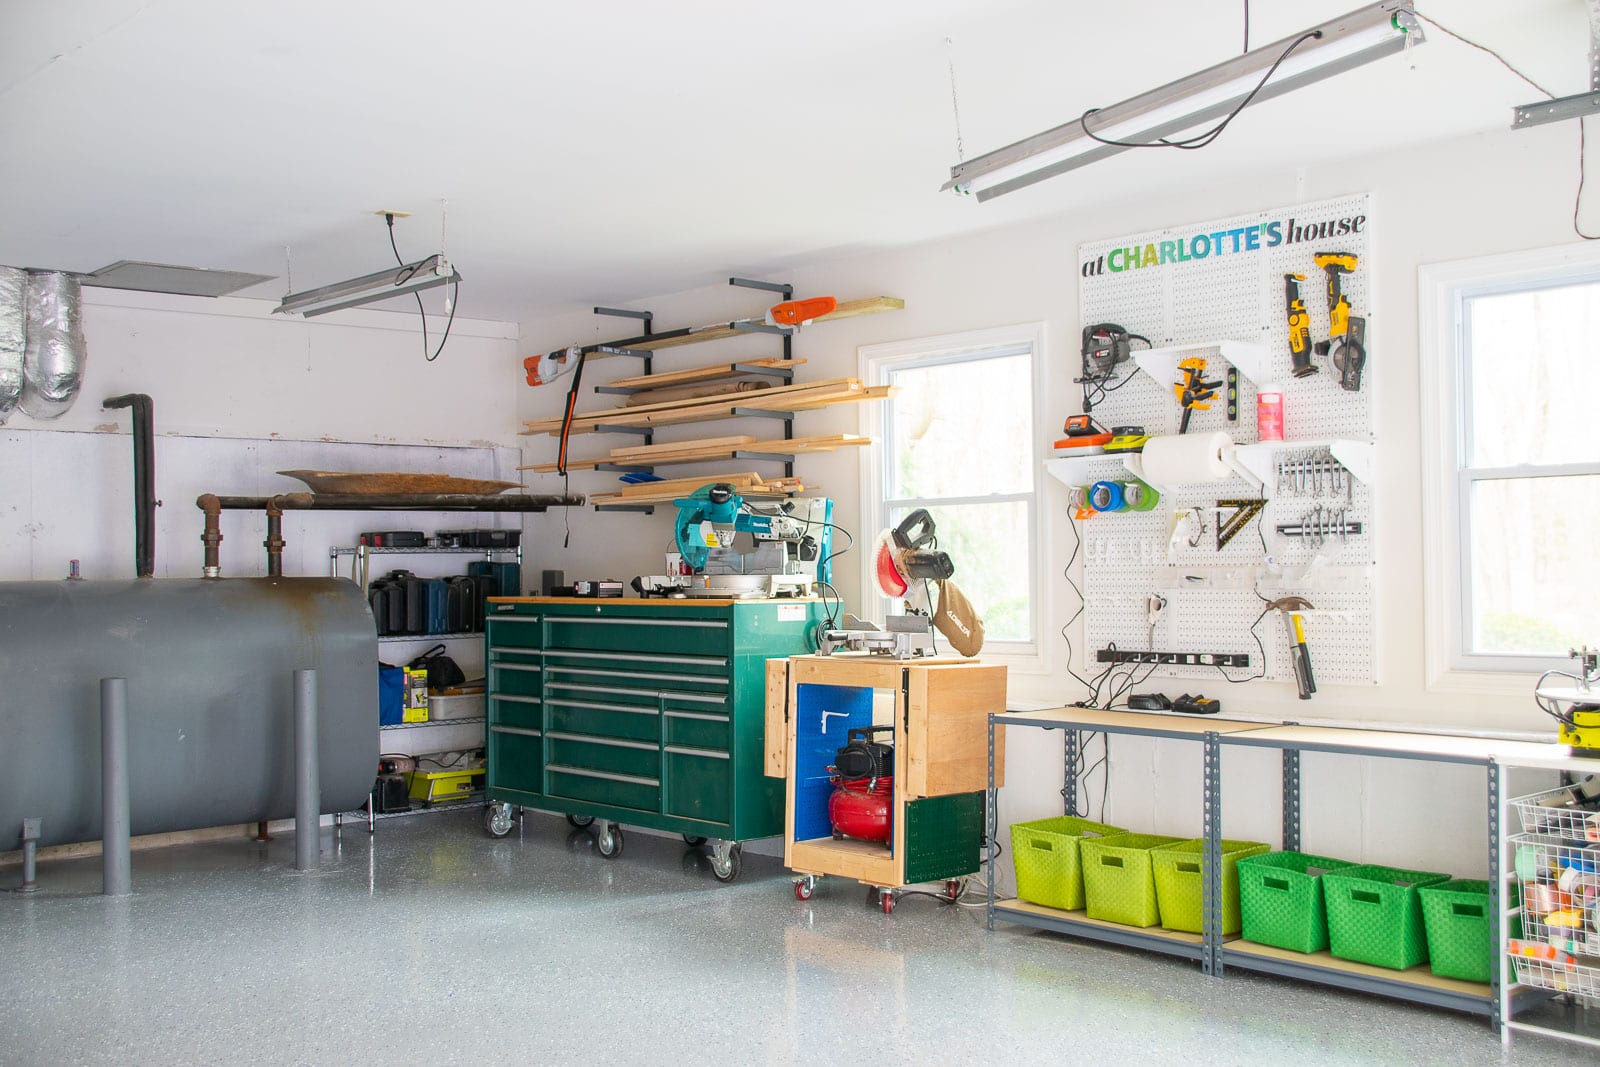
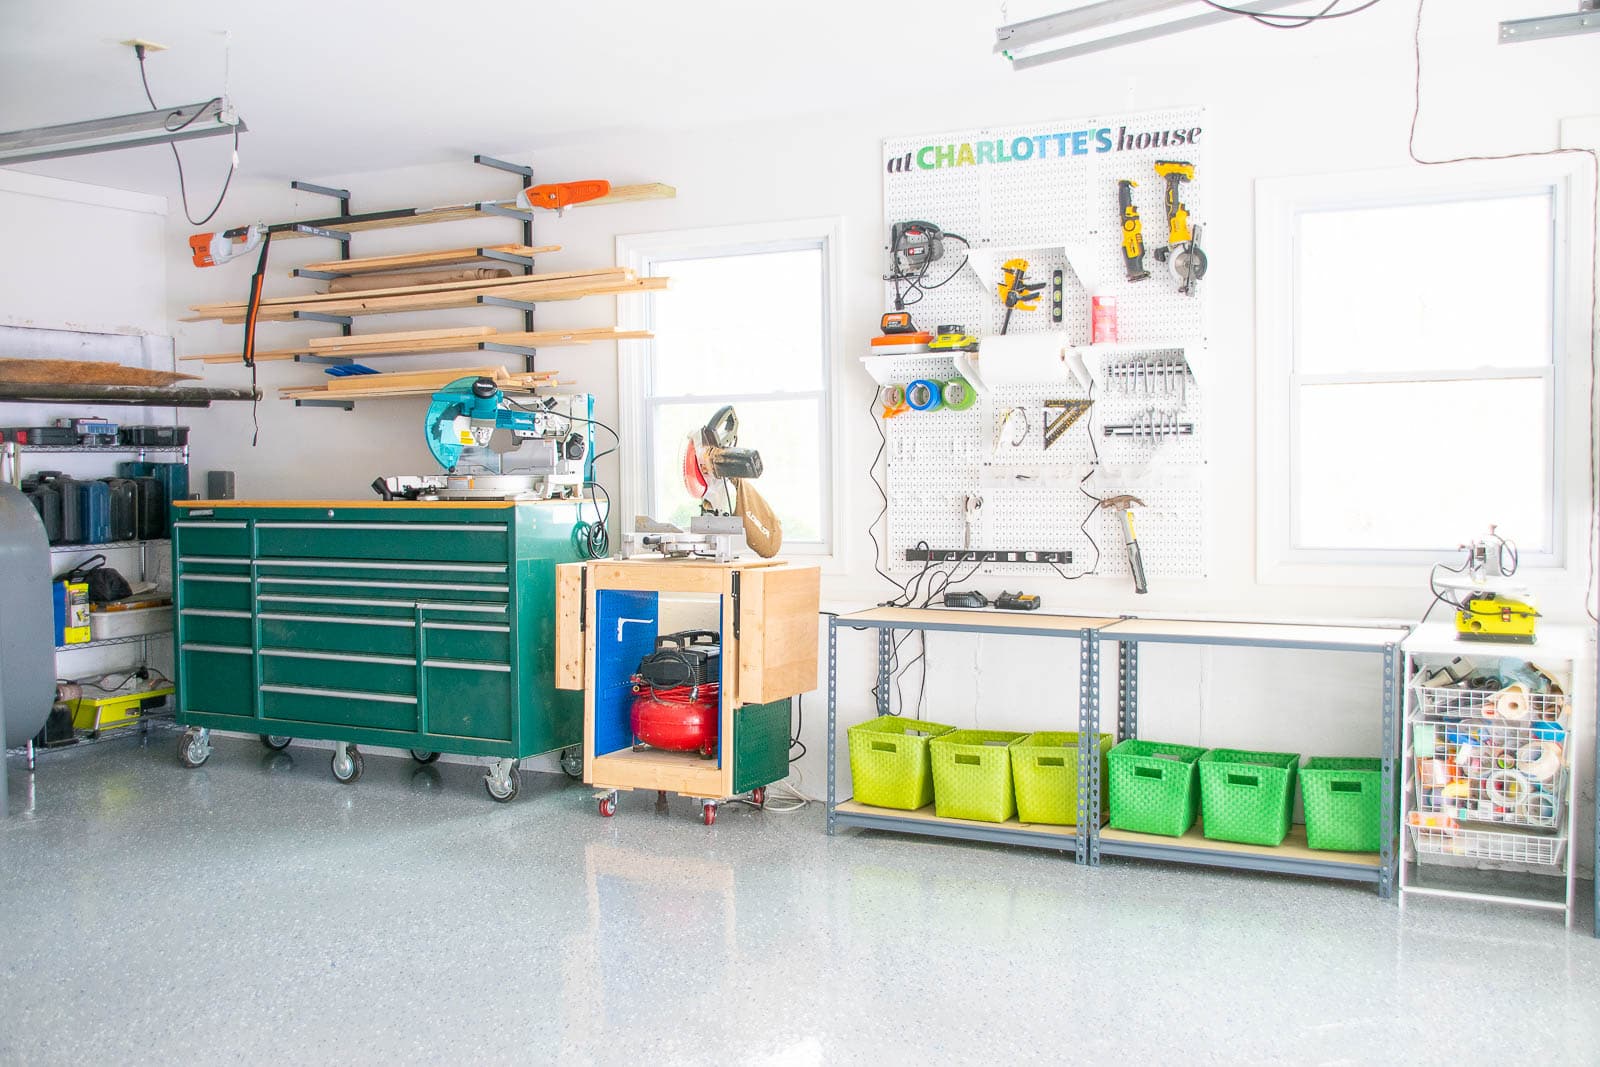
I’m not sure I would have reorganized and refreshed the garage if it hadn’t been for my garage floor makeover! I’ve been dying to try this RockSolid garage floor coating for years and ever since we closed on the current house, I’ve been waiting for the temperature to get warm enough that I could tackle the floor! To see all the various organizational things I did in here, check out my blog post about the garage reveal. There’s a full materials list of the added storage items over there!
Before I start, note that our garage floor needed a lot of prep. Like a lot a lot. Yours may not require allllll these steps if you’re lucky. Also note that each step of this makeover was basically simple, but there definitely were a number of steps. Try not to get overwhelmed and just take it one step at a time.
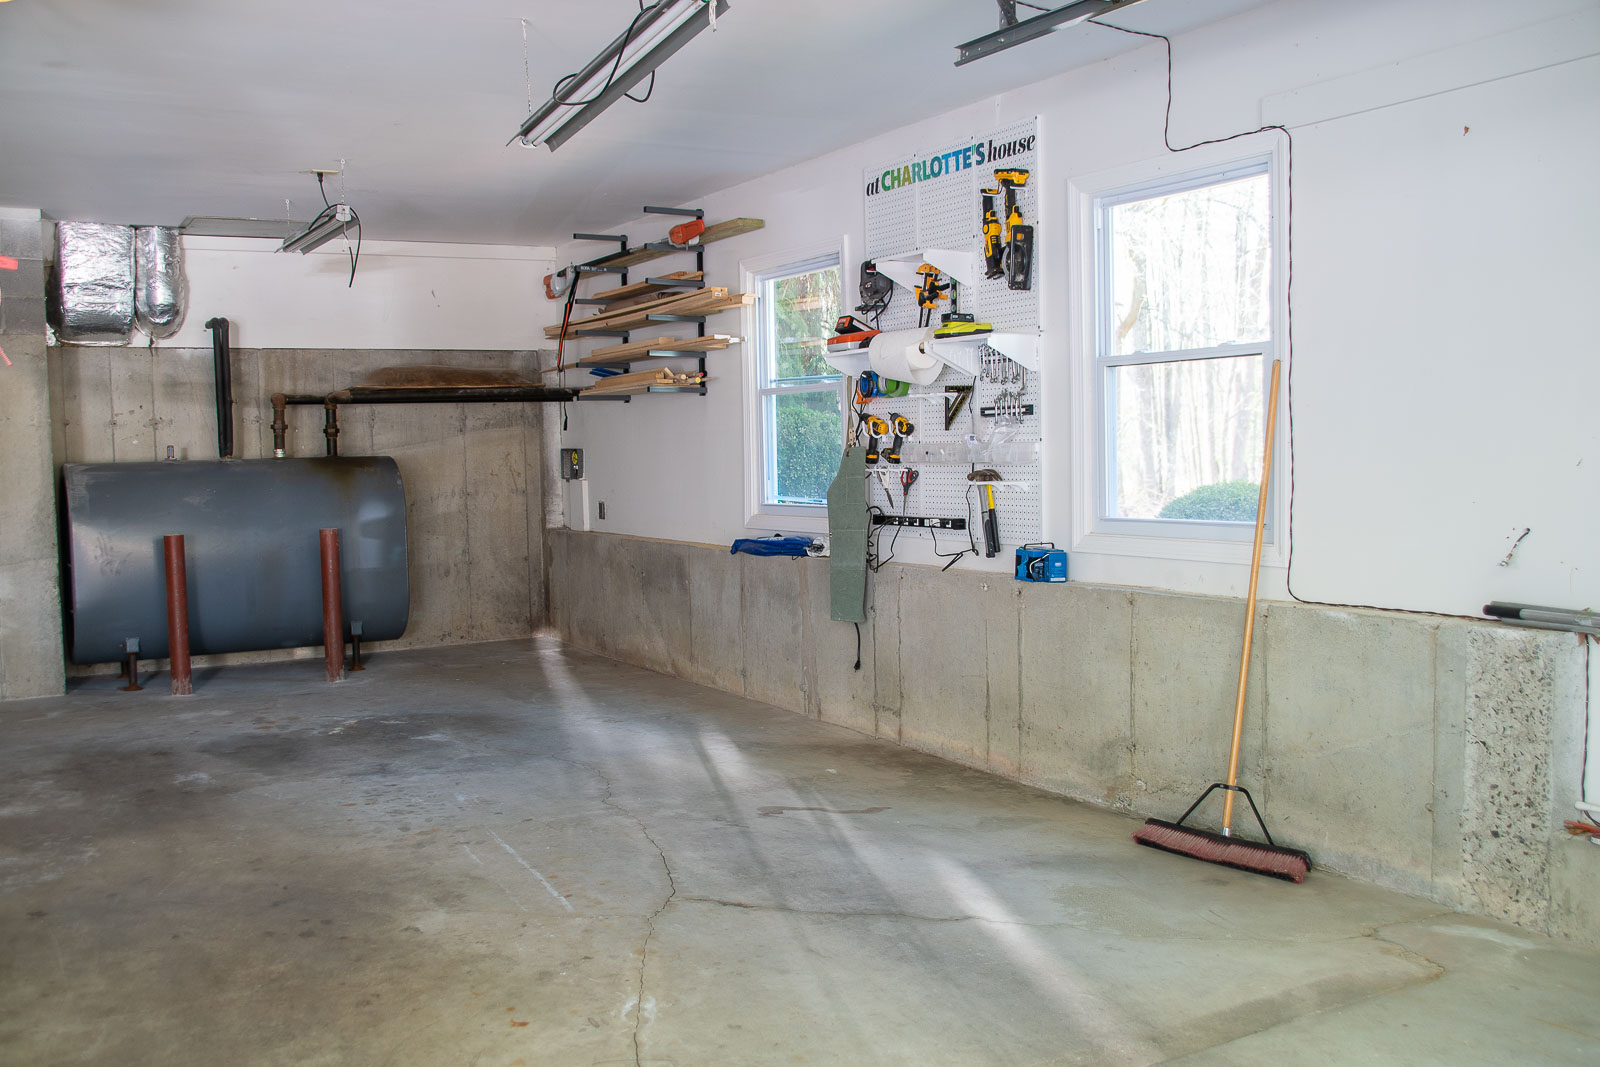
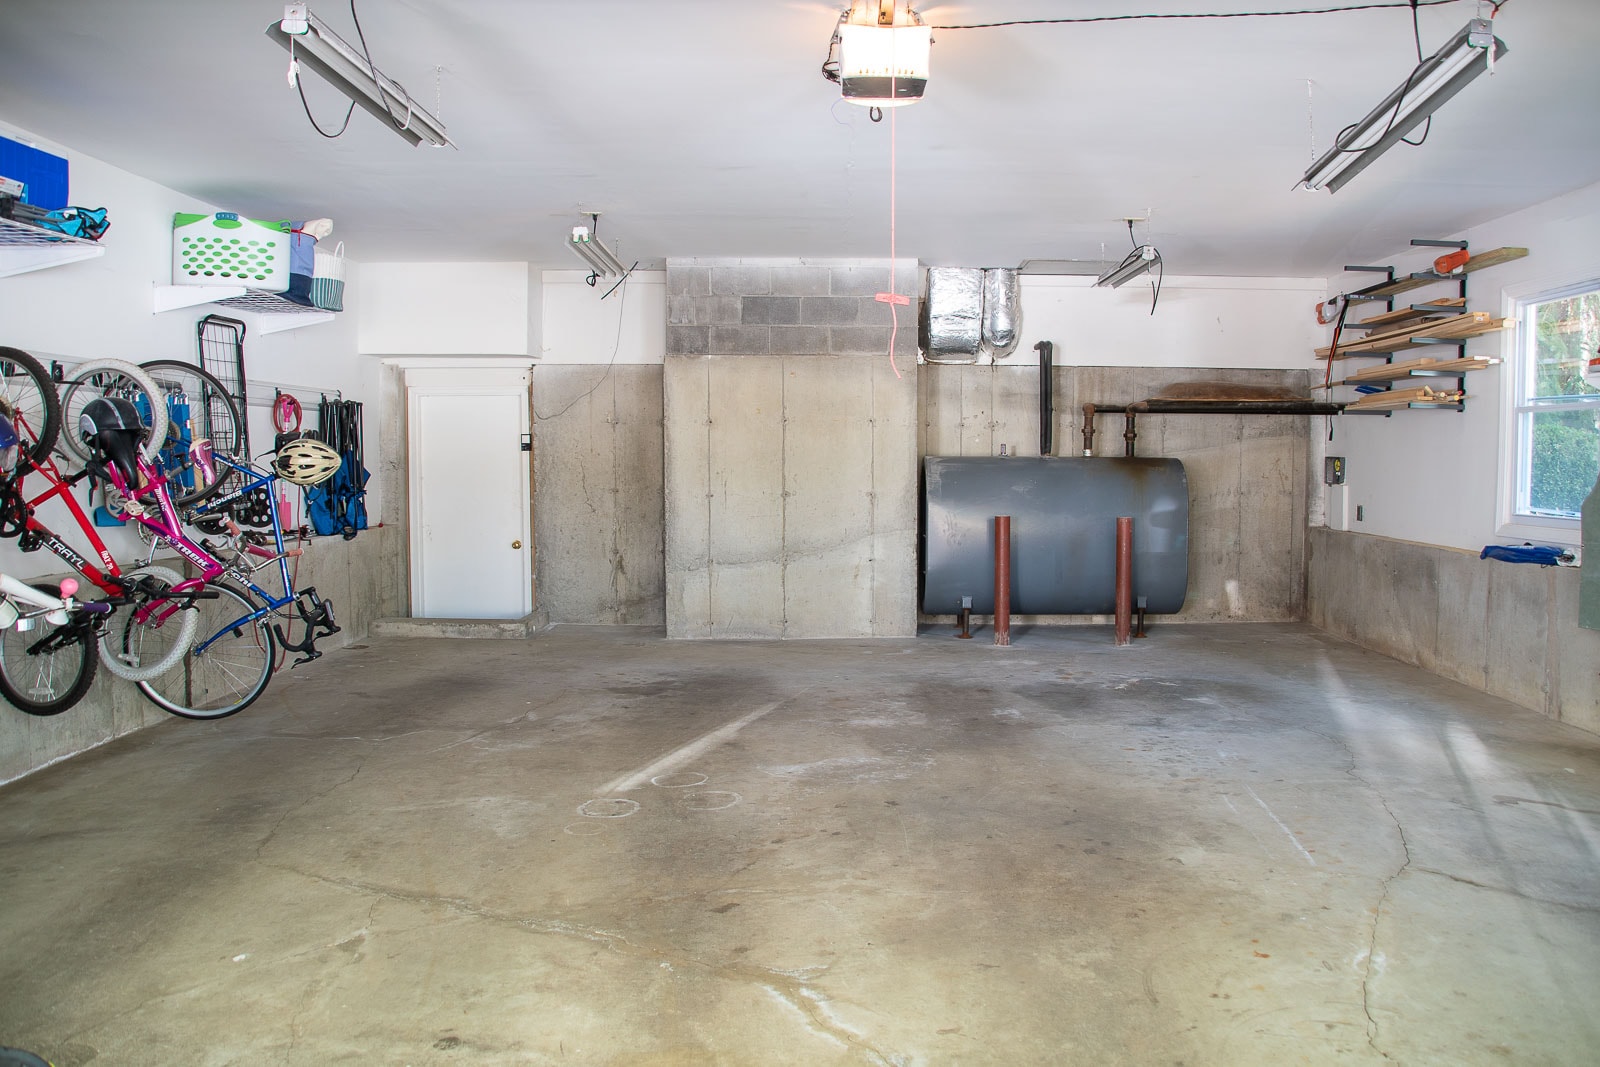
Step 1. Empty the space
No surprise here… I had to take everything out of the garage. Because I’d organized everything first, it wasn’t too hard to unload it all into the driveway, but the whole floor took about a week for me so plan accordingly. I ended up putting half the contents onto a tarp and covering it for a week because we had rain in the forecast.
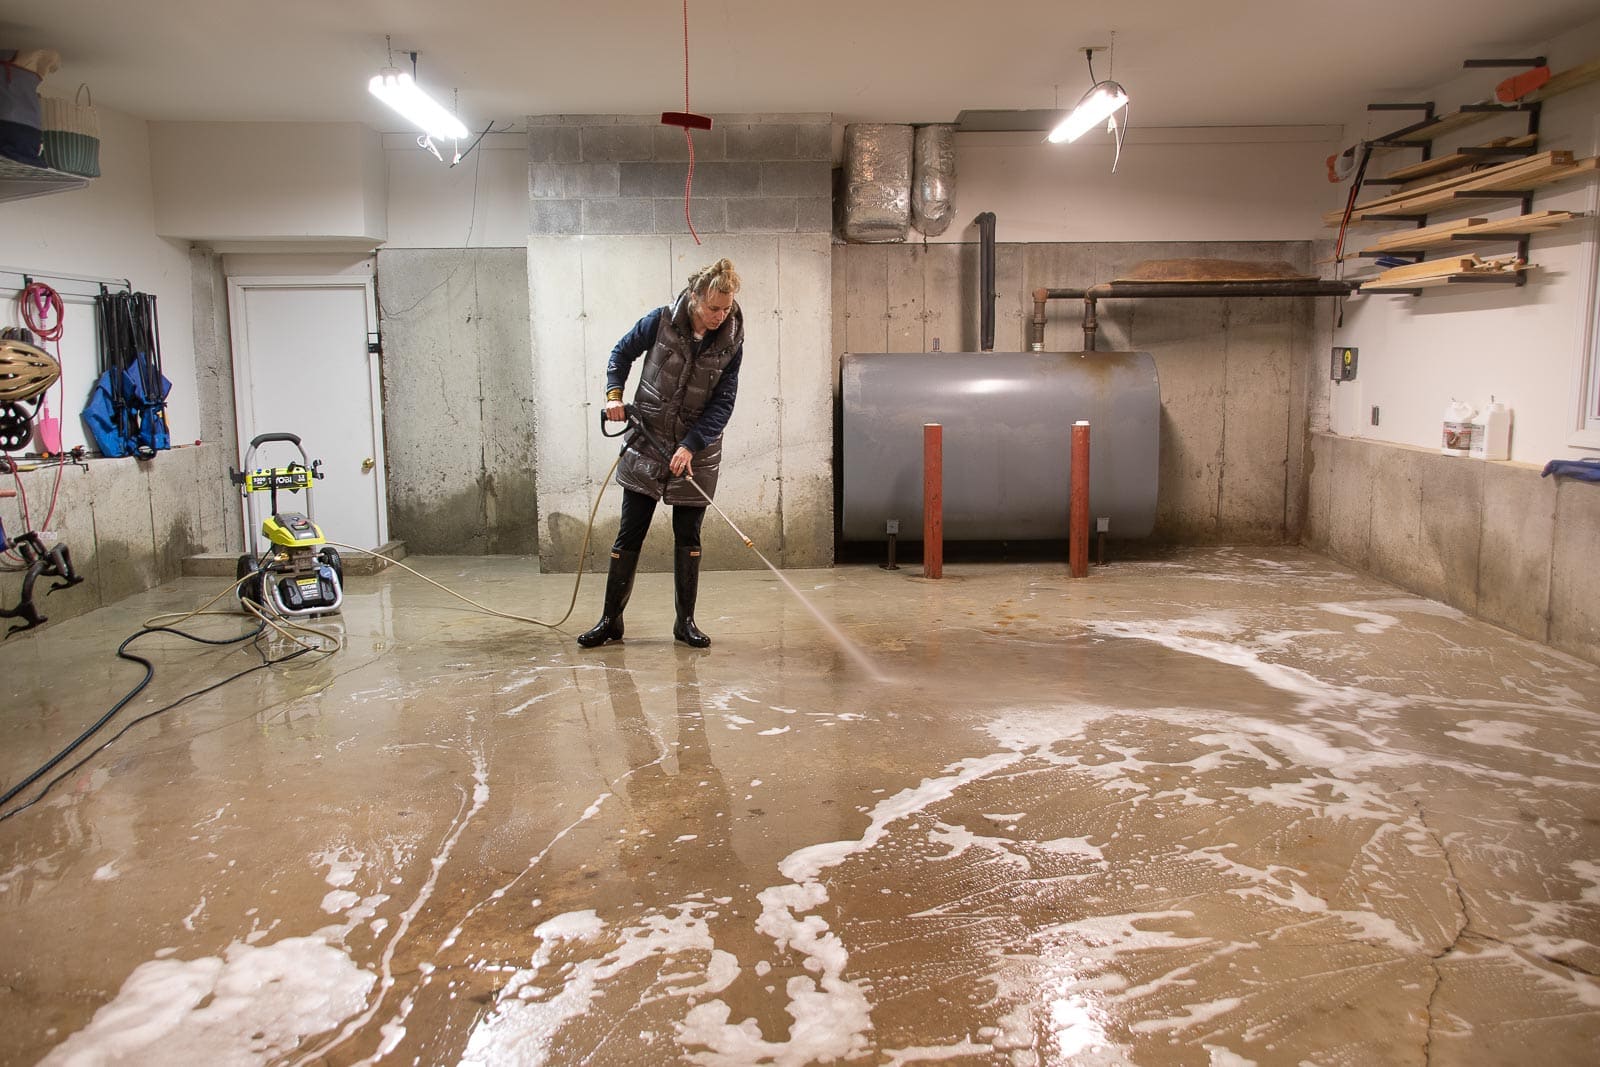
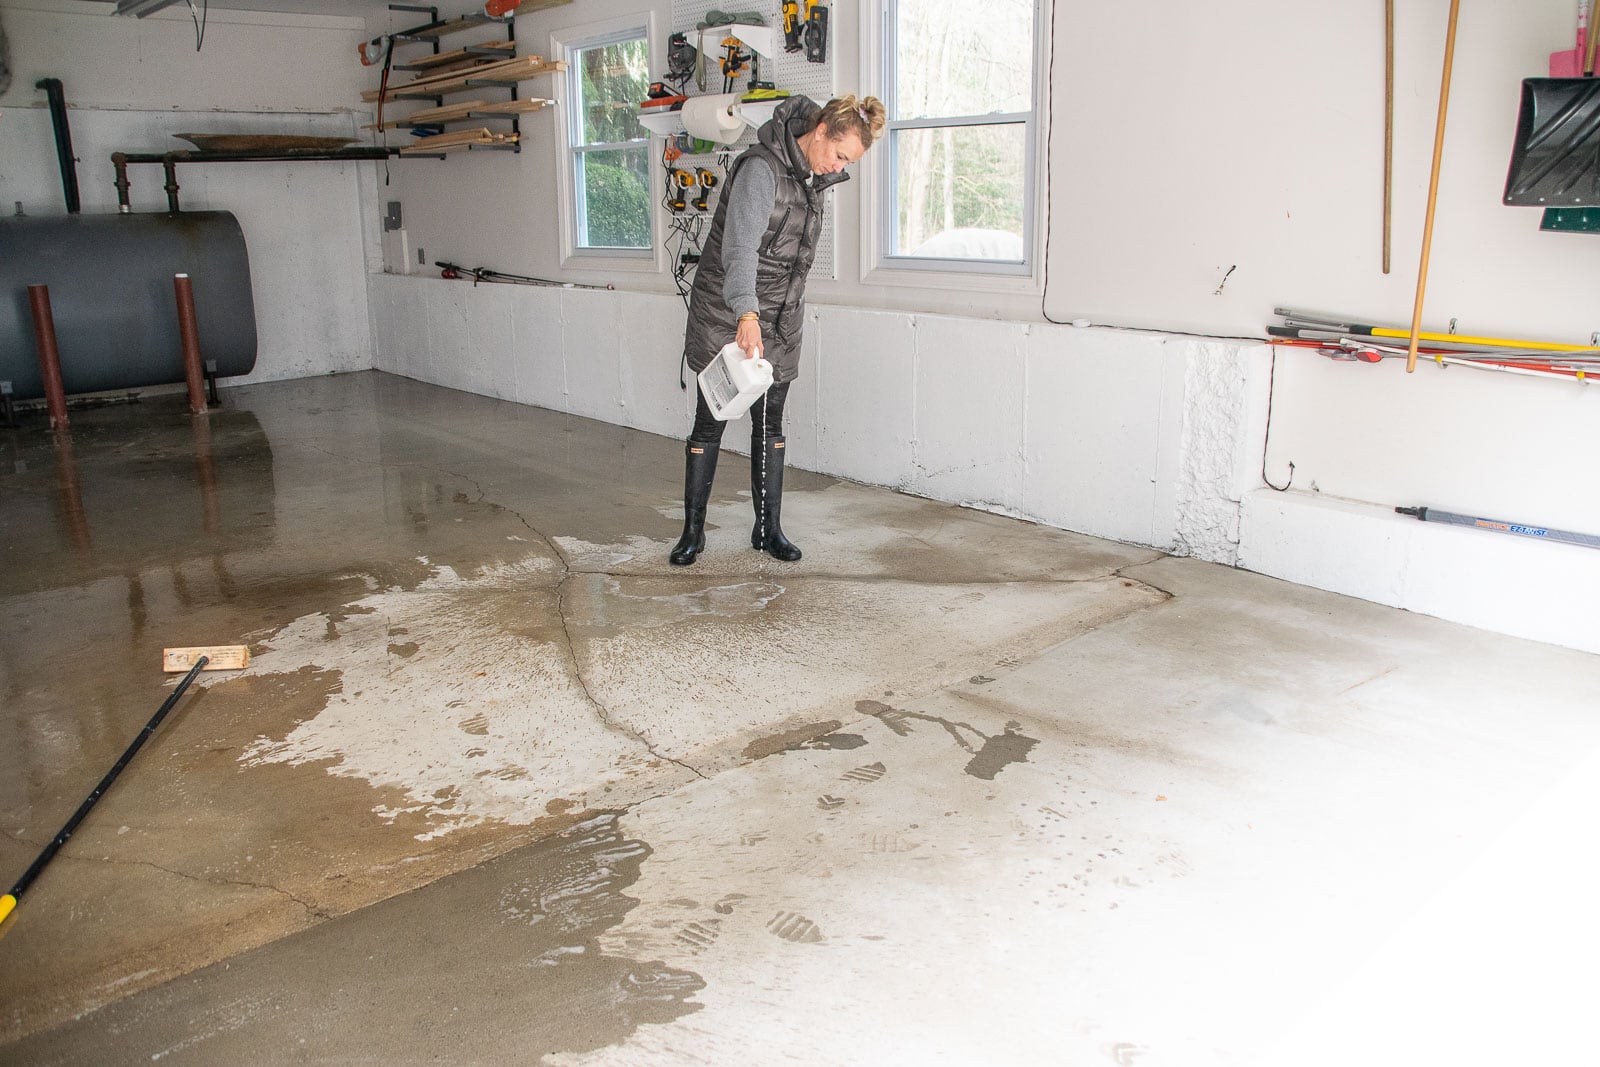
Step 2. Power Wash and Degrease
I started by pressure washing the whole space. There was obvious staining and evidence of oil on the floor so once I’d power washed, I scrubbed the floor with this Rust-Oleum Cleaner. Follow the directions on the package which are to scrub and then let sit for 20 minutes before rinsing. I used a squeegee to help get rid of excess water so it would dry faster between steps.
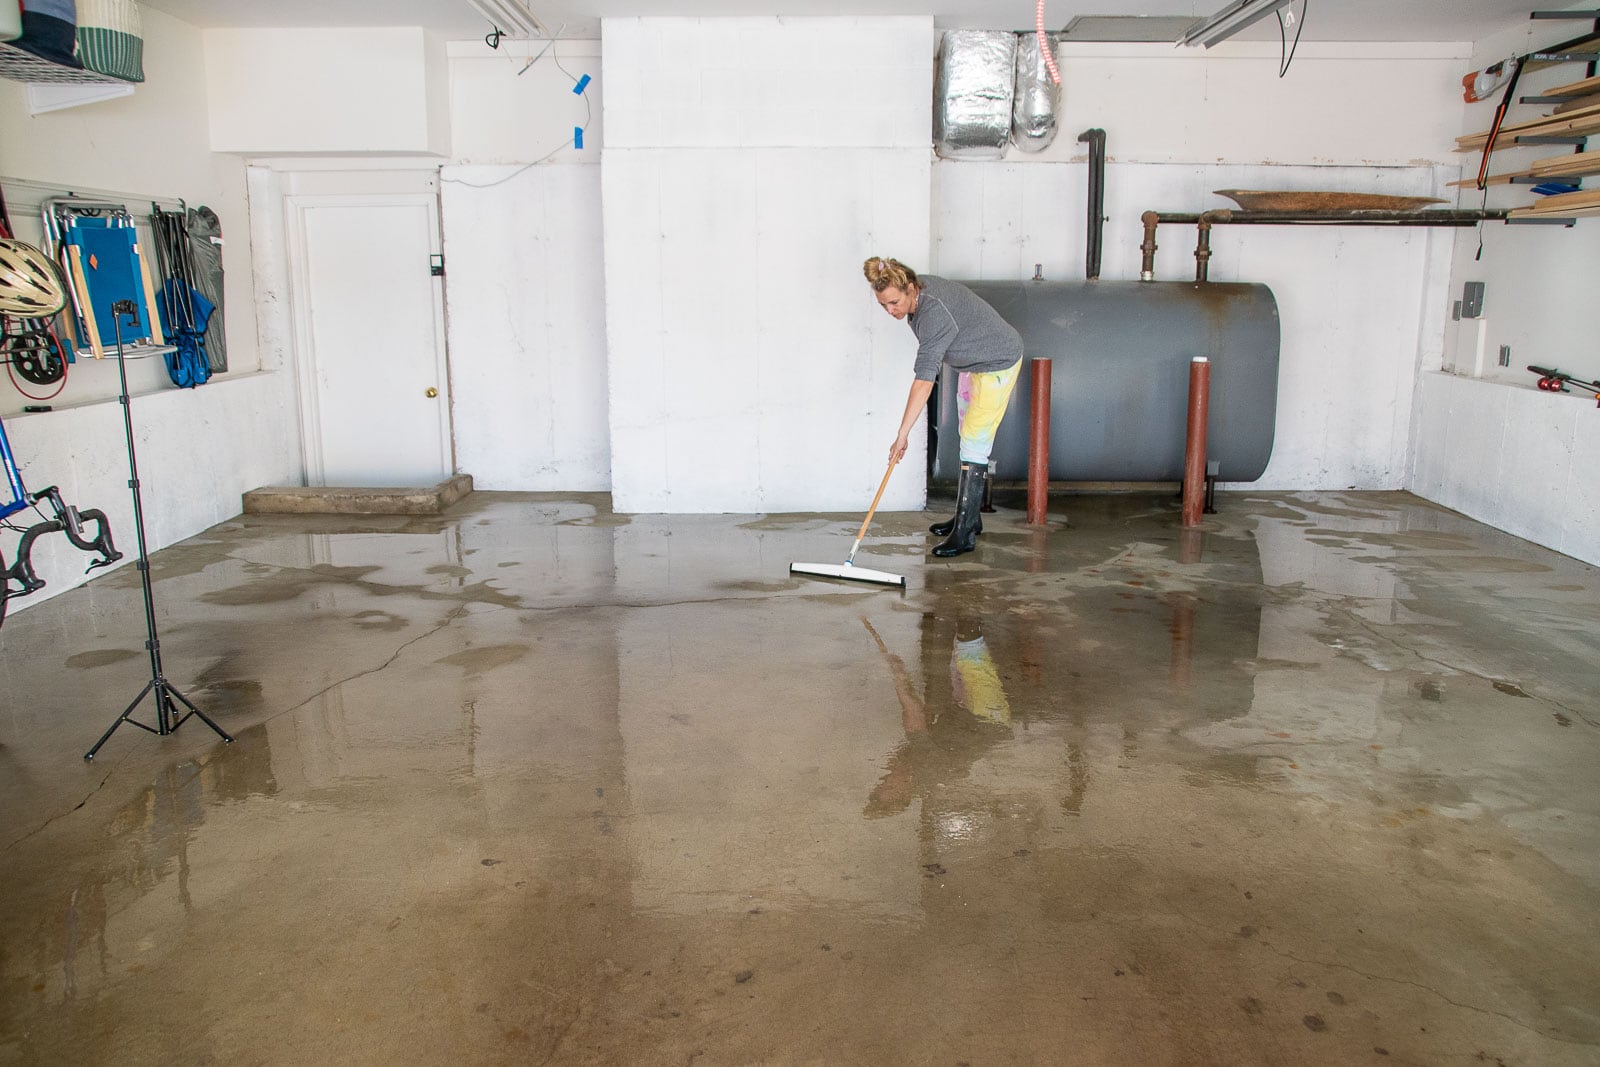
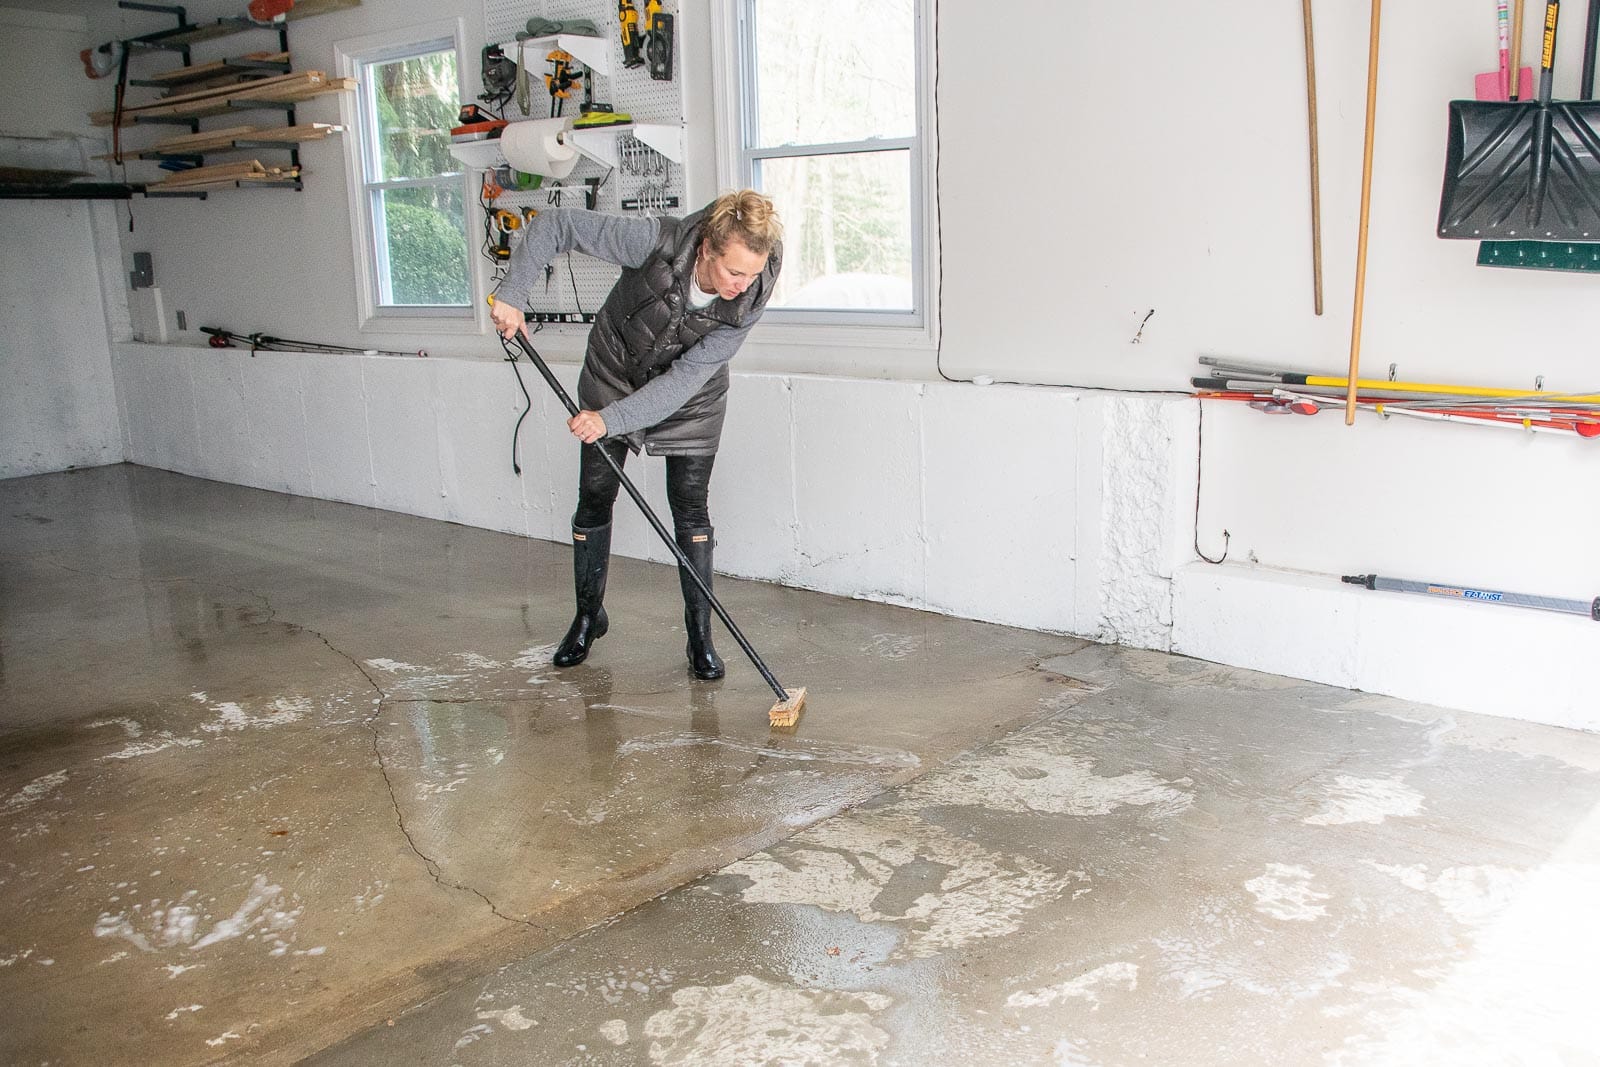
Step 3. Etch
The etching powder comes in the RockSolid kit, It’s a powder that you mix with water and then scrub onto the concrete and let sit. The etching essentially ‘opens up the concrete pores’ so that it’s ready for the paint. I used the same scrub brush for every step of this makeover… this etching step felt a lot like I was just scrubbing the floor with water- the etching mixture isn’t thick or colored or anything. Once you’ve scrubbed it onto the floor, you need to rinse it off a few times.
Step 4. Moisture Stop
Once the floor was dried out from etching, it was time to apply the Moisture Stop. Your floor may not need this, but I was worried the cracks in our floor were allowing moisture to come up through the concrete. They suggest testing your bare concrete for this by taping a piece of plastic onto the floor and if condensation/ moisture builds up under the plastic then you know your concrete needs to be sealed. The moisture stop is applied much like the etching solution, except for you need to let it sit for 20 minutes before rinsing.
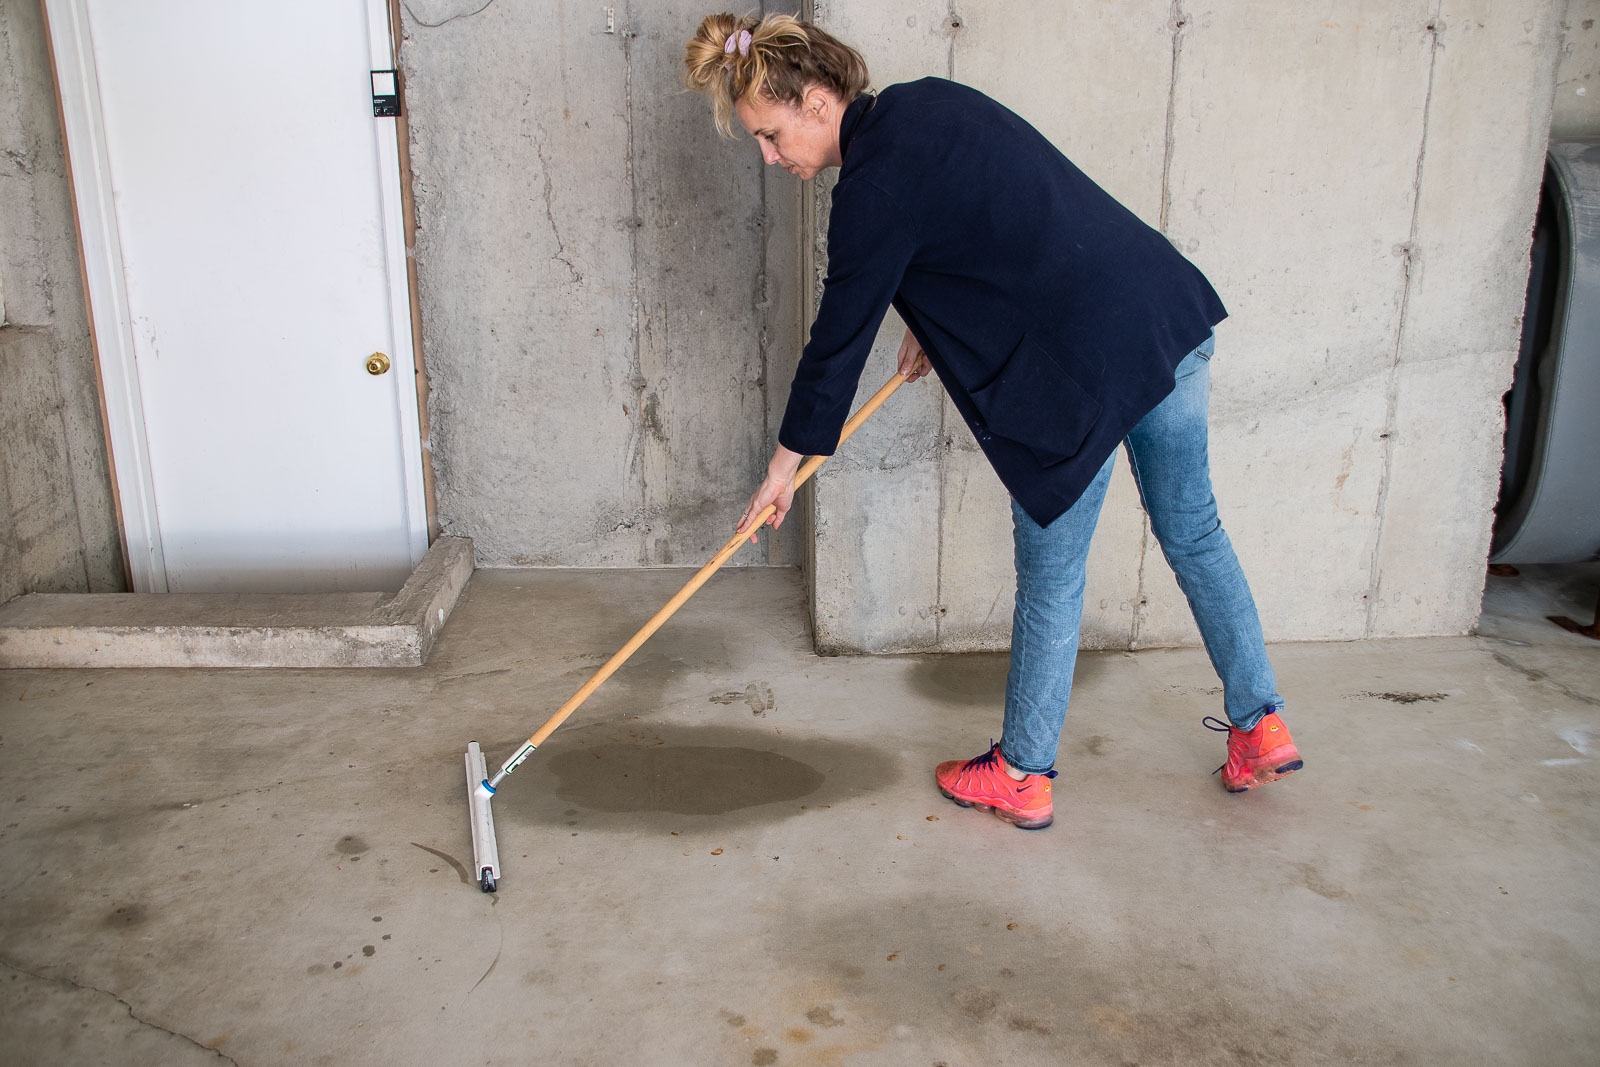
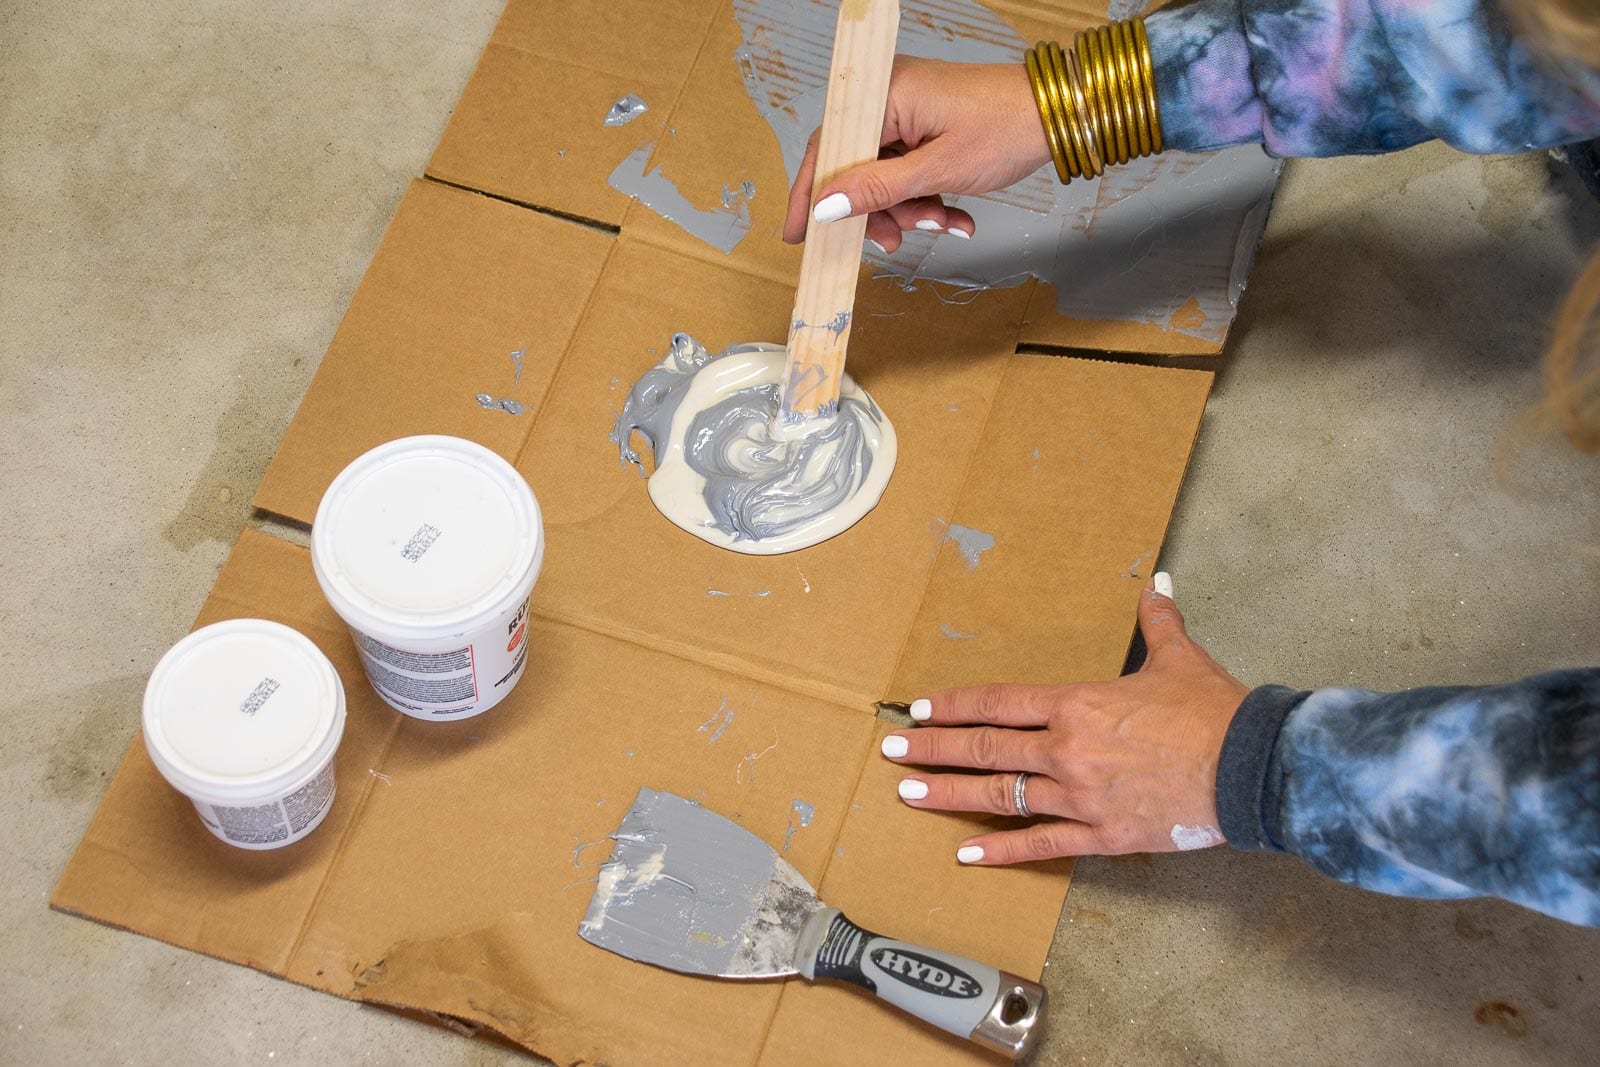
Step 5. Patch
Once again I had to wait for the floor to dry out (are you beginning to see what was the longest part of this process?) before moving onto the next step: patching the cracks in the floor. Again, your floor may not have any cracks that need patching so you may be able to skip this step! I used RustOleum’s Concrete Patch and Repair and it couldn’t have been easier. This patch is made to support the weight of a car so it’s heavy duty stuff. The directions say to mix two parts from Container A with 1 part from Container B. I eyeballed it with a paint stirrer and mixed them together on a scrap piece of cardboard as suggested. (There was no mention of making forensic measurements so I can only assume that my ‘best guess’ was good enough!
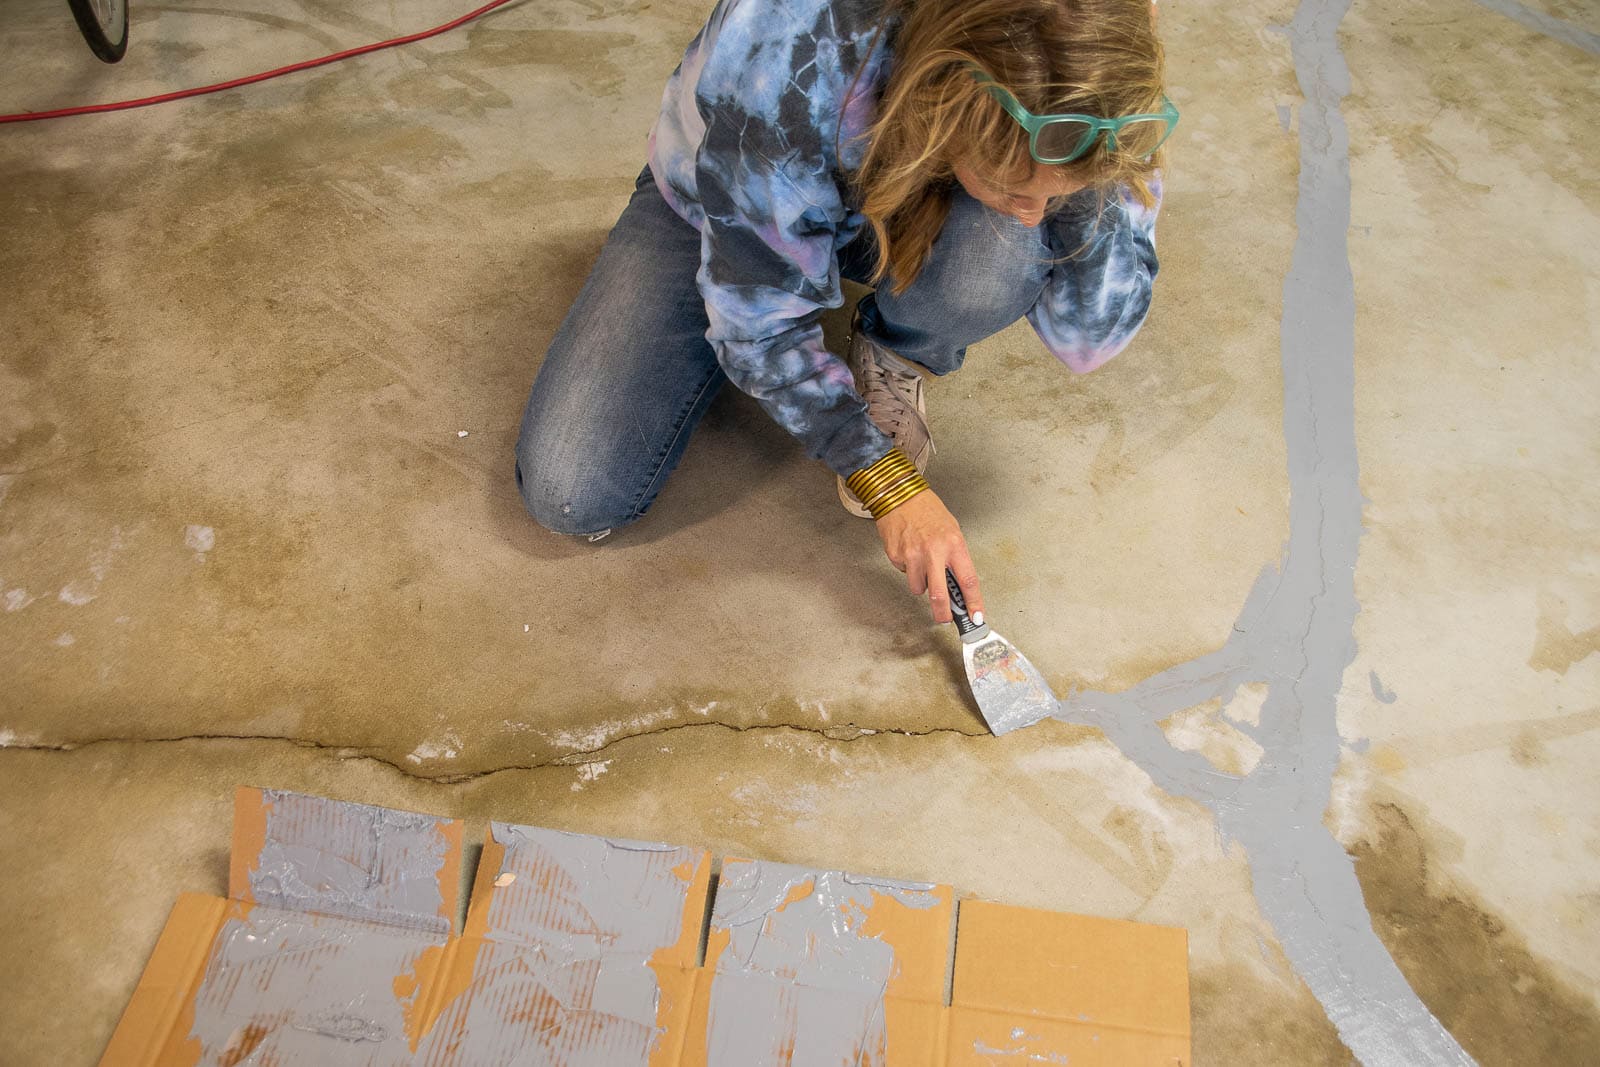
Once the patch is mixed, you only have about 30 minutes to work with it so I mixed and worked with small amounts at a time. Using a paint scraper I smoothed the epoxy fill into the cracks. Just the way you would fill a nail hole, drag your scraper across the crack filler to smooth it out as well as you can. I didn’t need to, but you can add a second layer if you have deeper cracks that need more fill. I let mine sit overnight to cure before painting.
Step 6. Paint
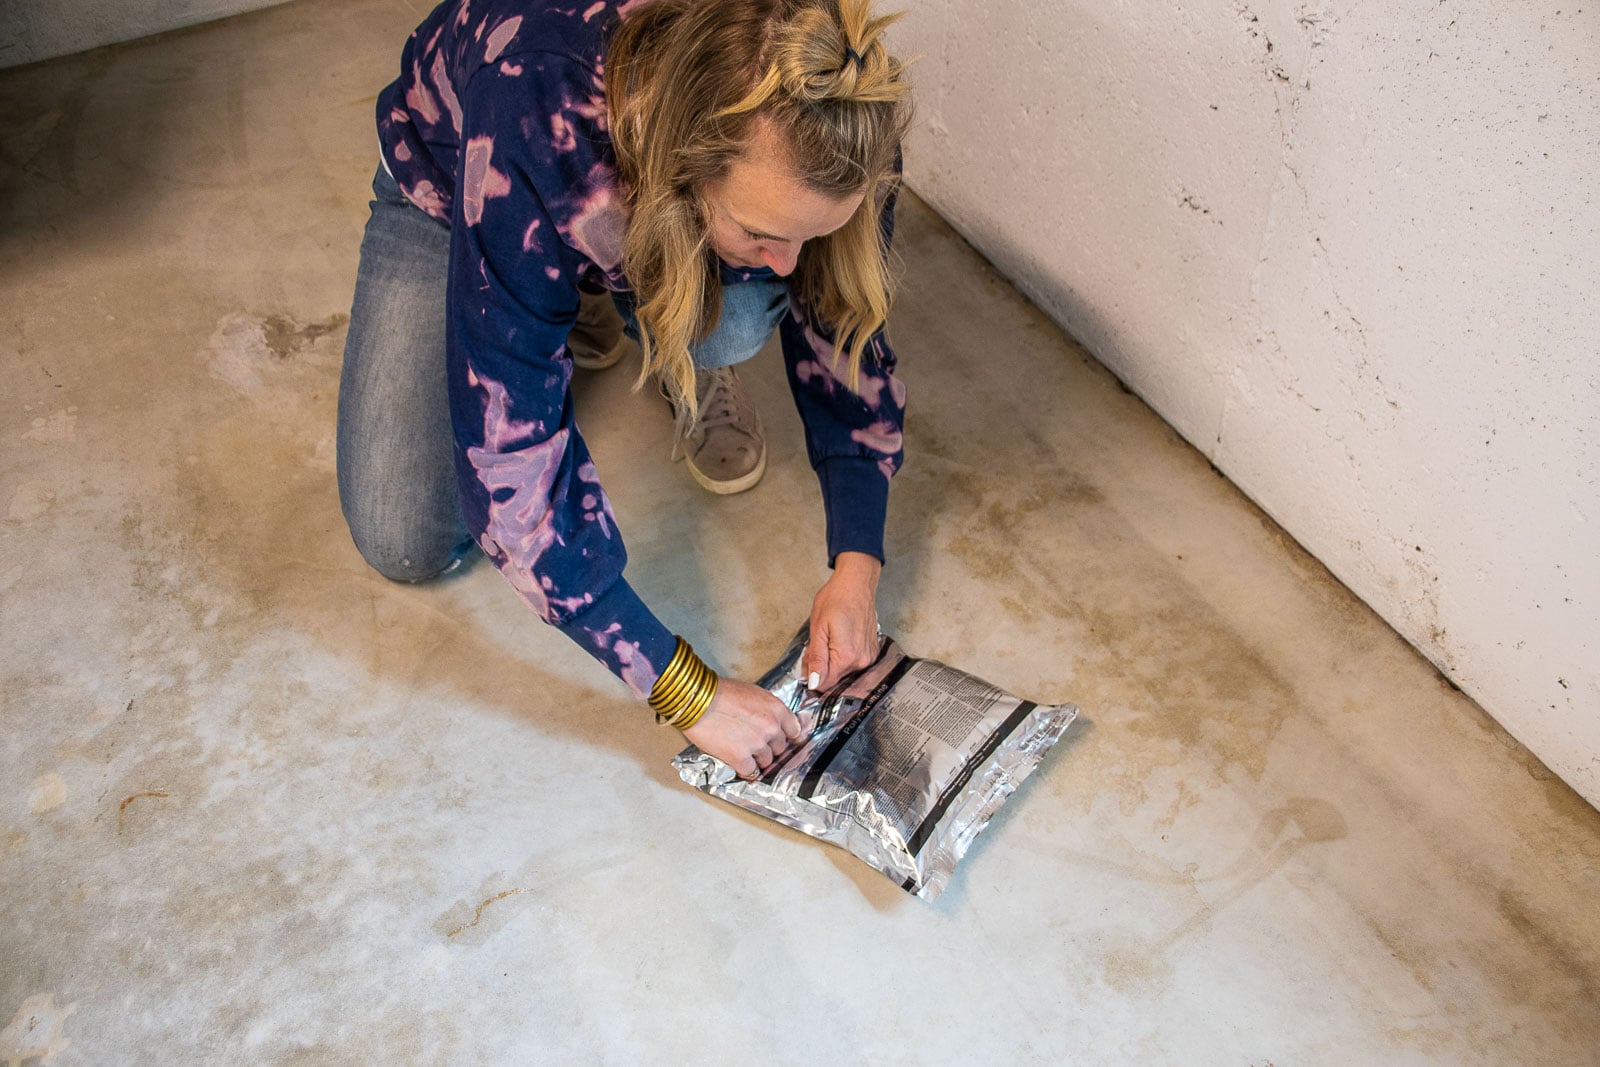
After so much prep, not gonna lie, I was a little nervous to paint! Instructions for the coating were just as simple as all the other steps. Similar to the patch, the coating comes in two separate parts and you have to mix the two together. It comes in a special burst pouch that keeps the two parts separate until you roll one part towards the other like a tube of toothpaste. The pressure from rolling one side into the other pops the center seam and, voila, they combine together. Shake the envelope for a few minutes to mix.
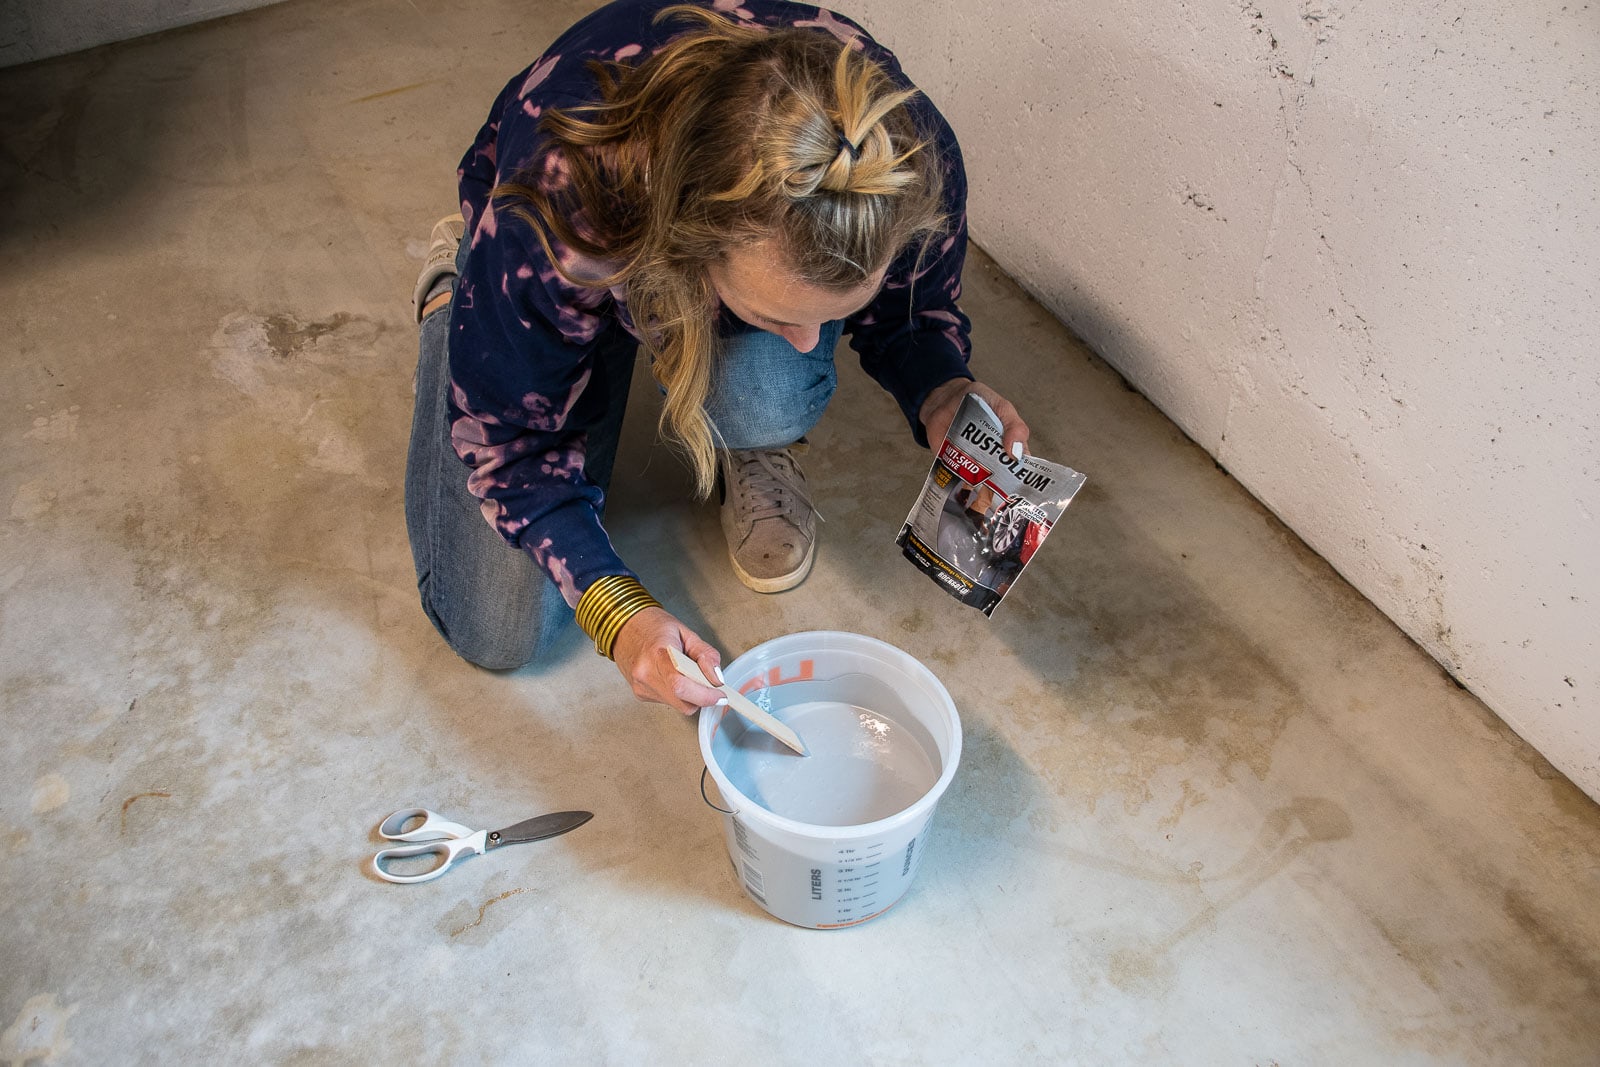
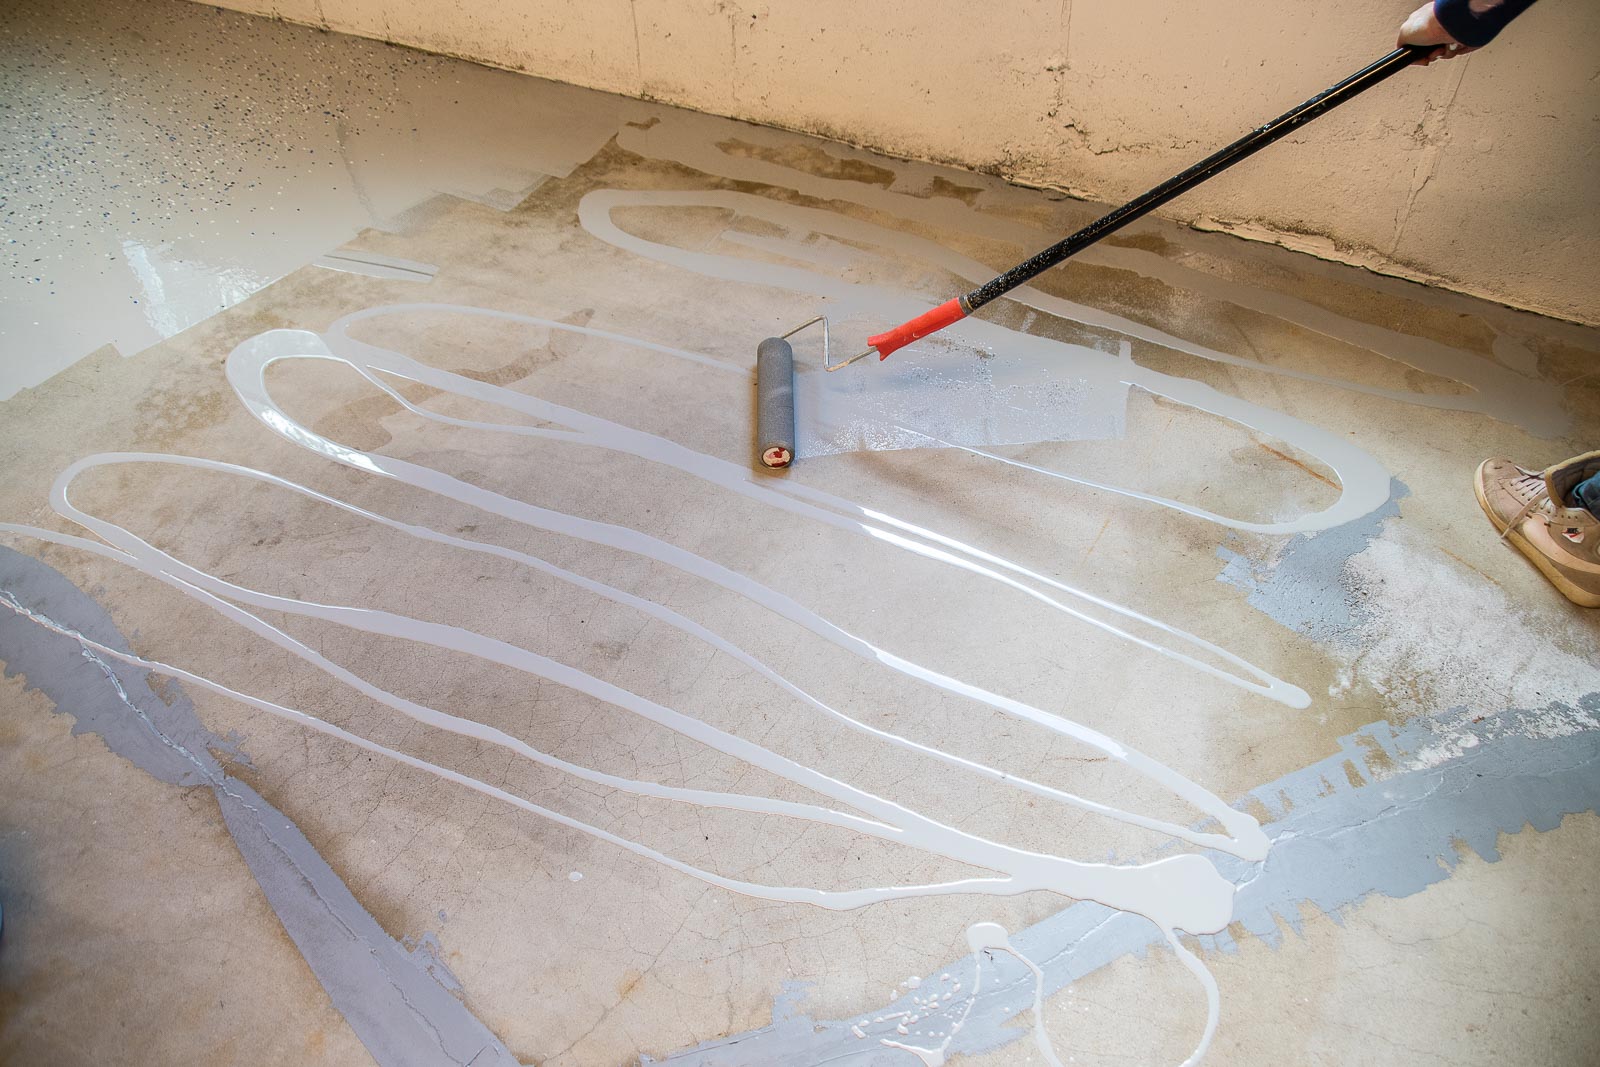
A bunch of you told me that once it’s painted, this floor can be slippery when it gets wet. There’s an anti skid powder you can mix in with the paint to give it the tiniest bit of texture so I figured why not. I mixed the anti skid along with the paint in a bucket (if you’re not adding the anti skid you can just pour the paint directly from the pouch onto the floor.) There are lots of great videos on RustOleum’s site, and one I watched said to work in 4×4 sections and to drizzle the paint directly onto the floor before rolling. I ended up having enough paint, but I definitely poured it on a little heavy at the beginning. Attach your roller to a pole so you can reach the whole area. (In the paint section of the hardware store, they sell wooden poles with threads on the ends that will twist right into the end of a regular paint roller.)
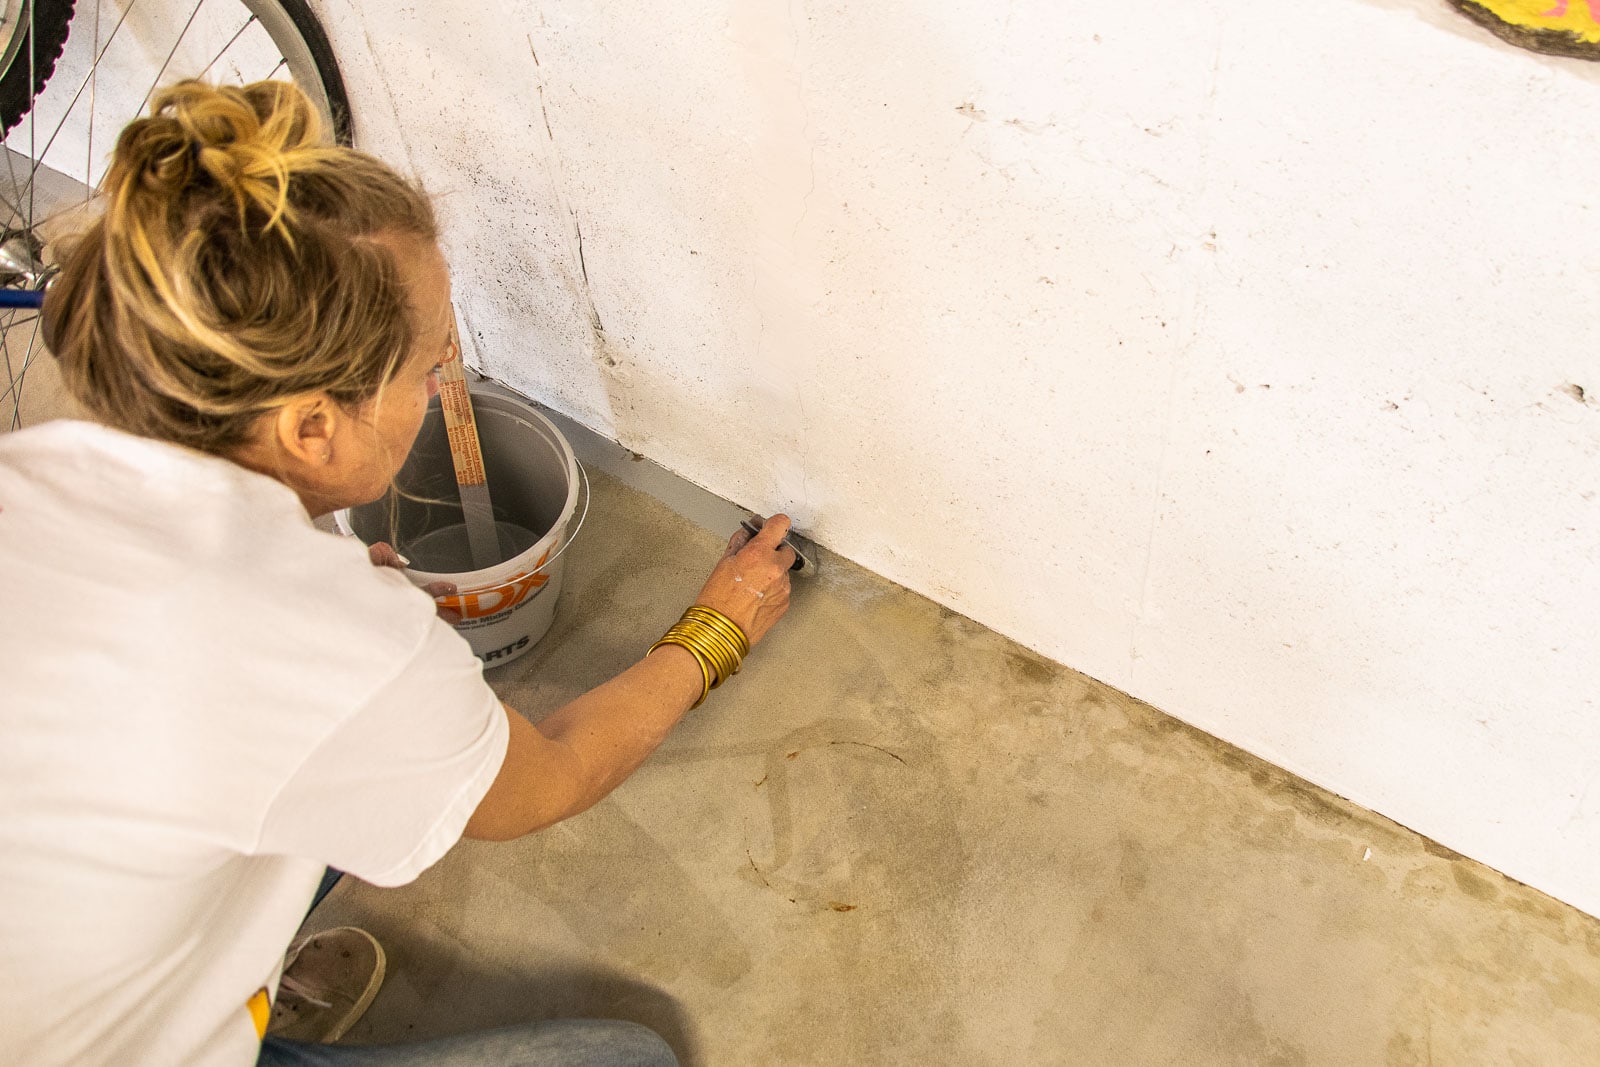
 Around the edges, I used a paint brush to cut in first before rolling.
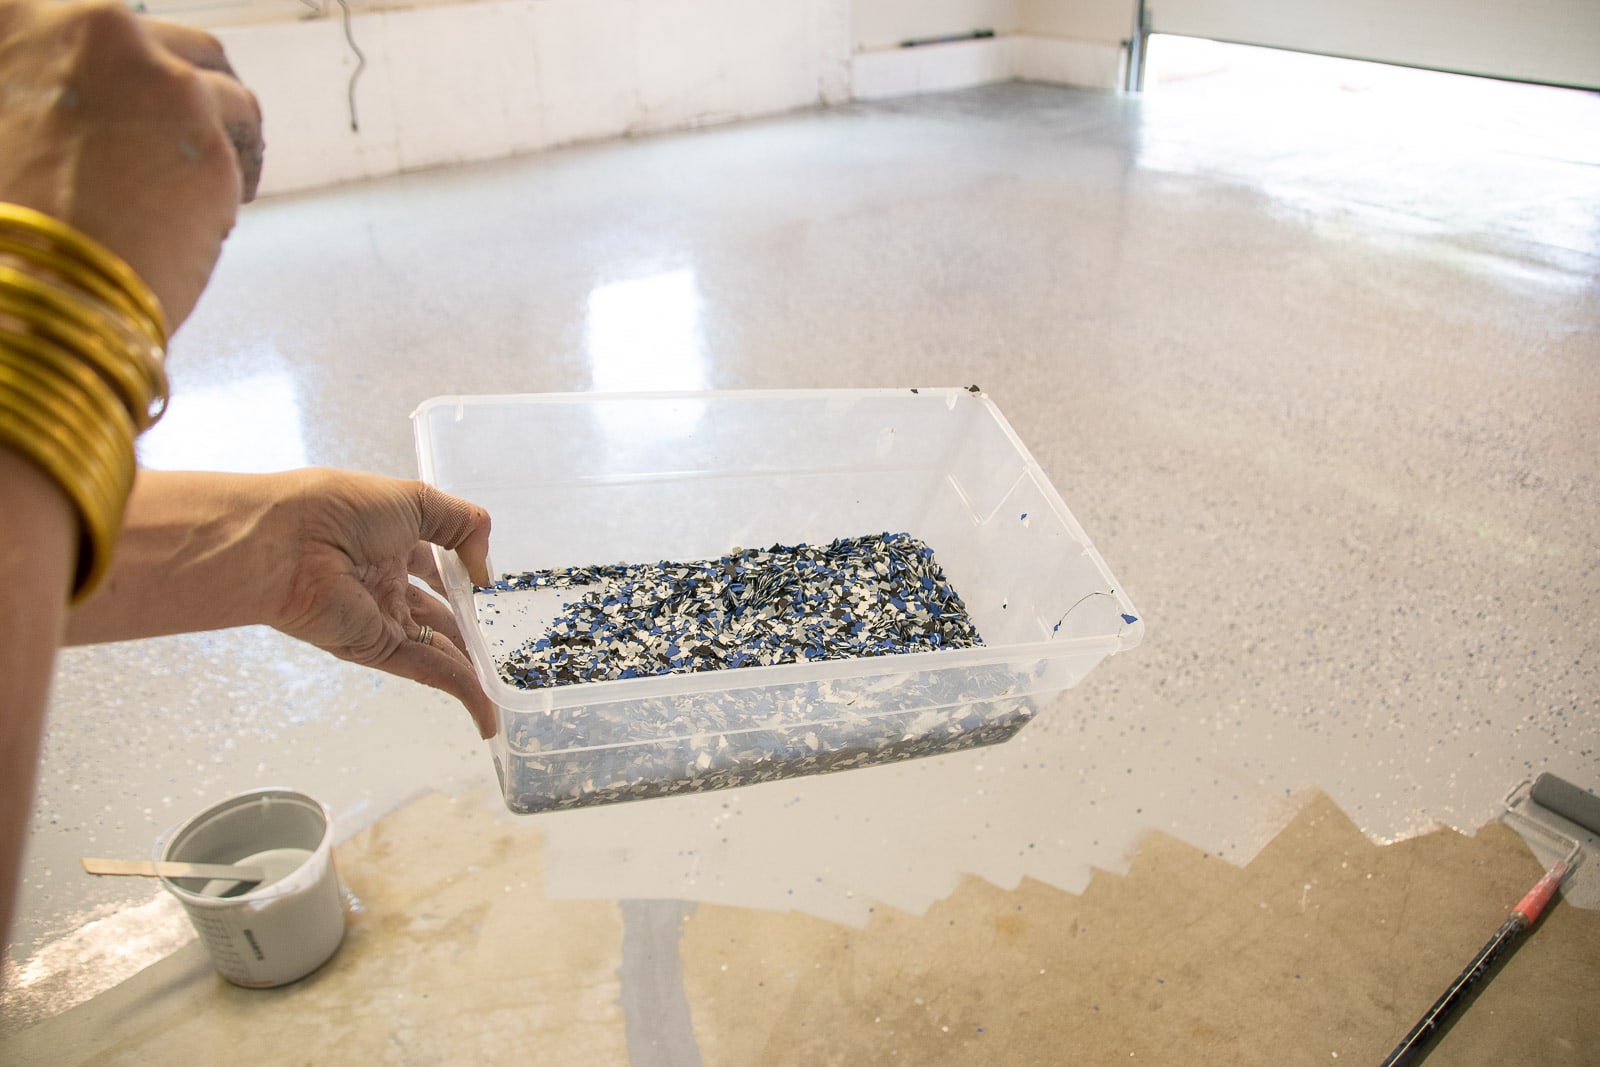
This next step is optional but I’m really glad I did it: the colorful chips! These come in the box and add a fun pattern and a little bit of texture to the floor. I decided to add them because I wasn’t sure whether all my patched cracks would show up through the paint and I figured the flecks might help camouflage it. To ‘apply’ the chips, take a small pinch in your fingers and throw them up in the air so that they land gently onto the surface of the wet paint. I wasn’t sure how well they’d adhere but trust me… they’re all solidly in place! I used extra bags of chips, so if you like the pattern of my floor, you might need to add more chips than the ones provided in the floor kit.
Step 8. There isn’t one! You’re done!
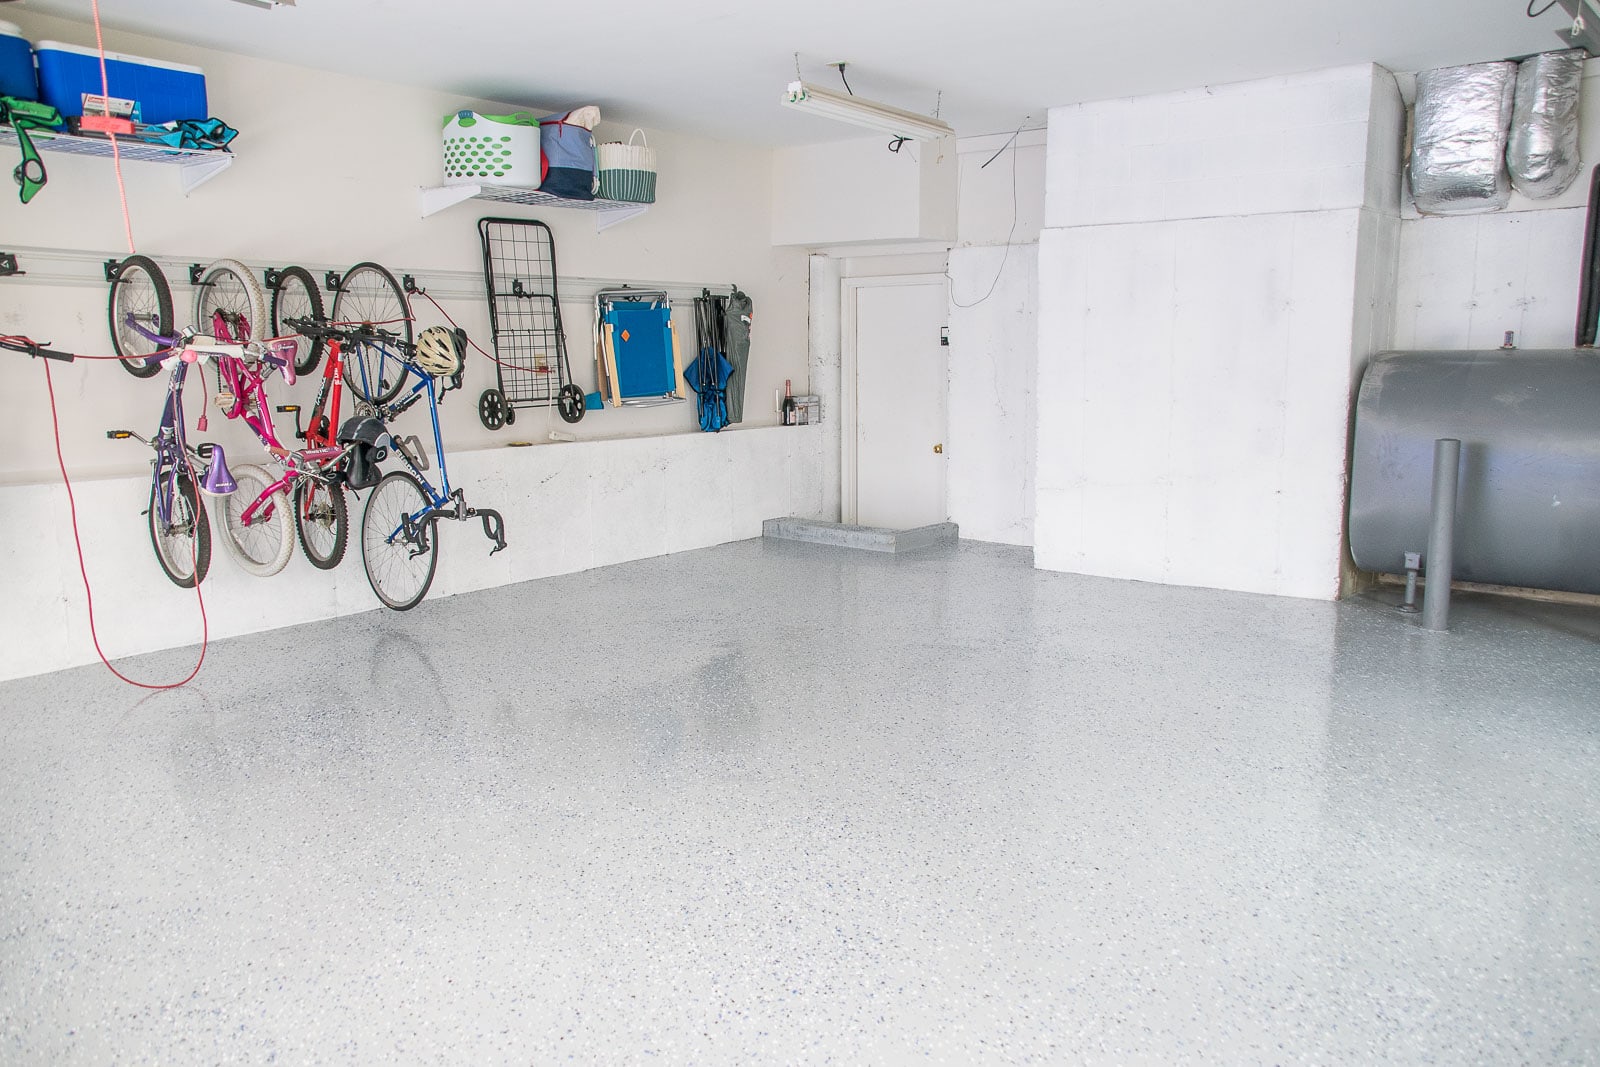
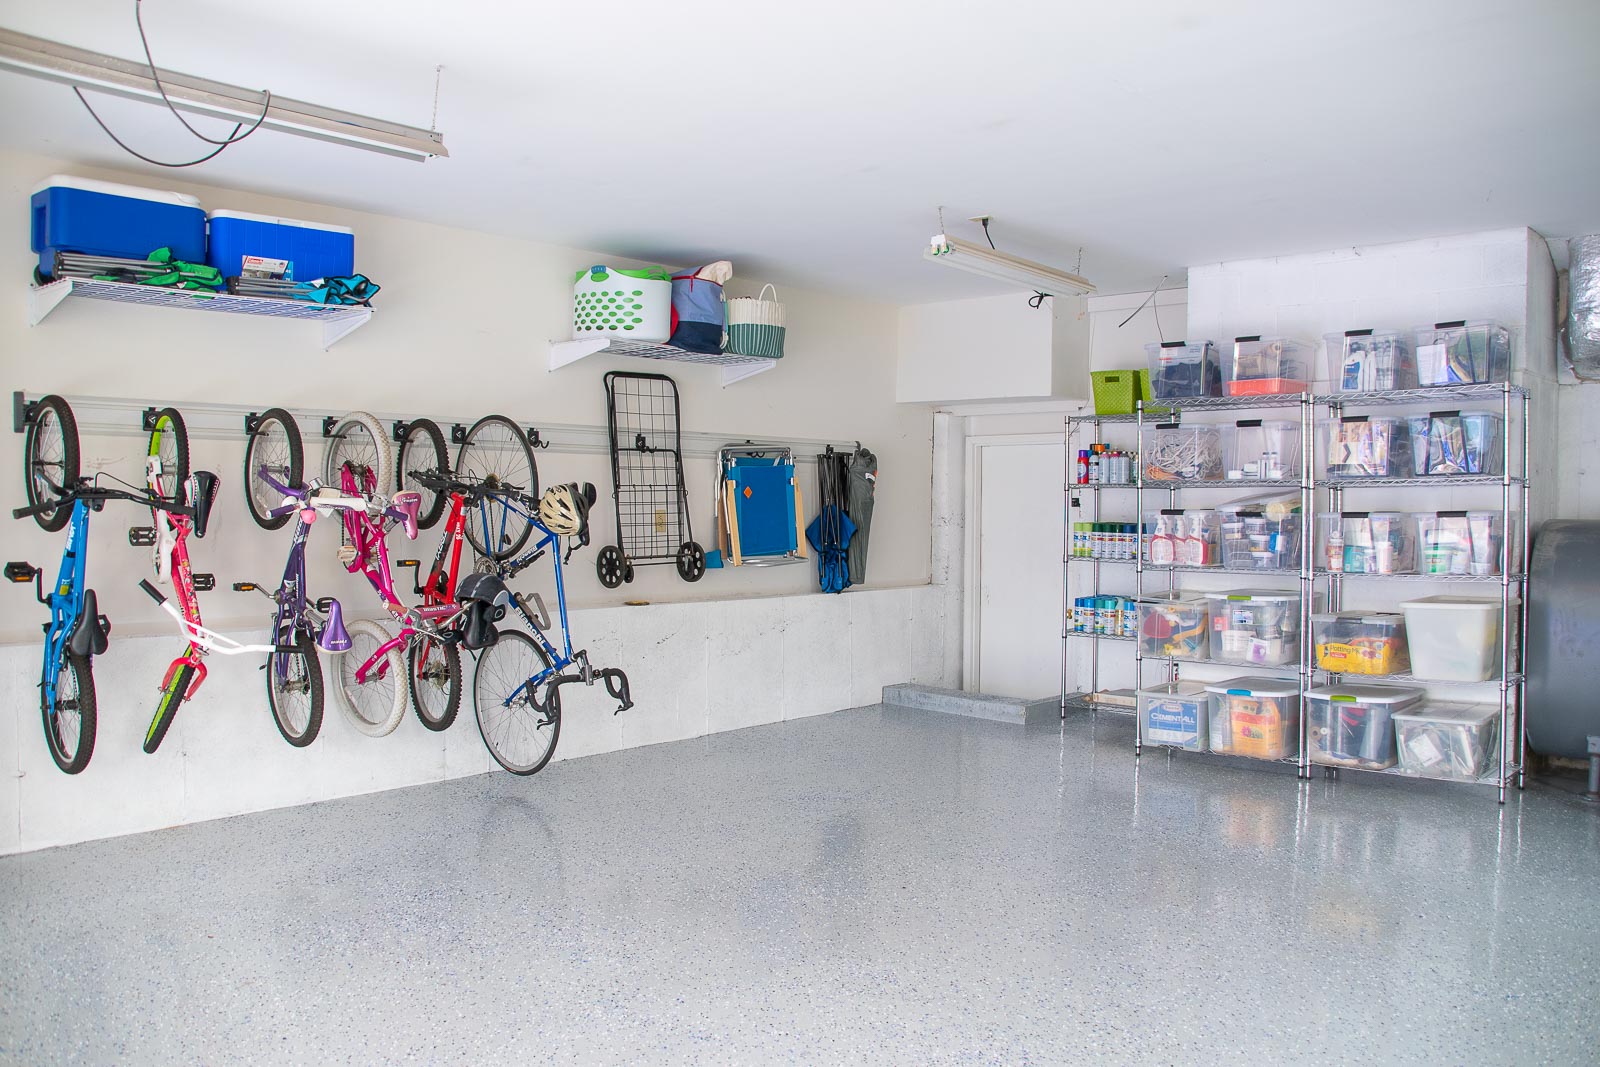
The floor paint I used is super strong and can hold up to a car (obviously), but it does NOT require a top coat. There is a top coat you can purchase but… I was ready to wrap this project up! I let our floor sit for 48 hours before moving everything back in and I couldn’t be happier with it. I suppose time will tell, but for now… it’s perfect. The paint makes the whole space feel more organized and pulled together, but I’m also hopeful that it will protect the floor from further cracking or weather damage.
I said this so many times on my Instagram stories, but each step of this project was very VERY simple. Scrub the floor. Rinse the floor. Patch the cracks. Yes… the entire process was a LOT of work but it was a series of smaller projects to make up the overall big project. Once I took it step by step it didn’t feel nearly as overwhelming.
Materials for Garage Floor Makeover
- Pressure Washer
- Cleaner and Degreaser
- Moisture Stop
- Concrete Patch
- RockSolid Floor Coating
- RockSolid decorative chips
- RockSolid Anti Skid
- Pole for cleaning and painting


This looks exactly like what I want to do for my garage, would you recommend doing this if there’s a drainage hole in the garage? The end product is amazing
I don’t see why not! I’ve heard that the paint *can* be slippery when wet so if the garage routinely gets wet may be worth testing a spot first?
hI!tHANKS SO MUCH FOR POSTING THIS! i AM PLANNING TO DO THE SAME THING TO OUR GARAGE. tHE ONLY QUESTION i HAVE IS THAT ONE OF THE WALLS OF OUR GARAGE IS NOT CONCRETE AND IS DRYWALL.THE PREVIOUS OWNERS CLOSED OUT THE ENTRANCE OF THE GARAGE TO THE HOUSE BY DRYWALL TO MAKE THE BEDROOMS BIGGER. dO YOU SEE ANY ISSUE WITH PRESSURE WASHING THE GARAGE FLOOR SINCE WE HAVE DRYWALL ON ONE SIDE?
Hi there! I would be careful NOT to get that drywall wet. Perhaps scrub the floor by hand adjacent to the drywall? Good luck!
this looks great! I have t1-11 paneling and my boiler/hot water heater is in my garage so i guess i will have to use water in a bucket and scrub that way, any tips for this? also, i was wondering how long it took you to complete this project from start to finish.
thank you!
Yeah… the cleaning is certainly the most tedious. I think your suggestion is right. I tackled this over the course of a week, but honestly a lot of that time was waiting for the floor to dry or the paint to set up!
thanks for Posting this Project. I hope to do this also. Please let me know how much of the project did you use in total??
thanks for your reply
There’s a measurement tool that helps you determine how much material you need based on the size of your garage.