
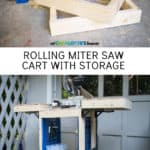
Rolling Miter Saw Cart with Storage
Psssst… this post *might* contain affiliate links: see my disclosure here.
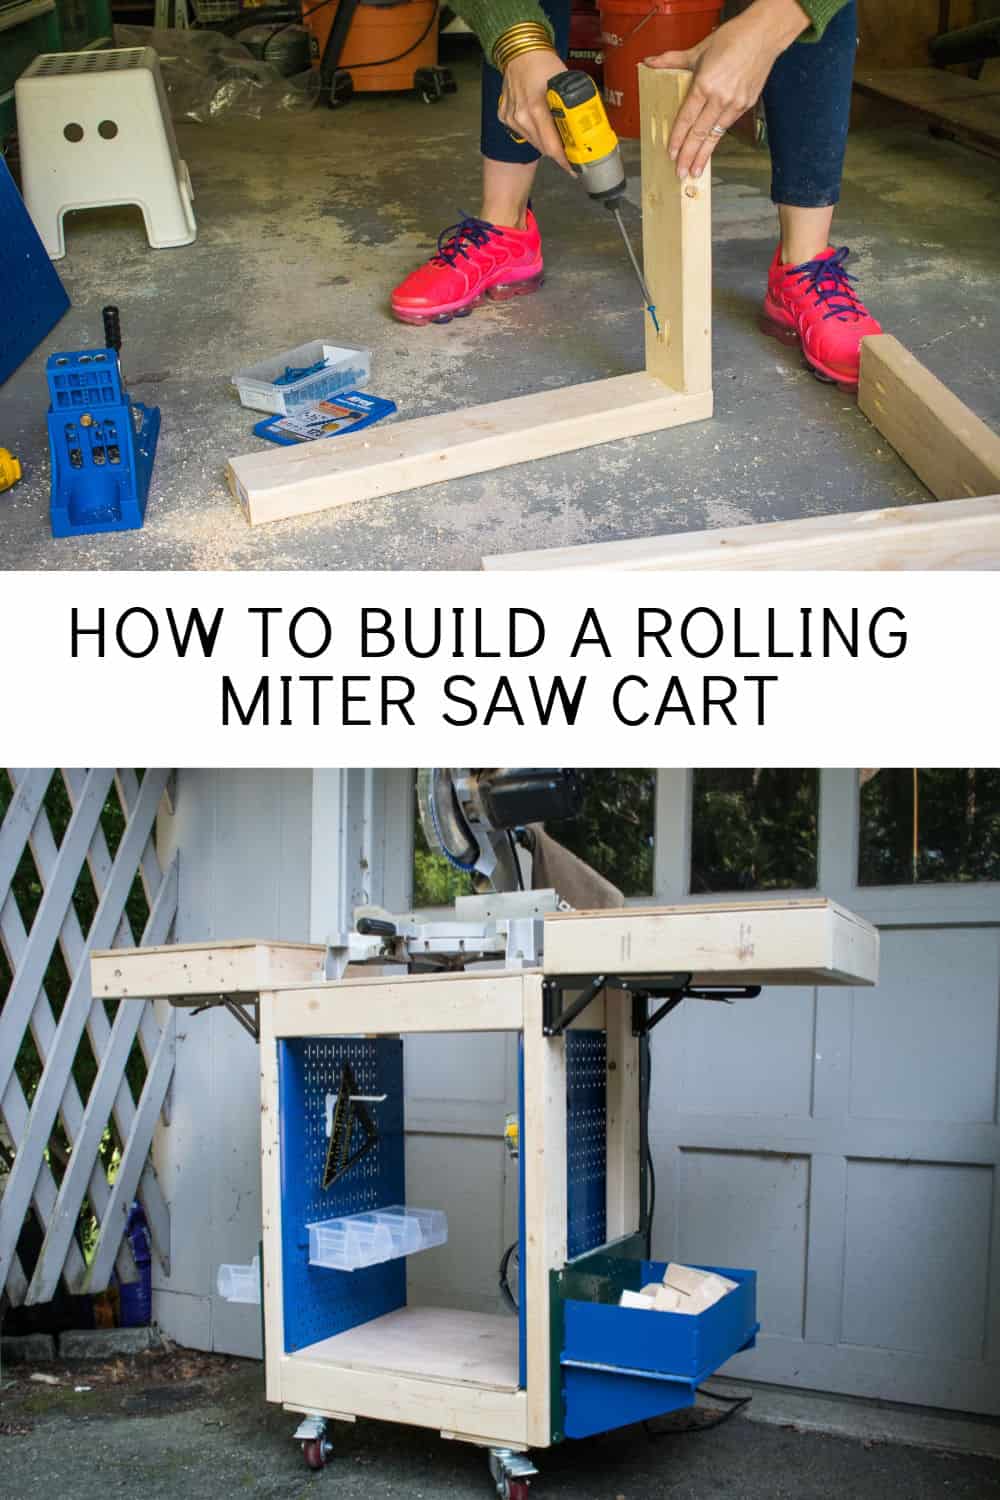
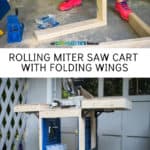
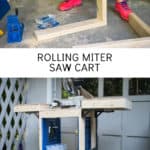
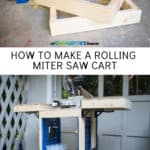
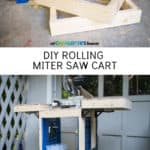
How to Build a Rolling Miter Saw Cart with Wall Control Storage
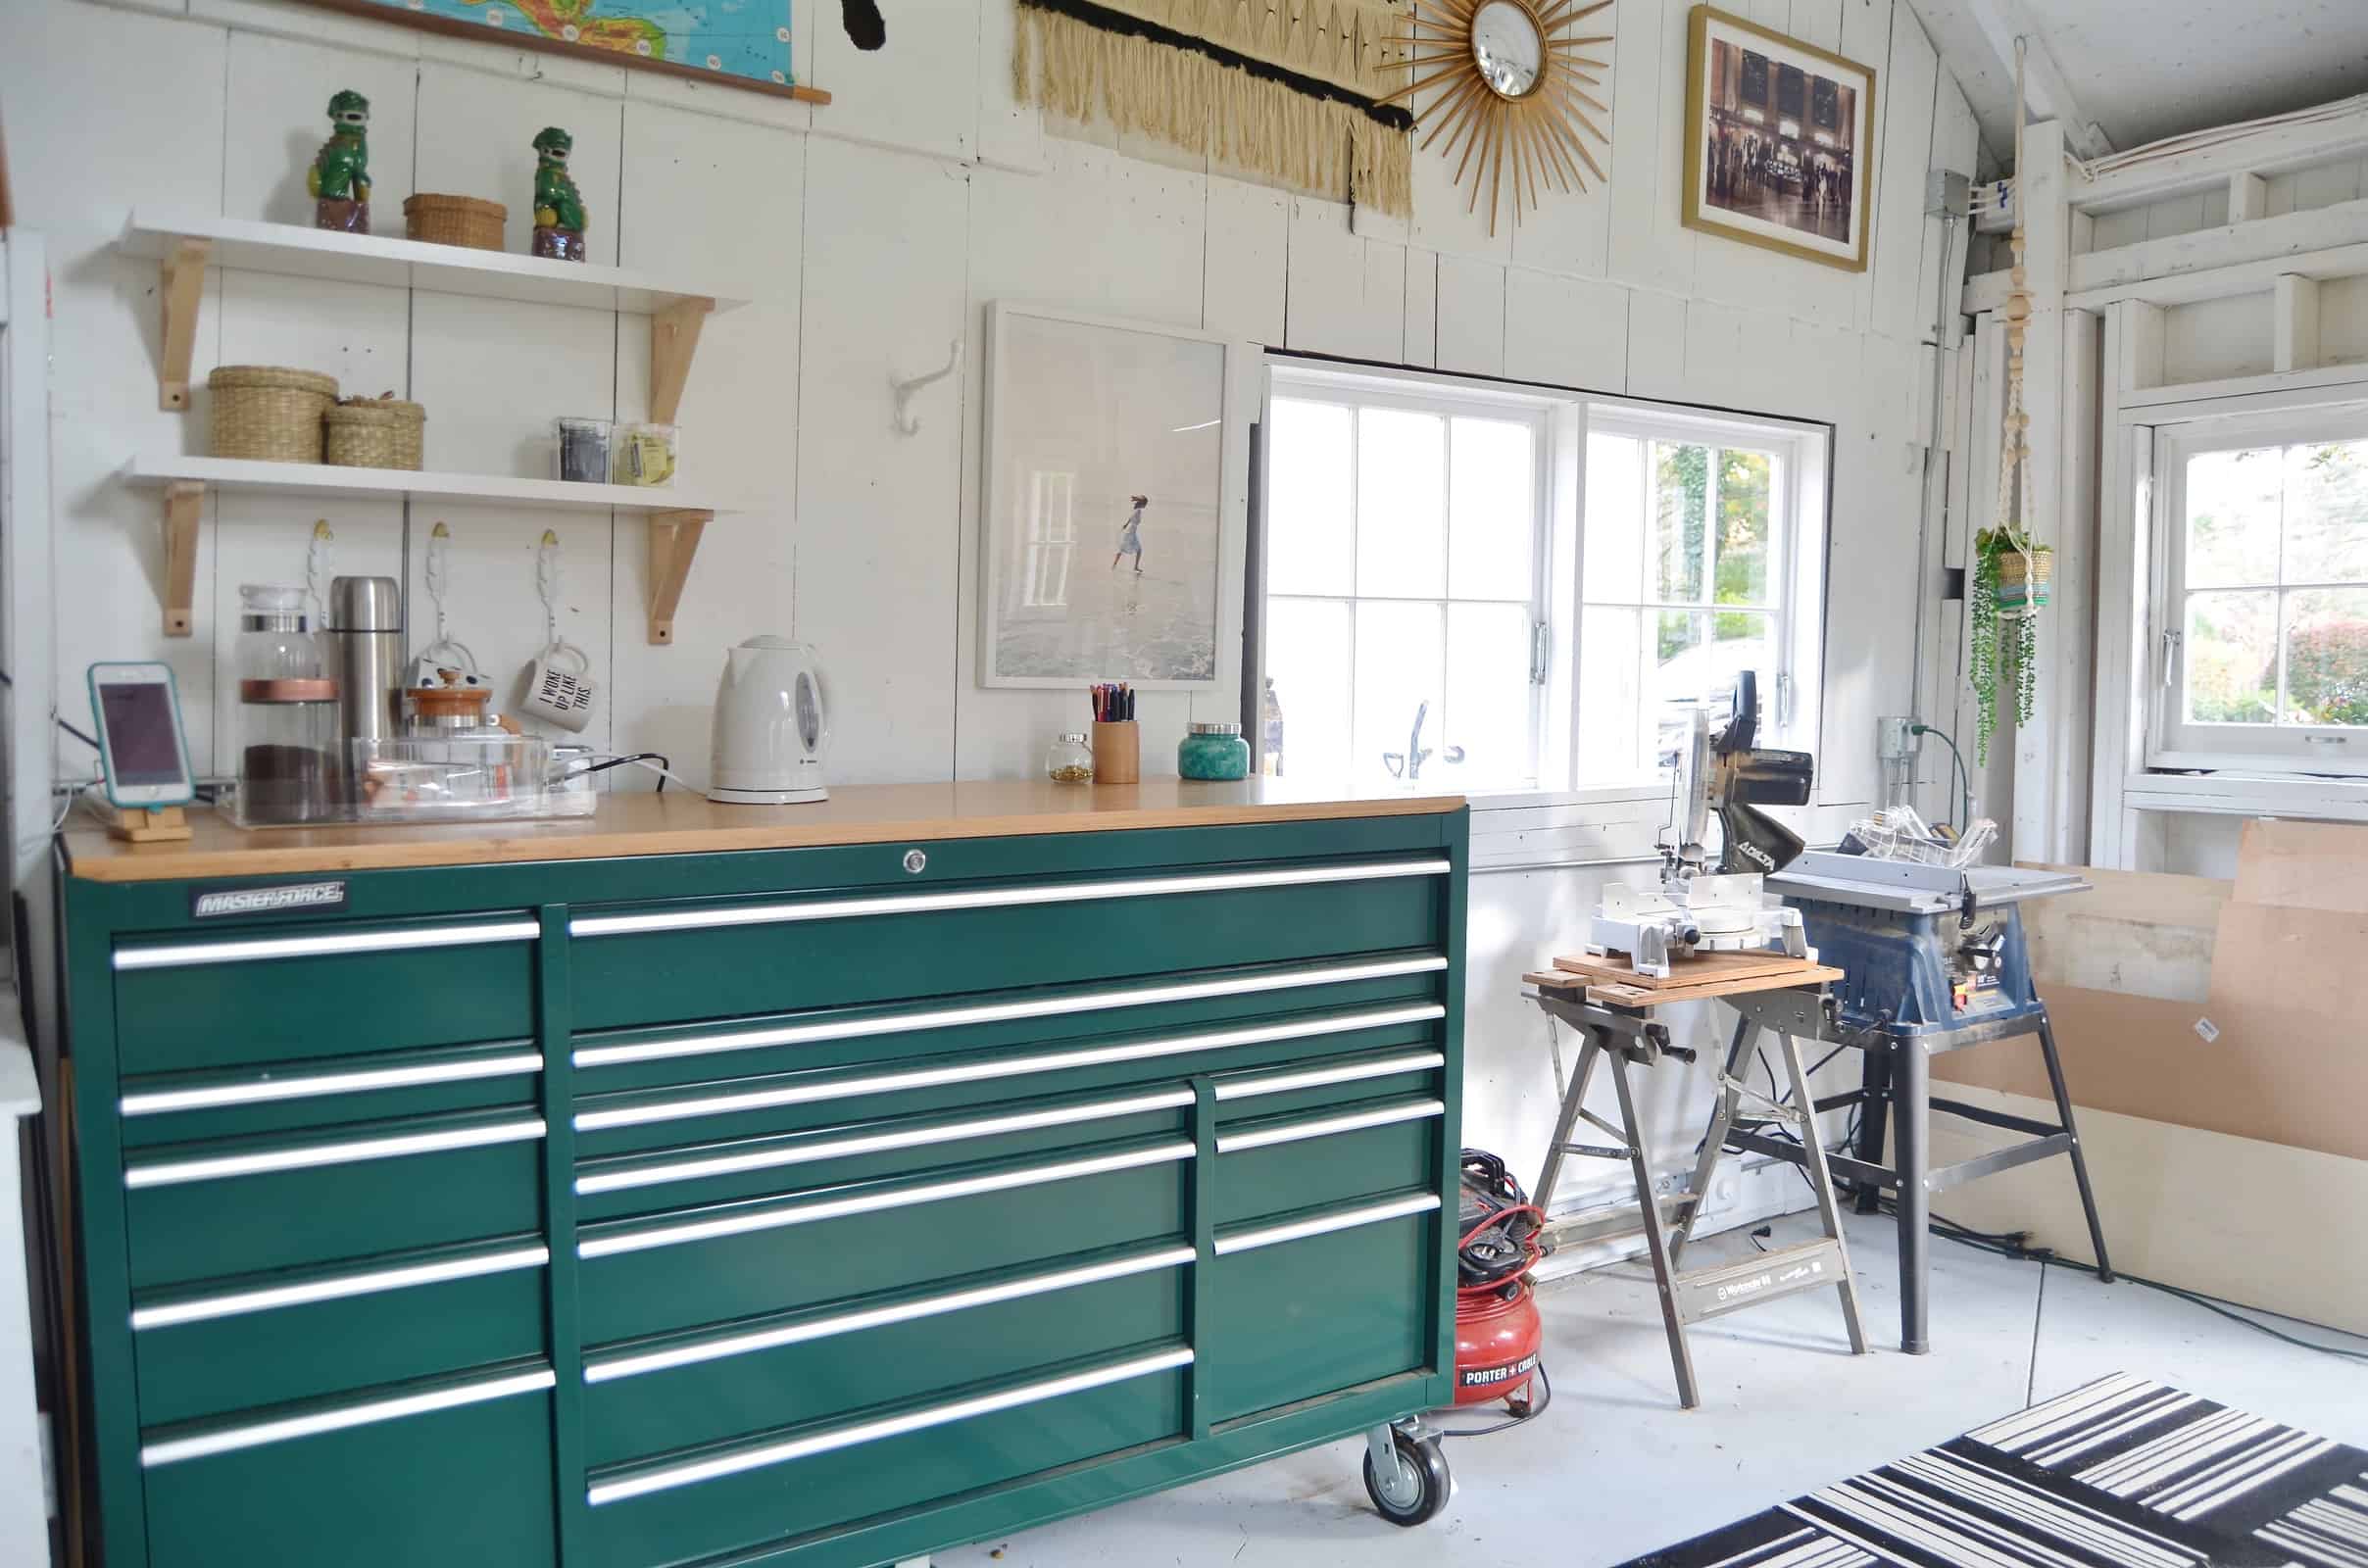
The garage in our rental house is essentially a mini storage unit. 1/2 of it is used to store the items from our old house that don’t have a home in the new house buuuut… we also don’t want to get rid of them. And then the other half is my little workshop amongst the boxes. Mark gave me a large rolling tool chest which helps A LOT with storage, but the one thing I use the most when building has to be moved out into the driveway whenever I use it: my miter saw.
Shop my favorites!
A note about my miter saw… It’s old. Real old. And it came with some sort of a stand, but portable it is not. And honestly I’m not sure why it took me so long to make this cart. I saw Tylynn’s folding miter saw stand and knew that would work perfectly for what I wanted to do: add some Wall Control metal peg boards to create added storage to my cart. Definitely check out Tylynn’s plans on her site. My cart is a little taller to accommodate the Wall Control peg boards but I used 2x4s and followed her overall design.
Step 1. Measure Miter Saw footprint
To determine my miter saw cart dimensions, I took into account the width of the Wall Control pegboard (18-inches) as well as the footprint of my miter saw. The height was mostly dictated by the 24″ pegboard as well as the 4″ wheels.
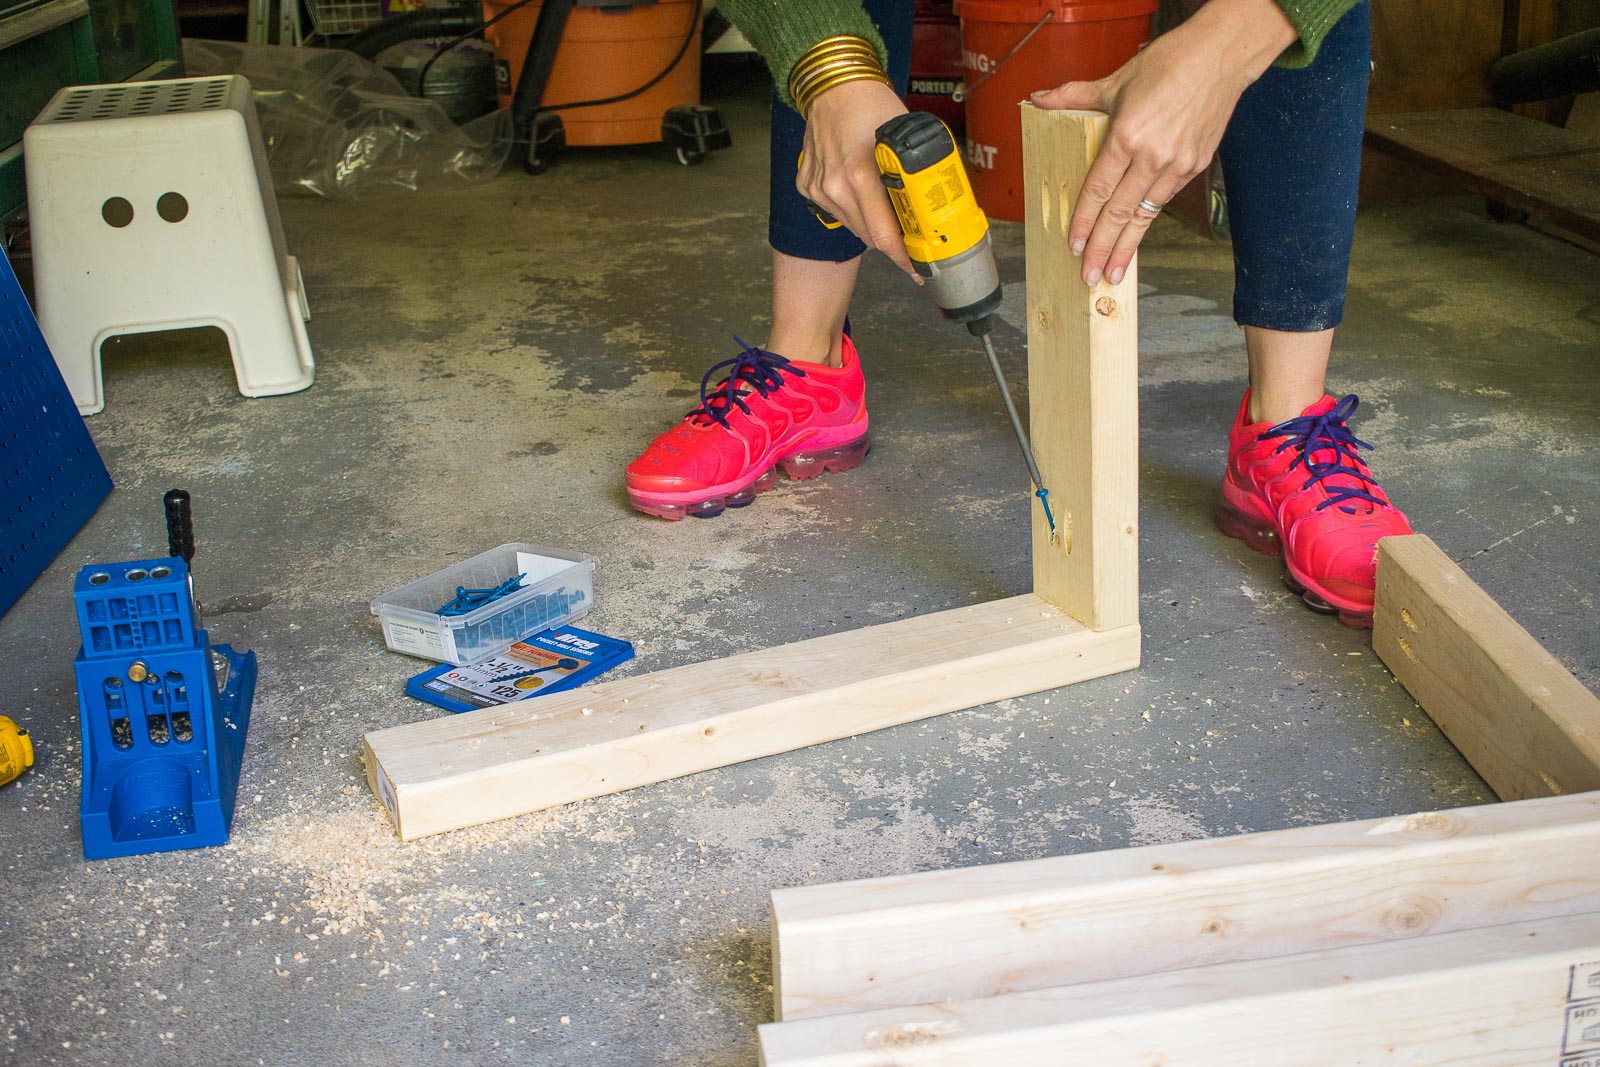
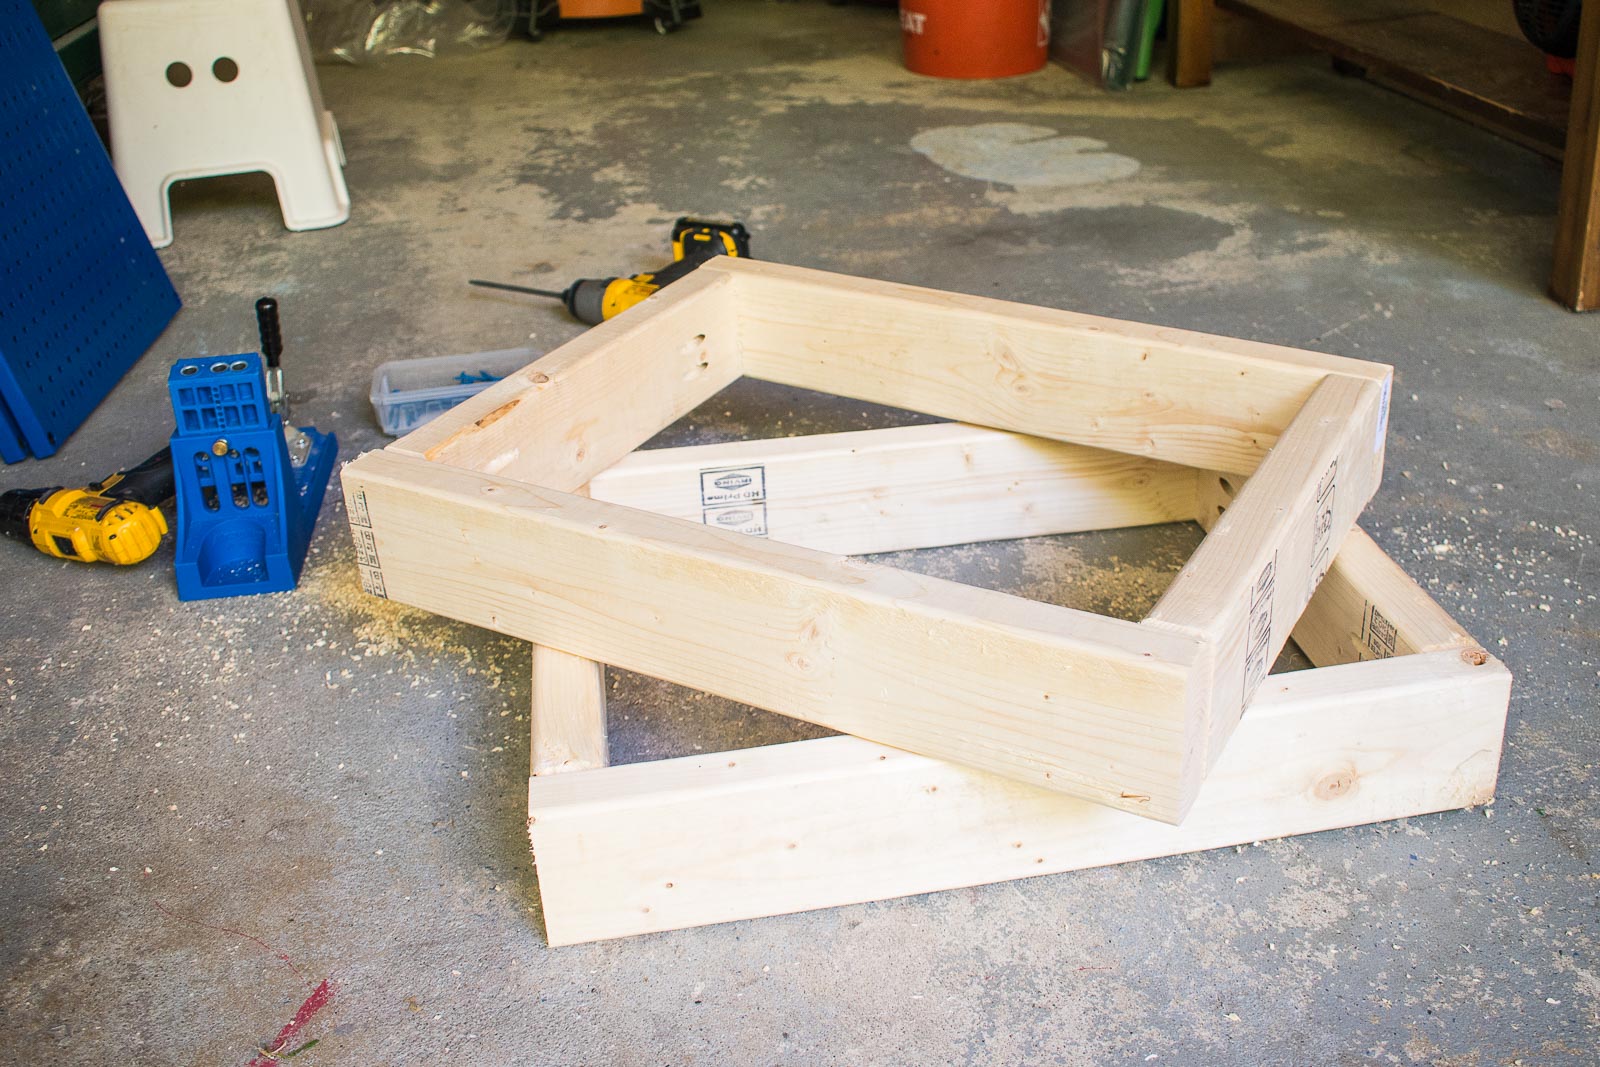
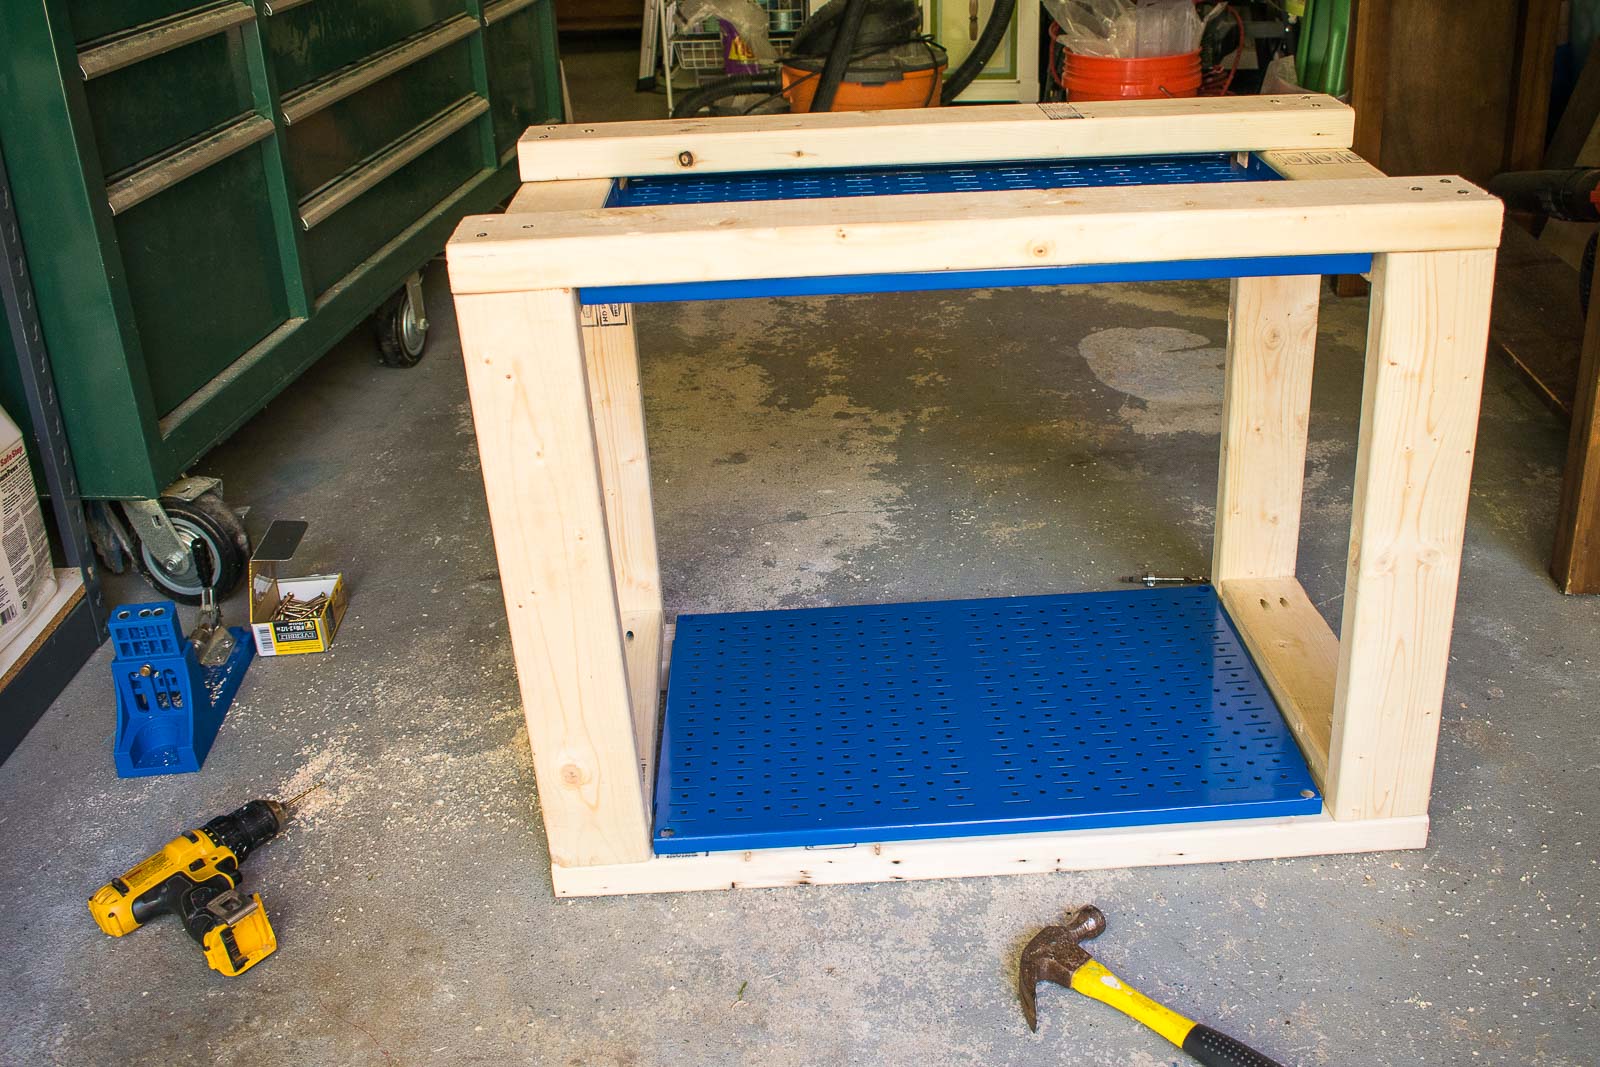
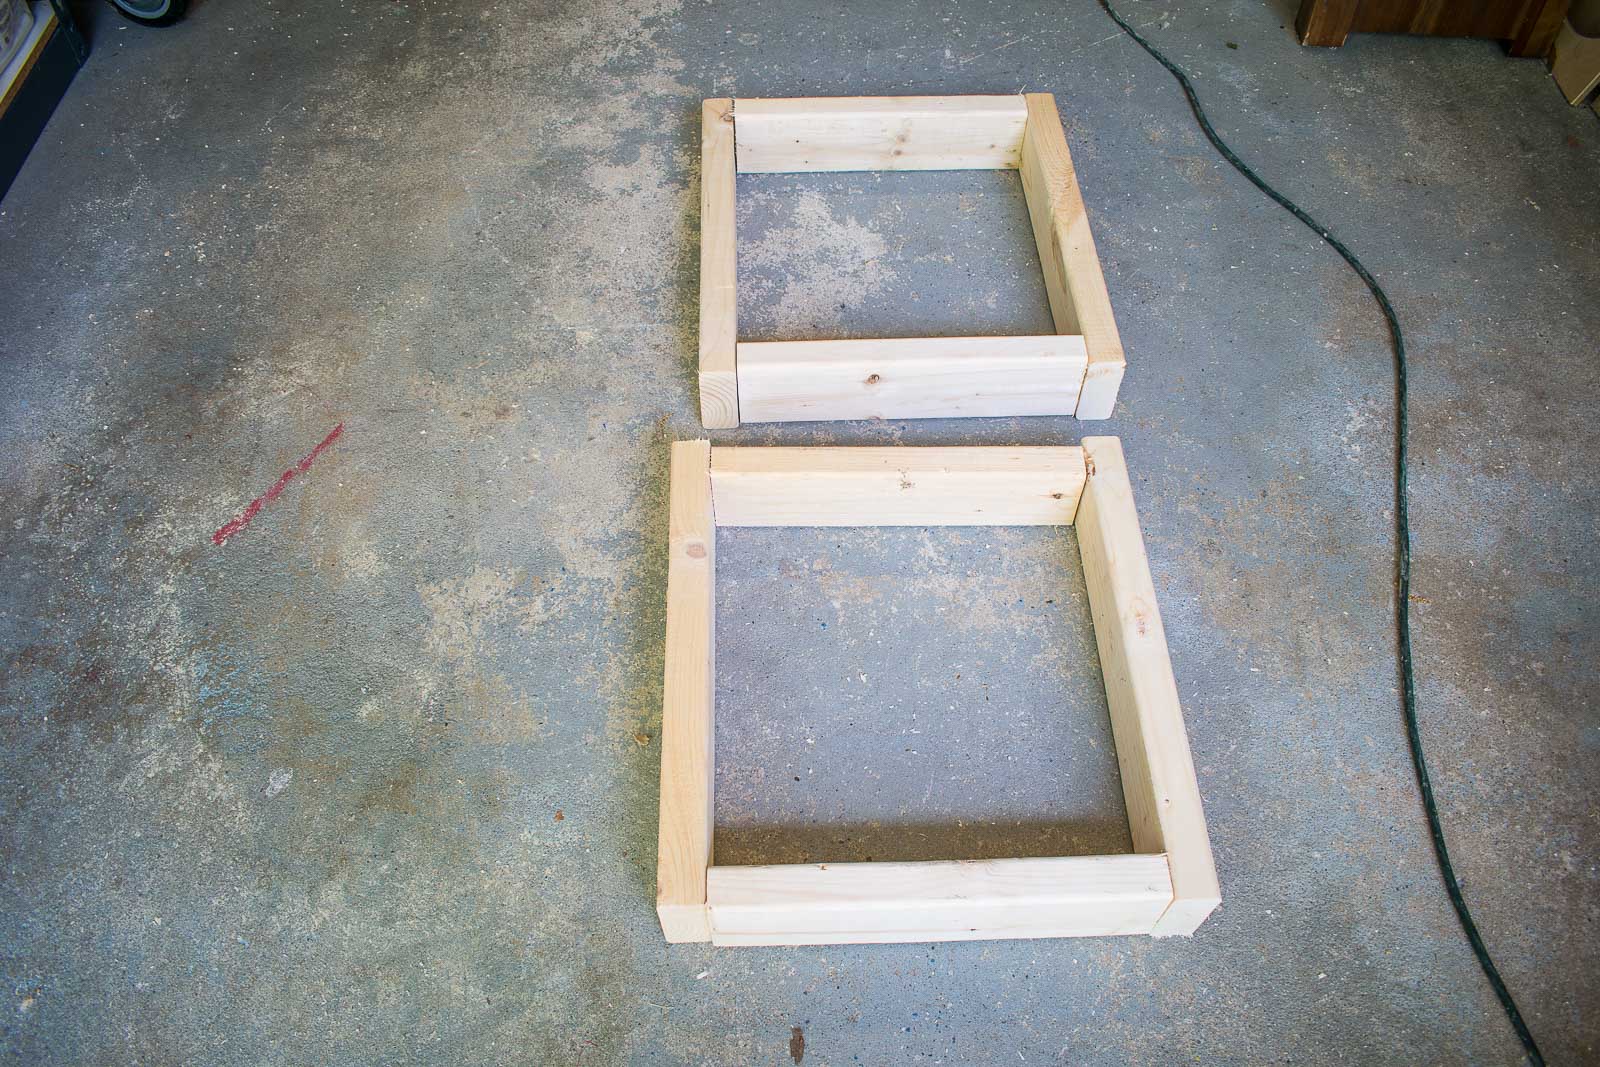
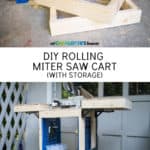
Step 2. Make the frame
The cart itself is a simple box. Don’t think that doesn’t mean I screwed up, because I did, but in theory it’s very basic. Use pocket holes to make two frames. Then use pocket holes and four 2x4s to connect the two frames.
Step 3. Add Wall Control to frame
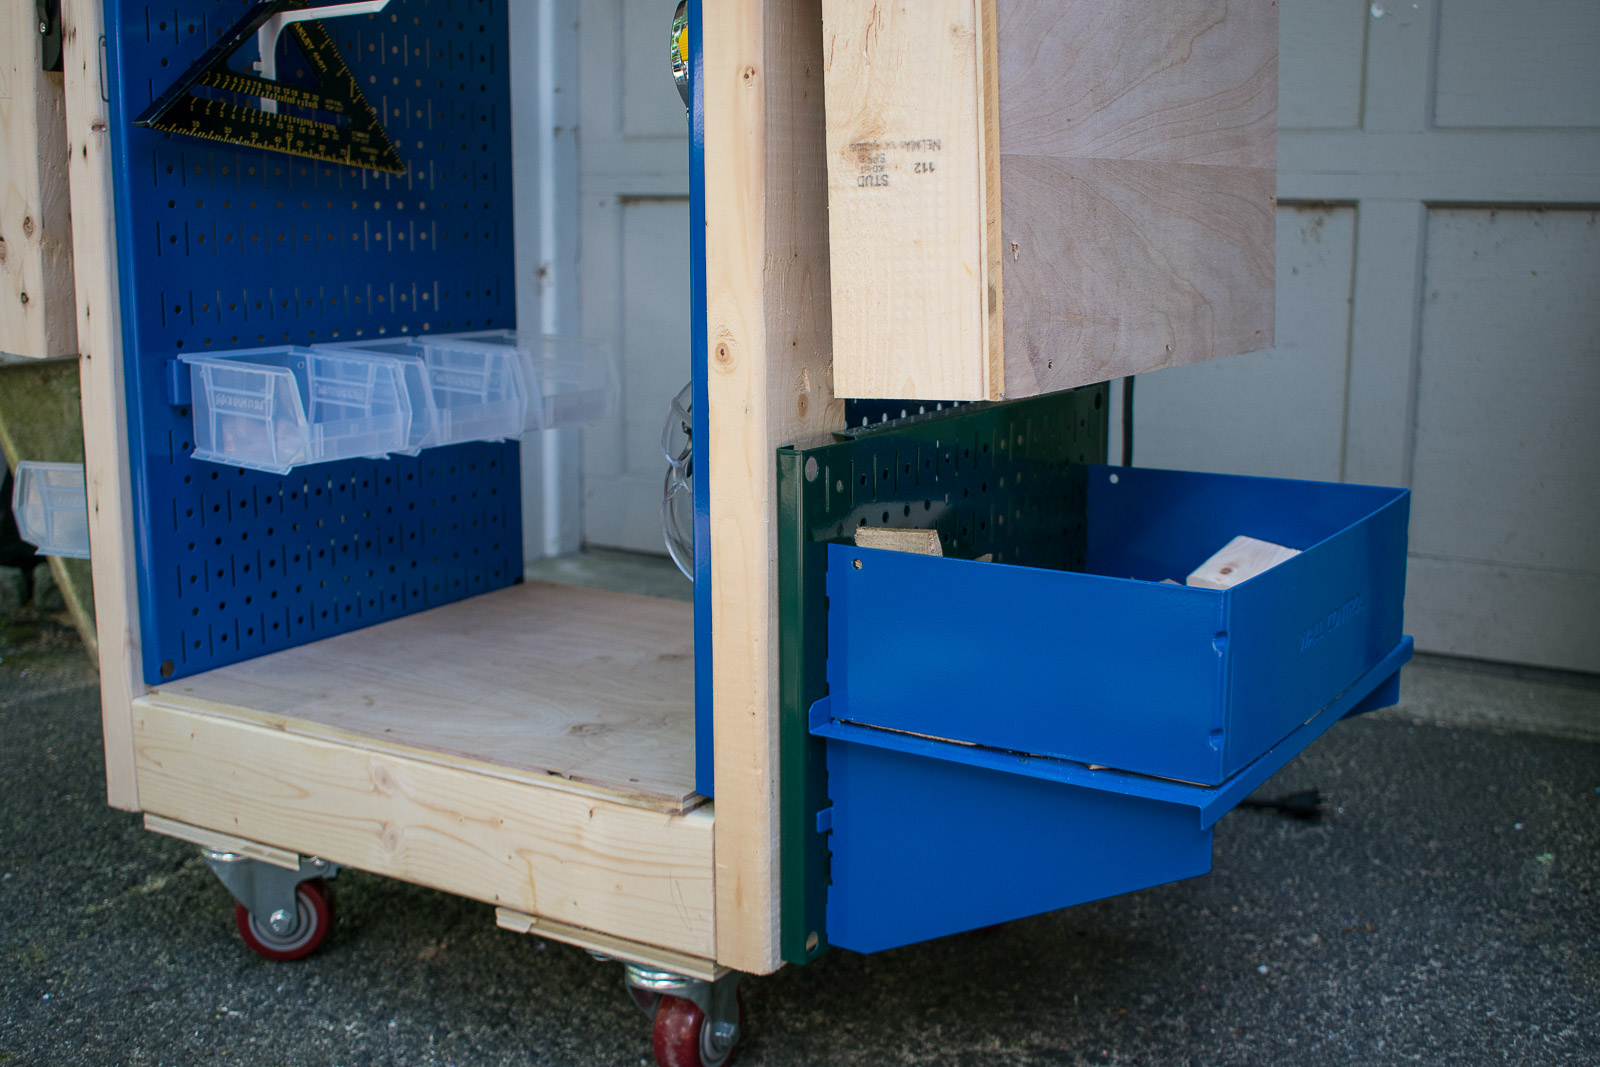
Before I added the top or the wheels, I screwed the wall control in place on either side. I’m using one full sized peg board on either side inside the cart. And then I used two 1/2 size pegboards on the lower half one the outside sides of the cart. I didn’t want the pegboard get in the way of the flaps. I predrilled and then used the screws provided by Wall control to attach to the cart.
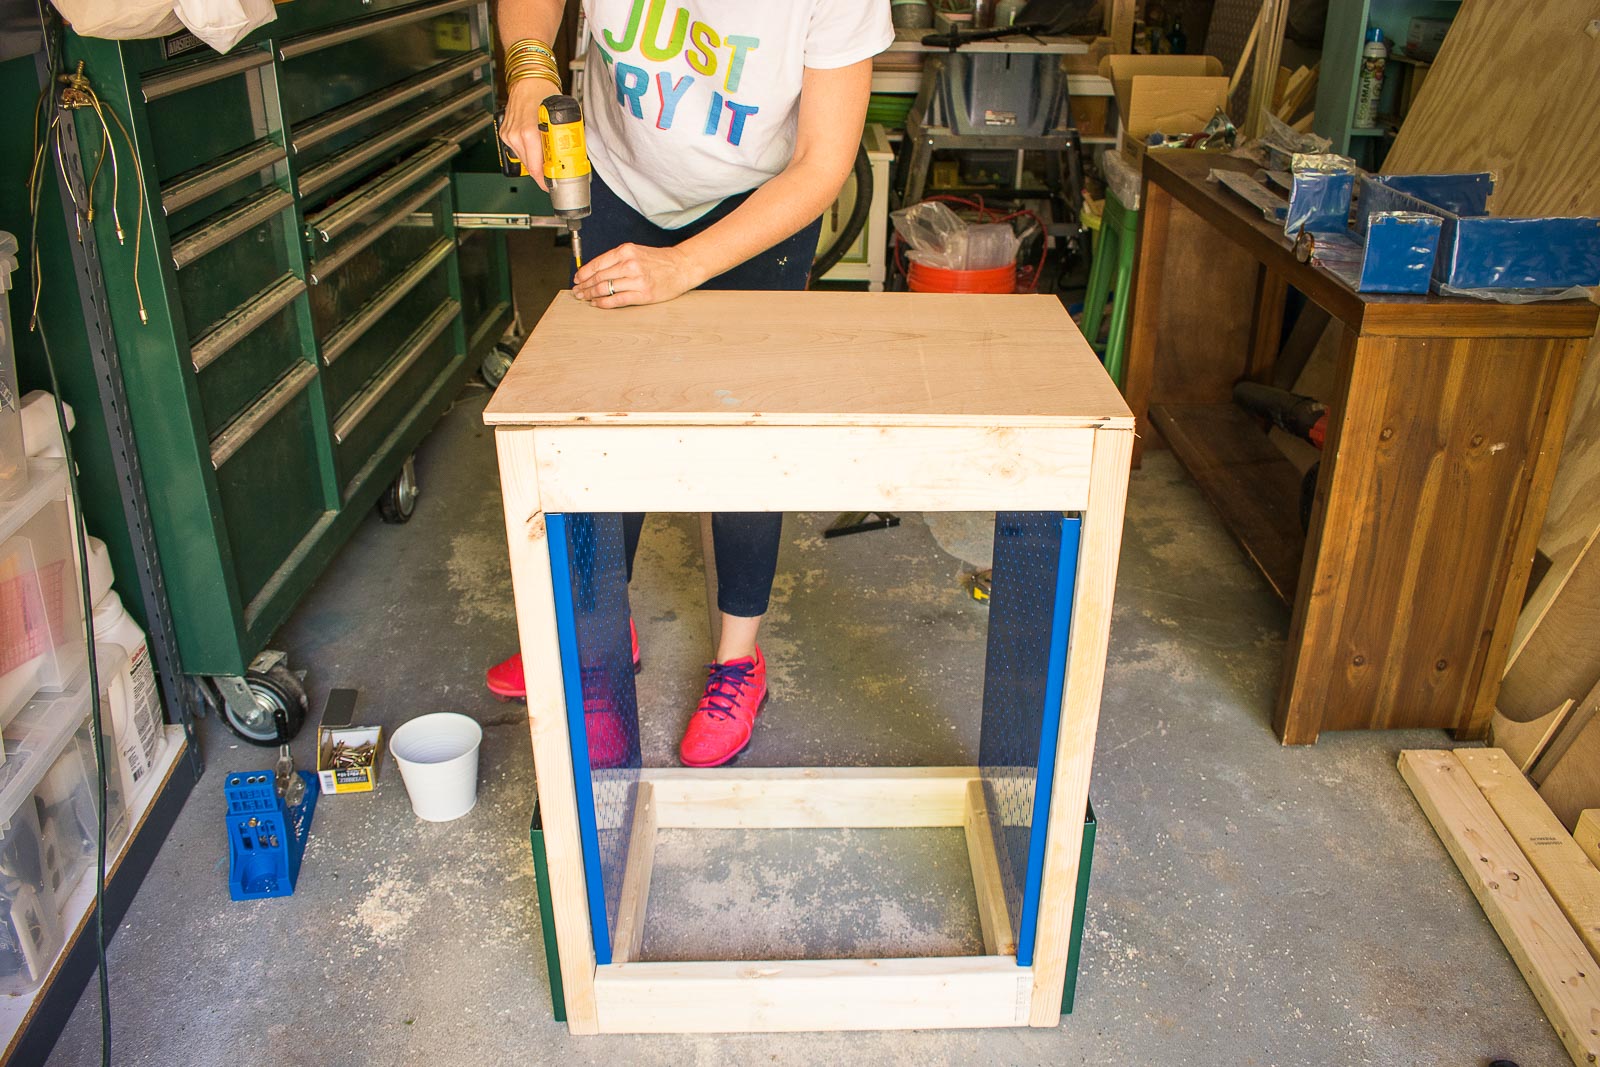
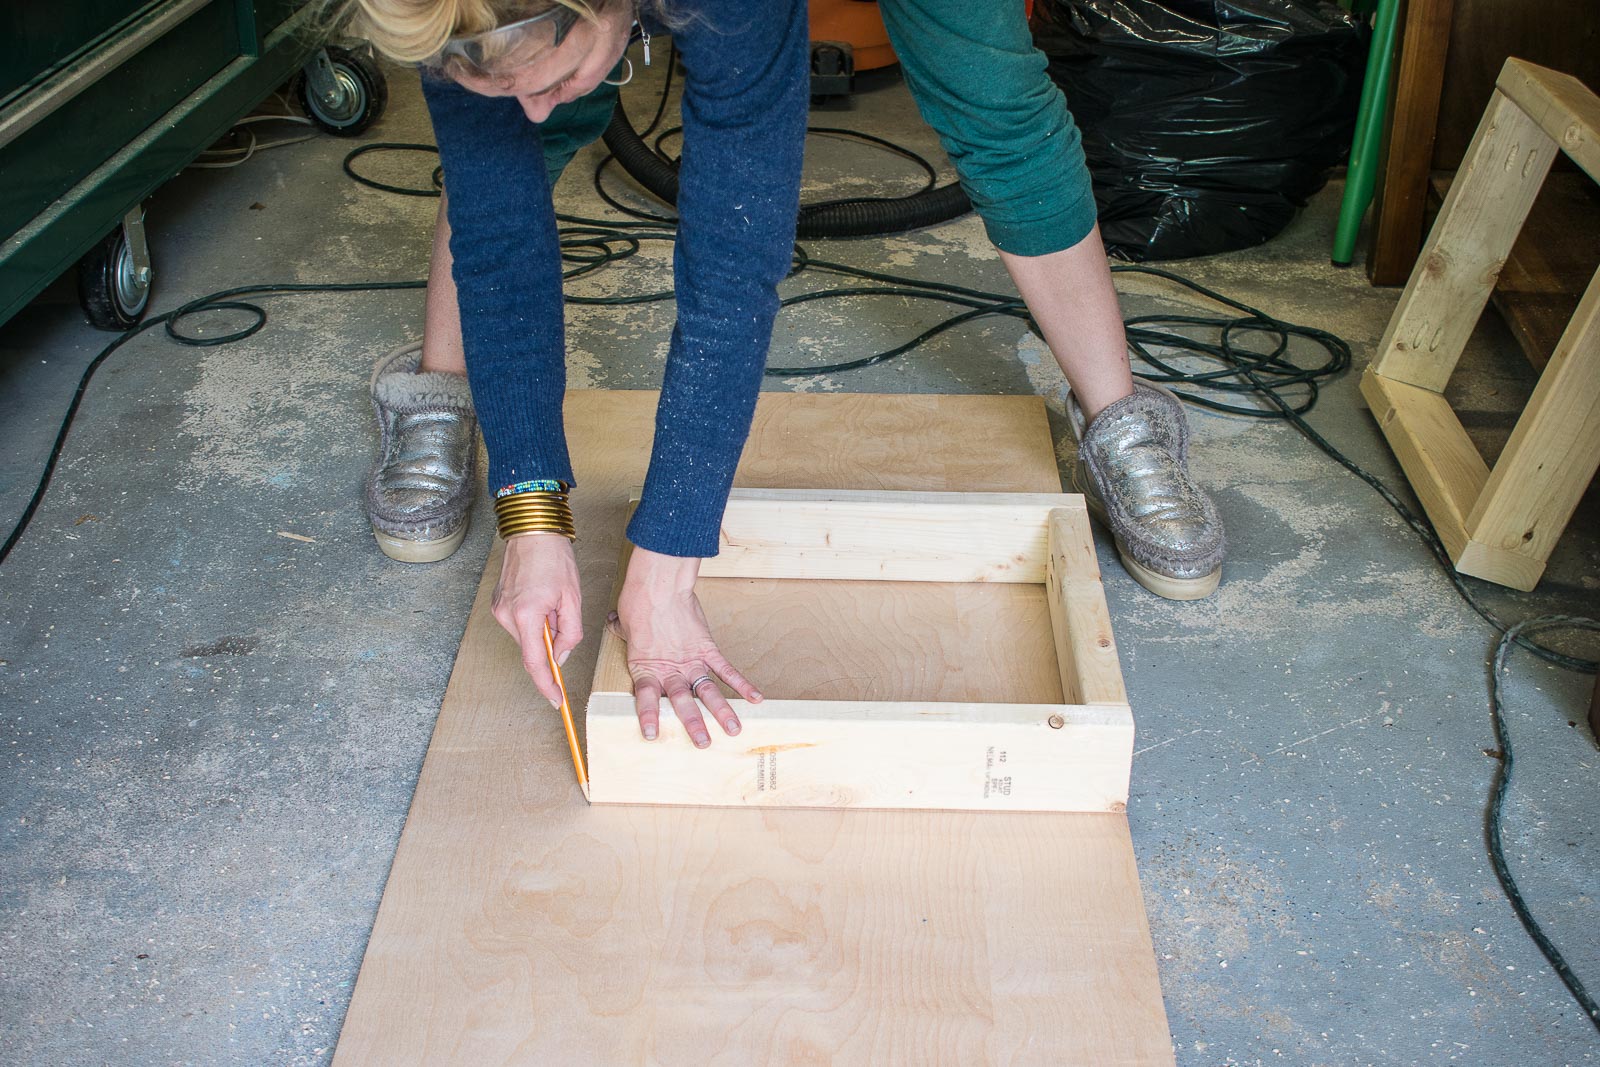
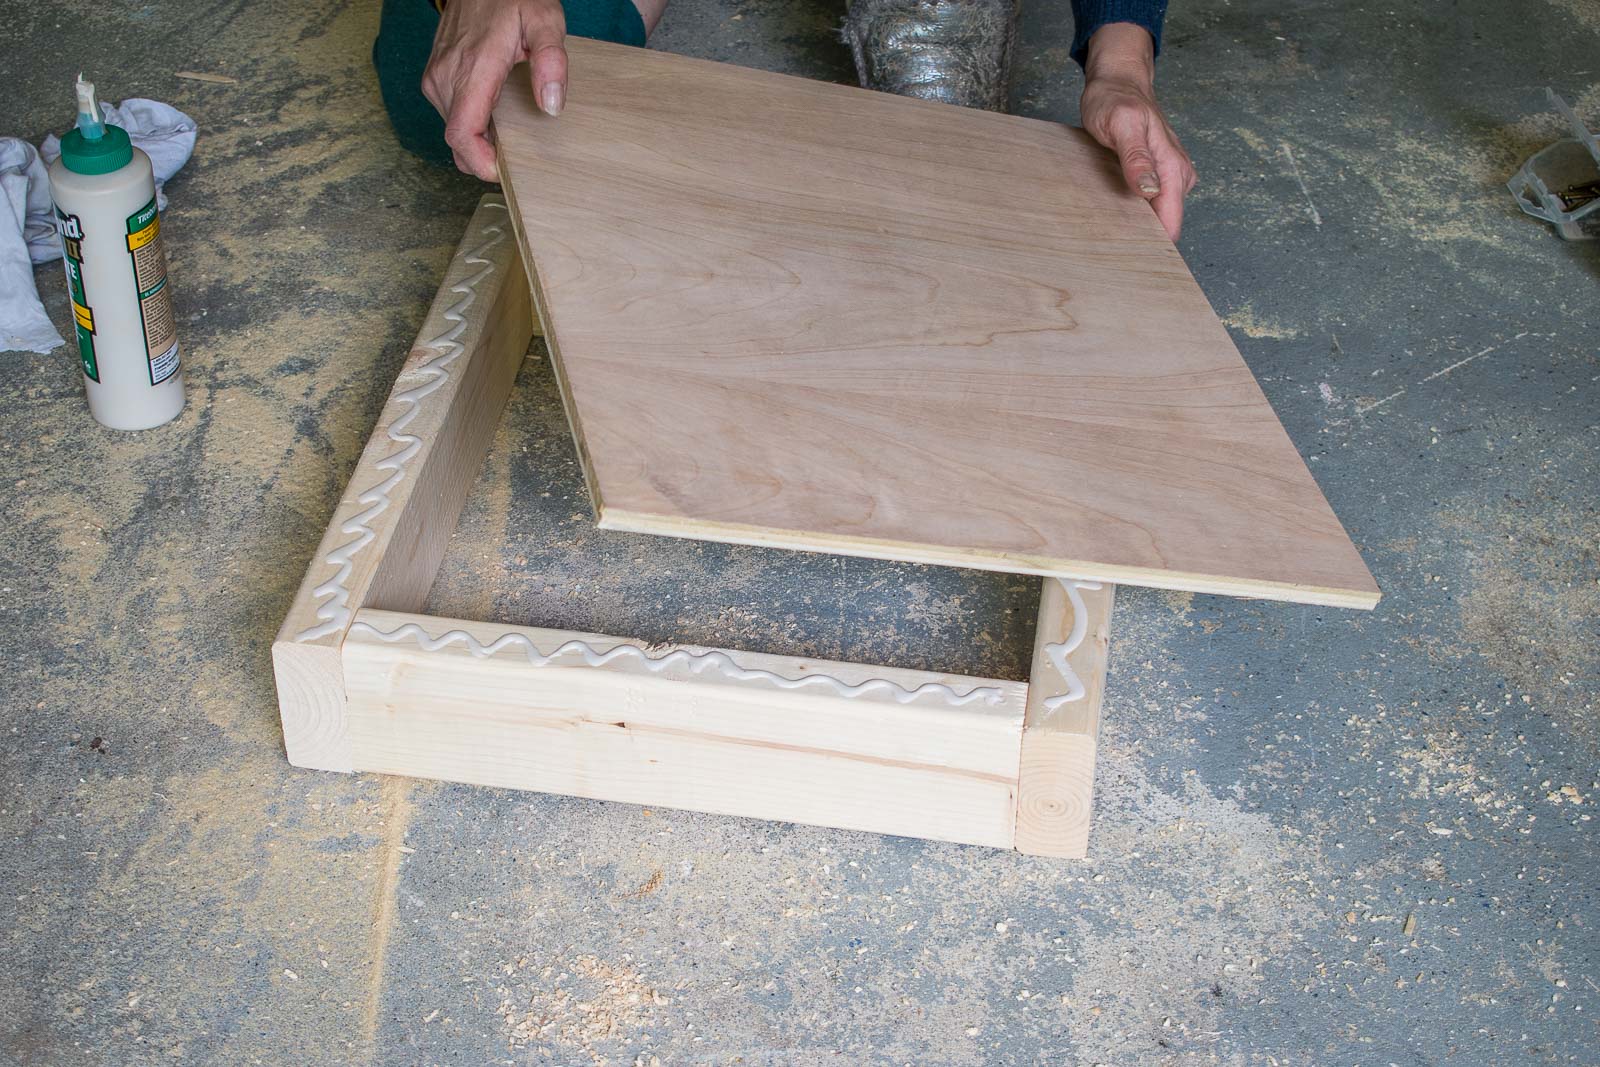
Step 4. Add Top and wheel supports to frame
I measured and cut plywood for the top. I attached the plywood with wood glue and finishing screws.
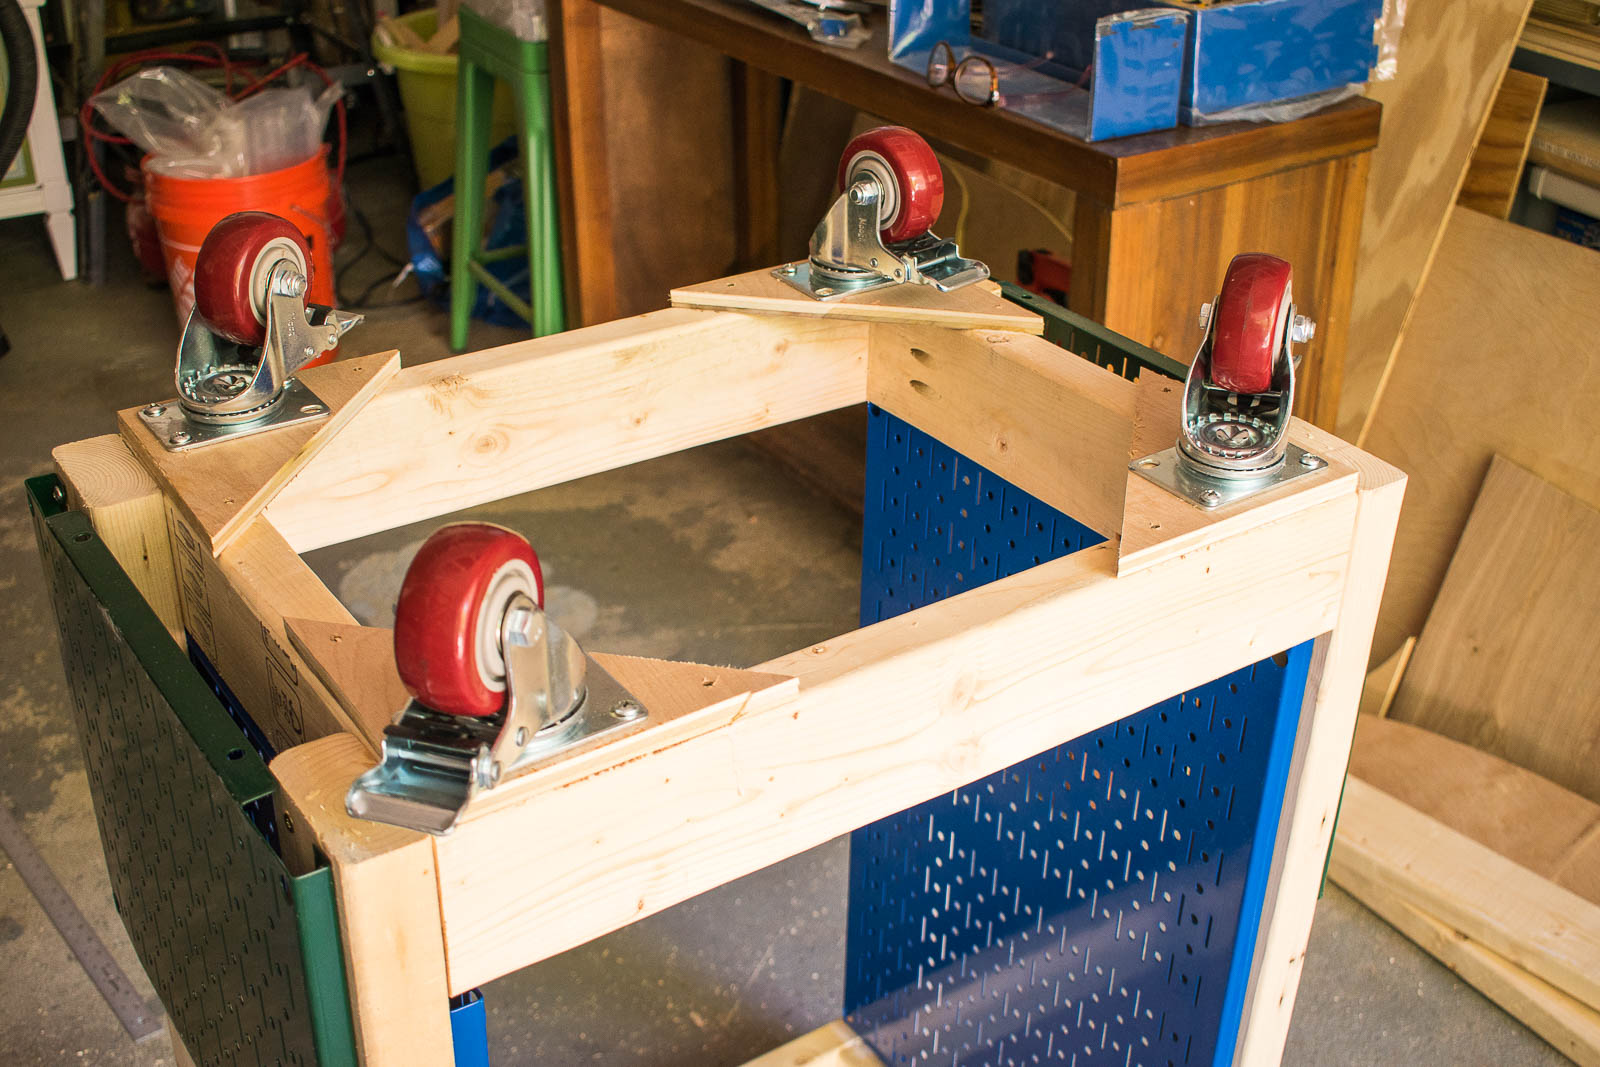
For the bottom, to support the casters, I cut triangles from plywood for each corner. I could have cut a full rectangle, but I wanted to use some scrap wood for this and all I needed was something that would fit the wheel base. (I’m using casters similar to these.)
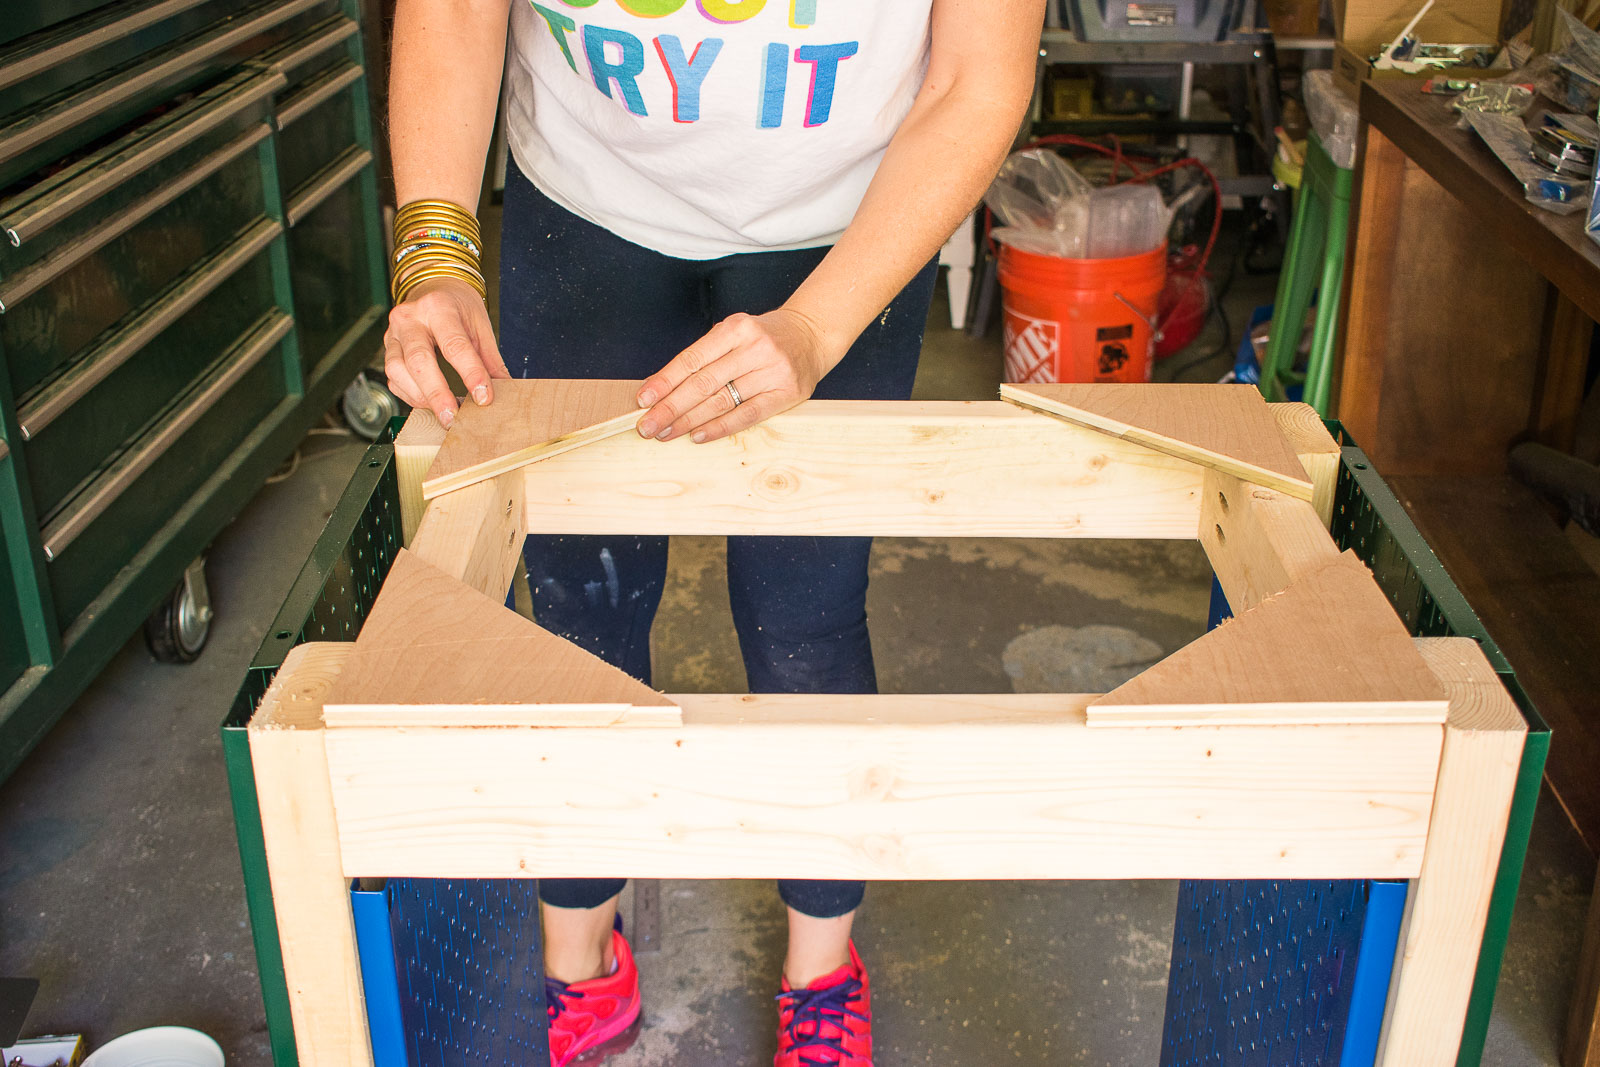
Not shown in the video is the piece of plywood I screwed in place to the bottom of the inside of the cart. Again, I attached this with wood glue and finishing screws.
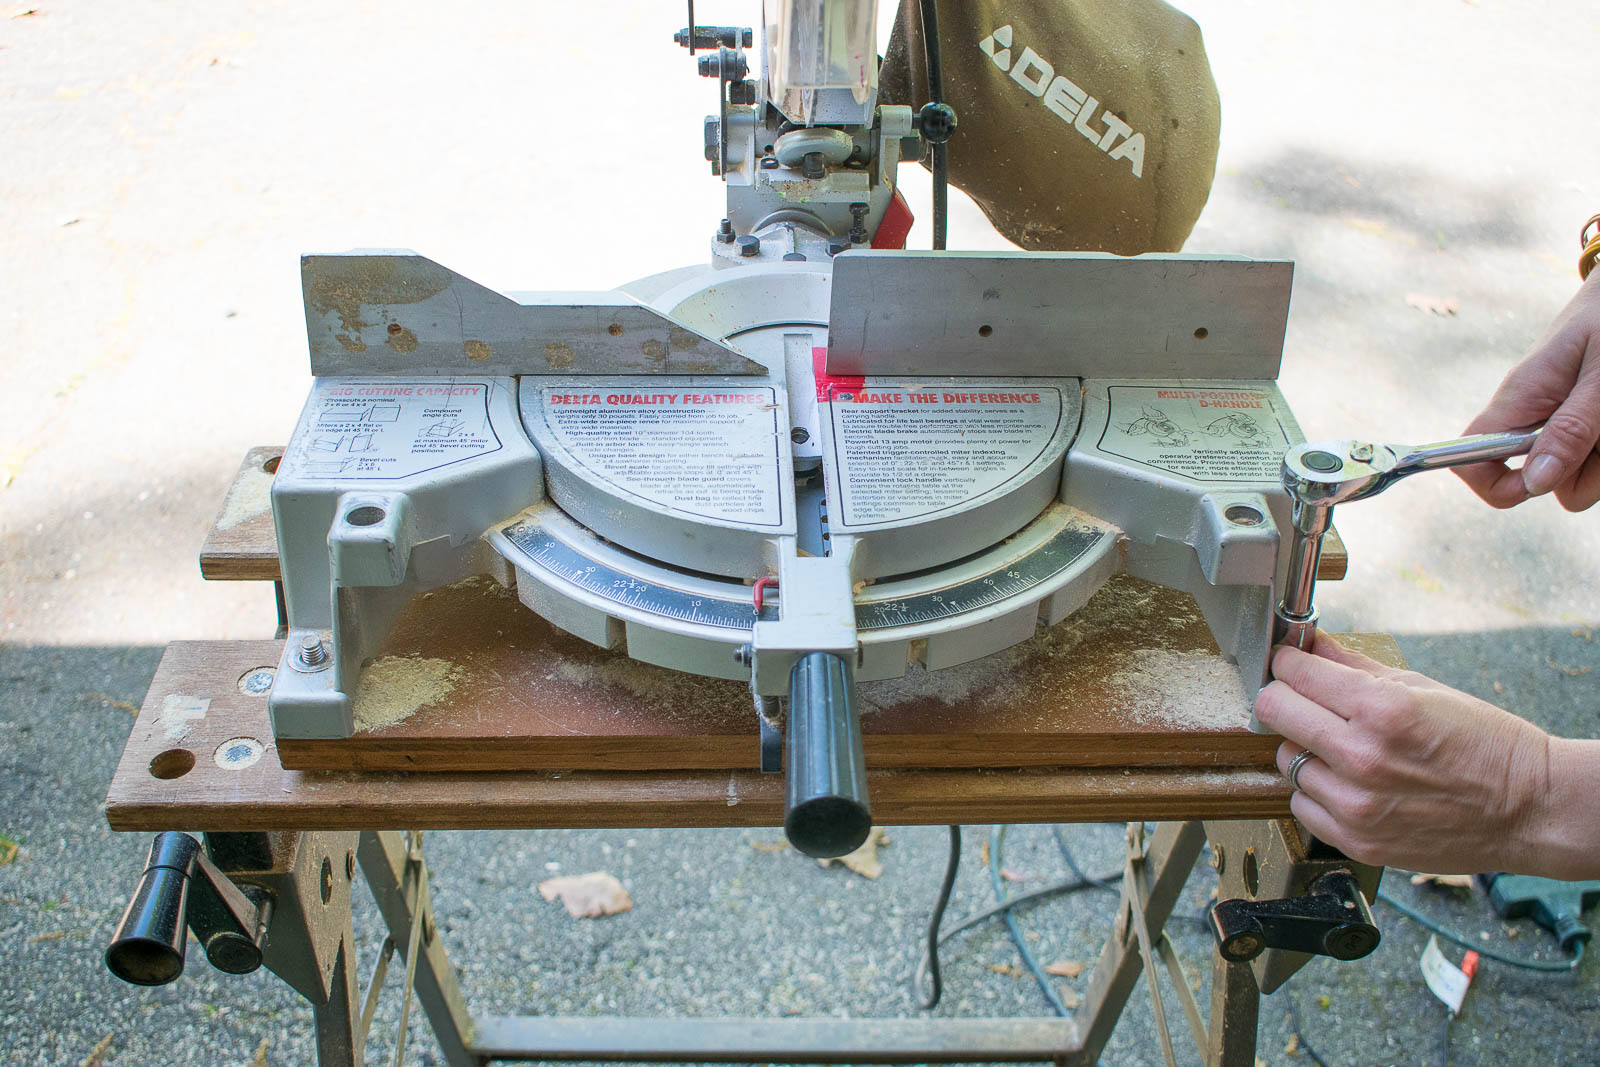
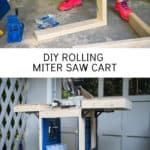
Step 5. Attach the Miter Saw
I was waiting on my hinges to arrive in the mail so I went ahead and moved the miter saw into place first. With a ratchet, I was able to easily remove the saw from the old stand. Make sure to save the nuts and bolts!
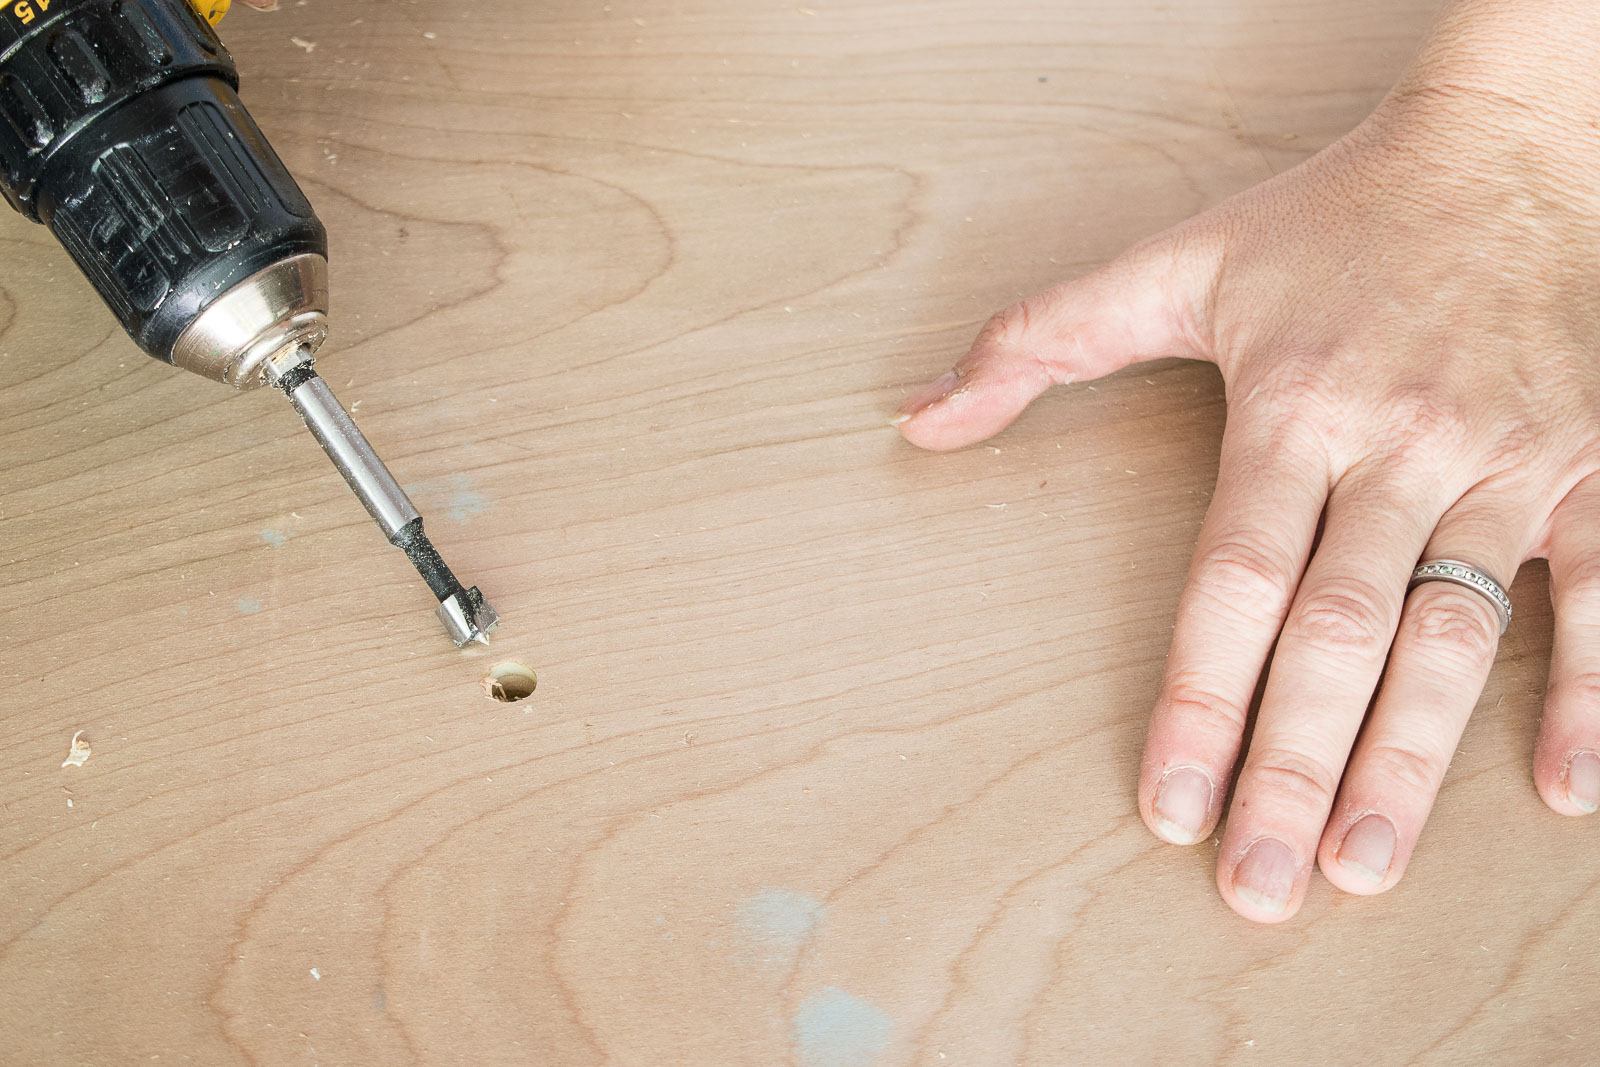
Using a forstner bit big enough for the bolts, I drilled holes in the plywood top of the cart (I lined up my saw and then made marks where the bolts needed to go) and then threaded the screws up through the plywood. I had to hammer them a bit and then hold in place with painters tape so that they wouldn’t spin when I screwed the nut in place. I carefully set the miter saw in place and used the ratchet to tighten the nuts.

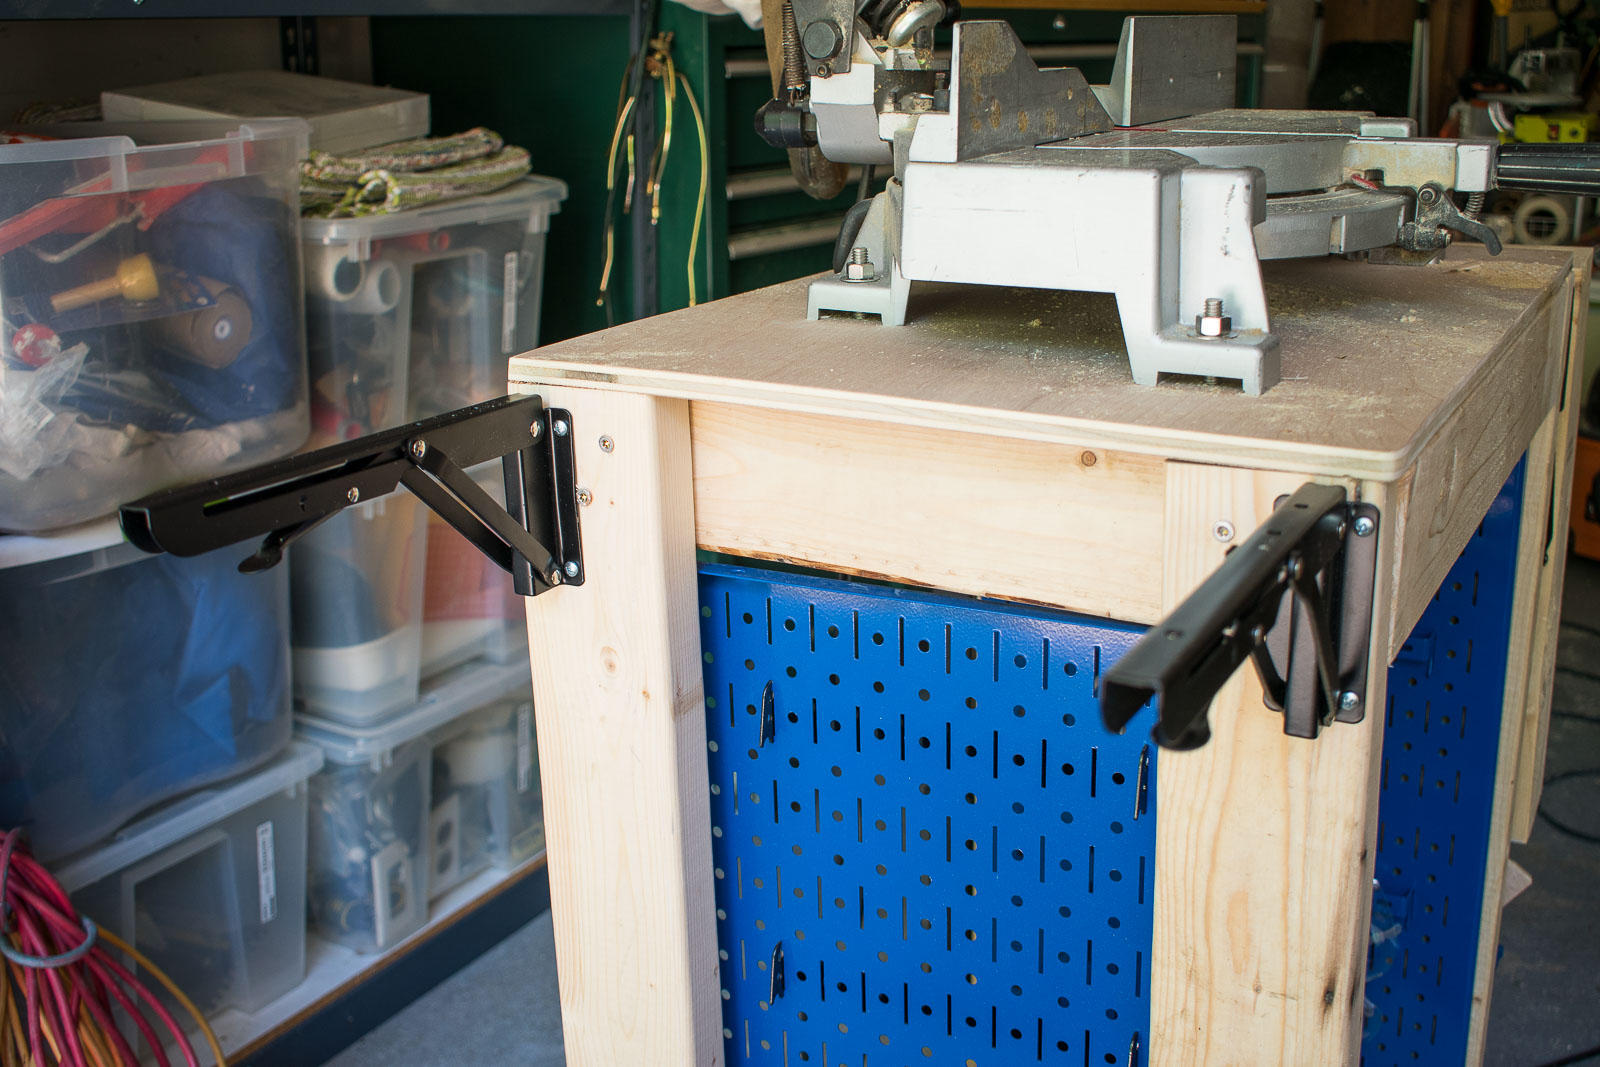
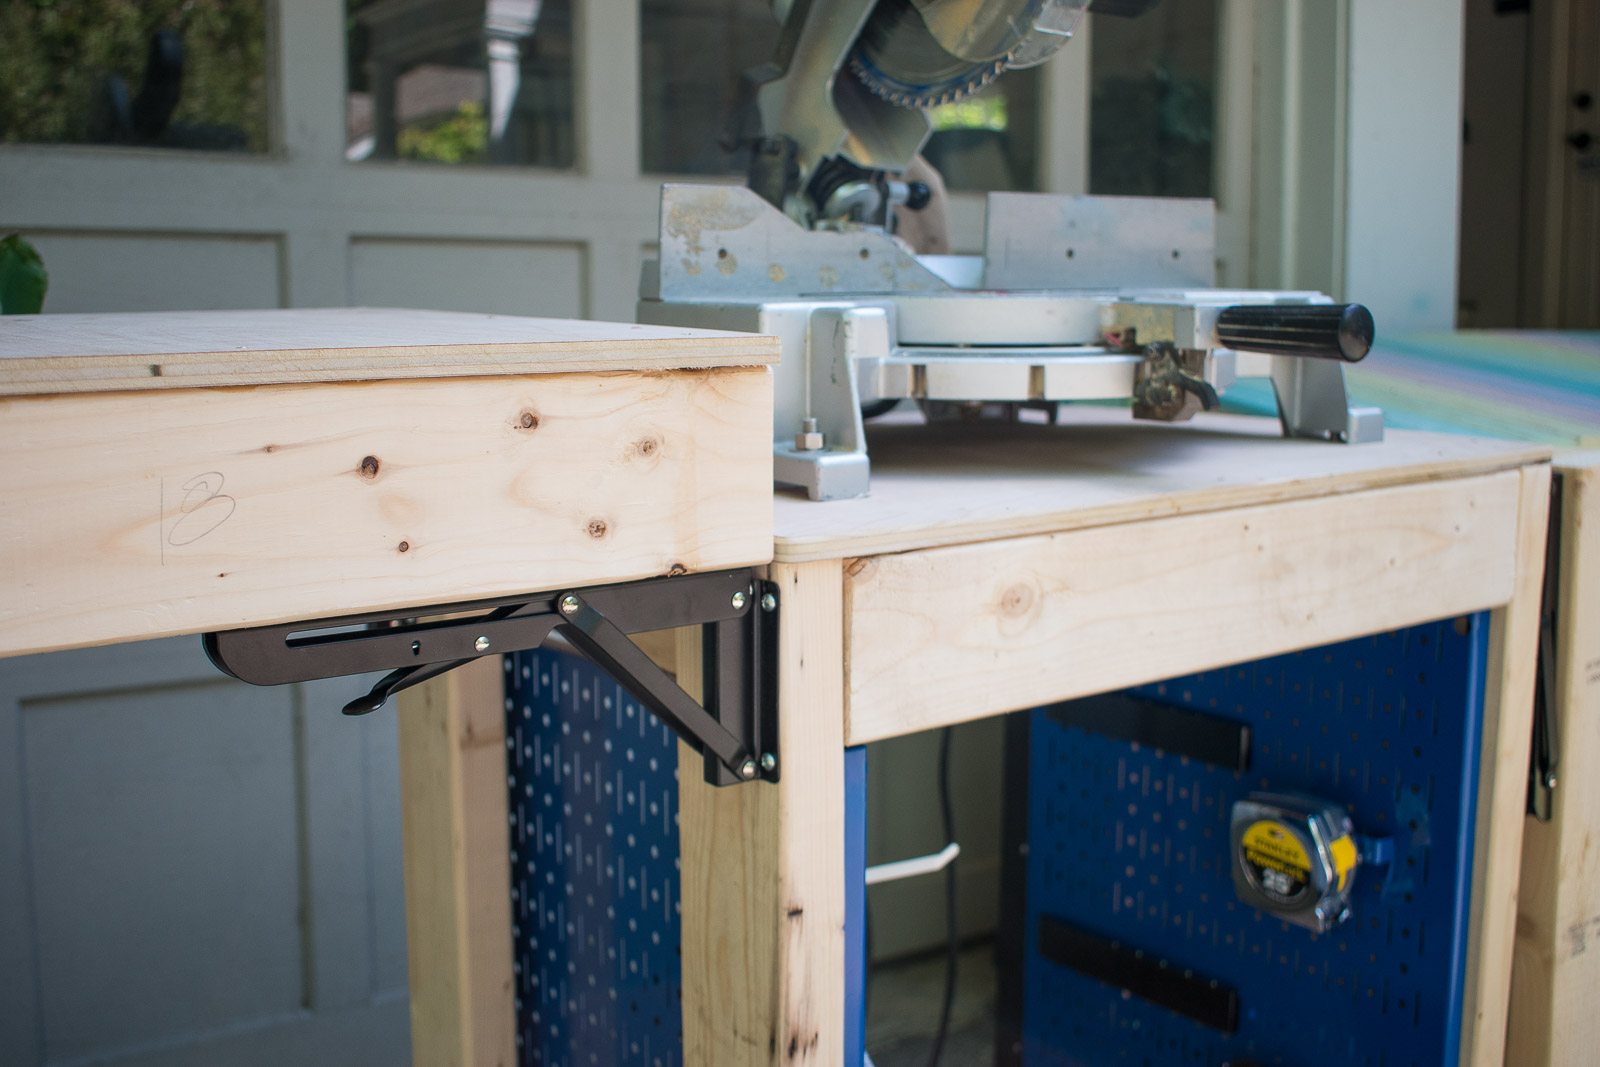
Step 6. Build hinged sides
To build the two wings, I made another frame using 2x4s and pocket holes. I traced and then cut plywood to go on top of each wing. My wings are the same width as the cart and they go down just as far as the pegboard.
Step 6. Attach hinged sides
I learned that it was MUCH easier to attach the hinges to the cart FIRST, then clamp the shelf in place and screw up from the bottom to attach the hinges. (I’m using these hinges.)
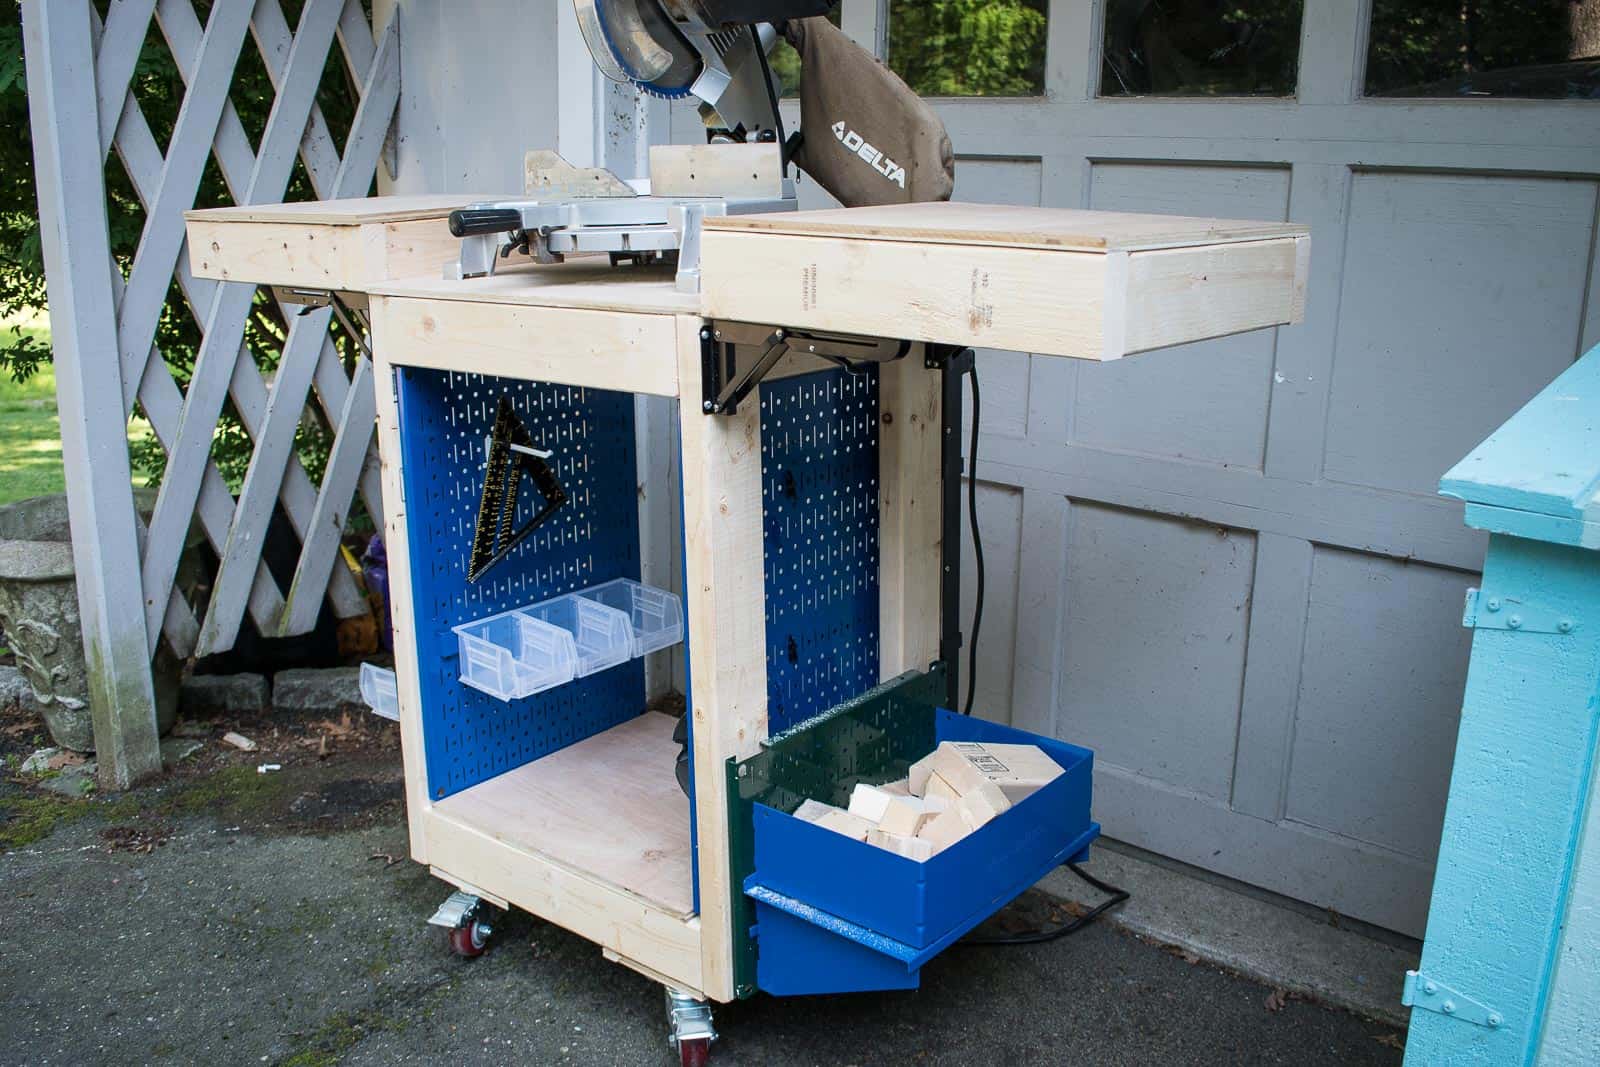
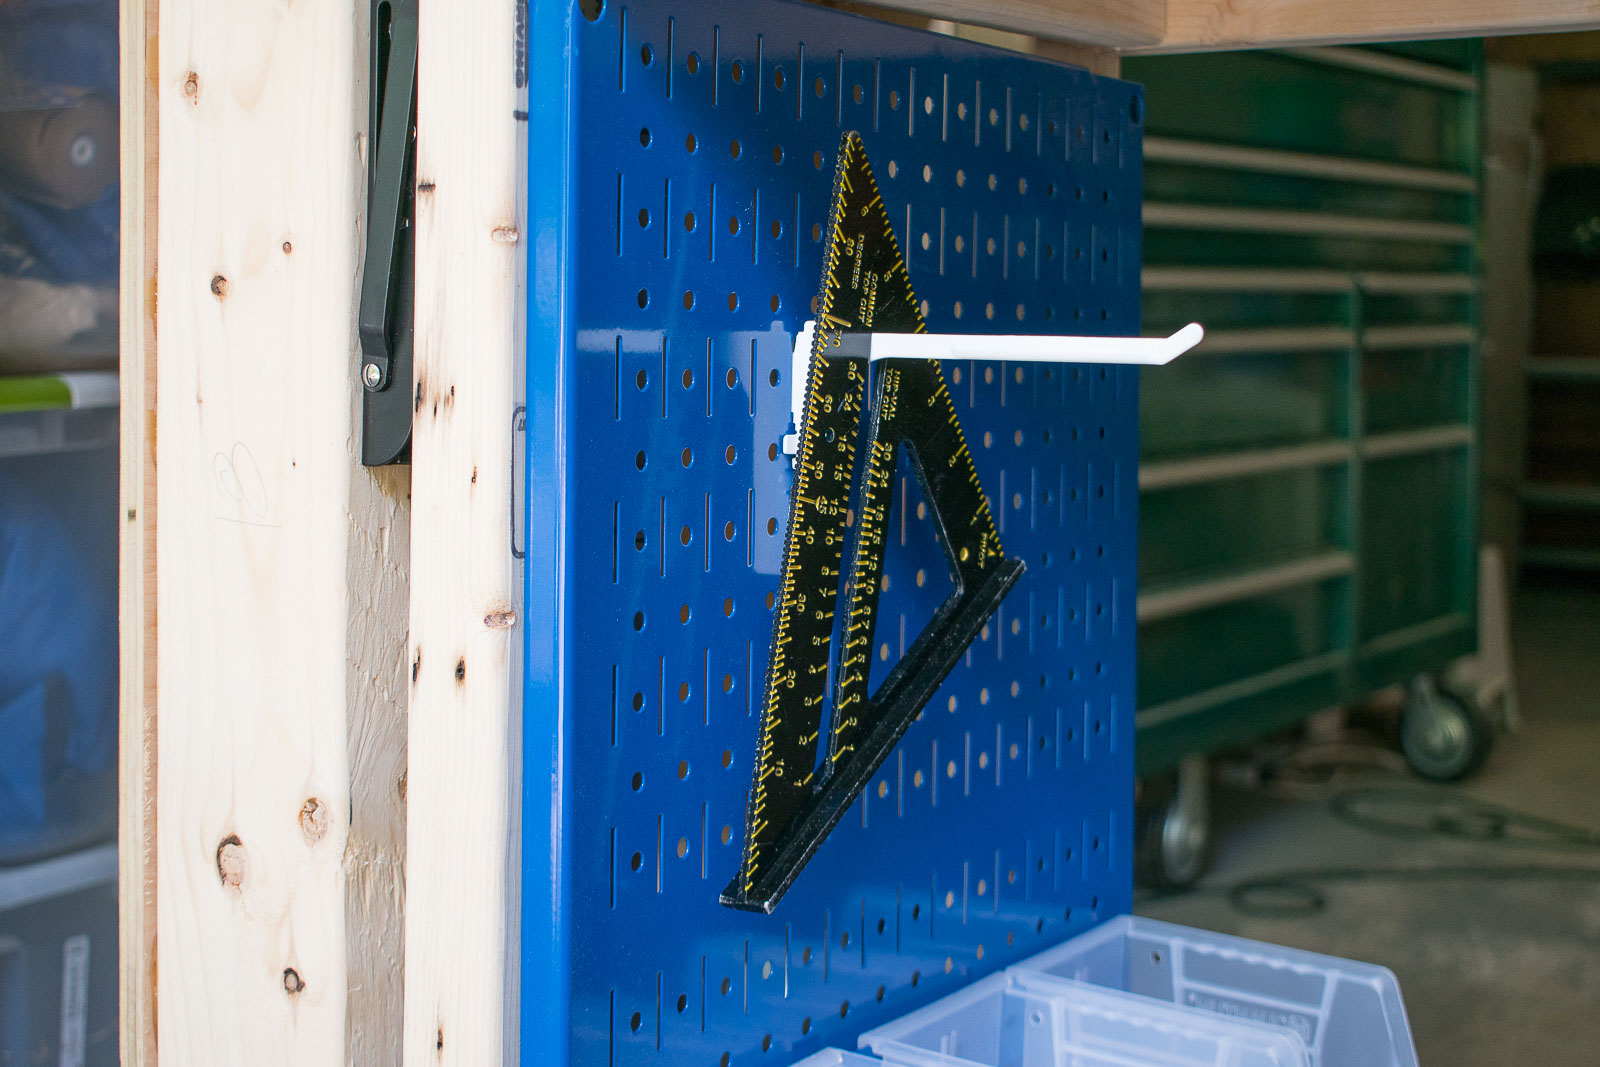
Step 7. Accessories
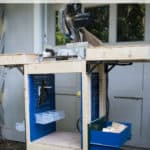
I had a handful of Wall Control accessories for the cart: a shelf for scrap wood, small boxes for loose screws, hooks for measuring tape and my right angle. I also screwed a power strip onto the back of the cart; the power strip can mount right to your pegboard but I didn’t have quite enough room because of how tight my pegboard fit the inside of the cart.
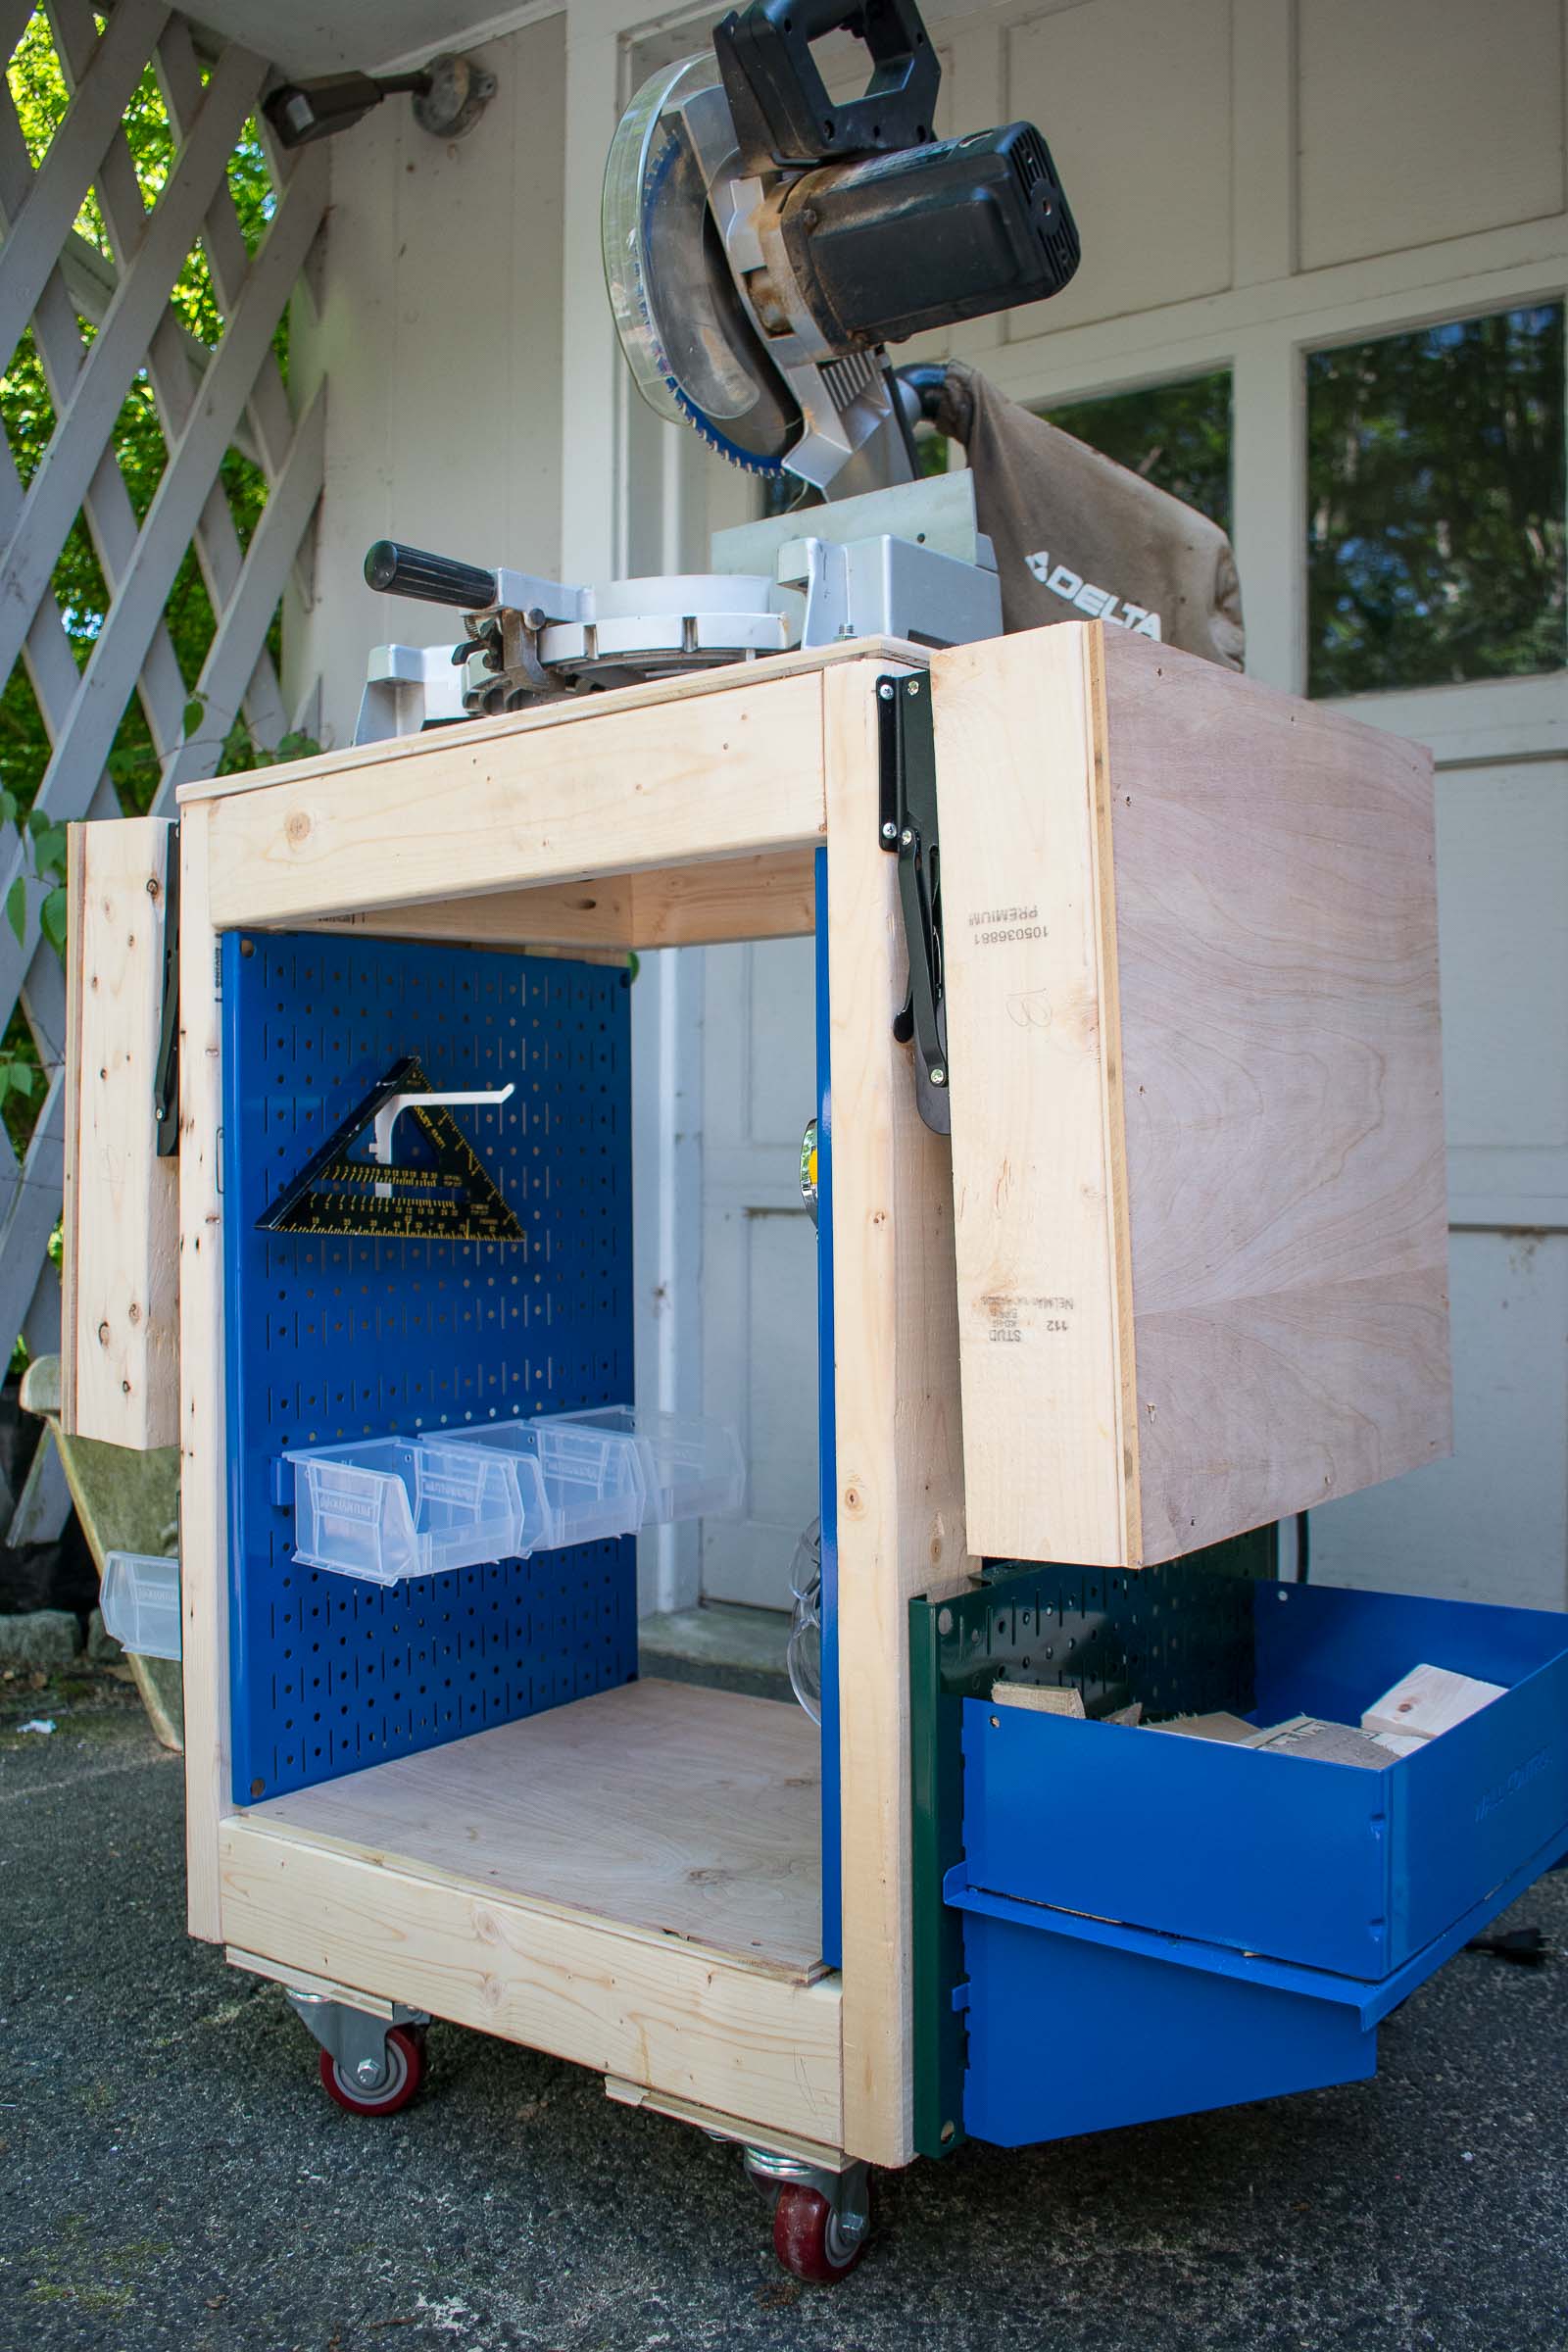
This cart has been a game changer for my workshop. It’s a relatively simple build and, honestly, I’m not sure why it took me so long to make this! The additional storage as well as the wheels makes this the perfect accessory for my small, somewhat cluttered shop! Thanks again to Tylynn for the inspiration!


You made that look easy. Love it!
You’re beyond sweet… thank you my friend! xx
Nice build. Now that you’ve used it a while, Are you happy with the FOLDING brackets and their ability to stay at 90 degrees?
THANKS FOR SHARING,
JOHN
Hi John! So far, yes! They work great! I even end up using the wings as an extra work space sometimes!