
How to Make a Dyed Cement Planter
Psssst… this post *might* contain affiliate links: see my disclosure here.
How to Add Color to Cement Planters
I’m back with another cement project. Are you sick of them yet? I made budget concrete planters. And then I made a concrete fountain. Next were cement orb planters… and now I’m seeing how I can add a little color! I googled ways to dye cement and… turns out you can add regular ol’ latex paint. So I decided to give it a whirl!
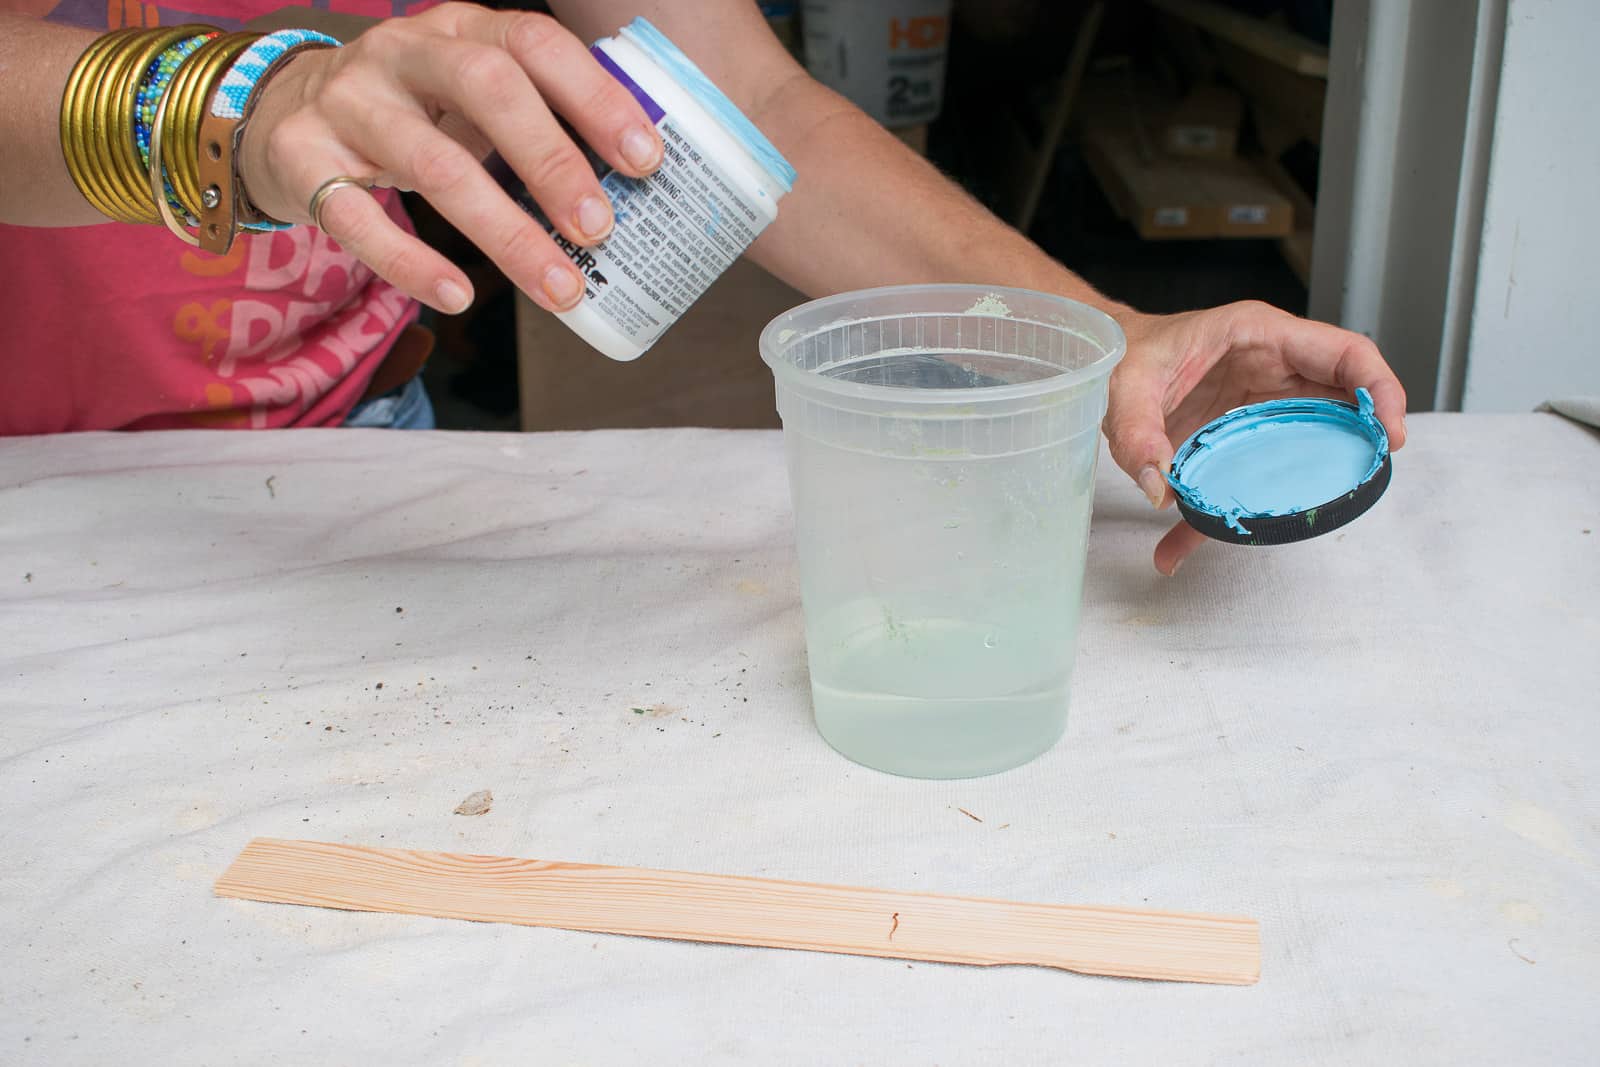
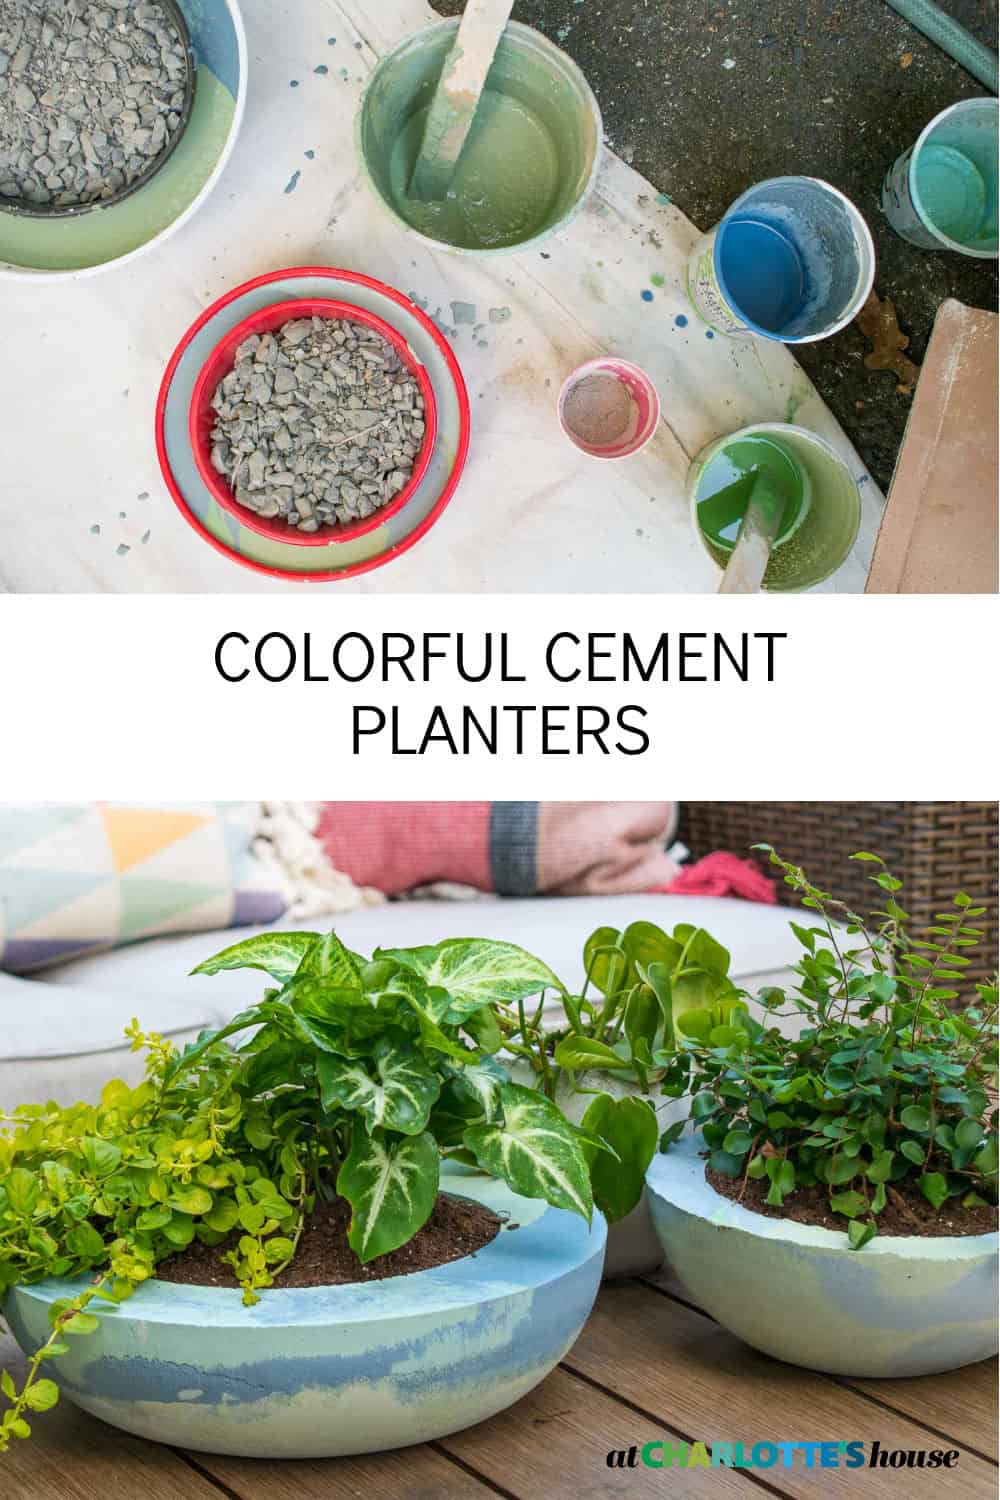
Step 1. Color the Water
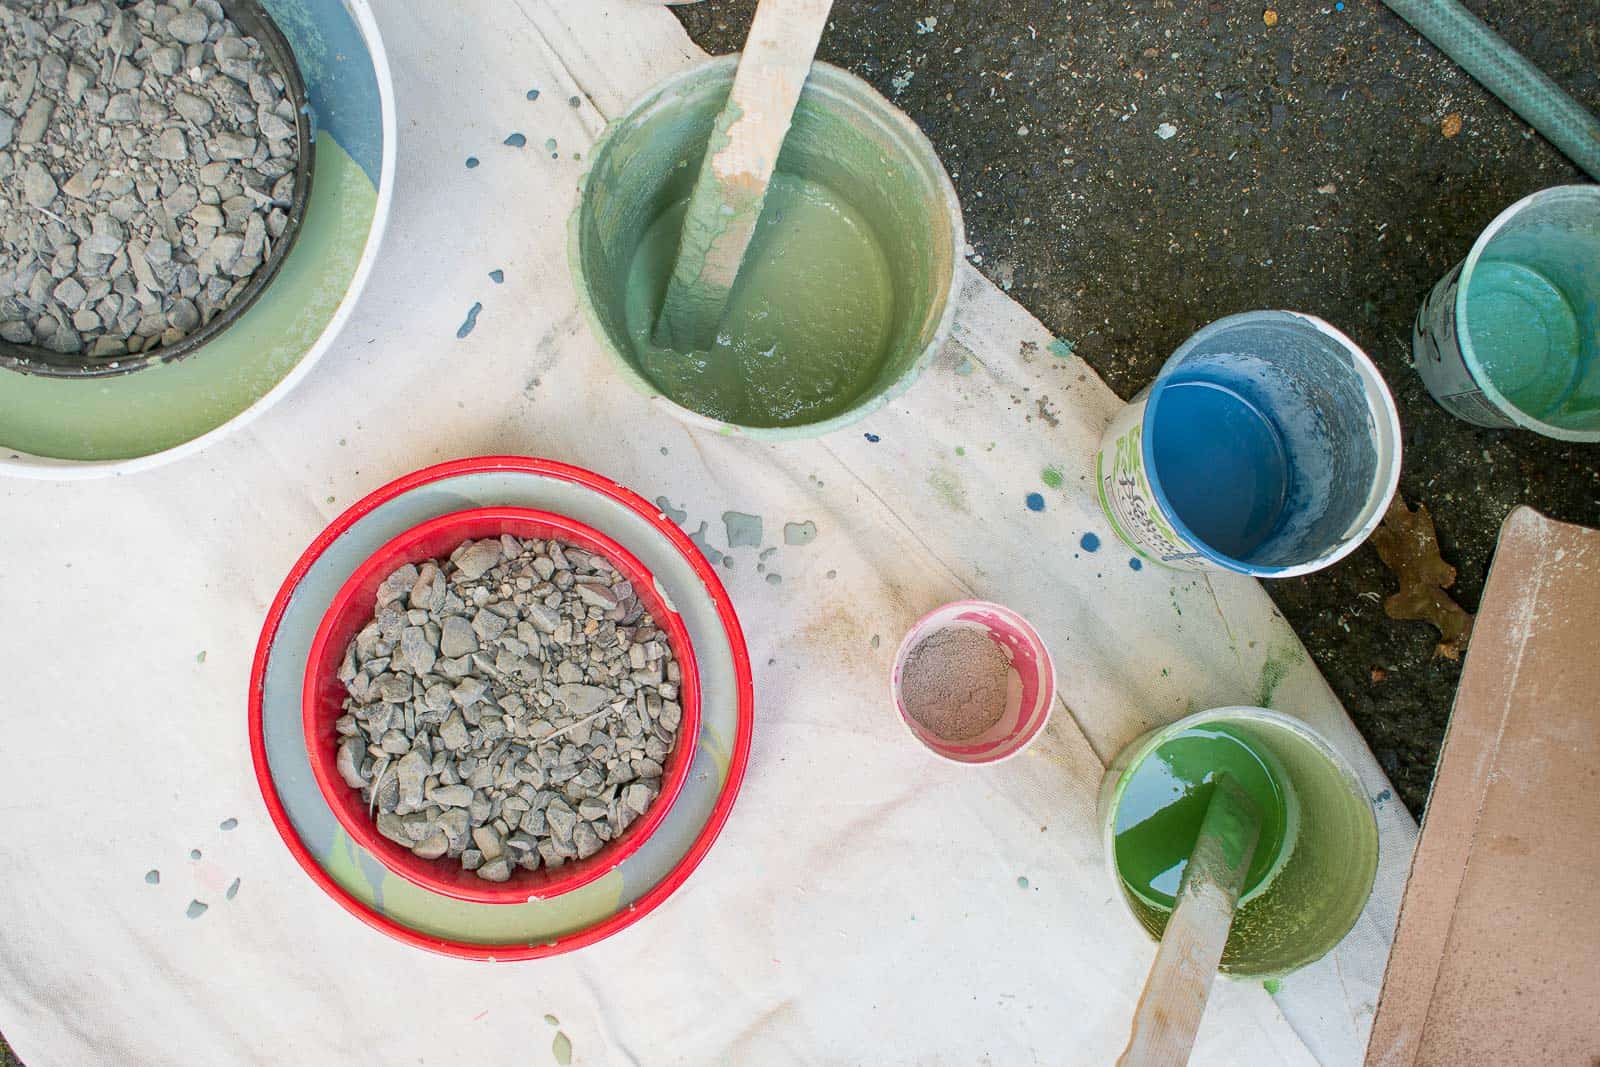
I started by mixing the paint with some water. I didn’t measure but I’d guess I added about 1 part paint to 4 parts water.
Shop my favorites!
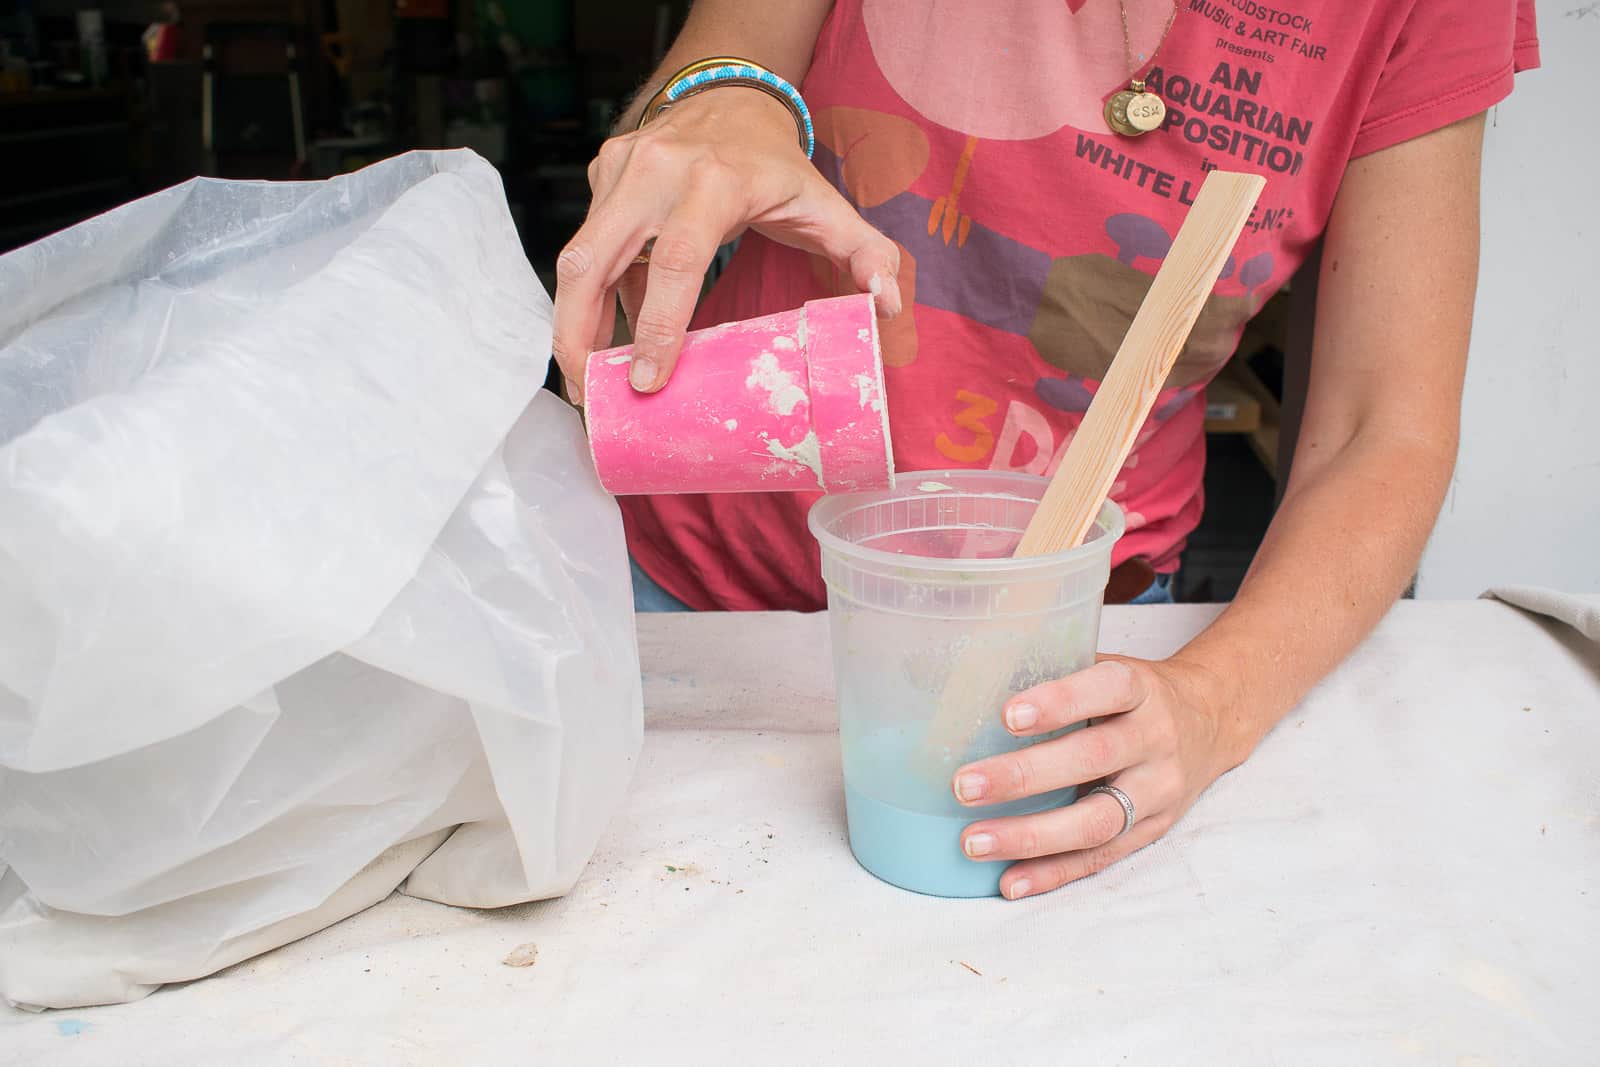
Step 2. Mix the Cement
Once the water was colored, I added the cement like normal. I’m working with CementAll and the suggested ratio is 1 part water to 4 parts cement. Of course I started with cups that were too small so midway through mixing, I transferred the cement mixture to larger containers.
Step 3. Prep Containers and Pour Cement
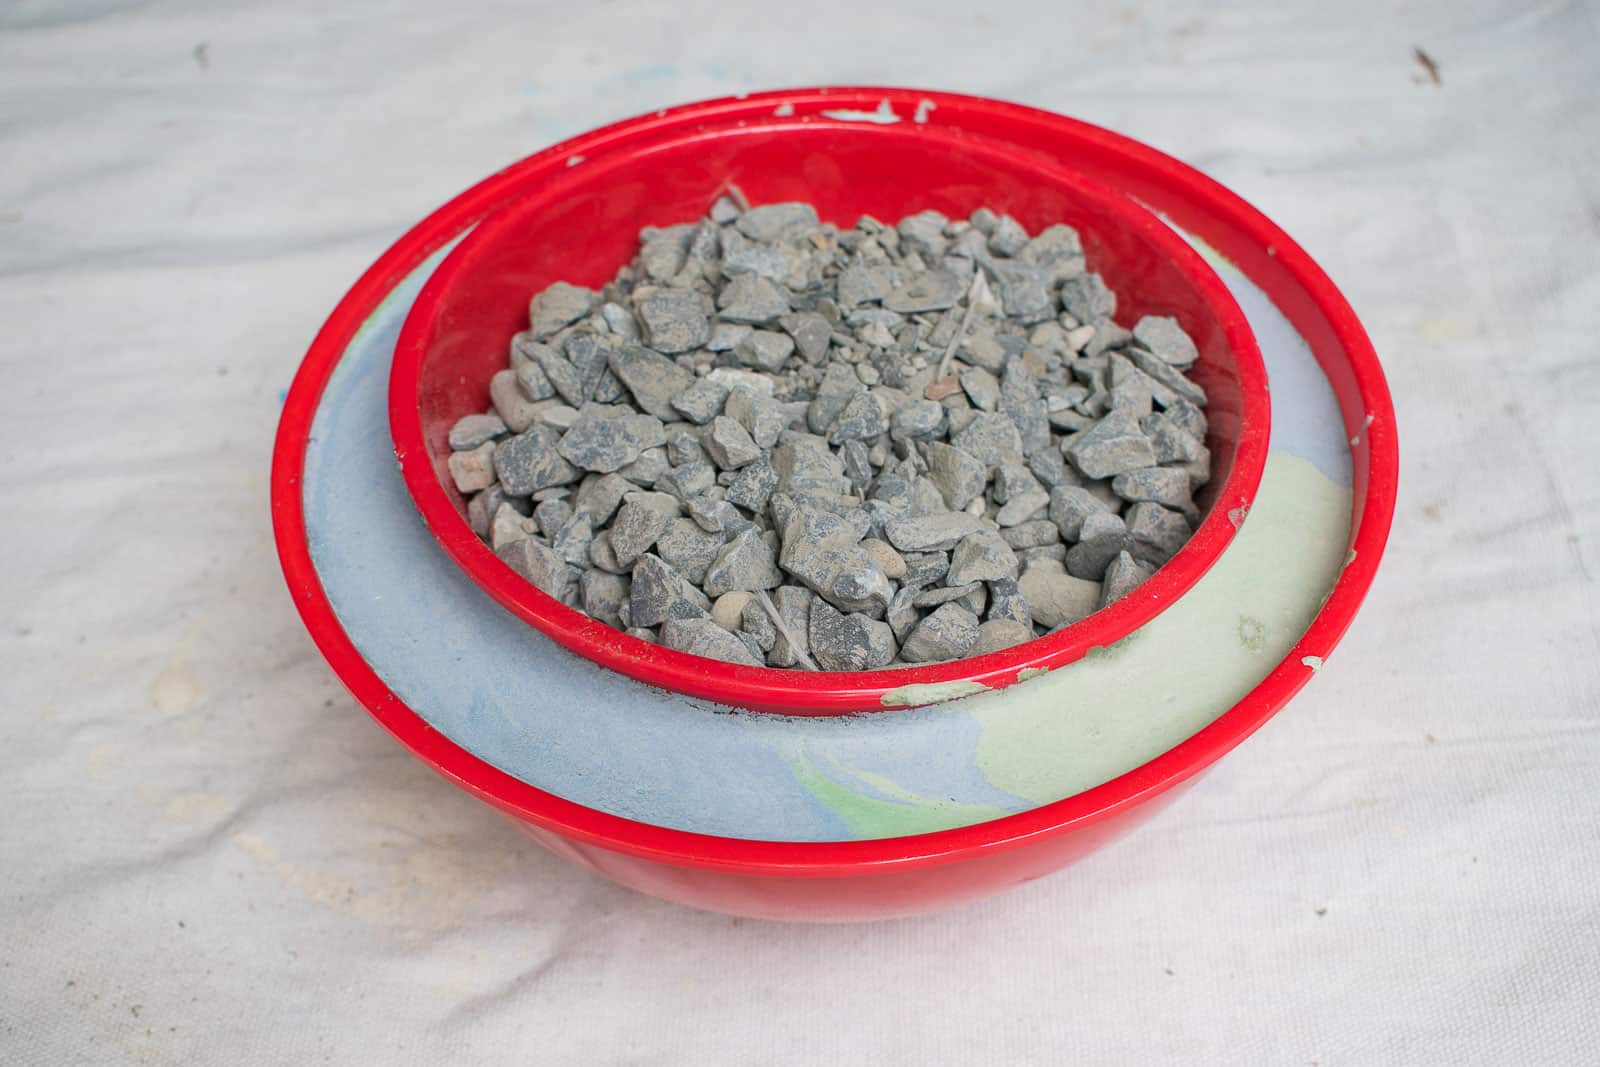
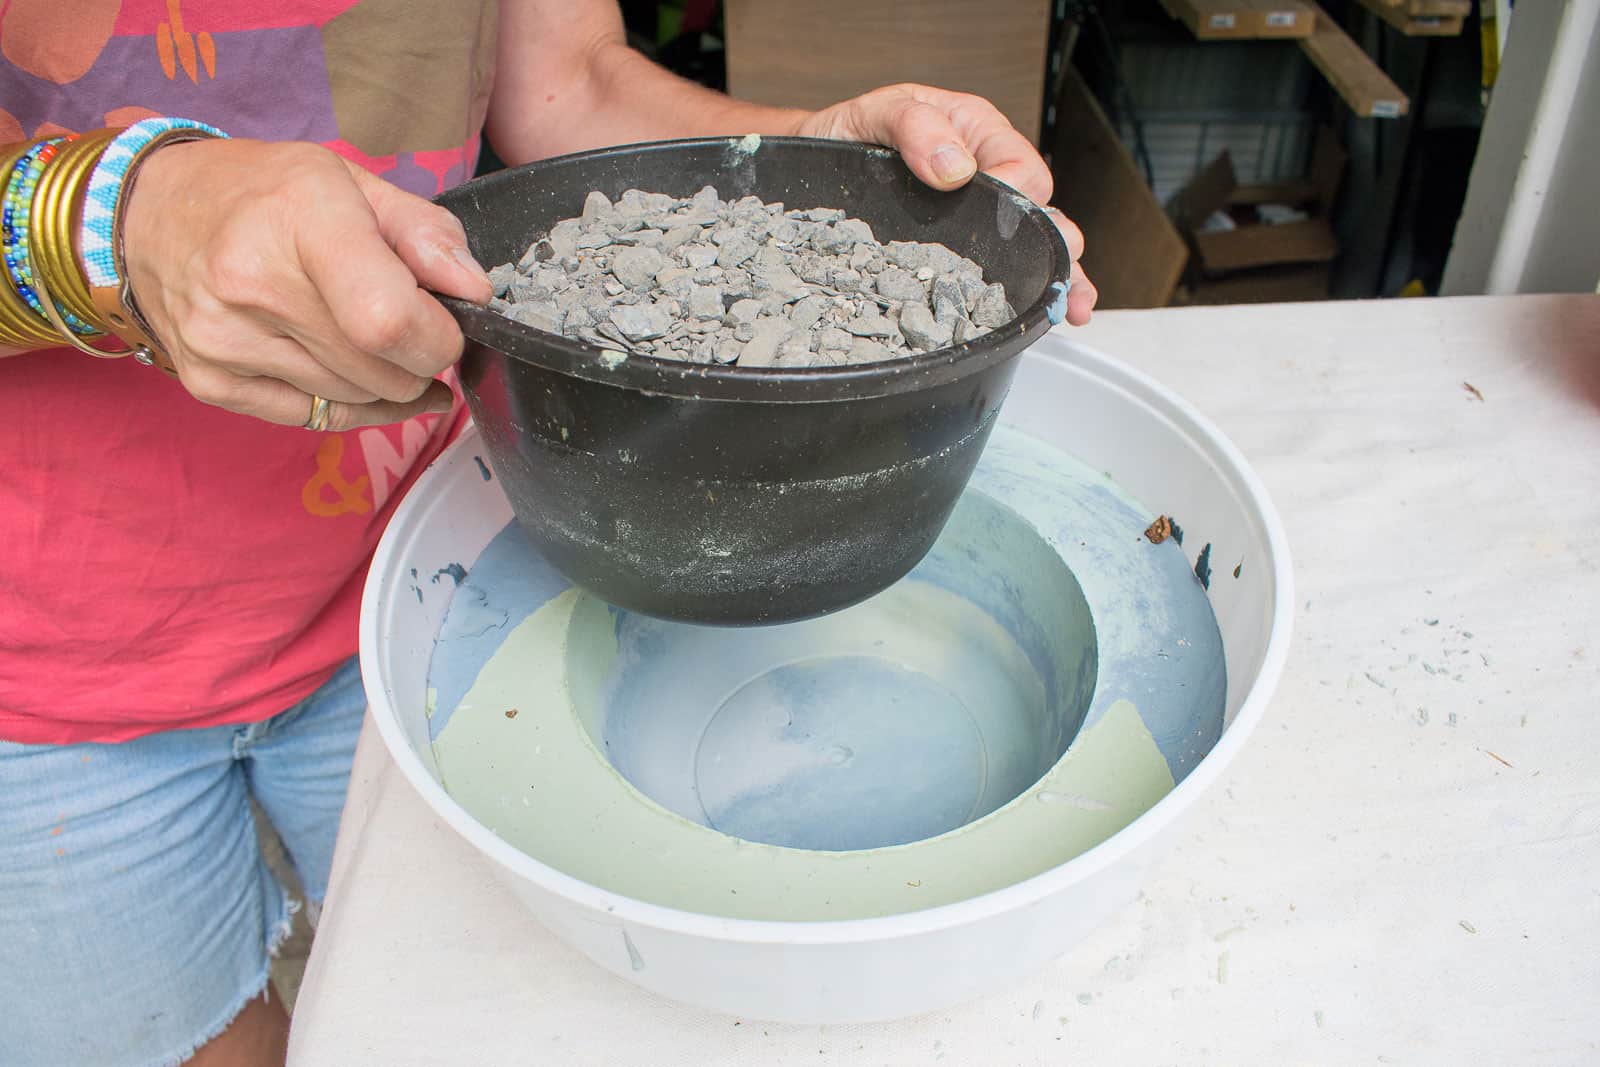
For these planters, I’m using plastic Dollar Tree bowls. Plastic bowls work SO well for cement molds. I sprayed them with cooking oil first just to be safe. I poured each color of cement into the larger bowl and then pressed the smaller bowl down into the wet cement.
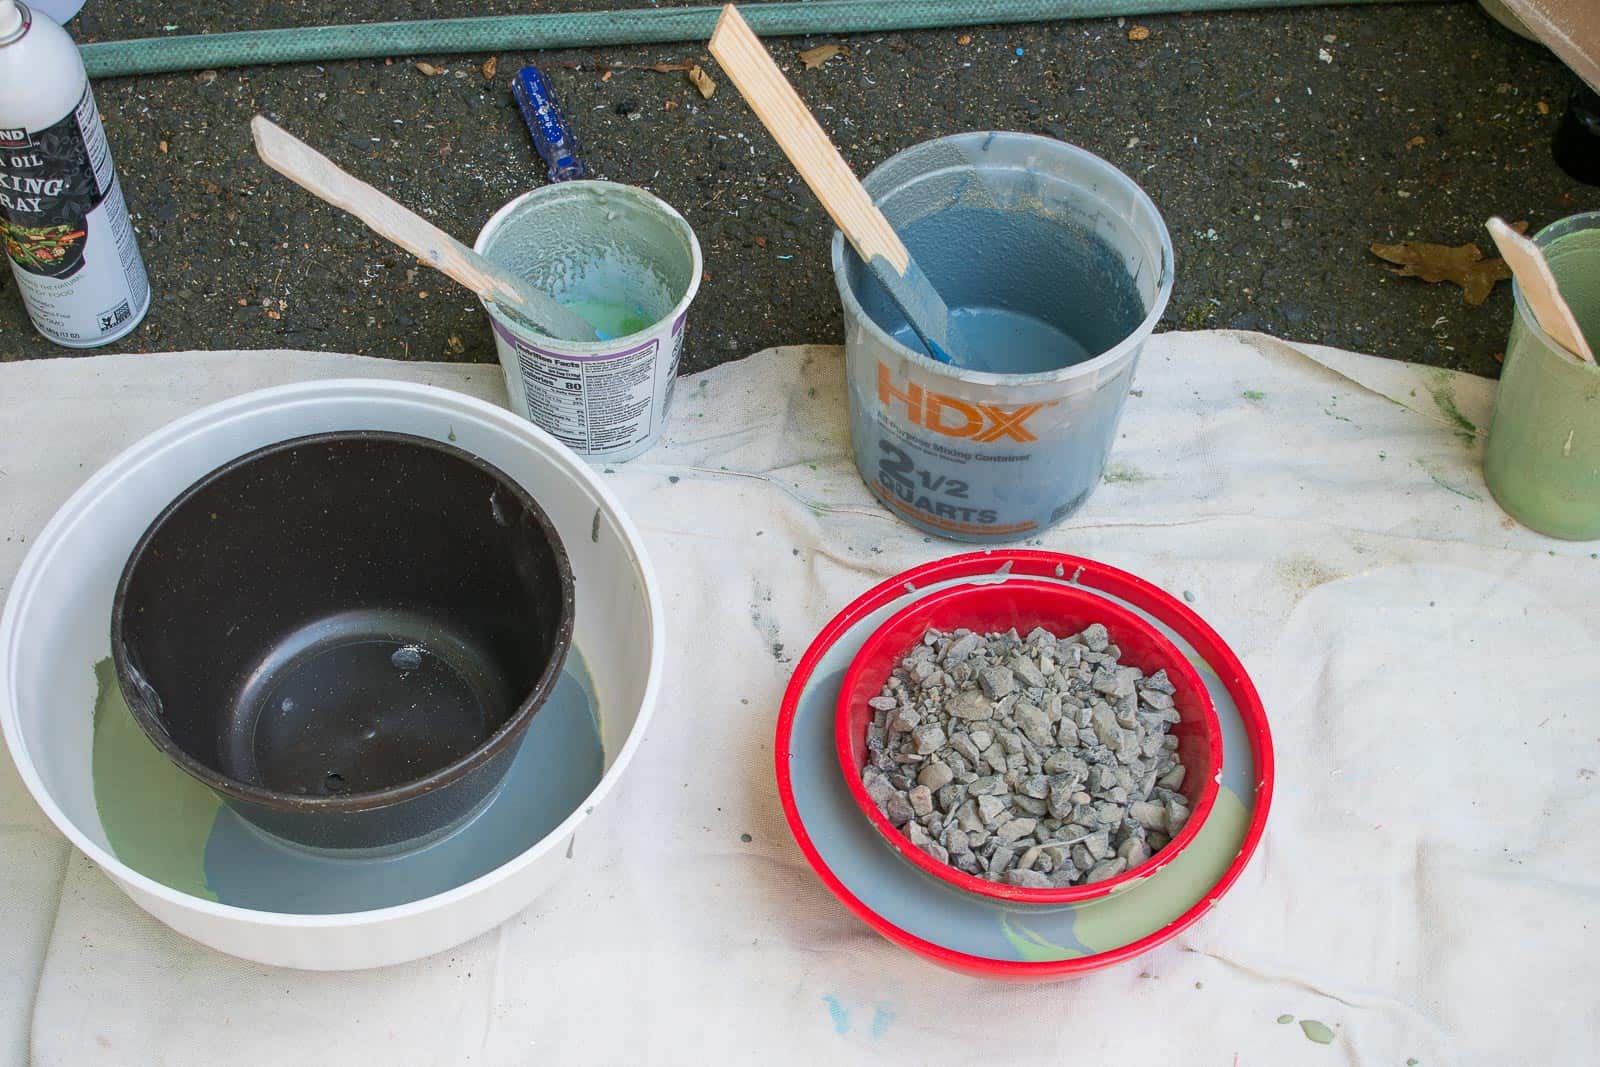
Important: the inside bowl WILL float to the surface so you’ll need to weigh it down a bit to keep it set down into the cement.
Step 4. Let Cement Set up for a few hours
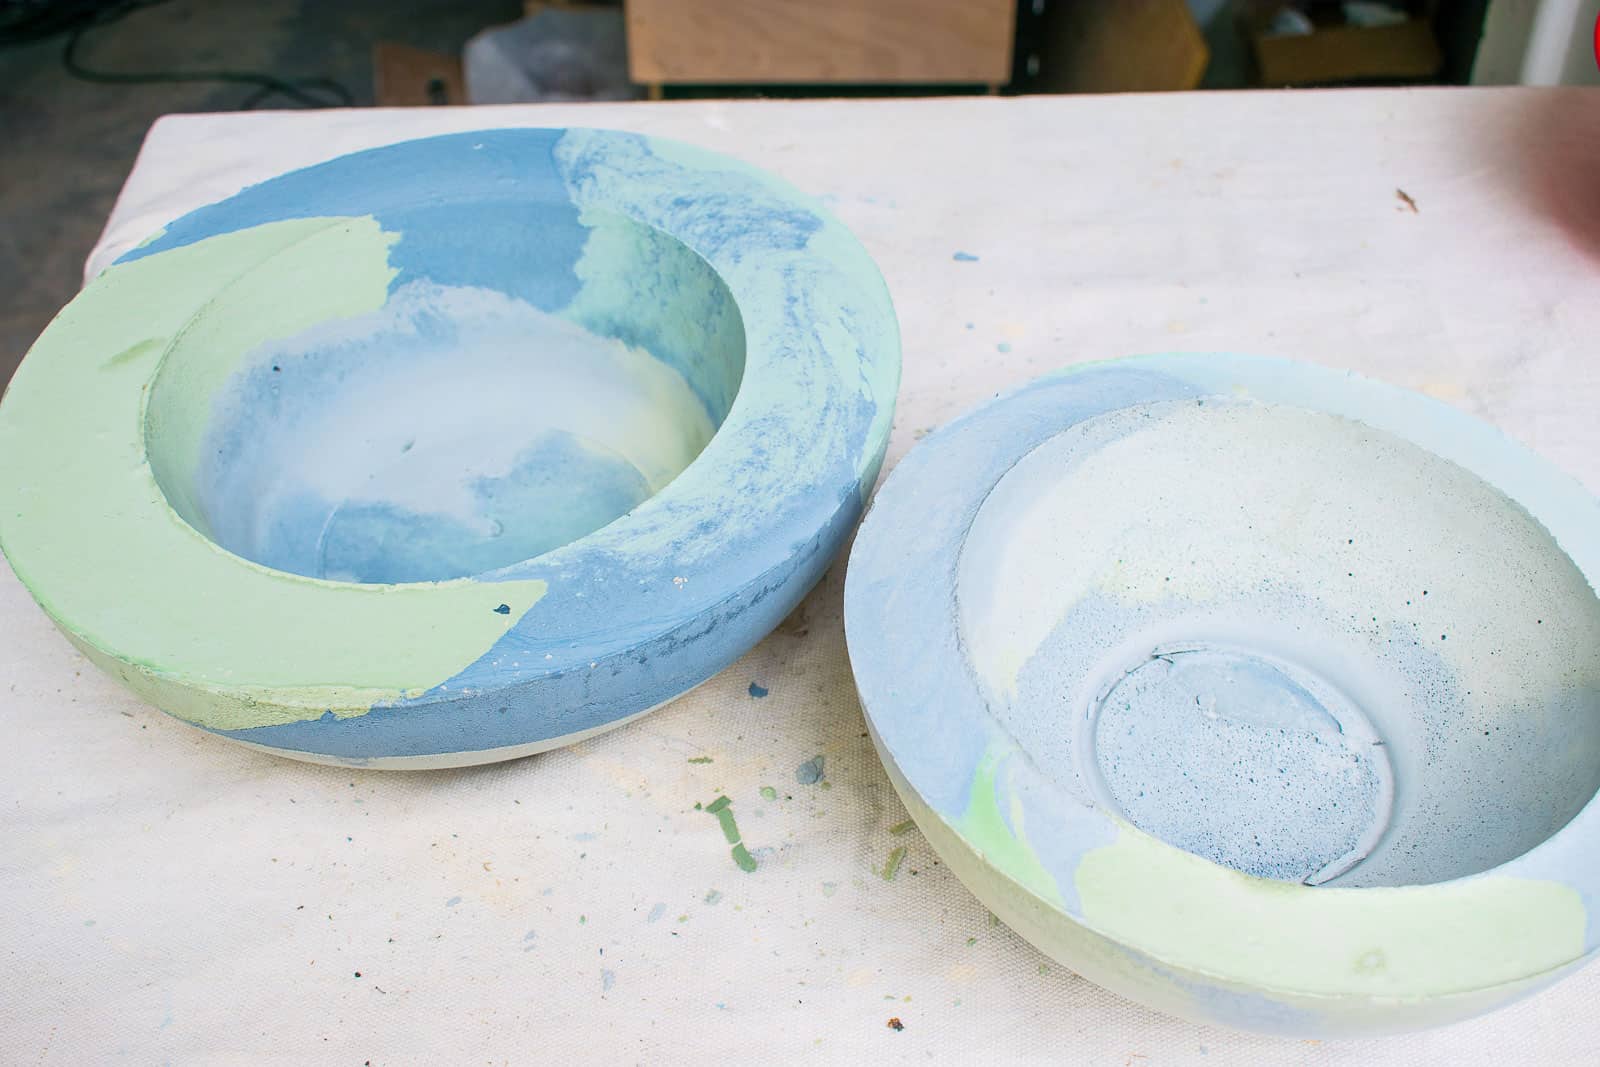
Step 5. Release the molds
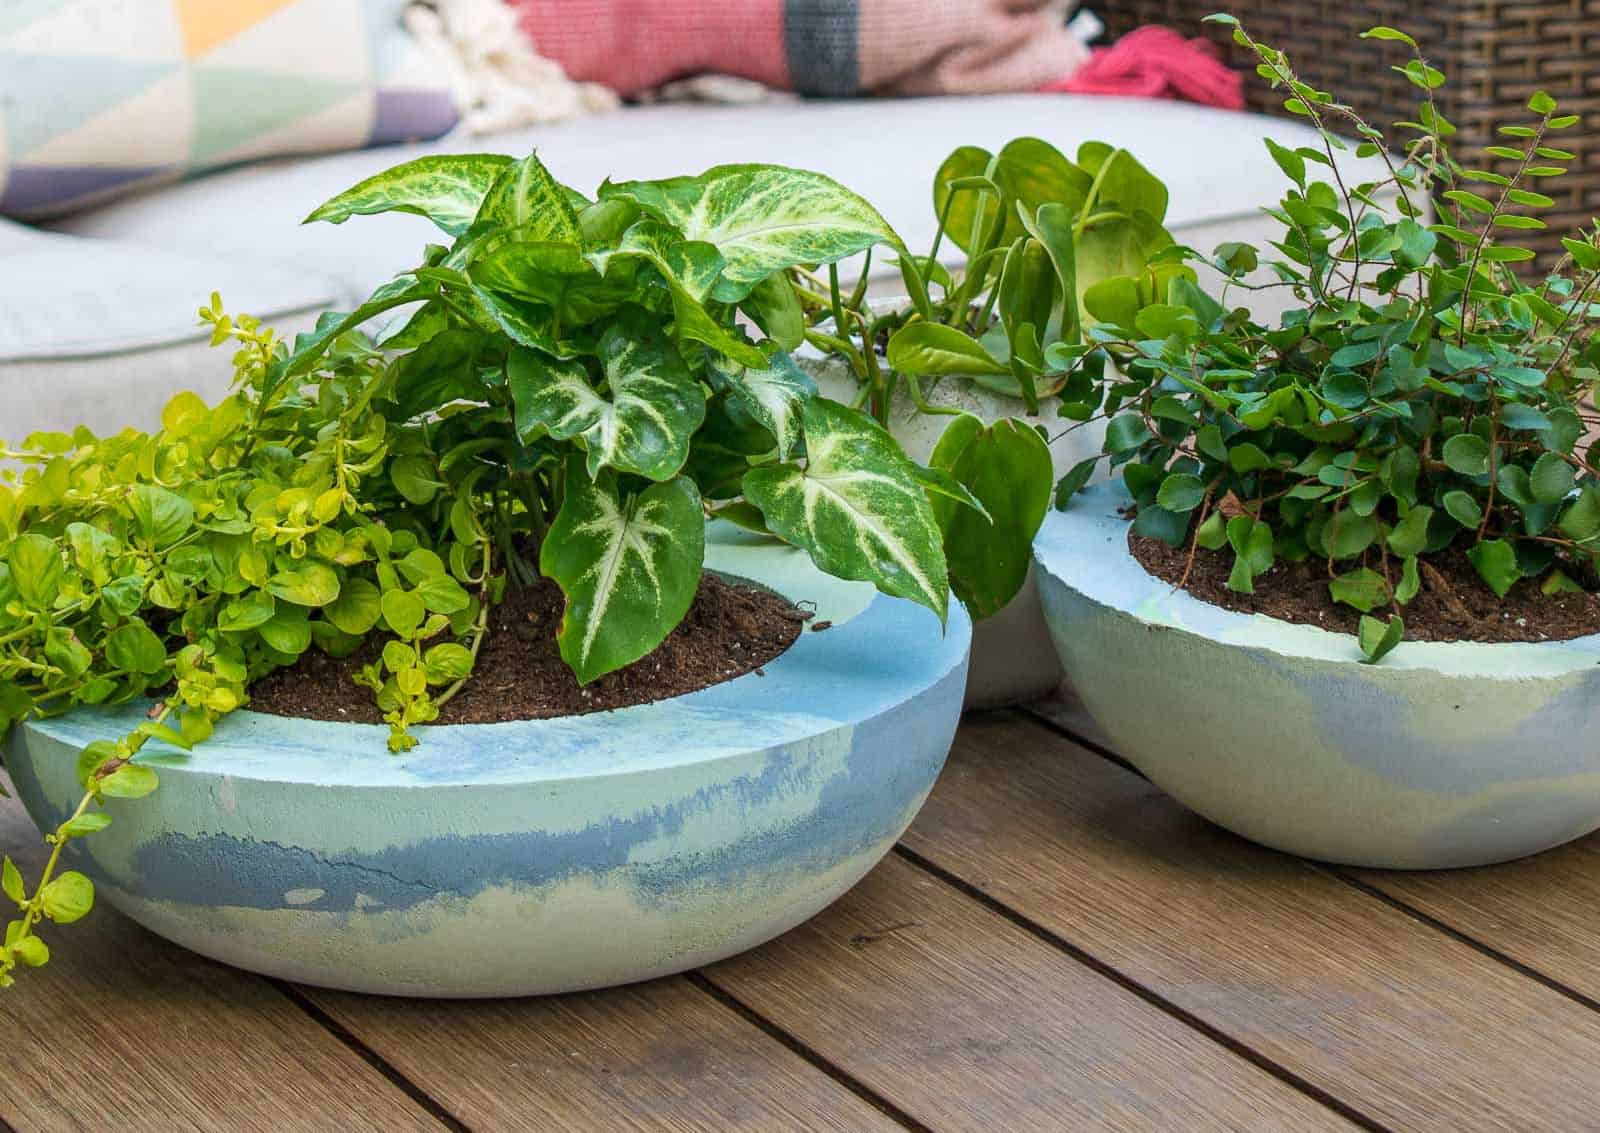
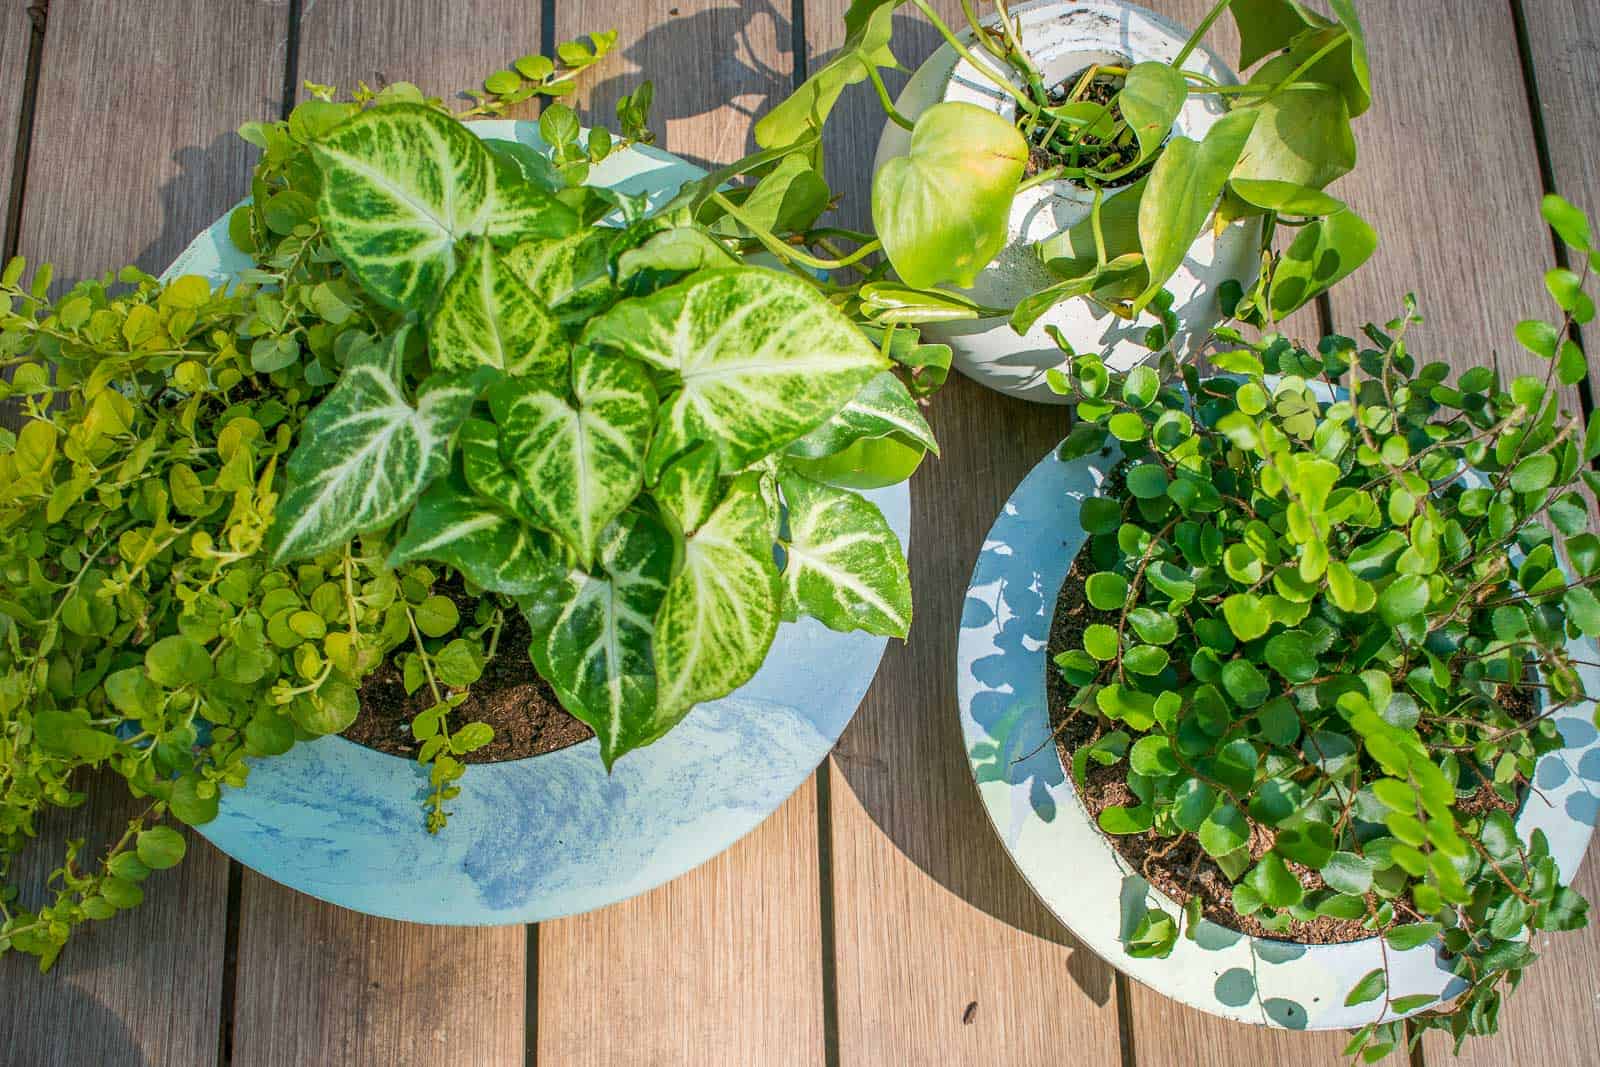
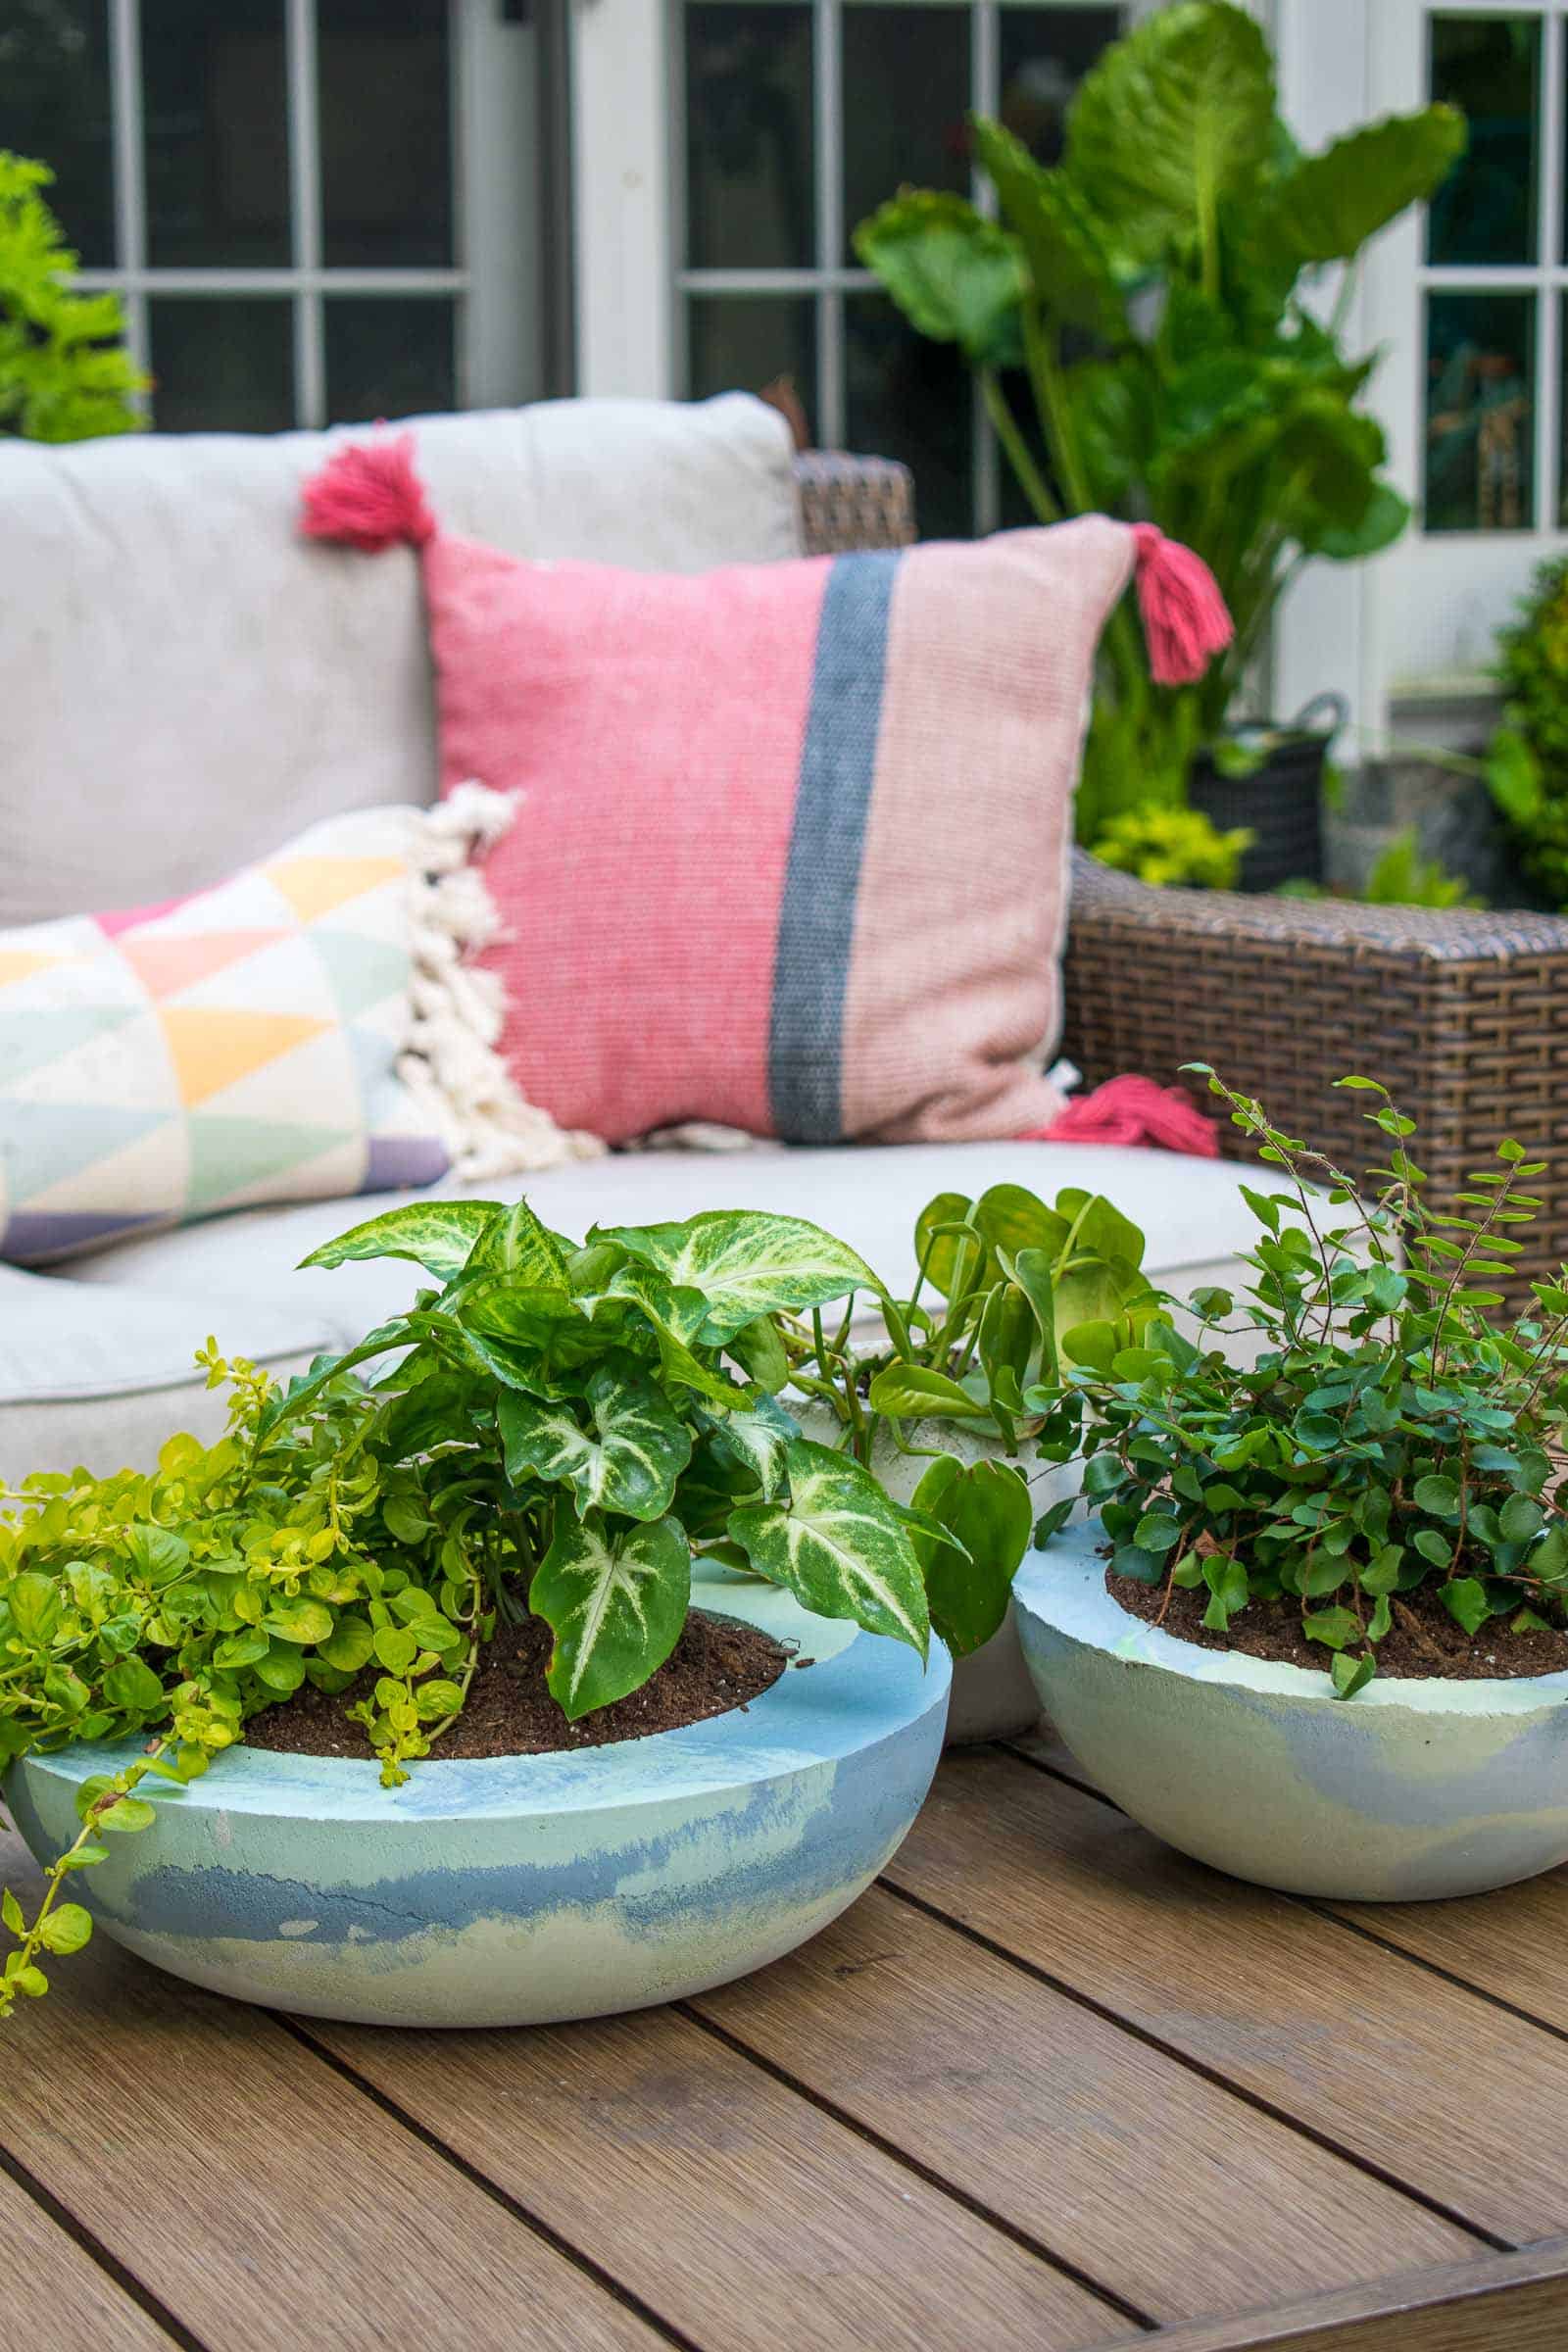
Releasing the cement planters was simple. I was able to carefully twist the inside bowl and it came away easily! How cool do they look???
The paint definitely added a subtle color to the planters and I love the effect. Keep in mind that you’re adding 4 parts of a gray powder to your colored water so it makes sense that the colors will be a bit dilute.
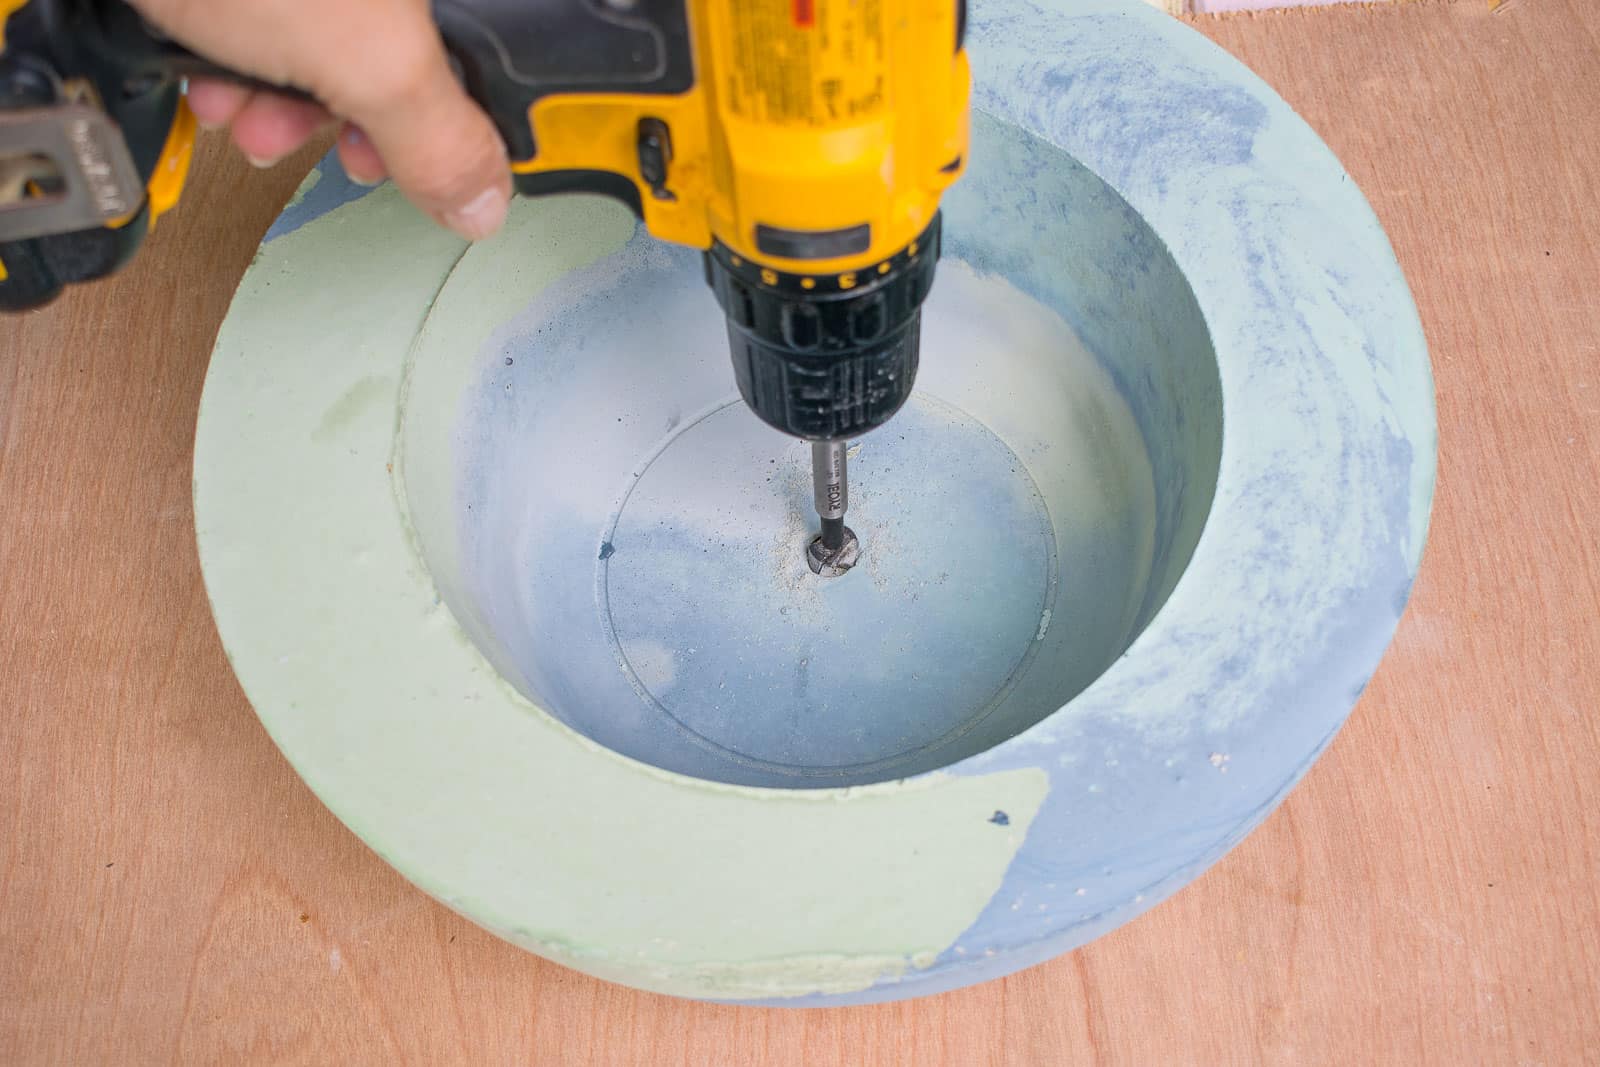
Recommended: Drill a hole in the bottom of the planter to allow for proper drainage. I used a forstner bit for the first hole and unfortunately the cement chewed apart my bit so…. just use a regular drill bit for this step!
Add dirt and plants and enjoy!


I love how these turned out. You have me almost convinced that even I could do a diy project! 🙂
Haha! Go for it! I bet you can do these!!
Love it to it soo much
Brilliant and creative.
Lastly I need to know if you have mixed cement with sand or just cement plus dyed paint water.
Thanks! No sand in this mix! So it’s just the dyed paint water!
Have you tried Urns? I am looking for a couple of nice size Urns to set on each side of my front door. I would love to do something like this. I think I am going to give it a try. Thanks for sharing. Great idea and I also am a Succulent lover. have them all over my house and in the summer i take them to my deck.
No but that would be great! Good luck!
can use the planter immediately after drying? To need to soak in water to cure it?
I put plants in right away and didn’t soak it! Not saying that’s best practice, but that’s what I did. 🙂
These look so cool! What kind of Paint did YOU USE? Or DId is Read over IT somehow..
Hi! This was literally leftover latex paint samples! 🙂
Ab love these planters ! Great job !!!
Thanks so much!! xx
WHATS the name of the CEMENT you used?
I believe I used Cement-All for this one!
Hi love these but wont it be weak WITHOUT sand?
Nope! Cementall is perfect for this kind of thing… no sand.
Love these- Made 2 small bow to start- was easier than i IMAGINED. Do you havexa metho of sealing or waterproofing them?
I’m bad and don’t bother… I figure they last for a while and I can make them again if they wear out. That said… there is a concrete sealer that I’ve used on other projects that you just paint right on. 🙂