Runner For the Win
Psssst… this post *might* contain affiliate links: see my disclosure here.
DIY Budget Stair Runner
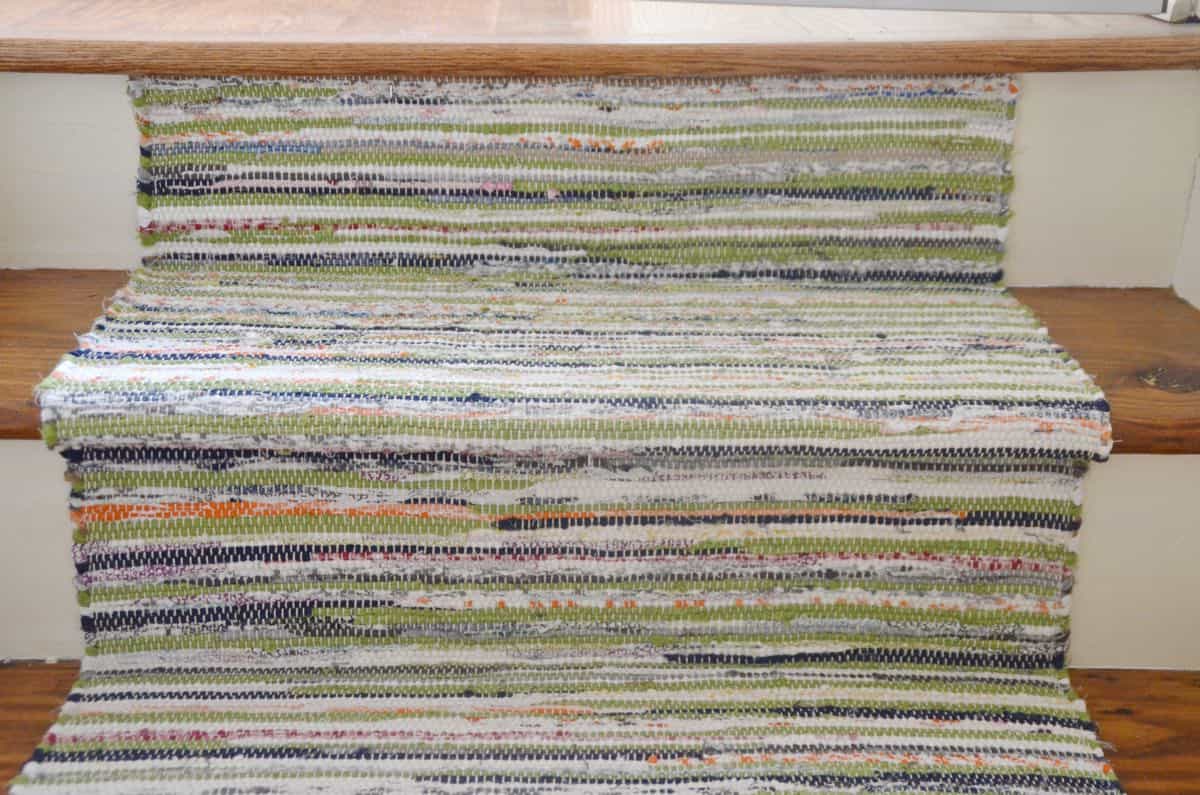
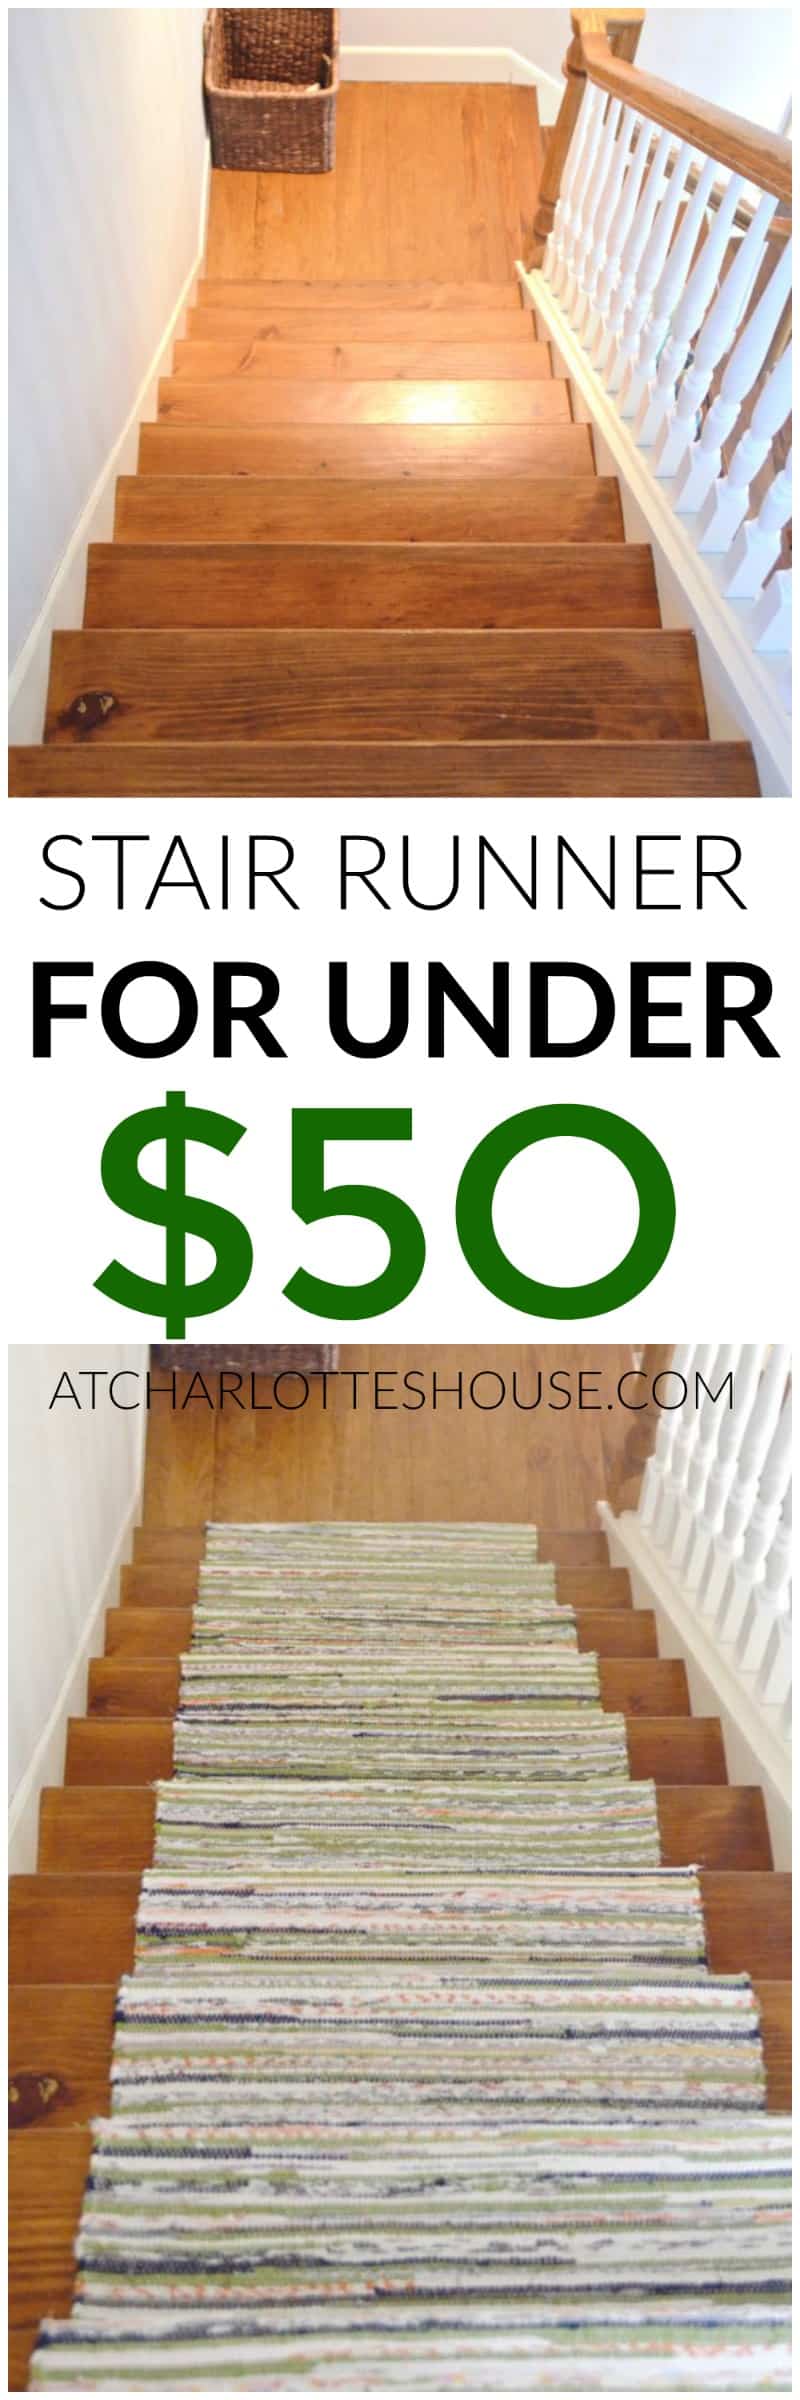
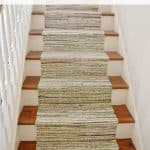
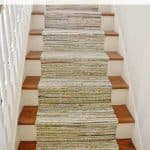
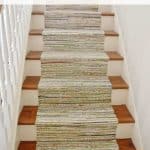
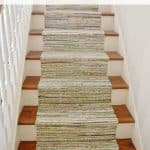
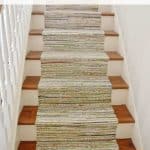
This $50 DIY stair runner was easy to install and made such a difference on our staircase.
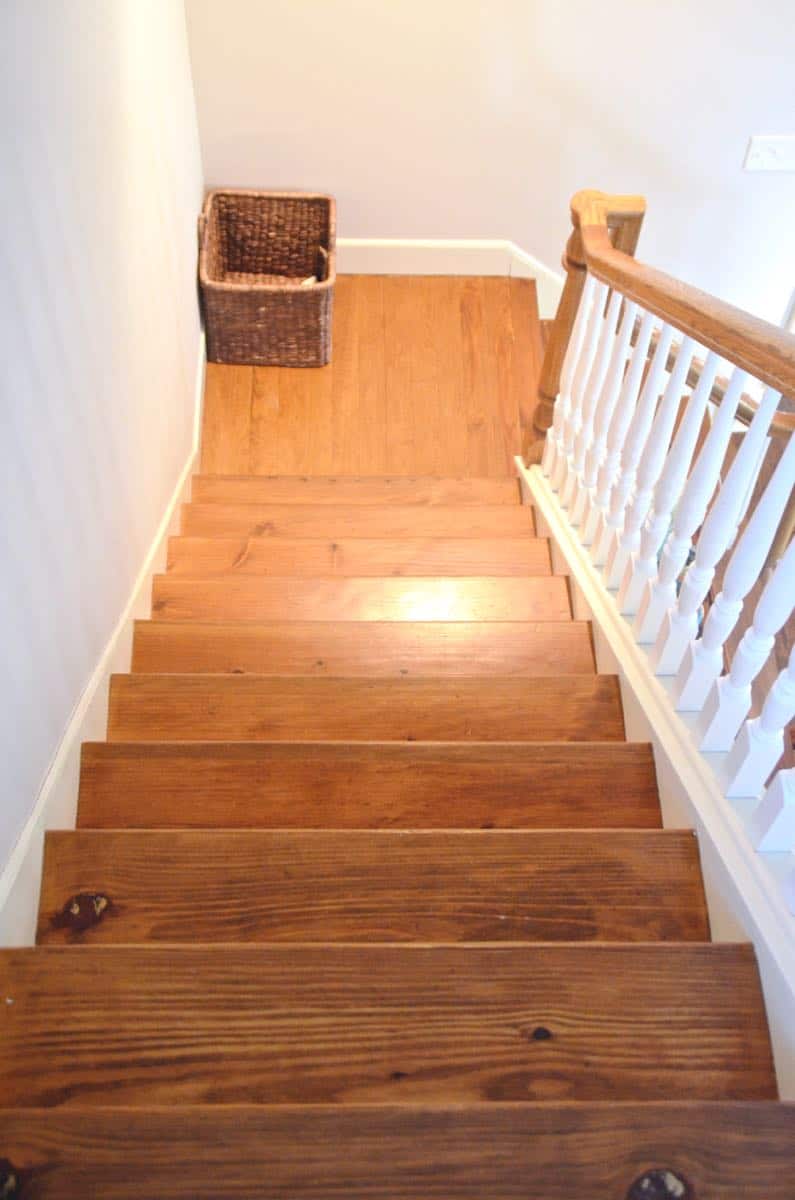
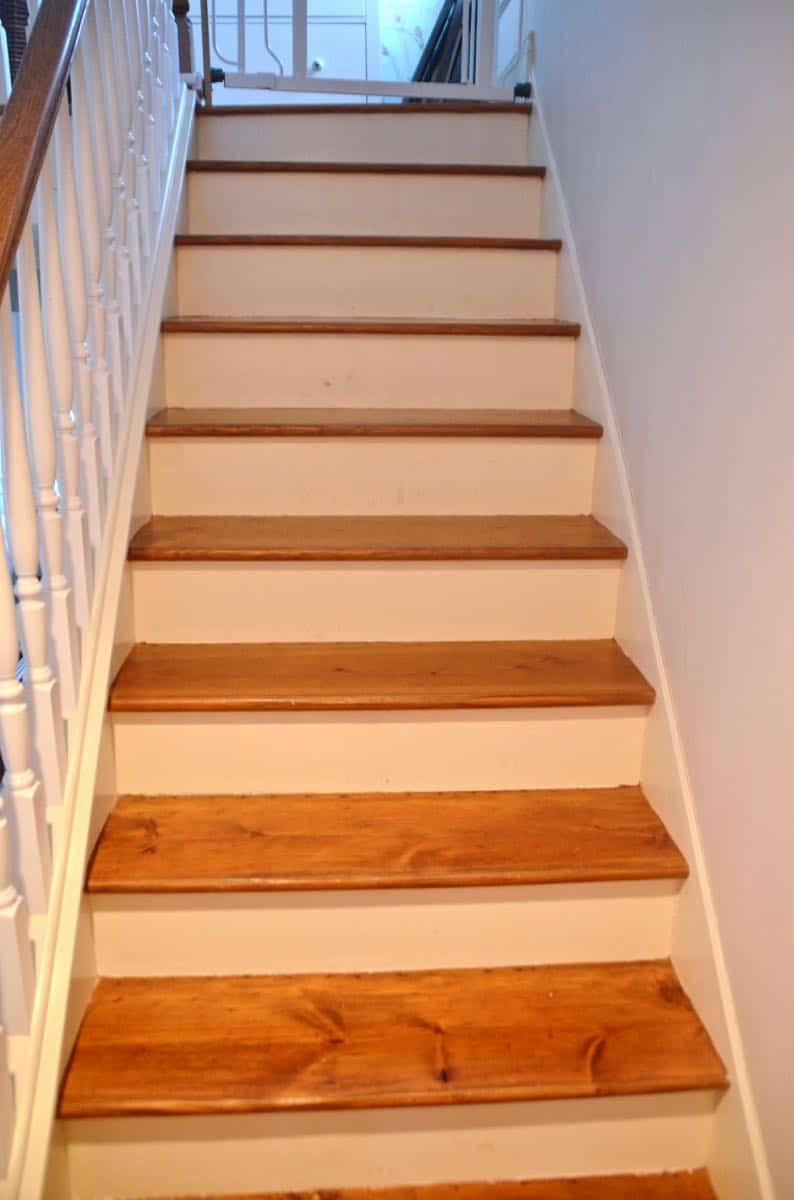
Do you guys ever get an idea for some sort of DIY and have to do it, like NOW. Well this was my moment of ‘git ‘er done.’ Our stairs needed a little padding, a little cushion and a little quiet…
Shop my favorites!
I always figured we’d put a runner on these stairs to soften them up both physically and aesthetically, but it was never a high priority. It was also super expensive. Or so I thought.
Finding the Right Budget Carpet
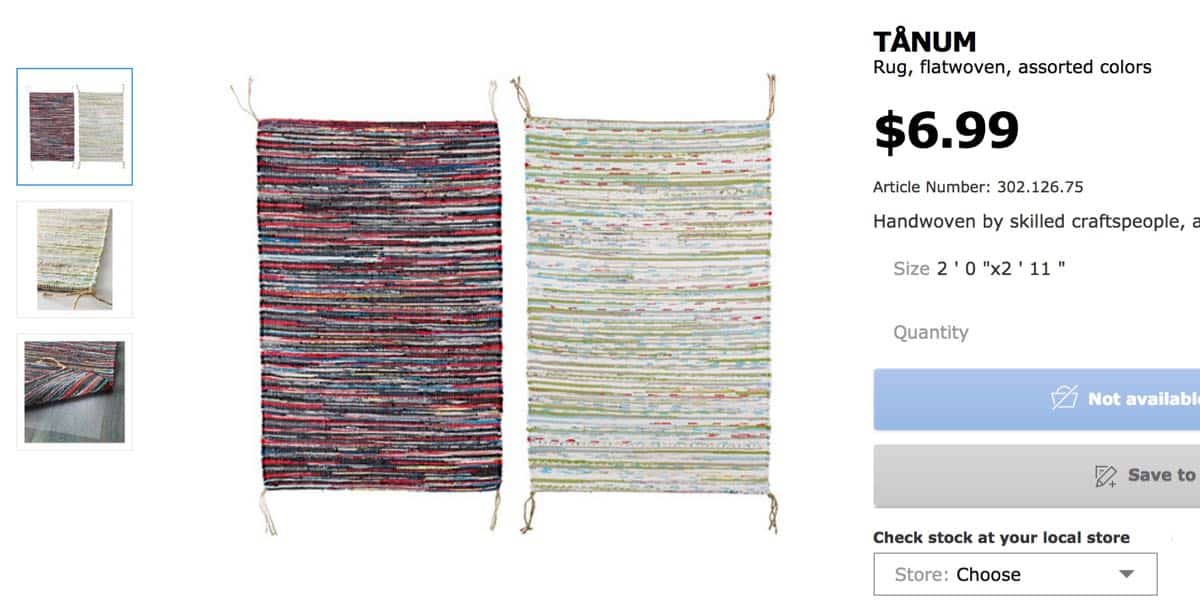
There were three posts I read that somehow twisted my brain around to a cost effective solution. This one from YHL that made me realize, bam, there’s no magic to a stair runner… John and Sherry pieced together a number of regular ol’ hallway runners to work on their stairs. Then I read this post by the amazing Jenny who used… wait for it… Ikea. Like my 3-year-old at a Fresh Beat Band concert… the heavens parted and all was right with the world. I wanted something a little more colorful than the stripes Jenny chose, and whattya know… these throw rugs were my jam. And, hel-LO… $6.99 a piece.
Measure Your Stairs
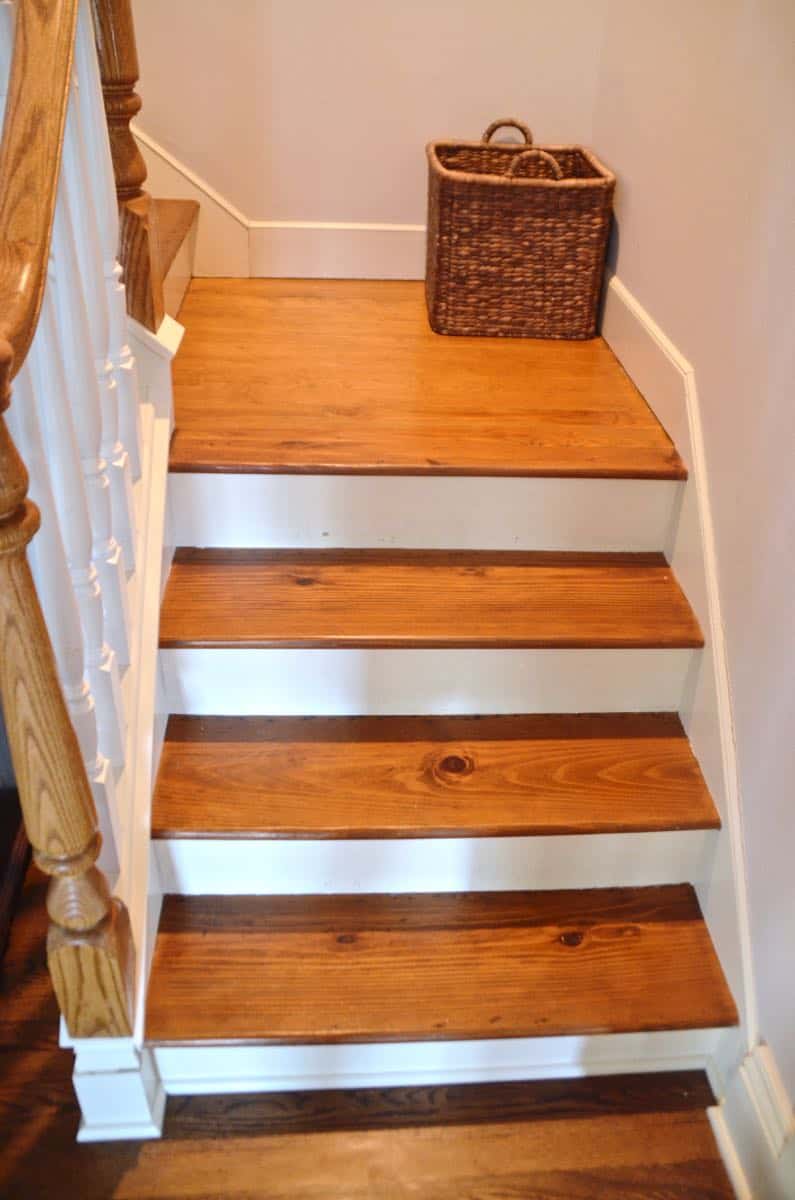
But would they fit. Time for some measuring. First, some stair terminology: Tread= the flat part you step on; Riser= the vertical portion you might kick with your toe as you walk up each stair; Nose= the little edge on the tread that makes the stairs look nice and finished.
The tread plus the riser of our stairs equalled 18″. I rounded this up to 21″ to account for the extra rug needed to wrap around the nose of each stair. I confirmed with my design friends on google, that 5″ on either side of the runner wouldn’t look cray cray and I also confirmed with my design friends on google that I didn’t need to have a rug on the landing either. Which meant this rug would be perfectorama. Winner winner, Ikea Swedish meatball dinner.
We’re lucky to have an Ikea about 20 minutes away. It would have been fantastic if THAT Ikea had my rugs in stock. No dice. Not to be defeated, Louisa and I drove to an alternate Ikea an hour away and broke some sort of Ikea land-speed record for our 15 minute shopping trip and made it home in time for lunch. To install the runner, I needed a few tools (affiliate links included for your shopping convenience):
Materials for $50 Stair Runner:
- nail gun (I prefer this pneumatic one, but actually used this hand held one for these stairs_
- upholstery hammer (or SMALL hammer to help you get close to the riser)
- small nails
- tape measure
Add Rug Pad
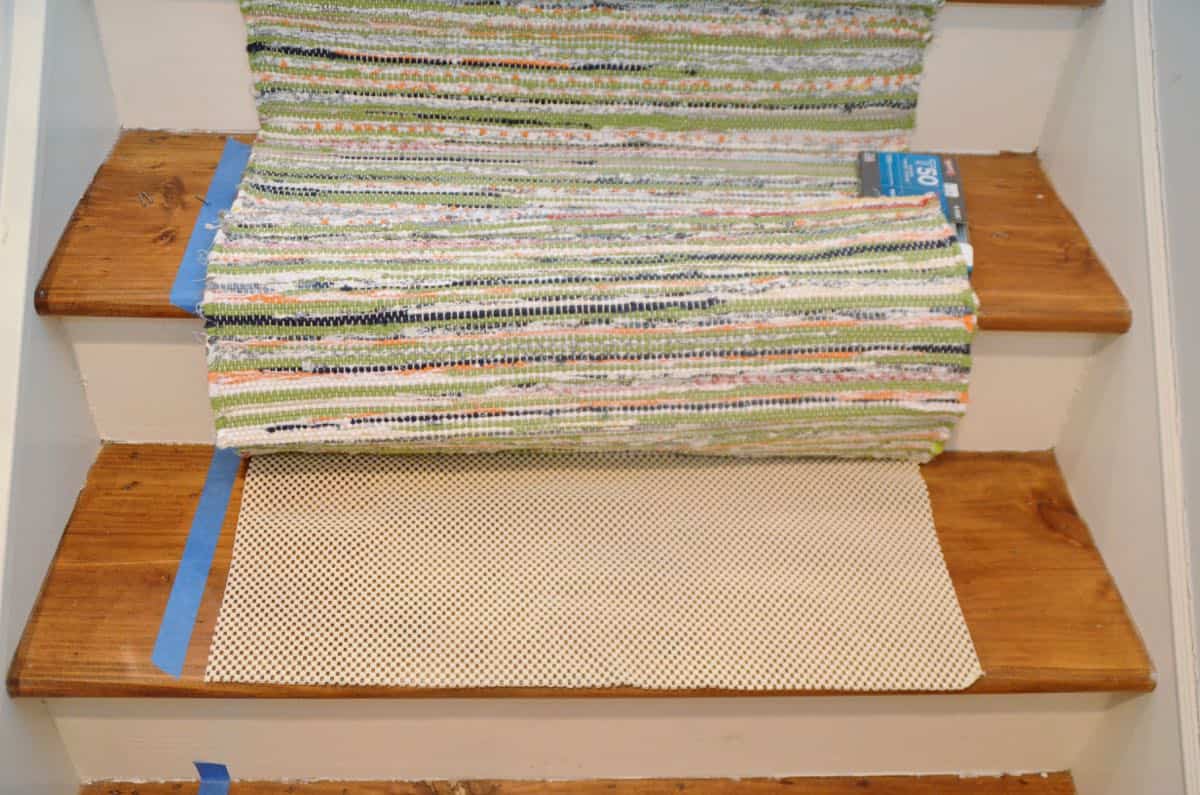
I grabbed an inexpensive rug pad from Homegoods and cut it up to fit each tread.
Mark the Edge of Runner
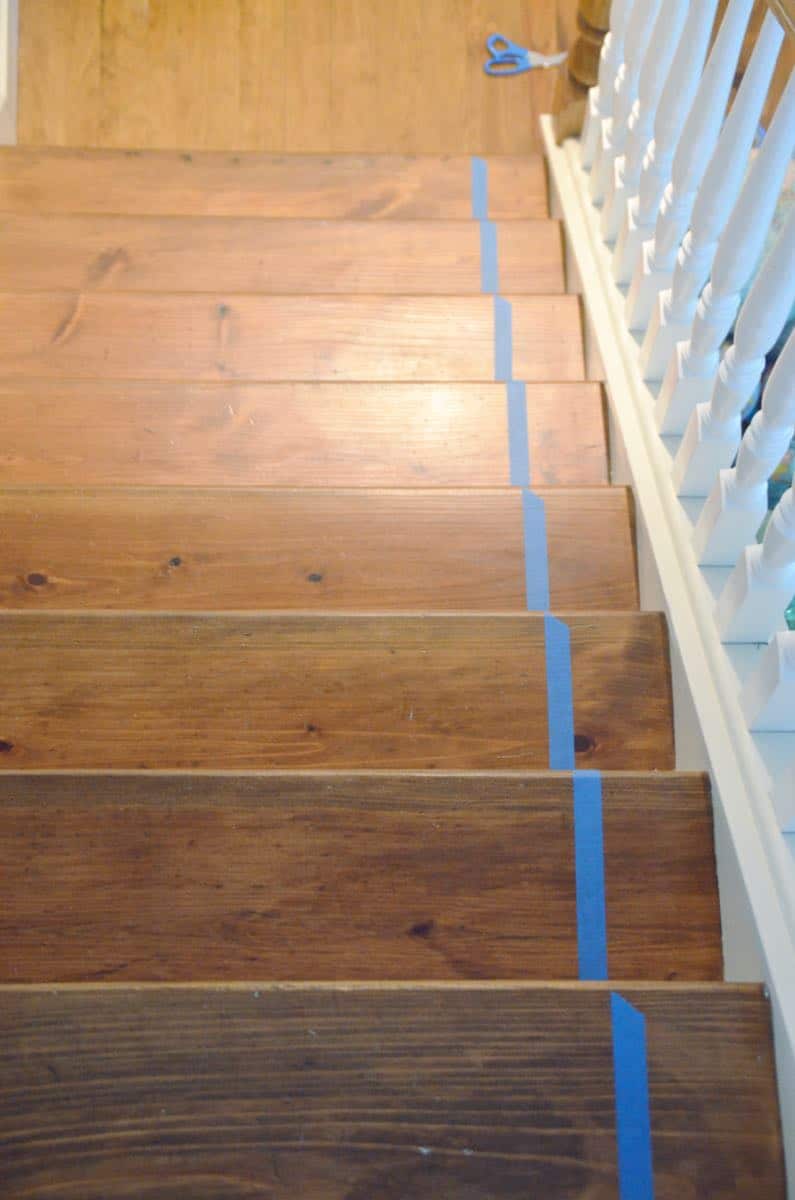
Following the advice of Jenny, John and Sherry, I measured and used some painters tape to mark off one edge of the runner in order to make sure it was aligned and straight.
Anchor One Carpet at the Top of the Staircase
Starting at the top of the staircase, I used the nails and the upholstery hammer to nail along the top edge of the first rug. It took me a couple of passes to learn what worked best… I experimented with different staples and ultimately determined that the 3/8″ were the best length, but I needed the nails along the top edge to really secure it. (This also meant I didn’t need to undo the top hem because the nails could easily go through the thicker fabric.)
Continue By Stapling the Carpet onto Each Stair
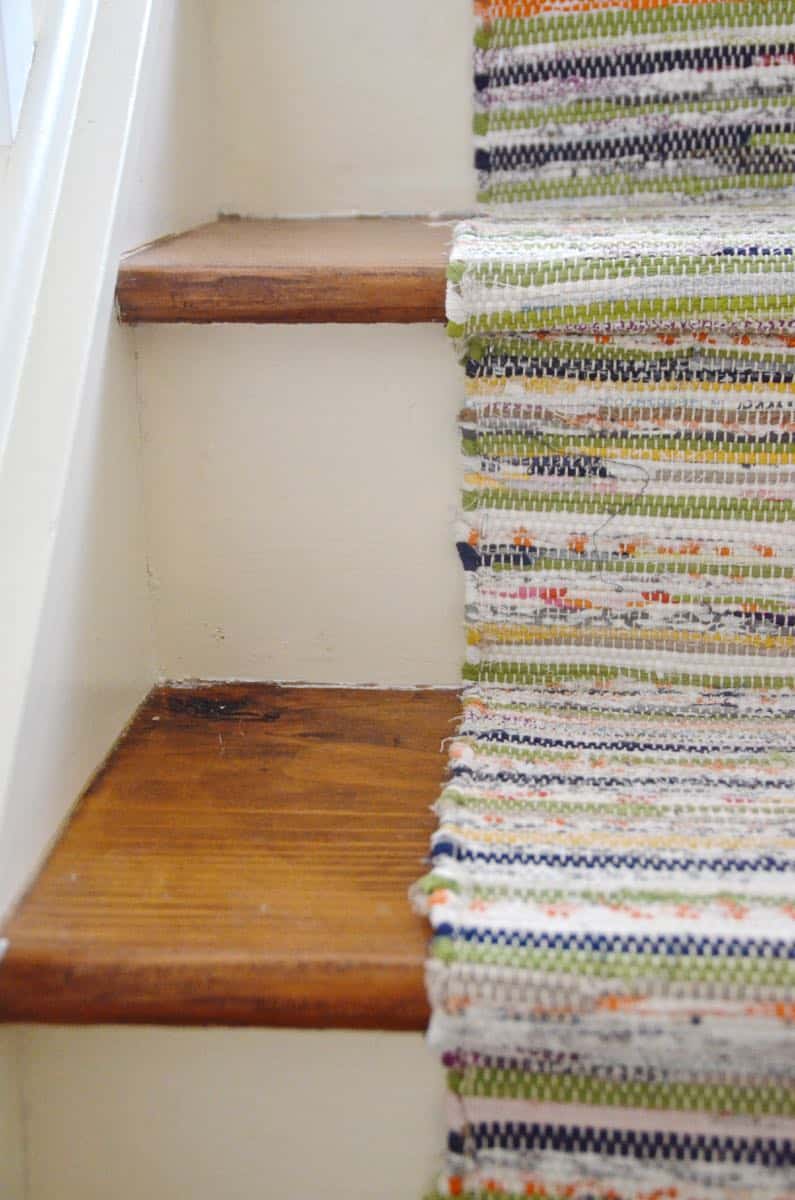
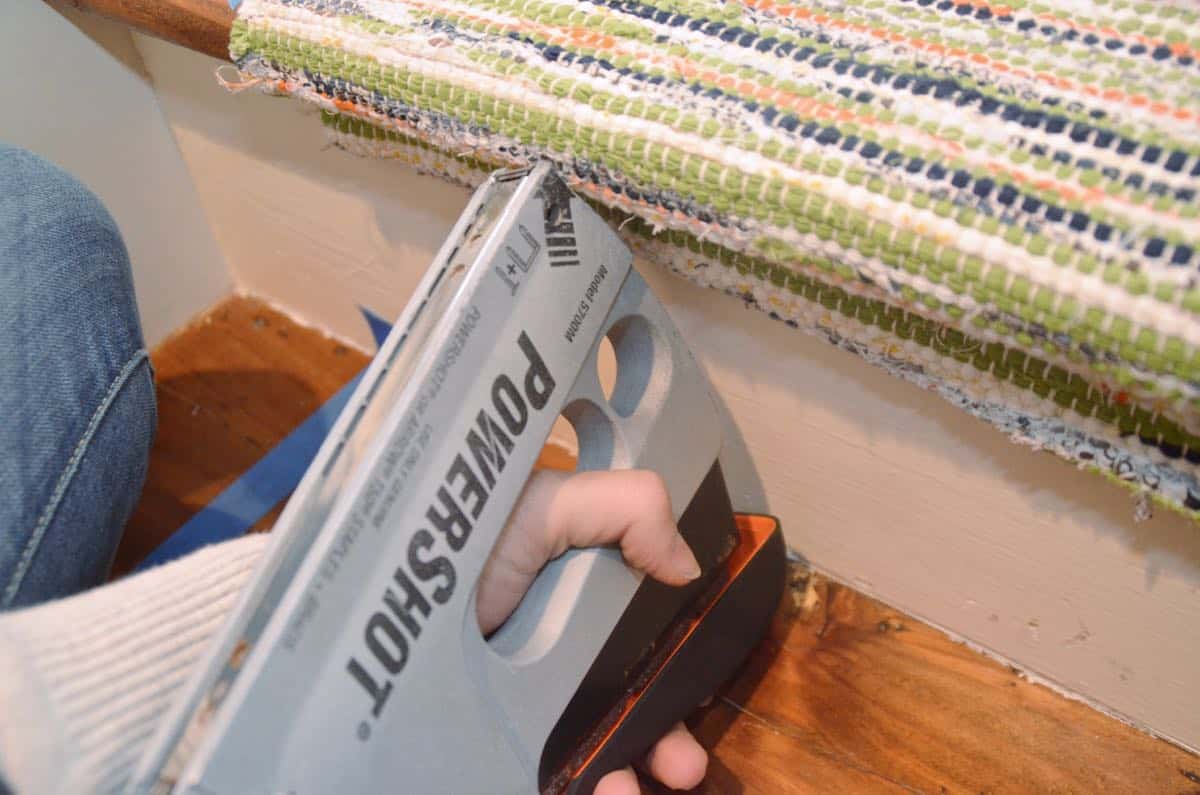
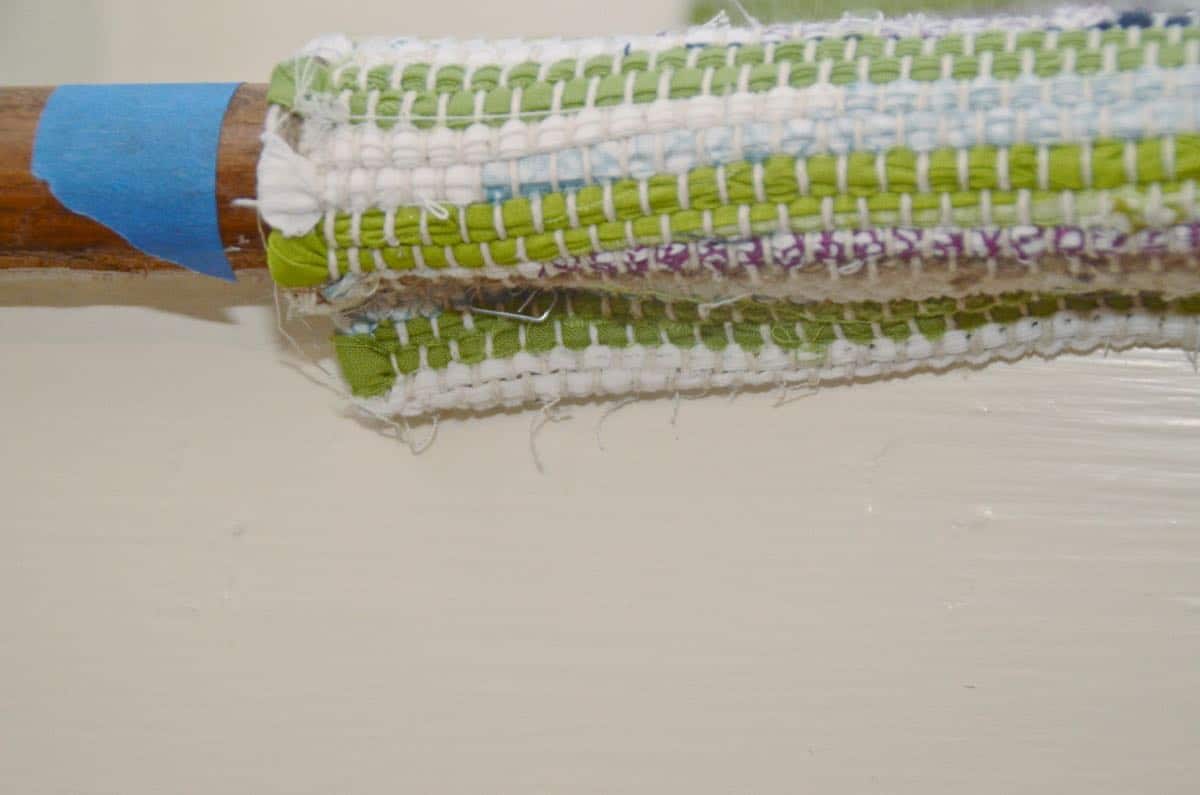
Once the top edge of the rug was secure, I stapled it onto the back of the tread as close to the riser as possible. I pretty much jammed the staple gun as far as it would go to the back of the stair and let ‘er rip. For the edges I wrapped the rug around and then stapled it along the underside of the nosing.
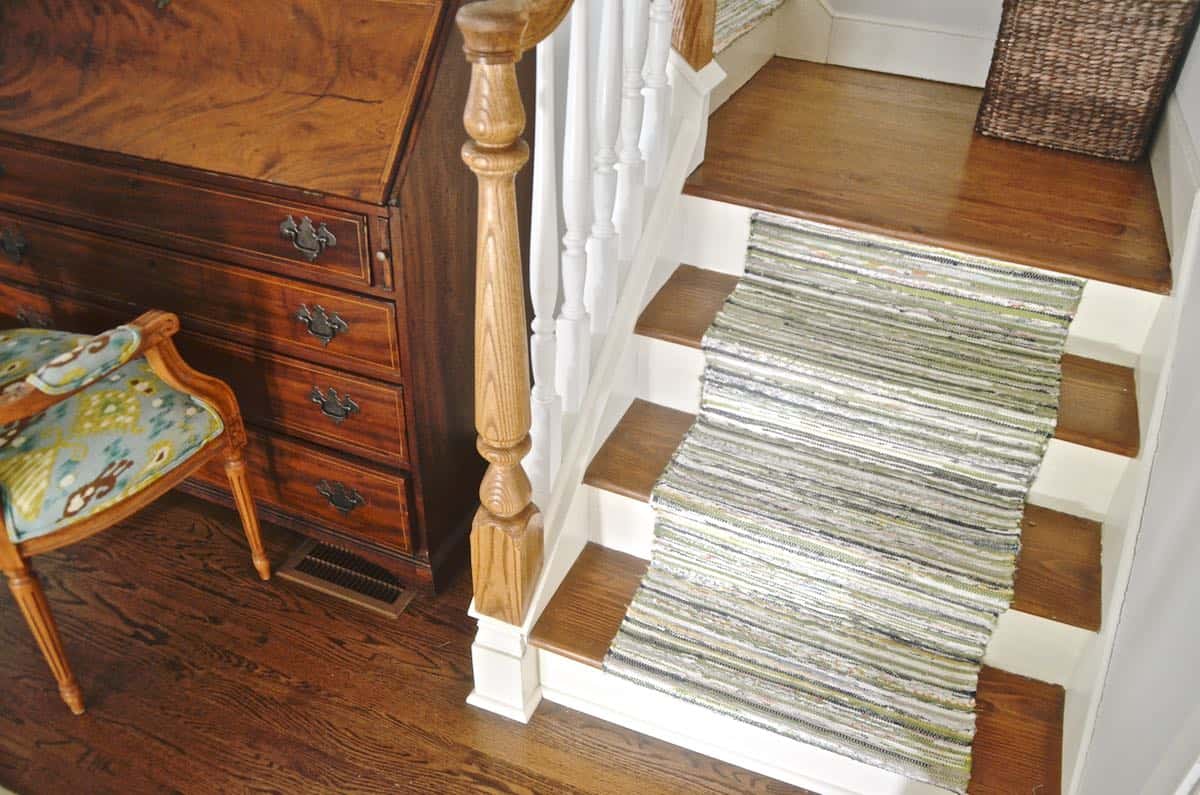
Call it DIY karma or something, but these rugs ended up being the perfect length… I was able to cover two stairs, and then I opened the bottom hem of the rug to gain an inch so that it finished right under the nosing.
With the next rug and my nails, I started the whole thing again. Each rug covered two risers and two treads.
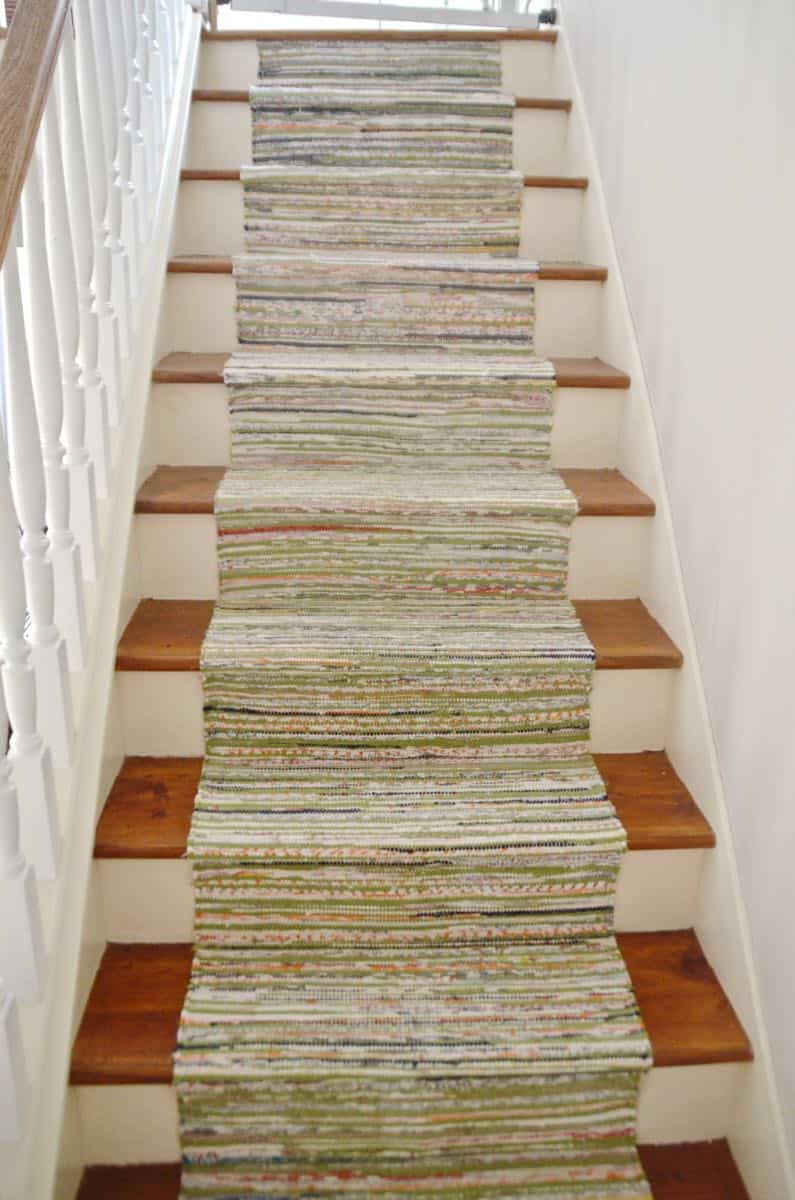
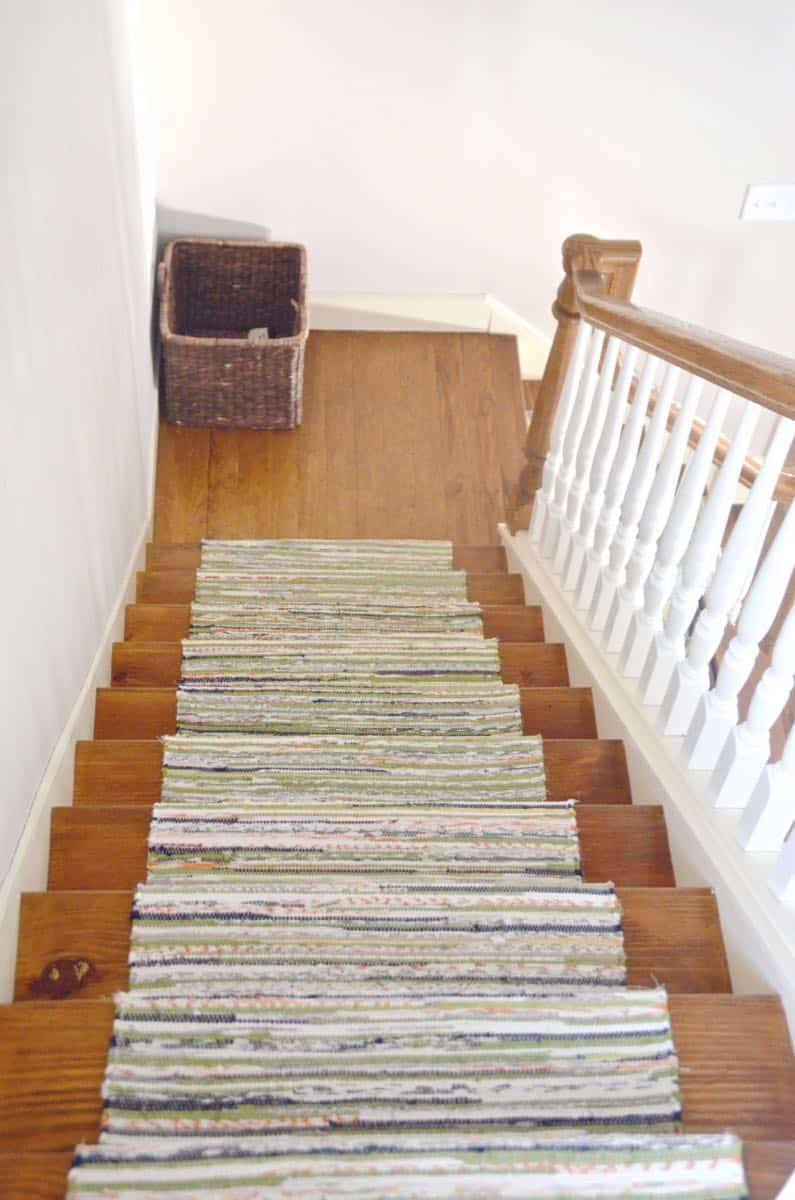
The rugs are a little darker in person than they appeared on the web site, but I love the texture and the color scheme. The greens tie in well with the living room at the foot of the stairs and the colors not only hide dirt, but also keep it sort of interesting. I bought 12 rugs to give me some wiggle room, but ultimately only used 7. Which brings the grand total of this runner to just under $50. (Add another $10-15 for the rug pad if you want one.) I figure I’ll keep the extra rugs in case I need to replace part of the runner going forward… with kids, it’s a safe bet that something crazy will get spilled on it. (Strawberry syrup was my earliest carpet nemesis in this house…)



Fantastic. I might become a copycat as my stairs need a new runner to replace the disgusting one there now. It was ugly to begin with and is now filthy, full of sawdust, plaster dust, muddy footprints, etc.
Do it! They also have a simple striped throw rug that I might have gone with but it felt a little casual for our one and only staircase!
You are so handy!!! I need some tips asap 😉
Lisa, We can barter! I’ll walk you through the DIY if you can help me get the kids to eat beyond chicken nuggets and hot dogs! 😉
I have been looking for an inexpensive way to cover/paint the goofy hall type stairs to my son’s room. I took the old carpet off and painted them, but the other day he slipped and came down them on his butt. I think I will be doing his stairs like this now. But I was wondering, do you think it would work if you just covered the run of the stairs and left the rise painted?
Hi Holly! In theory that would totally work. In fact, at our Home Depot, I just saw the exact thing you’re describing… precut rectangles of carpet for just the treads. The rugs I used from Ikea will probably fray quite a bit if you cut them apart to cover just the tread. They had some thinner little rugs that might work or at least you might be able to sew to keep from unraveling. I’d say with the right throw rug, you’re onto something! Good luck!
Here I sit in the WalMart parking lot searching for suggestions on how to turn the 2 hall runners I bought yesterday from Target into stair runners. THANK YOU!
Any suggestions for how to cover an additional 3 stairs that will still be showing because the runners aren’t quite long enough (UG!) sans spending another $40-$50 on another runner?
Can’t immediately find the specific one on website, but it’s something like this:
https://m.target.com/p/threshold-cabana-floral-area-rug-cream/-/A-14141024
Oh no!! I wish I had a great idea for you, but I don’t!! I guess center the rug on the staircase if you don’t want to buy a another runner… leaving the top and bottom stairs exposed. Might not look as awkward? It doesn’t look like it from this link, but if you think your runner could be cut… you could staple the runner only to the treads and leave the risers exposed? Is suspect the rug will unravel on you, but it’s a thought. I suppose the extra $50 is still quite a bit cheaper than an official runner so maybe bite the bullet! Good luck!
Hi Charlotte
I was wondering about the nail gun. Did you rent one or buy one or did you have one on hand? How much do nail guns cost? What size nails did you use? Thanks for the info.
Hi Candice! For this one, I actually used a regular ol’ hand-held staple gun, but I did have to go back with some small tacks around the edges… for those I just used a hammer. I’ve recently purchases a nail gun to fit my compressor so if I ever need to replace this runner, I might go with that! I suspect it has to do with the type of wood used on your stairs and how thick your carpet is… the staples weren’t going through the carpet in all spots for me, hence the nails!
Can’t wait to do this! Our IKEA is just over an hour drive. Worth ever mile! I’m wonder now that it’s been a year how did these hold up? I would love to rip my 15 year old carpet off my stair with renovations this spring. I have 5 kids so I’m wondering if the nails and staples hold up.
Hi Ann! The rug itself is in PERFECT shape which I think is due to the pattern…. really hides wear and tear and bloody noses, etc. I’ve had to go back over a few places with brad nails, but… when I did this I was using a hand held nail gun and it wasn’t *quite* strong enough to get through the heavier parts. Now I have a pneumatic nailer which would work GREAT. But the few reinforcements with brad nails have been plenty.
I found your blog after searching for ideas for our stairs. I love the look of these ikea rugs, and was wondering how they are holding up? If/when you decide to recover the stairs, would you go the same route? Thank you for the awesome tutorial! This task doesn’t seem so daunting anymore! 🙂
Hi there! I can’t speak to how they held up because we moved so we only lived with them for about a year, but… because they were installed one rug at a time, I always figured I would just replace a section as needed because each rug cost like $5. 🙂 I did it again in our new house with a slightly different runner and it held up great… that one’s here: https://atcharlotteshouse.com/diy-staircase-runner-with-stair-rods-for-cheap/
The rug itself is in perfect condition, which I attribute to the pattern, which I believe effectively conceals wear and tear, bloody noses, etc. I had to go over a couple of spots with brad’s nails again, but I couldn’t quite get through the heavier areas with the hand-held nail gun I was using at the time. I currently have a pneumatic nailer that would work great. However, the few reinforcements made of brad nails were more than enough.