
Sweatin’ with the Oldies: Milk Paint
Psssst… this post *might* contain affiliate links: see my disclosure here.
The foyer in our house is pretty much a mud room (tile floor, attached to the garage) but it also opens up right into our family room. Which means the clutter isn’t contained as much as it’s on display.
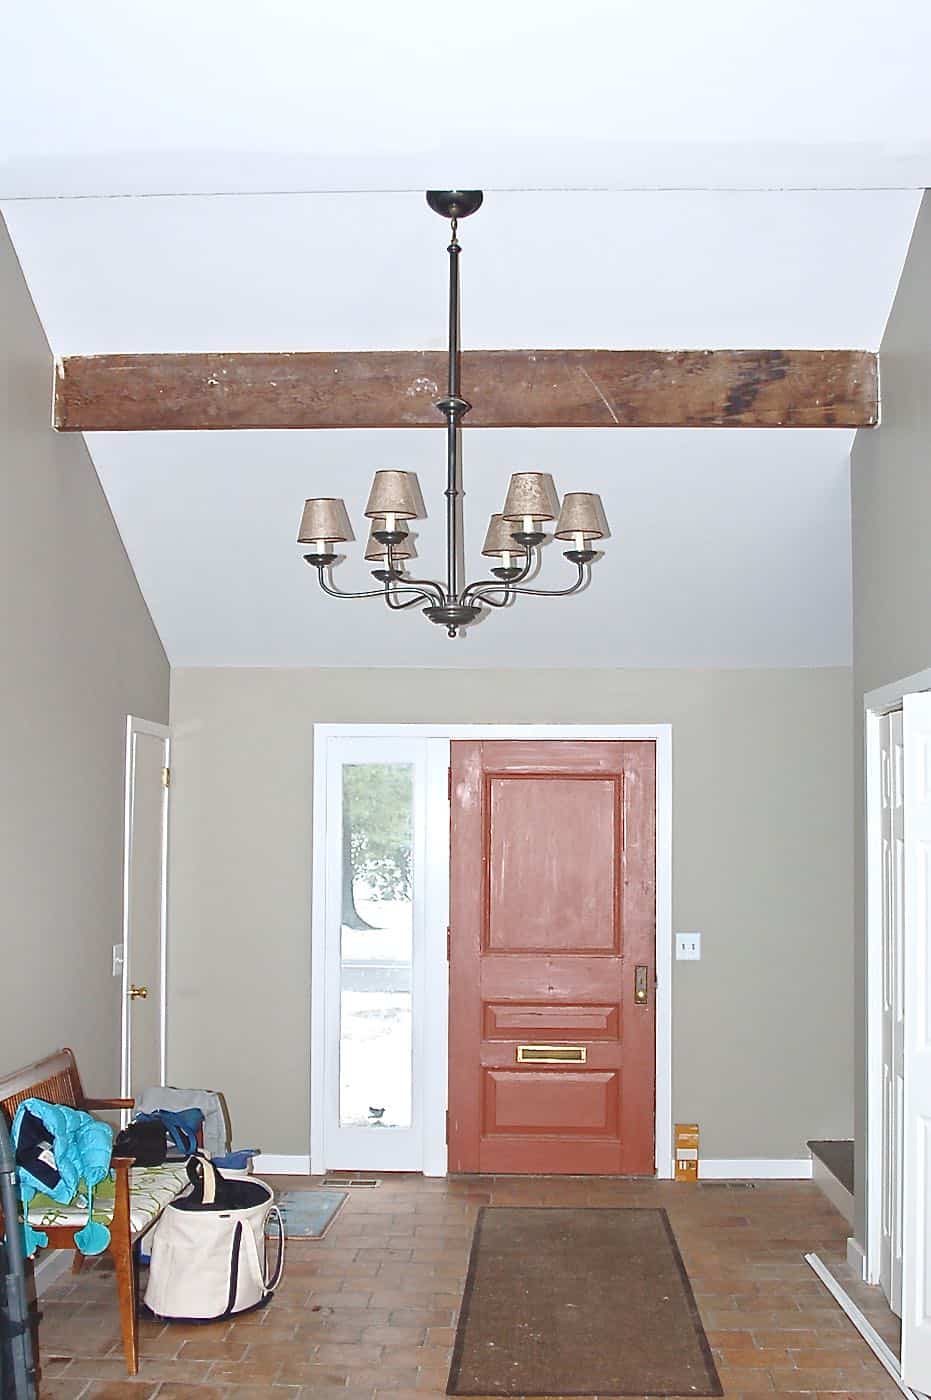
We needed more storage! I had seen this post from one of my faves, Young House Love, and got my copy-cat costume good and ready… so I let my fingers do the walking to see what Craigslist had to offer. Cue the choir of angels. Perfect.
Shop my favorites!
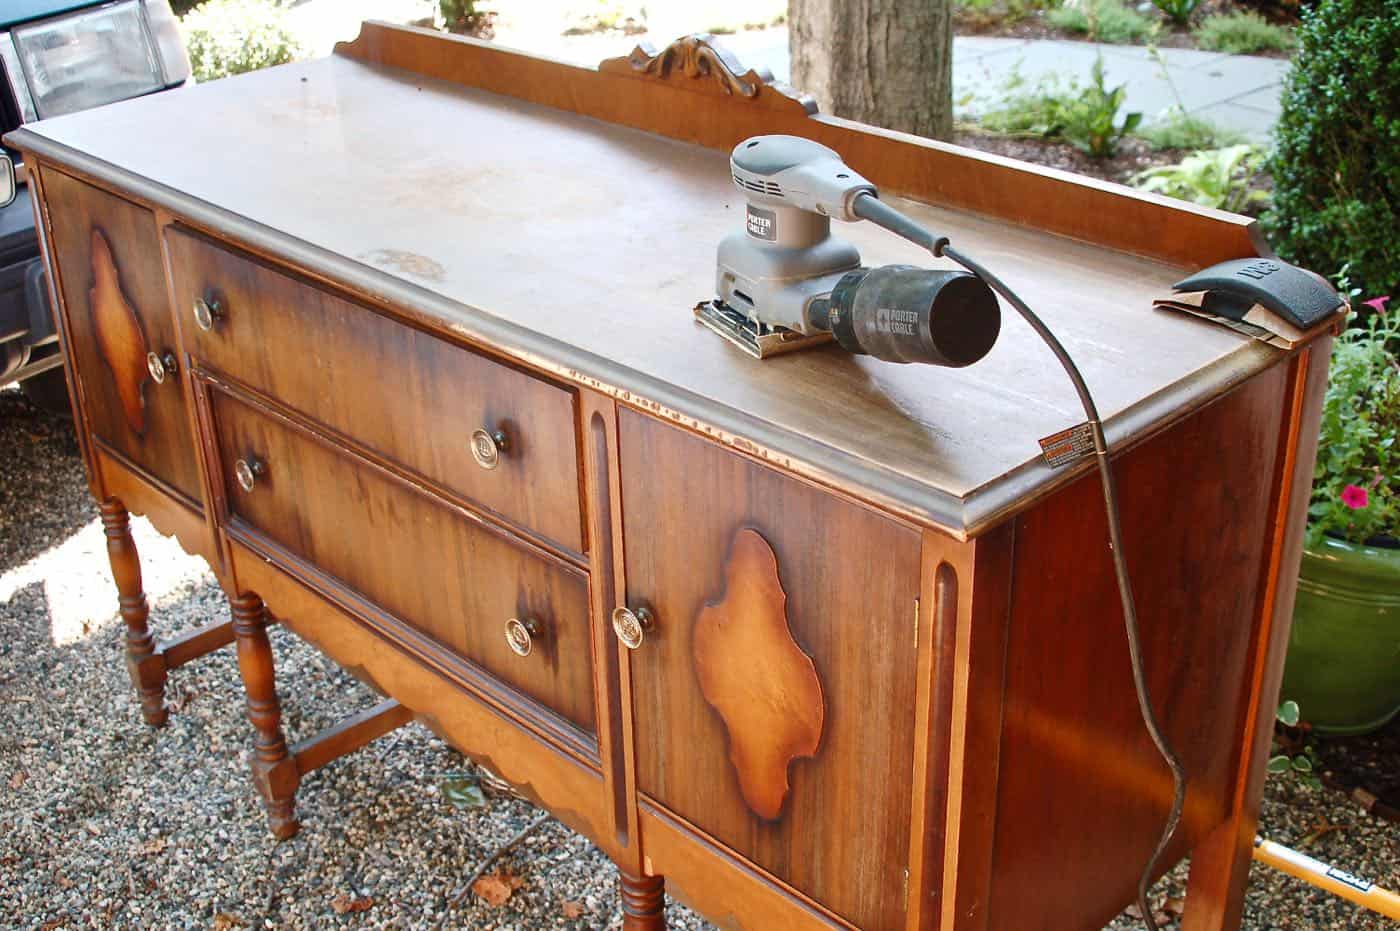
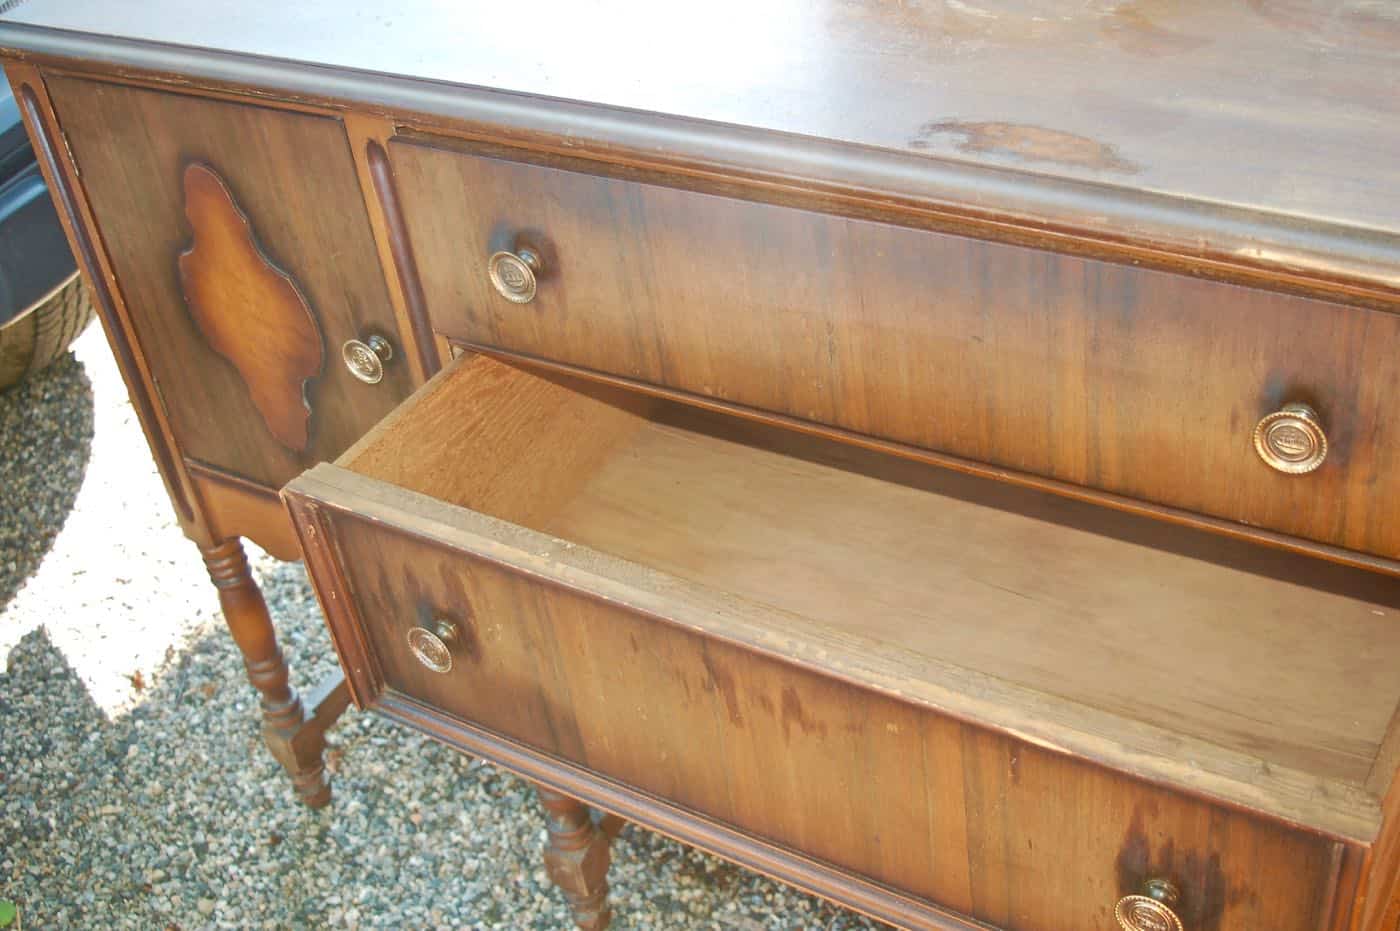
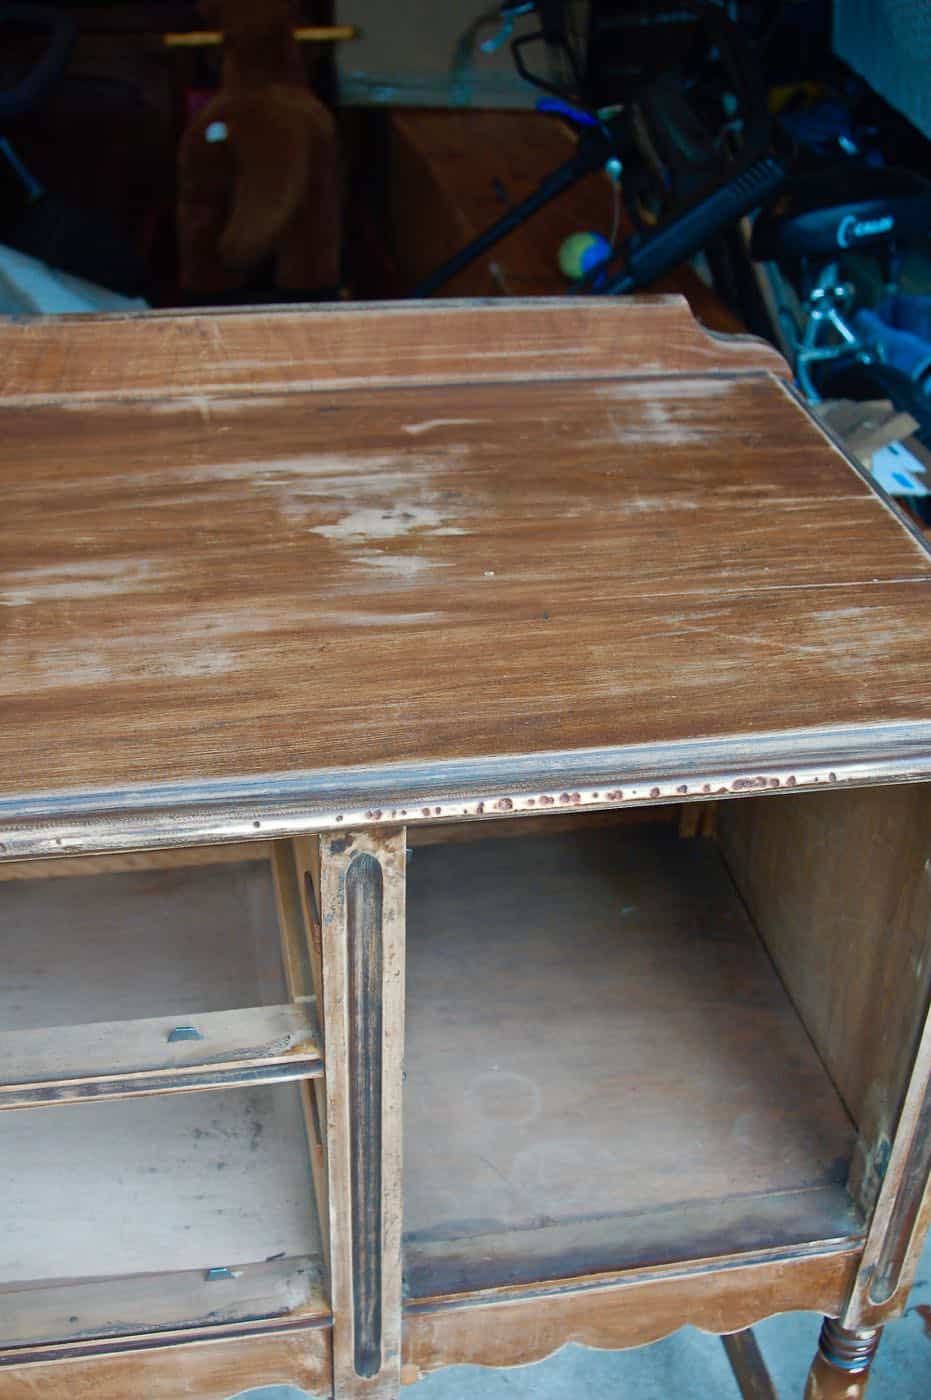
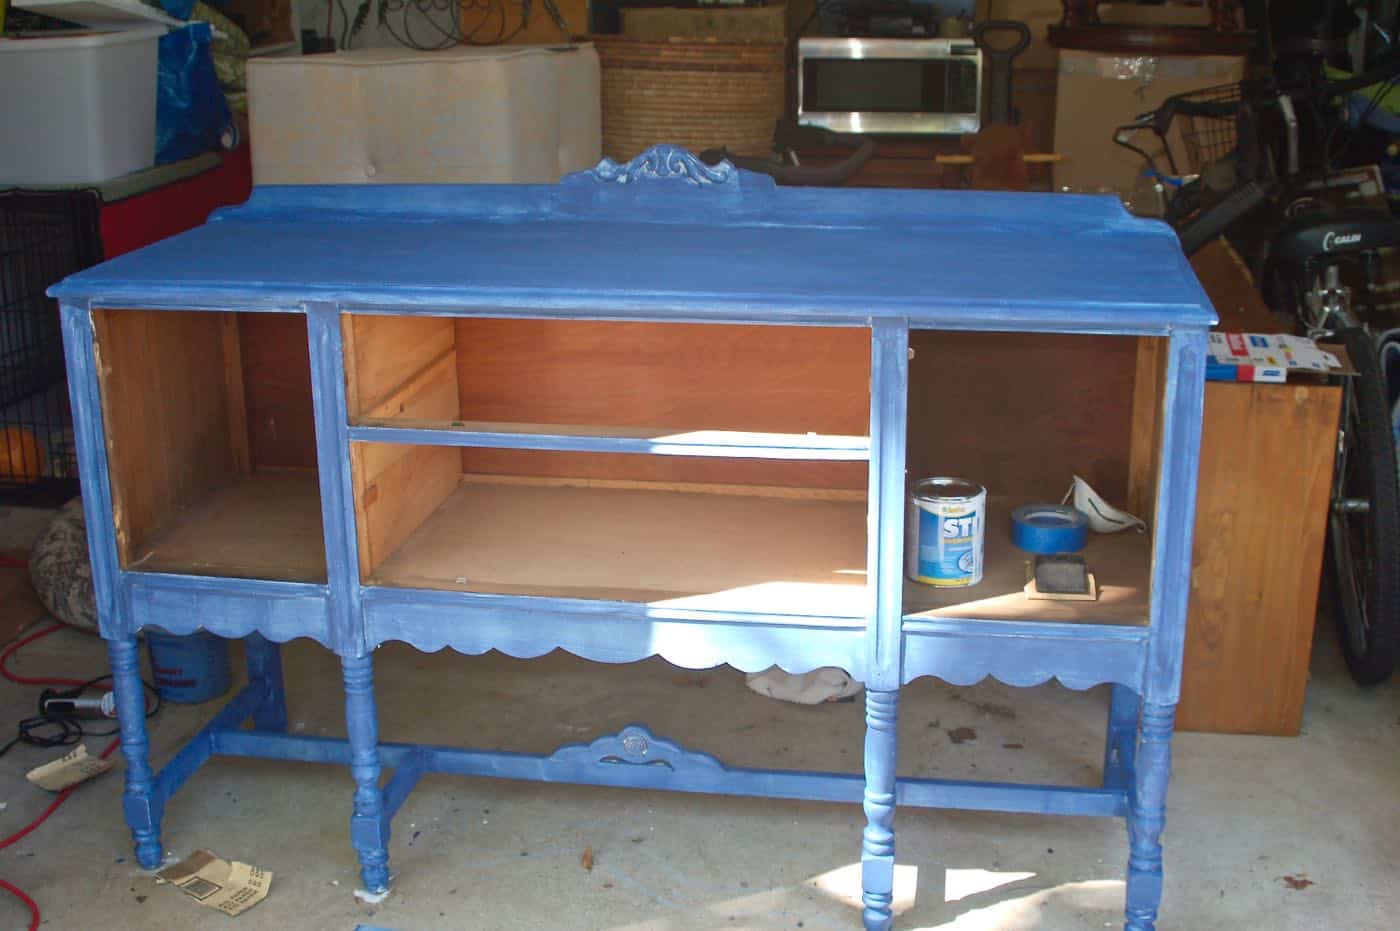
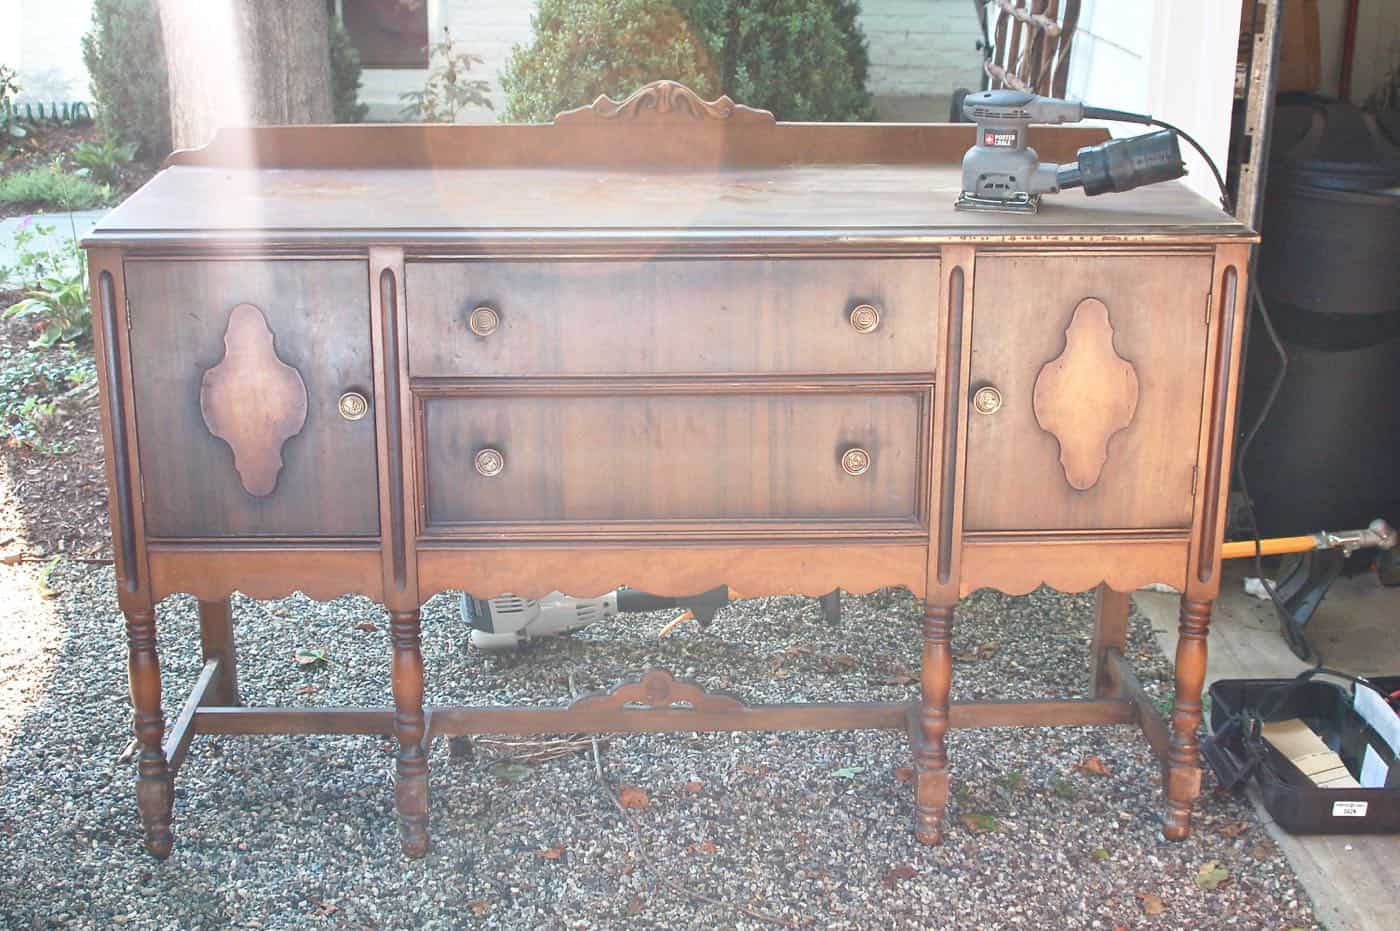
This piece of potential set us back $150 (I tried to talk them lower, but she was stubborn). I’m no expert when it comes to old-ish furniture, but when I went to pick it up, I did take a looksie for a few details. It’s solid wood as far as I’m concerned; no chip board or composite, etc. There are details like dovetailed corners on the drawers. The doors opened and closed with no issues and drawers slide out smoothly . Finally, it’s sturdy (so no wobble in the legs). Read the fine print, it’s awesome.
First thing I did was do a little googling to find other images of refinished furniture that I liked. Miss Mustard Seed is another blog with amazing furniture makeovers, and she uses a lot of milk paint. I’d heard of this mythical finish, but after looking at the results online, I was sold. Milk paint is a little more particular than regular paint, and there’s a limited color palette, but it’s perfect for this sort of thing… it has a nice aged quality, a chalkier/ flat tone, and takes to sanding beautifully. Oh, and if you’re into that stuff, it’s totally non-toxic and fume-free.
I chose Federal Blue as it matched my coffee sack chairs 5 feet away in the family room perfectly. But I’m getting ahead of myself. Before I could get all fired up about the mixin’ of the milkpaint, I had to get my sand on. I wanted the sideboard to look fairly aged and ‘worn’ so I wasn’t going to get too wound up about prepping it perfectly, but I did want to rough it up a bit so the primer would stay put.
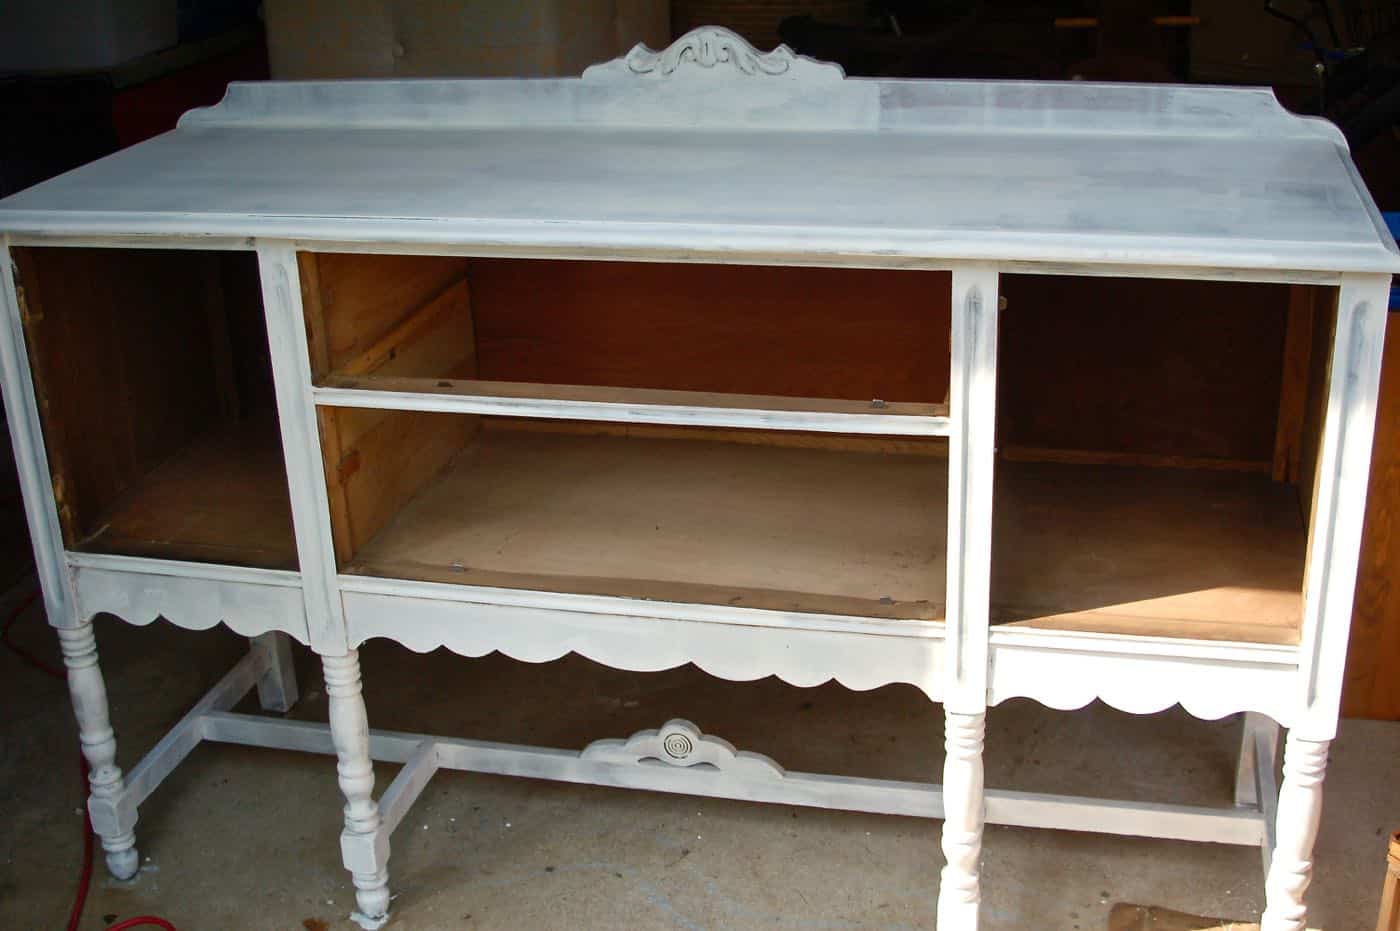
Next, primer. Ideally an oil-based primer has more stick-to-itiveness, but with kids and my lack of patience, I went latex. So far so good. I unscrewed the doors, pulled out the drawers, and pitched the gross knobs that came with the sideboard.
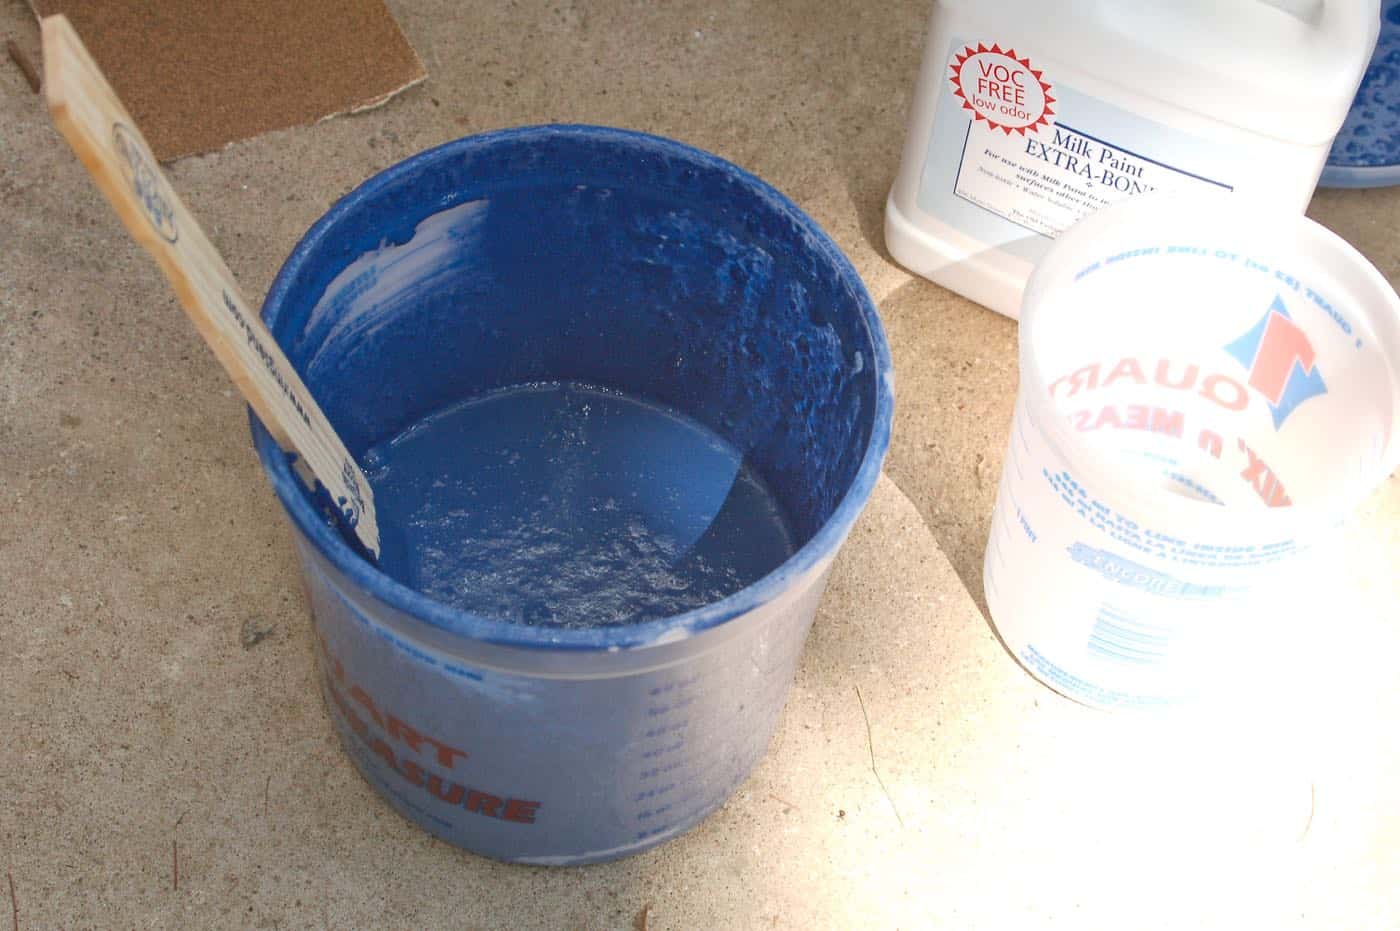
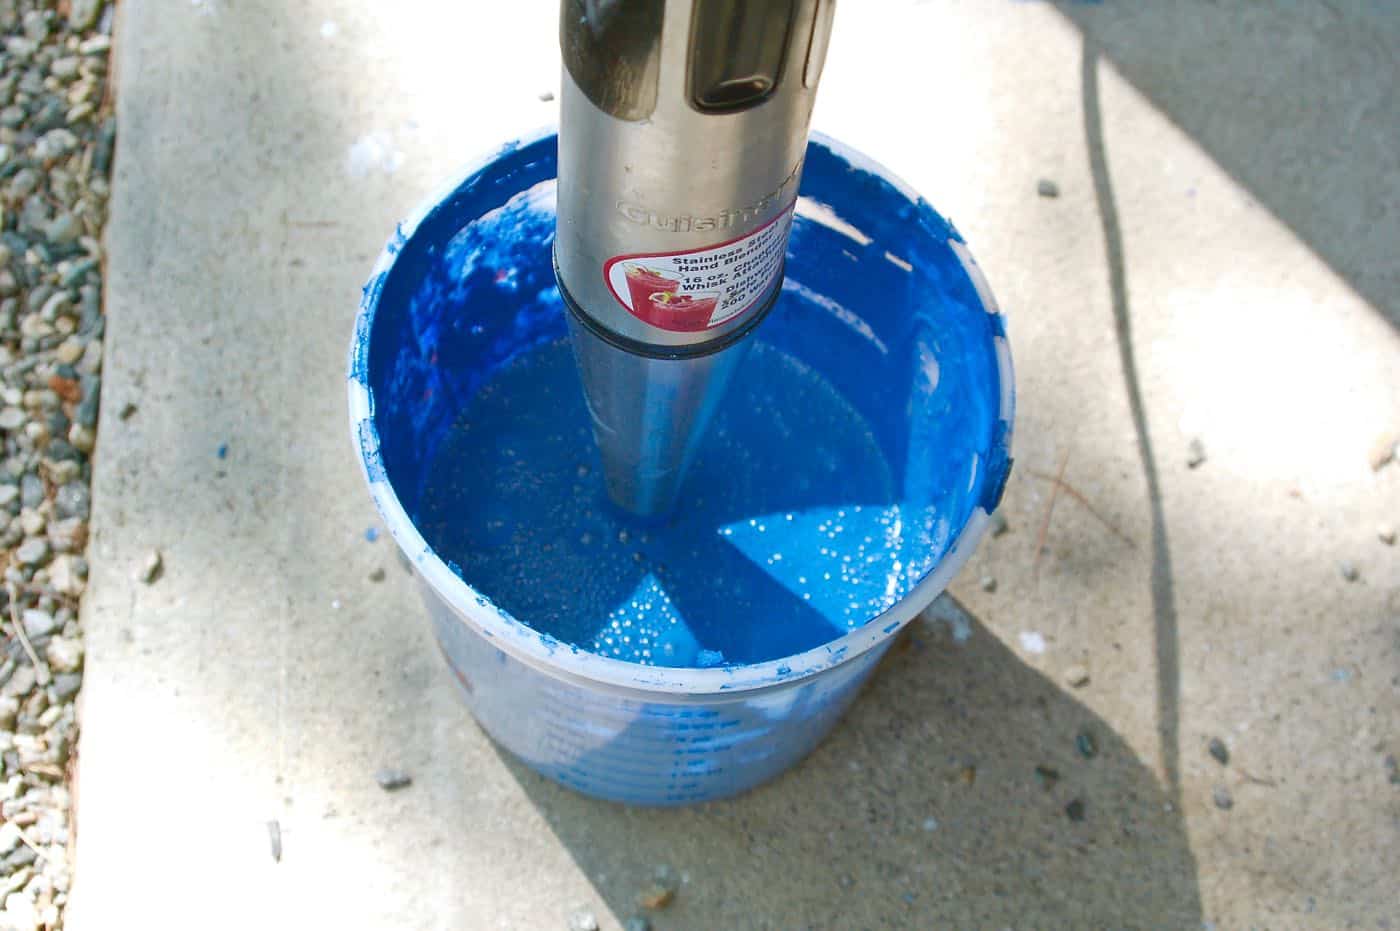
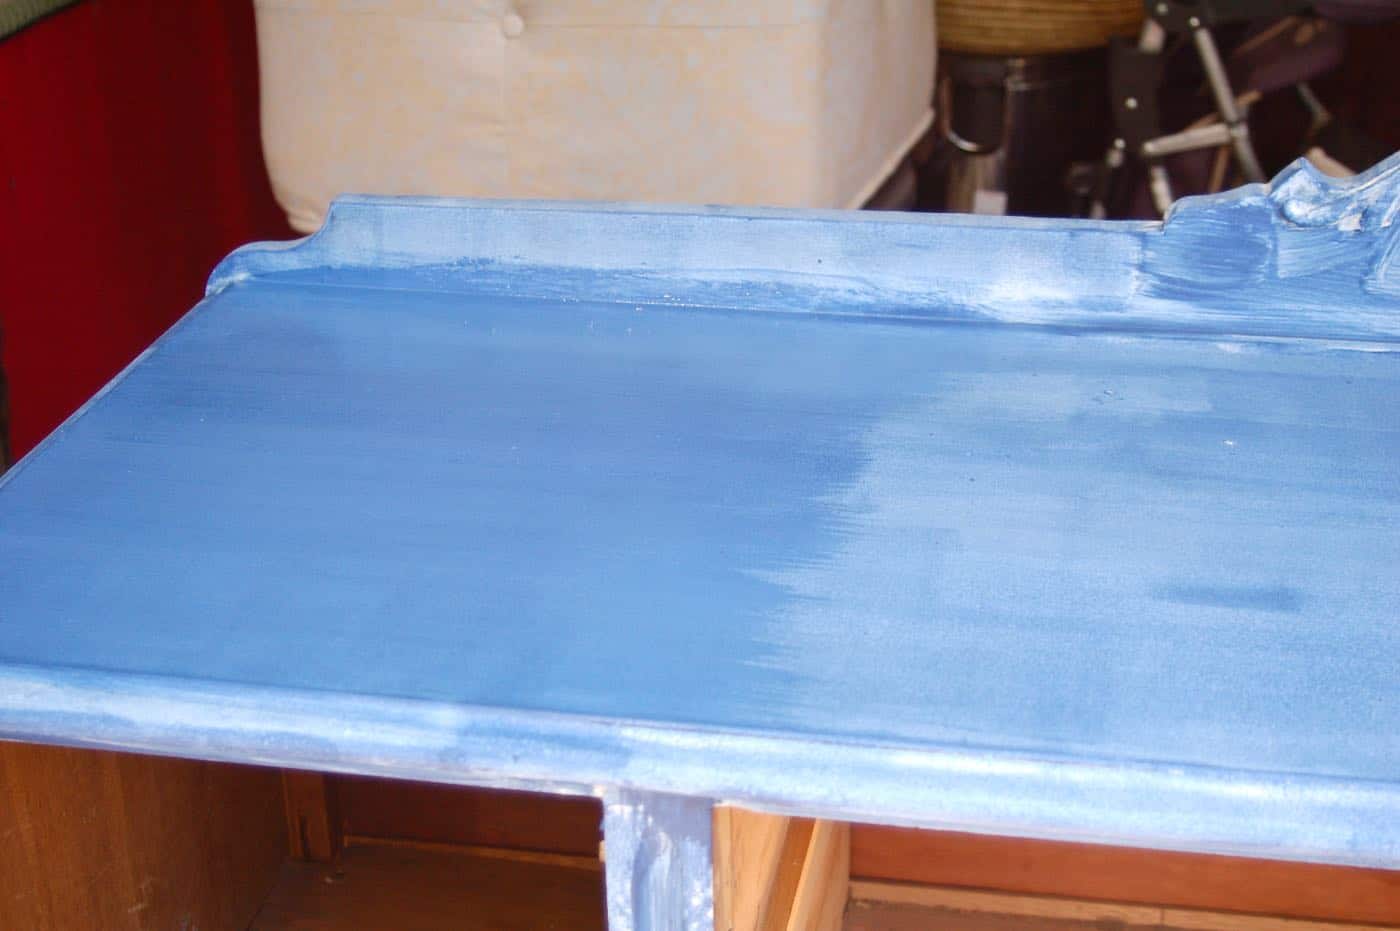
Okay, bring on the milkpaint. It comes as a powder so you add water to mix up what you need. My first batch was terrible… I followed the directions, but in hindsight it was too thick and clumpy. After one coat, I was dubious. Also, I used a roller which I’m not sure I’d do again.
For the second coat, I brought out the big guns. Specifically our hand mixer. Milk paint doesn’t keep very long so the next day I had to add a little water to reenergize it, and I also used the blender to get rid of the powdery texture I didn’t like with the first coat. I’d say it was the consistency of crepe batter… not too thick, not too thin. Juuuust right.
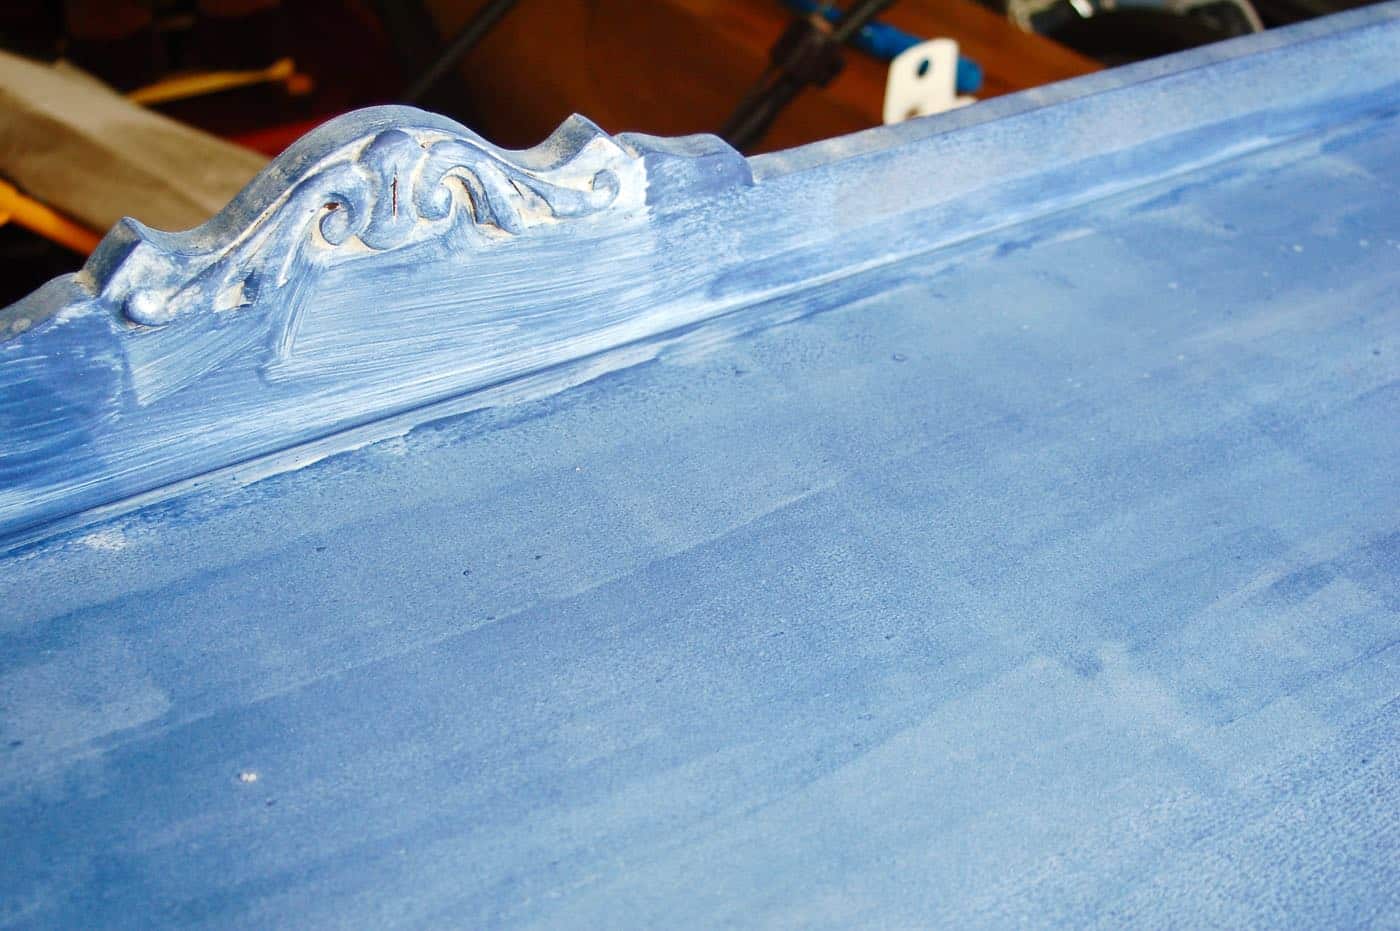
I applied the 2nd coat with a big brush rather than a roller (an angled silvertip for any brush geeks out there) and I was MUCH happier with the progress of my fixer-upper.
I considered a 3rd coat to get a perfectly uniform color, but opted against it for a couple of reasons but mostly I was excited to get into the ‘aging’ of this bad boy. (My reasons, since you asked, were that I wanted a distressed look anyways, so no need to start with a pristine finish. I also wanted to remove some of the color, so I was worried that a 3rd coat would just be that much harder to sand away.)
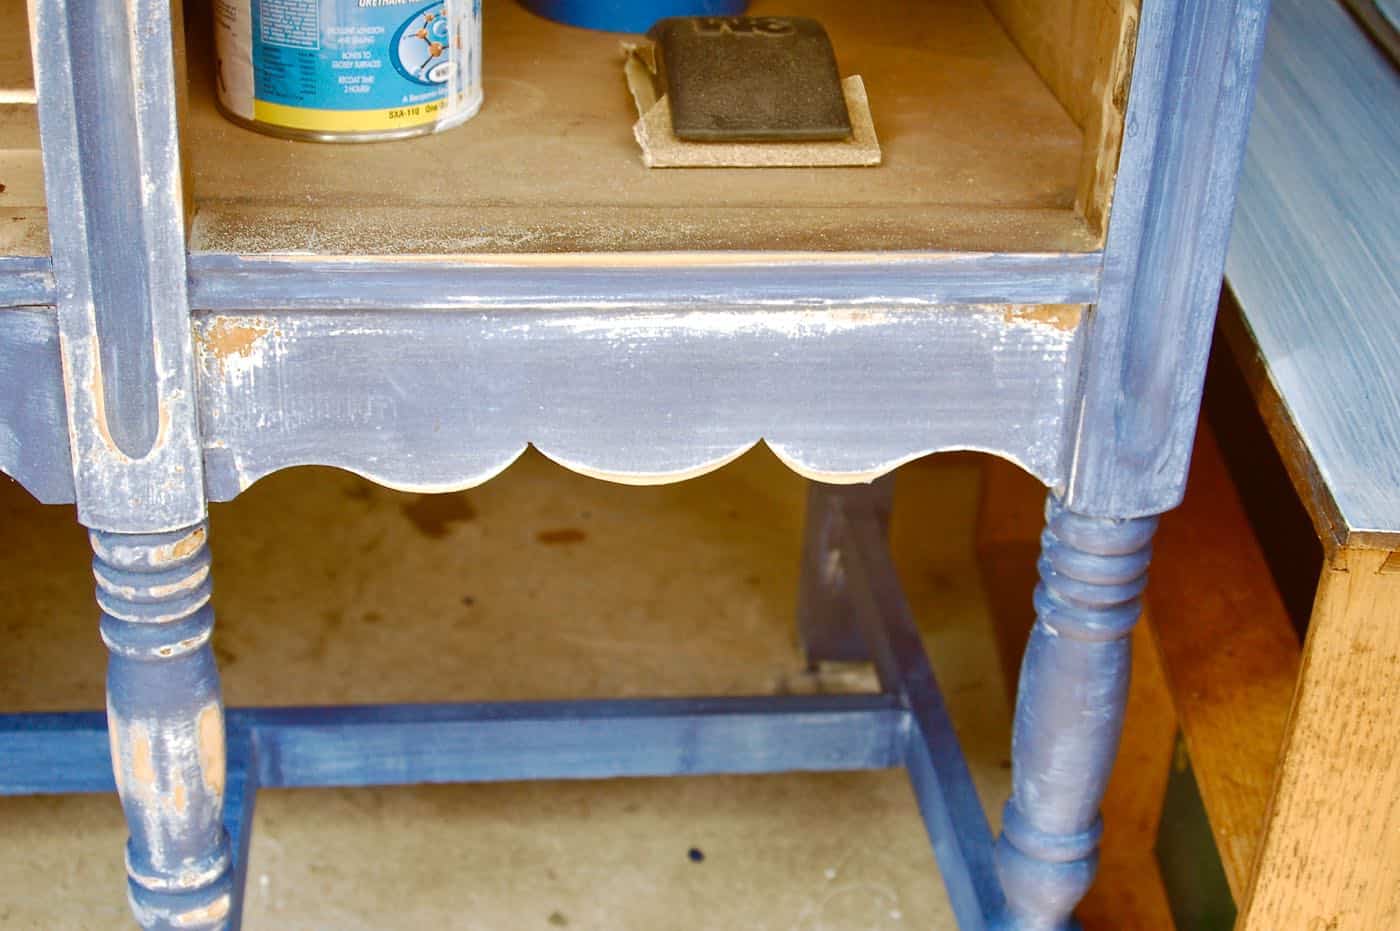
Once the 2nd coat had dried, I cranked up my sander and got ready to add some years. Kinda like having toddlers. I focused on the places that naturally would get dinged up over time. I was amazed at how easy this was!
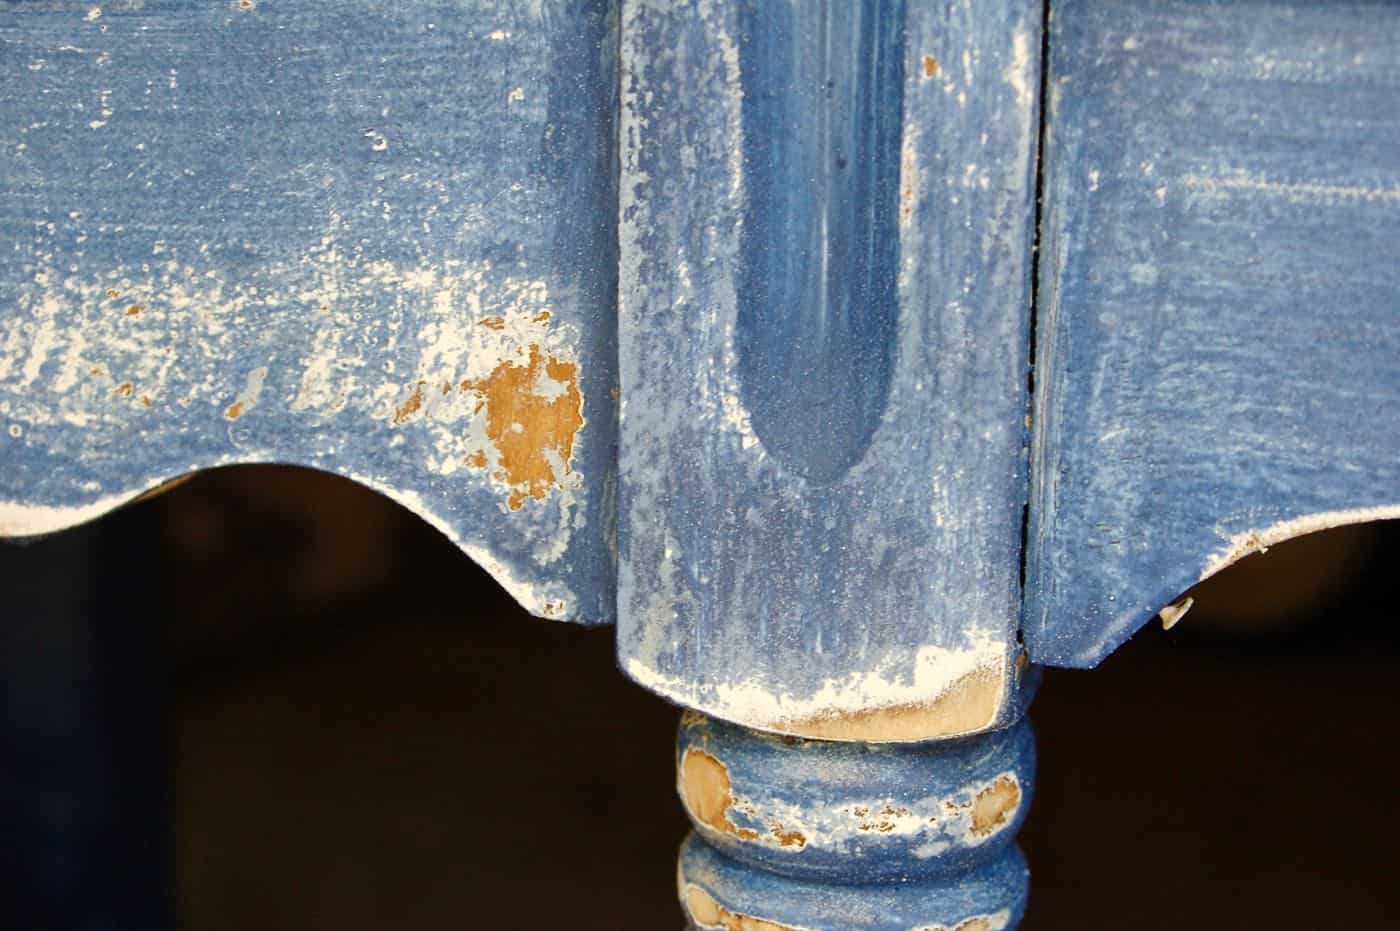
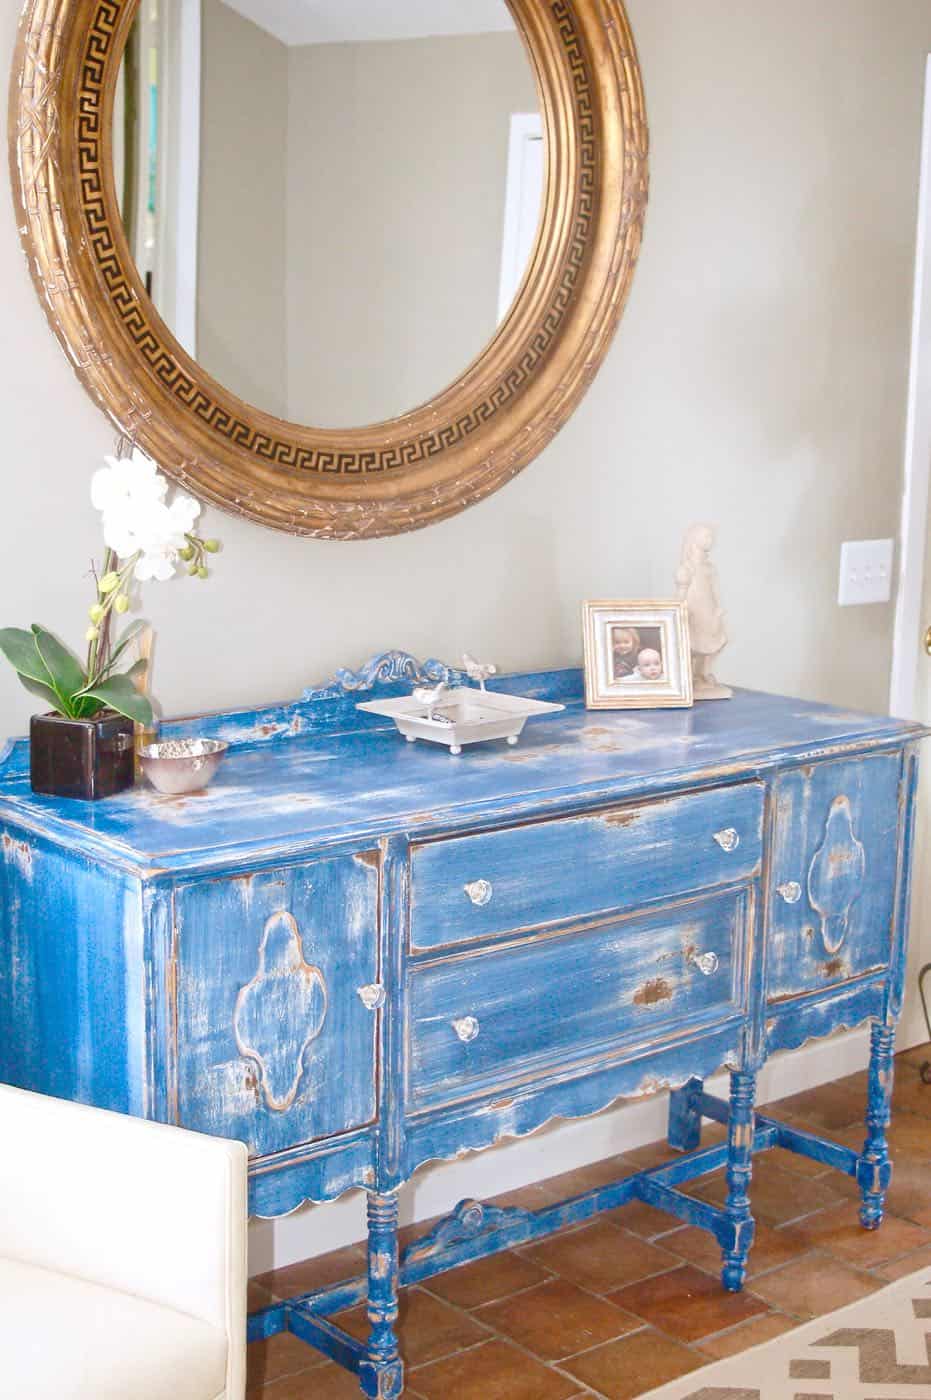
And here’s a close up. SO pretty, right?
Milk paint doesn’t stand up to moisture whatsoever, so after all the sanding, I put 3 coats of polyacrylic down to seal the finish. The knobs got an upgrade too.
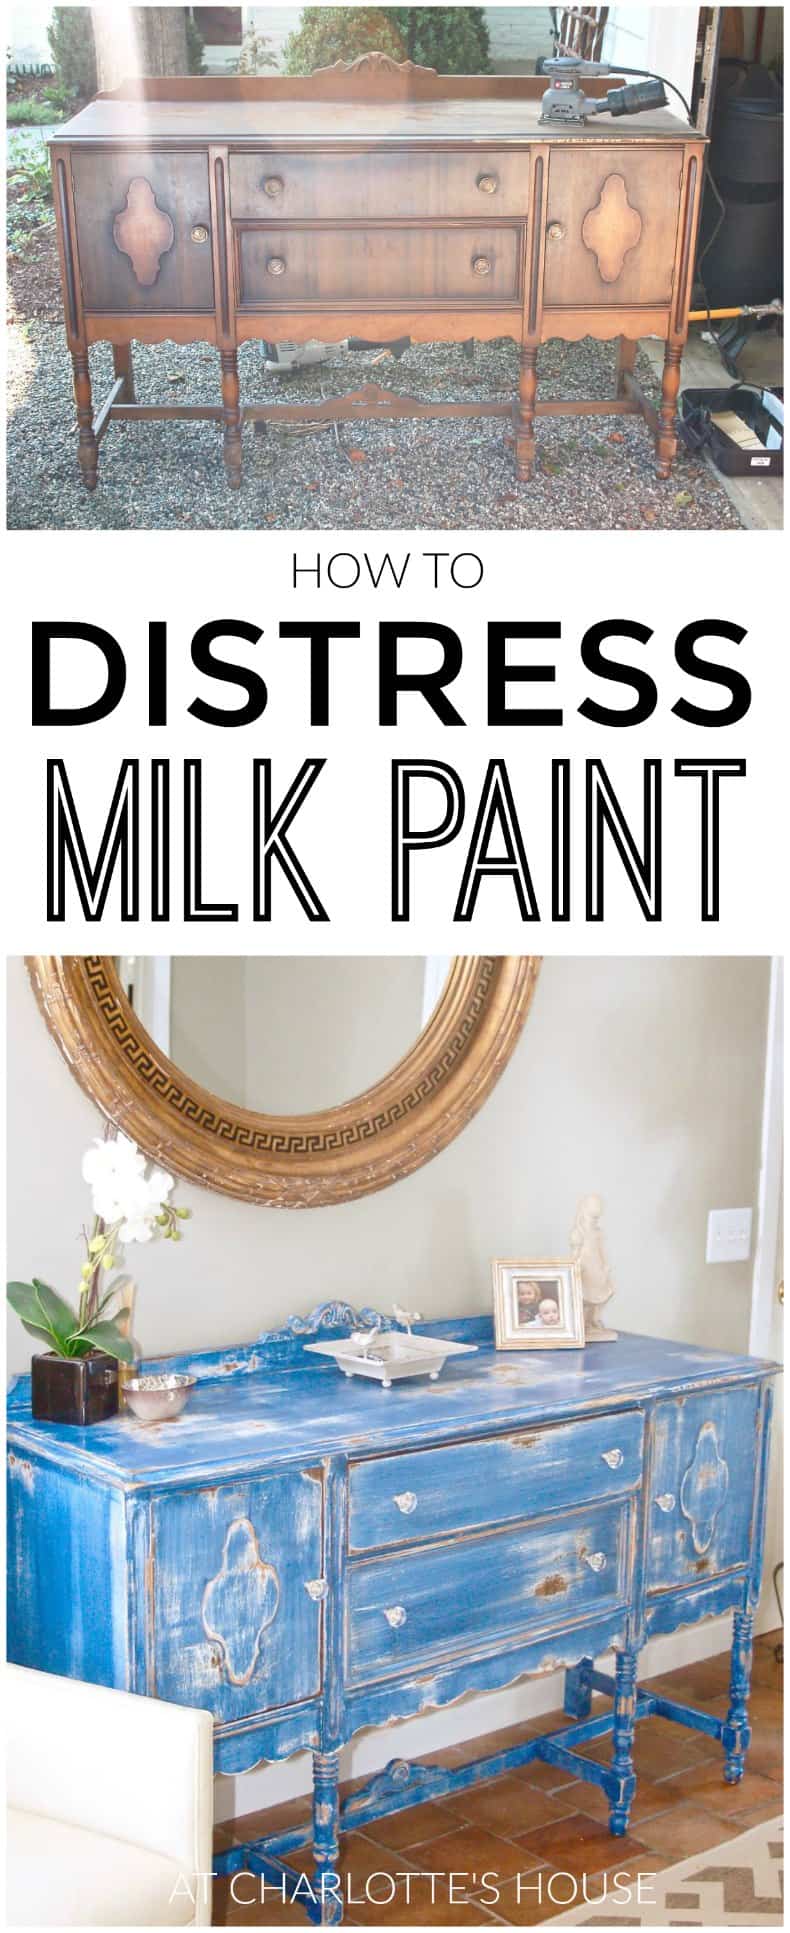
Without further ado, here’s the finished product in all it’s gorgeous glory.
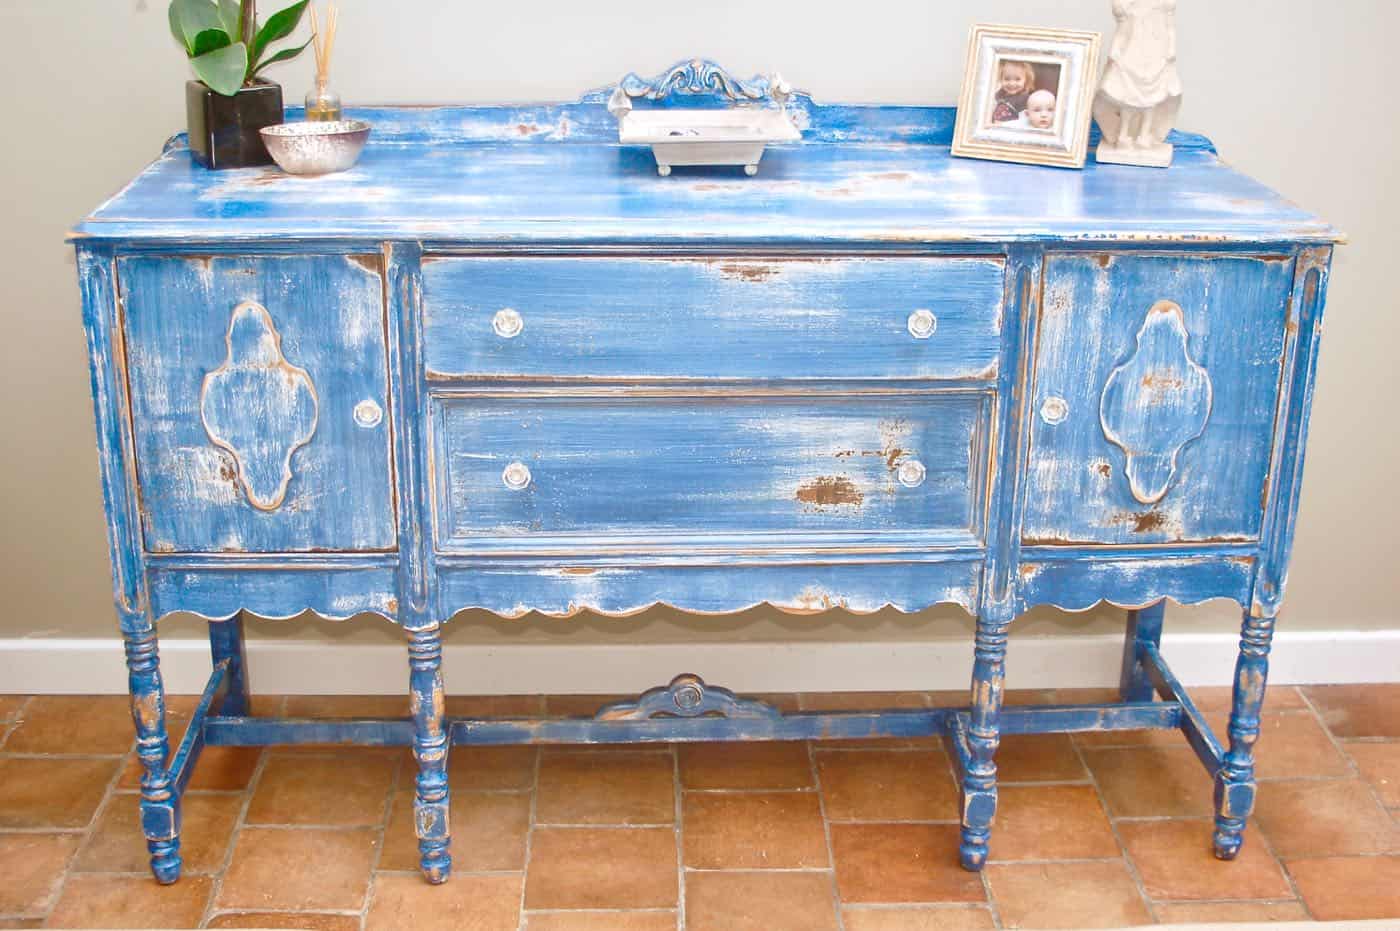
Reminder, here’s our dowdy friend before the extreme makeover suburb edition.
And after. So. Pretty.
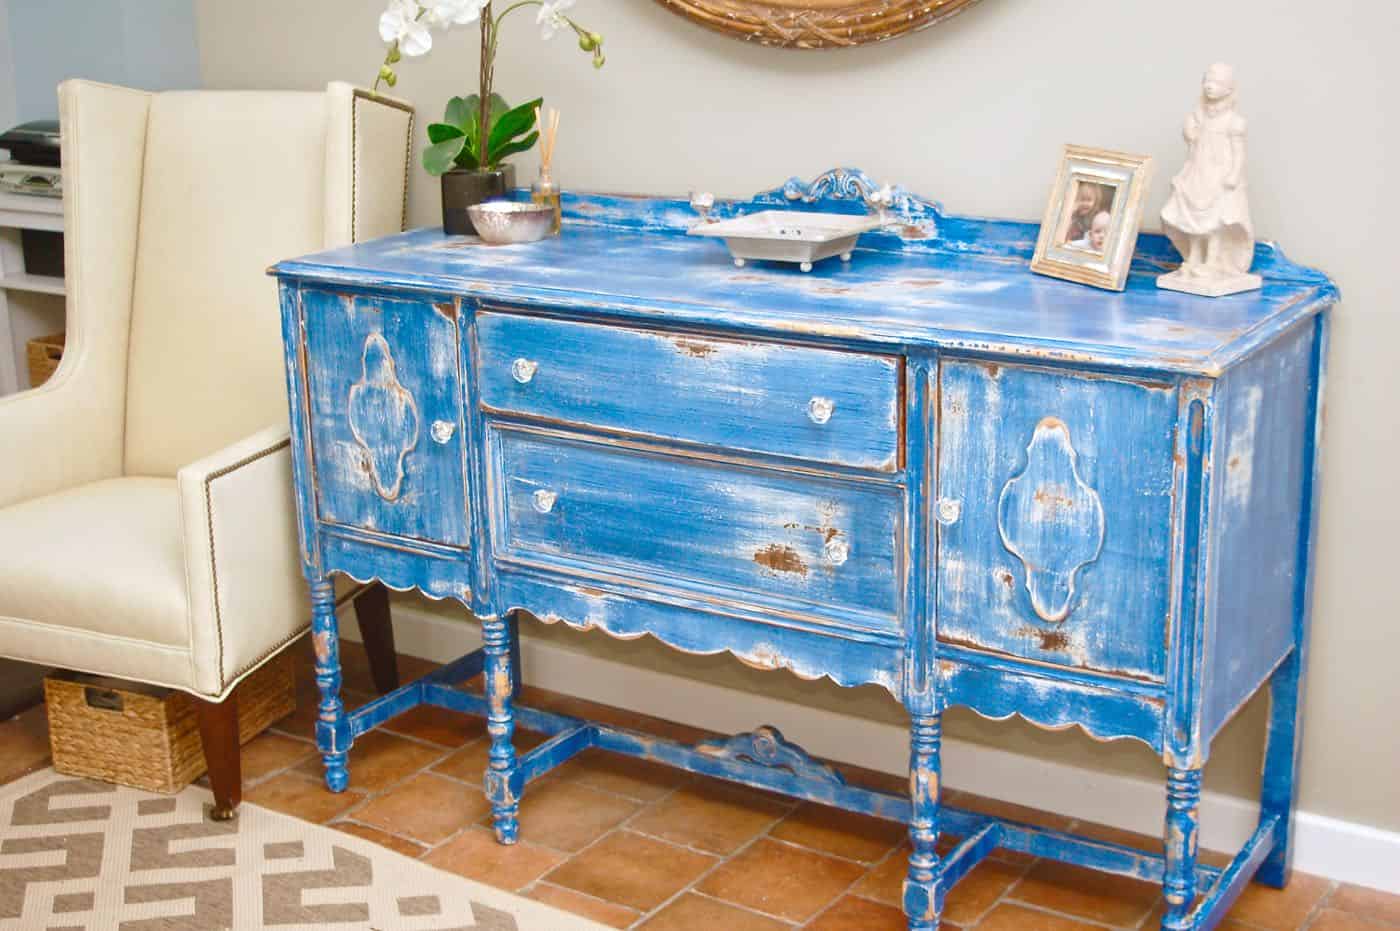
Needless to say, I’m tootin’ my horn for anyone who will listen as I LOVE this puppy. My hands have been vibrating for a week from all the sanding, but I can’t stop staring and smiling at our new and improved foyer/ mudroom.


Hi there, just thought I would offer you a few tips on working with Milk Paint. First, if you want to use a roller, you just have to strain the paint first…I use a Cone Paint Strainer, which can be picked up from Lowe’s, Home Depot, etc. for a couple of bucks. And rather than using your personal food mixer, you can pick up a small paint paddle, which attaches to any drill, for less than $2 at all of the same places. Milk Paint can be stored up to 7 days in the fridge. Hope this helps you, or anyone that may see this:) I also have a photo tutorial here:https://www.shangrilalane.com/2012/07/photo-tutorial-how-to-mix-milk-paint.html
Most Sincerely, Julia at Shangri-La Lane.
Thanks, Julia! I could have used you a few months ago! A steep learning curve with this stuff. I now have a paint paddle, but at the time was too impatient to run out and get one. Rookie. 🙂 Thanks for the link… I’ll refer back to it often!
love the buffet, i would love to feature you, if that would be ok please let me know,
lauren
Of course! Your furniture is lovely… where do you put it all?! 🙂
https://westfurniturerevival.blogspot.com/2013/02/100th-revival-monday.html
not sure if you caught your feature, hope you like it, thanks again
I did!! Thanks again!! (I put a link back to you at the end of that post :)!)
Love this project! Well done. I keep looking for an old dresser to fix up but haven’t found any worth the effort. Keep up the good work.
Thanks Rose! I got lucky with this… haven’t seen one like it since!
Hi Charlotte, I am so glad to find your website! I have a sturdy oak wood 4 drawer dresser. Have been thinking of changing the color. Our place has been all about browns because of too much oak wood. To get that antique look, did you sand paper some spots after you did your 3rd coat? Do you have a Youtube tutorial? Thanks!!!
Hi Joyce! I definitely went back and sanded. The key to this piece was the white primer as the first coat. When I sanded over the milk paint, the primer came through and then in places I sanded further to expose the bare wood. Miss Mustard Seed paint is a brand with which I’ve never worked, but her paints are designed to flake and chip in an antique/ distressed manner… so that’s another option for you! Good luck!!