Thrift Store Makeover: Bentwood Chair
Psssst… this post *might* contain affiliate links: see my disclosure here.
Thrift Store Chair Makeover
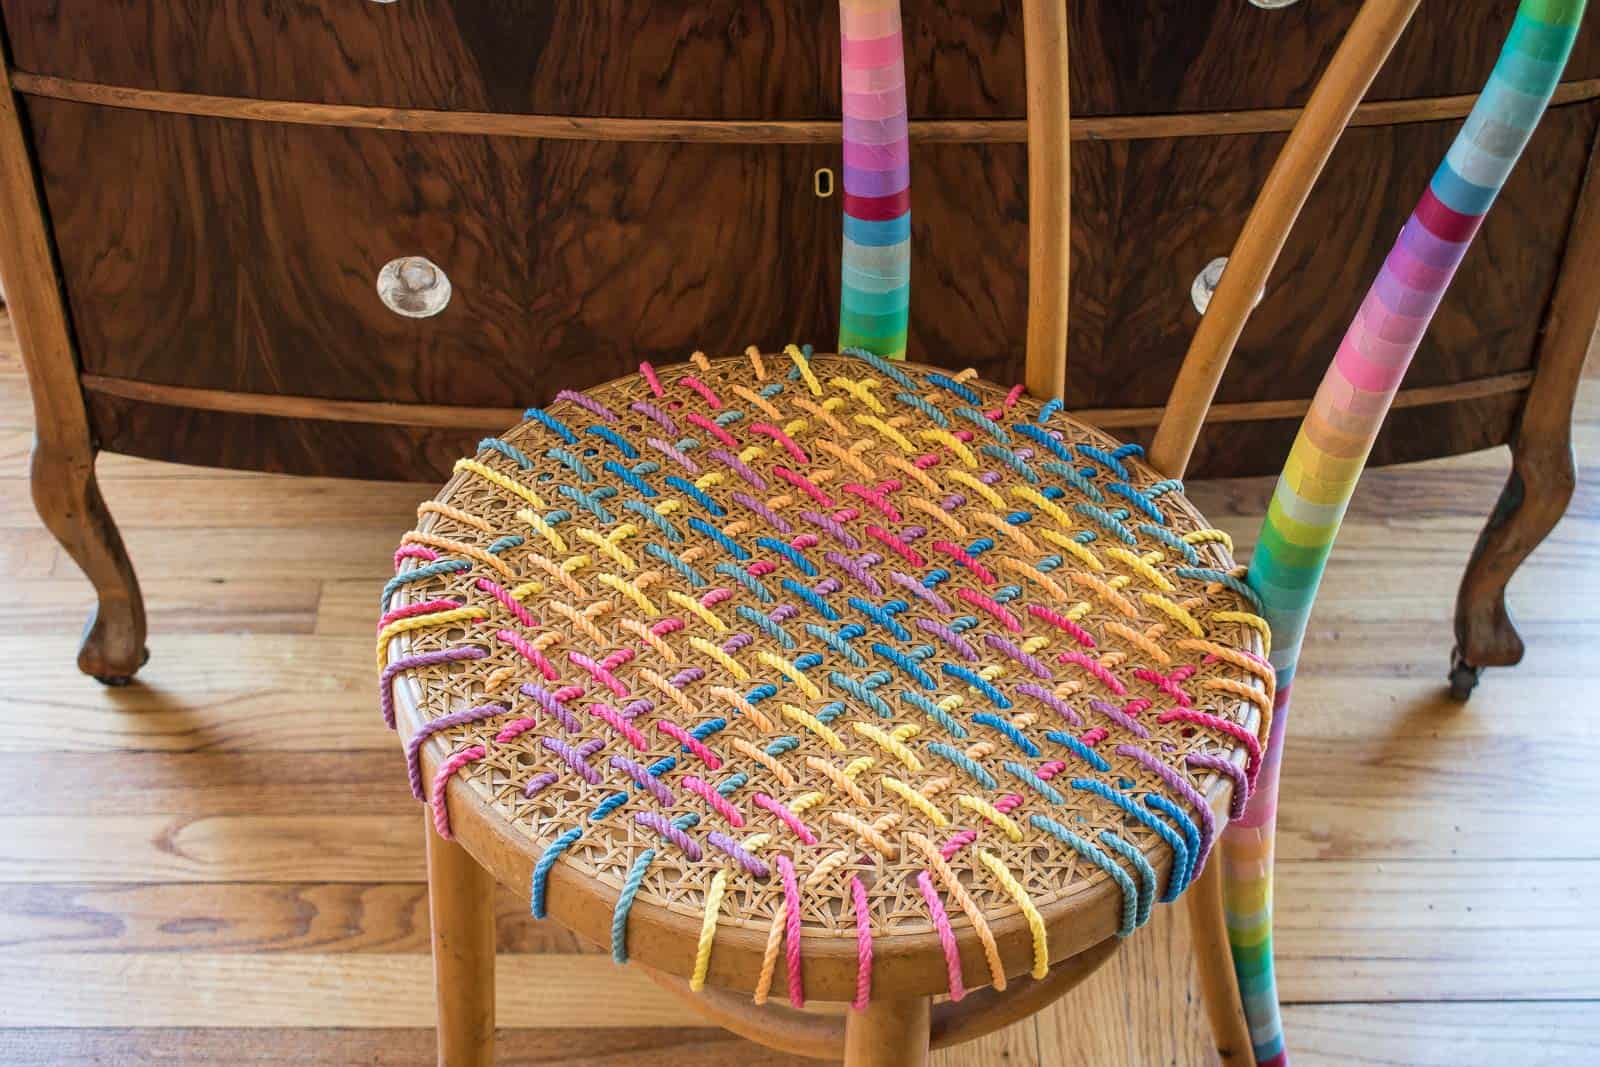
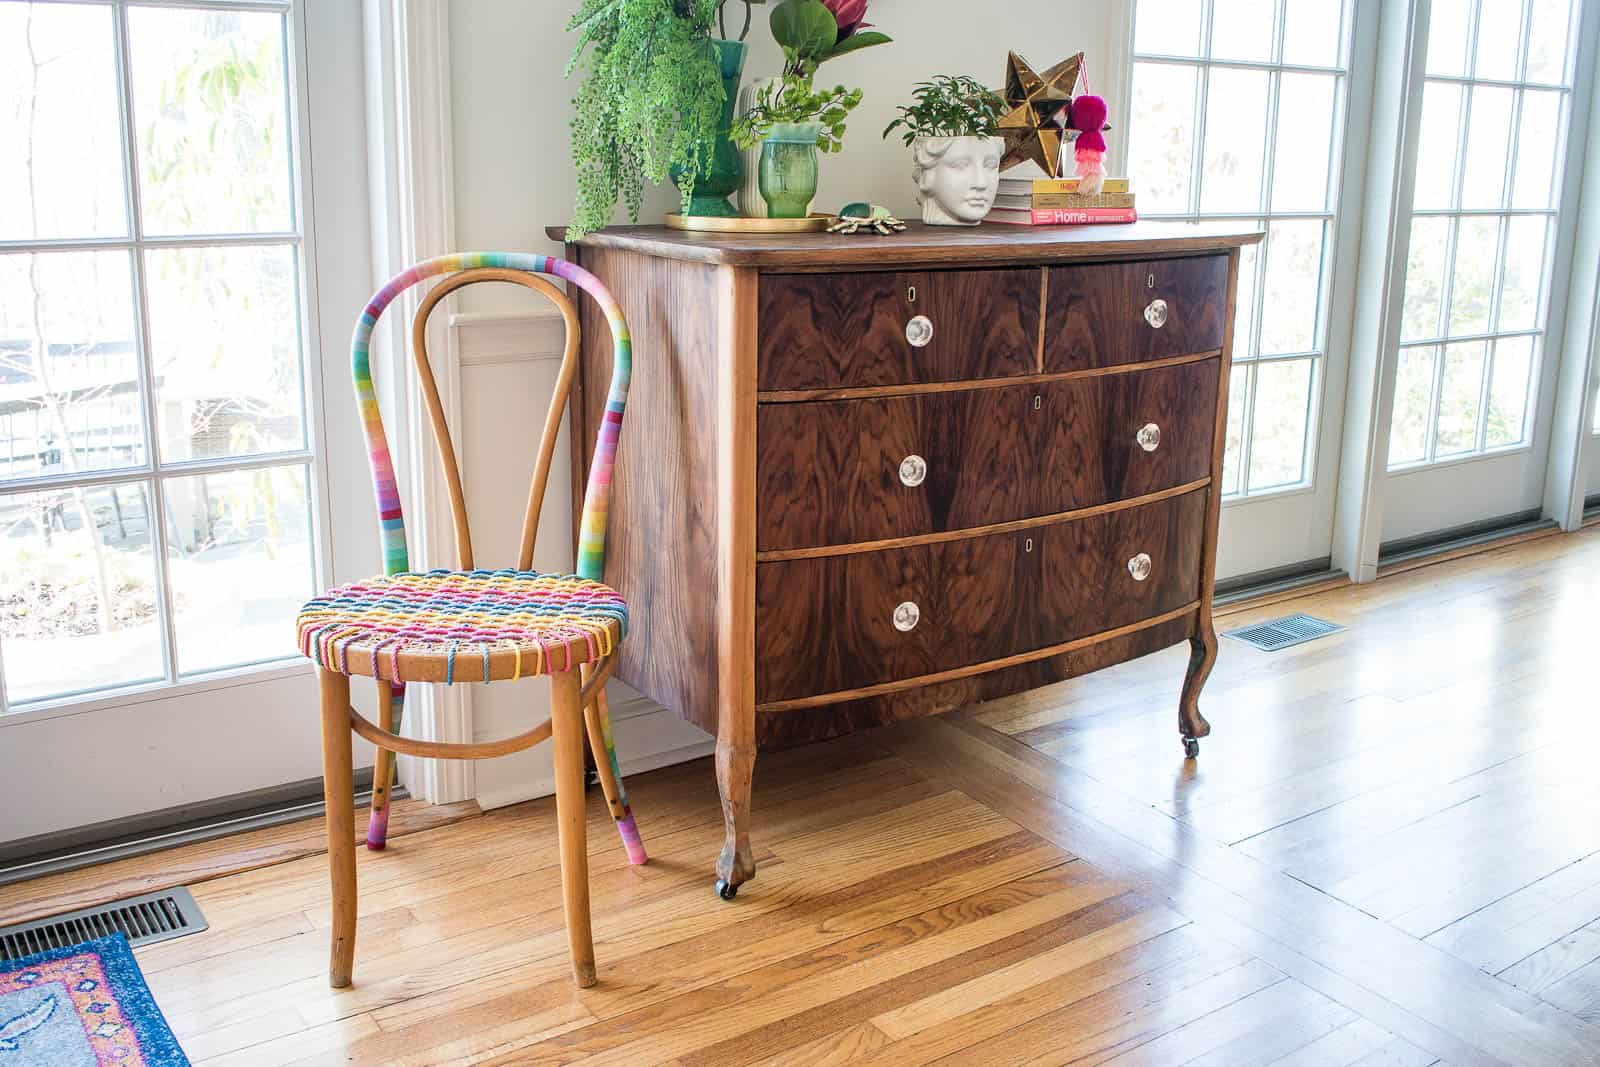
I found an old chair at the thrift store and gave it an easy (temporary) update!
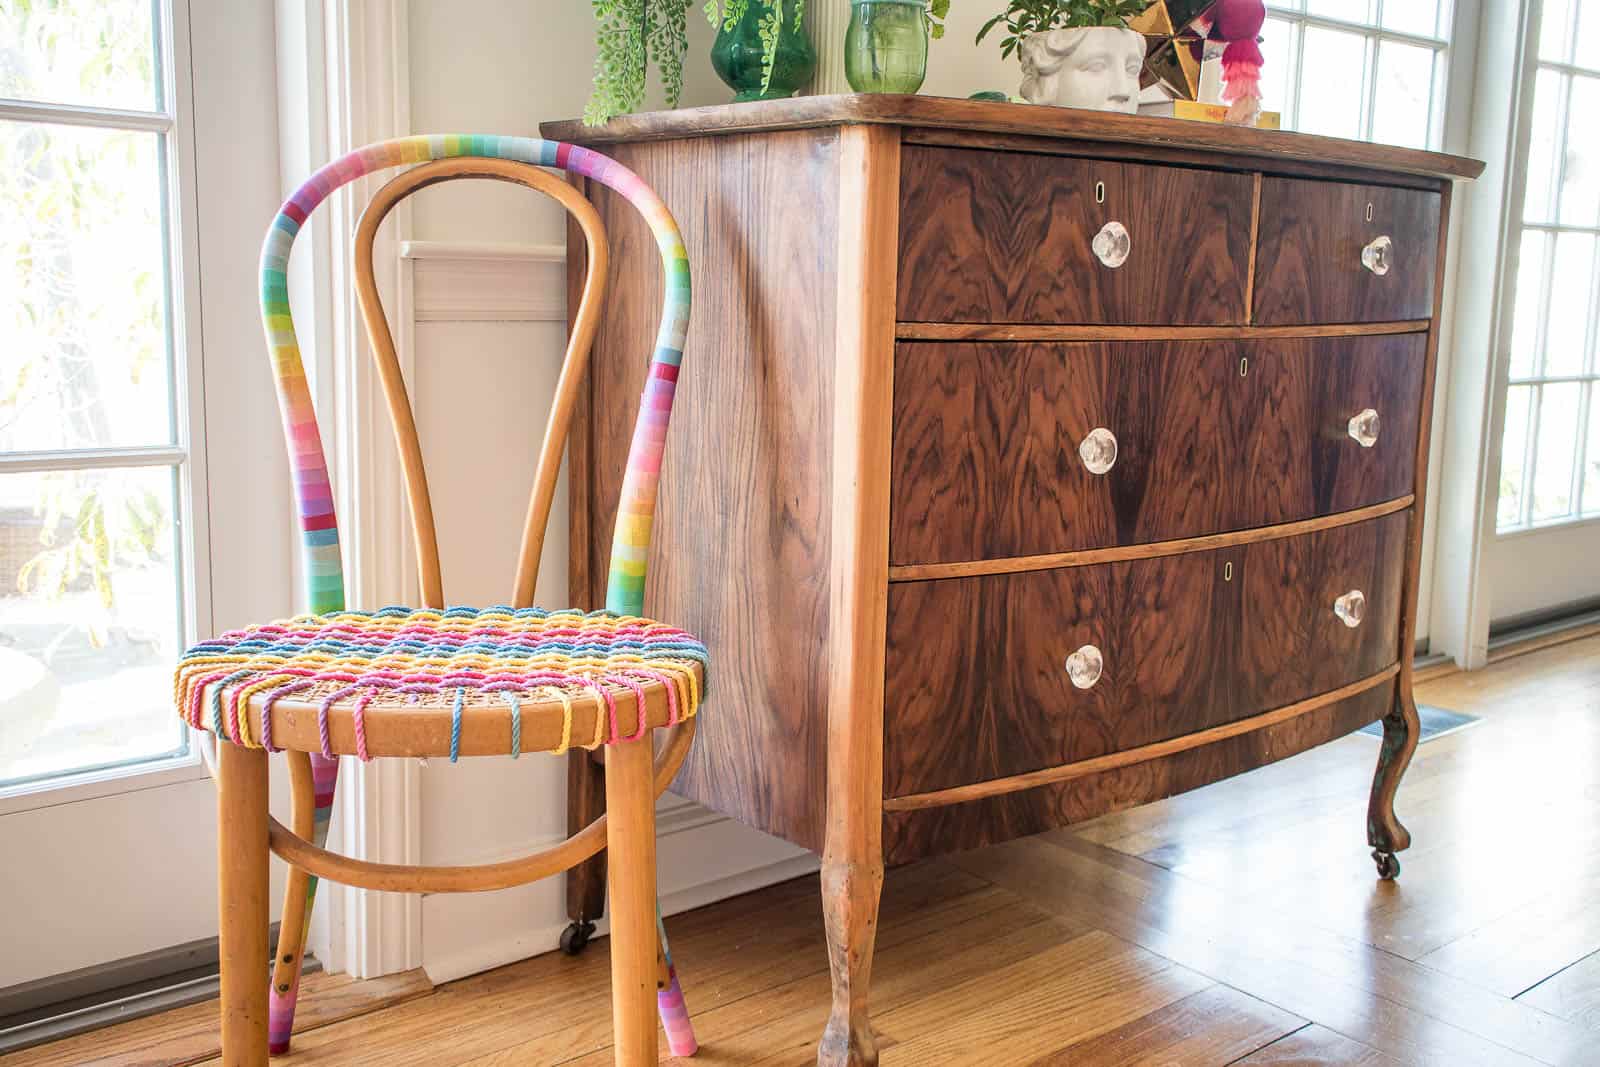
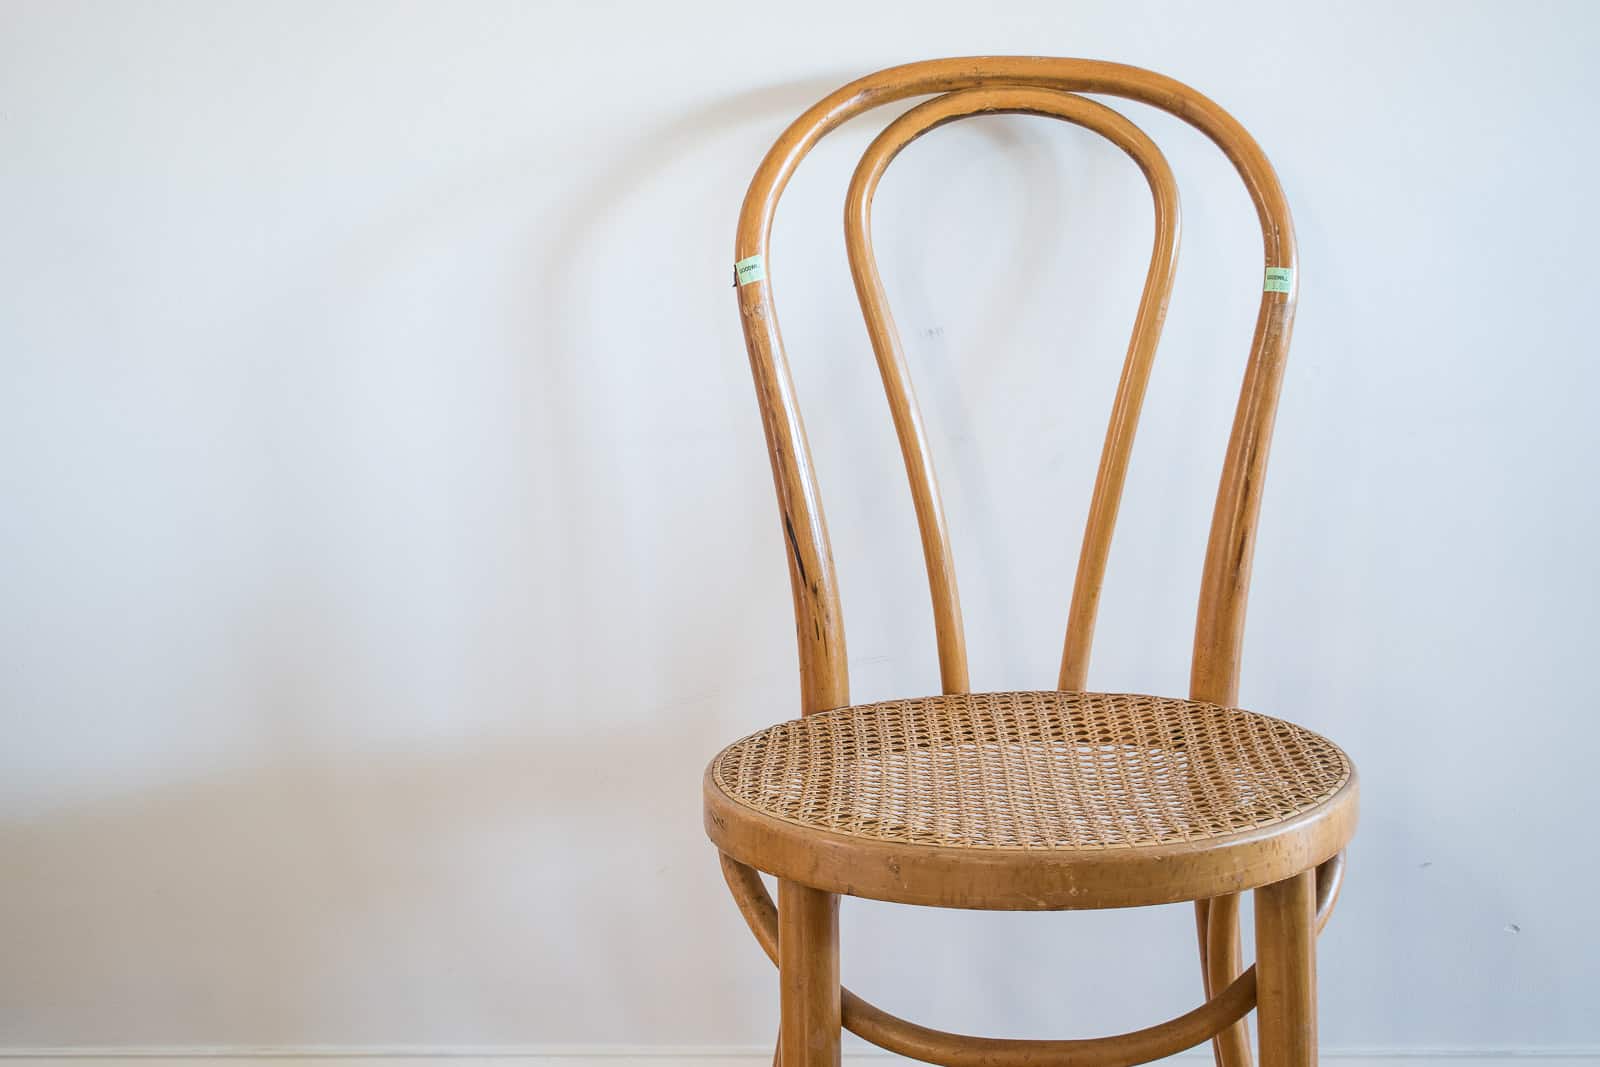
I love these thrift store makeover days as they give me FULL permission to go thrifting and dream up all sorts of projects! When I saw a pair of these bentwood chair at Goodwill for $5 each, I knew they had potential, buuuut… I didn’t want to do anything permanent to them, because bentwood chairs are amazing. Here’s what I did… to give this chair a totally temporary and colorful makeover!
Shop my favorites!
Step 1. Wipe down the chair
Technically I forgot to do this step, but I’m telling you which is all that counts. Wipe down your chair. Who knows how much dust and grime has accumulated on the surface!
Step 2. Gather your washi tape
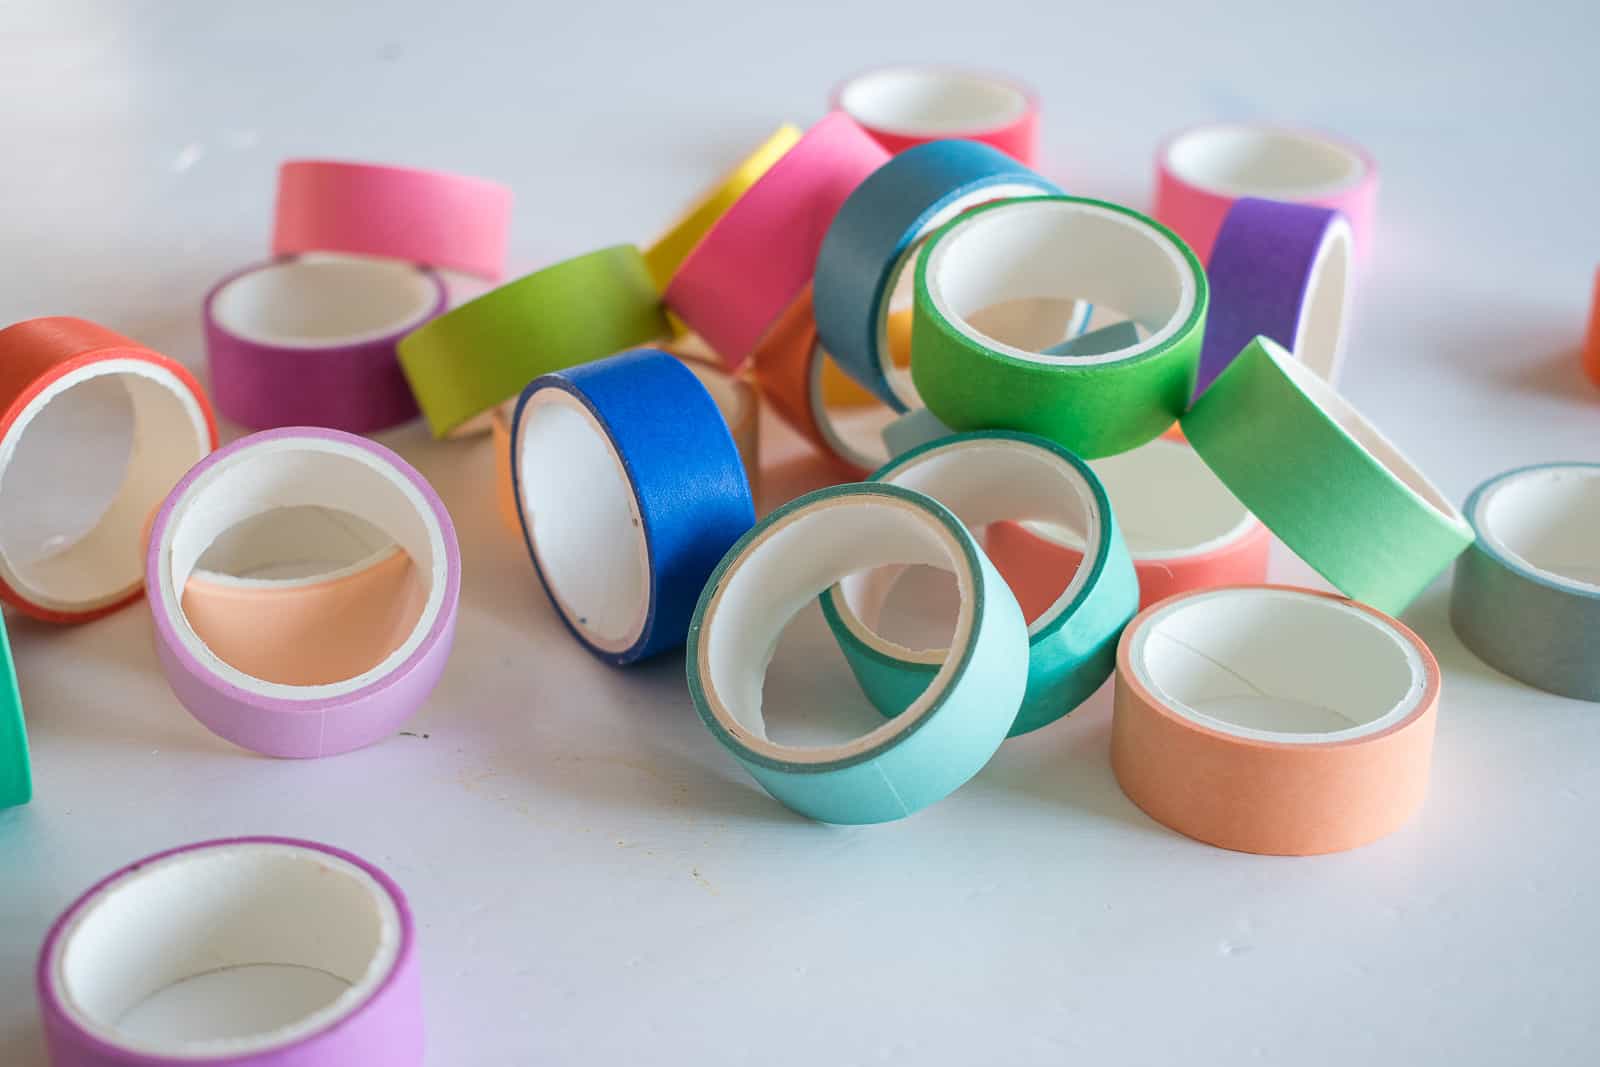
I’m using this Washi Tape from Amazon and it comes in lots of colors. (Washi tape is a paper tape that comes in lots of widths and colors… I love its durable flexibility and cost!) I’m using just about every color, but obviously you can use colors that fit your decor!
Step 3. Wrap the chair
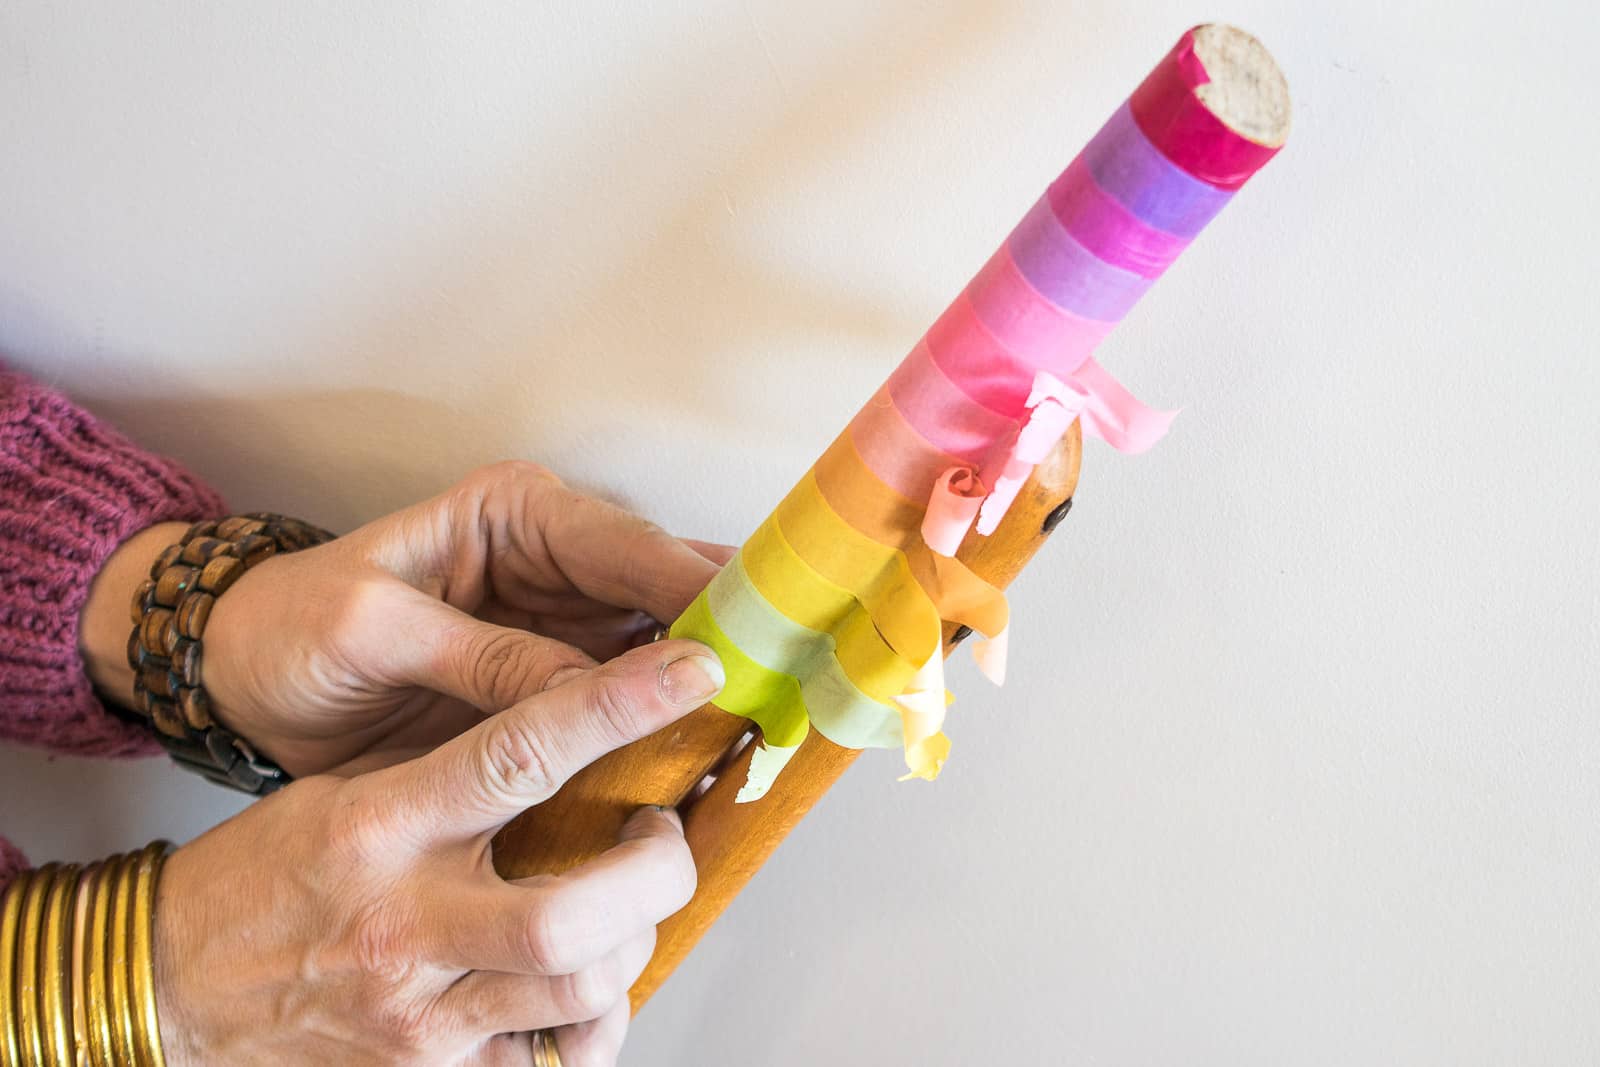
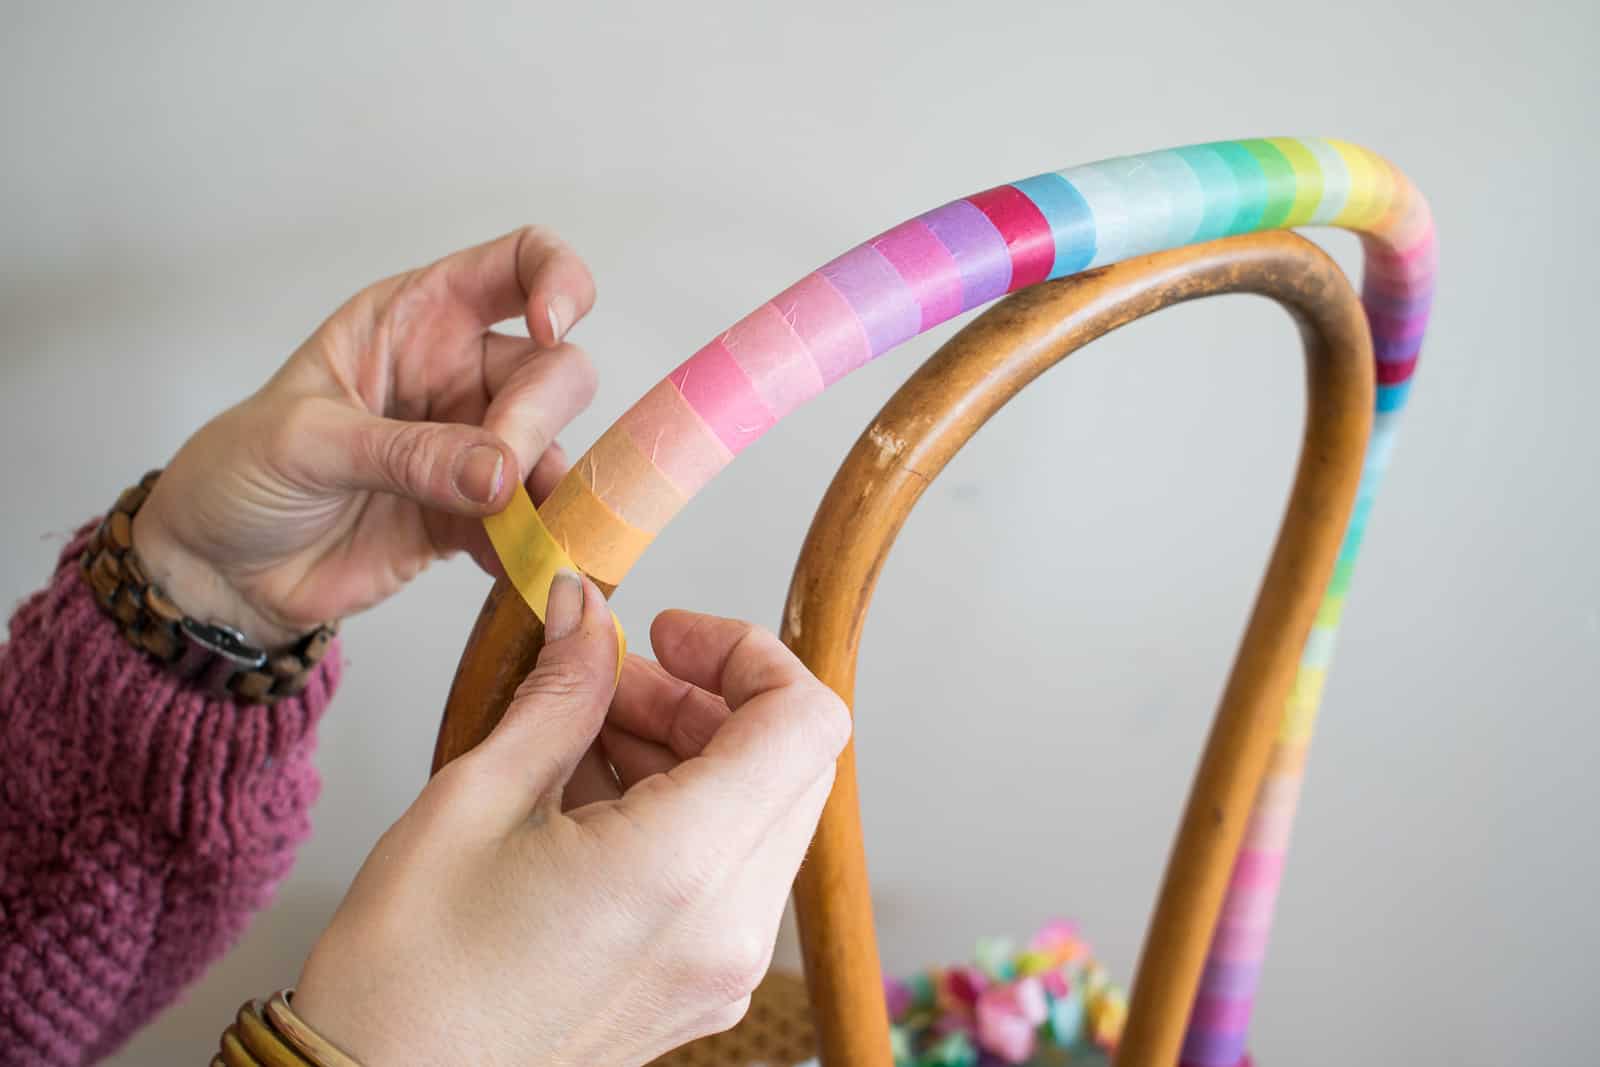
Starting from the bottom of the back leg, wrap on strip of Washi tape around the leg of the chair. I used scissors to cut the end of the tape so there would be a straight line. Repeat with the next color being careful to overlap ever so slightly so none of the chair is showing.
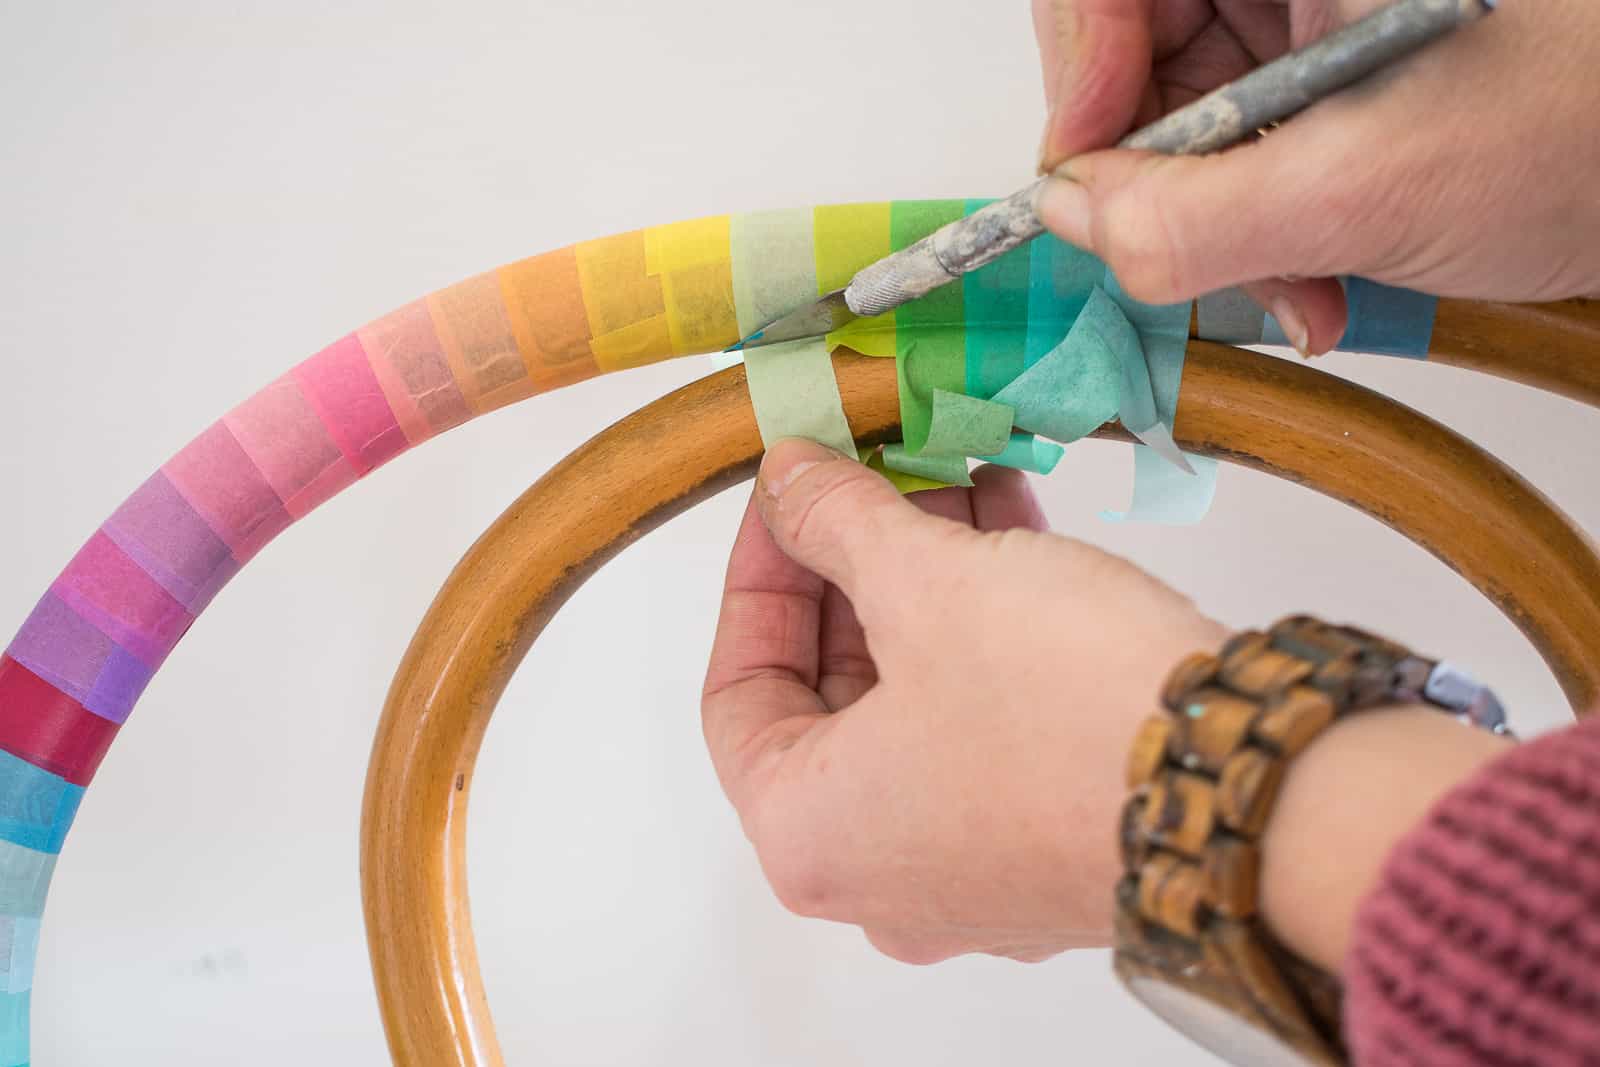
When I got to parts of the chair that were connected to the seat or another piece of wood, I used an exacto knife to trim the excess washi tape.
Step 4. Dying Rope
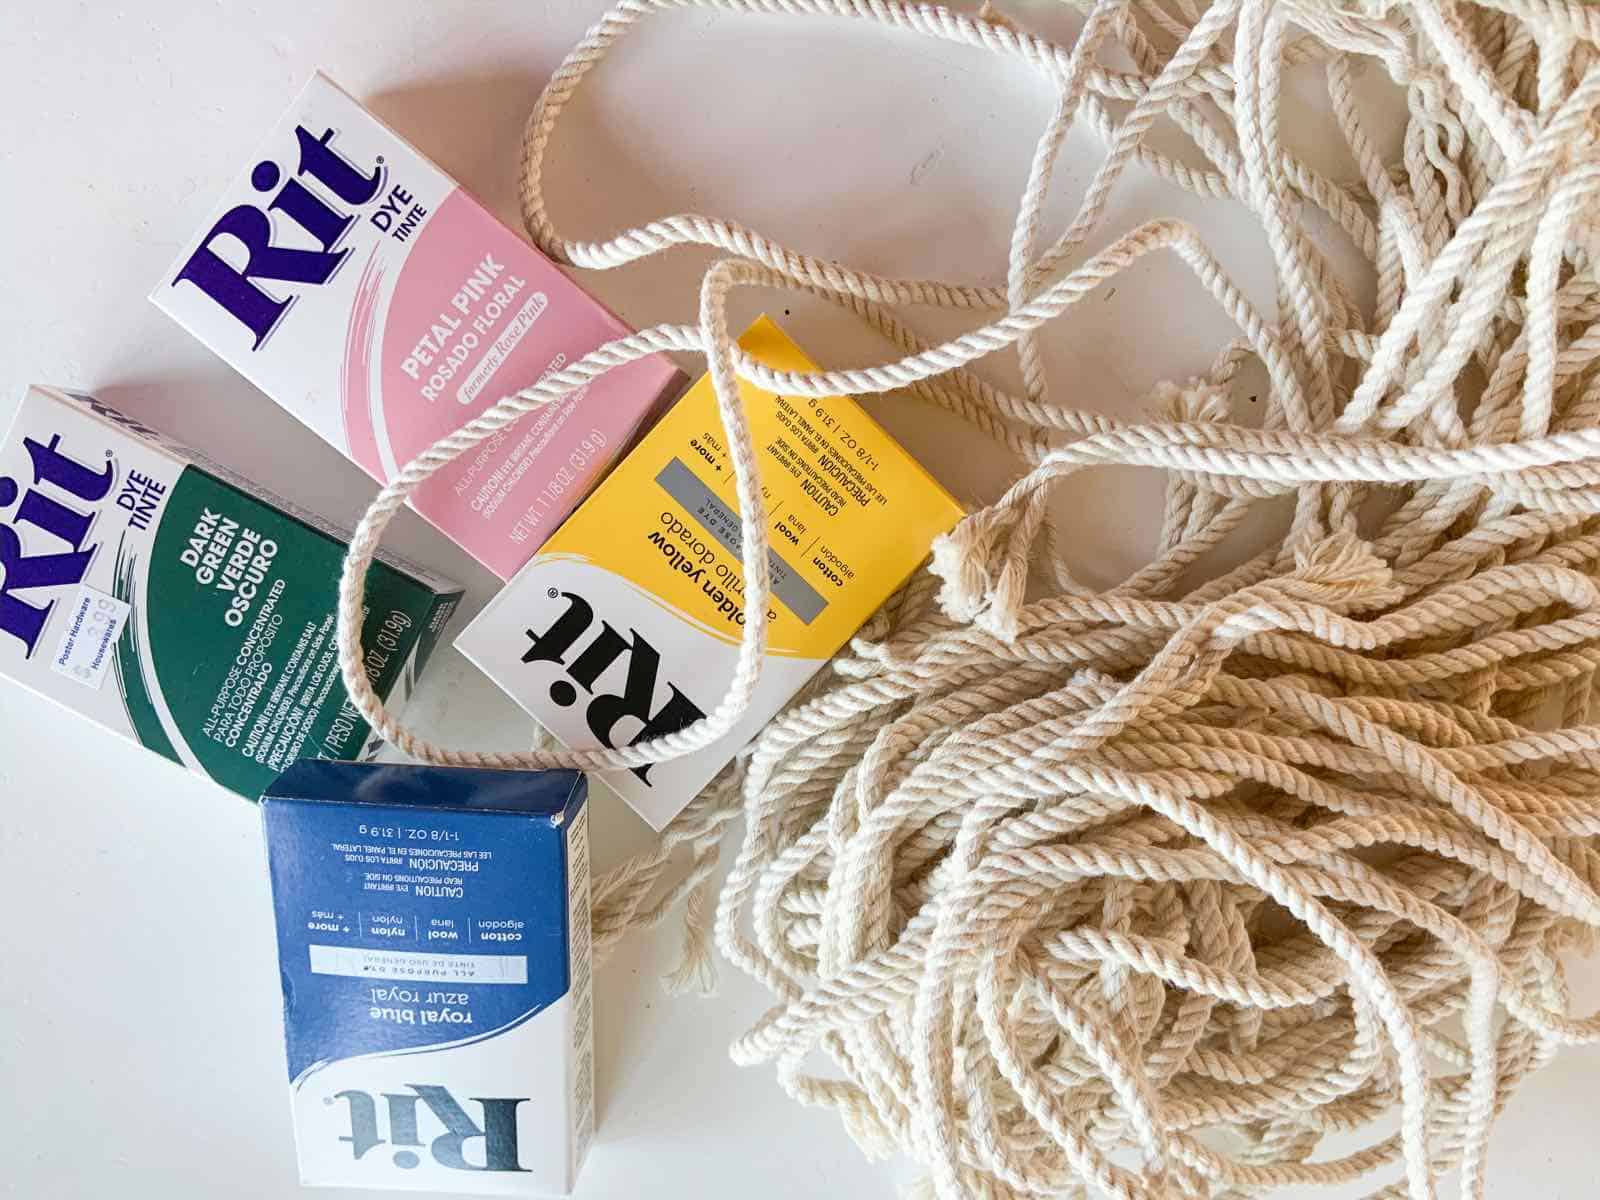
My chair had a cane seat. This one was in pretty good shape so I didn’t want to damage the cane, but I DID want to add some color (obvy.) I took some cotton rope (I think this might be 1/4″) and soaked it into a pot of Rit dye to color it. I rinsed it and let it dry.
Step 5. Weaving the cane seat
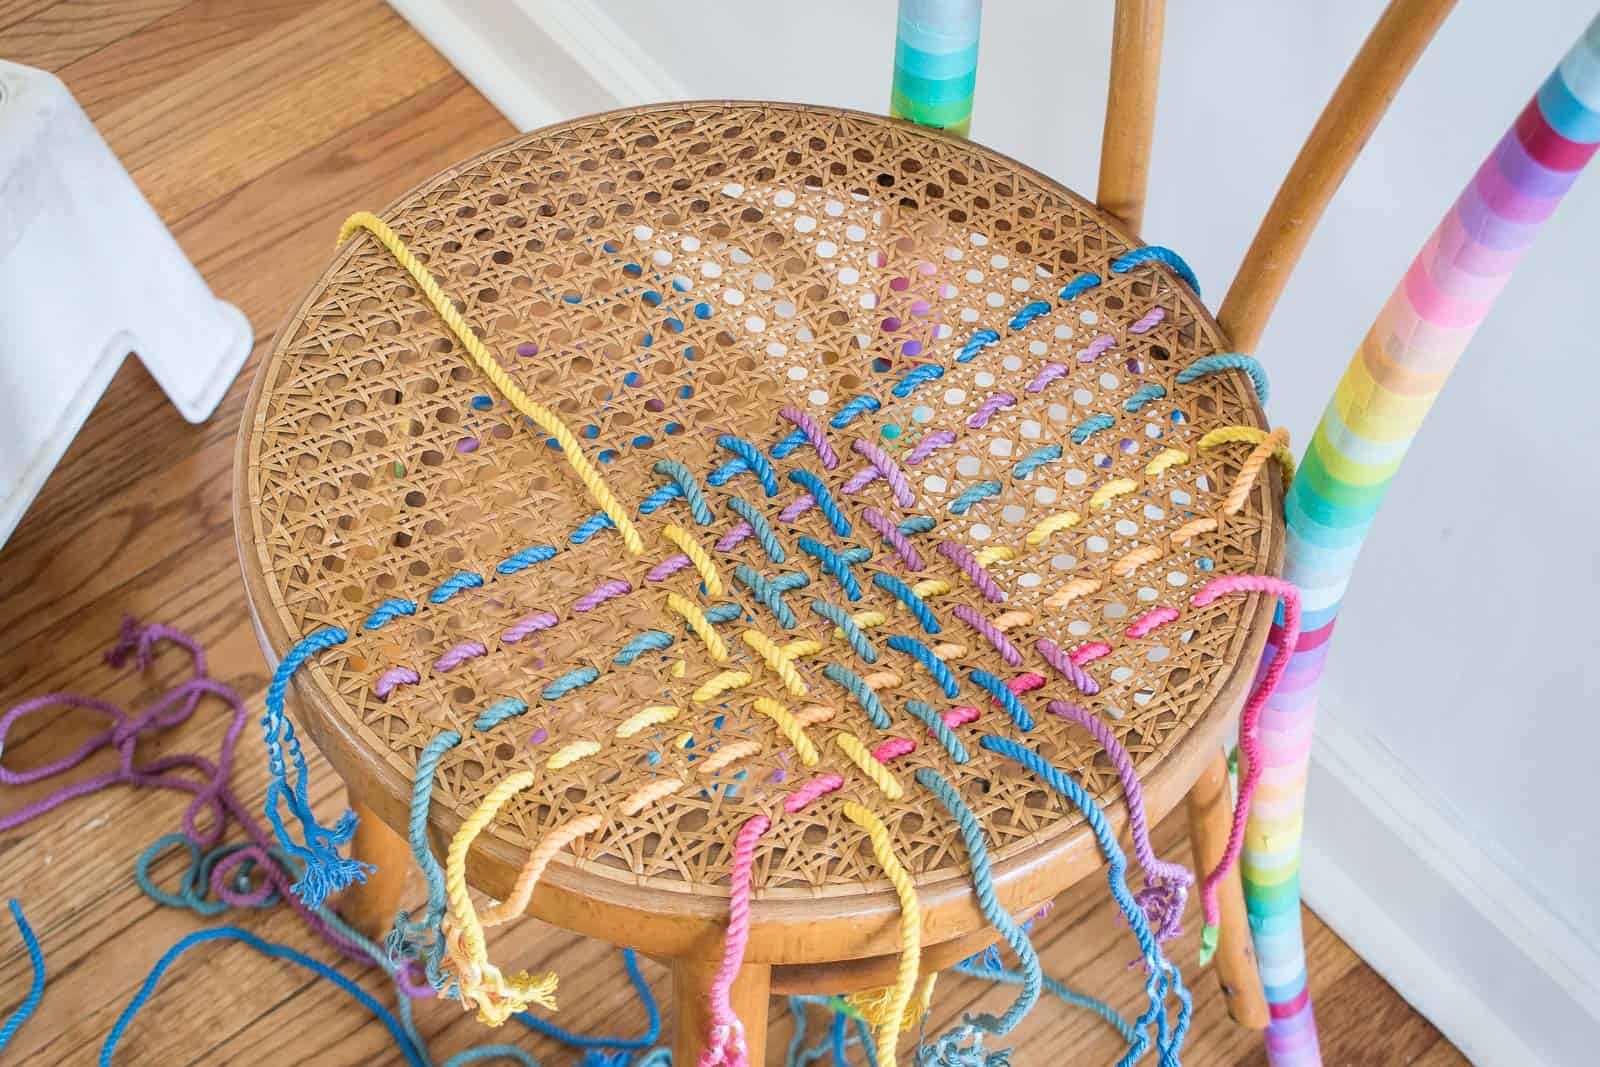
To weave the rope, I wrapped one end with tape first. Then wove it in and out through the cane seat. It took me a few different tries to find the right pattern. In my opinion it looked the best when I wove the rope over 2 holes and under 2 holes on every row going across the seat of the chair. And then I wove the rope over and under every hole but every other row going across.
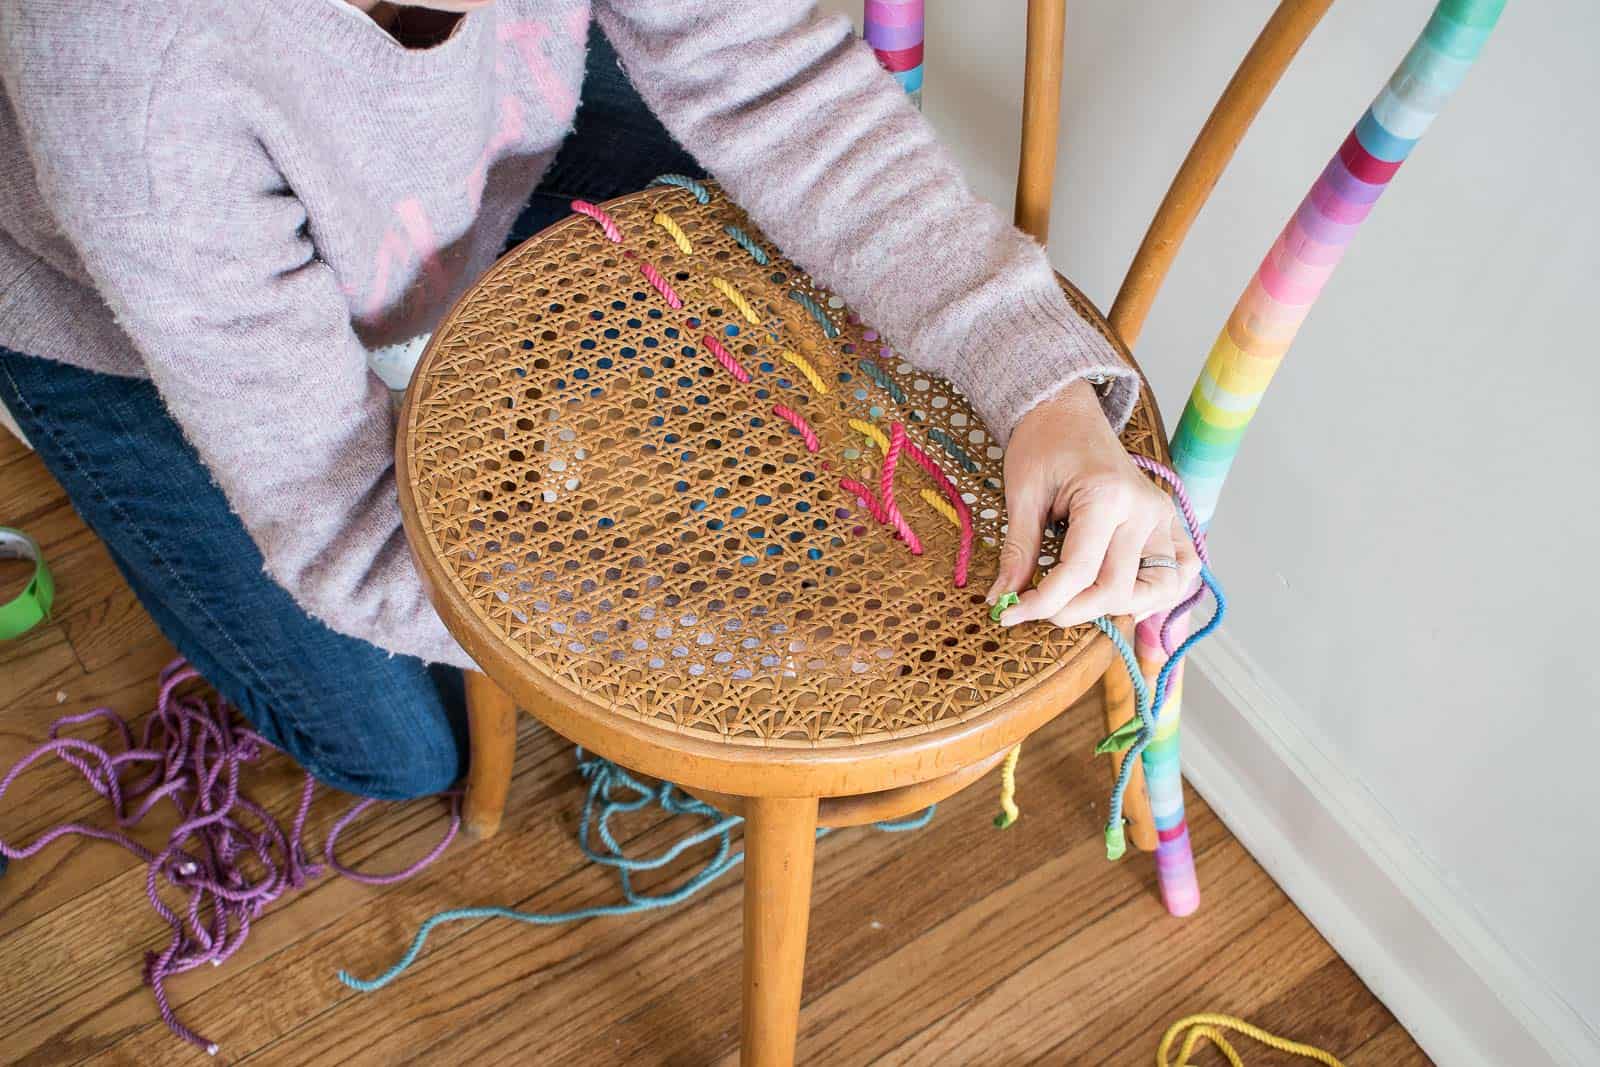
Step 6. Secure the rope
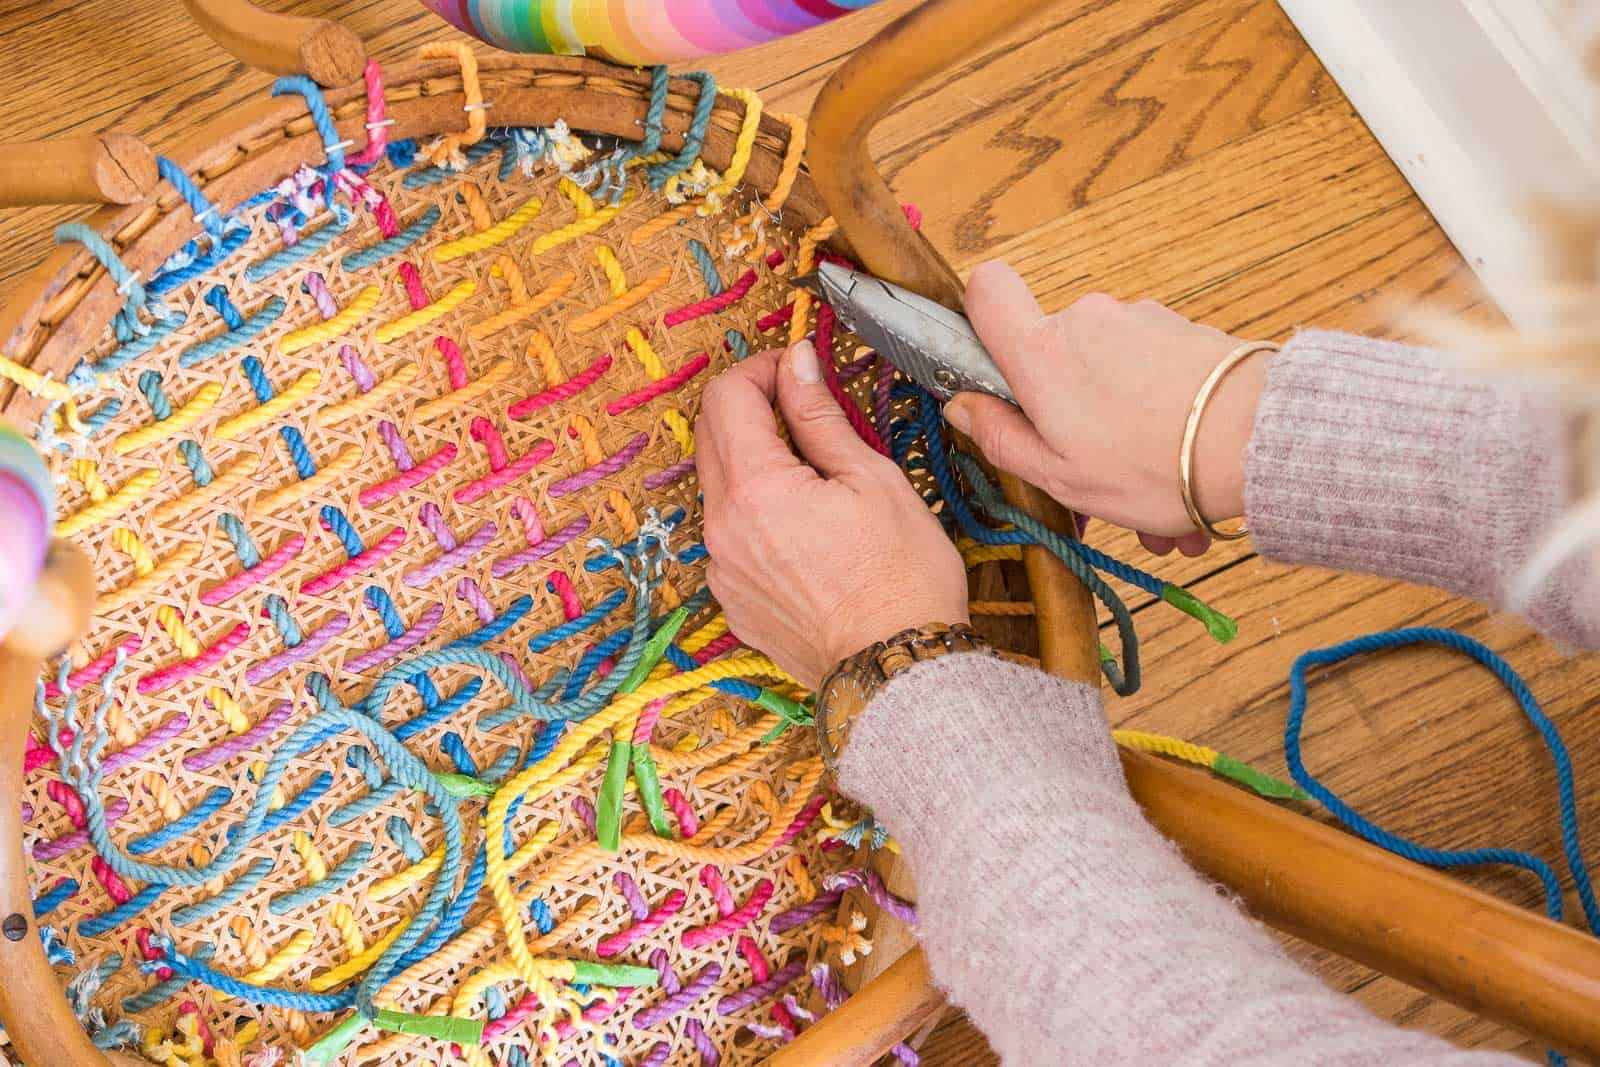
I felt like the rope looked best when I secured it well beneath the seat along the inside edge. This meant wrapping some of the ropes all the way around depending upon where I started weaving. I used my staple gun and tried to secure them with a staple or two as best I could, and then trimmed the loose ends.
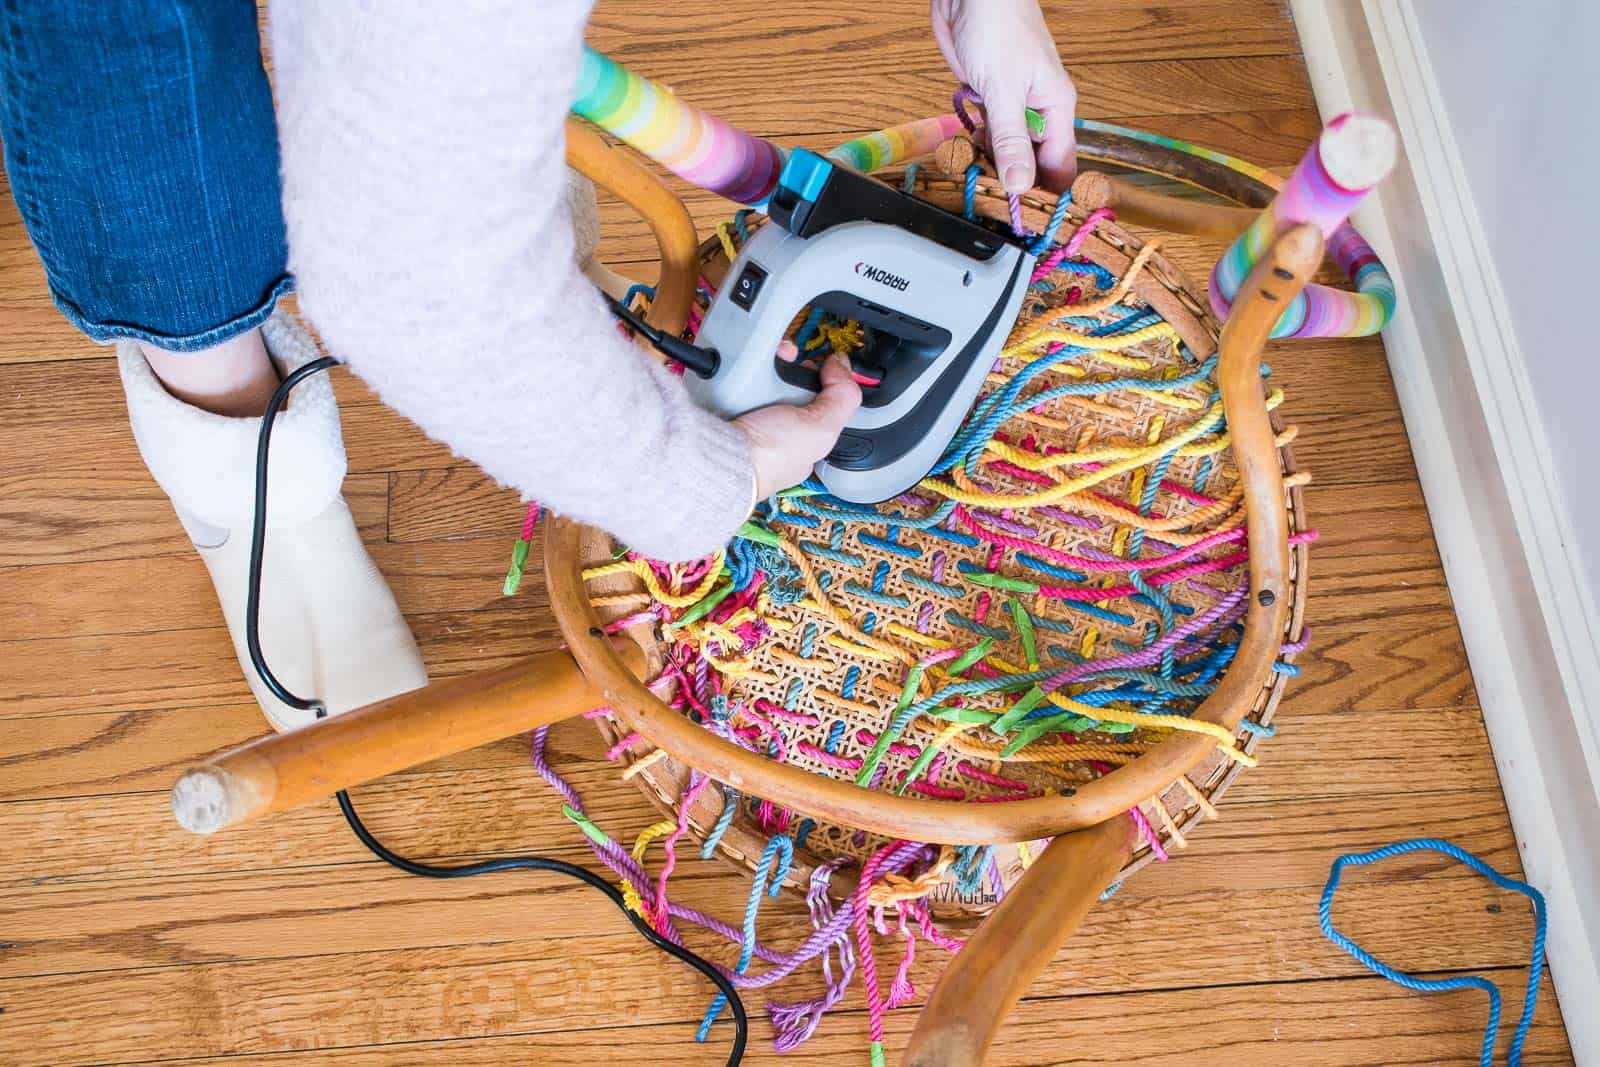
Will this chair hold up to small children and crashing toy cars and heavy scrubbing? Nope. But was it a super easy, fairly inexpensive solution to giving an old tired chair a new life? Heck yeah! Typically washi tape doesn’t leave any residue behind so the only permanent mark this update will make are the staple holes along the inside rim of the chair.
I can’t wait to see what everyone else has found and tackled for this Thrift Store Challenge! Be sure to go check out all the amazing projects linked below… so many fun makeovers!!!

At Charlotte’s House // Making Joy & Pretty Things // Love & Renovations

Making Manzanita // Small Stuff Counts // Green With Decor // Holland Avenue Home


Cute and colorful! Love it!
Thanks, Diane!!
Super good upcycle.
Thanks! Love the cheerful colors!
Love this! So fun.
Thank you!!!
This is the cutest ever! I love cheap & easy makeovers like this!?
If only we could thrift together… the projects we’d find! 🙂
This is an extra cheerful chair now!
YES! Thank you! So much color!
I’VE BEEN WANTING TO CREATE THESE CHAIRS FOR A WHILE…JUST FOUND THE CHAIRS TODAY…NOW I’M ON A MISSION TO PURCHASE MY WASHI TAPE AND RIT DYE. CAN’T WAIT TO ADD THESE TO MY COLORFUL ROWHOUSE. THANKS FOR THE IDEA CHARLOTTE!
#LIVINGINCOLOR #IDONTDONEUTRAL.
Oh hurray!! Let me know how it goes!!