Window Seat Reading Nook
Psssst… this post *might* contain affiliate links: see my disclosure here.
Cozy Kids Window Nook
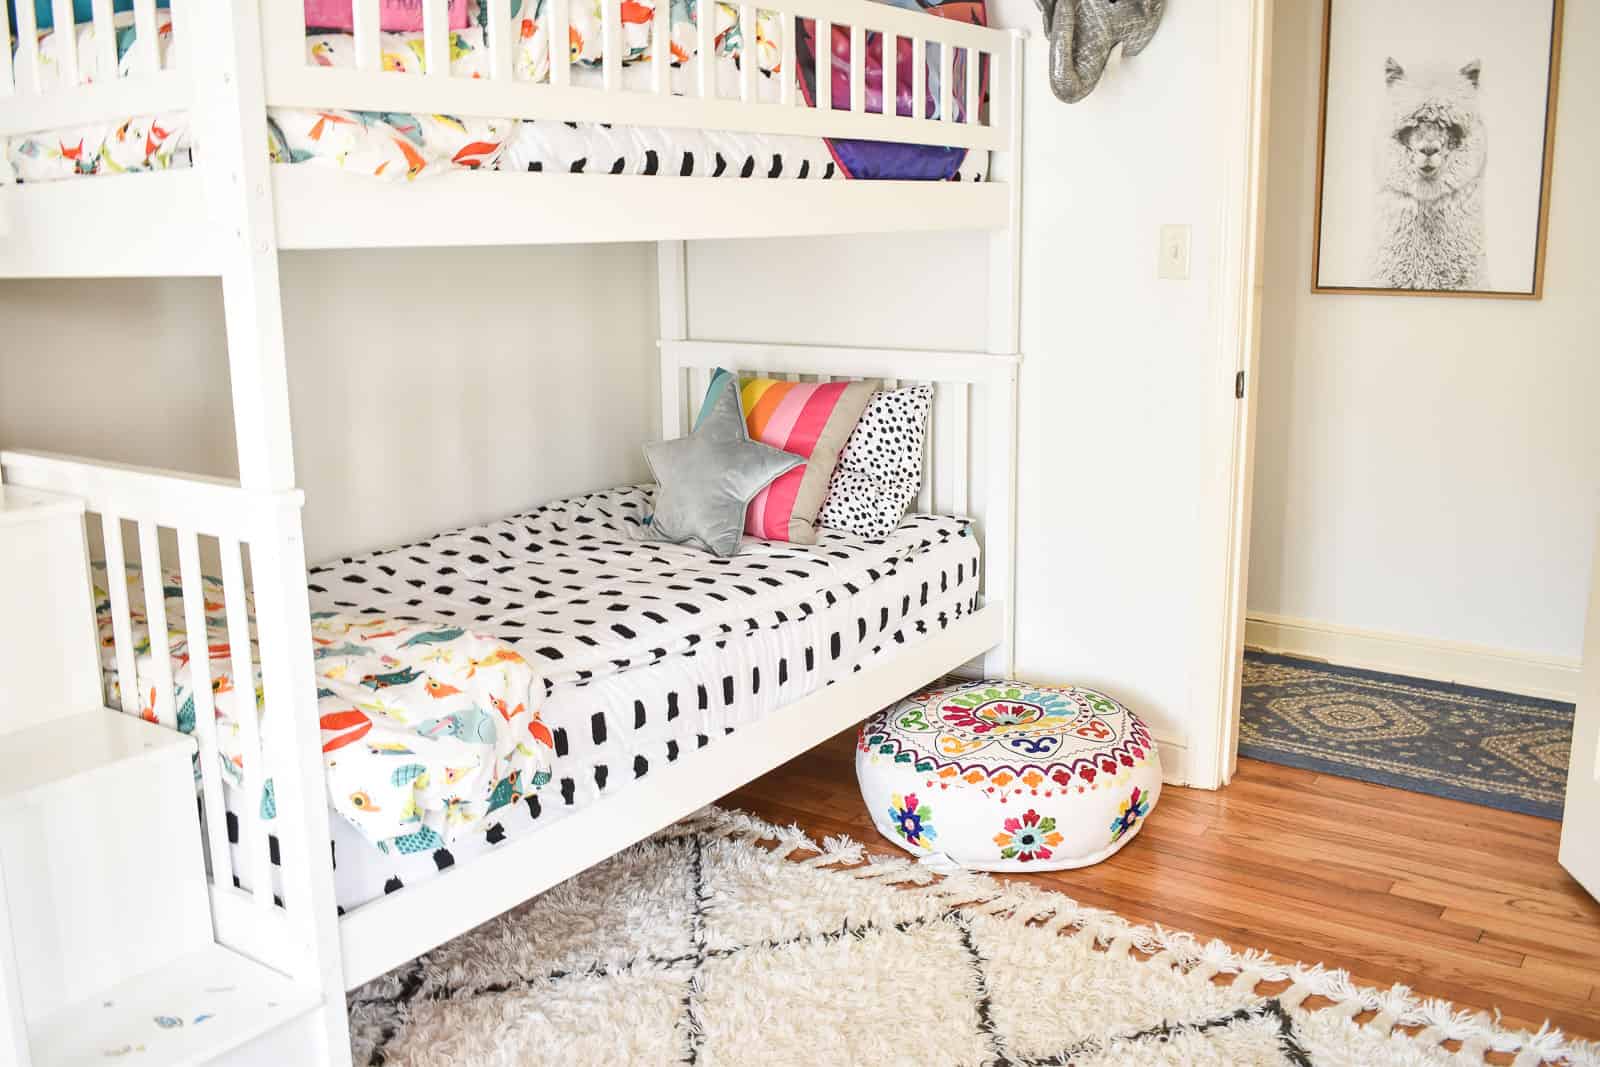
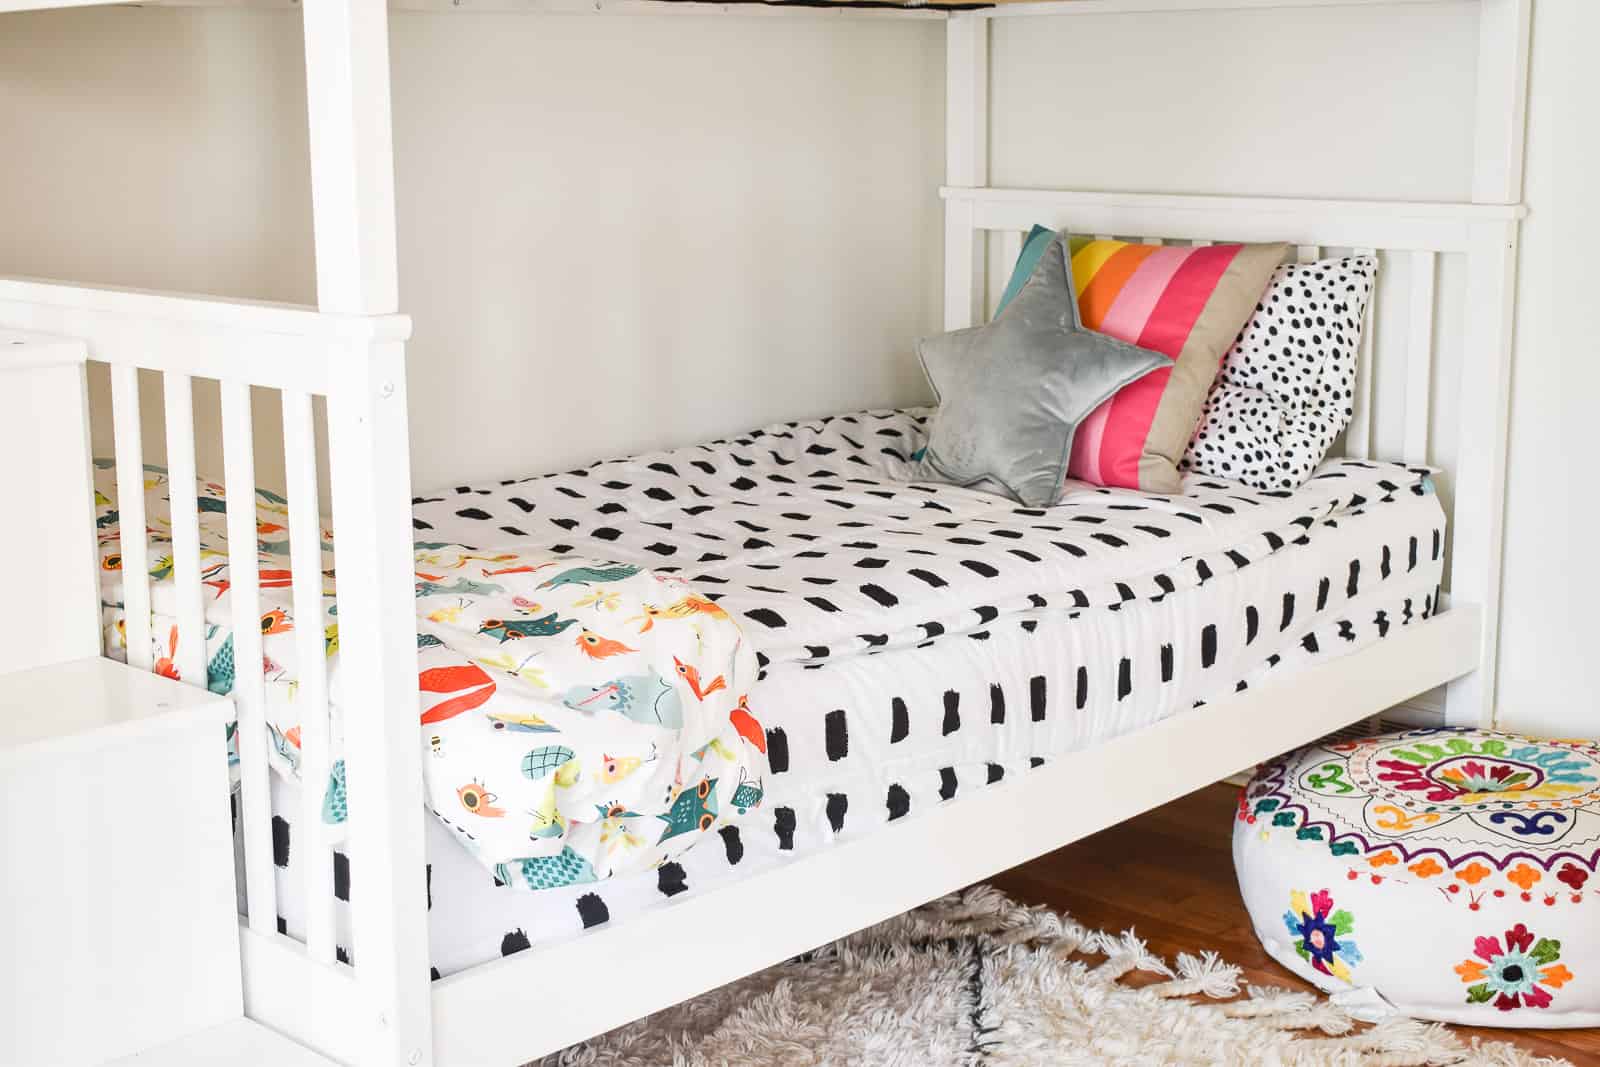
In our new house, Louisa and Arthur are sharing a room and they are fit to be tied! They have the bunk beds and the dress up dresser and life is good! They have a window seat in their room, and window seats alone… aren’t all that exciting. But a window seat in a NOOK… I mean, that I can work with!
Shop my favorites!
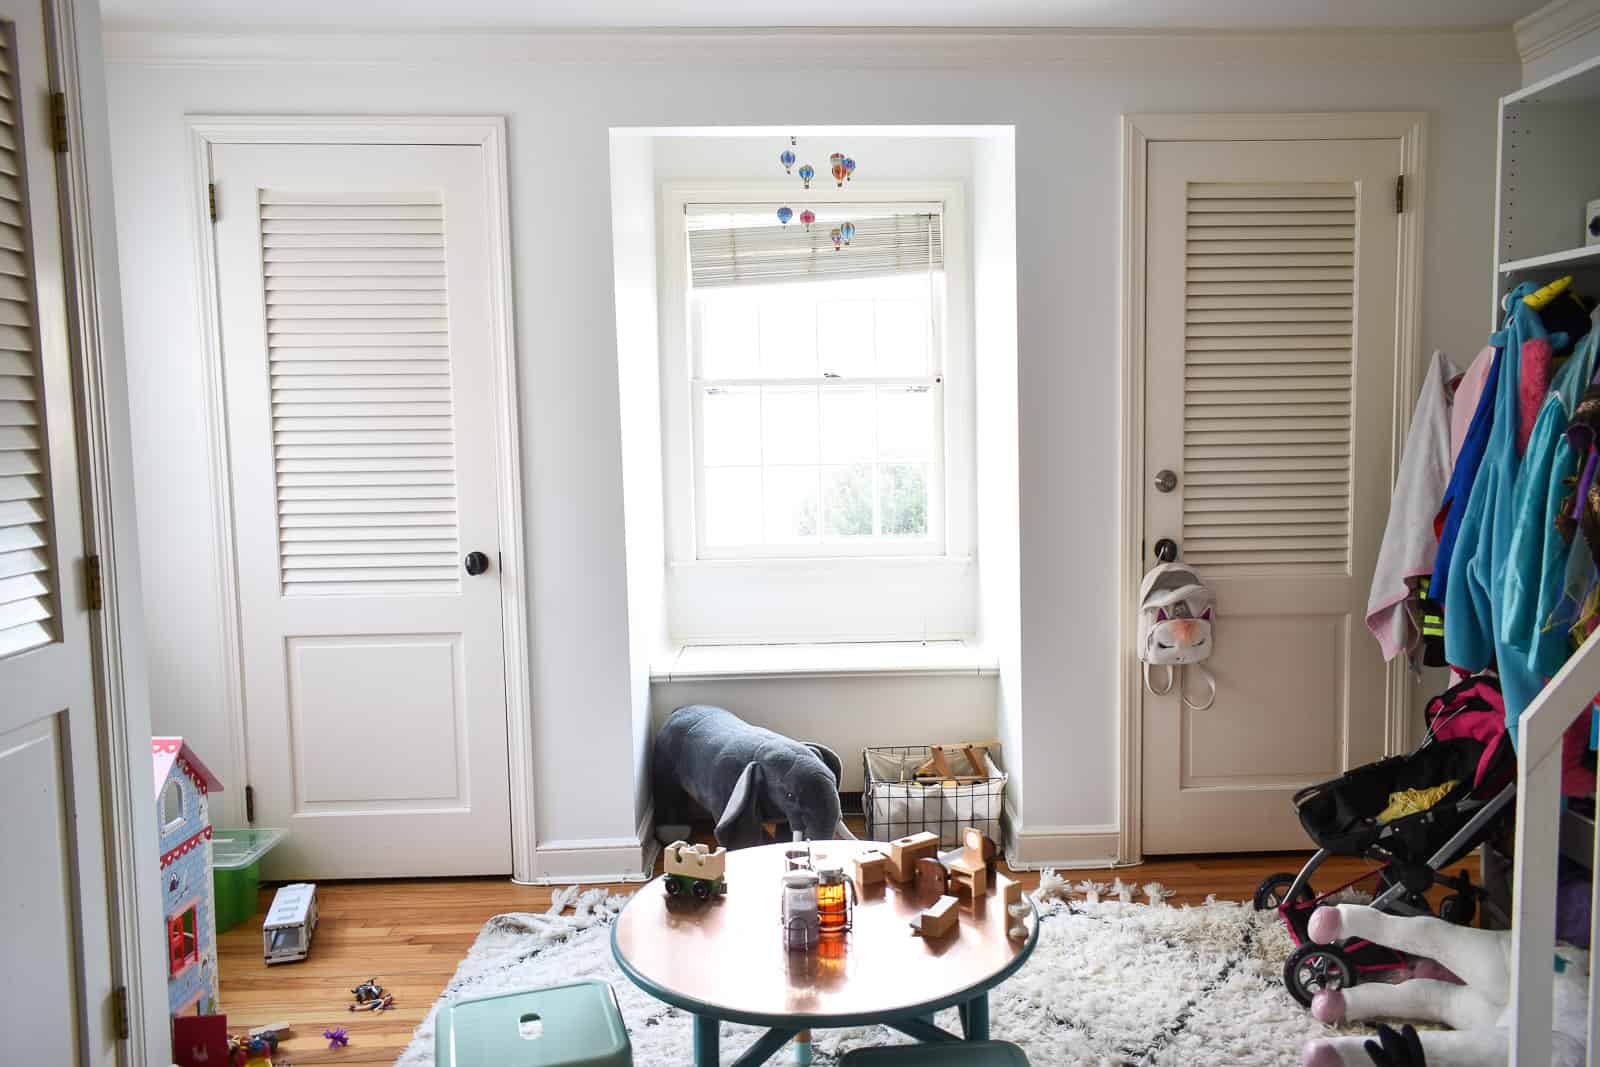
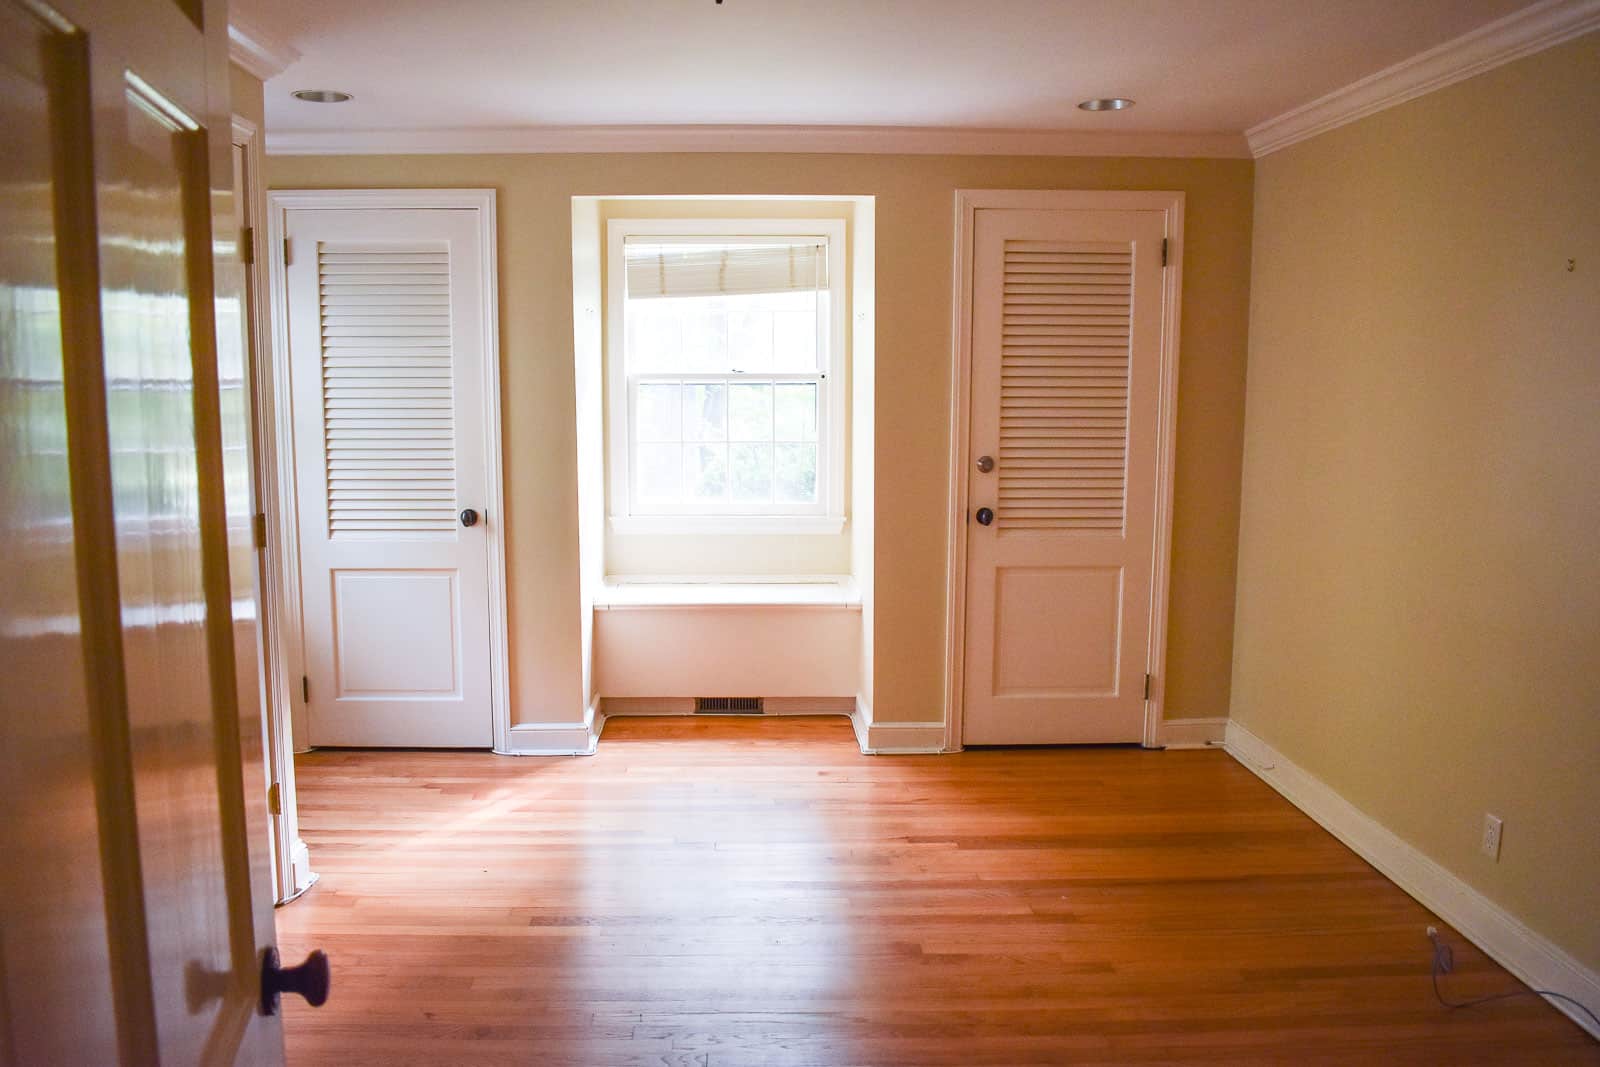
Here’s how the nook looked before. Not all that exciting and certainly not a fun place for the kids. Reminder that this is a rental so I can’t go crazy with certain details. Reminder reminder that there are lots of projects to tackle and we’ve been here for a month so I’m really motivated by quick and easy projects. This was SO quick and SO easy.
Step 1. Reading Nook Curtain
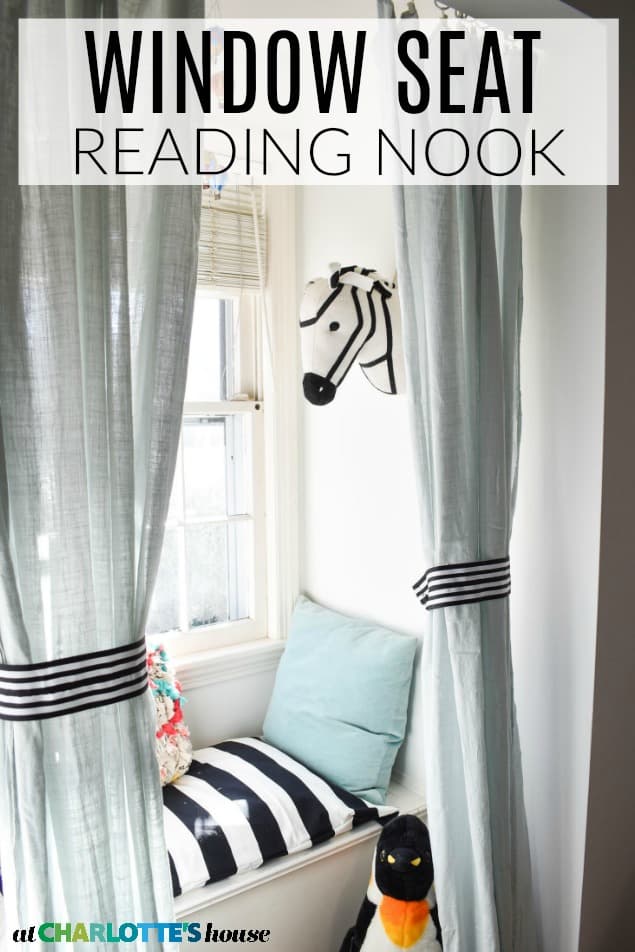
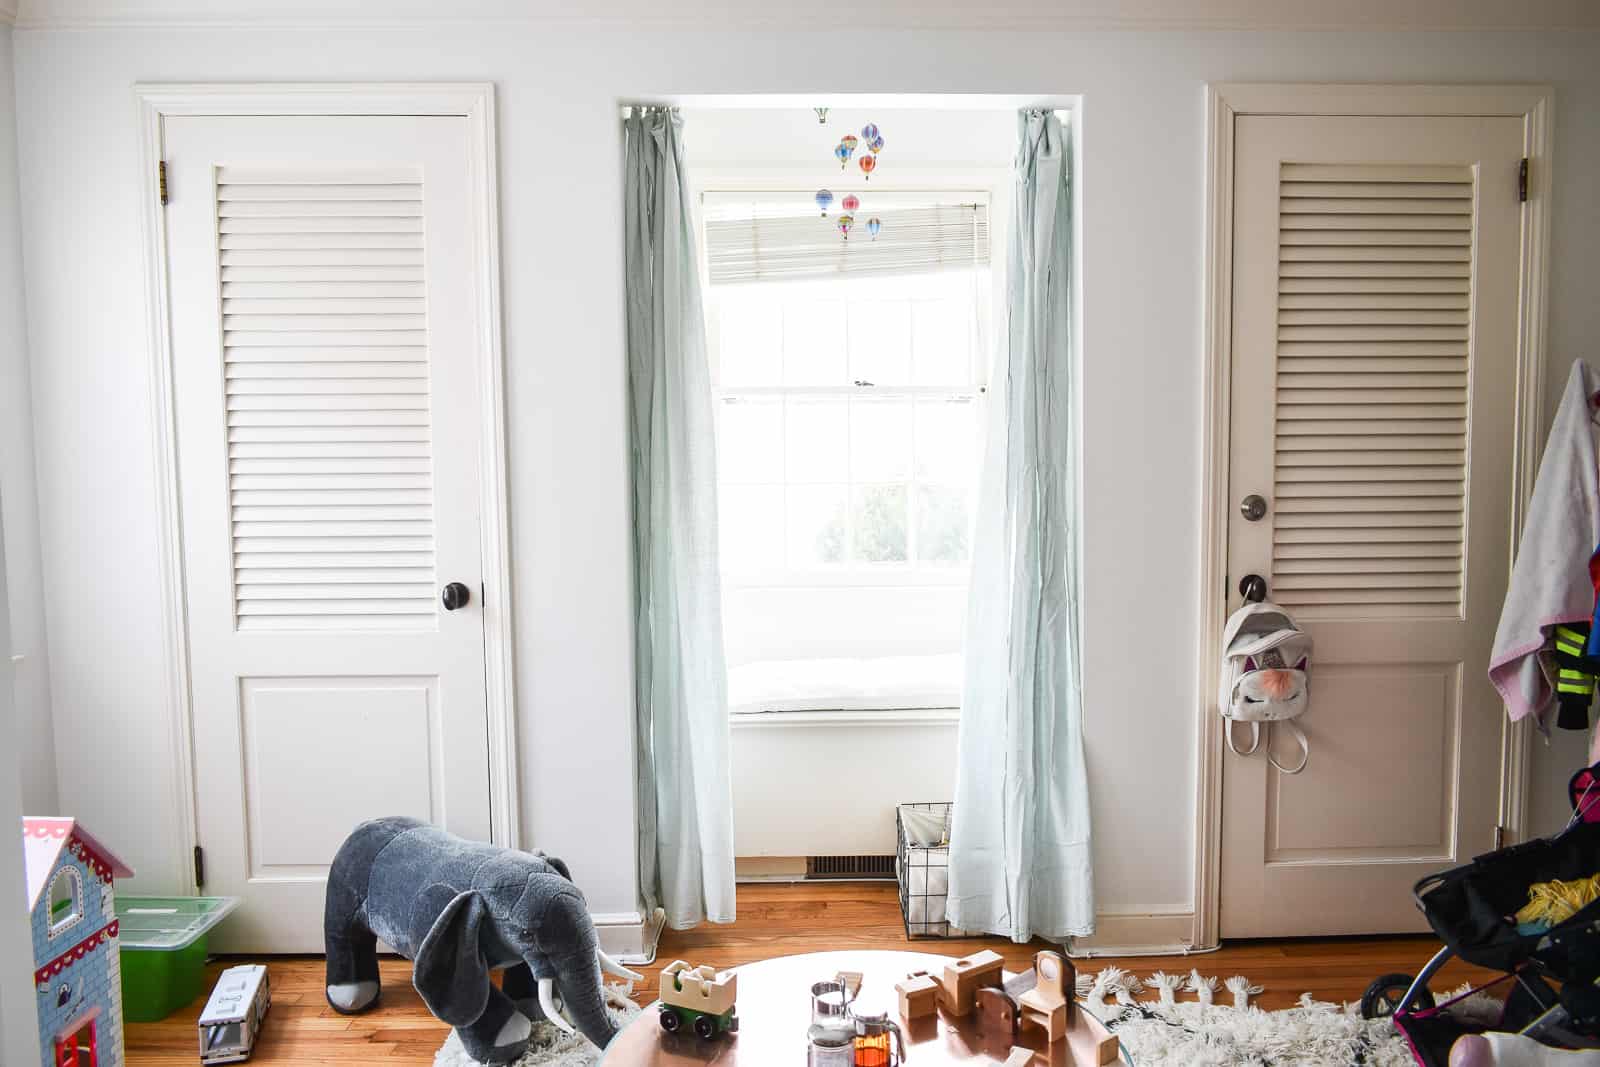
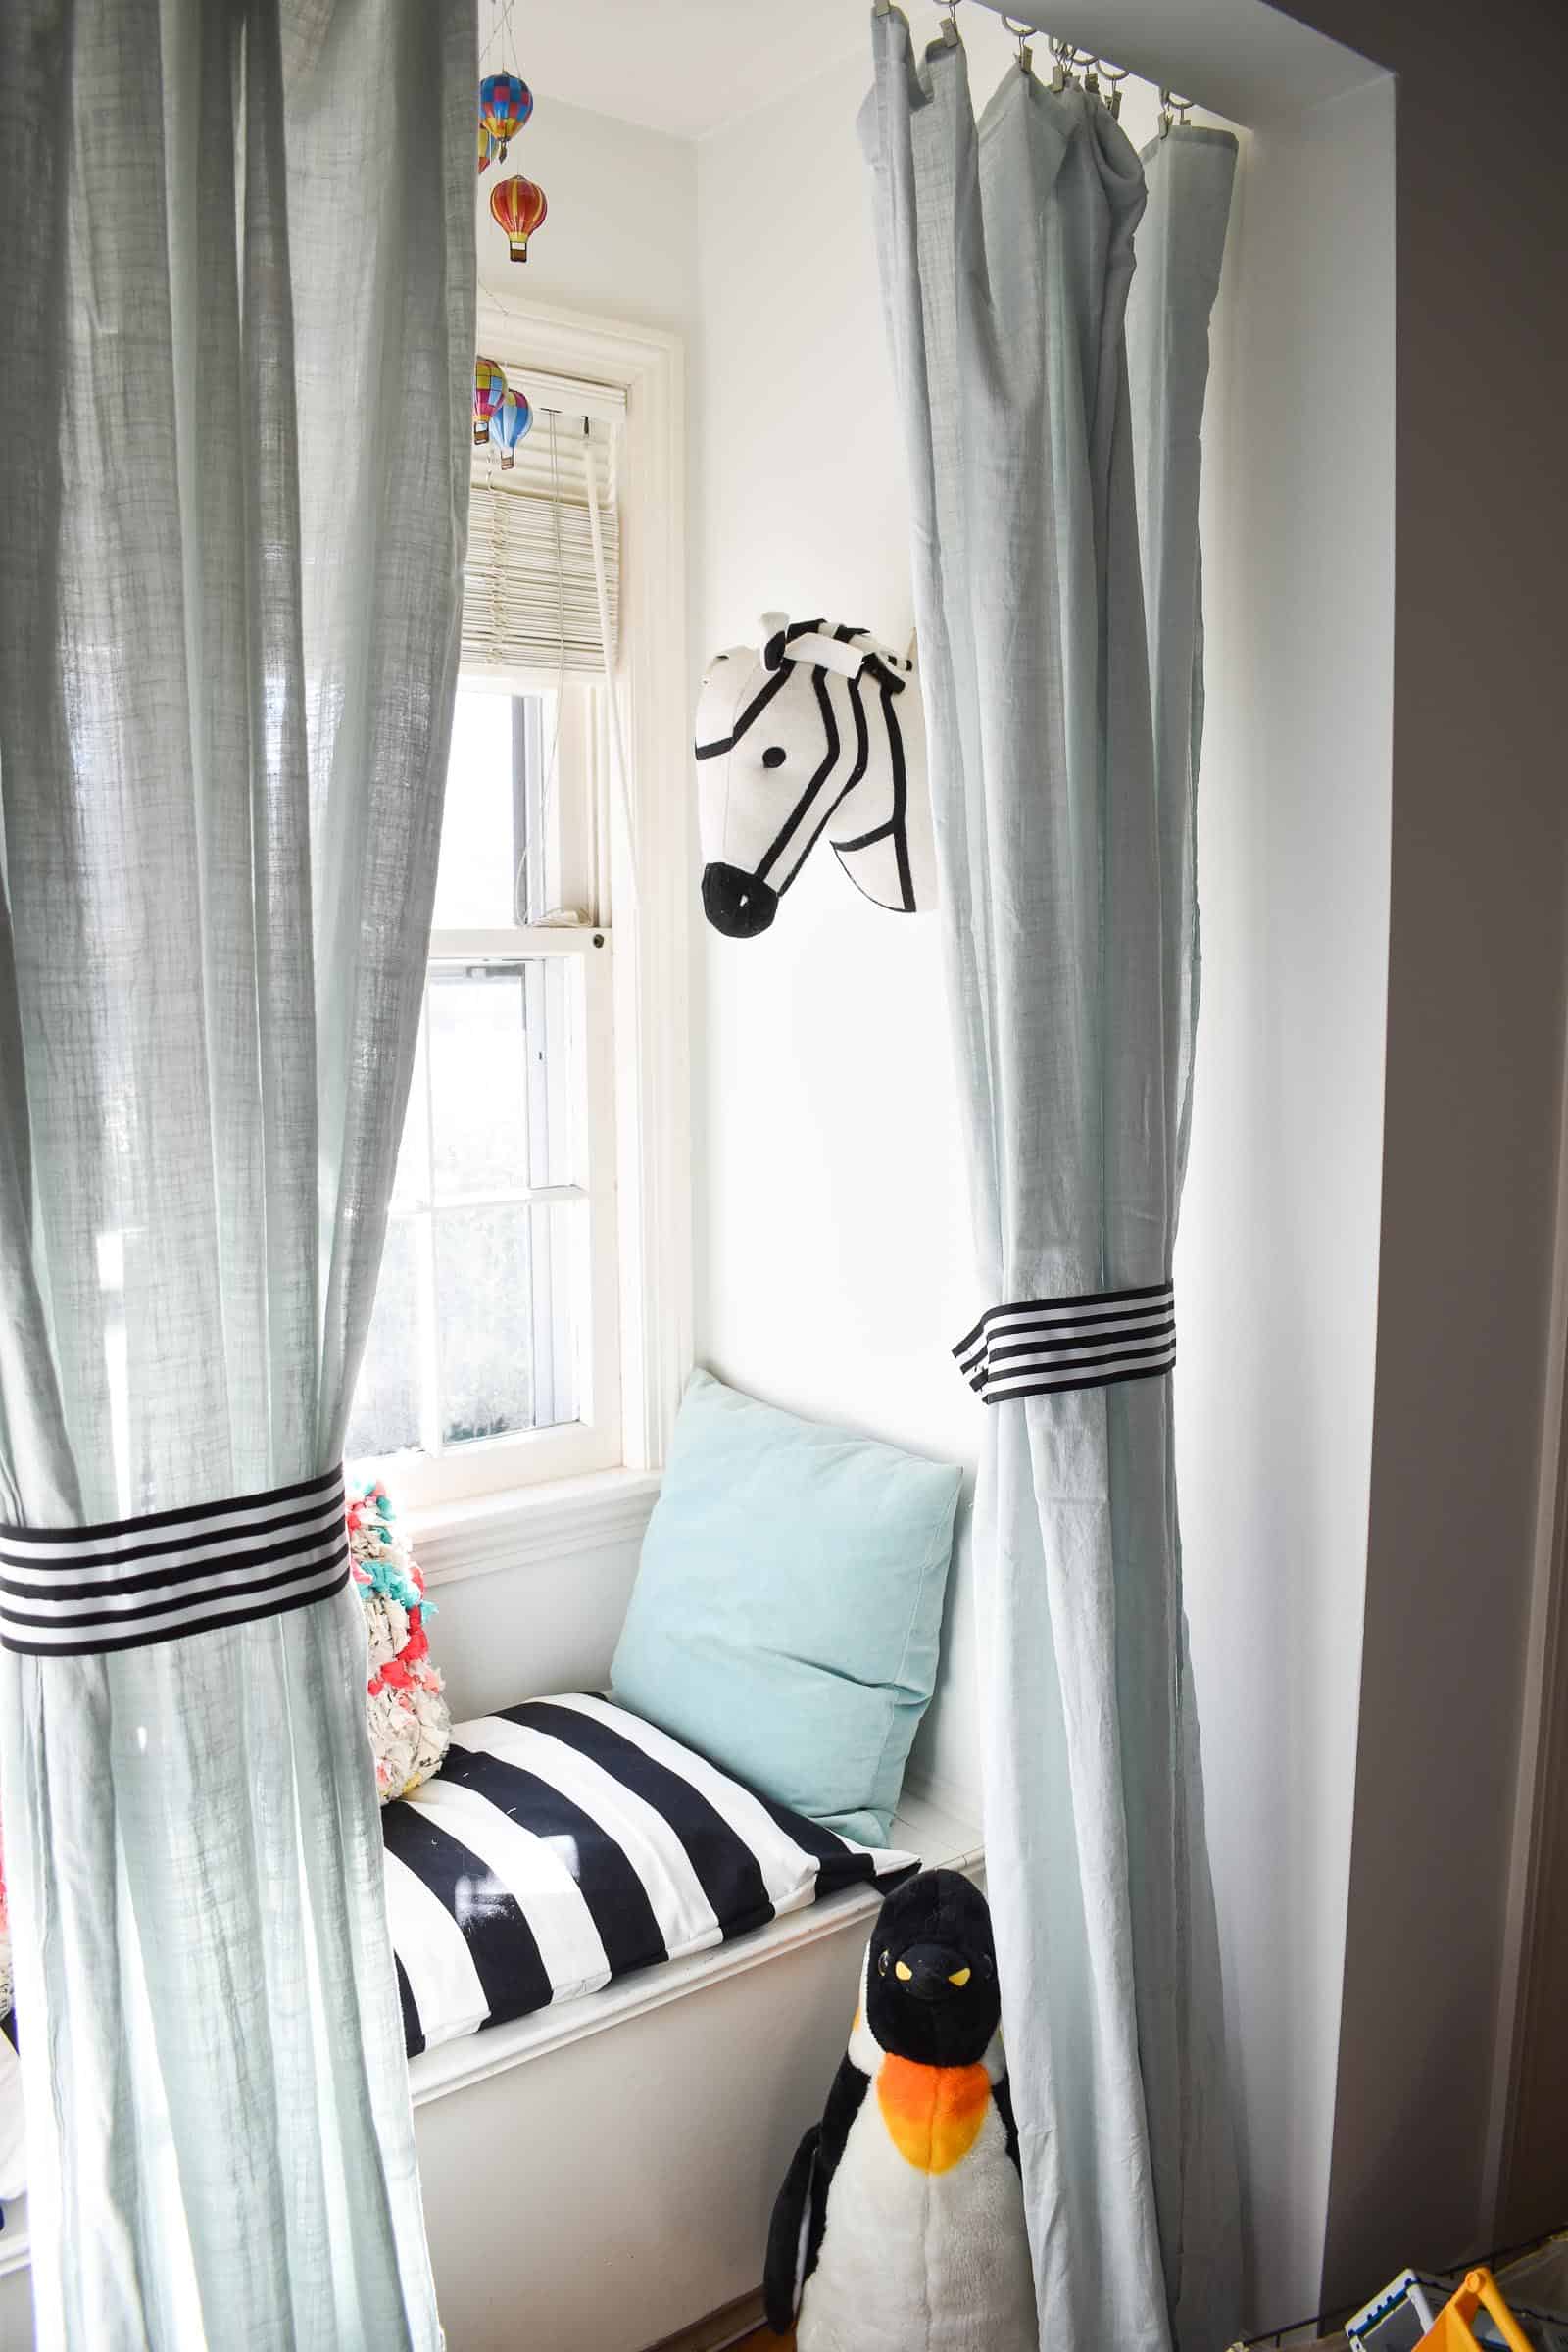
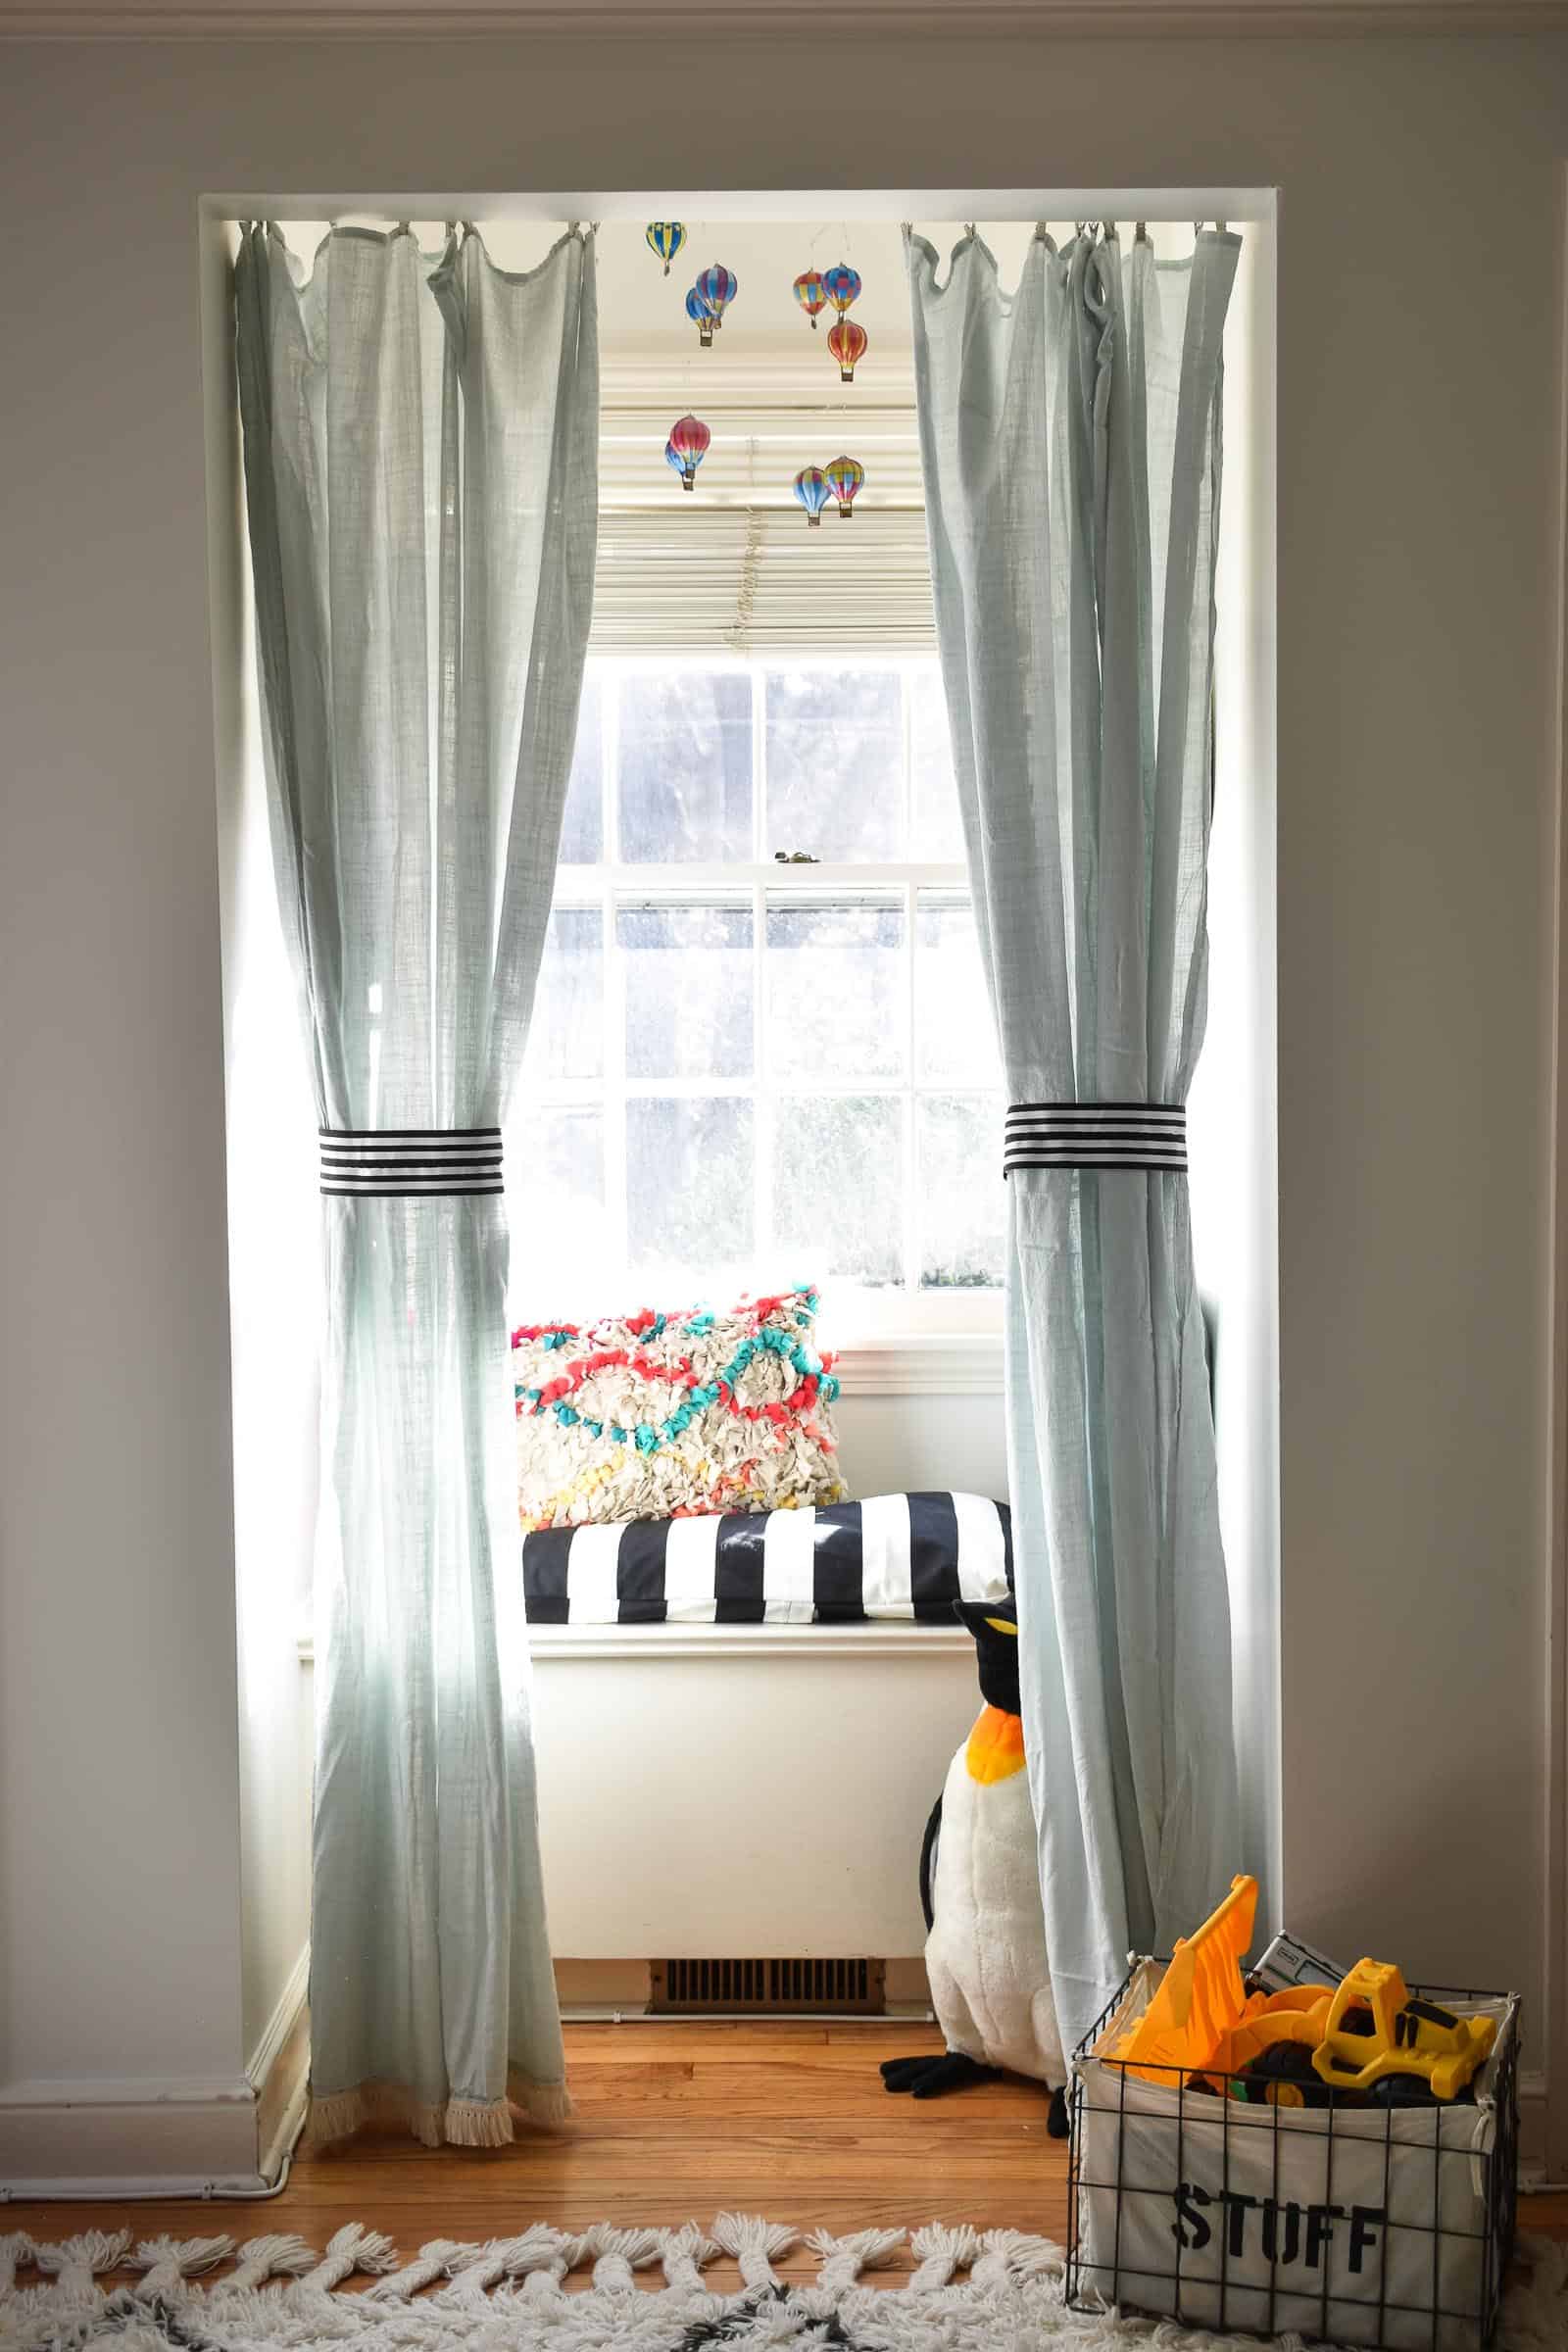
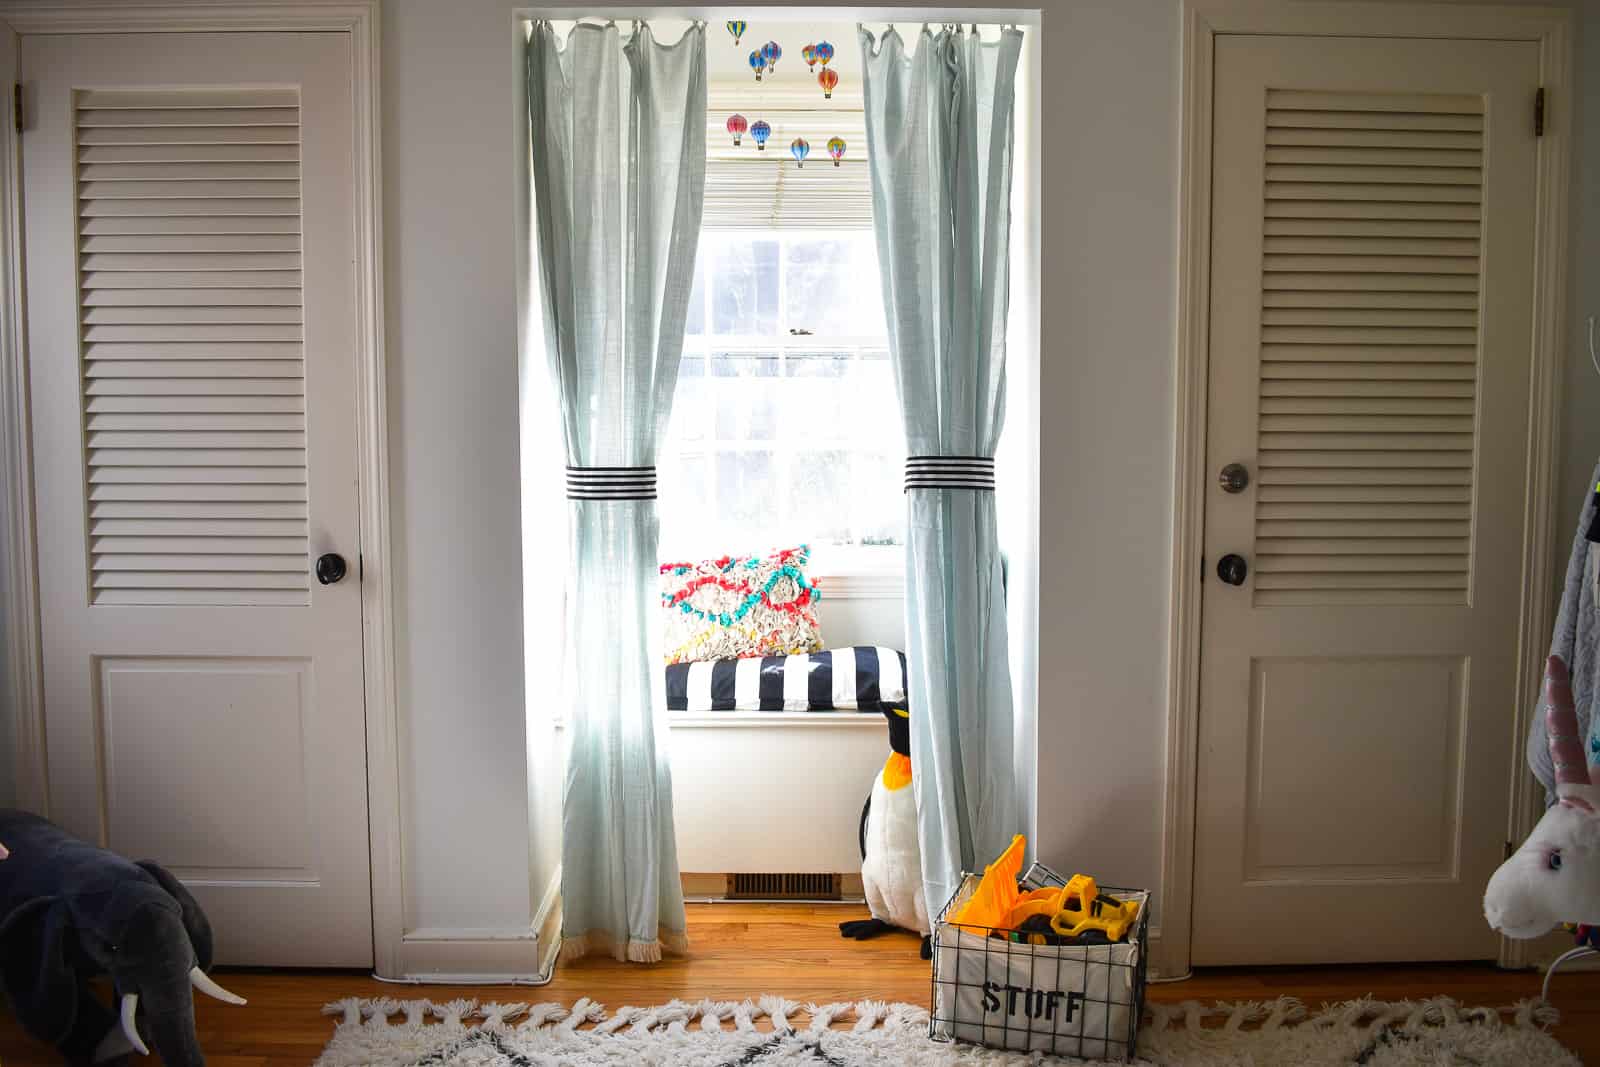
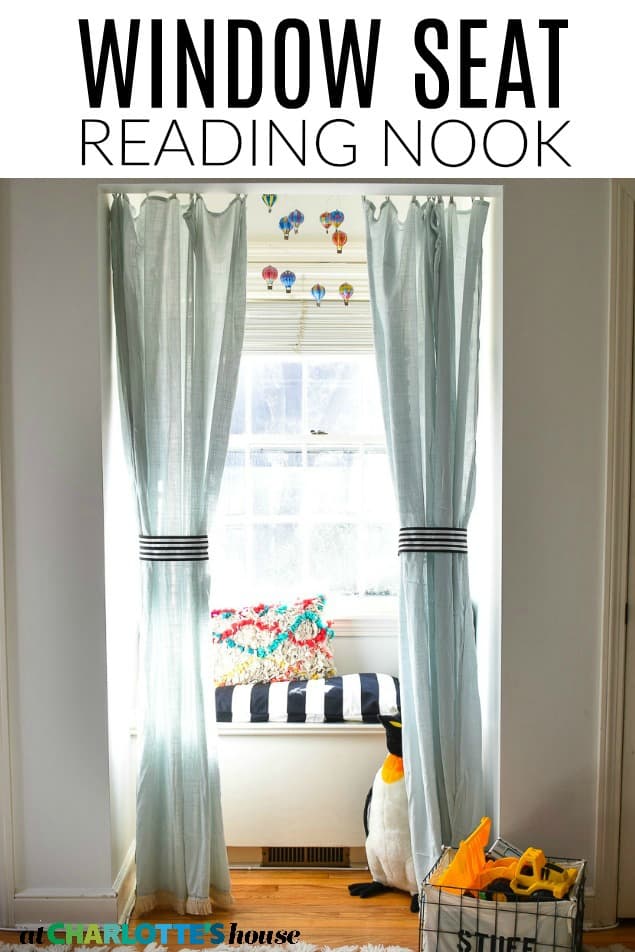
I mean, any nook needs a curtain, right? This nook happened to be perfect for a tension rod. For the curtains, I looked for something that might be cute but came up empty. So then I looked for sheets or duvets that might be cute. Nothing. Last stop was the table cloth section and… pay dirt. These sweet linen blue tablecloths happened to be the right length since our ceilings are low and at $12 a tablecloth, they were about the same prices as a pair of curtains.
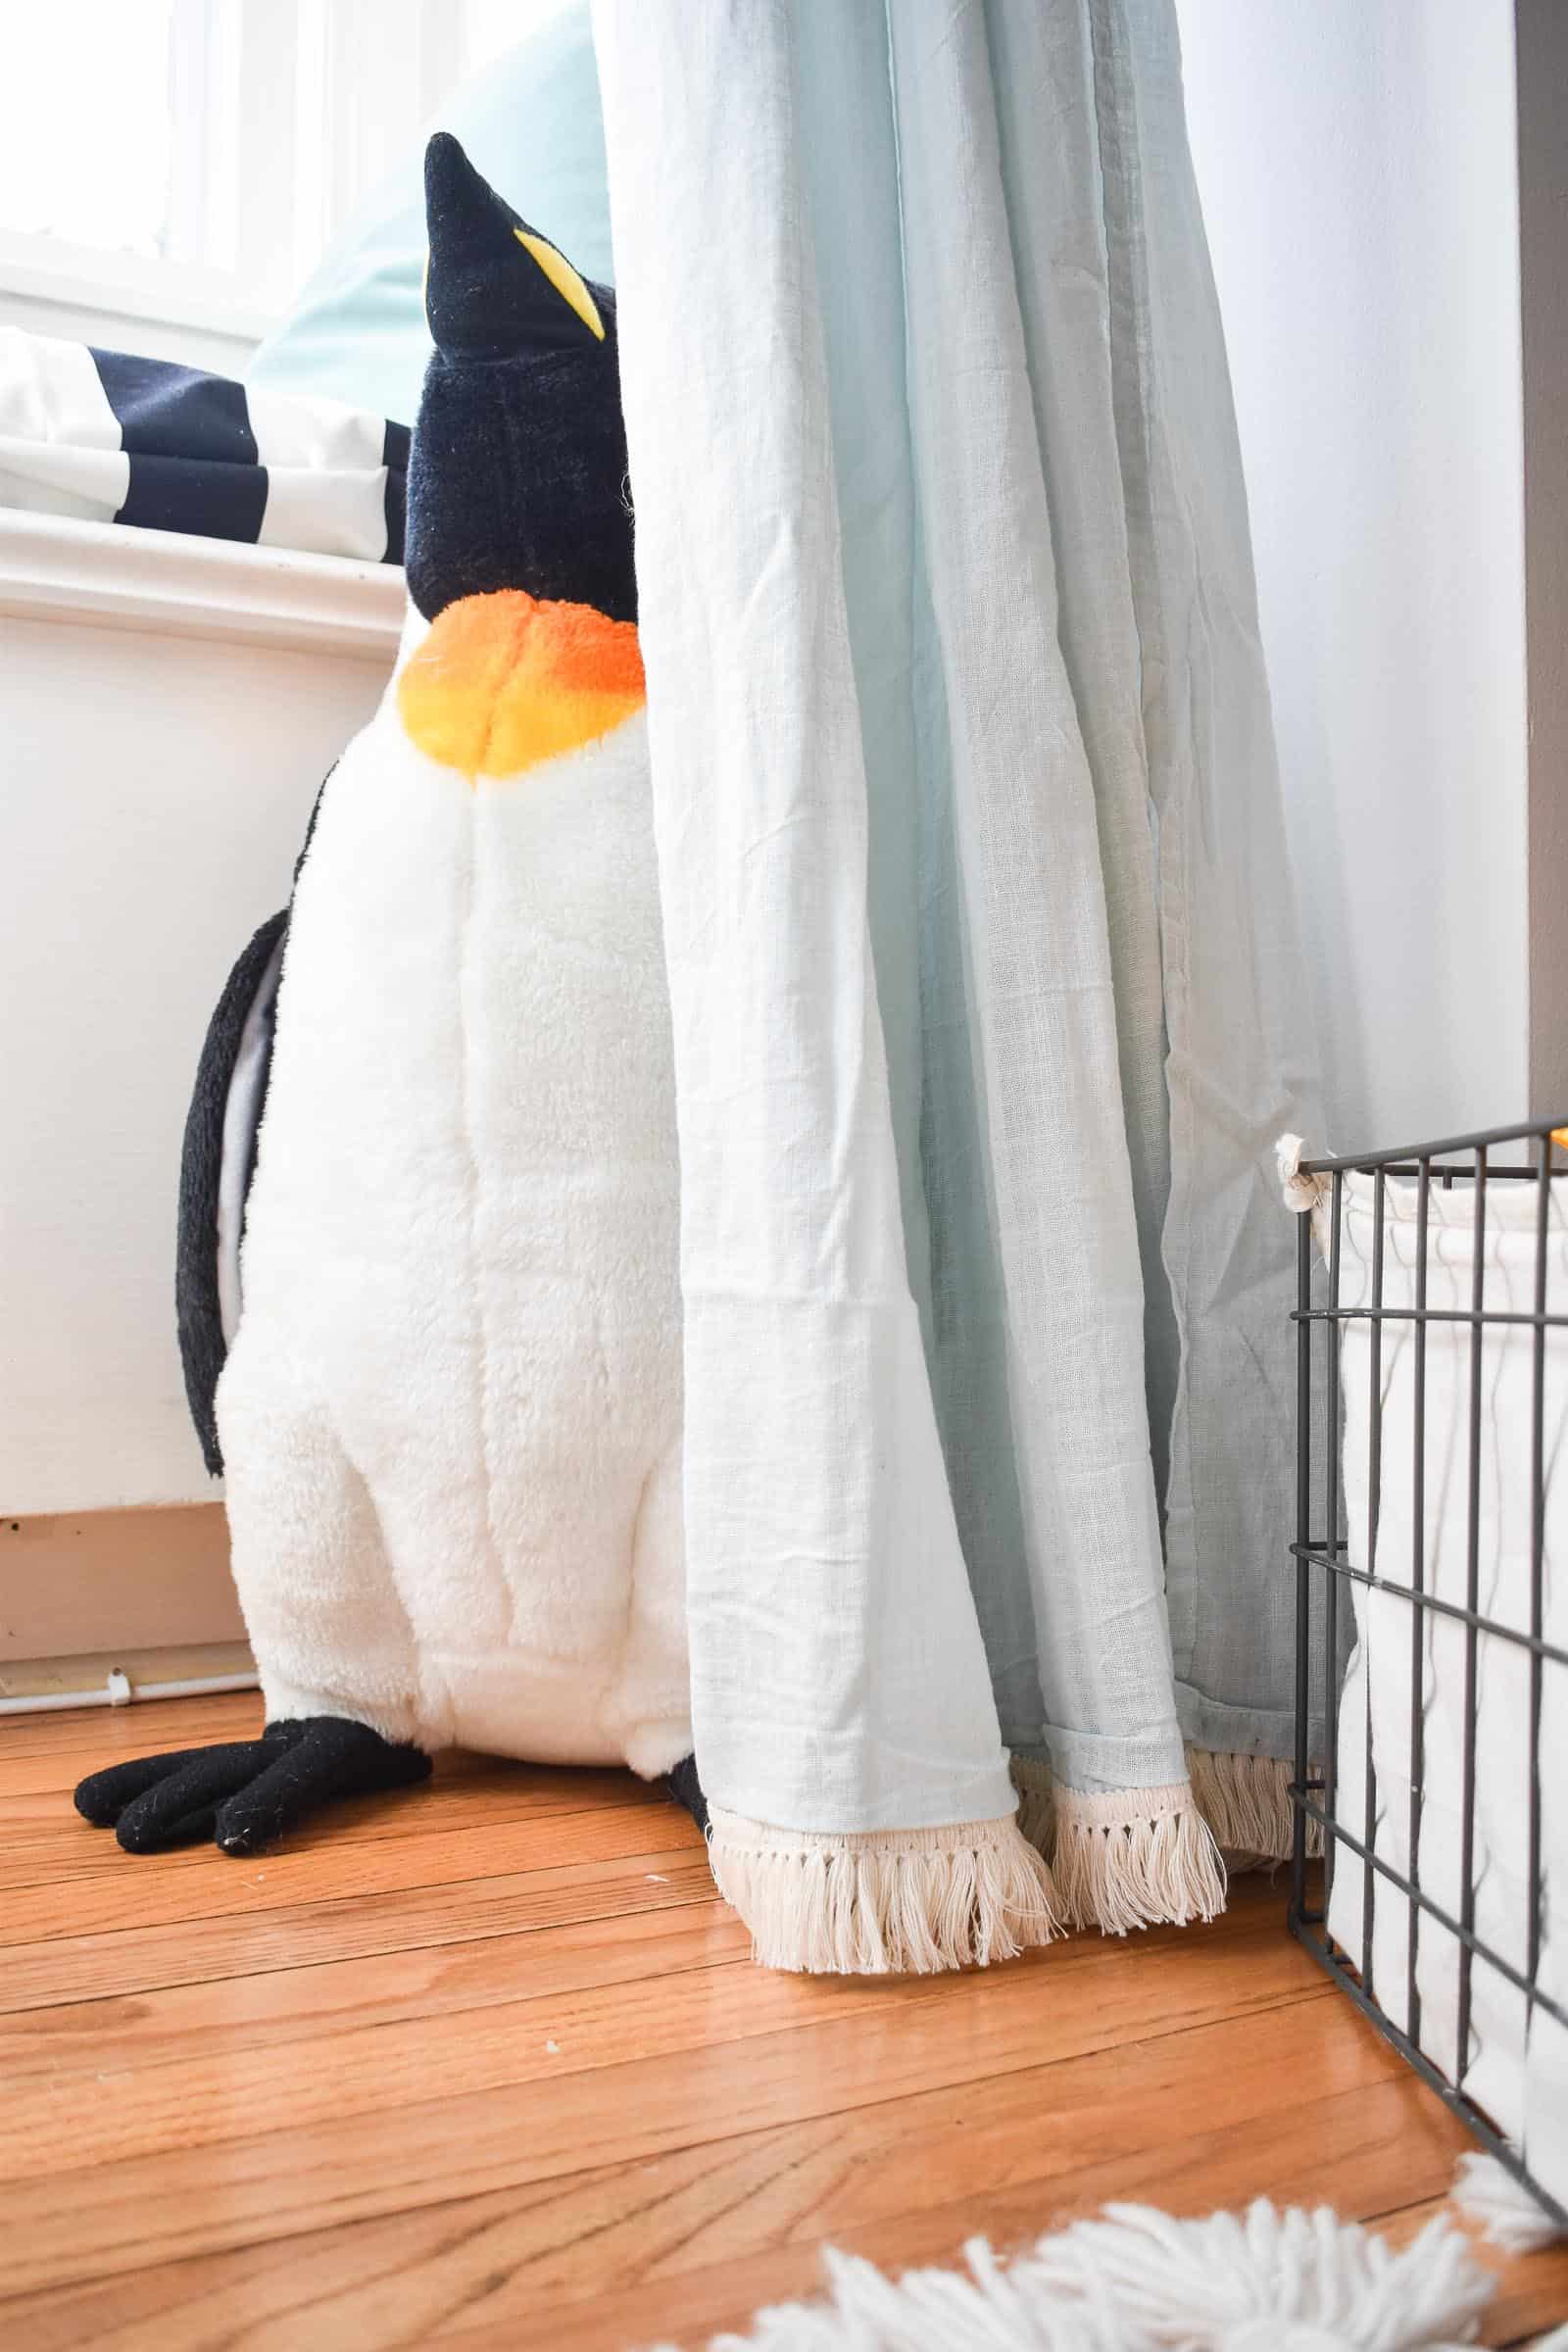
I wanted the curtain rings to be hidden behind the cased opening of the window so I ended up gluing this fringe onto the bottom of the curtain to add a tiny bit of length (and texture). I could have sewn the fringe, but I… didn’t.
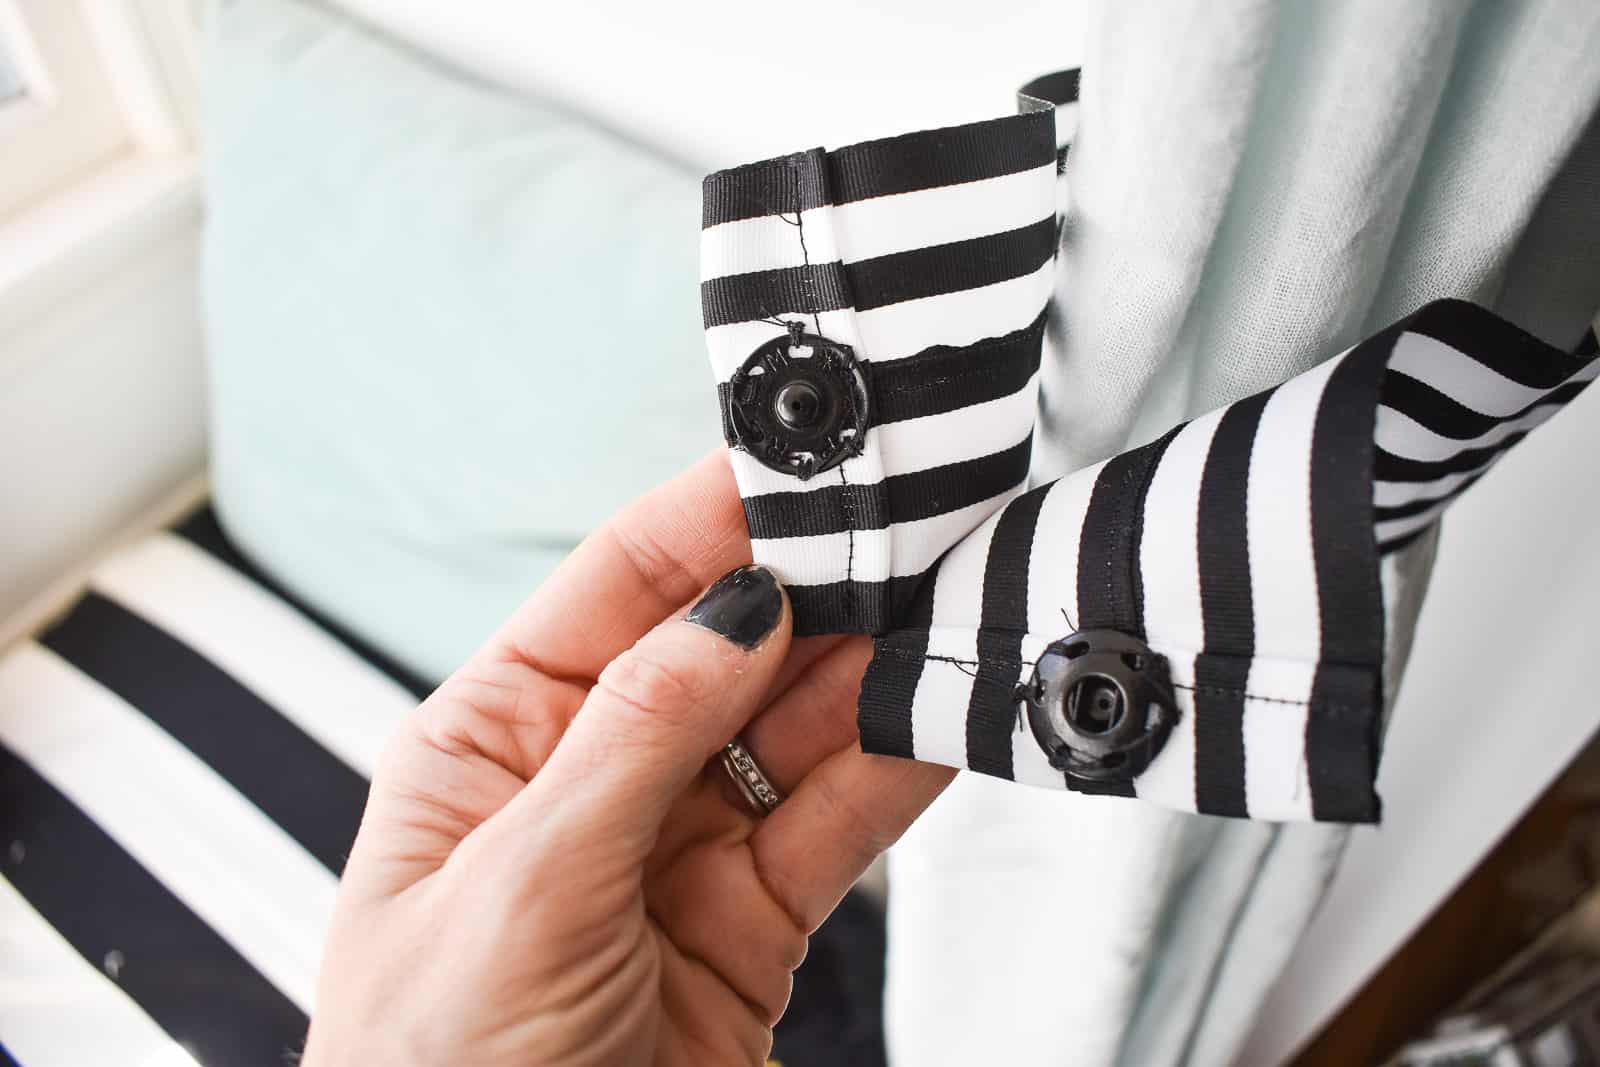
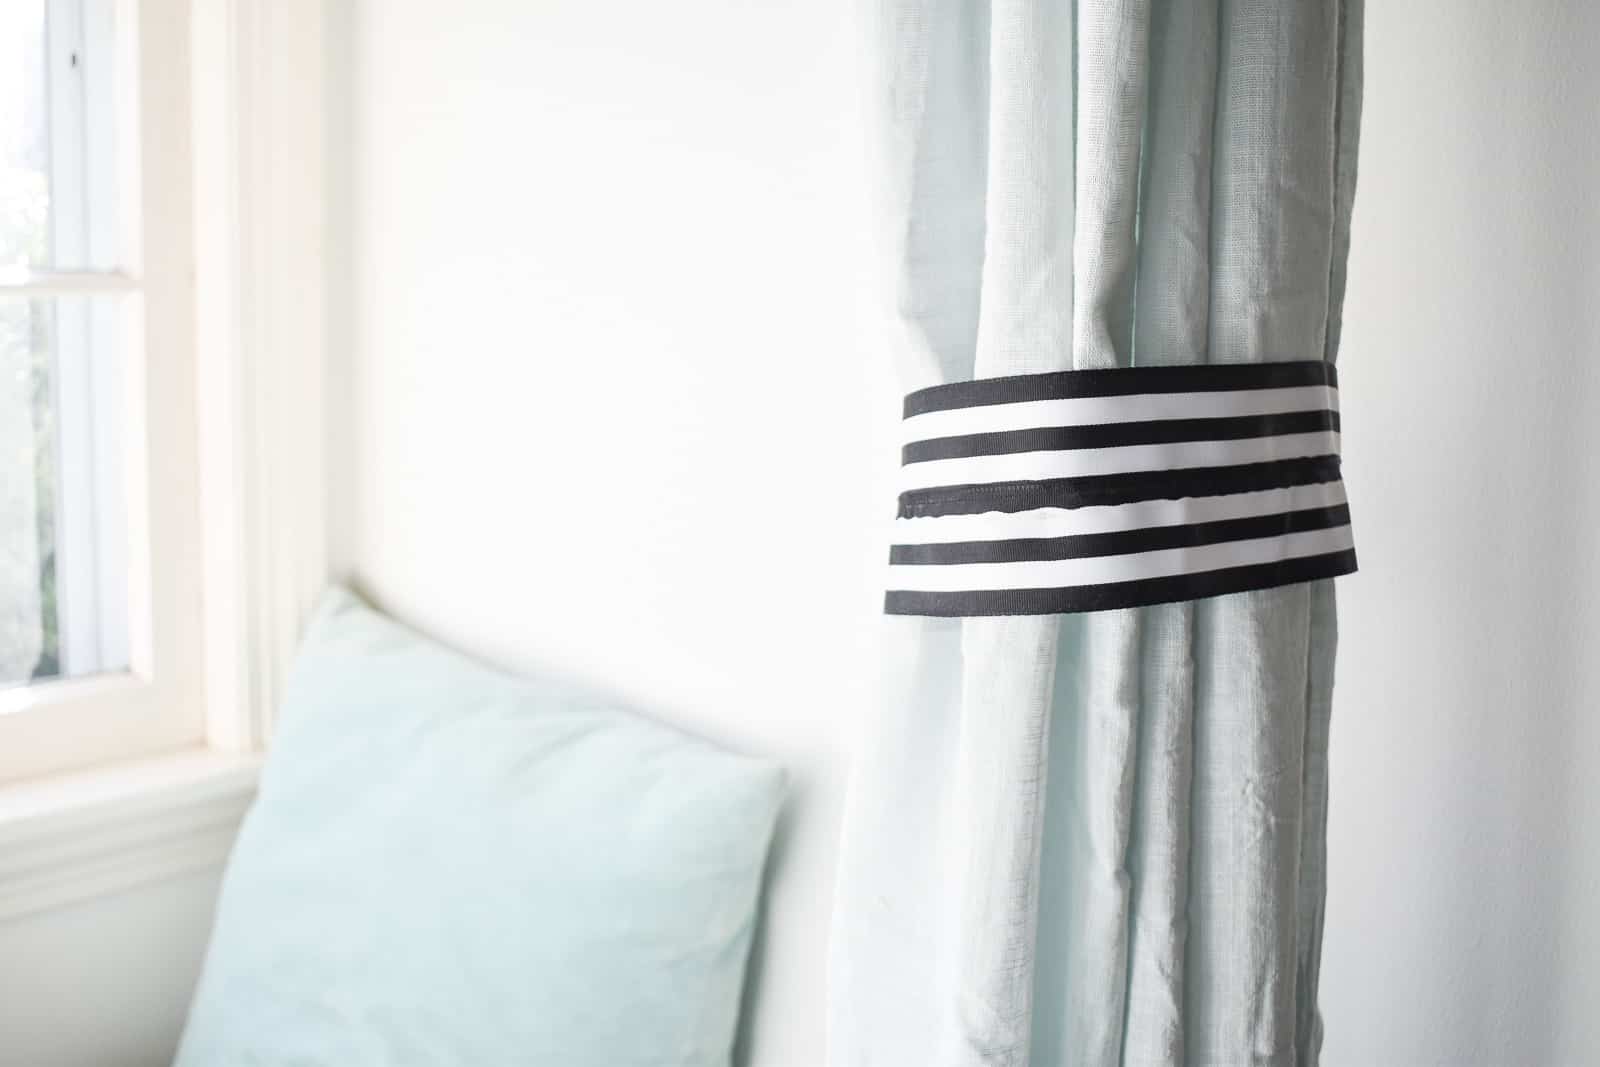
The tie backs are more for looks than anything, but I sewed two lengths of grosgrain ribbon together to make it wider and then sewed a large snap on either end. To keep it from falling down, I glued one end of the ribbon to the edge of the curtain.
Step 2. Window Seat Cushion
A custom seat cushion would look adorable. It’s also expensive and takes time. Neither of which were on my agenda. I picked up that black and white striped fabric at Ikea along with a king sized bed pillow and sewed a simple pillow cover. It’s a little smaller than the bench seat, but a throw pillow takes care of that.
Step 3. Reading Nook Decor
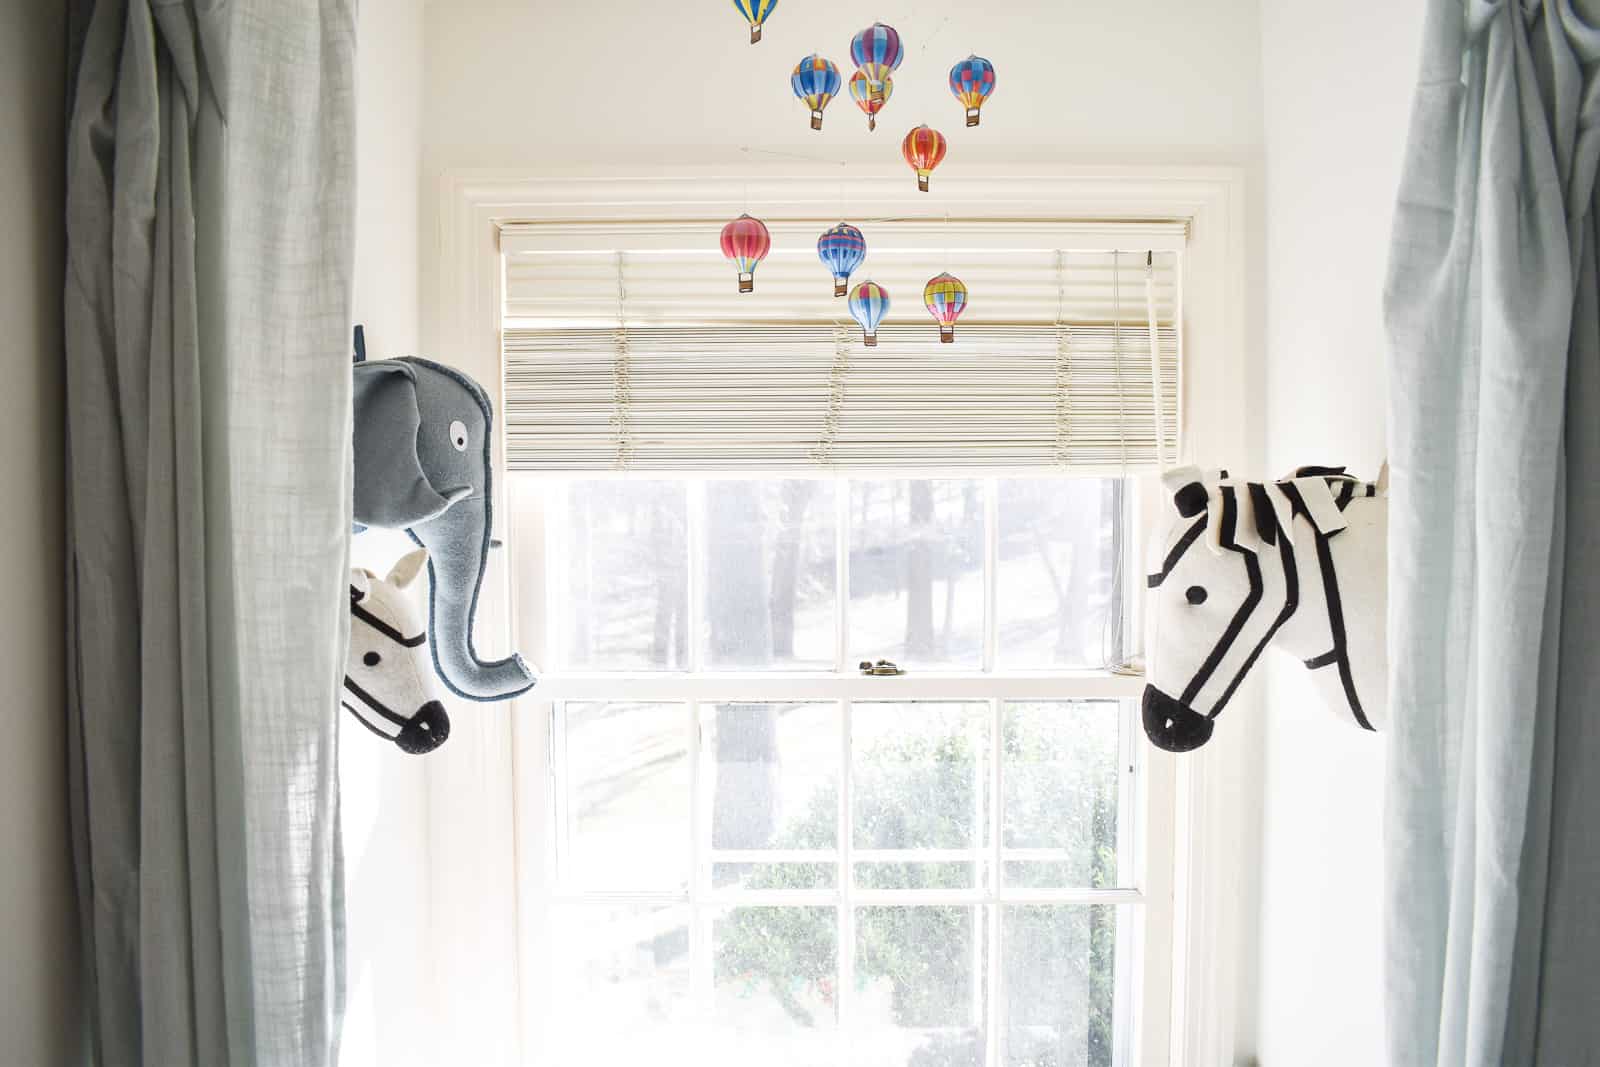
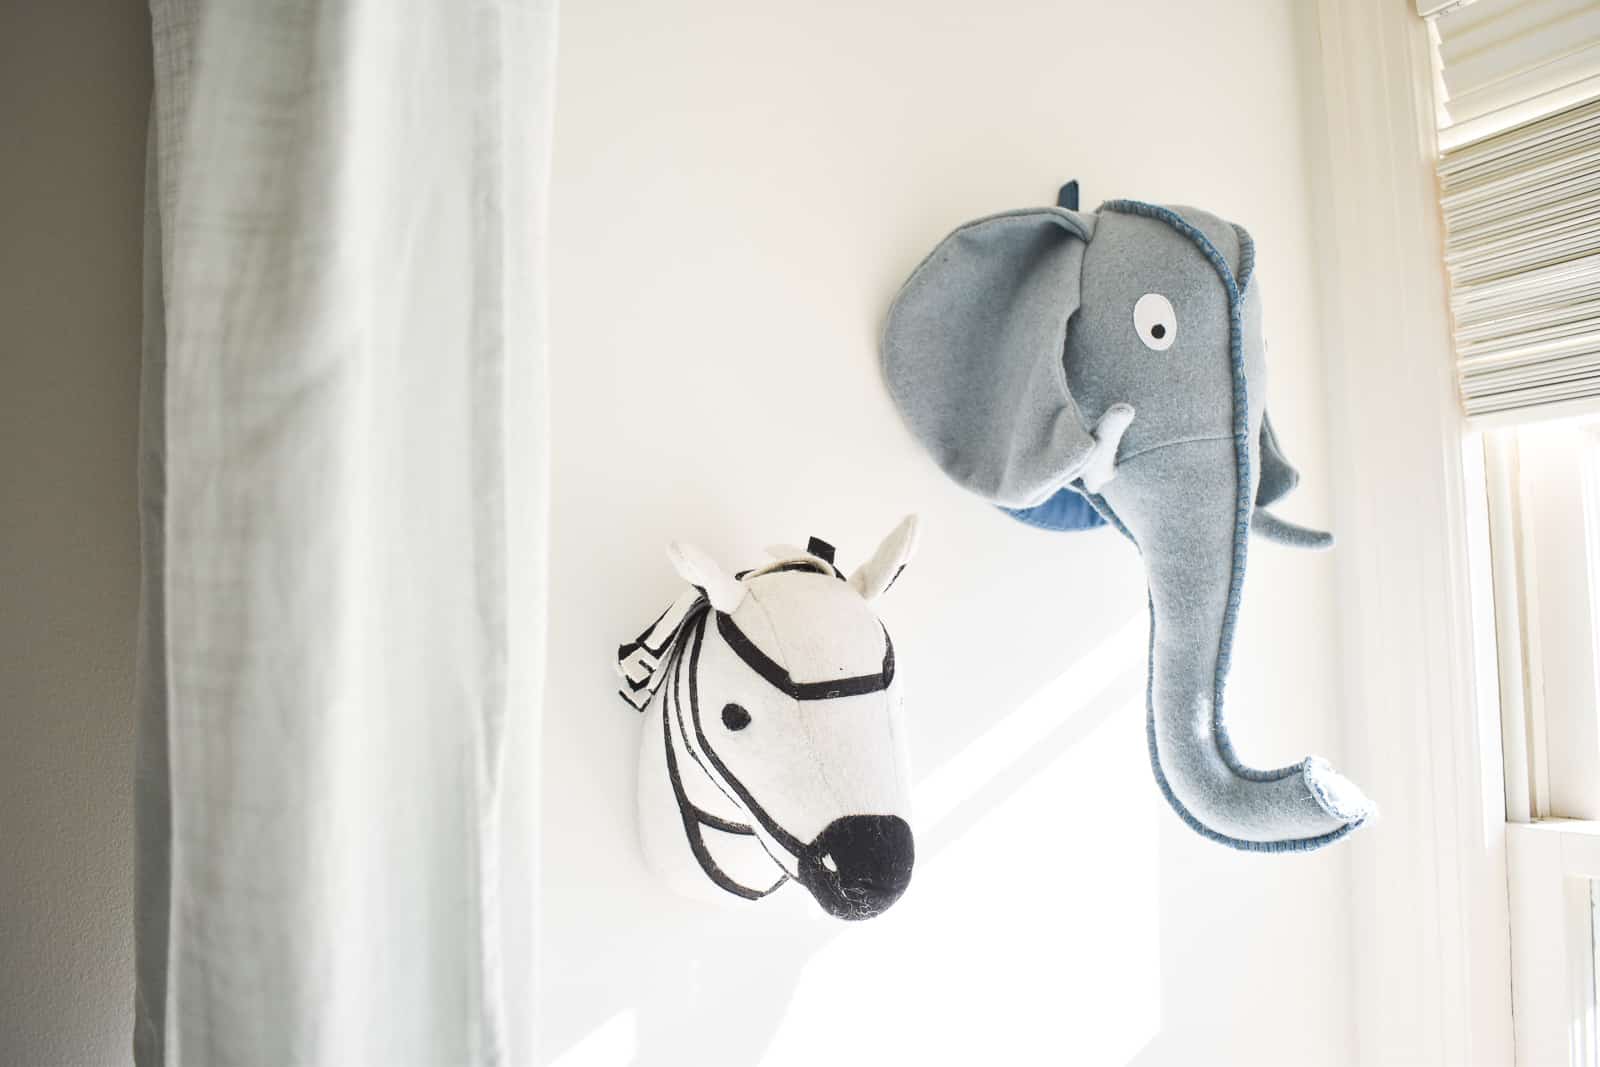
Those stuffed animal heads are these ones from Target (although I got mine at Goodwill) and then one from Homegoods. There isn’t much wall space in their room, so I was happy to have a couple of walls on which to hang some things! That mobile is this one and I brought it over from the old house.
All in, the cost of this little update was $42. $25 for the tablecloth curtains, $3 for the ribbon, $2 for the snaps and then $12 for the fringe, but I have lots of ribbon and fringe left for another project!
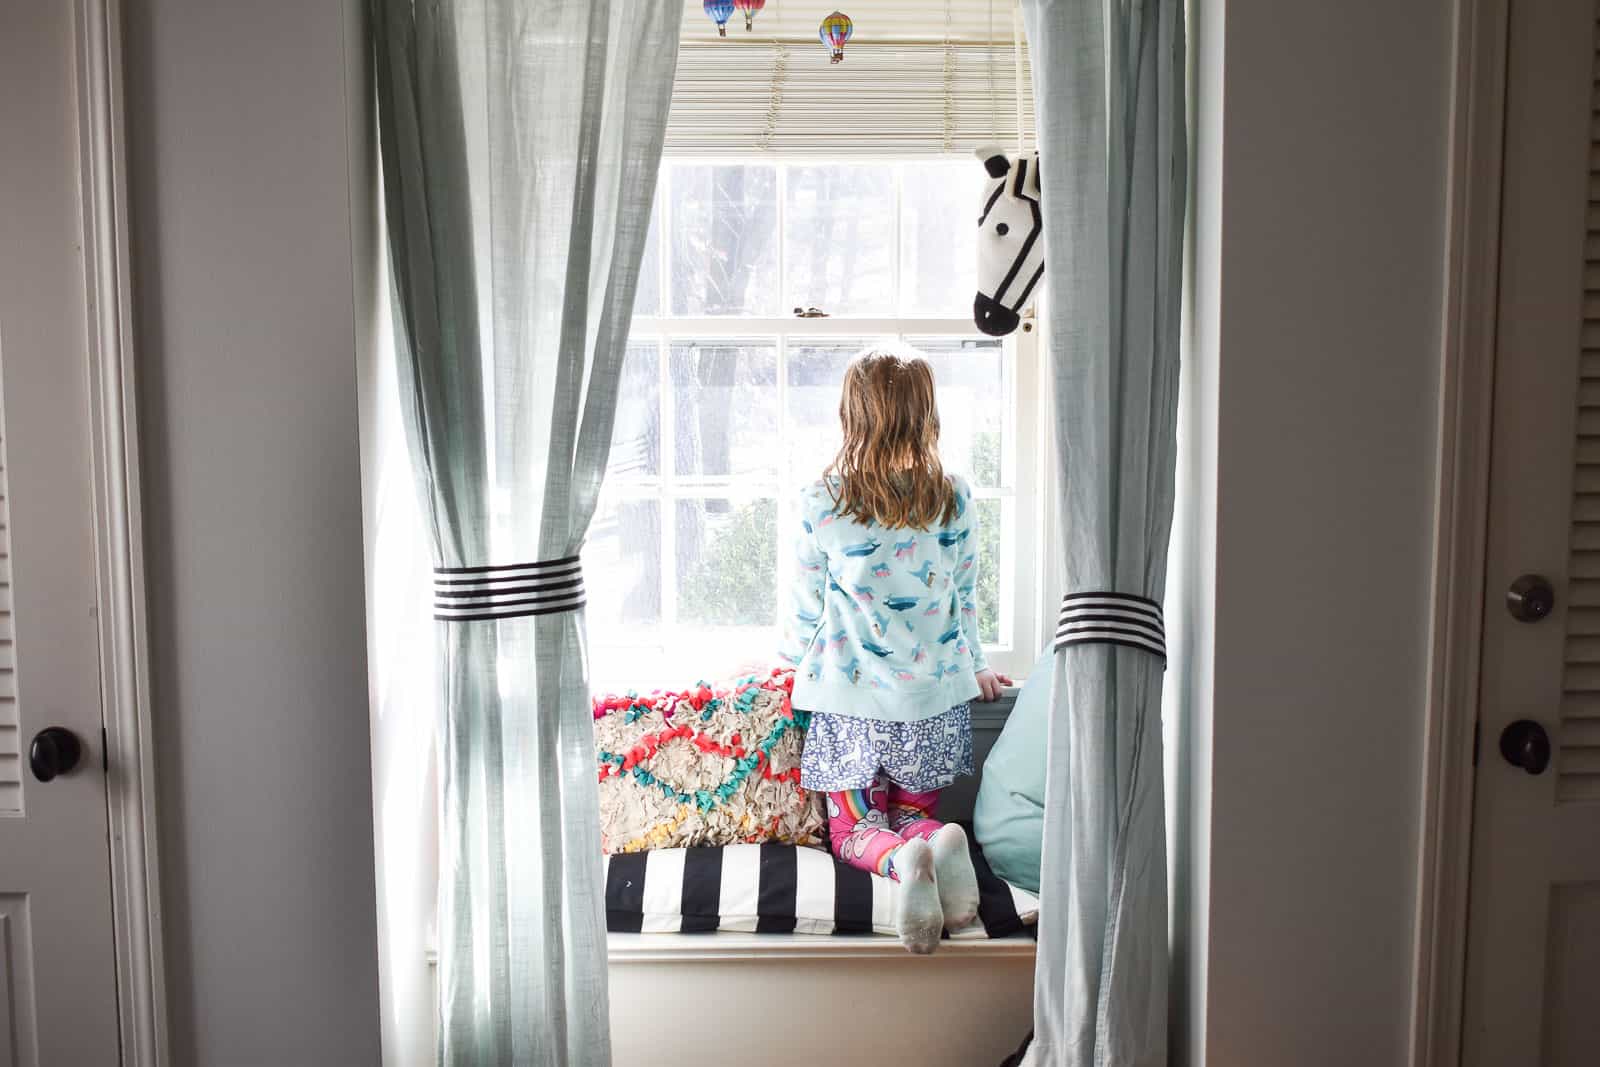
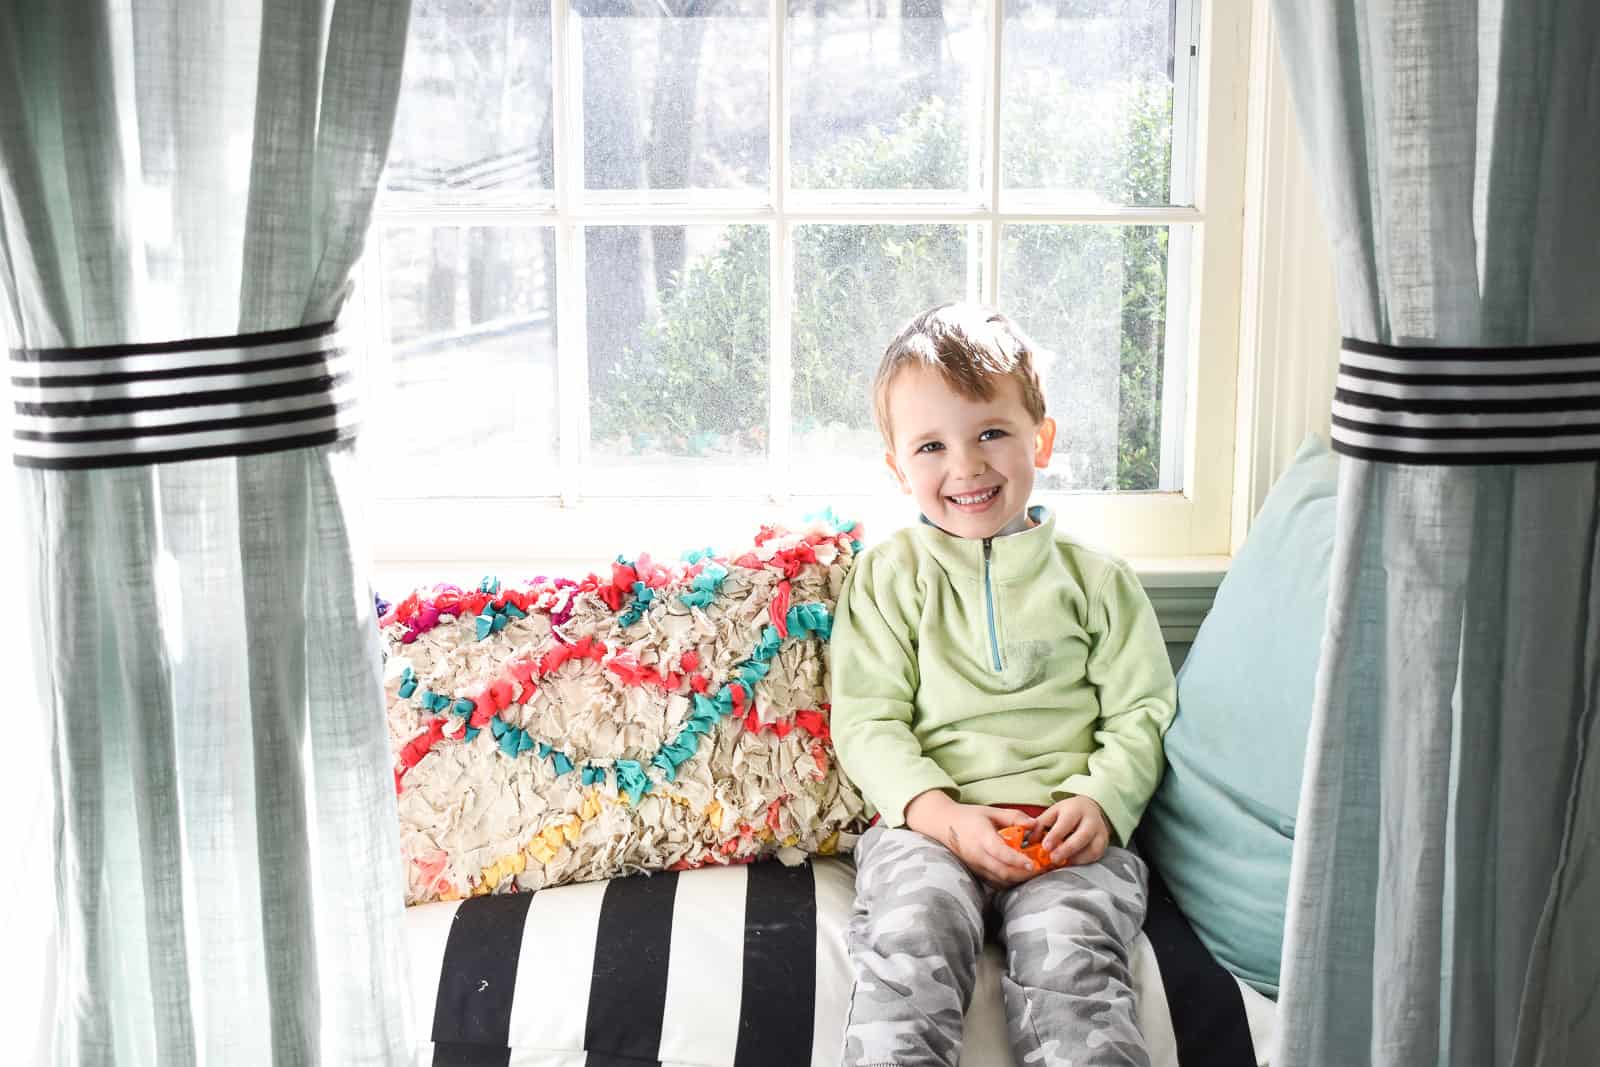
I love coming into their shared room and seeing a pile of stuffed animals behind the curtains or a parade of trucks or something… I know they’ve been in the little nook coming up with some game or make believe! I also love the way the black and white picks up their bedding on the bunk beds.
I mentioned on Instagram, but these comforters are from Beddy’s and… get this… it’s a complete fitted sheet, soft top sheet and comforter ALL IN ONE! It goes onto the mattress like a fitted sheet and then you can simple zip/ unzip the top sheet and comforter. Bottom line, making a bunk bed is now a legit piece of cake and the kids LOVE their cozy new bedding. Check them out HERE and add the code CHARLOTTE20 for 20% off your ENTIRE order! Run… do not walk.
And in case you forgot… here’s another look at the room before…and after!
Make sure you come back on Thursday so see my update on our homework station... I made lots of progress over the weekend!



A tension rod with a short curtain across the opening wOuld make a great
Phopet theatRe
Love it! Giving me inspiration for my daughter’s room. I also love that the room is so colourful but gender neutral.
Thanks, Jo! Yes! Always an added degree of difficulty but I love that part too!