
Wooden DIY Doll Clothes Storage
Psssst… this post *might* contain affiliate links: see my disclosure here.
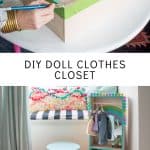
How to Make a Closet For Doll Clothes
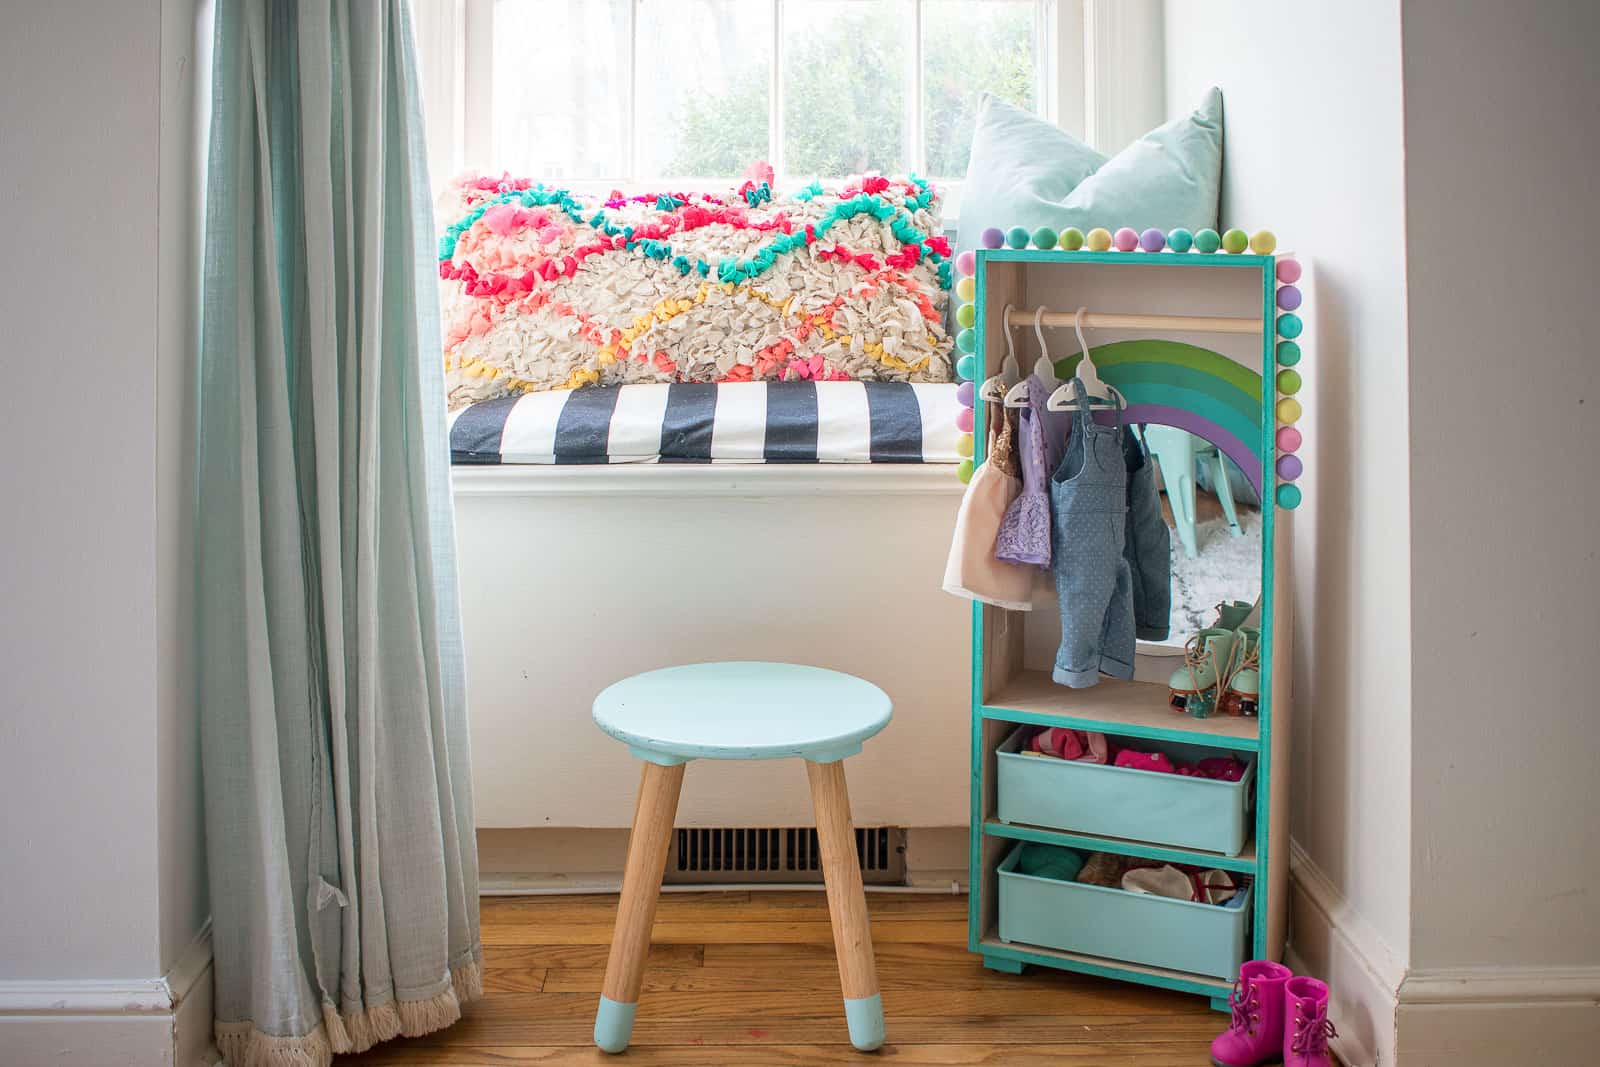
My daughter needed somewhere to put all her doll clothes and accessories so I made her a storage closet.
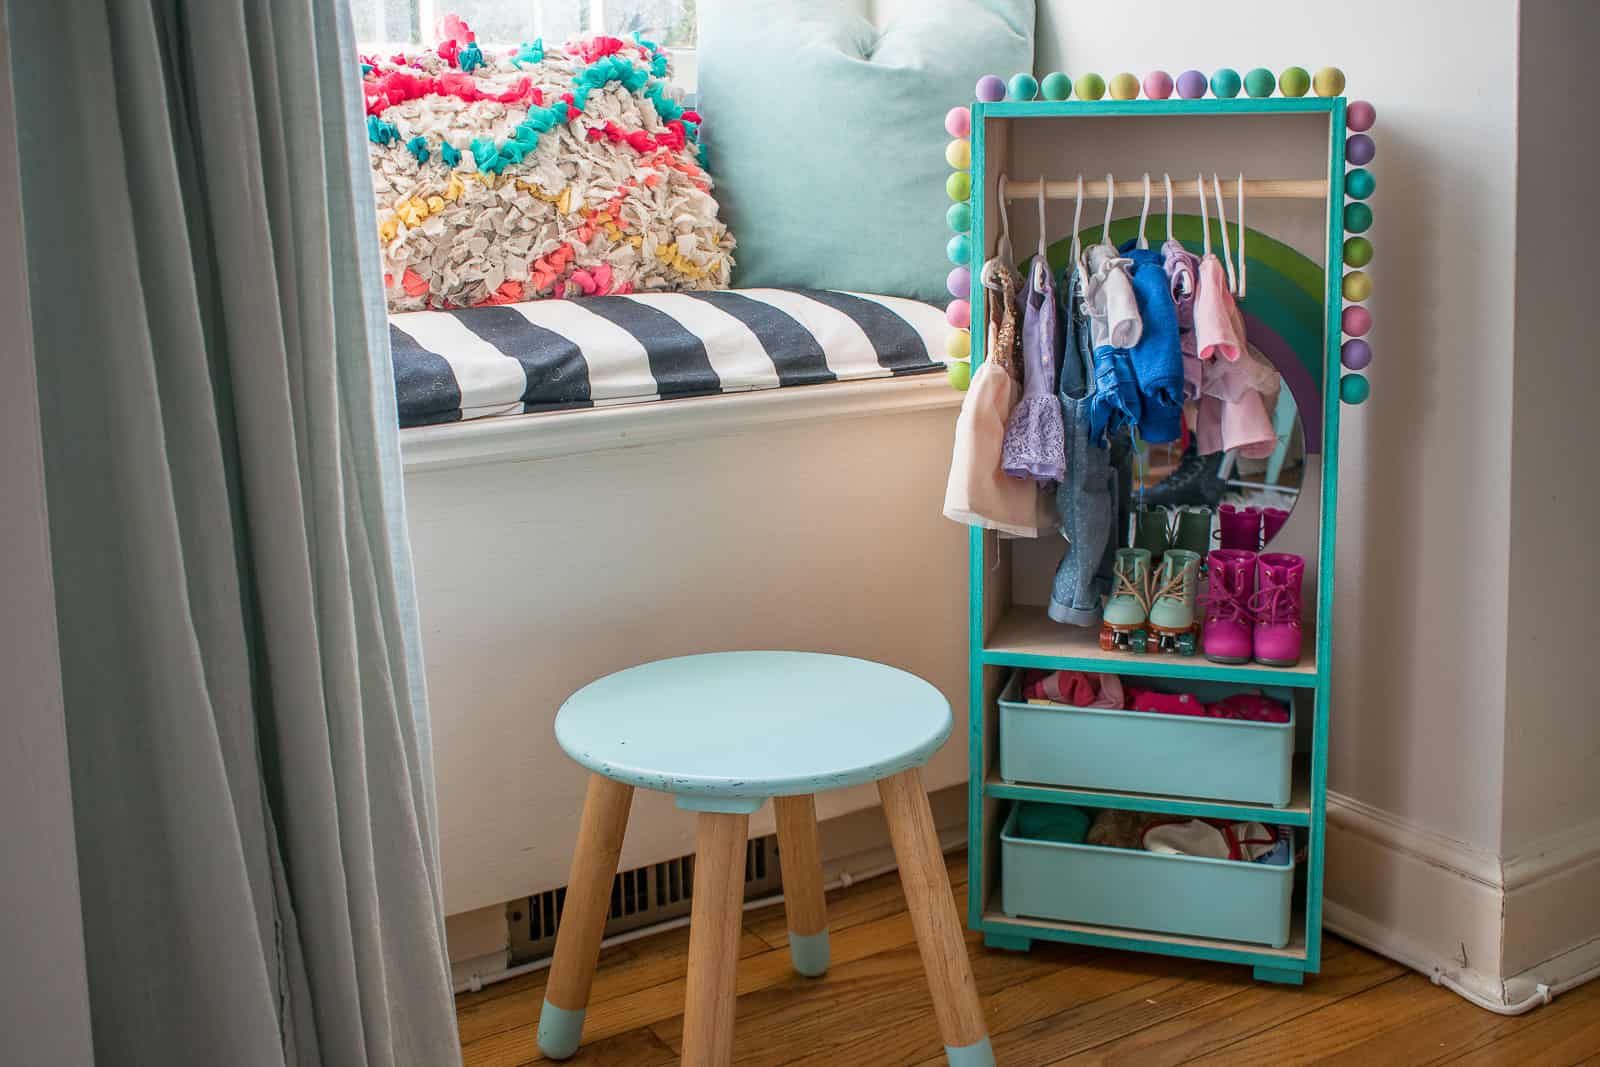
Louisa received two dolls for Christmas and both came with maaaaaany outfits and accessories. She had some in a bag and some in a bin and some on the floor and it just wasn’t working. For anyone. I was able to use scrap lumber to make this cute little doll clothes closet and she is THRILLED! I am thrilled to be sharing this as part of the 2020 DIY Challenge line up. Be sure to check out the other organization ideas my friends are sharing by clicking their links at the end of this post.
Shop my favorites!
Step 1. Find your bins
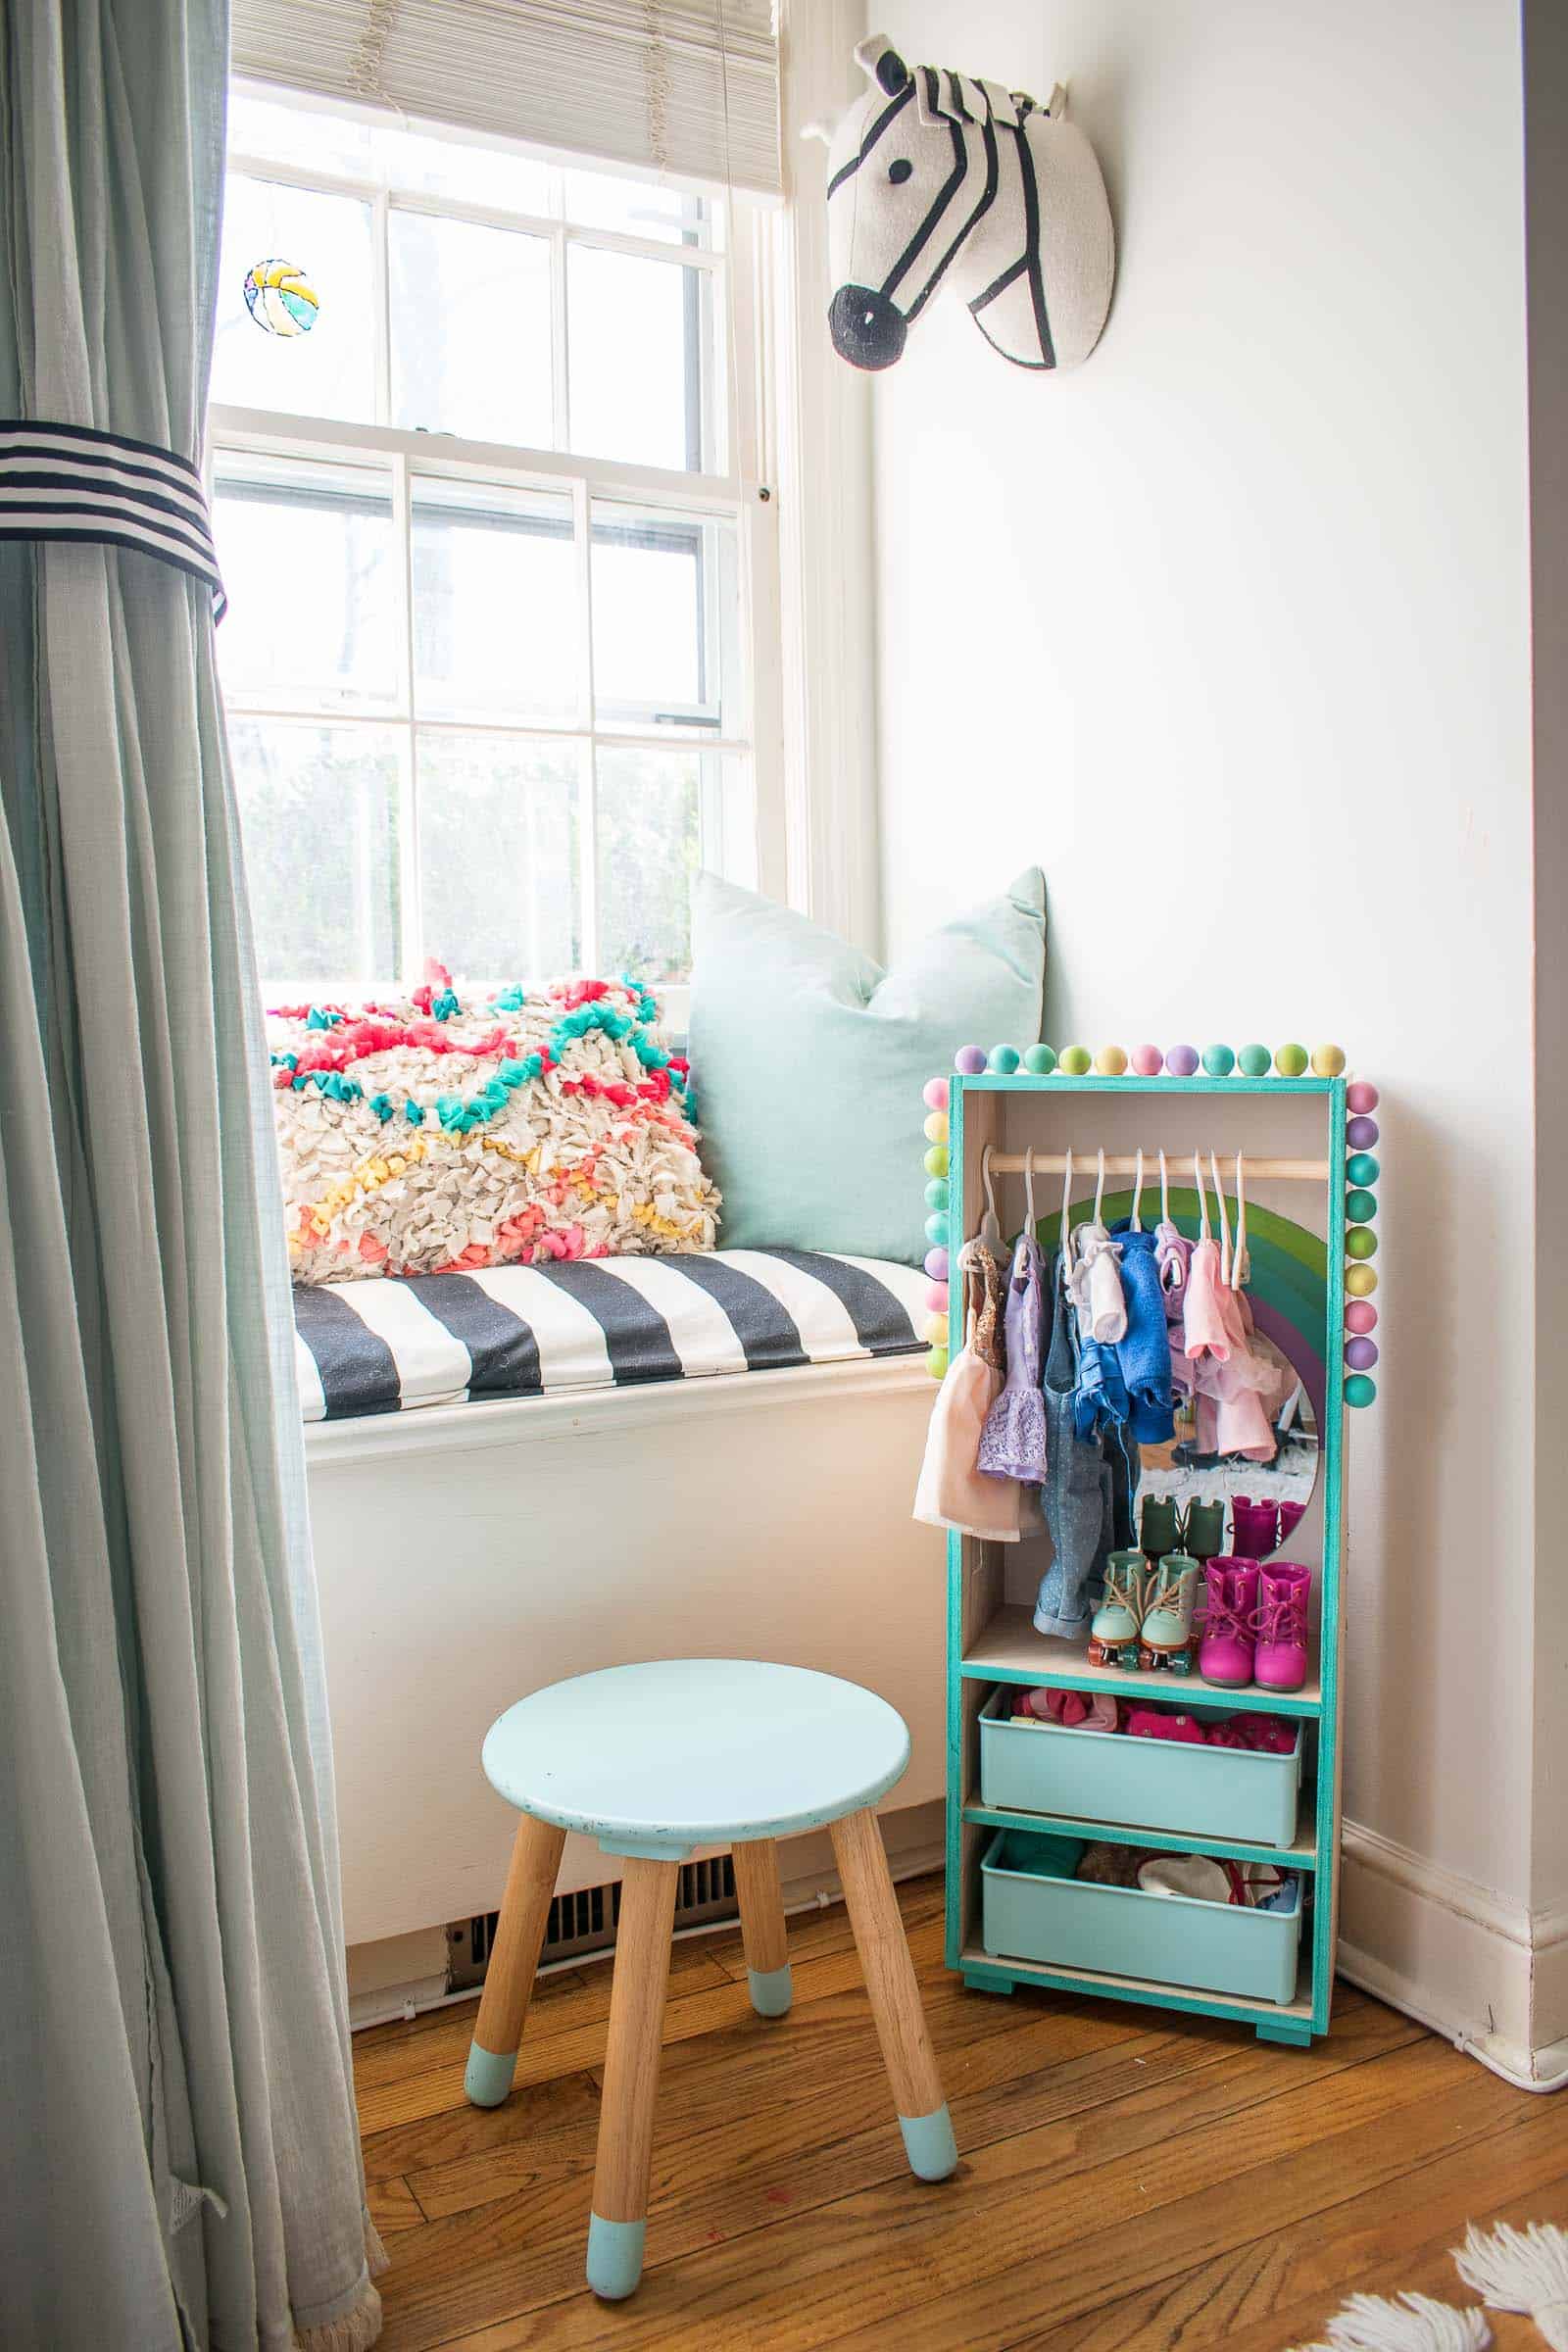
I started by heading to Homegoods to find appropriate bins. In my experience, bins are the easiest way for kids to keep their things organized (vs. hooks or shelves), so I kept the design of this simple! I found a pair of aqua blue ones that weren’t too deep, weren’t too wide. The bins are mostly for loose accessories like socks and hair bows and underwear. Yeah… the dolls have underwear.
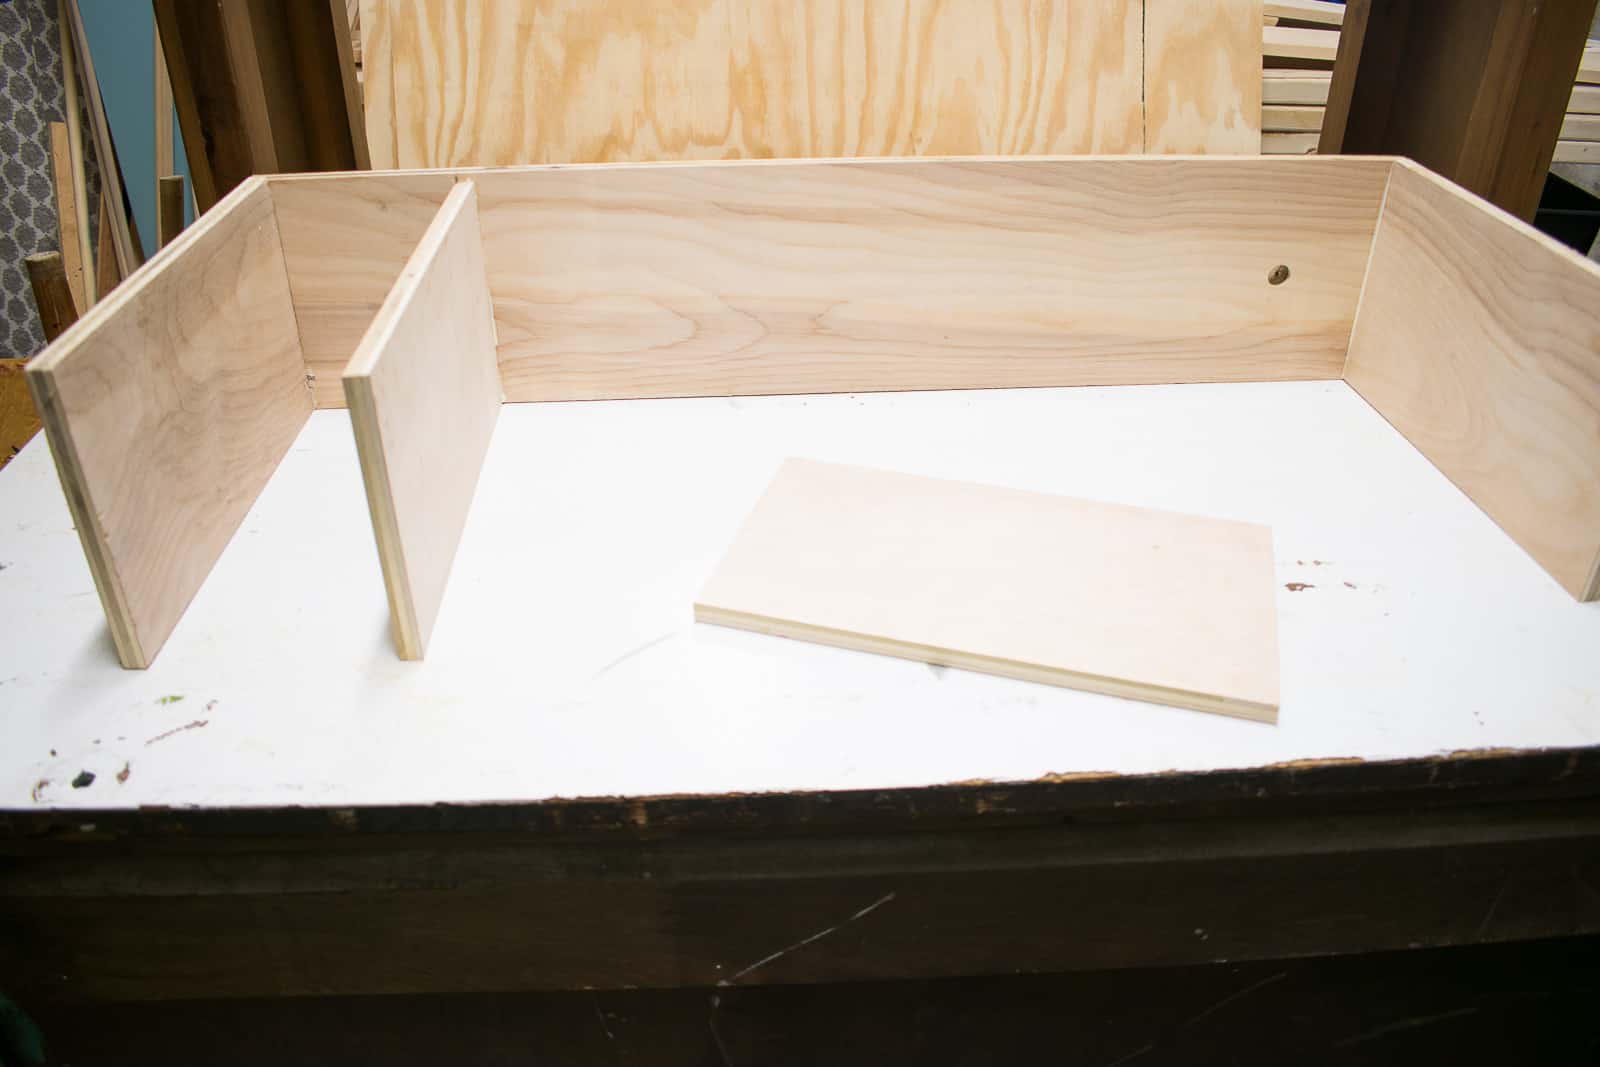
Step 2. Layout your closet
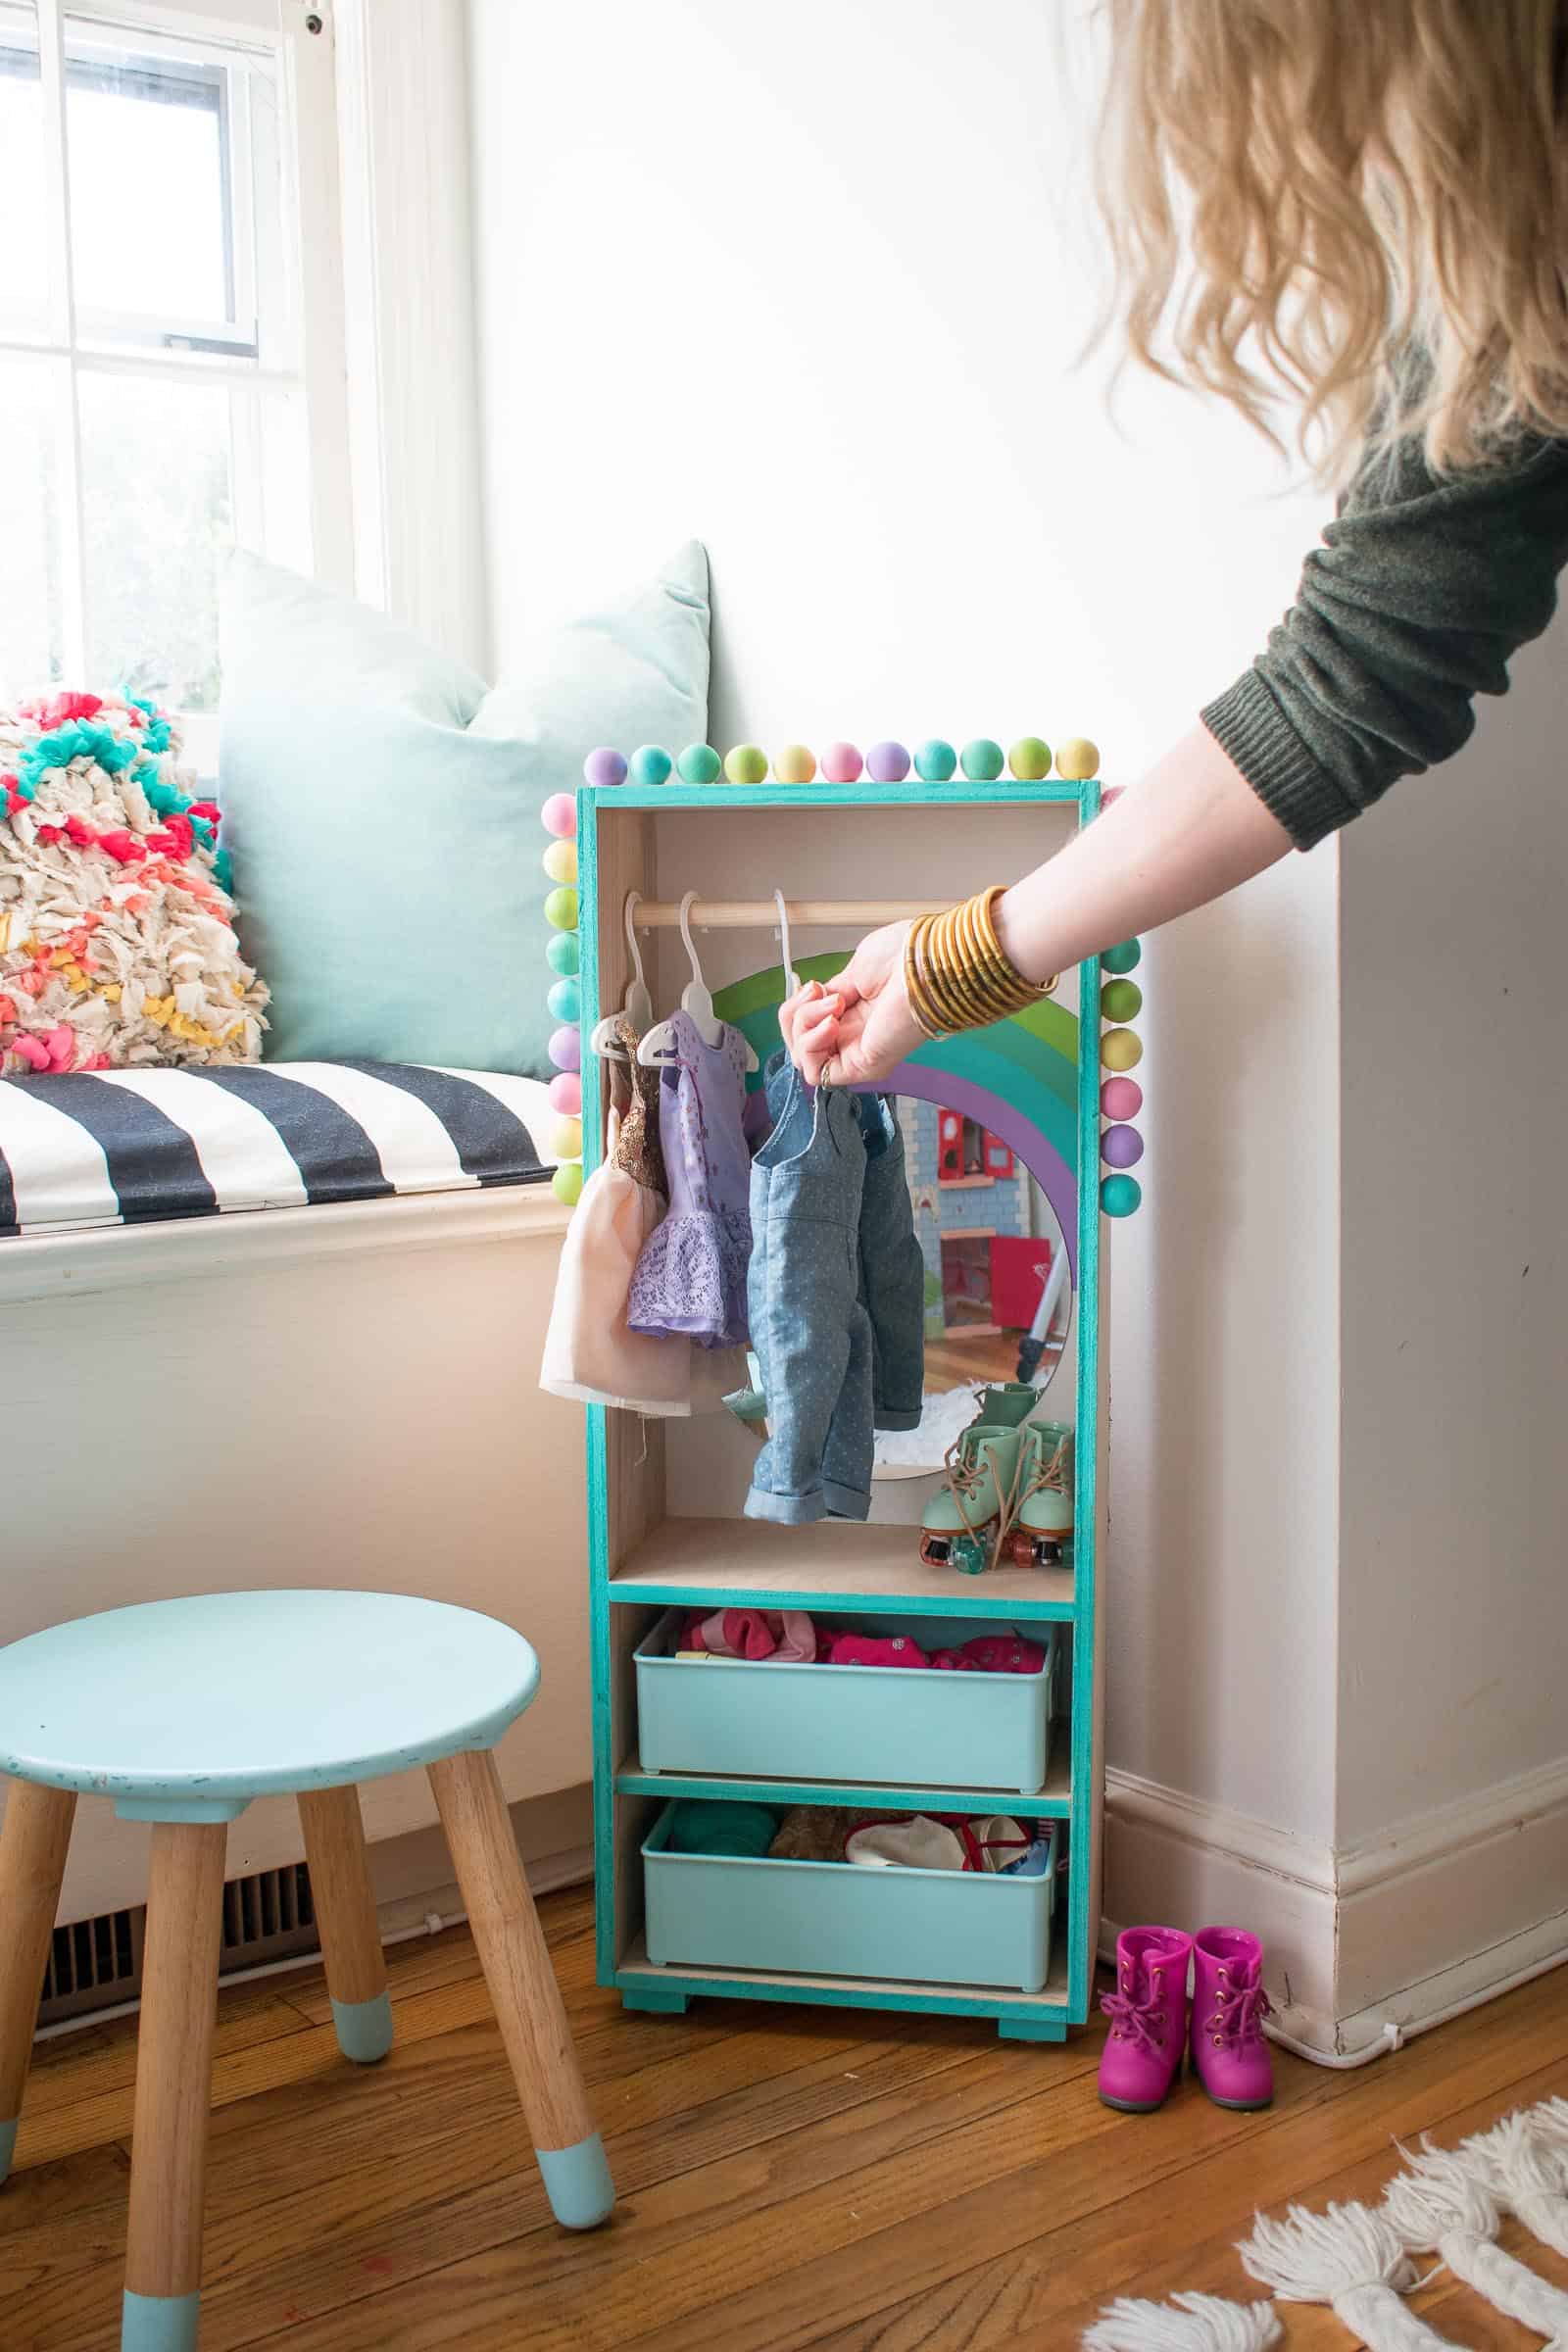
Starting with the bins, I figured out what dimensions to make the closet. I knew I wanted a hanging section so I made sure I allowed enough space above my bins for doll clothes hangers and all of Louisa’s doll’s dresses.

Step 3. Prepping for the hanging bar
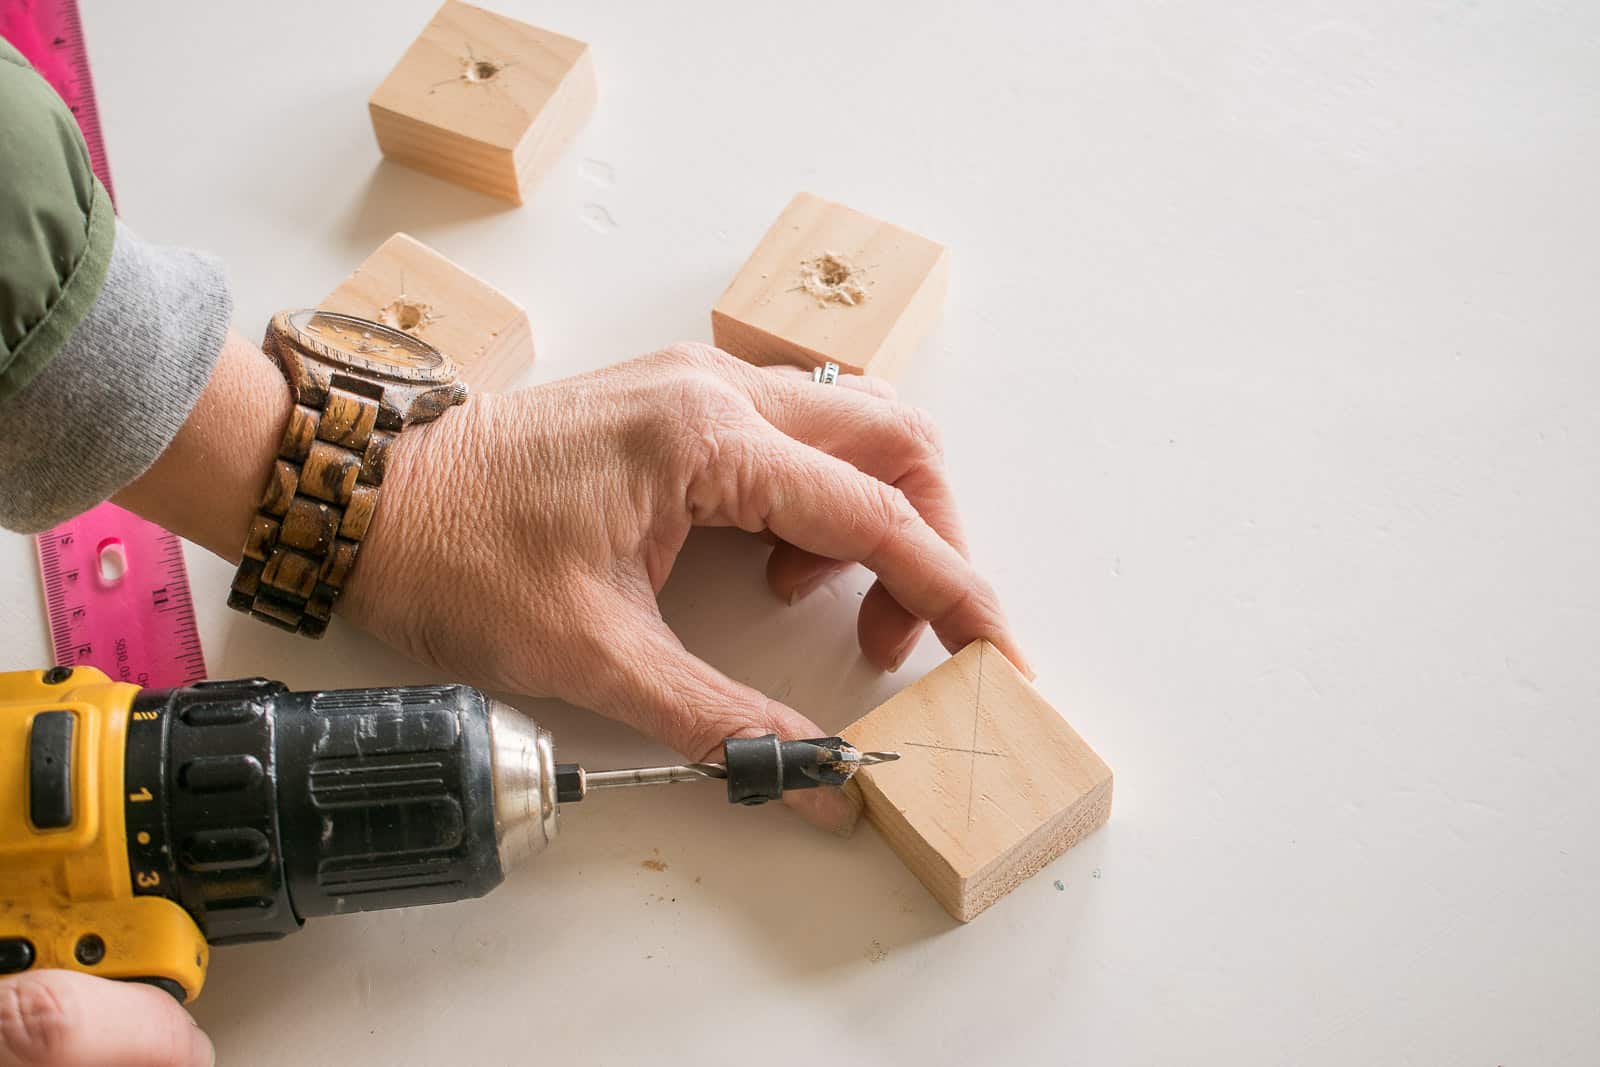
To install the hanging bar, I picked up a small dowel (I think this one is 1/2″). I used a forstner bit to drill about a millimeter into either side of the closet. This small recess will be enough to support the hanging bar once I assemble the closet.

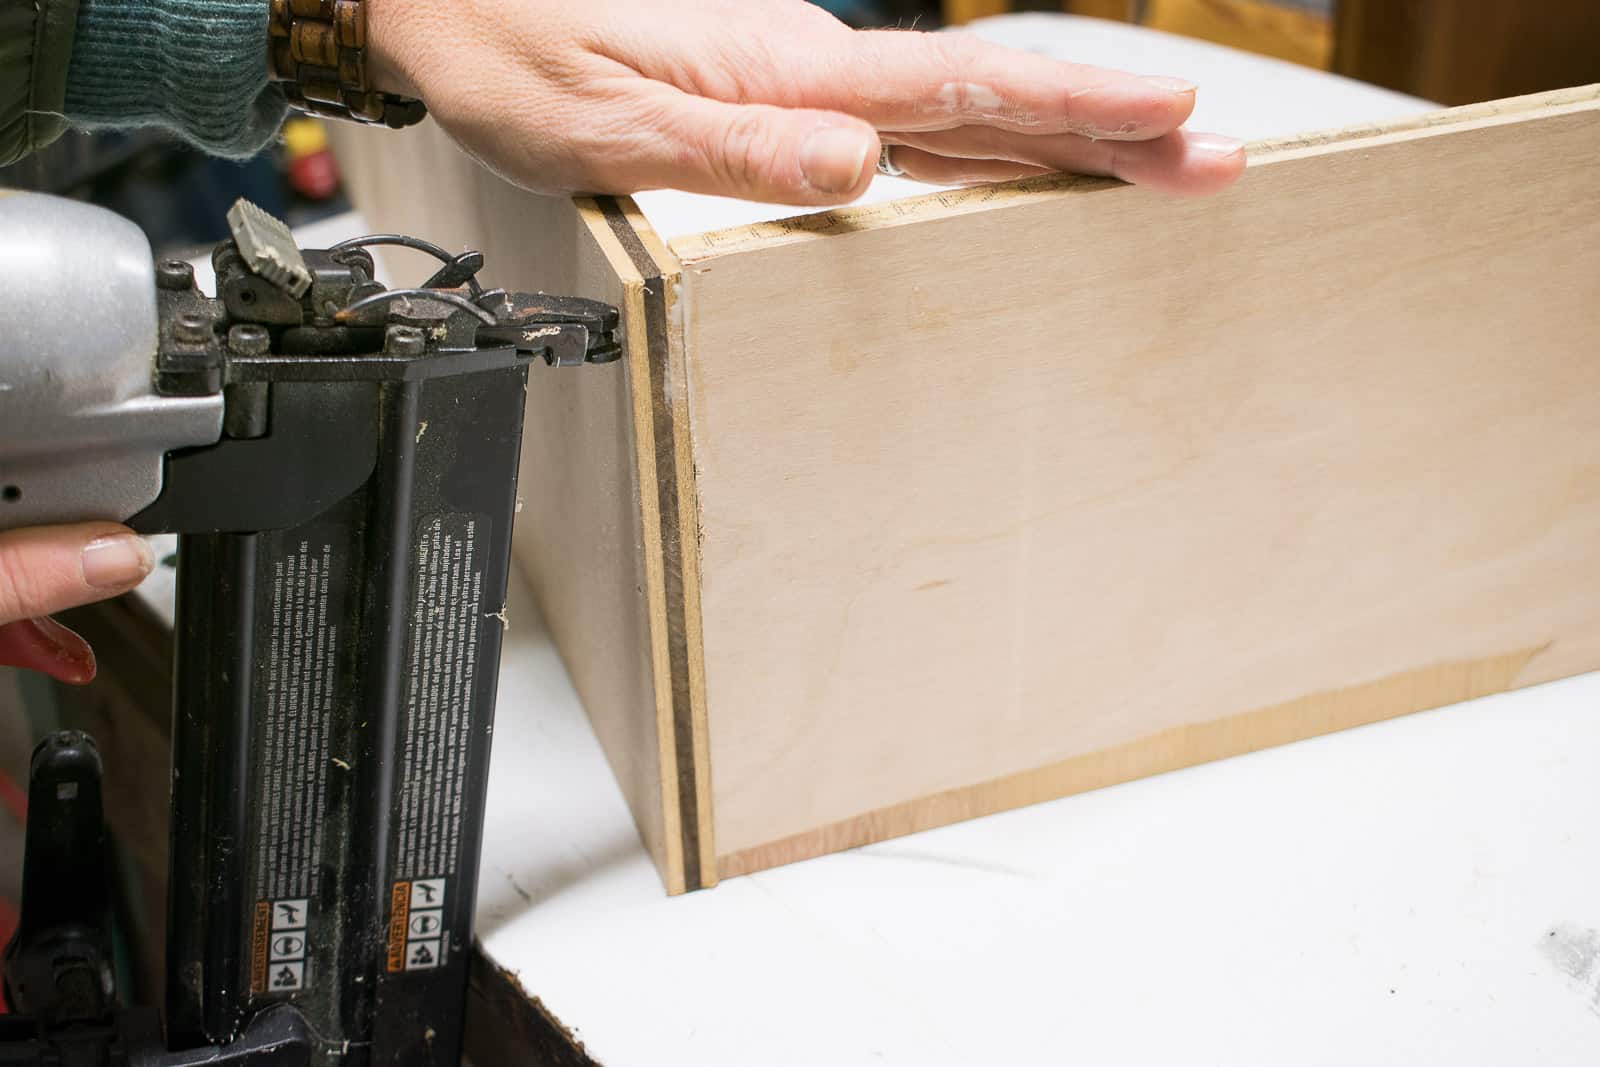
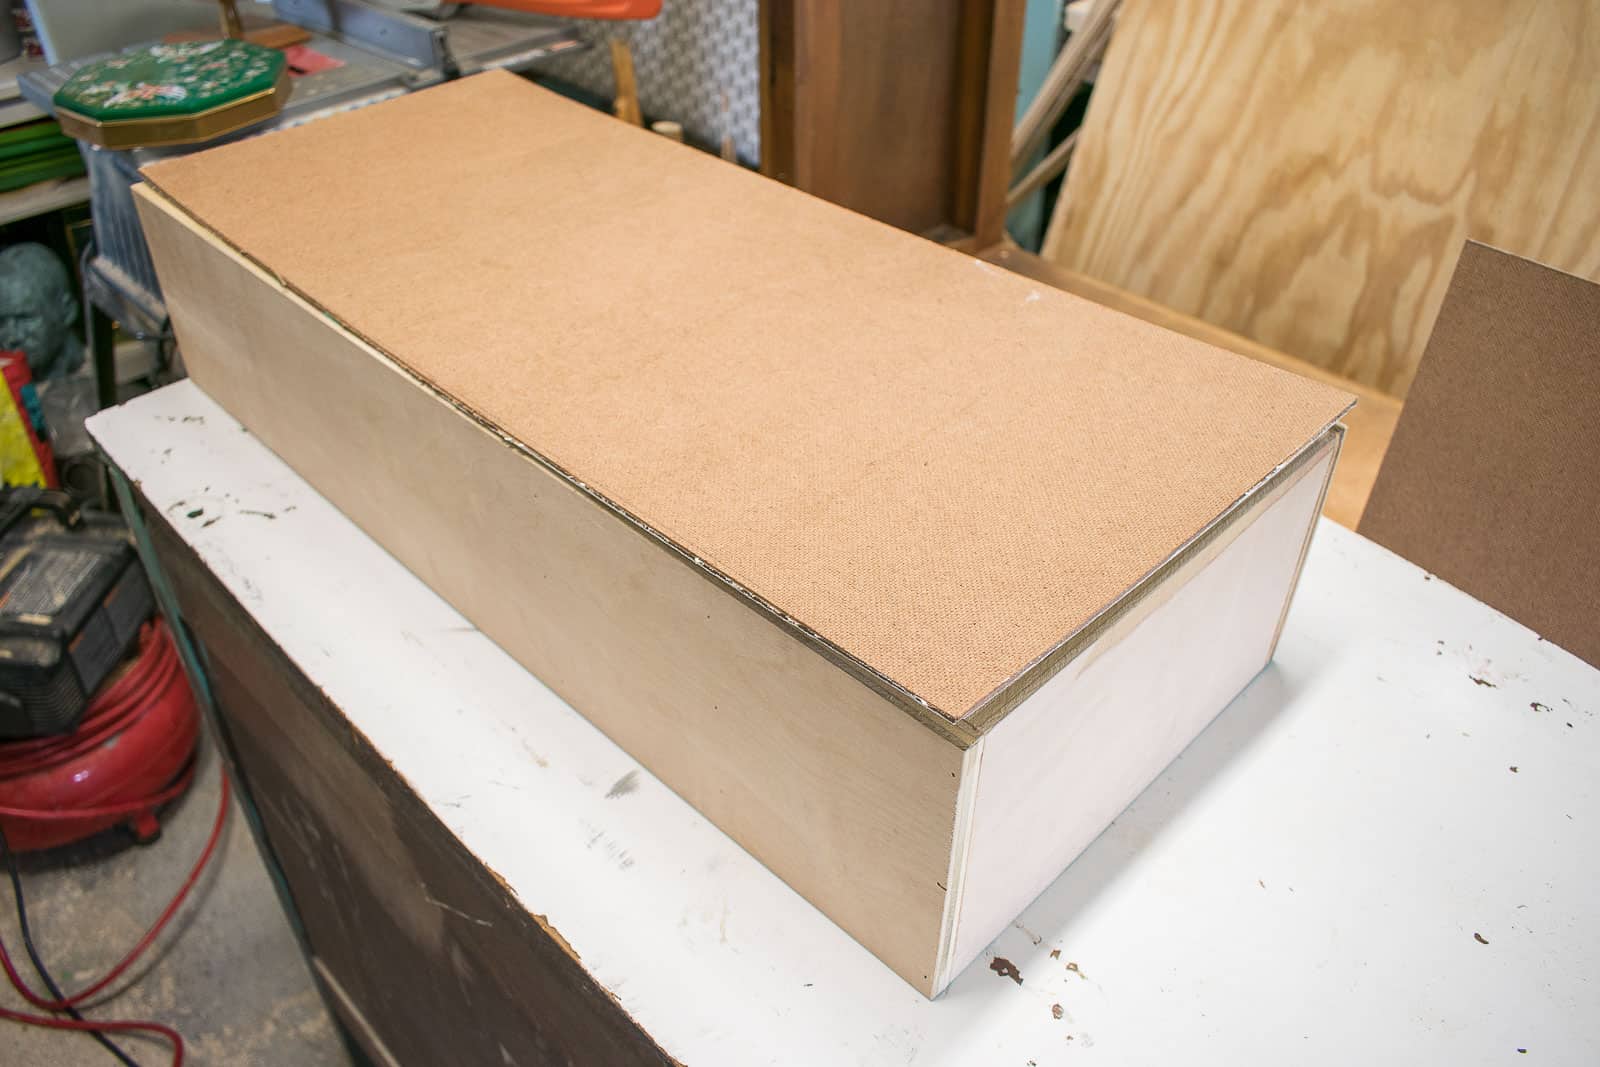
Step 4. Assembling the closet
This is a small build that won’t be baring any significant weight so I didn’t have to pull out the heavy artillery of screws or braces. I assembled everything using wood glue and my pin nails. (All materials linked at the end of this post.)
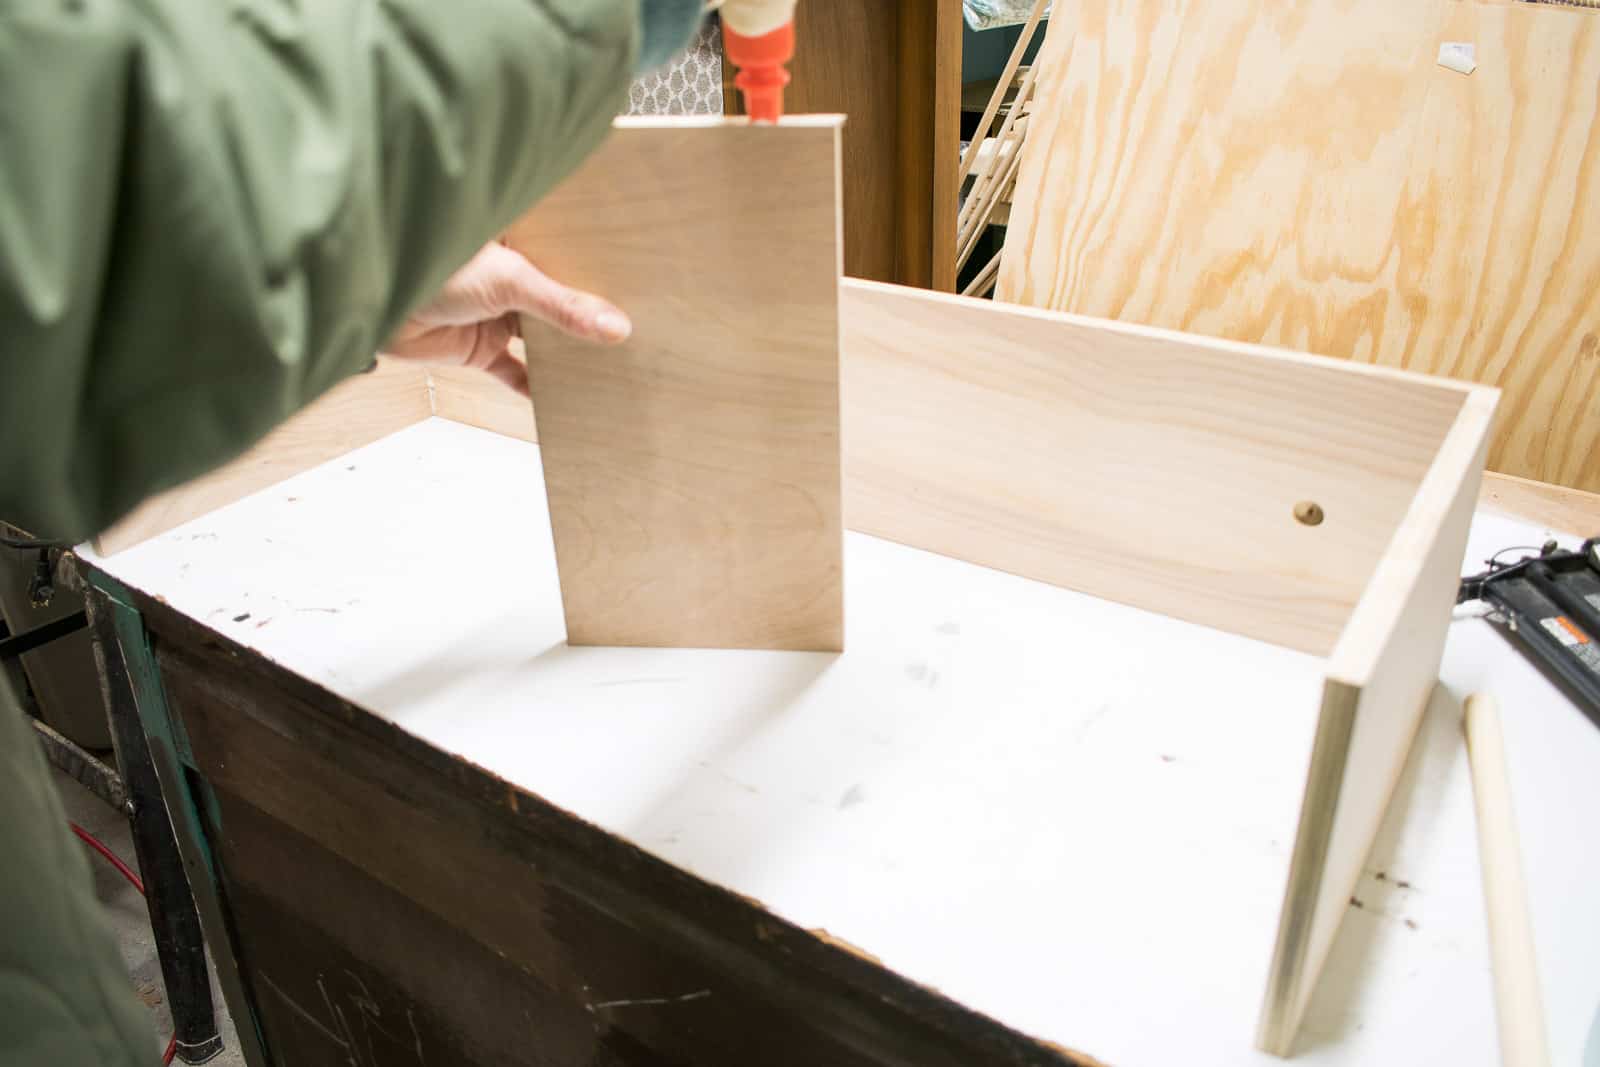
Next I glued and nailed the top, bottom and the shelf in place. Making sure everything was measured and straight, I glued and nailed the other side of the closet in place. A this point, the closet may not feel super secure. That’s ok… once you had the back, it will feel nice and sturdy!
Step 4. Decorating the back
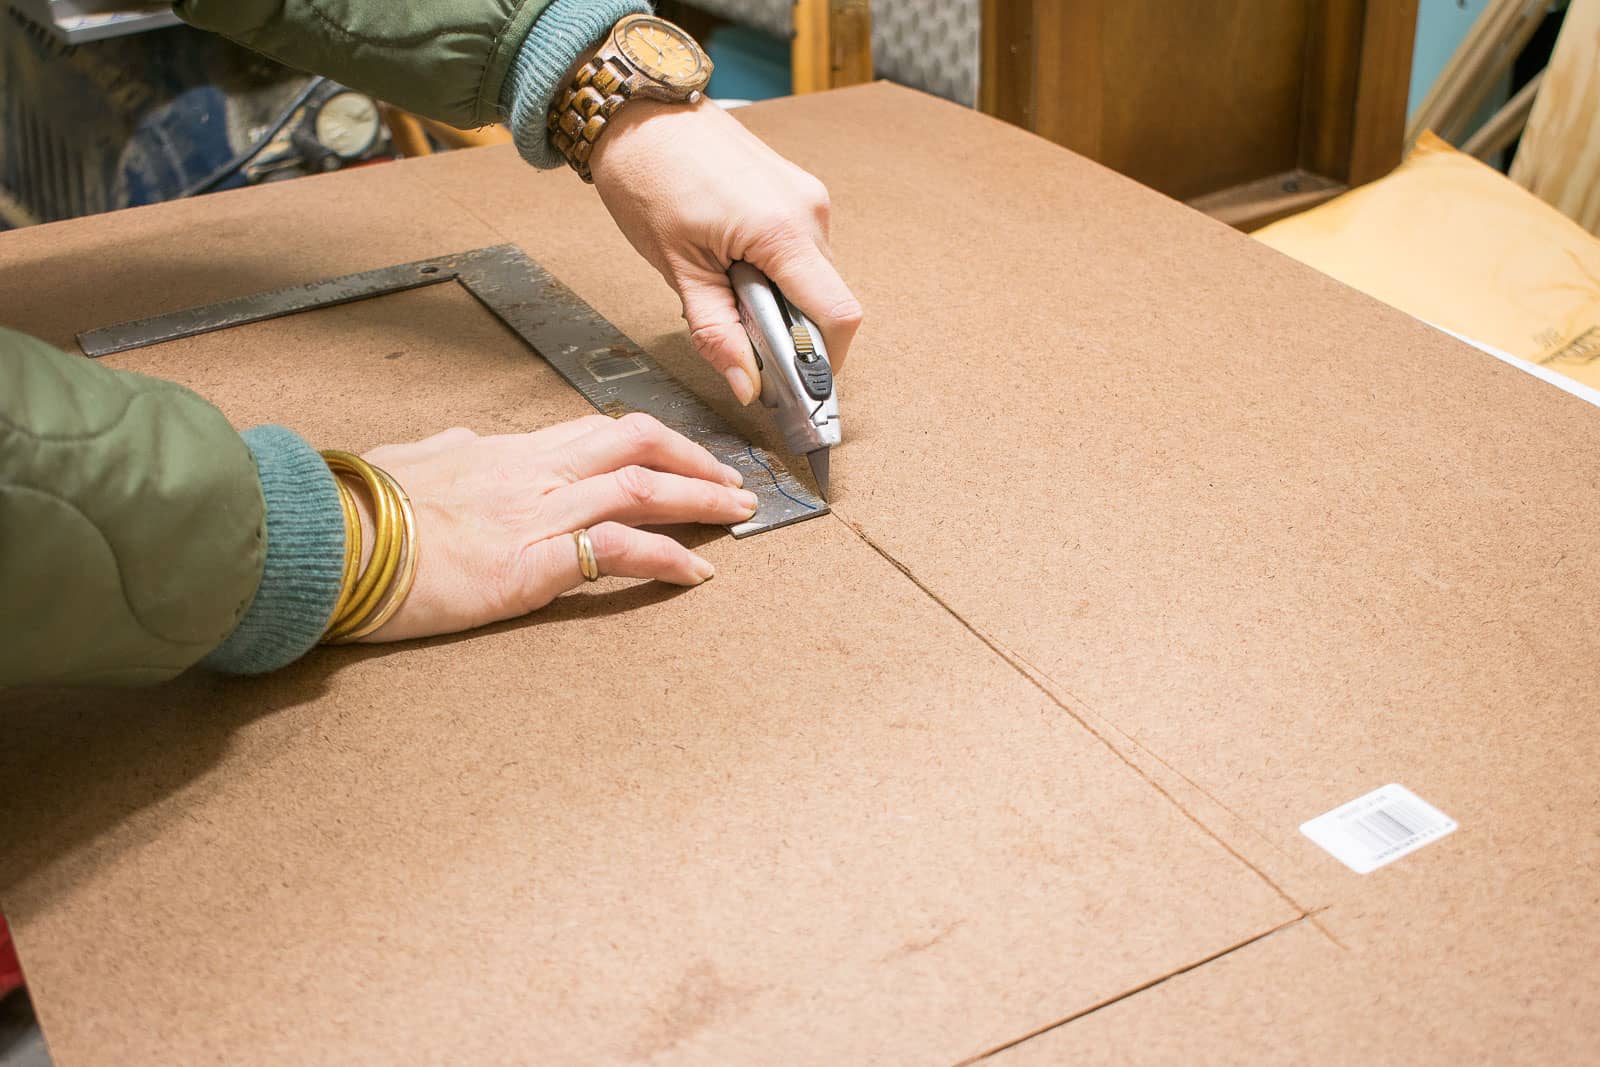
I’m using hardboard for the back and was able to use a sharp utility knife to cut the hardboard to size. You can pick up a 2×4 section of hardboard for about $5 at Home Depot.
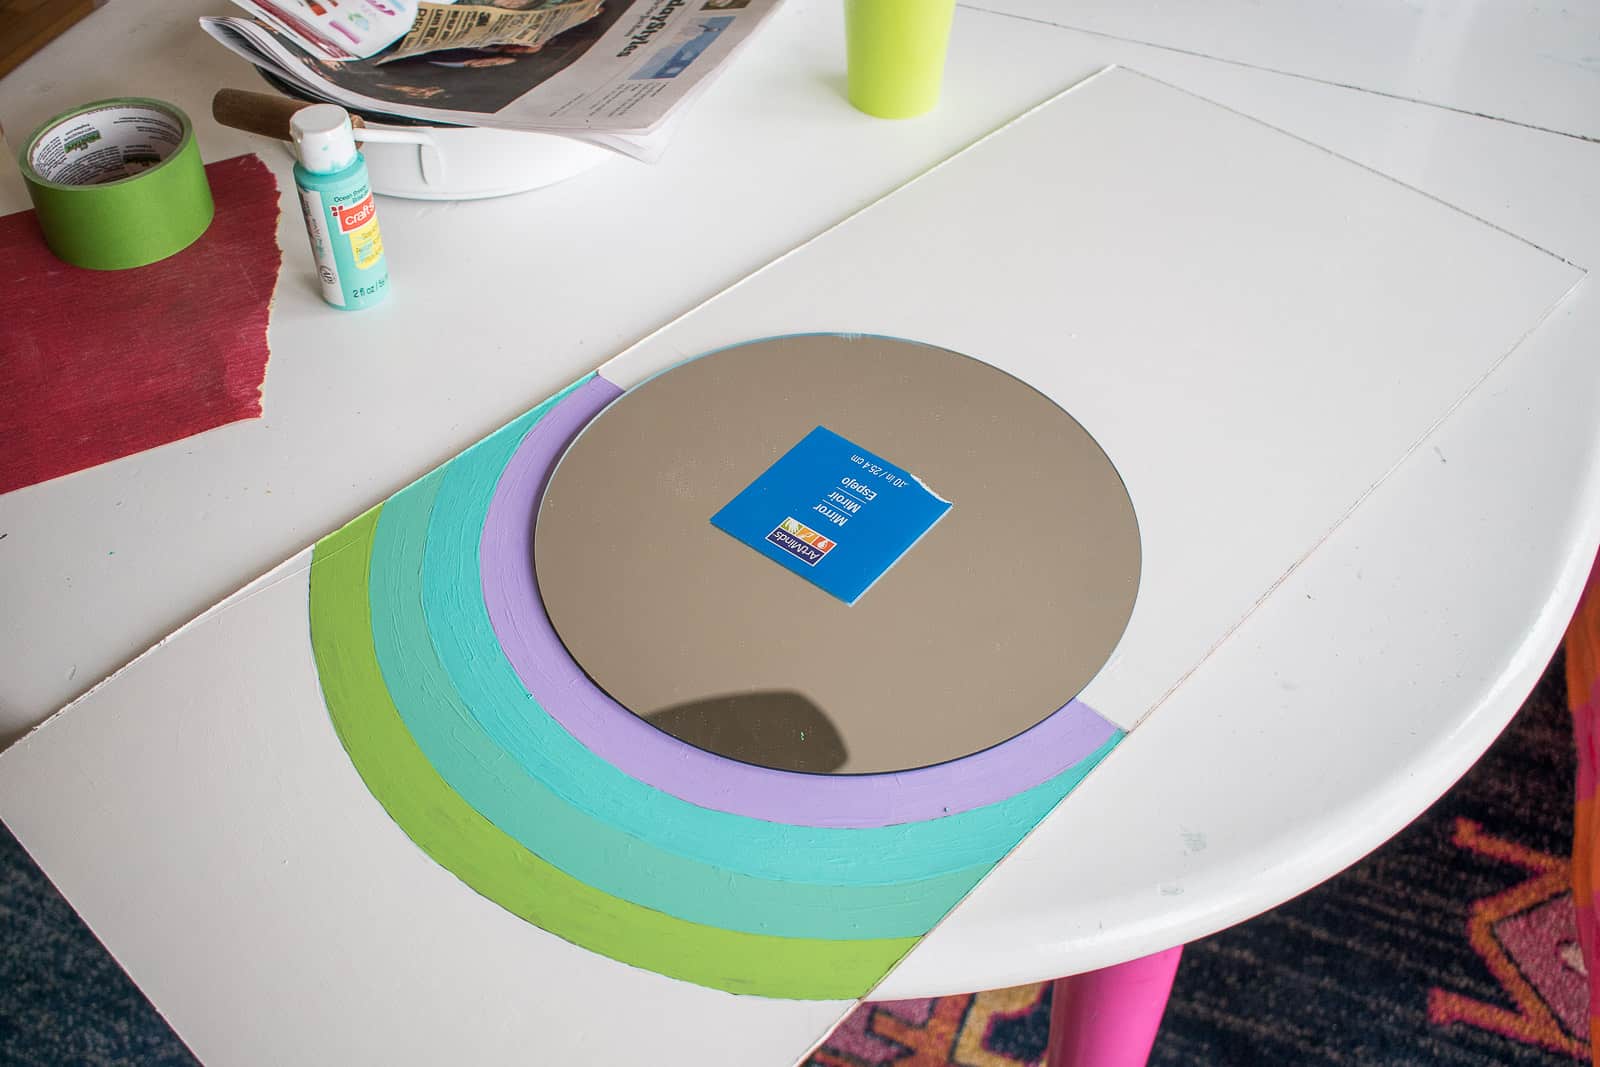
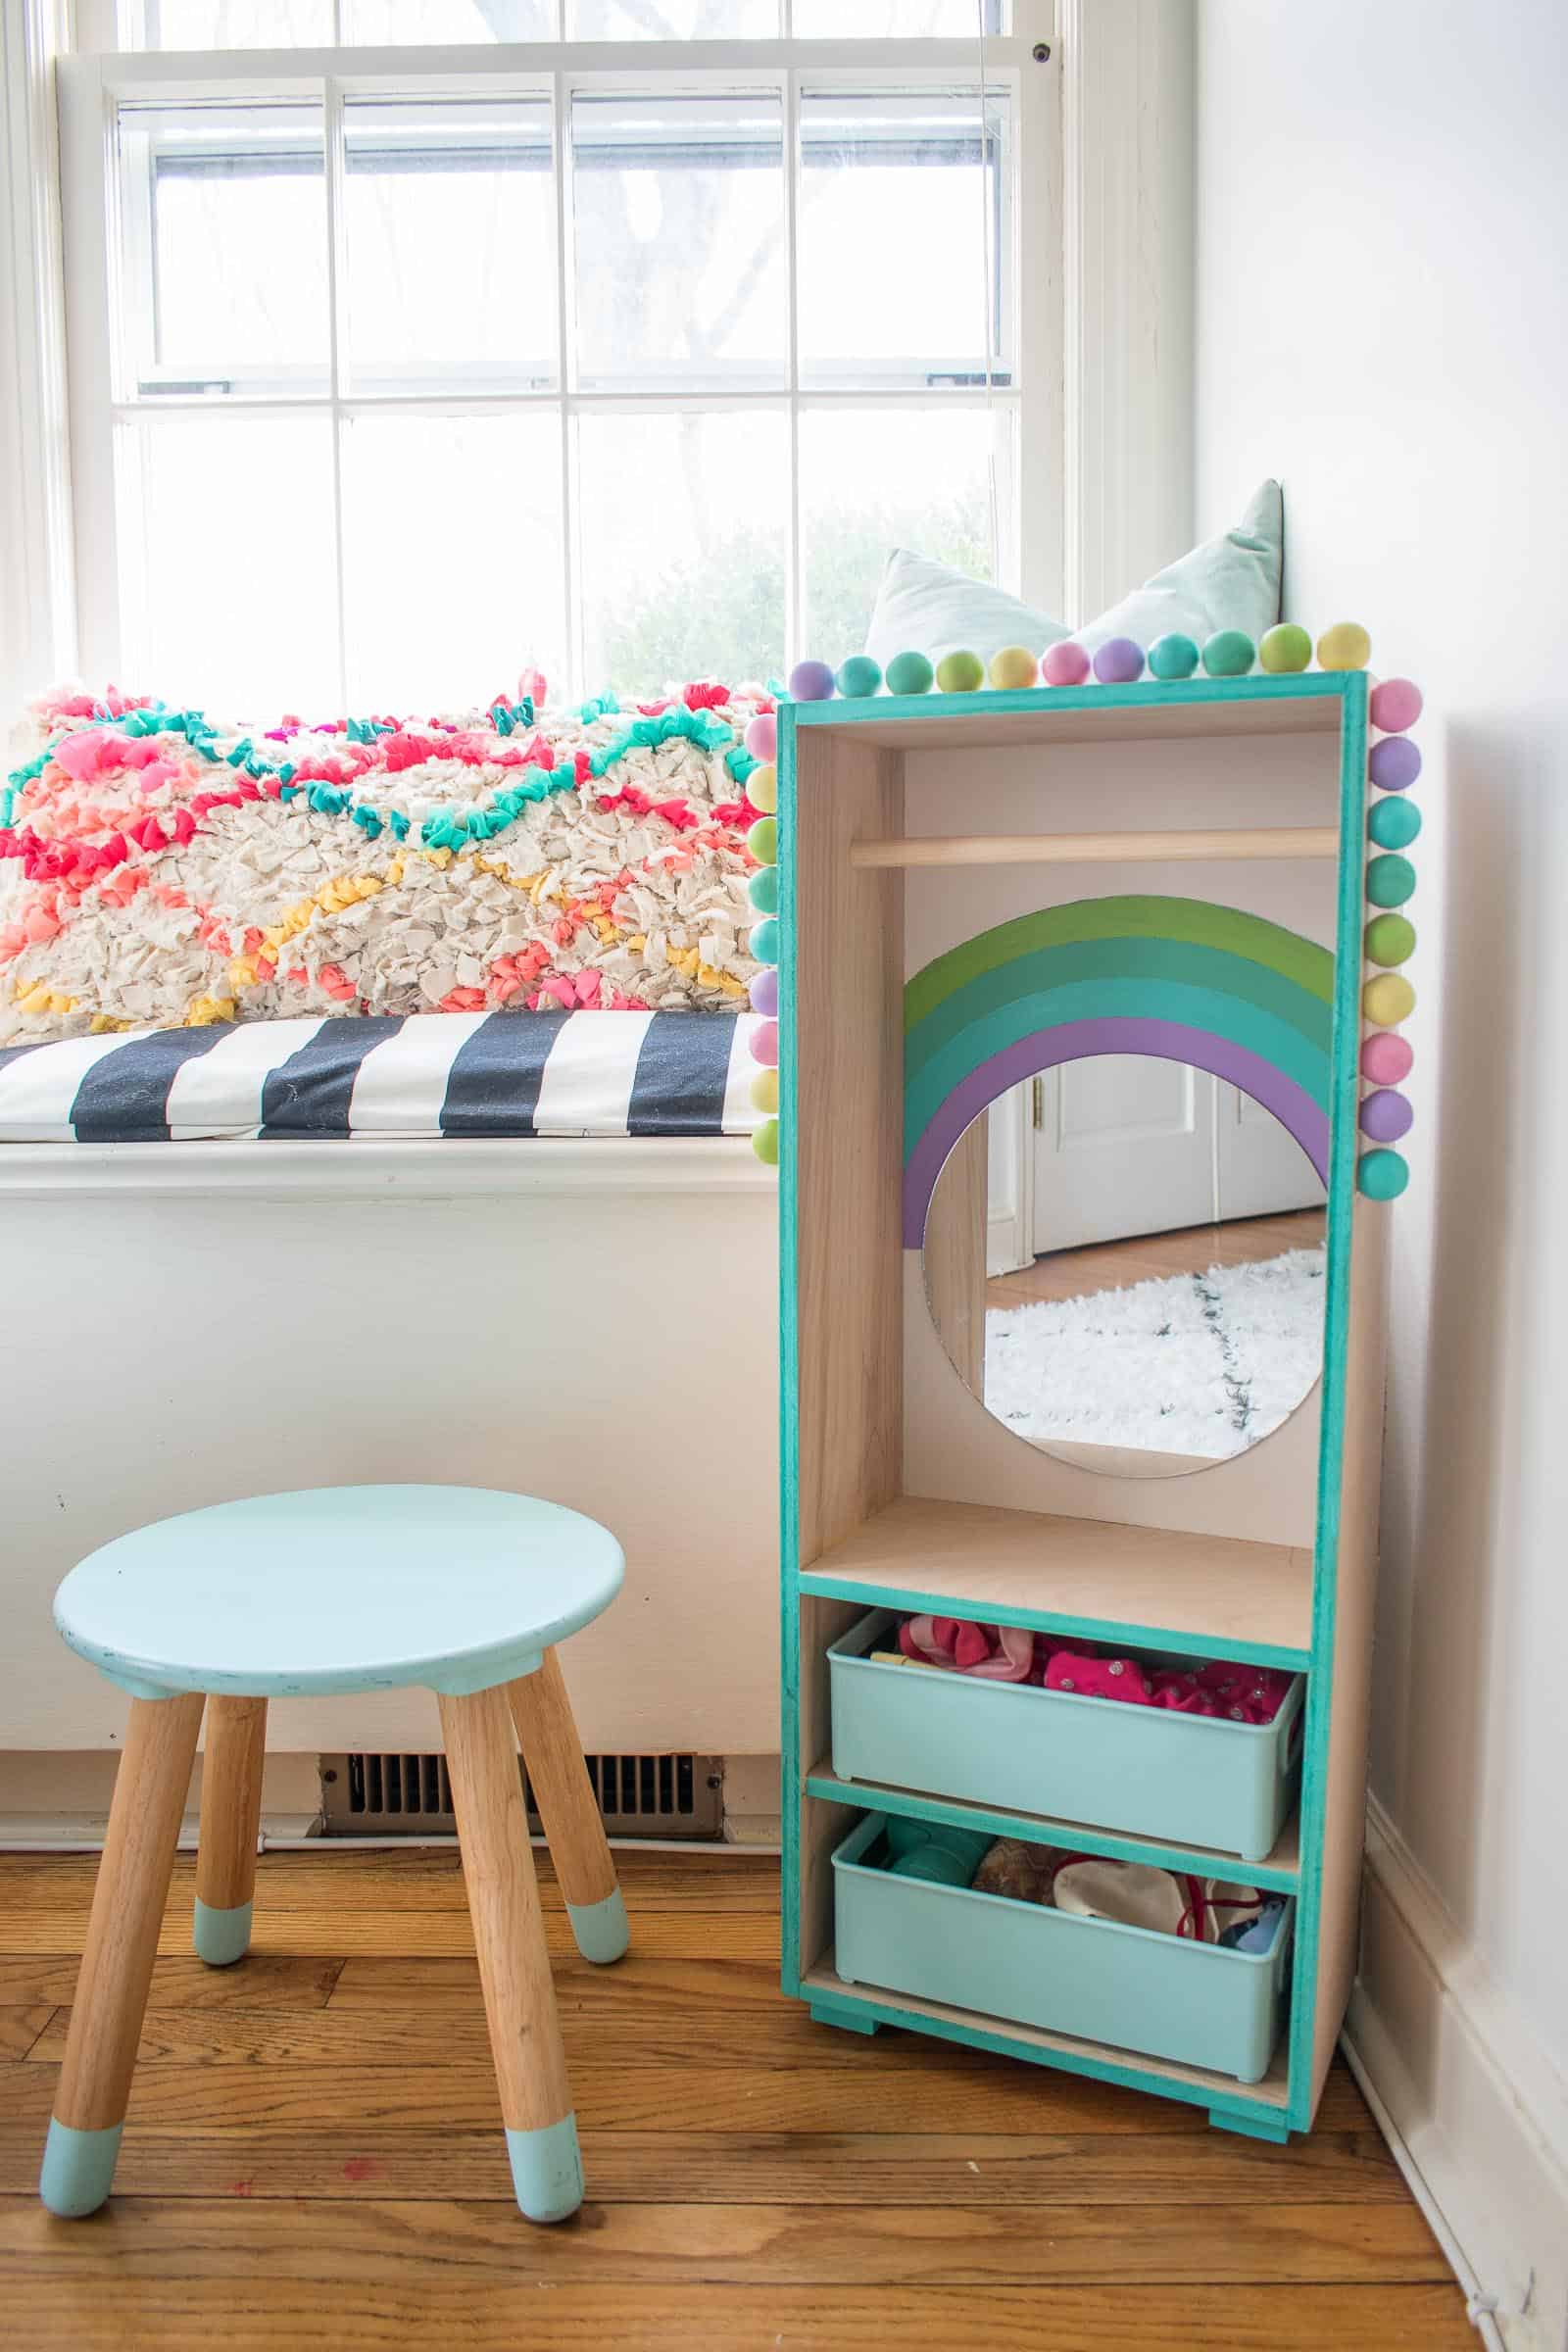
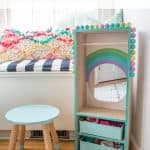
To add a little color to the back, I started by painting a pastel rainbow. I used a craft store round mirror as the circumference of the inside of the arch. Once I’d painted the rainbow, I filled in the rest of the back with some leftover white paint. When the paint was dry, I used super glue to attach the mirror.
Step 5. Attaching the back
Just like the rest of the closet, I used wood glue and my pin nailer to attach the hardboard to the back of the closet.
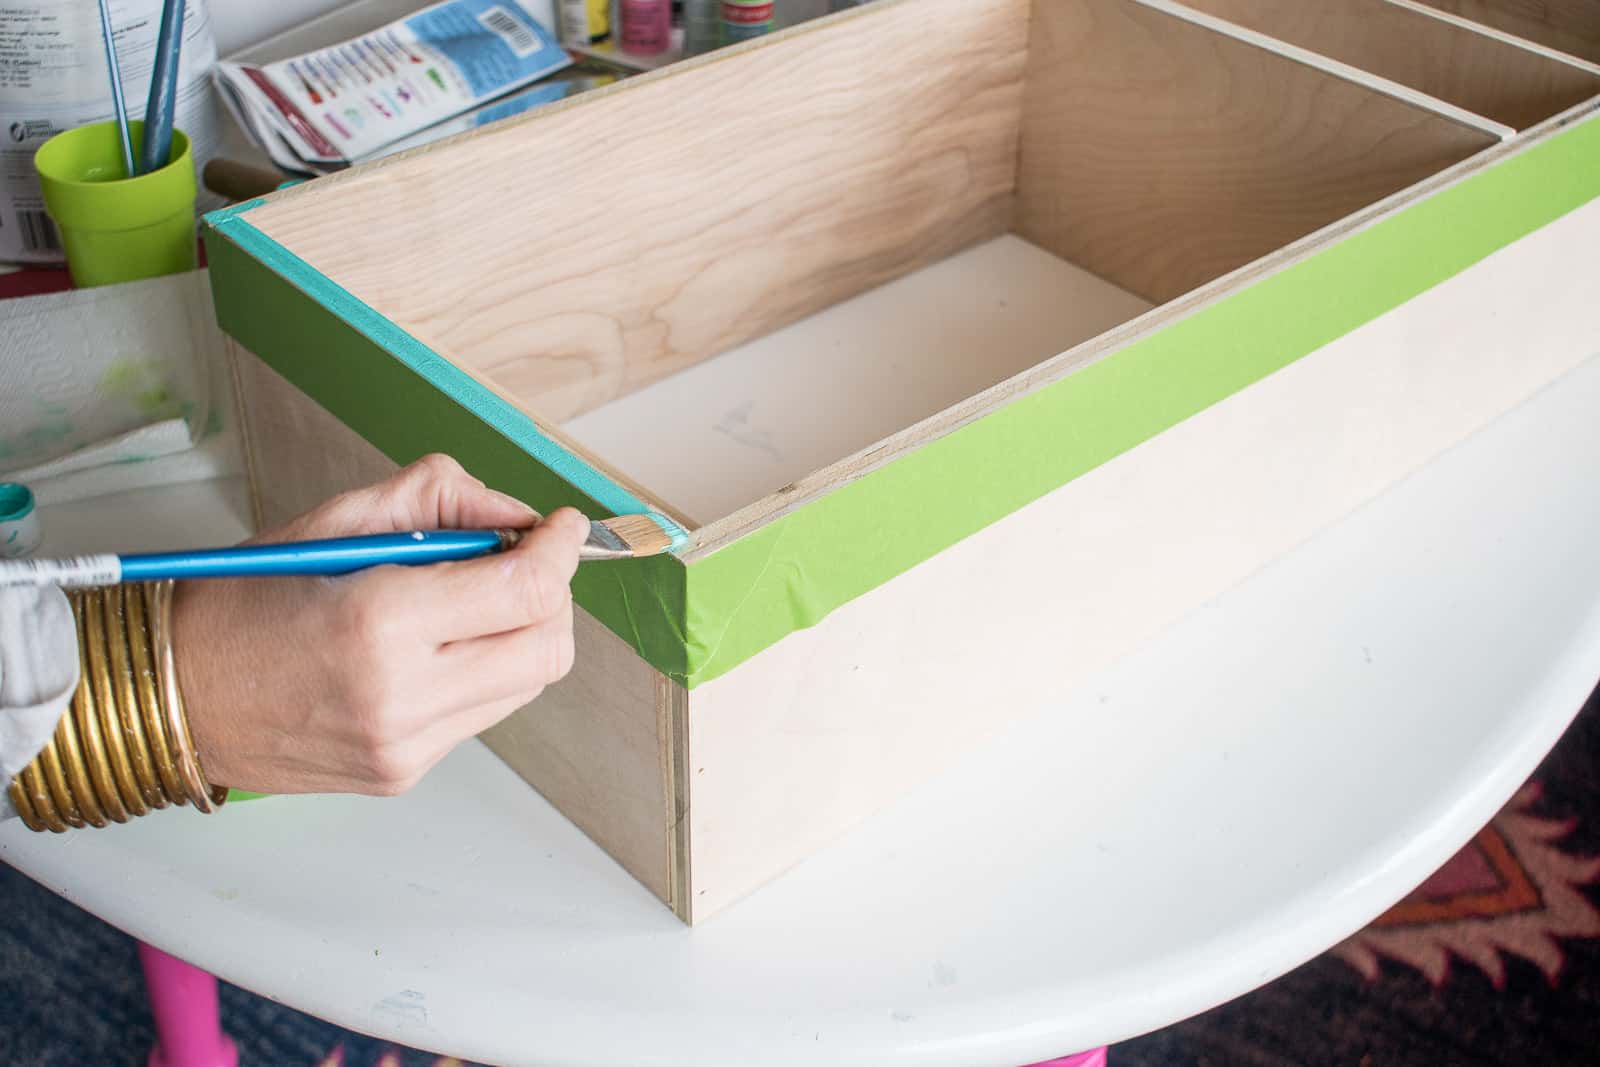
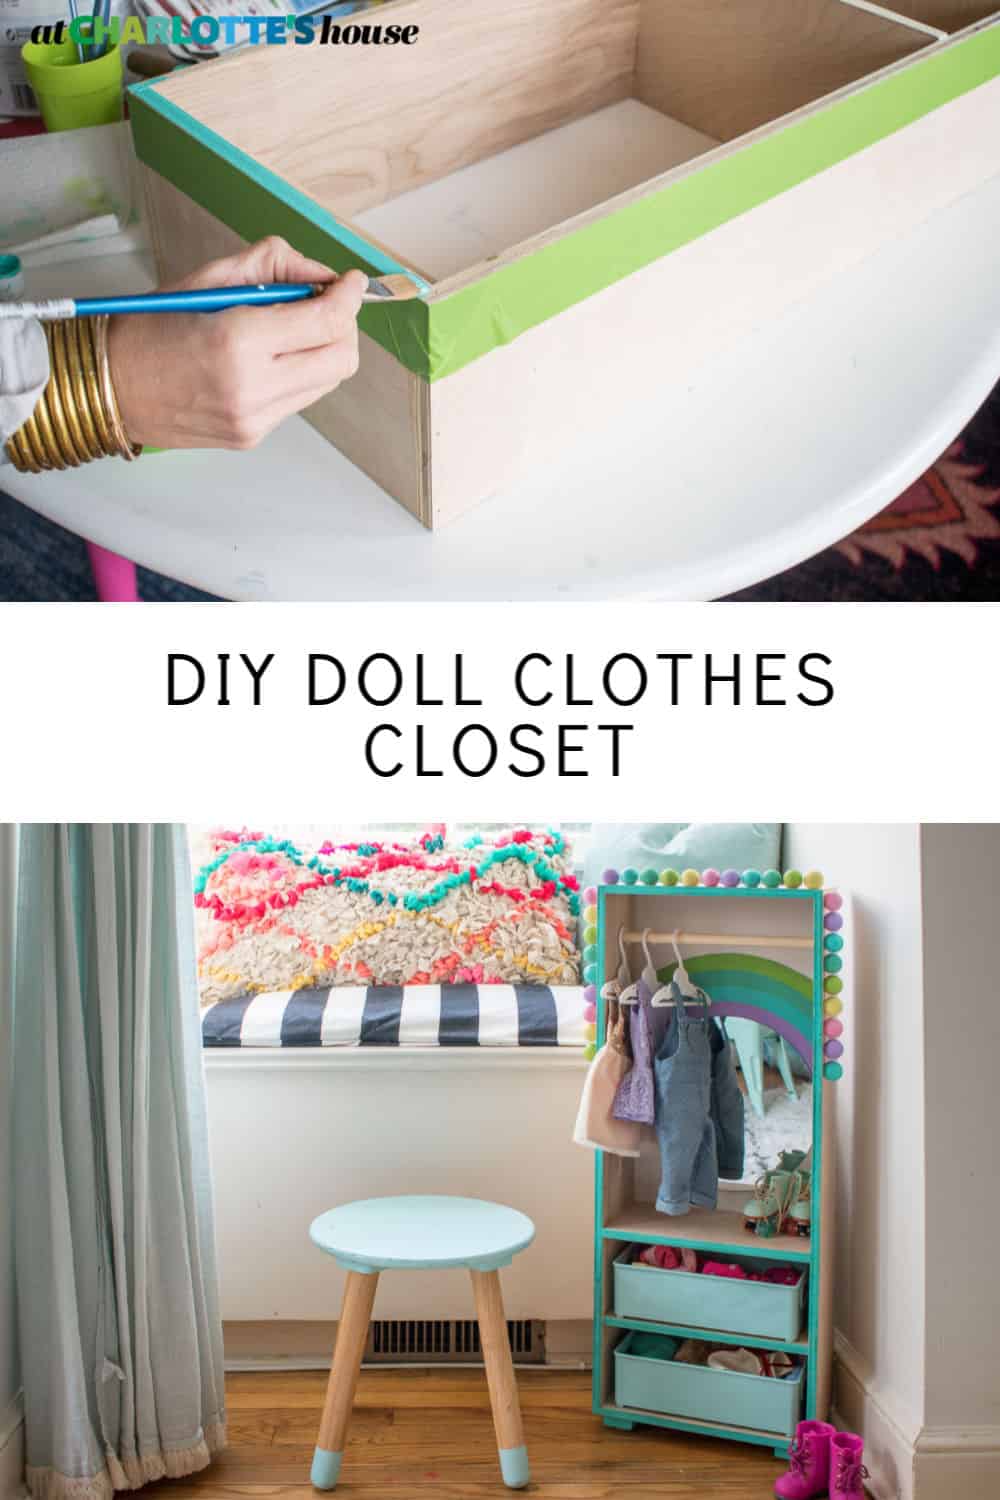
Step 6. Decorative Touches
I left the sides of the closet unpainted, but used some craft paint to give the end grain a little color.
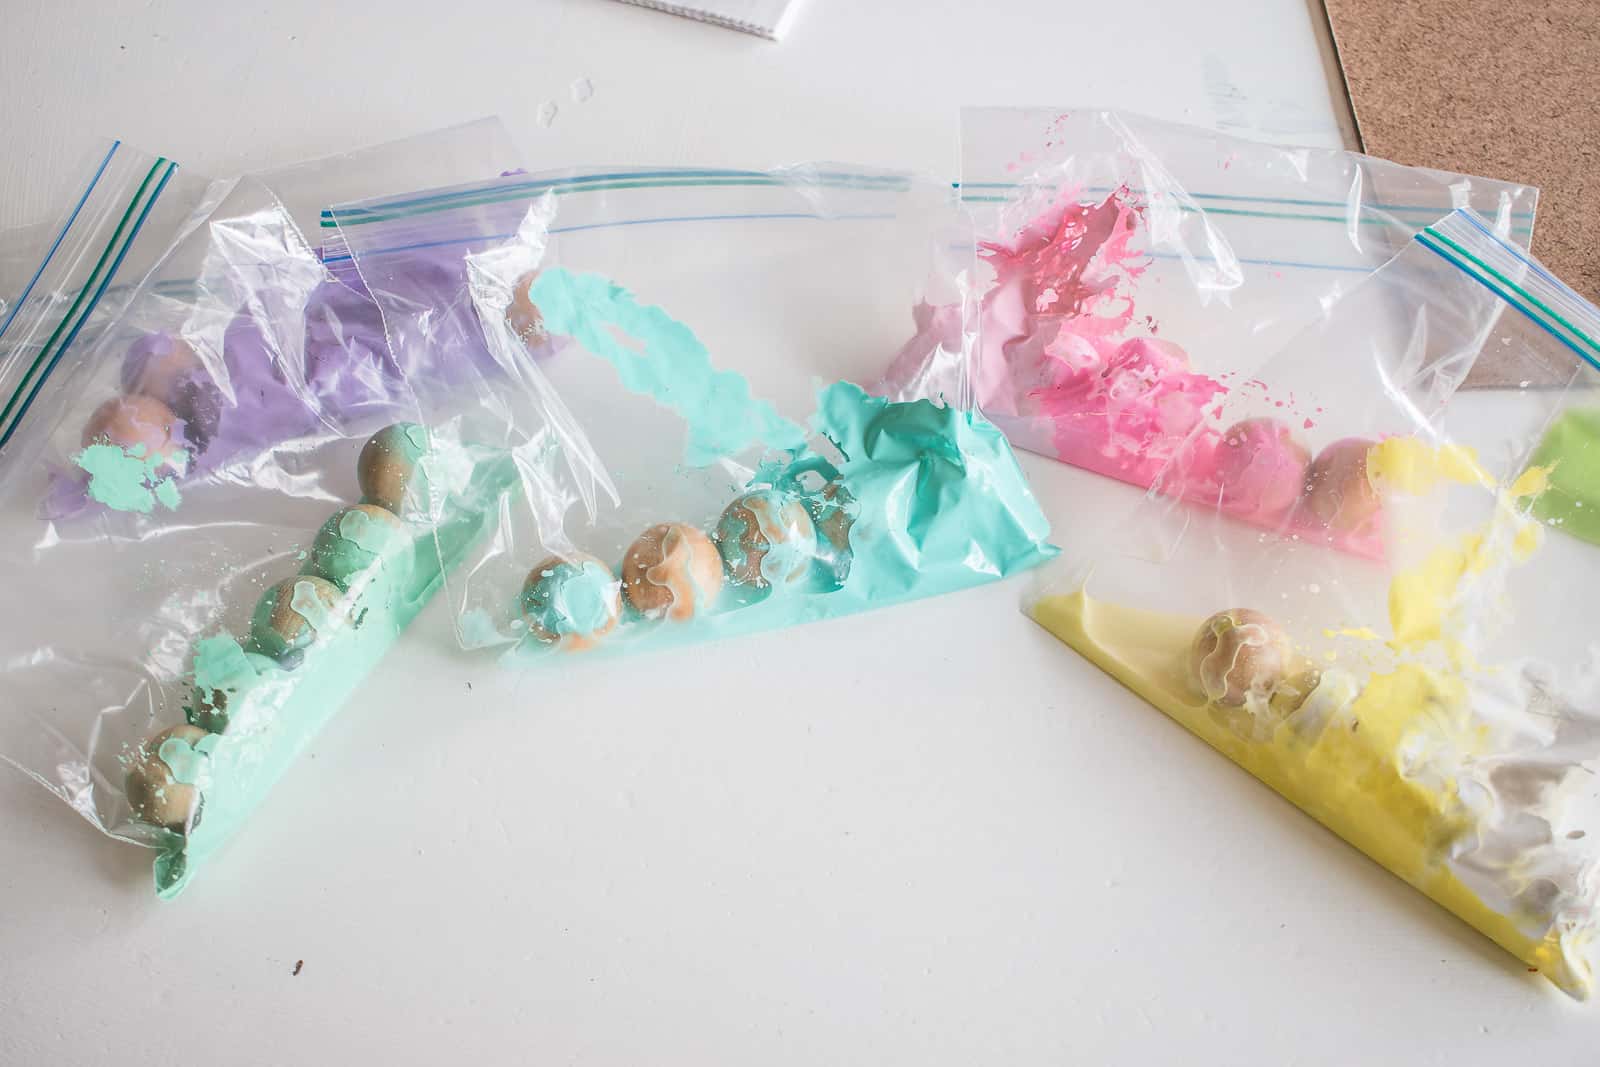
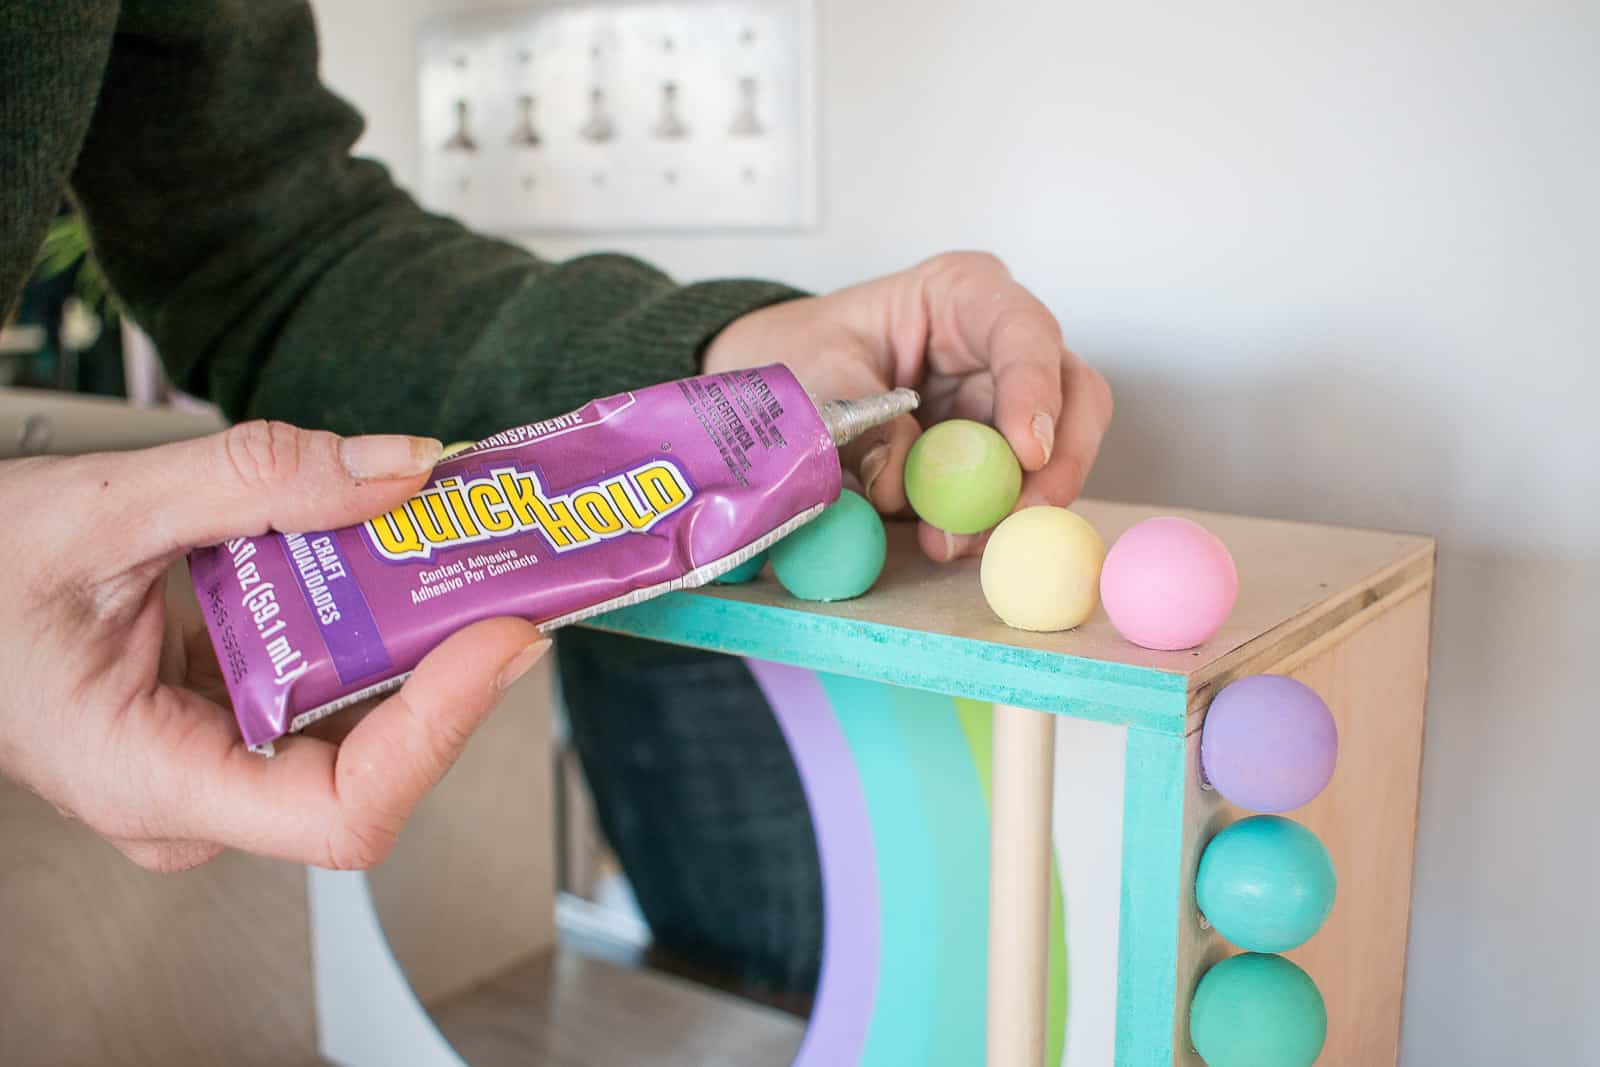
I had some leftover wooden beads from this mirror project I did this fall and figured they might be the perfect little decorative detail (they’d already been sanded down a bit leaving one flat edge). I painted the beads by placing them into ziplock bags with craft paint and a tiny bit of water; after a while, pour the beads onto wax paper to dry. Easy mess-free painting! I used a fast drying super glue to adhere them around the top edge of the closet.
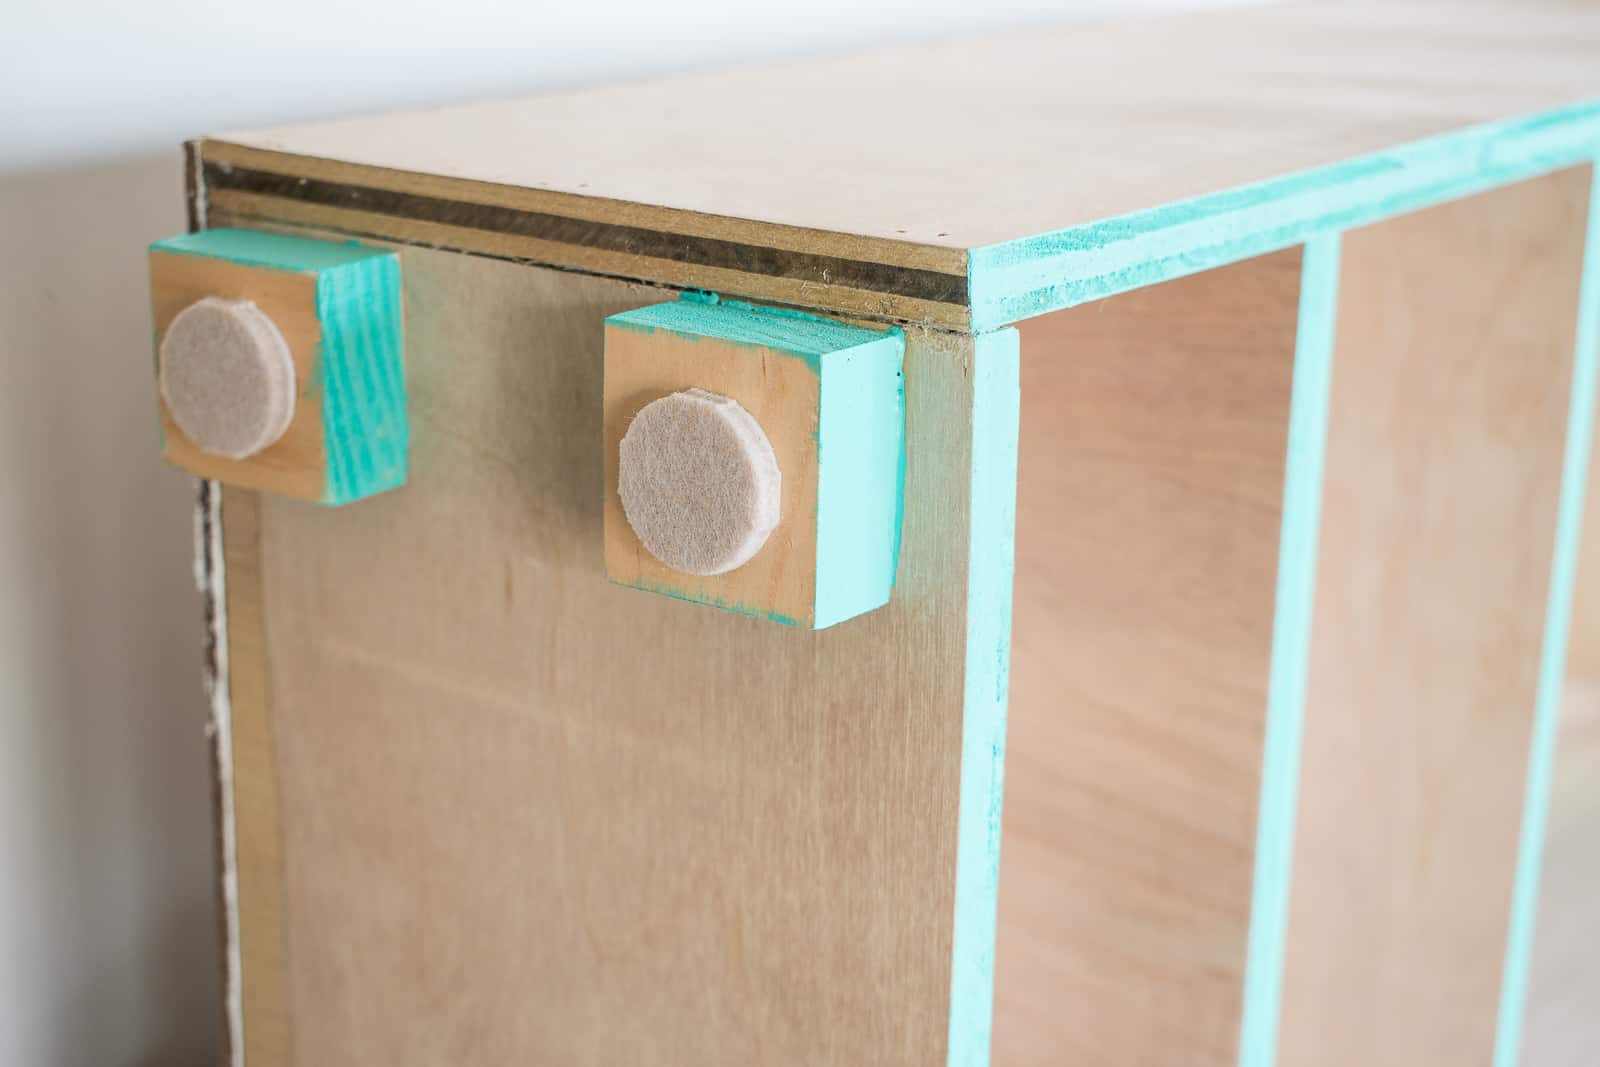
Because there was a chance this closet would be over a heating vent, I decided to add some small feet just to bring it off the ground a bit. I cut down some 1x2s and predrilled with a recessed drill bit. Using wood glue and wood screws I attached these onto the bottom of the closet and painted the sides to match the rest of the closet. Because I used the recessed drill bit, the screw head was set within the foot so it wouldn’t scratch the floor. I added felt furniture pads just to be safe.
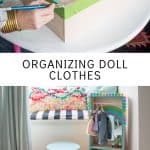
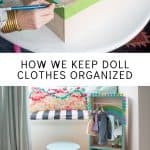
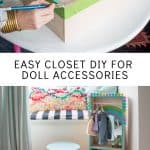
Louisa loooooves her closet and has spend many a quiet afternoon sitting there picking out outfits for her dolls. As for me, I’m just happy there aren’t scattered doll shoes all over my house!
Make sure you check out the other makers sharing their organizational DIY Challenges:
Addicted to DIY * My Repurposed Life * The Inspired Workshop * House Becoming Home * Ugly Duckling House * The Awesome Orange
Materials
- Hardboard
- pin nailer
- wood glue
- 1″ wooden balls
- craft paint
- craft mirror
- round wooden dowel
- Wood (I used leftover plywood… a 1 x 10 common pin would work too)


Aaaahhh, so darling! Those Colored wooden balls are such a perfect finishing touch!
Thank you! Yes… I love how they add a little whimsy!
Omg this is beyond adorable! I would have loved to have this as a kid. So cute!
THanks, AShley!!
The plastic baggie painting trick is awesome! going to save that idea for future crafting.
Yessss!!!! Makes life so much cleaner and easier. 🙂
So cute
Thank you!
Charlotte,
I love the mirror and the rainbow, oh and the colored beads! Sooo cute!
Pinned!
gail
Thanks, Gail!! xx
This is just adorable! I am going to attempt one today, could you share overall dimensions so I have an idea? Thank you!!
Sure thing! Mine is 12 inches wide and about 30 inches tall when you take into account the legs! Good luck!
Hey, I love this, but could you make one for 12 inch dolls?
Absolutely. This would work… it’s only holding their clothing so it can fit whatever size.