13 Simple Steps to Replace A Toilet
Psssst… this post *might* contain affiliate links: see my disclosure here.
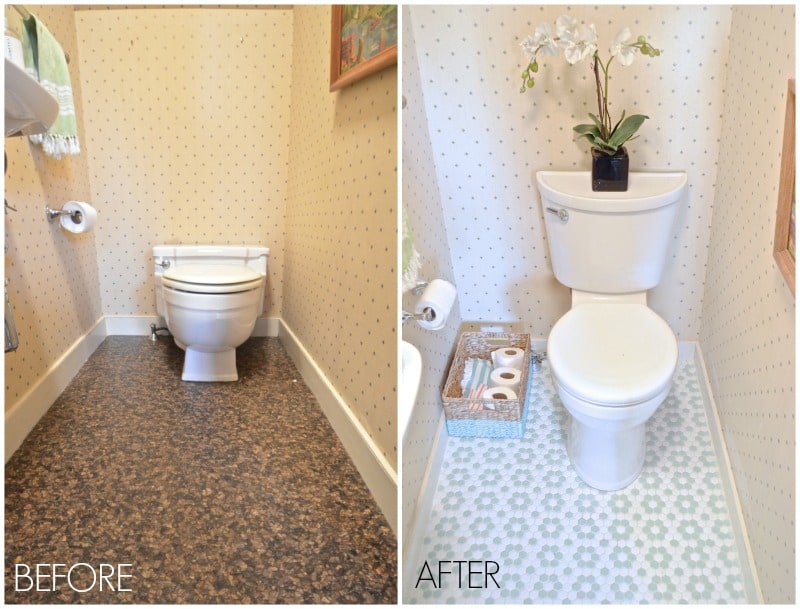
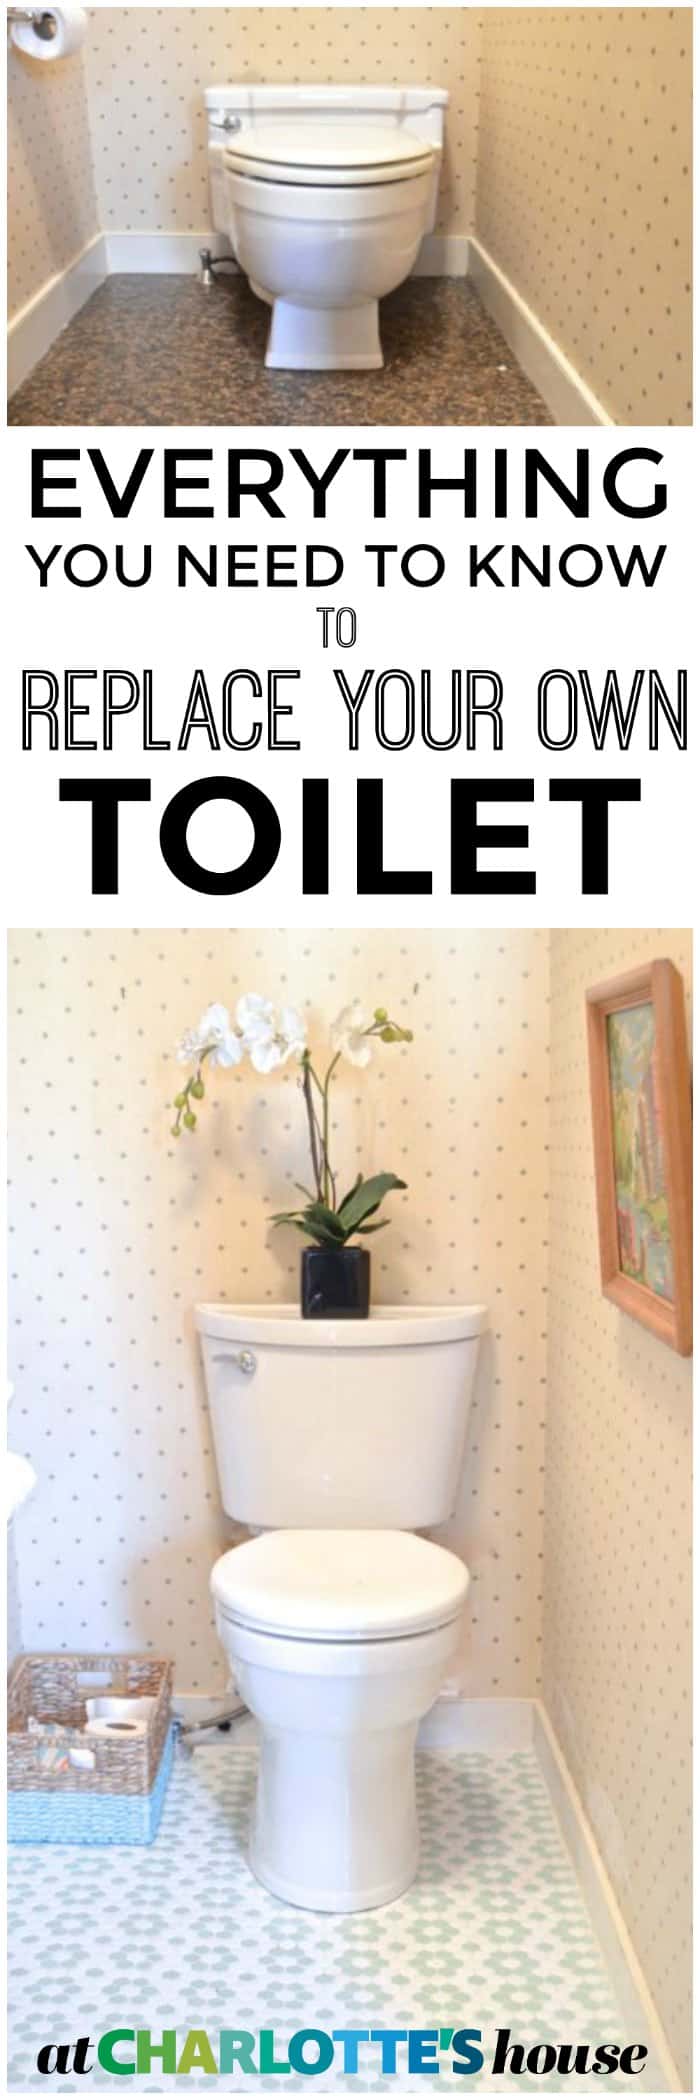
I’m hesitant to post this because, well… it’s about our new toilet. Our can. Our head. Our loo. Our porcelain thrown. Whatever you want to call it, I love our new one from American Standard! It’s white. And shiny. And, get this… it WORKS. I suspect you will be less interested in the toilet and more interested in the fun new tile floor, but I won’t judge you for that. I get it. Let’s rewind to April when we moved into this place. The old toilet was ancient. And it ran unless I lifted the lid off and made sure the flapper was down. And anyone who’s had to do this knows that the rubber in old toilets leaves your fingers pitch black. So this whole routine was amazing as you can imagine. When the plumber was over working on something else he mentioned off hand that our particular toilet was pretty much obsolete so I couldn’t fix it by replacing the guts.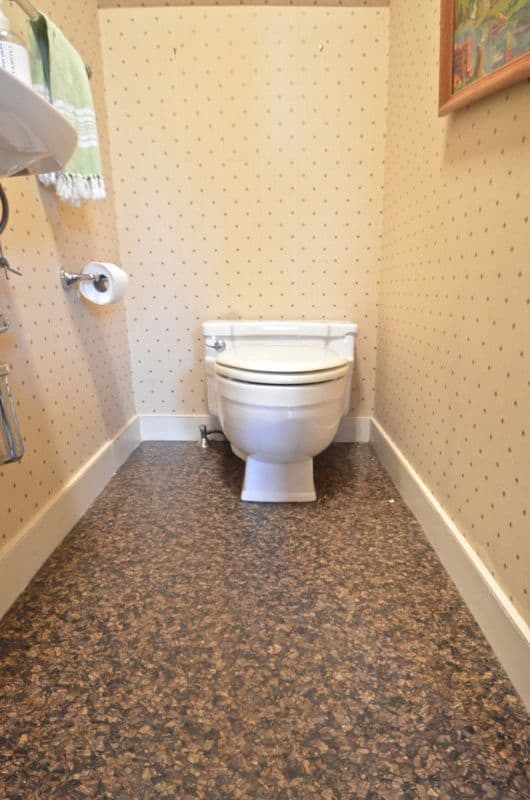
Disclosure… When I realized I was dealing with our old toilet 10x a day, I reached out to the amazing folks at American Standard and they took pity on me and sent over this gorgeous new commode. It’s the bomb.
Everything you need to know to replace your own toilet
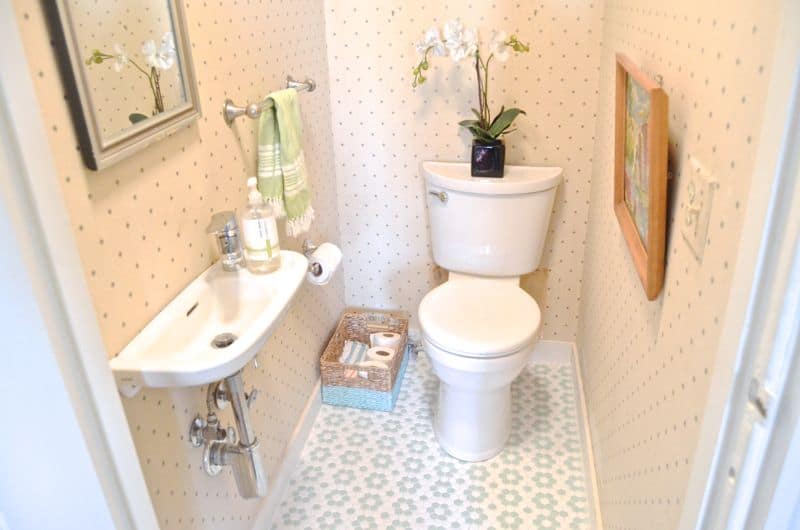
The folks at American Standard sent me this beauty. We needed a round front because it’s smaller and, well… that powder room is miniscule. (Did you see the sink?!)
Shop my favorites!
In our old house, I replaced two toilets: the first one because I broke the toilet seat and the second one when I made over the ugly dated powder room in that house. Replacing toilets is kinda my jam now. It’s one of those things that SOUNDS super handy and all varsity DIY, but… it’s TOTALLY EASY. And I’m not saying that in a ‘I’m so fancy that I don’t even realize how tricky this thing is’ sort of a way. Feel free to read my other posts, but for this one, I made a video so you can see all the steps. If you’re at work or just not into watching (totally, cool… I get it, it’s a toilet,) the steps are broken down after the jump.
Guys… I know you’re smart, but wanted to mention… don’t do anything dumb here. I’m not an expert and this tutorial should not be follow in place of your own thorough research.
Step 1: Turn off the water going into your toilet. (Be aware of where your main water shut off valve is just in case!)
Step 2: Flush the toilet to drain the tank. Scoop out as much of the residual water as you can or let the toilet sit for a while and the water will evaporate. The water in the tank is clean. Water in the bowl… that’s up to you.
Step 3: Remove the bolt caps and unscrew the flange bolts releasing the toilet from the floor.
Step 4: Grunt and groan and lift your toilet up off the plumbing stack.
Step 5: Scrape off leftover wax and asses your flange. You’re looking to see whether it’s corroded.
Step 6: Your new toilet should come with flange bolts… slide these into the flange and lift the toilet up and onto the bolts. Again, grunting will ensue.
Step 7: Place the new wax ring onto your new toilet. Never thought you’d be so pumped about a new toilet didja?
Step 8: Use your body weight to press the toilet down onto the wax ring creating a seal.
Step 9: Hand tighten nuts onto flange bolts to hold toilet in place.
Step 10: Place your bolt caps over the flange nuts.
Step 11: Place toilet tank onto the toilet bowl and tighten nuts going back and forth from side to side until tank is touching the bowl.
Step 12: Attach you water line, and turn water on slowly. Feel around the toilet for any leaks.
Step 13: Install toilet seat and do a little potty dance. YOU DID IT!
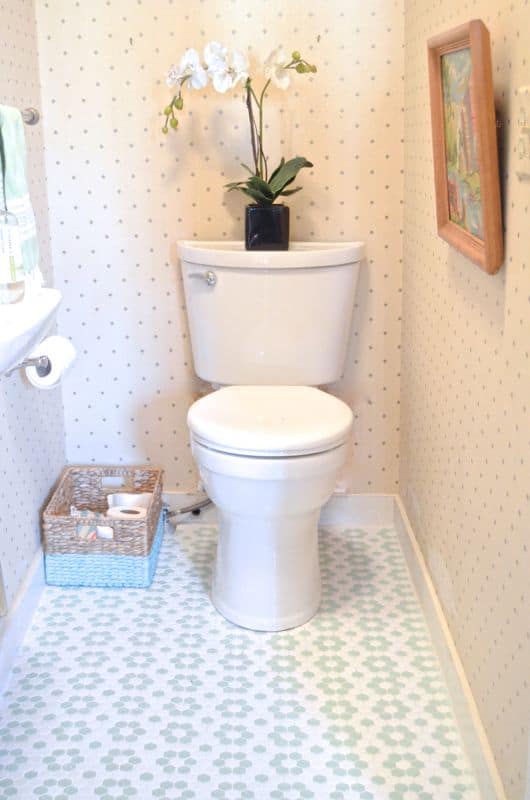
Did you notice the KILLER hex tile?? Good!! When I removed the toilet, I had the chance to pull out the grody vinyl floor that was in there and I replaced it with these cheap but totally chic hex tiles. I’ll share how I did that later with as many pictures as I can dig up! Spoiler alert: it was under $100.
Materials (Affiliate links included for your convenience):
• 1 Replacement Toilet. Mine is the Champion Pro from American Standard
• Wrench
• *Not necessarily needed, but I’m always glad to have a Combination Wrench Set when I tackle plumbing projects
• Utility Knife
• Wax ring
* OPTIONAL: I needed my Dremel Multi-Max for this job. I love it and use it all the time.
Also needed to fit your model toilet:
– Water line
– Toilet Seat



Ahh, I’ve replaced many a toilet in my days as well! We actually need to replace ours right now (we’ve resorted to turning it off when we’re not using it) so hopefully I get some motivation soon, love the floors!
HA! That’s fantastic. That’s pretty much what we did with this one! The floors made a big difference, but not running in to lift the back off the toilet every time one of the kids used it has given hours back to my life. 🙂
Great DIY article. I would add they should measure the bottom of the old and new toilet before install. If the old toilet has a wide bottom and the new toilet has a narrow bottom, there will be exposed floor that was covered by the old toilet. This can make a new install look rather unsavory.