Striped Dresser Makeover
Psssst… this post *might* contain affiliate links: see my disclosure here.
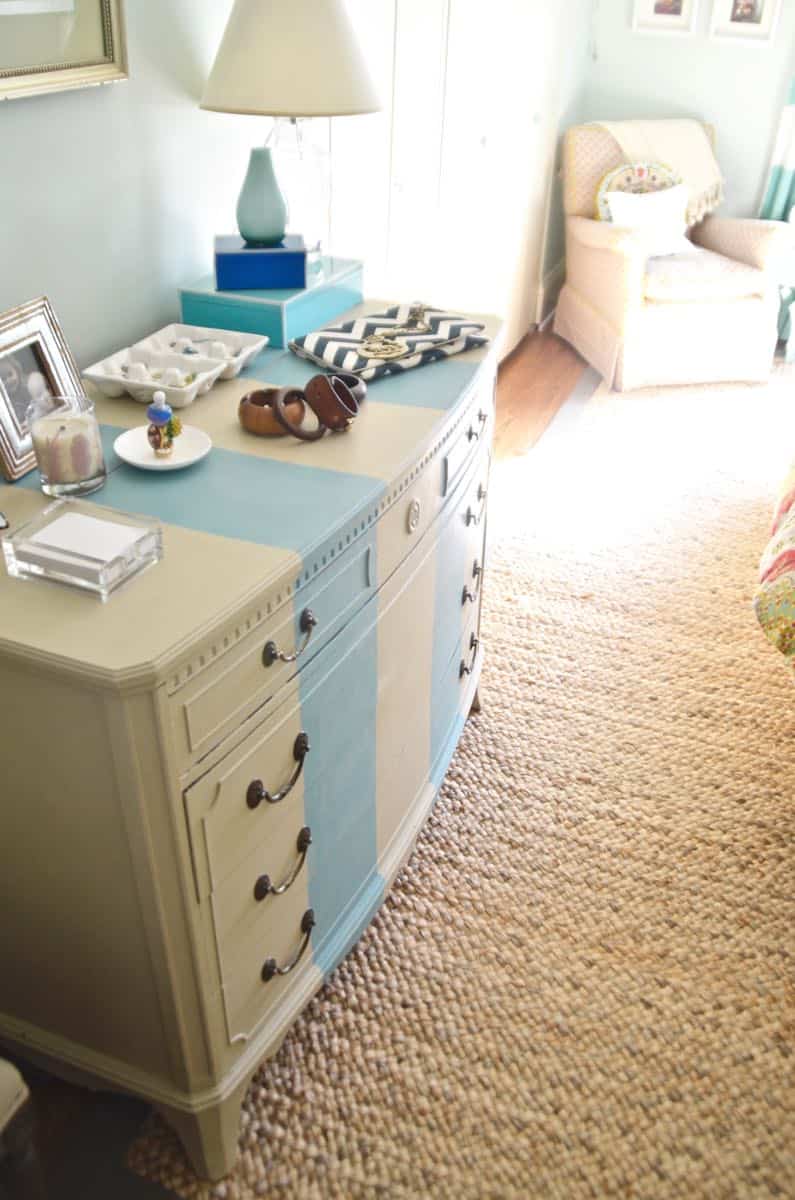
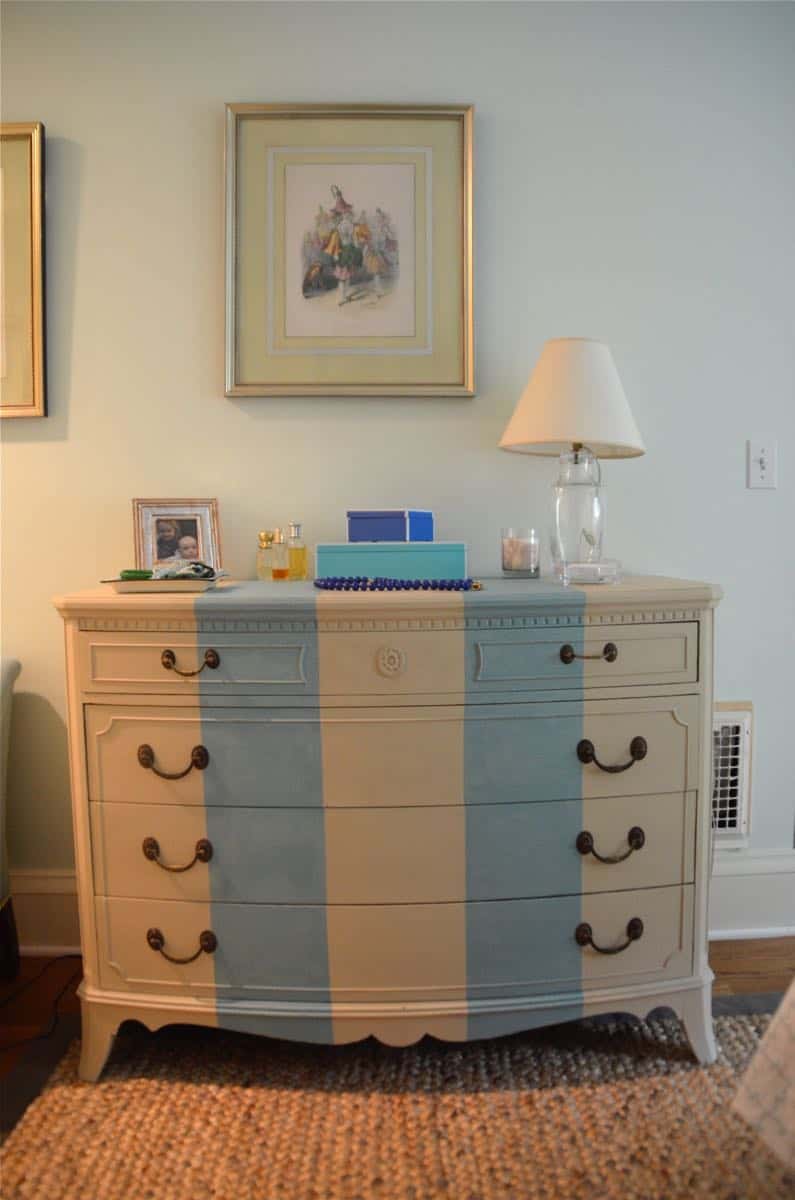
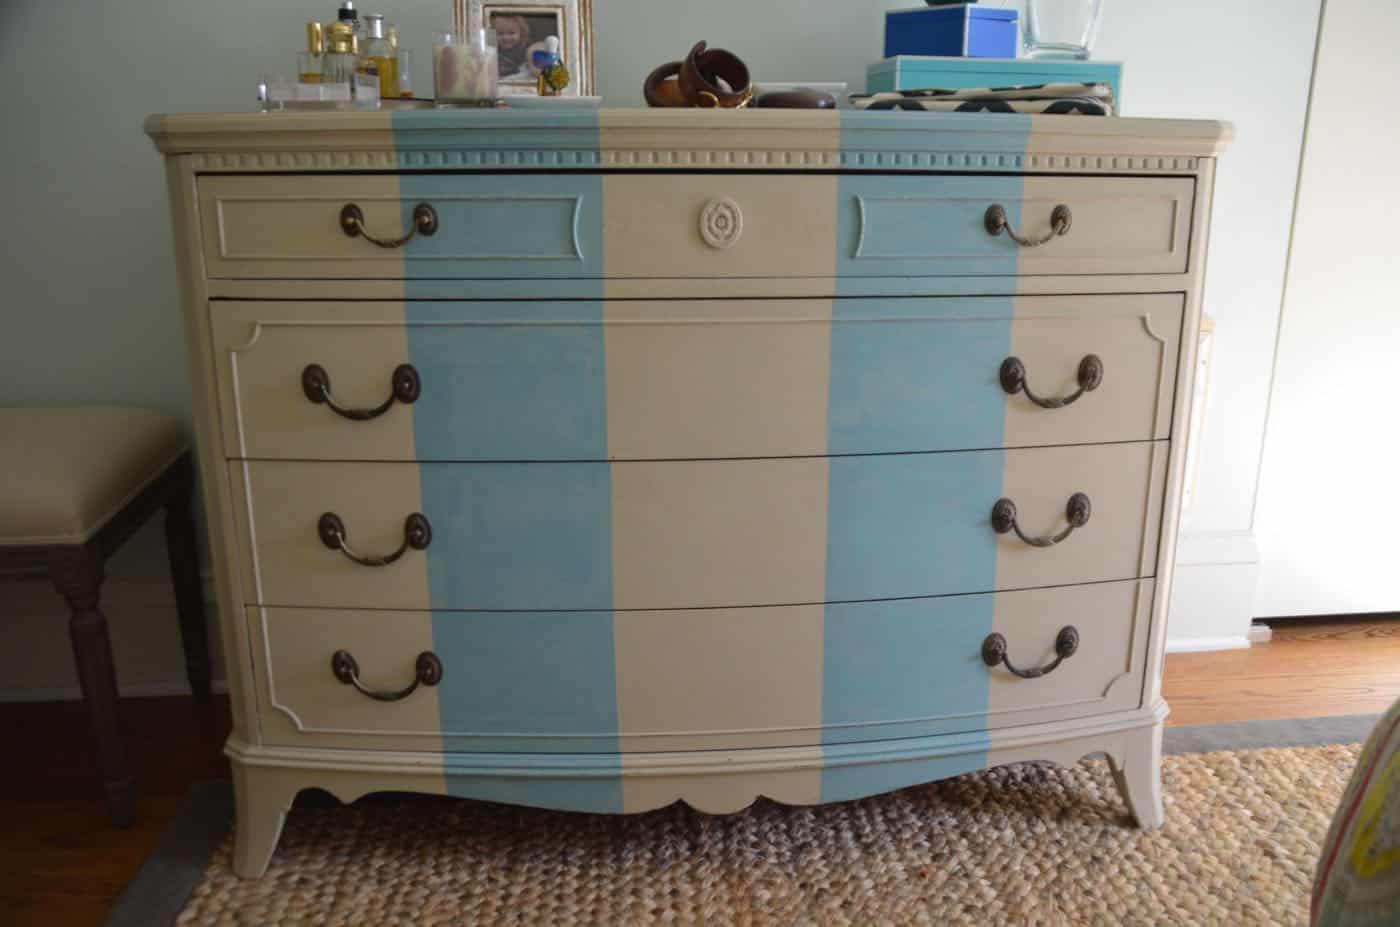
What would Memorial Day weekend be without some furniture shuffling?! And given the 40 degree temps in the northeast, it’s not like we were grilling or swimming or anything… Our master bedroom got a new striped addition with this bureau makeover!
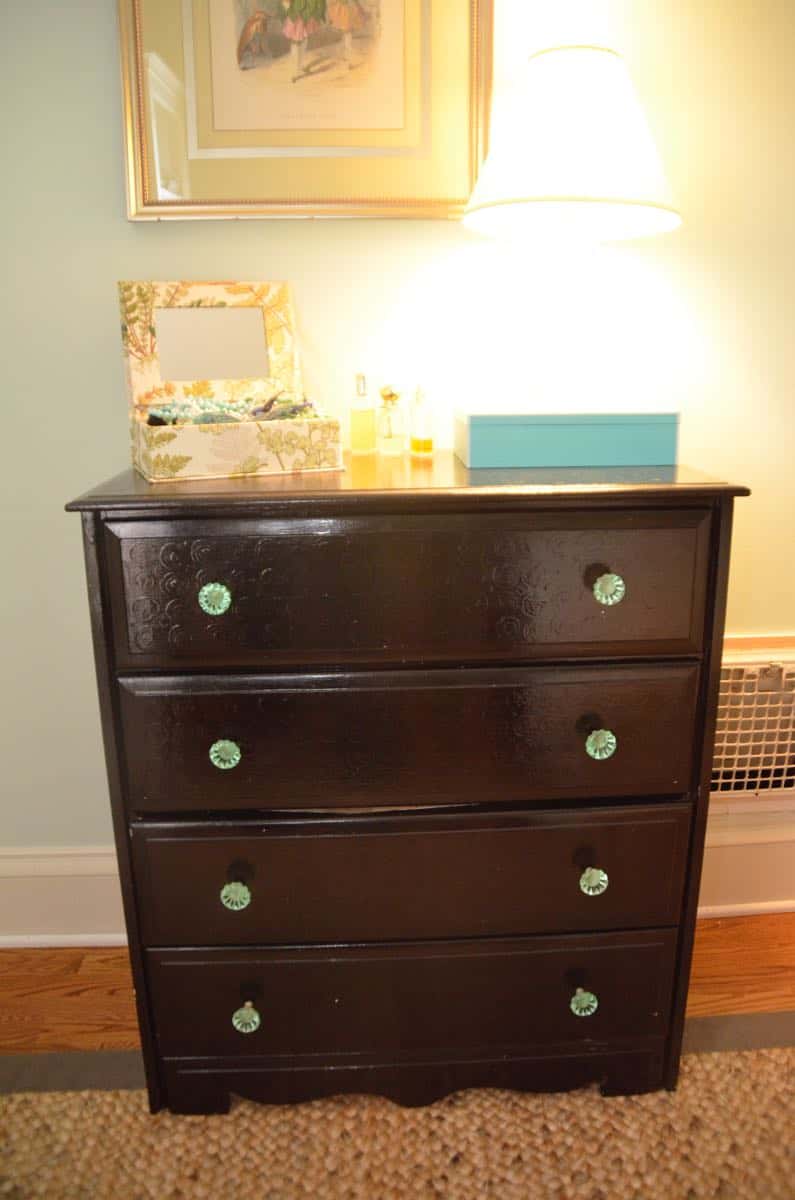
Here’s the dresser that I’ve been using for about 10 years. Maybe more. It’s wee. Tiny. Miniature. (Perfect for a NYC apartment, by the way!)
Shop my favorites!
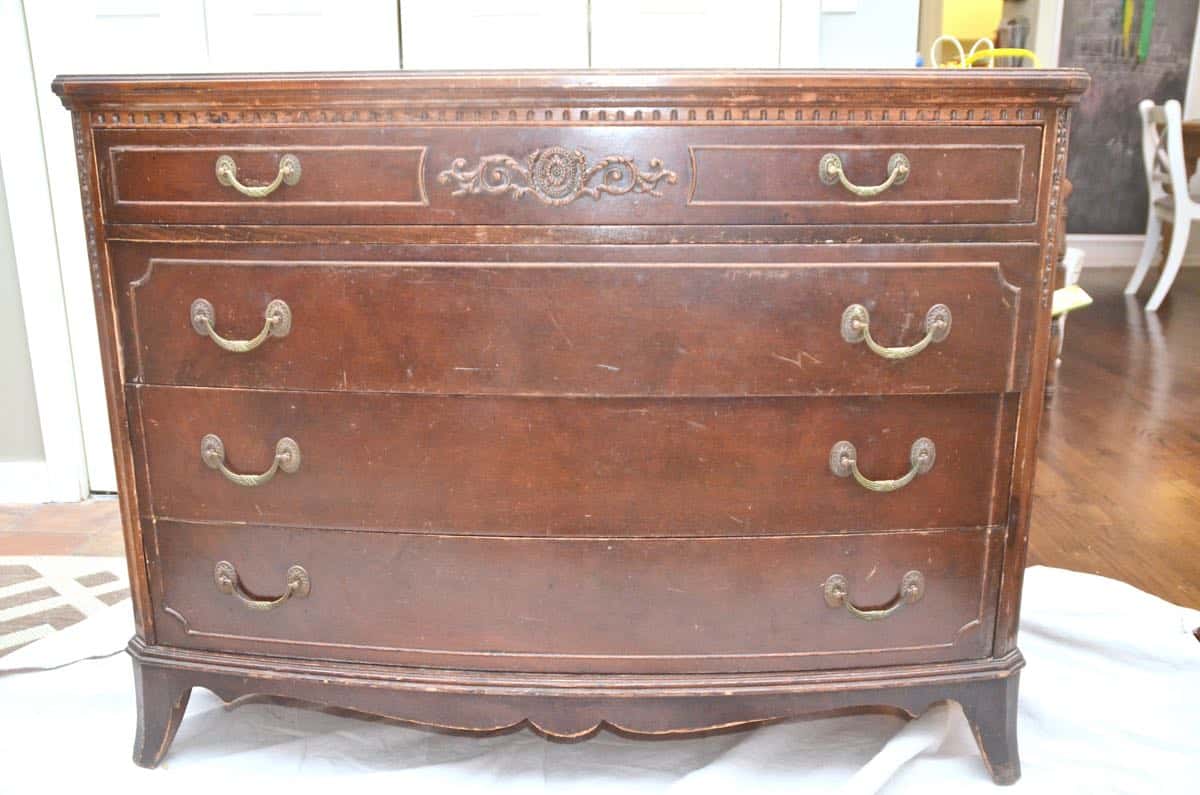
Time for a bureau switcheroo. I had this old piece collecting dust in the garage. I bought it for cheap (natch) on Craigslist because I loved the clean bow front, the dainty wood trim detail and the overall shape. That black dresser will require some paint stripping before it’s next makeover, but I had simpler plans for this antique dresser.
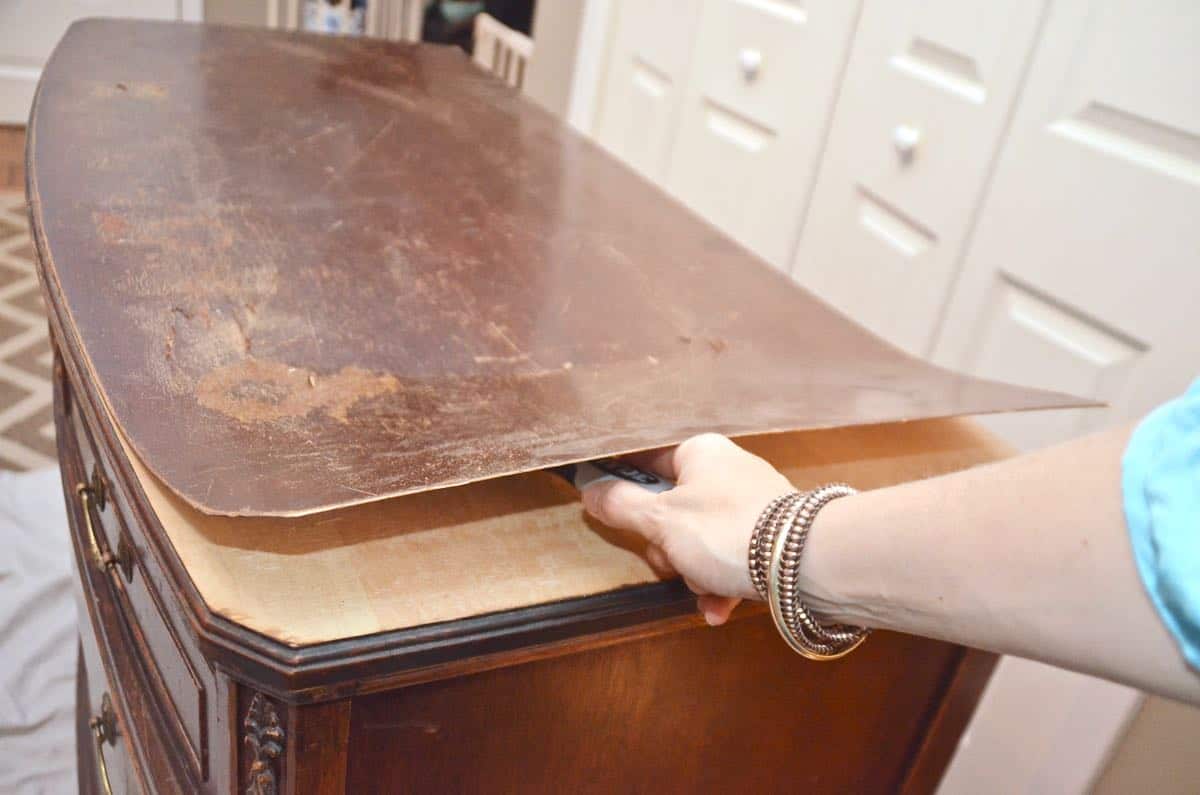
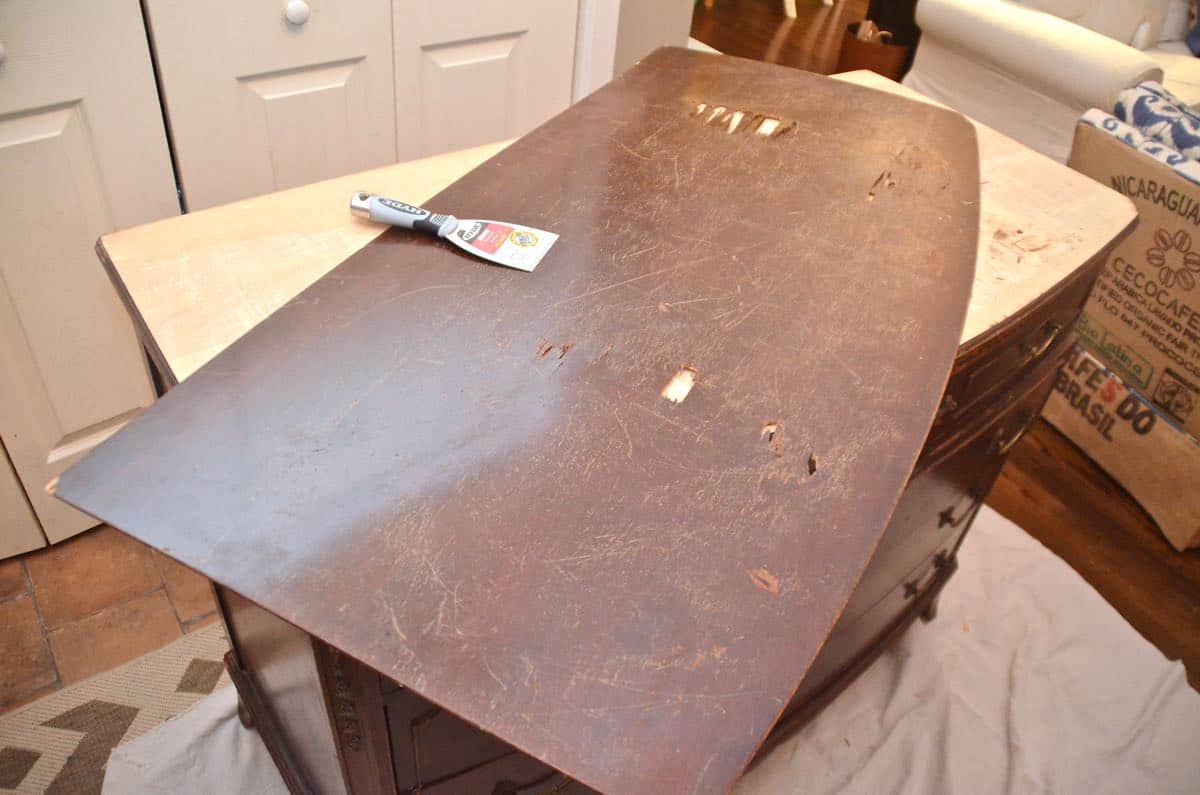
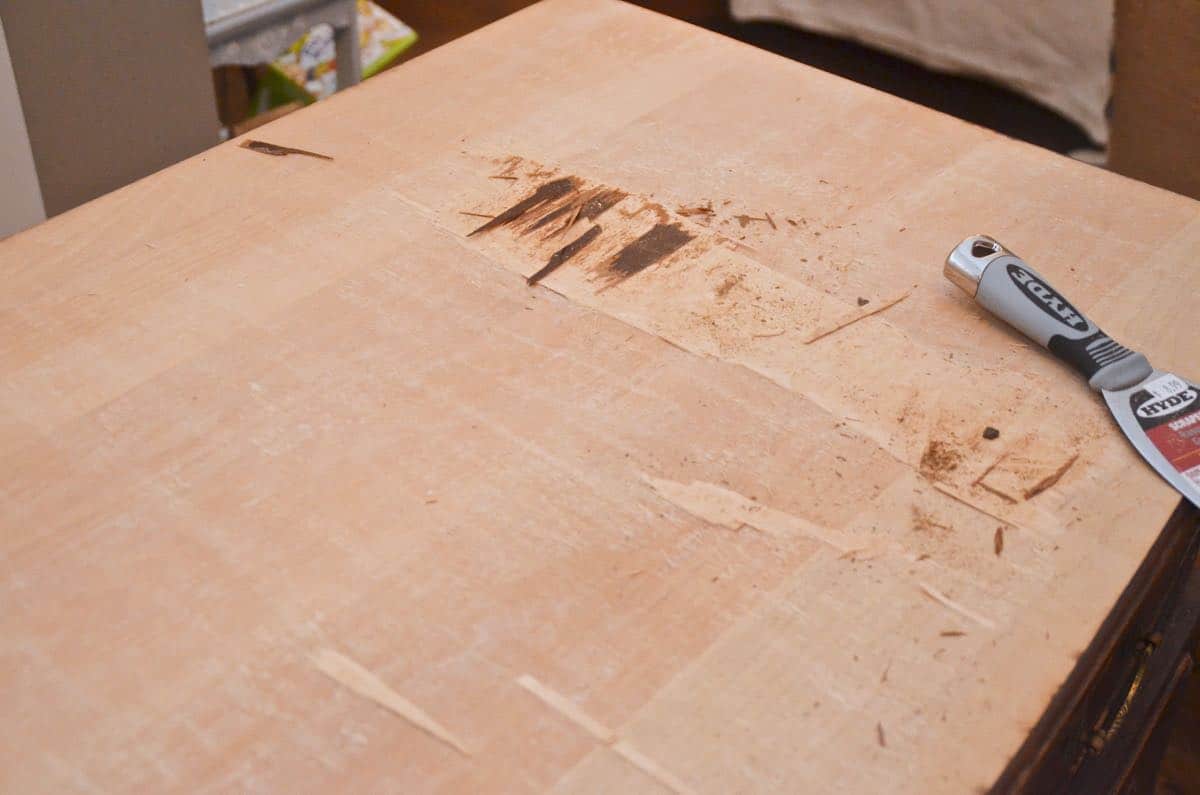
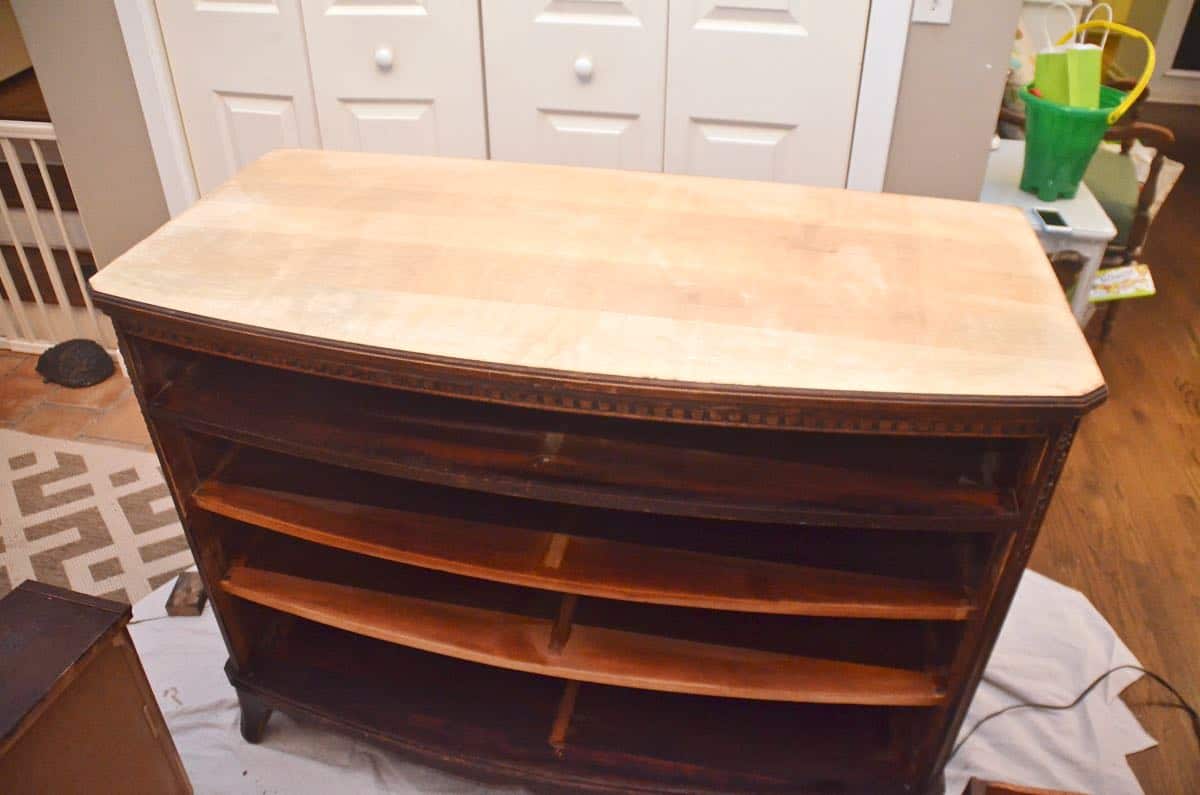
I planned to use Annie Sloan’s chalk paint on it, so no preparation involved, but the wood veneer on the top of the dresser needed some attention. It was mostly loose along the back edge so I decided just to remove it entirely. Using a flat metal putty knife I pried off what I could and thankfully the glue was loose pretty much all over. I was able to work my way around and remove the entire dresser top only leaving behind a few patches of the veneer.
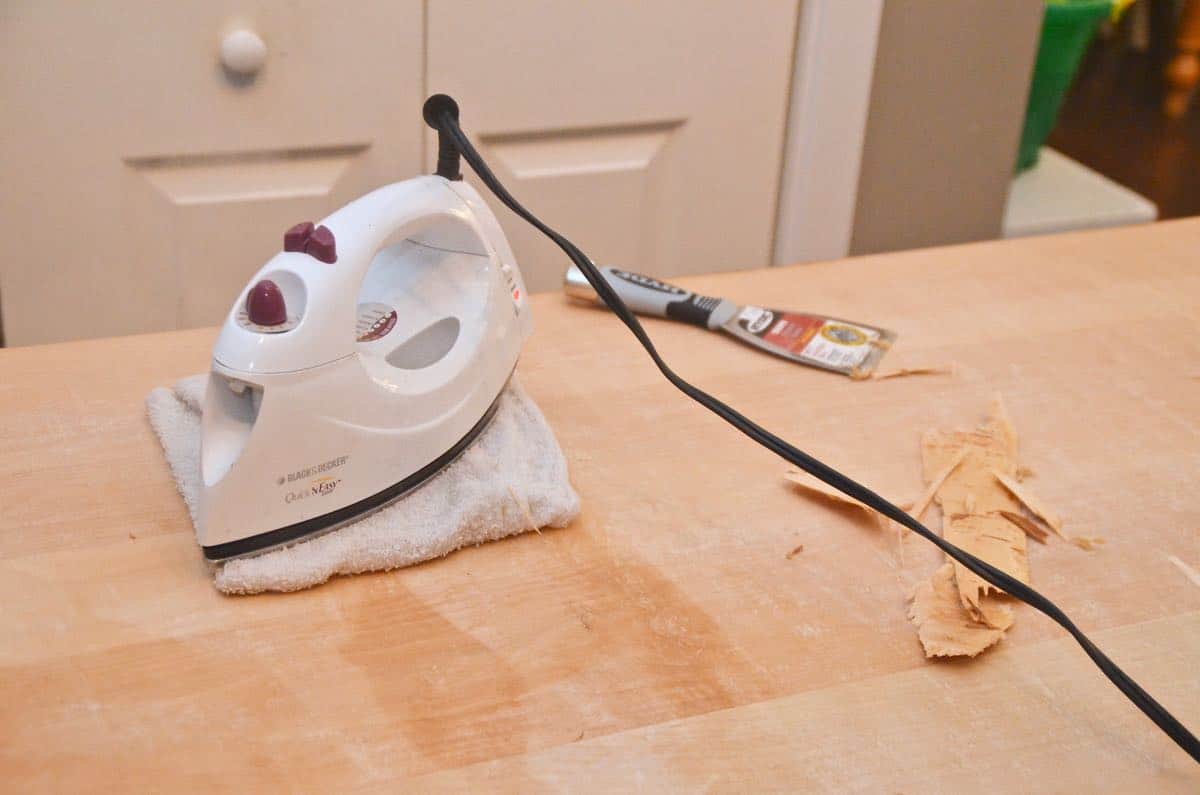
So how do you remove wood veneer or laminate? I googled around and it’s not wildly complicated but probably would be a lot of work if I had needed to pry up the entire surface. Logistically speaking, you want moist heat to release the glue; specifically, a wet towel and an old iron. I soaked an old rag and squeezed out a bit of the excess but left it fairly moist. I placed the rag on top of the areas on the dresser that still had veneer and placed the hot iron directly on top of my towel. Be smart, people… there will be lots of steam and lots of heat. Your towel will be very hot when you remove it, as will the surface of your furniture.
Once the iron sits for up to a minute, remove it and use your putty knife to pry up what you can. My few remaining pieces of veneer came up immediately so the only effort for a more persnickety piece would be in systematically moving the iron along your veneer. I spent a little time with the putty knife and a magic eraser to scrape of the last remnants of glue that were still tacky and visible on the dresser’s top.
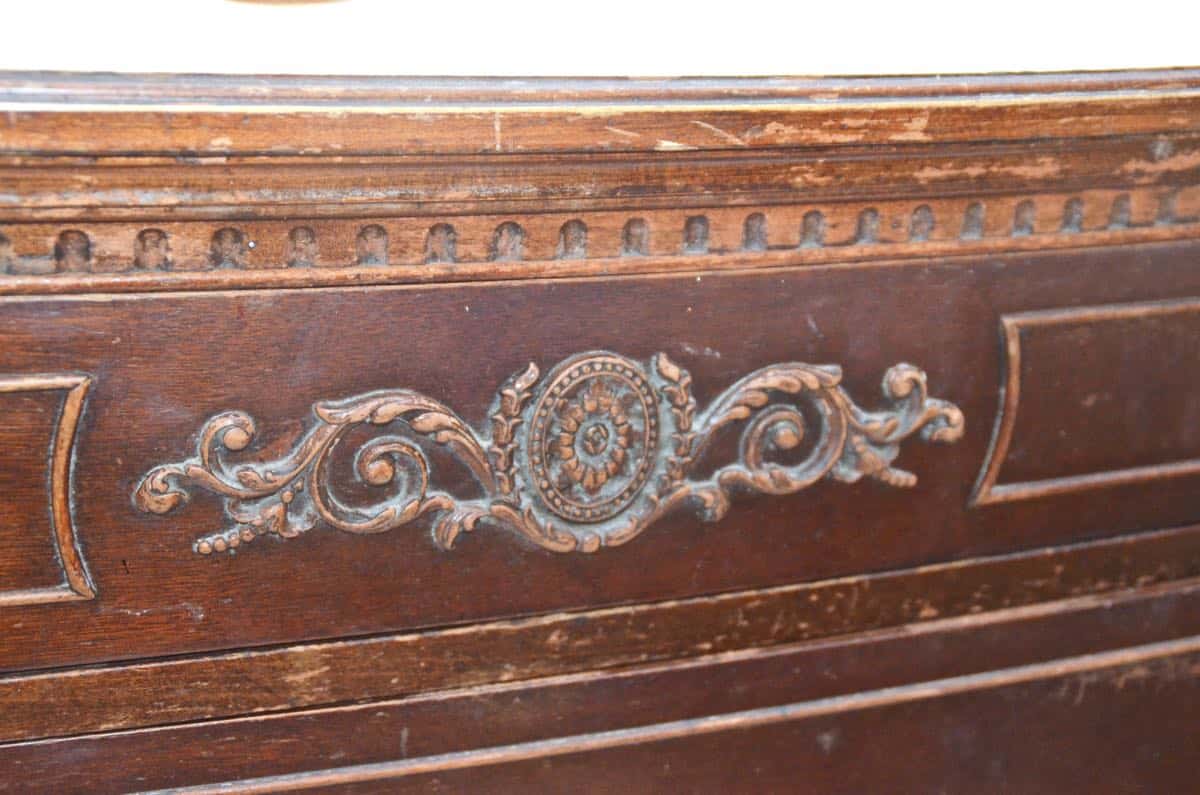
After removing the hardware, I went over the entire dresser with the magic eraser just to make sure it was clean and ready for paint. I also opted to remove the more intricate pieces of wood detailing. They were either tacked right on or barely glued so the embellishments that I wanted to remove popped right off. I left the center medallion and the delicate trim along the front drawers. (Here’s a close up of what I removed.)
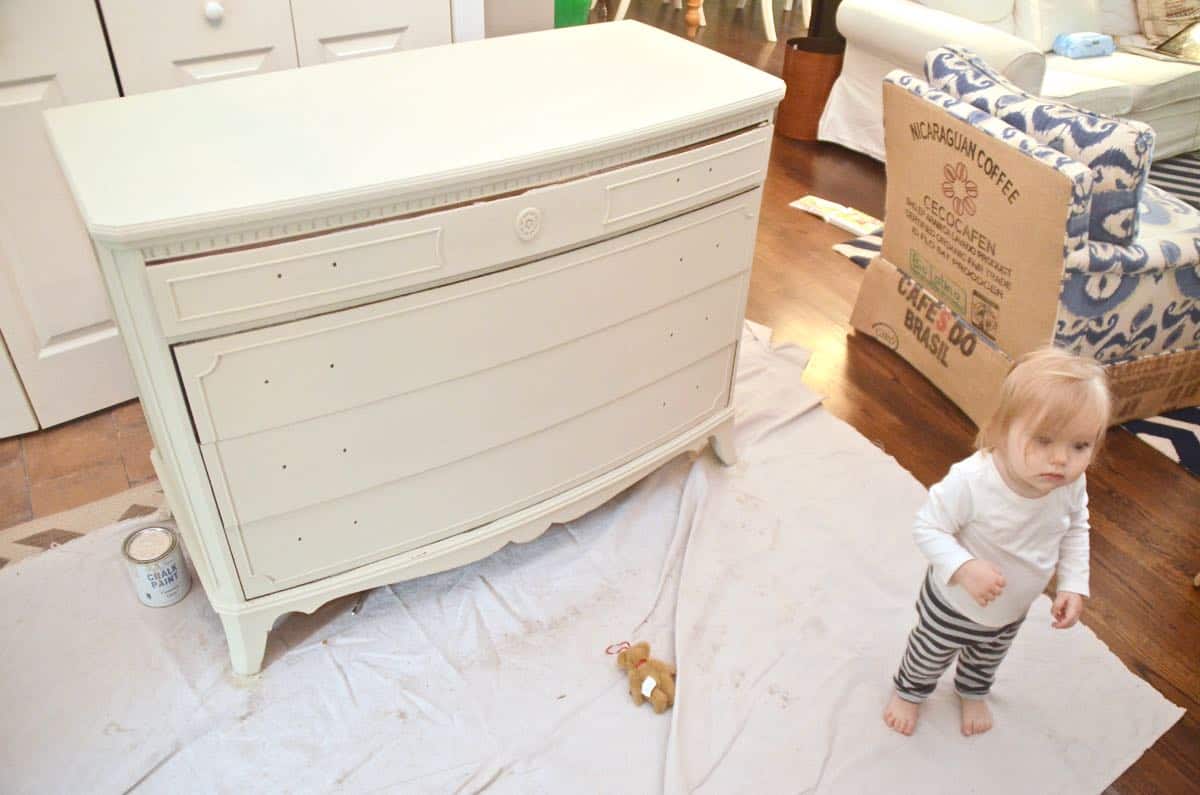
I gave the bureau two coats of Annie Sloan’s Country Grey (it’s English, so that’s the spelling on the label!) about an hour apart from each other. I talked about chalk paint a bit in this post but it’s amazing. You don’t need to prime or sand, but you do need to go back over your paint with a wax to seal the finish so that’s a step to factor in. You can certainly buff the wax to get more of a sheen, but chalk paint probably won’t give you a high gloss finish if that’s what you’re going for. Colors are limited unlike standard latex paint, but those are about the only drawbacks in my opinion. Oh, it’s expensive ($39 a quart). But you don’t use a lot of paint for each piece so in theory you’ll get your money’s worth eventually.
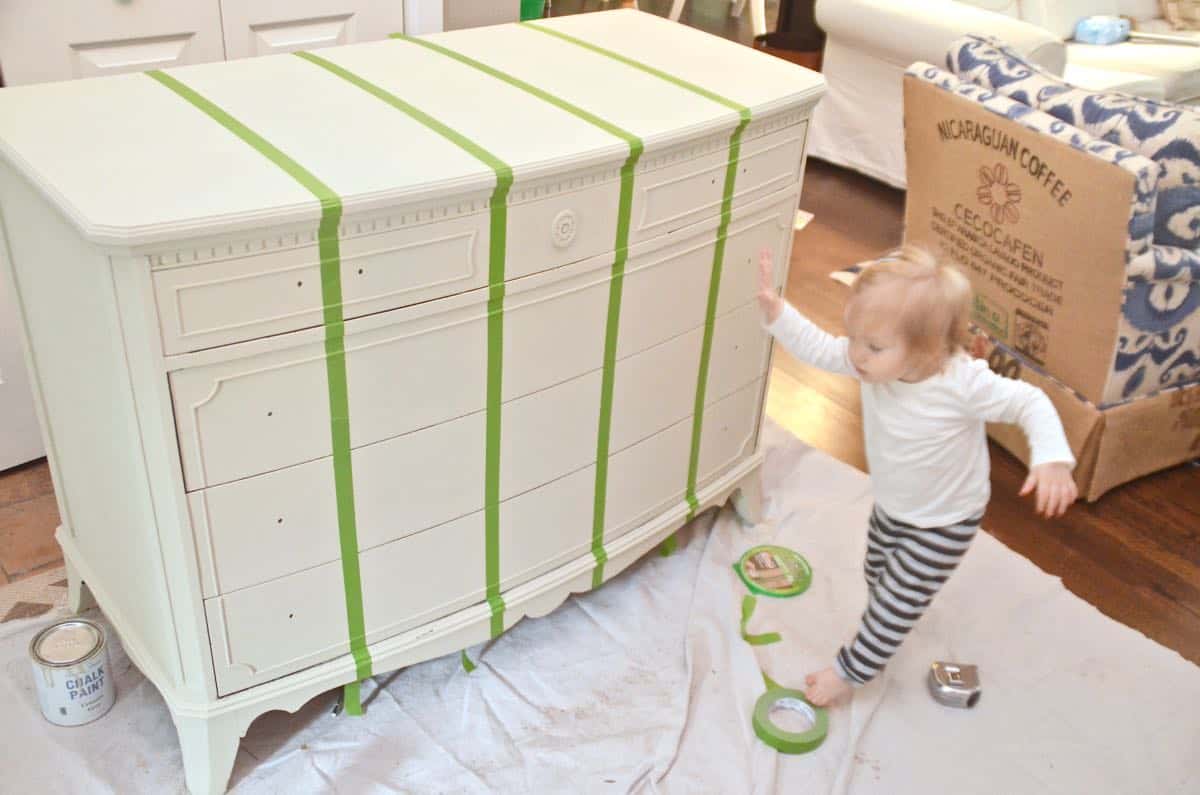
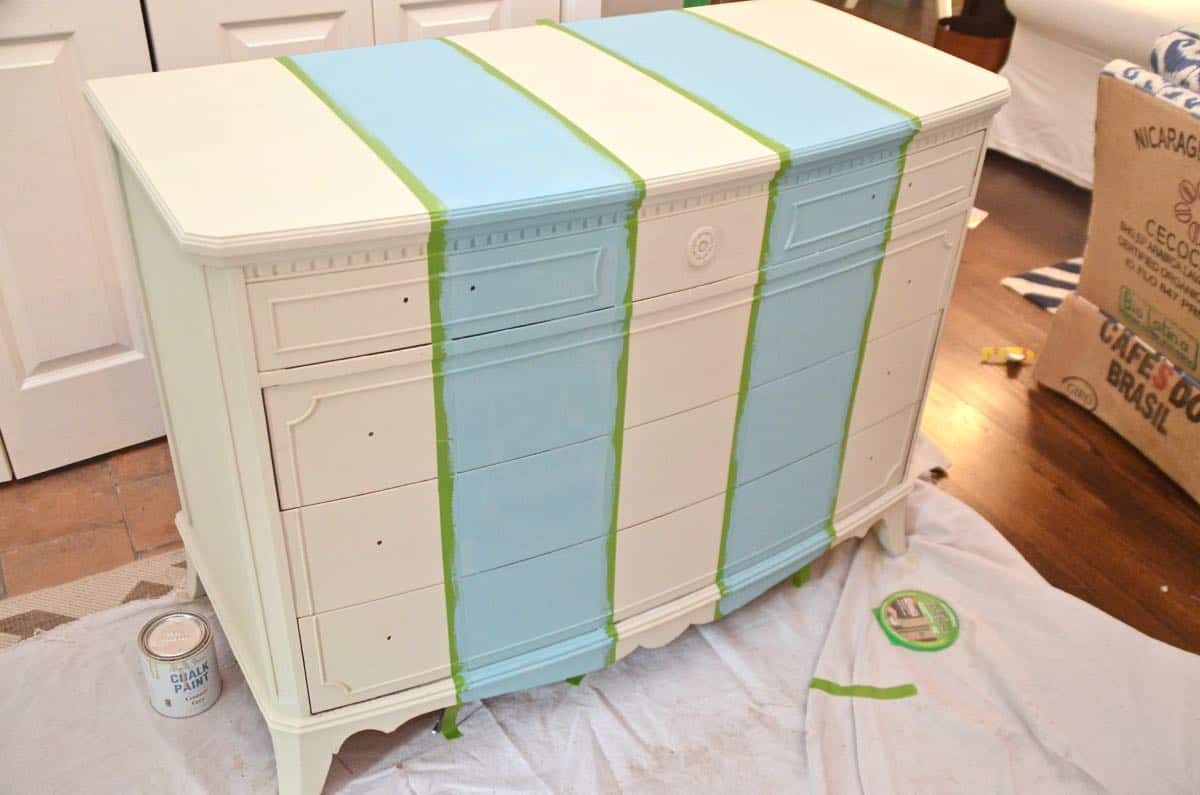
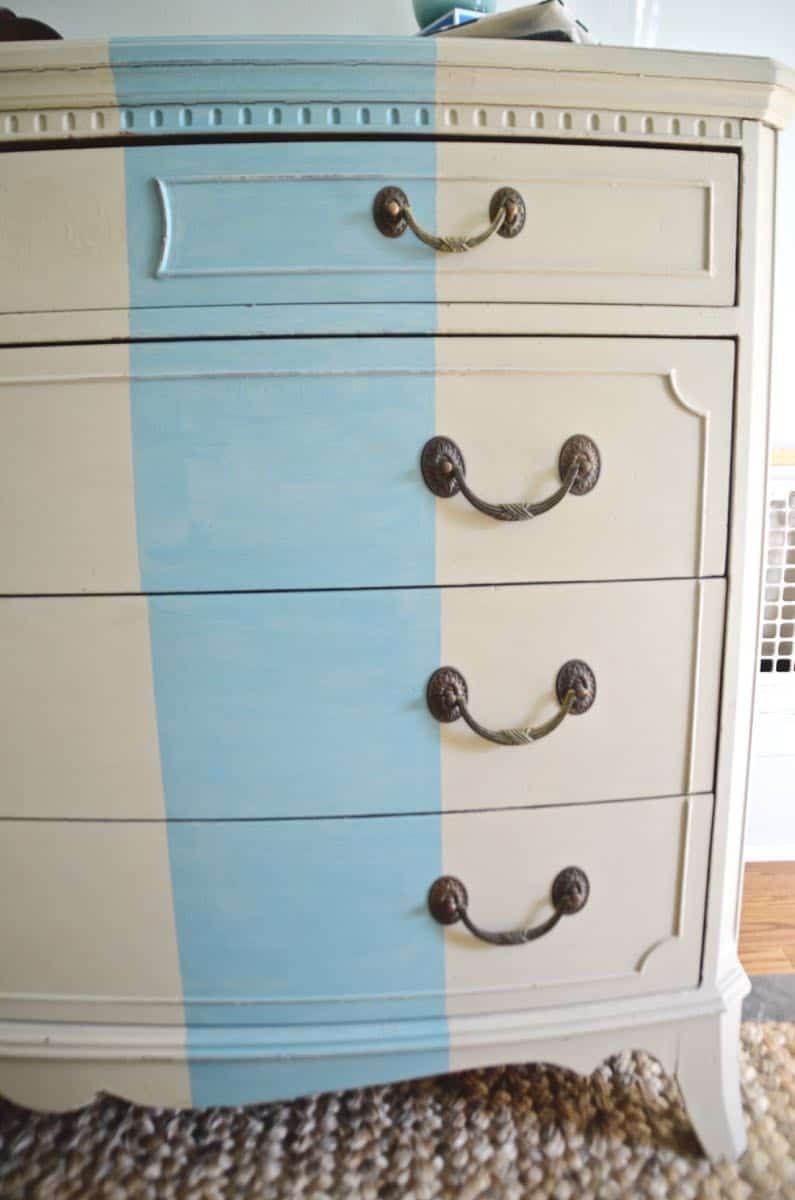
After the Country Grey, I wanted to bring in a little pizzazz and a little color, so I striped that joint. For the stripe, I just bought a sample pot of Provence and gave one coat. I sanded the surface quickly to age it ever so slightly. Martha takes her role as apprentice in training very seriously as you can see.
There are plenty of tutorials online if you’re into Annie Sloan chalk paint, but here’s my two cents (skip ahead if the details are as interesting to you as, well, watching chalk paint dry). When it comes to waxing, less is more. Tip #1 Don’t overload your brush with wax. (I invested in the Annie Sloan wax brush and am glad I did… it’s the right size, the right texture, the right strength… well worth it.) I massage the wax into the piece in a circular motion and then quickly run my brush in the direction of the grain to smooth the surface. With a lint-free fabric (I use old sheets), remove any excess wax. If mistakes are made with chalk paint, this step seems to be where those mistakes are made… mistake #1: too much wax is bad and mistake #2: you need to remove the excess wax right away. If the wax sits for too long, you won’t be able to remove the excess and it will always feel tacky, so wax a small area at a time and immediately remove the excess. I didn’t buff this piece too much so it has a pretty flat finish.
The wax takes a few days to really harden and cure so don’t place anything on the surface of whatever you’ve waxed for a spell.
The colors work well with the space… the pale tan of the background pick up the natural tones of our sisal rug and our neutral headboard, but the bright aqua stripe adds some interest and ties into the bedside tables and the bedding. I wasn’t in love with the hardware, but I kept them to keep with the character of the piece, and they don’t bother me too much. I’m really glad that I removed the small wood embellishments as I think the stripe works better with the cleaner lines of the dresser as-is.


Great tip about the wax.
I keep meaning to use it, but I wouldn’t have known about the hardening time.
Great piece – strong bones – nice treatment of it.
Thanks, Pat. I tend to forget the buffing stage as I don’t mind the flat patina… it’s a pretty forgiving paint!
OHHHHHHHHHMIGOD. I am dying over the shape of this dresser! SO beautiful! The stripes take it up like twelve thousand notches too. It’s beautiful, but also cool and doesn’t take itself too seriously. LOOOVE!
Thanks Kelly! I love how it turned out… that old thing sat in our garage for months and I was beginning to think my Craigslist problem had finally gotten the best of me! Also, I’m addicted to chalk paint.
Beautiful dresser, and beautiful colors! It looks fabulous!
Thank you, Therena! Doesn’t hurt to have a little extra room either. 😉
What a beautiful makeover! Love the color of the stripes you chose. And I had no idea how to remove a veneer top. Thanks for sharing.
Thanks, Brittany! I guess that means I have one tally in my column of DIY knowledge to your 350 zillion! 🙂 Appreciate the shout out!
Love your blog! My precious friend Rhoda from Southern Hospitality sent me over here! Love all of your great projects. I’m not one bit creative so I need to steal yours and Rhoda’s great decor tips!
Vonda,
This sweet comment slipped through the cracks! I’m SO sorry! Thanks for coming over from Rhoda’s…. yes, she’s the SWEETest! 🙂 xx
Id like downloads of instructions please