
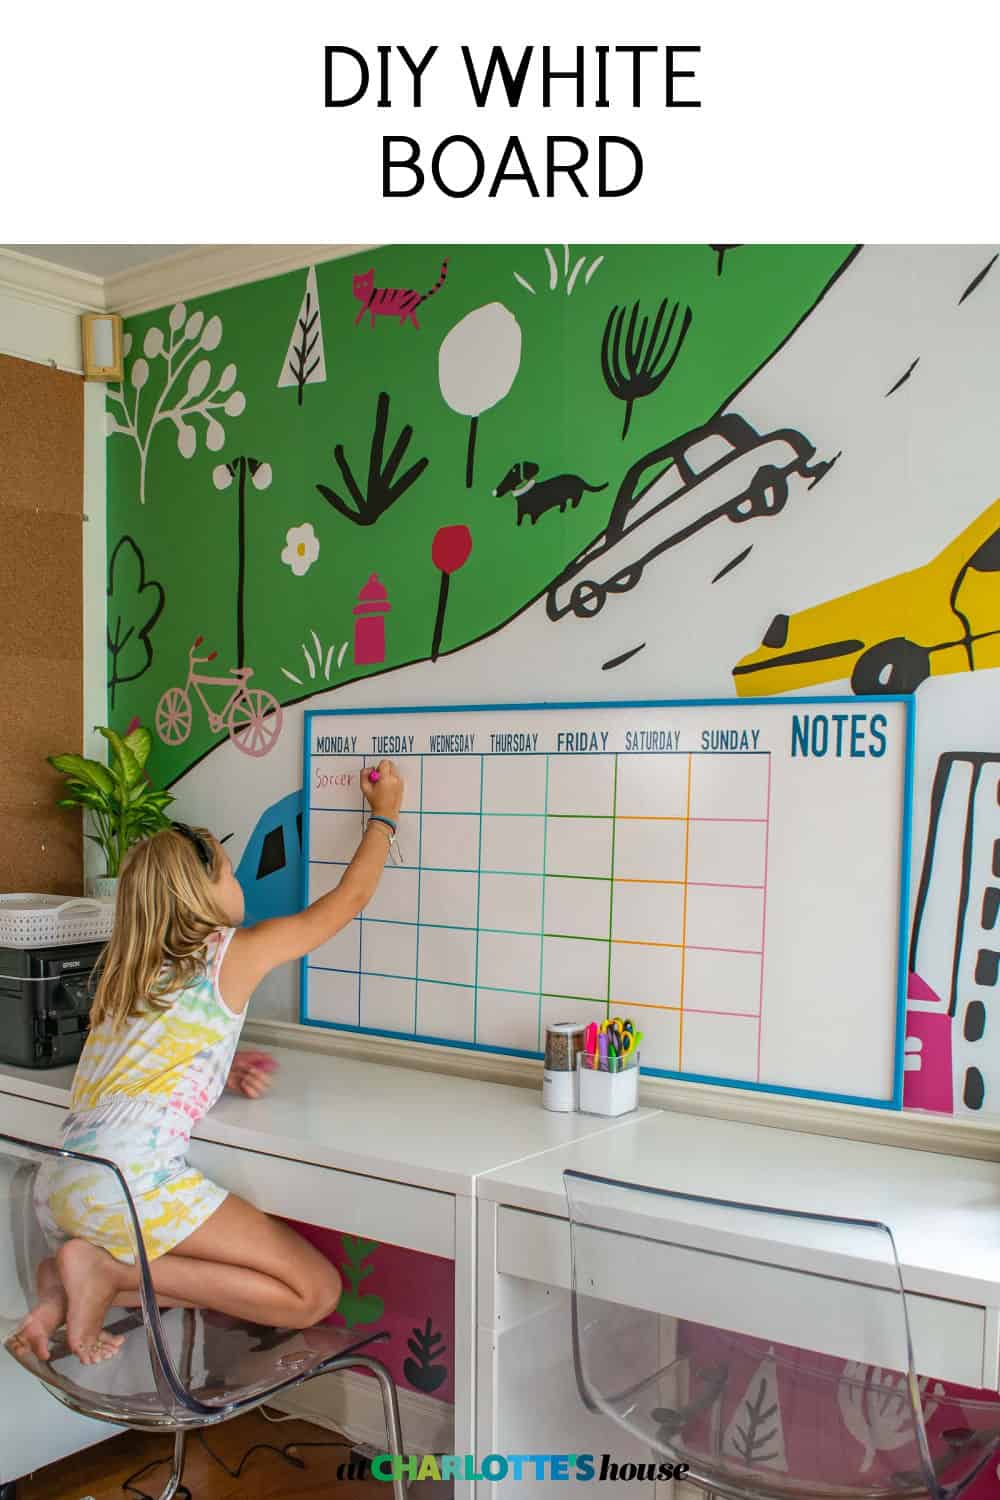
How to Make a Custom DIY White Board
Psssst… this post *might* contain affiliate links: see my disclosure here.
Using a Cricut Joy to Make a Custom White Board
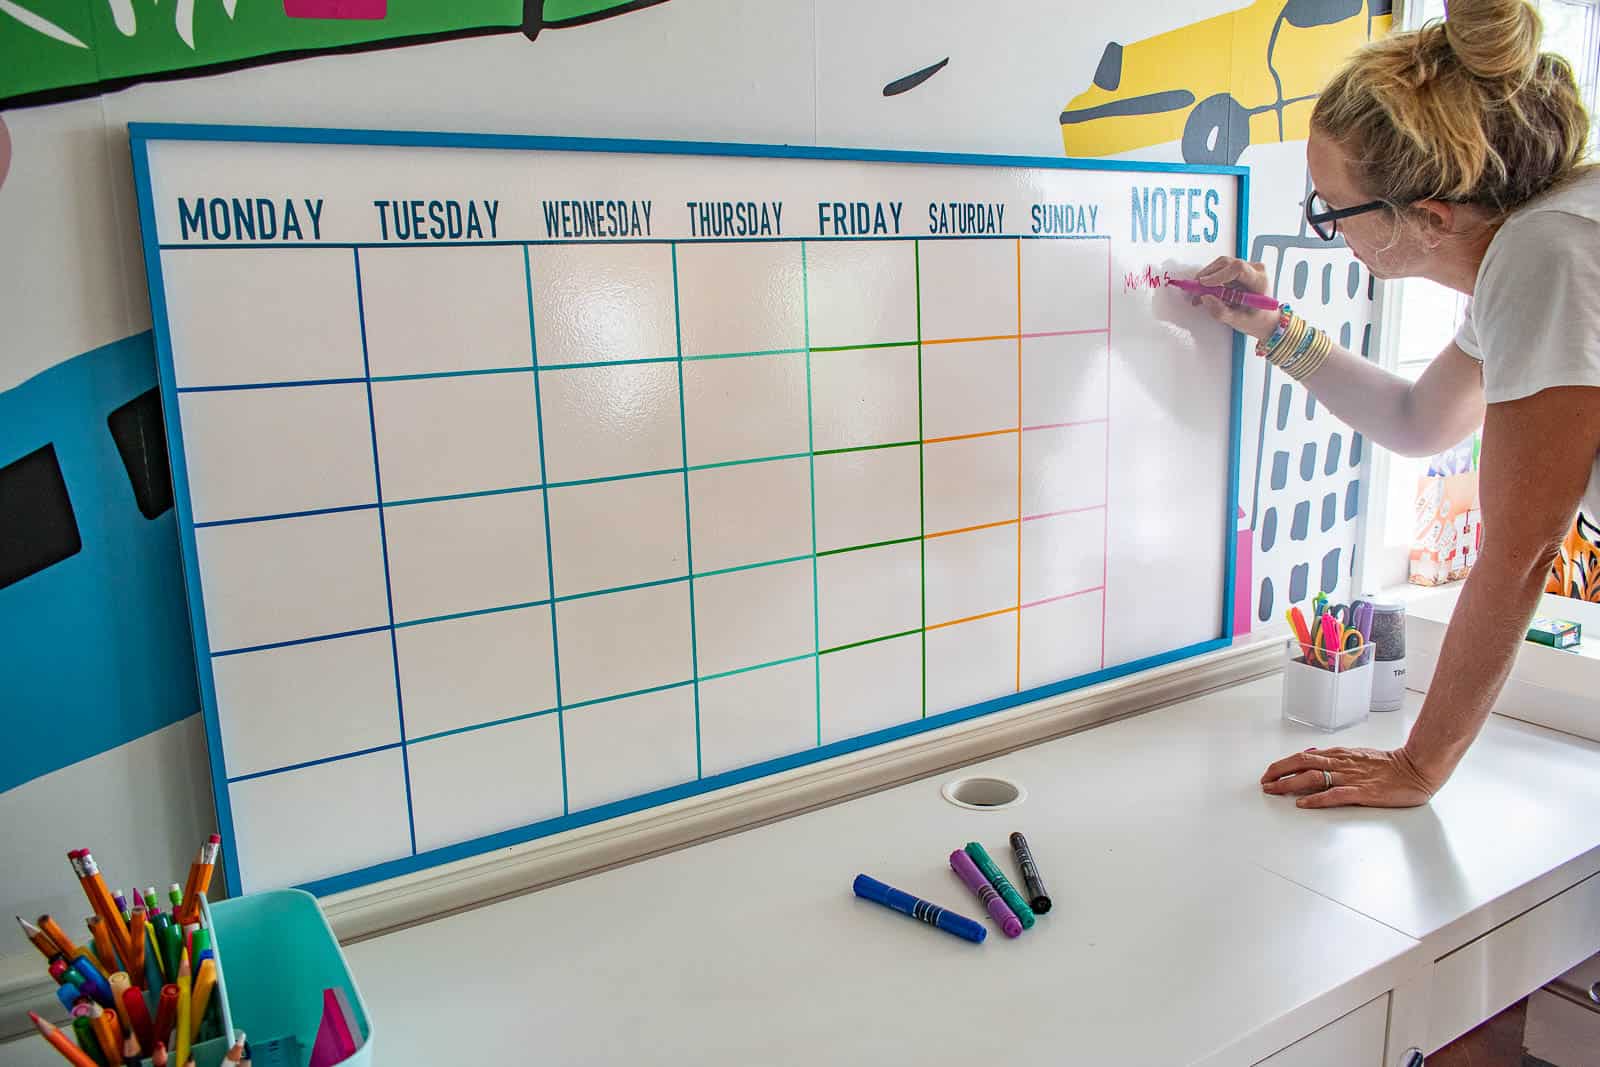
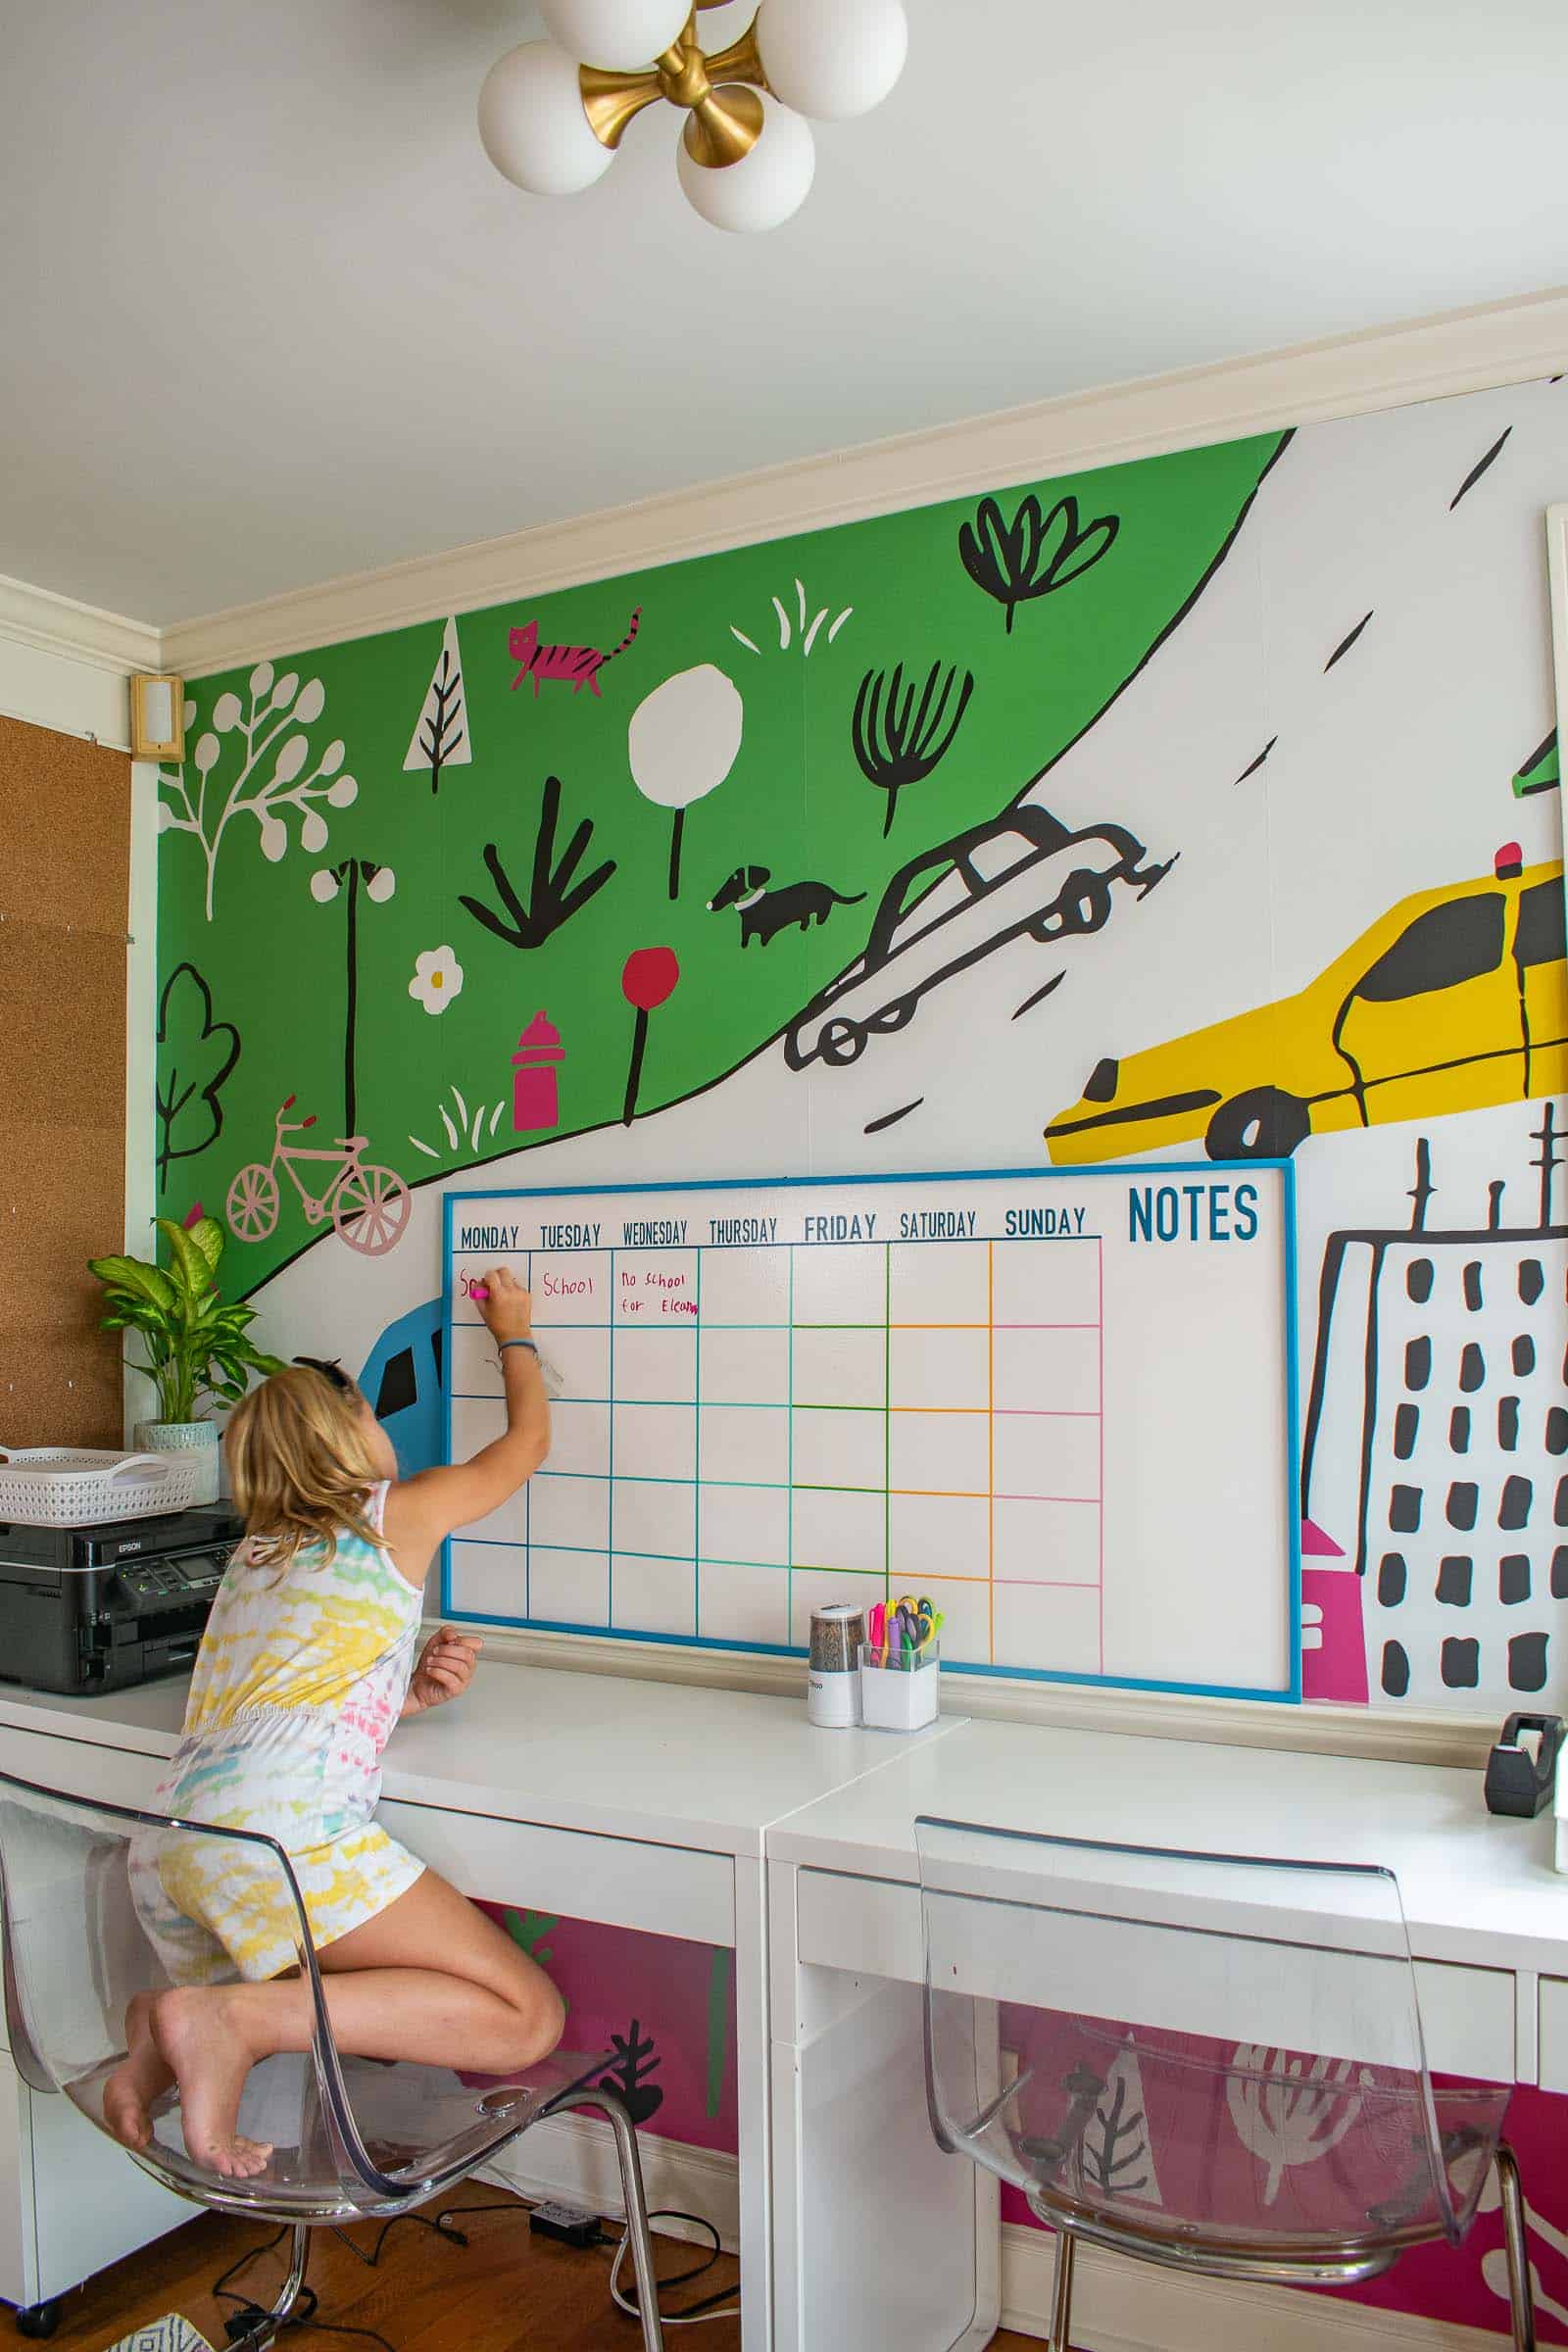
I made a colorful custom white board to keep use organized with back to school.
Disclosure: I’m partnering with JOANN to bring you this fun back to school DIY
Shop my favorites!
We’ve been back to school (hybrid) for a week and daaaaaaannnng these logistics are intense. Pick ups and drop offs and meets and links and so many other things that I’m sure I’m forgetting. Until NOW! I made the colorful white board of my dreams. Wanna know how?
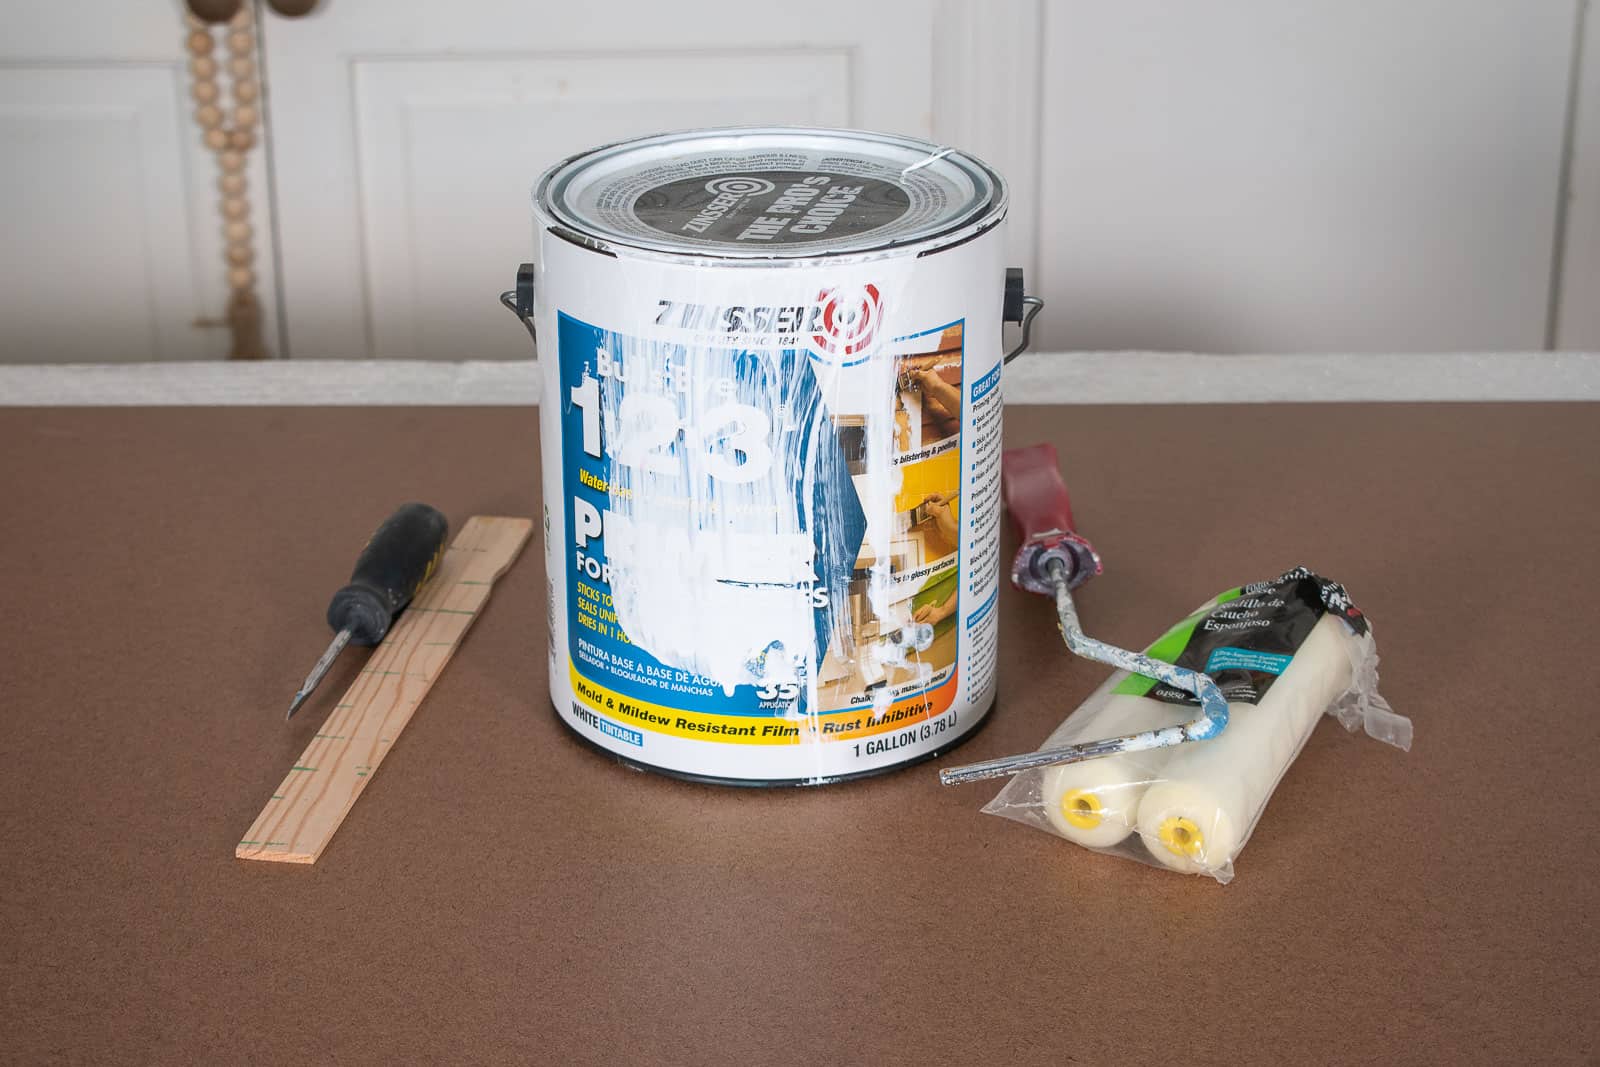
Step 1. Prep Your Surface
Originally I was going to paint the smaller frameless chalkboard but then it just felt too small. I picked up a 2×4 foot hardboard at the hardware store and primed it using a foam roller.
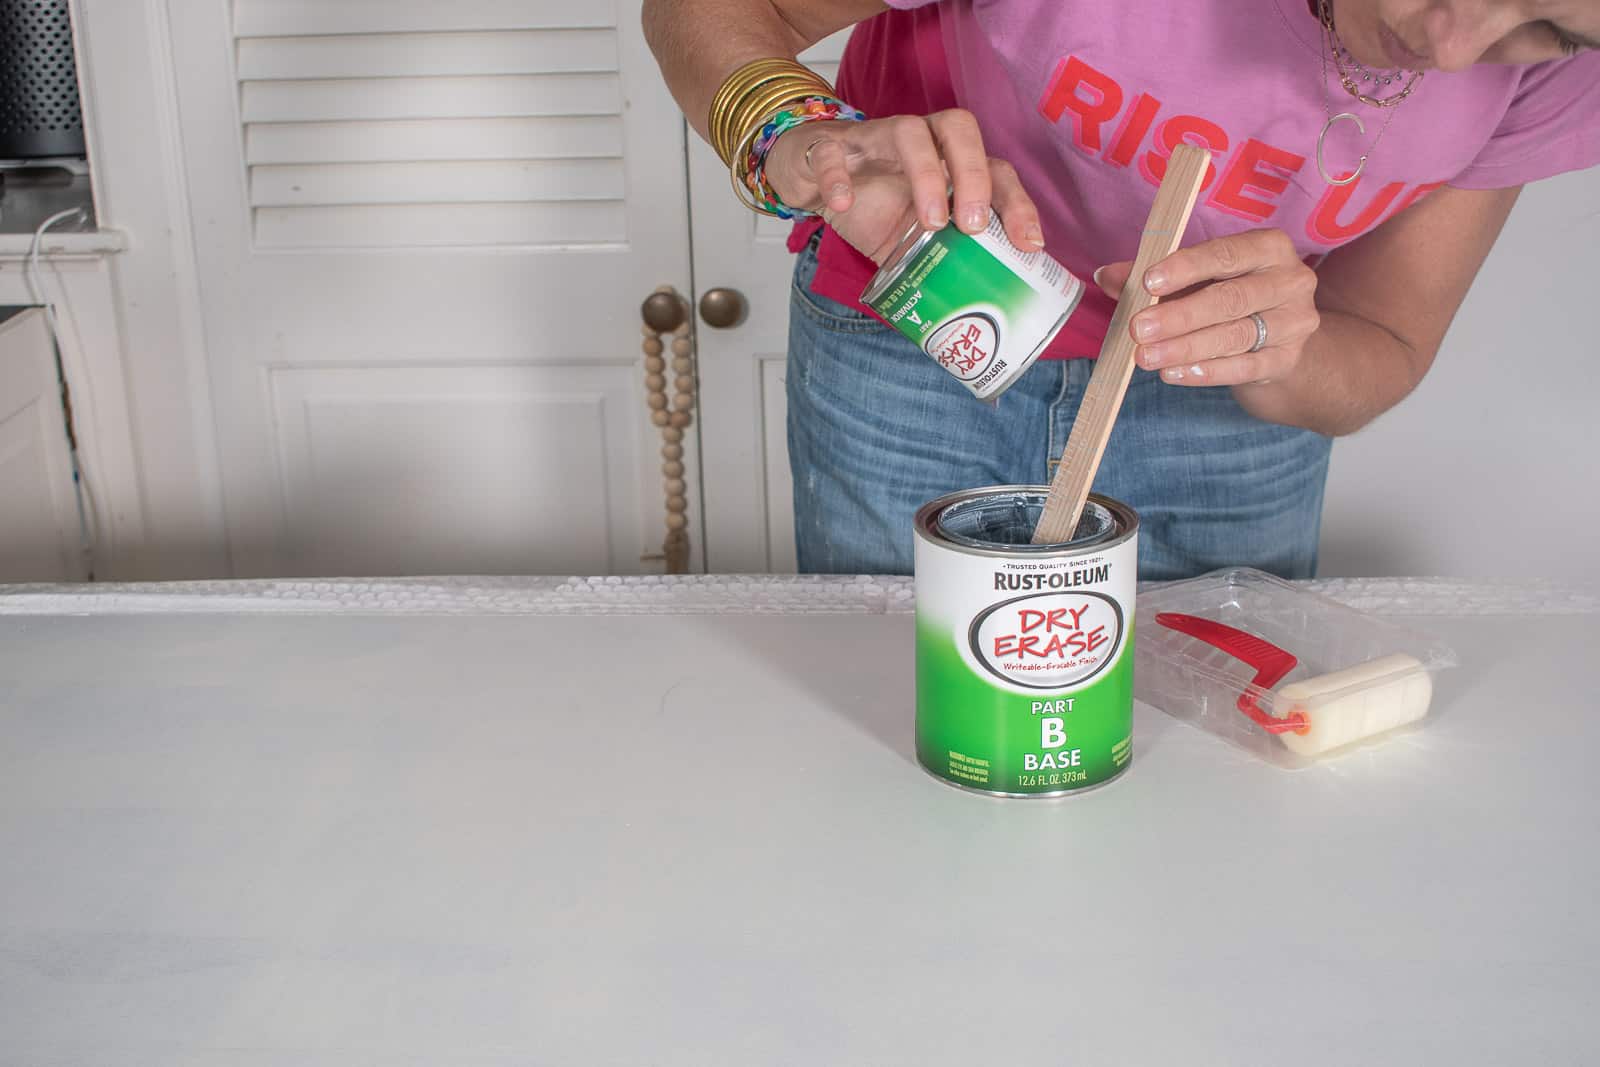
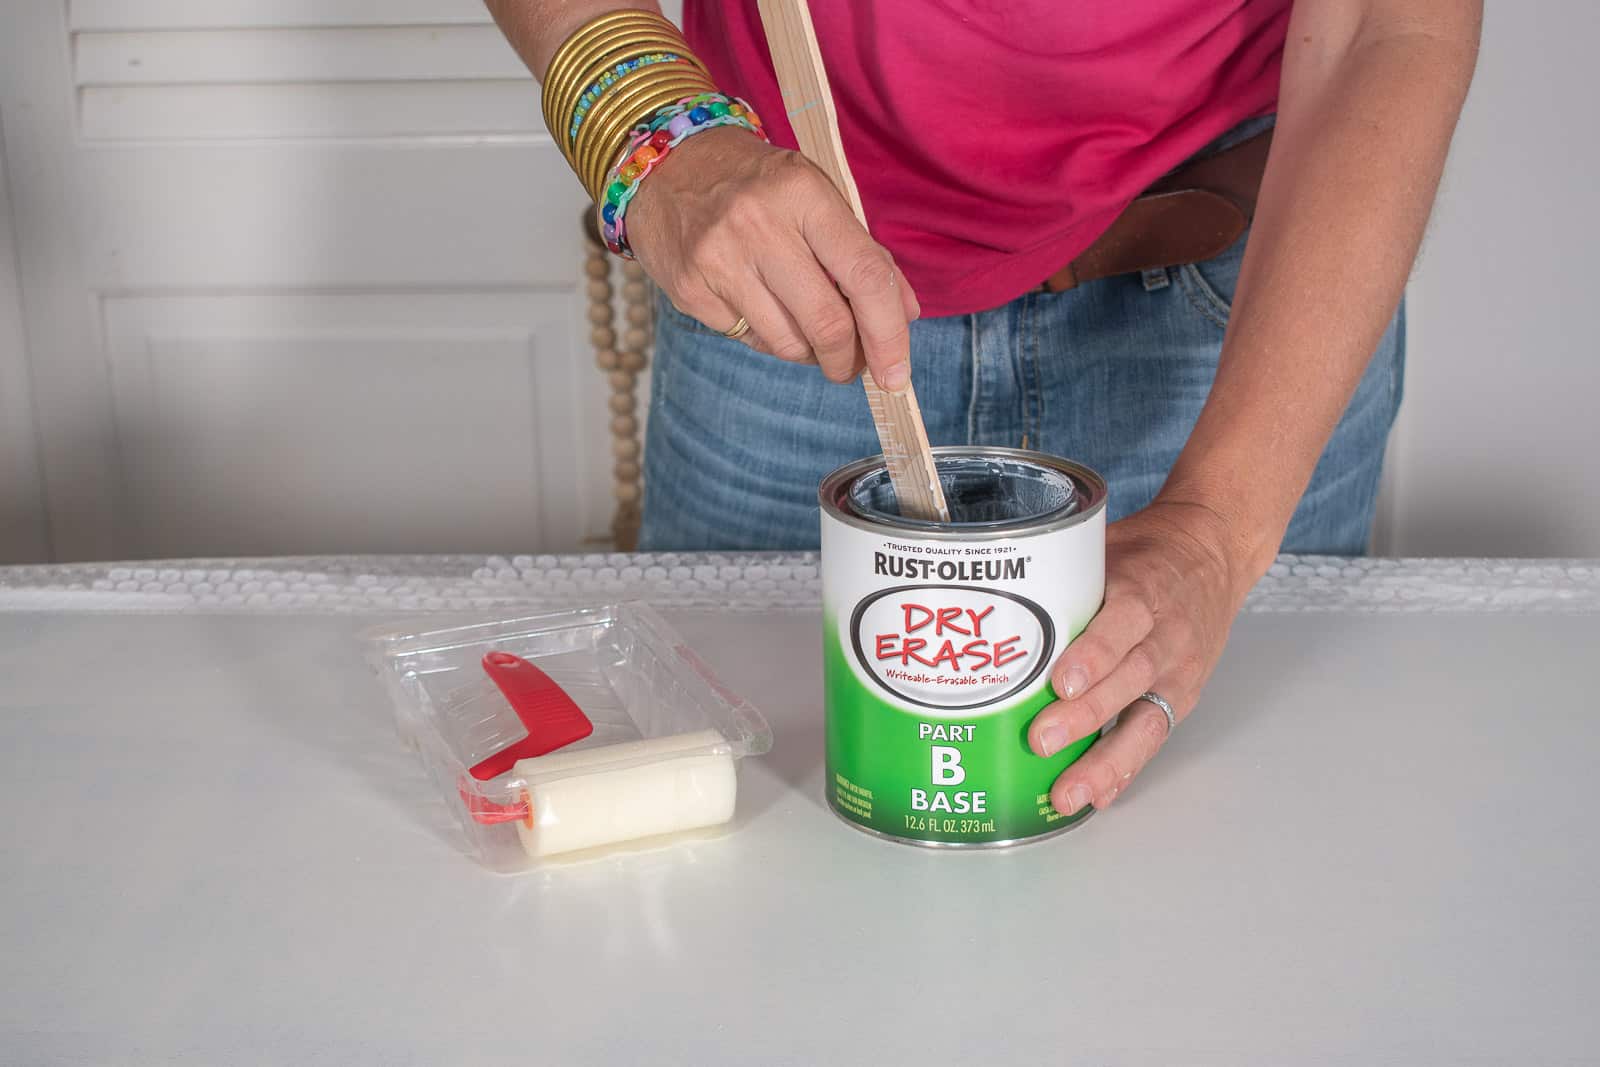
Step 2. Mix the Whiteboard Paint
I’ve never used whiteboard paint before but here are a couple things to be aware of. It comes in two cans so you need to pour the contents of the small can into the larger can and mix for 2 minutes.
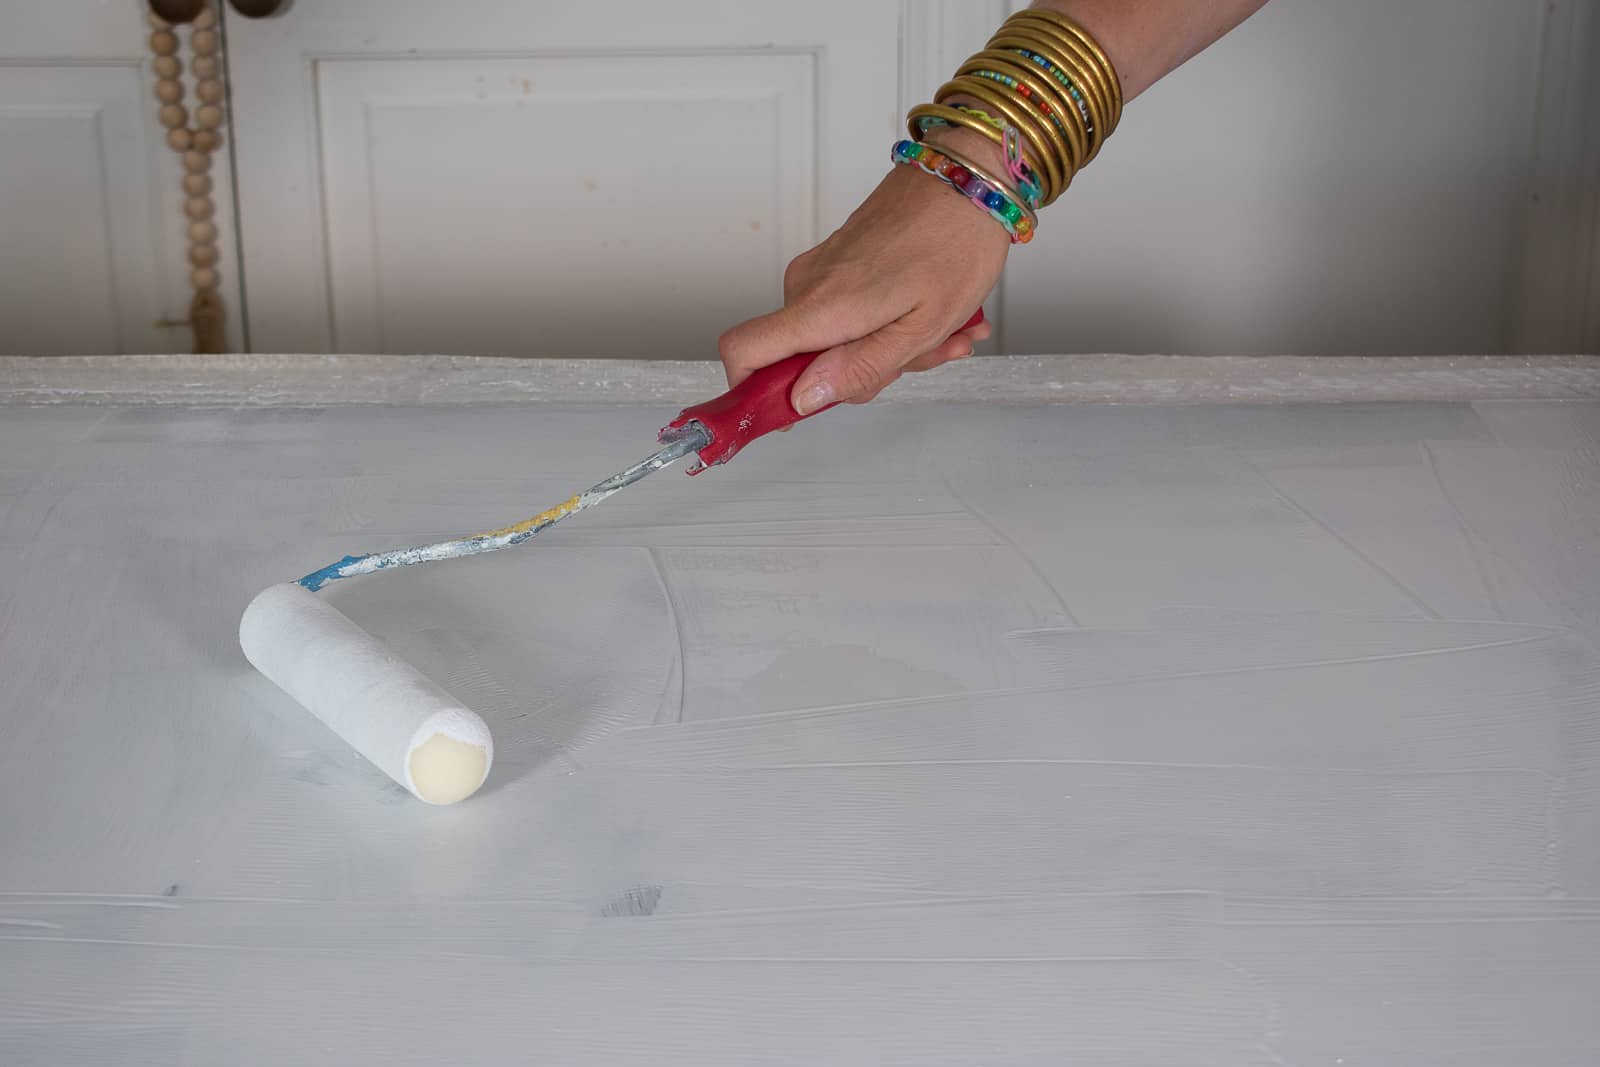
Step 3. Apply the Whiteboard Paint
Note: I showed these steps in my IG stories and I’ll save to highlights, but none of this really showed up on camera!
Use the best quality foam brush you can… not that I had a small foam craft roller (NOT best quality) and it still turned out great. The paint applies much like regular latex paint but it felt like it had more of an orange peel texture at first. I was able to essentially go over the surface a few coats one after the other. Remember that the paint will start to set up and won’t be useable after an hour or two so get all your surfaces prepped and ready before mixing the white board paint.
I was a little nervous that my low quality foam roller would mean that the surface wasn’t perfectly smooth, but when I came back a few hours later, it was amazing how well the paint had leveled and set up. The package say’s dry to touch after a few hours, but I left it alone over night before testing it. Important to note: you can NOT use it for any dry erase markers for at least three days after painting. It says this on the package but plan your project accordingly so you don’t have a white board emergency. Ha.
Step 4. Add Details
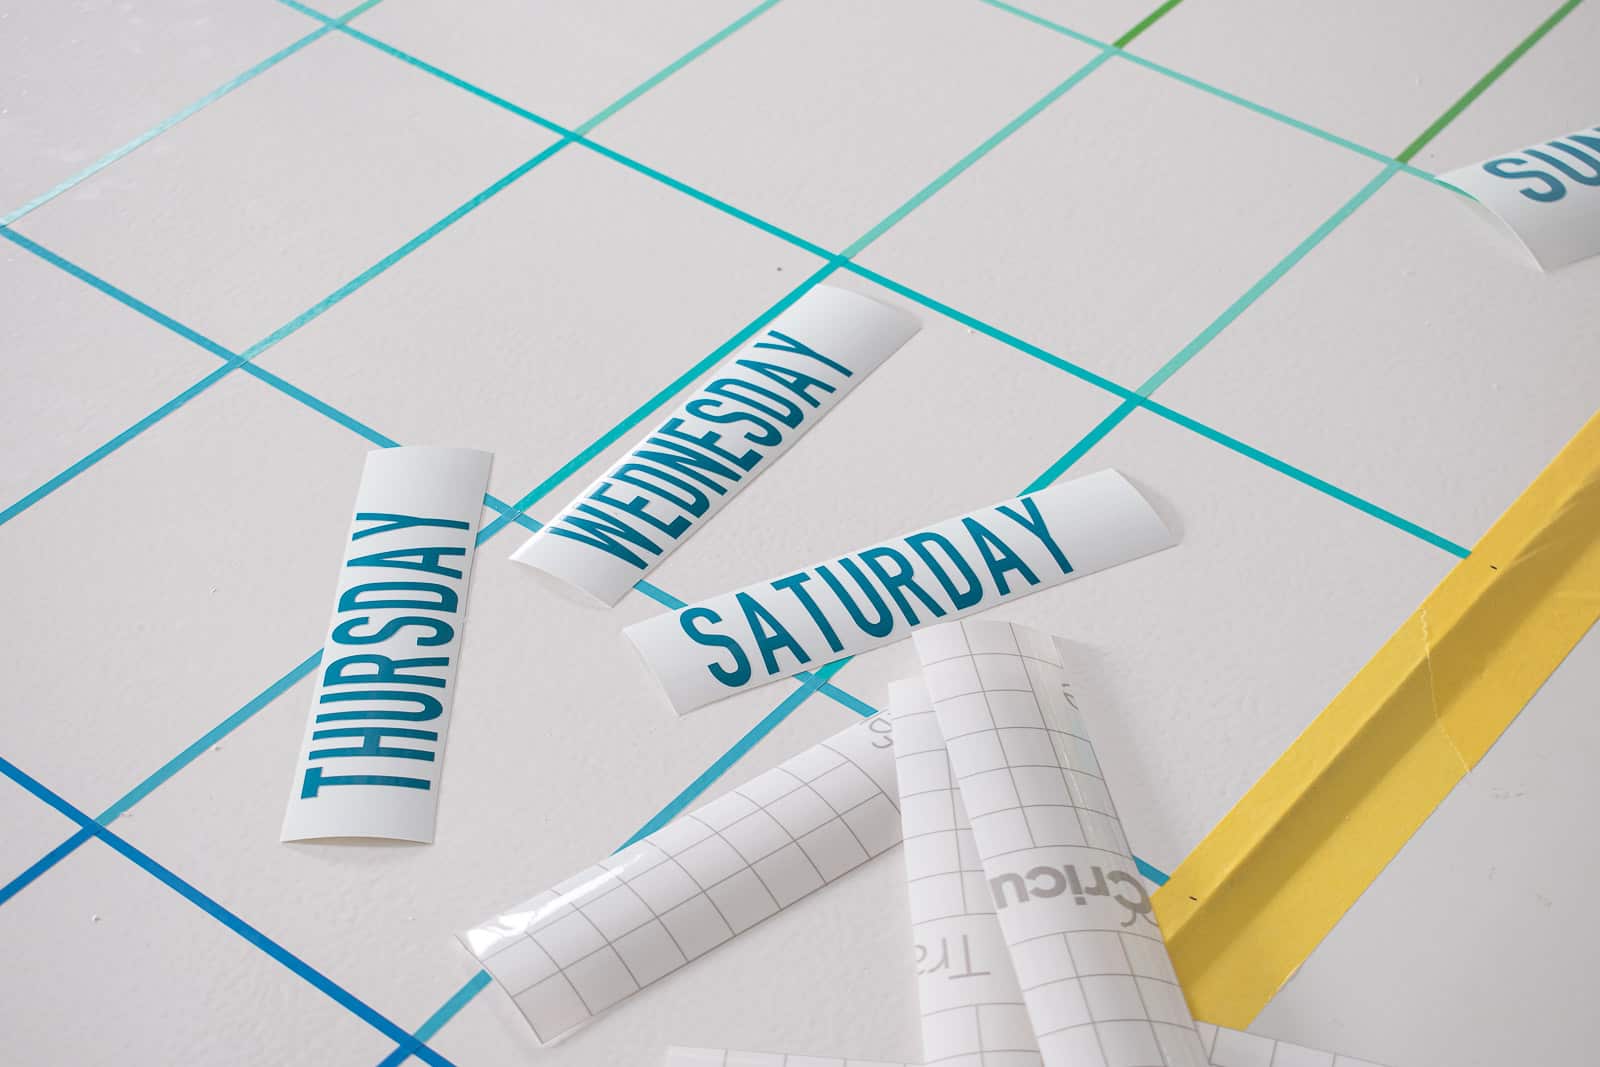
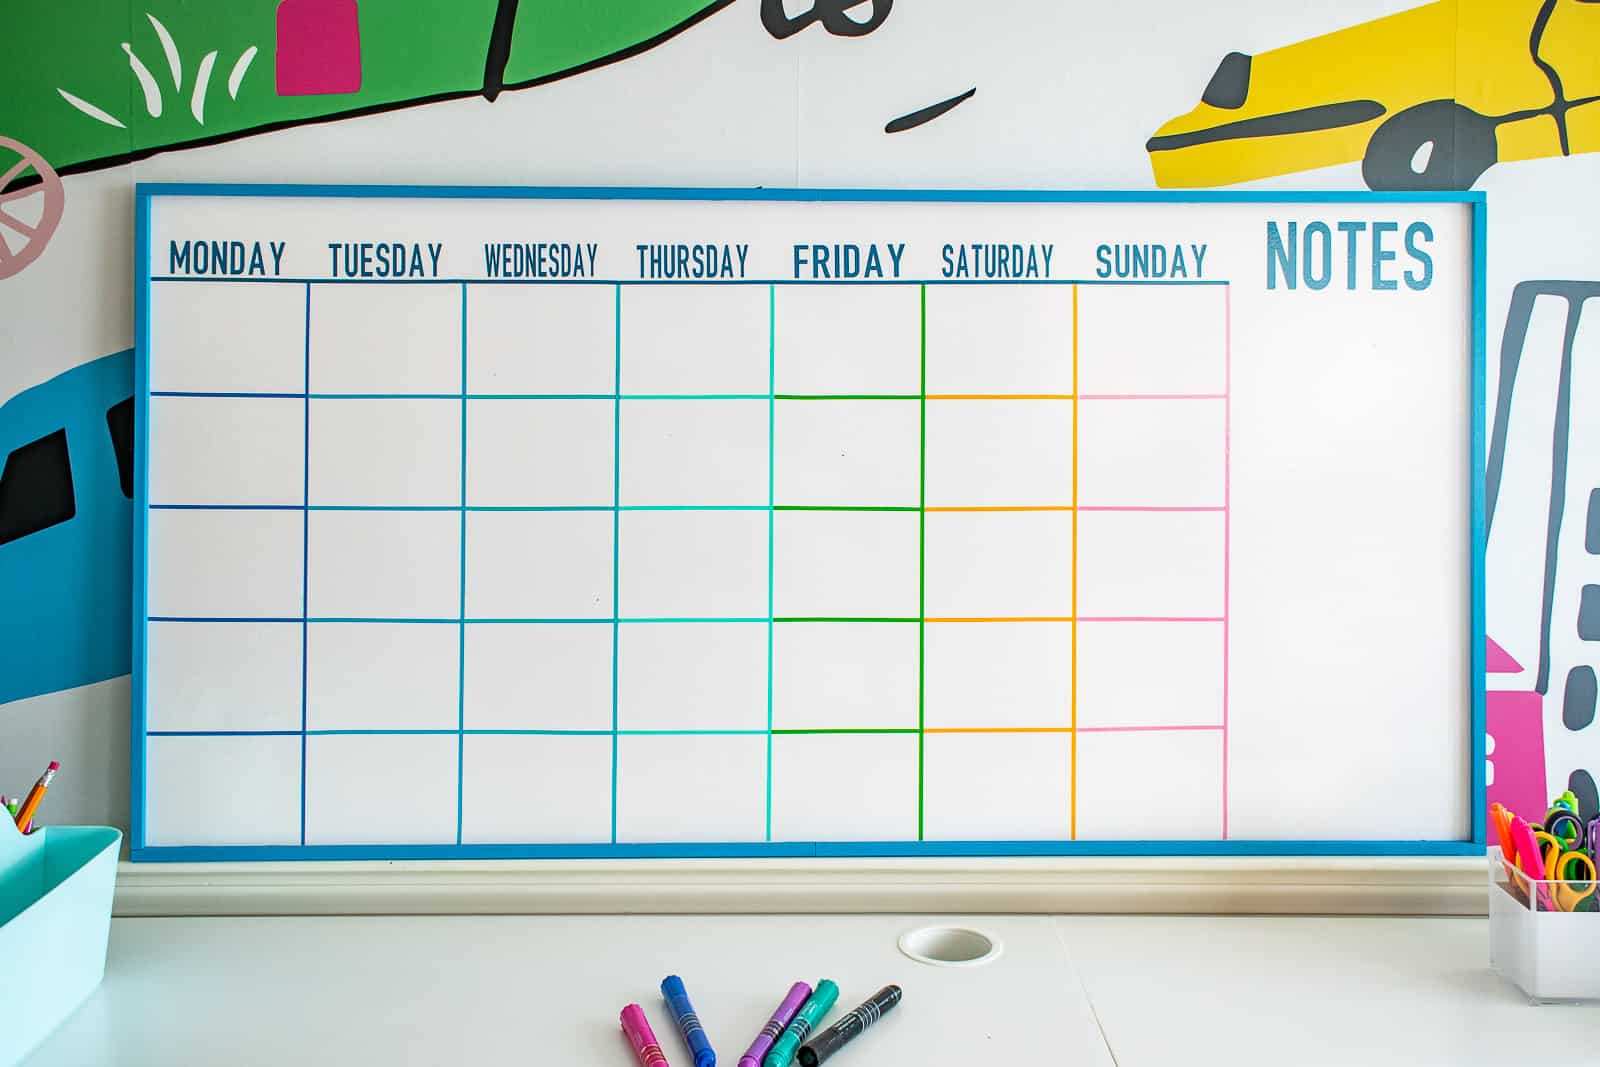
At this point you can obviously just hang the white board and use it for drawing, but we wanted ours to be more useful as a calendar so I needed to add the designs. For inspiration, I looked around online to see what kind of white board designs appealed to me. I also tried to consider how we would be using ours. I tend to keep To Do lists on my phone, so I wanted this to be more of a visible reminder to the kids for school: which day of the schedule it is… when they have Zoom calls… soccer practice, etc. Because the hardboard is fairly long, it was easy to plan out the 7 days of the week and leave any extra for Notes. I also opted to set up my calendar with Saturday/ Sunday together at the end of the week.

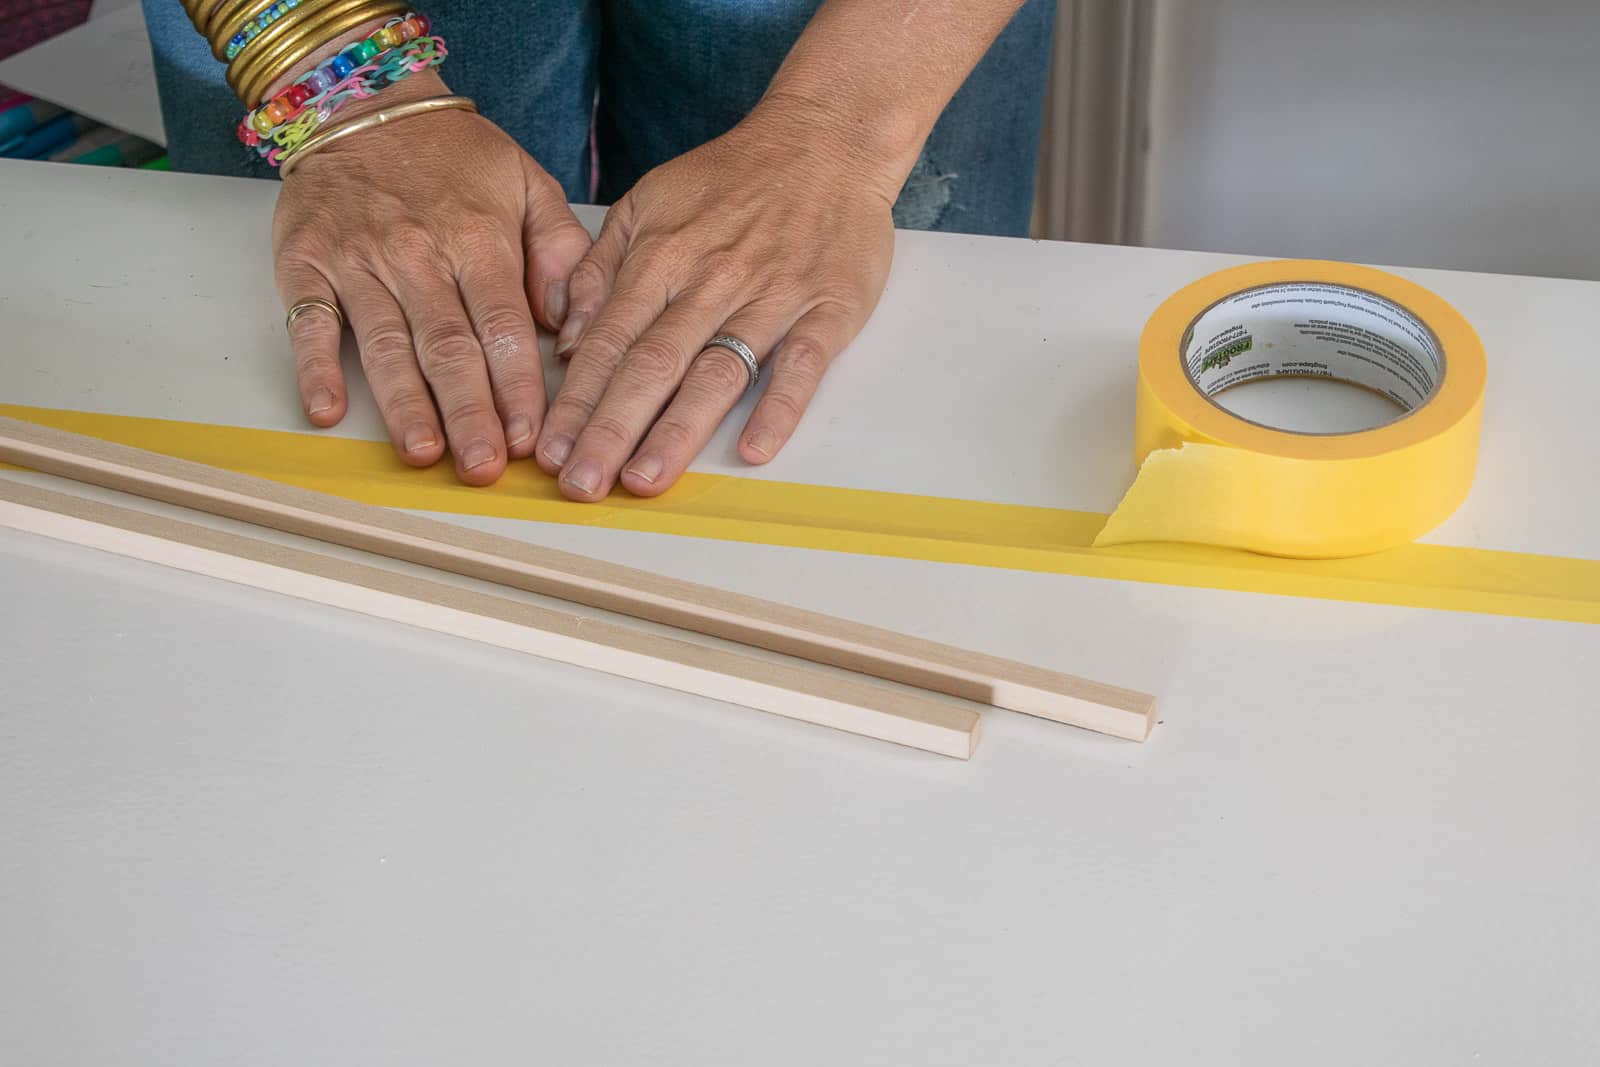
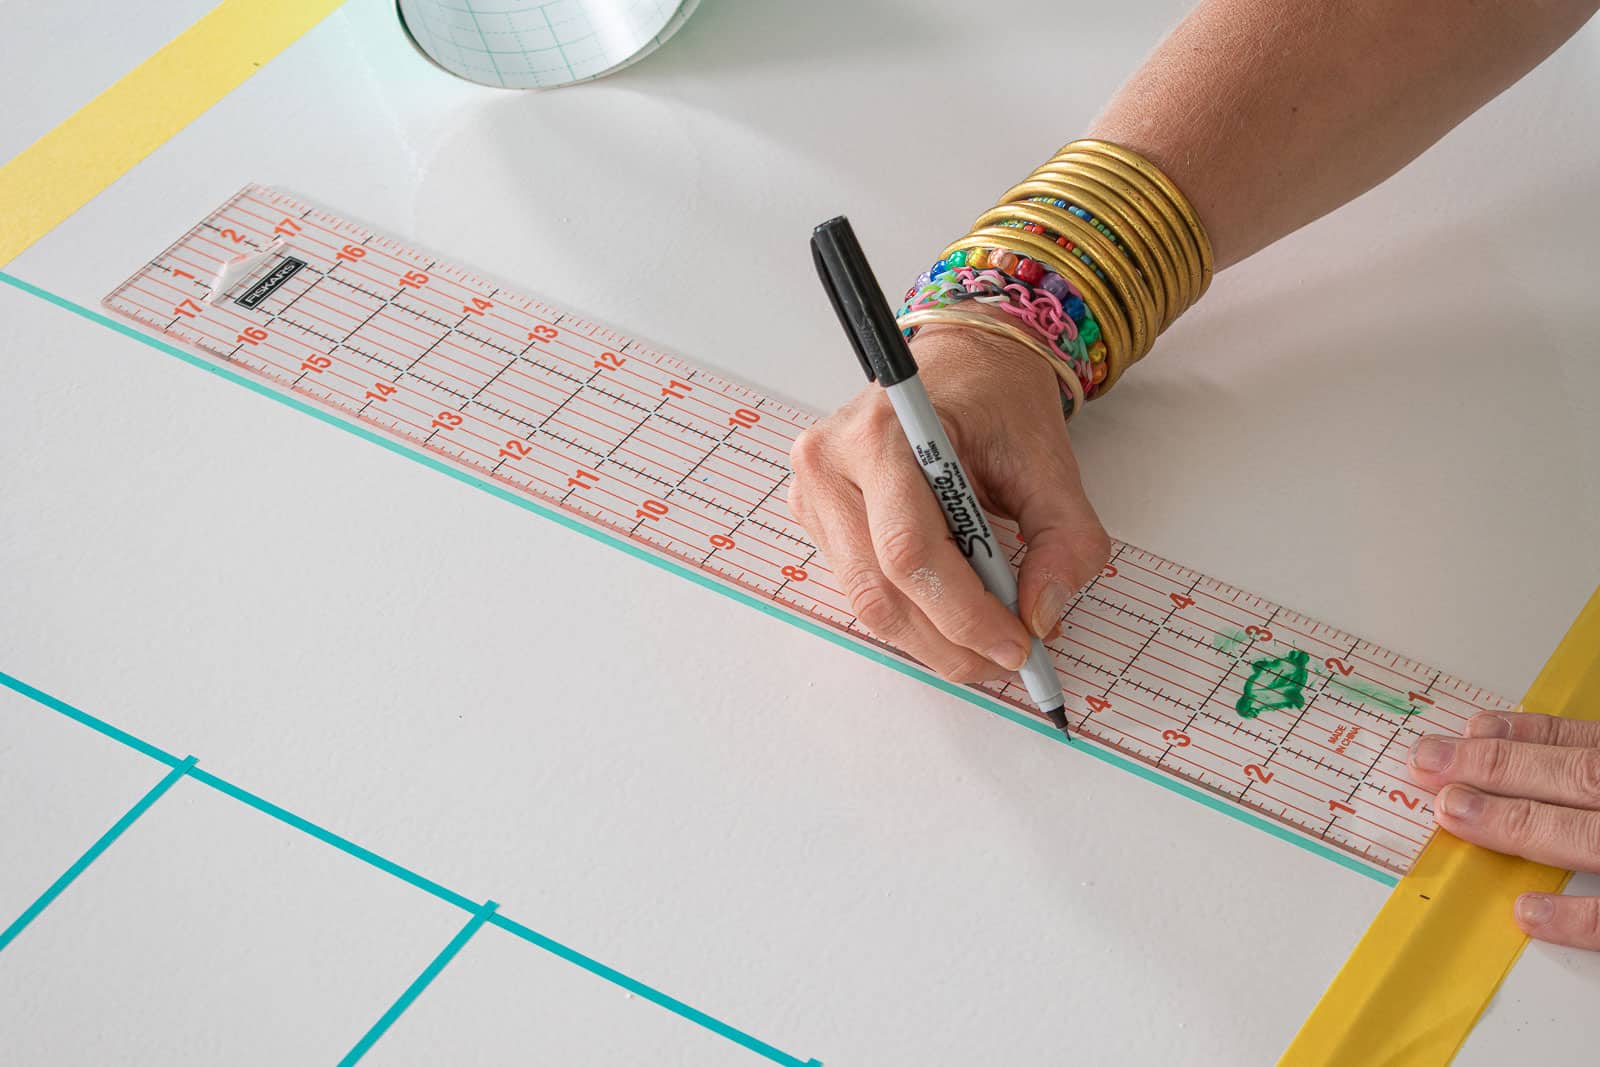
To finish the edges, I was planning to use these small 1/2″ x 1/2″ square dowels from JOANN so I used my yellow delicate Frogtape to tape off 1/2″ along the perimeter of the white board. Having the tape there meant not only was my spacing for the vinyl okay, but I was also able to make measurement marks on the tape instead of directly onto the newly painted white board.
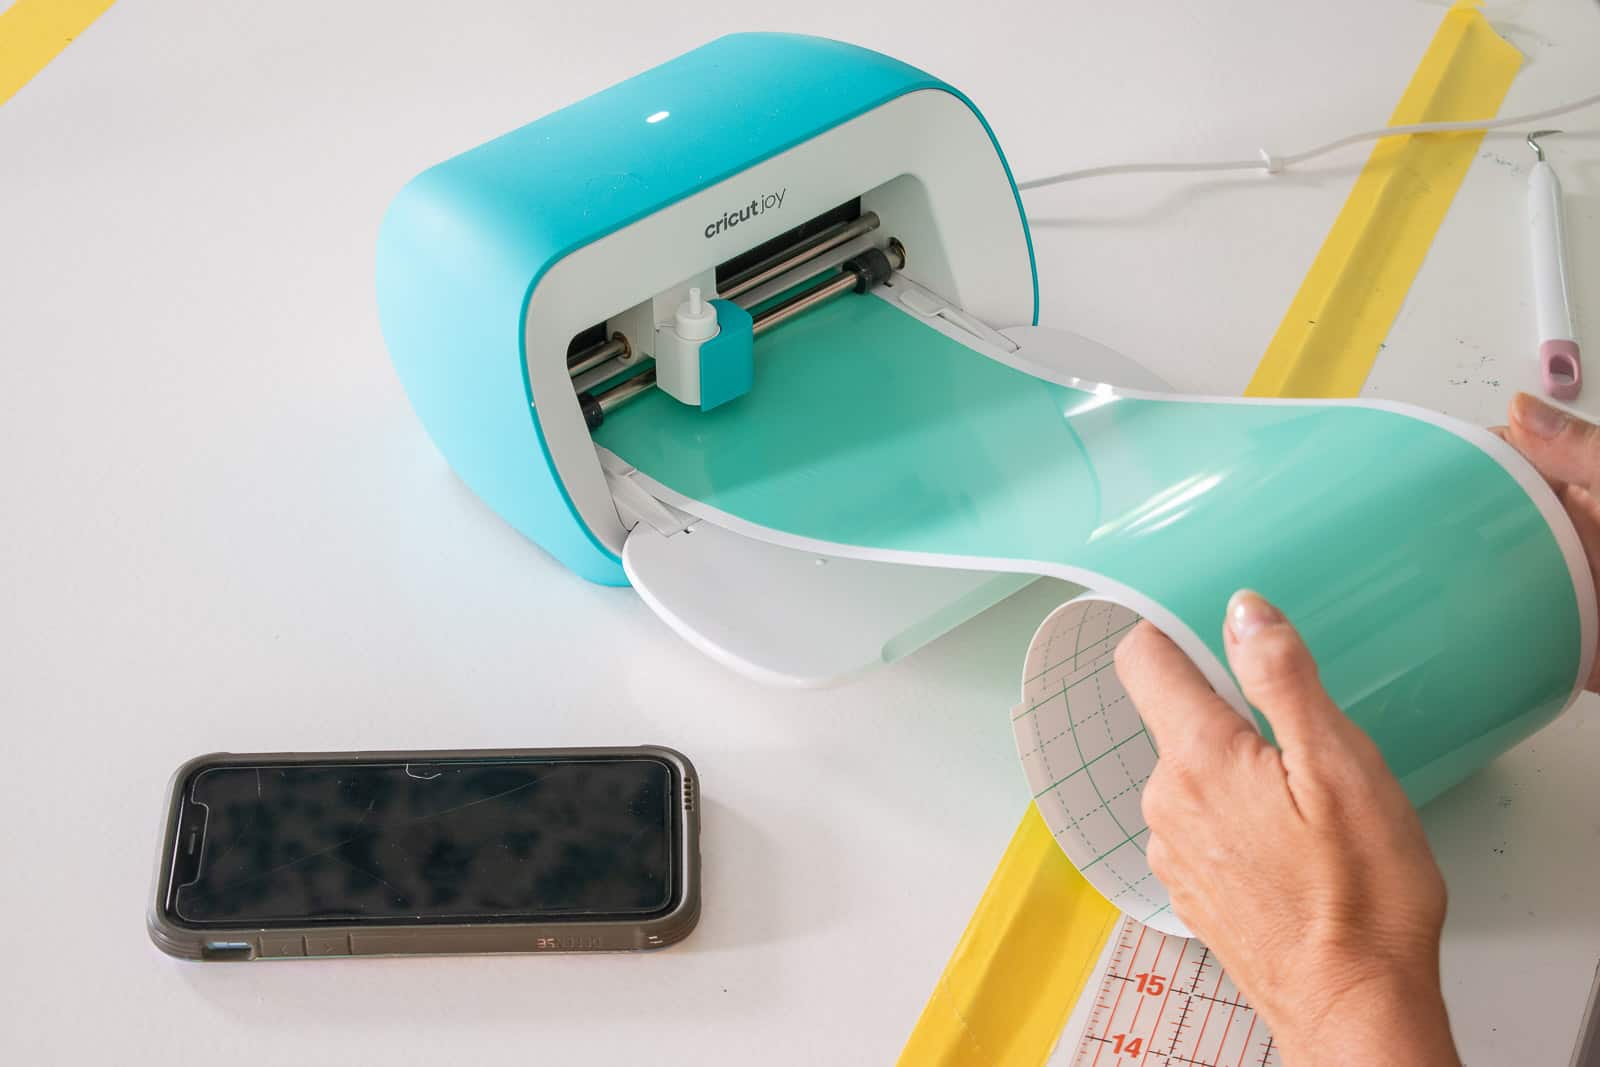
I decided to experiment with the Cricut Joy for this project and loved how easy it was to use. The vinyl loads right into the machine withOUT a mat and you can design the cuts right on your phone so I didn’t need to make room for my laptop on the work surface. I started by cutting out one long strip of vinyl for the vertical strip and then four smaller strips for the horizontal lines.
Applying the Vinyl
So many of you said this seemed so fussy, and I promise you it wasn’t that bad! I’d say it took maybe an hour to stick on all the lines. The Cricut cut them all to the right size so all I had to do was measure and then stick ’em on! For the first set I measured and marked on the yellow tape on the edge and used a temporary piece of tape to measure and mark 5.5-inches in from the edge.
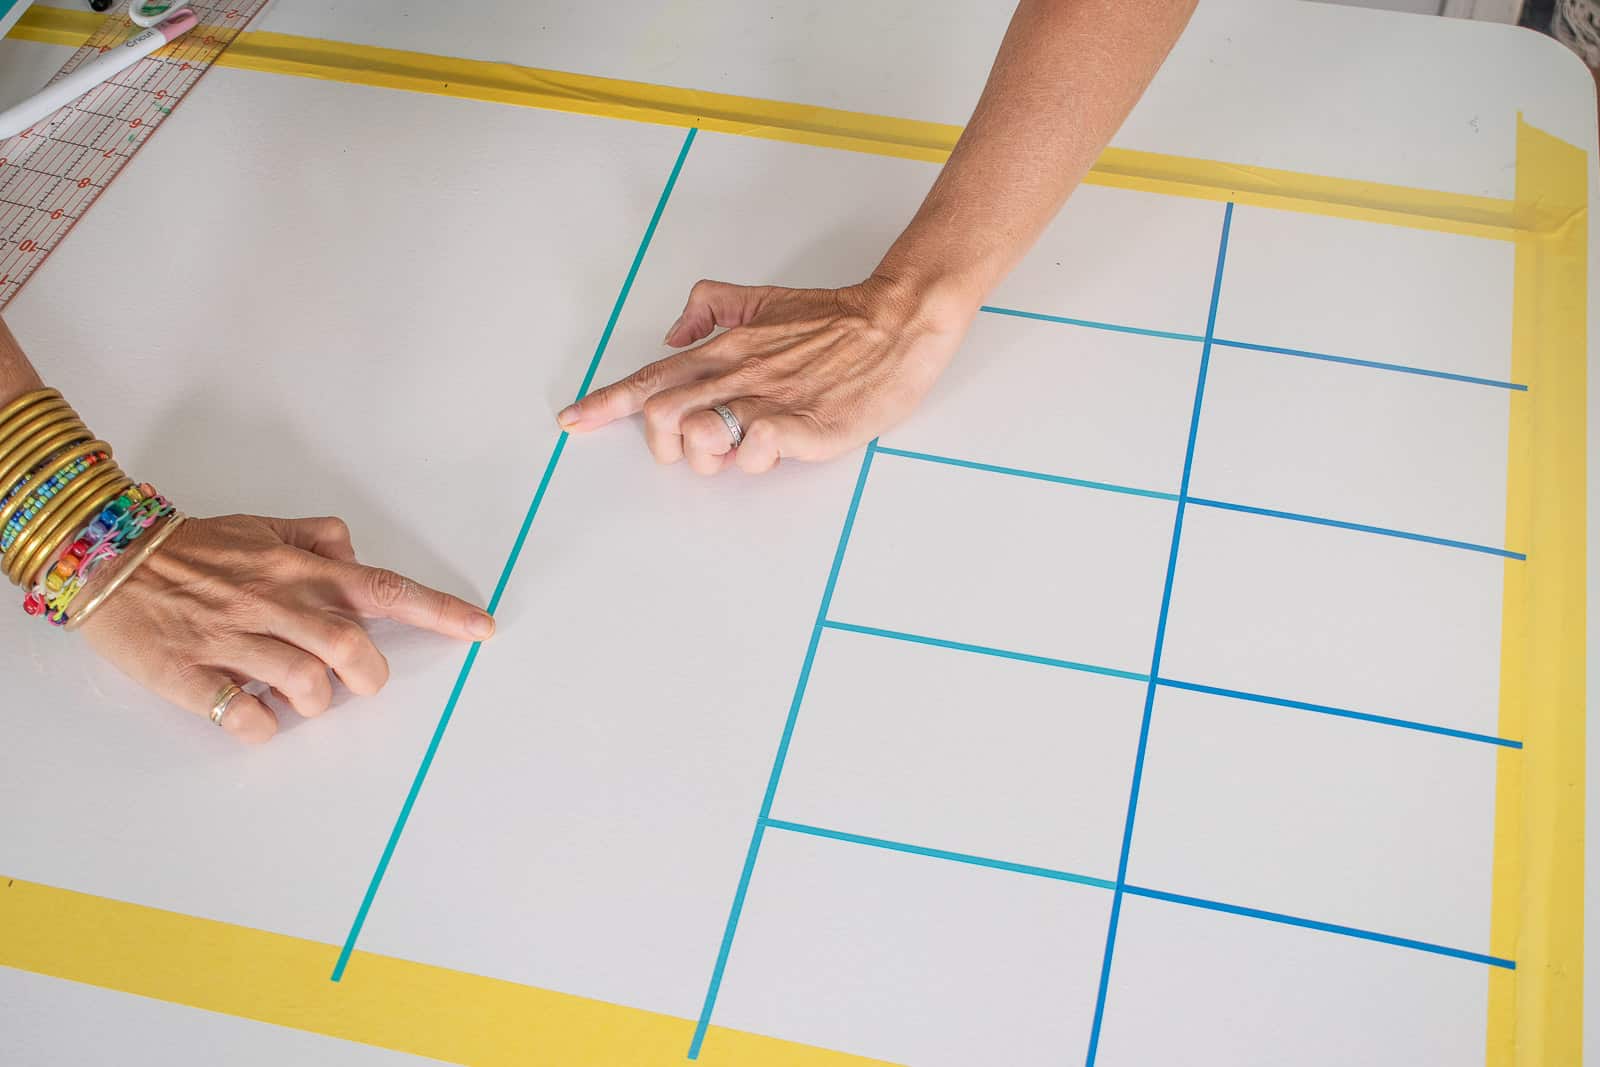
And…. repeat.
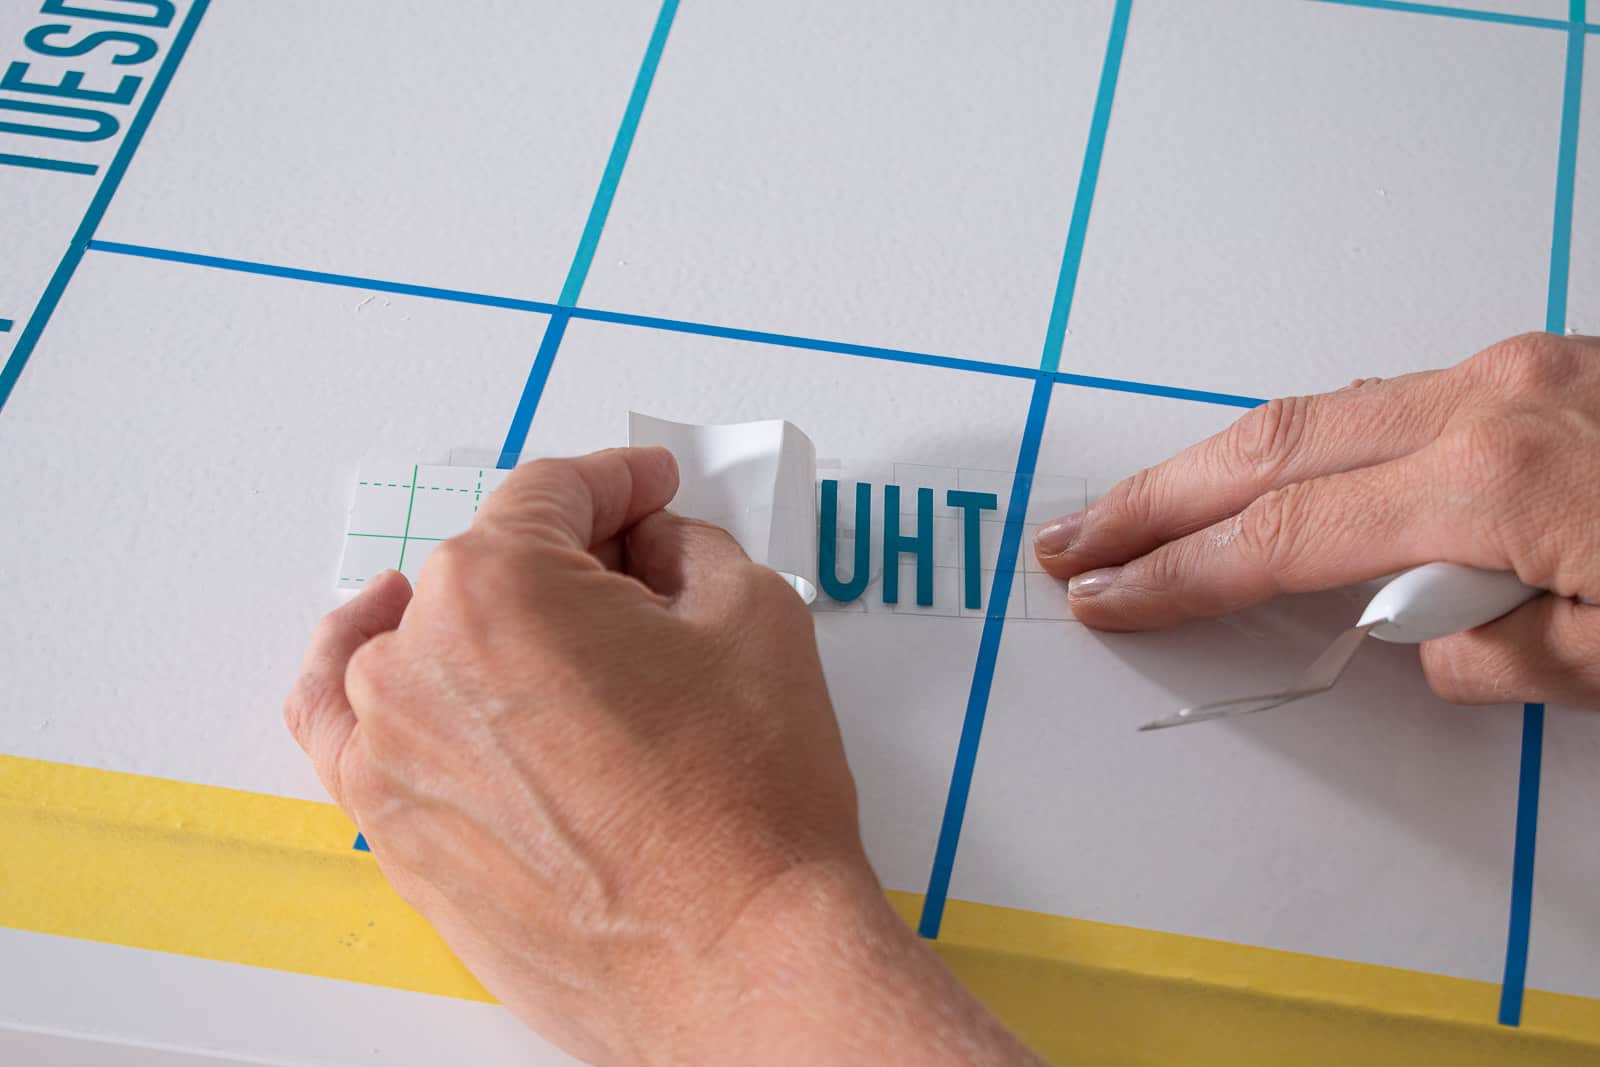
For the days of the week, I created them on my Joy and used transfer paper to apply them to the white board. Easy peasy.

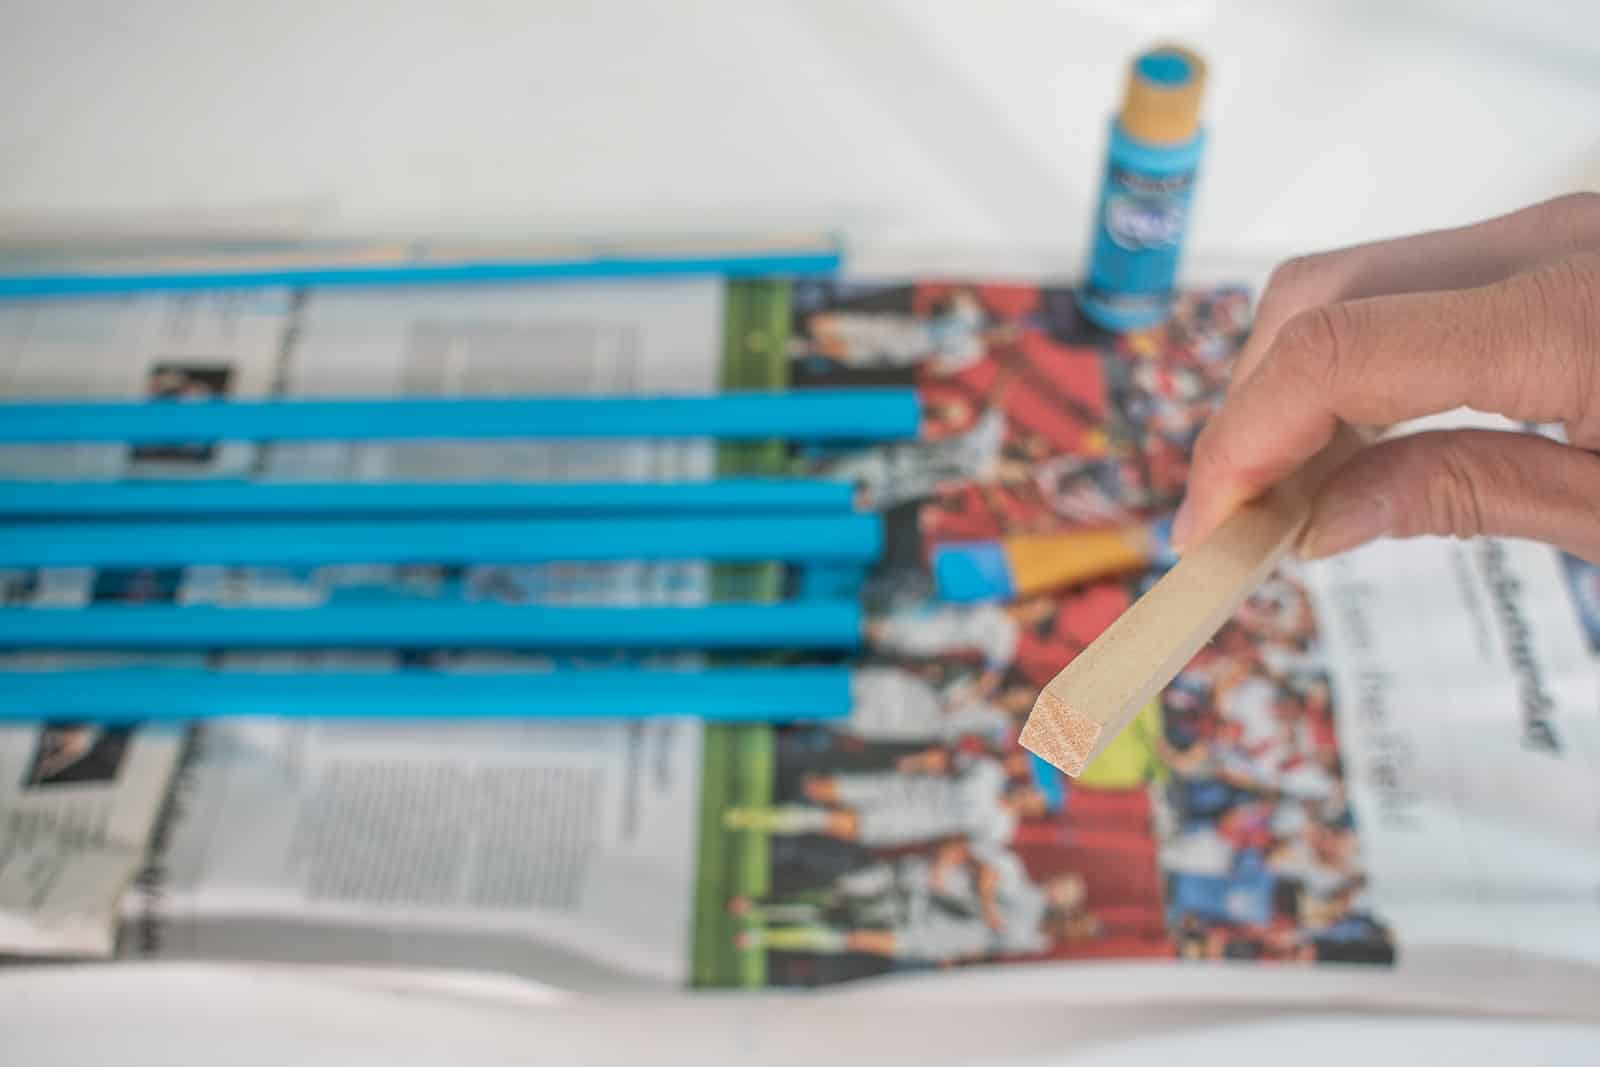
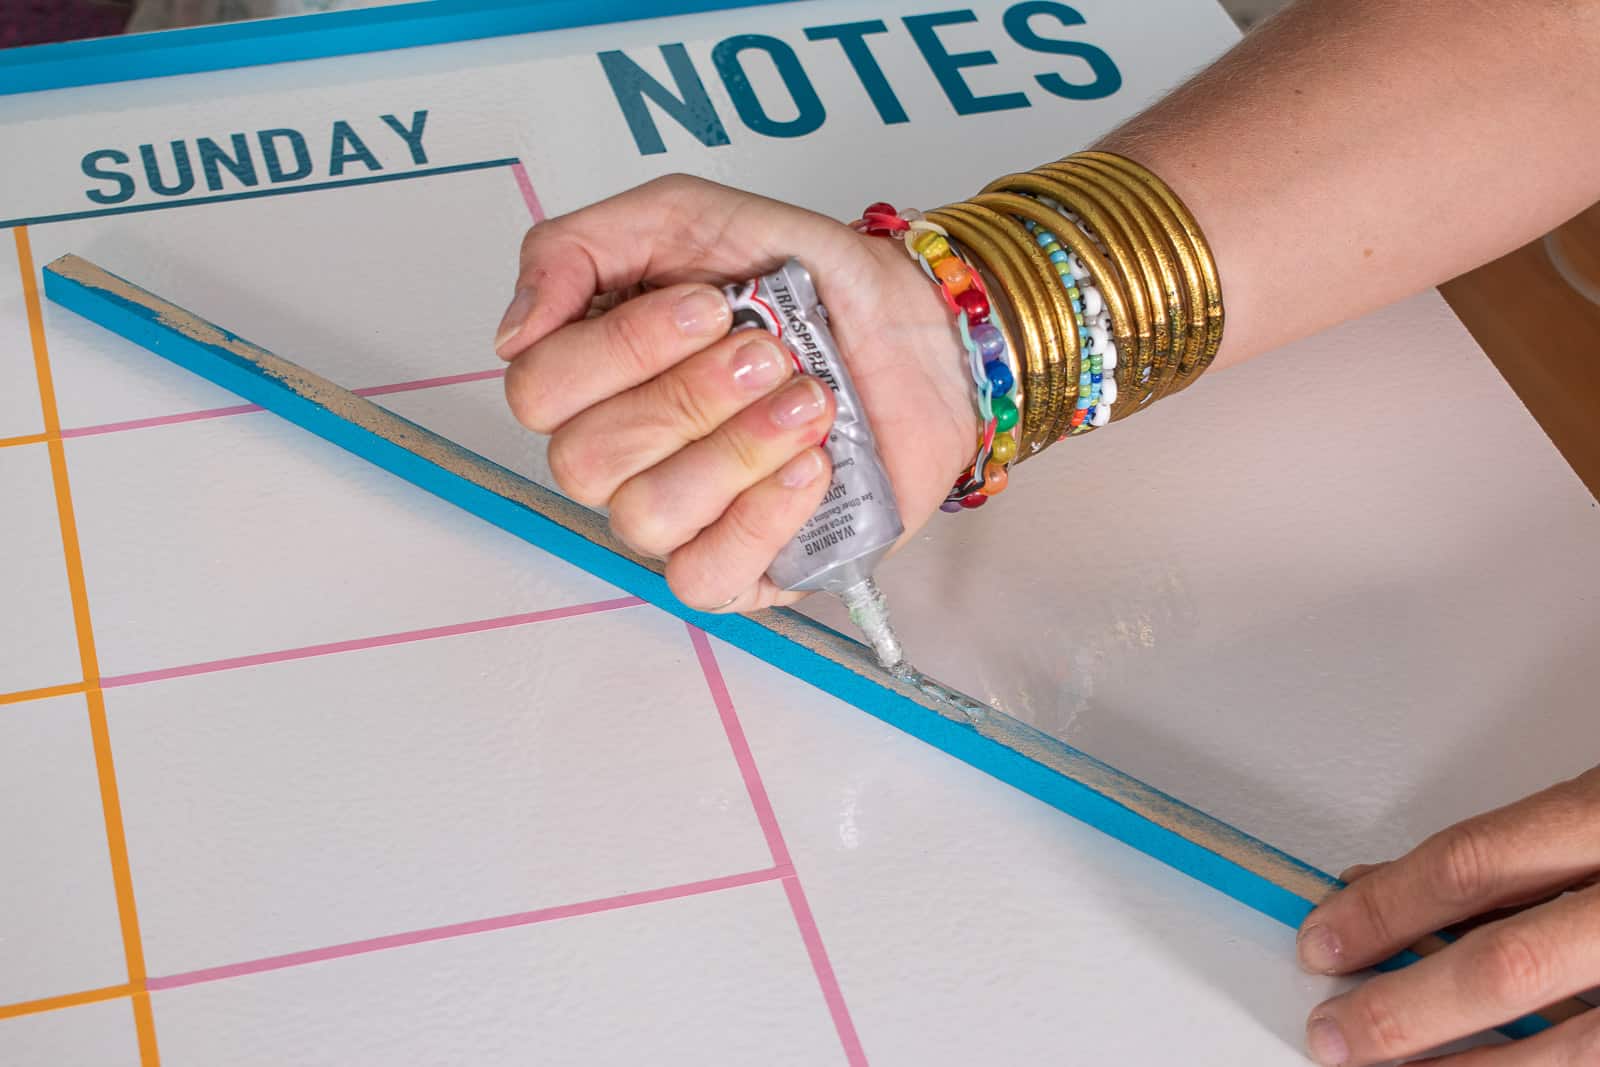
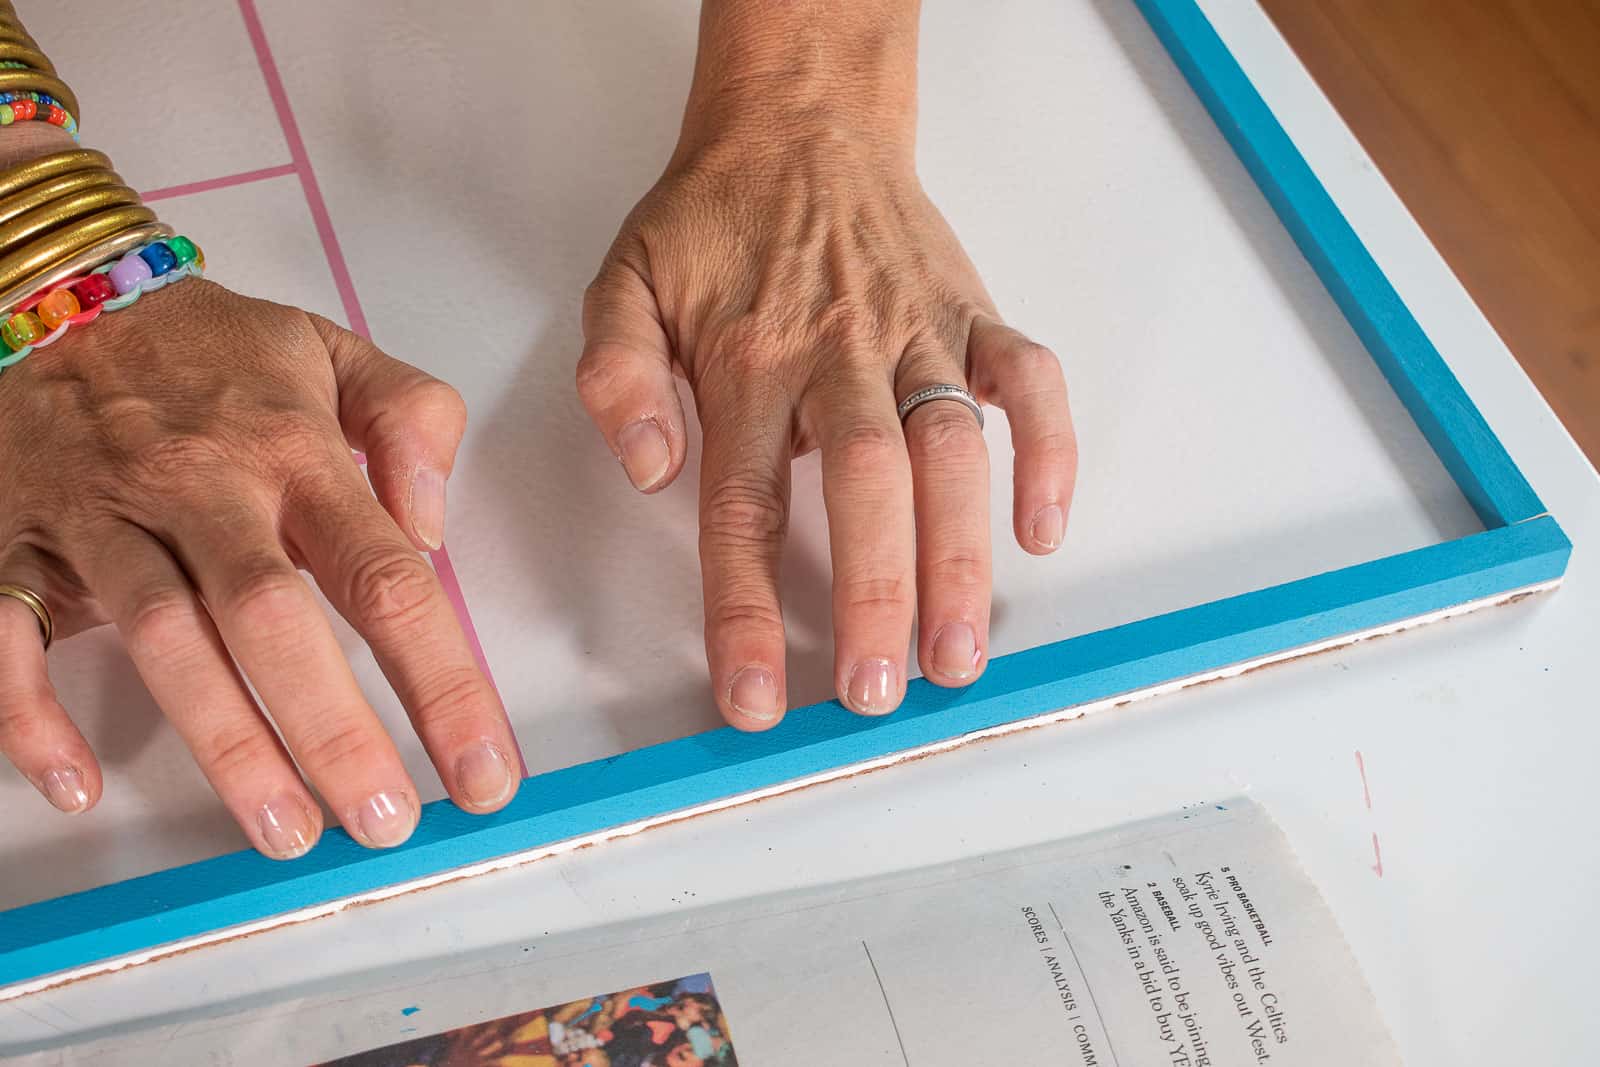
Step 5. Add Trim
I mentioned above that I’m using these 1/2″ square dowels from the unpainted wood section of JOANN. I tried to paint them with the same color as the days of the week. Once the paint had dried, I used e6000 to glue them carefully in place. Note: our white board is just leaning against the wall right now. It’s fairly light but ideally we’ll anchor it somehow. Hardboard is pretty thin so if you plan to hang yours, I would plan to screw D-rings into the wood trim if possible just to give them a little more material to hold onto.
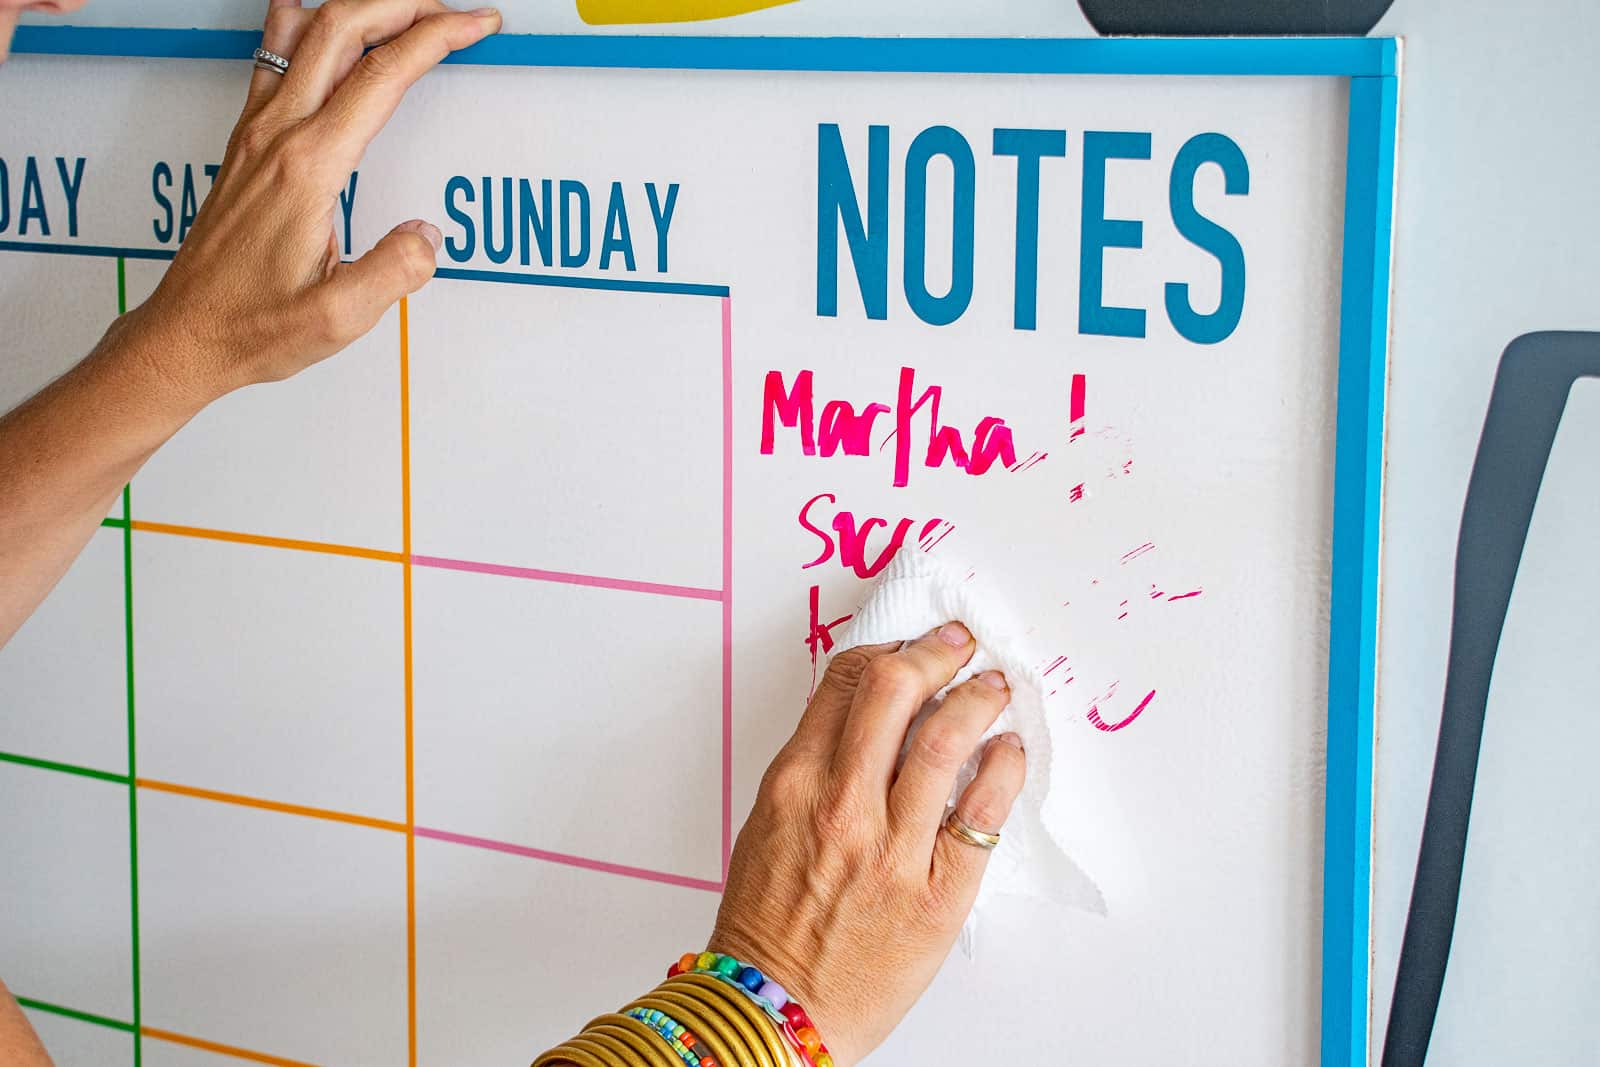
Lots of folks have asked how it erases? SO. WELL. Not even the faintest hint of marker left behind. I need to test to see how it does if pen is left on it over night, but I’ve been super impressed so far. And not that you asked, but the extra white board paint I used on our kitchen table? The kids LOVE it. They just sit and draw! How easy is that?!
Don’t forget to pin the image below for later! Let me know if you end up making your own white board… so many possibilities!
Materials:
- Flat surface (I’m linking a plain chalk board that could work but if you want a larger size like mine, grab a hardboard from the hardware store!)
- Dry Erase paint (Linking the one that’s available online…. I used Rust-Oleum which is not longer on the website but it may be different.)
- Cricut Joy
- Cricut Joy Smart Vinyl
- Trim (I’m using 1/2″ square wooden dowels… check for these in the unpainted wood aisle)


Don’t Miss Out
Become An Insider!
Signup for exclusive tips, and tricks from Charlotte’s House!
Let’s chat!
I love comments from you, so feel free to leave your thoughts and ideas below! And don’t forget to follow me on Instagram for even more!