$60 Budget Bathroom Makeover
Psssst… this post *might* contain affiliate links: see my disclosure here.
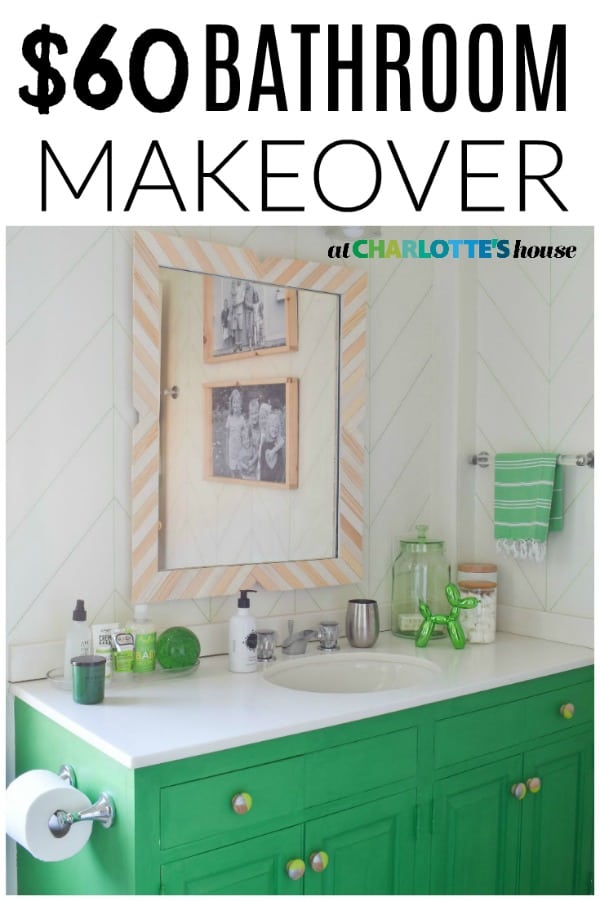
$60 Bathroom Makeover
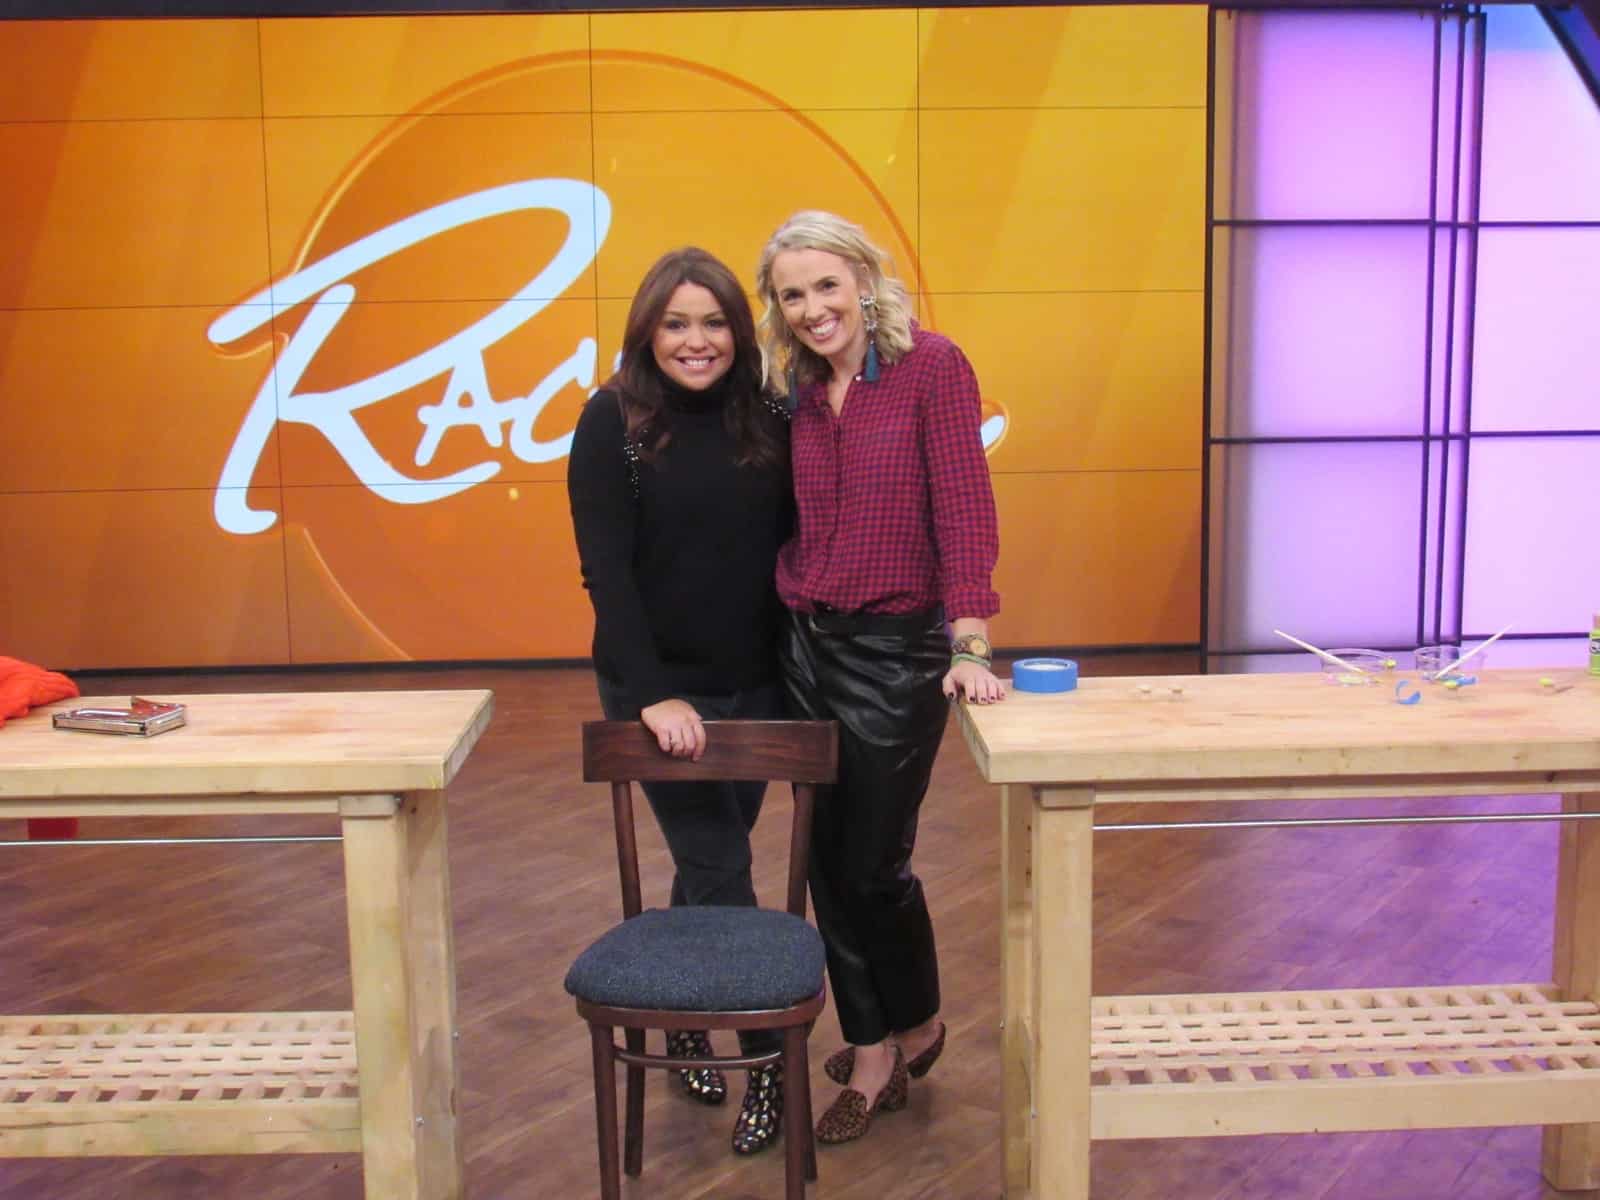
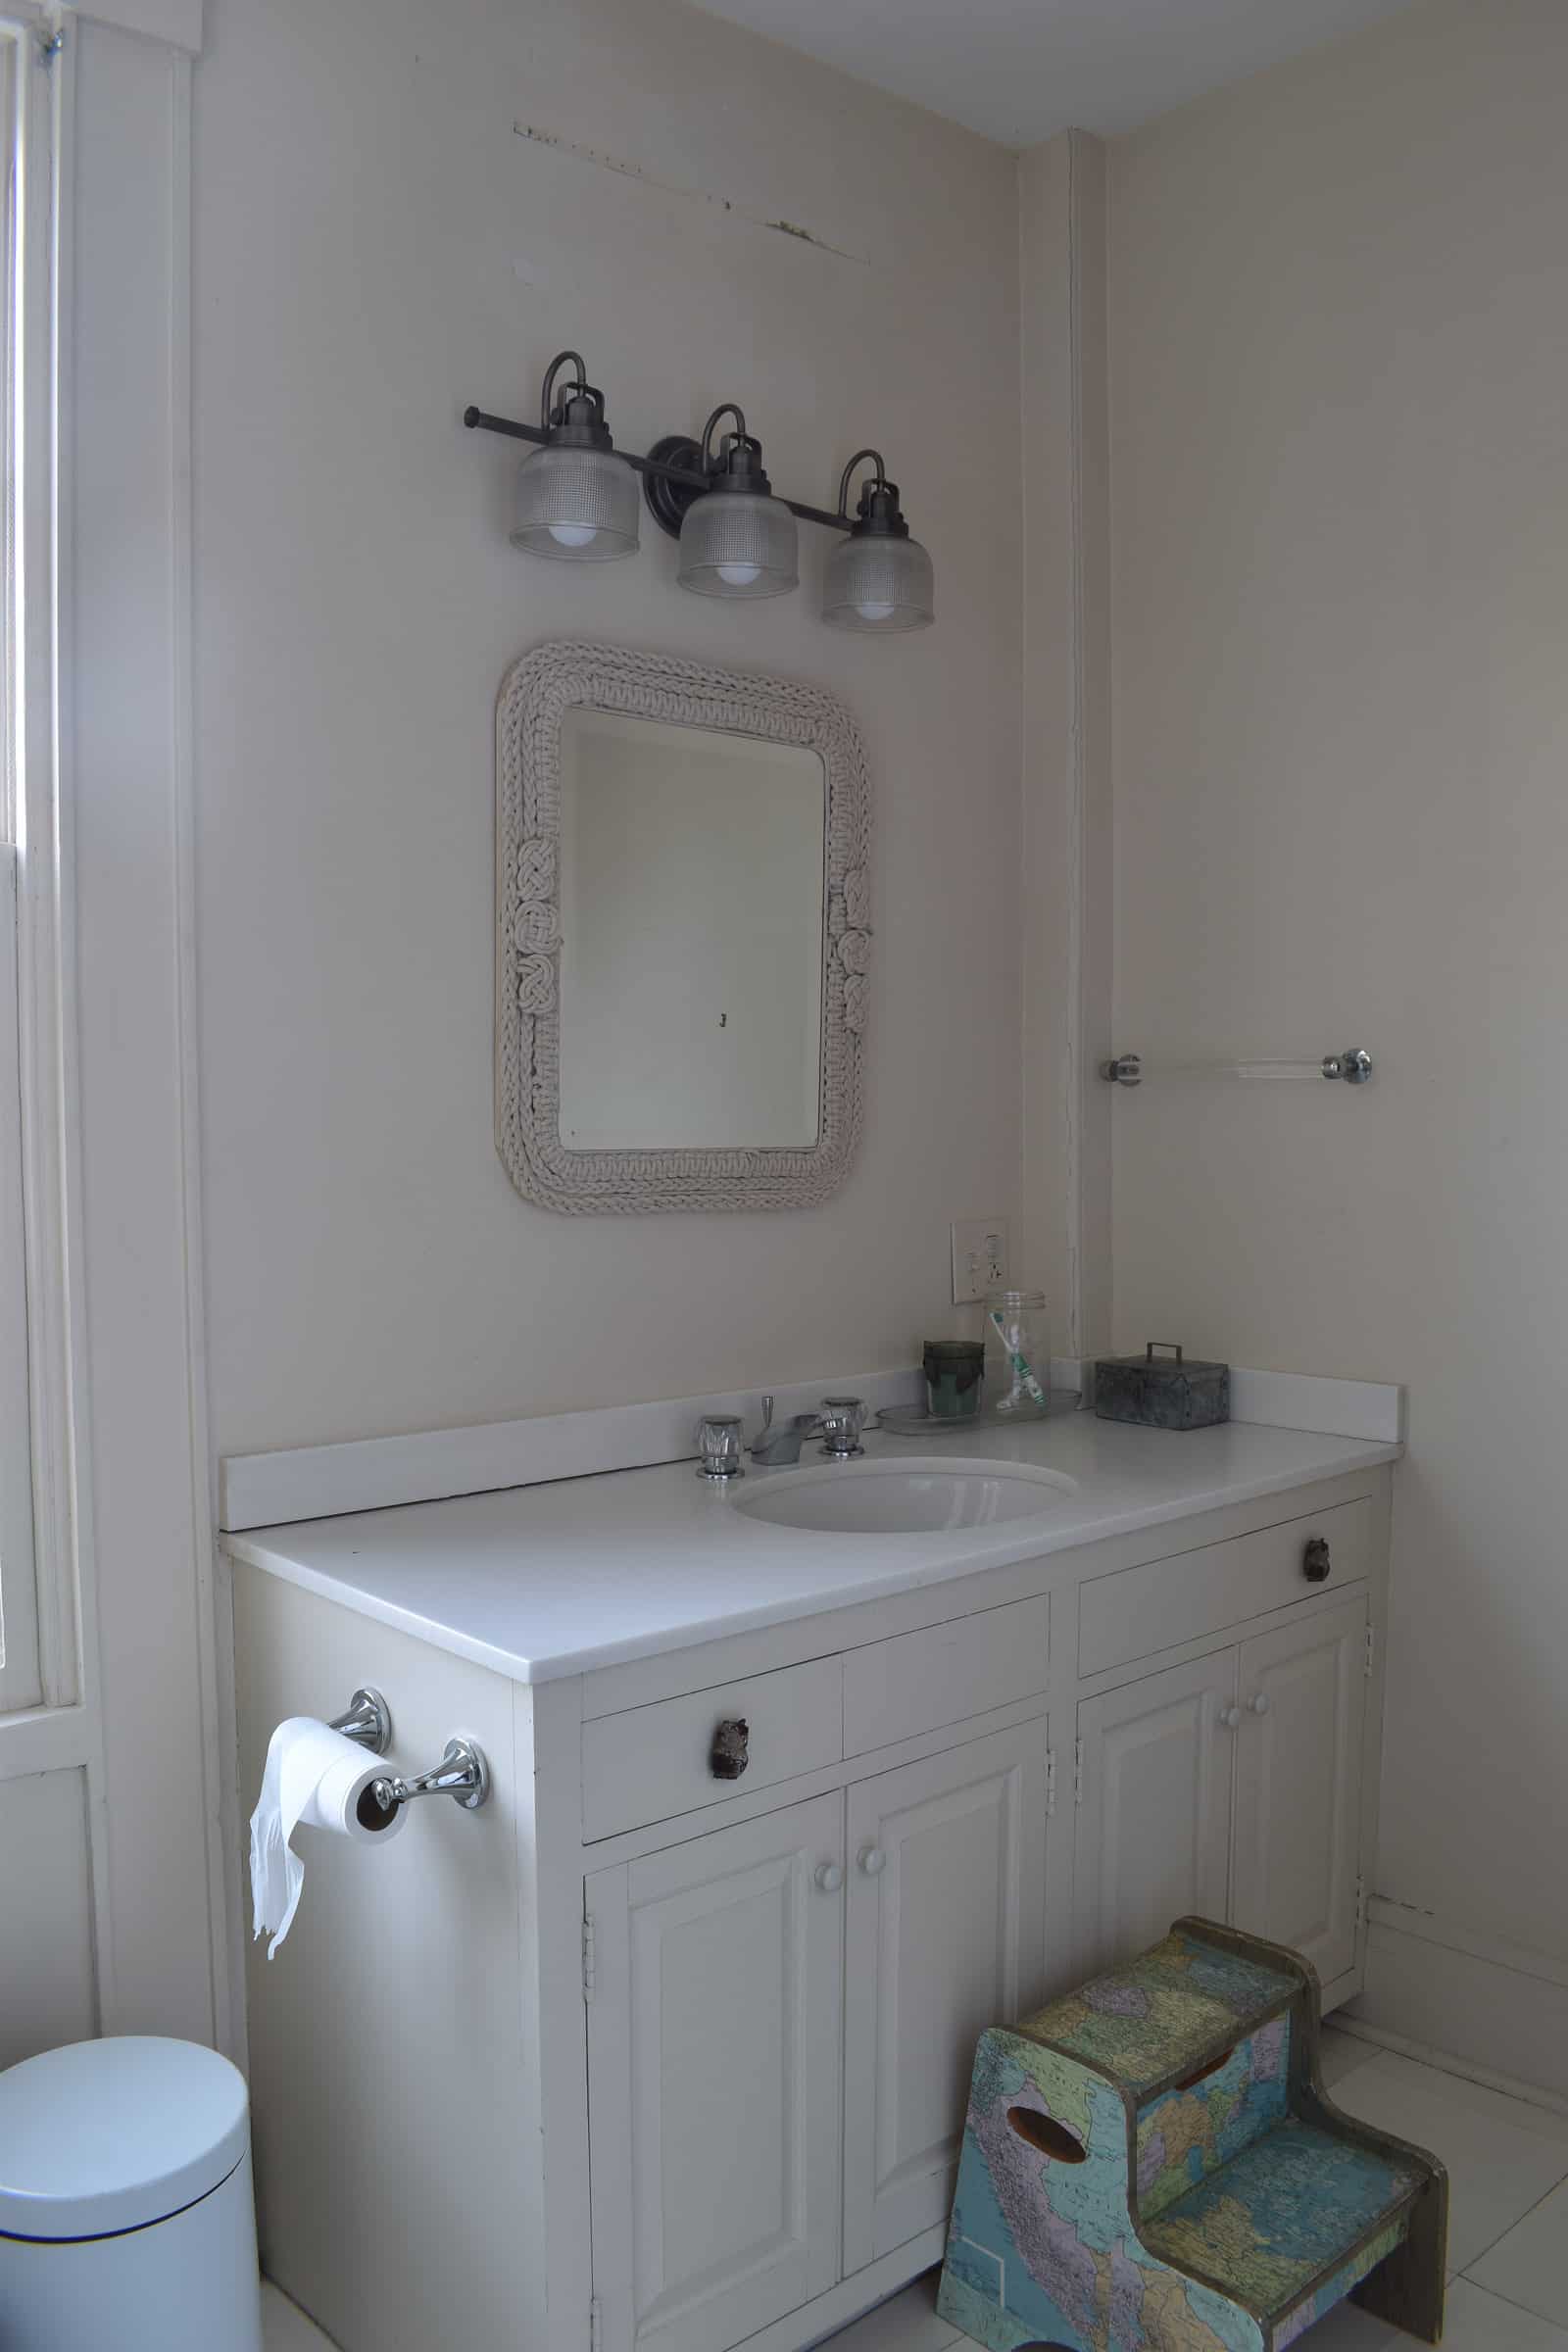
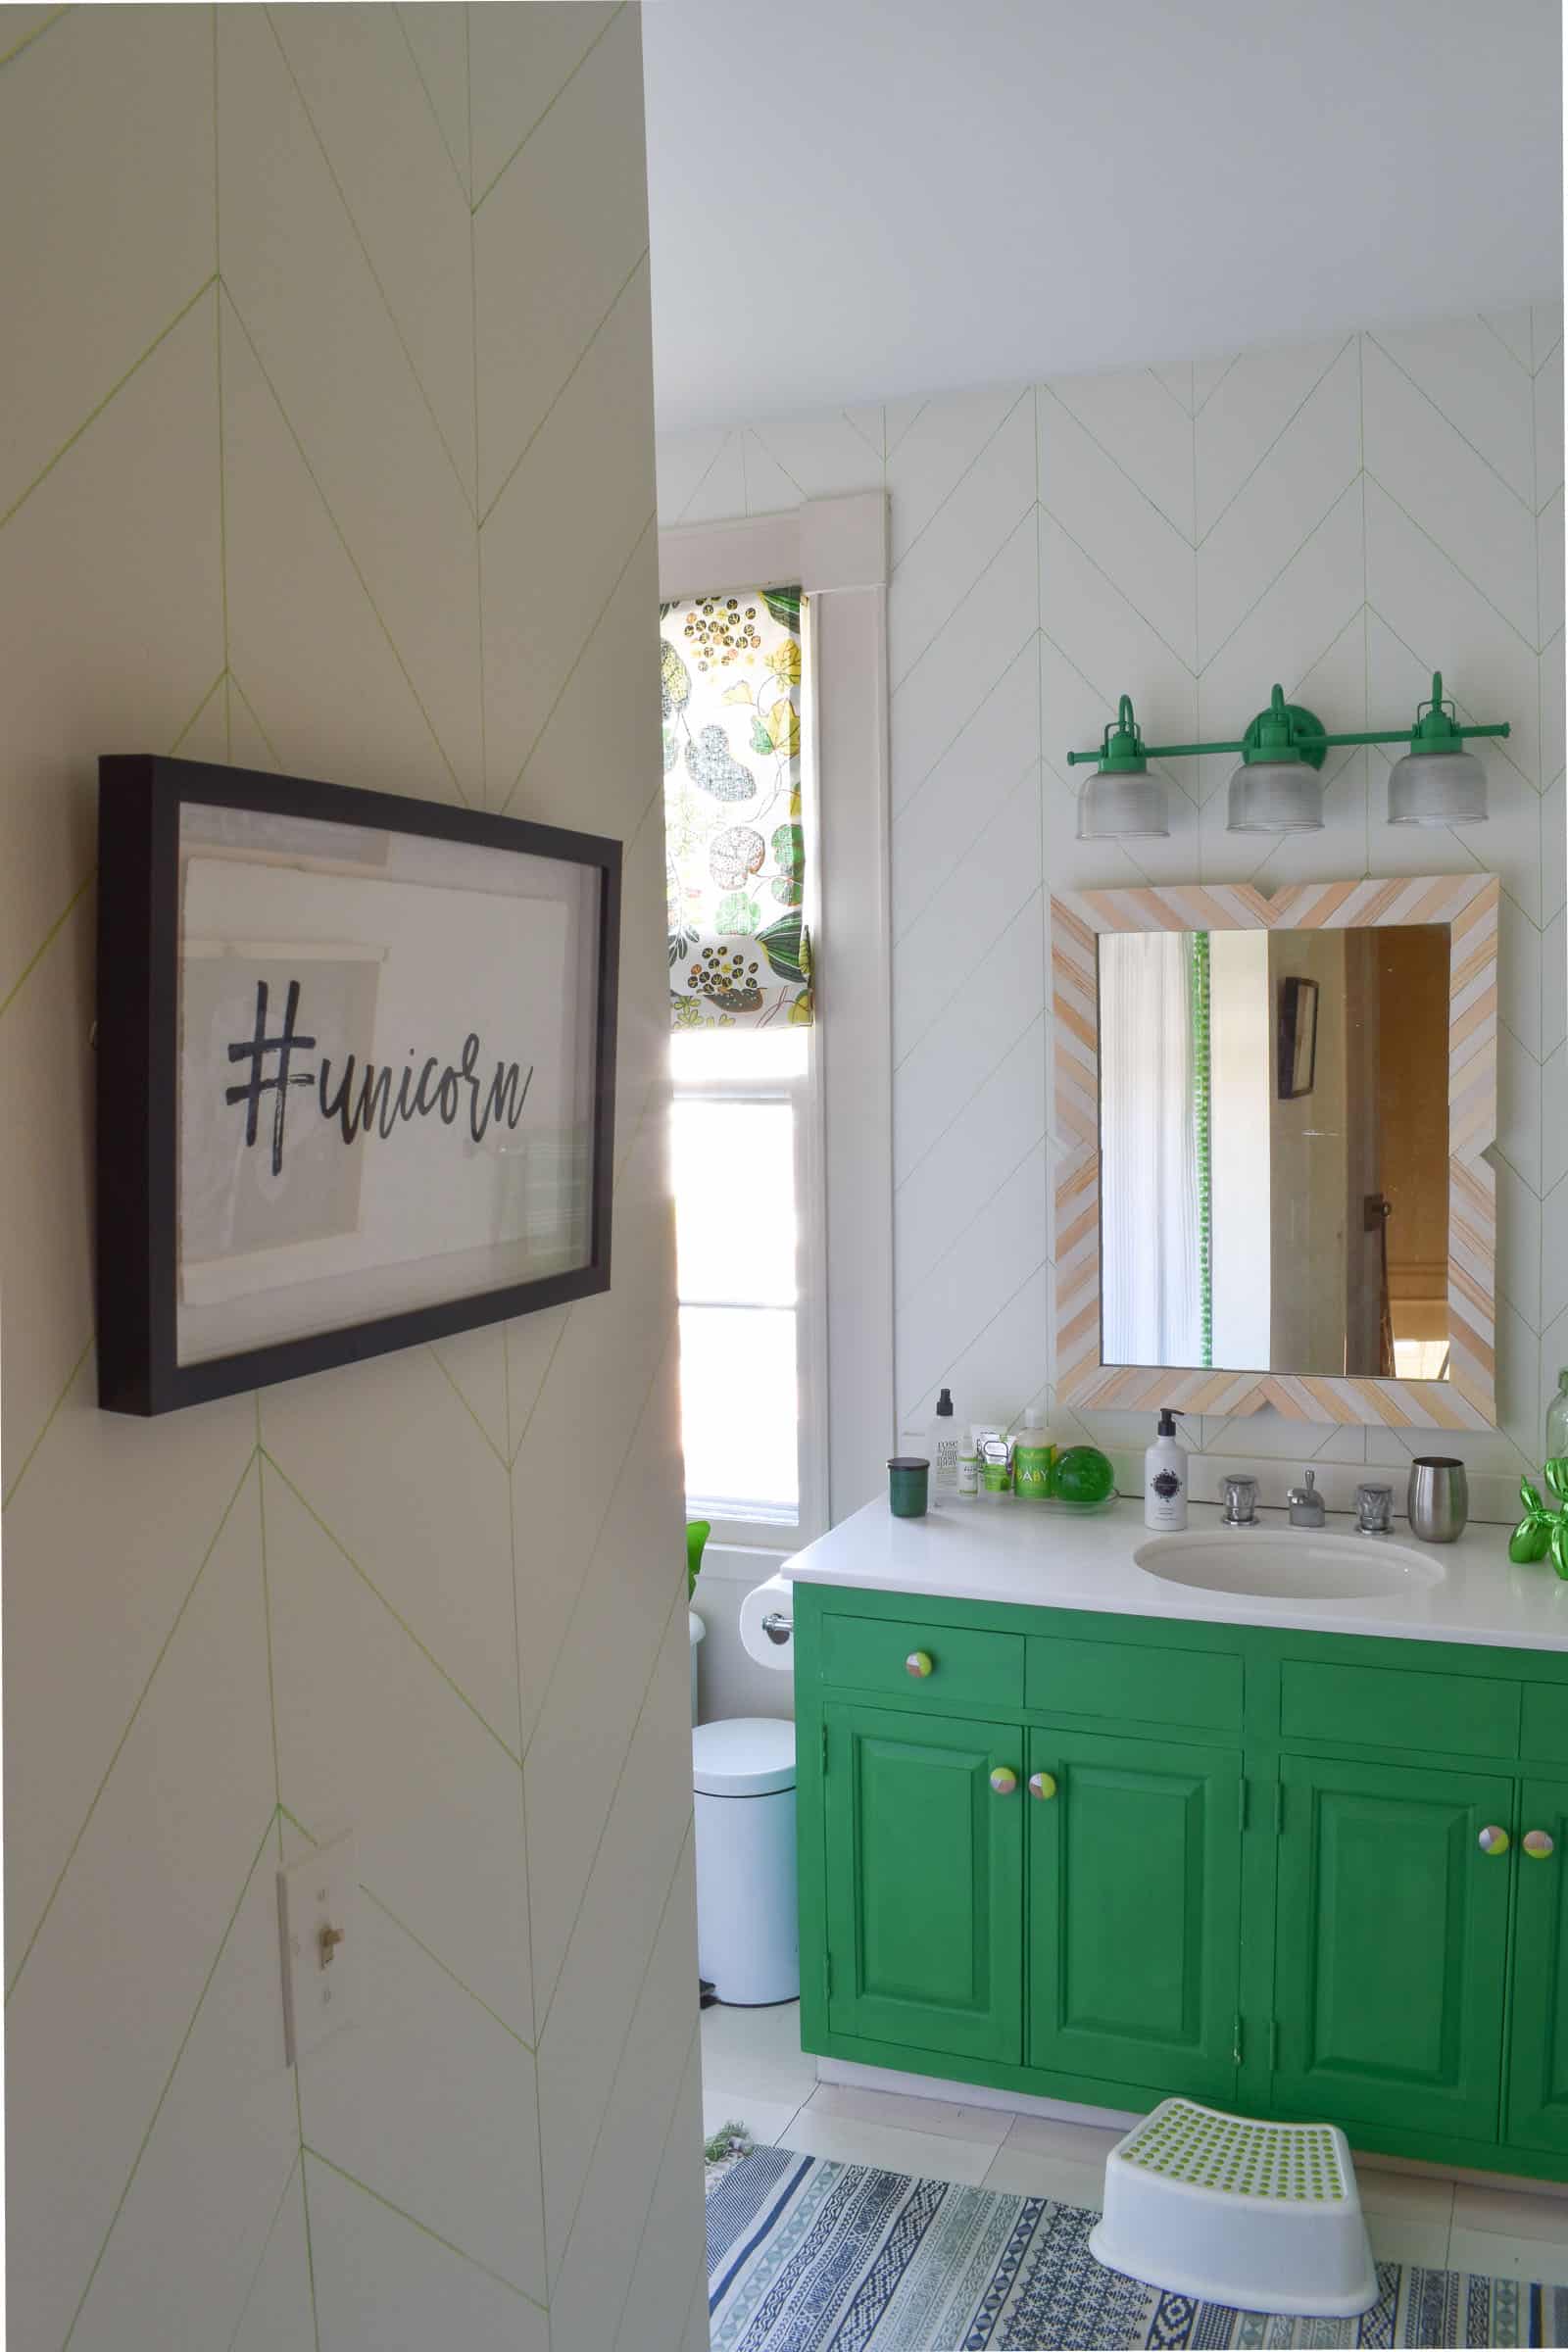
It’s been months, but… I can FINALLY share my super secret Rachael Ray related project! The producers challenged me to make over the girls’ bathroom on a budget so I did it for… SIXTY dollars. No lie… I truly didn’t spend any more than that! Here’s how the ol’ girl looked before I started. When I was telling Rachael about the room I described it as this space that didn’t reflect me or the rest of our colorful house. Ya think?
Shop my favorites!
Here’s what needed to be addressed:
- vanity
- light
- walls
- shower curtain
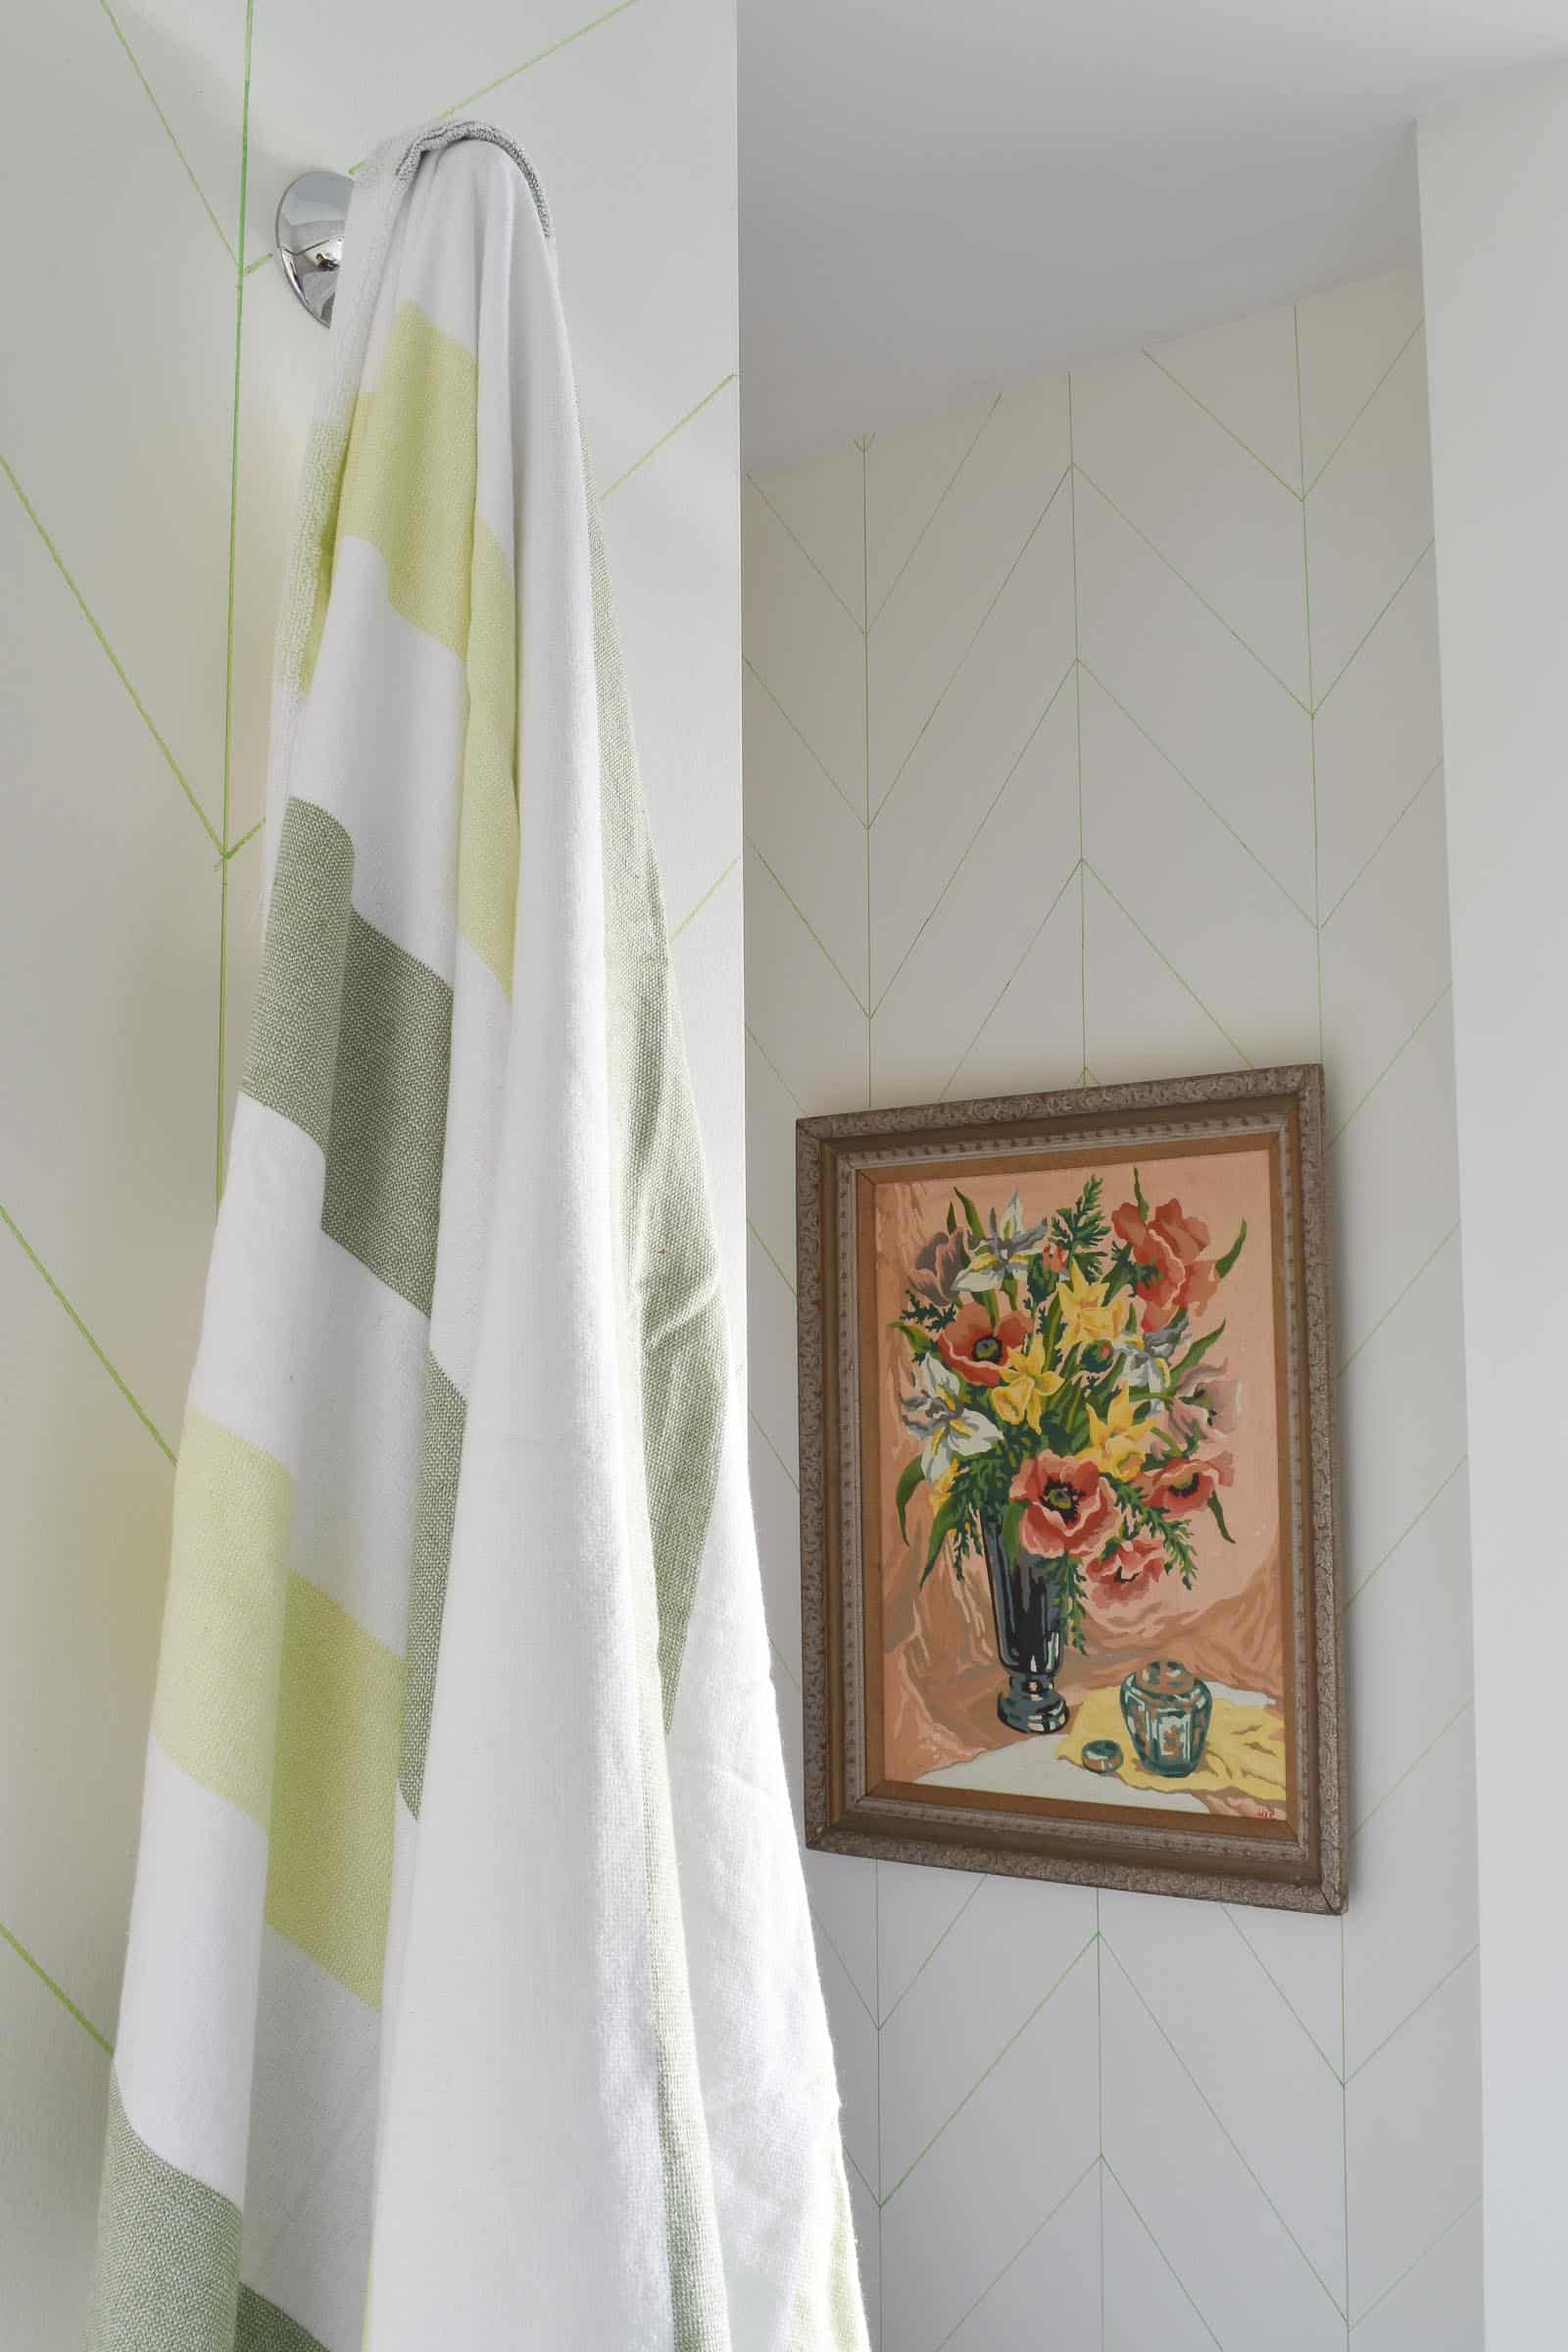
- artwork
- window treatment
- decor
(Incidentally, here’s what I couldn’t address given that budget: faucets, flooring and the toilet… I’m good but I’m not a unicorn!)
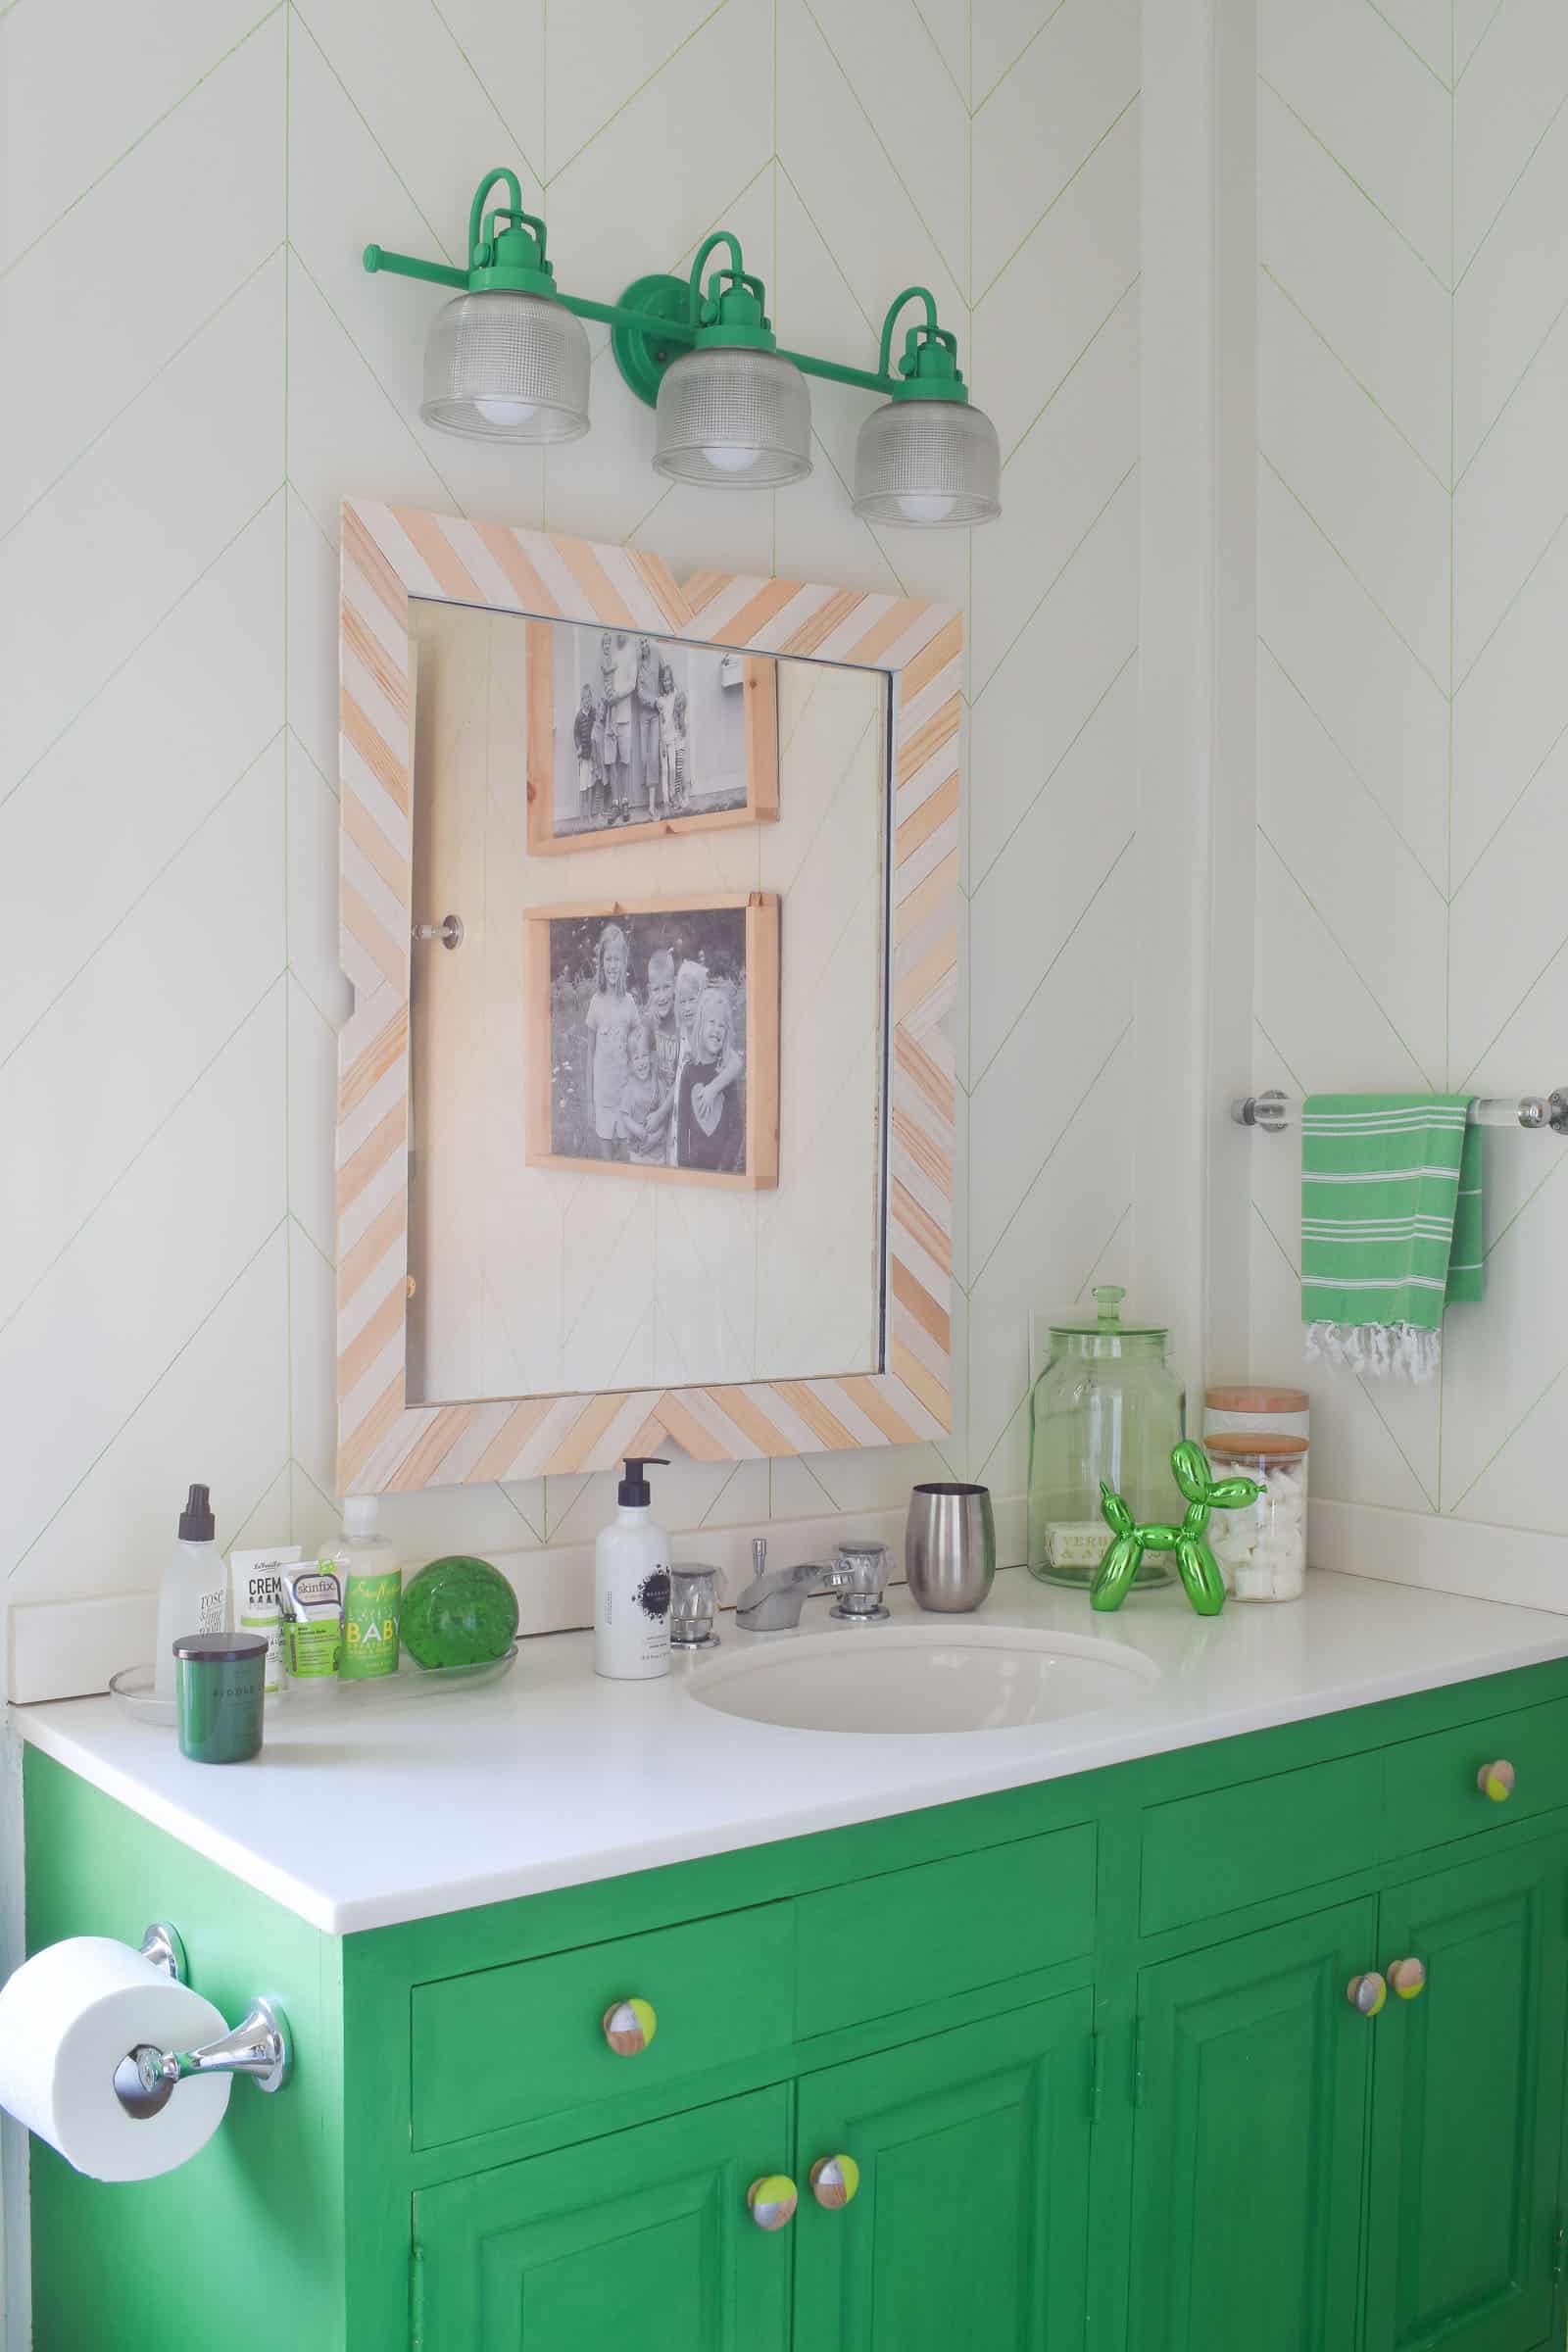
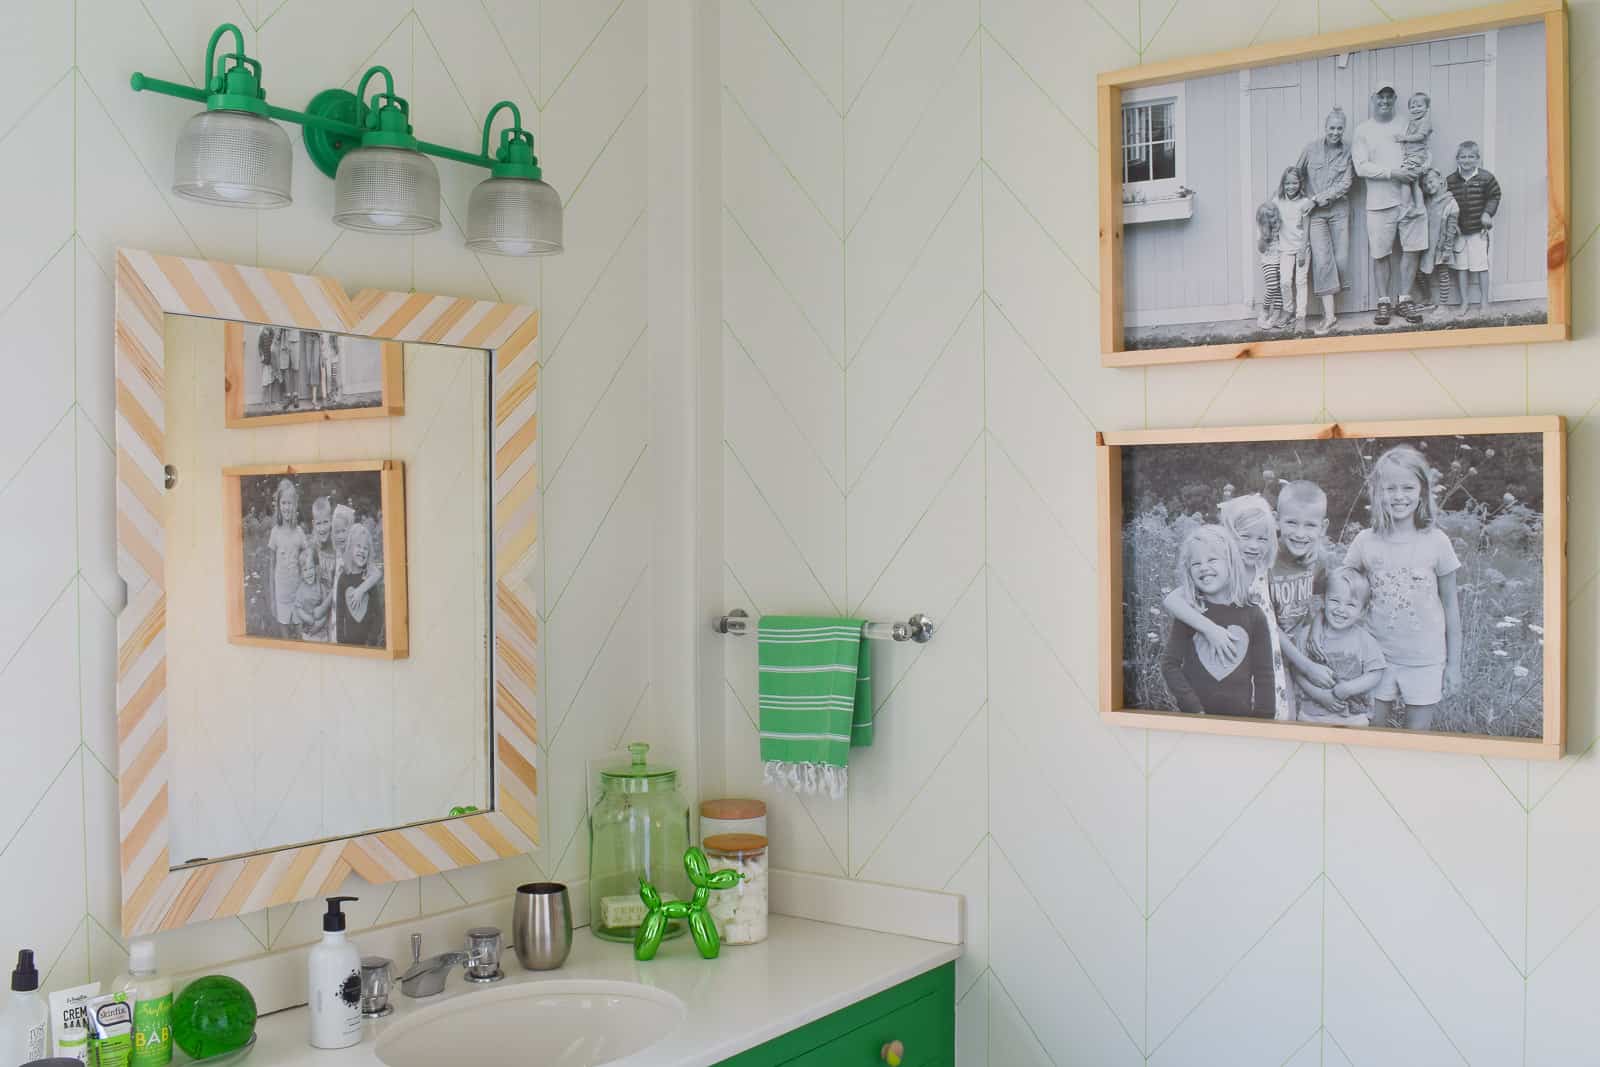
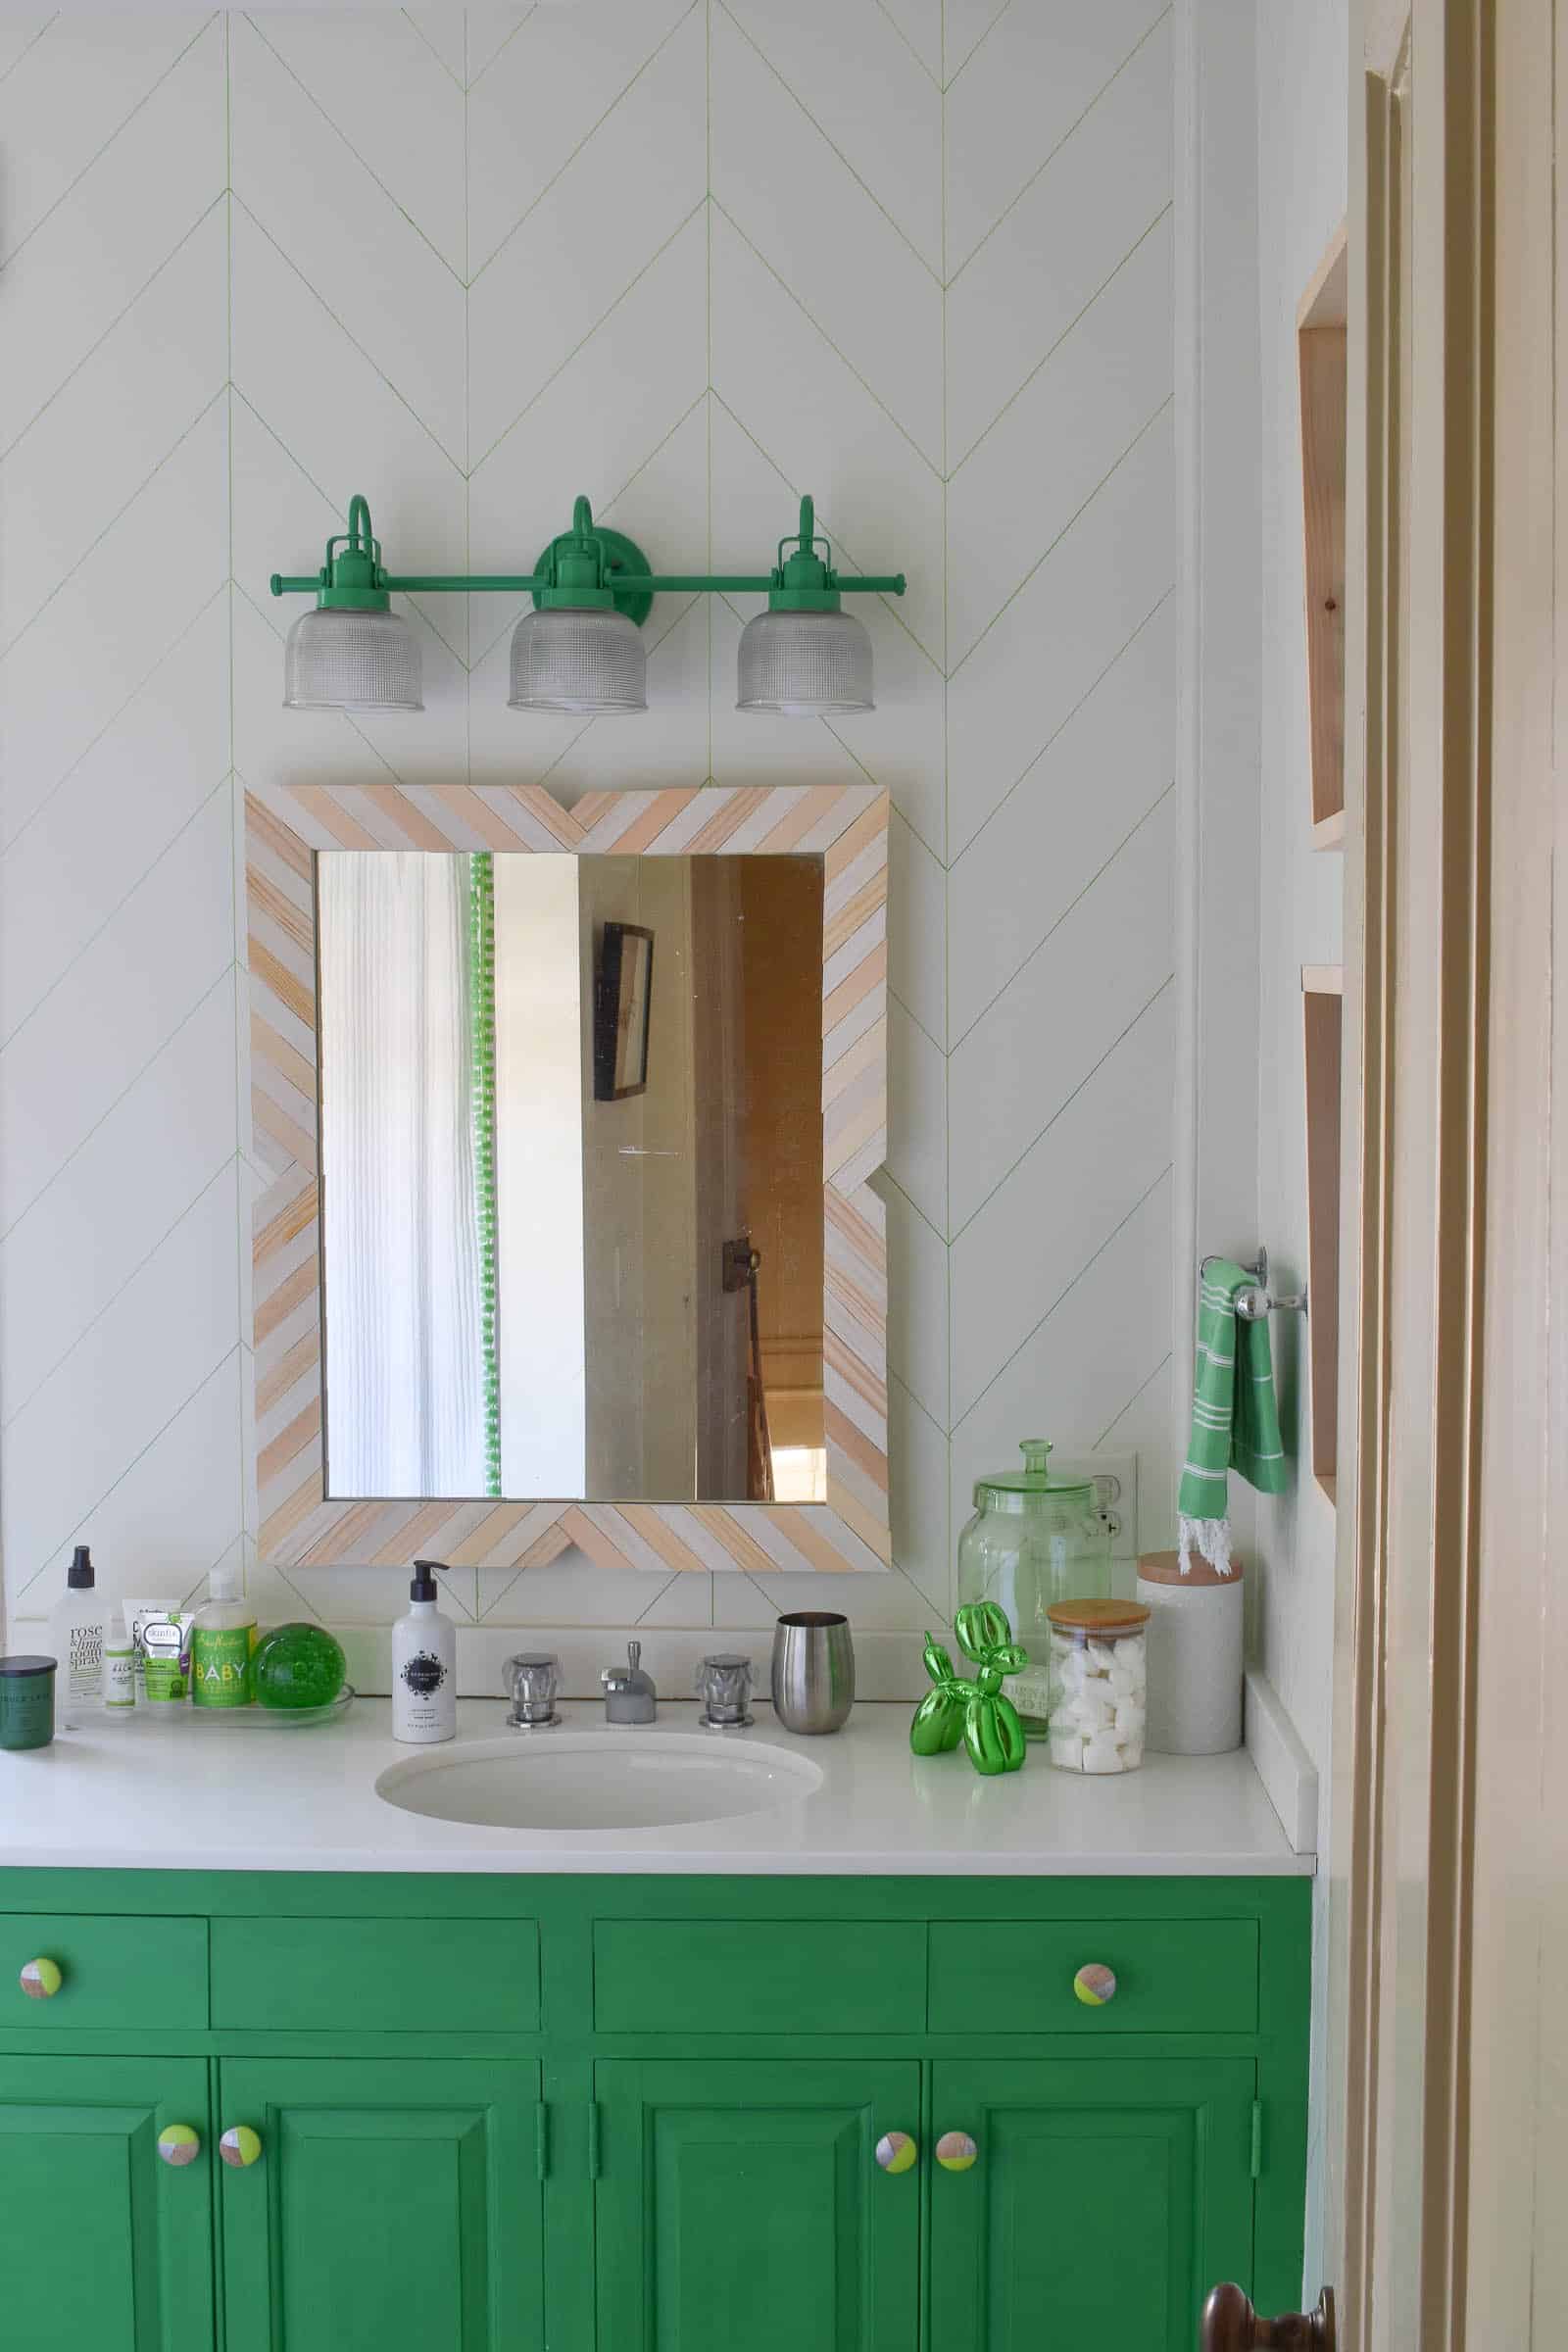
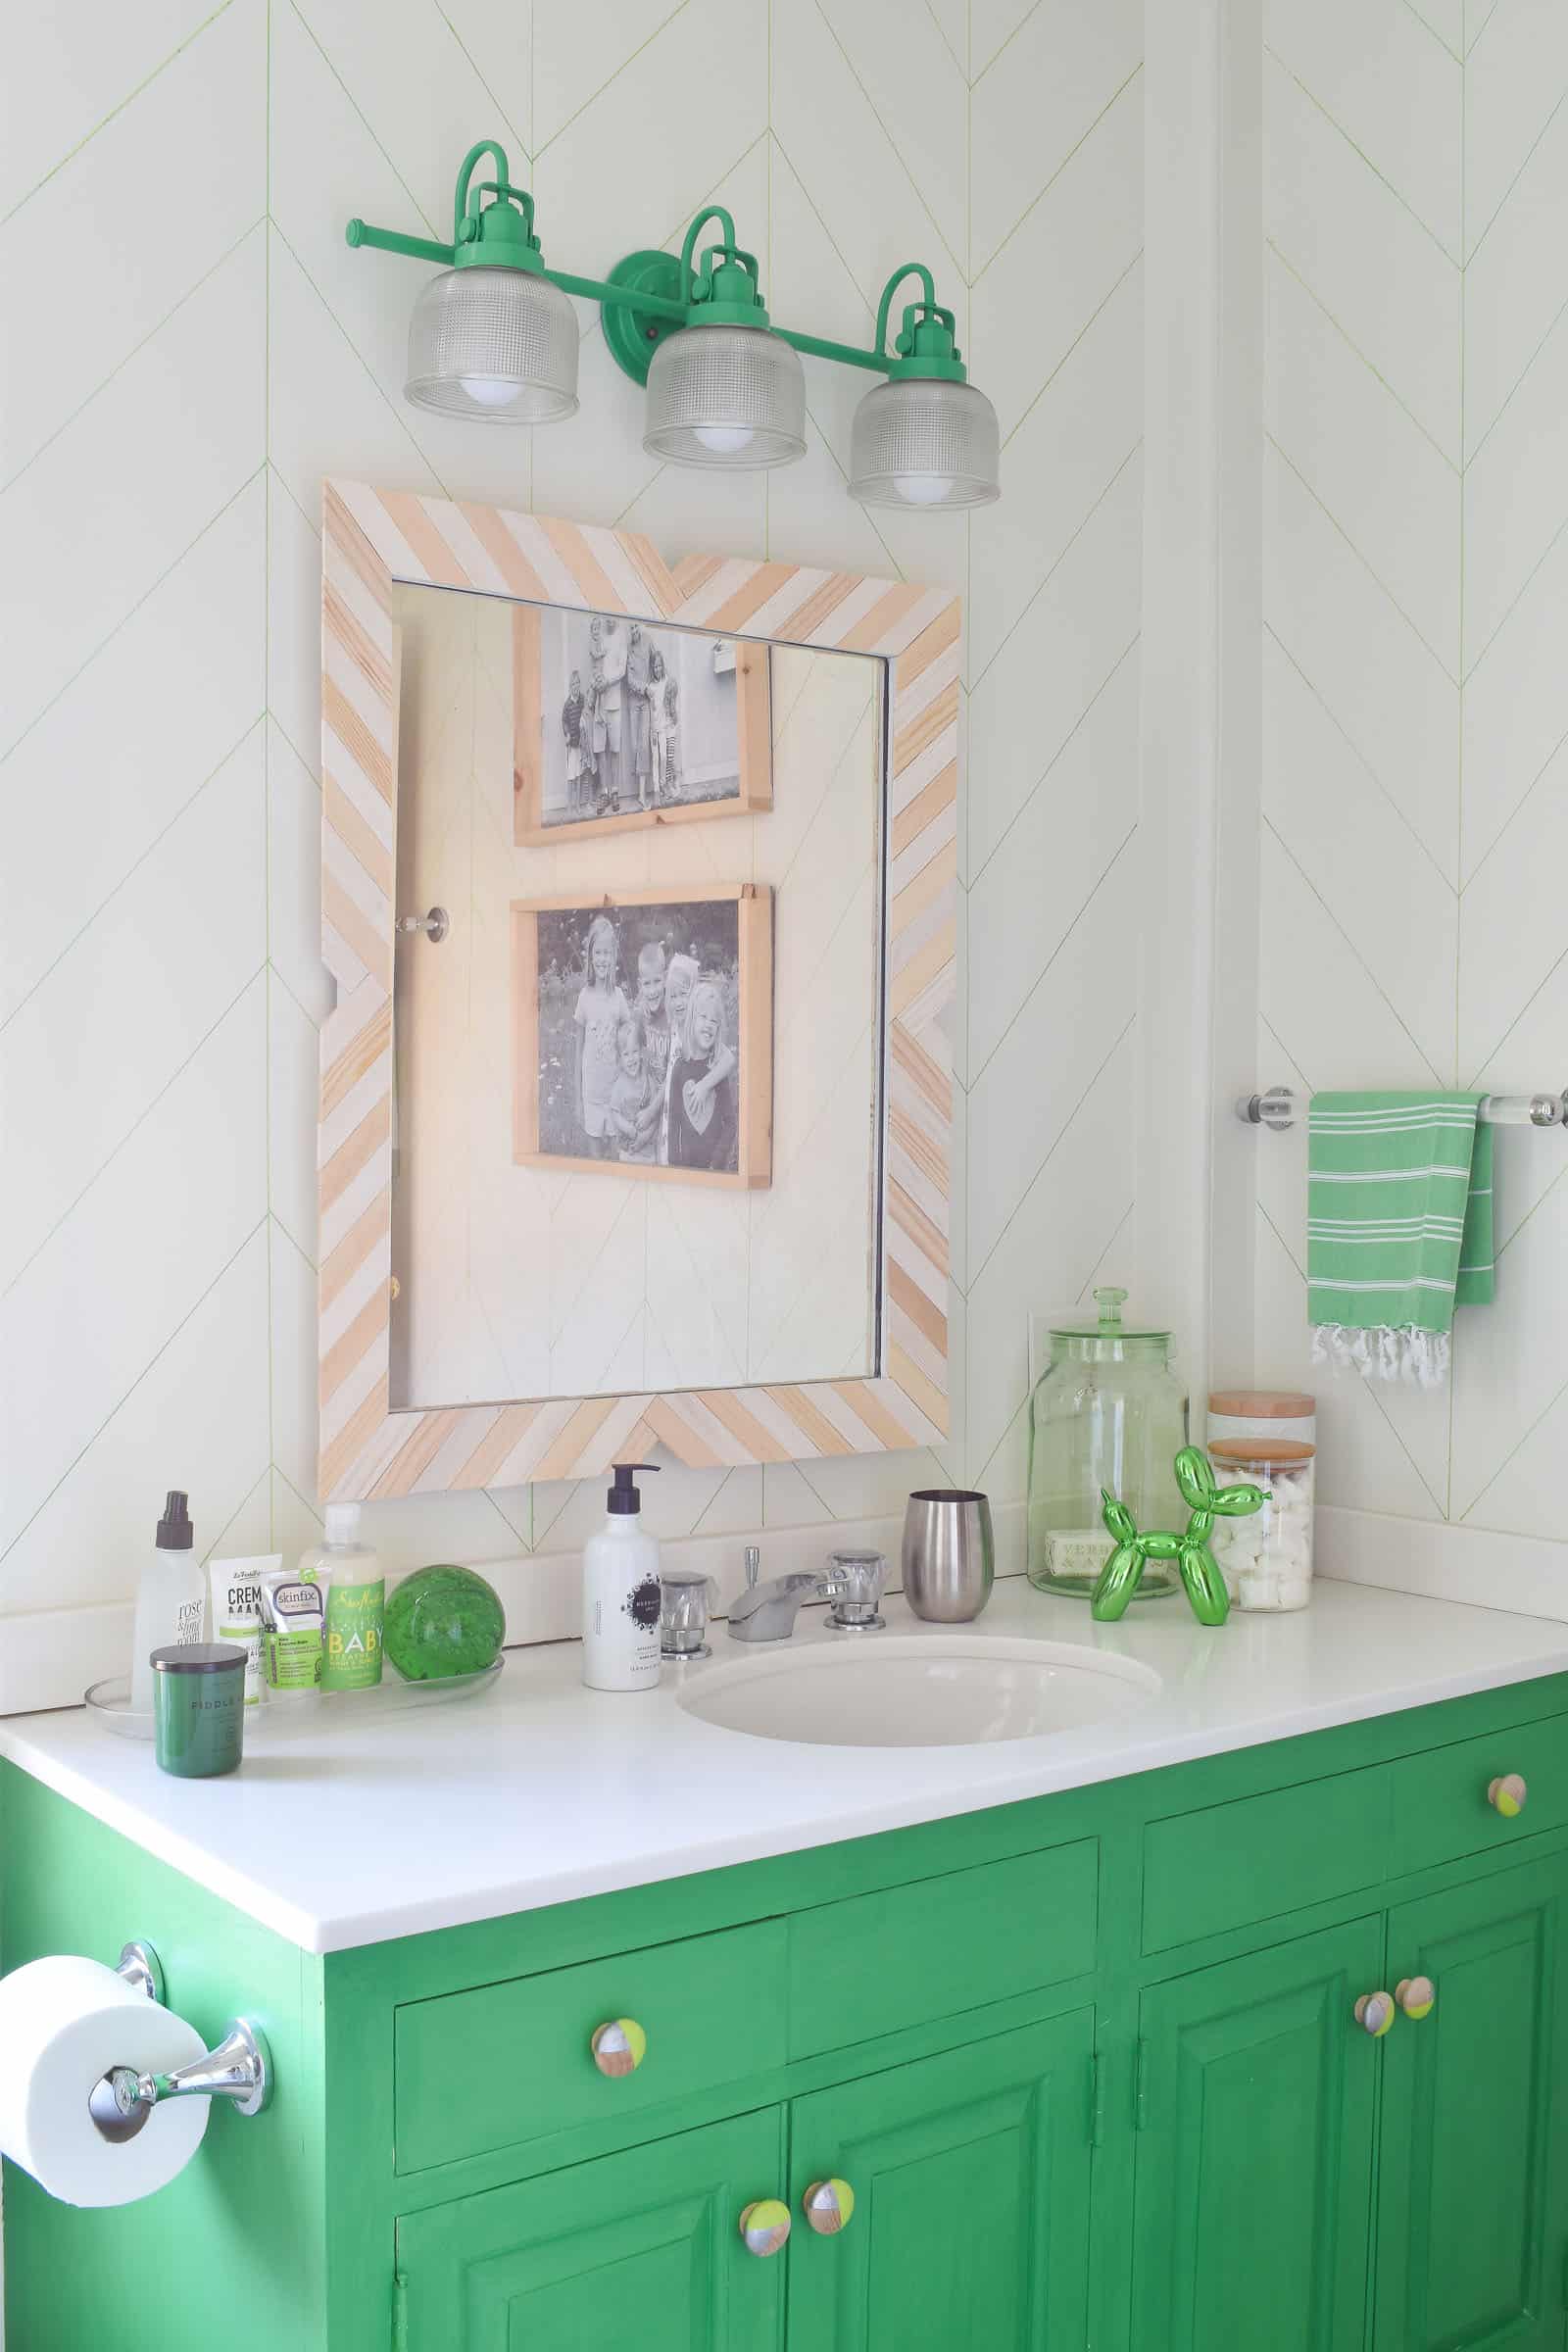
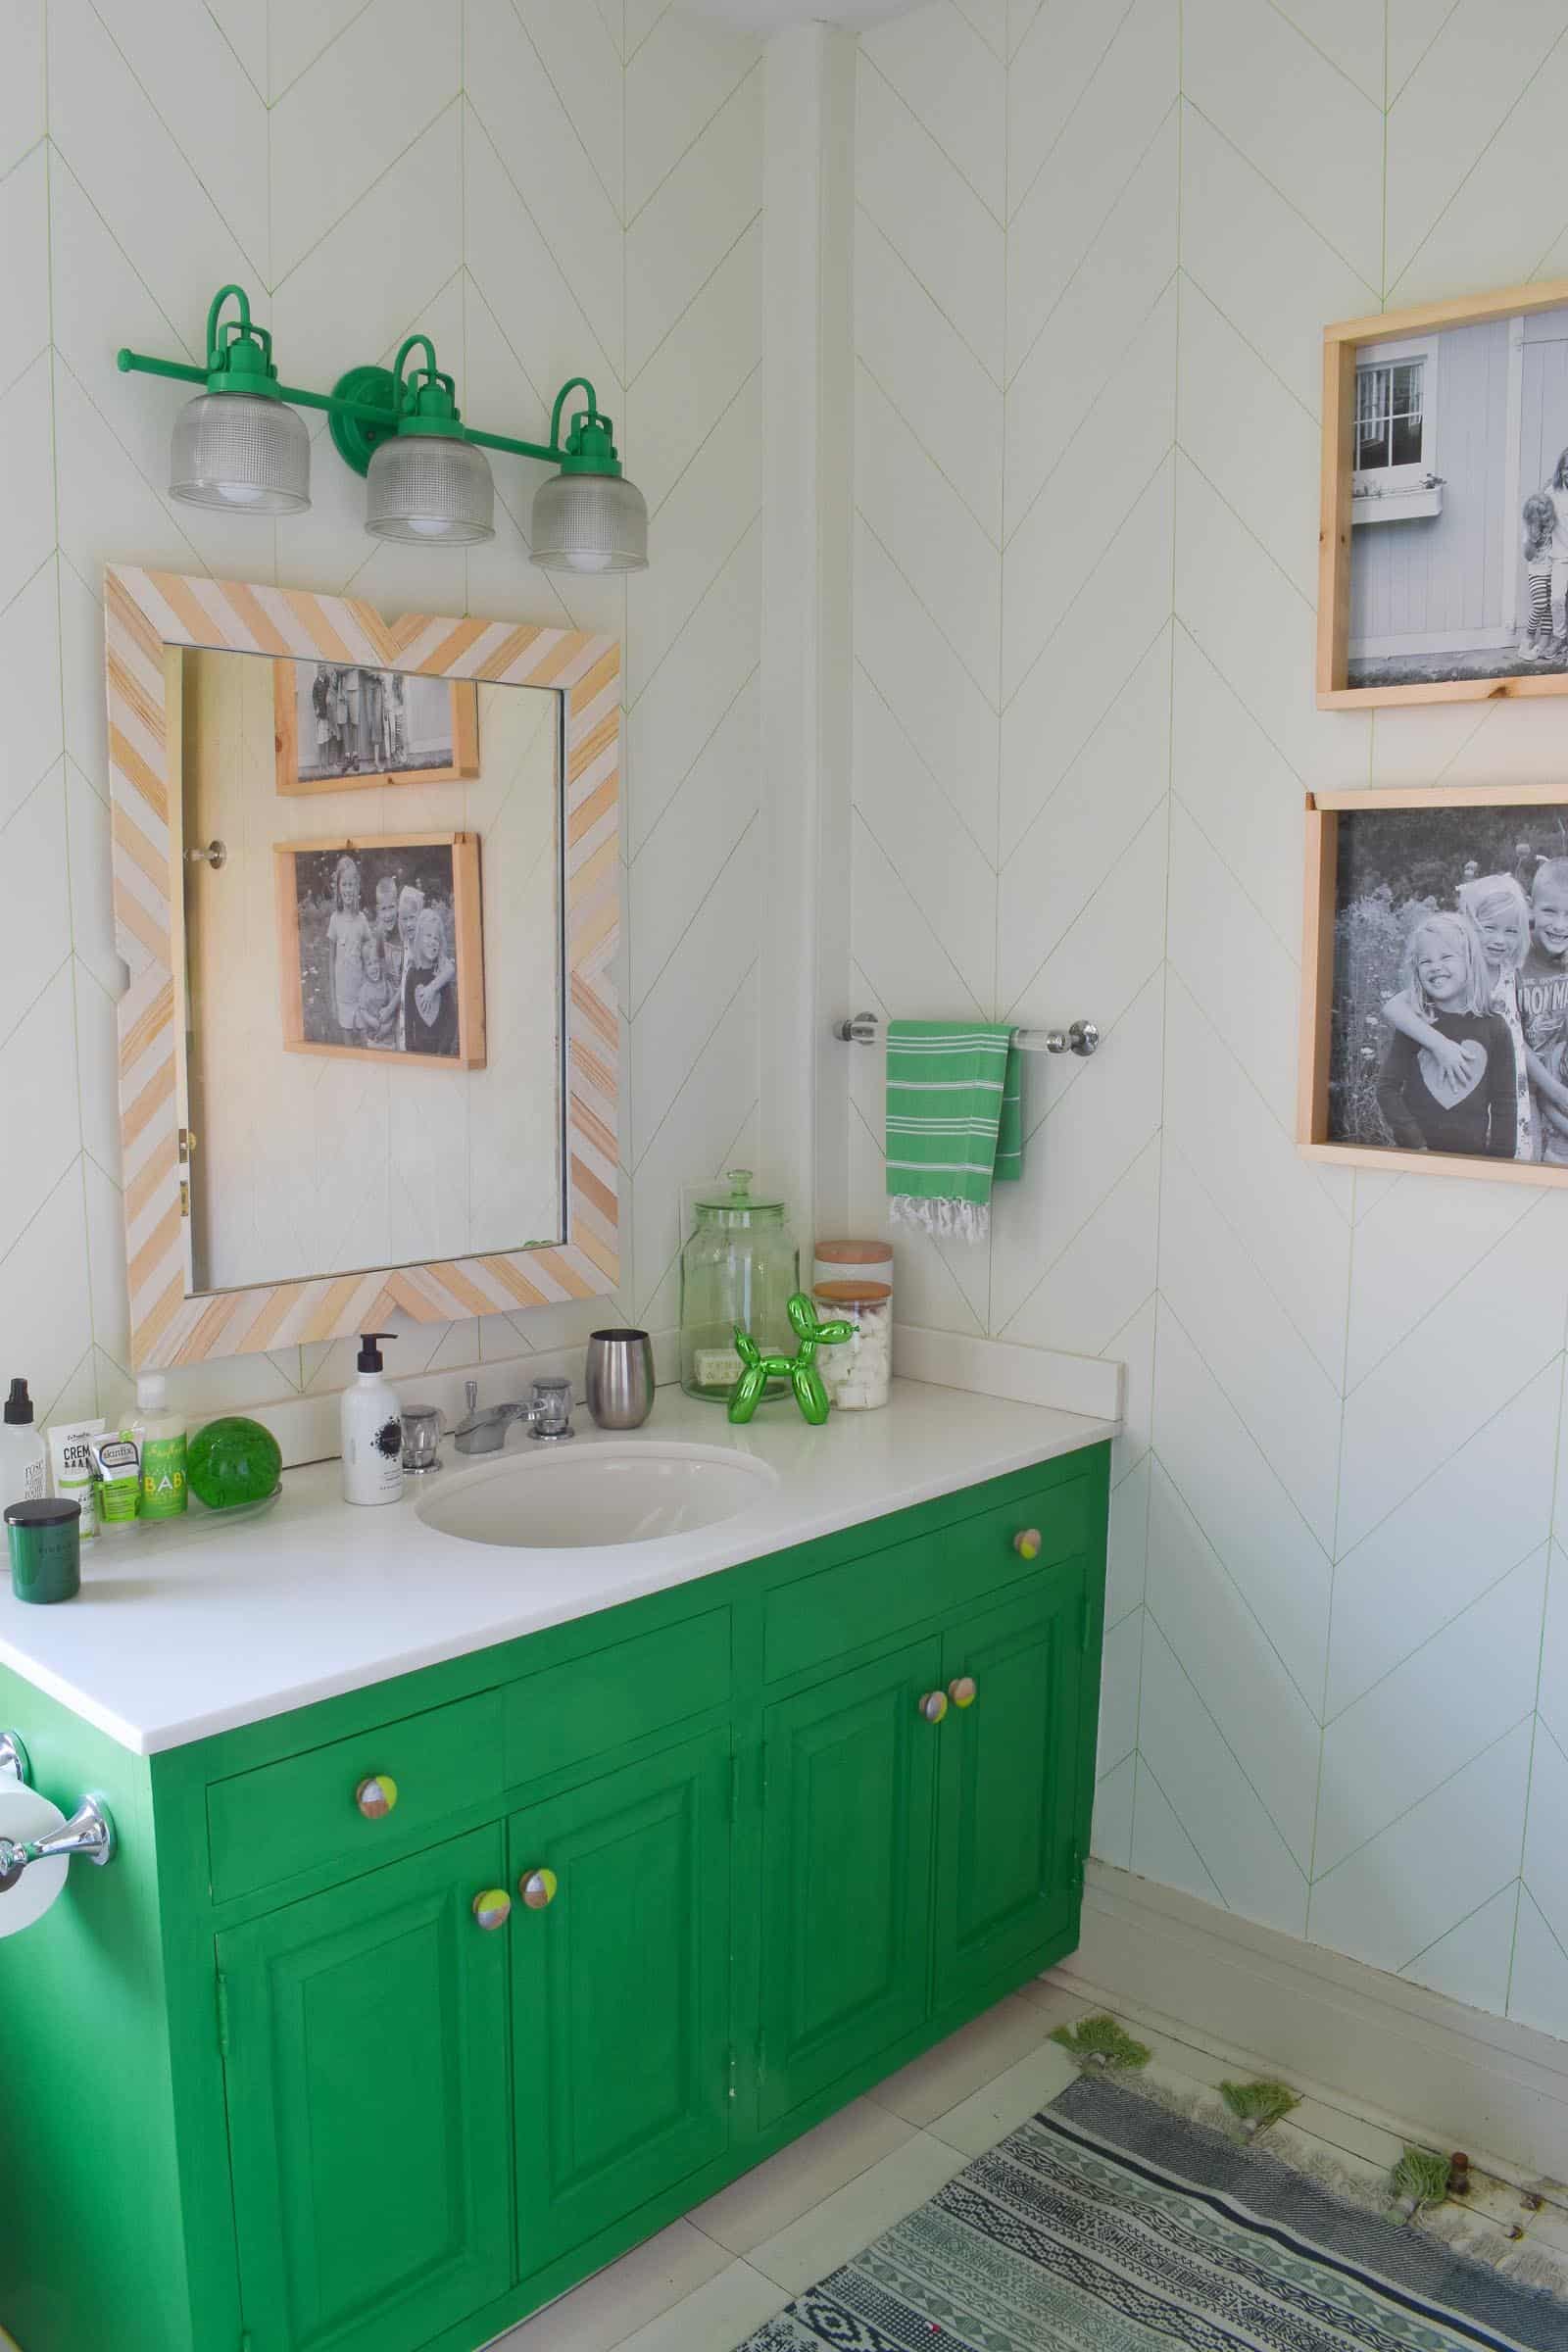
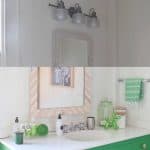
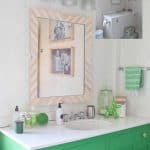
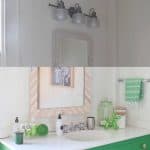
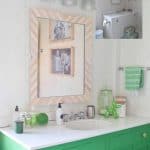
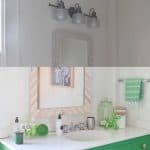
Vanity. Cost= $0. I painted it with this fun DecoArt Green Chalky Finish paint. I took a few coats to get the coverage I wanted, but I love the green and since I already had this on hand… free. If you *don’t* have paint on hand… check out the Restore or The Home Depot’s “oops” shelf in their paint department… bargains to find there. Otherwise, a quart of paint is $20 give or take.
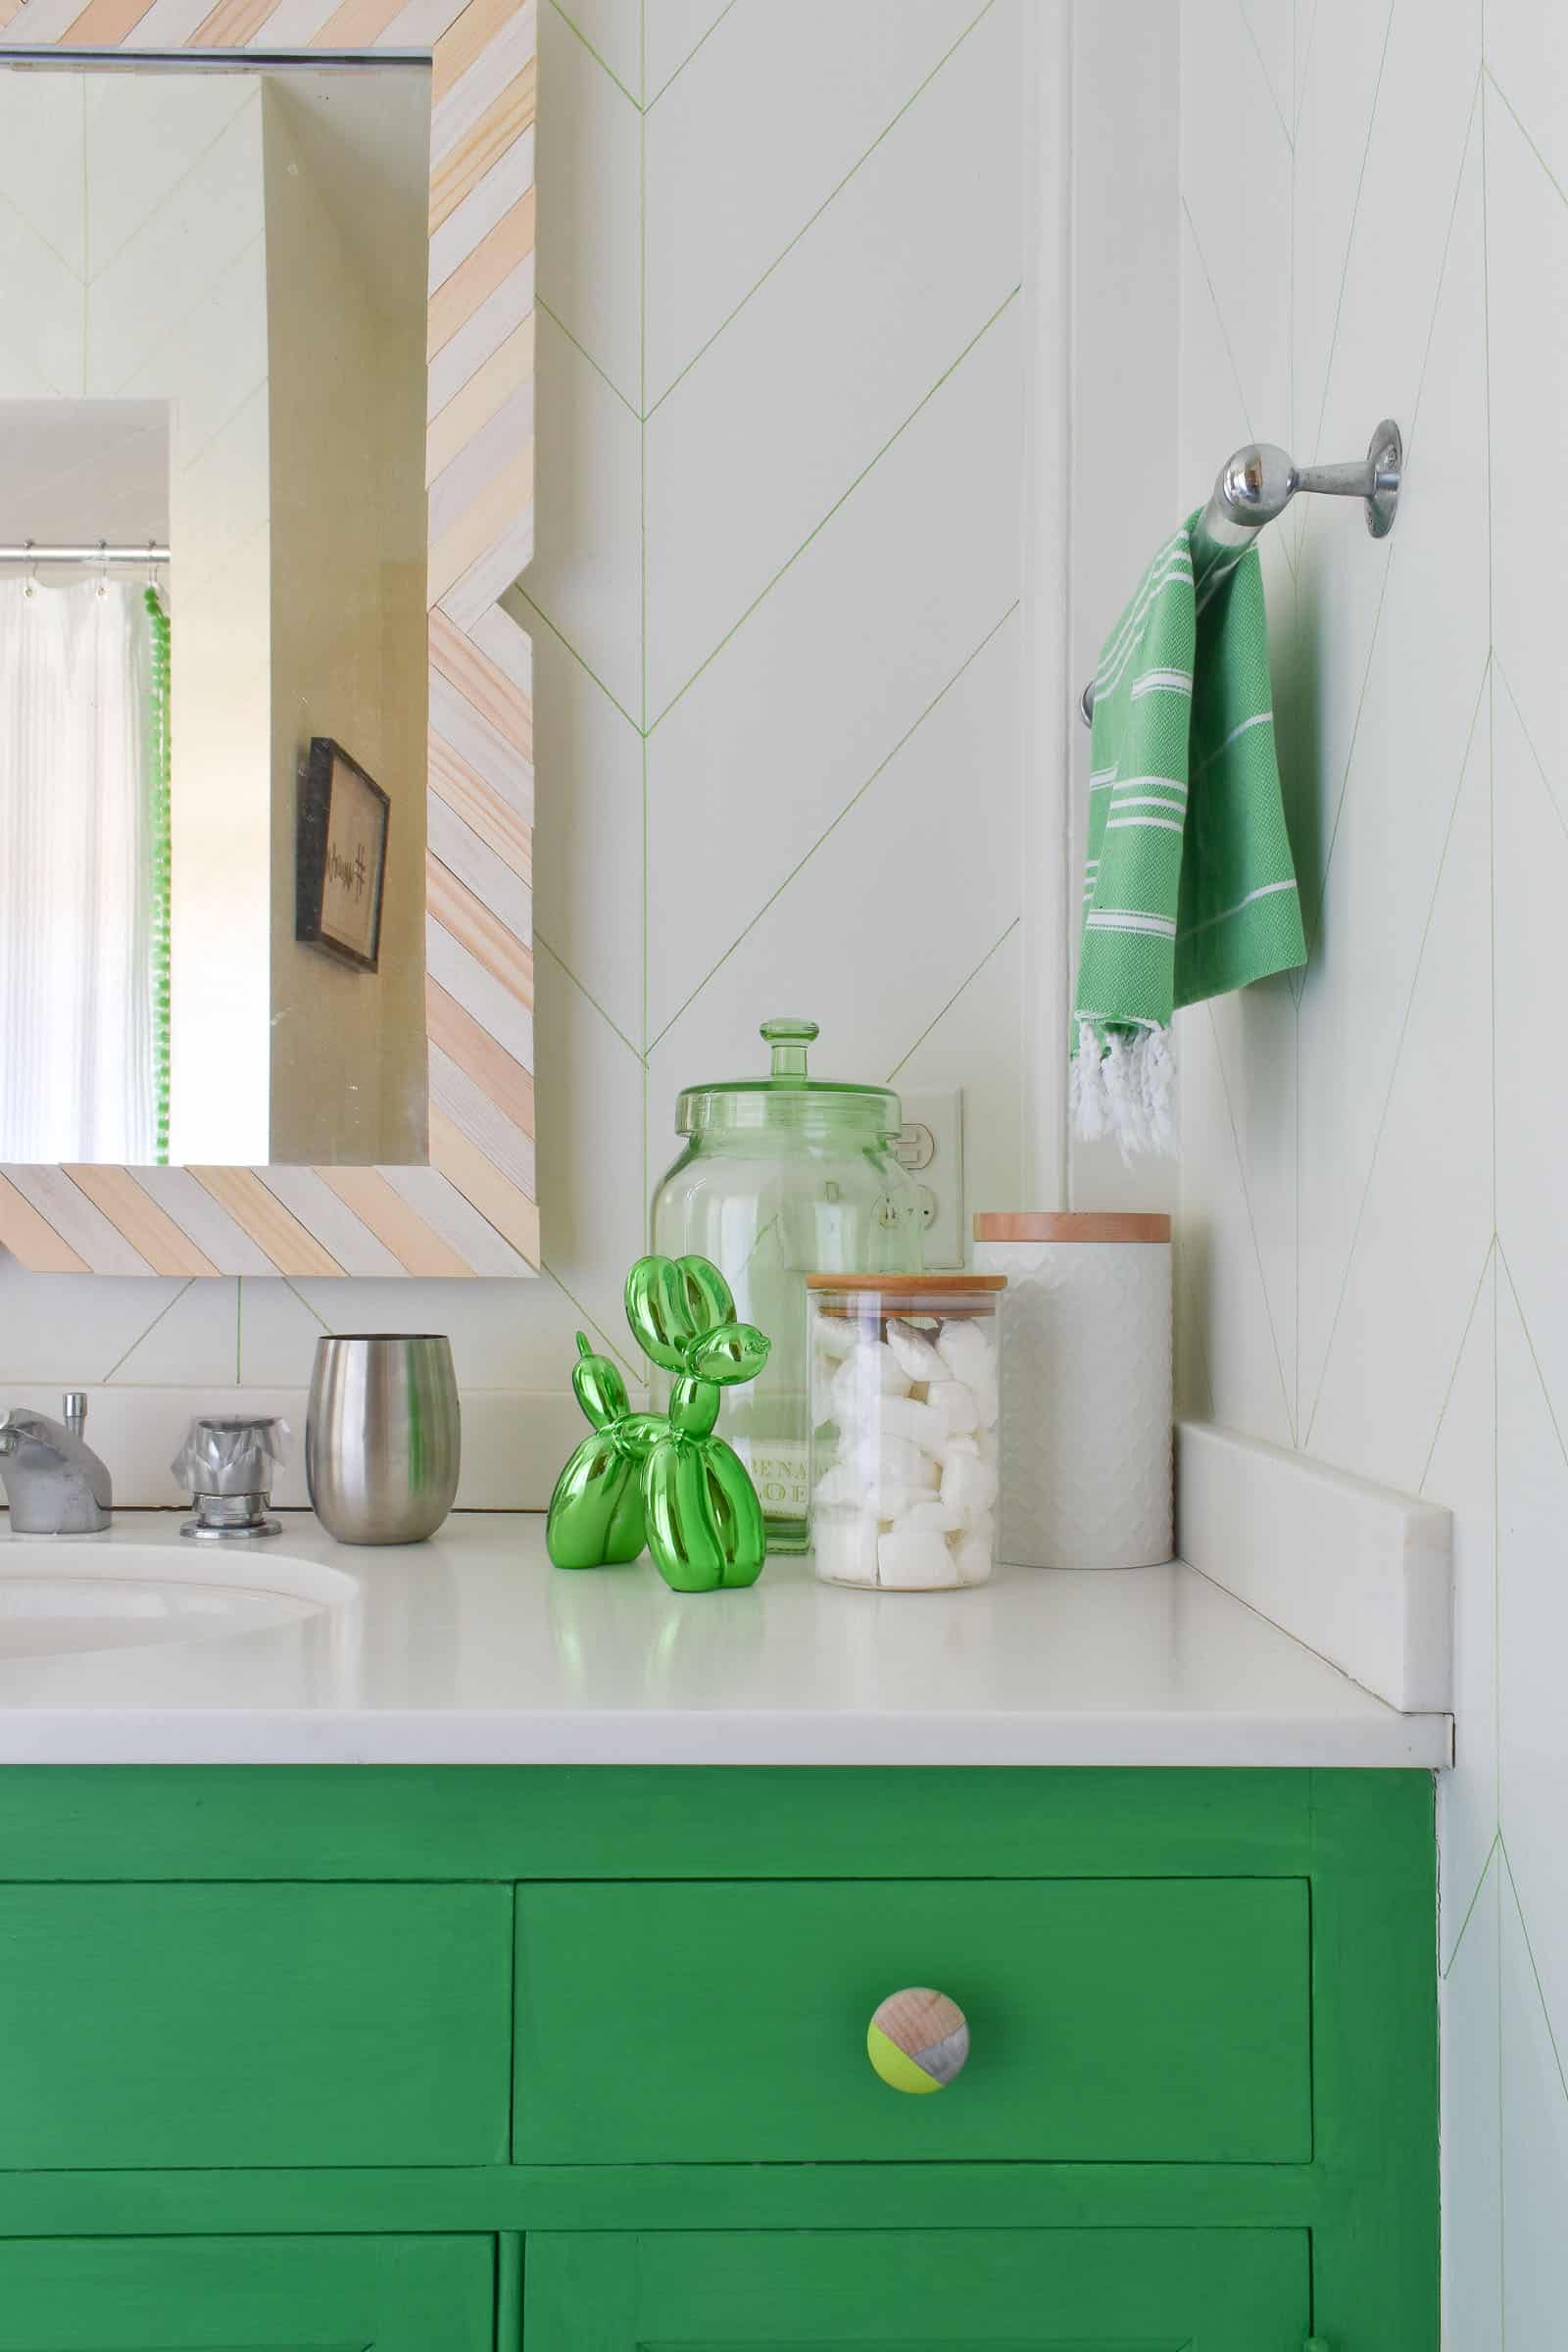
Knobs. Cost= $6. I grabbed wooden knobs similar to these and gave them a modern makeover thanks to THIS TUTORIAL using craft paint from my stash!
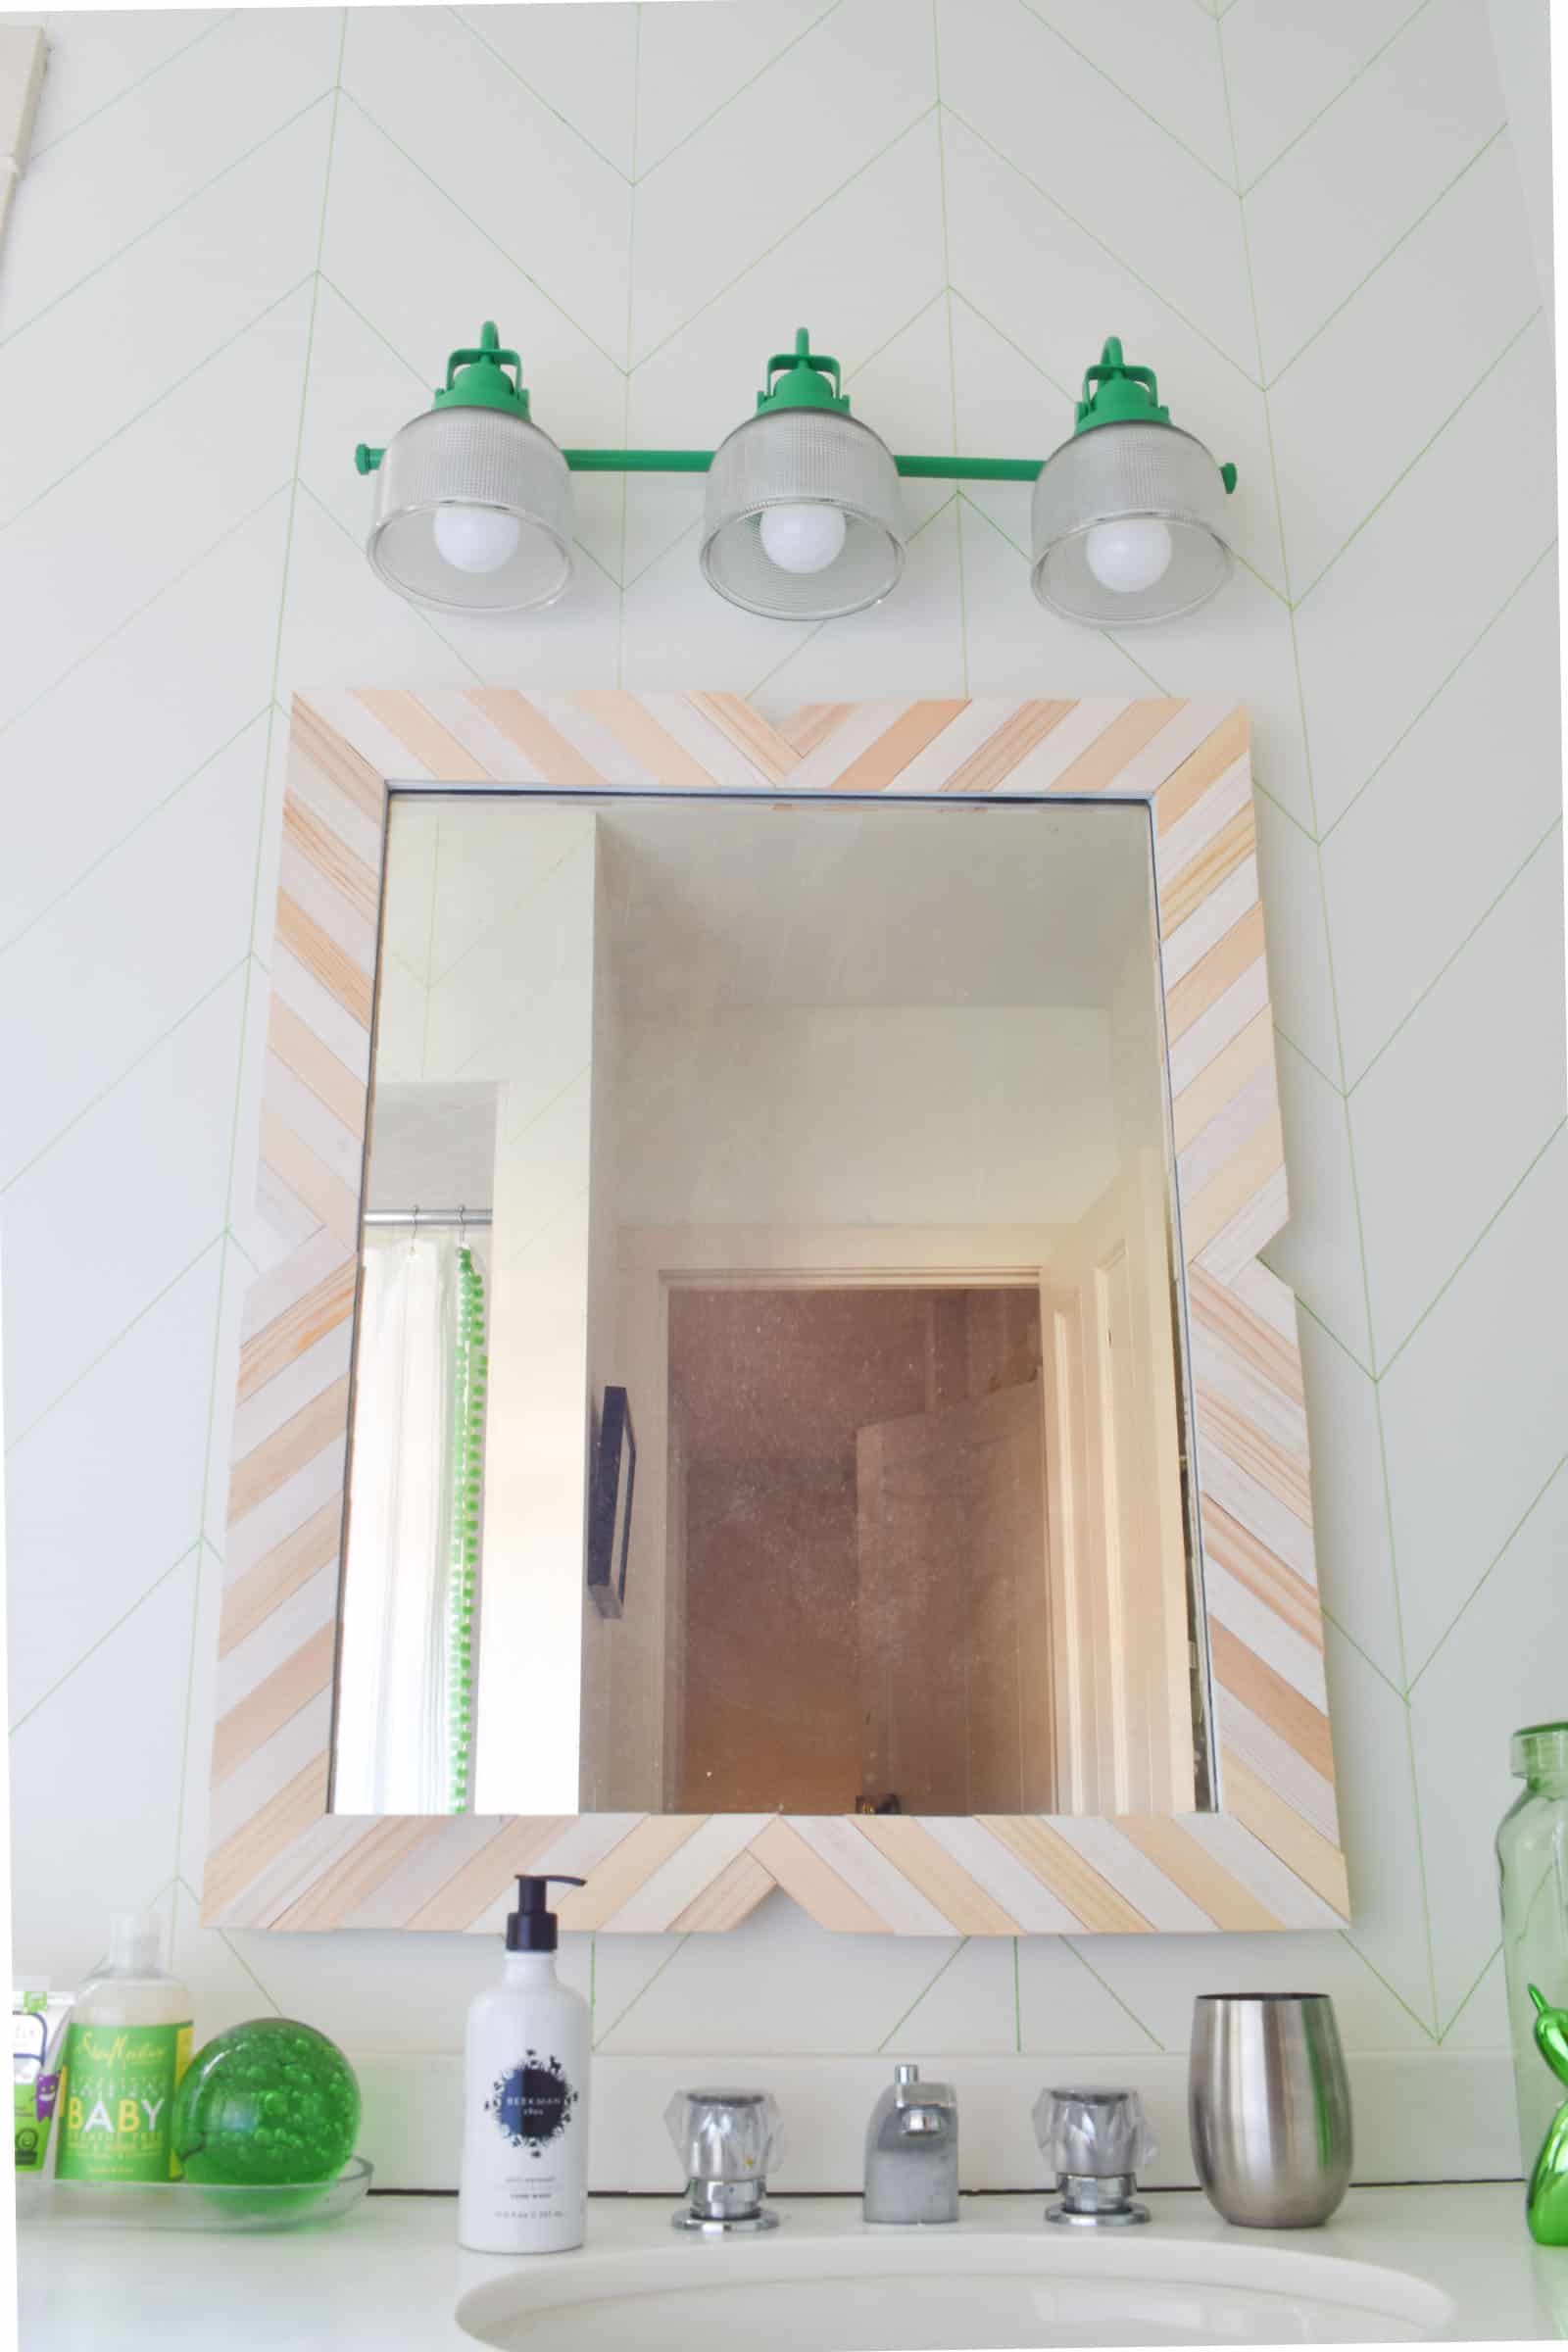
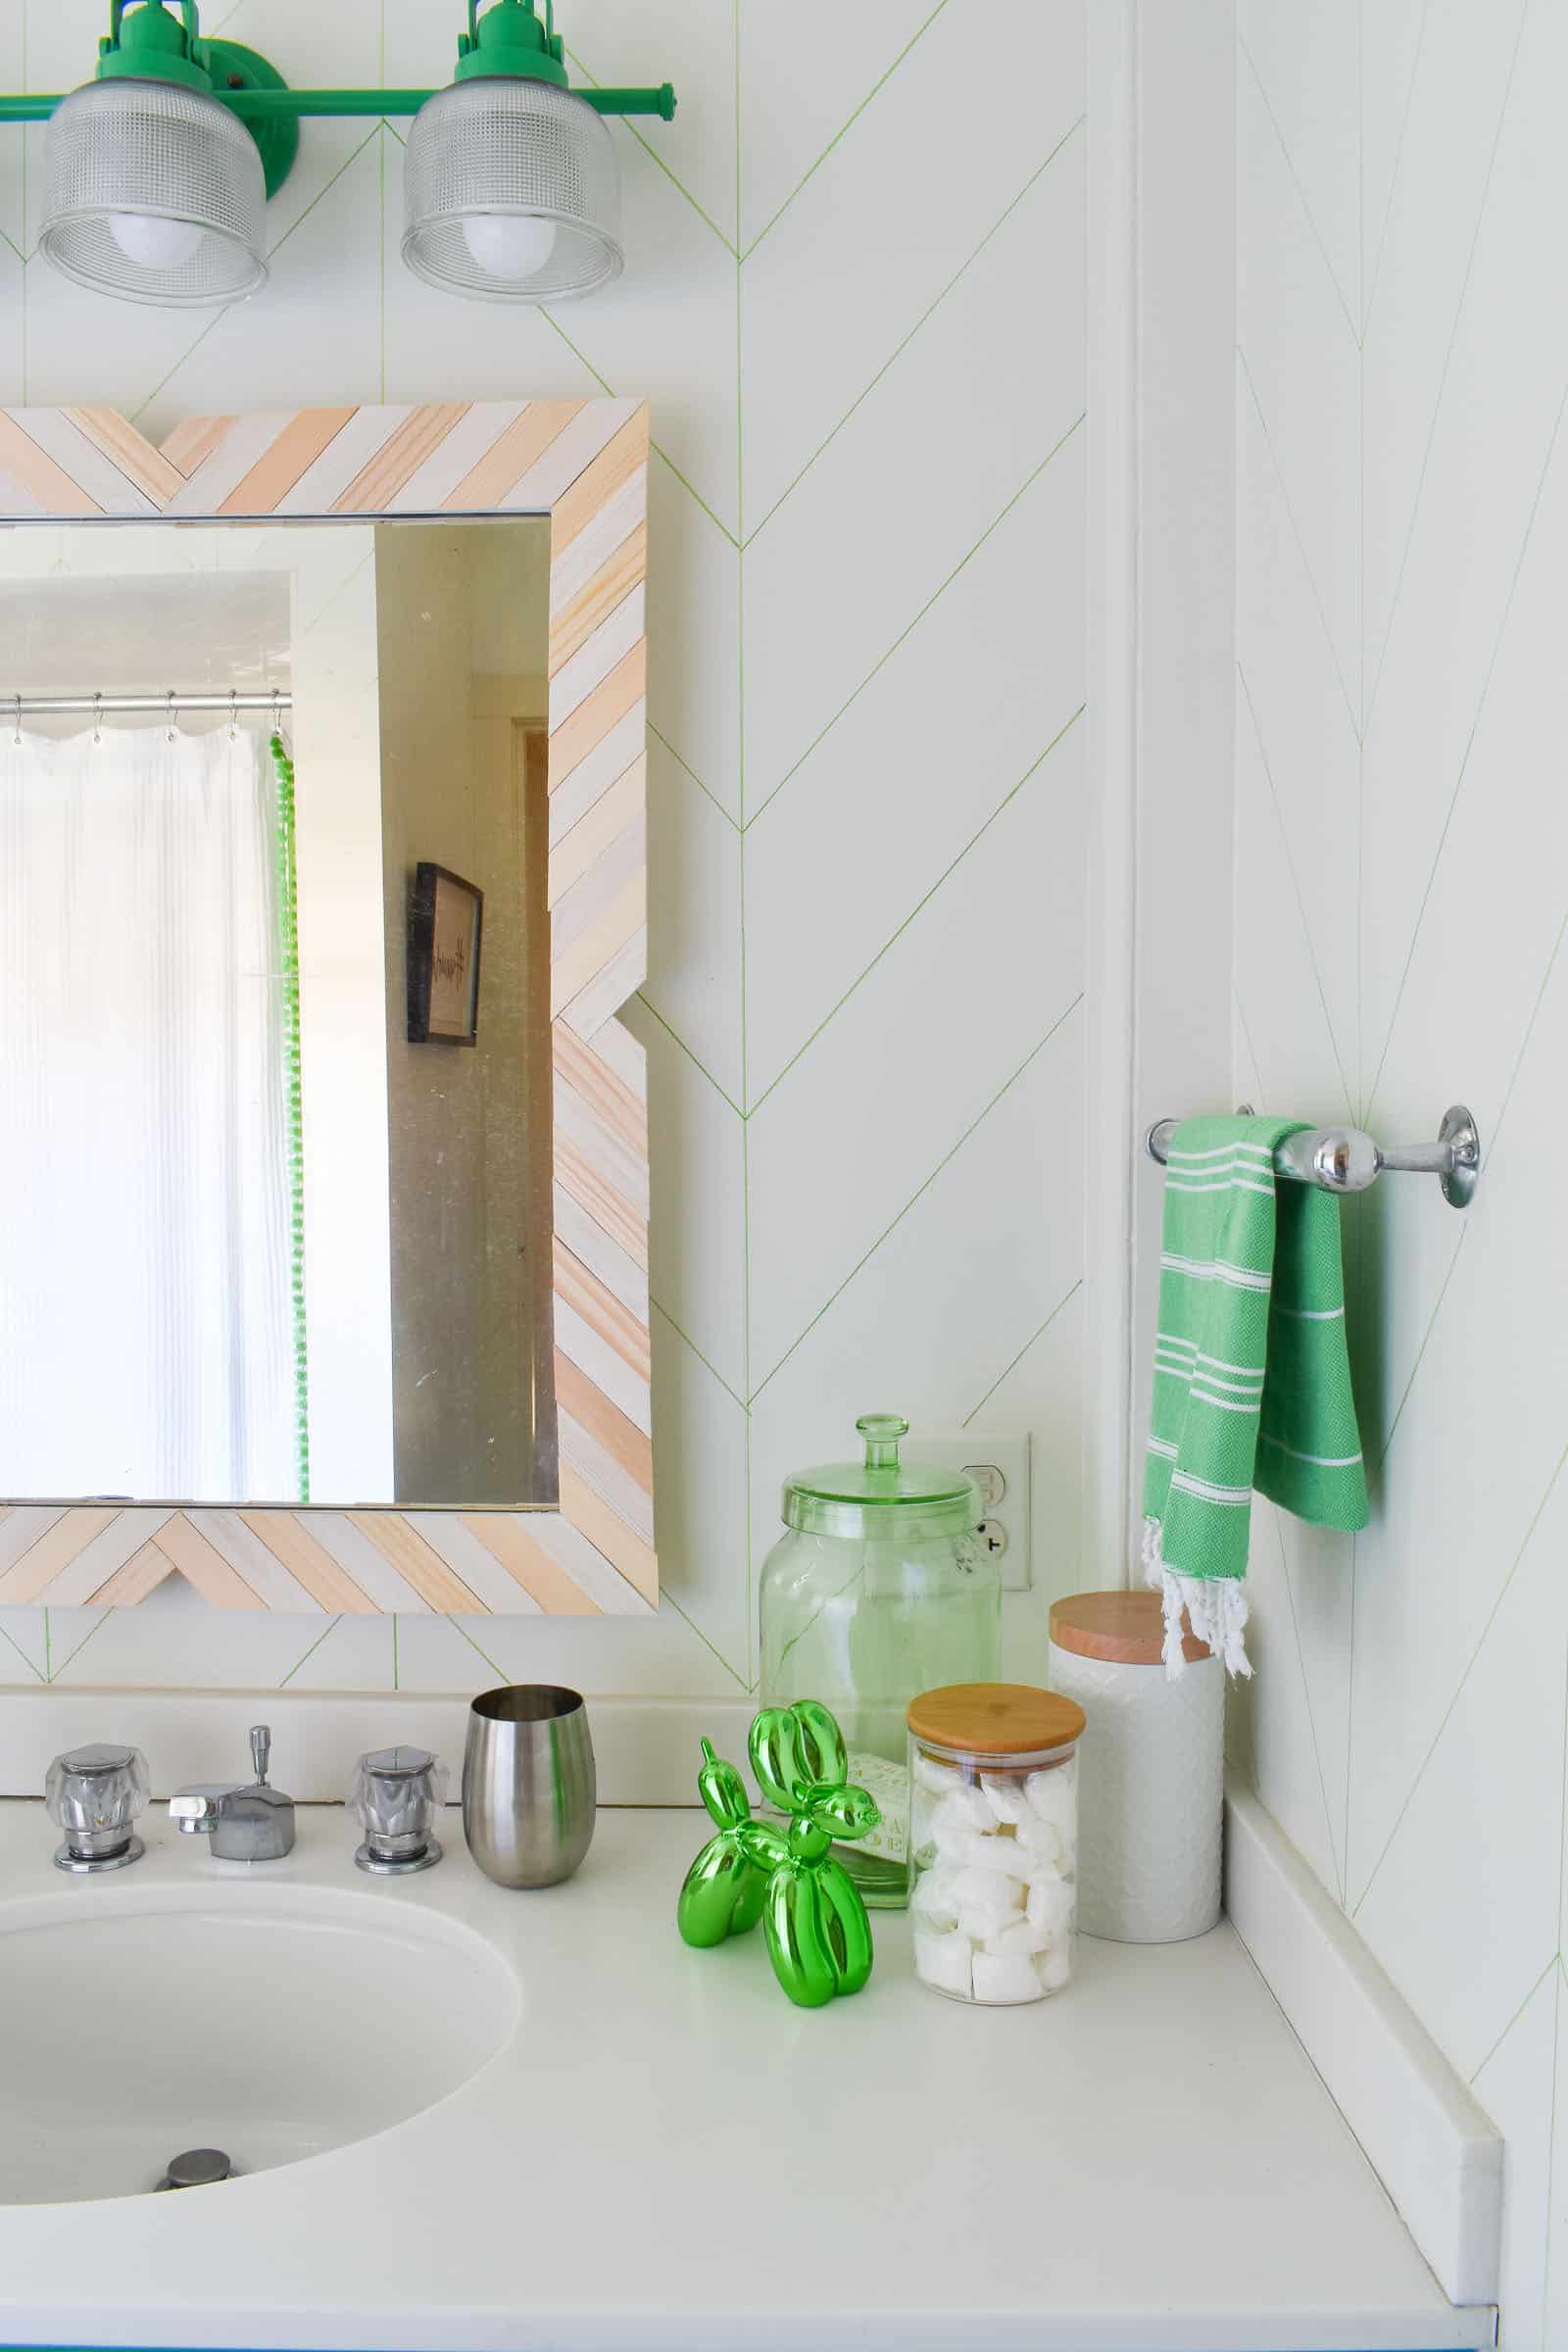
Light. Cost= $4. I had that light but gave it a face lift with a coat of shiny green spray paint. I taped off the socket, removed the glass and gave the metal a green update.
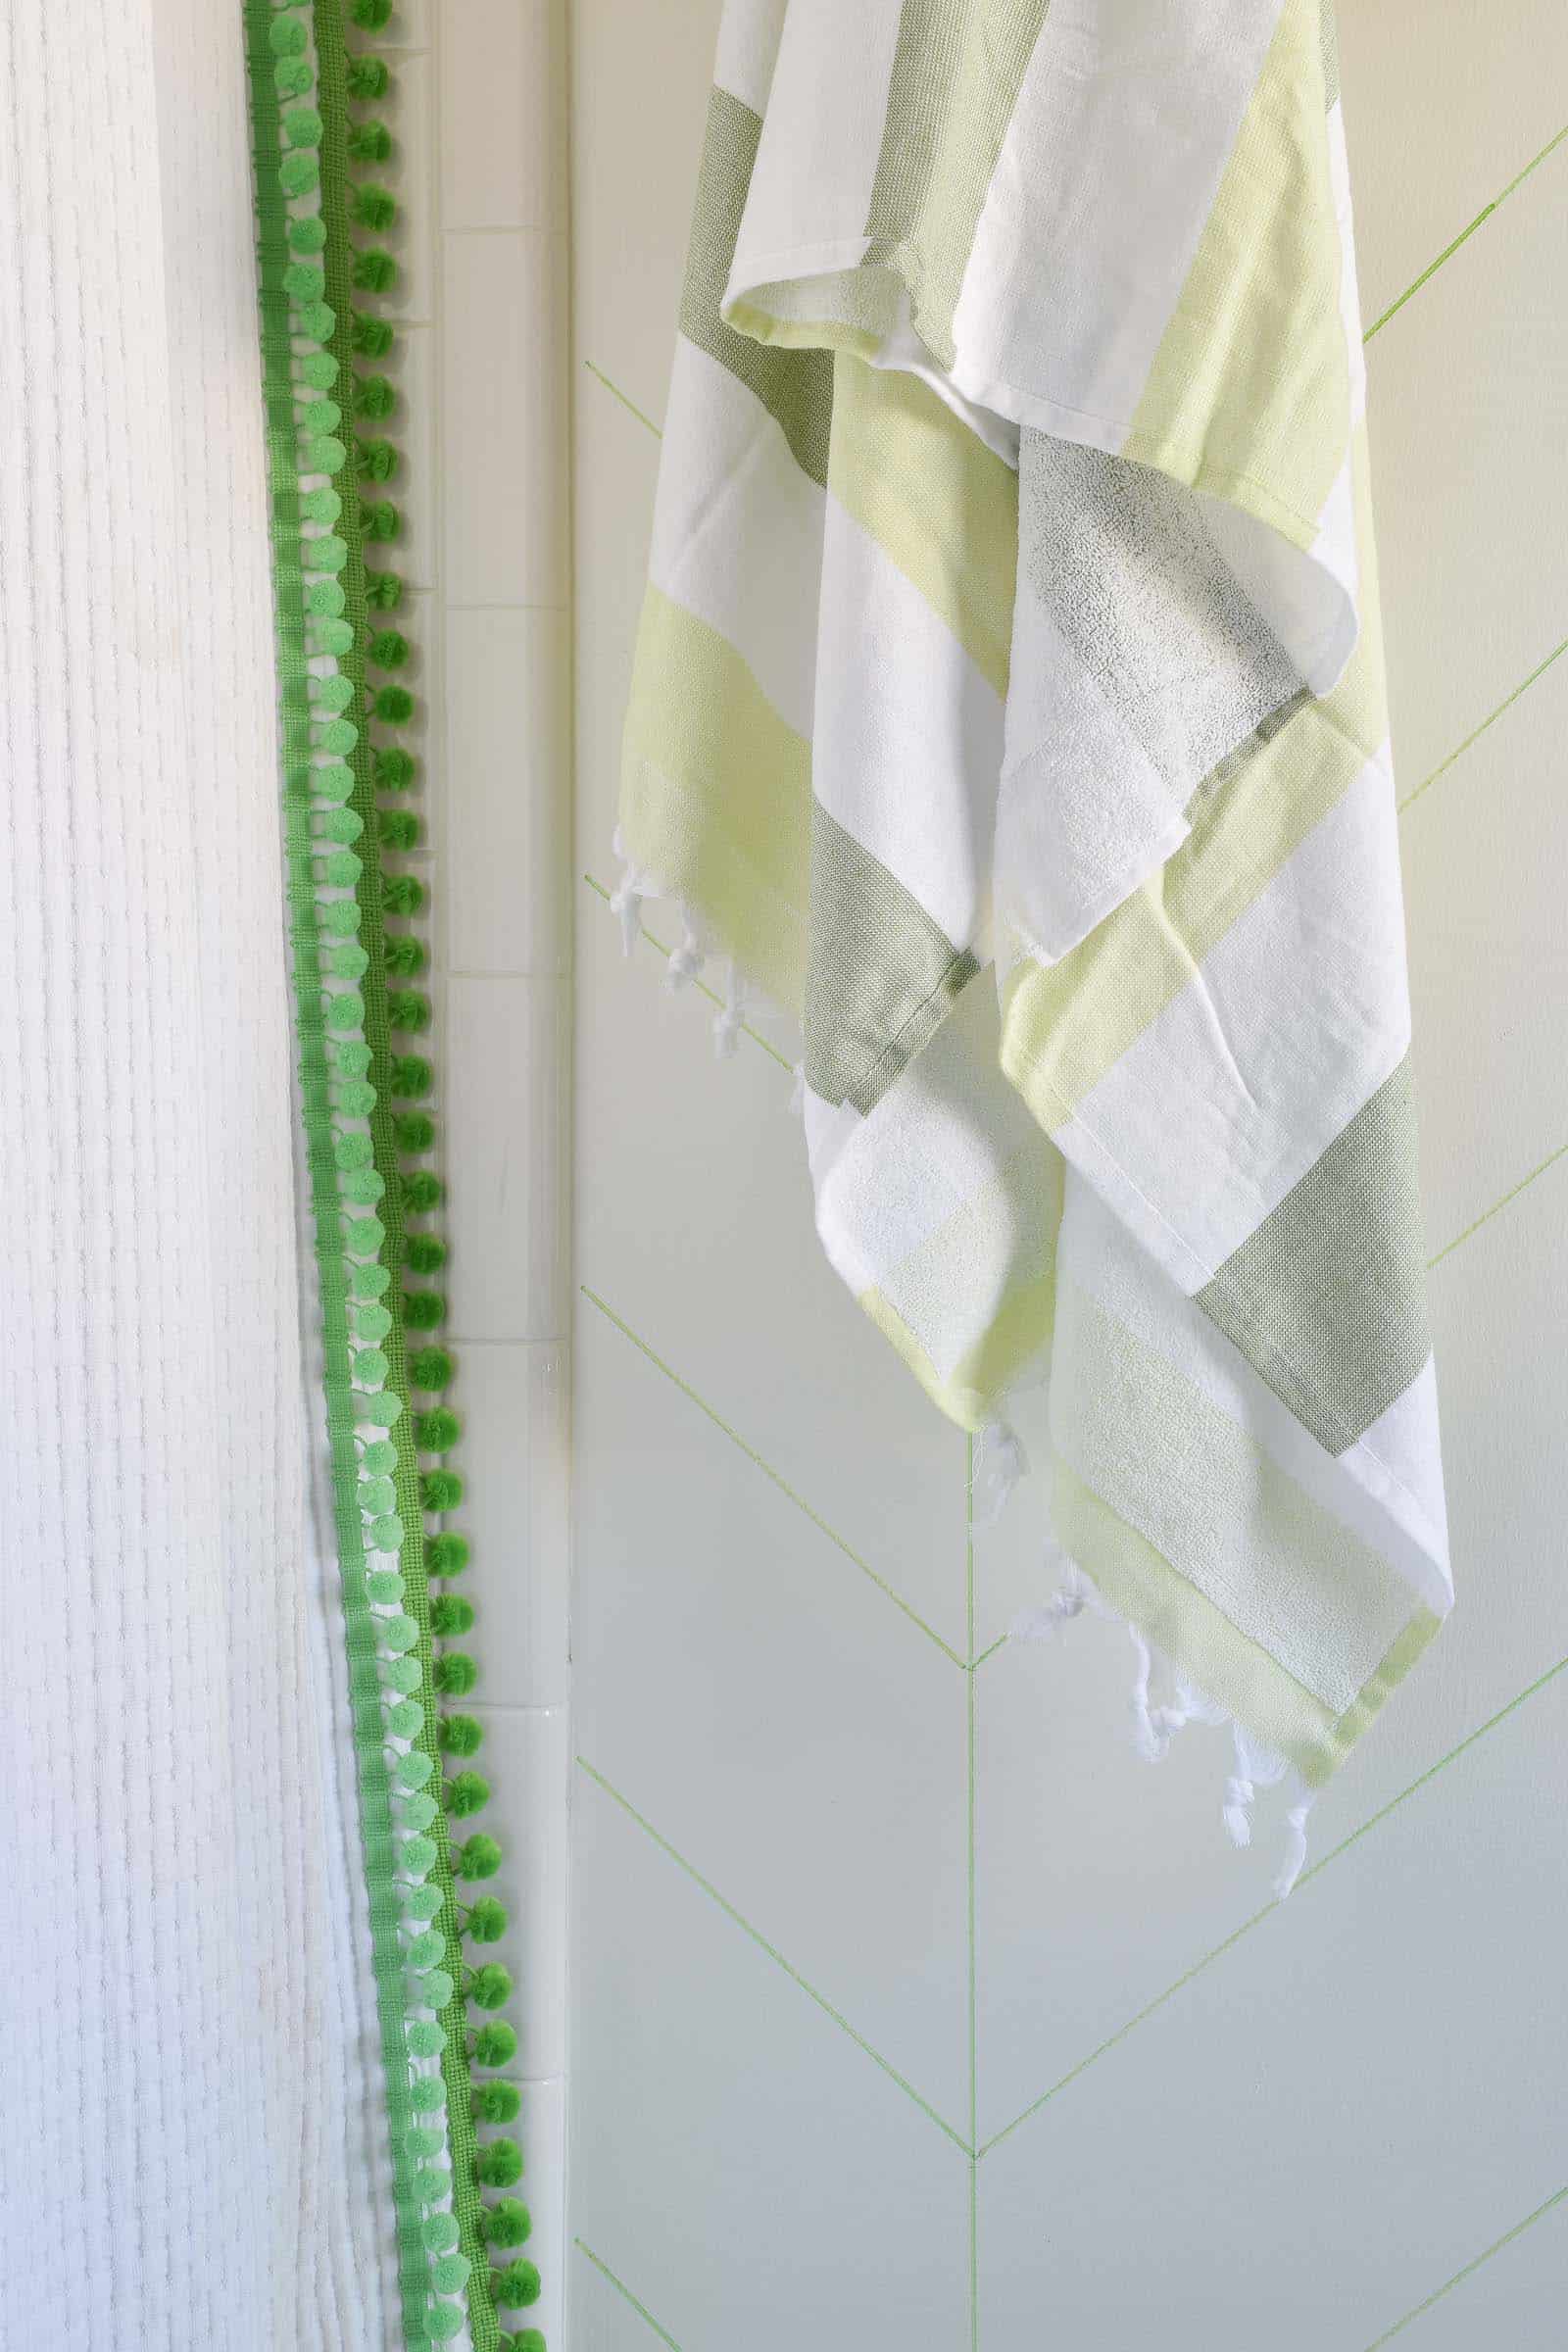
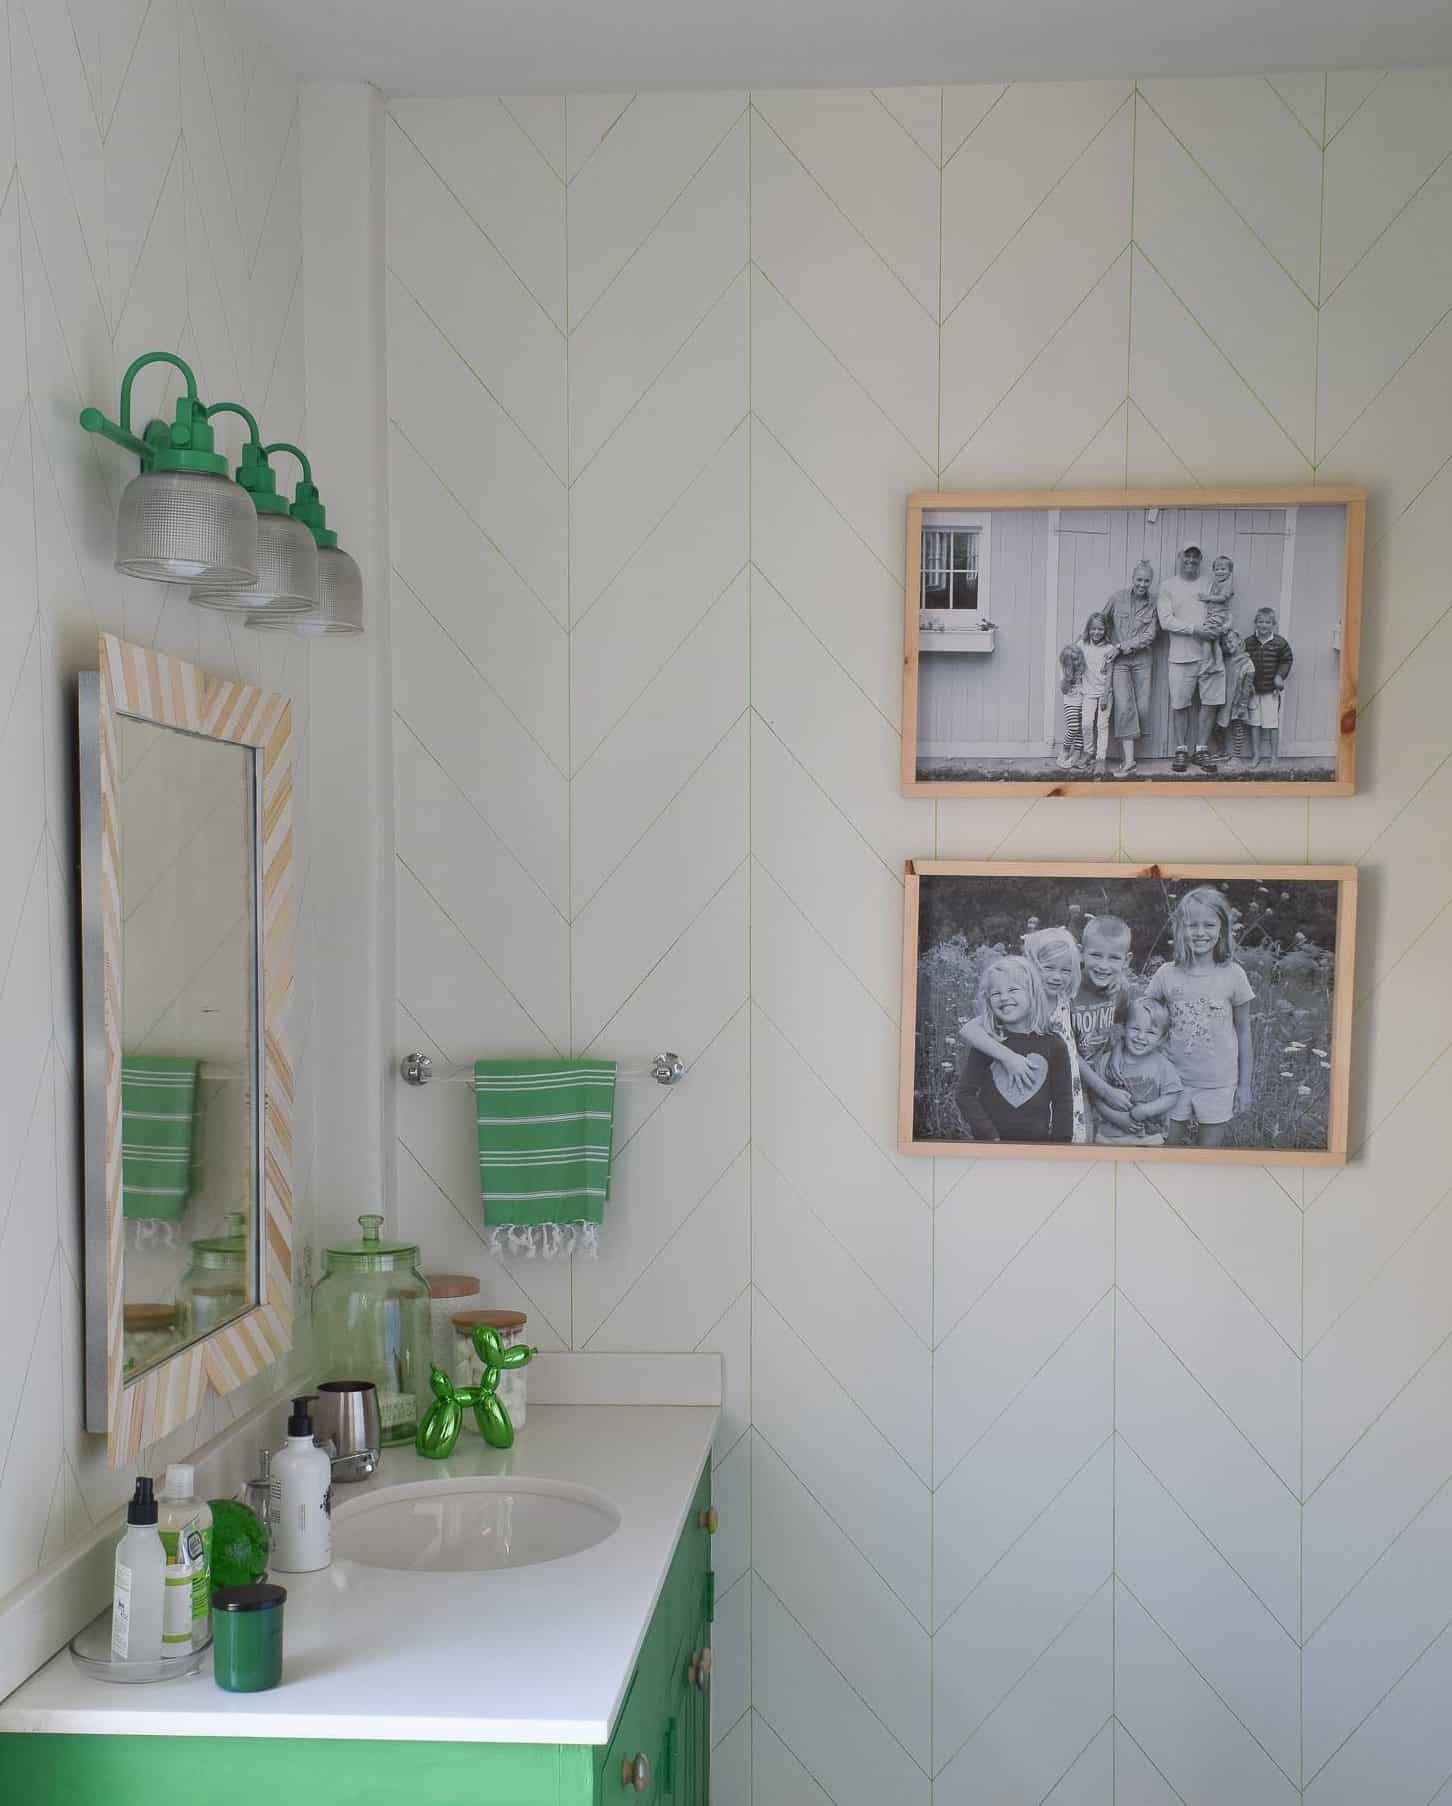
Walls. Cost= $8. This Sharpie paint pen treatment is a blogger go-to… Back in October, I used Sharpie paint pens on my bathroom floor for the One Room Challenge, so I figured I’d follow suit by using a bright green pen on those newly painted white walls! It was the most time consuming aspect of this makeover, but honestly it’s because this bathroom has a bajillion little angles and walls.
Shower Curtain. Cost= $10. Remember that bathroom upstairs? I reached for ball fringe *again* and sewed two rows of ball fringe onto that plain white shower curtain that I already had.
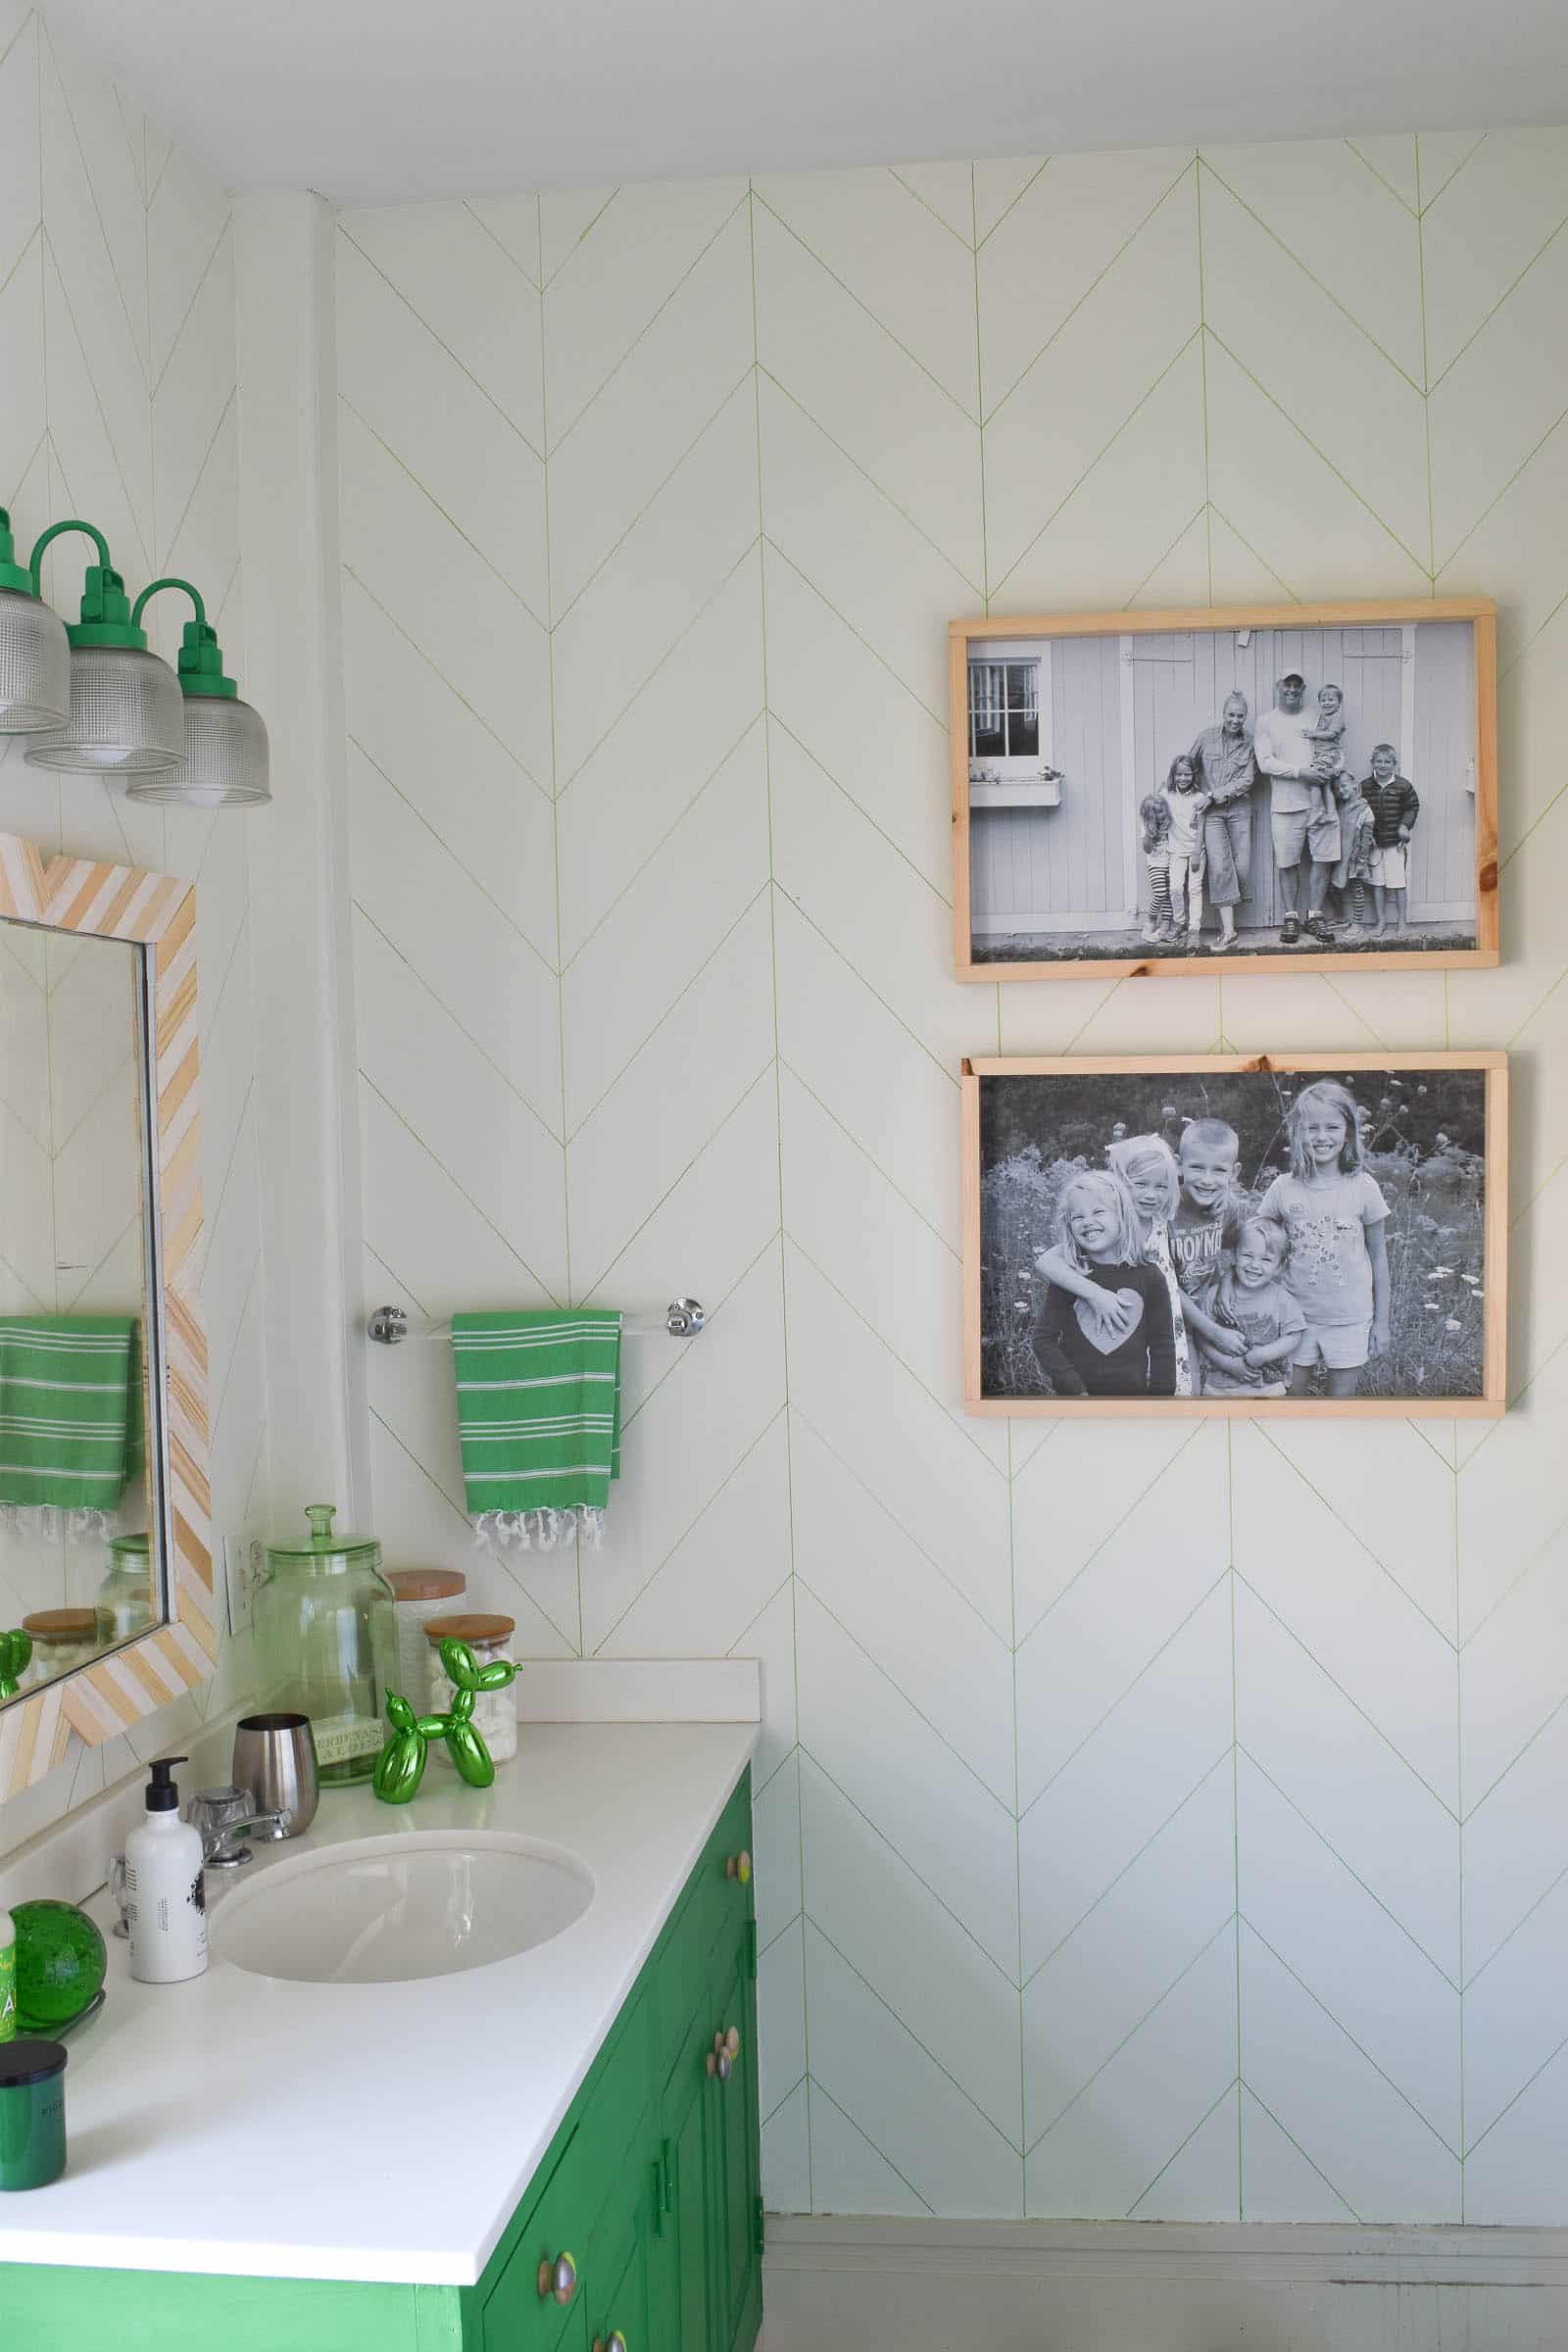
Artwork. Cost= $10. I’ve never taken advantage of the Staples engineer print, but I did for this! Each print out cost $1.50 and then I made the frames using scrap wood and basic pine. I made them the same way I made these retro Christmas prints so check out my tutorial there!
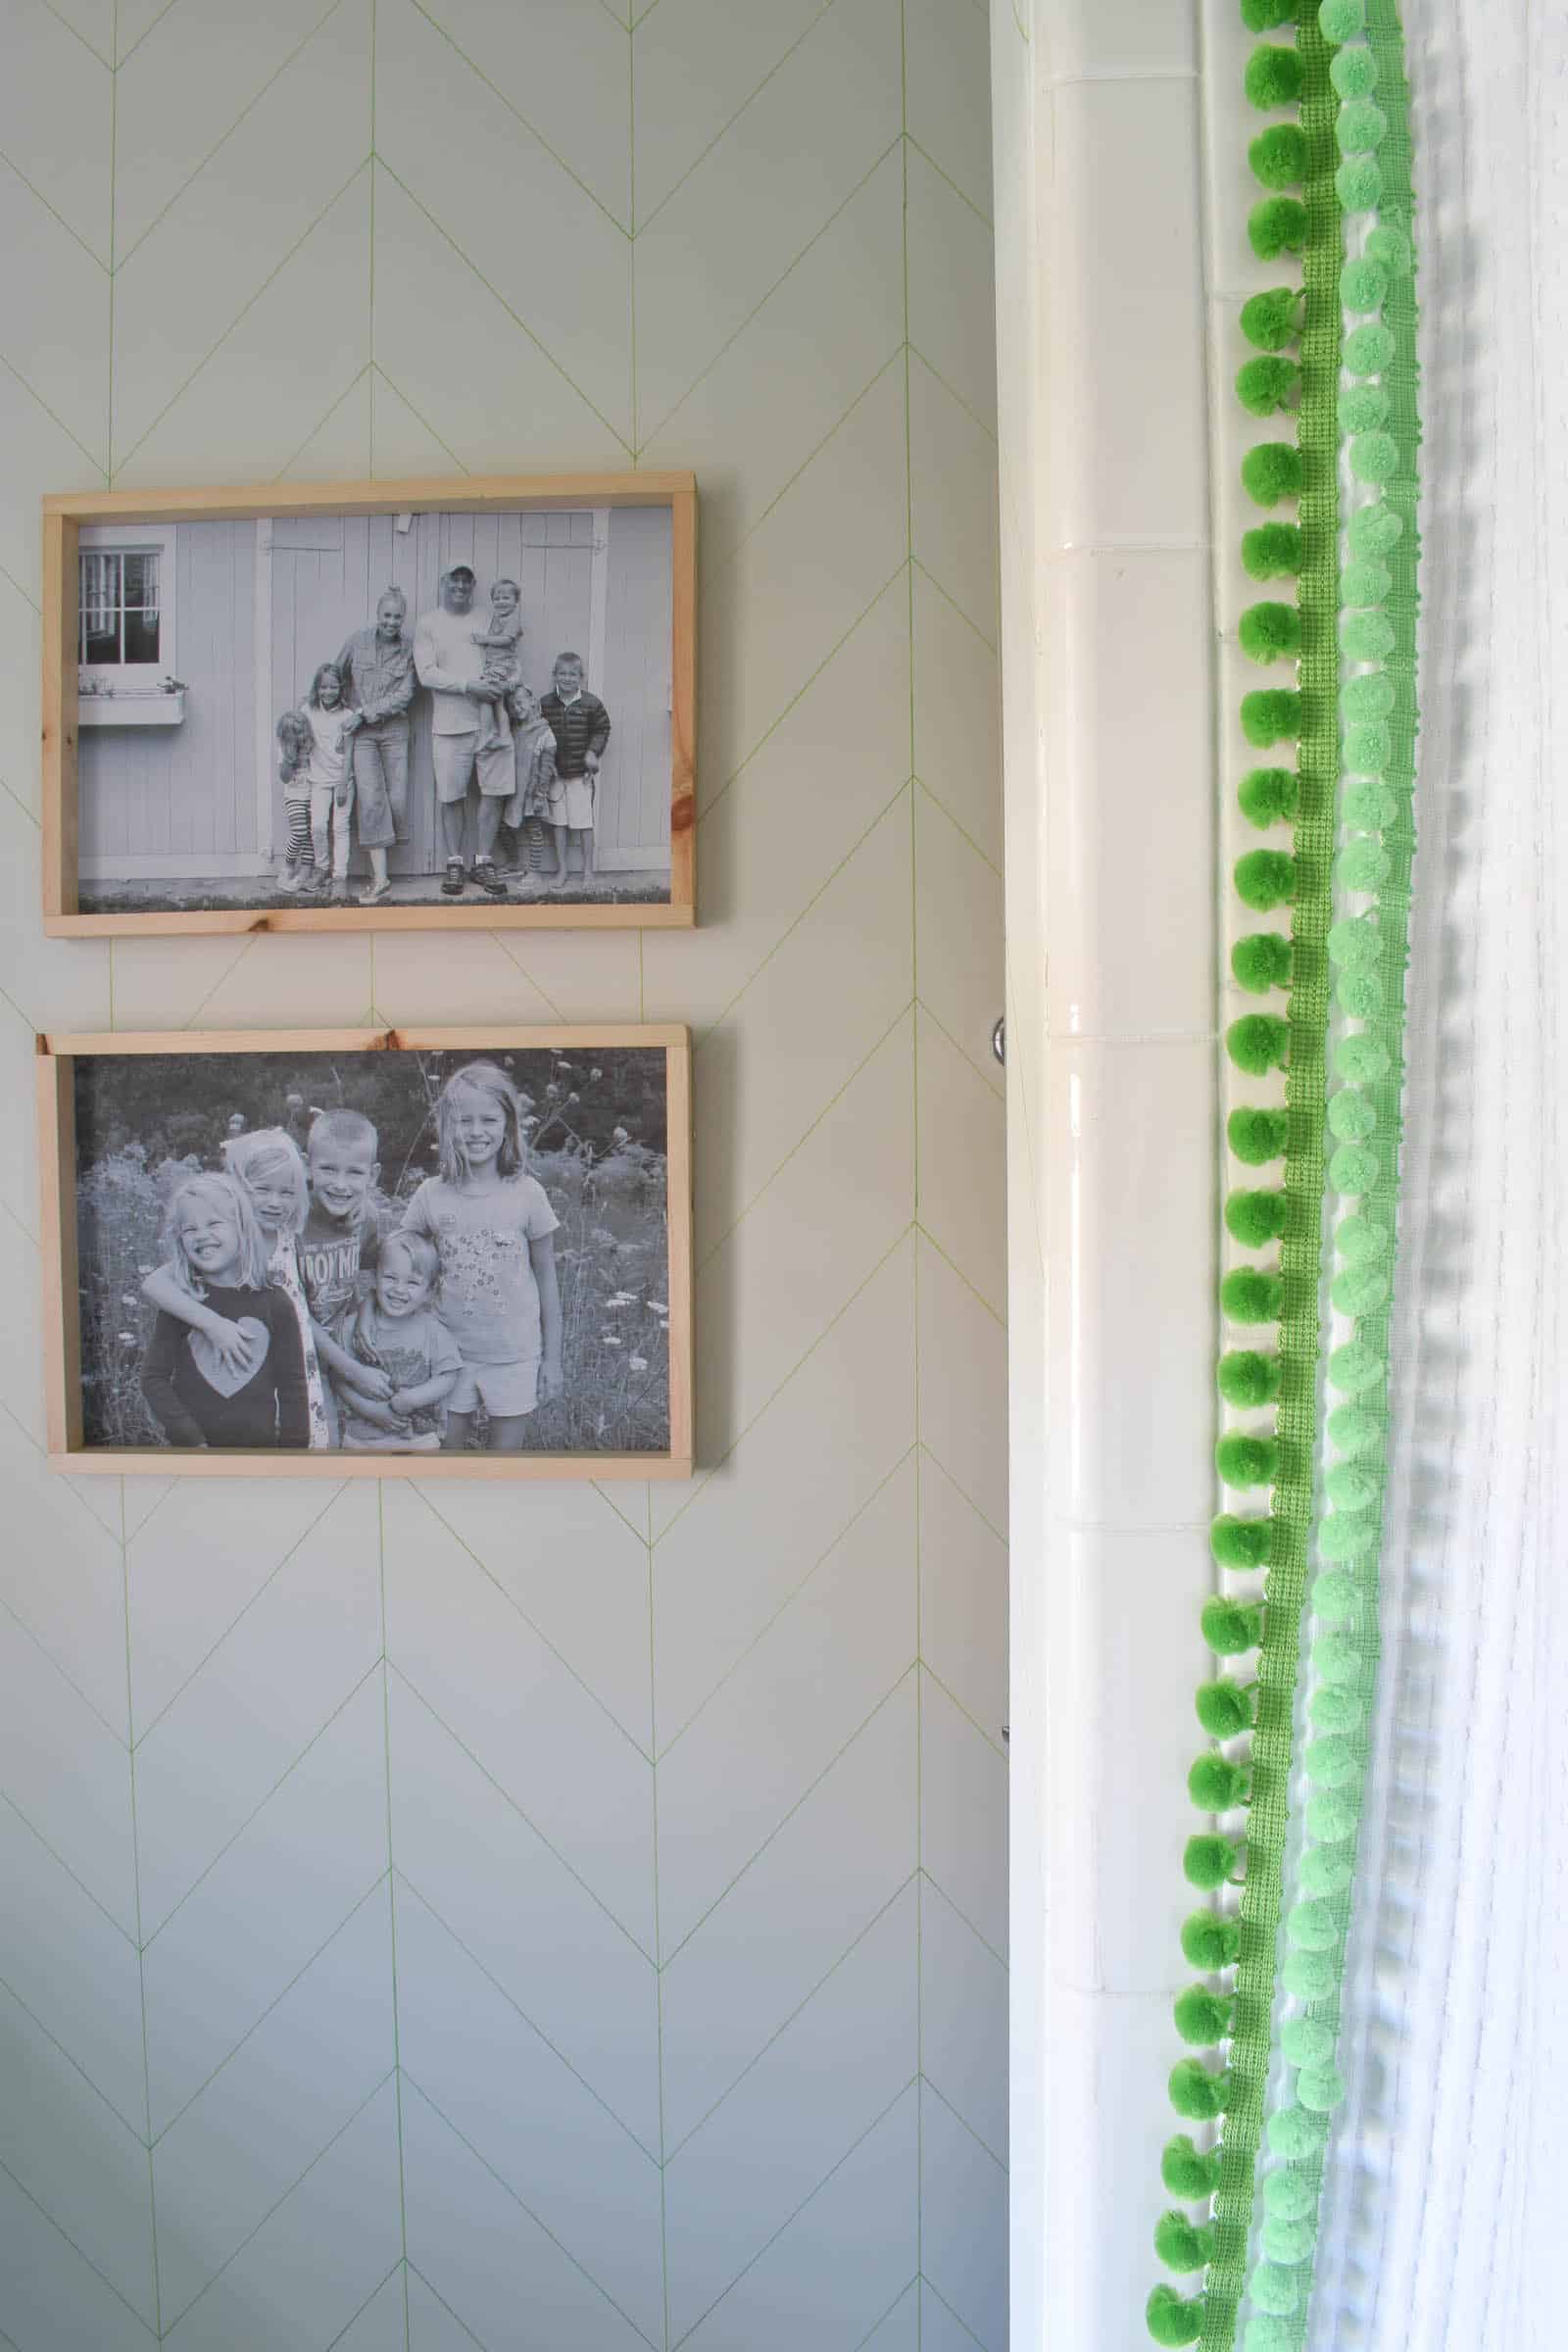
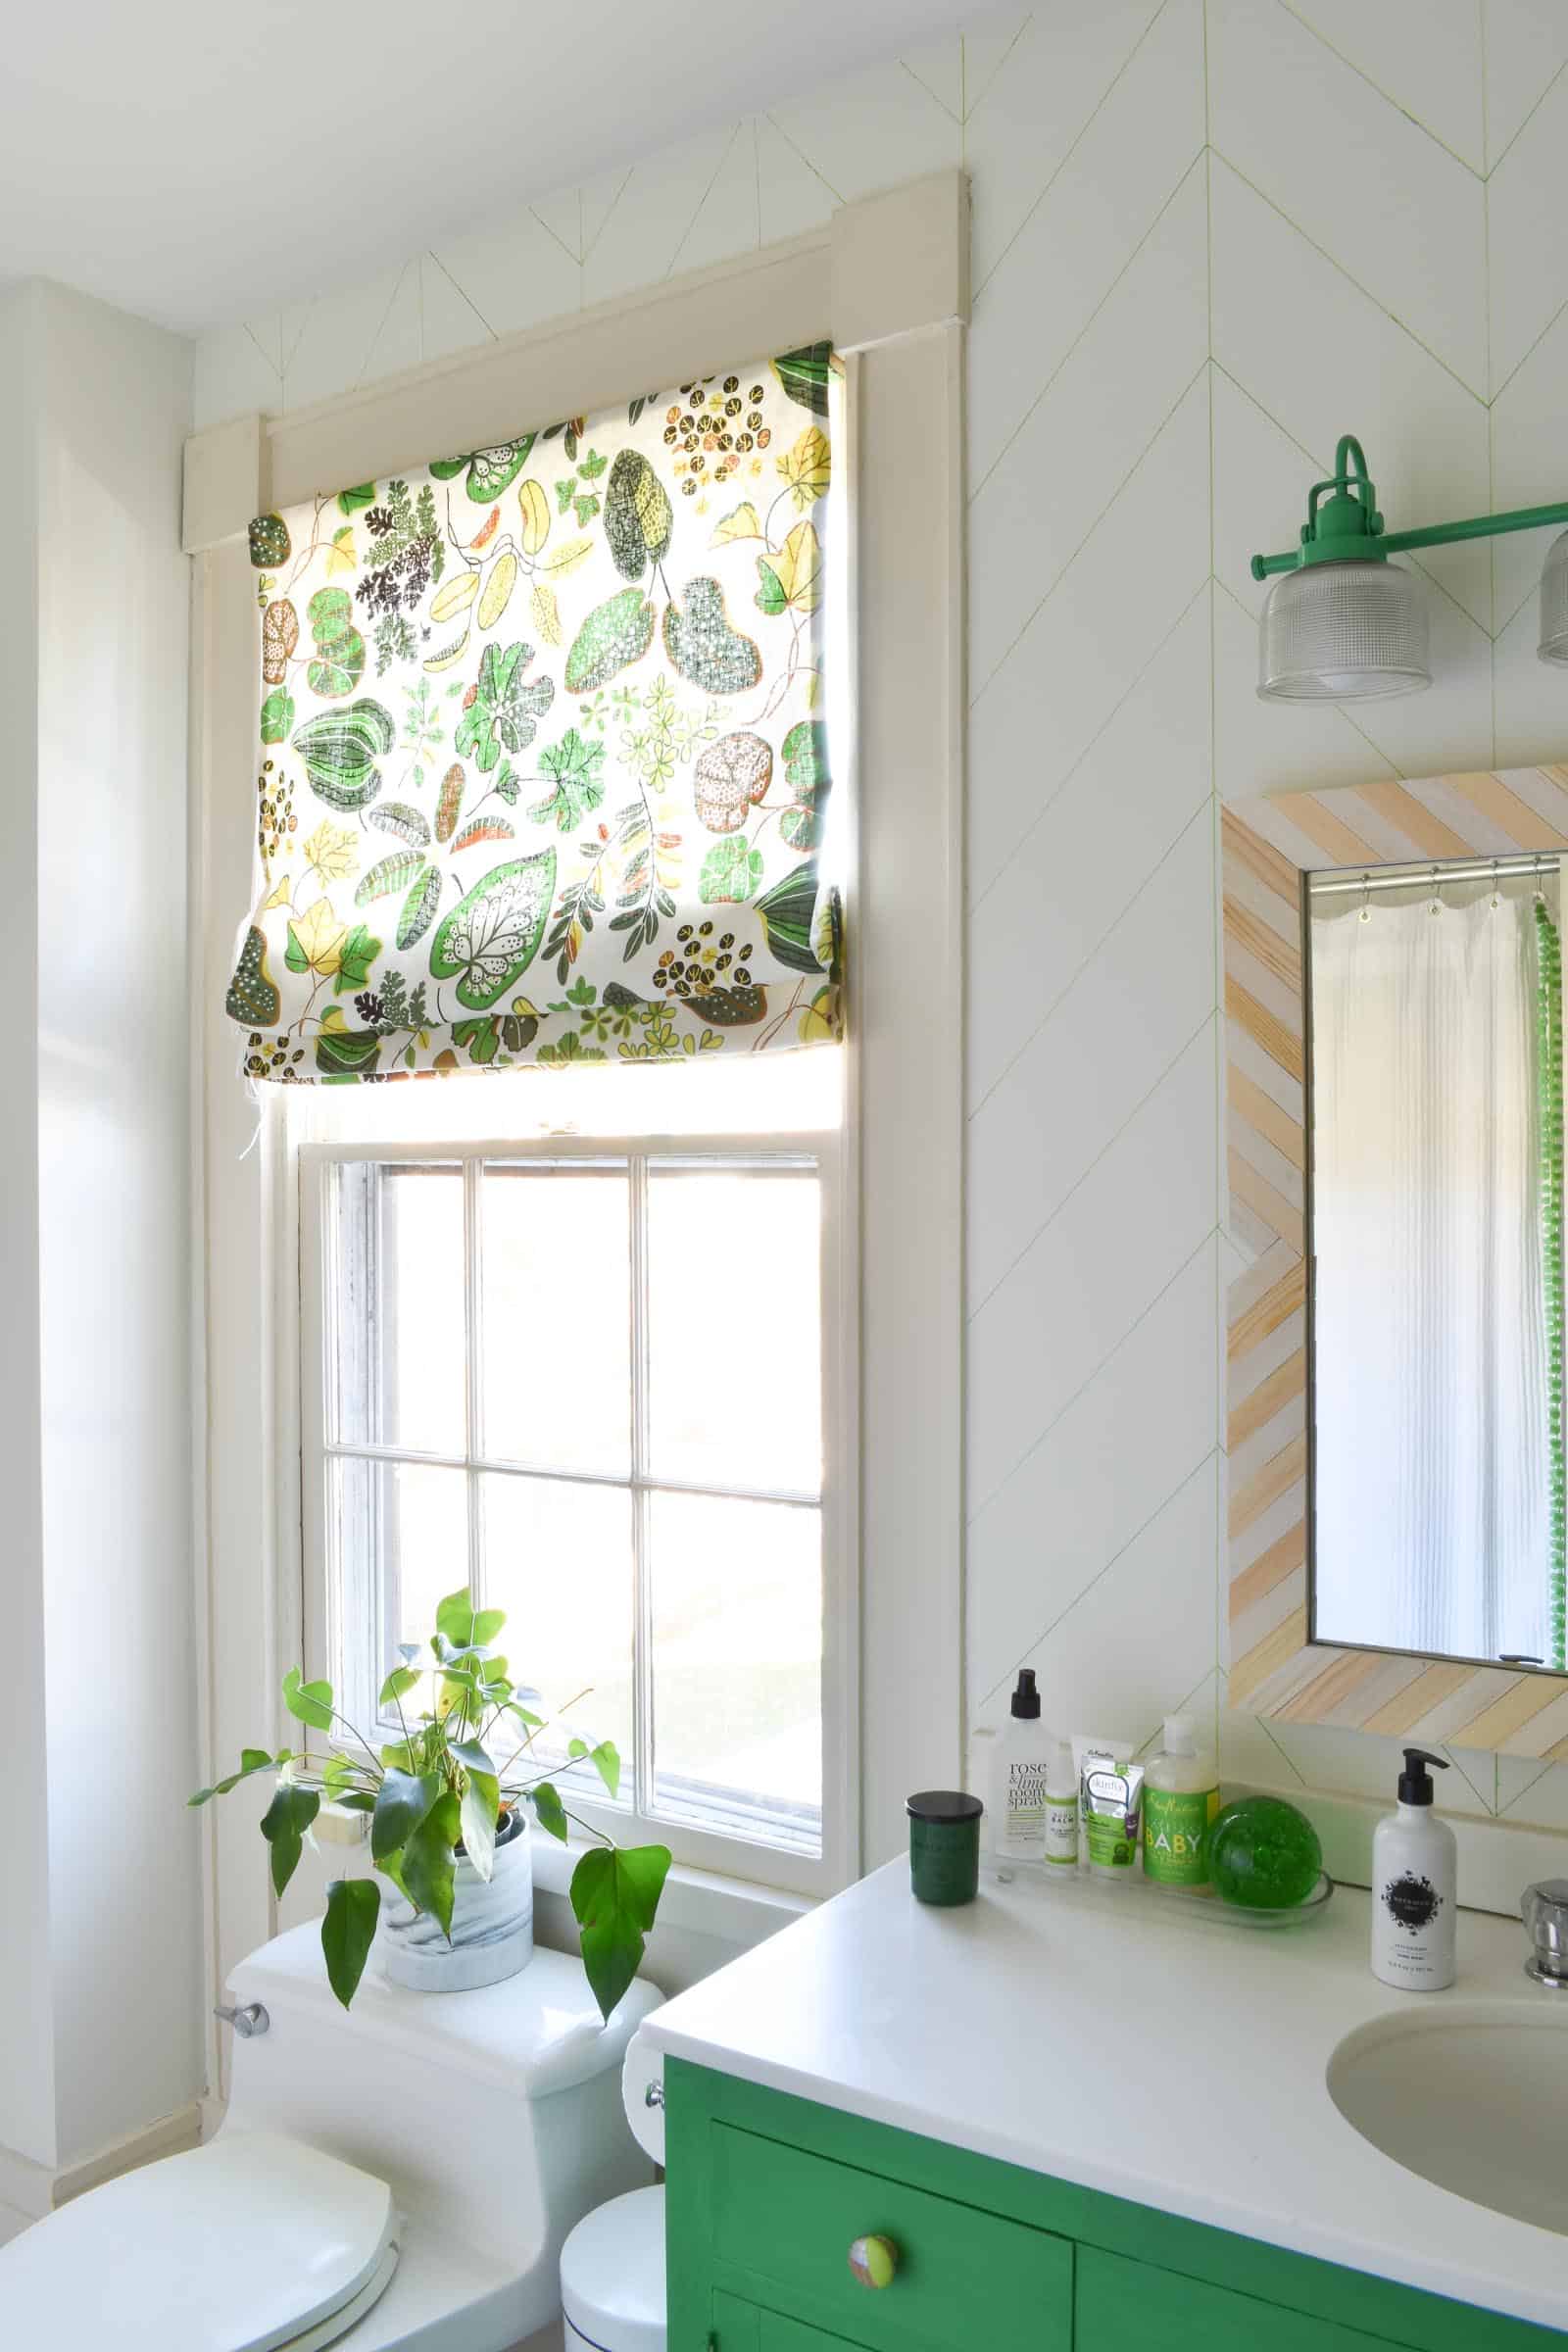
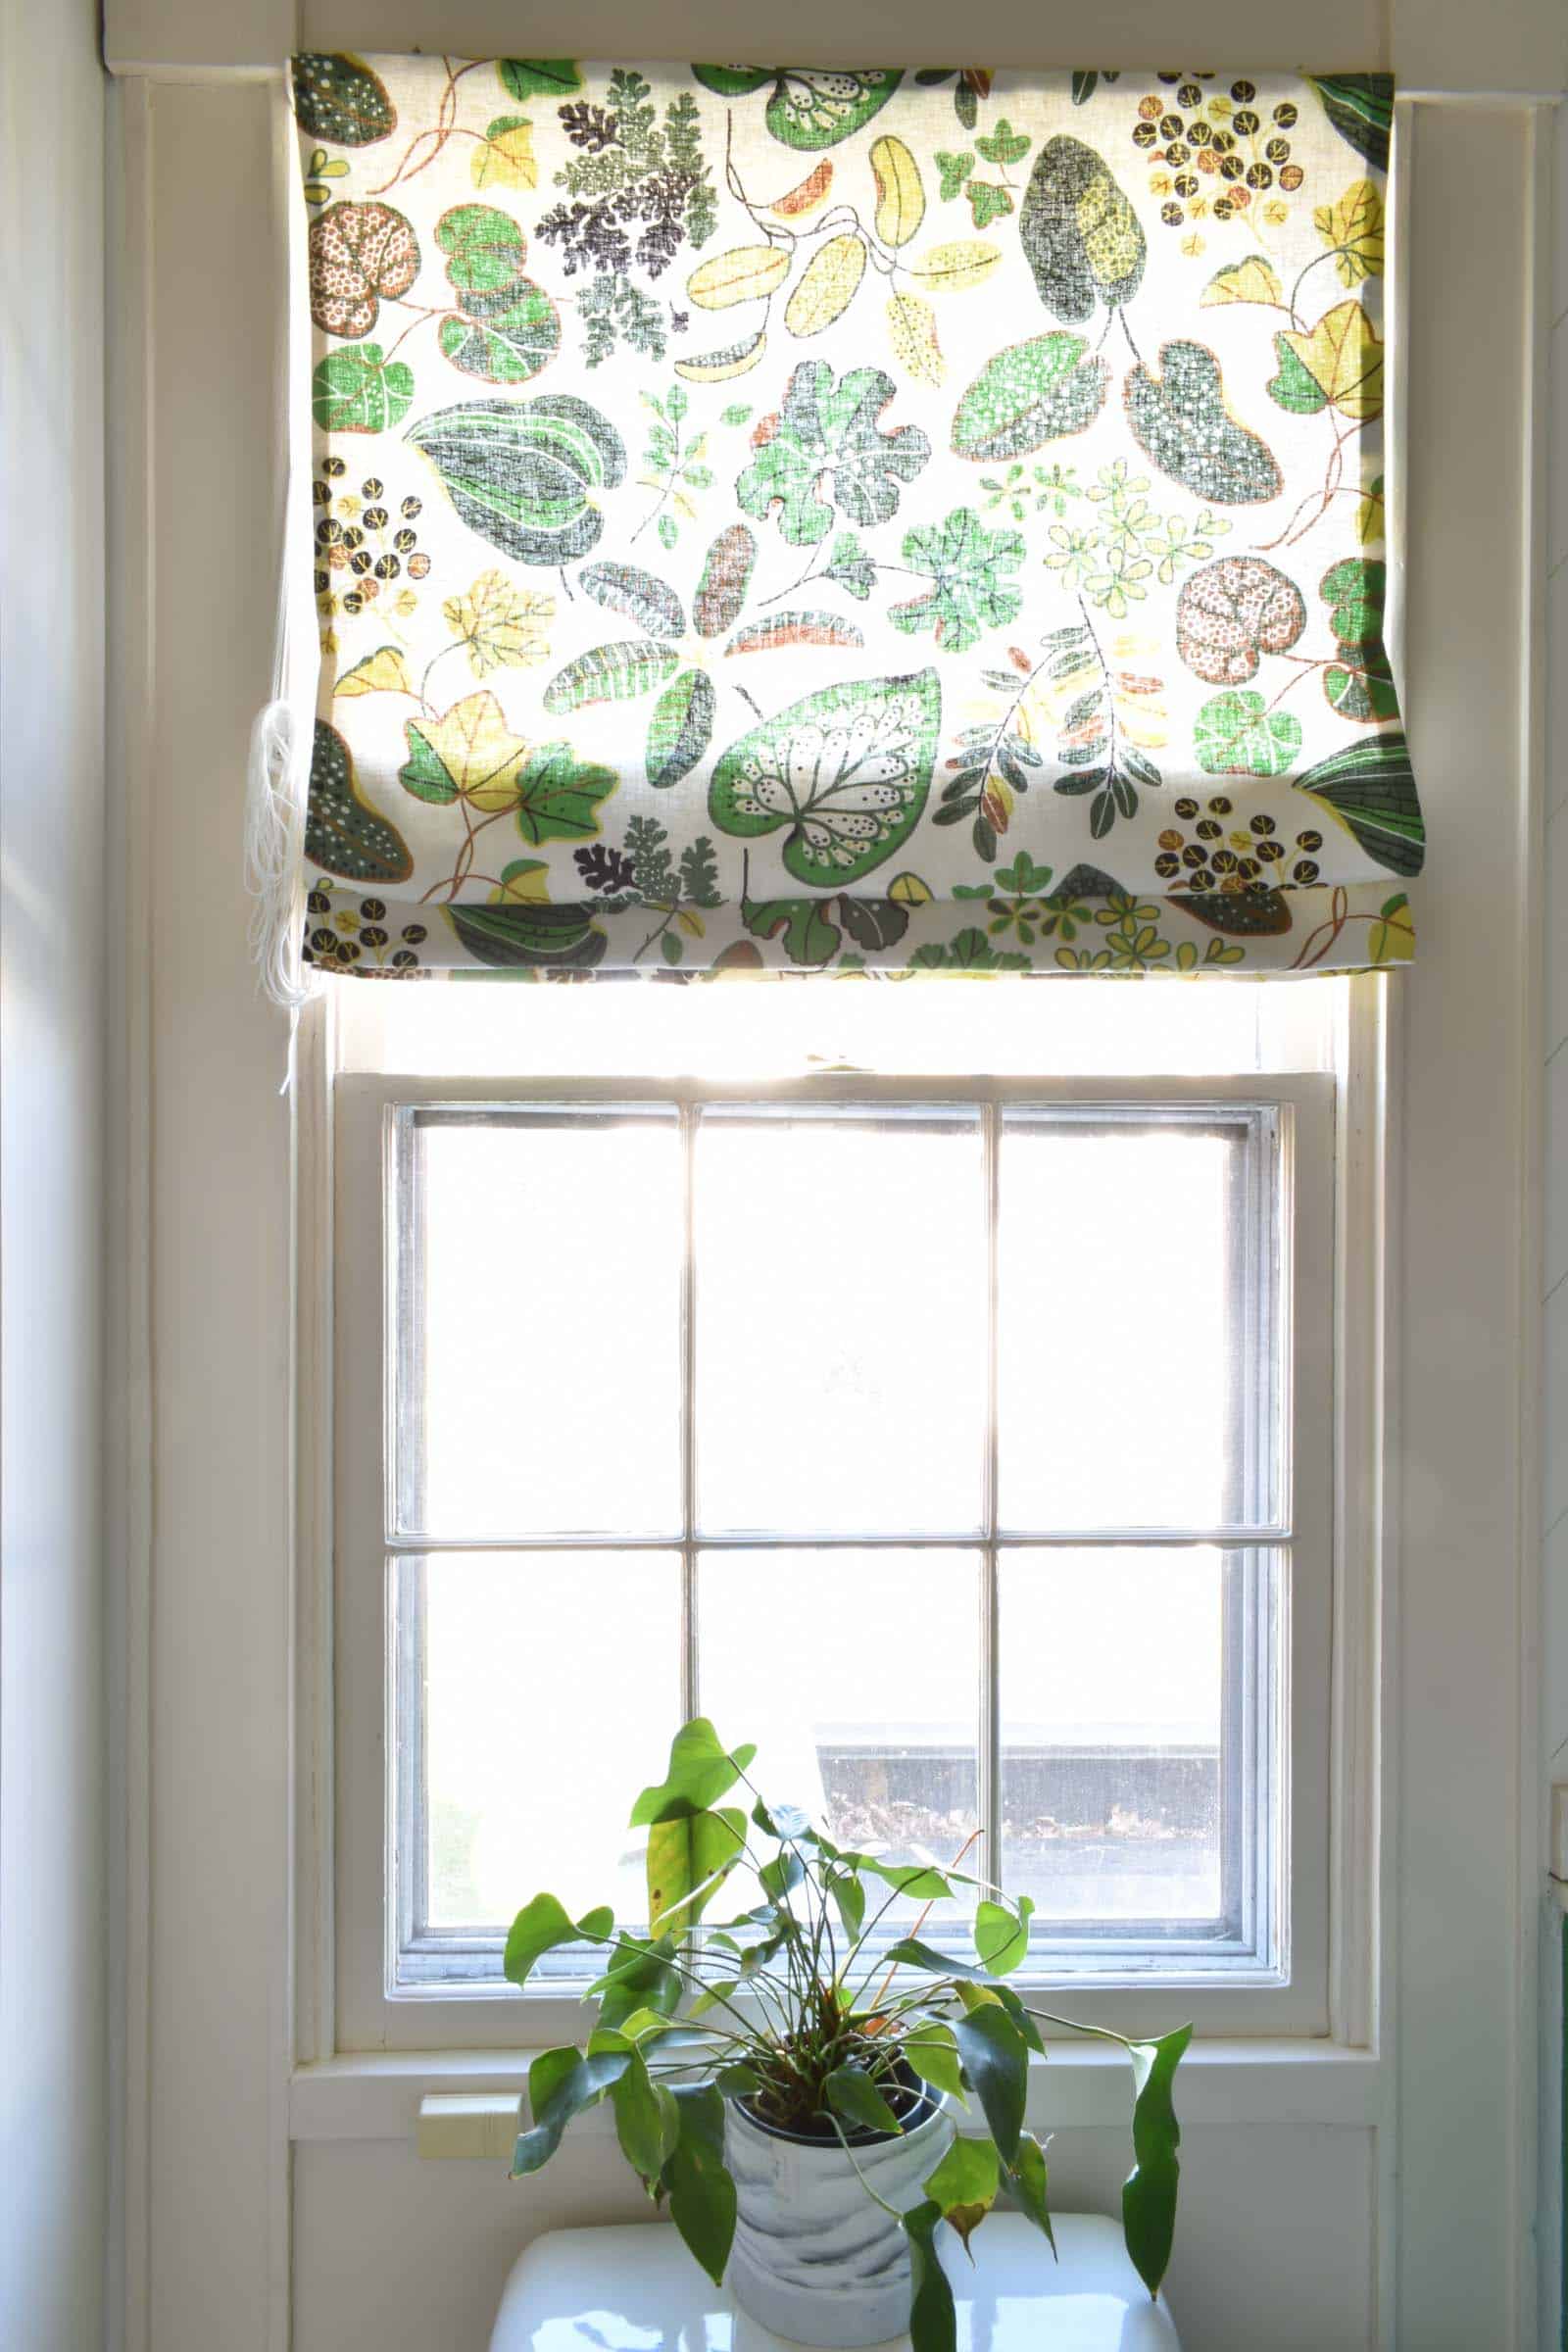
Window Treatment. Cost= $0. I had an Ikea curtain and cut it down, sewed it to be a Roman Shade like I did in this tutorial from a couple of years ago. The curtain wasn’t long enough for that window, and I loved the idea of a more polished Roman shade. Took a few hours to make since the curtain was already lined and hemmed!
Decor. Cost= $20.
The existing vanity mirror was fine, but too small. I found a mirror at the Restore for $10 and gave it a makeover with FREE paint stirrers.
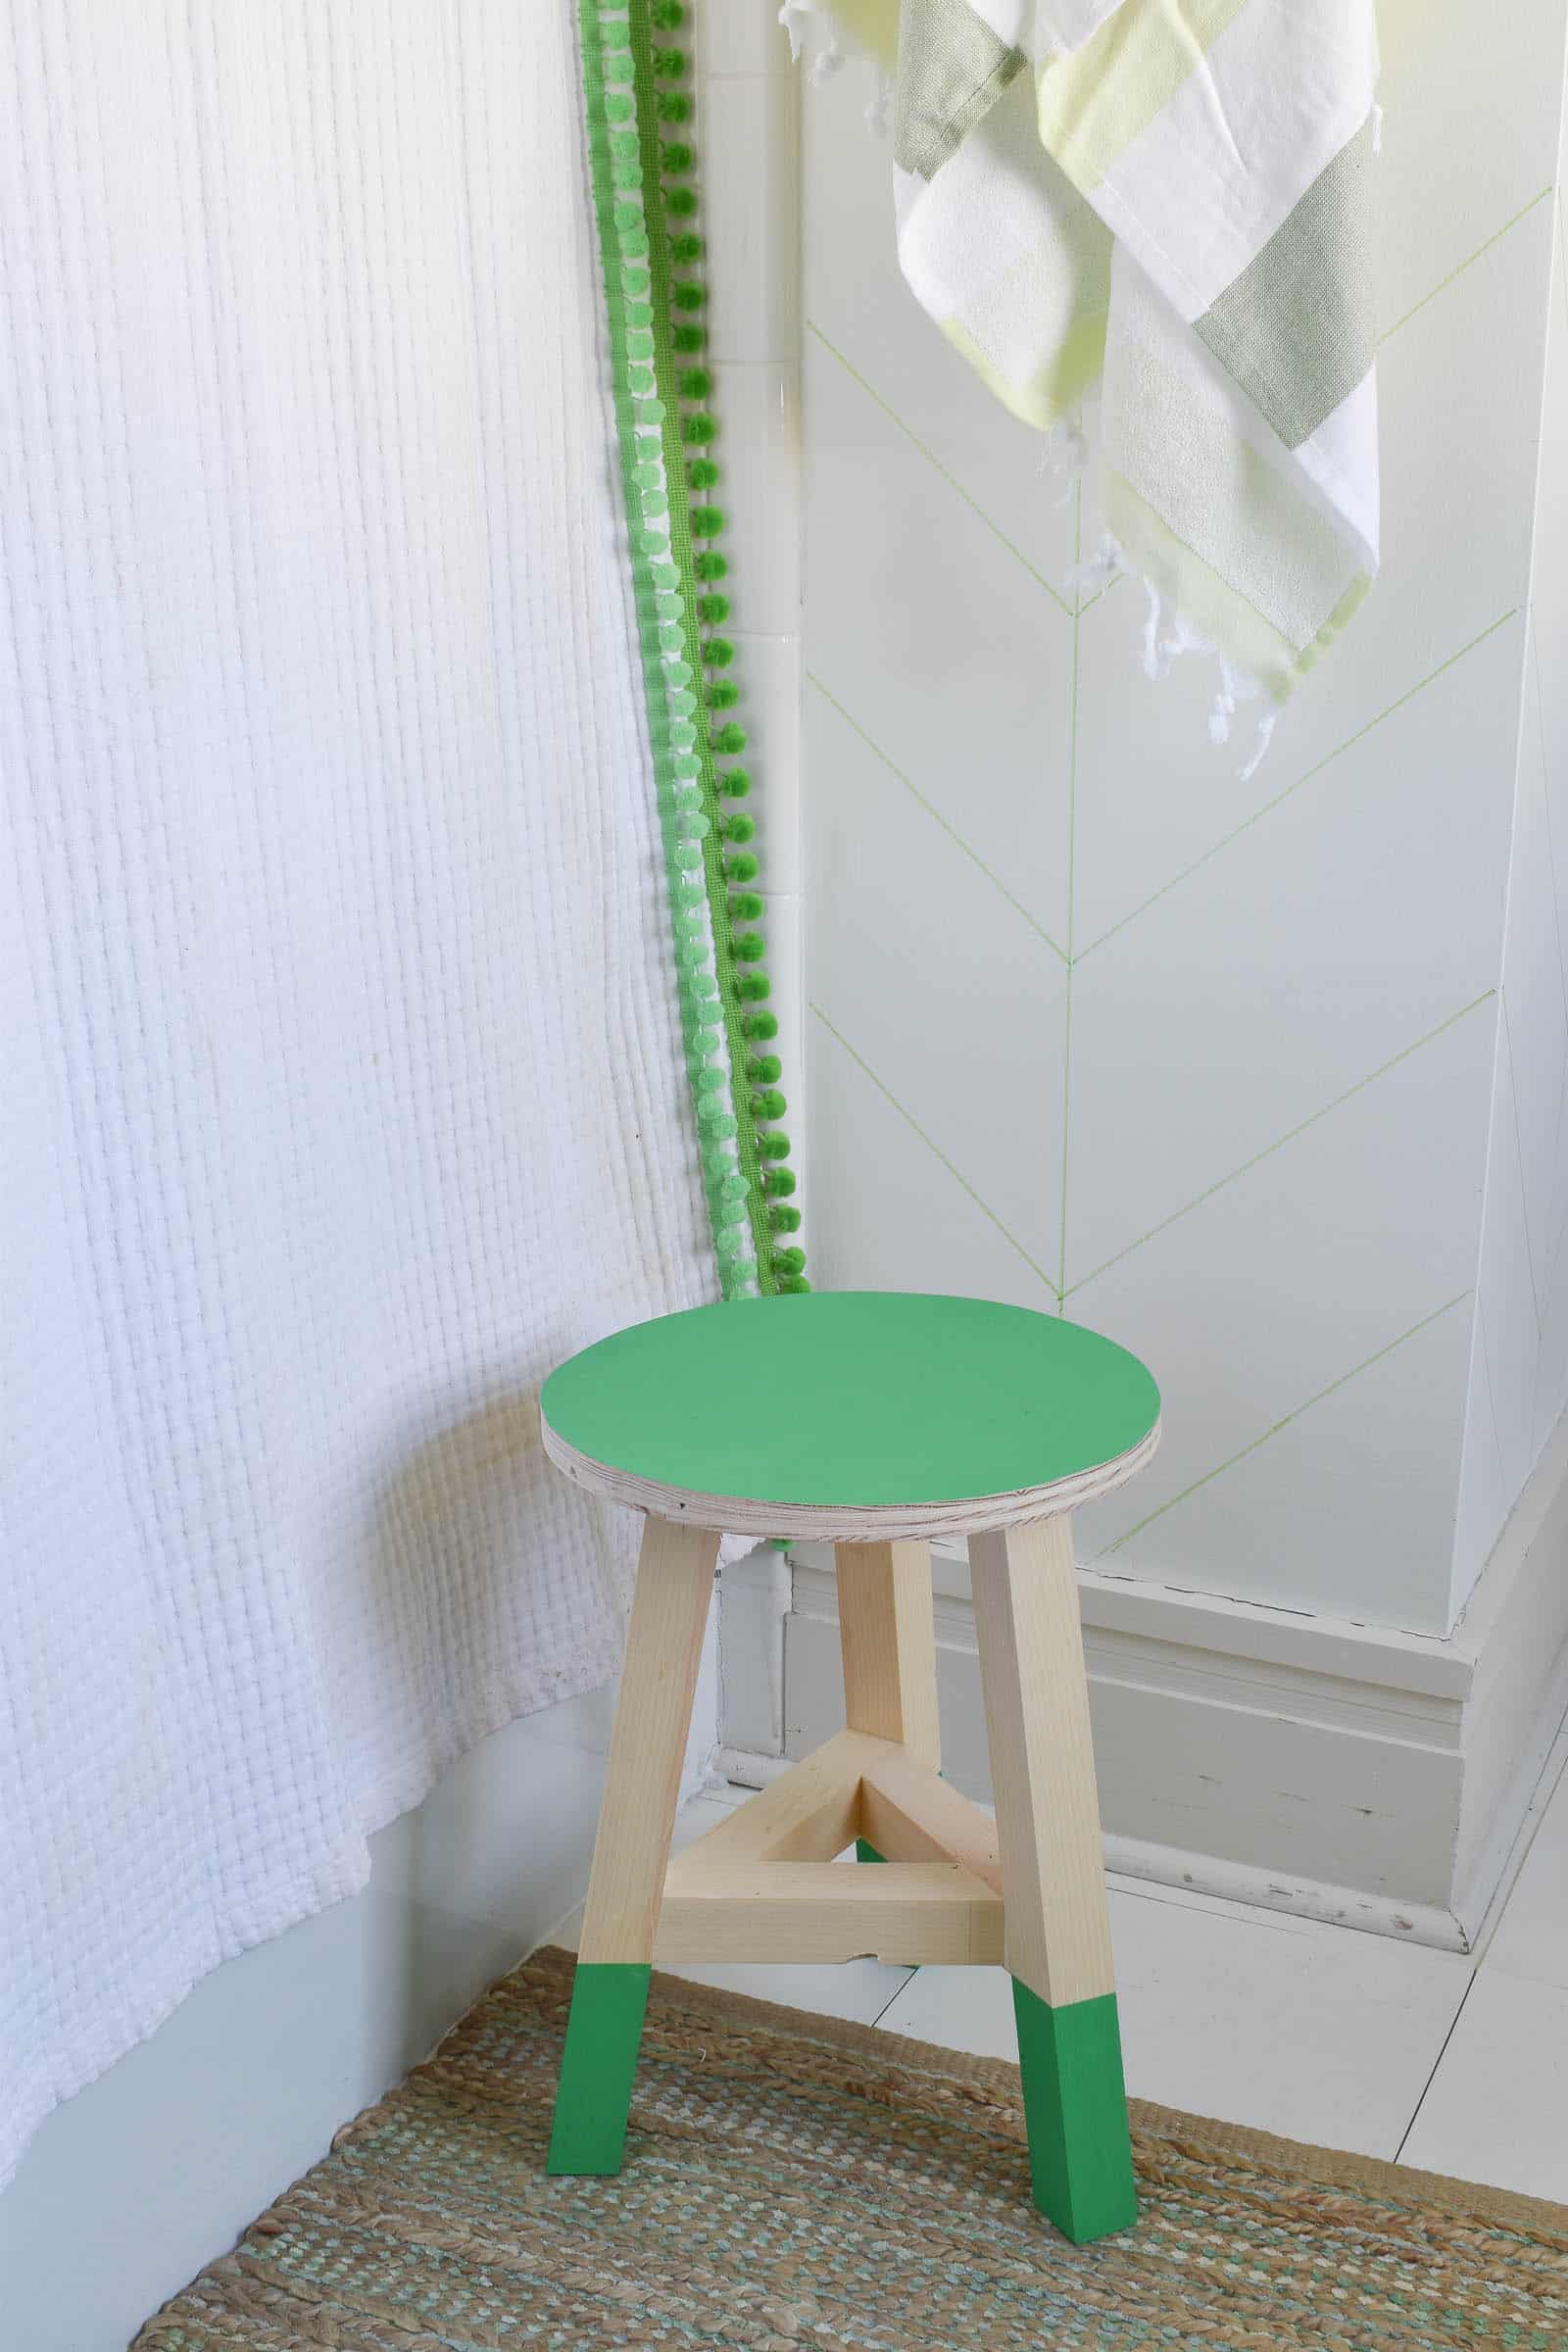
I followed this tutorial from my friend Jaime and made that cute three legged stool. Originally, I had planned to upholster it with a thrifted sweater, but I actually like the way that green seat looks better than the neutral cushion of the sweater.
TOTAL= $58
Hand to God, that’s LITERALLY what I spent! There were a few things I was lucky enough to have on hand: curtain, shower curtain, glue and stain for the mirror, miscellaneous scrap wood, an existing light fixture, and paint for the vanity… If you *don’t* have any of these items, then obviously the cost will go up, but not by more than $100 if you shop wisely. In other words, your bathroom makeover will STILL be pretty affordable!
What are some of your favorite budget makeover tips?!



Pinned and can I say, genius makeover tips!!!
Thanks, babe! I forgot all the little things I’d done in there!
A bathroom makeover befitting your colorful and DIY-talented self, Charlotte! I’m so glad the segment finally aired. Congratulations. Cheers, Ardith
P.S. As I don’t do Facebook, I want to give a shout out here to you and Erin on your podcast. Love it every time.
Thanks so much, Ardith! It was a really fun project and I’m so glad I can finally share it with you guys! And THANKS for listening to our podcast! So silly. 🙂
Looks Great! I love how casually you wrote, “When I was telling Rachael …” As if you were recounting a typical daily conversation. 🙂 And then the picture of you on her show. Bam!
Haha! Oh yah… the two of us are like school girls chit chatting the night away. I WISH! 🙂 Thanks, Jennifer!
Do you have a link to the sharpie paint pen tutorial? The link on here just links to the actual pen. Those walls look awesome!
Hi Ashley! I did a Sharpie treatment on my floors here: https://atcharlotteshouse.com/graphic-painted-vinyl-floors/ But you should also check out my friend’s Classy Clutter tutorial… they’re the pros! https://www.classyclutter.net/sharpie-wall-tutorial/ Good luck!!