
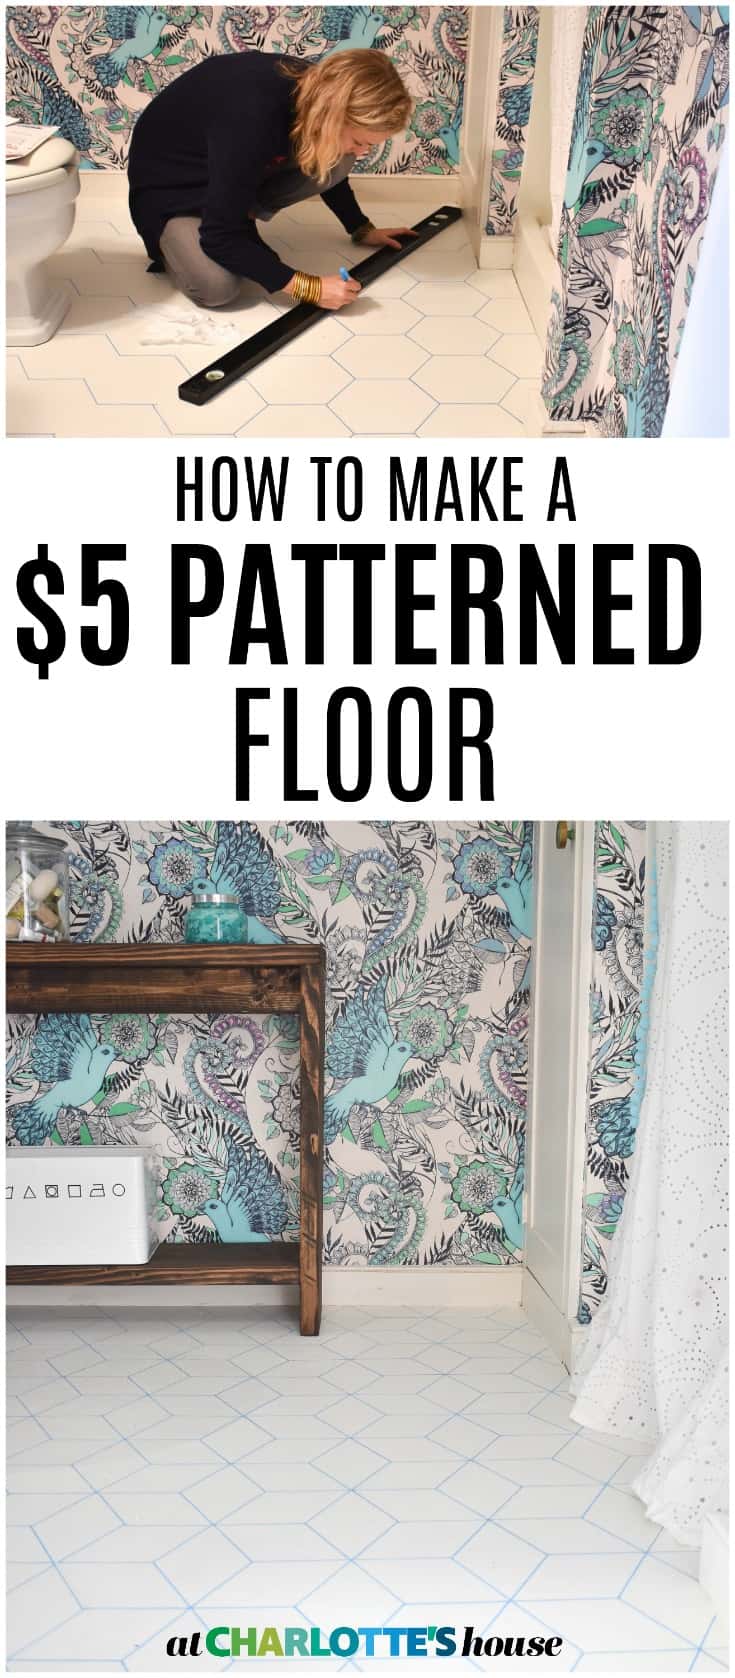
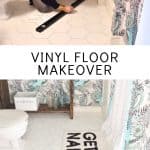
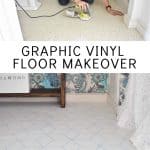
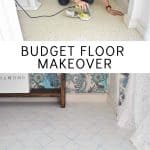
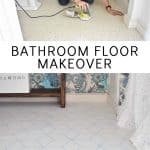
$5 Graphic Painted Vinyl Floors
Psssst… this post *might* contain affiliate links: see my disclosure here.
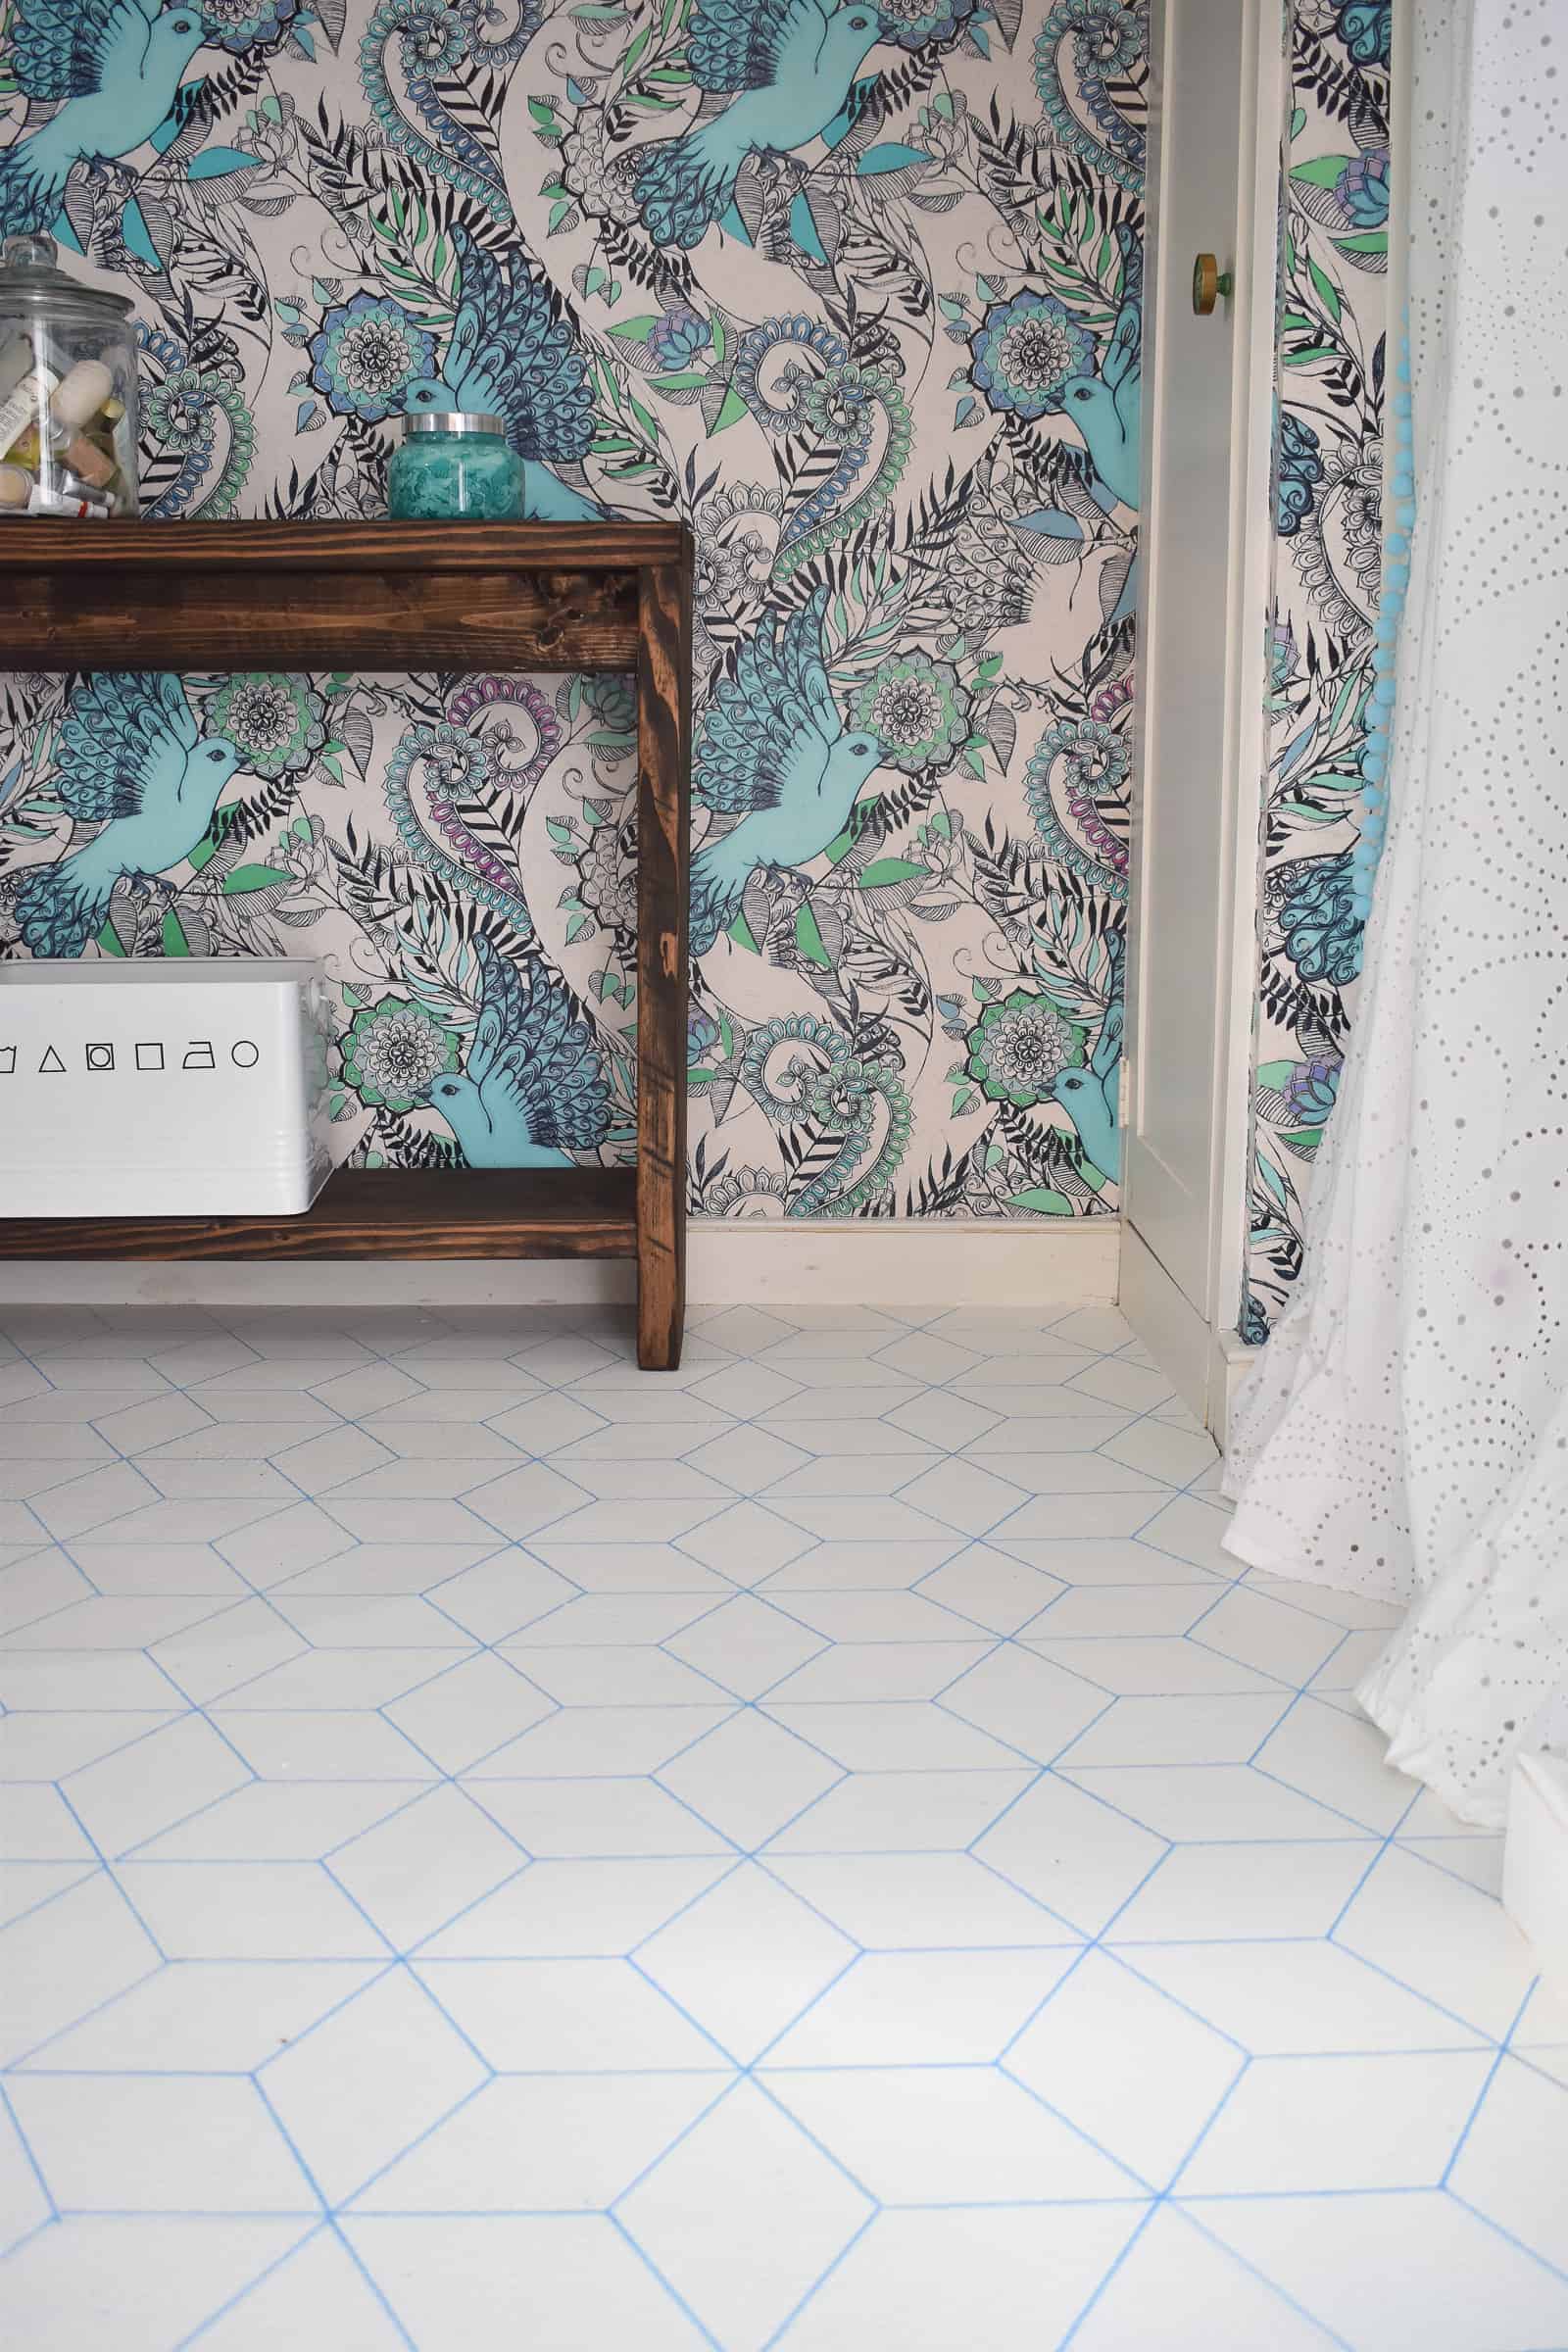
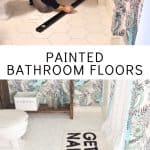
Painted Patterned Vinyl Floor
When I was puttering around with ideas for our guest bathroom for the One Room Challenge, the floor was a major dilemma. I’ve retiled floors before and… it’s intense. It requires lots of time, lots of materials, and little things like removing toilets and pulling apart baseboards. Given our chaotic house this month… none of those things sounded like anything I wanted to get into. So… I painted ’em!
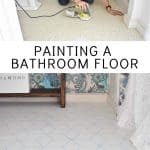
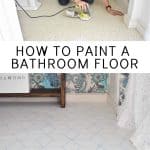
How to Paint a Bathroom Floor
(Materials list at the end of the post.)
Shop my favorites!
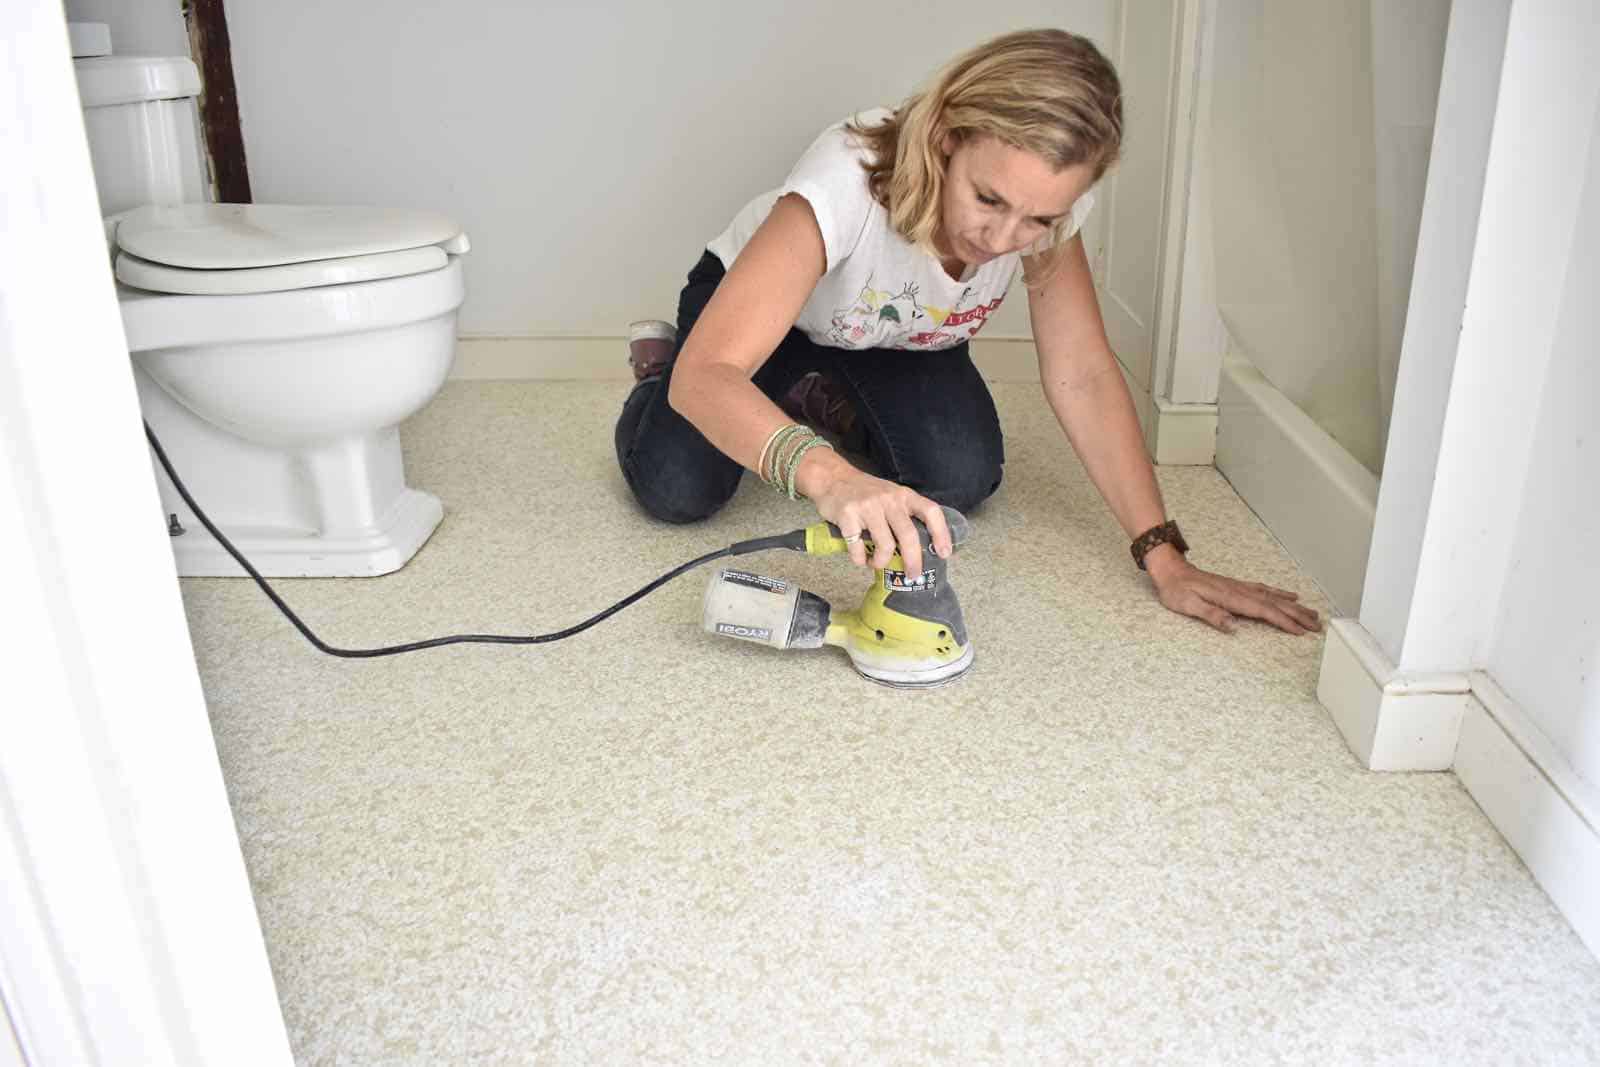
Step 1. Sand.
This floor was a solid sheet of linoleum or vinyl or something. It has a slight texture to it, but I started by sanding the whole surface with our orbital sander to remove the sheen.
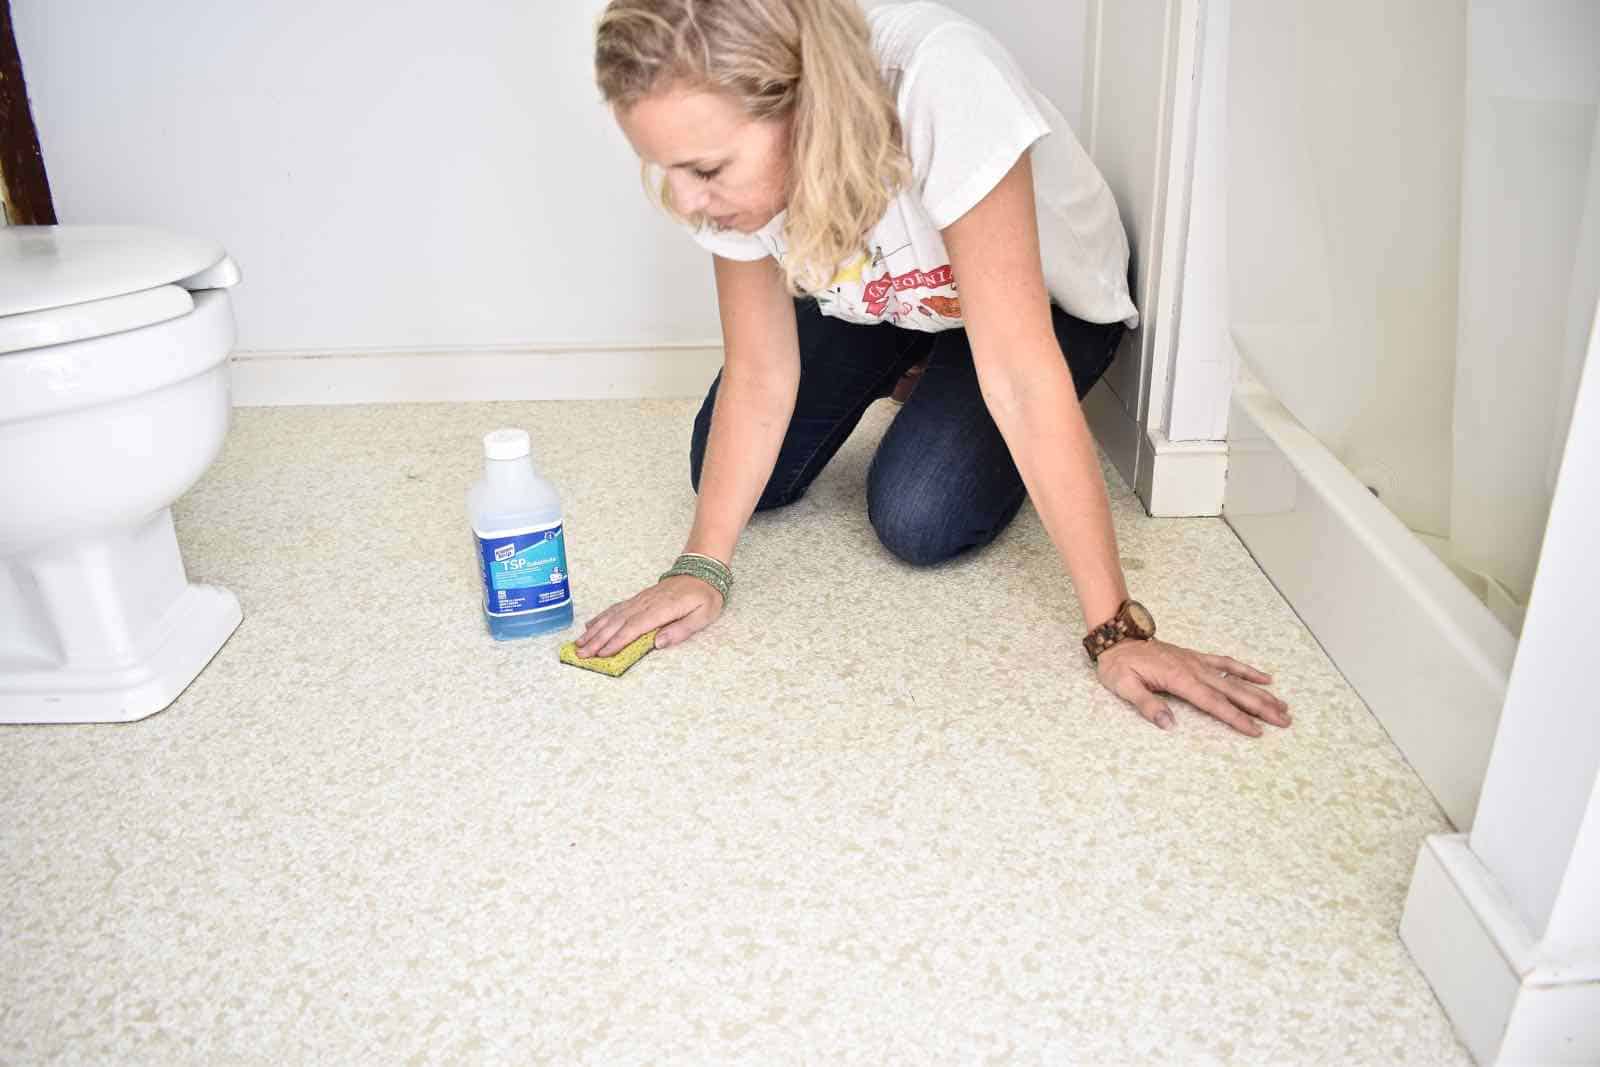
Step 2. Clean.
With an old sponge, I wiped down the floor with TSP. Use rubber gloves so as not to irritate your skin.
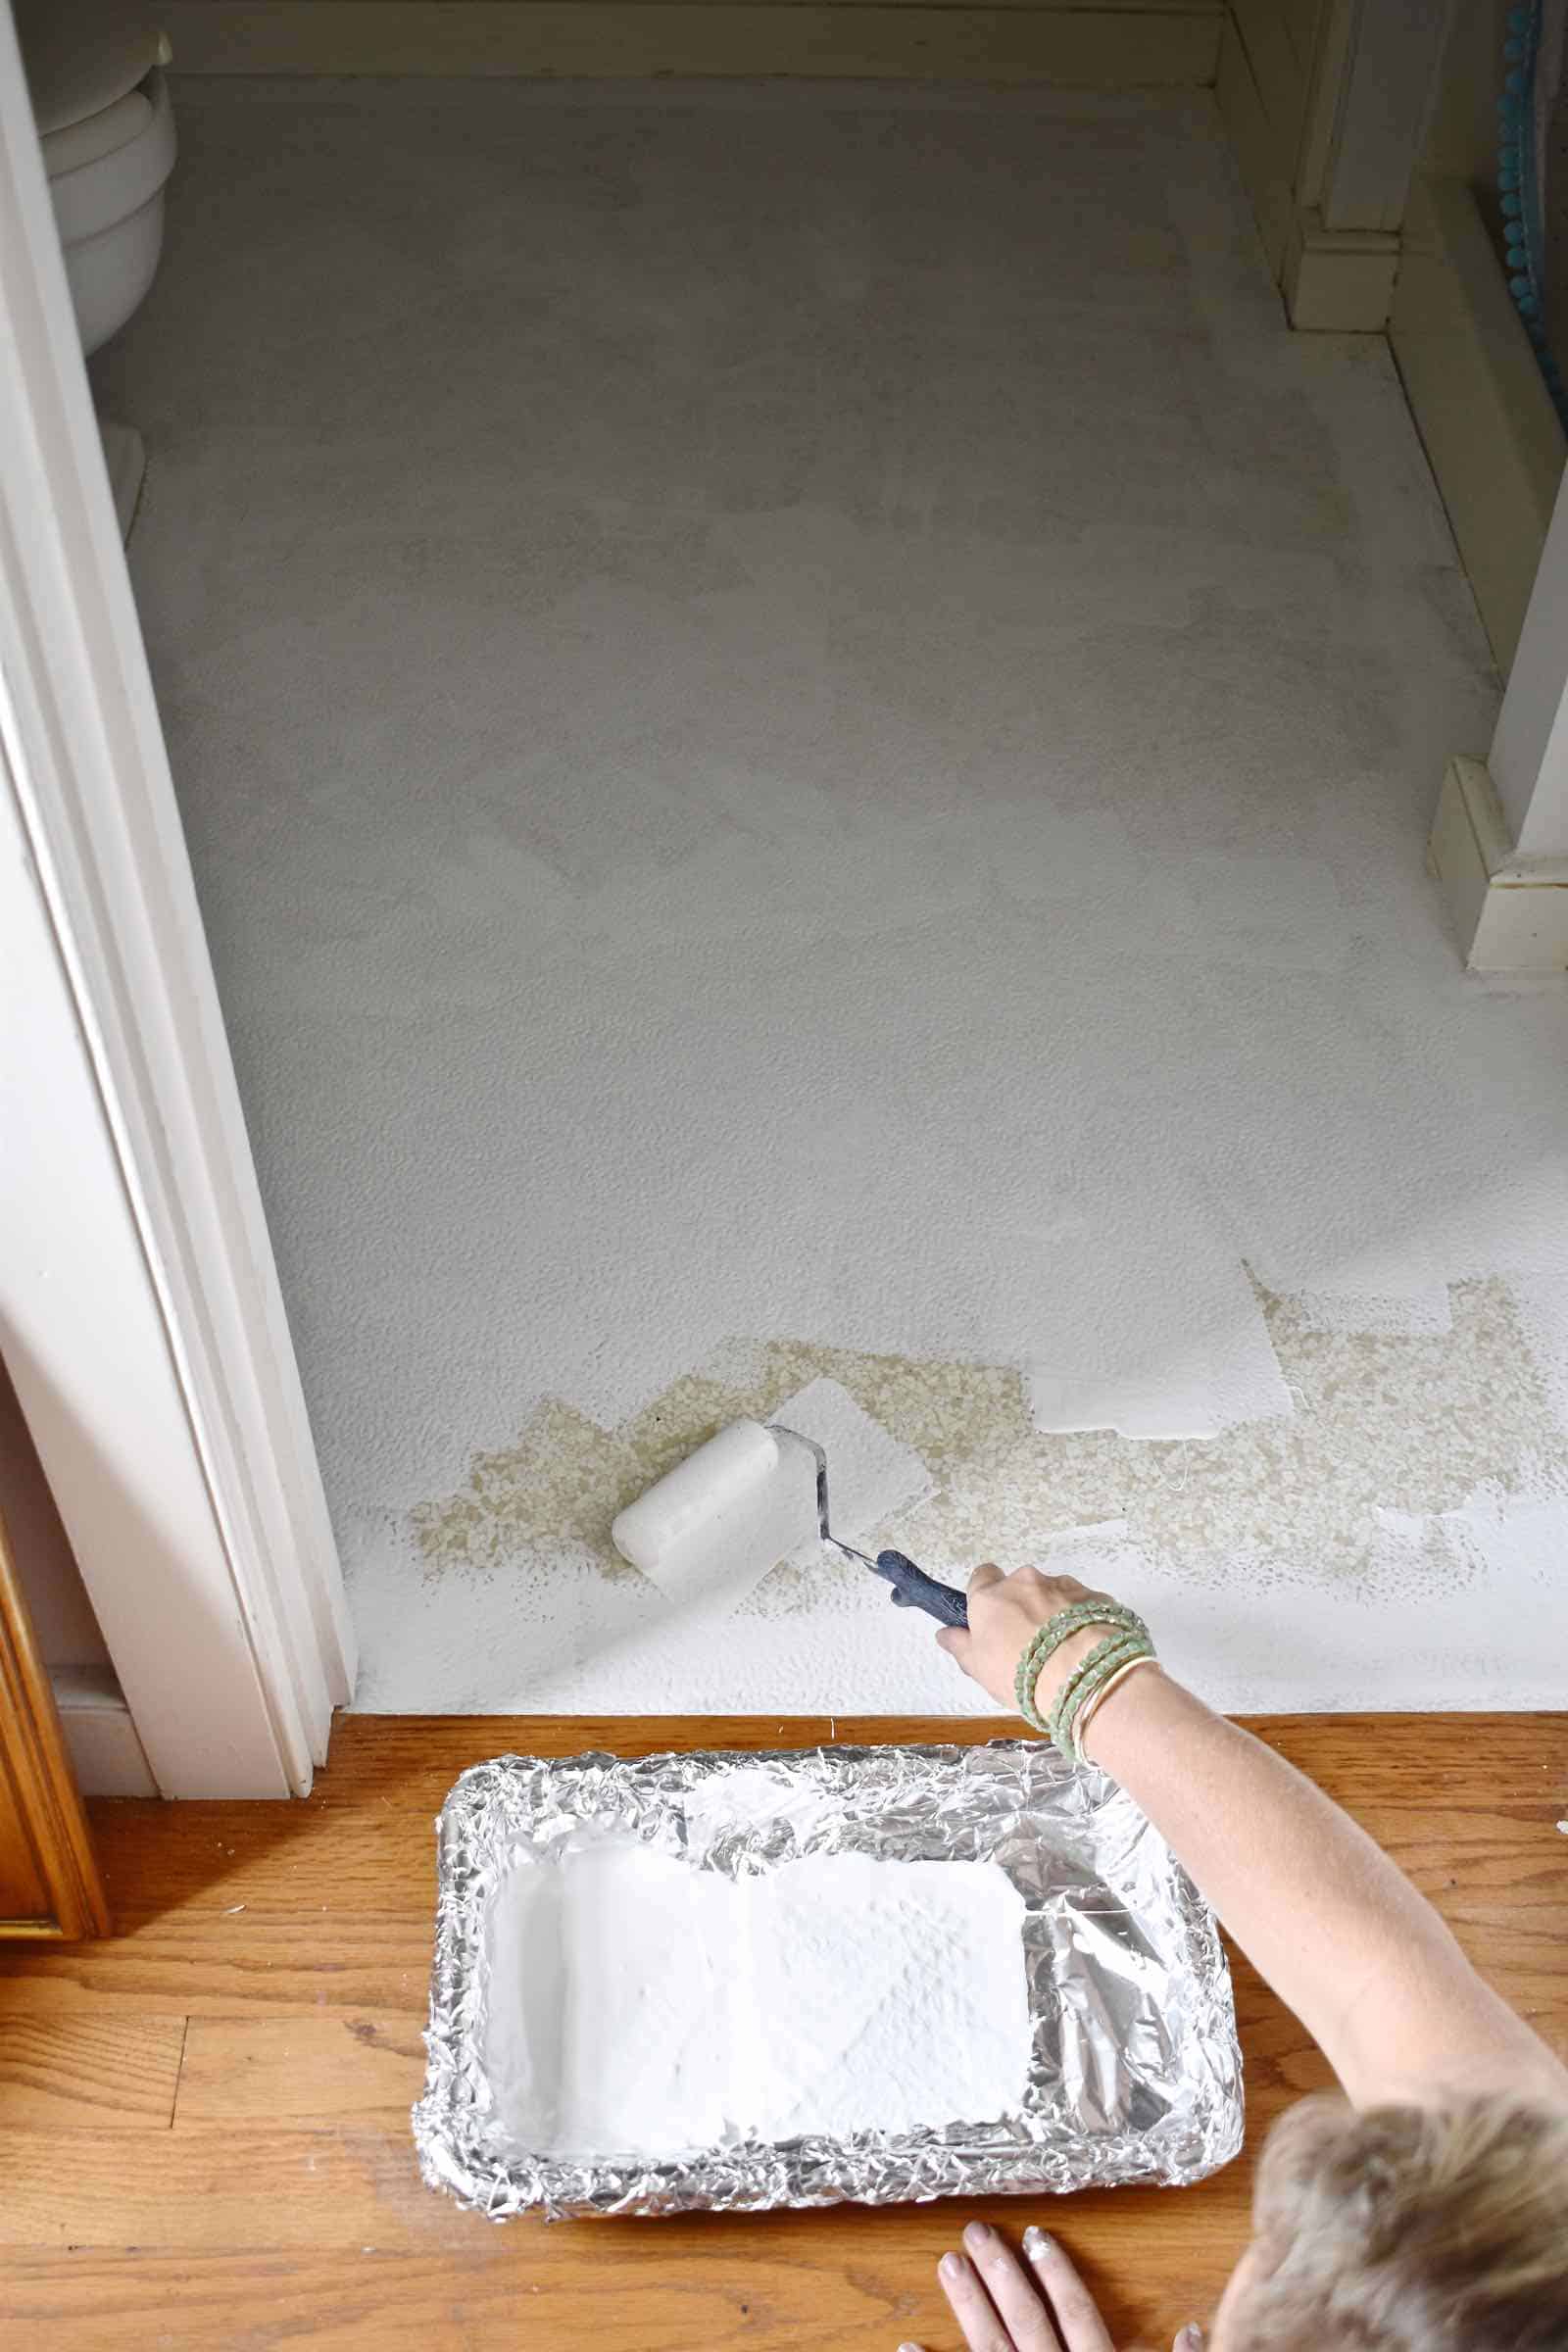
Step 3 and 4. Prime and Paint.
I edged the floor with an angle brush and then used a small foam roller to give it one coat of primer. The next day, I repeated the same step with Benjamin Moore’s Floor and Patio paint in White Dove because I already had it in my stash. It took about 3 coats to get a solid finish. If you ask at the paint store, they will raise their eyes and tell you NEVER to prime when using porch and floor paint. But, I trust my blogging pals and used the primer first. #sorrynotsorry
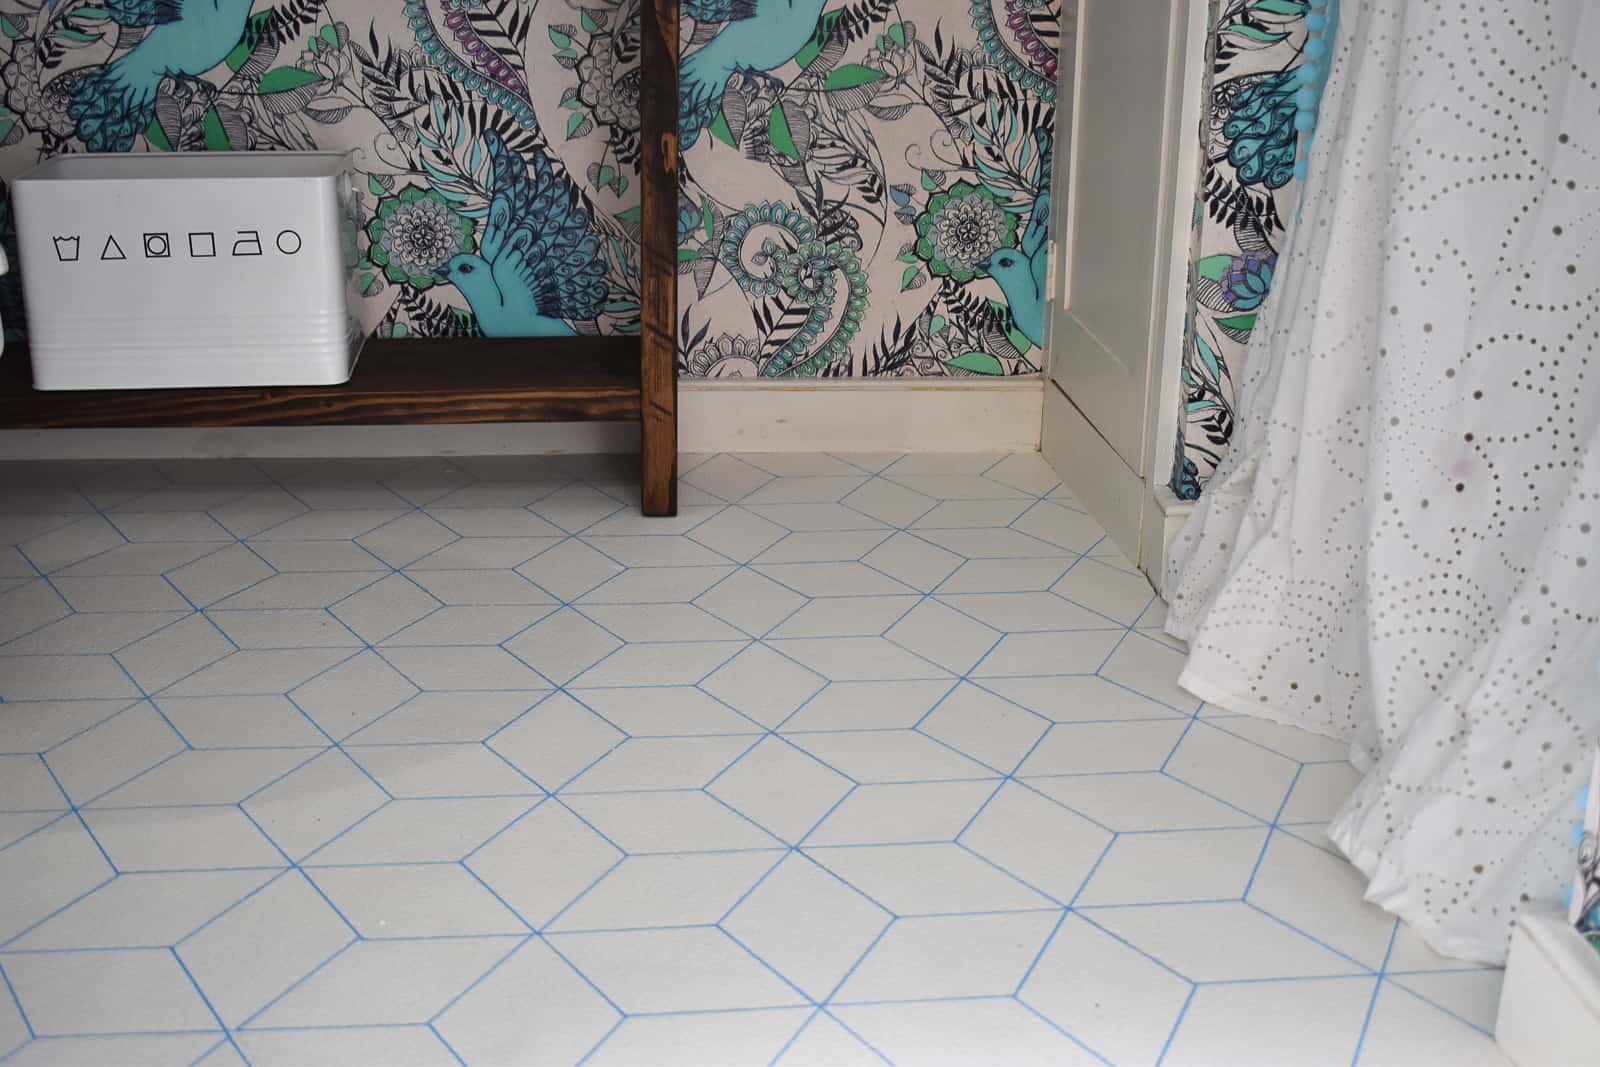
Step 5. ADD PATTERN!
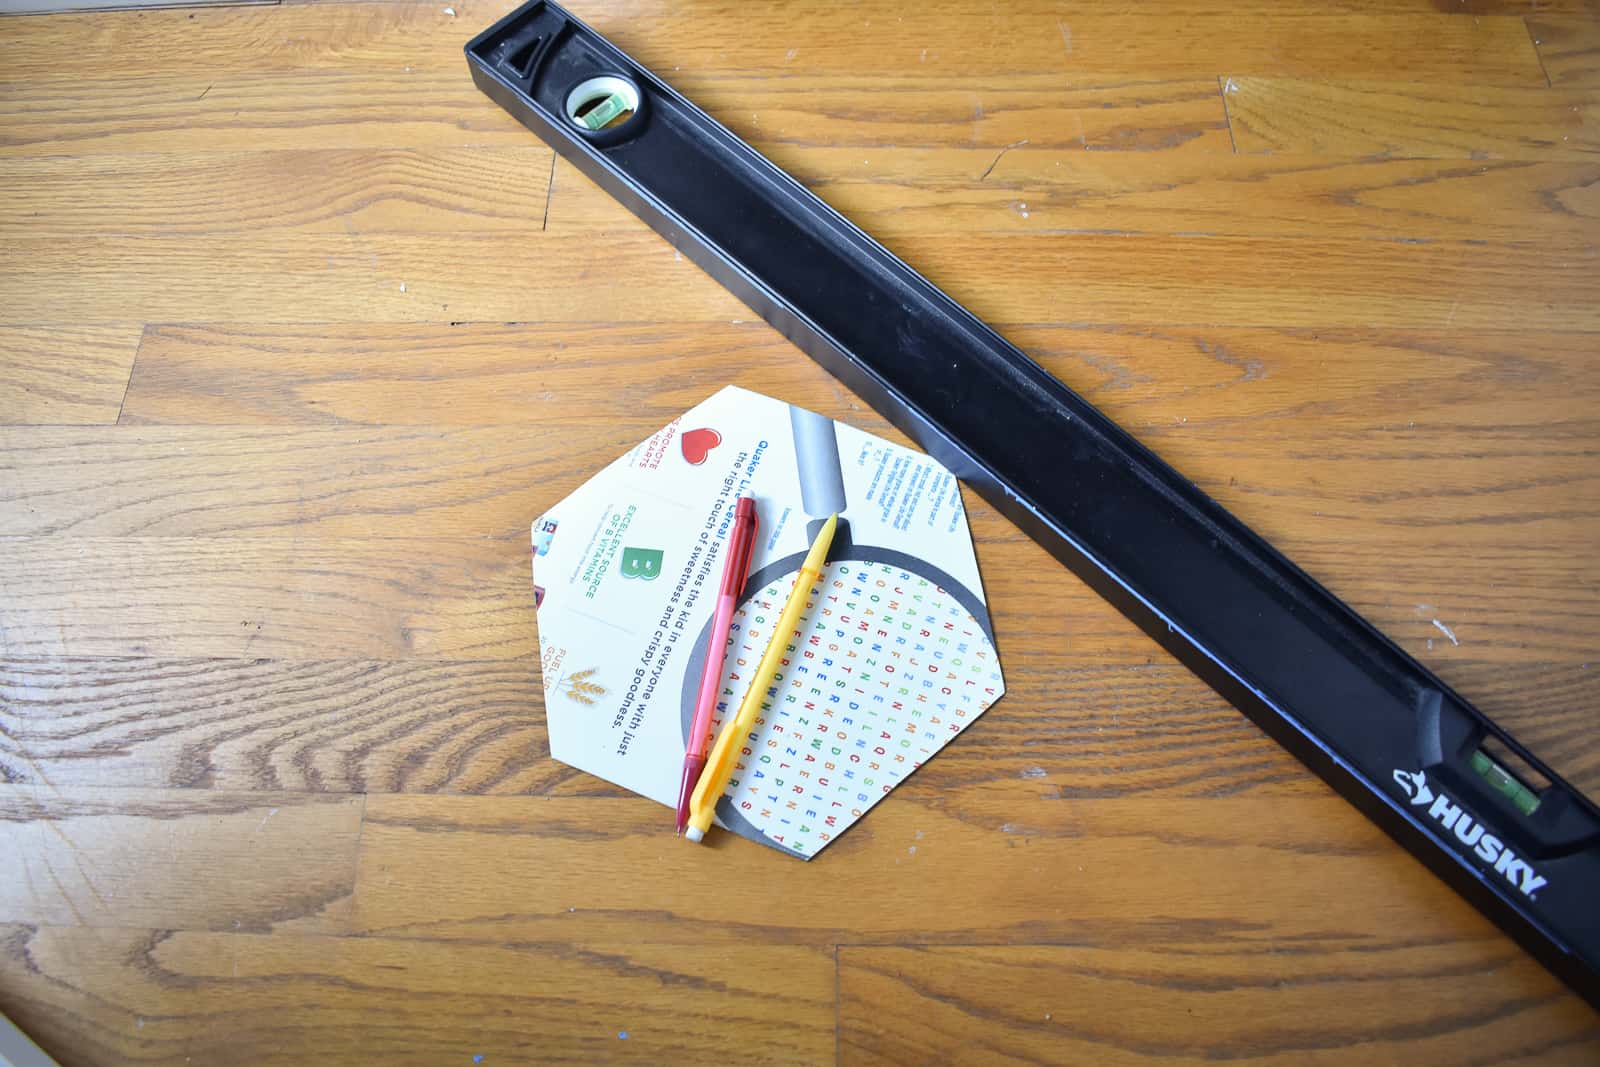
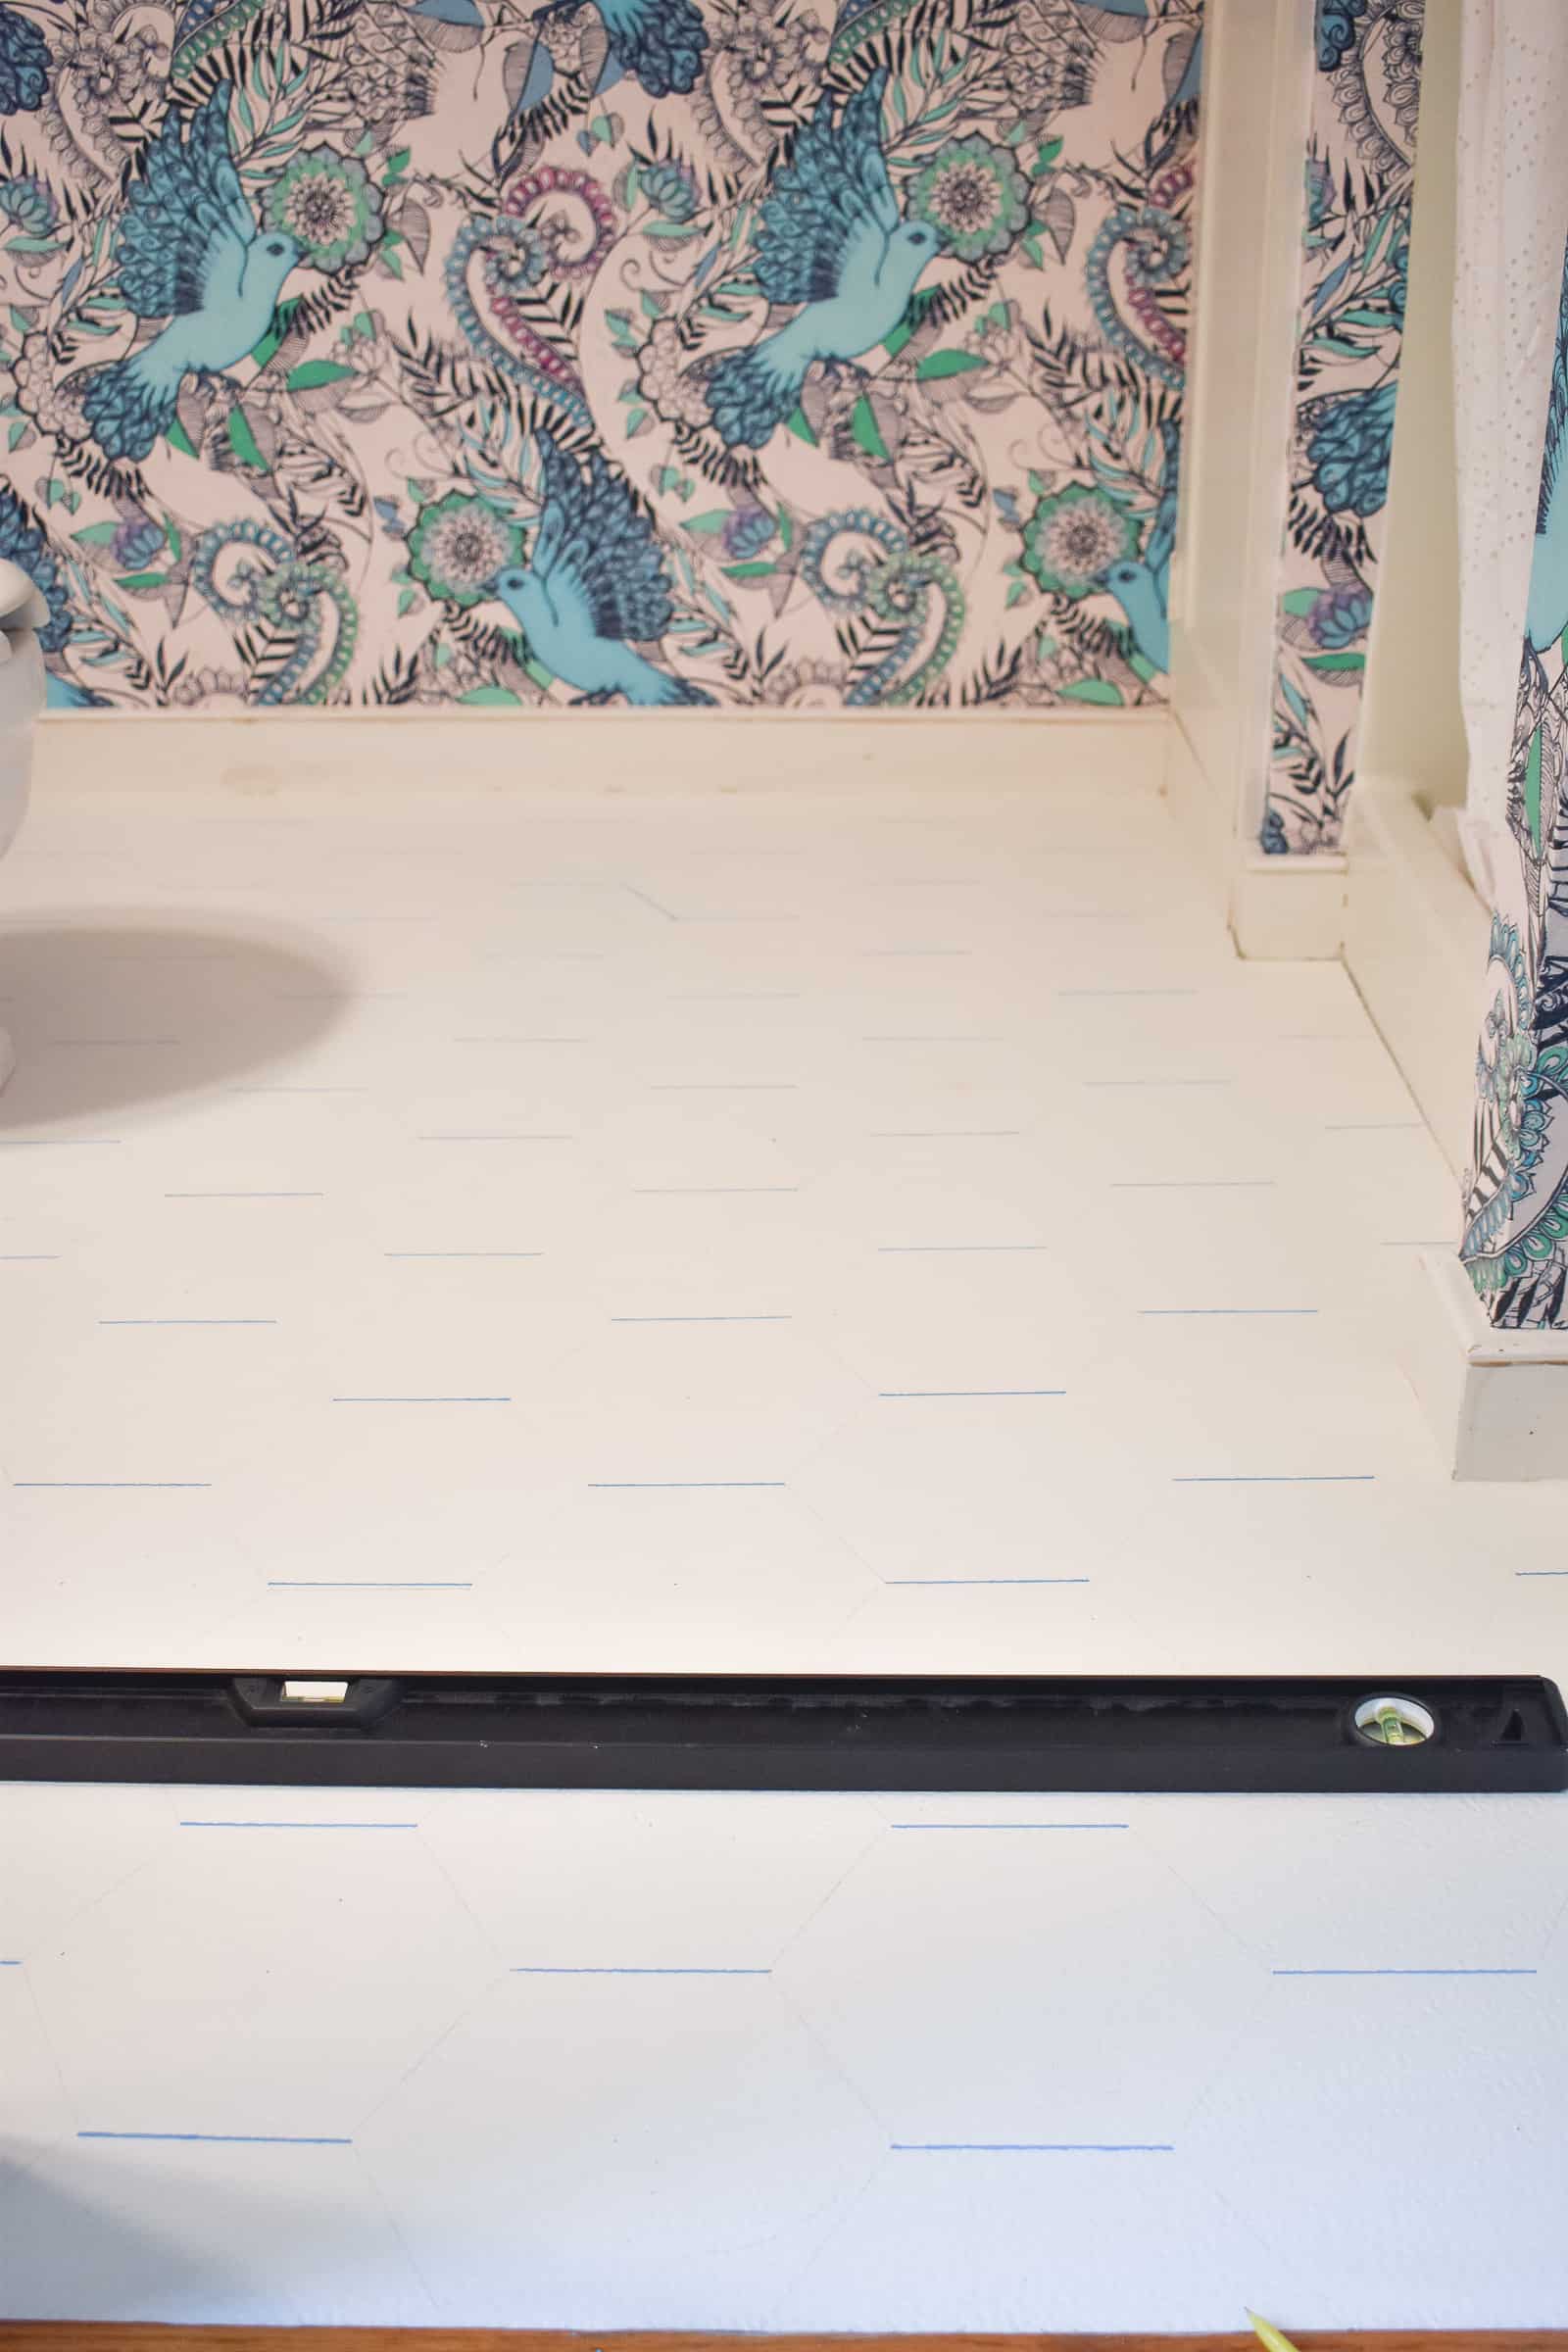
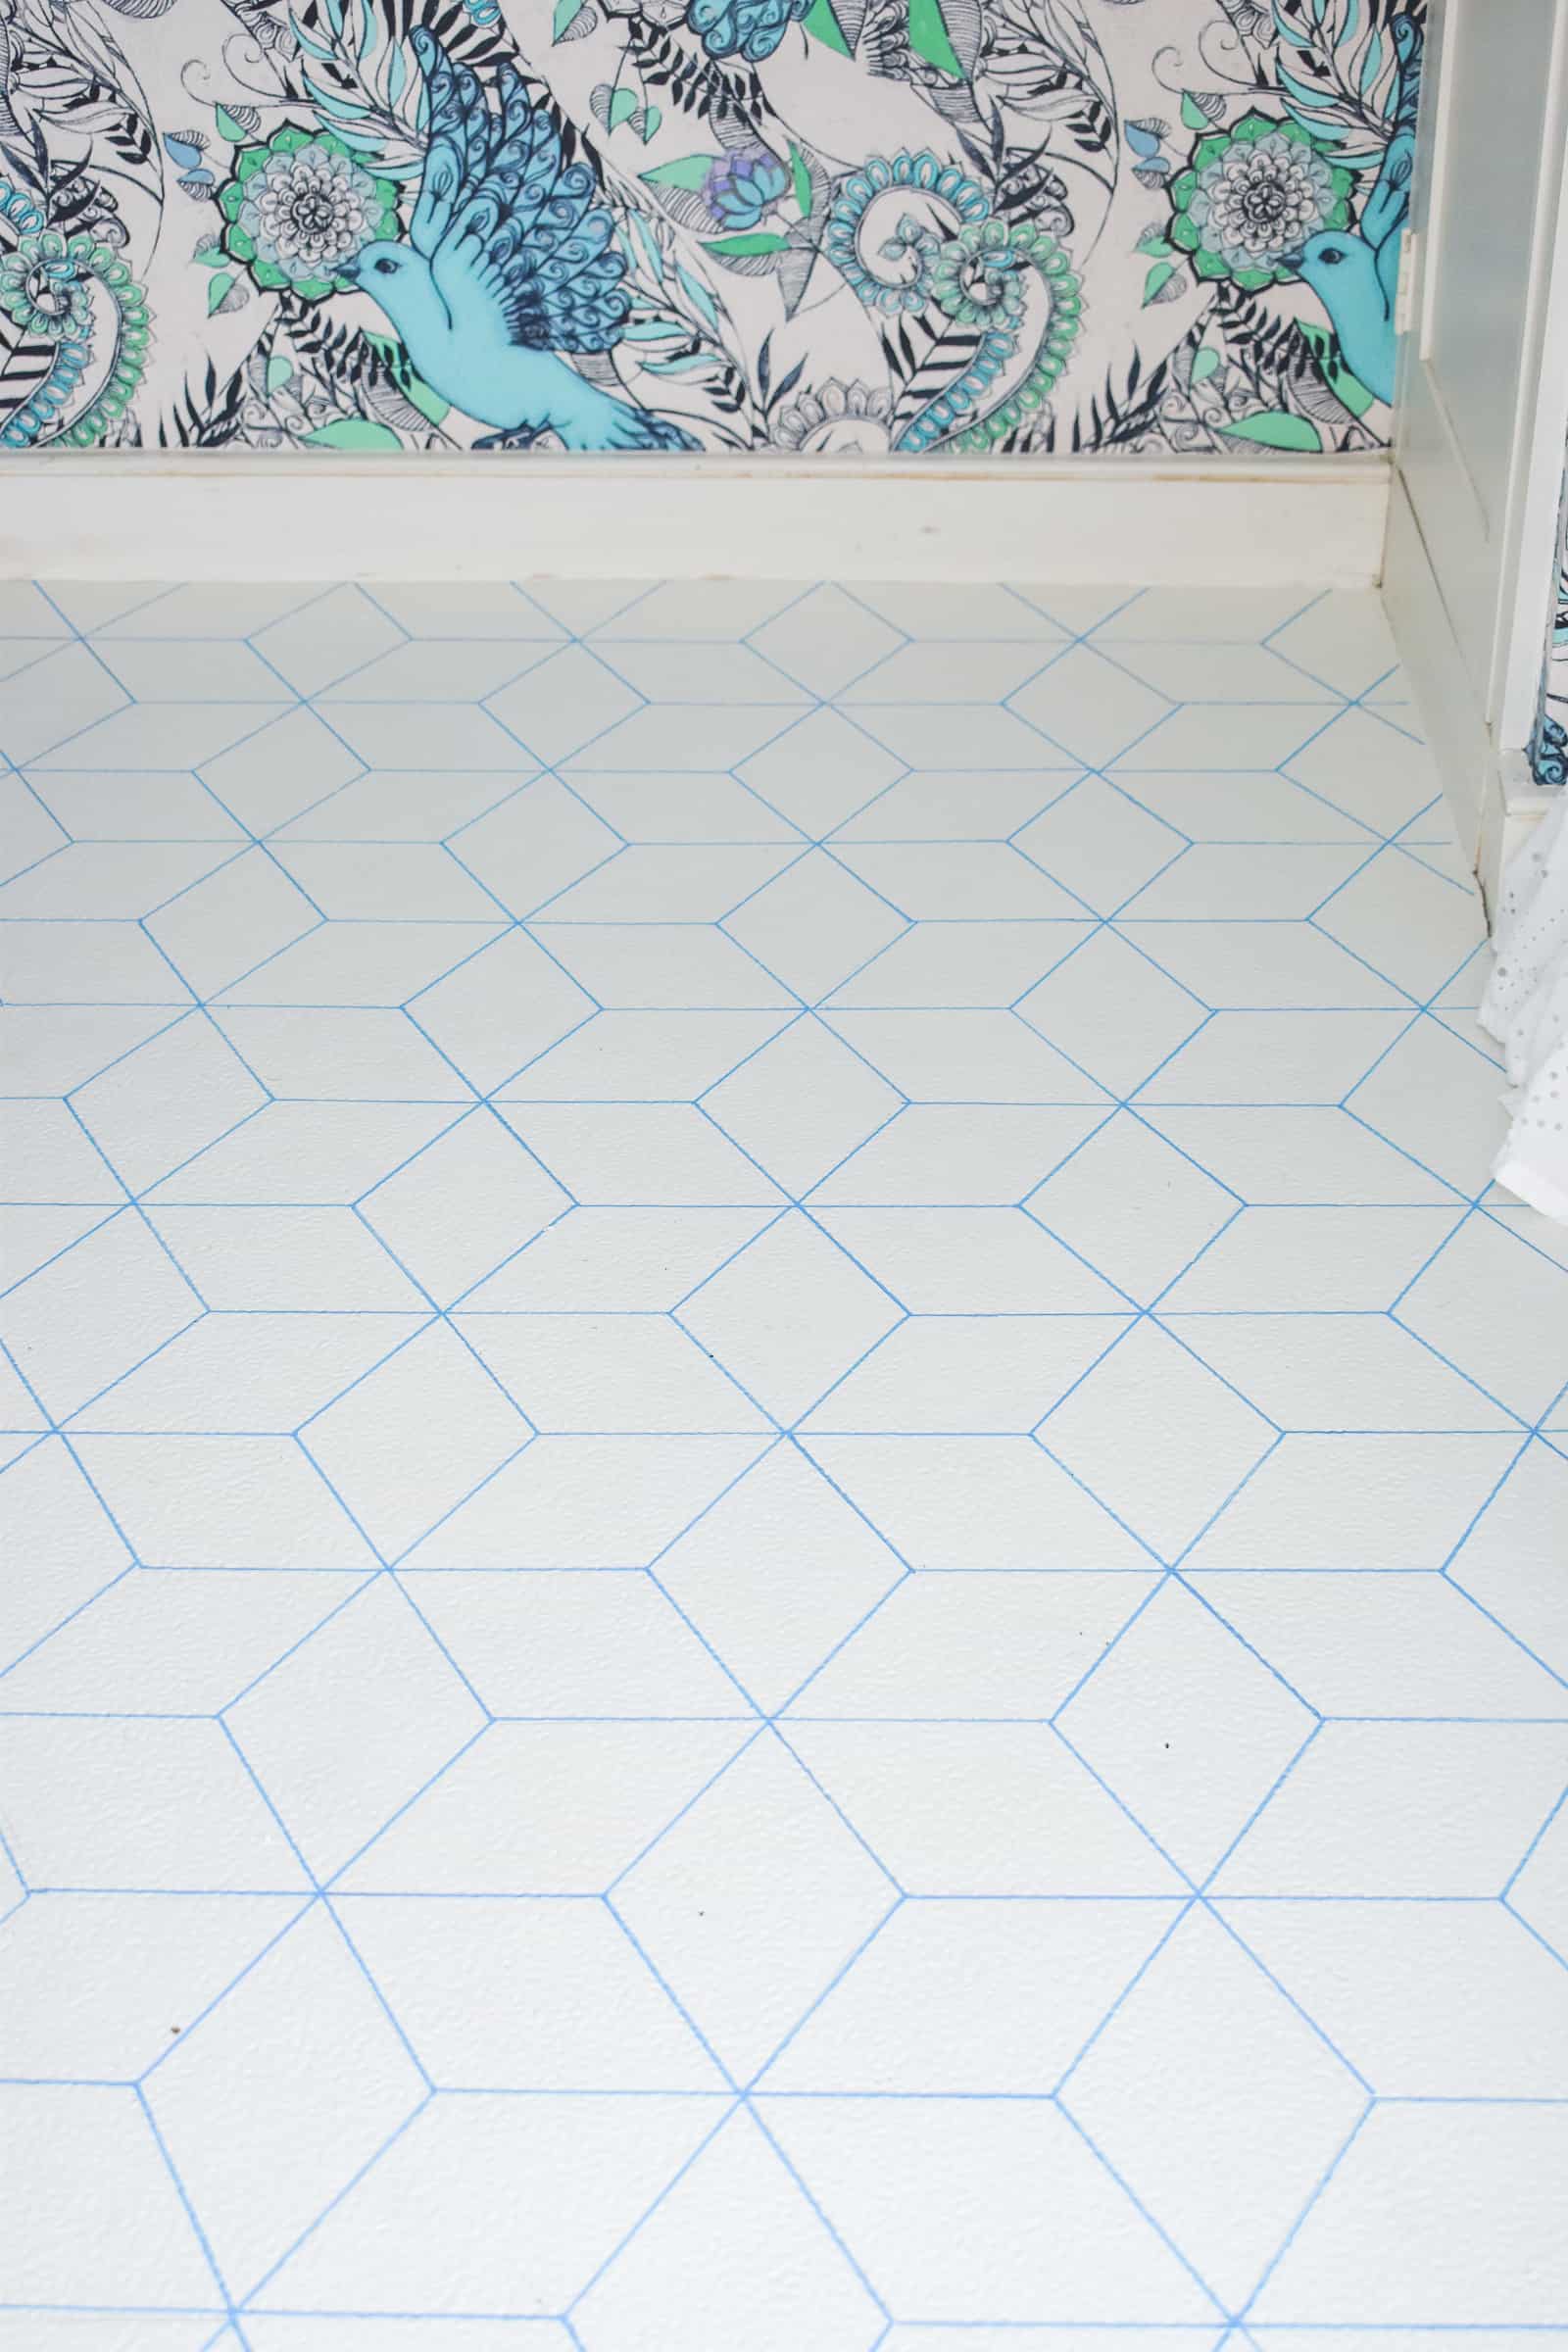
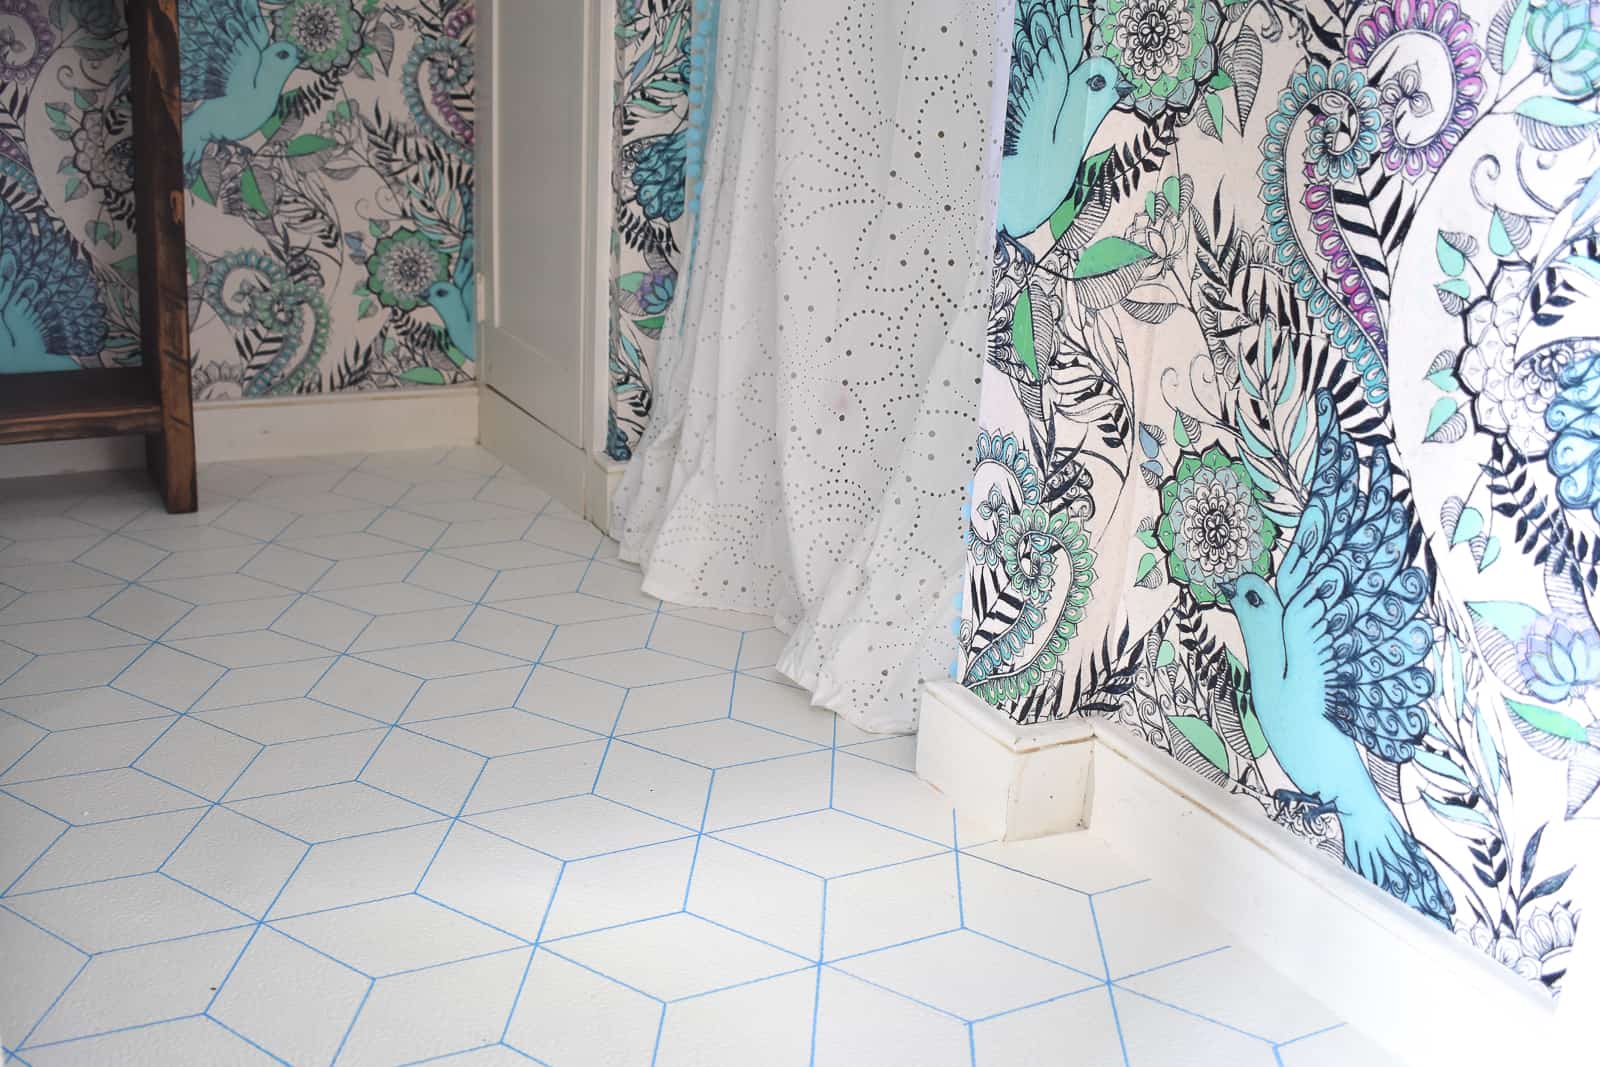
I suspect this is the part of the tutorial that you’re here for! I chose a graphic hex pattern that I LOVE (called tumbling blocks) but it isn’t the easiest to maneuver/ measure out. The basic shape is a hexagon. I made a hex template and cut it out of a cereal box. Life cereal to be specific, but you can use any cereal box. I used a long straight edge to make sure my hexagons were in line and traced them lightly with pencil right onto the bathroom floor. I also poked a hole in the middle of each hexagon and made a mark as I traced.
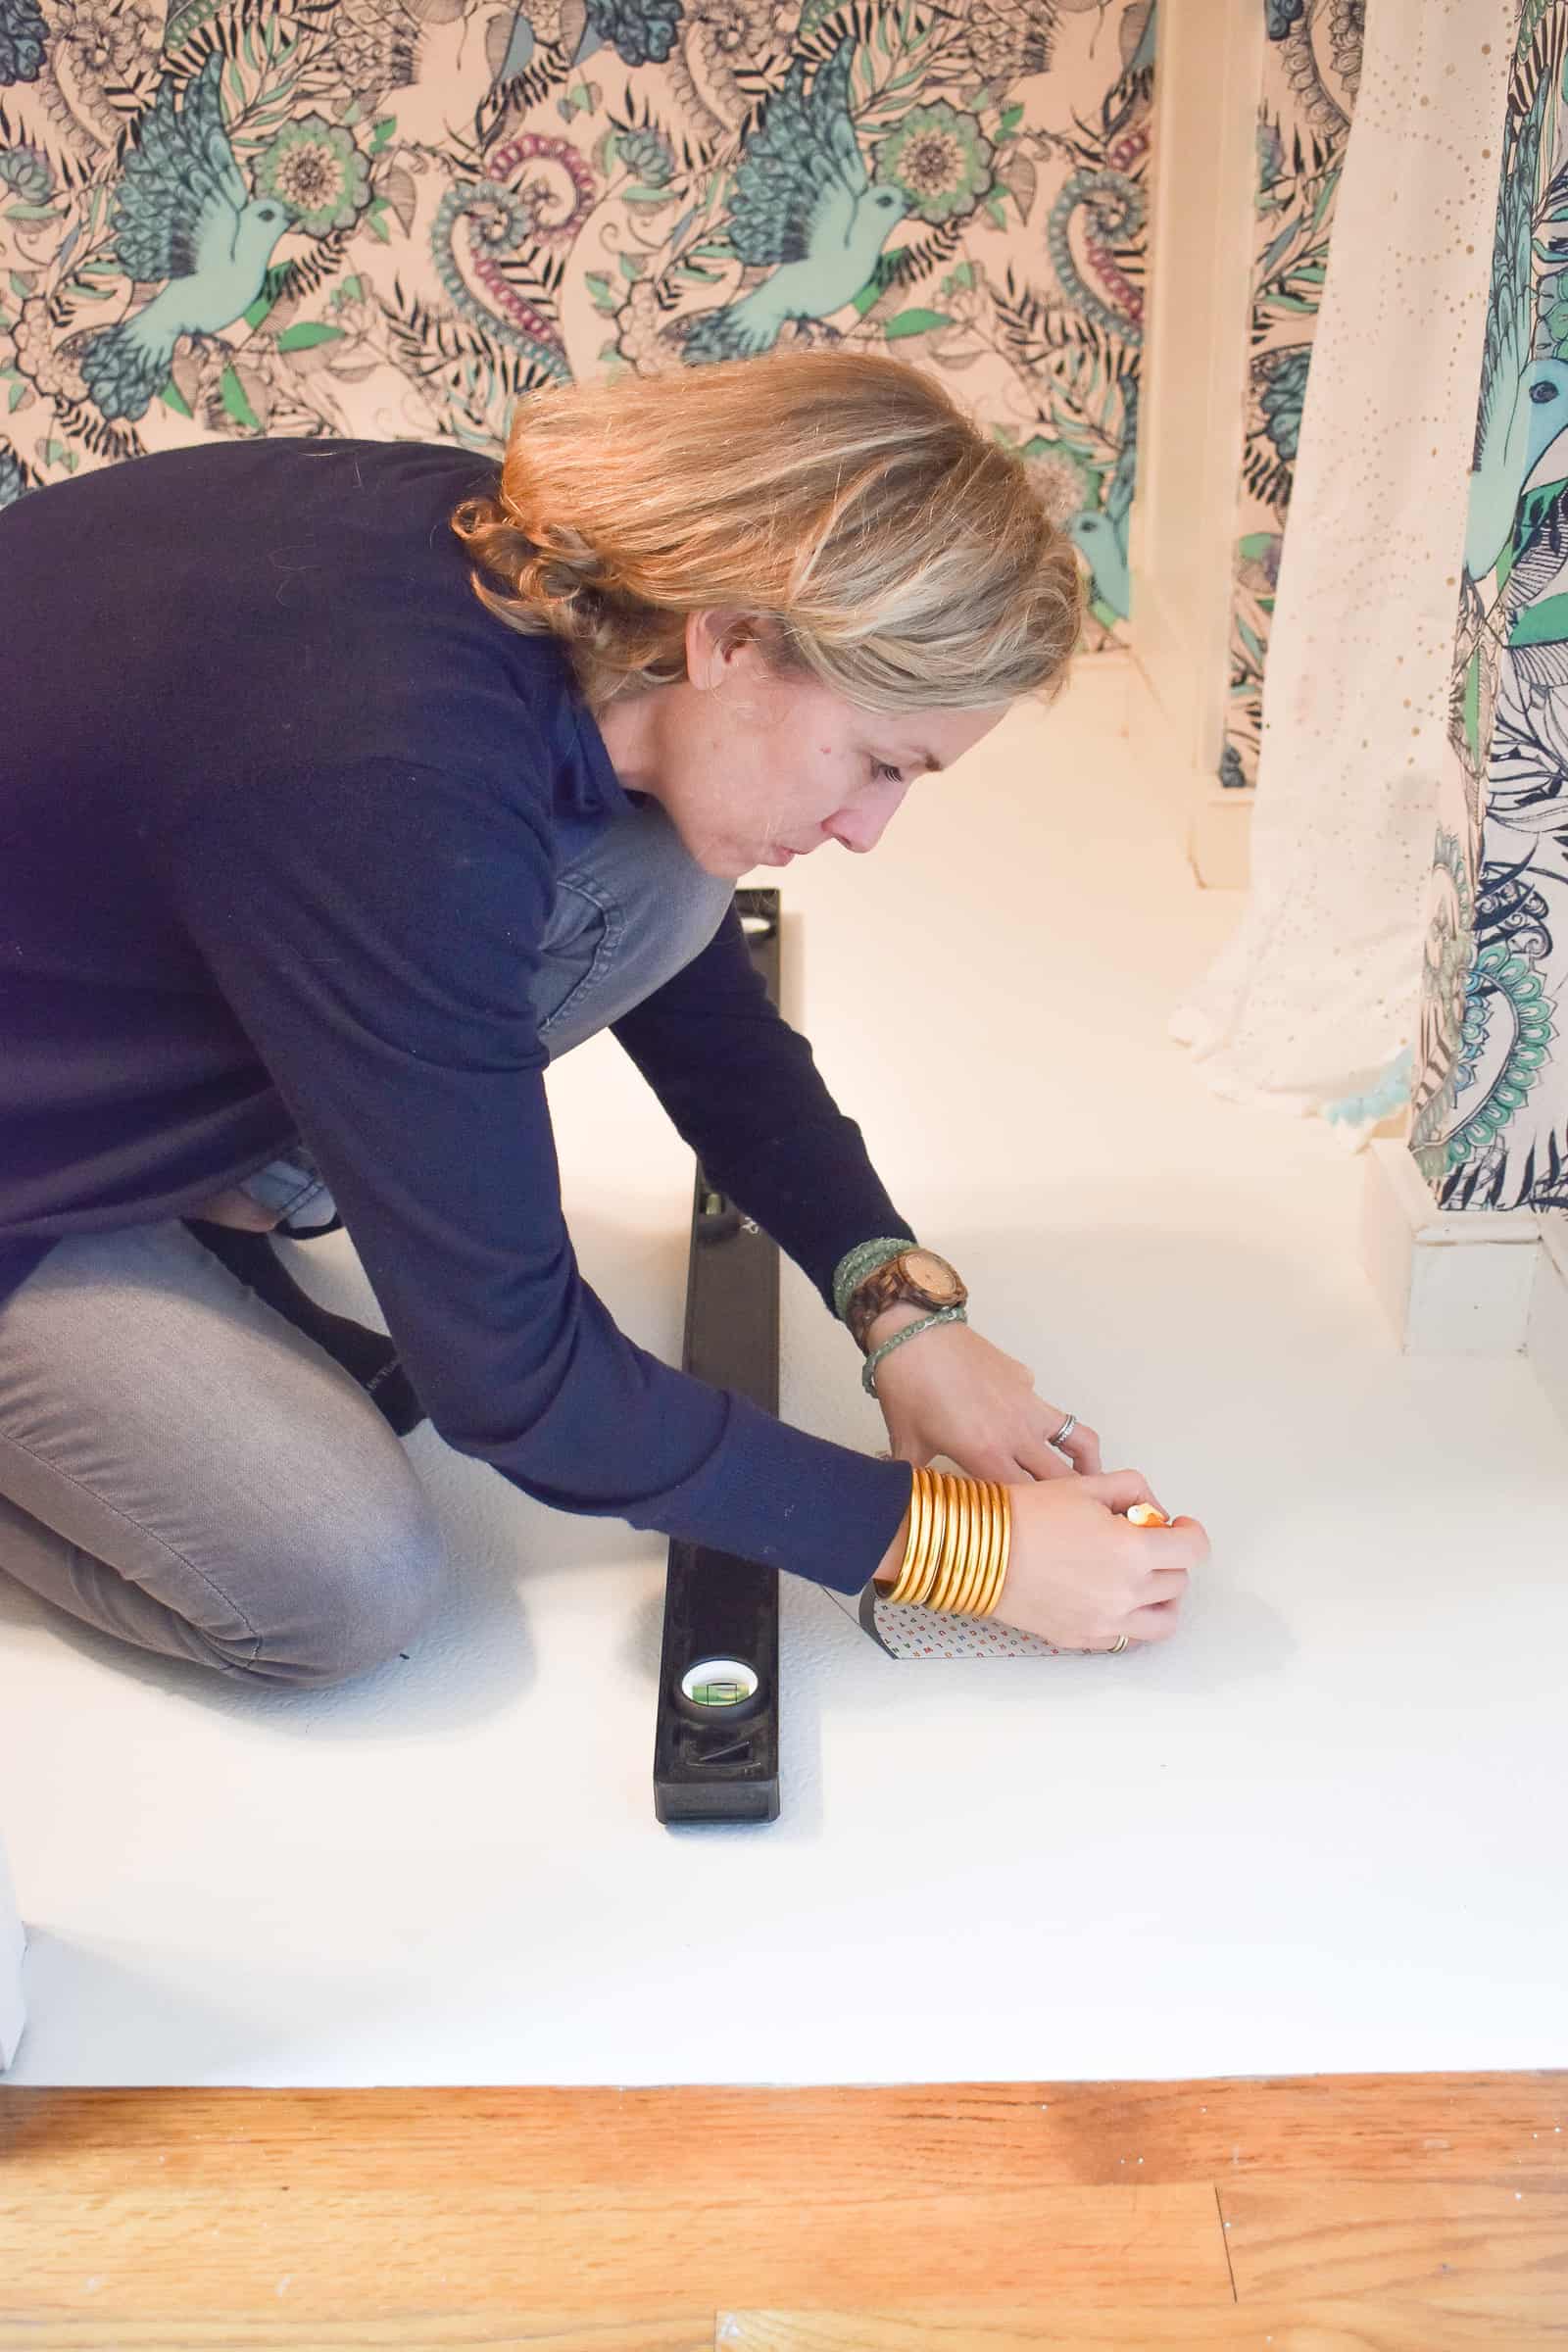
Once I’d traced the entire hex pattern across the floor, I grabbed my Sharpie pen. It’s SUPER important that you use an oil based sharpie paint pen and NOT a plain ol’ Sharpie. The latter will wear off over time. Again… using my long straight edge to make sure my hexagons were lined up, I traced the pattern. I found it was easier to draw one edge at a time so I didn’t have to move my straight edge over and over. I had a rag/ towel on me and wiped the ruler edge after each line to prevent smudging.
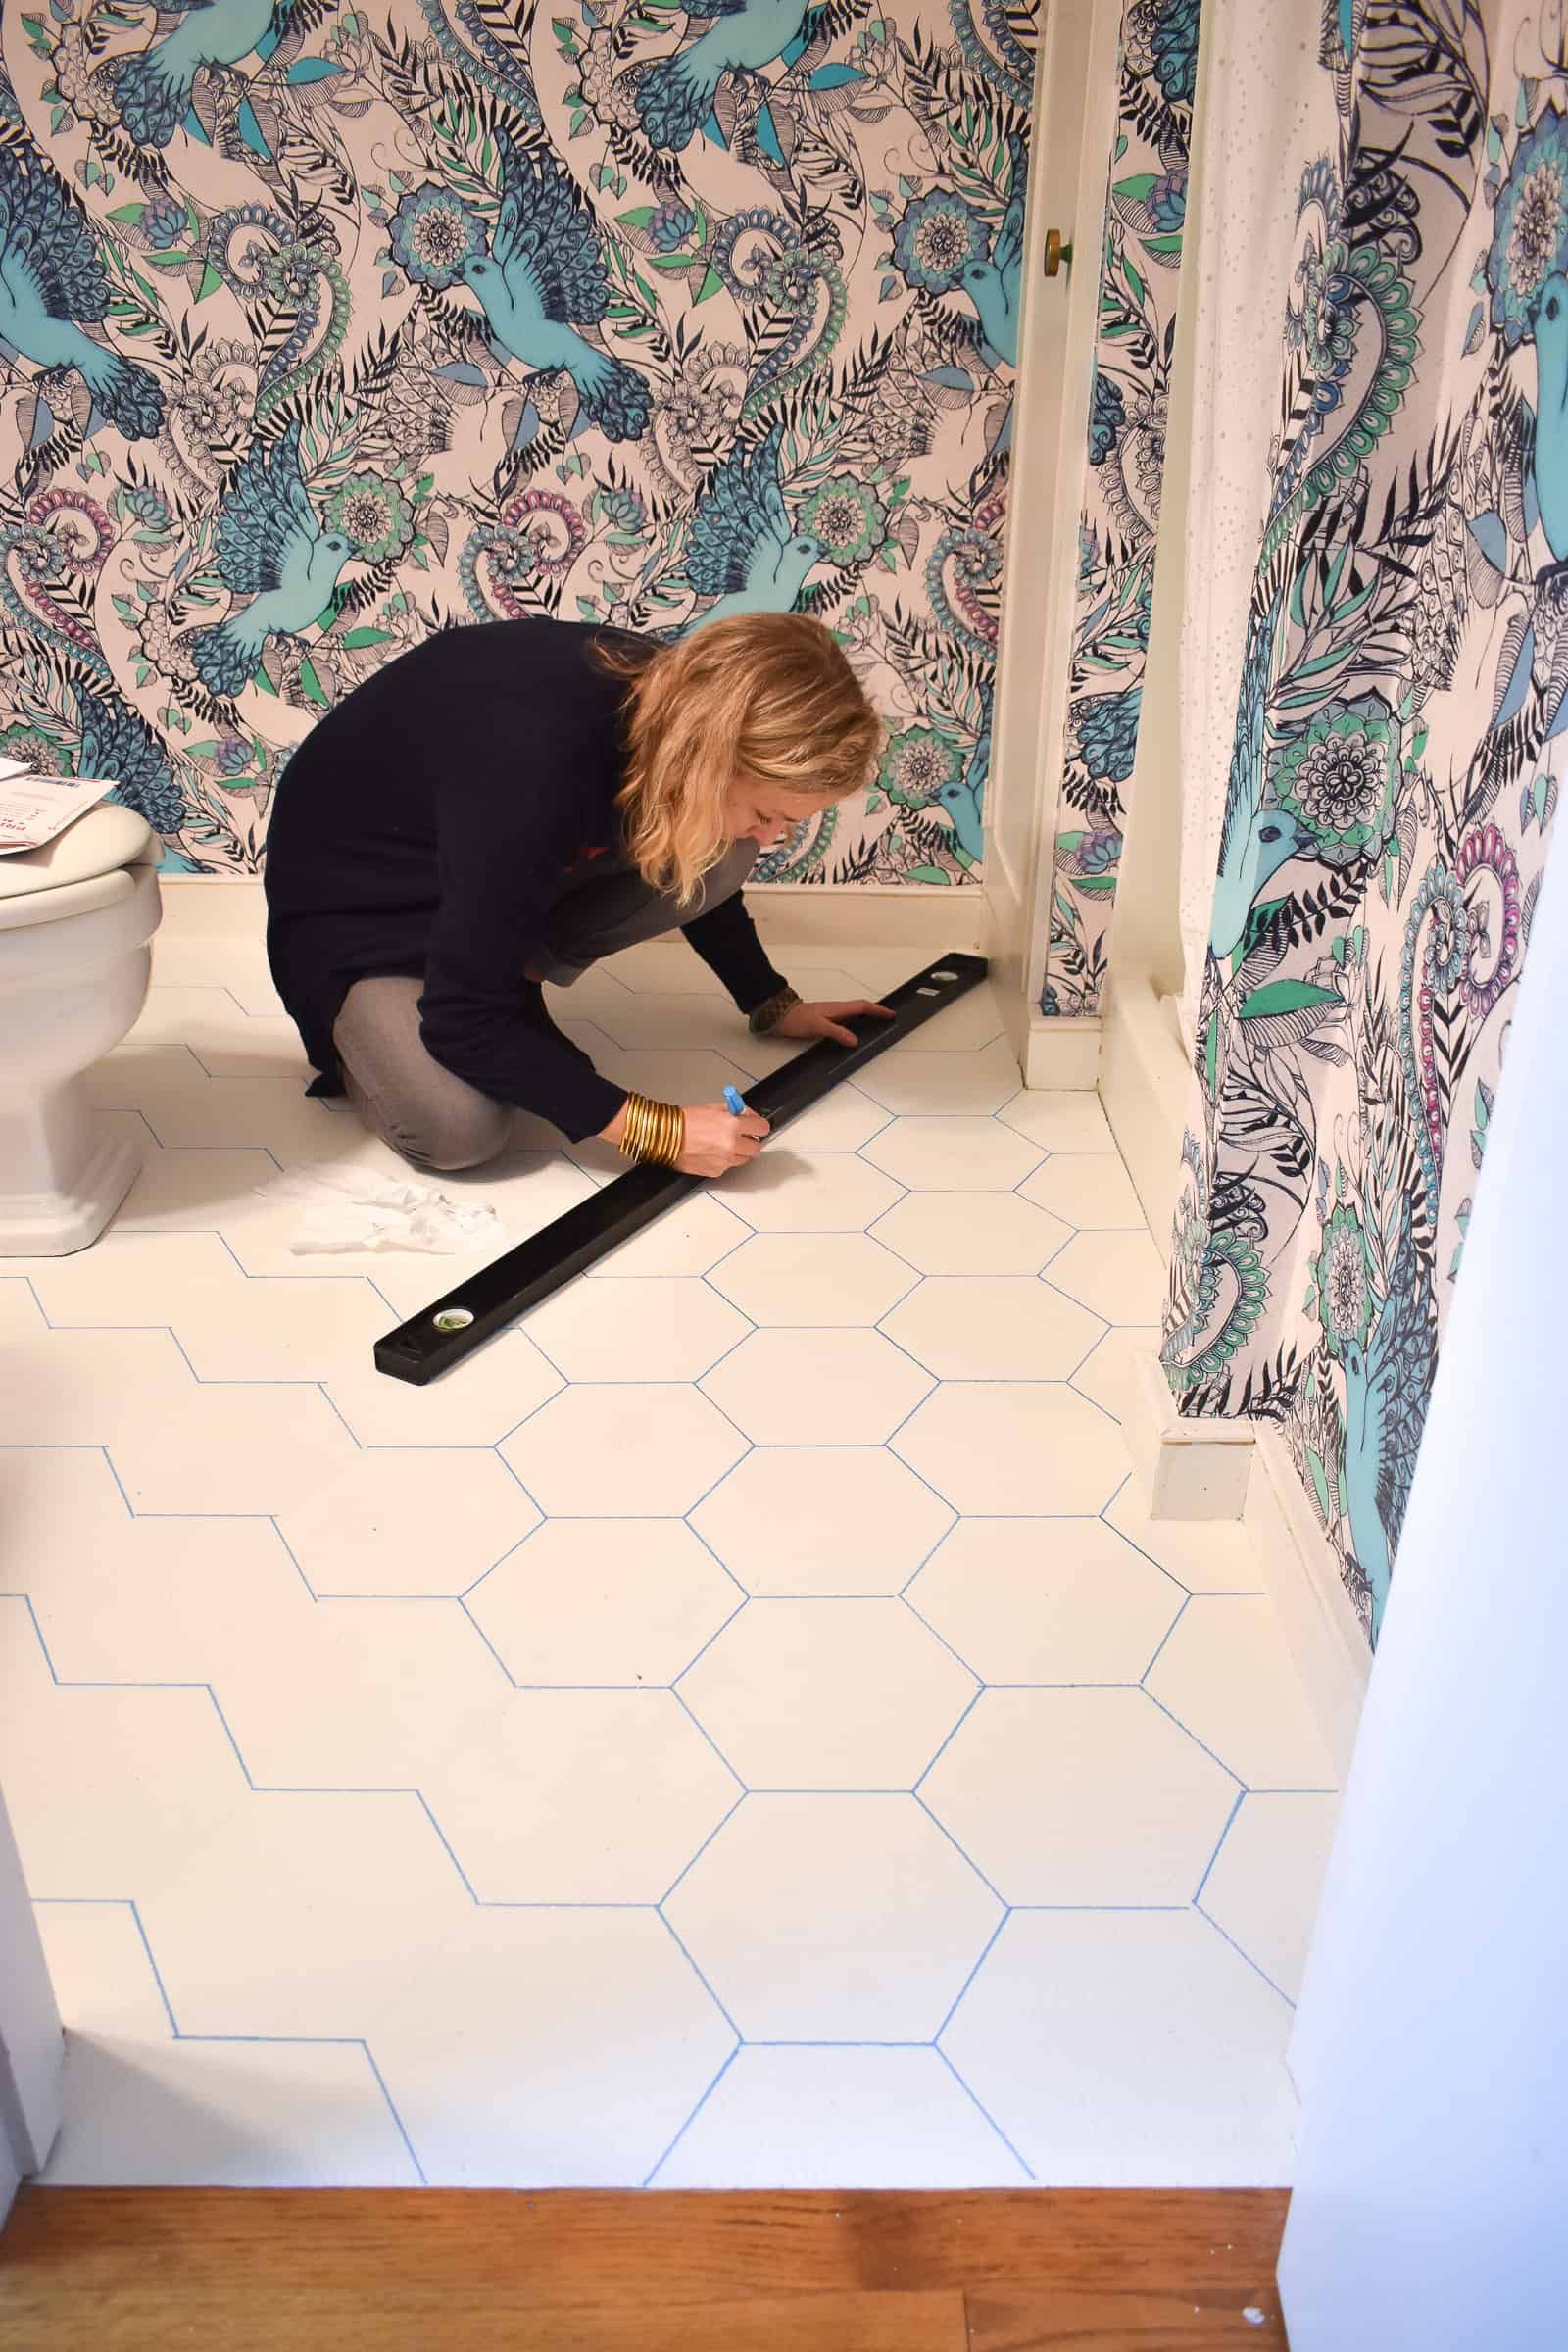
Once the honeycomb pattern was finished, THEN I went back with a ruler and added the interior lines that made up the ‘tumbling block’ allusion.
To recap:
- Prime.
- Paint.
- Trace pattern with pencil.
- Trace pencil lines with Sharpie paint pen.
- Add lines to middle of the hexagon pattern.
Materials
(Affiliate links included for your convenience!)
- Primer
- Floor and Patio Paint
- Trim/ Angle brush
- foam roller
- Sharpie Paint pen
- straight edge
- Life Cereal
I’ll update this post to let you know how the paint pen holds up. It took an afternoon to fill in and I only used ONE paint pen so… even if it wears off over time, super easy to go back over and refresh. Because this is a guest bathroom it gets about 8 days of use a year so I’m hopeful the floors will stand up over time!

Don’t forget to tune in next week for the final REVEAL of the bathroom, and make SURE to head over to the link up to see what everyone else has been up to with their One Room Challenge spaces!
Get caught up with Week 1 / Week 2 / Week 3 / Week 4


OBSESSED!!!!!!!!!!!!
Thanks! You guys are one of the OGs of the Sharpie hack! 🙂 xx
LOVE it, Charlotte! THOSE outlines are perfect – no way you’d guess they were hand drawn. Just wondering if you put a top coat of SOMETHING LIKE a water-based POLYURETHANE on top, would it HELP WITH its longevity?
Maybe? I worry that poly yellows over time… and that floor will truly get so little action that it’s probably easier just to retrace the lines as needed! Also… I’m lazy. 🙂
Firstly, apologies – I have no idea why some words are in all caps above – I promise I’m not trying to shout! 😀 And FWIW, water-based polyurethane doesn’t yellow, just oil-based products.
Yesssss…. I should know that. 🙂 Thanks!
I LOVE your wallpaper, and the floor looks fantastic too!
Thanks, Kristen! SO nice to have it finished!
wow that’s an amazng floor and think it works beautifully with the wallpaper for a great balance of patterns!! you are such a dIY expert!
Thanks so much, Tim! *Not* an expert, but… seasoned. 😉 Ha!
Love the floor DIY, I just did hex tile on my kitchen back splash and it’s my new favorite pattern!
Same! I love it! Thanks, Maggie!
I LOVE iT! The pattern is so modern and unique! I recently painted the floors in our basement with porch paint and did not use a primer, but am wishing I did BECAUSE it already has a few chips. I should have trusted my gut!
Yeah… it didn’t make sense to me when he said it… something about the two paints sliding against each other? No idea… I ignored him for this one. 🙂
It looks so awesome! And I just wanted to mention that I painted my front stoop with porch paint over the summer, and my paint guy at Home Depot strongly advised me to prime it first, so I was surprised to read that some people would say not to.
So interesting! Our paint guy said that the porch paint was meant to go on the wood so it would ‘slip’ against the primer… like the two paints wouldn’t get along. But obviously I ignored him. 🙂
Well, we were painting concrete, not wood. so that may have something to do with the conflict of opinion there.
Maybe! It’s certainly more porous! I also just think that everyone has an opinion… 🙂
SO awesome!! I love how it turned out, and the pattern with the wallpaper looks fantastic!
Thanks! I’m loving this pattern lately! Wish it was a *bit* easier to make! 🙂
Great job on the floor. You really saved that floor from living the rest of its life in blahsville. LOL…. Susie from The Chelsea Project
It was a super easy update! Probably not a forever fix but not bad at ALL for now!