
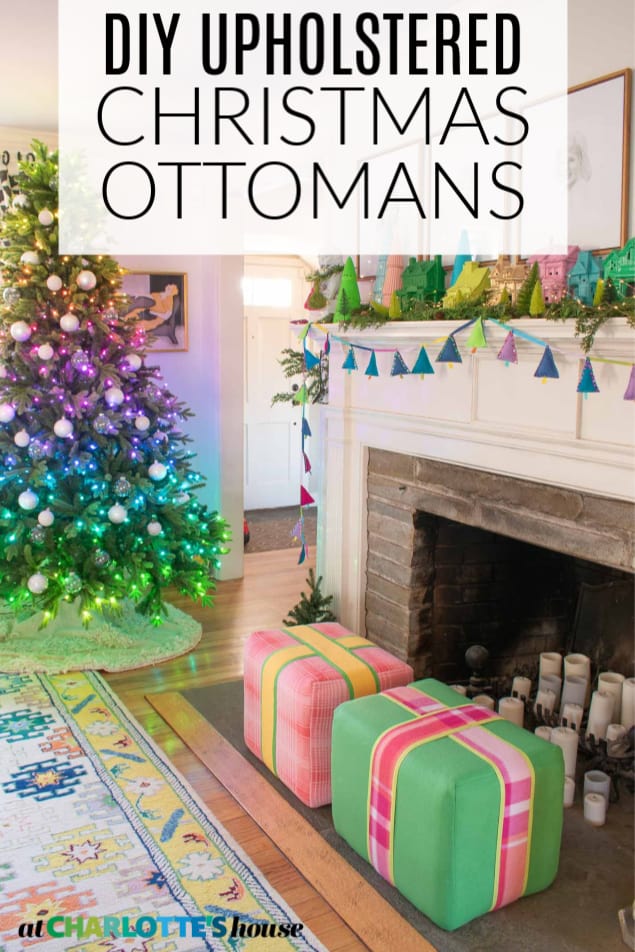
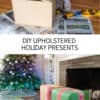
Christmas Present Upholstered Ottoman
Psssst… this post *might* contain affiliate links: see my disclosure here.
This is a sponsored post written by me on behalf of Arrow Fastener. All opinions are 100% mine.
How to Make an Adorable Upholstered Present for Christmas
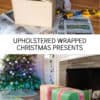
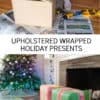
These DIY upholstered ottoman look like fun presents and are the perfect extra seating for the holidays!
Shop my favorites!
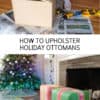
Every year on Christmas morning, we all gather in the living room and inevitable, a few of us are sitting on the floor because we only have so many couches and chairs. But NOT THIS YEAR! I’m partnering with Arrow Fastener and DIYd myself a pair of adorable cozy upholstered Christmas present ottomans! Took one afternoon and is a basic BASIC upholstery project… you can do this, especially with the right tools! Arrow Fastener’s staple and glue guns are must-haves for every pro, maker and DIYer!
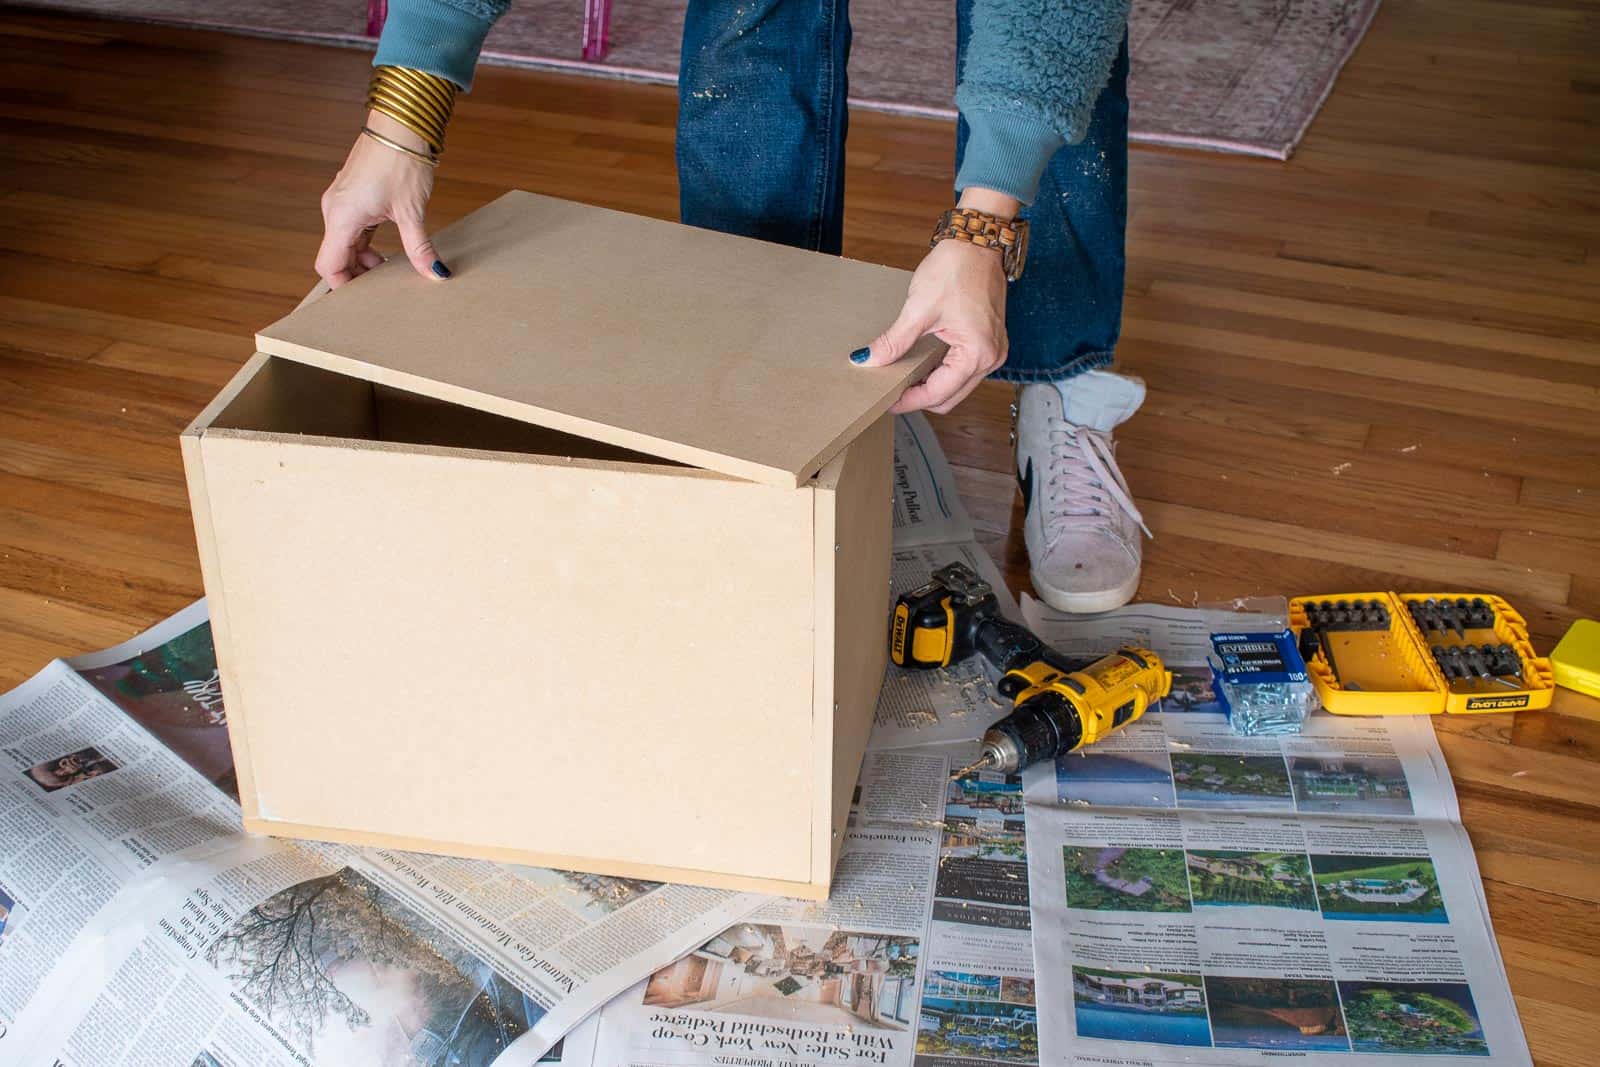
Step 1. Make the box
I’m going to immediately start with a disclaimer… I used MDF because it was cheaper and I didn’t want to spend a hundred dollars on Christmas ottomans. It’s a little more difficult to work with and it’s probably not quite as durable as wood, but it’s totally sturdy and a great budget alternative in my opinion. I used one sheet of the 2×4 1/2″ MDF boards from the Home Depot and had them cut these into two 12″ wide pieces.
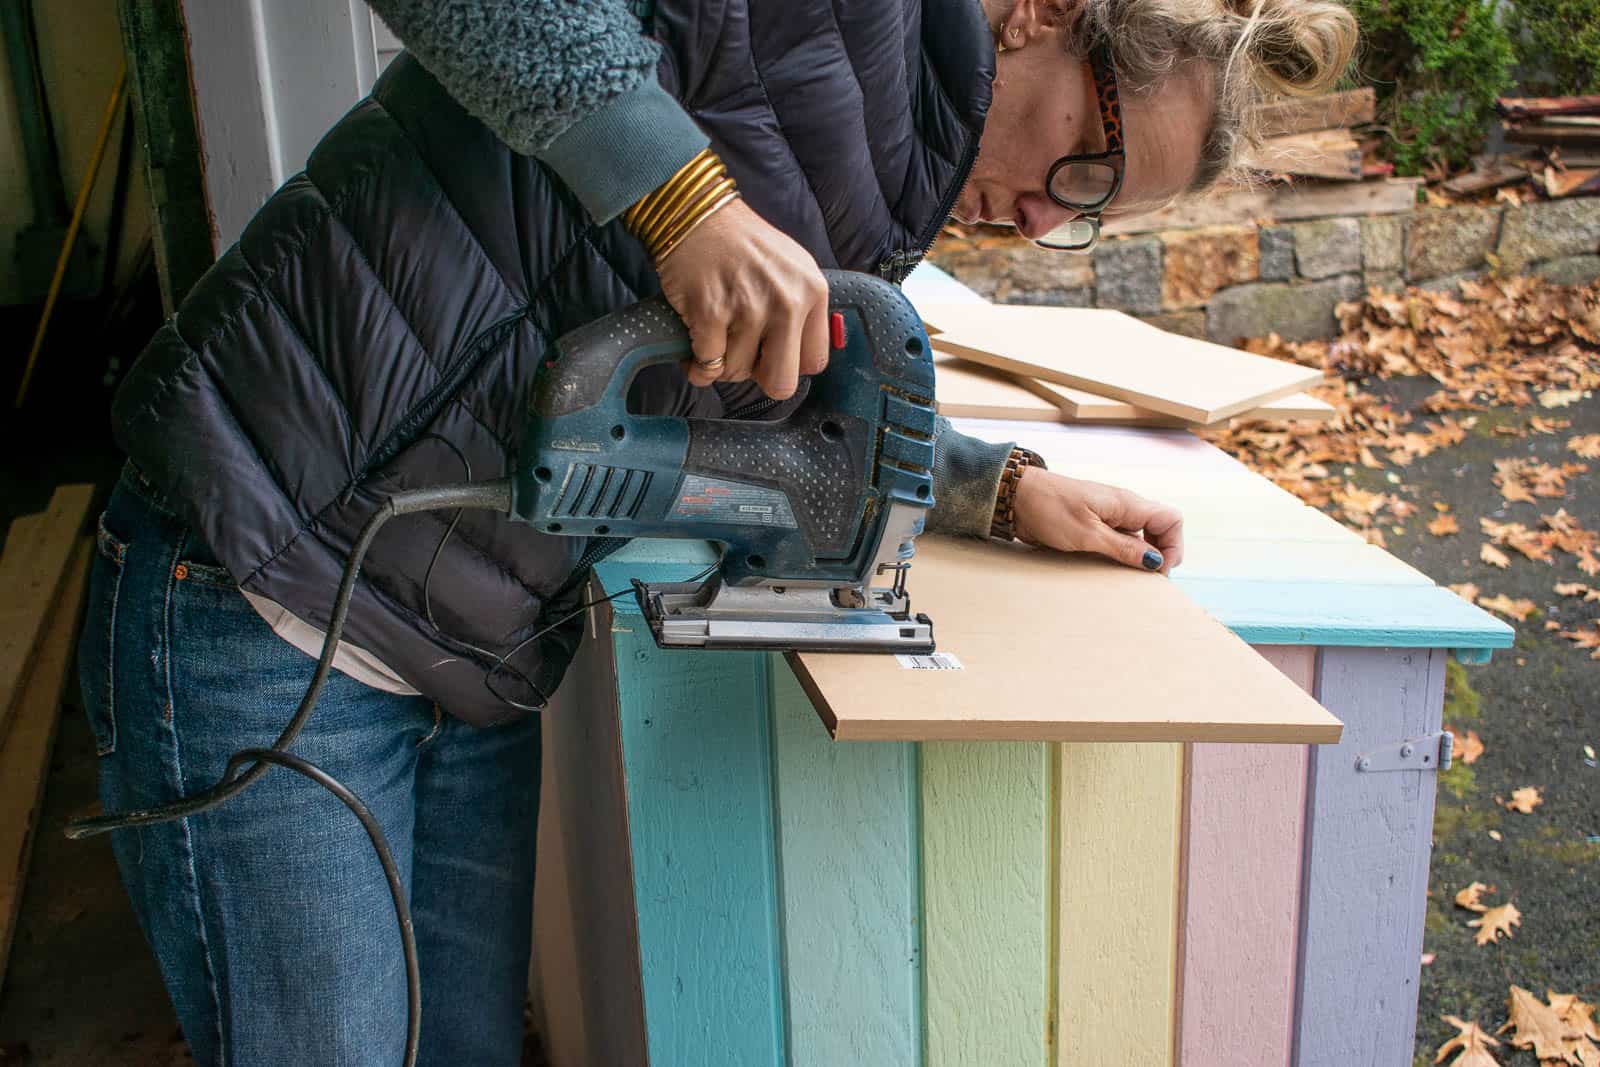
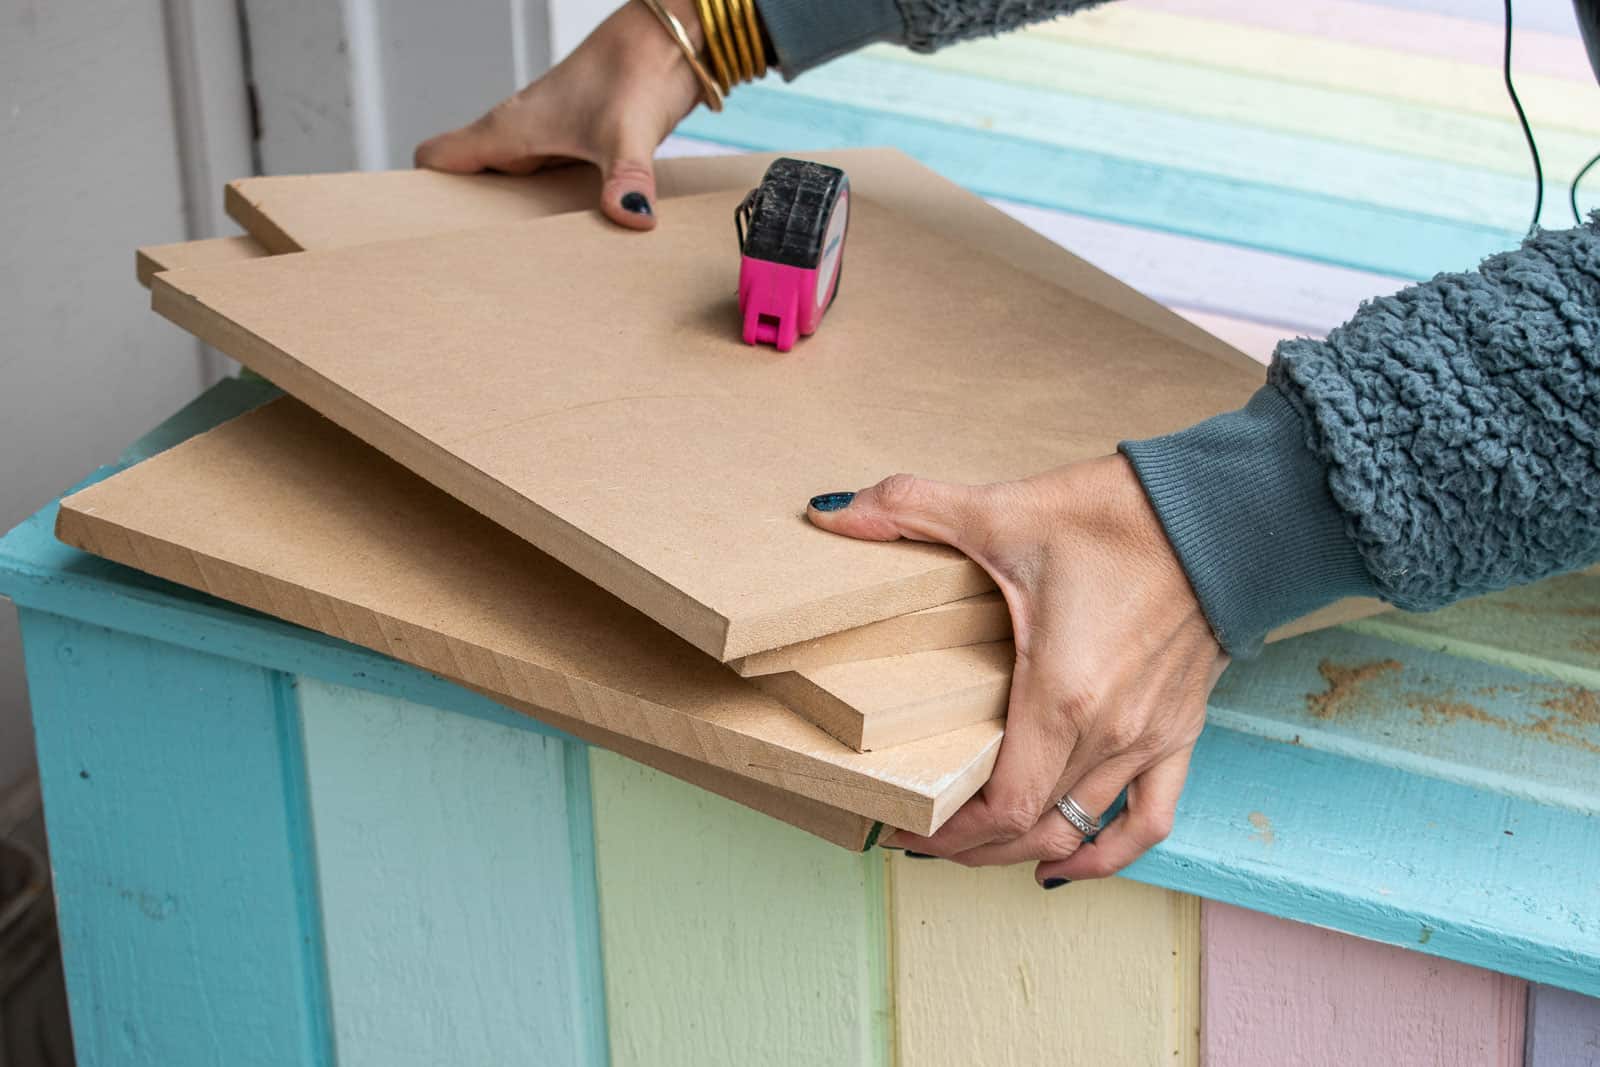
At home, I cut the boards to size to make the sides and the top/ bottoms of the ottomans. You HAVE to predrill with MDF and the first step is to assemble the sides. In order to stretch my MDF sheets, I made sure that the ottomans were 12″ wide so that the same 12″ boards would work for the sides as well as the top/ bottom. Once the sides are assembled, screw the top and bottom in place. I used the smallest screws I could find: #6 1 1/2-inch.
Cut list:
- Ends: 2 @ 12×12
- Sides: 2 @ 12 x 15
- Top/ bottom: 2 @ 12 x 16
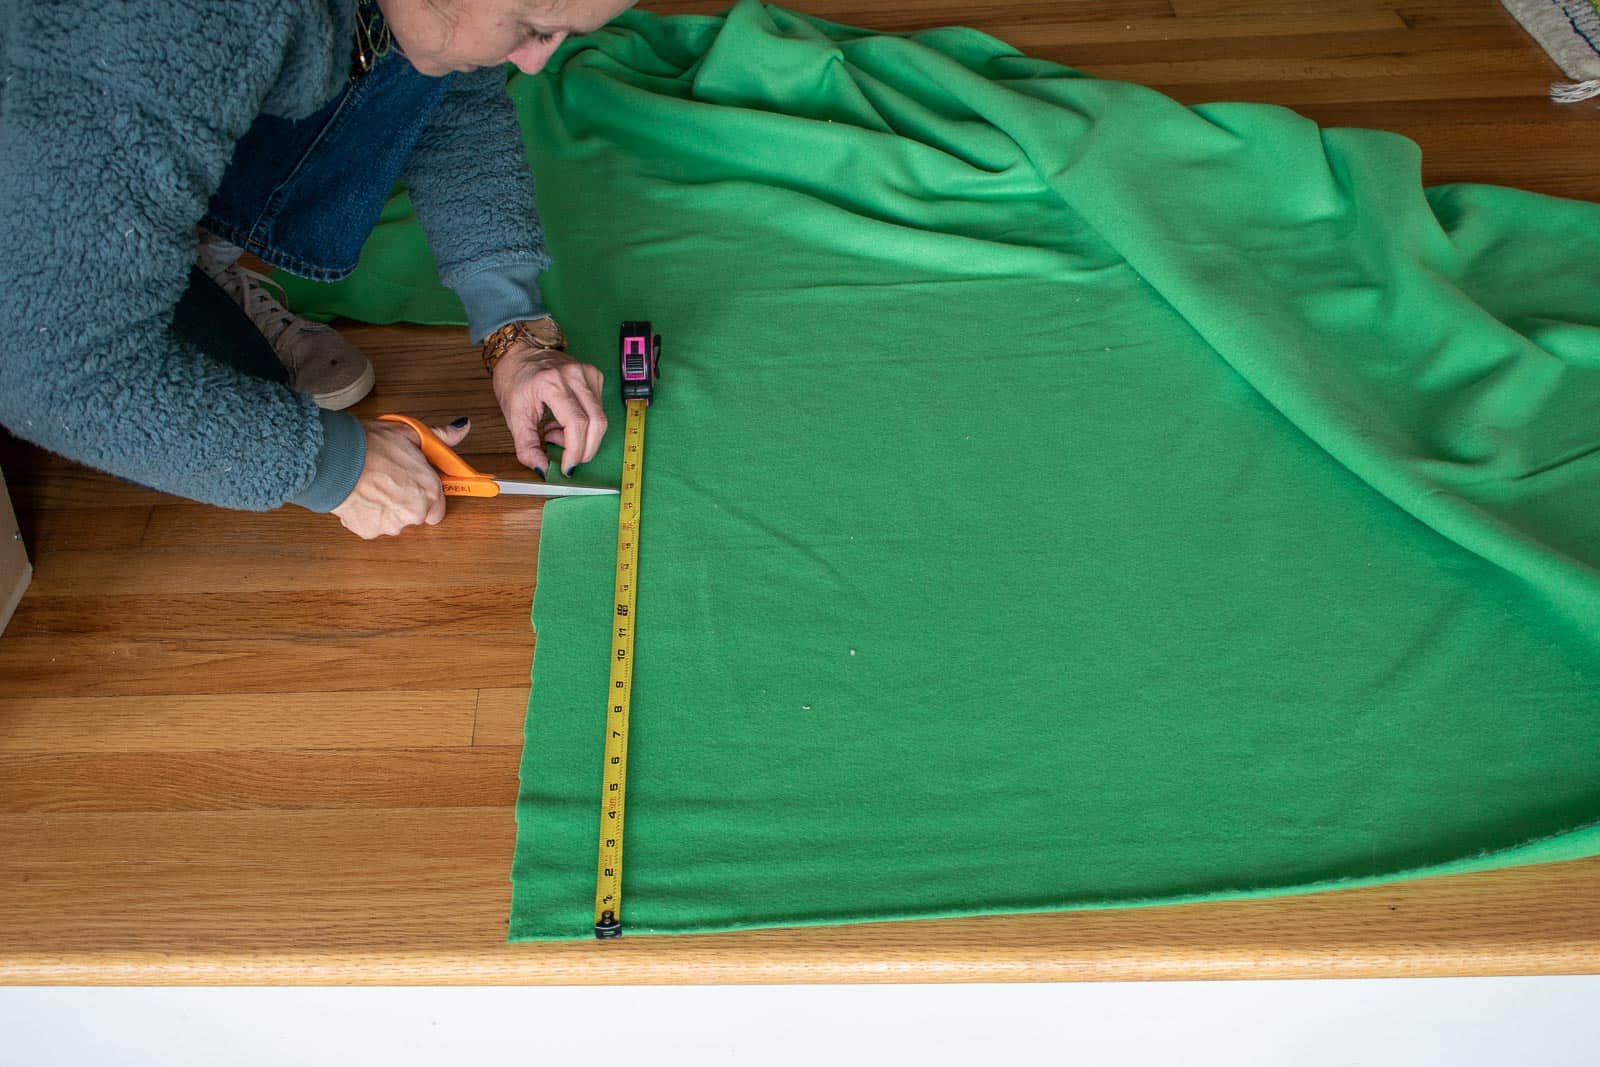
Step 2. Sew the ‘slip cover’
I know. I said sewing. But bear with me… if you can sew a straight line, you can make this! I PROMISE. Allow a 1/2 inch seam allowance and cut one strip of fabric that’s long enough to stretch up one side, over the top, and then back down the other side. Essentially, you’re making a cover that will fit over the top of the box you just built. Back to the slip cover. For my ottomans, I cut one strip that was 17-inches wide and long enough to wrap around with a few inches to spare: roughly 44-inches. For the ends of the ottomans, cut 2 pieces of fabric with the same 1/2-inch seam allowance and a 3-4 inches to wrap around: 13-inches wide and 16-inches long.
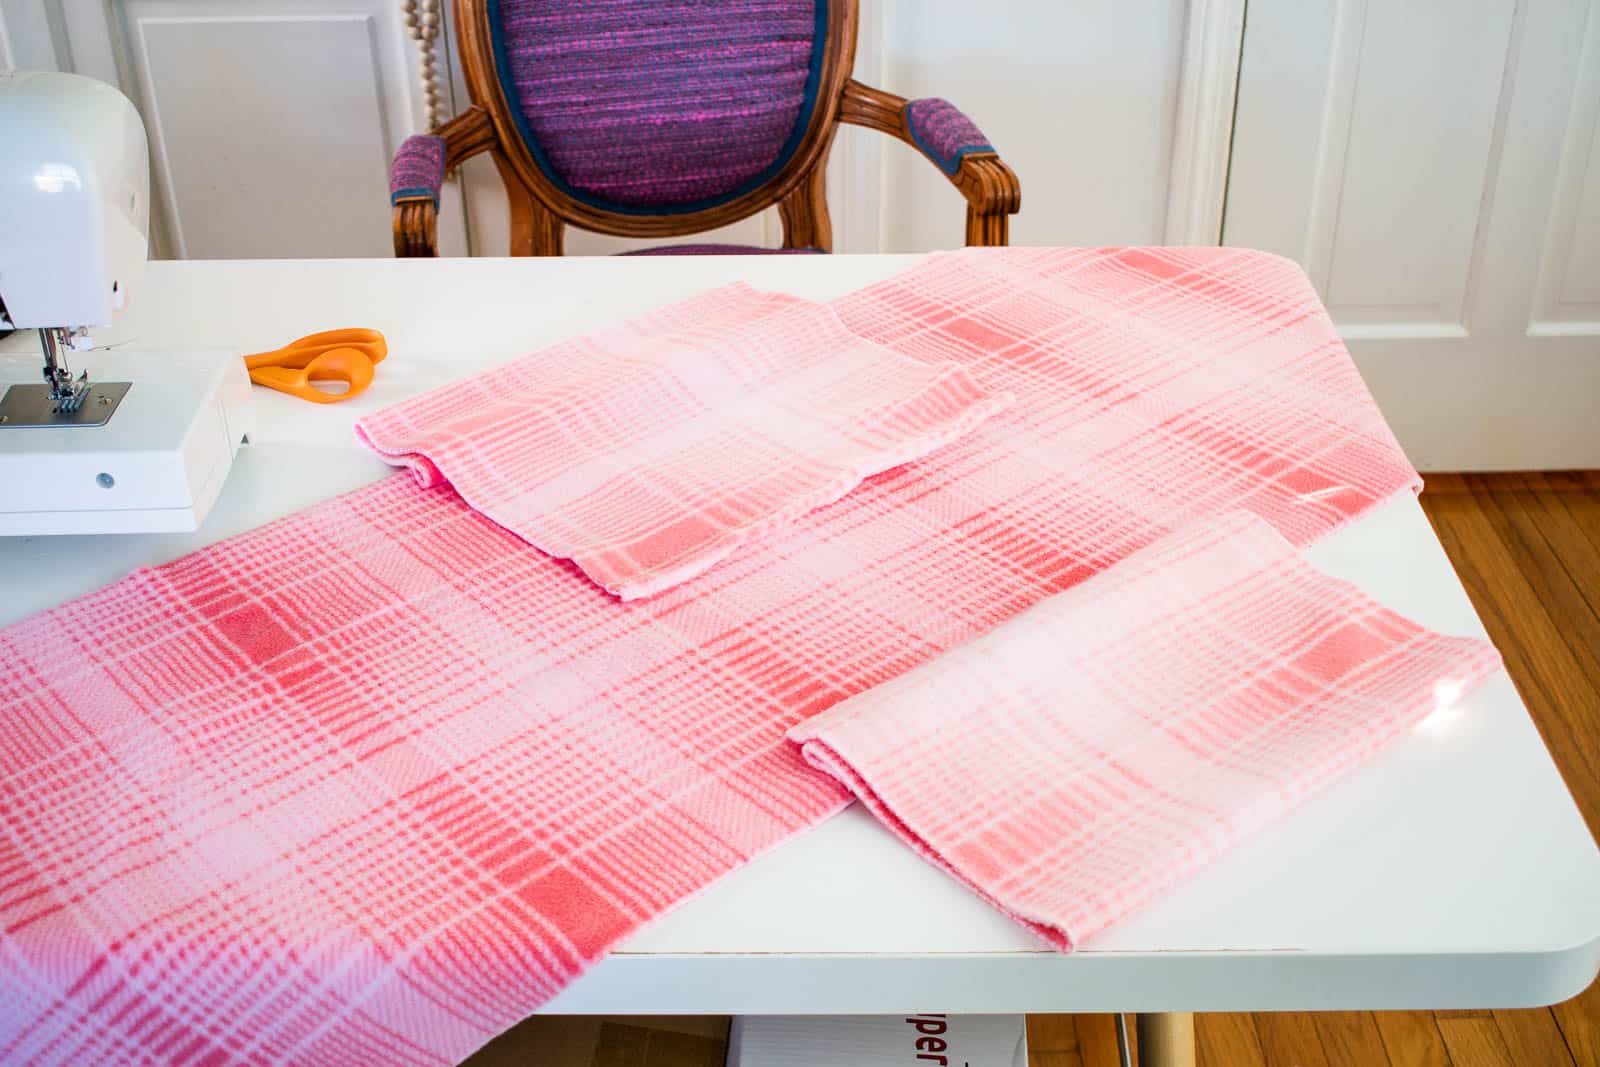
Now to sew. The first seam to sew is the top edge so your smaller pieces of fabric will sew onto the larger strip of fabric like a cross. Once you’ve sewed these top seams, you can pin and sew the side seams. The ‘arms’ of the cross will fold down and sew together into a fabric box shape. Sorry these progress photos show me making two different ottomans! NOTE: I’m using fleece so it’s stretchy. If you’re using a less forgiving fabric, you might take into account the additional foam that will be on your ottoman and add a few millimeters to your measurements.
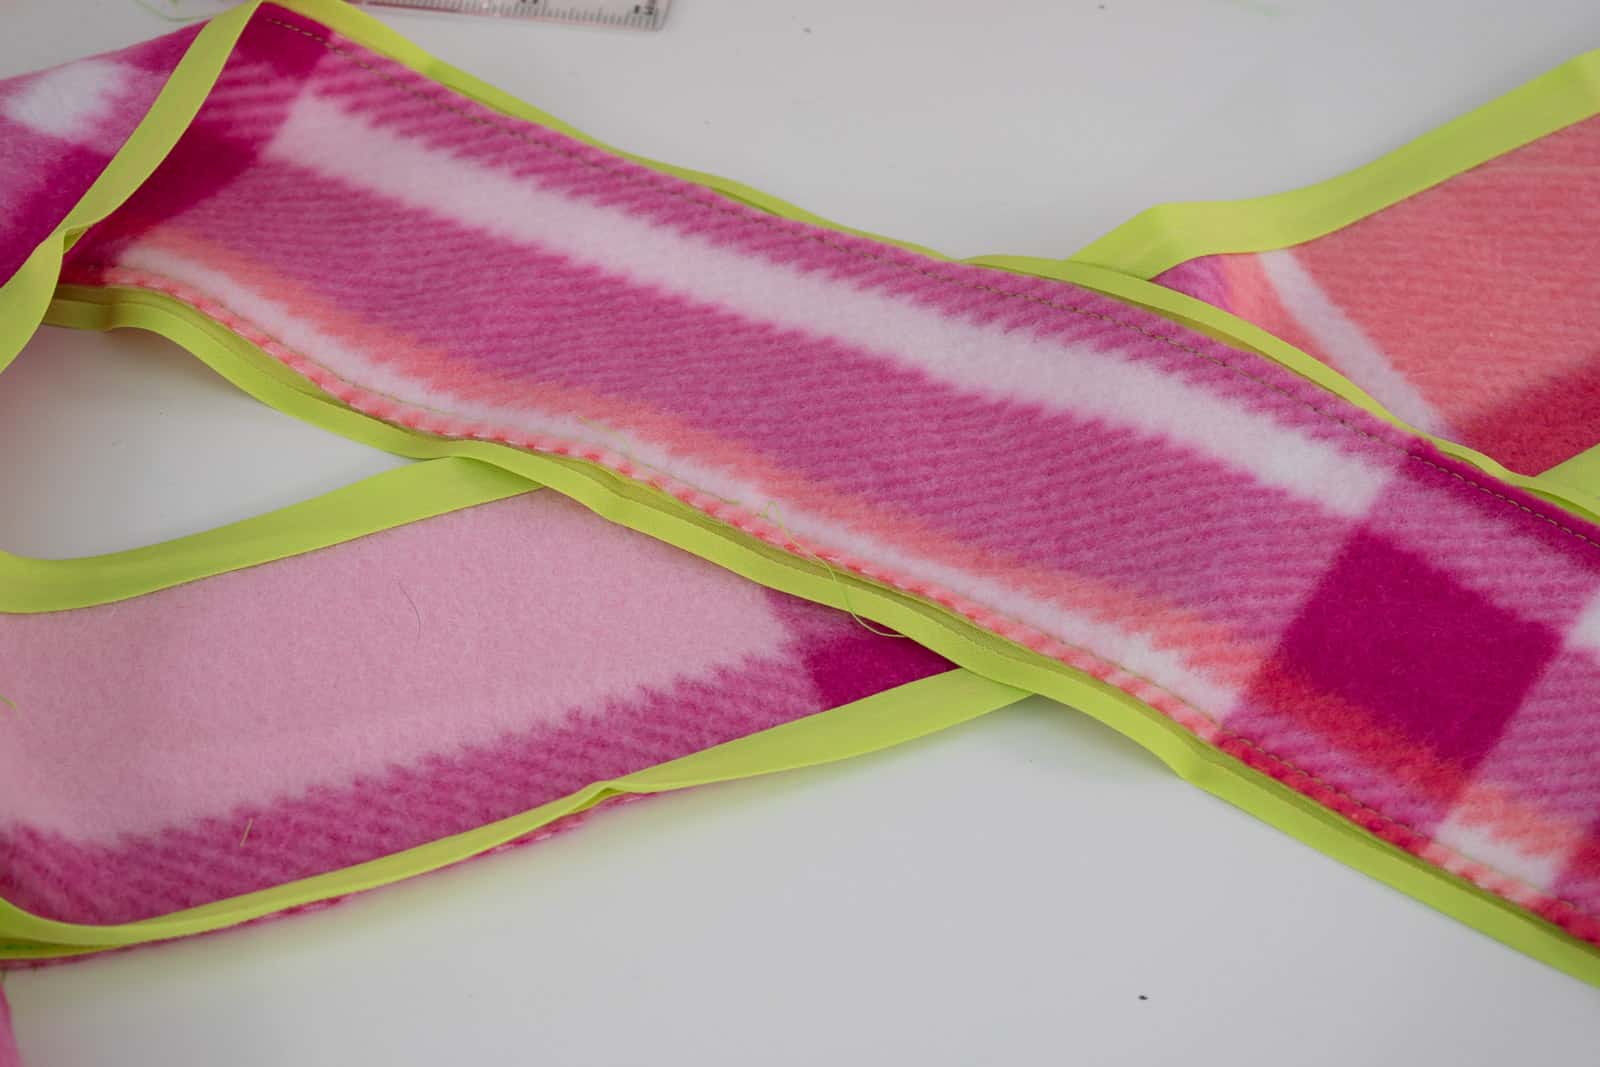
Step 3. Sew the ‘ribbon’
I cut a contrasting color fleece into 3-inch strips and sewed bias tape along each side. Sewing bias tape is easy but a little fussy so this is optional, but I loved the look of the colorful band along each ‘ribbon’. To sew bias tape, open up the folded fabric and, with right sides facing, line up the edge and sew just inside the fold to attach. When you’re finished, the bias tape will fold over itself leaving a clean line on the edge of your fleece.
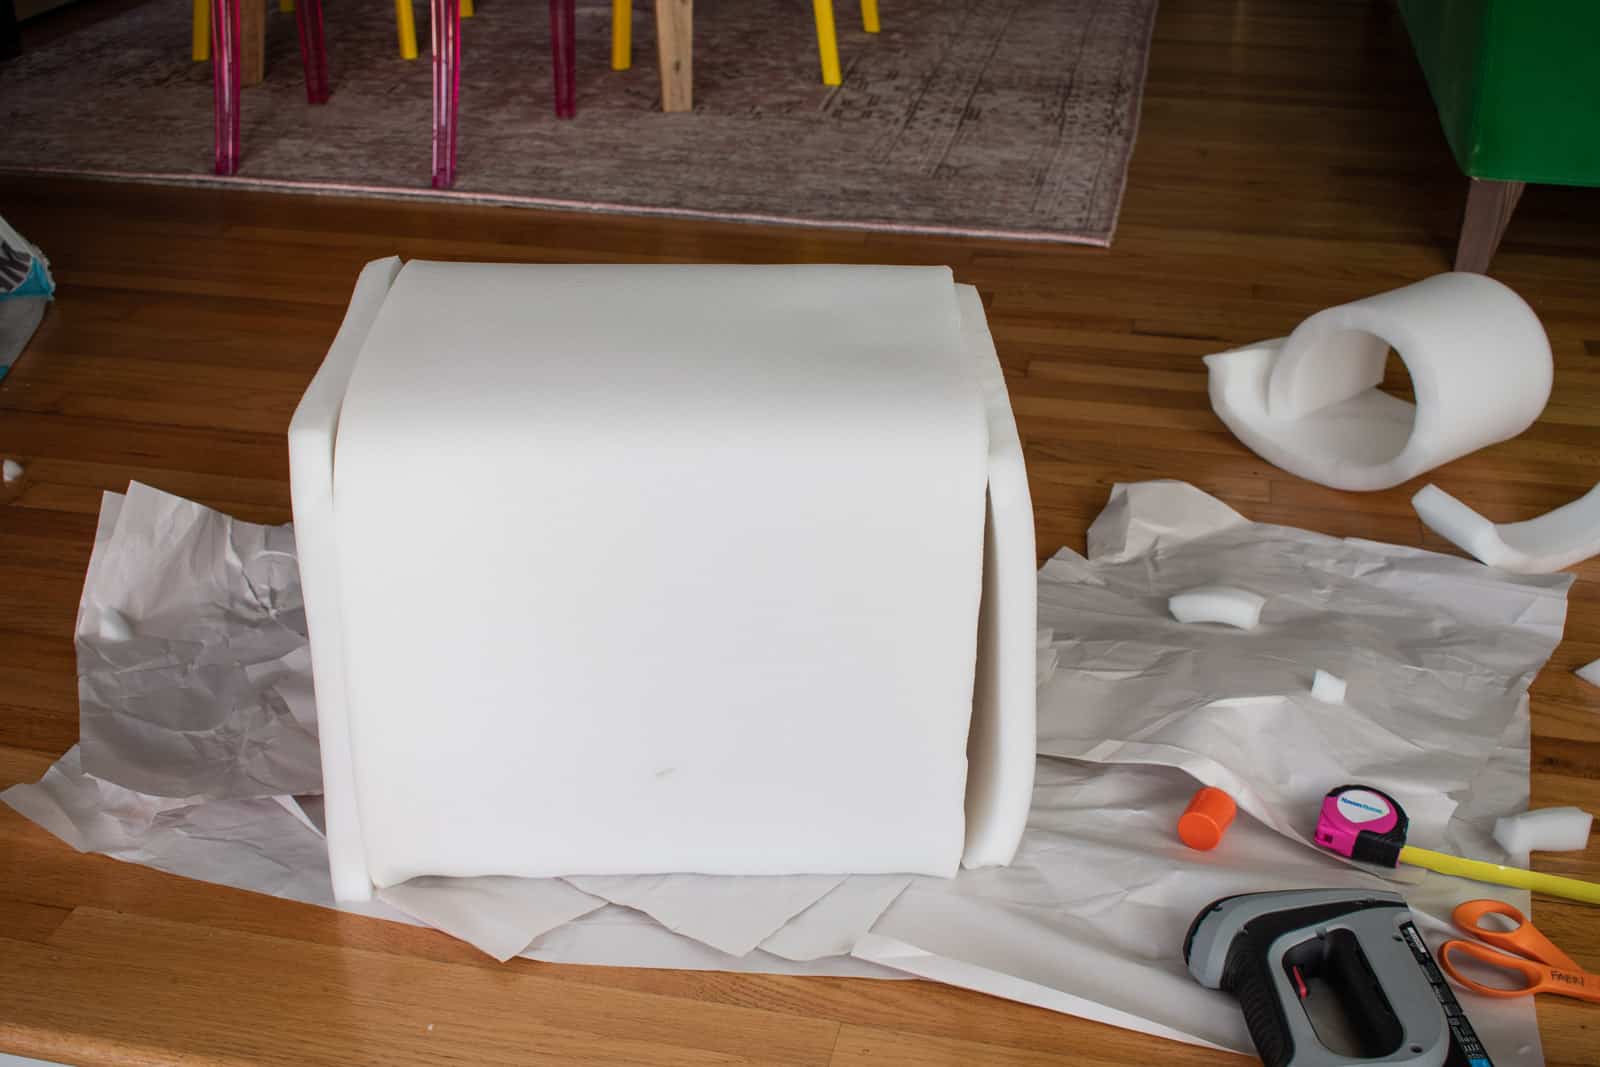
Step 4. Attach foam to 5 sides of the Ottoman
I cut three pieces of 1/2″ foam: one long enough to go up and over the sides and then two smaller pieces for the ends. I secured each piece underneath the ottoman with my T50ACD Compact Electric Staple Gun and then adhered the foam to the MDF with spray adhesive. Ideally, you do this step outside because spray adhesive is a mess, but it was pouring rain when I made these so I put down paper and sprayed carefully!
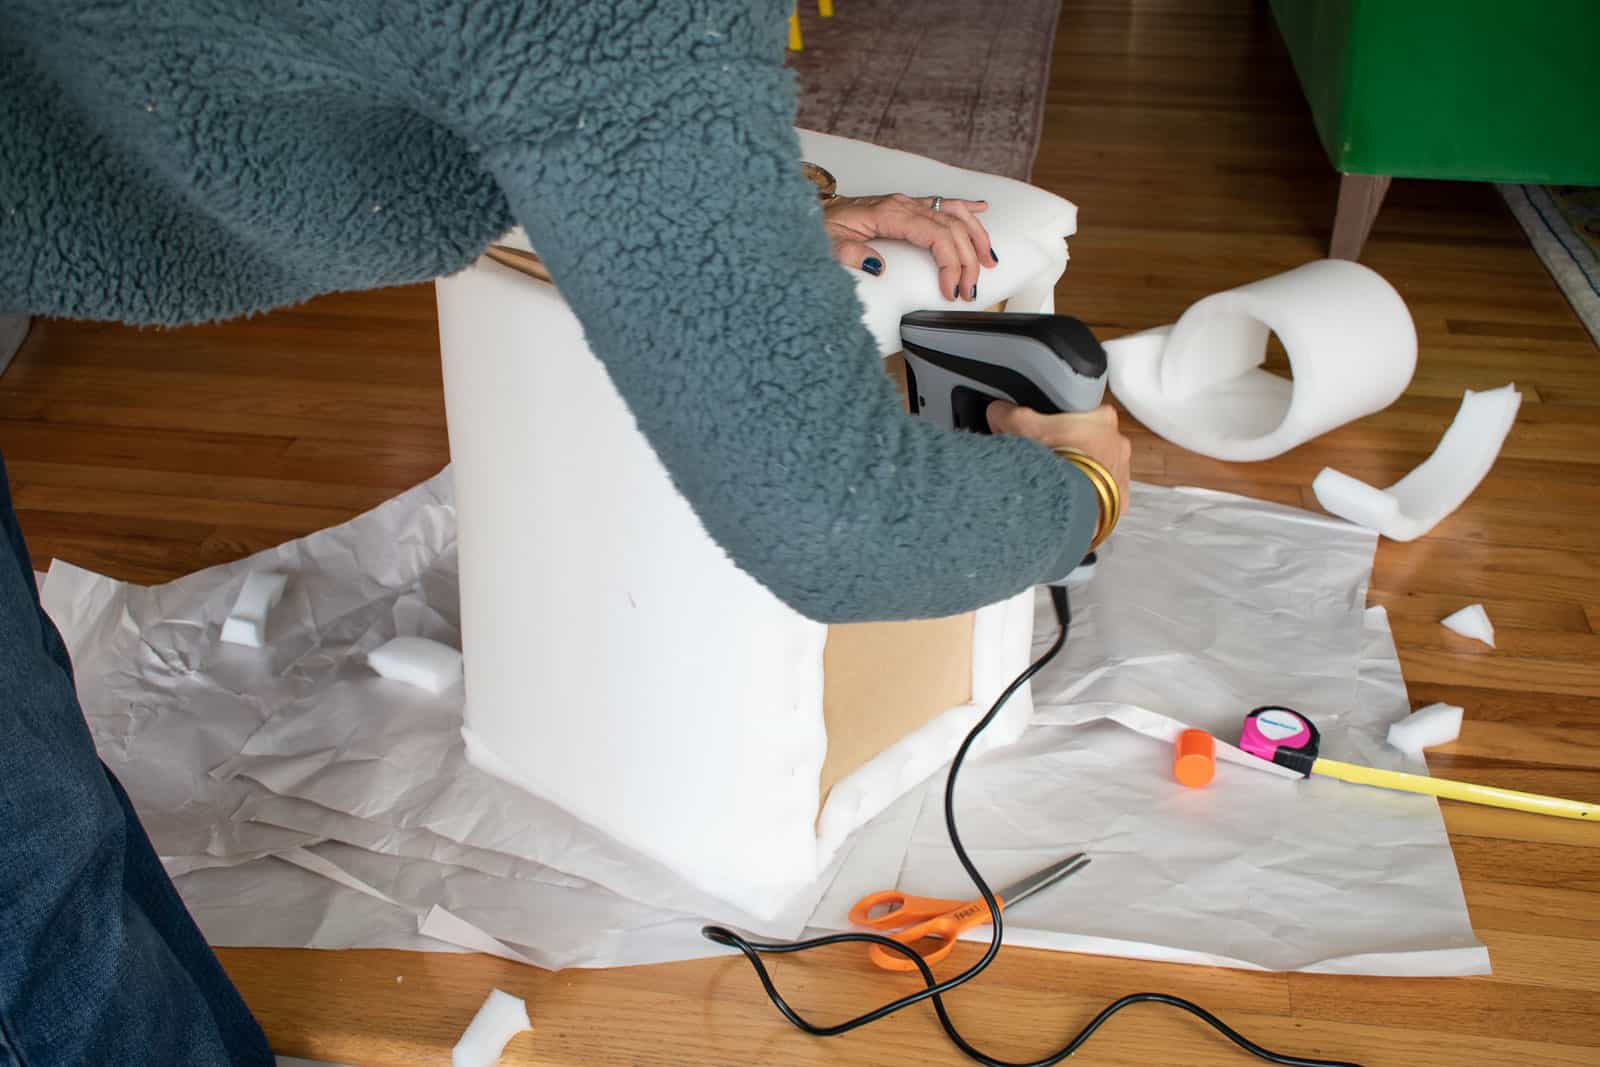

You will ultimately end up with foam on 5 sides of the ottoman. I opted to skip the batting, but you’re welcome to apply spray adhesive and adhere batting on top of the foam for added cushion.
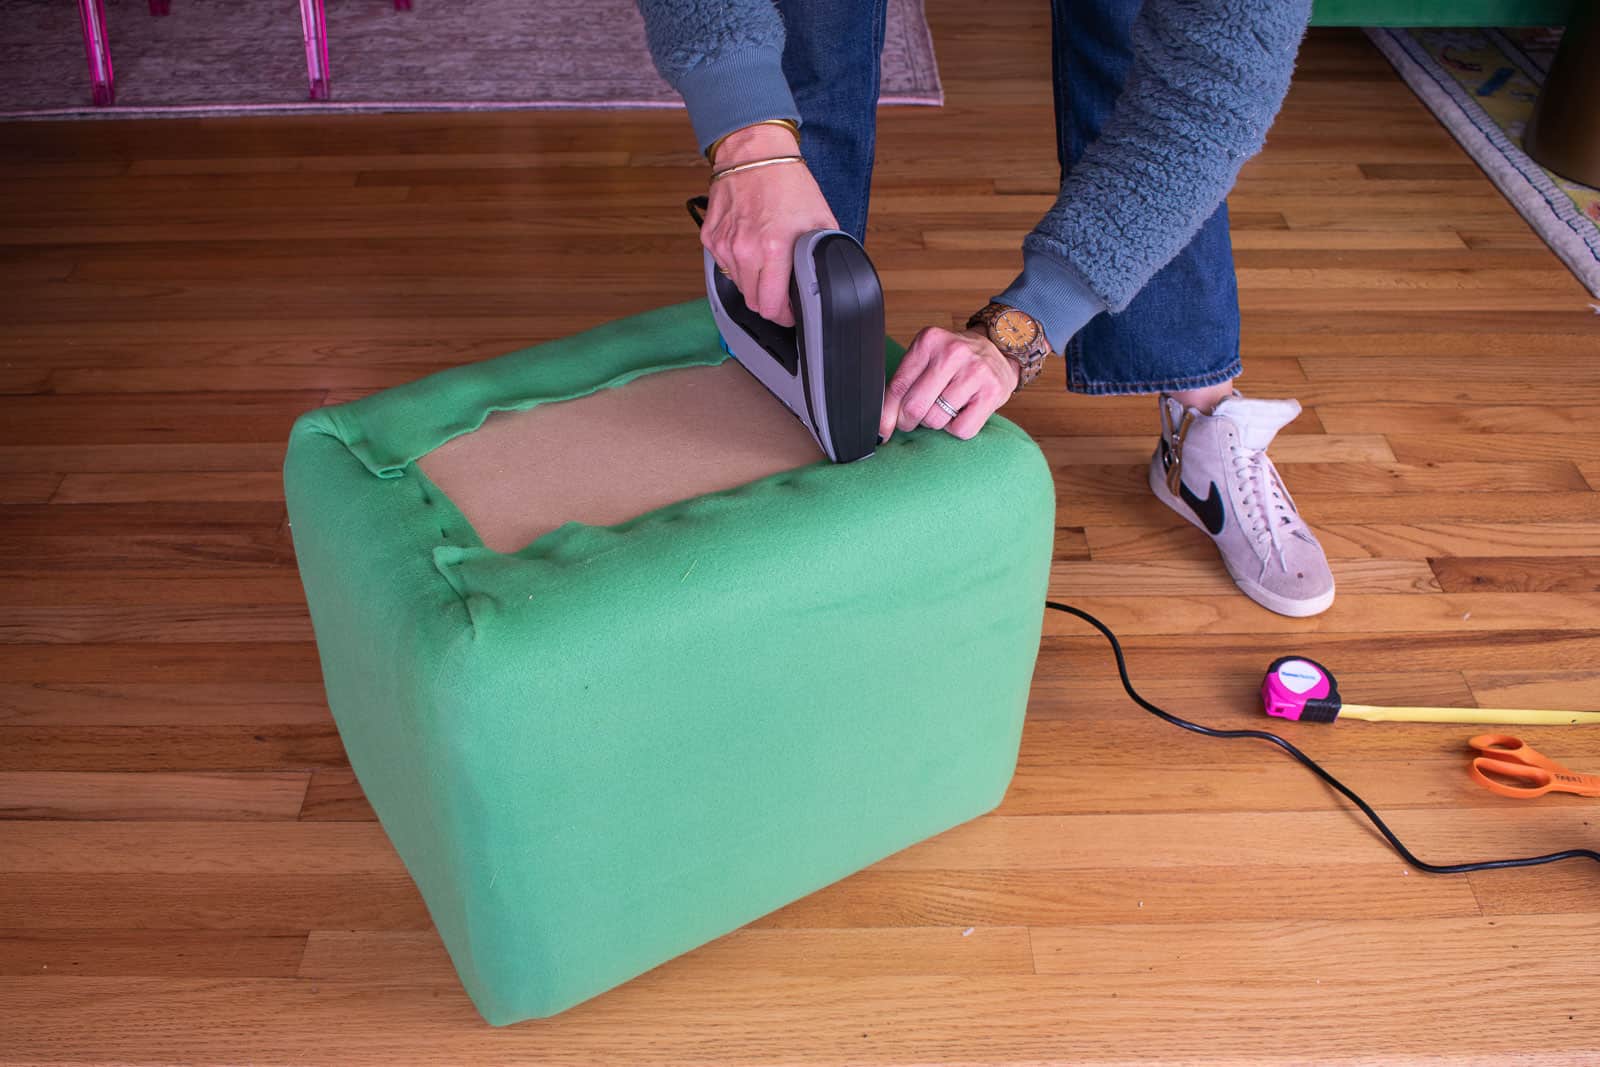
Step 5. Put on Your Slipcover
Now you’re ready to put your slipcover on. Again, I was really happy to have fleece because it was a little bit stretchy which made pulling it over the ottoman a piece of cake. Make sure your seams are aligned and the foam is pulled smooth.
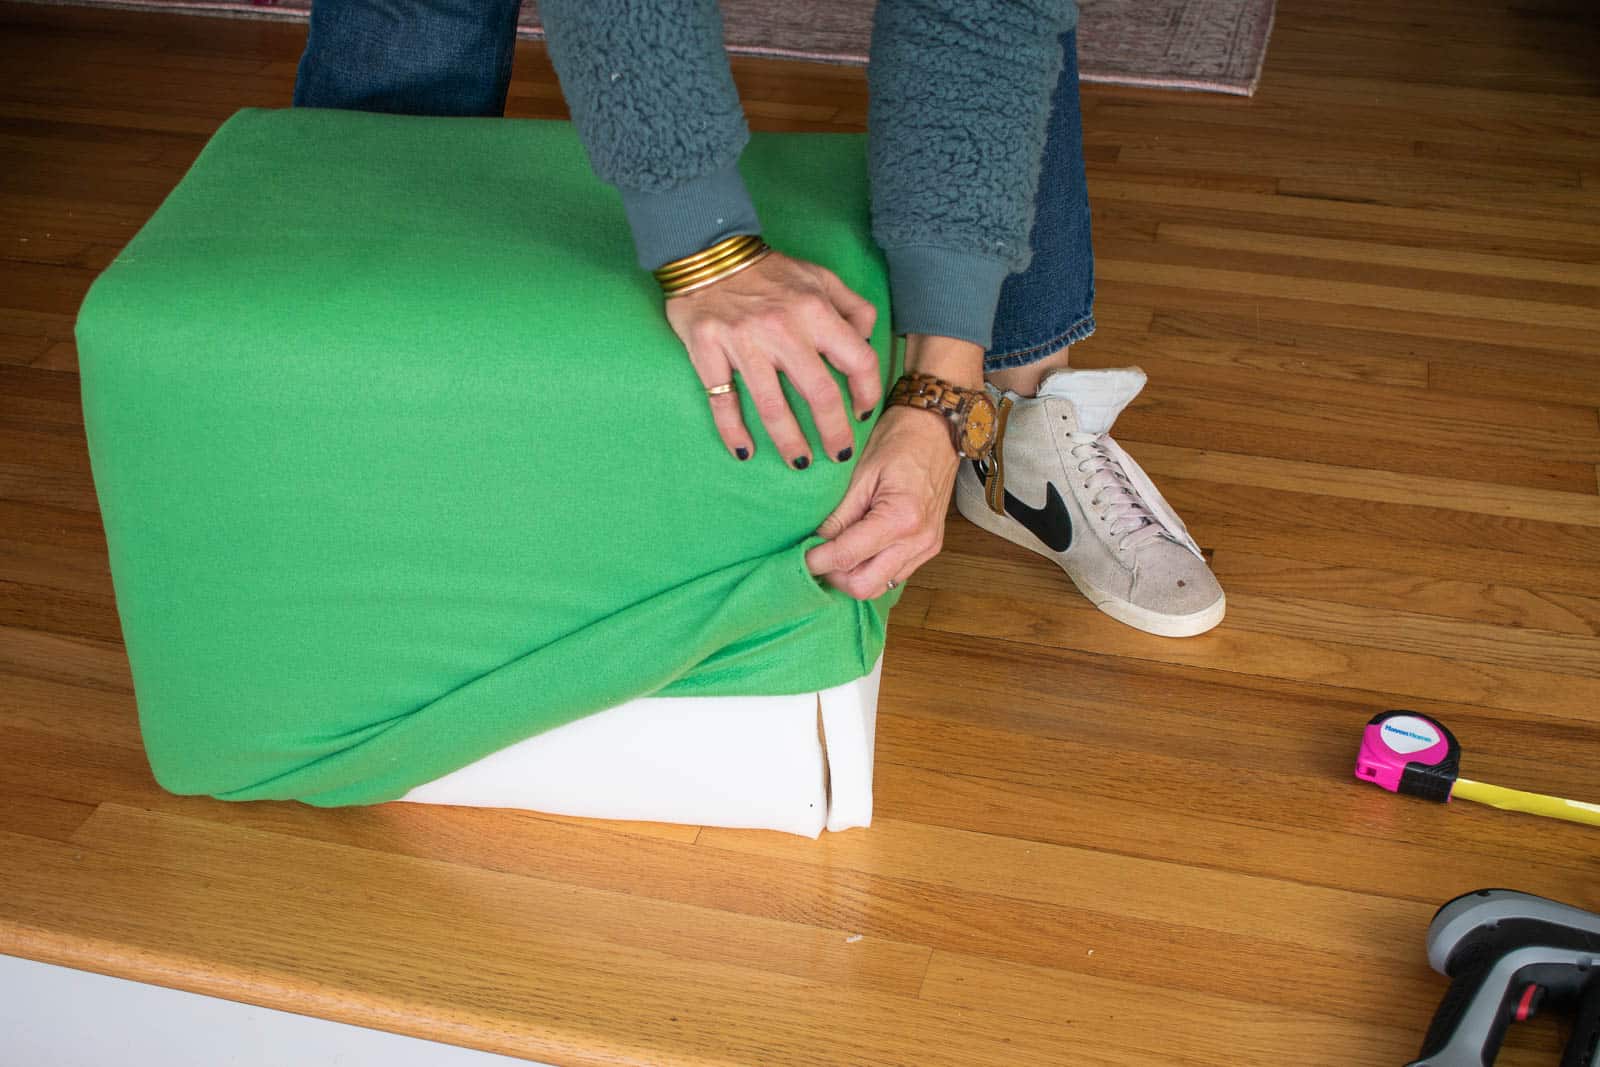

Turn the ottoman upside down and using the Arrow staple gun, pull the fabric tight and staple on the underside of the ottoman.
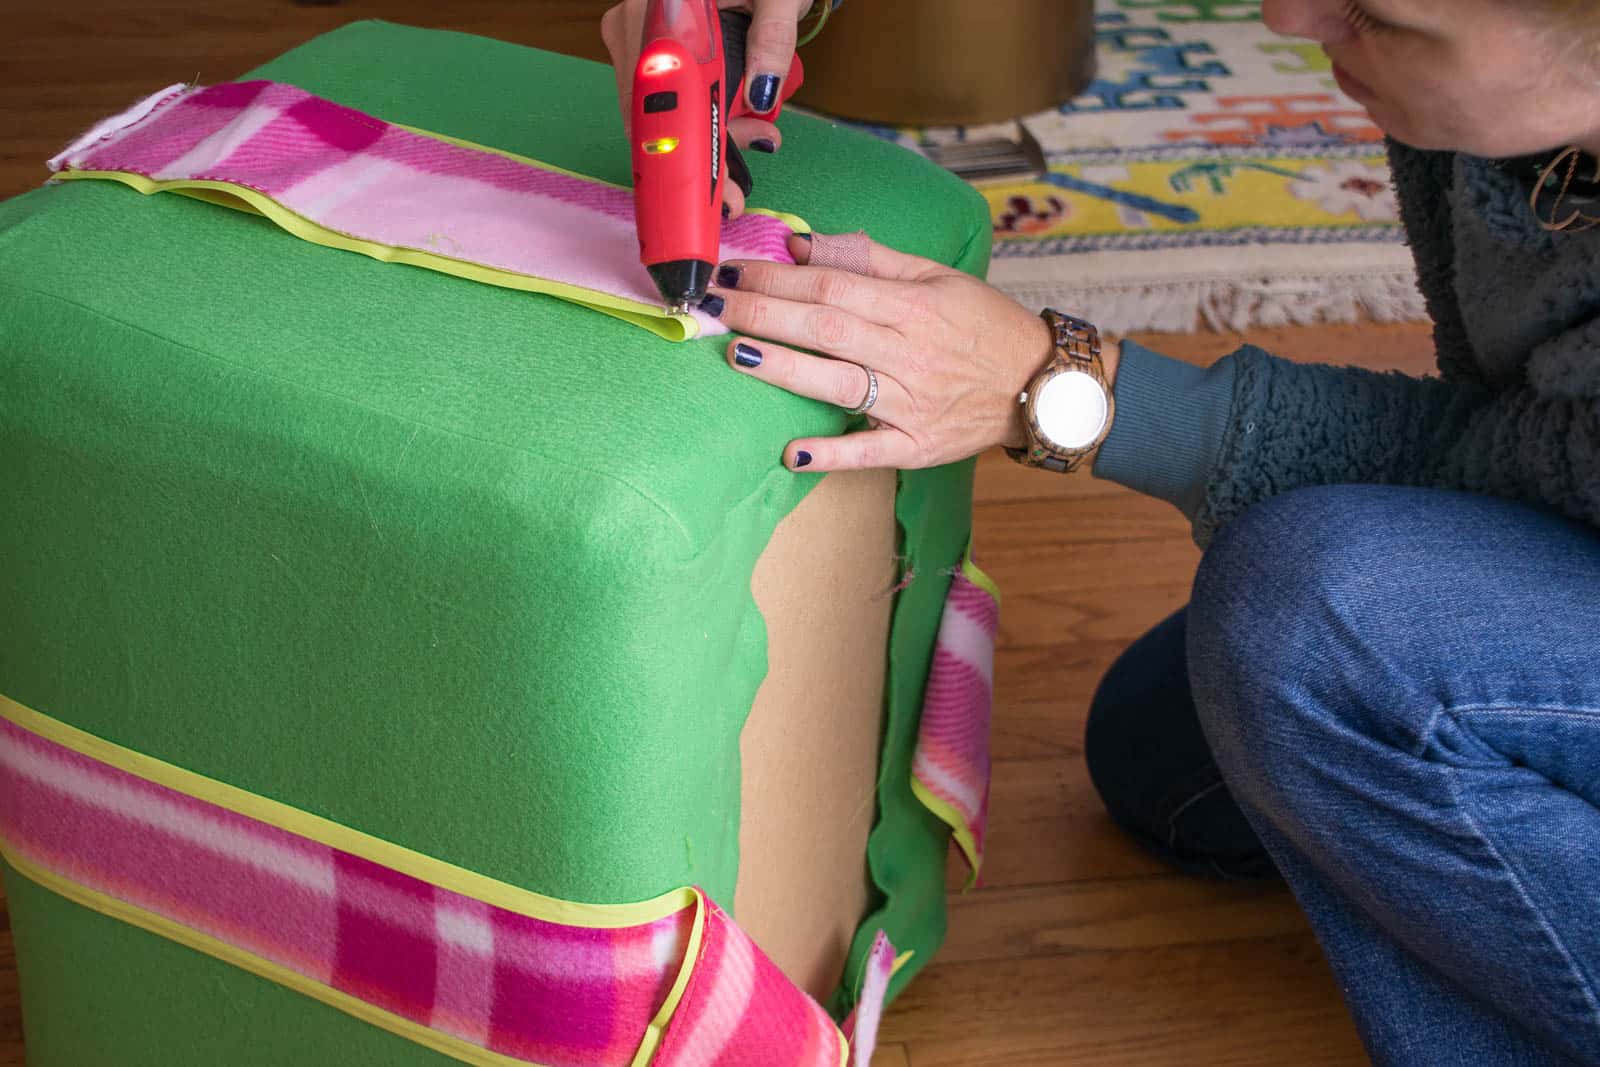
Step 6. Add the fleece ribbons
I considered sewing the ribbons in place before making the slipcover, but honestly I was worried my seams would be a mess and I didn’t want them to look sloppy so I opted just to hot glue them onto the finished ottomans. The Arrow GT30LI glue gun is cordless which is SO nice for a larger project like this. Once it’s charged, you can unplug and use it anywhere! I slowly applied hot glue to the edges of the bias tape and then along the middle of the fleece strips as well. (I didn’t wrap the bias tape around the edge of the fleece, so the hot glue also held the hem in place which was a win-win.
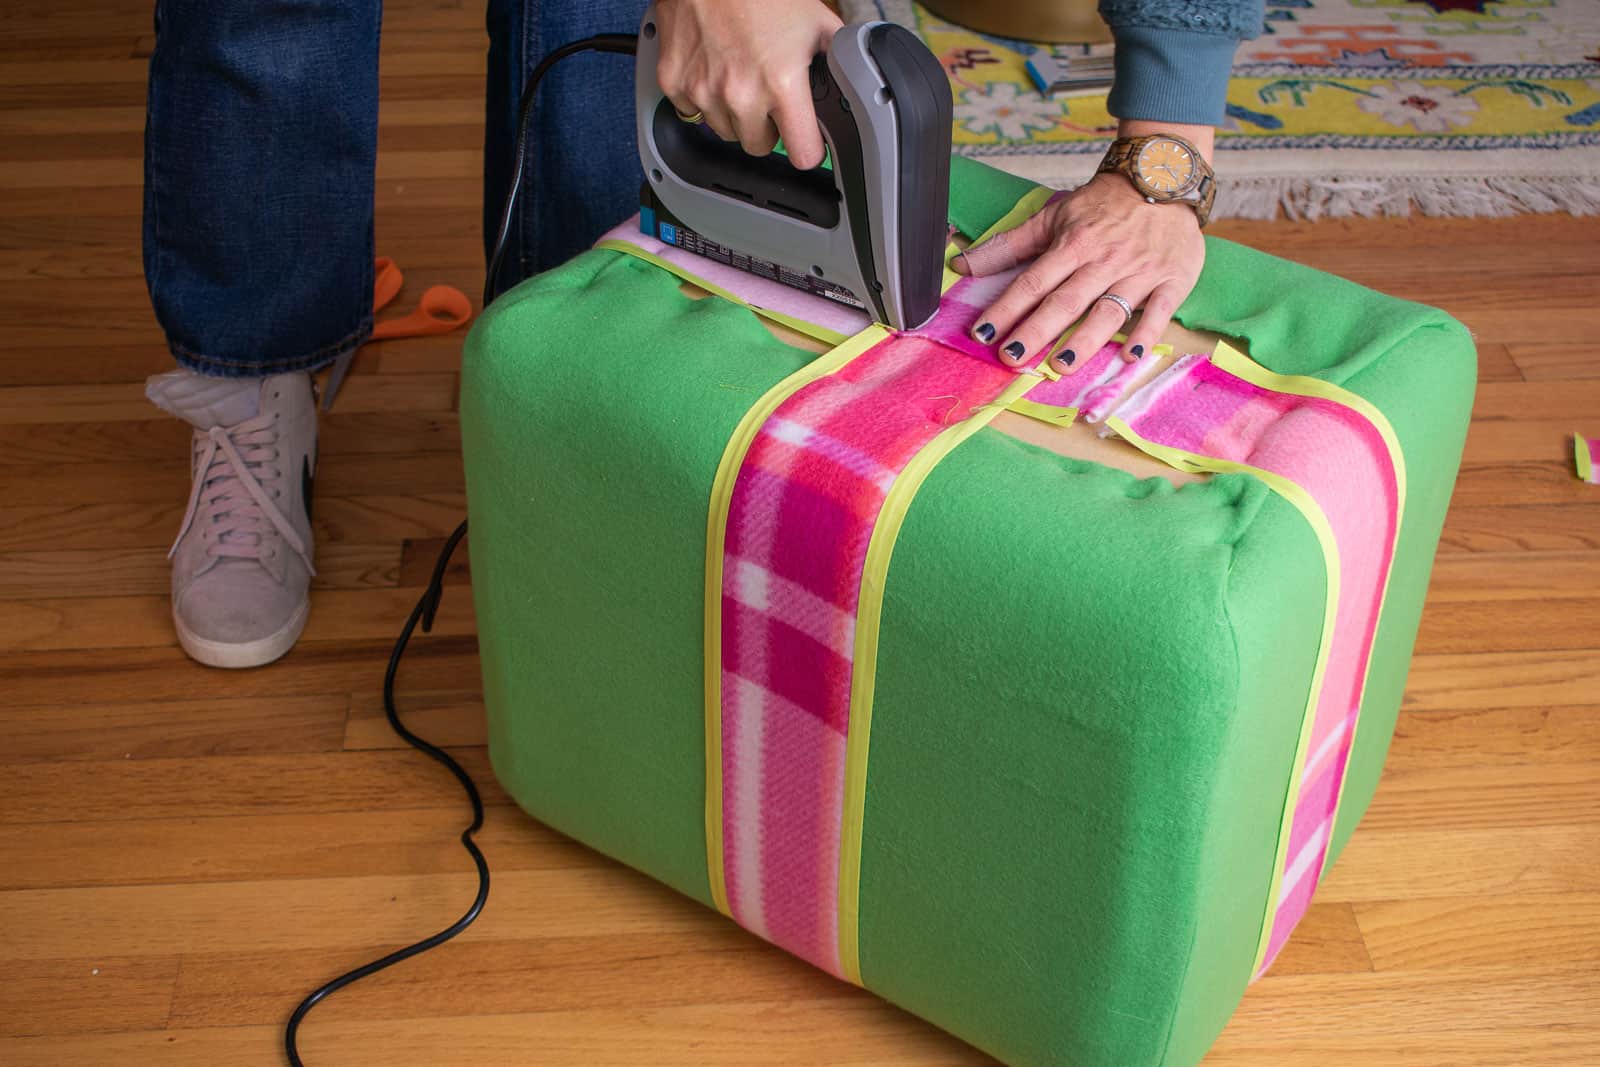
 Just like you did with the slipcovers, secure the ribbon on the bottom of your ottoman with the staple gun. Optional: Add dust cloth or some other fabric to protect the bottom of the ottoman.
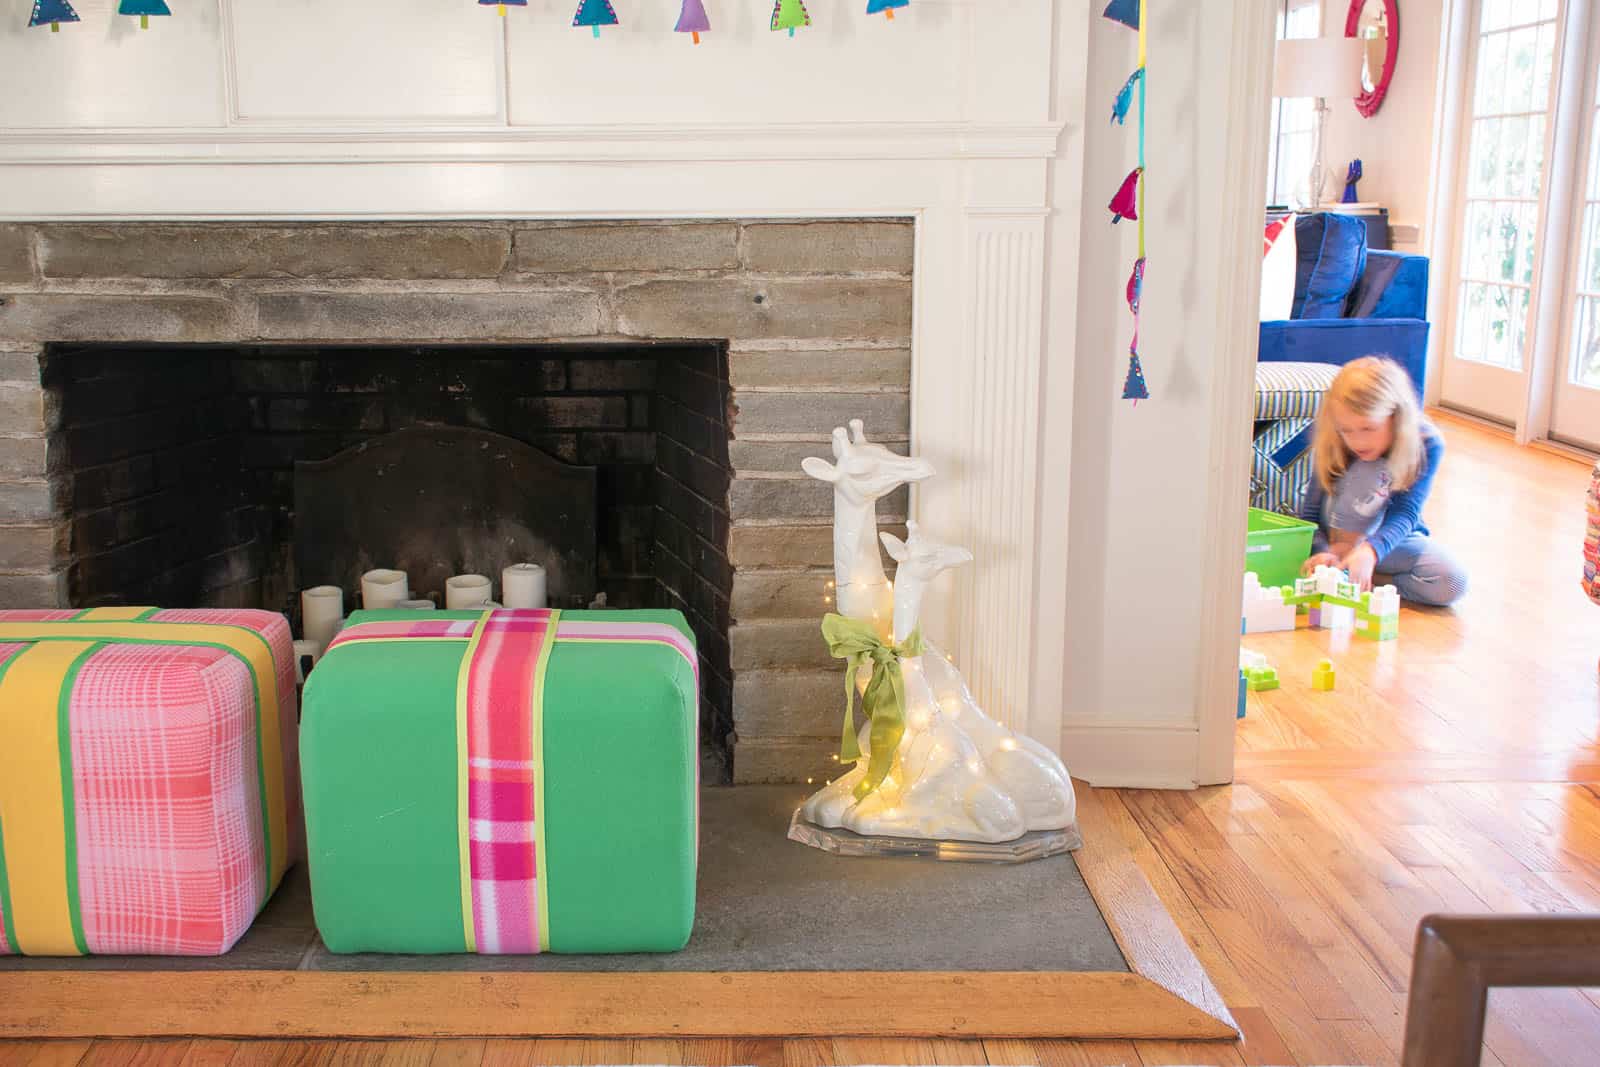
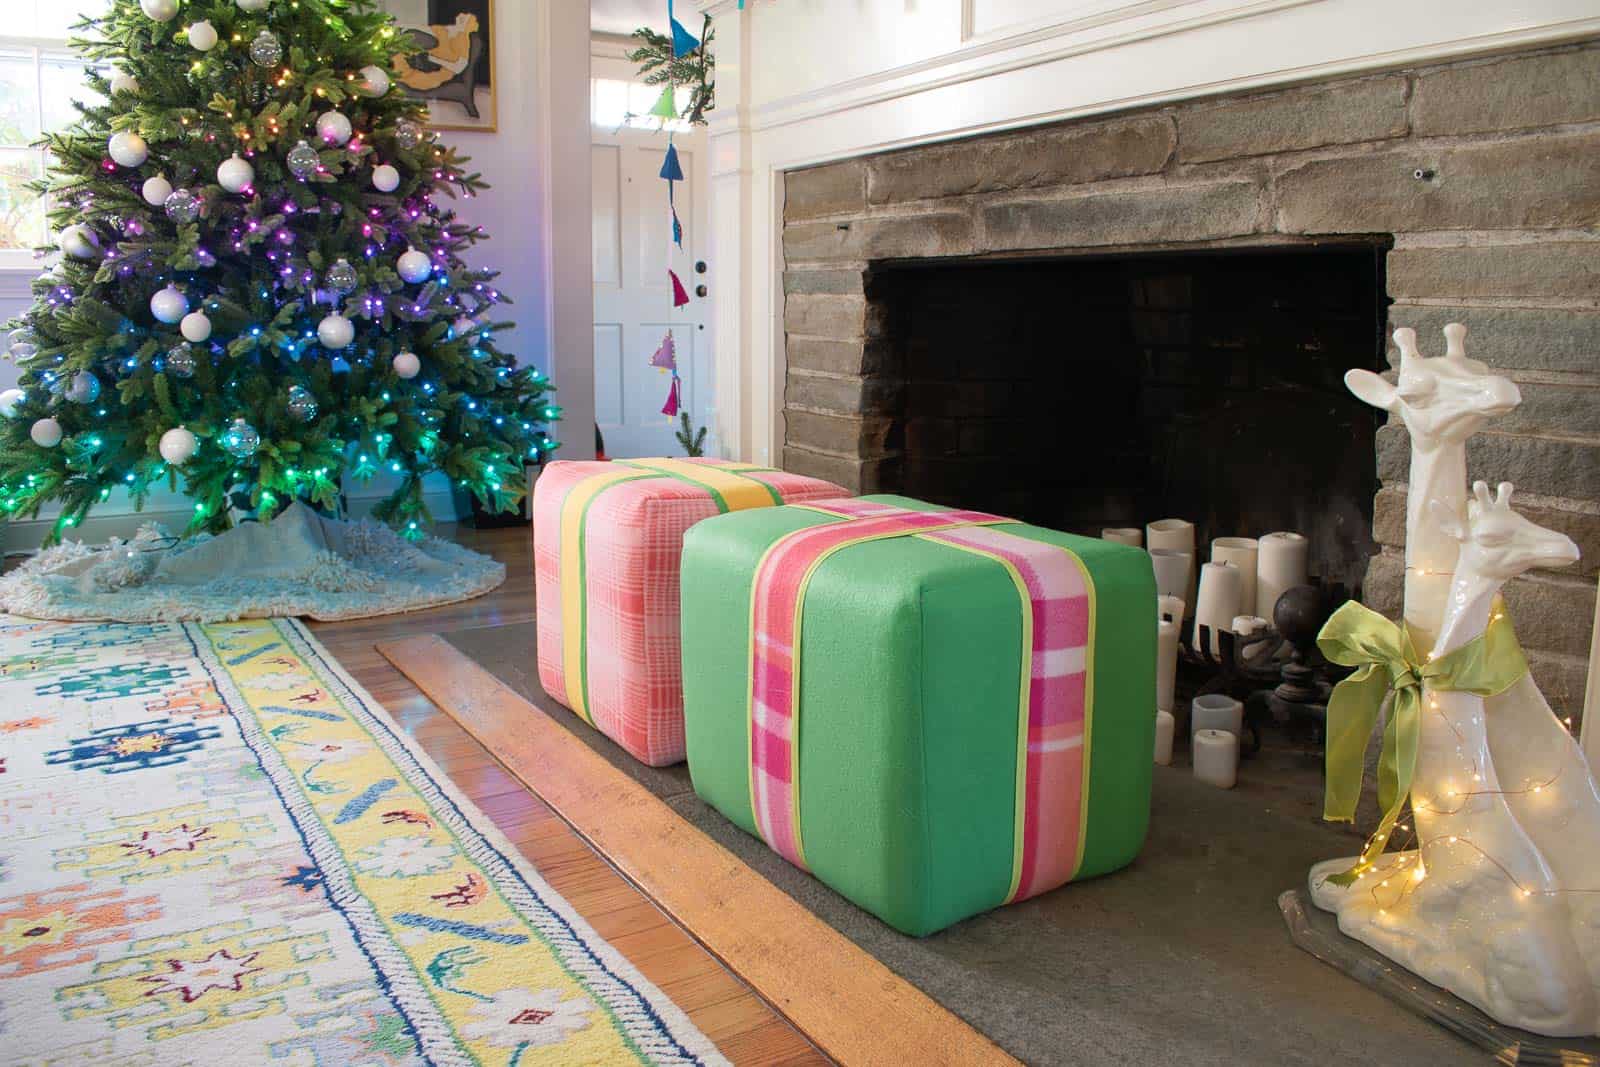
These are perched in front of the fireplace ready for Christmas morning. I LOVE how bright and vibrant the fleece is (budget friendly too!). These are the perfect addition to our living room to give us a few extra seats for family and friends over the holidays! Learn more about Arrow Fastener and check out other #MadewithArrow projects here!


Such a great idea!
Thank you!! I’m so pleased with how they turned out!!
So festive! Ill bet the kids will fighT over who gets to sit on them.
There’s a 100% chance they will. 🙂
So pretty, charlotte! I need to buy a staple gun, stat!
Yes! It’s one of my top 5 most useful tools!!
Ordering one for Christmas. Looking forward to trying it out!