
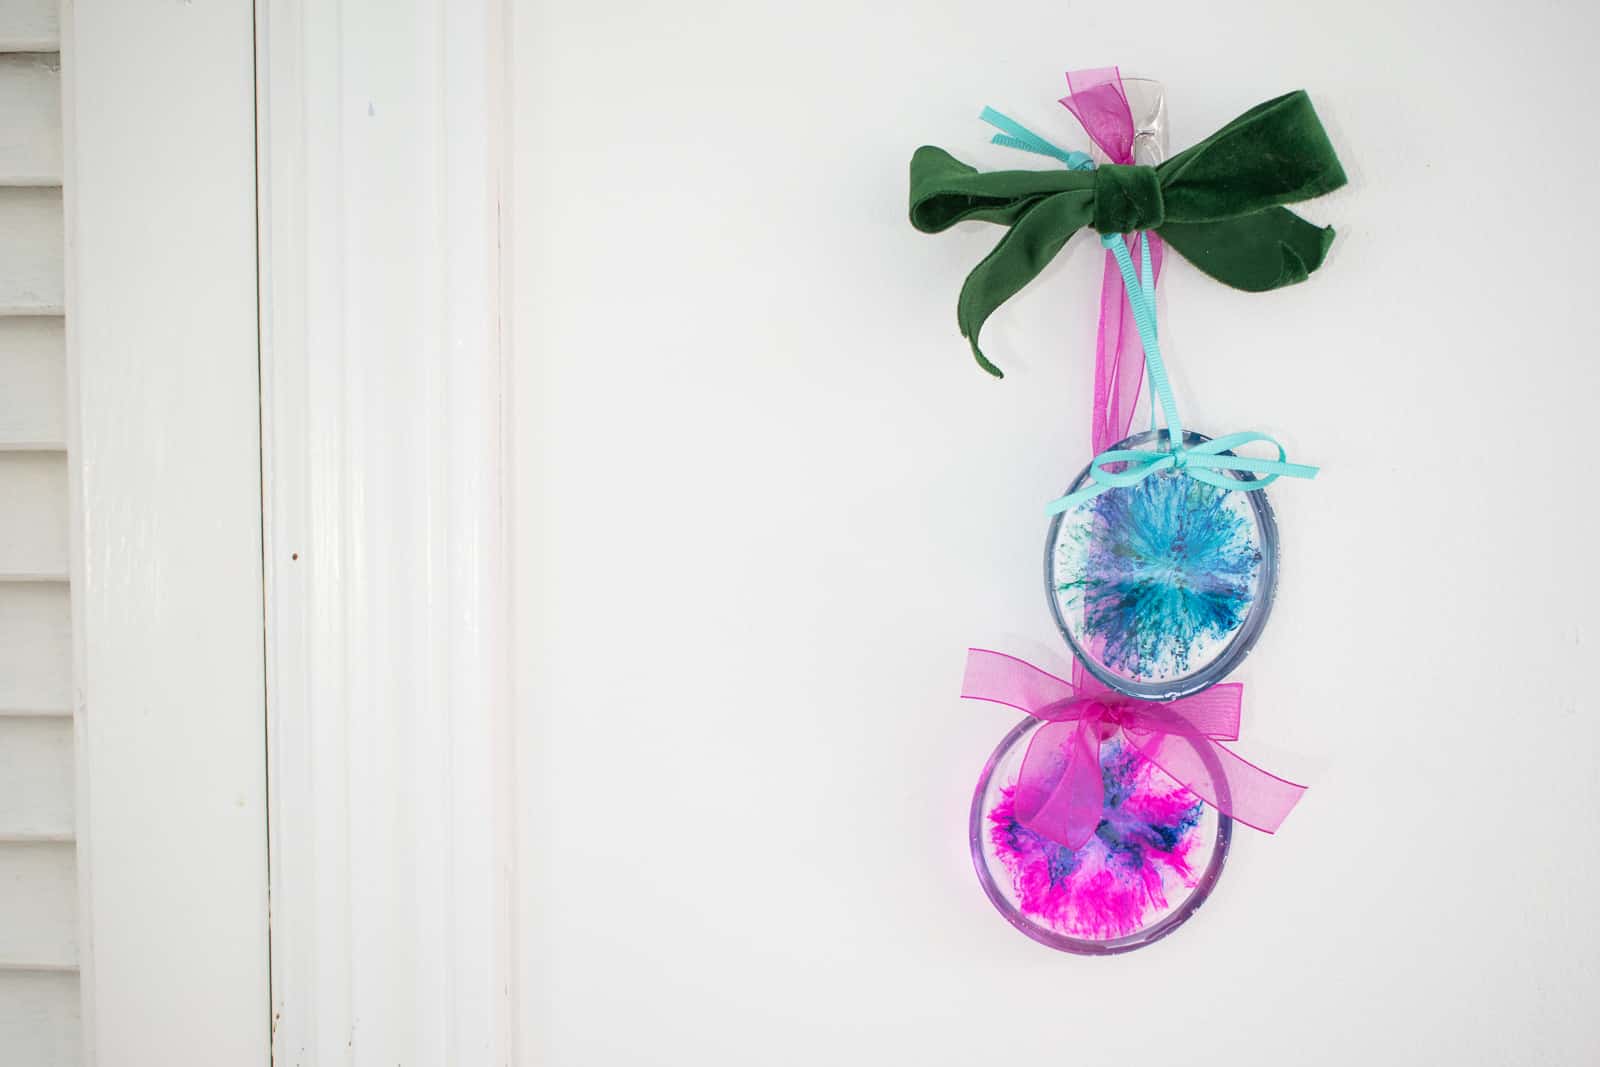
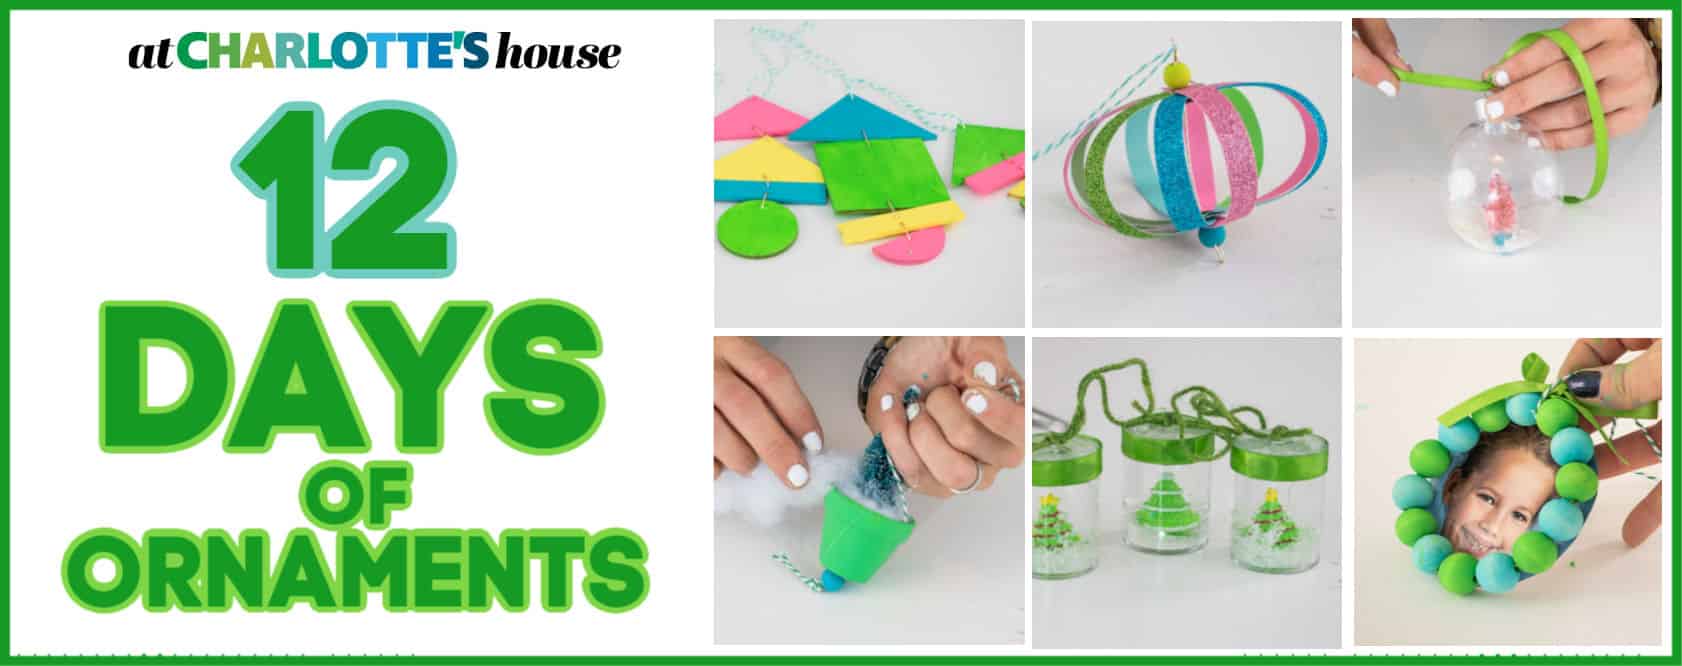
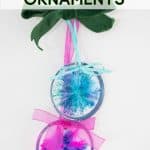
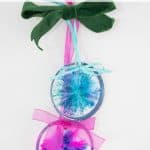
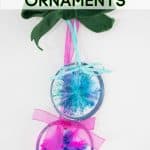
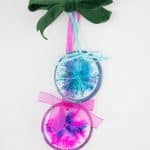
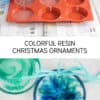
Day 12: Marbled Colorful Epoxy Ornaments
Psssst… this post *might* contain affiliate links: see my disclosure here.
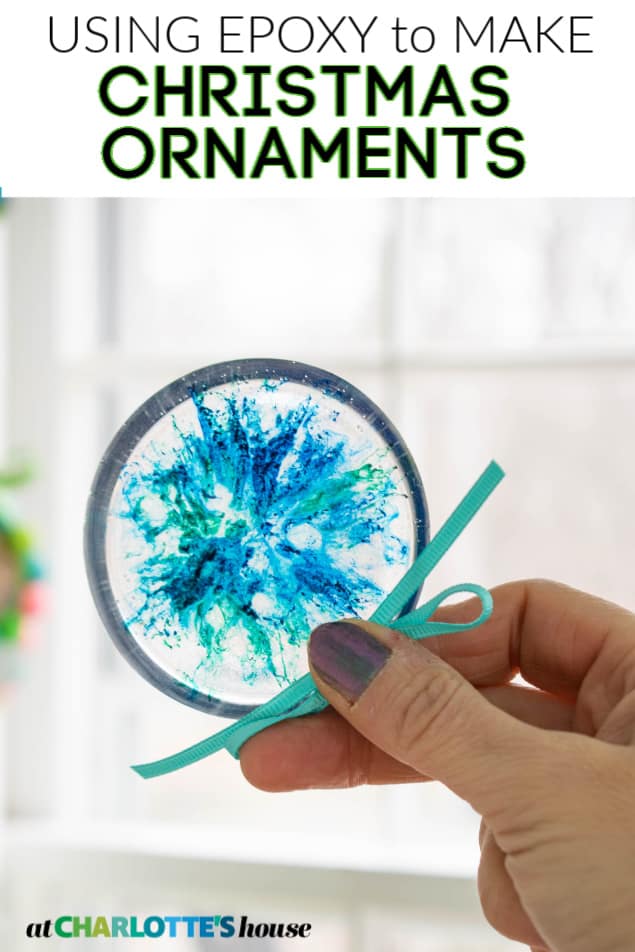
Poured Epoxy Resin Christmas Ornaments
I love working with epoxy and these ornaments were a great chance to try a couple of new coloring techniques.
Disclosure: I’m partnering with MAS Epoxies on this tutorial and am so appreciative of their product and their guidance!
Shop my favorites!
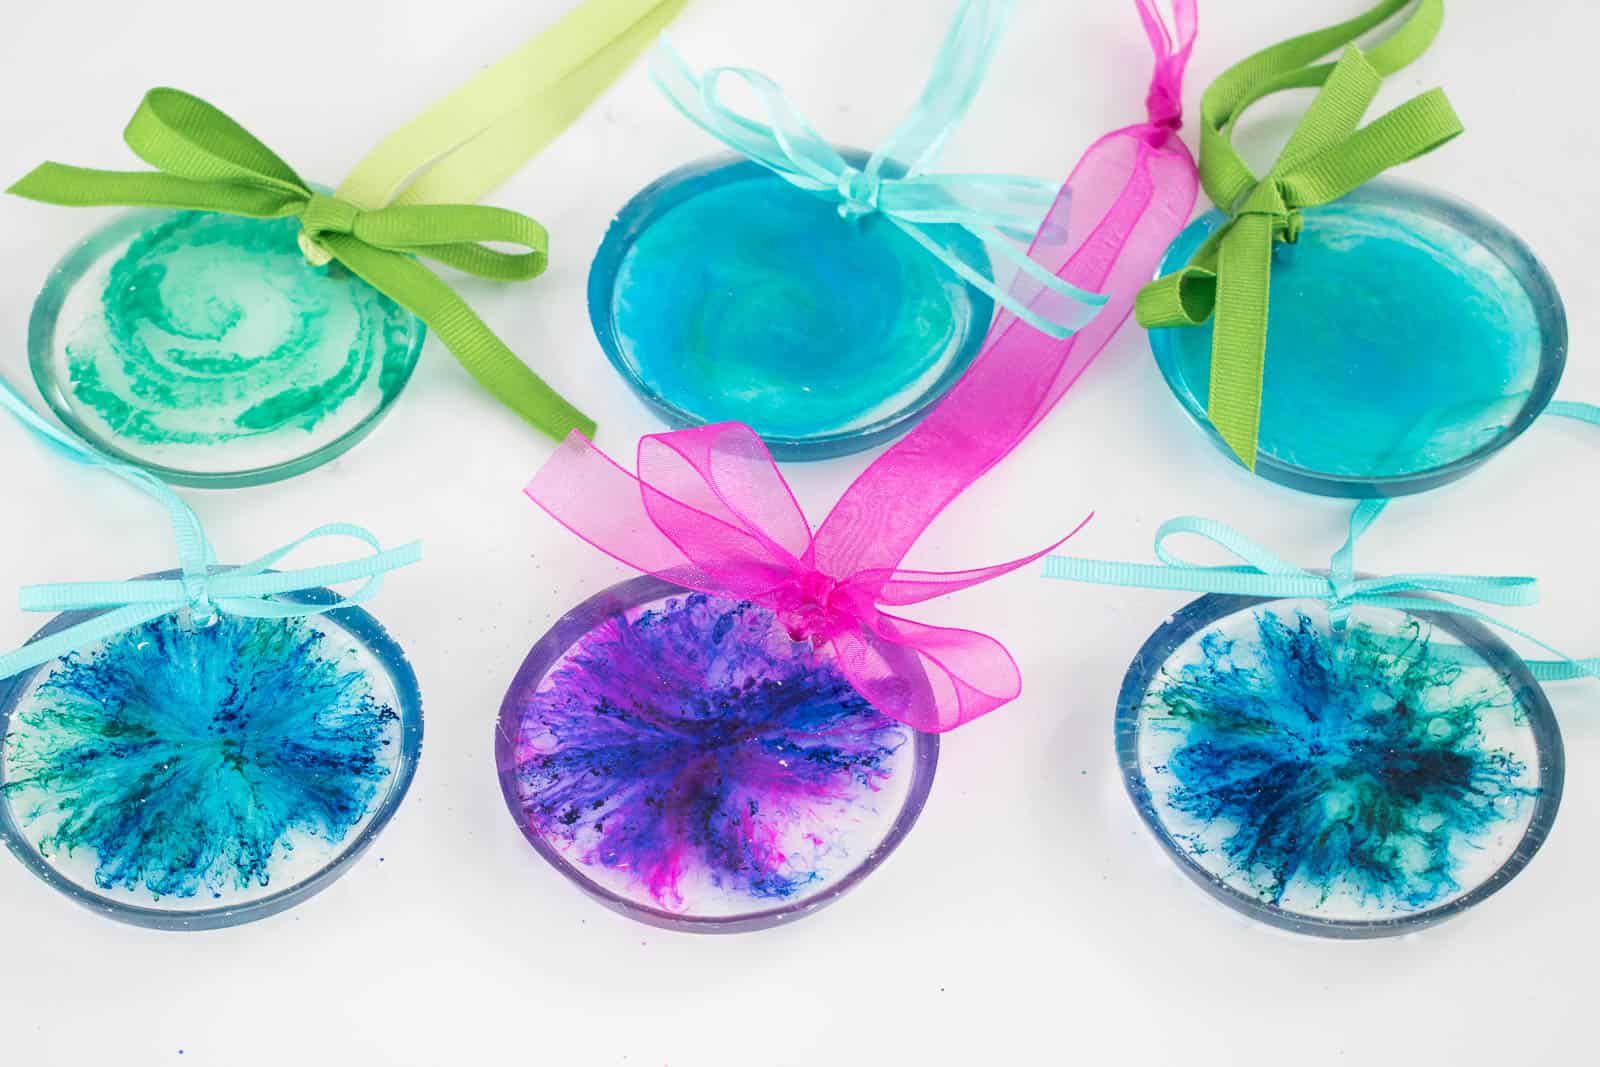
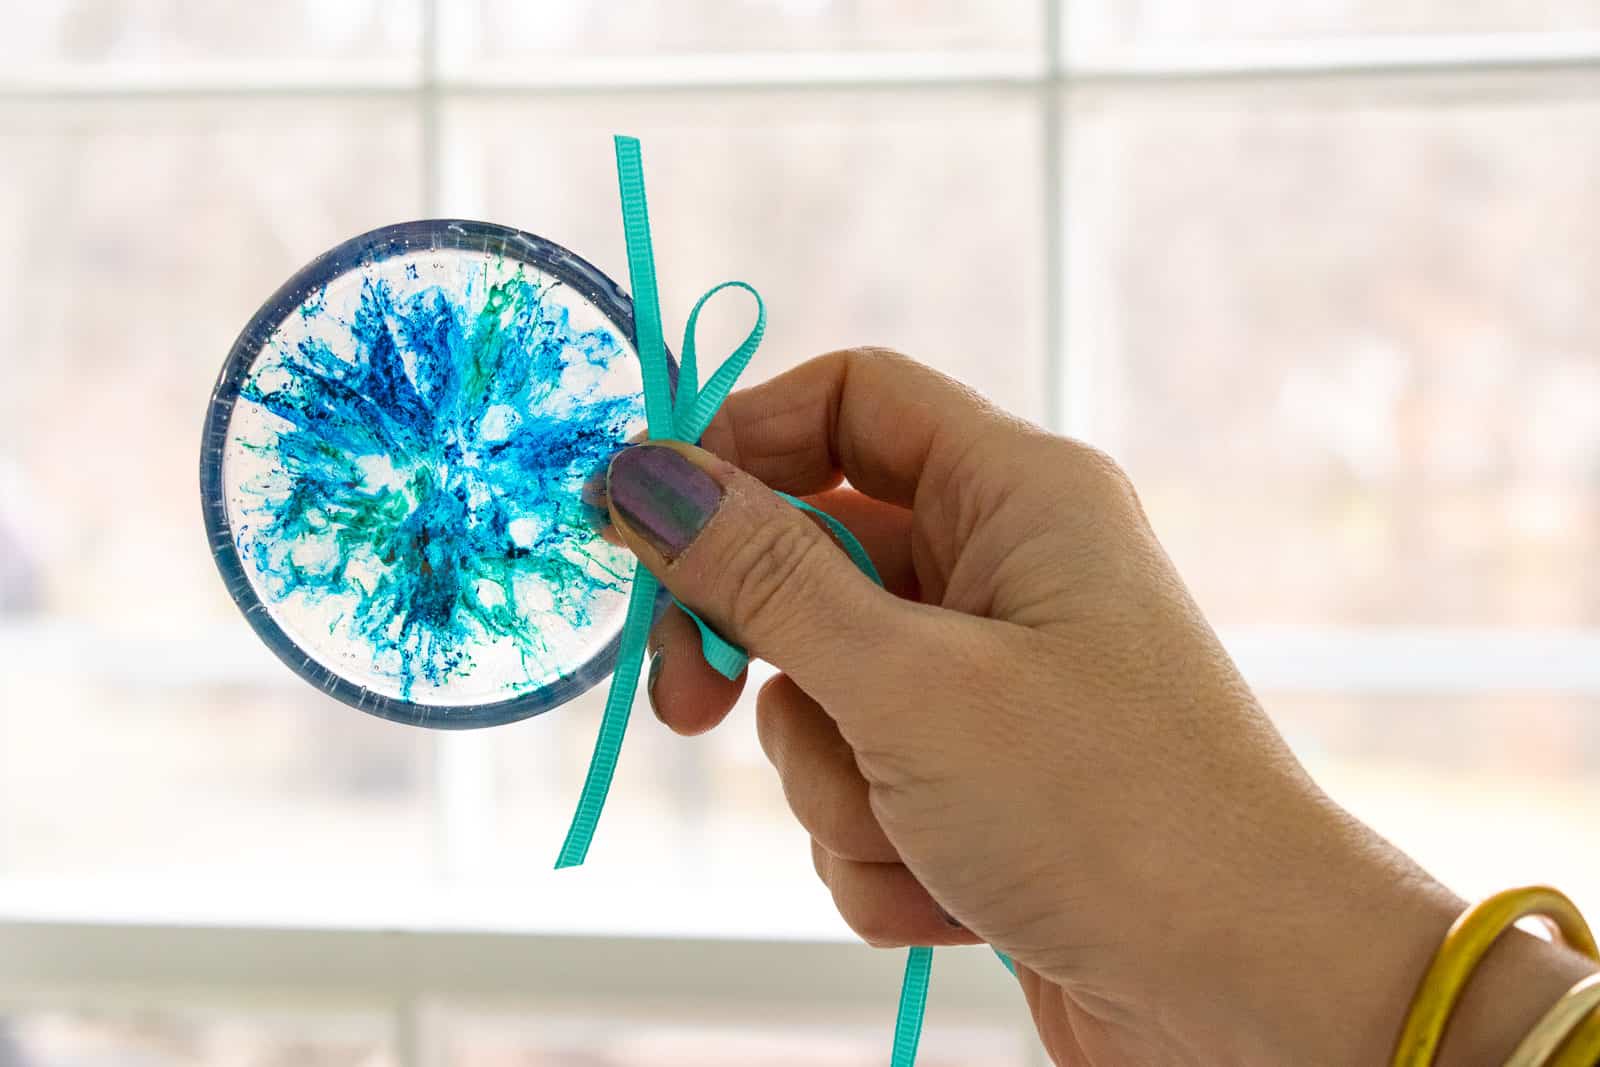
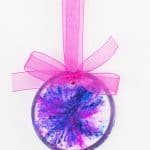
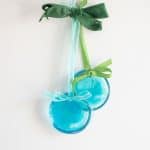
Today’s ornament is my *last* ornament in my 12 Days of Ornaments series and… it’s a doozy. I’ve worked with resin on other projects and each time I feel a little more comfortable with all the ways to use it! For this ornament, adding color to the epoxy was my experiment. I’m using MAS Epoxy Art Pro resin and then this epoxy resin pigment. I ultimately made two different styles of epoxy ornaments so stay tuned for how I made both the softer watercolor looking ornament and the brighter more vivid marbled ornament.
A few words about epoxy:
- Protect your work surface. It’s drippy and messy and PERMANENT.
- Have disposable mixing items ready: cups, stirrers, rubber gloves, skewers
- Know your temperature. Epoxy needs to set up at room temperature or even a little warmer. If you find your epoxy is sticky, chances are it’s too cold where you’re working.
- Follow the directions on the package to a TEE. For the Art Pro, that meant 1:1 ratio of hardener to resin and I made sure to stir it for 2 full minutes.
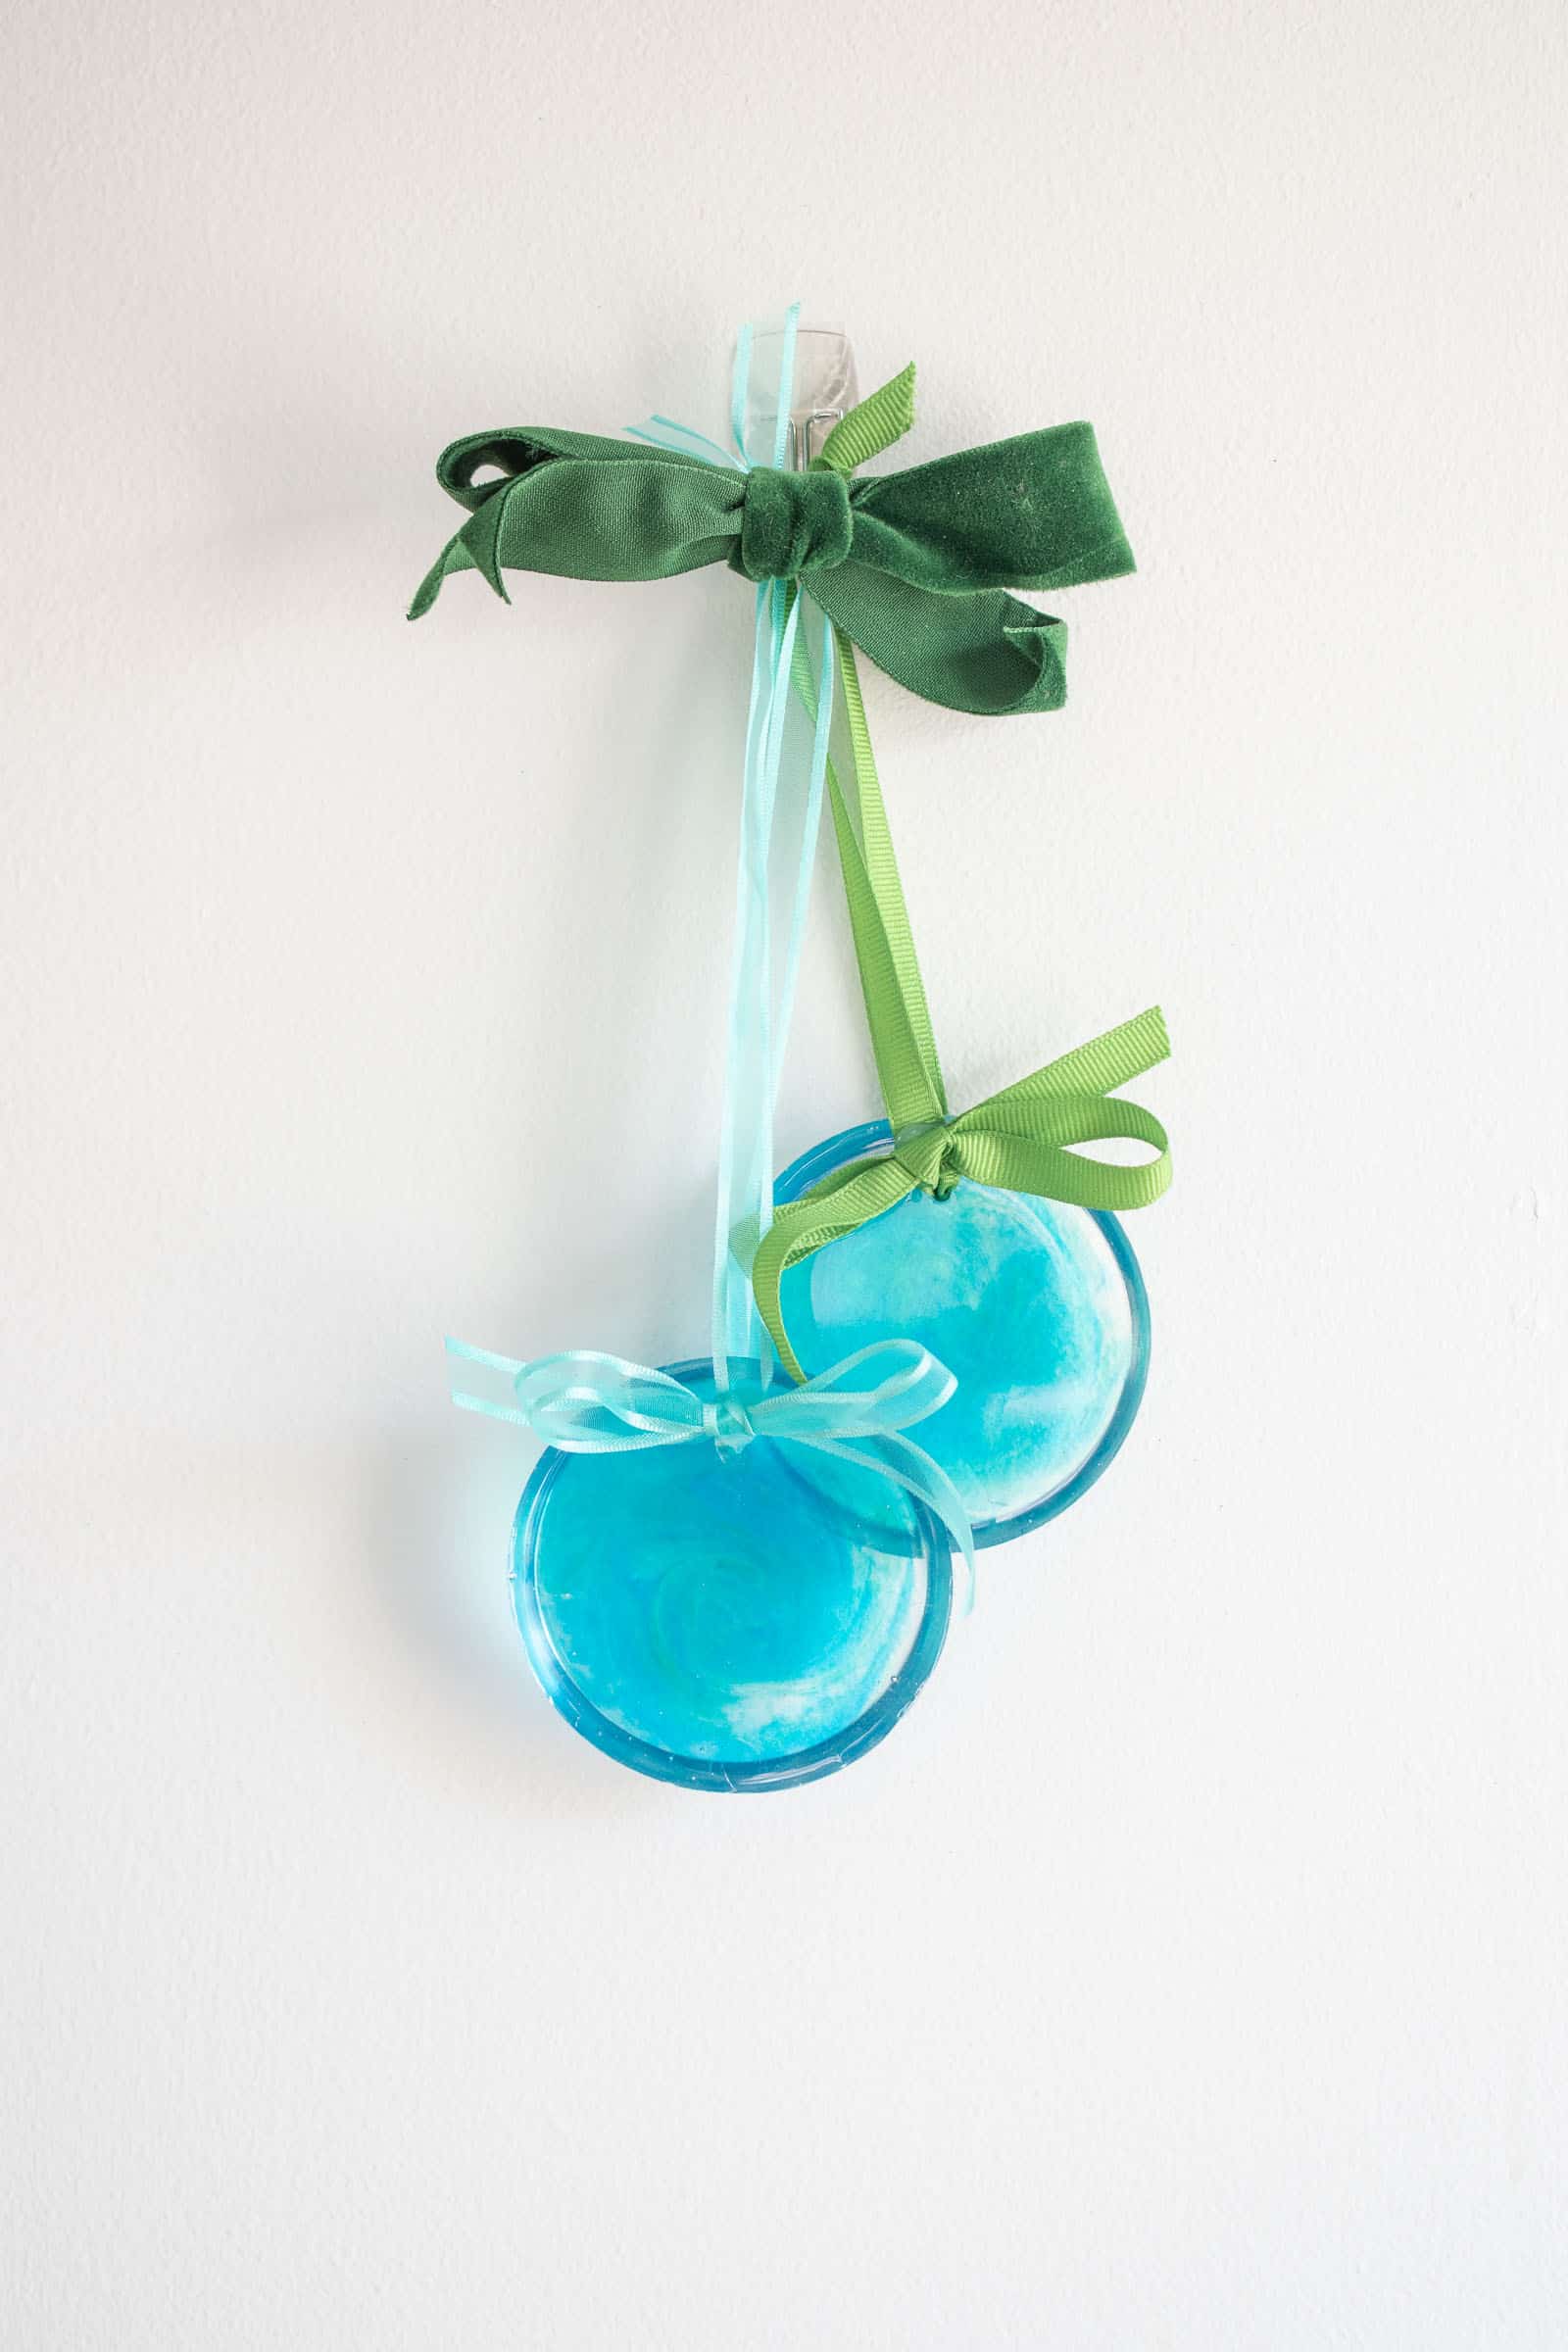
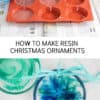
How to mix a Watercolor looking epoxy Ornament
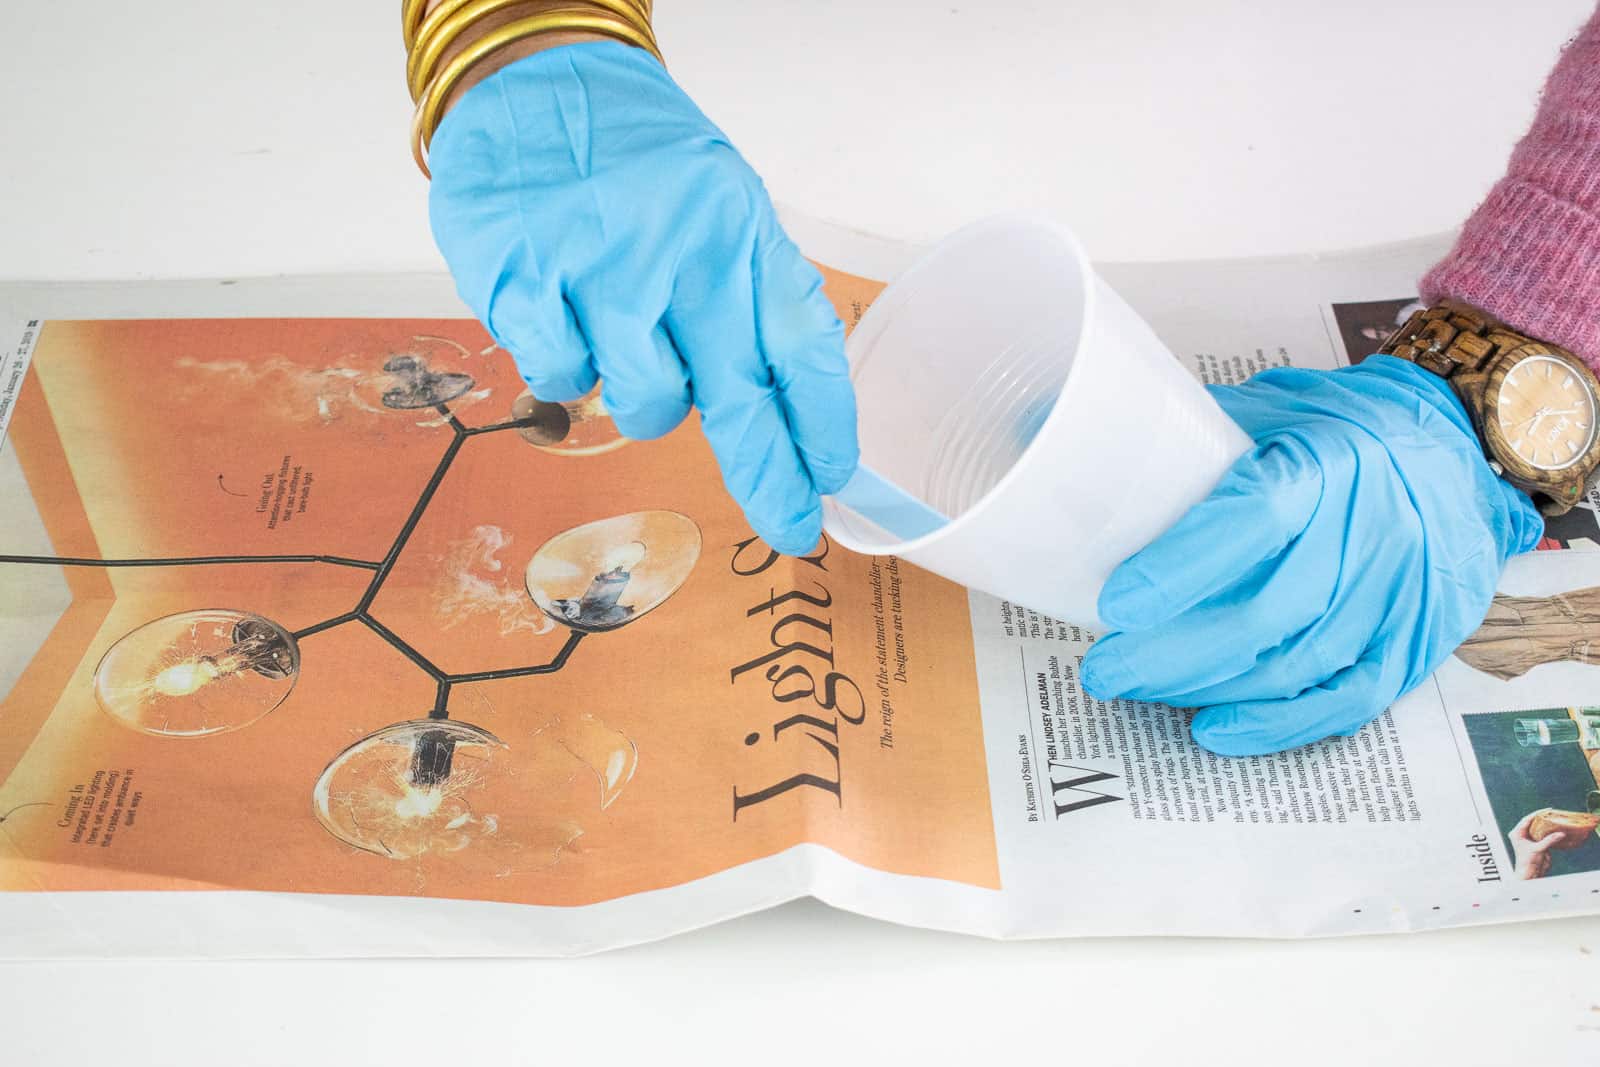
Step 1. Mix epoxy
I used disposable plastic cups and mixed about 2 cups of resin by adding 1 cup resin and 1 cup hardener and then stirred for 2 full minutes.
Step 2. Pour epoxy
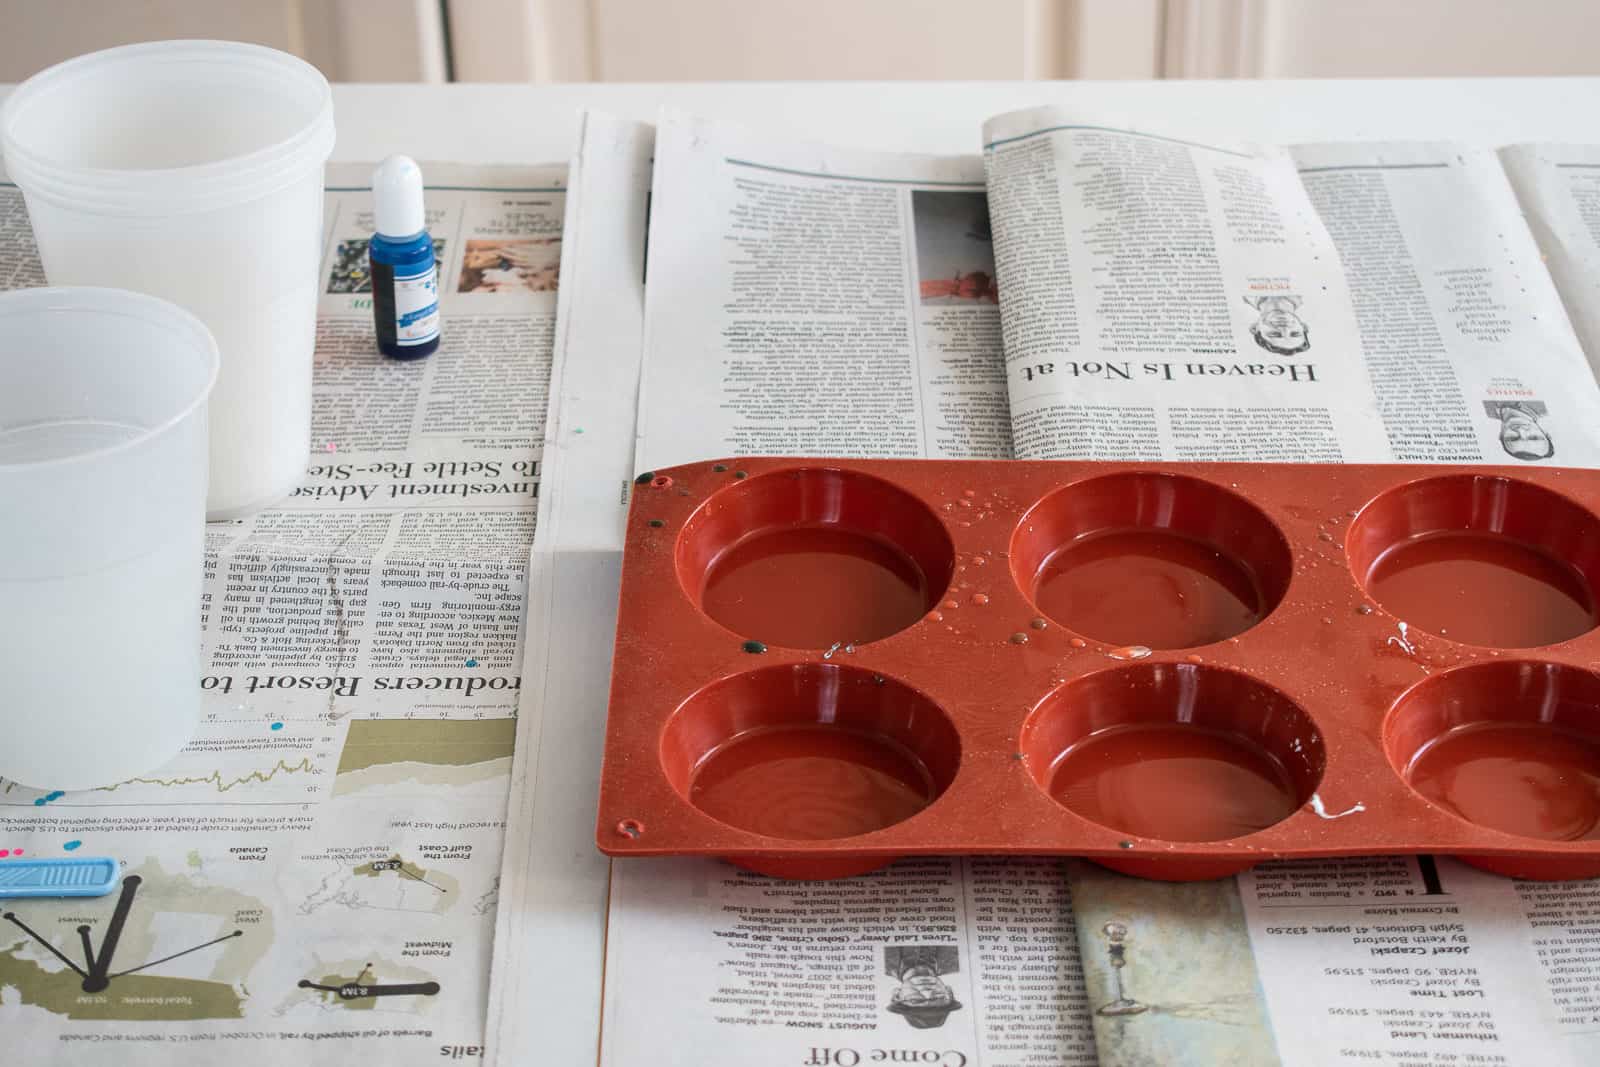
I’m using these silicon molds and they were perfect! I started by pouring about 2 mm of epoxy into each mold (you don’t want to pour more than 1/2 at a time. Then I split the remaining epoxy into 2 cups. With the Art Pro, I had about 15 minutes to work with the epoxy before it got too hard to stir and mix. I stirred the pigment into each of the remaining cups of epoxy.
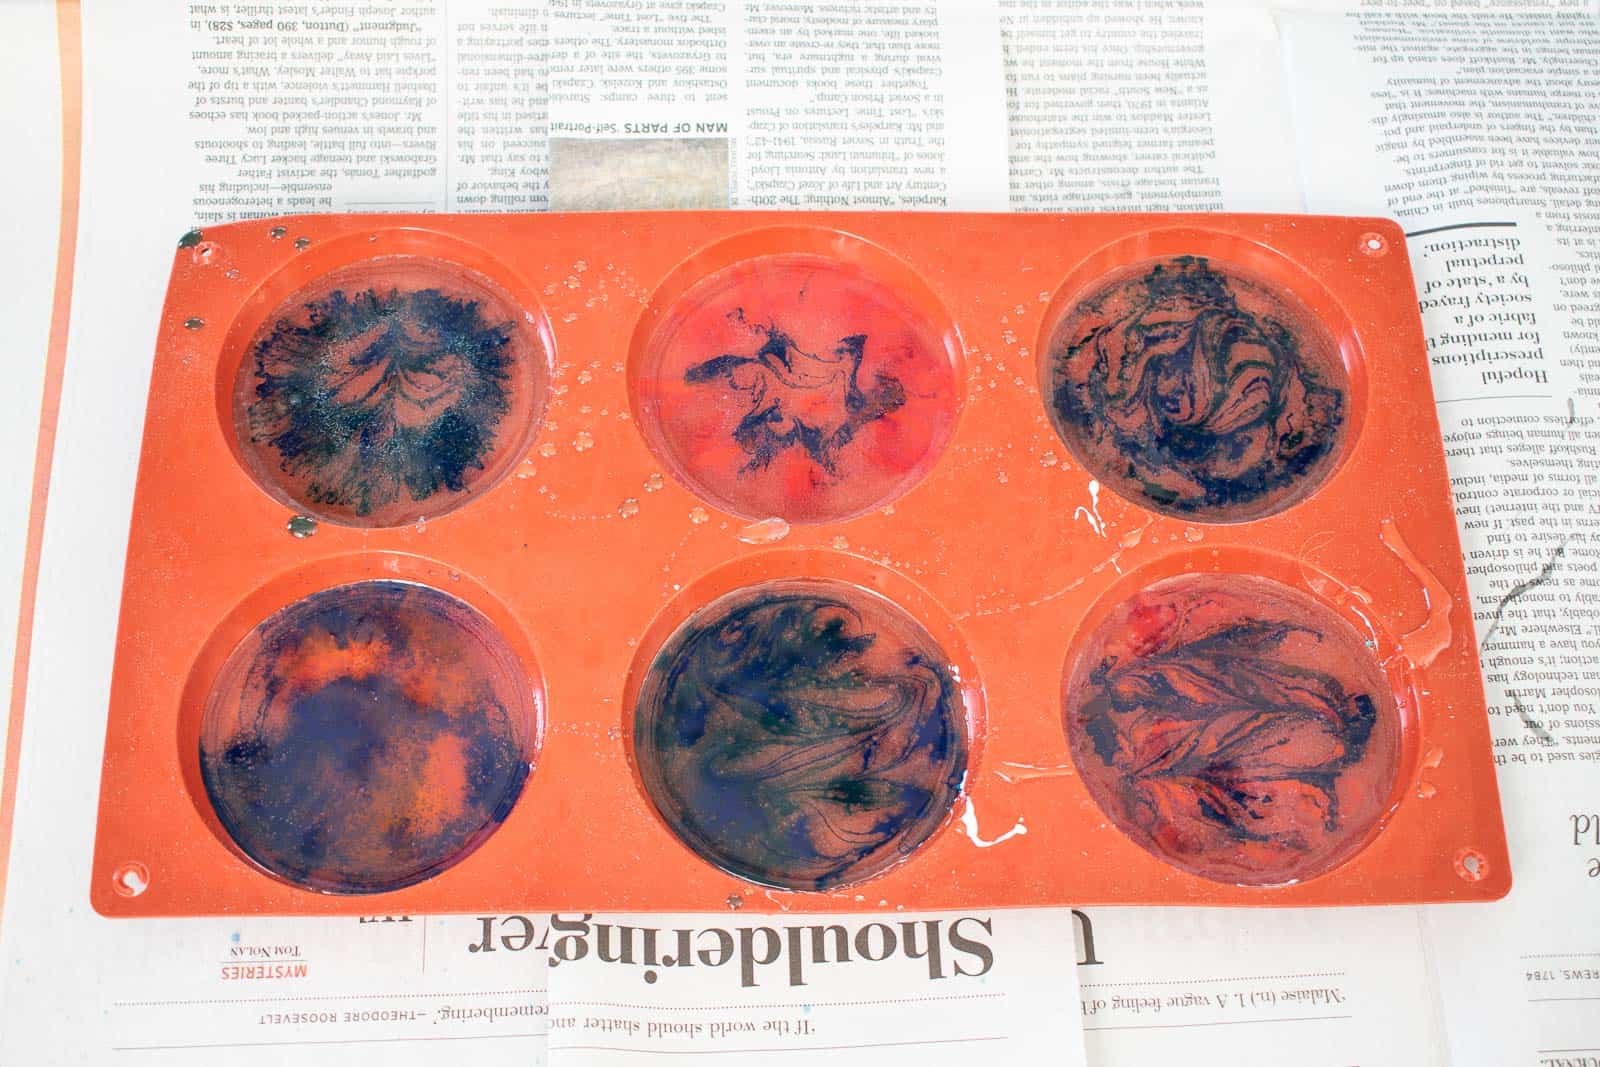
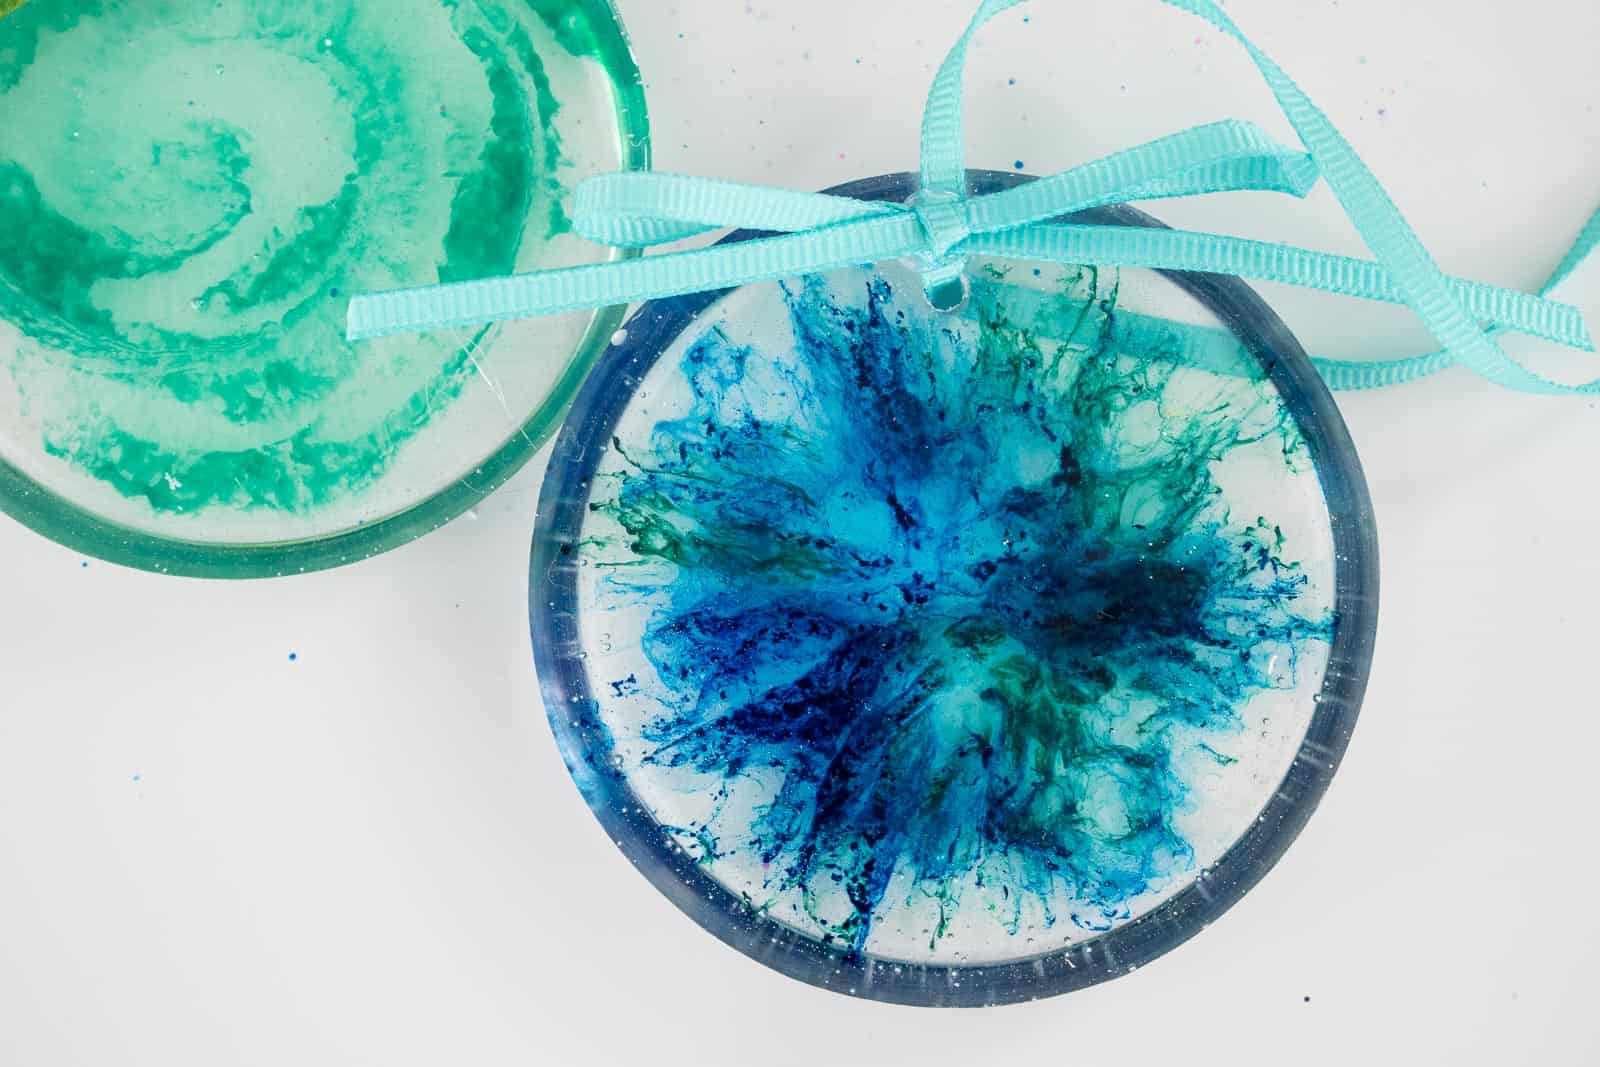
To create the watercolor effect, I drizzled a little bit of each color onto the epoxy already in each mold. I used a wooden skewer to manipulate the two colors and create swirls and stripes. For half of the ornaments, I sprayed them with rubbing alcohol to ‘activate’ the pigments. It creates an interesting effect so I enjoyed watching that transformation. Because I added the colored resin fairly early, there was more mixing… if I waited until the clear base resin had set up a bit, I wonder if the colors would have stayed a bit more separate.
How to mix brighter more marbled epoxy ornaments
Step 1. Mix epoxy
Mix your epoxy in the exact same way as you did for the watercolor ornament.
Step 2. Pour the epoxy
Pour all of your epoxy into the silicon mold (reminder… no deeper than 1/2-inch in each mold)
Step 3. Add pigment
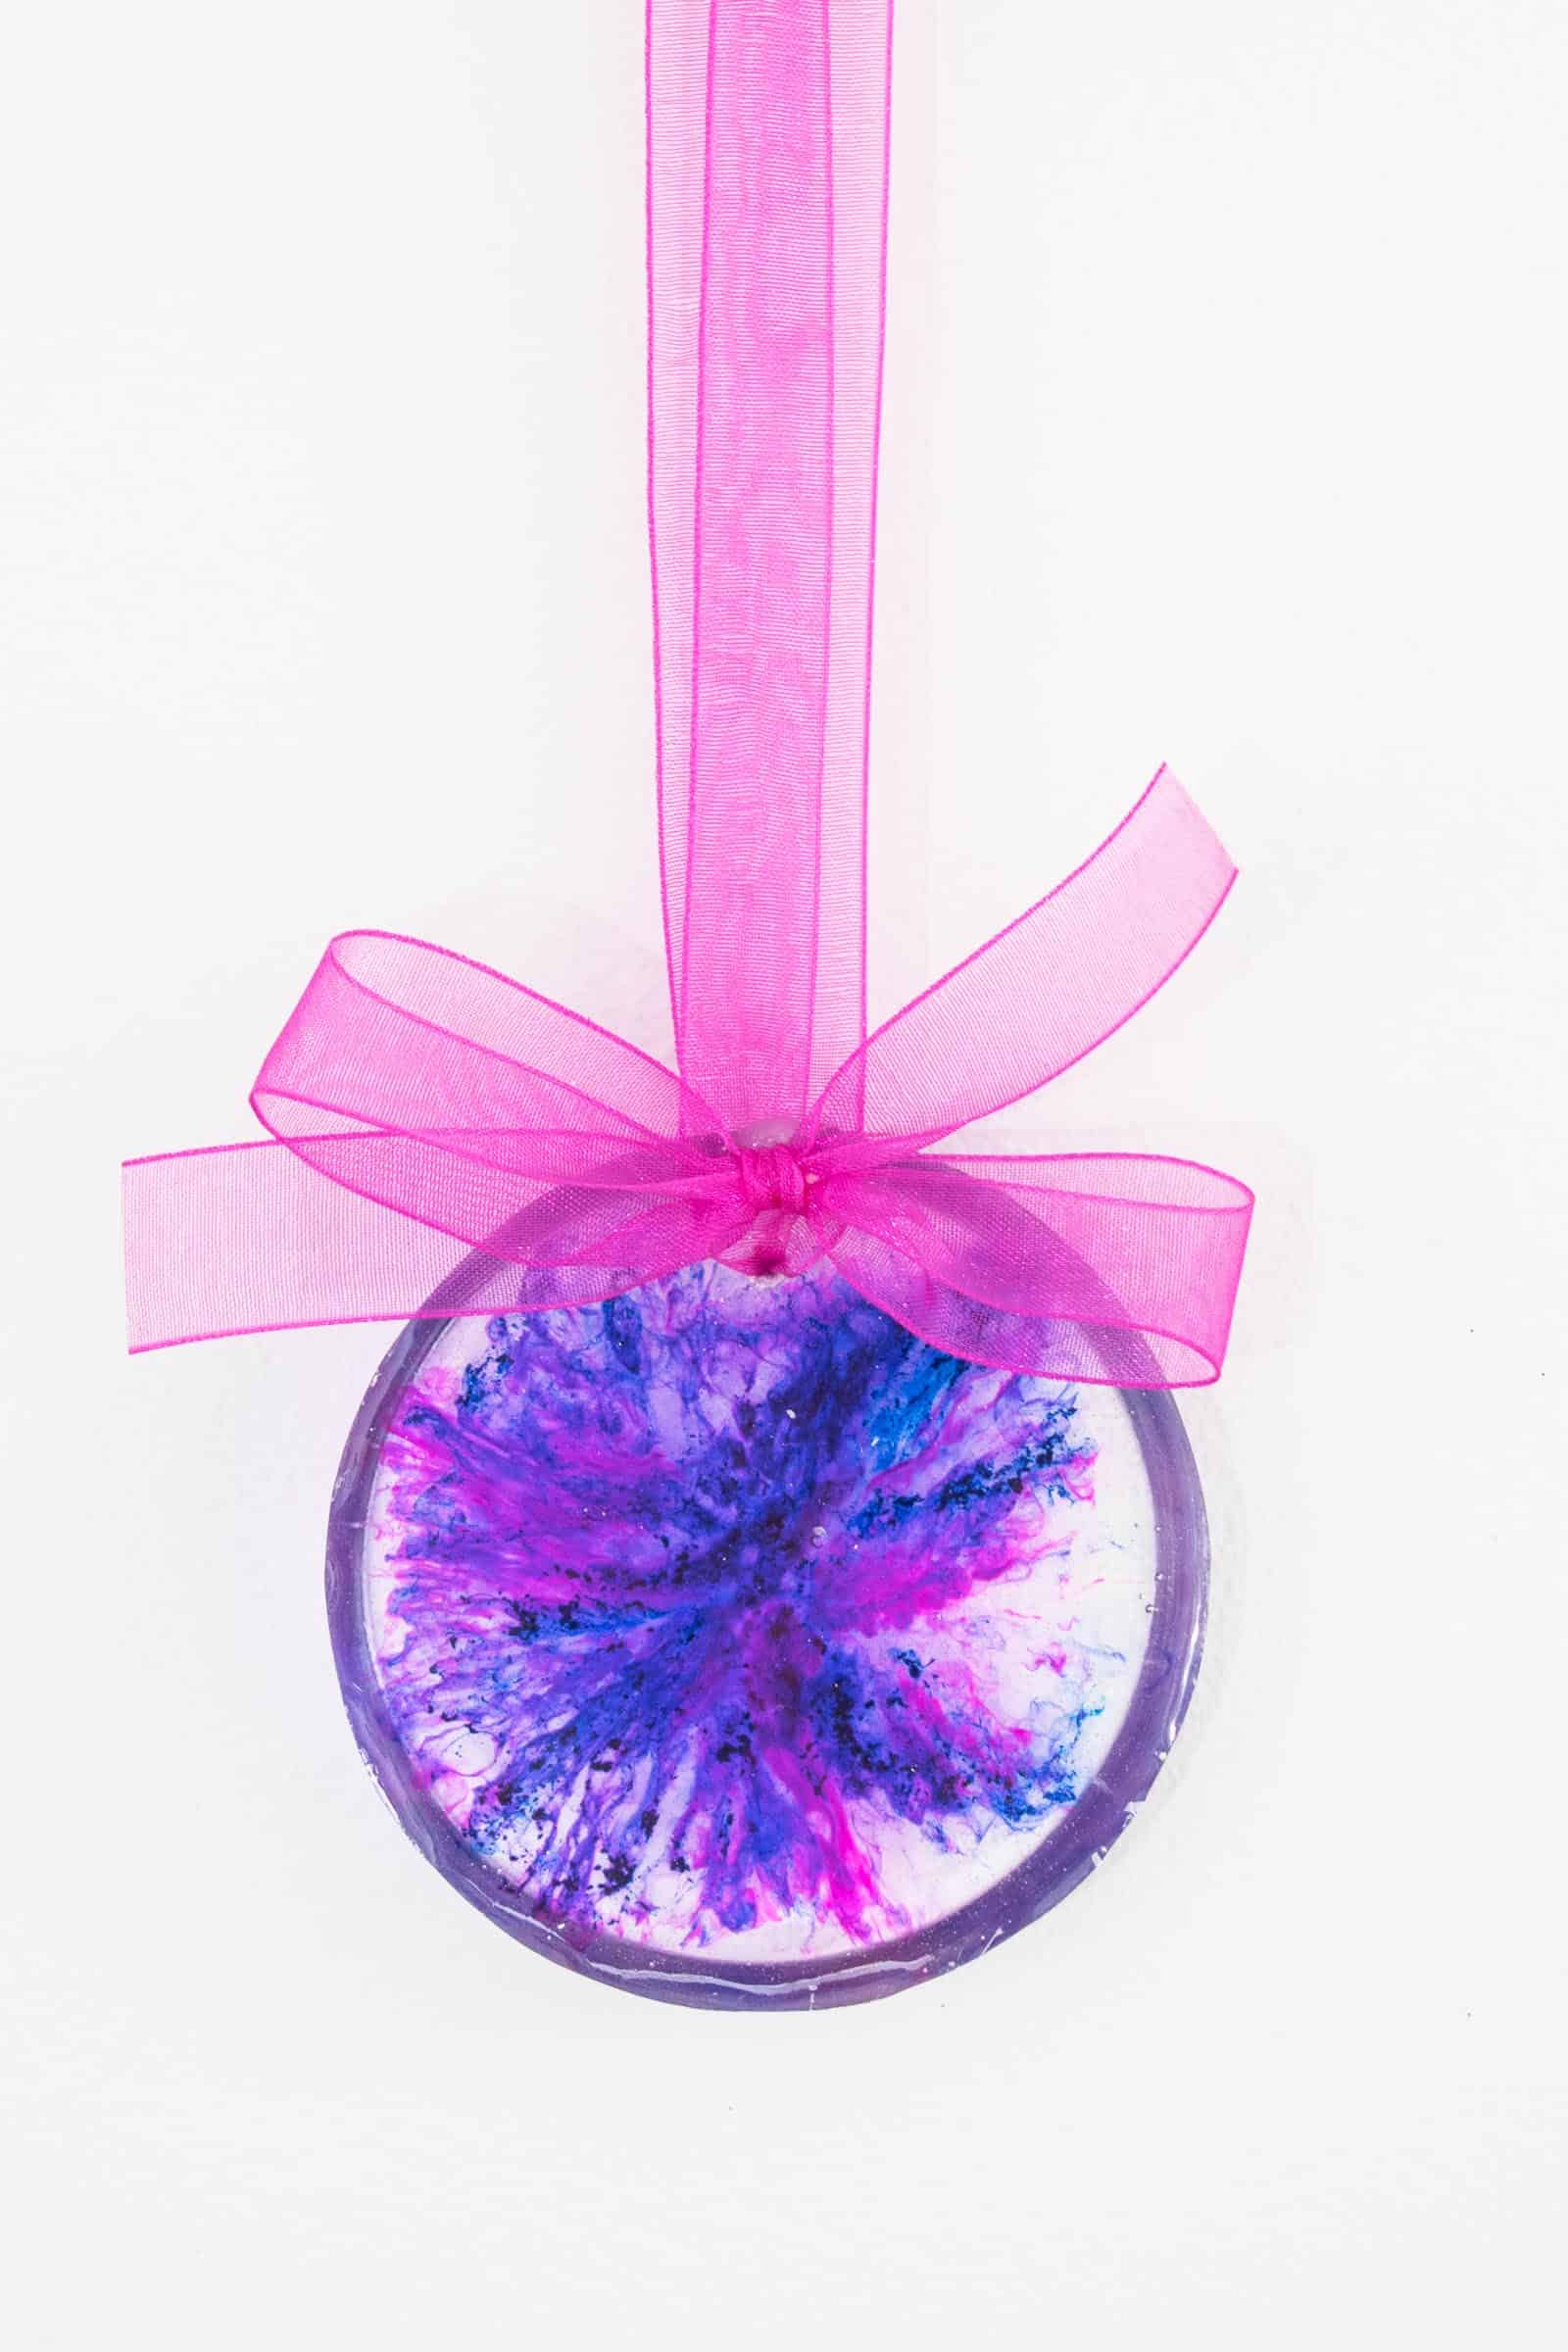
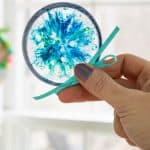
This time, I added the pigment DIRECTLY into each mold. I dripped the pigment onto the epoxy and then used a wooden skewer to manipulate and marble the colors.
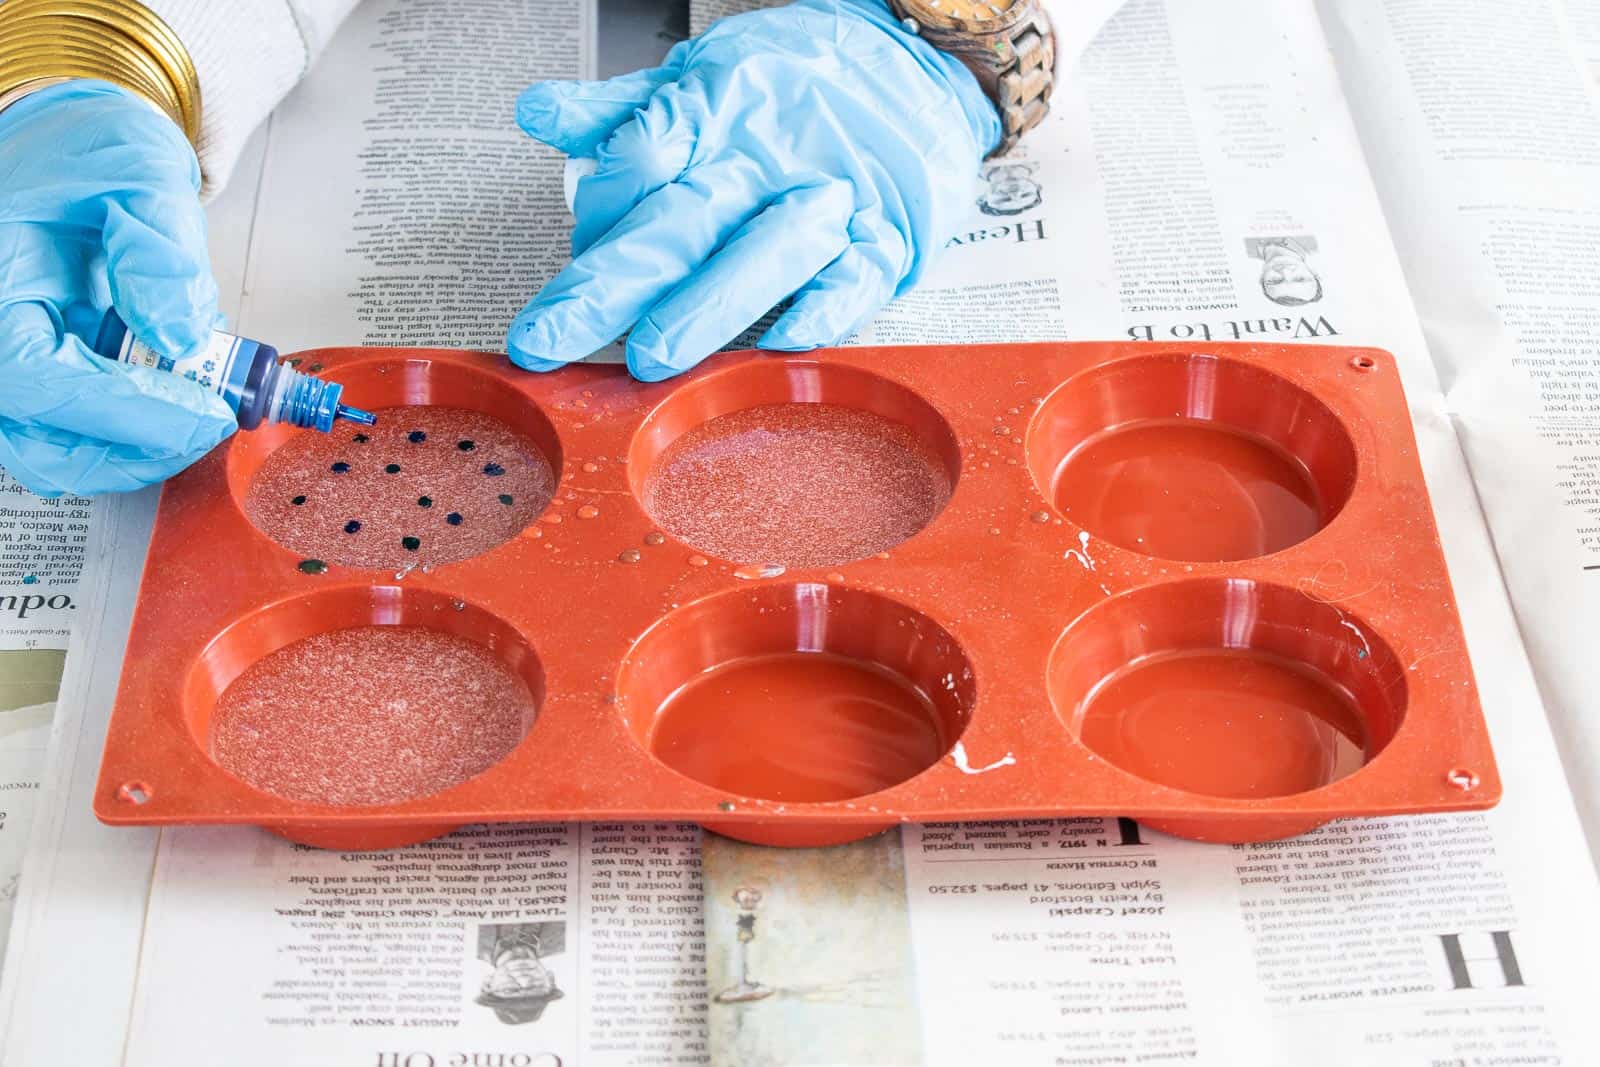
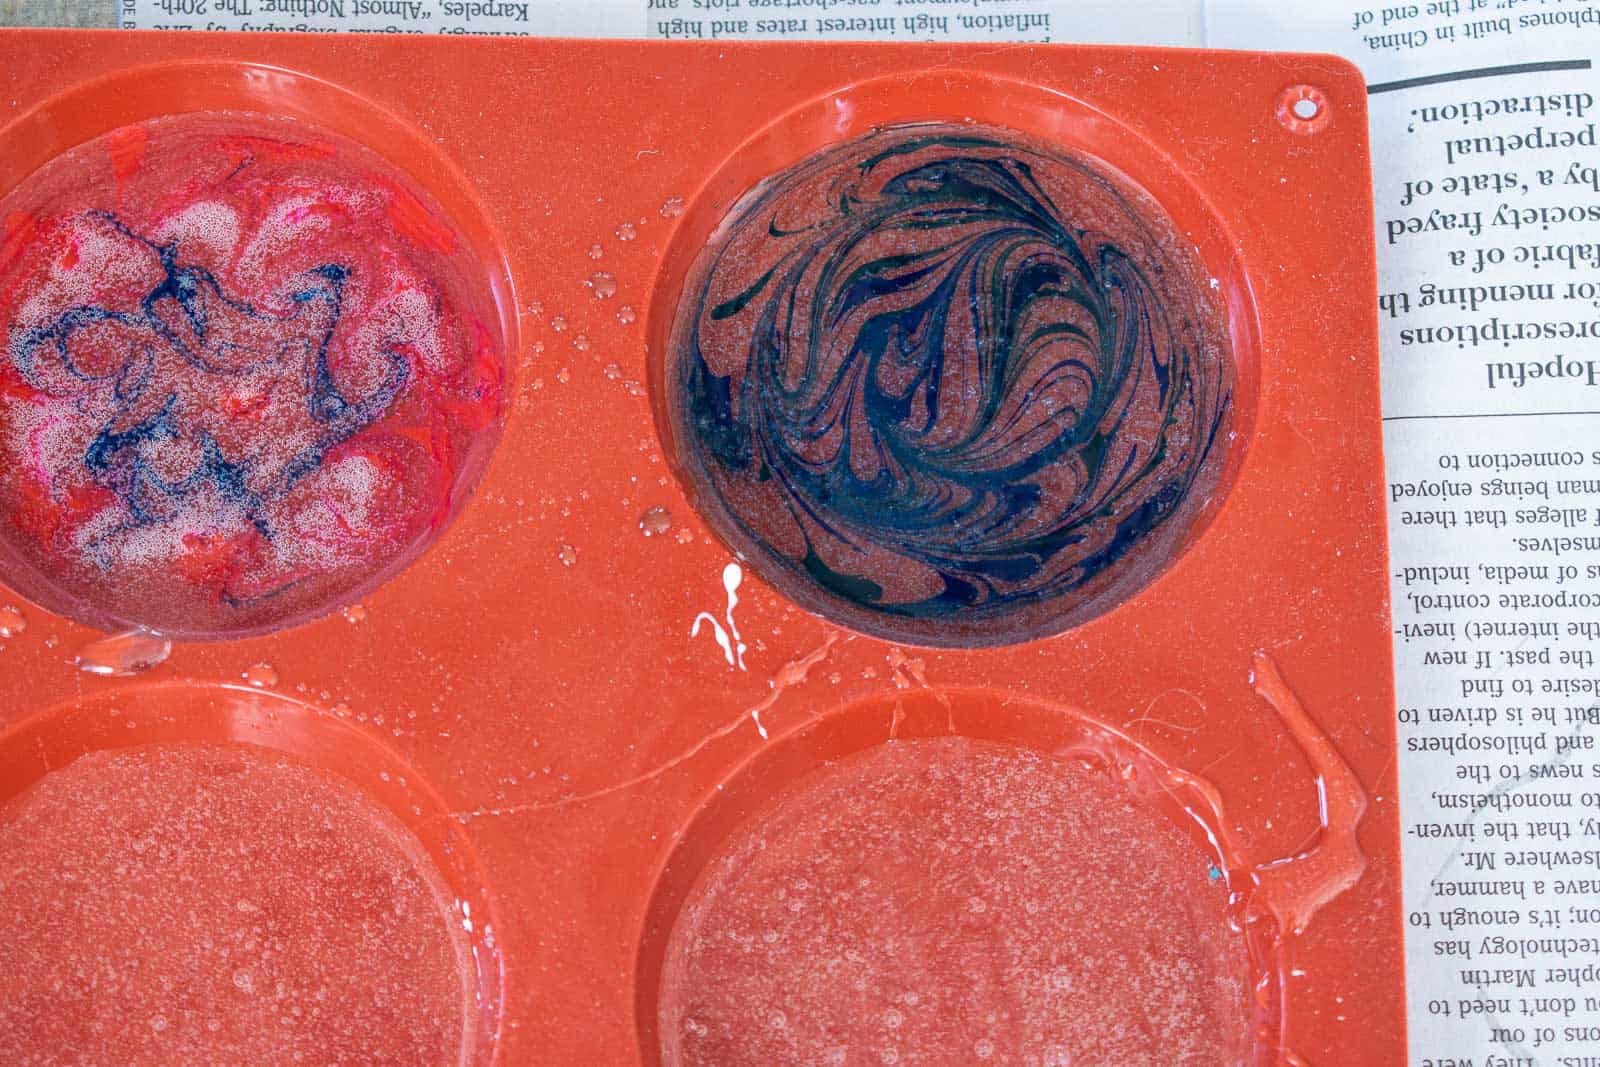
Just like the watercolor ornaments, I sprayed a few of these with rubbing alcohol to observe the reaction. The best way to describe it is that it gives the two colors a bit of a lace effect.
Remove air bubbles
Important. As the epoxy cures, you WILL get bubbles. It’s important to address these before the epoxy cures if you want a smooth finish. If working outside, then it’s easy to wave a heat gun over the surface of the epoxy to ‘pull’ the bubbles to the surface. Because I was working inside, I obviously couldn’t be blowing a heat gun all around, so I exhaled lightly on the surface of each ornament; my breath was warm enough to bring the bubbles to the surface like magic.
Make into Ornaments
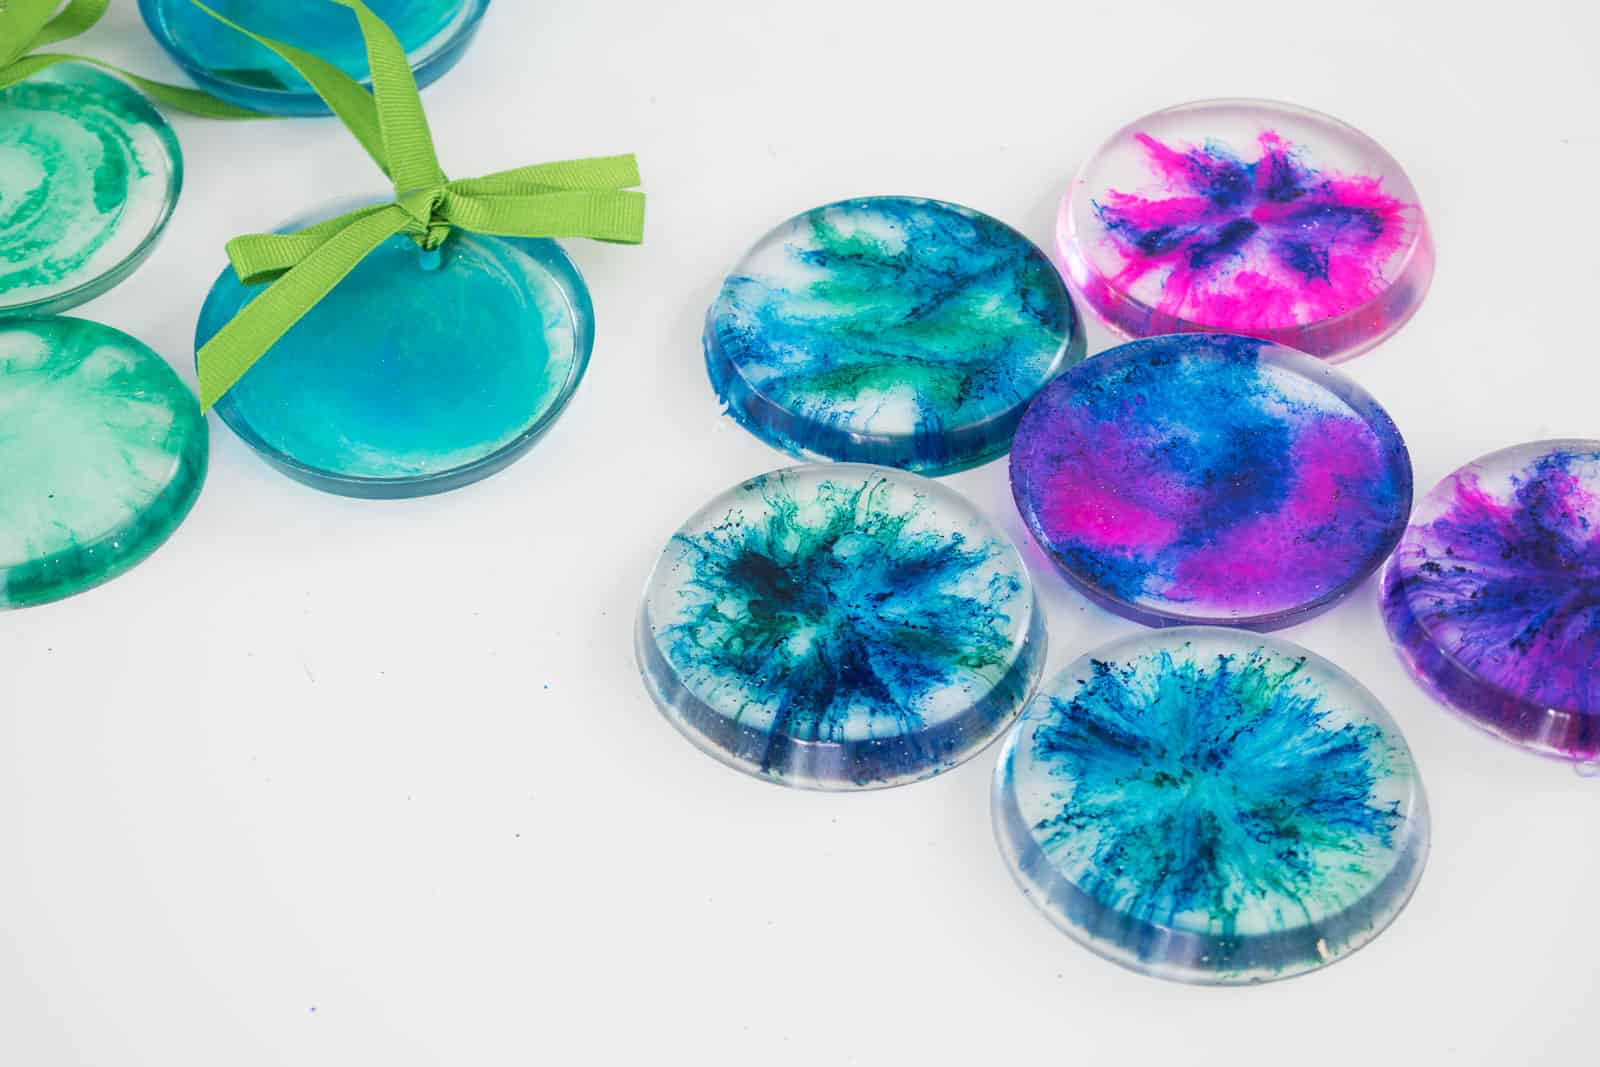
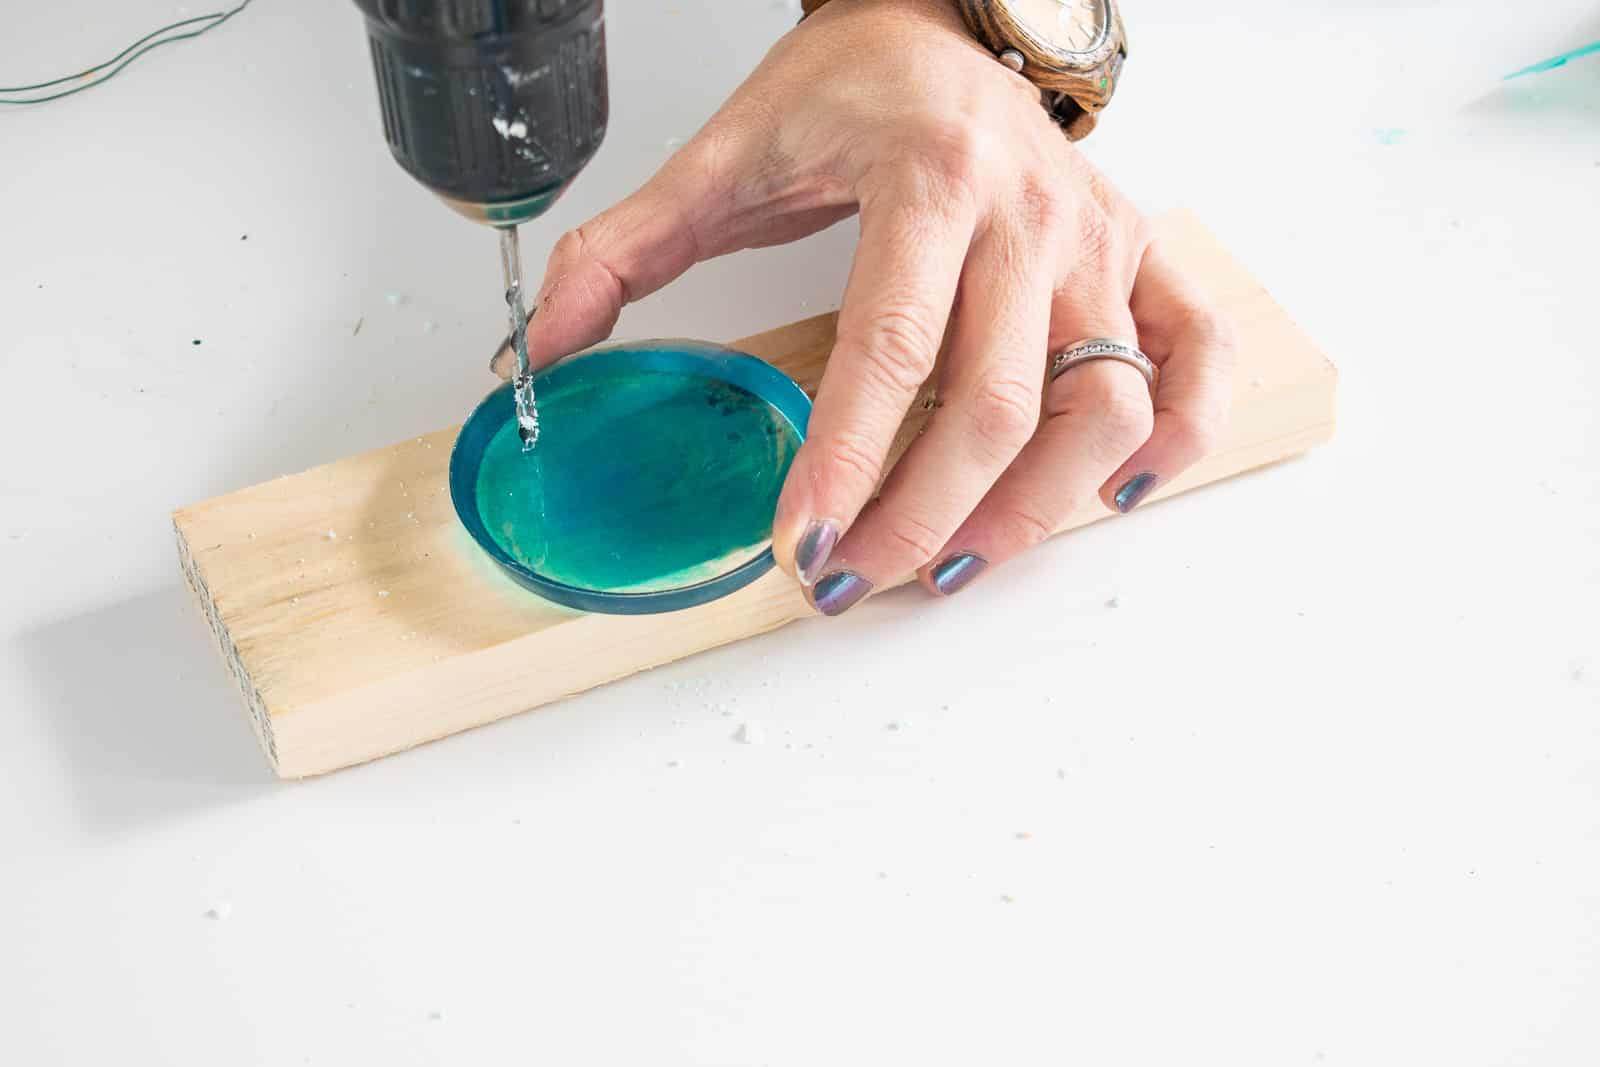
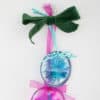
Let the ornaments sit for 24 hours at the minimum. When they’ve fully cured they should be smooth to the touch and solid. Remove the ornaments from the silicon molds. Drill a hole through the top of each ornament for hanging. I used a super thin floral wire to help pull a ribbon through each hole and then added a bow with a hot glue gun!
Here’s what I learned making these ornaments.
- Plan ahead before adding pigment to epoxy. I needed to have everything mixed and ready with the proper tools on hand for color manipulation.
- Be aware of working time… if you add pigment or colored epoxy right away, it will mix differently than if you were to add it 5 or 10 minutes after you’ve mixed it.
- Adding pigment to epoxy is a process not a science… None of my ornaments looked the same when I removed them from the mold as I thought they would when I left them to cure! I’m hopeful that the more I experiment and play around with them, the more I can anticipate how the pigment interacts with the epoxy, etc.
Materials for Marbled Epoxy Ornaments
- MAS Art Pro Epoxy
- Silicone Mold
- Liquid epoxy pigment
- Ribbon
- disposable plastic cups, mixing sticks, rubber gloves, skewers/ toothpicks

If you want to check out all the other ornaments I’ve shared for this series, click the image below. This is my last one of 2019 and I’m beyond thrilled with how lovely these turned out!


Don’t Miss Out
Become An Insider!
Signup for exclusive tips, and tricks from Charlotte’s House!
Let’s chat!
I love comments from you, so feel free to leave your thoughts and ideas below! And don’t forget to follow me on Instagram for even more!