
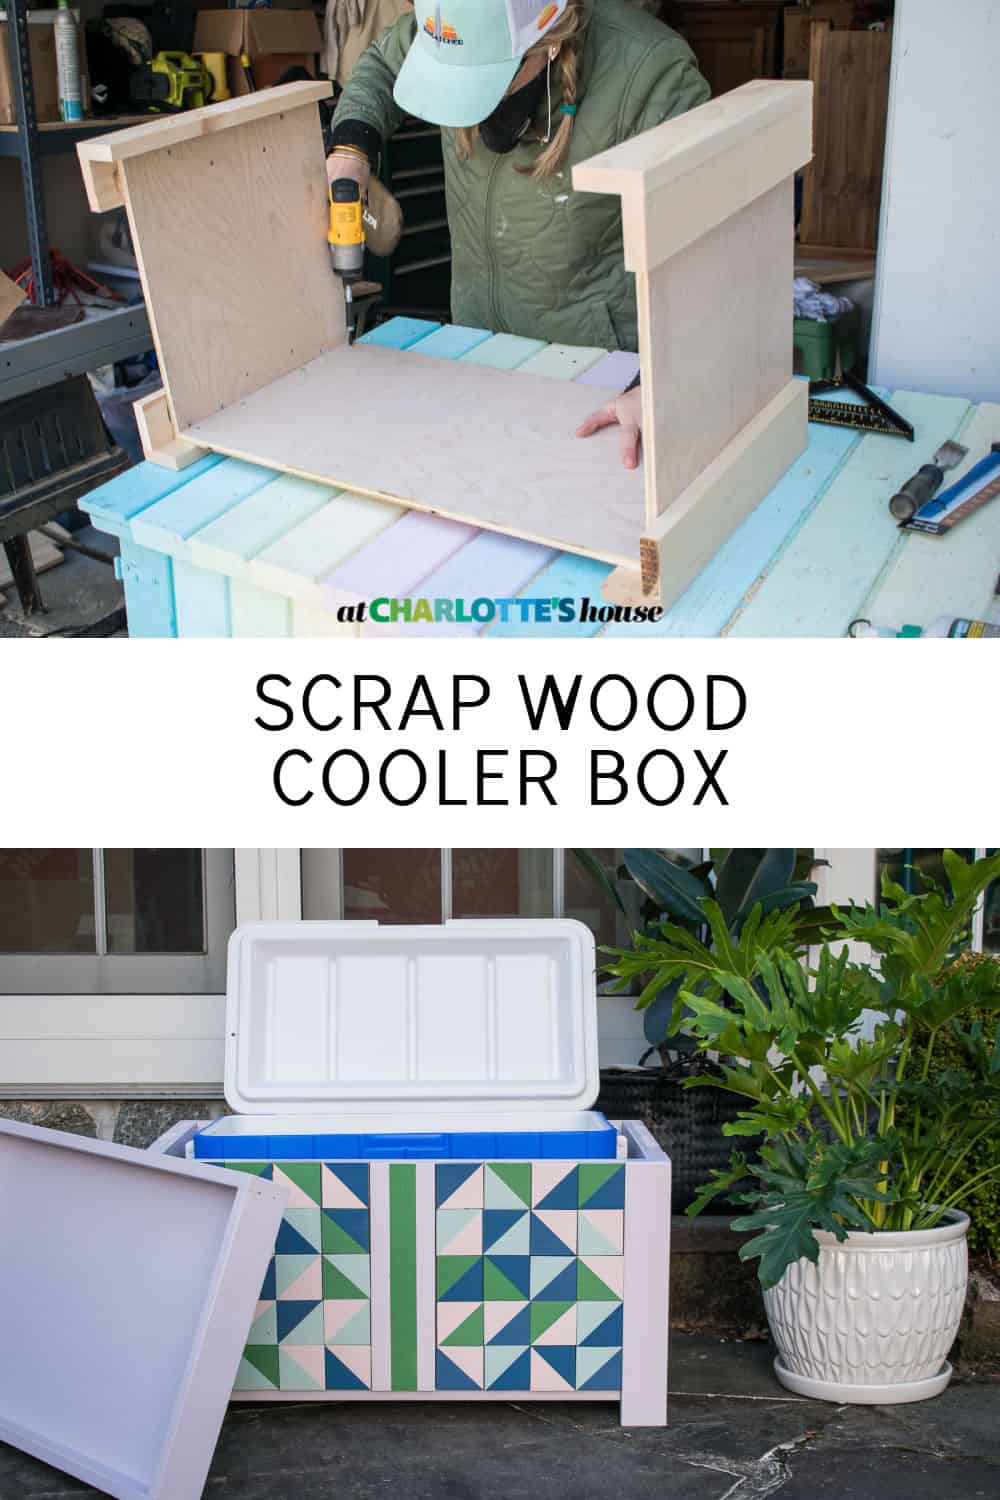
How to Build a Colorful Wooden Cooler Box
Psssst… this post *might* contain affiliate links: see my disclosure here.
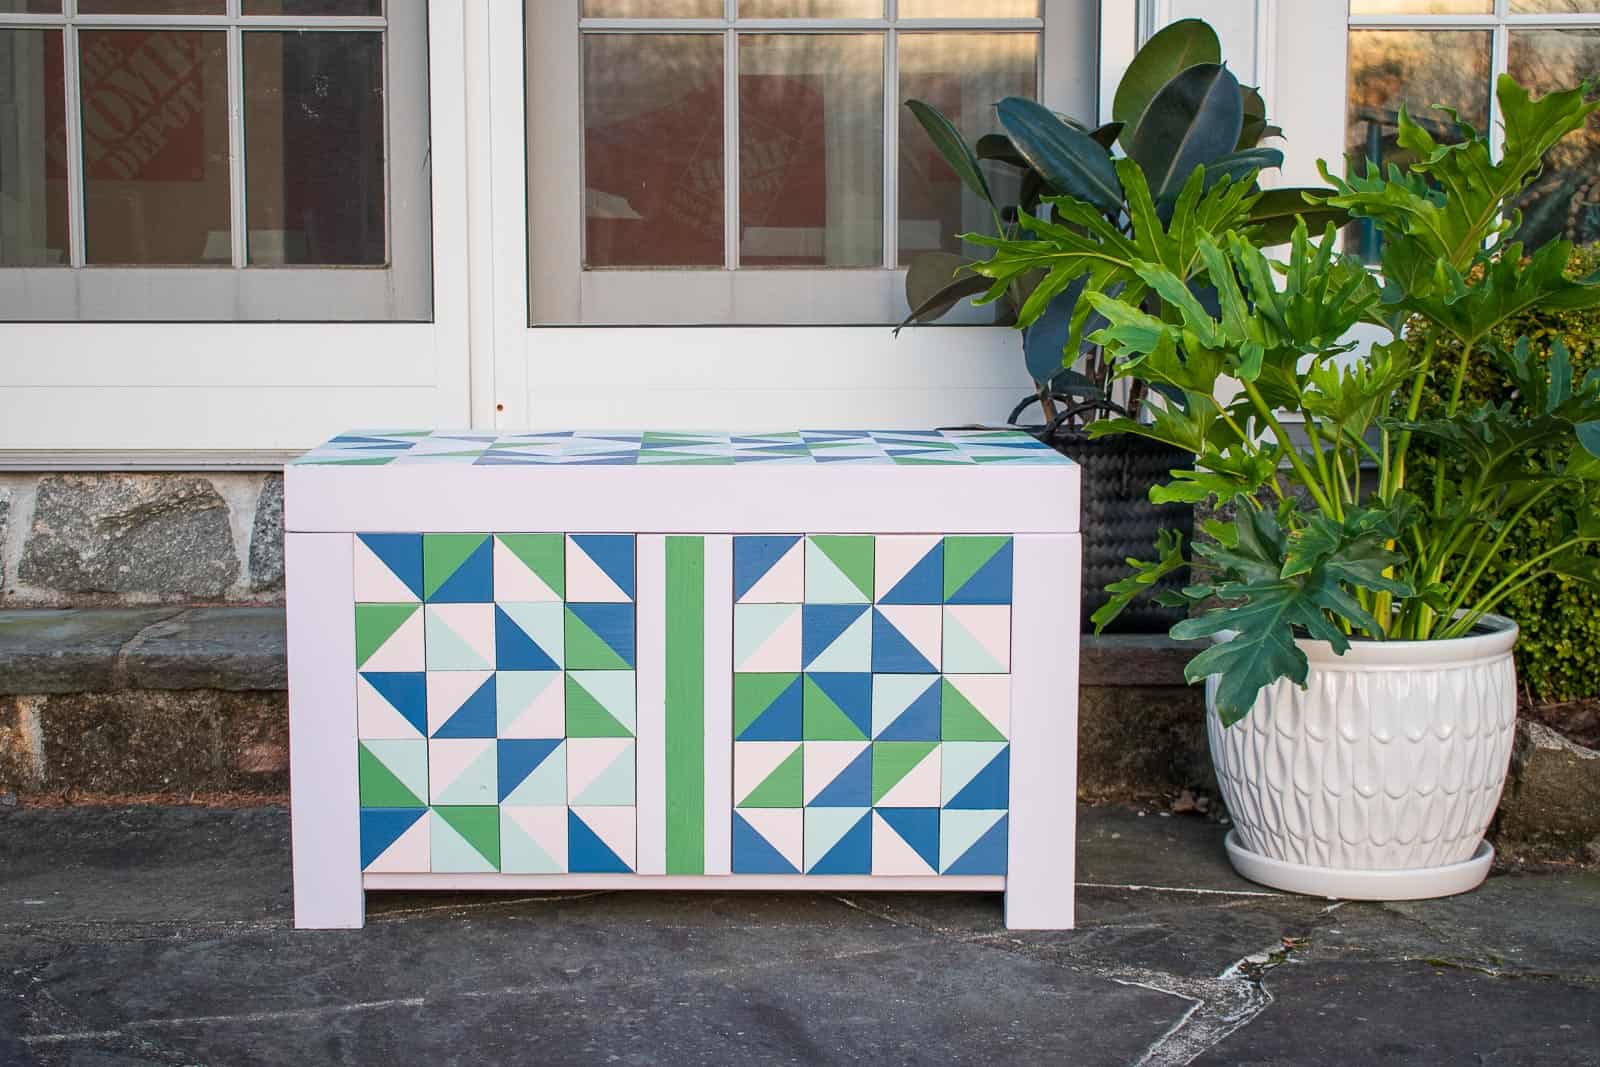
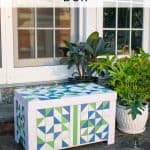
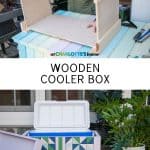
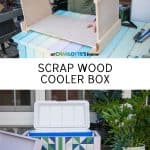
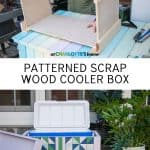
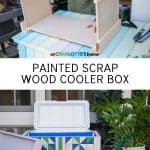
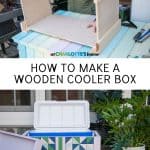
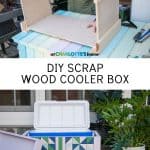
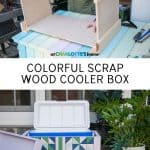
DIY Wooden Cooler Box
I made a colorful wooden cooler box from scrap wood for our patio.
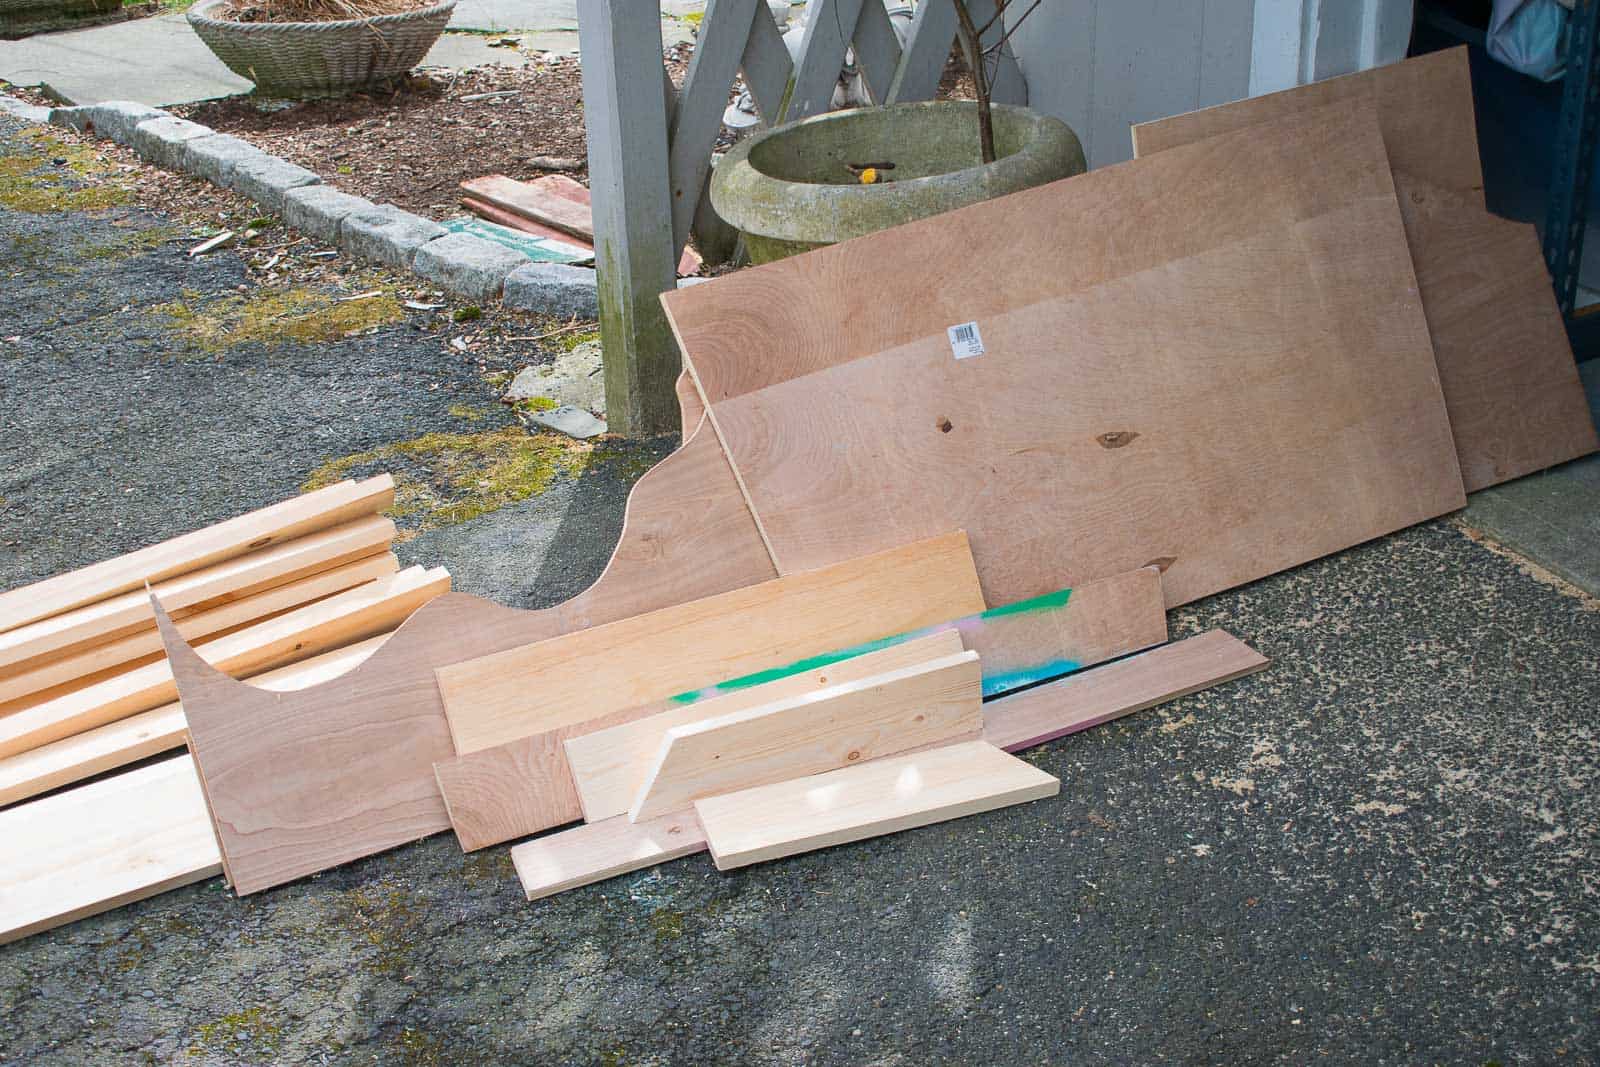
Step 1. Choose your materials
I am super excited to be joining my friends Sam from DIY Huntress and Jen Woodhouse to share a scrap wood project for their #BuildAtHome challenge! Needless to say, I had plenty of scrap wood to work with… I started by pulling everything out to see what I was dealing with: I had a ton of random 1×3 common pine as well as some plywood from the maker space library project this summer.
Shop my favorites!
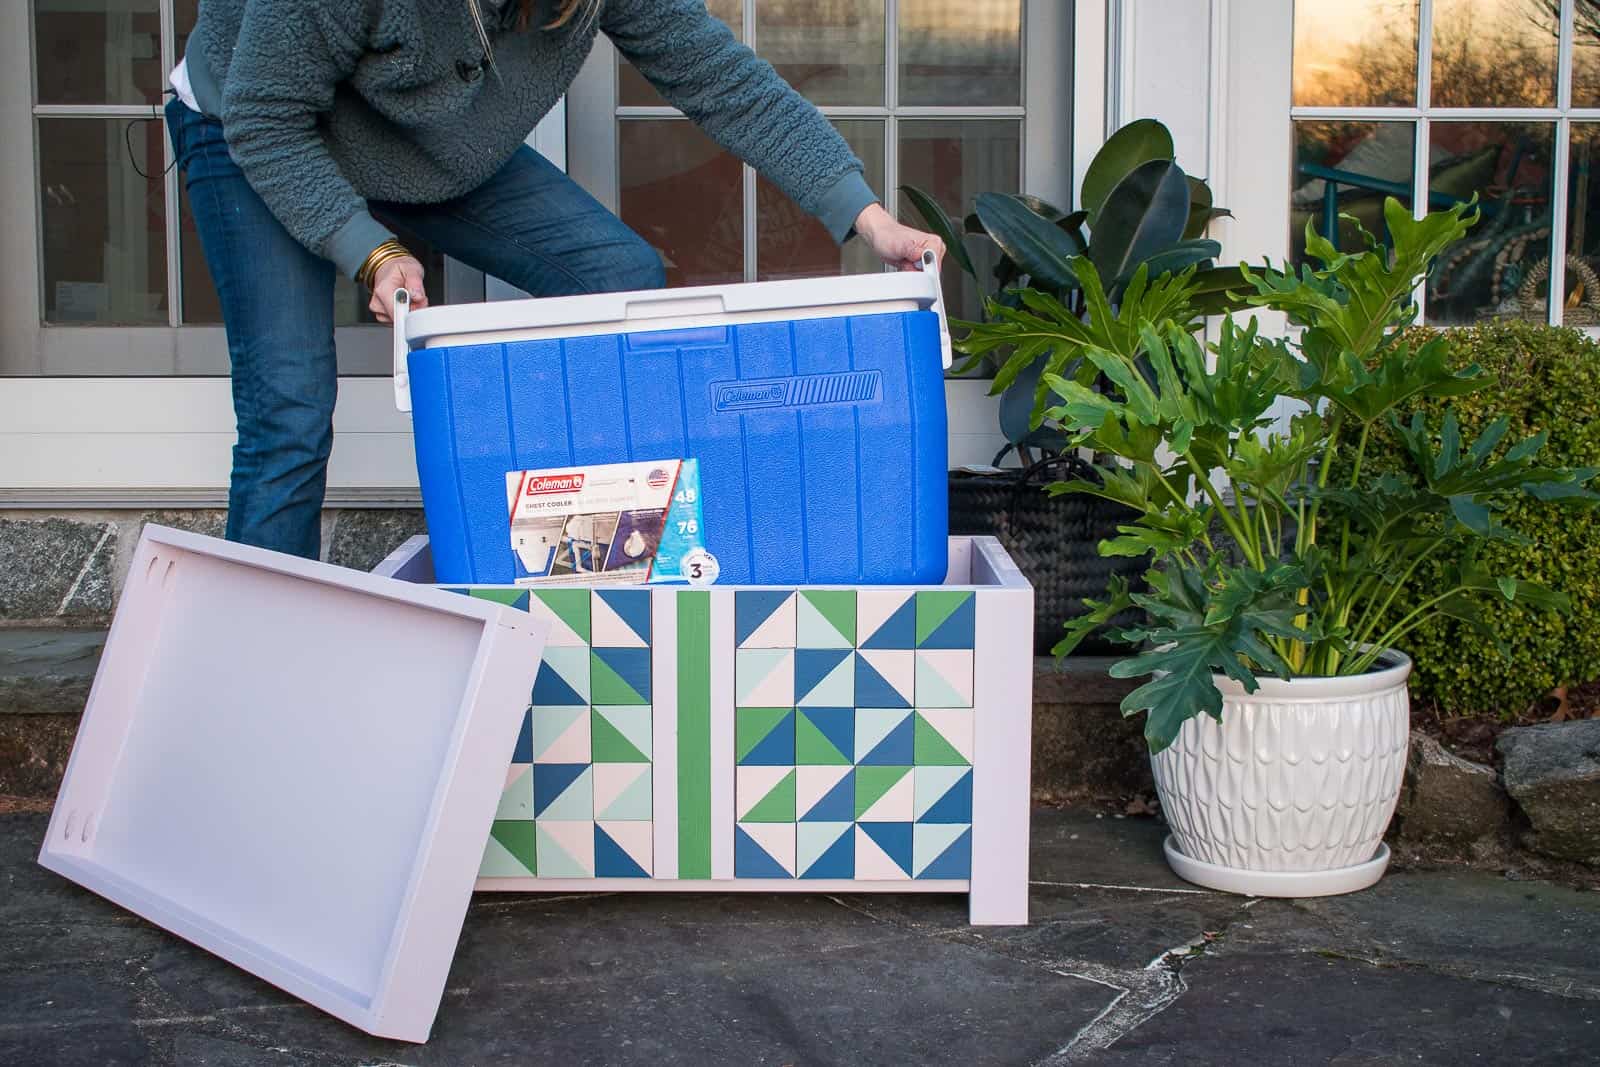
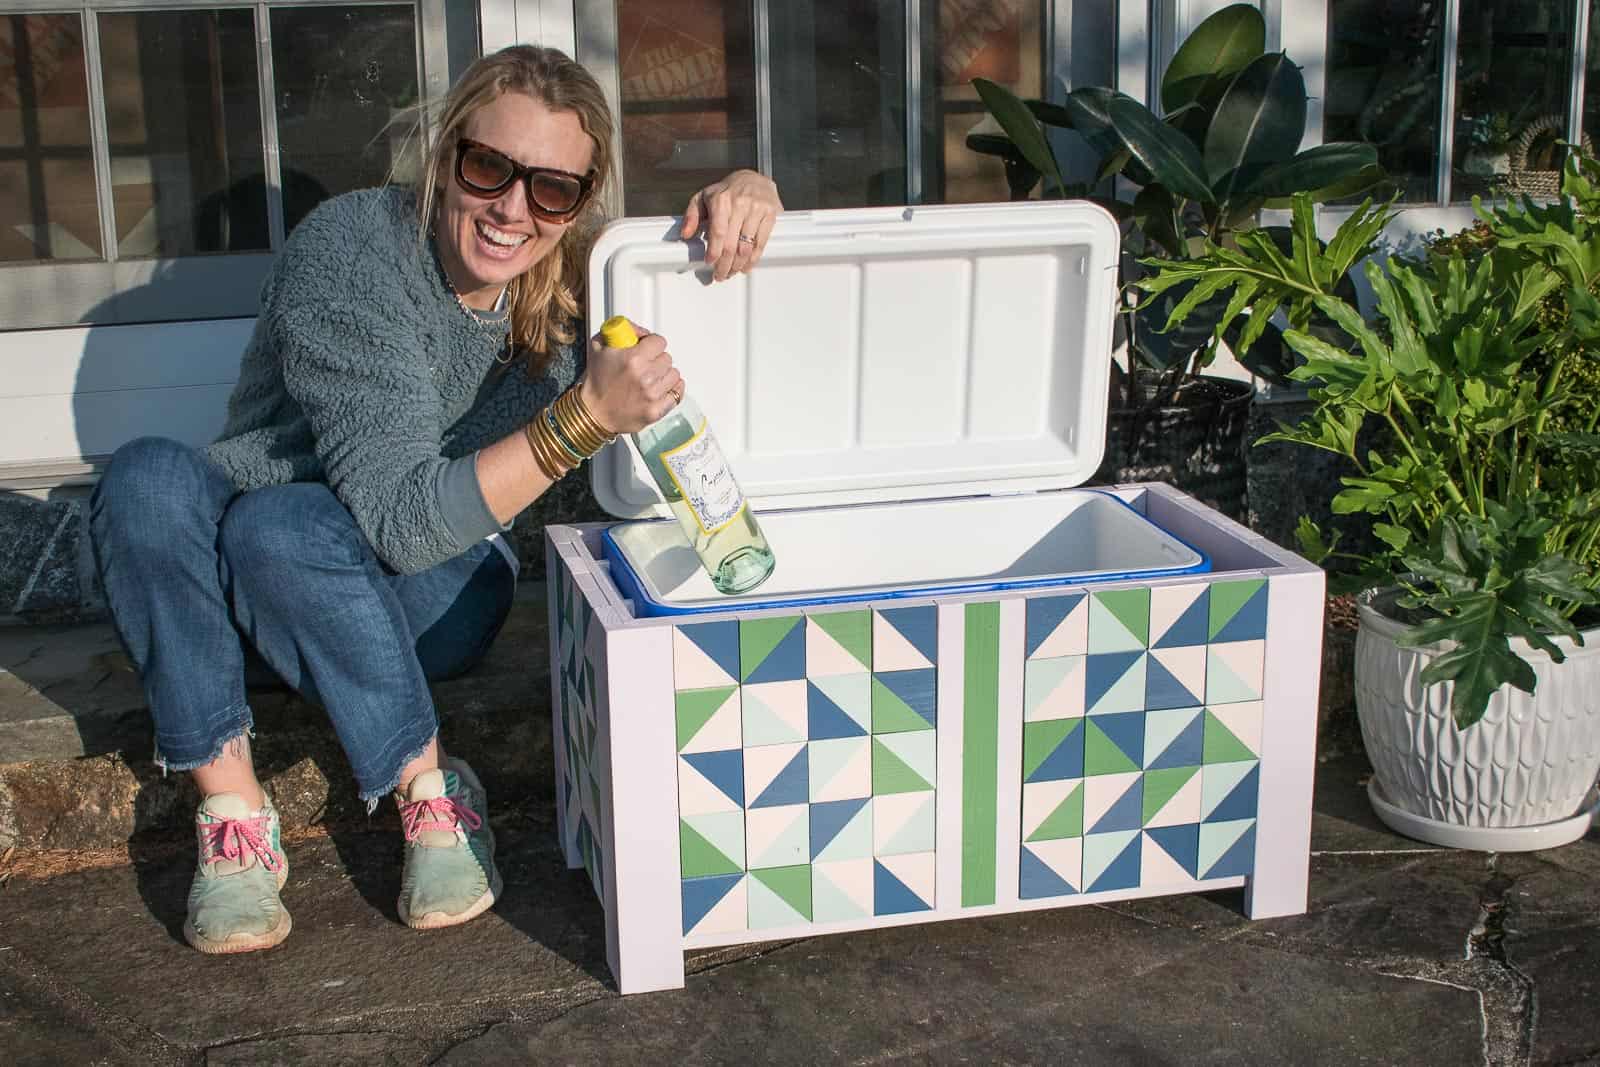
I don’t have building plans for this project because I ended up changing about a hundred things as I was building, but it’s a pretty simple concept so hopefully you can follow along. The first step was to create the box itself. I didn’t want this box to permanently hold a cooler so I needed it to be large enough to take the cooler in and out. I also needed an allowance for the lid to open since I’m not taking it apart from the cooler.
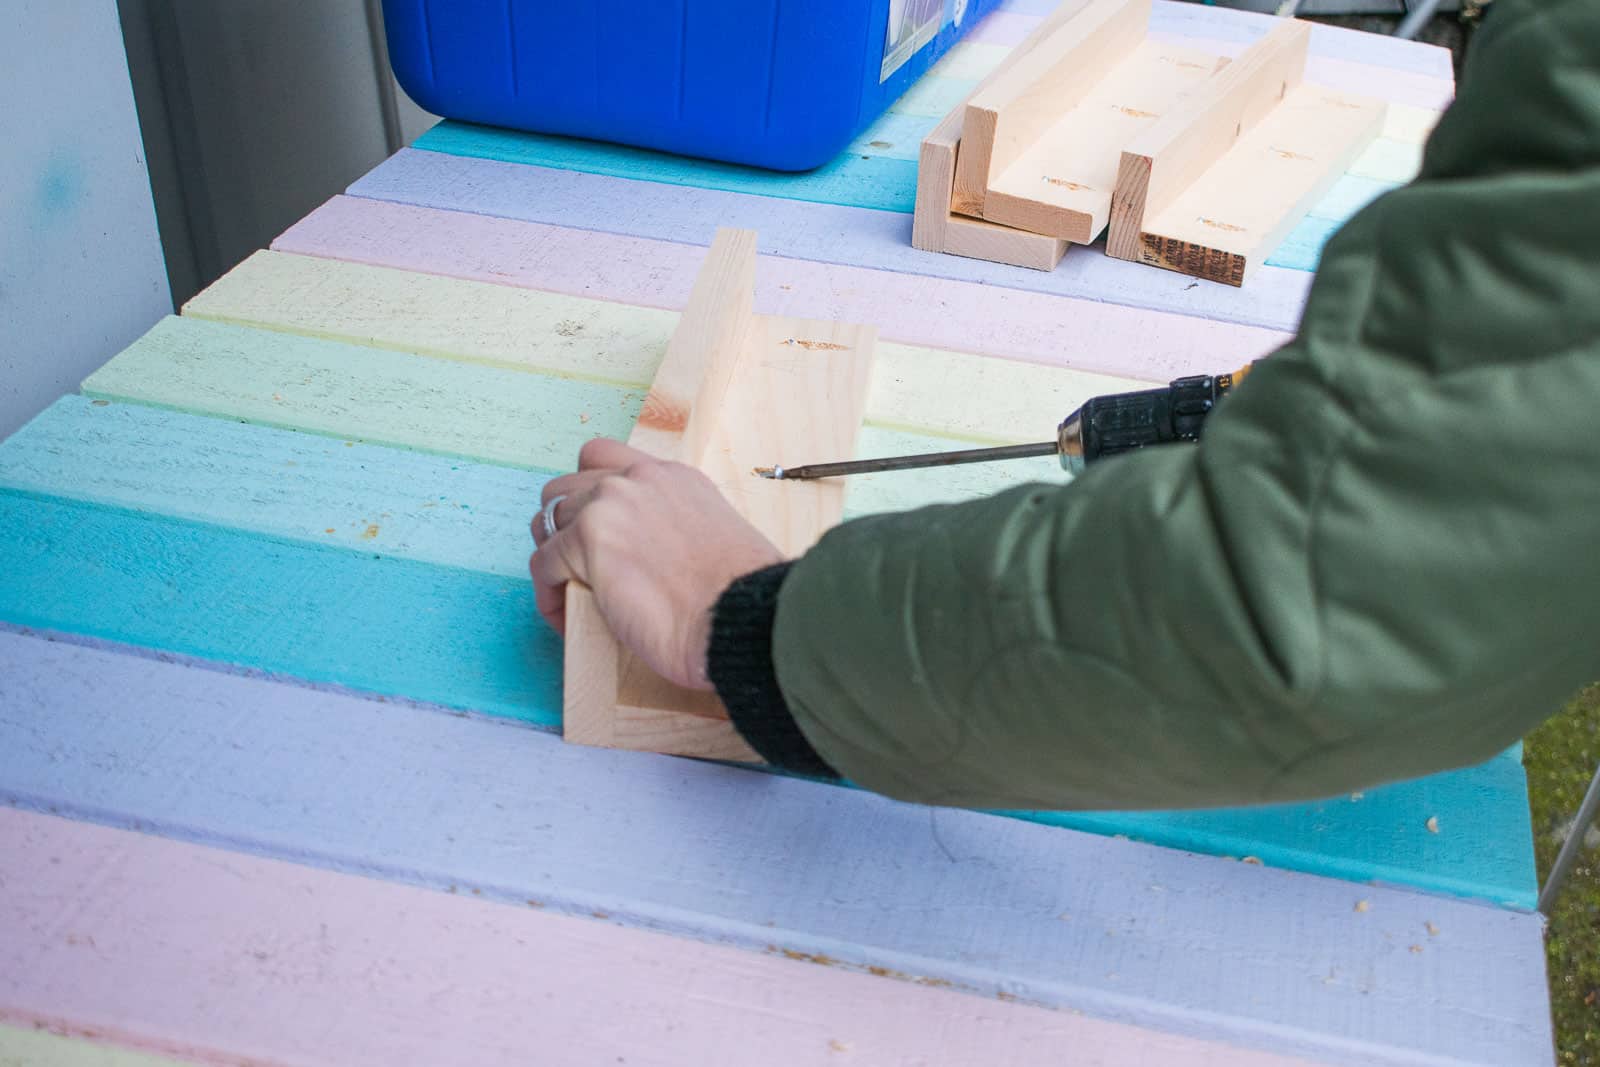
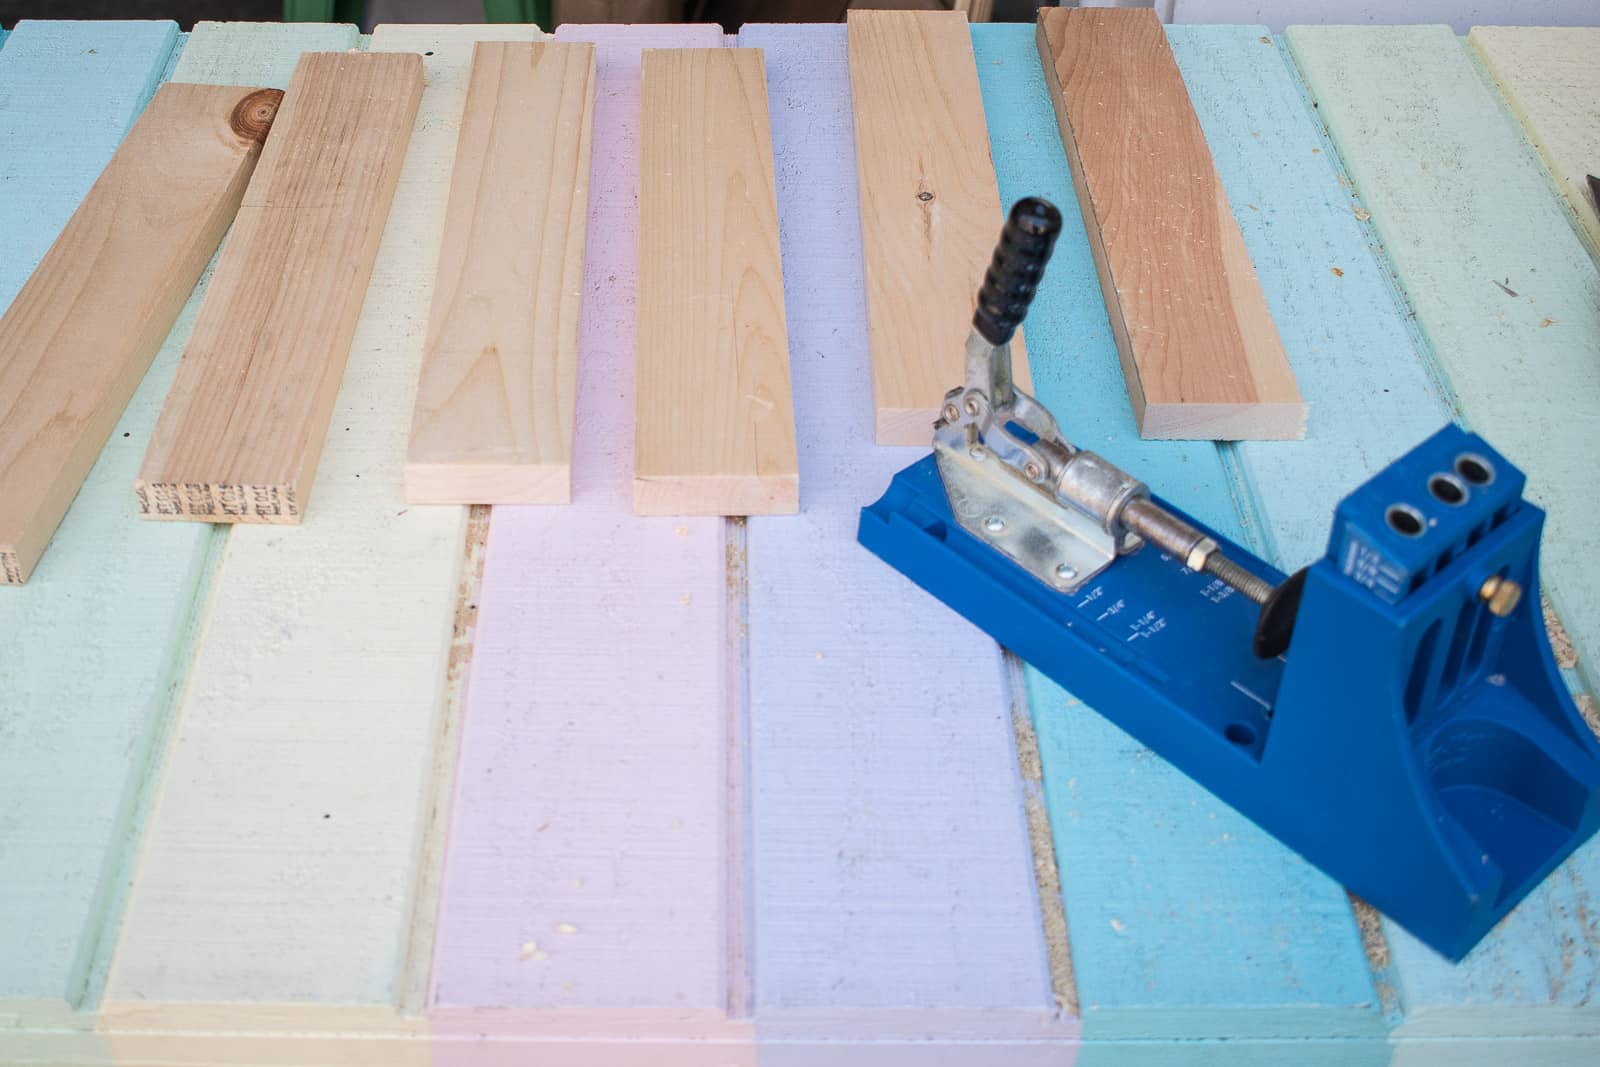
Step 2. Build the legs
I build the four legs using 1×3 common pine and pocket holes. I allowed for an inch or two clearance from the ground and simply used pocket screws to attach the 1x3s at right angles.
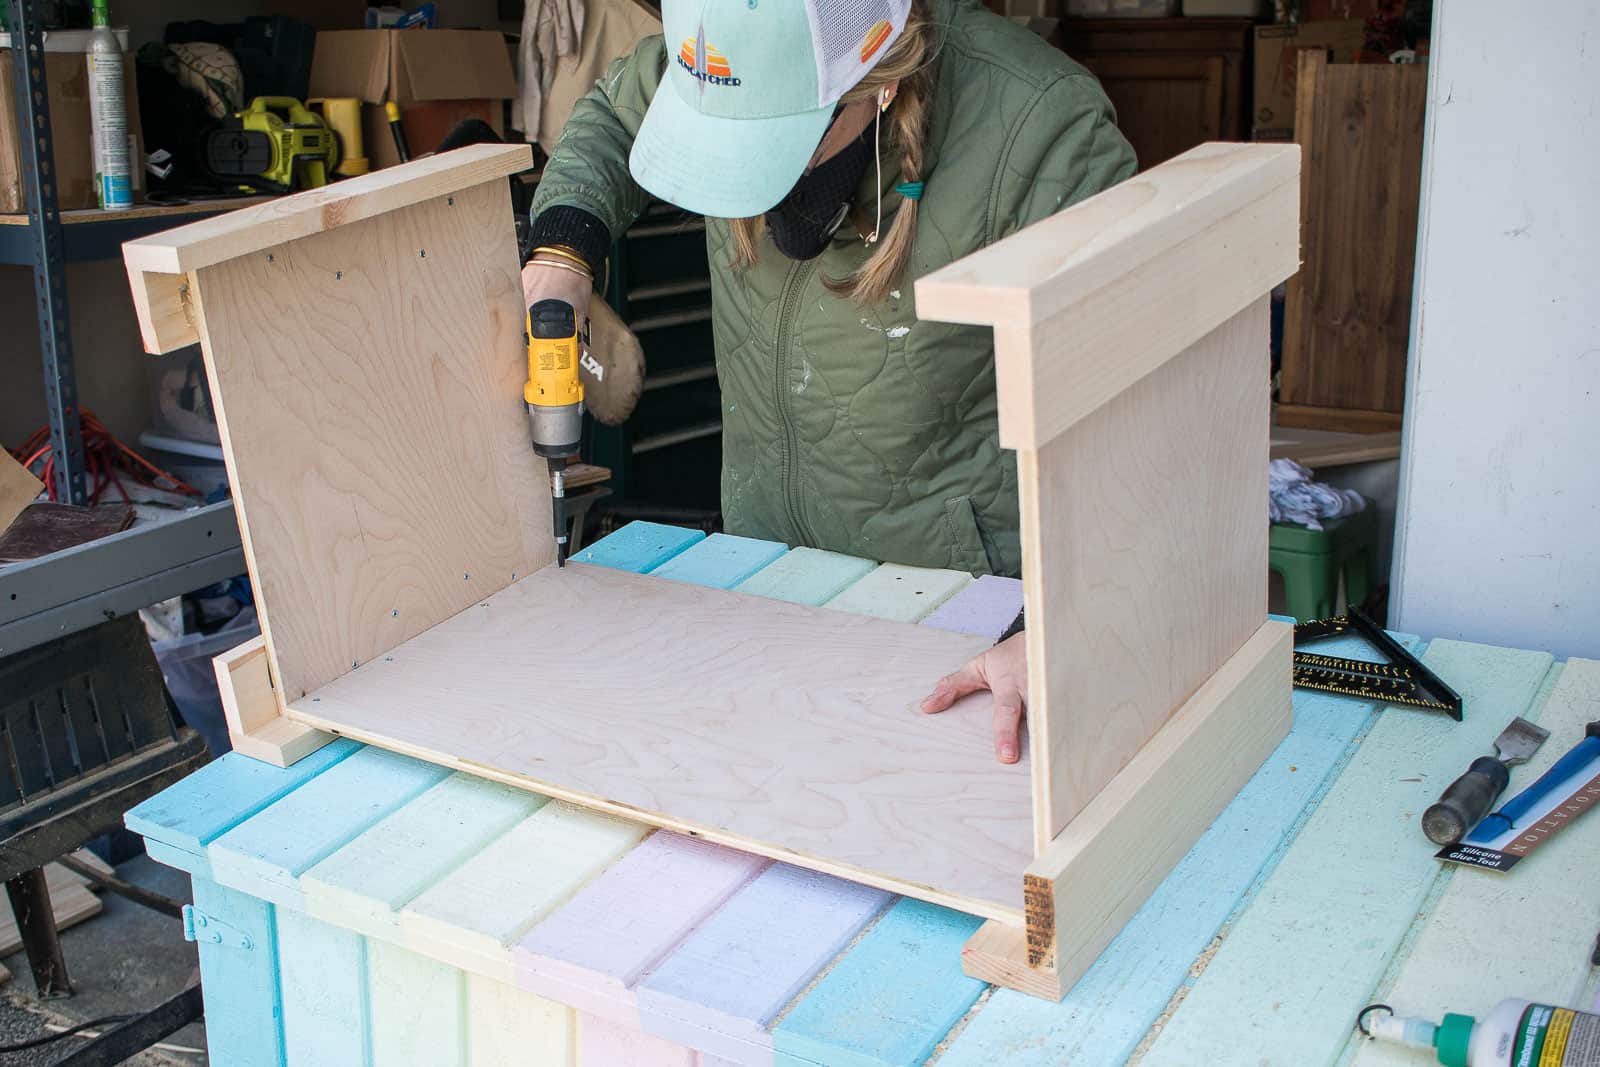
Step 3. Attach the sides box
I cut down some of my plywood for the walls. Normally I wouldn’t use plywood for a project like this because I don’t think it holds up to water as well, but I painted it and knew it would have another layer of common pine so I took the gamble because…scrap wood. I used wood glue and wood screws to attach the sides and the ends to the four legs to make the box.
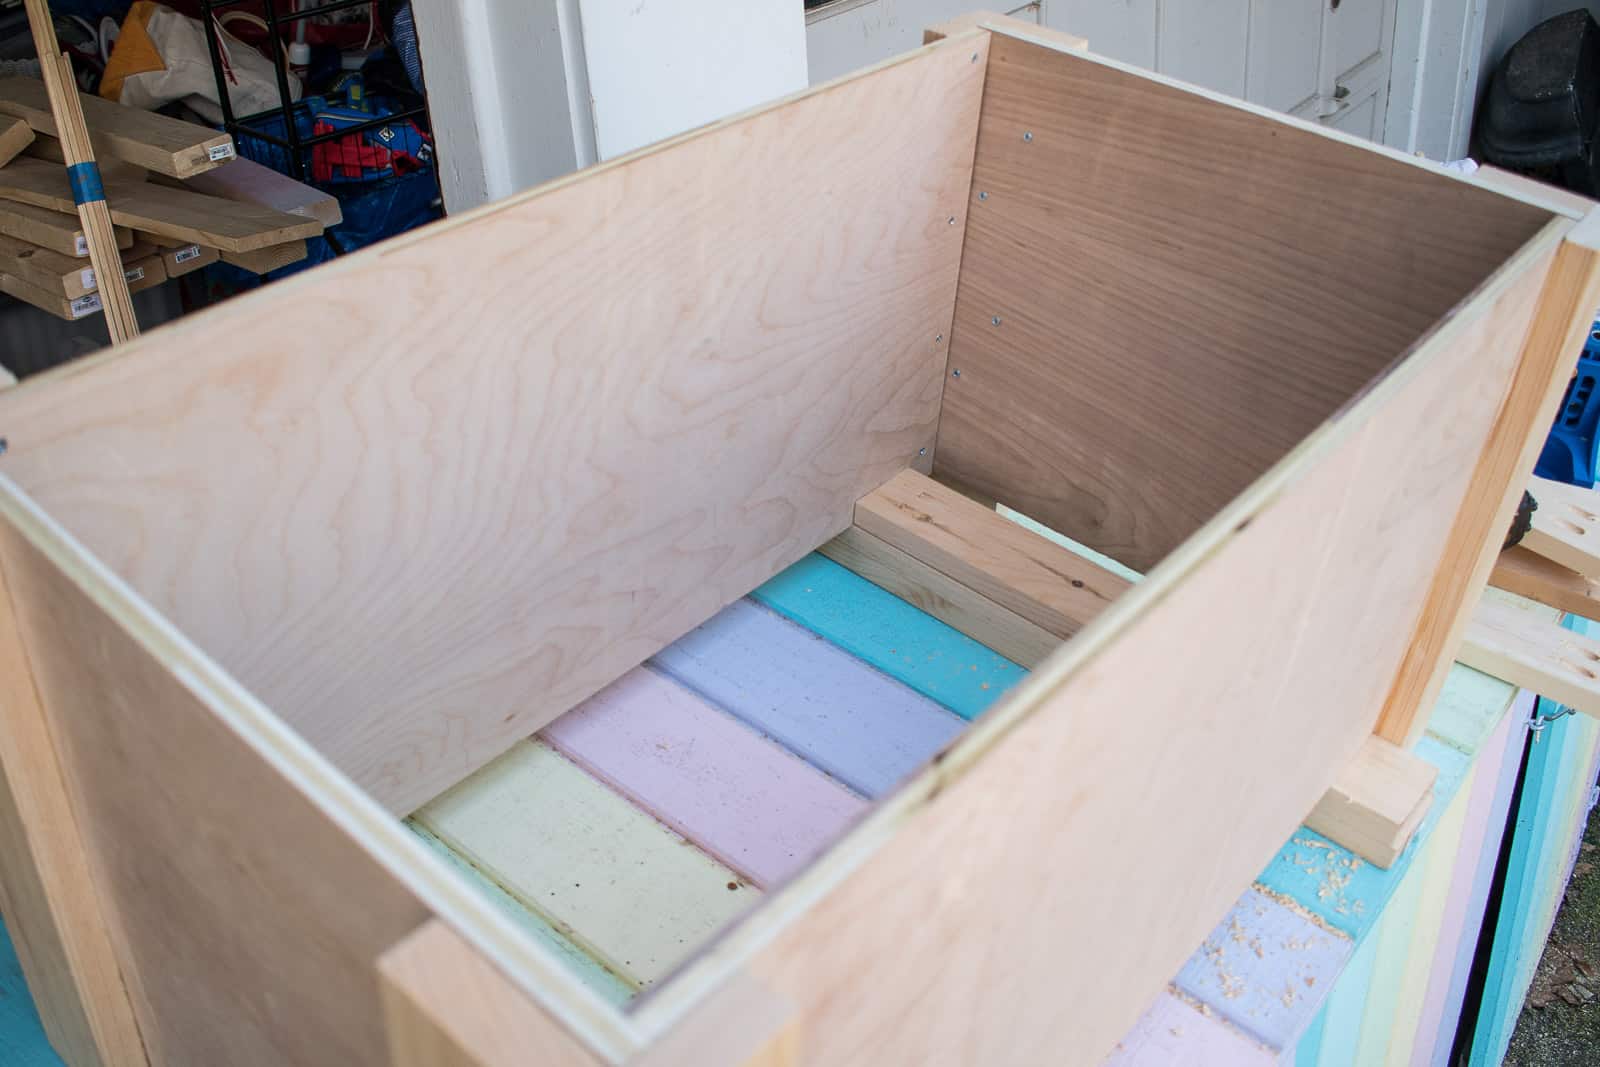
Step 4. Add slats
To create a base for the cooler to rest on, I drilled pocket holes in the ends of more 1x3s and attached 8 of them spaced evenly inside the bottom edge of the box. I’m hoping all of the slats will disperse the weight and be strong enough to hold a full cooler… pocket holes through thin soft lumber like this aren’t always the best design choice, but… that’s what I did. Fingers crossed.
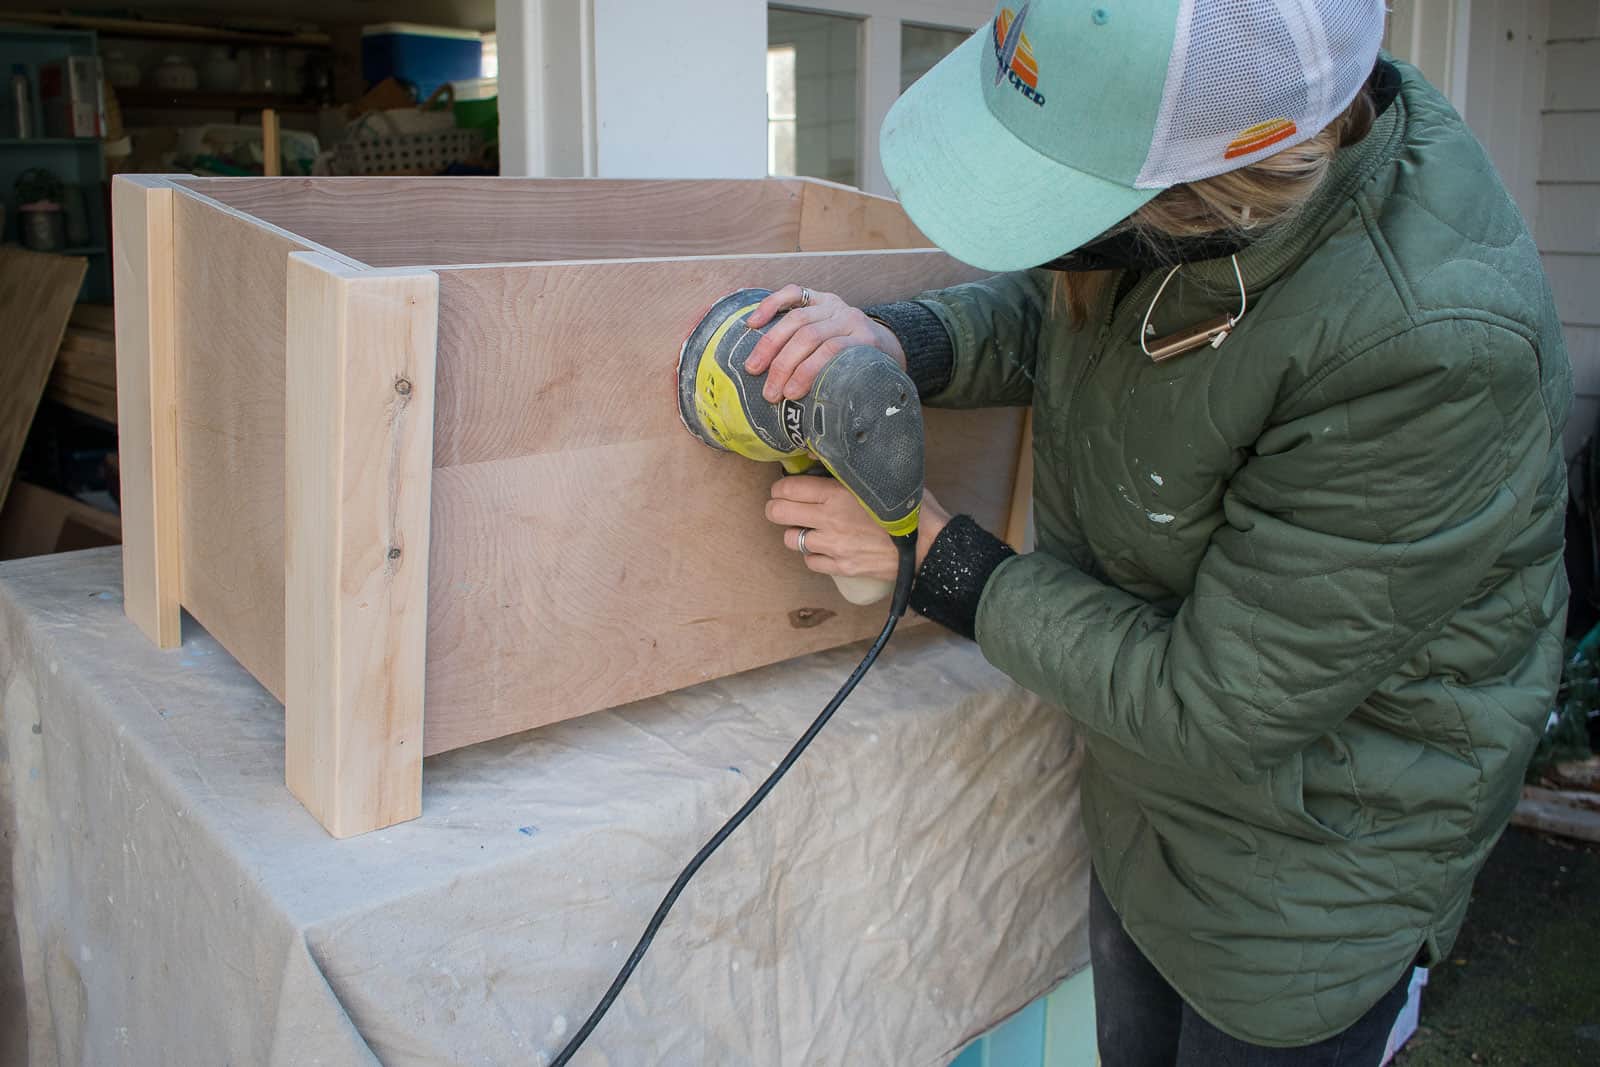
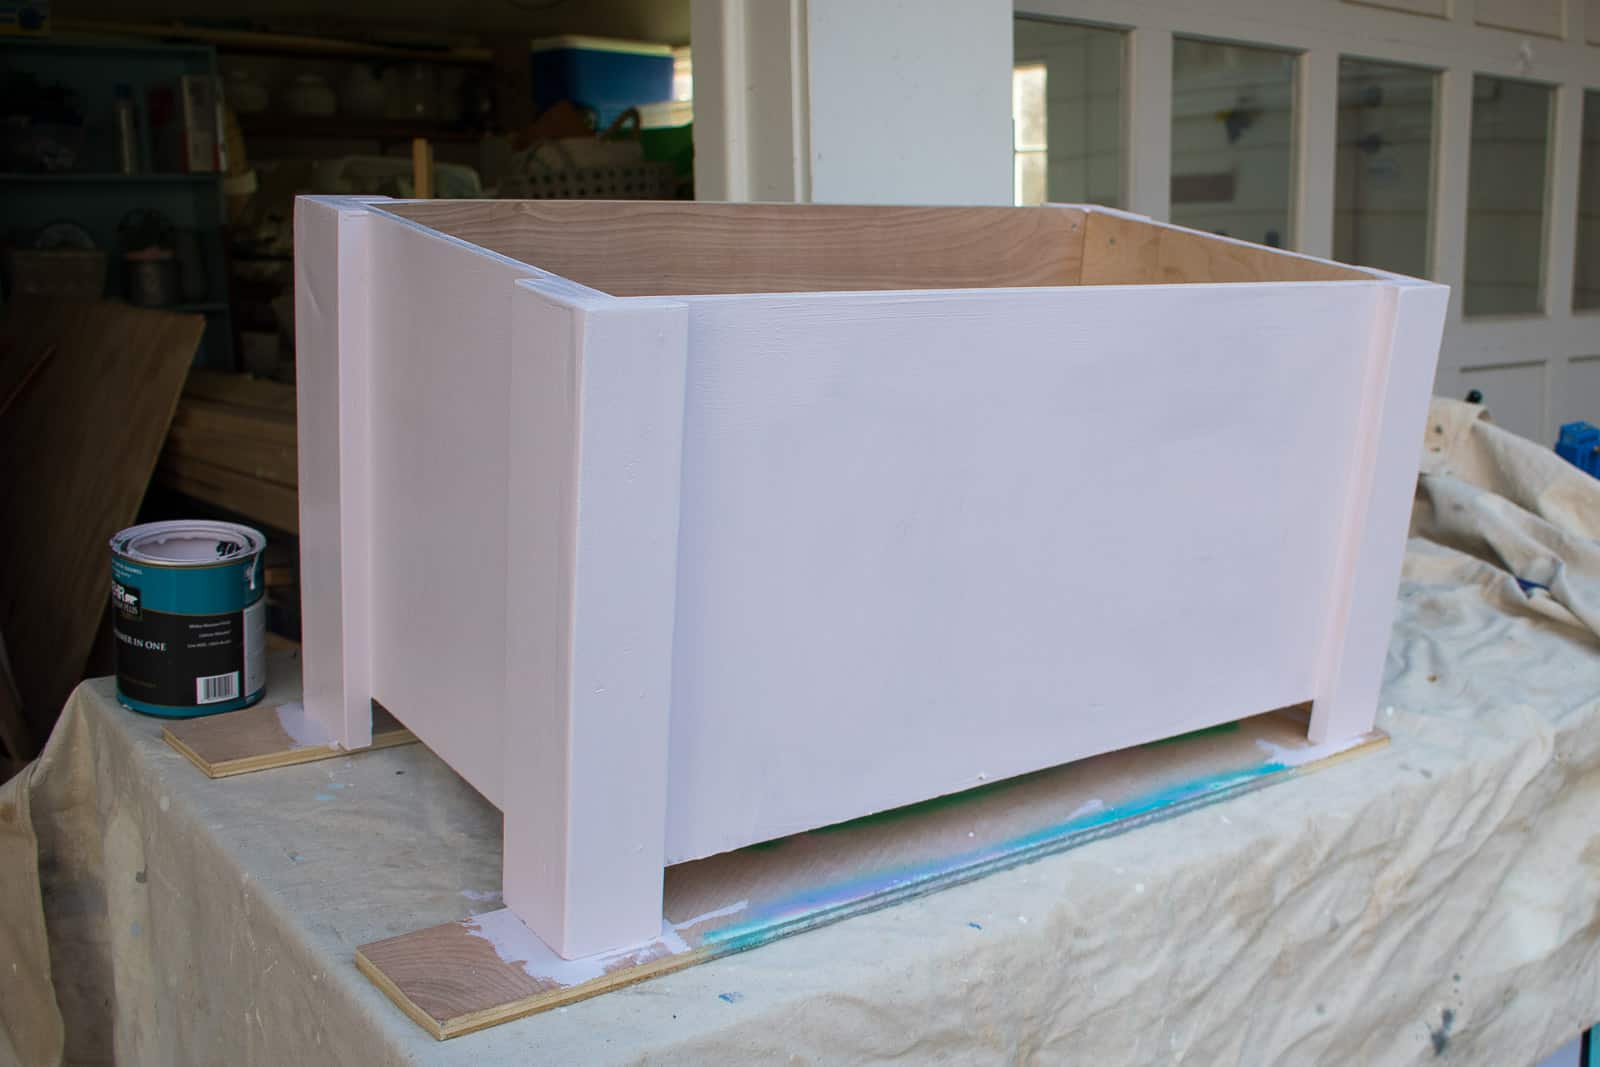
Step 5. Sand and Paint
I sanded and painted the box using Behr Dusty Lilac.
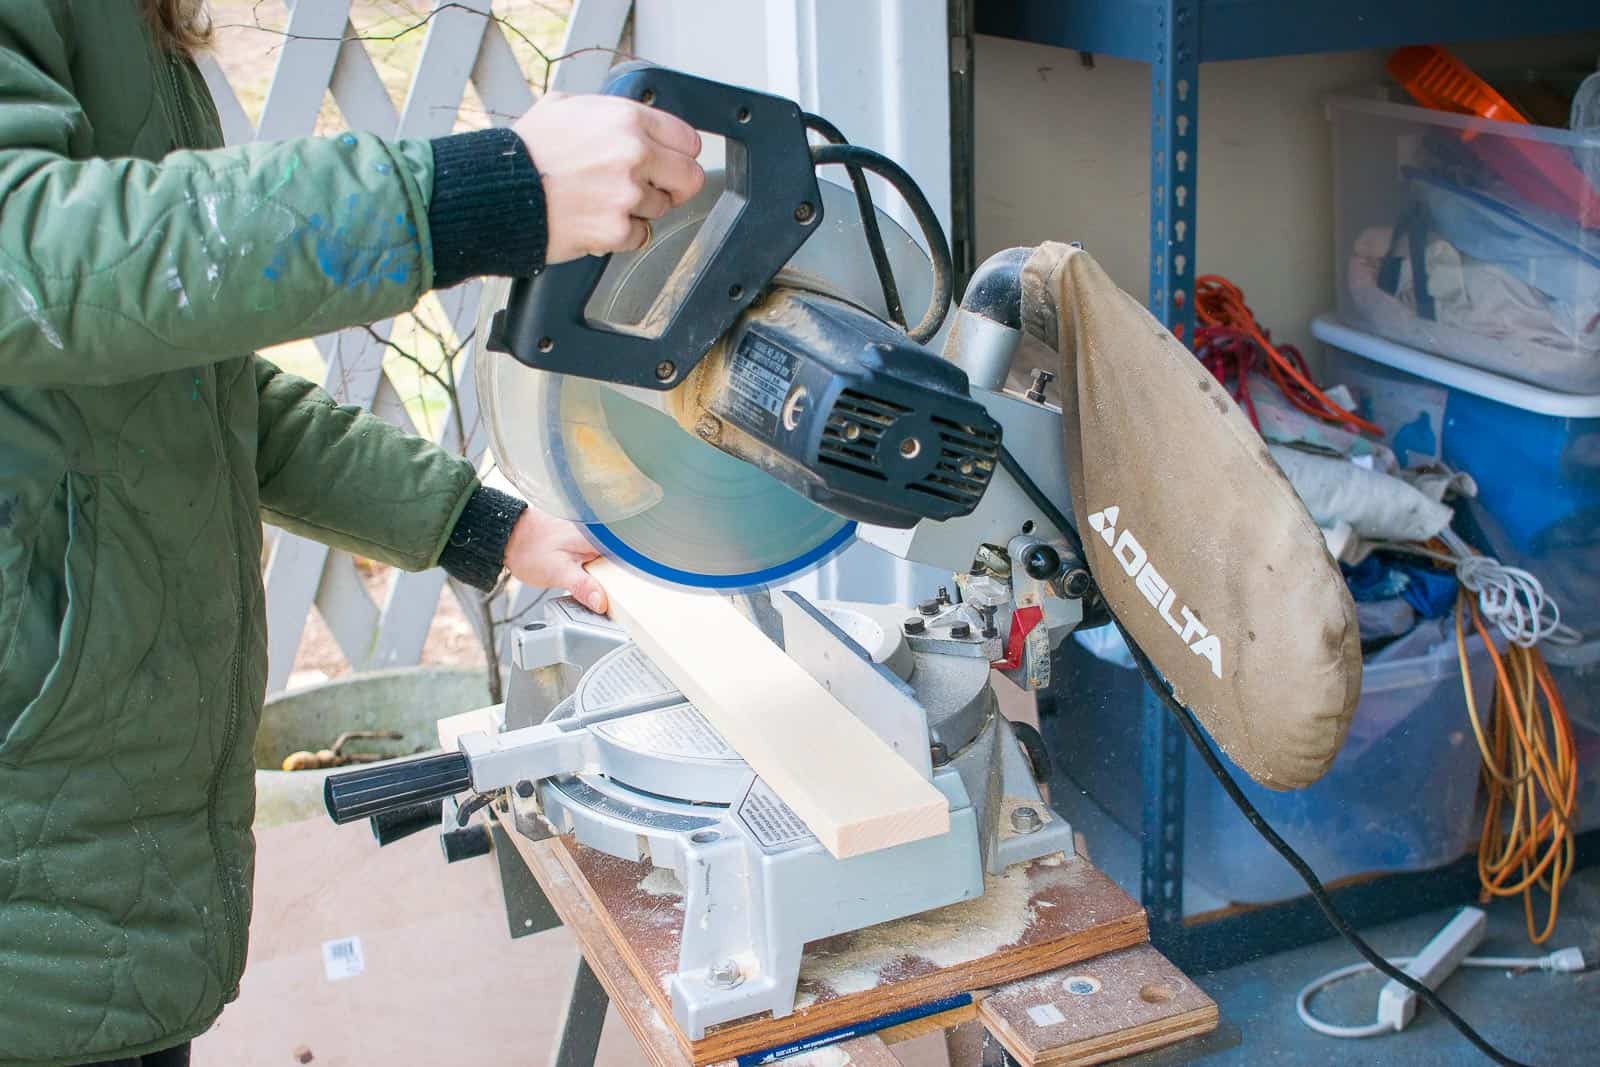
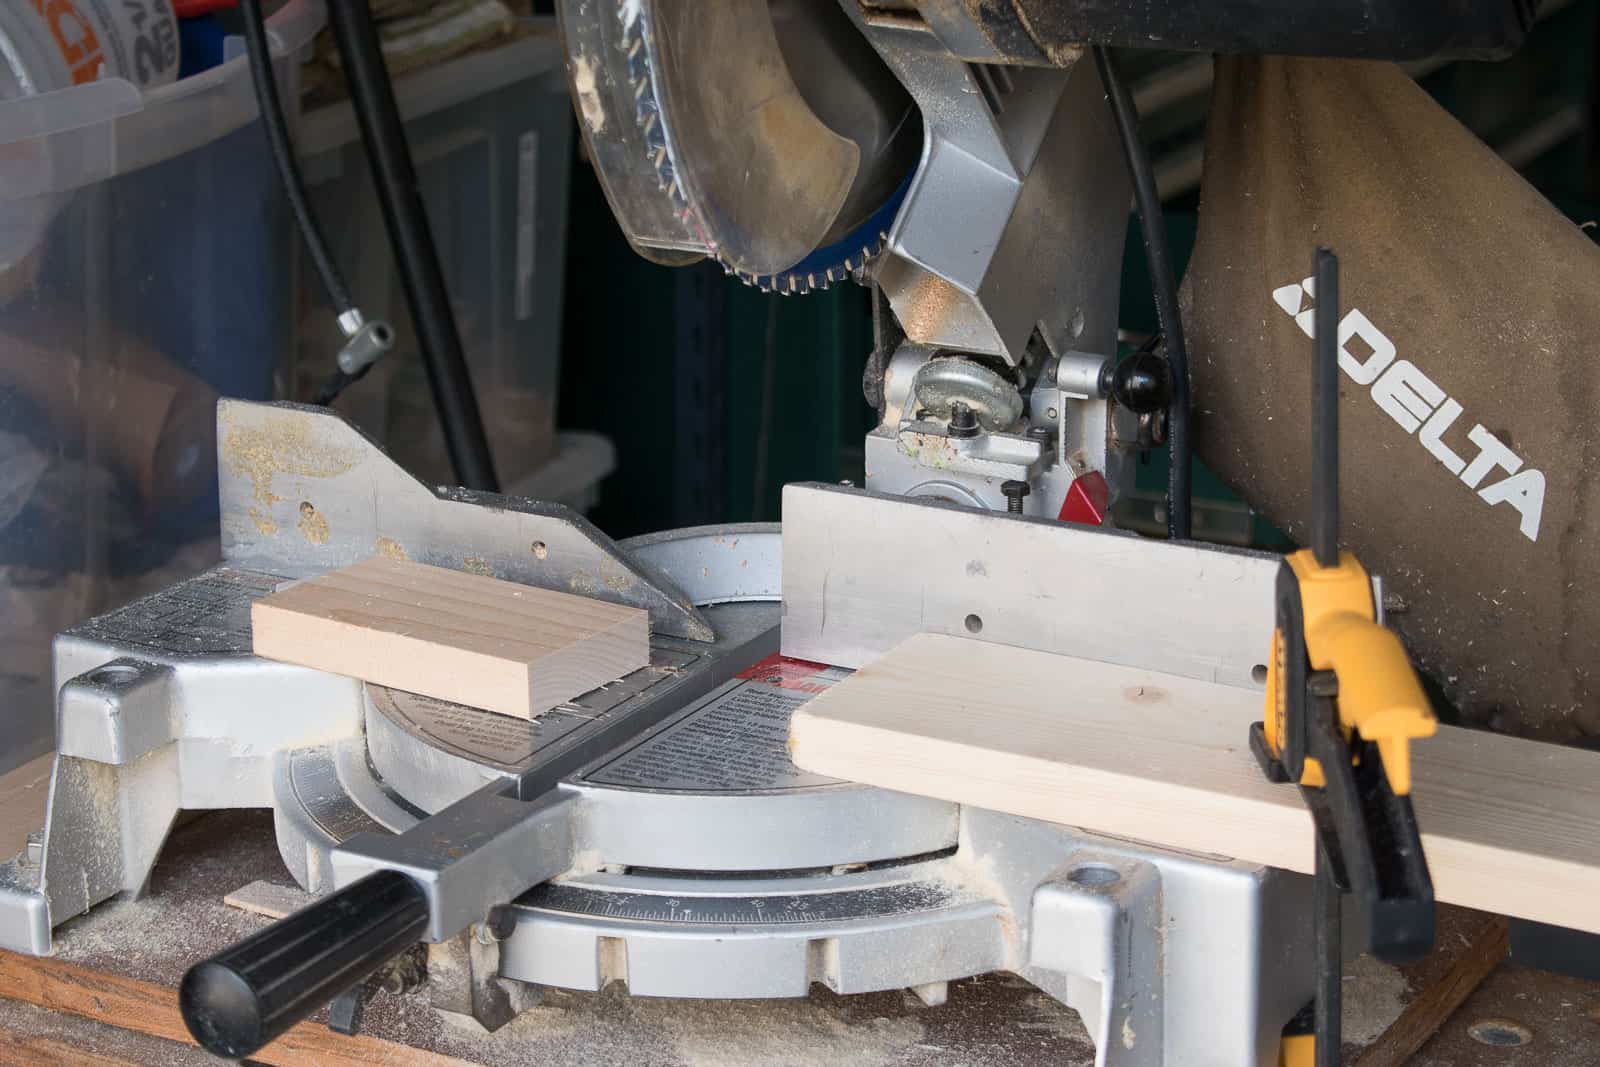
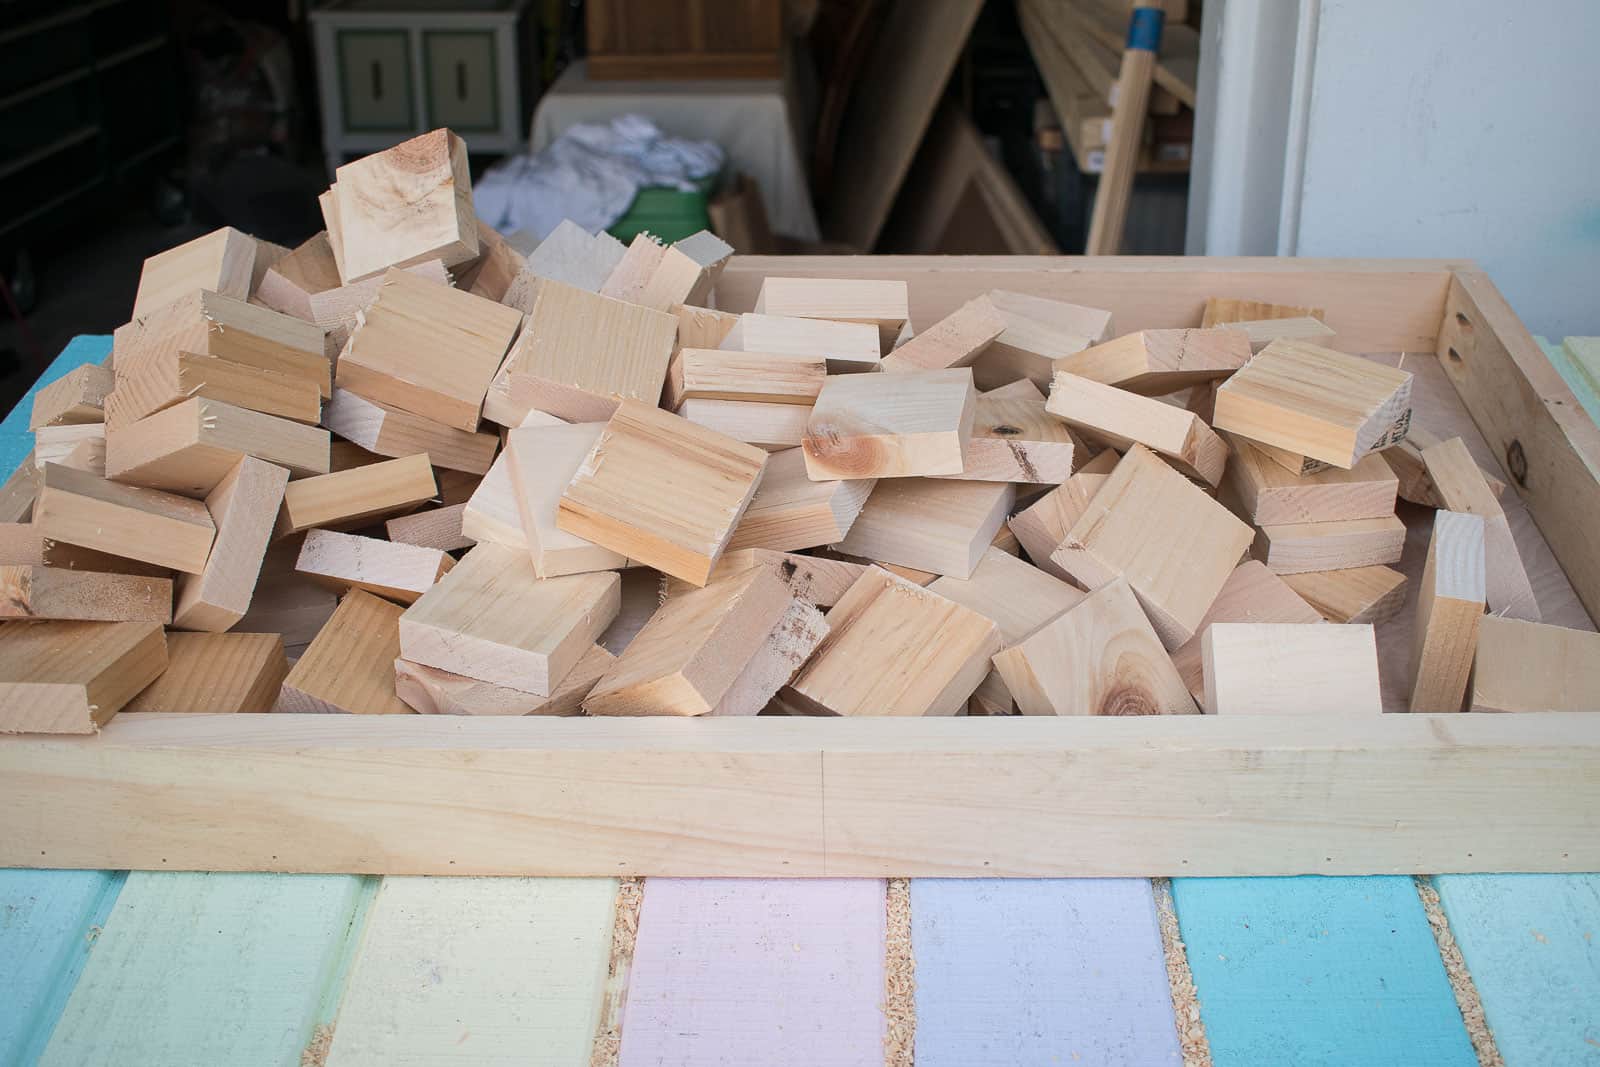
Step 6. Make the Decorative Tiles
With the box built, it was time to move onto the decorative aspect of this. I’ve already built and painted a few pieces for the patio and am trying to bring in more color to the space, so I figured this would be a fun chance to really go to town. I set up a stop block on my miter saw and cut down many MANY 1x3s into squares.
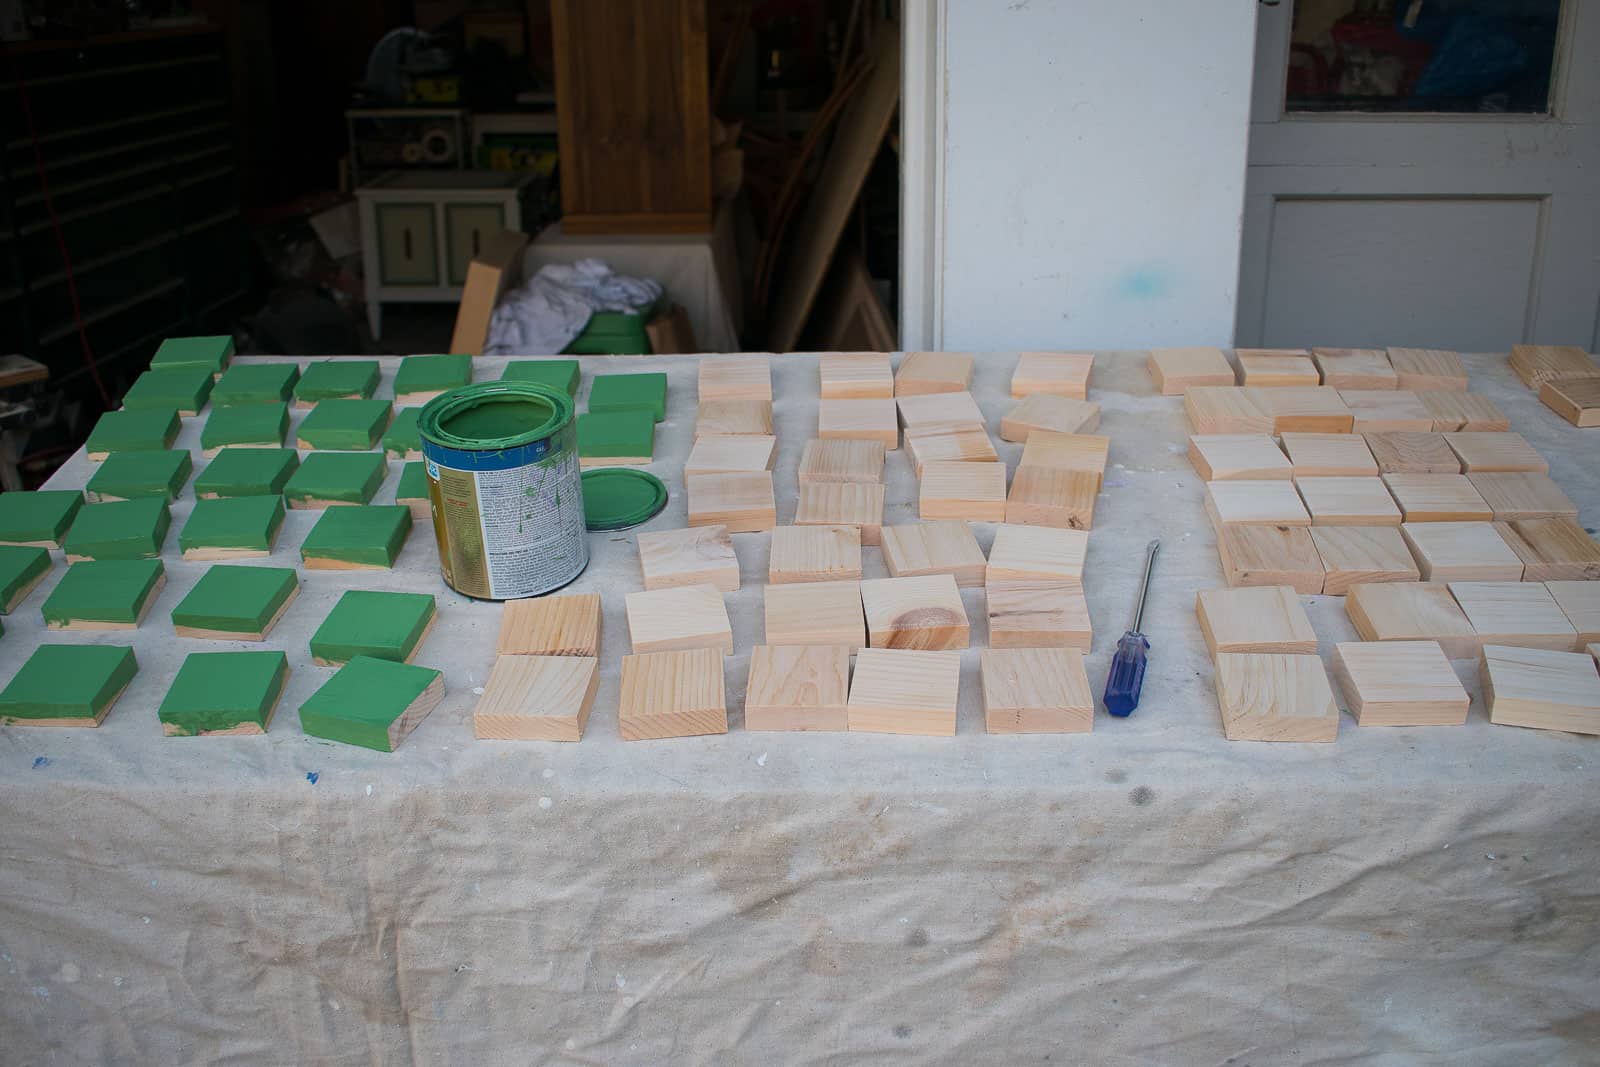
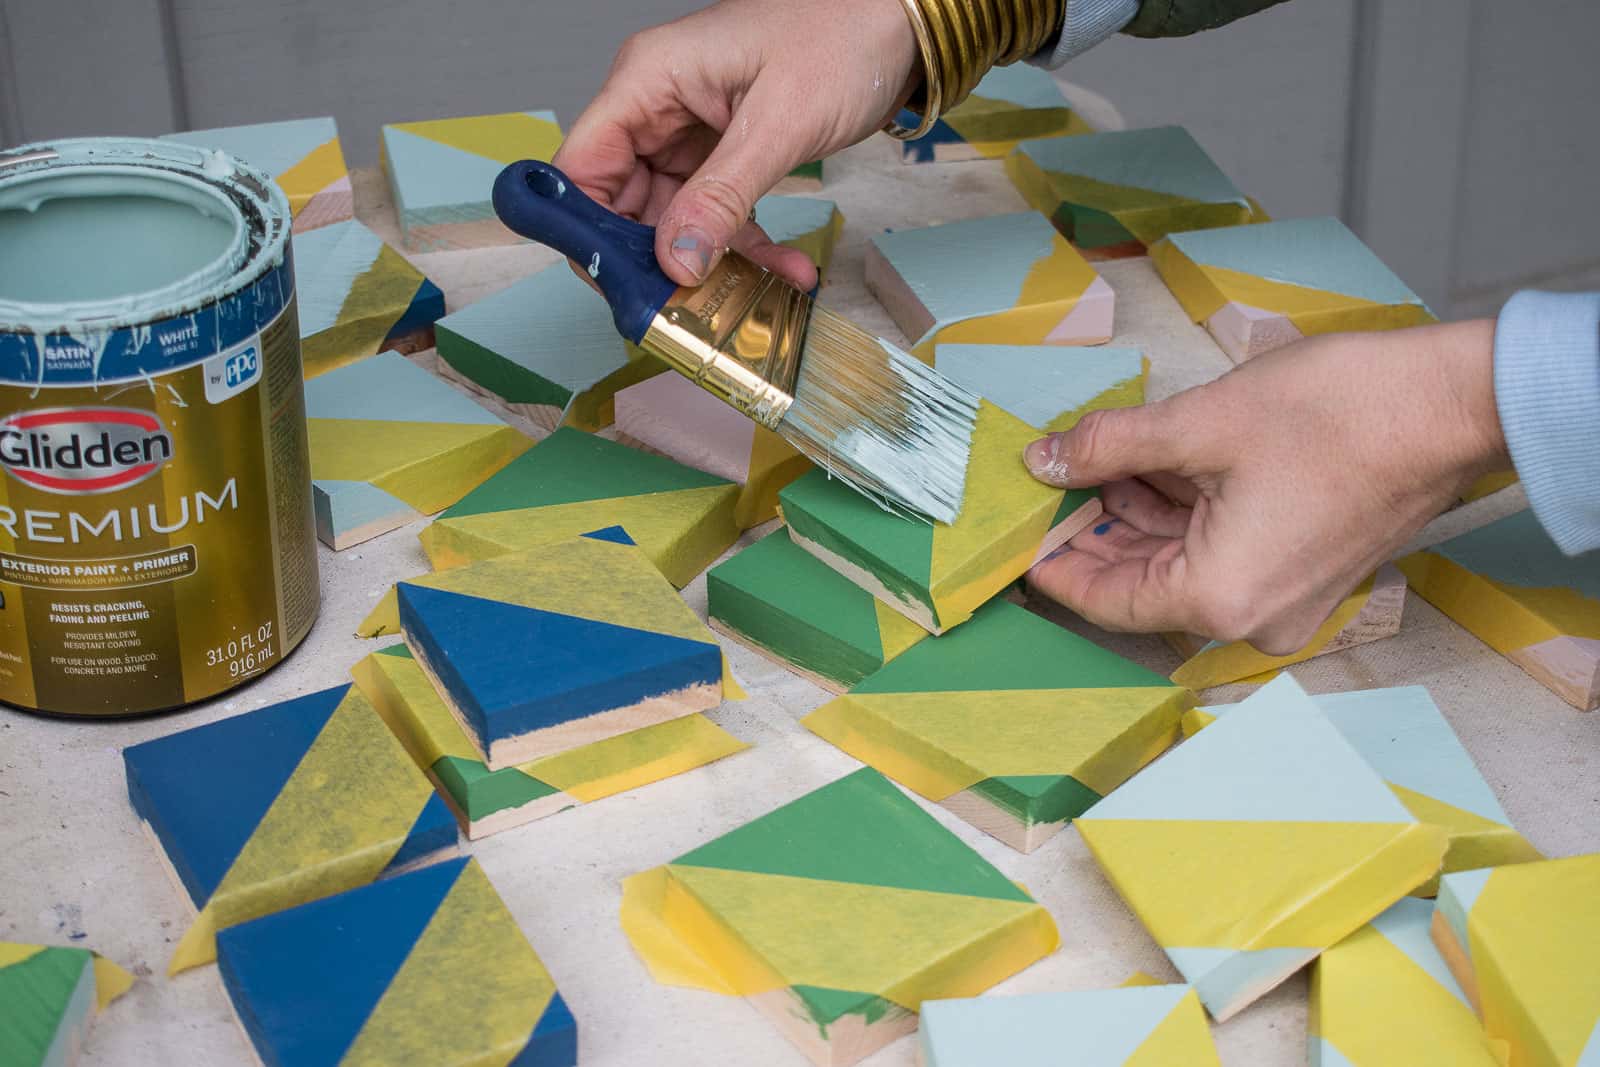
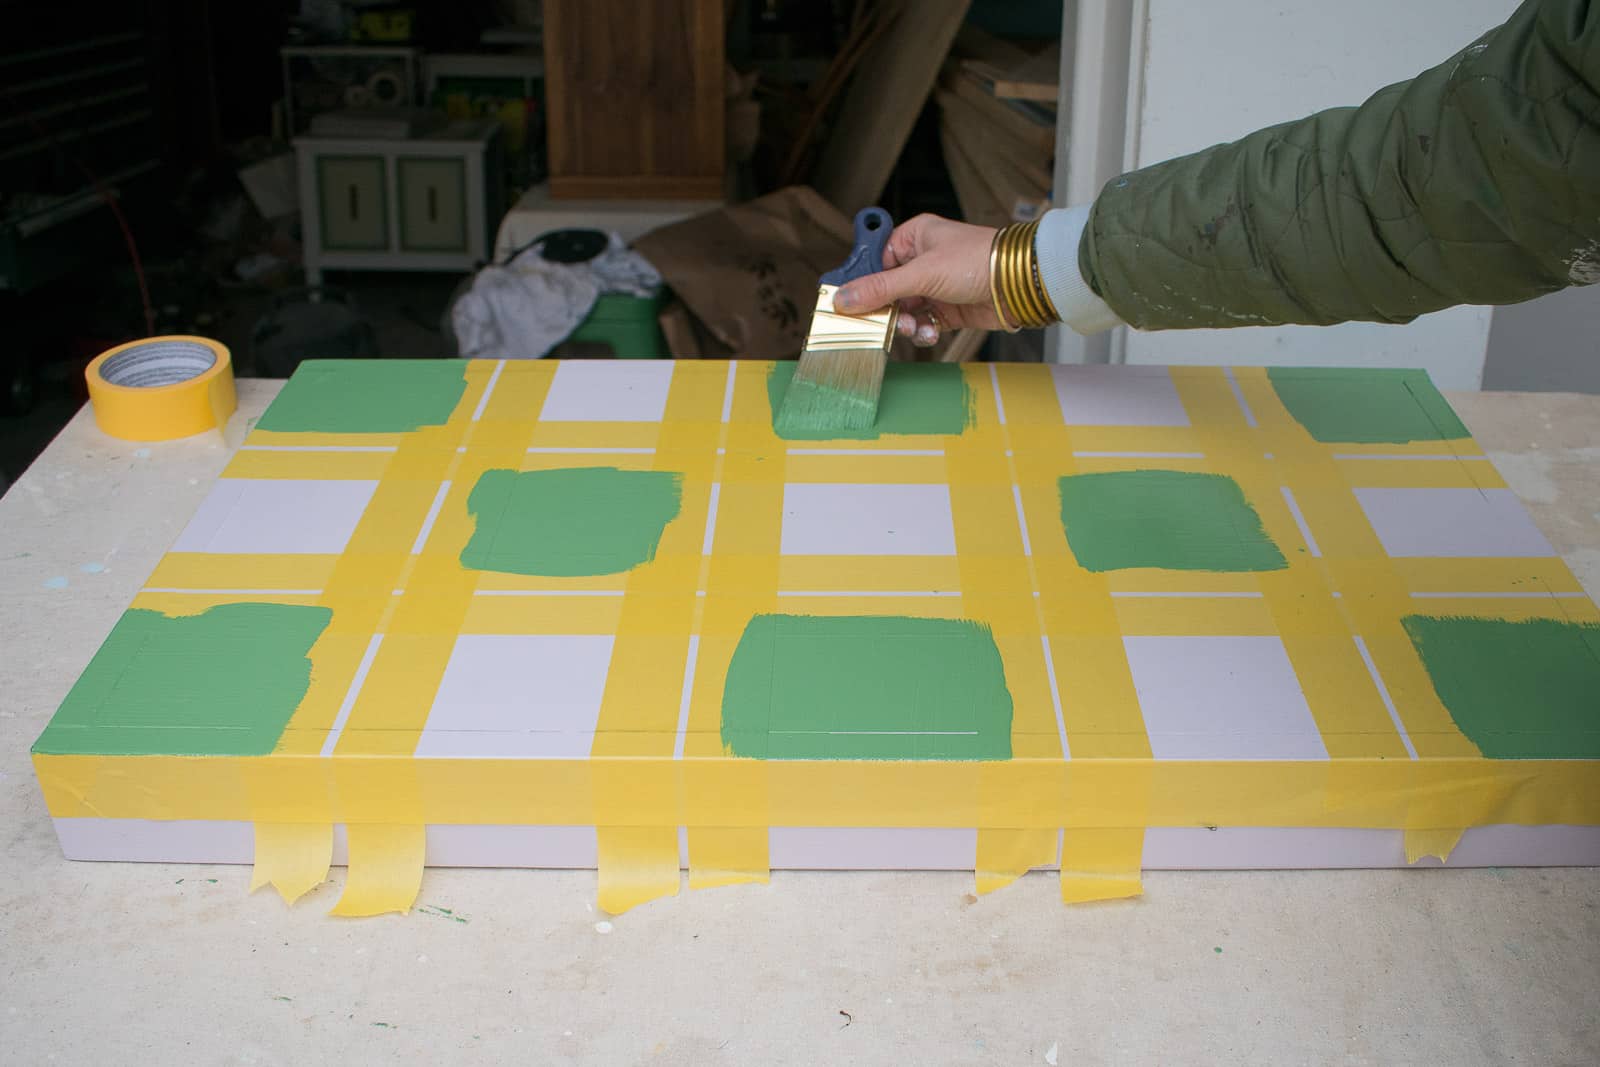
I sanded down all the edges and then divided the squares into four groups to paint. I’m using the following Home Depot colors in exterior paint for the patio decor: Chinese Porcelain (blue), Moss Ring (green), Kangaroo Paw (pink), Aquamarine Dream (light blue), Dusty Lilac (lavender).

Once the paint had dried I used this yellow frogtape for delicate surfaces to tape off each square diagonally. Then I went back and painted them all again with contrasting colors. I tried to make these colors evenly distributed but my brain frizzed out at some point so I wasn’t keeping track.
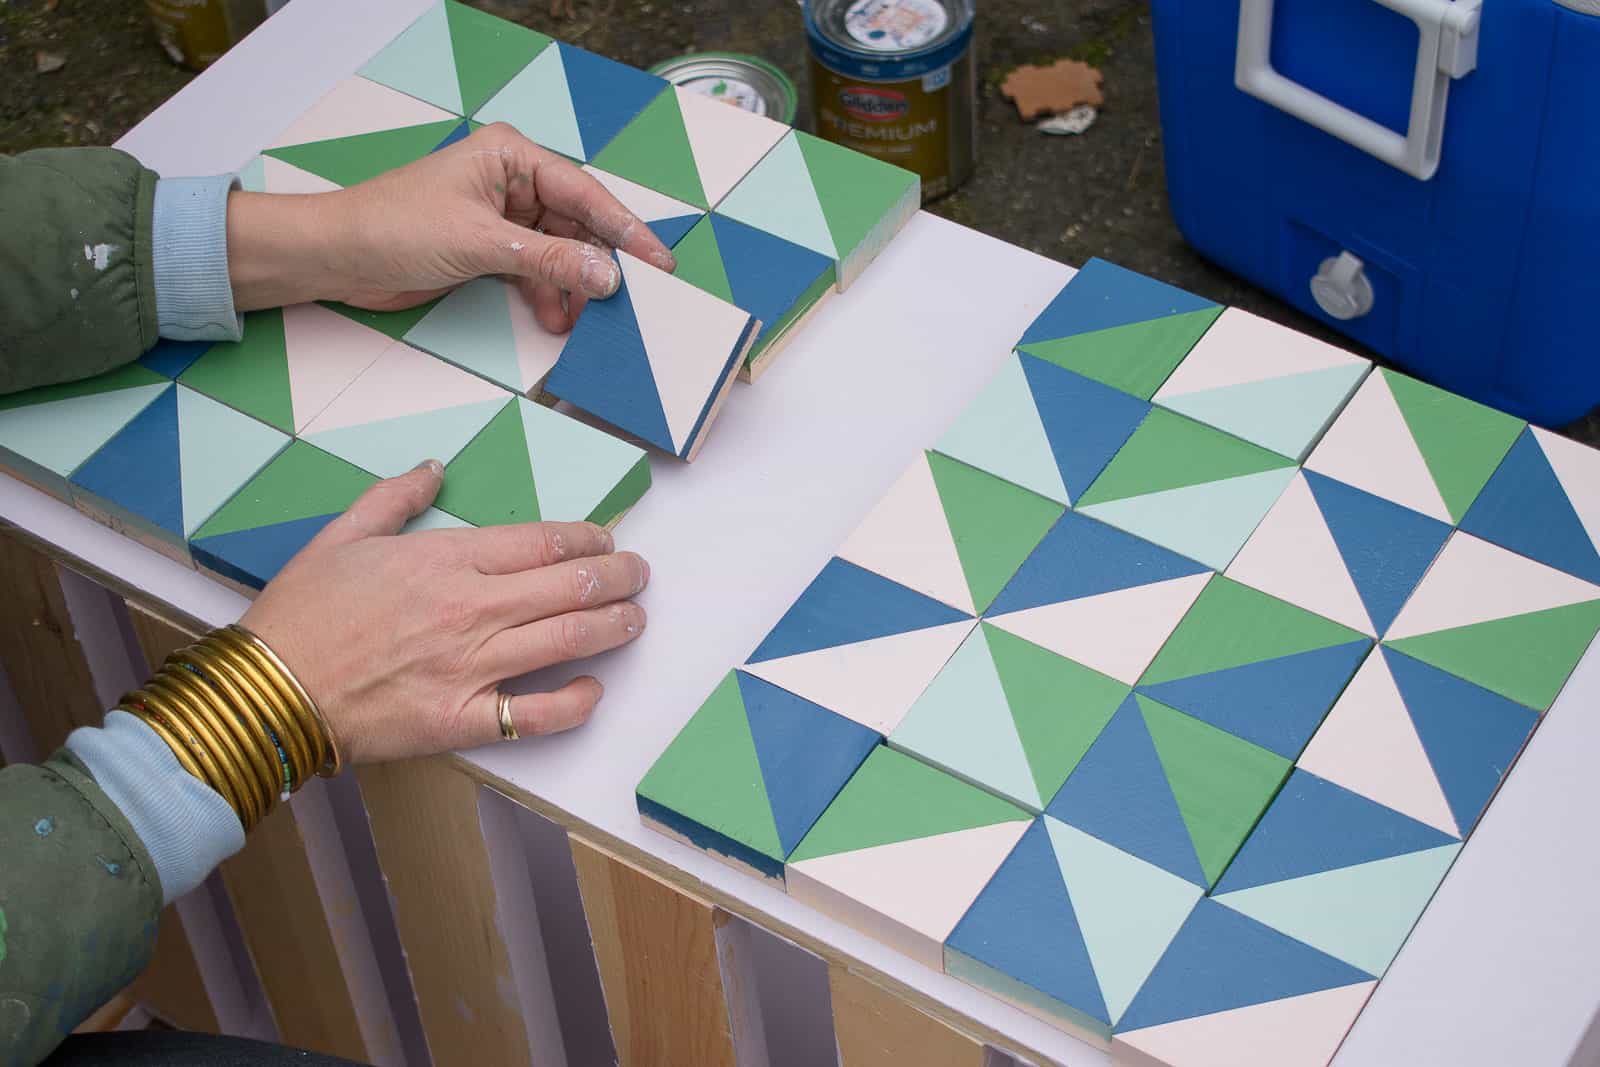
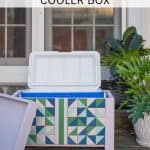
Step 7. Attach Tiles to the Cooler Box
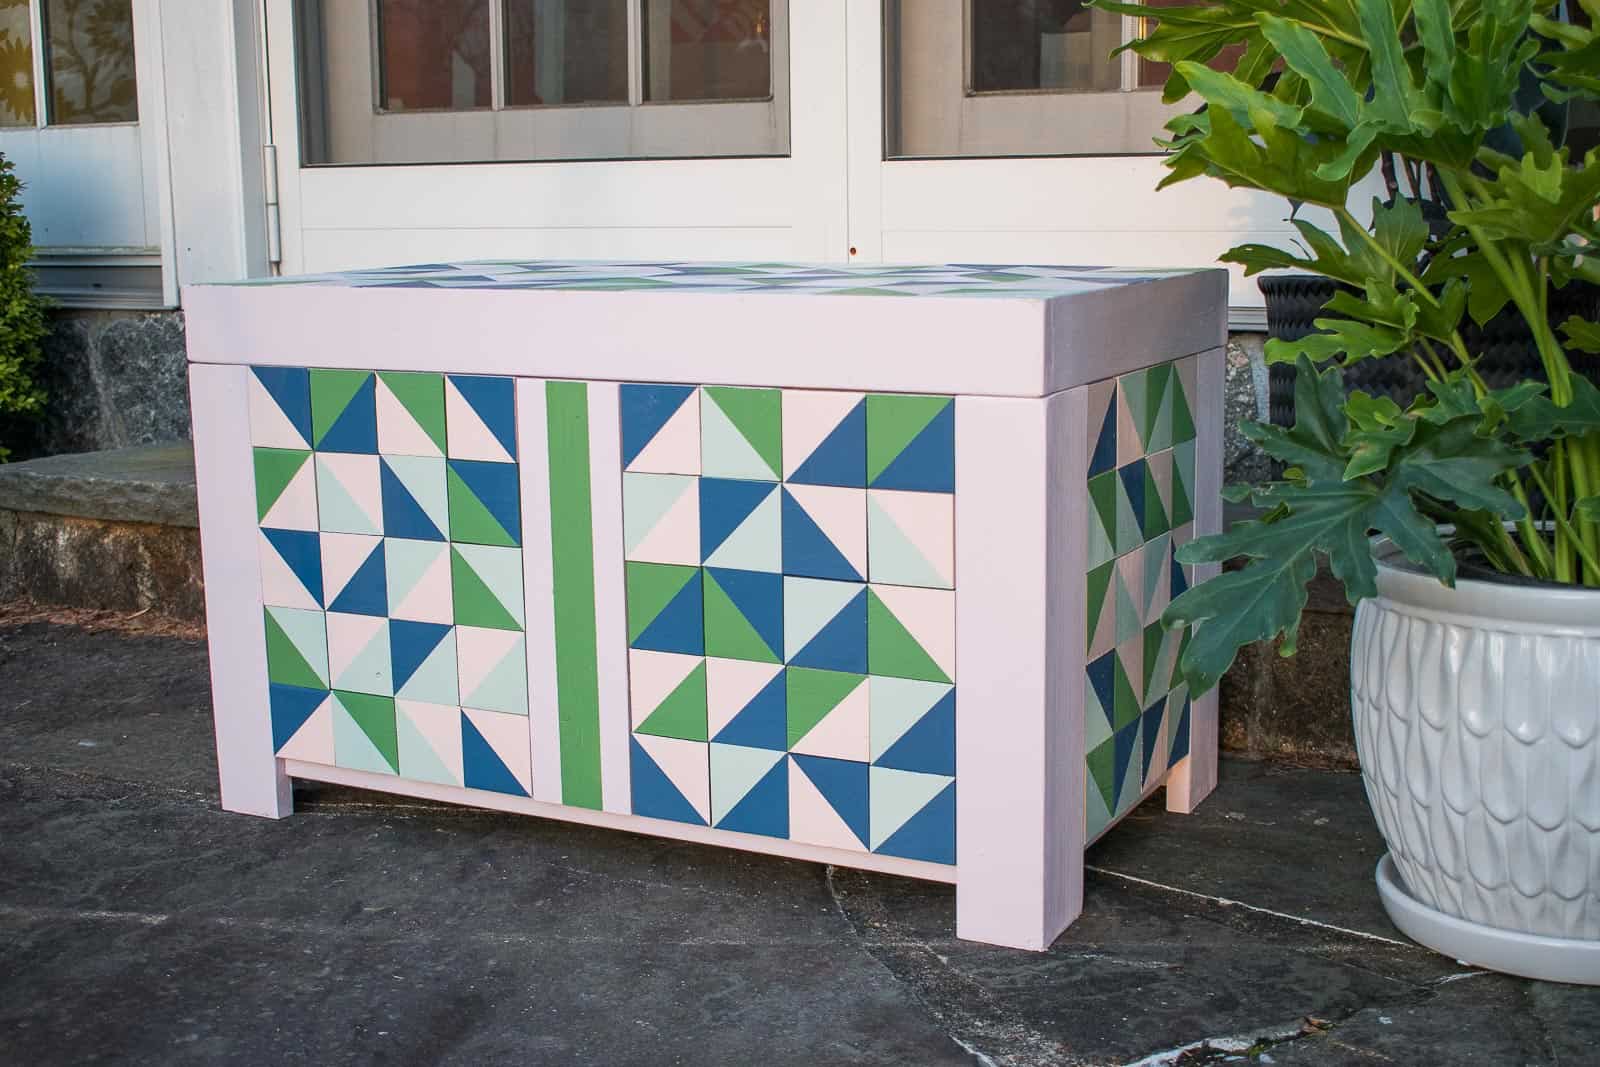
When the squares were dry, I laid them out on the box and found a pattern I liked… i.e. random. And then I simply used wood glue to adhere. Again… I’m hoping the wood glue will hold up to the elements, but if for some reason the squares start falling off down the line, I’ll use a small brad nail through the middle of each one for added strength. You’ll notice that the squares didn’t fit into the long sides of the cooler box perfectly, so I painted a scrap piece of 1×4 for the middle.
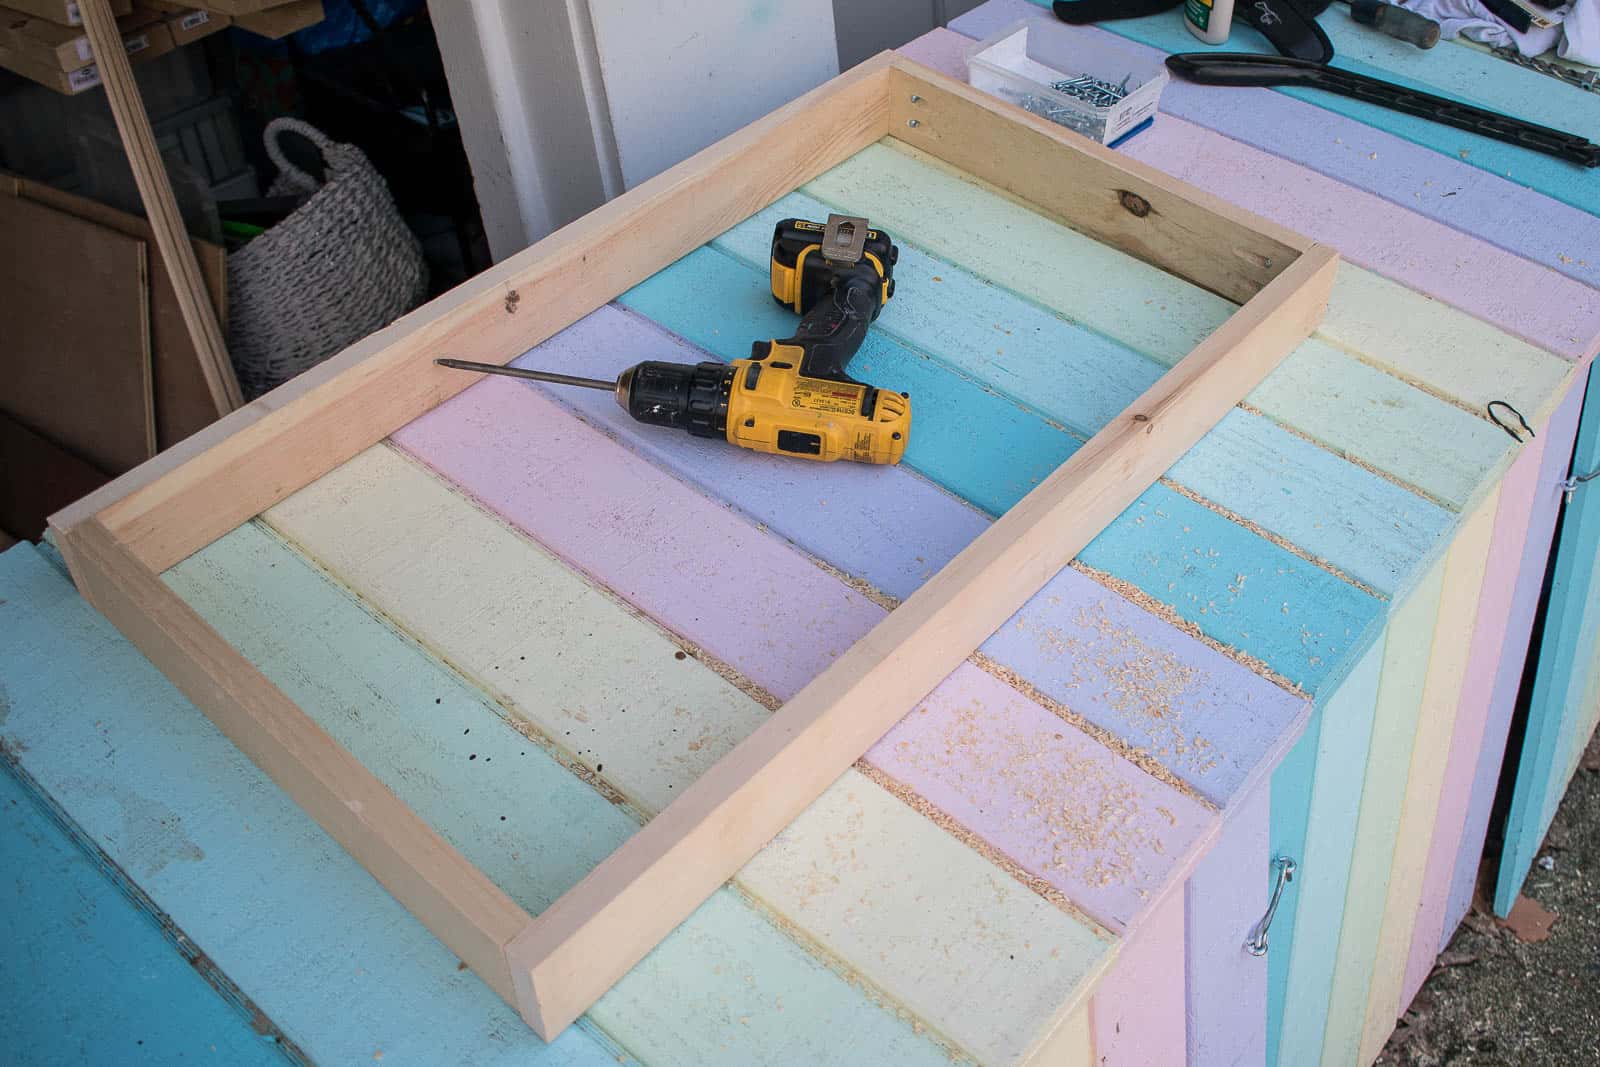
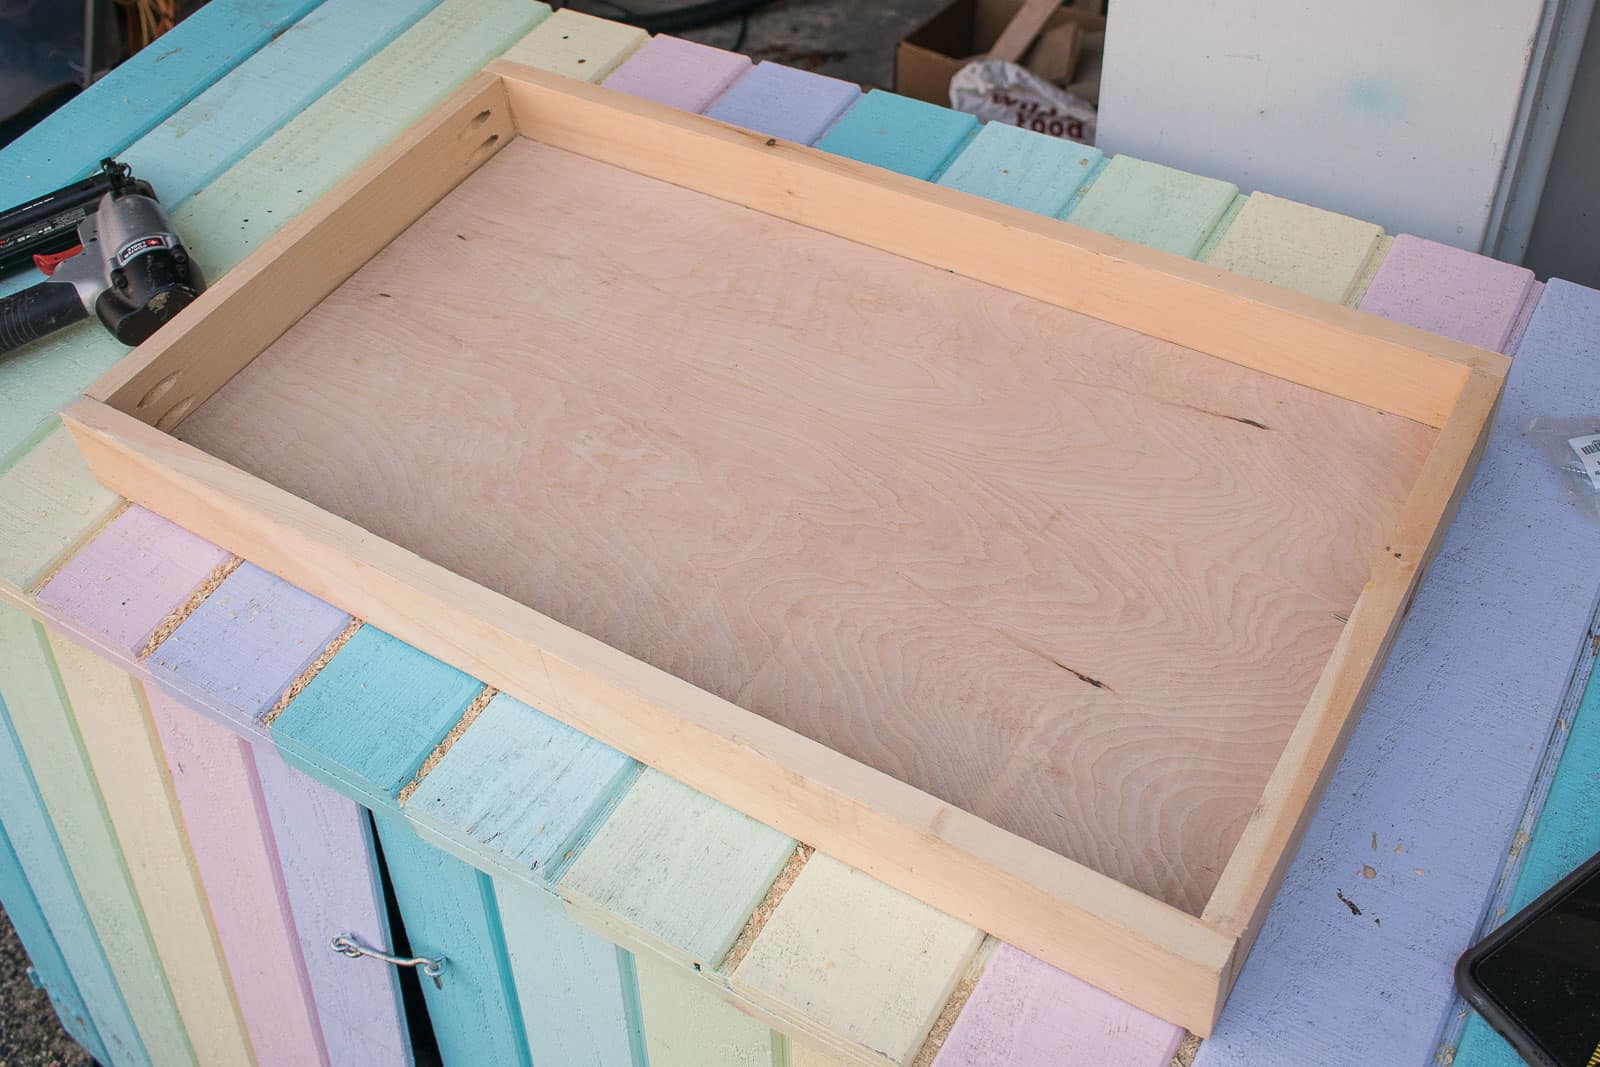
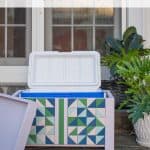
Step 8. Build the Lid
The last part of this project was to build a lid. I thought about ways to get cute with the lid, but ultimately decided it was as simple as building a frame using 1x3s and pocket holes. Then I cut another piece of plywood to sit inside the frame and attached it with wood glue and brad nails. This design means when you flip the lid over and are using it as a tray, there are visible pocket holes, but I didn’t want to leave the house just for pocket hole plugs. I may go back and fill those in later.
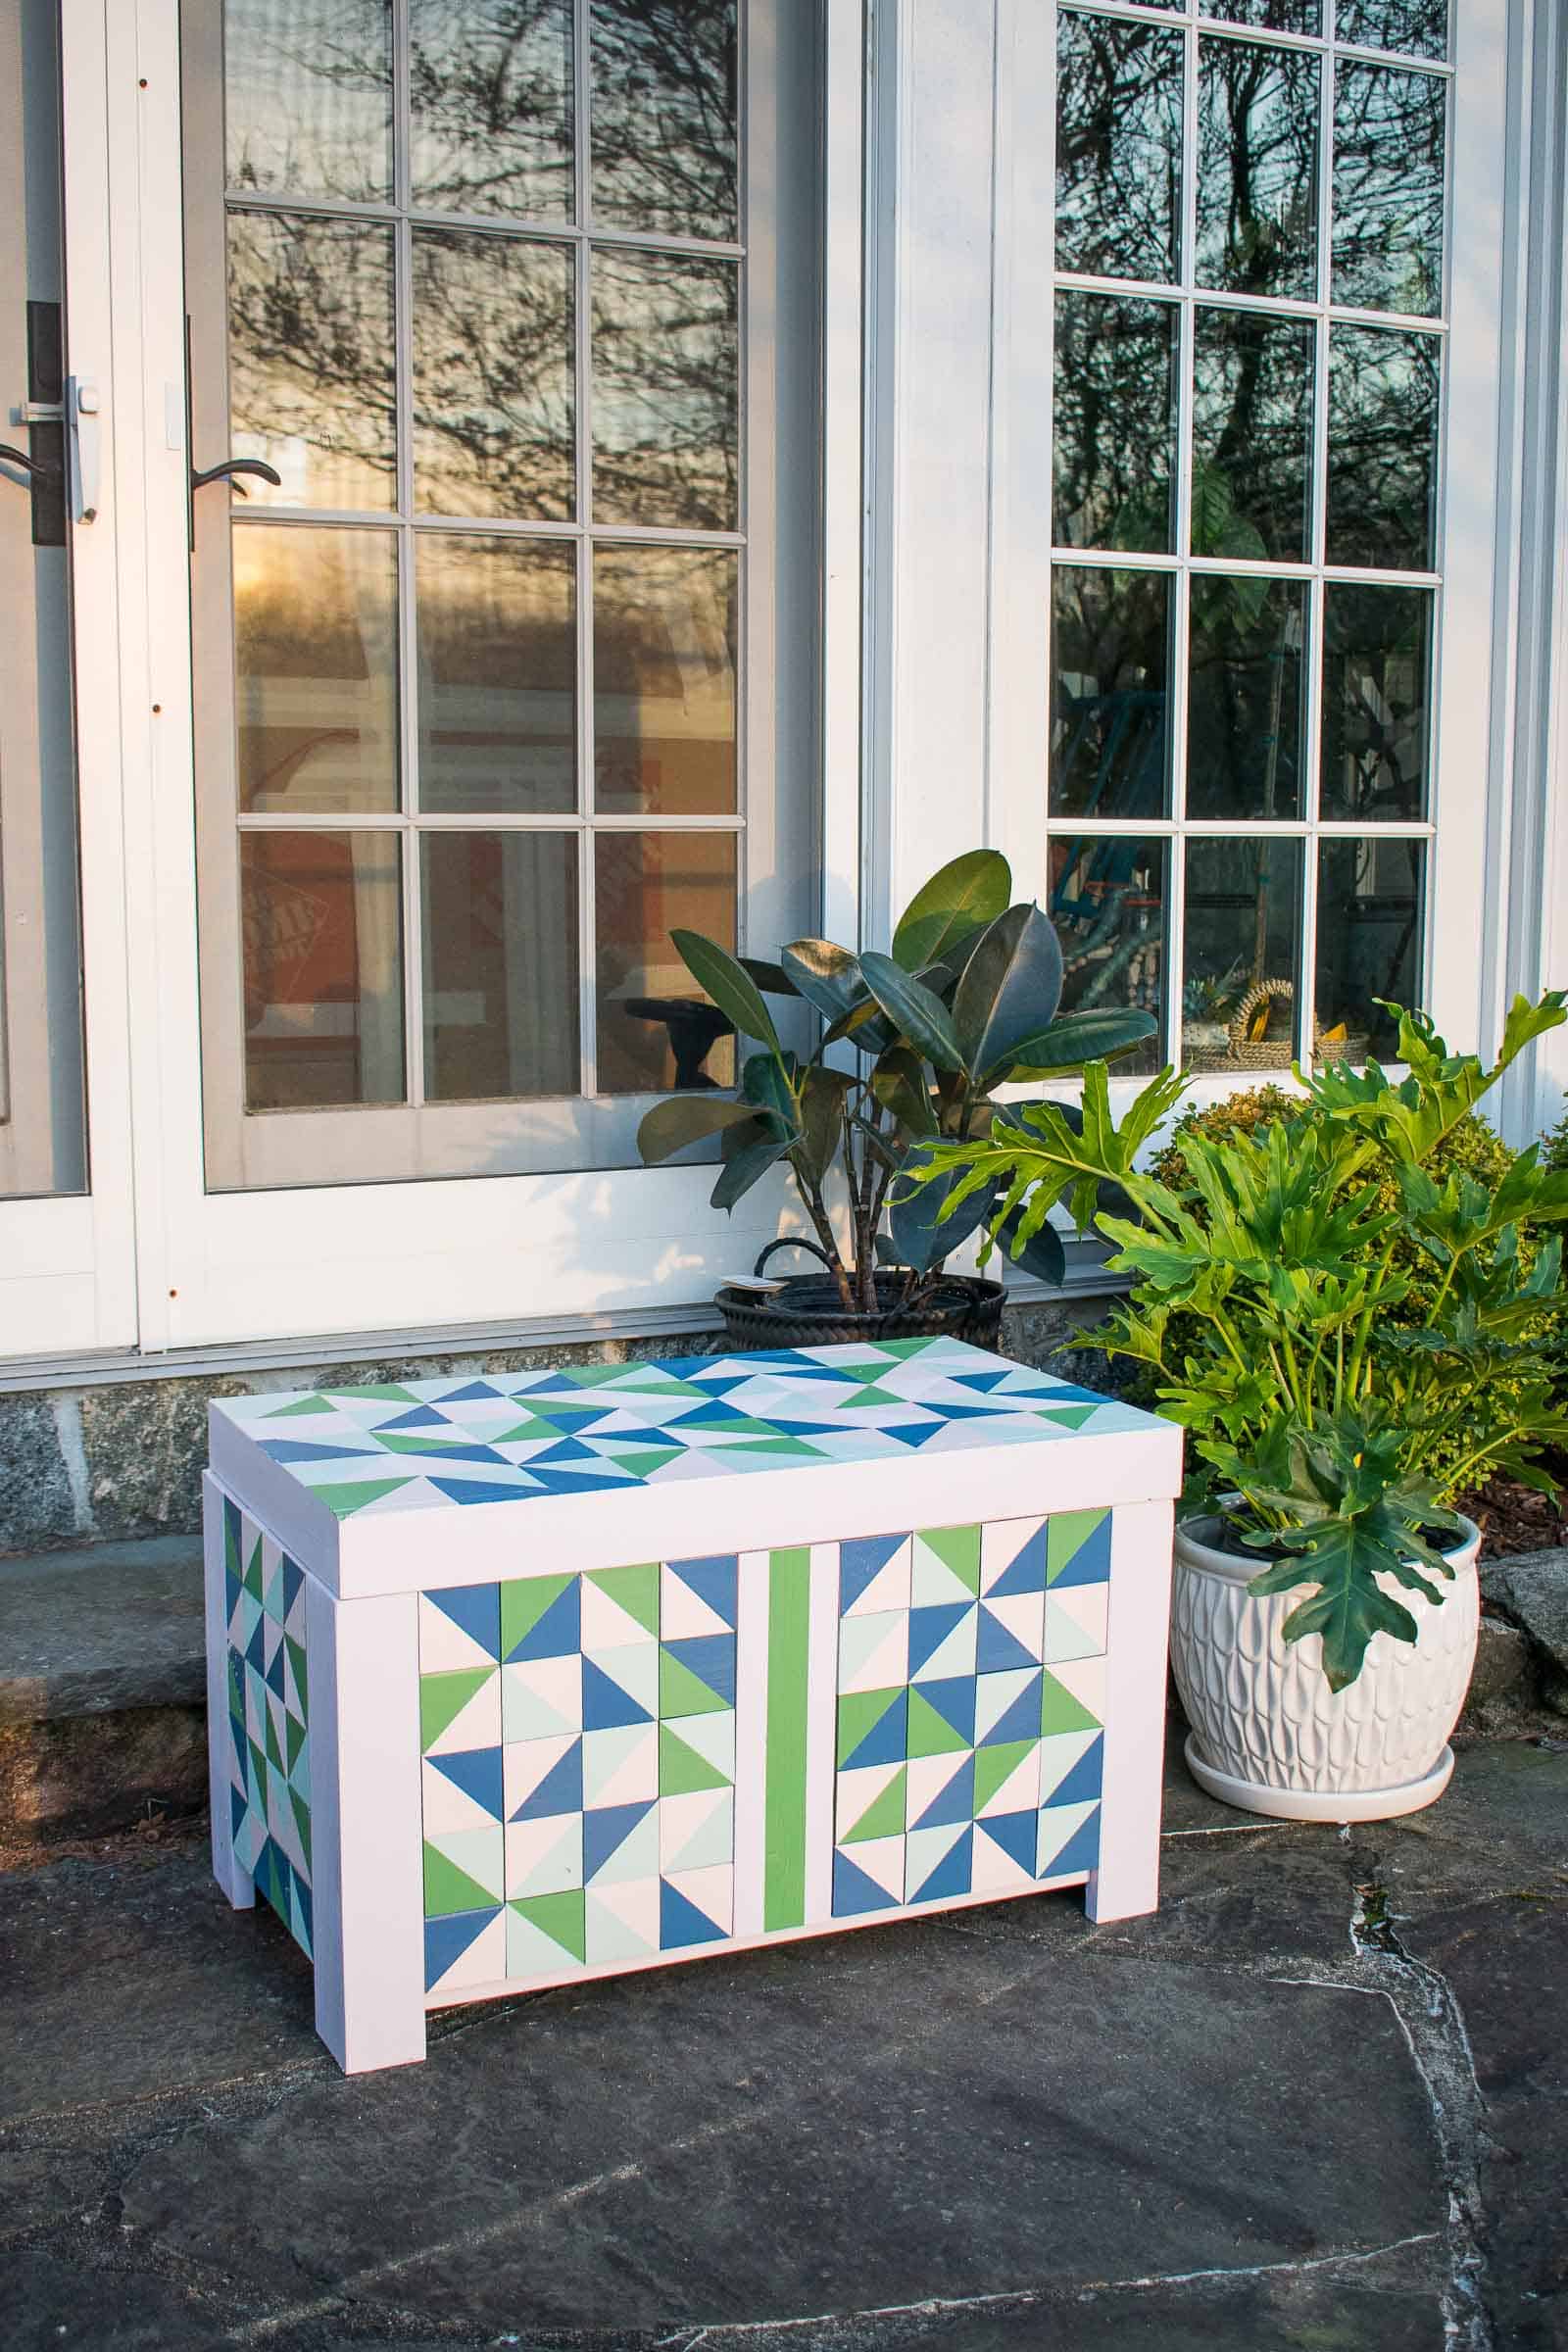
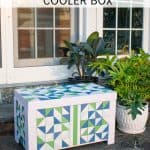
Step 9. Paint Pattern on the Lid
I sanded and painted the lid and then went back with painters tape and taped off the same geometric pattern as the sides of the box. I didn’t want to use the wooden squares because I figured water would get trapped between them on the lid and the risk of rot would be much higher.
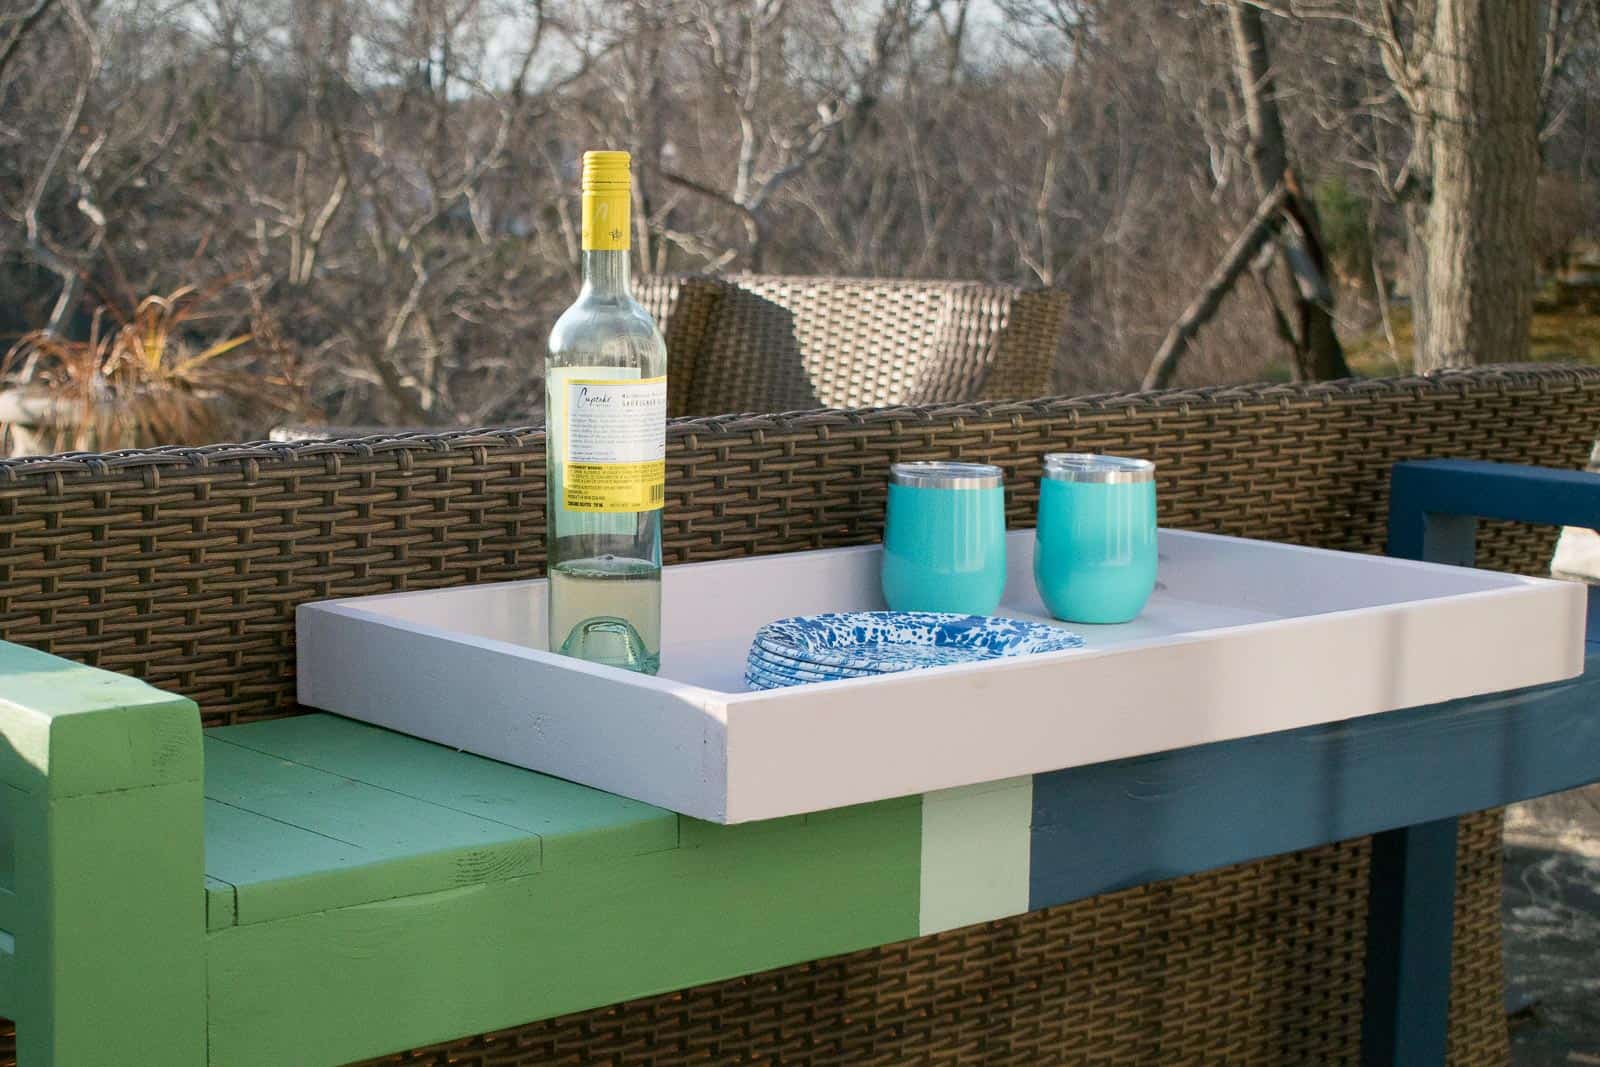
Needless to say, I am crazy about how this looks and how it works. We can still use this cooler at the beach or on picnics, but it can live on our patio tucked safely in this wooden box at all other times.
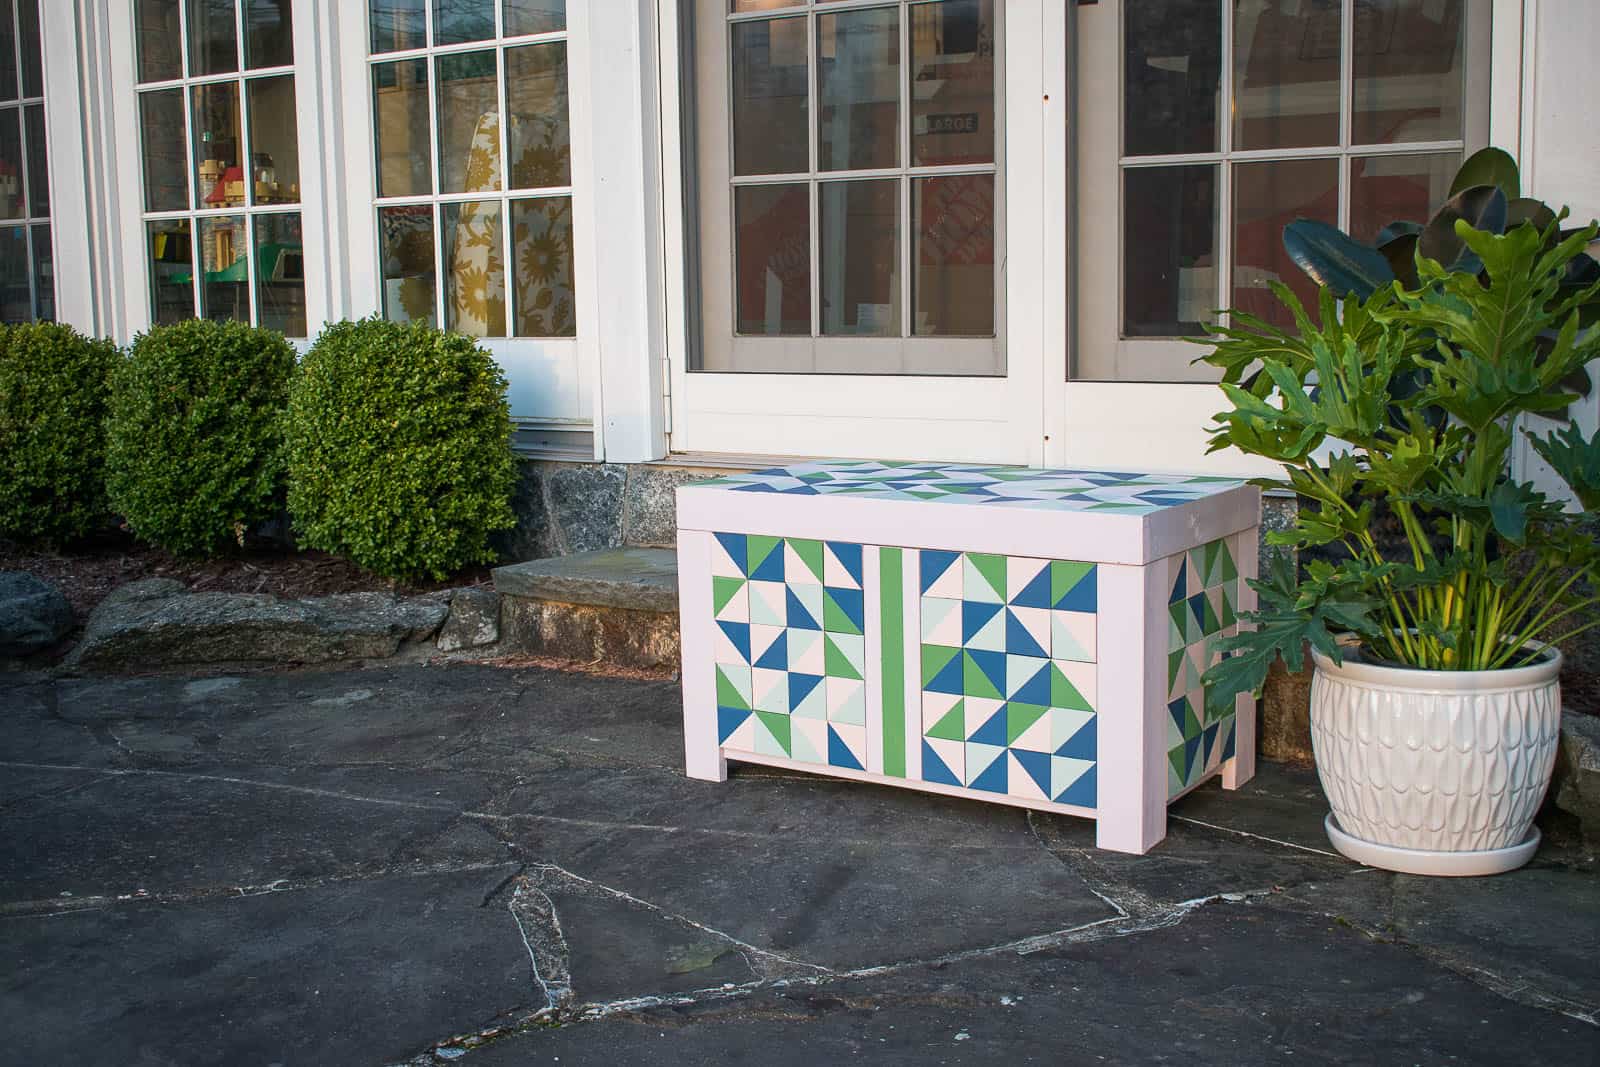
When we’re outside entertaining or just having a cocktail while the sun goes down, the lid comes off and can double as a serving tray!
Thanks again to Jen and Sam for such a fun DIY challenge! I am SO excited to go check out everyone else’s projects. It’s always so fun to see how people look at a pile of scrap wood and come up with so many assorted projects!
DIY Huntress * Jen Woodhouse * Walkers Woodworks * Jaime Costiglio * Addicted 2 DIY * Ugly Duckling DIY * Pneumatic Addict * The Build with Ethan * Lazy Guy DIY * Genealogist Woodworker * 3 x 3 Custom * Anika’s DIY Life * Eye in the Detail * Penalty Box Woodshop * Cow Dog Crafts * Never Skip Brunch


Love This! Pretty and practIcal!
This turned out so cute! I hope you enjoyed some of that wine after all your work.?