
Duct Tape Messenger Bag
Psssst… this post *might* contain affiliate links: see my disclosure here.
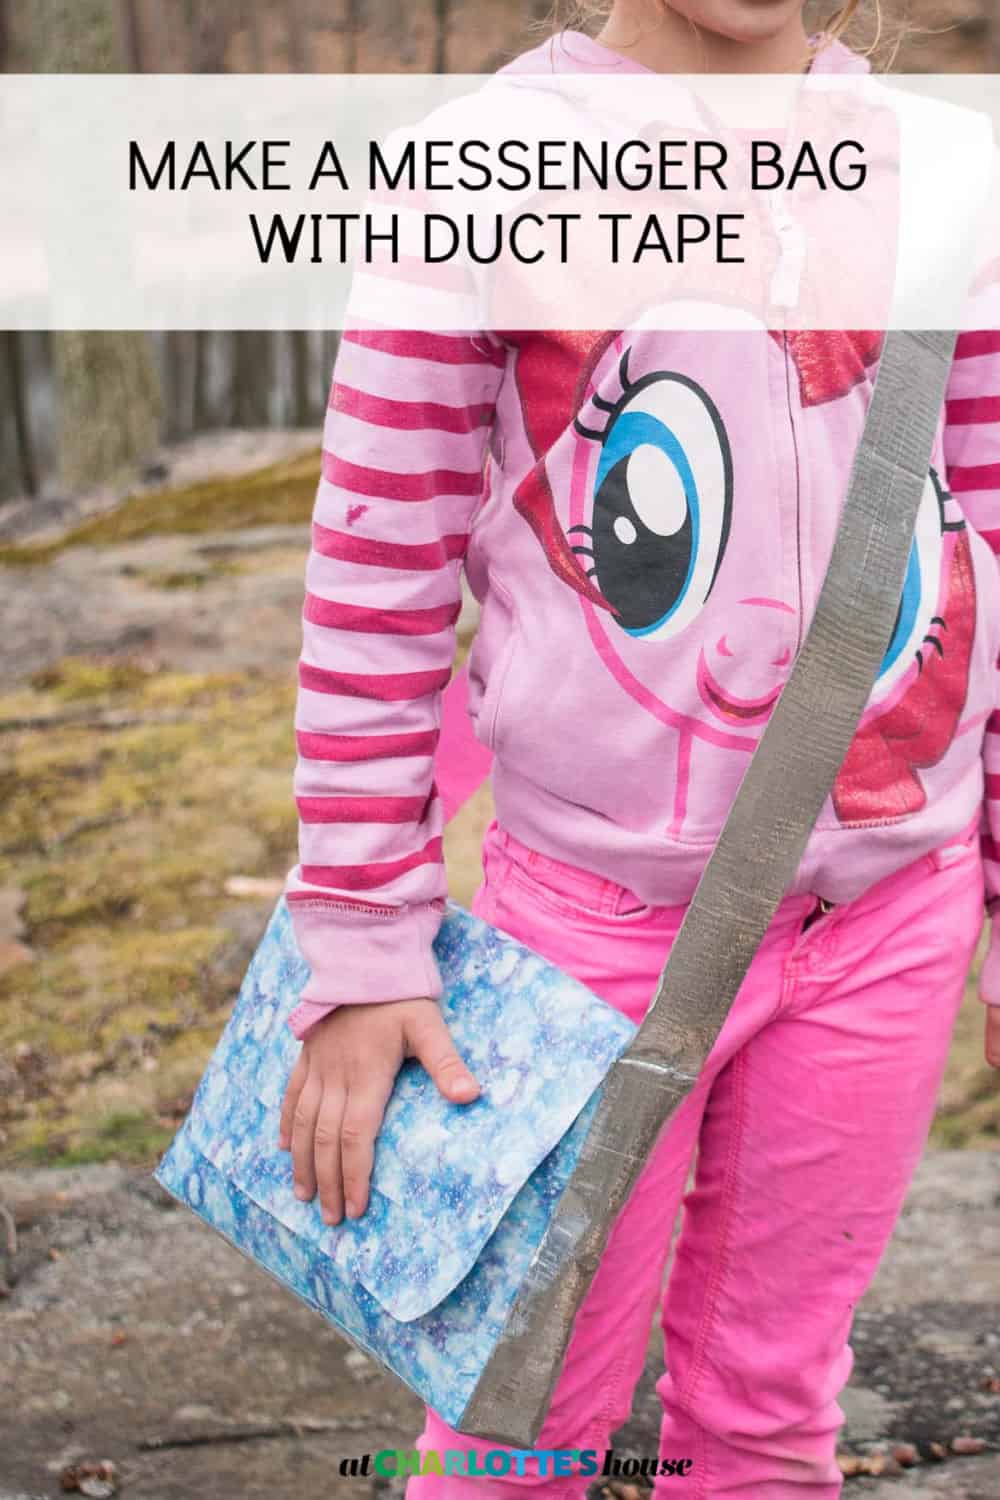
How to Make a Messenger Bag out of Duct Tape
I used a roll of colorful duct tape to make a fun messenger bag.

Disclosure: This post is sponsored by Duck Brand Duct tape… I had so much fun learning how to make these bags!
Shop my favorites!
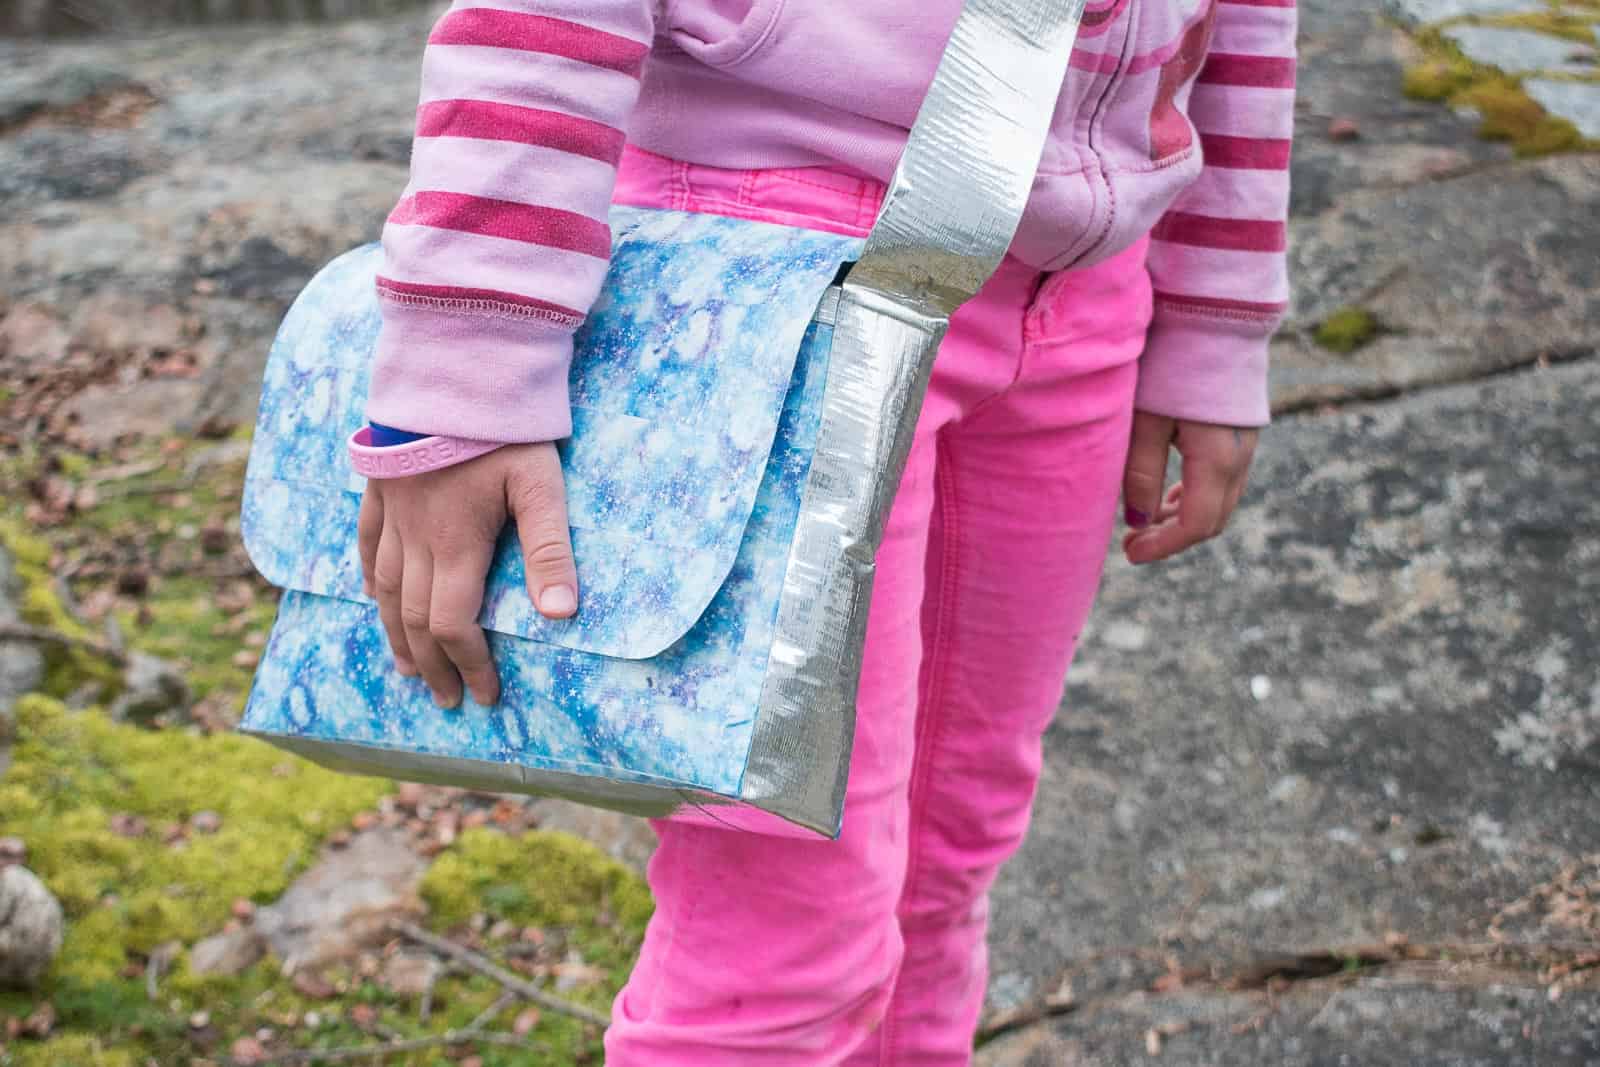
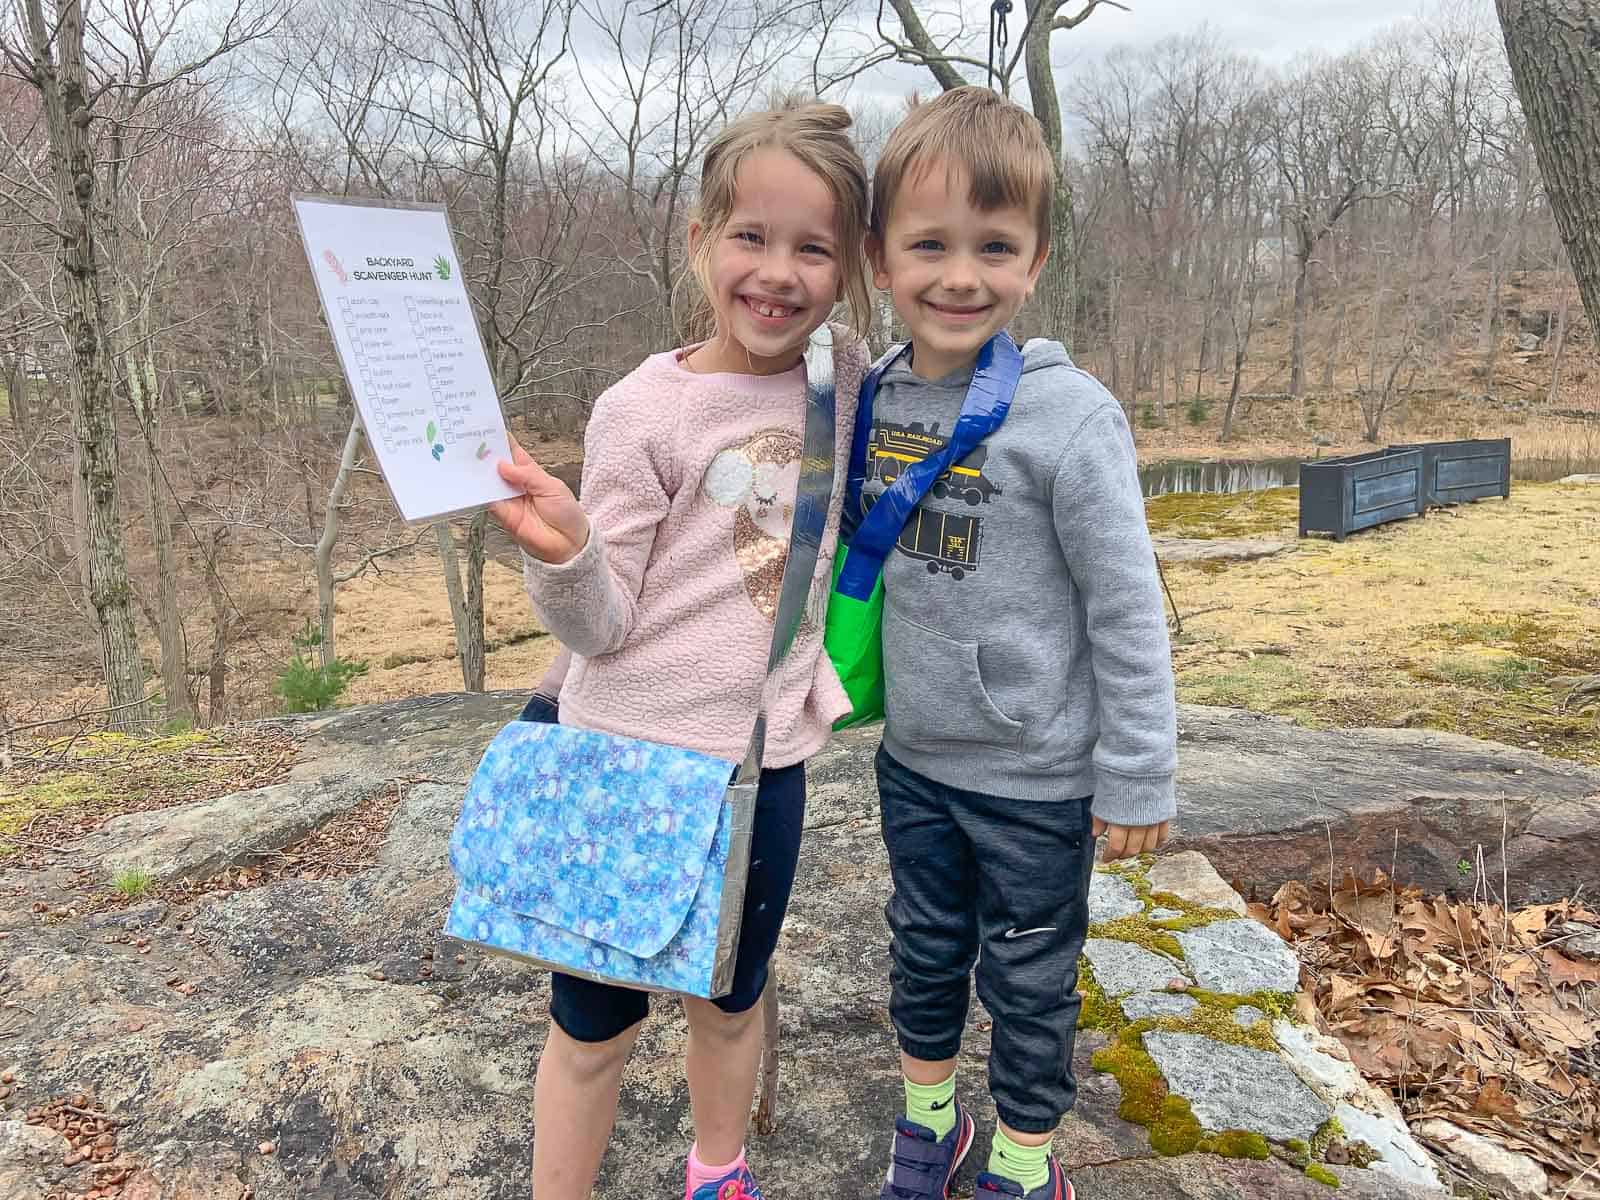
I think all of us are looking for ways to entertain ourselves and to create using what we have around the house. I’m crazy about these Duck brand messenger bags I made for the kids to use for their backyard scavenger hunts. One thing that made this project MUCH more exciting for us was how many different styles Duck brand duct tape comes in: mermaid scales to unicorns to shiny metallics and more!
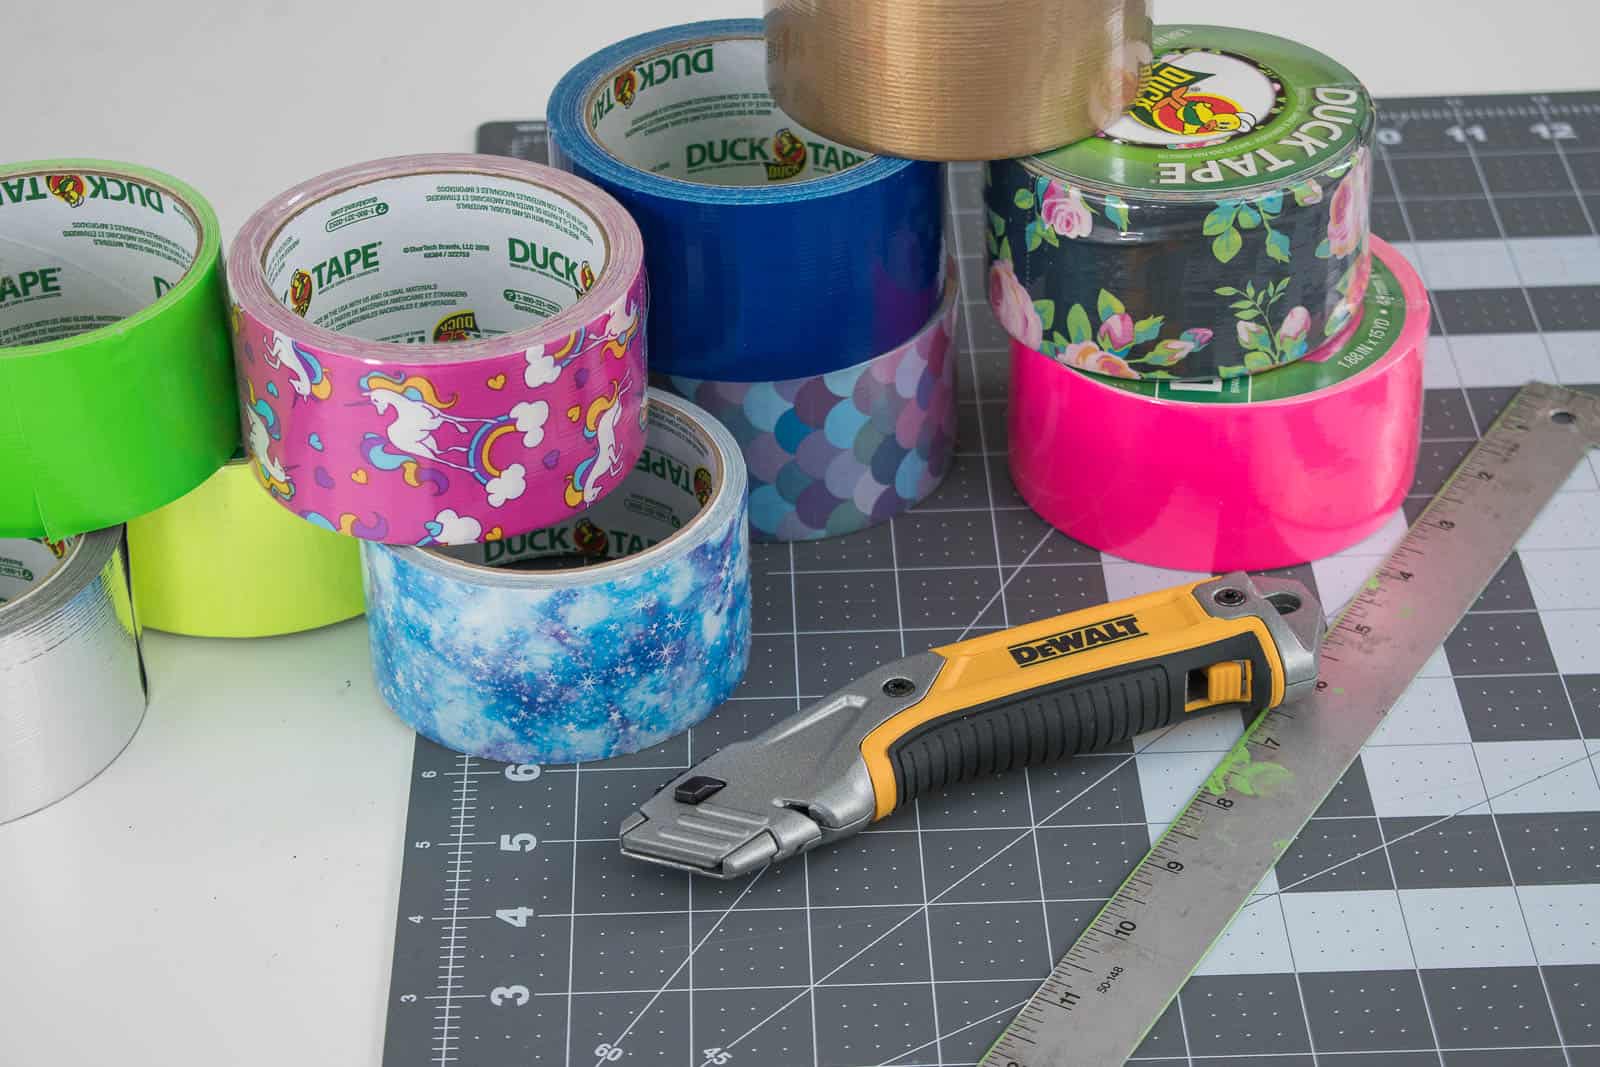
Note: if you don’t have a cutting mat… this project will be a tiny bit trickier… not impossible, but some of these steps won’t work.
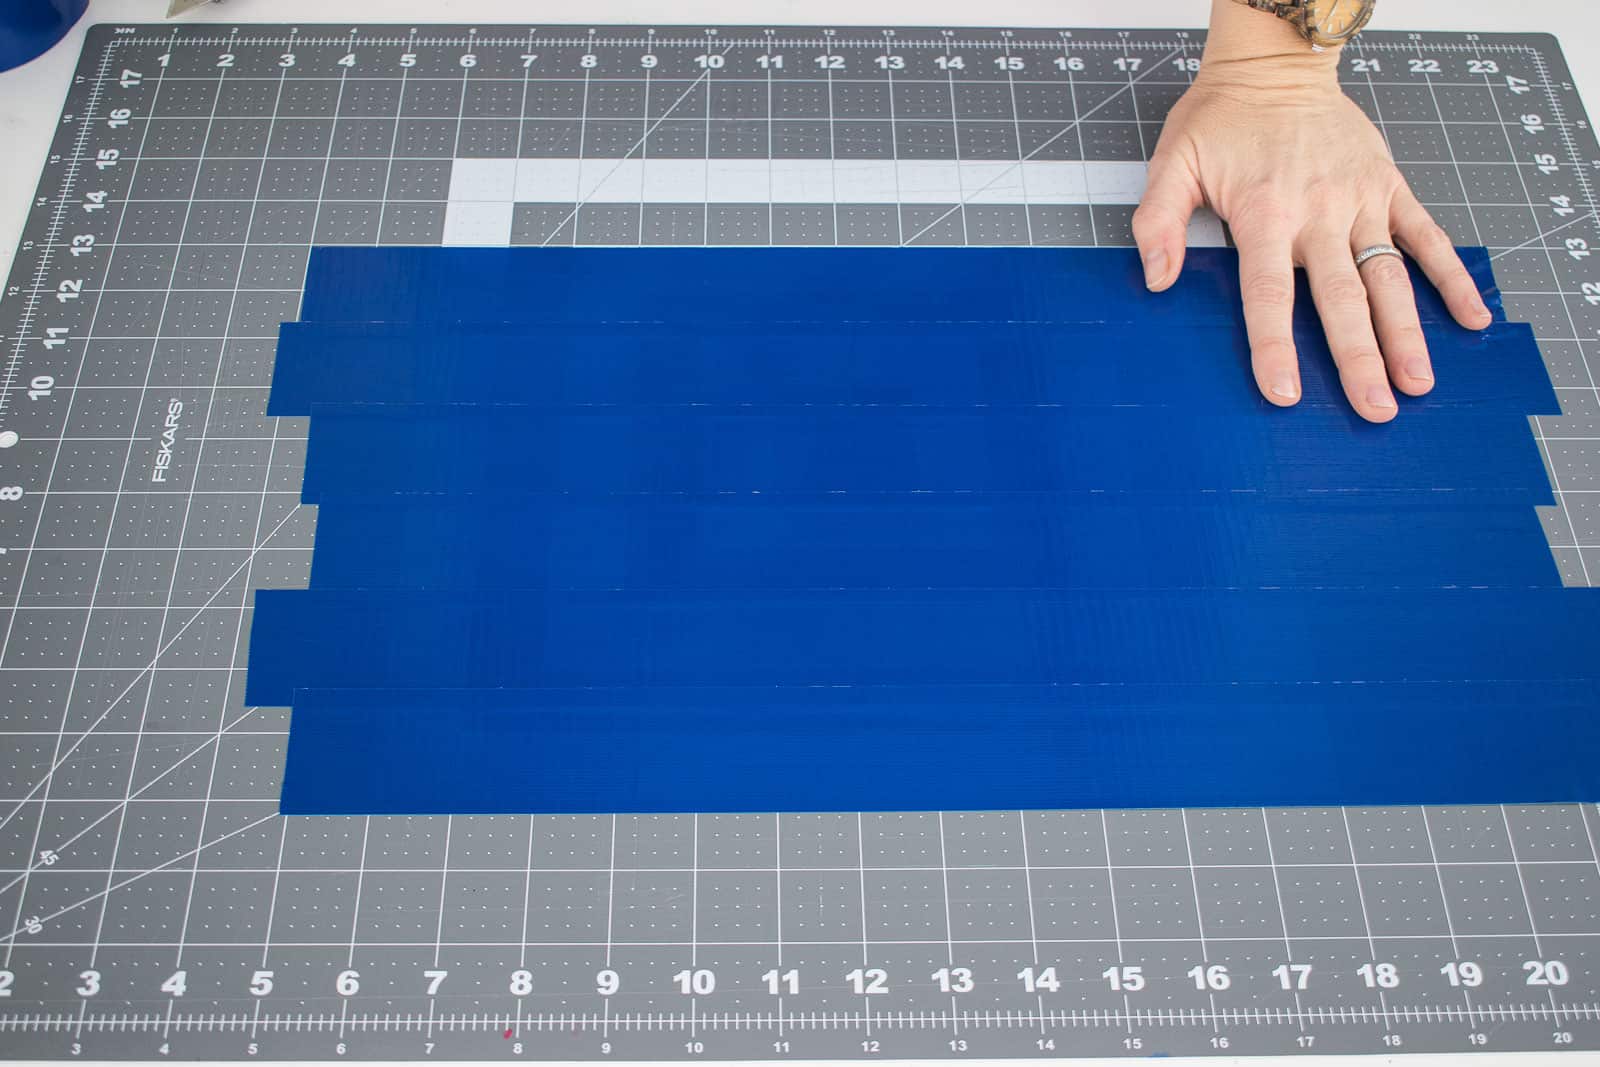
Step 1: Create duct tape “cloth”
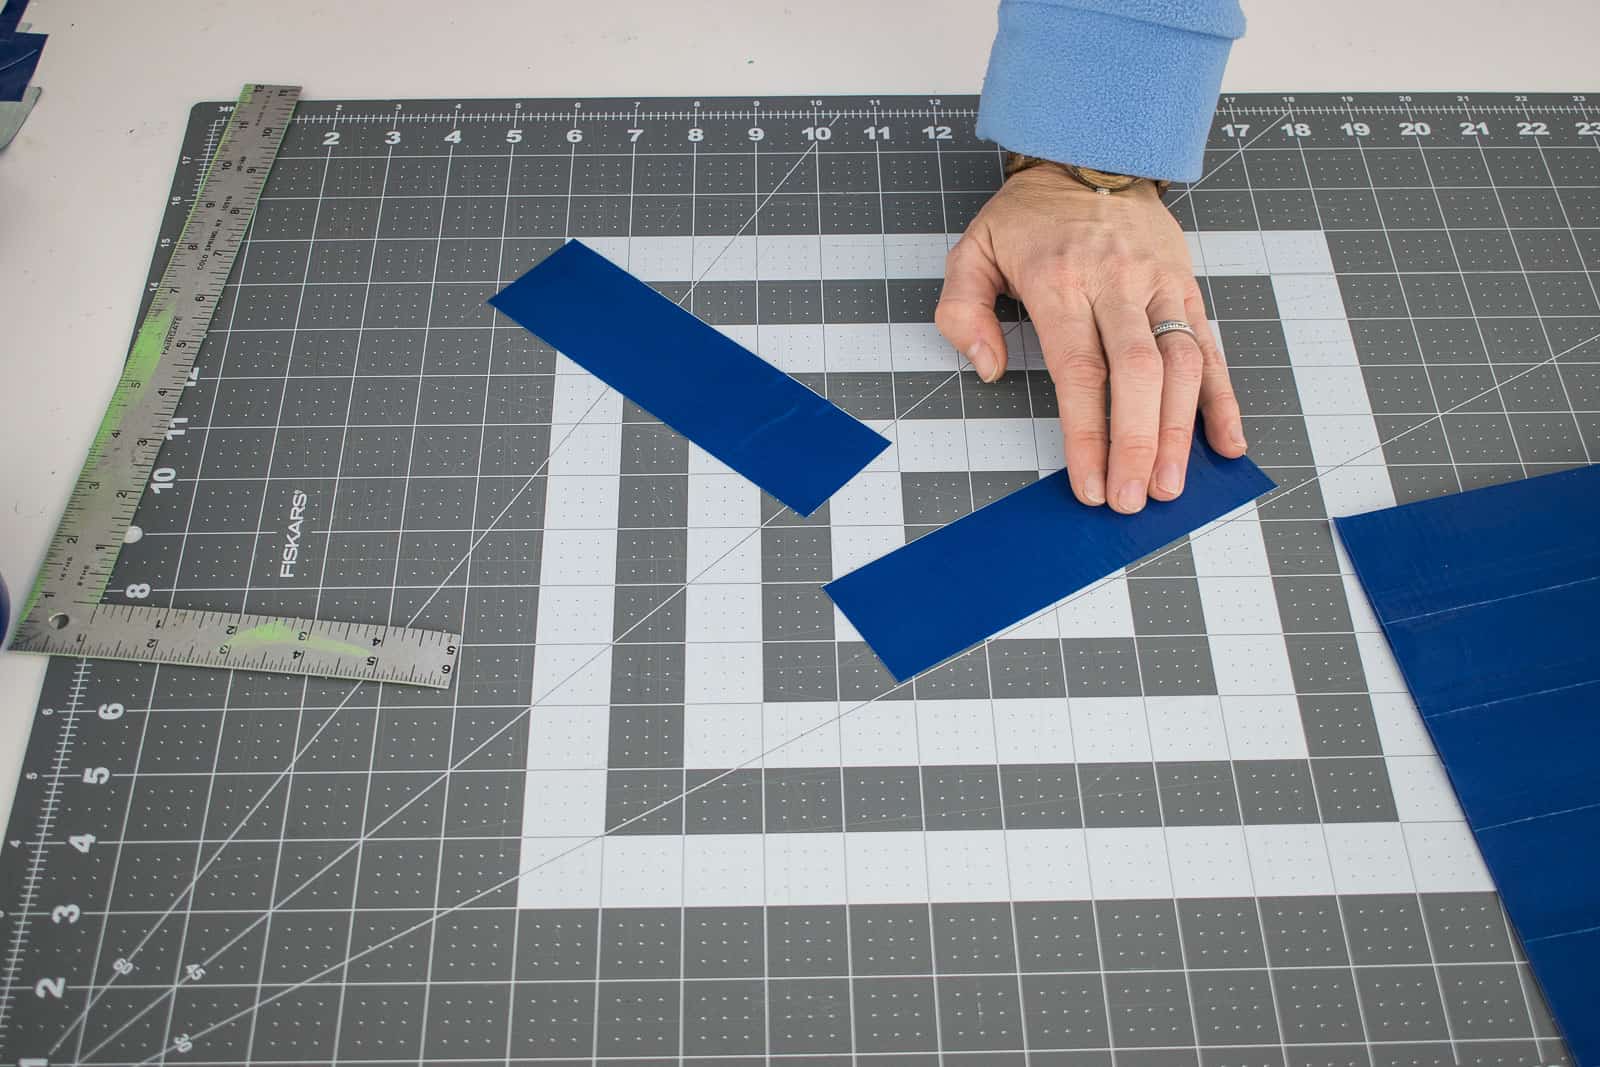
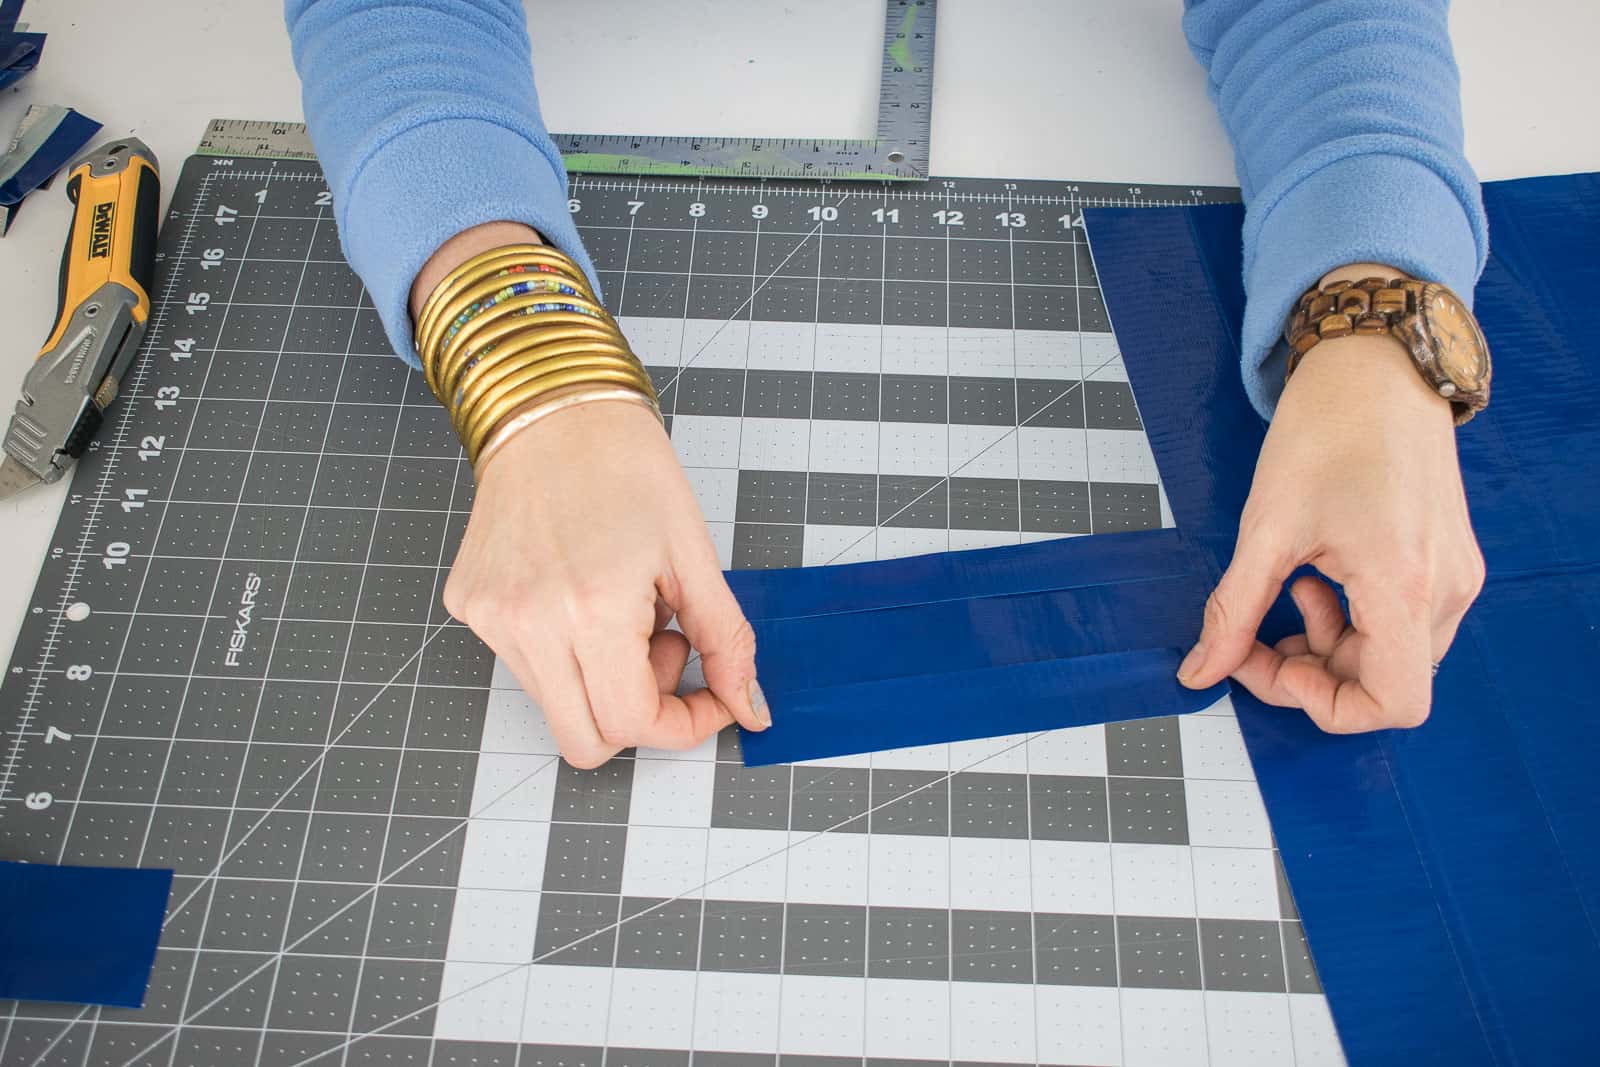
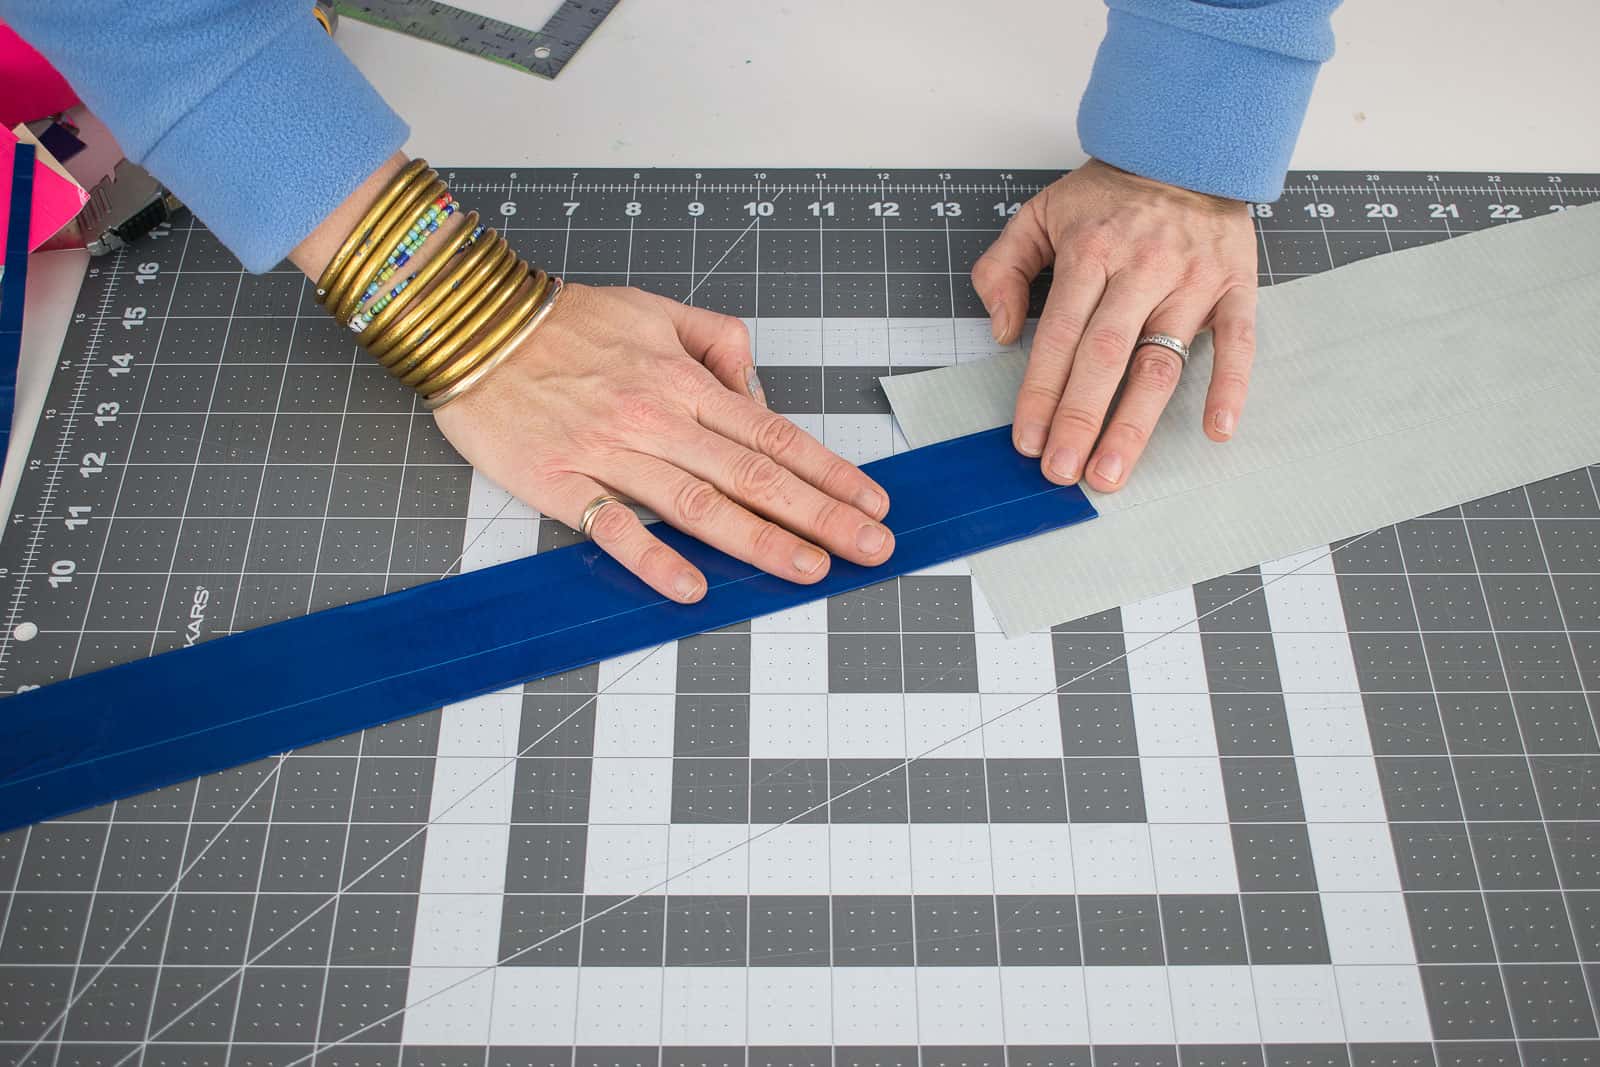
The first step is to make a duct tape sheet. Essentially this requires you to slightly overlap strips of duct tape with the adhesive side down against the silicon mat. Use a share utility knife to cut the duct tape from the roll.
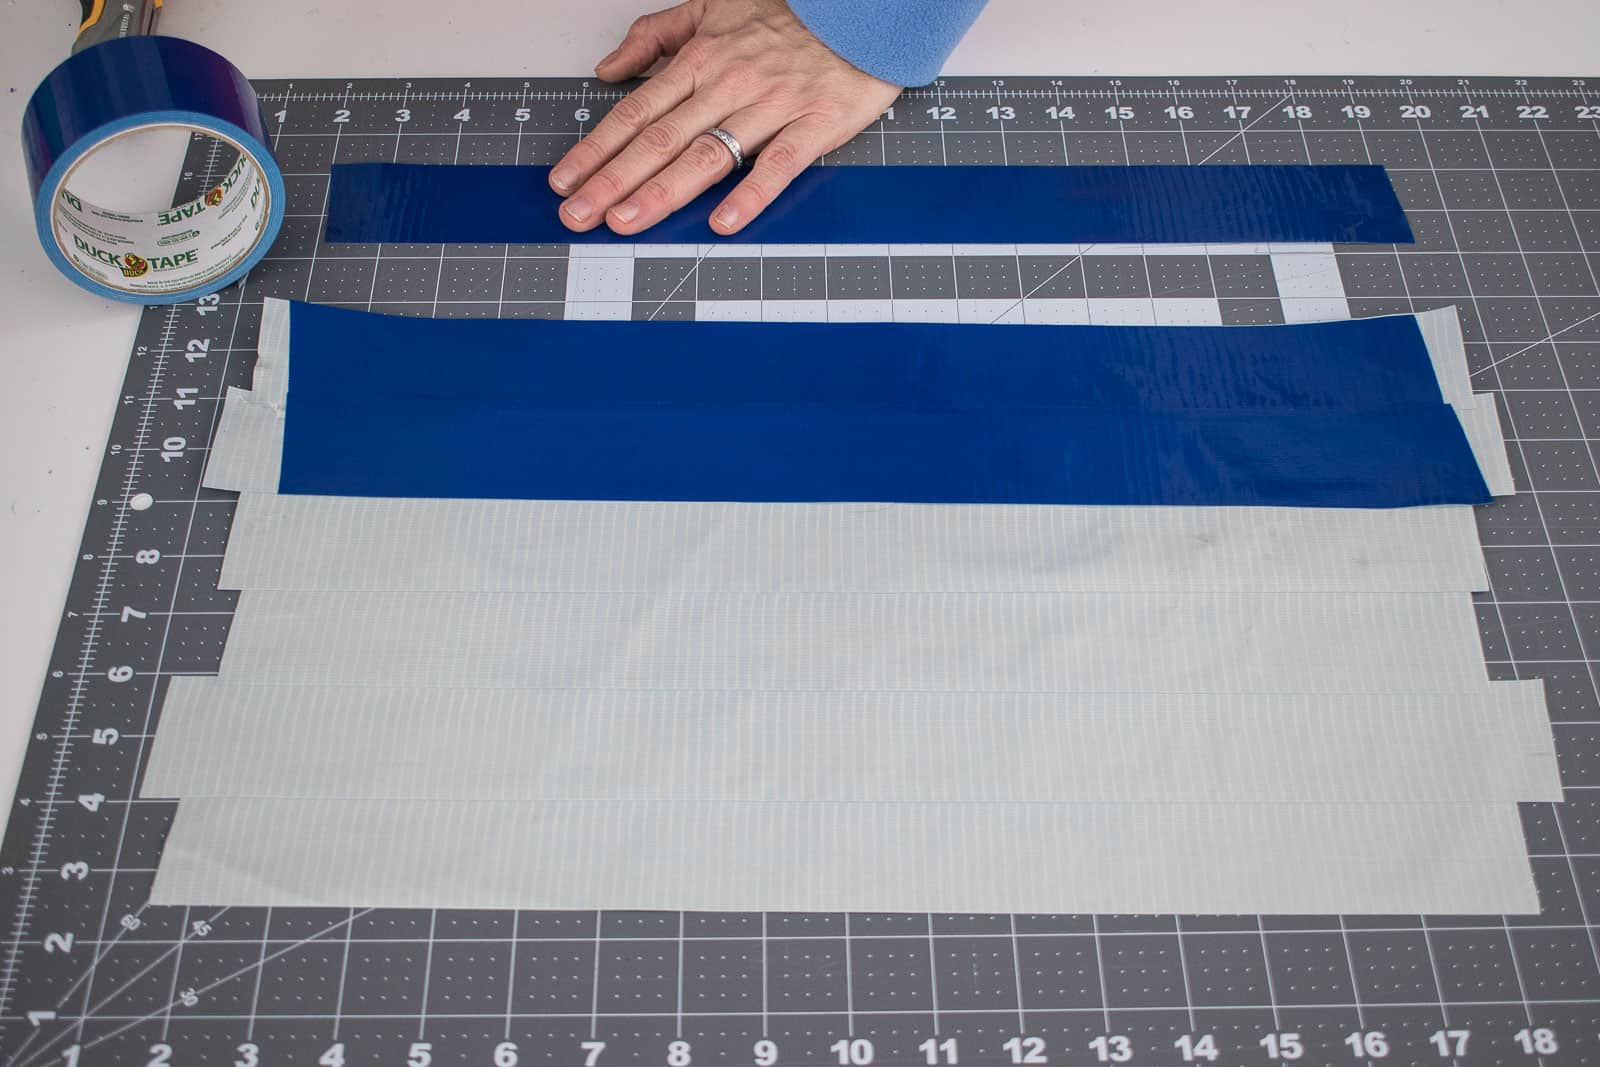
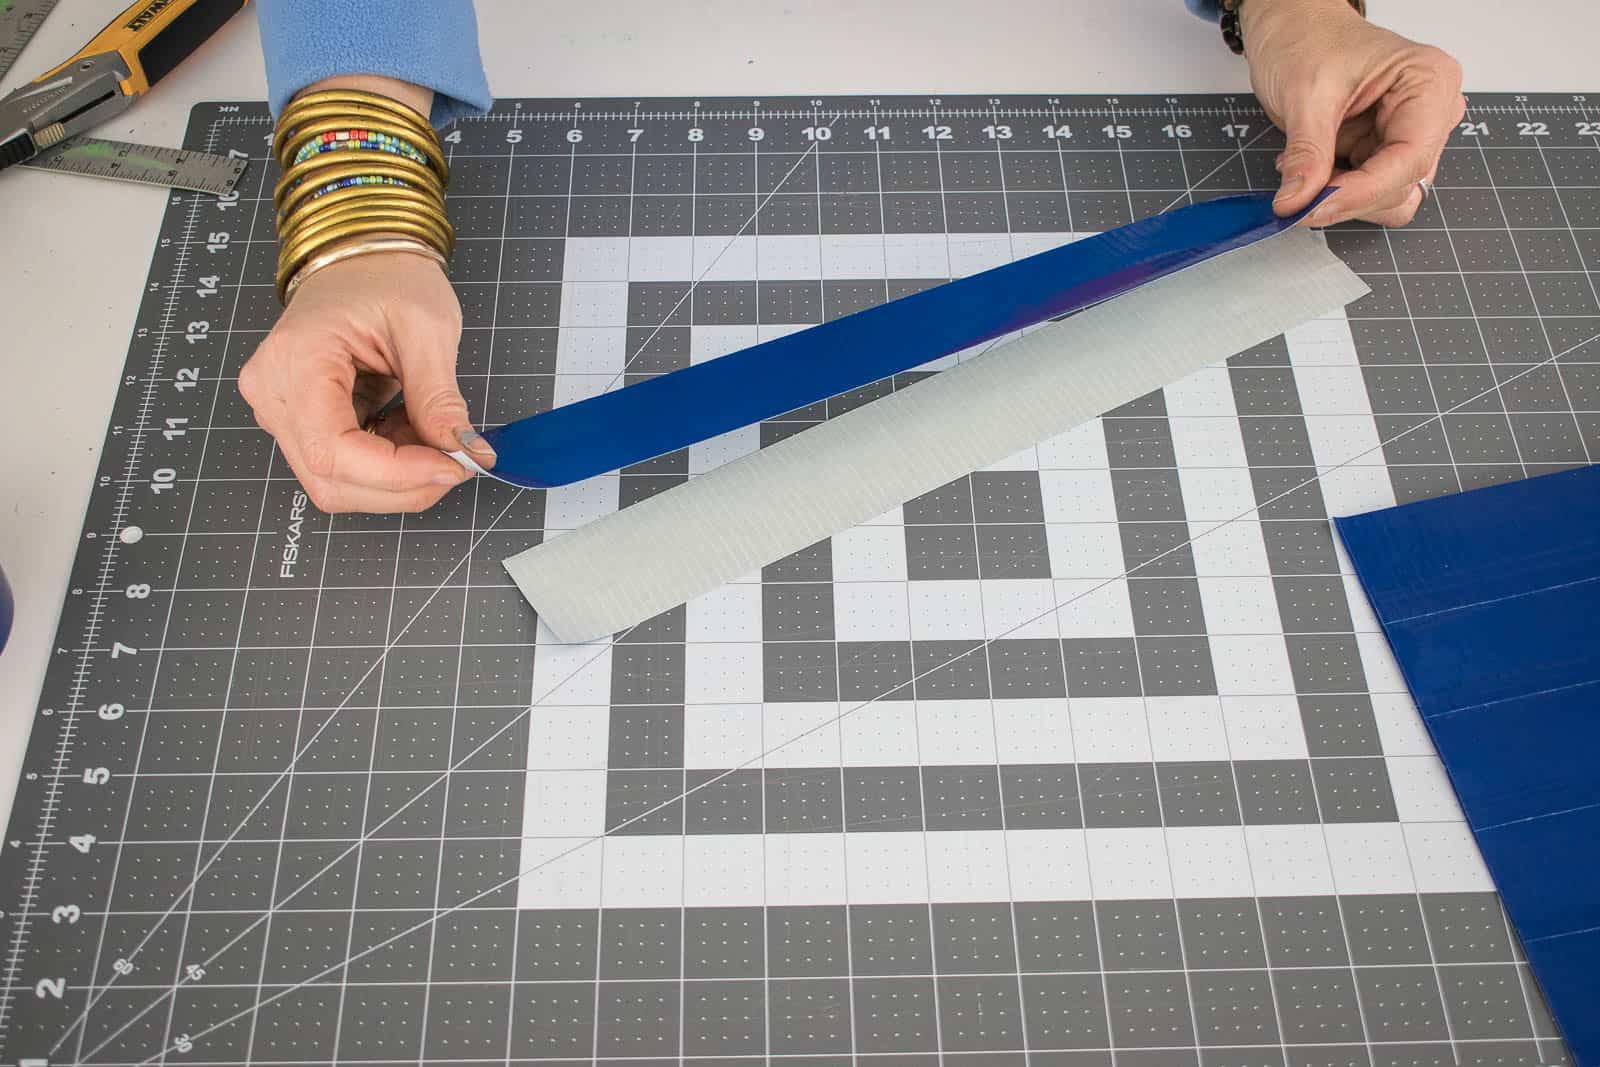
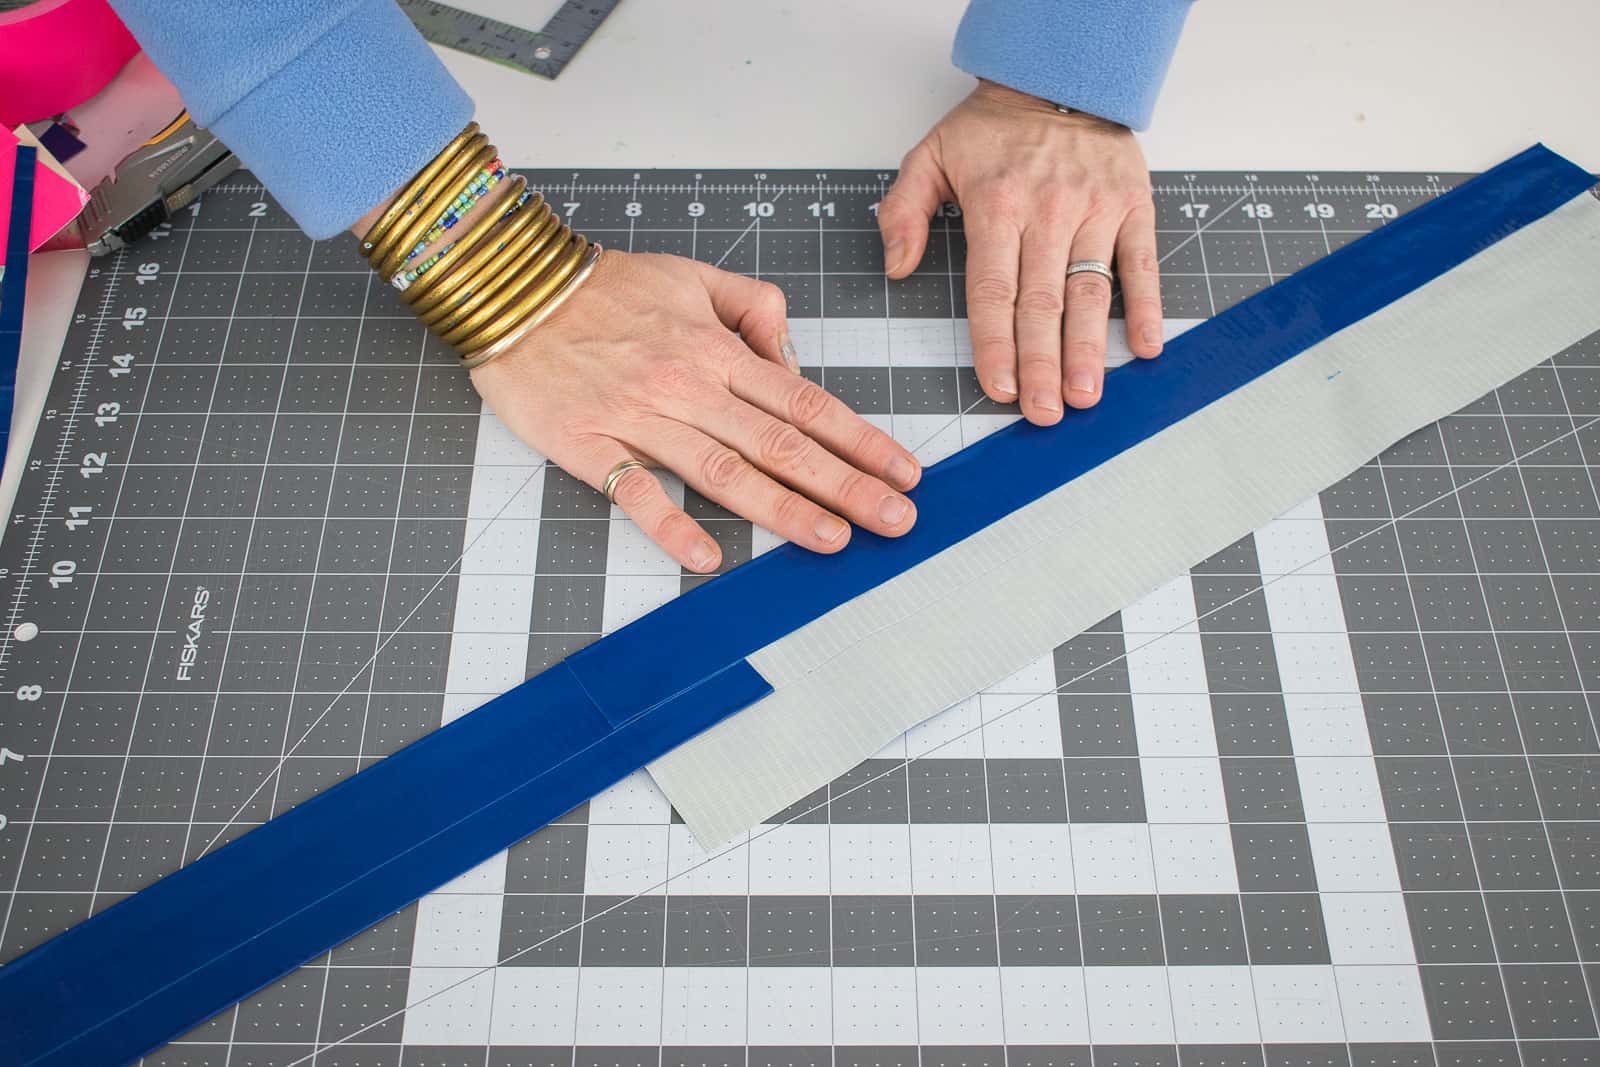
Pull the duct tape off of the silicon mat and carefully flip it over so that the adhesive is facing up. Cut a strip of duct tape and place it- carefully- onto the the sheet of duct tape. Note that once the two adhesive sides touch…. there’s no pulling them apart.
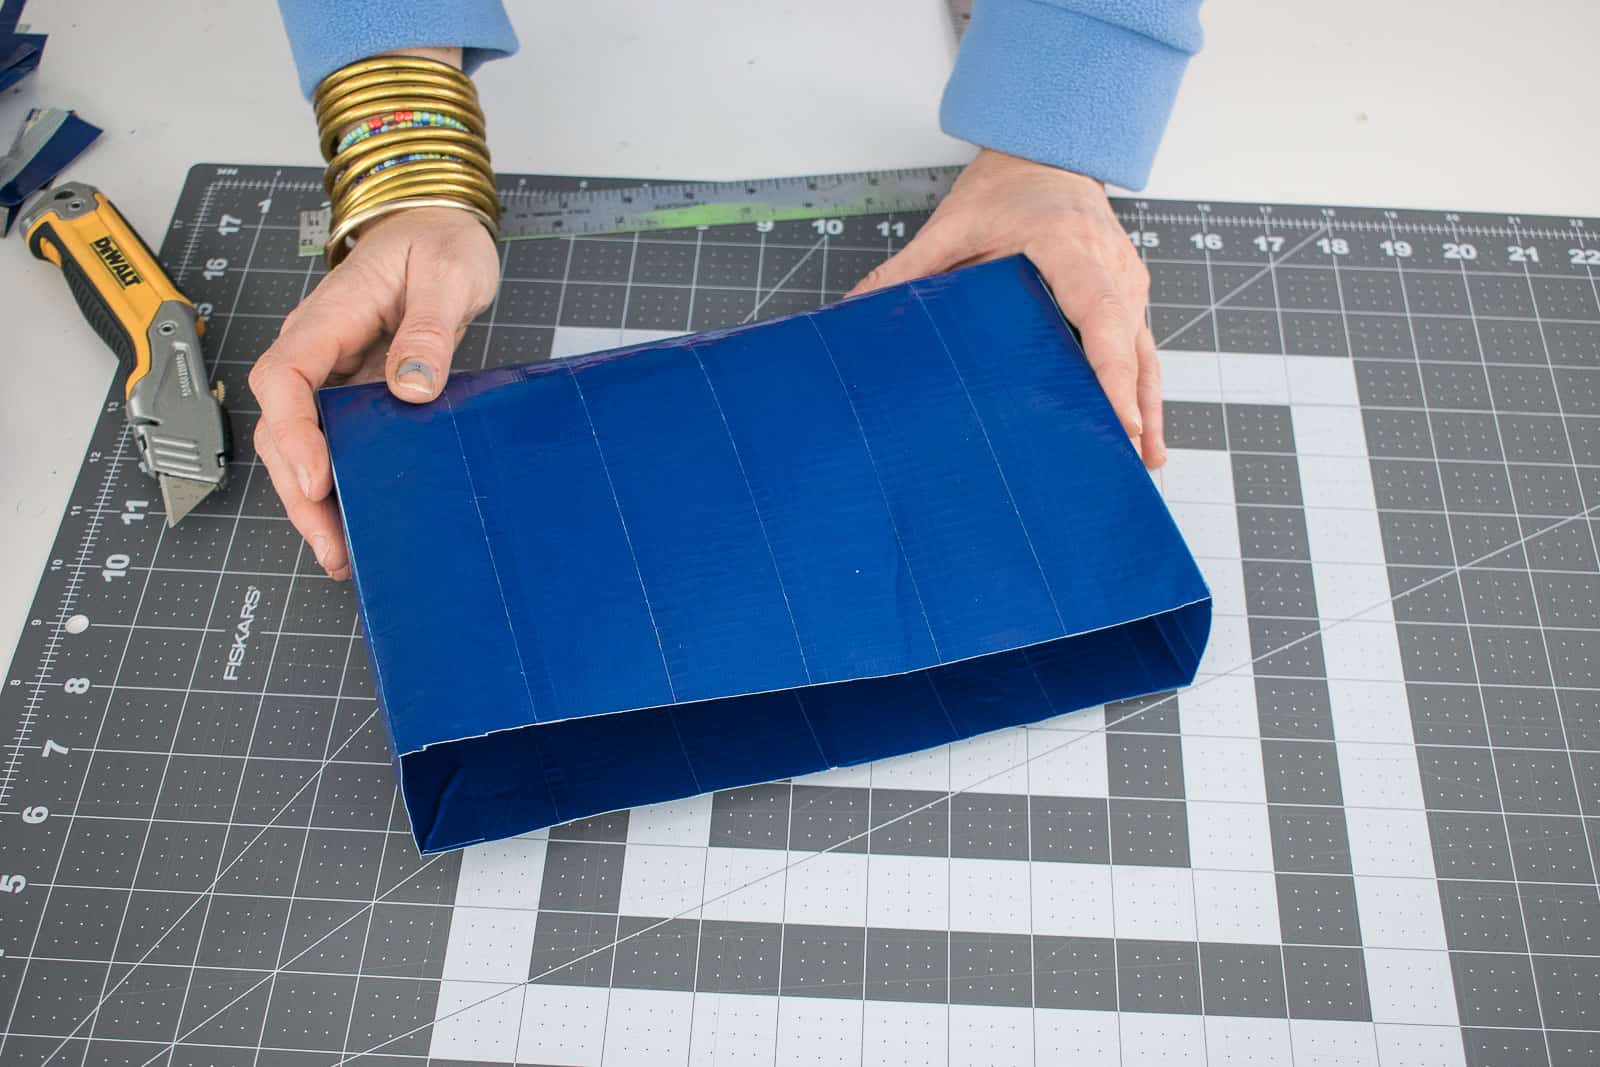
Trim the ends with your ruler. This duct tape sheet will make up the body of your messenger bag so, when folded in half, it will be about the right size of your bag.
Step 2. Add side panels
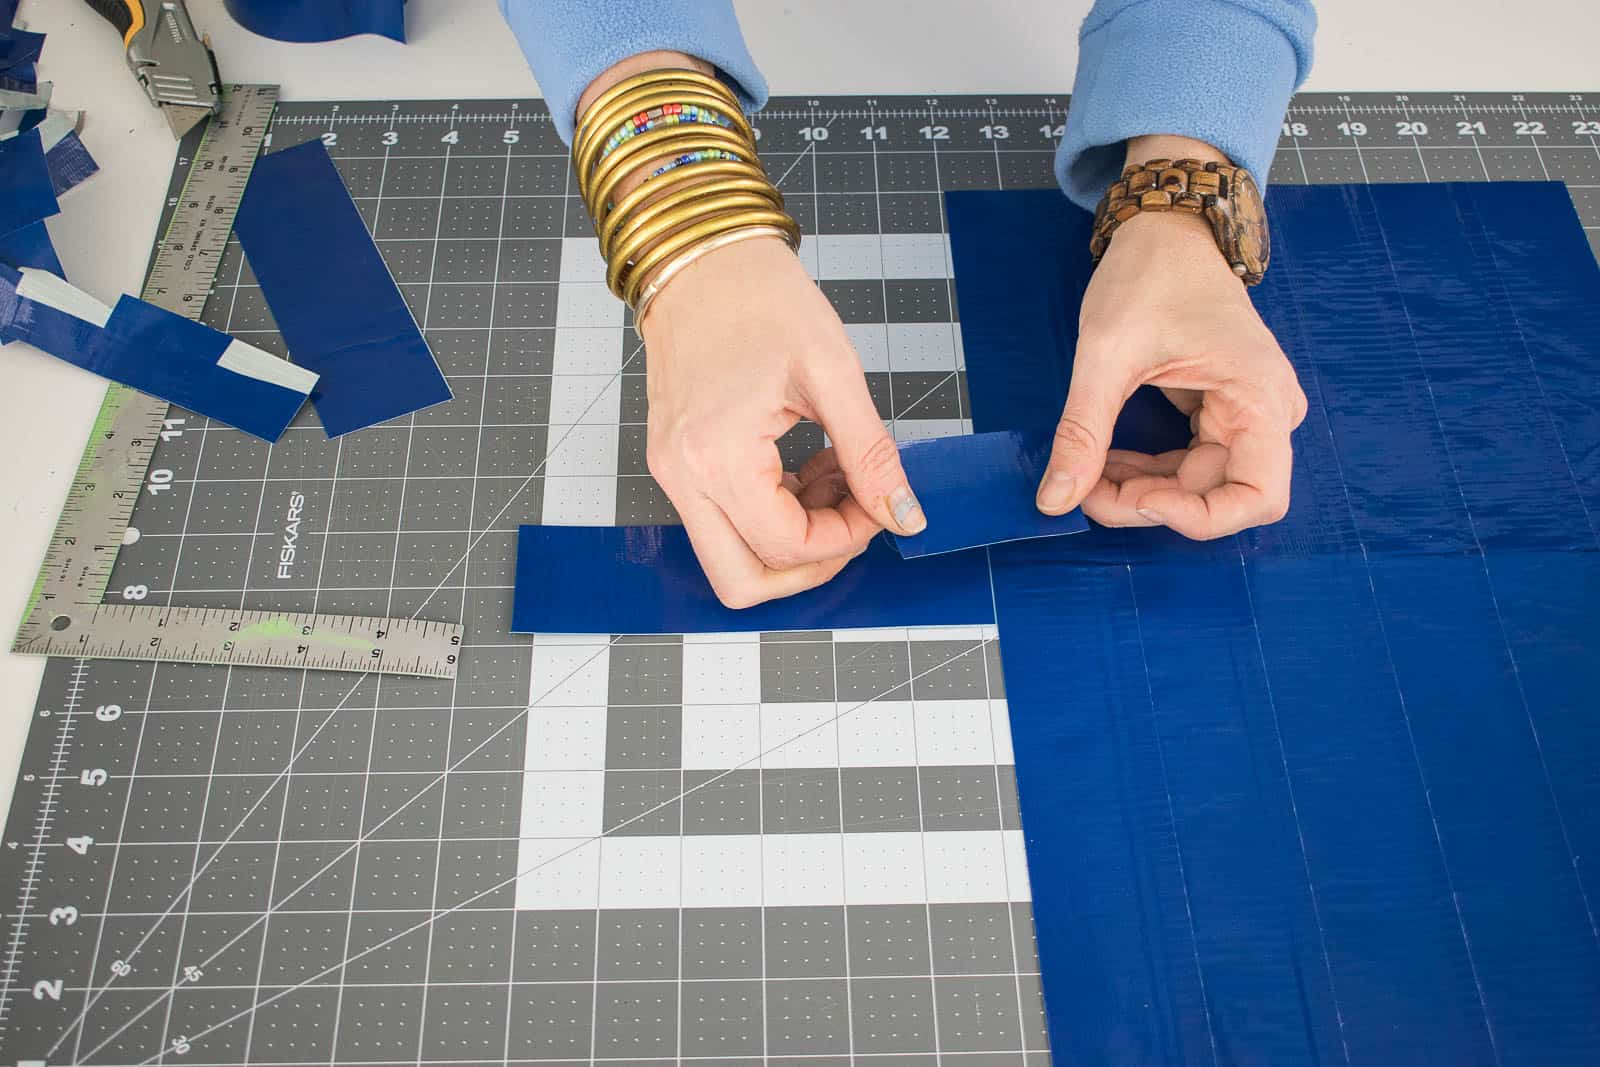
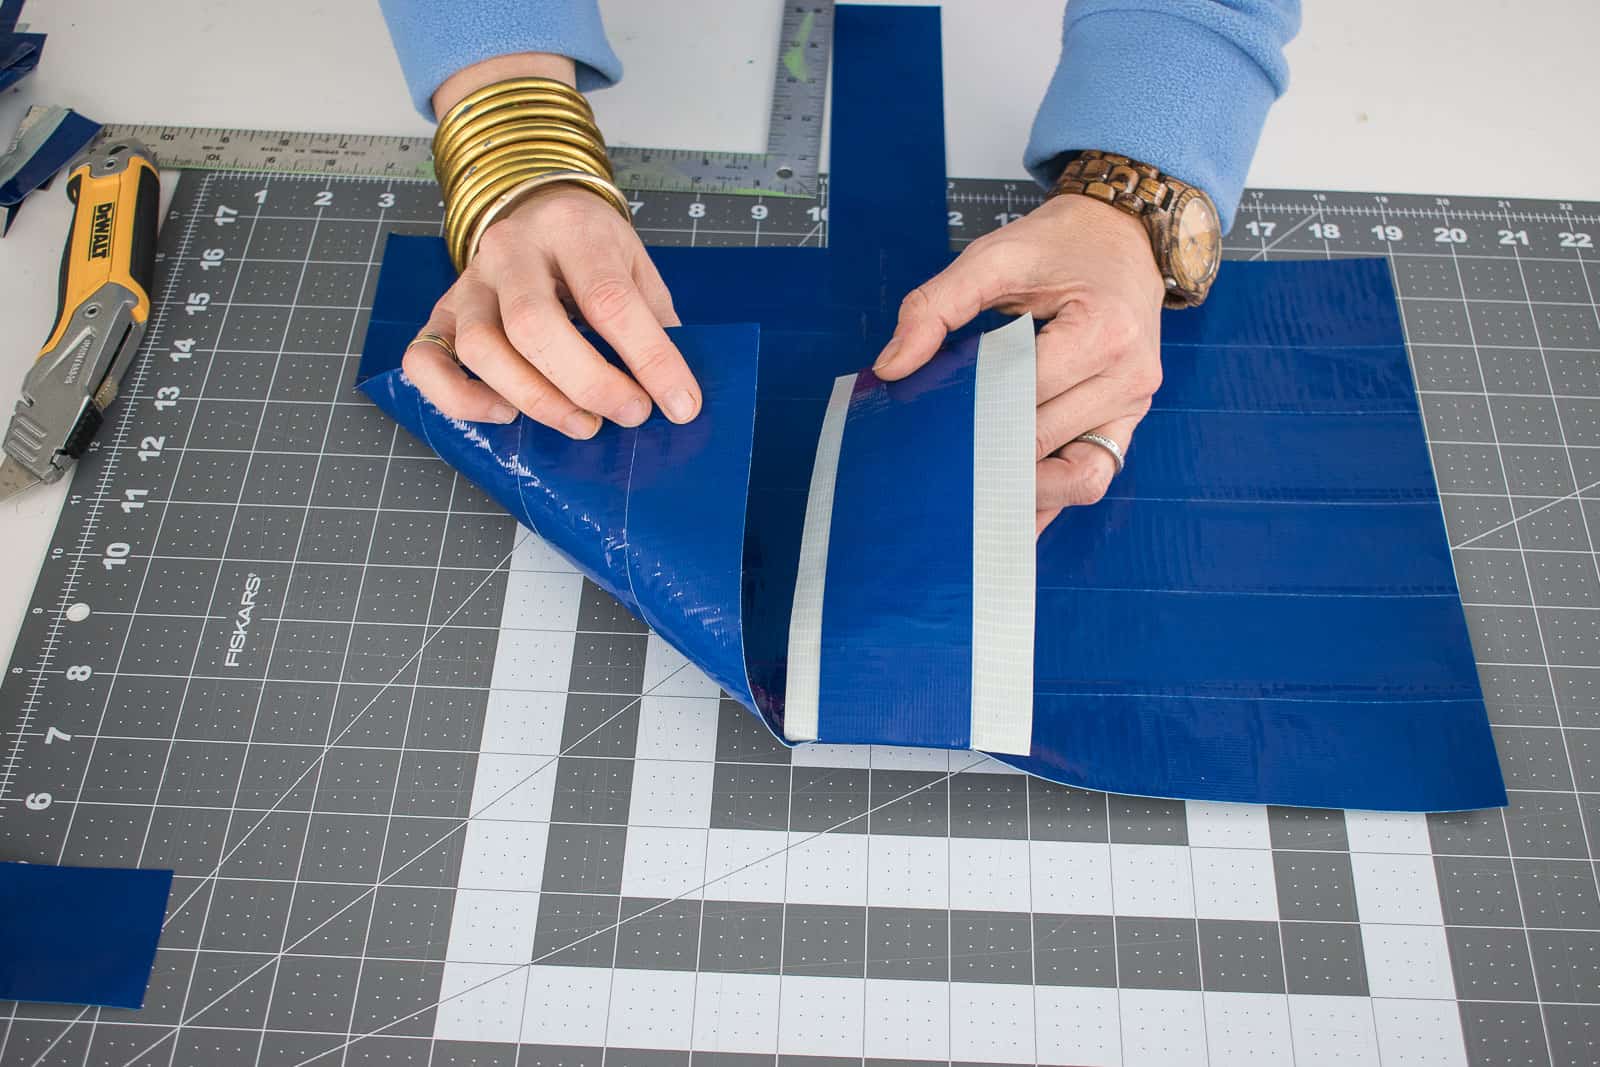
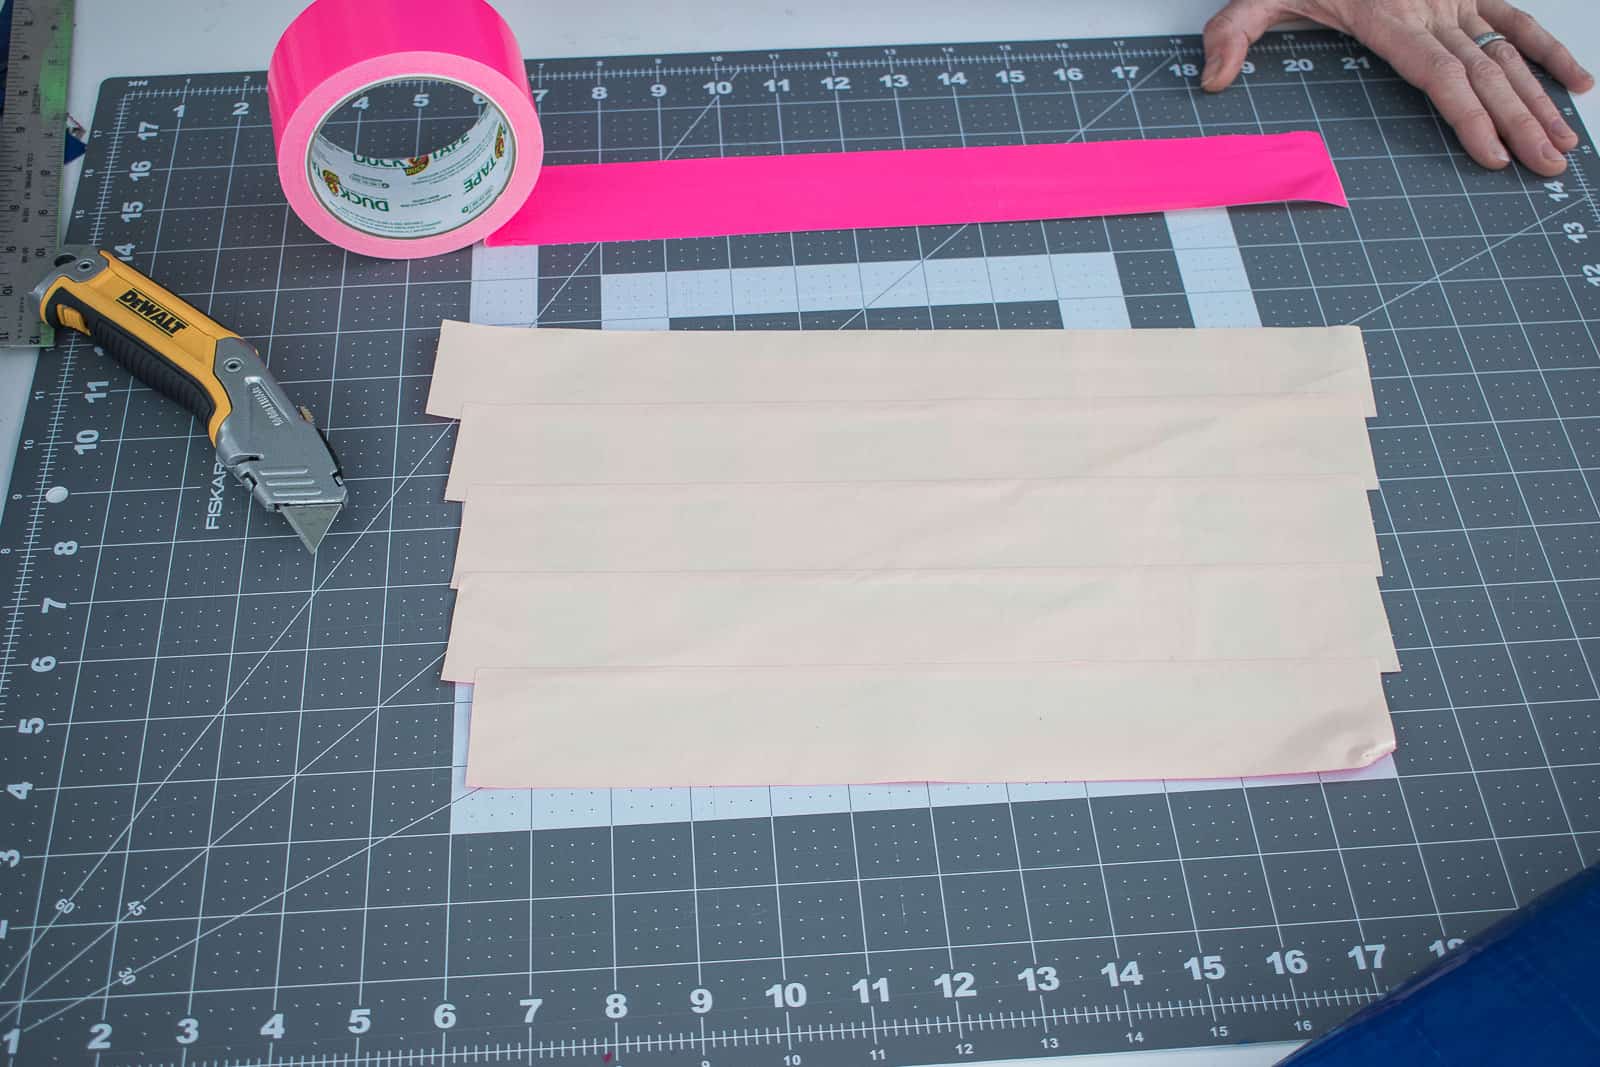
Next we’re going to make the sides of the messenger bag. Just like you made the duct tape sheet, overlap your tape, flip it over and repeat. I made this strip about 3-inches wide, but I didn’t measure. Trim the ends and cut in half.
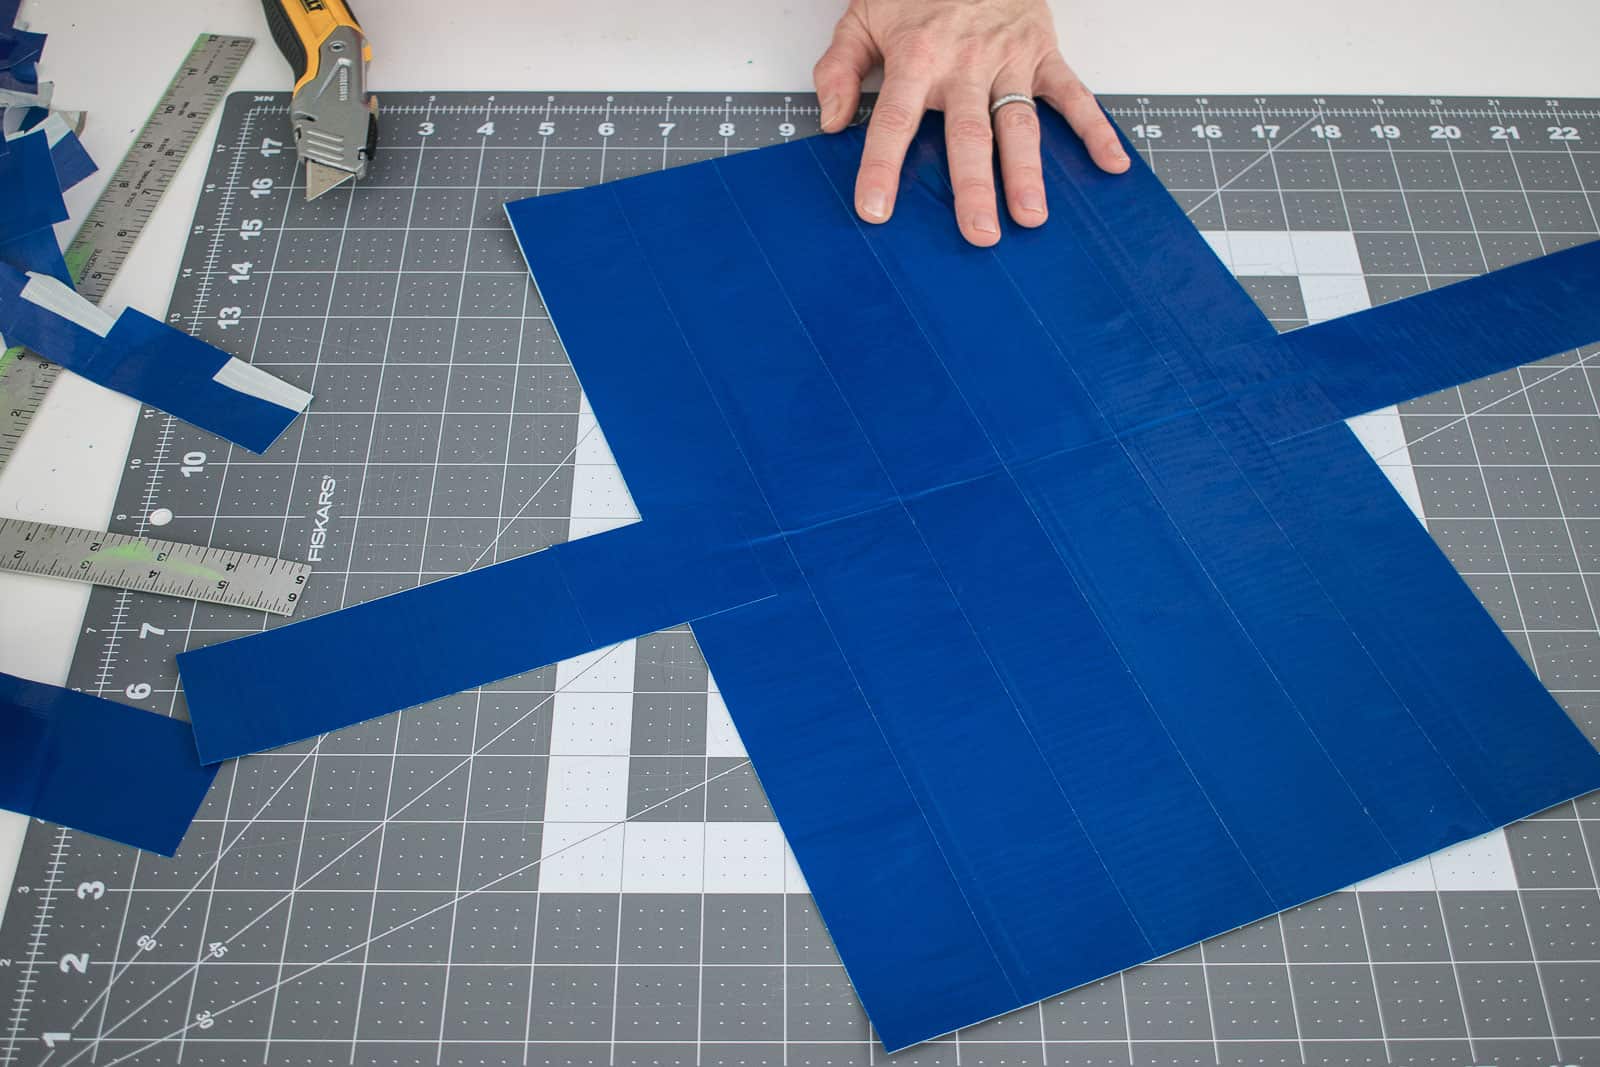
Fold in half hotdog style and line up the center of the side flap with the center fold of the main bag. With a small strip of tape, tape the side flaps onto the main bag to make a cross shape. Repeat with another strip on the opposite side.
Step 3. Connect side panels to create the main bag ‘box’ shape.
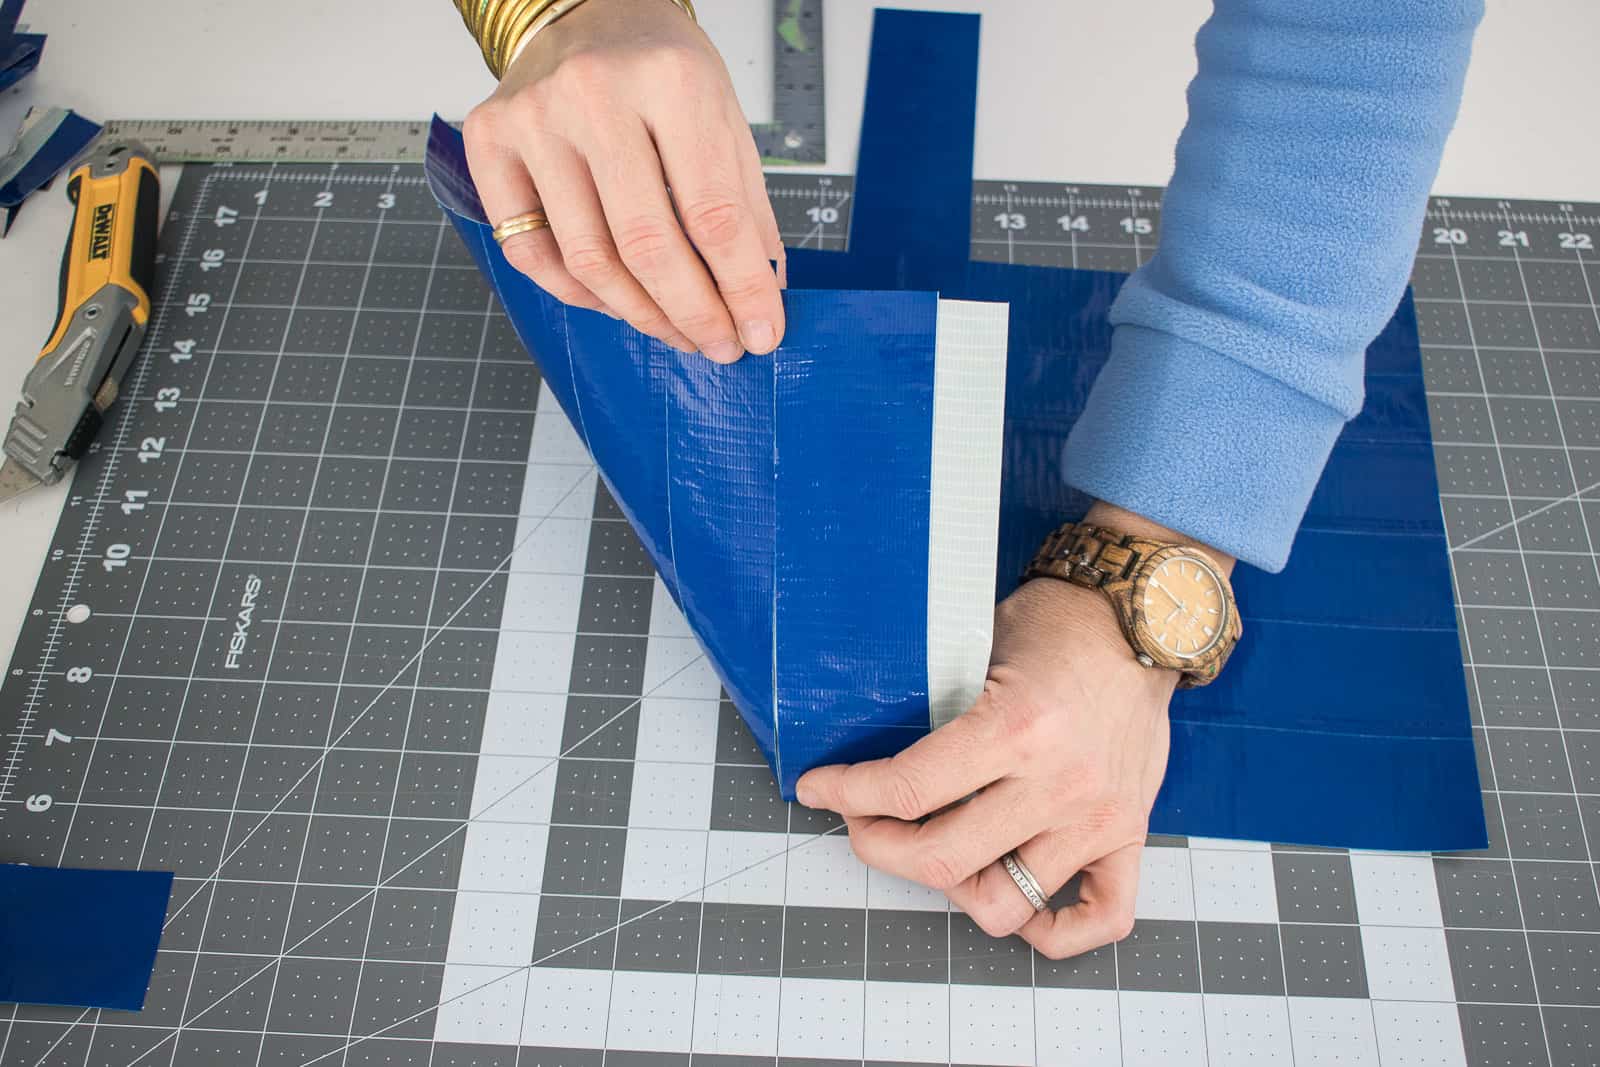
Now it’s time to fold the side flaps up and make this into a bag. Cut a strip of duct tape as long as each side flap. With your straight edge, cut these strips in half the long way.
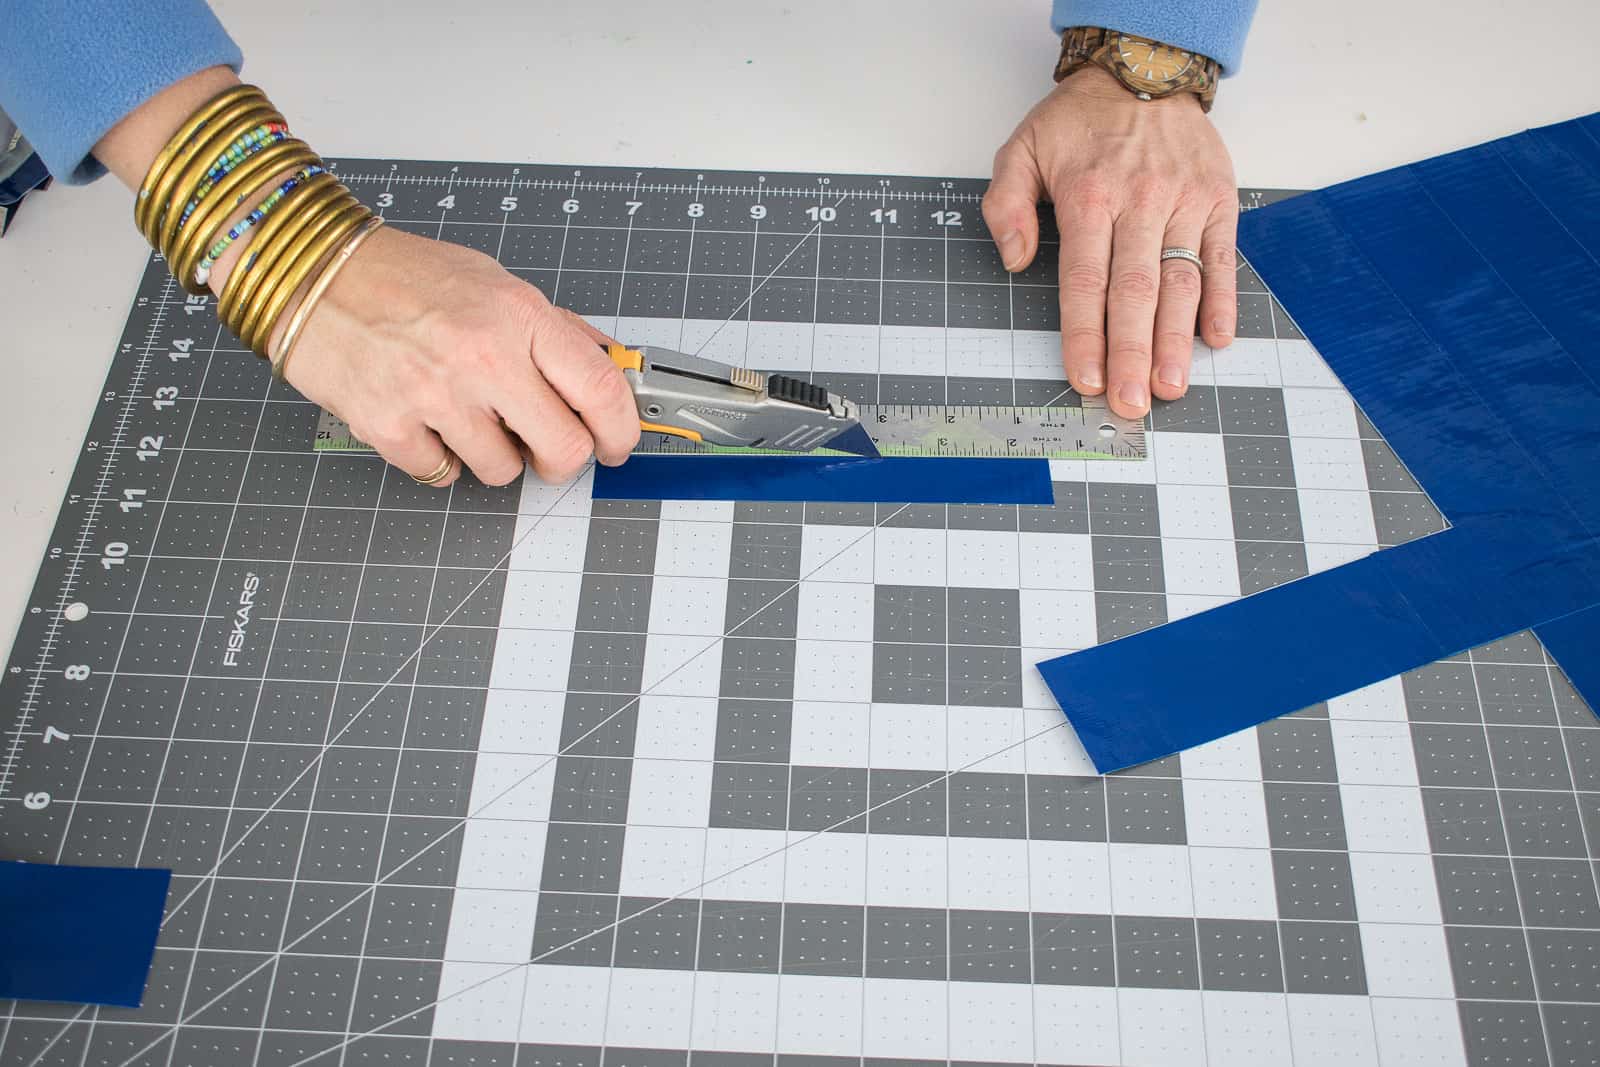
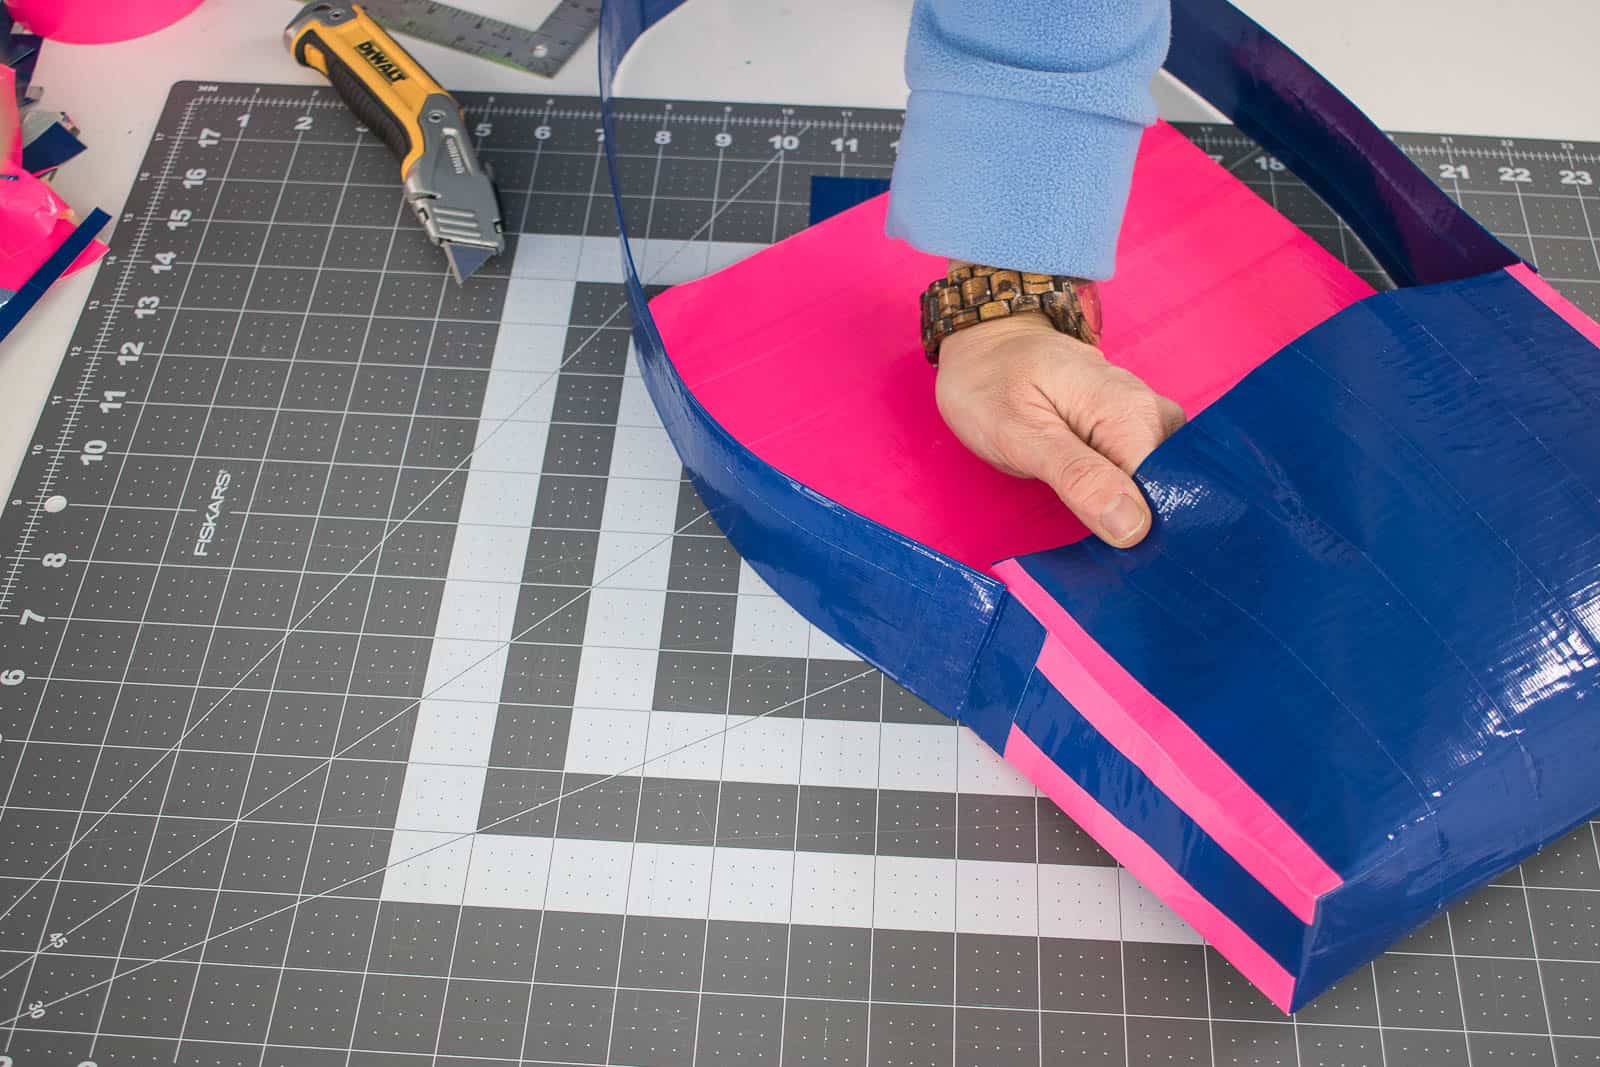
Place each strip on either side of the side flap and carefully bring the front and back of the bag up to connect with the side flap.
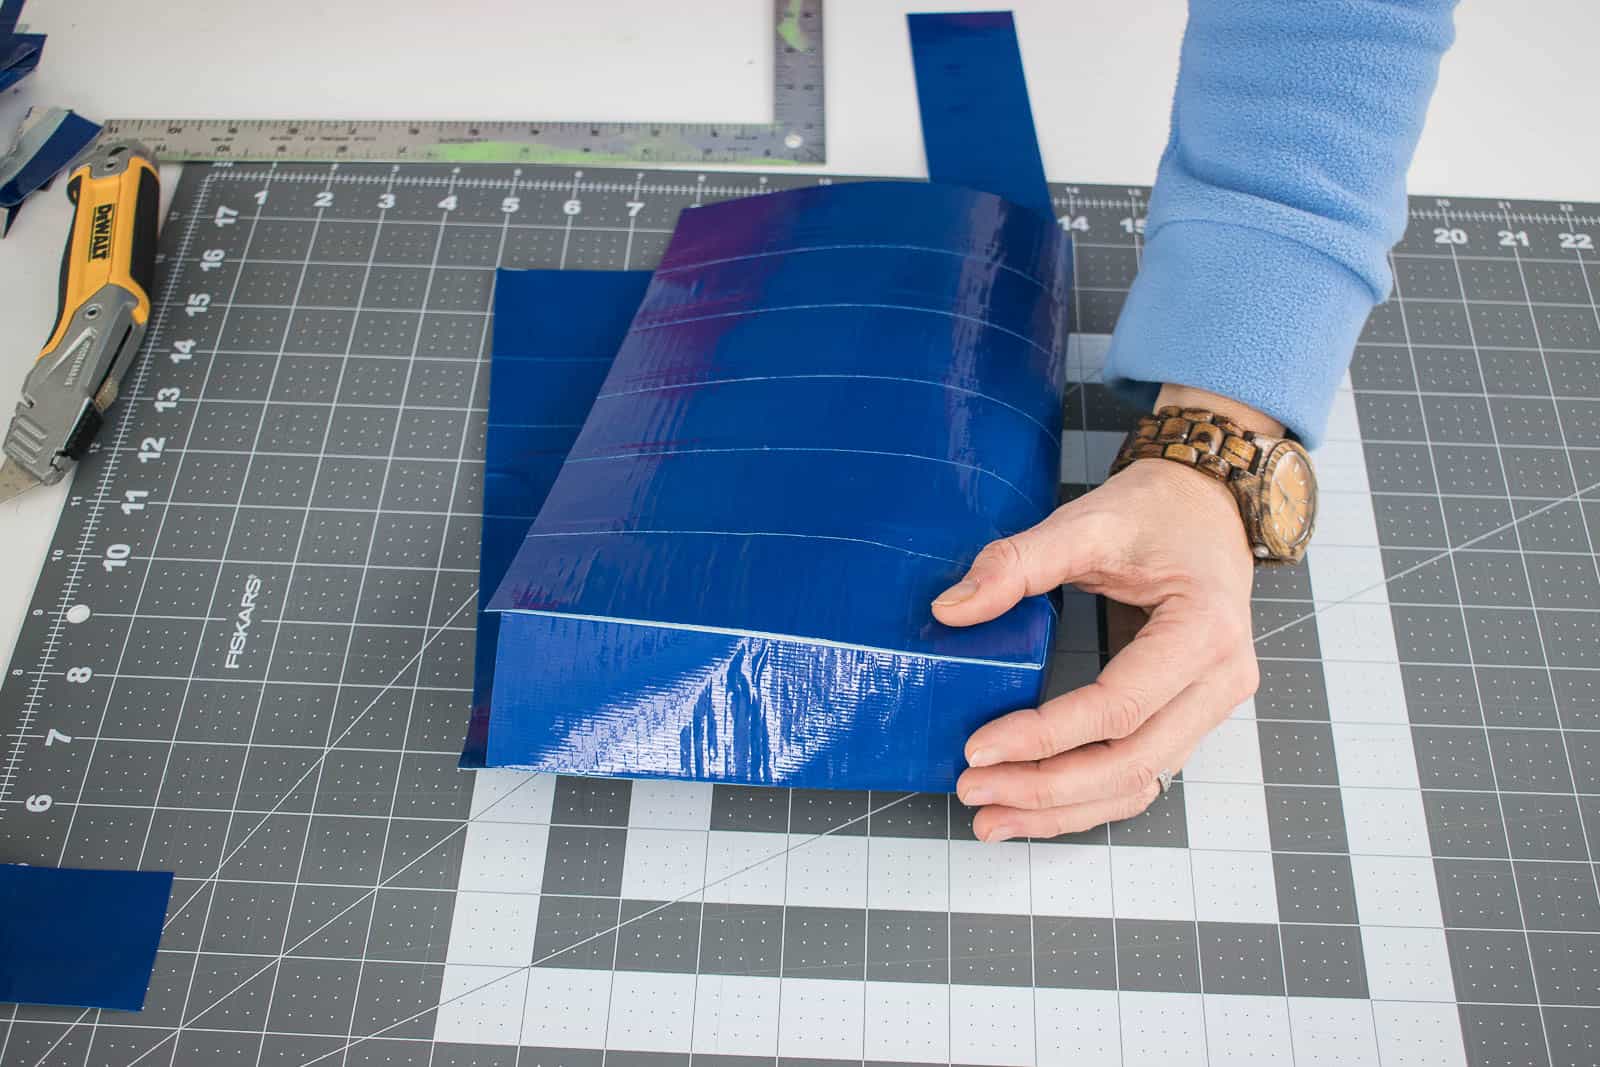
Repeat on the other side. To finish the corners, cut strips of duct tape, cut them down the middle and cover the corner seams on the outside of the messenger bag.
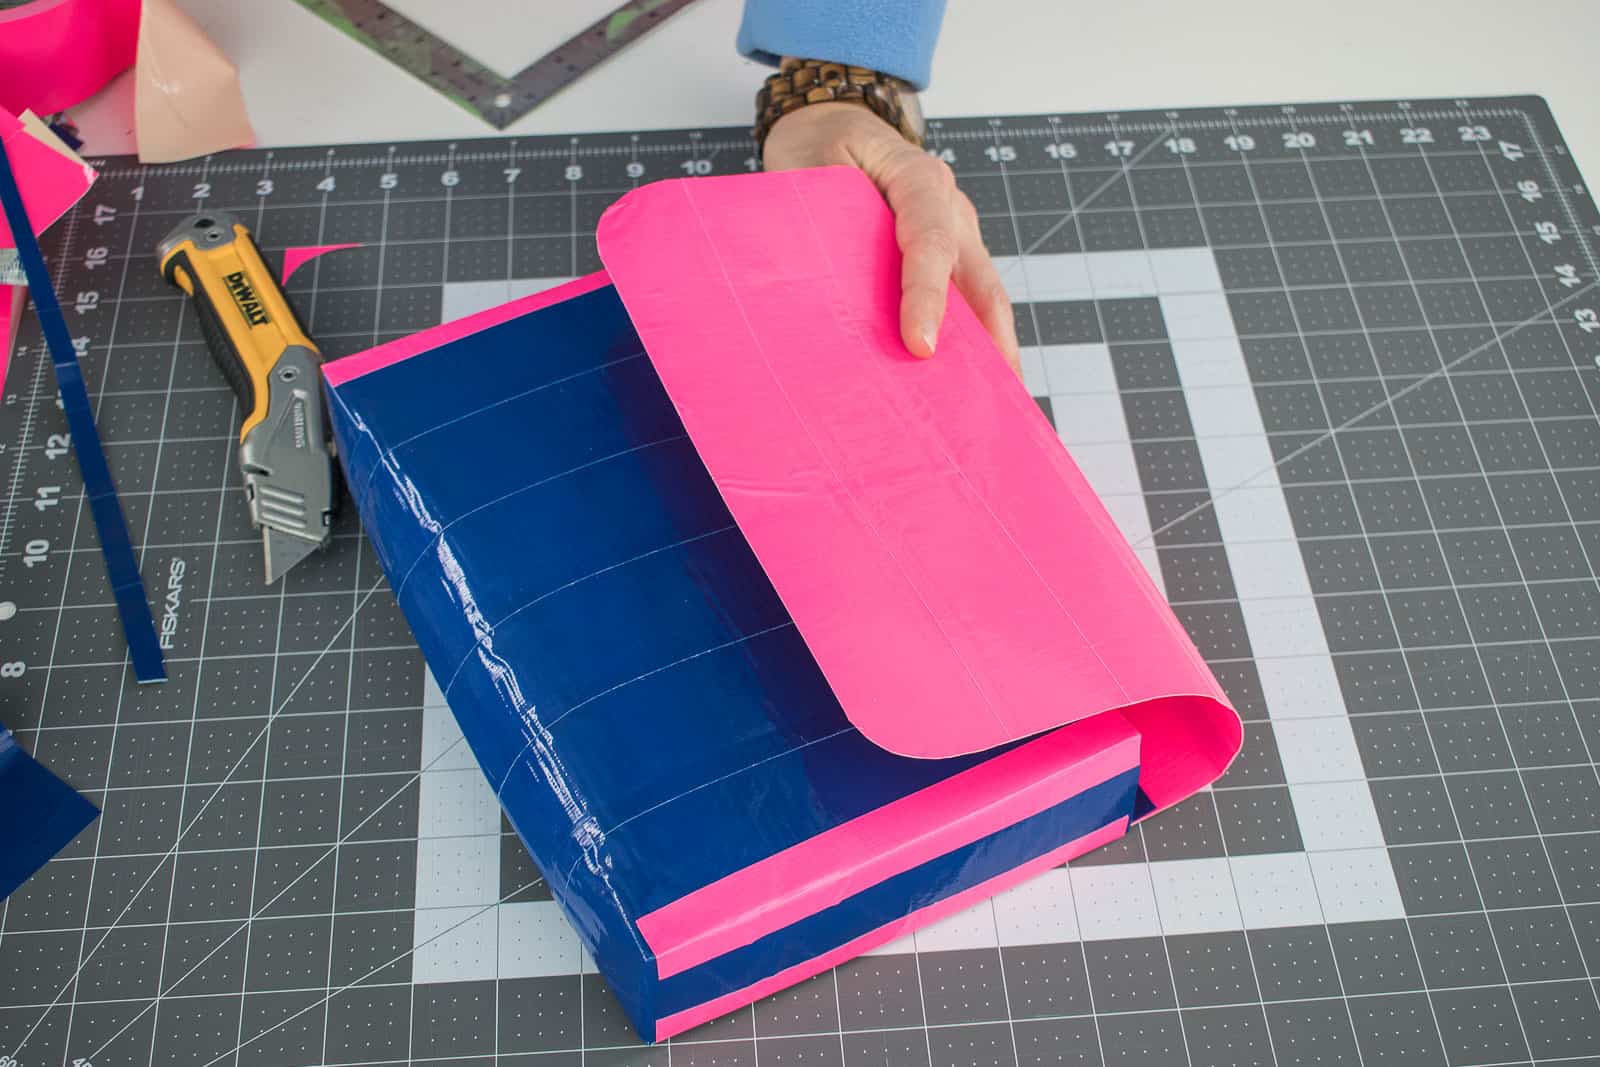
Step 4. Make and connect the flap
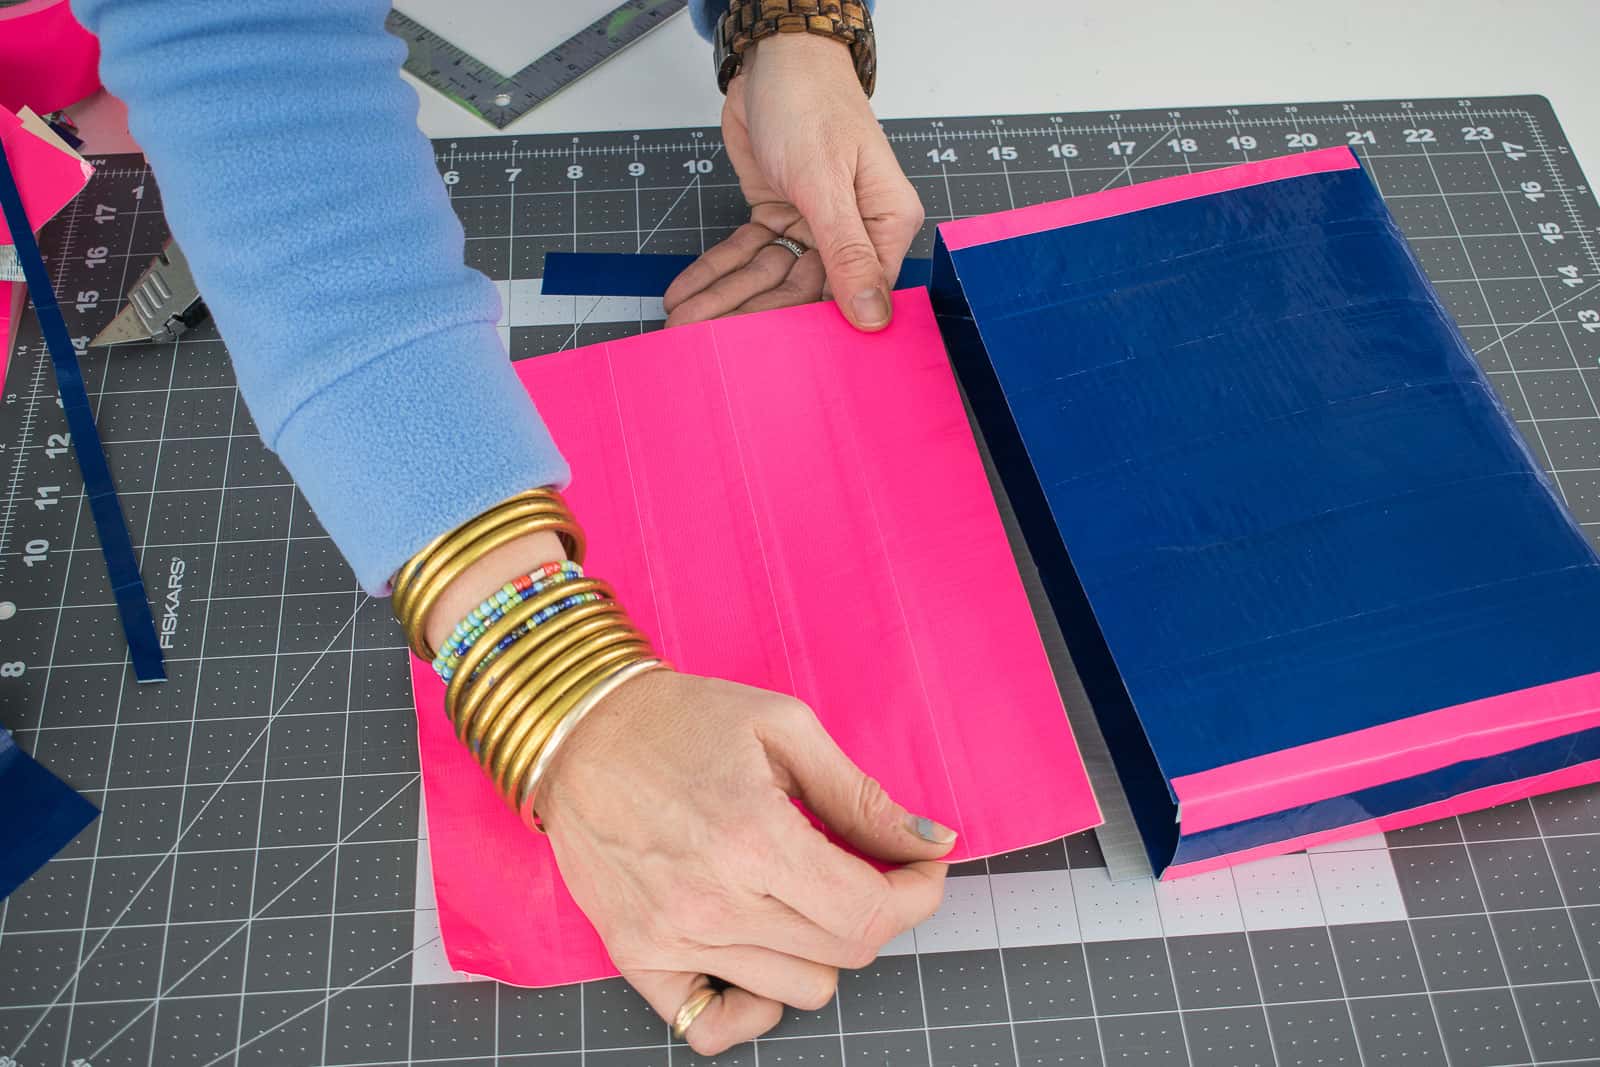
Next up is the flap of the messenger bag. Make another duct tape sheet and cut to size. You want it to be as wide as the bag and long enough to flap over the top accordingly.
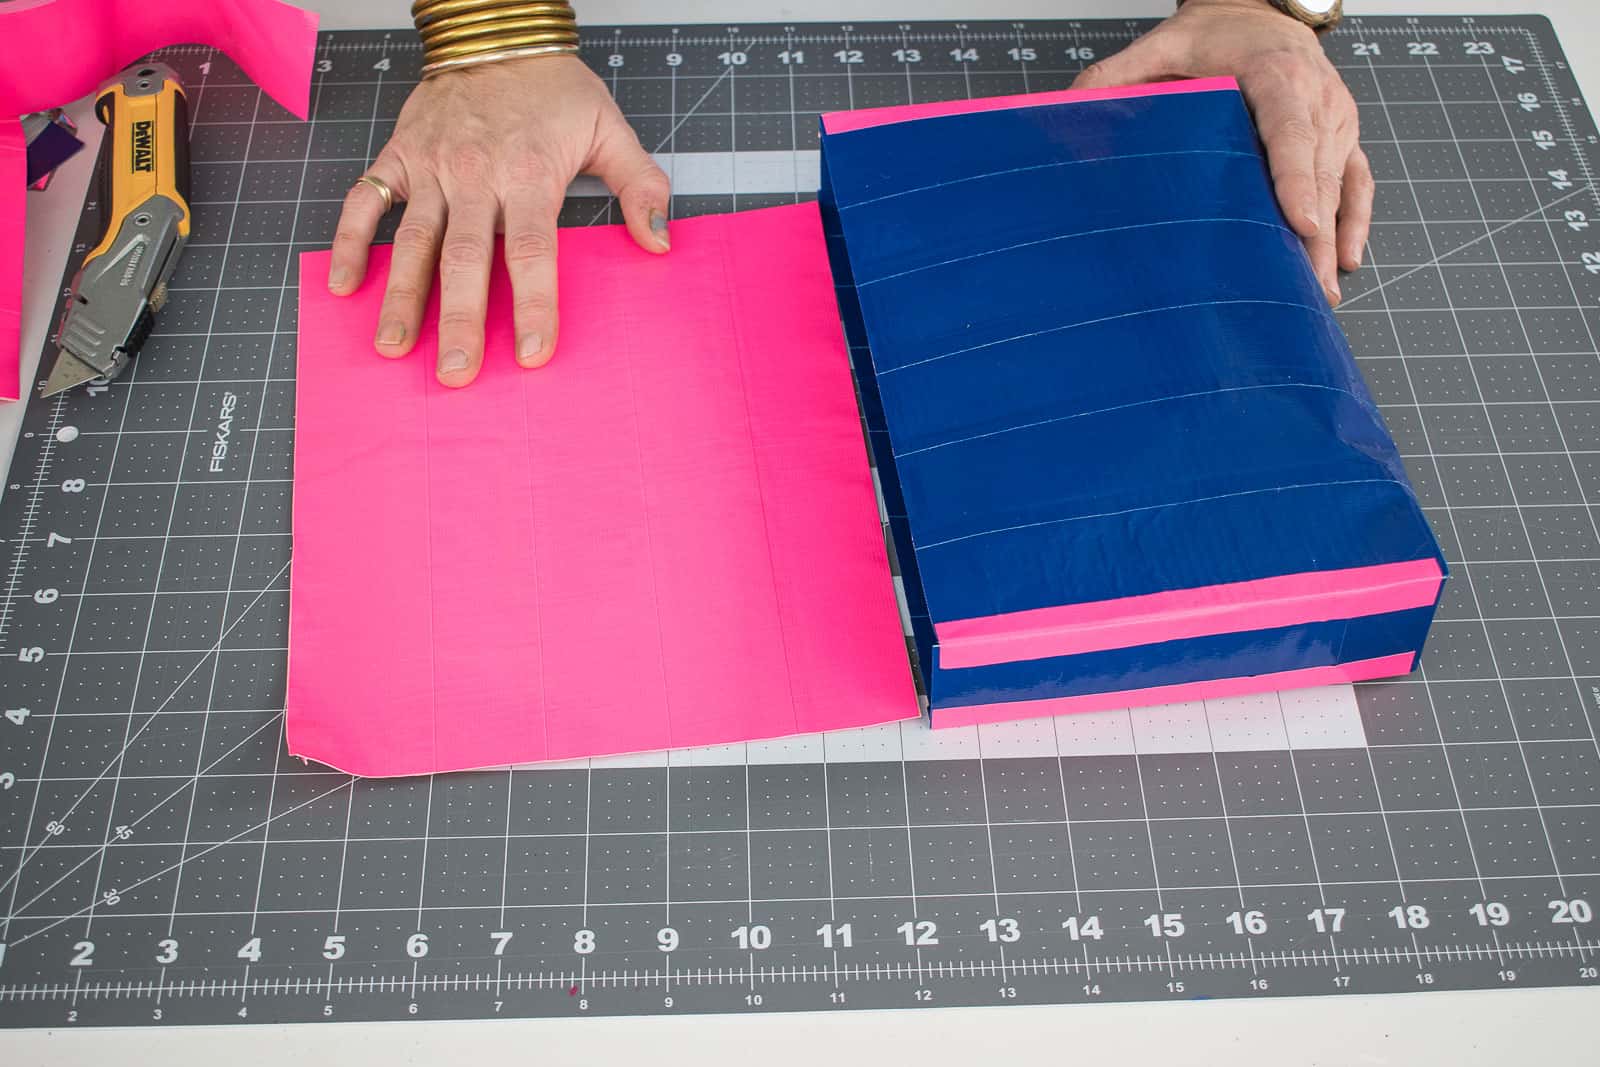
Use two strips of tape on either side of the top flap to attach it to the bag. Round the corners if you’d like!
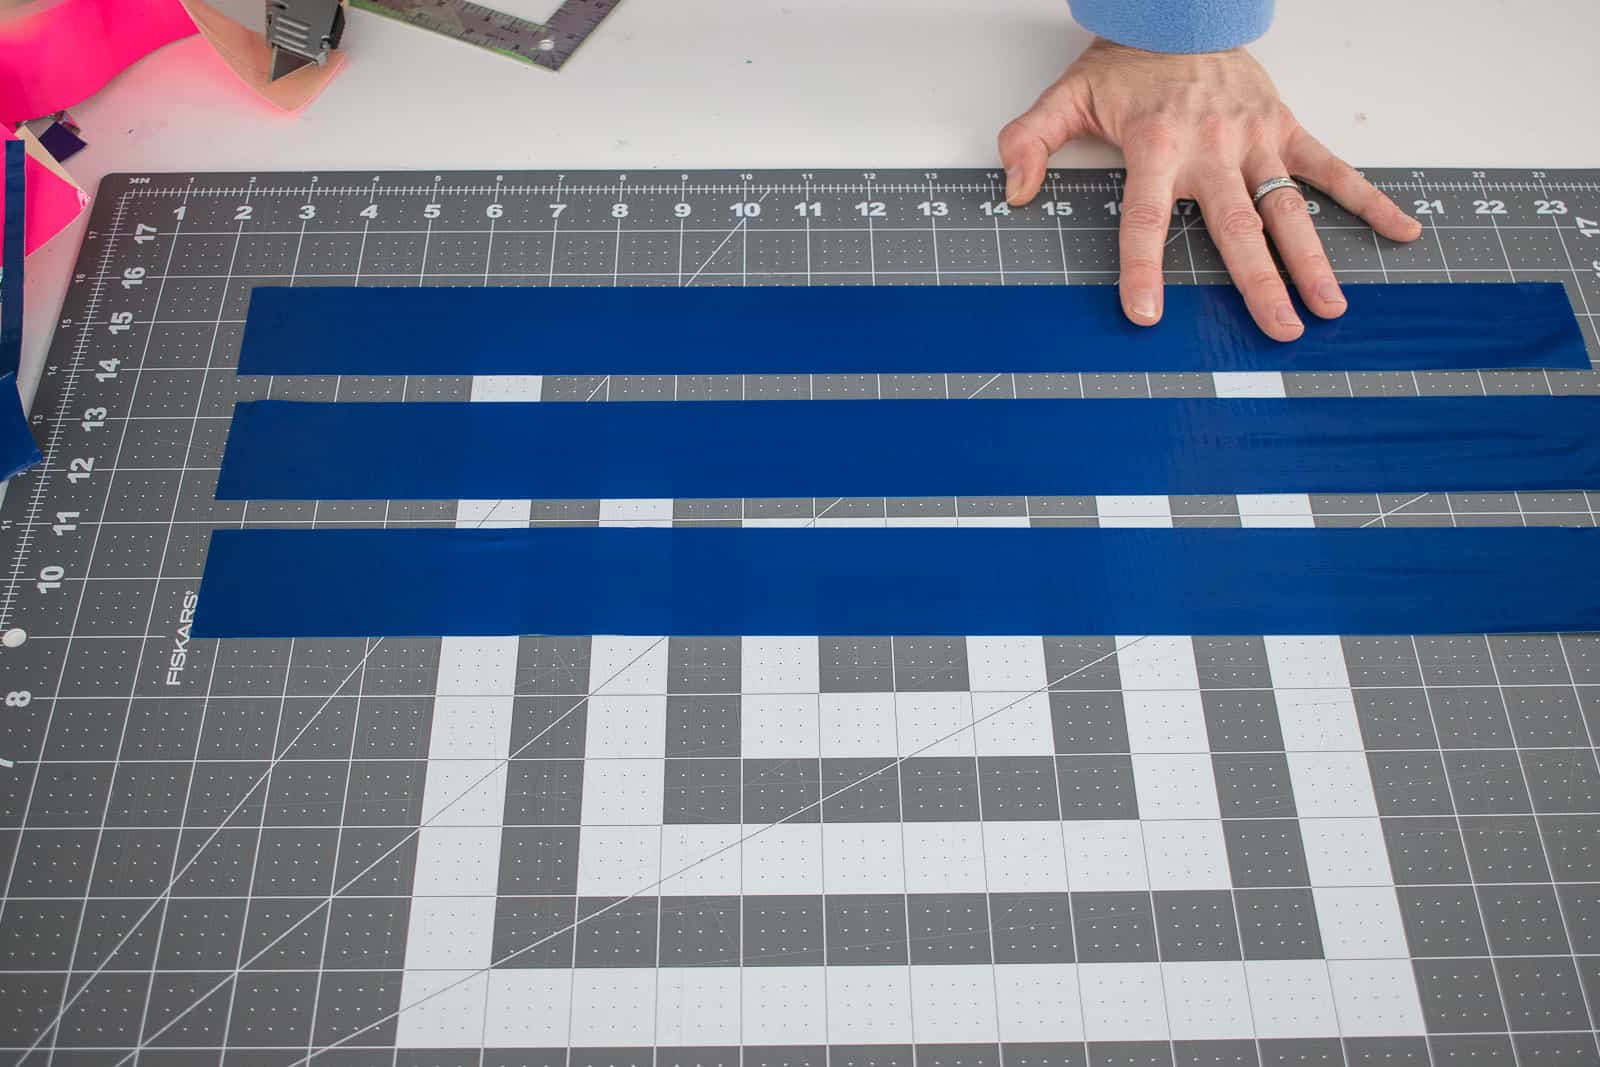
Step 5. Make and connect the strap
To make the strap, overlap three strips of tape adhesive side down. Flip them over and carefully fold either side inwards (envelope fold).
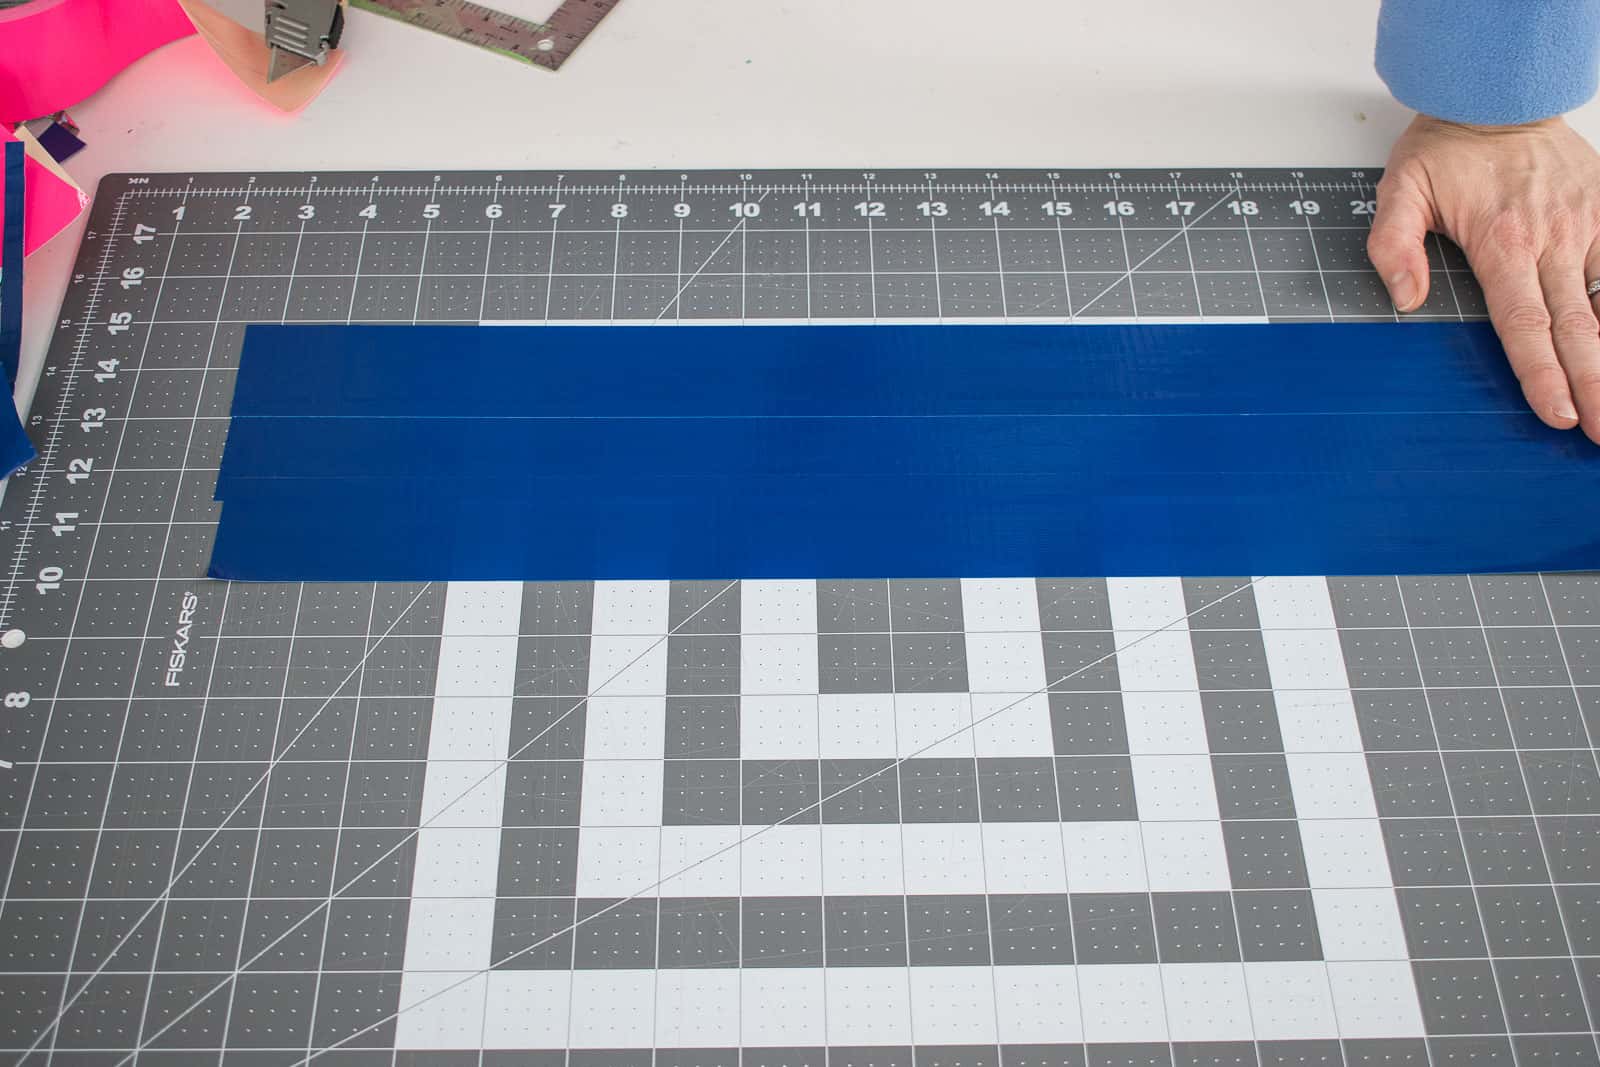
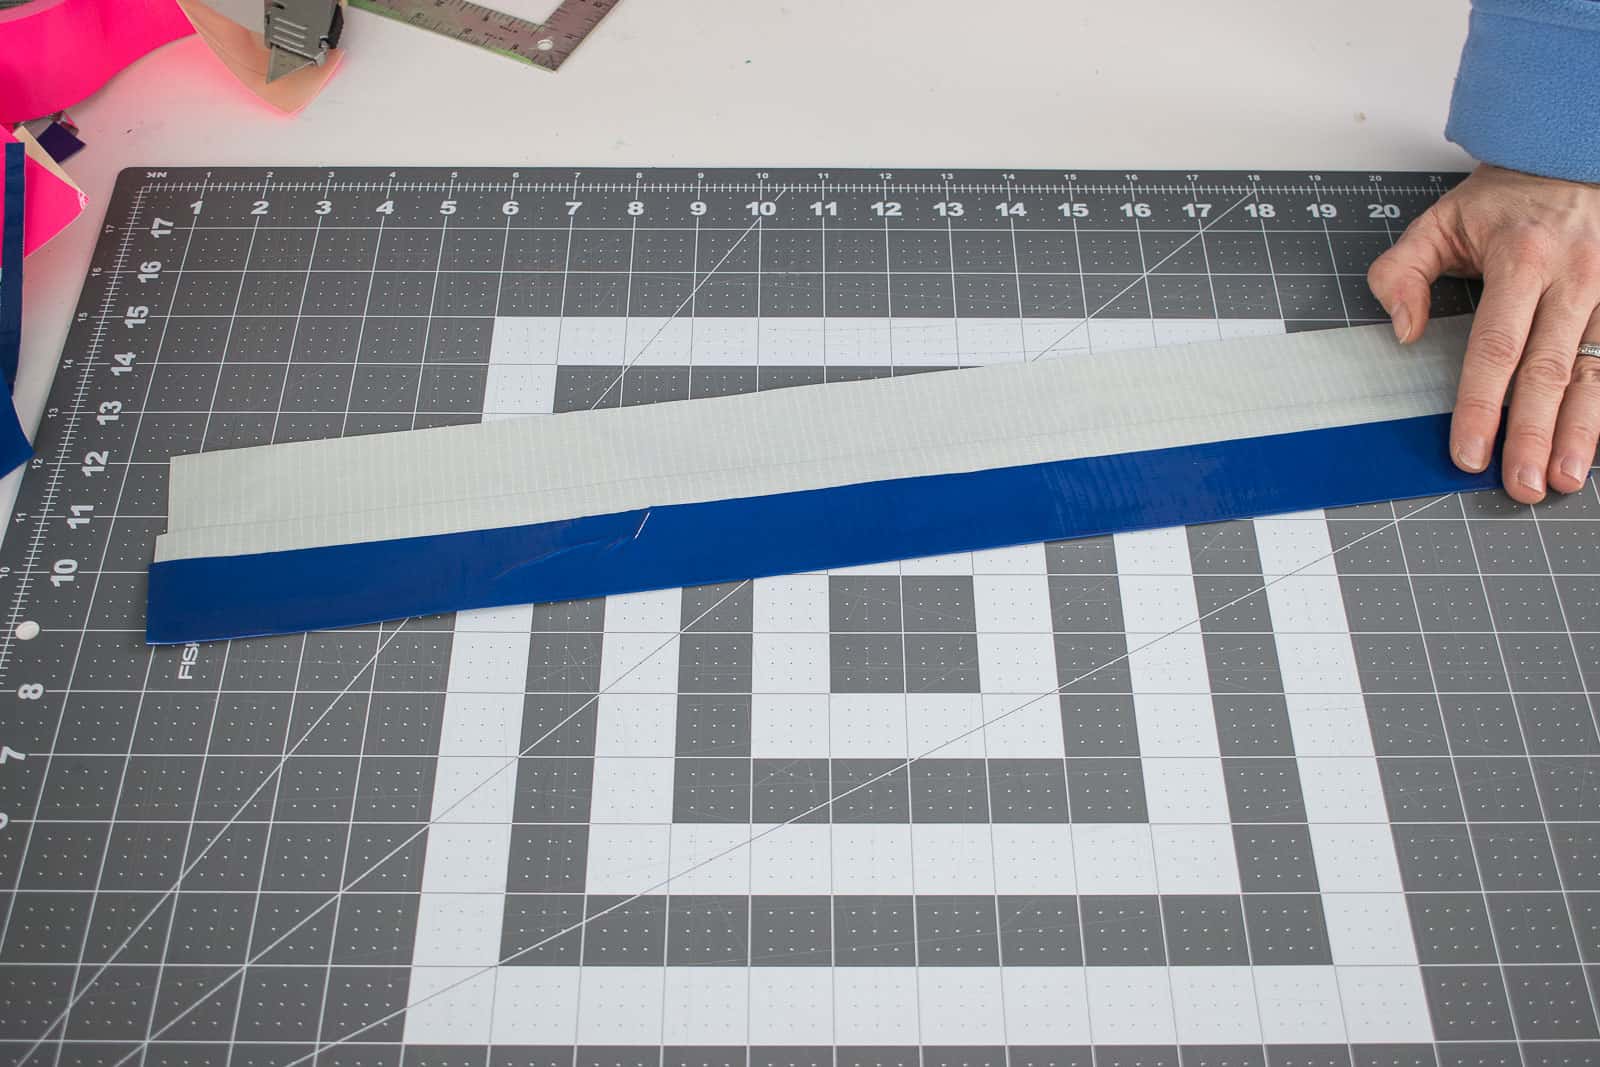
If this first strip of tape is long enough for you, then skip ahead. I wanted our straps to be a bit longer so I overlapped three more strips of tape and flipped them over. But before I folded the sides in, I overlapped my first strap and folded the edges around it to connect the two pieces.
Trim the ends of the strap and use strips of duct tape on either side to connect this to the sides of the bag.
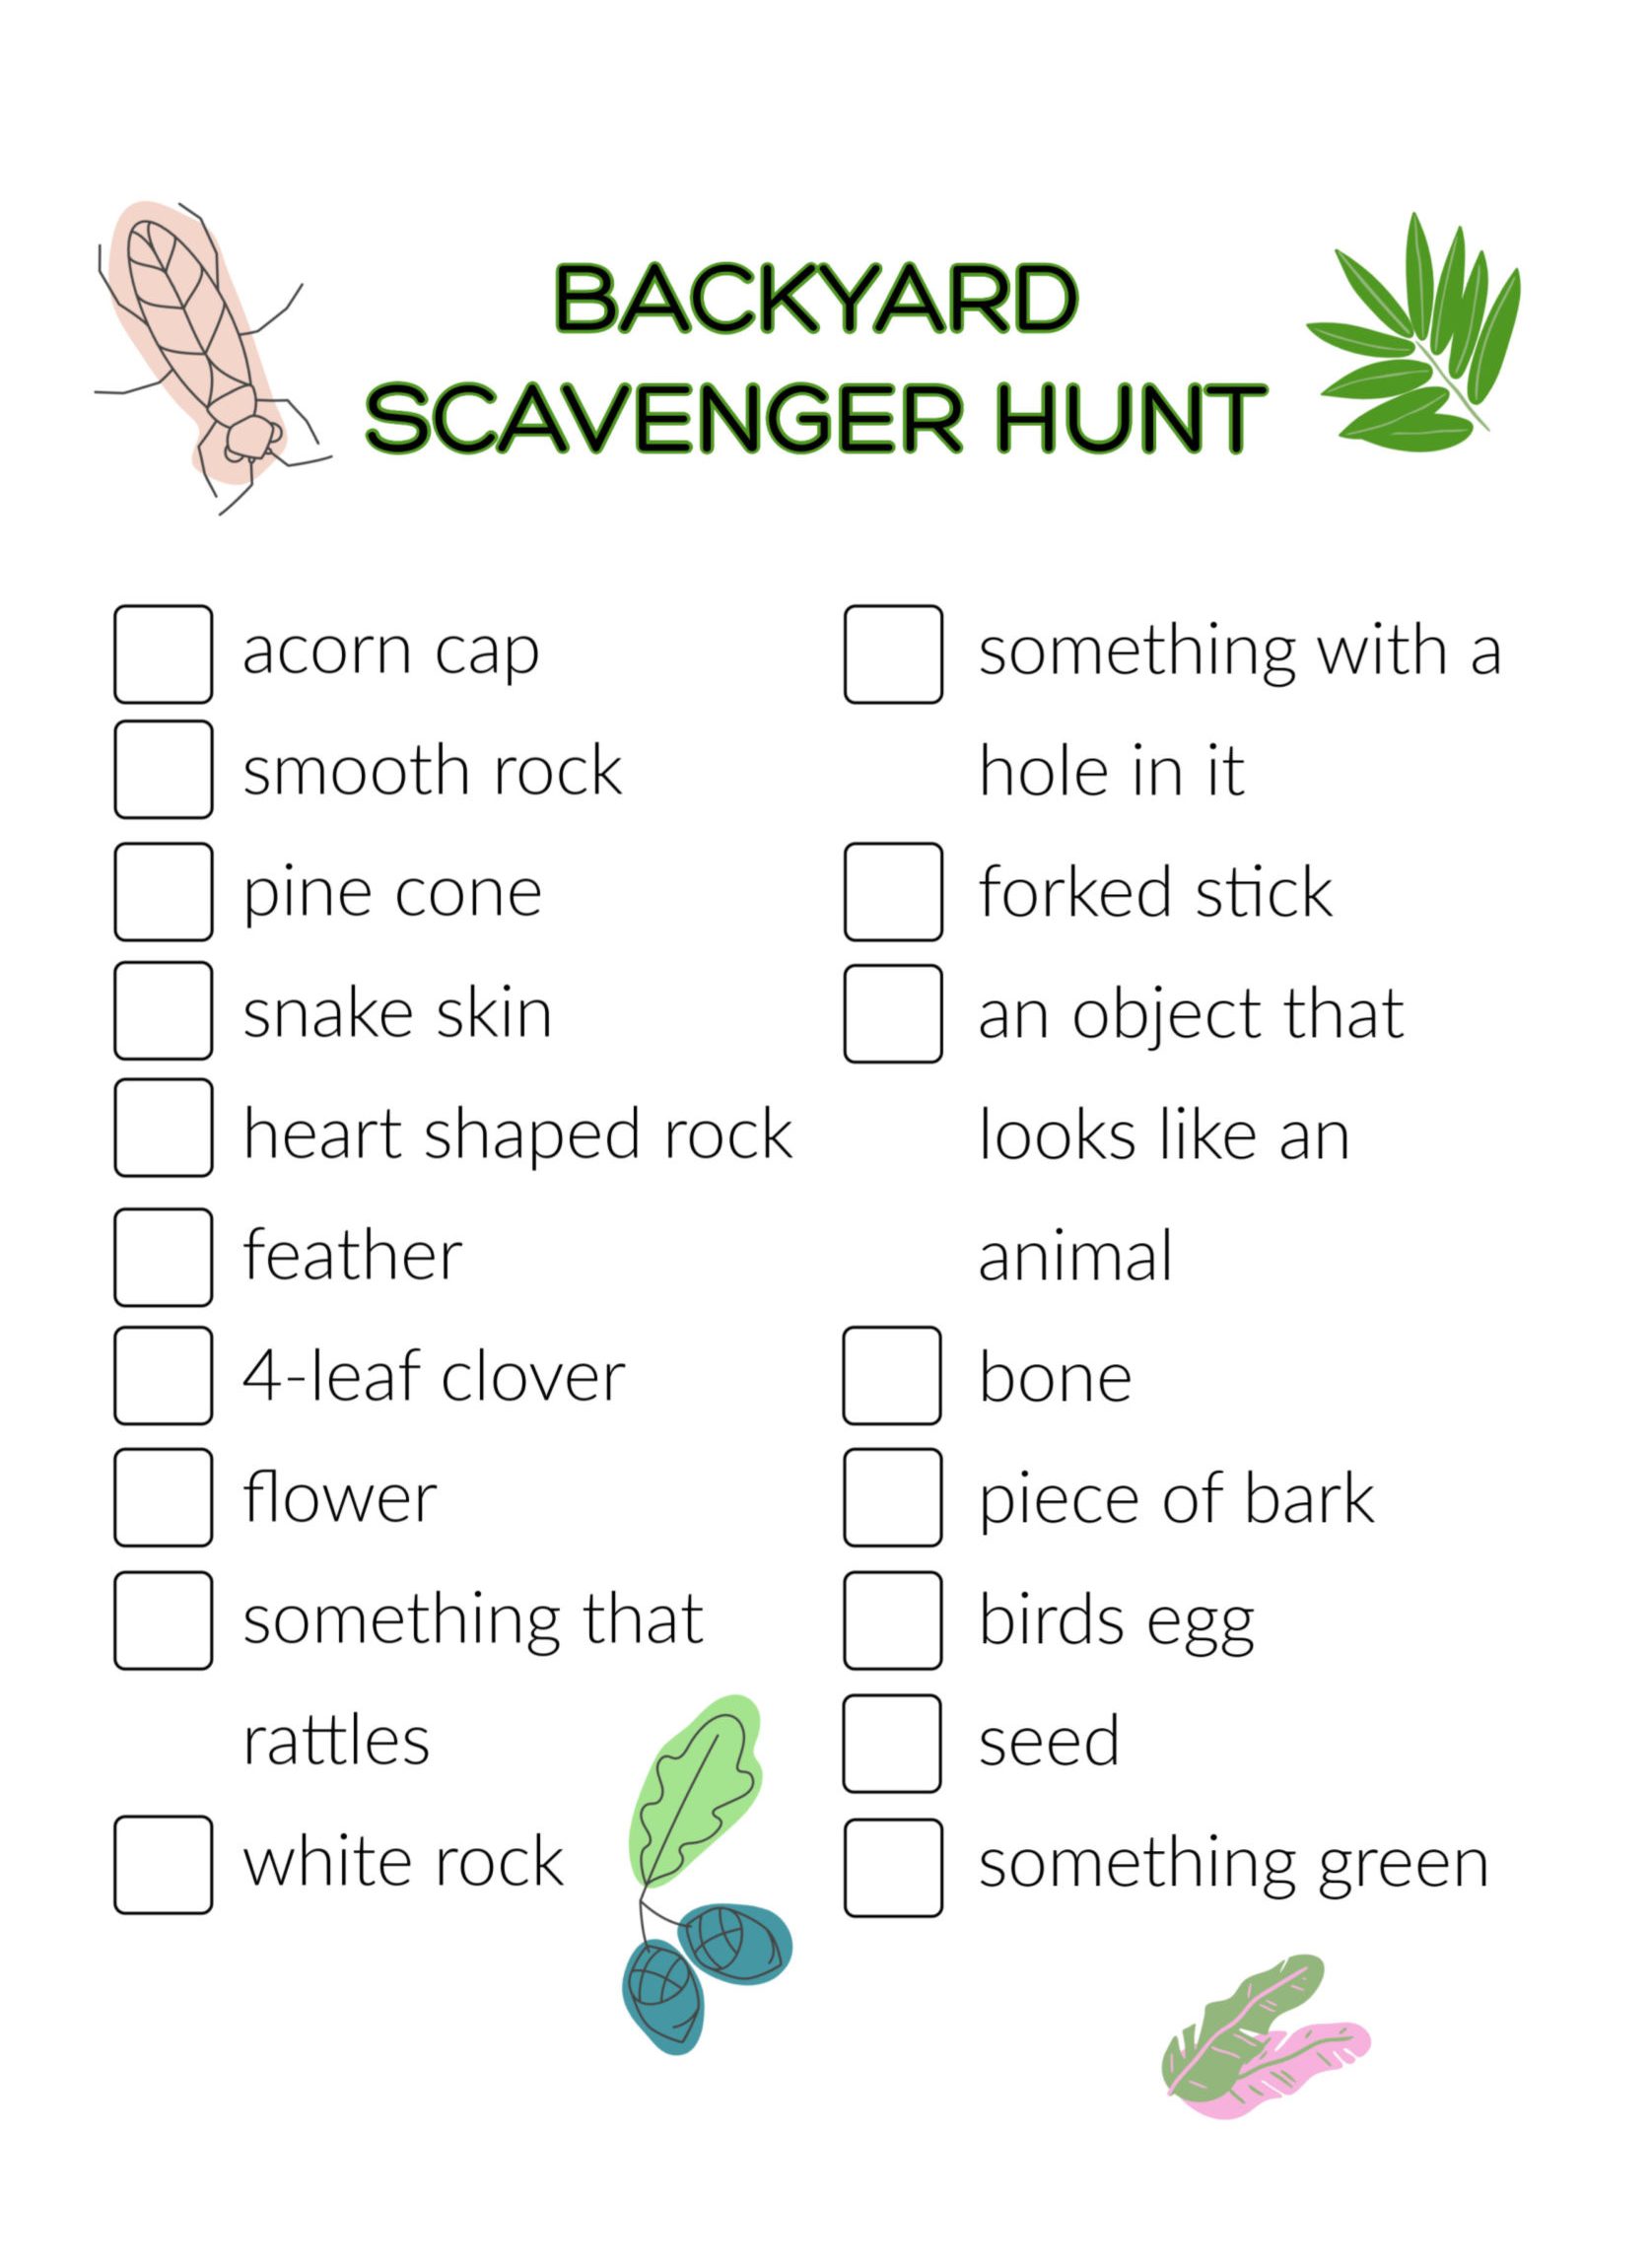
I also made this backyard scavenger hunt sheet and laminated it so these messenger bags are my kids backyard bags…. they can bring a bag with them when we go exploring the woods and they’ll always have somewhere to put their treasures!
I’ve tried my best to photograph each step of this project, but any of it looks confusing, check back later for my video tutorial. It might be easier to visualize if you watch it come together in real time!
If you’re looking for other ideas for kid friendly projects, click here.
And for one-hour DIY projects, check out this post.


Don’t Miss Out
Become An Insider!
Signup for exclusive tips, and tricks from Charlotte’s House!
Let’s chat!
I love comments from you, so feel free to leave your thoughts and ideas below! And don’t forget to follow me on Instagram for even more!