At Charlotte's House

  • About
    • PRESS
    • TELEVISION
    • BLOGGERS HEART HABITAT
    • DISCLOSURE & PRIVACY POLICY
  • HOLIDAY
  • HOME TOUR
    • RENTAL HOME TOUR
    • HISTORIC HOUSE
    • FIRST HOUSE
    • ROOM REVEALS
    • SEASONAL HOME TOURS
  • GALLERY
    • FLEA MARKET & THRIFT SCORES
    • CRAFTS
    • FURNITURE FIXER UPPERS
    • WALL DECOR
    • OTHER STUFF…
  • PODCAST
    • PODCAST EPISODES
  • SHOP
    • SHOP INSTAGRAM
  • CONTACT
    • SPONSOR/ ADVERTISE
    • SUBSCRIBE

Day 7: Copper “Stained Glass” Christmas Ornament

Psssst... this post *might* contain affiliate links: see my disclosure here.

December 2, 2019

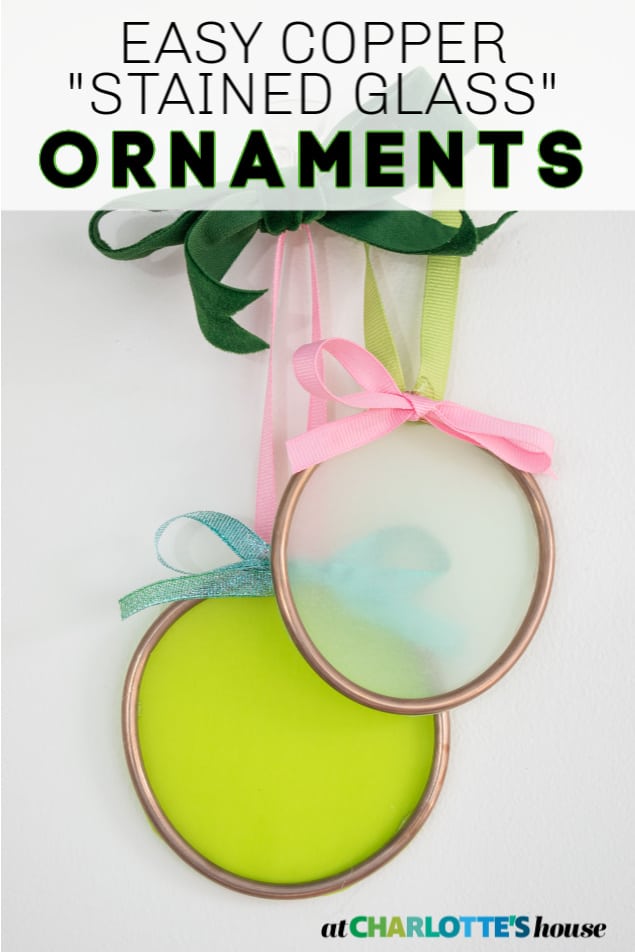
Copper and Vellum Christmas Ornament

This ornament came from my love of copper with a combination of soft pastel ‘stained glass’.

copper and vellum ornament

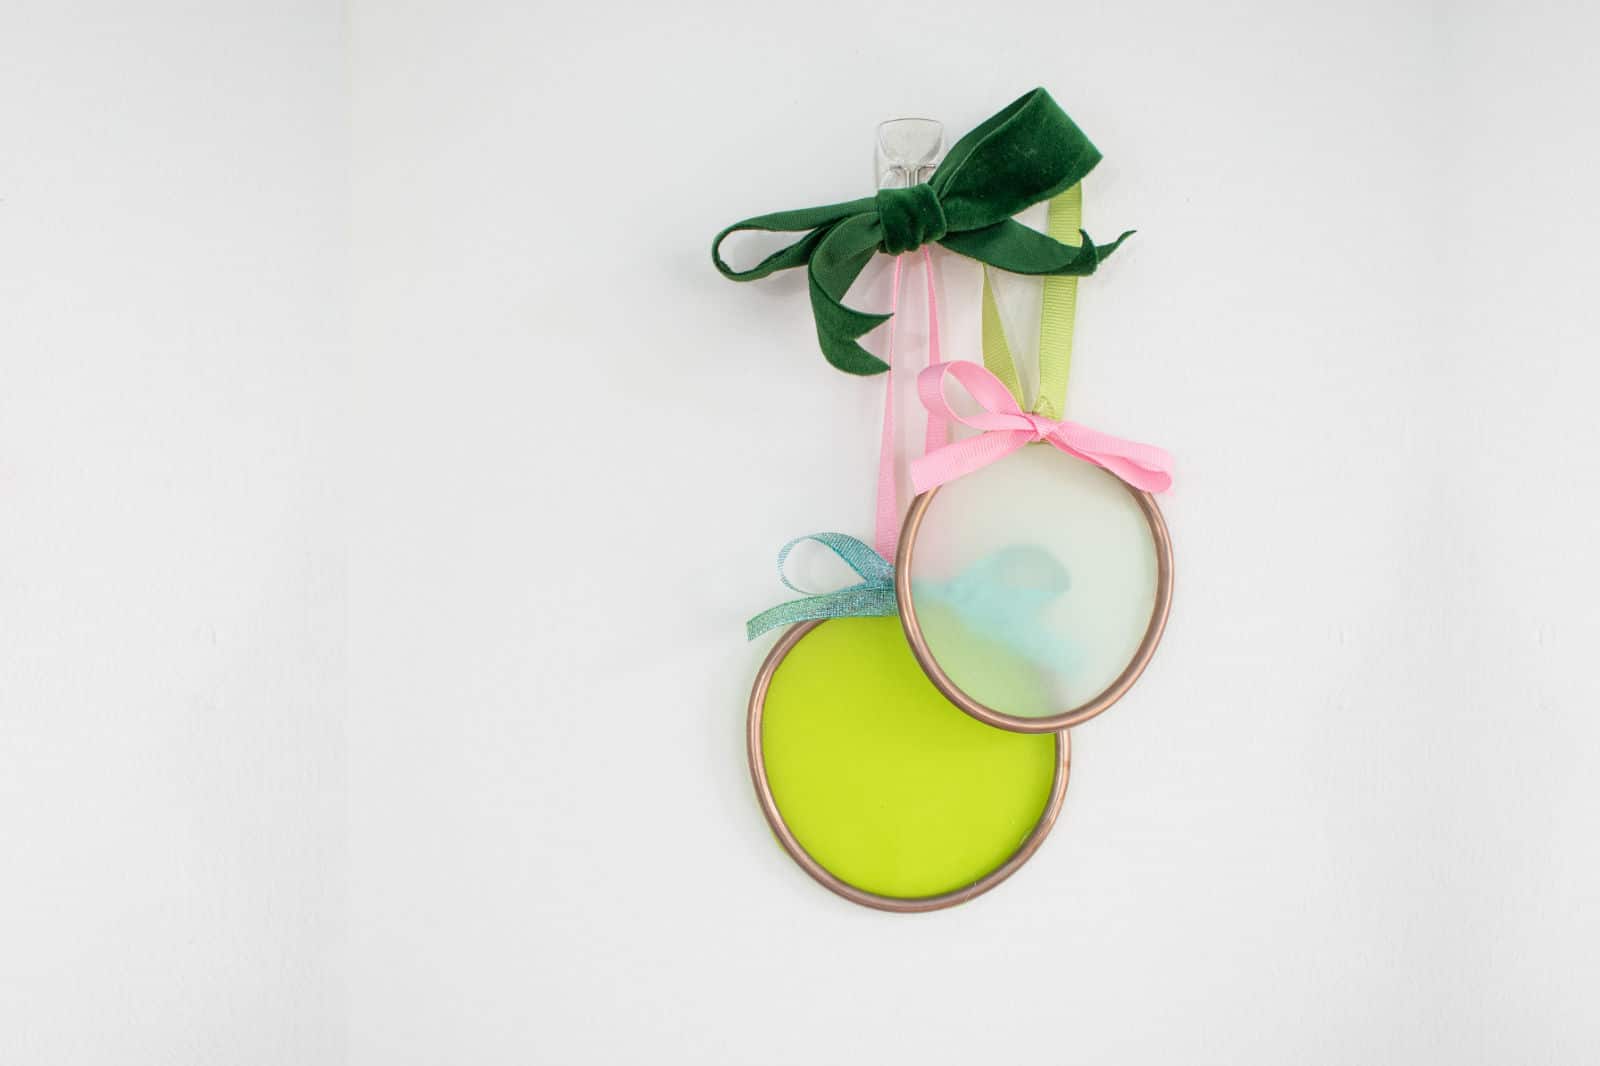
I can’t tell you where I got the idea for this ornament, but I love the effect of the copper pipe with the soft pastel vellum. When hanging on the tree, the Christmas lights glow through the transparent ornaments and create a wonderful ethereal effect. Reminder that ALL materials for my 12 Days of Ornaments are linked in my Amazon shop.

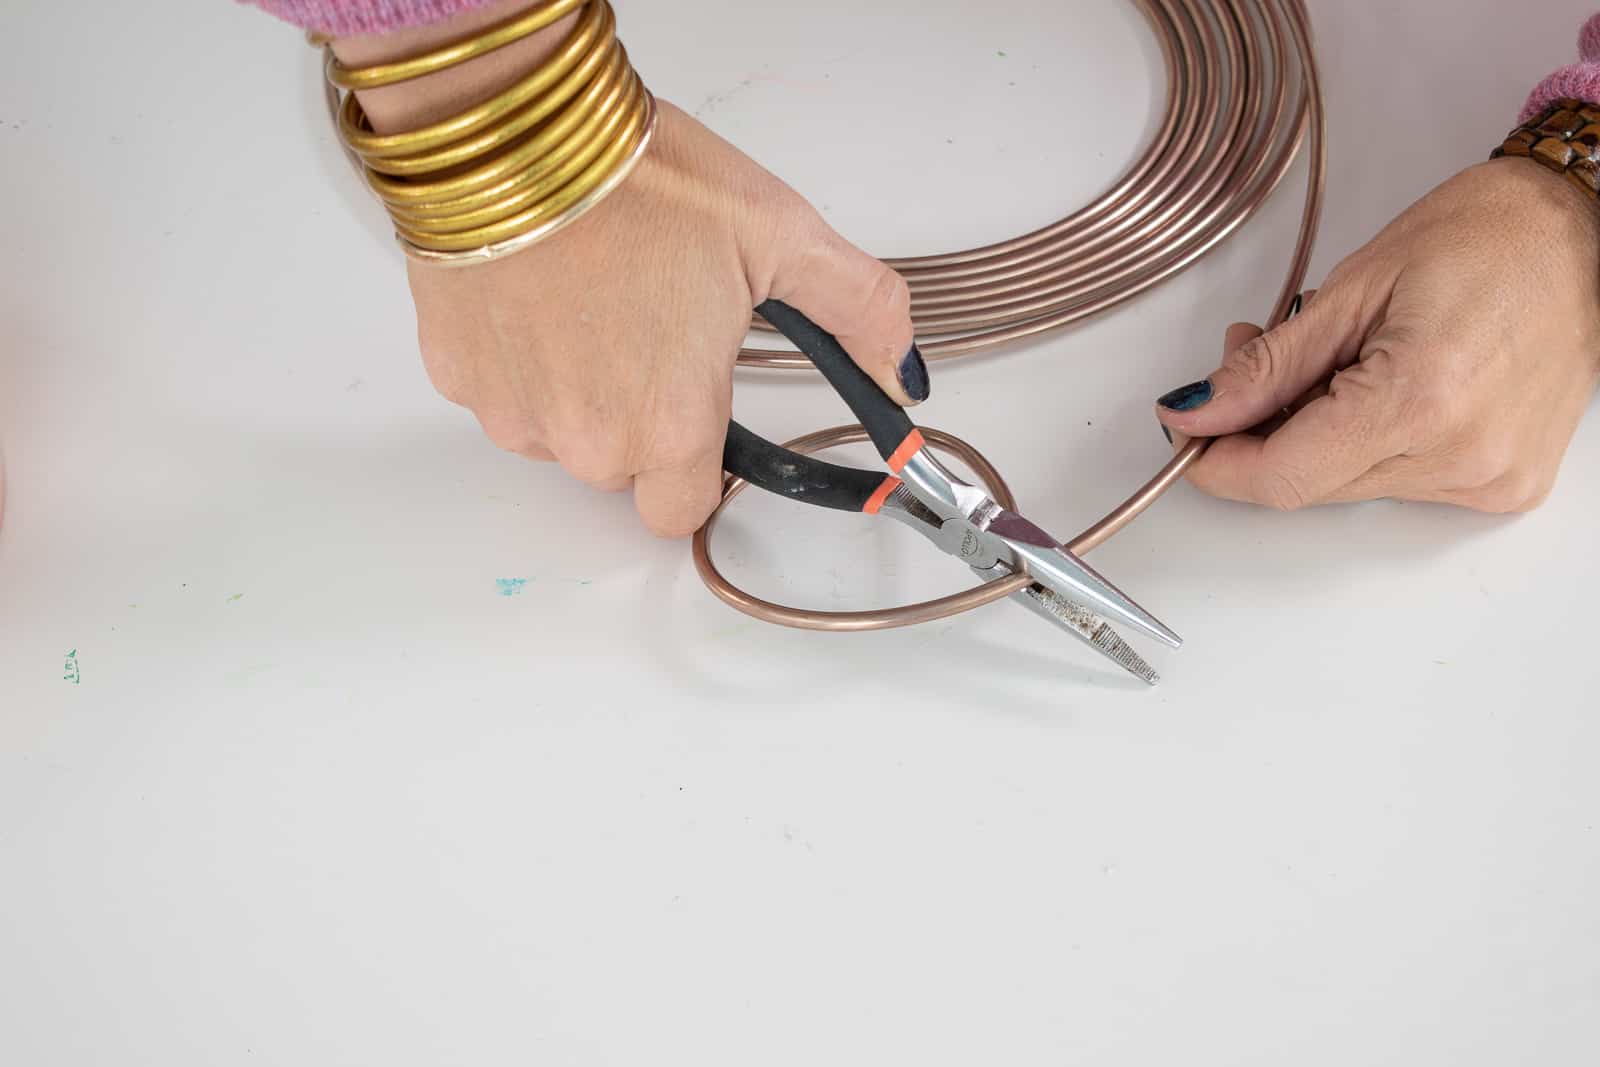
Step 1: Bend the copper into a circle

Using needle-nose pliers, bend the copper piping into a circle. It won’t be perfect, but copper’s pretty soft so you should be able to do this fairly easily.

bend copper into a circle

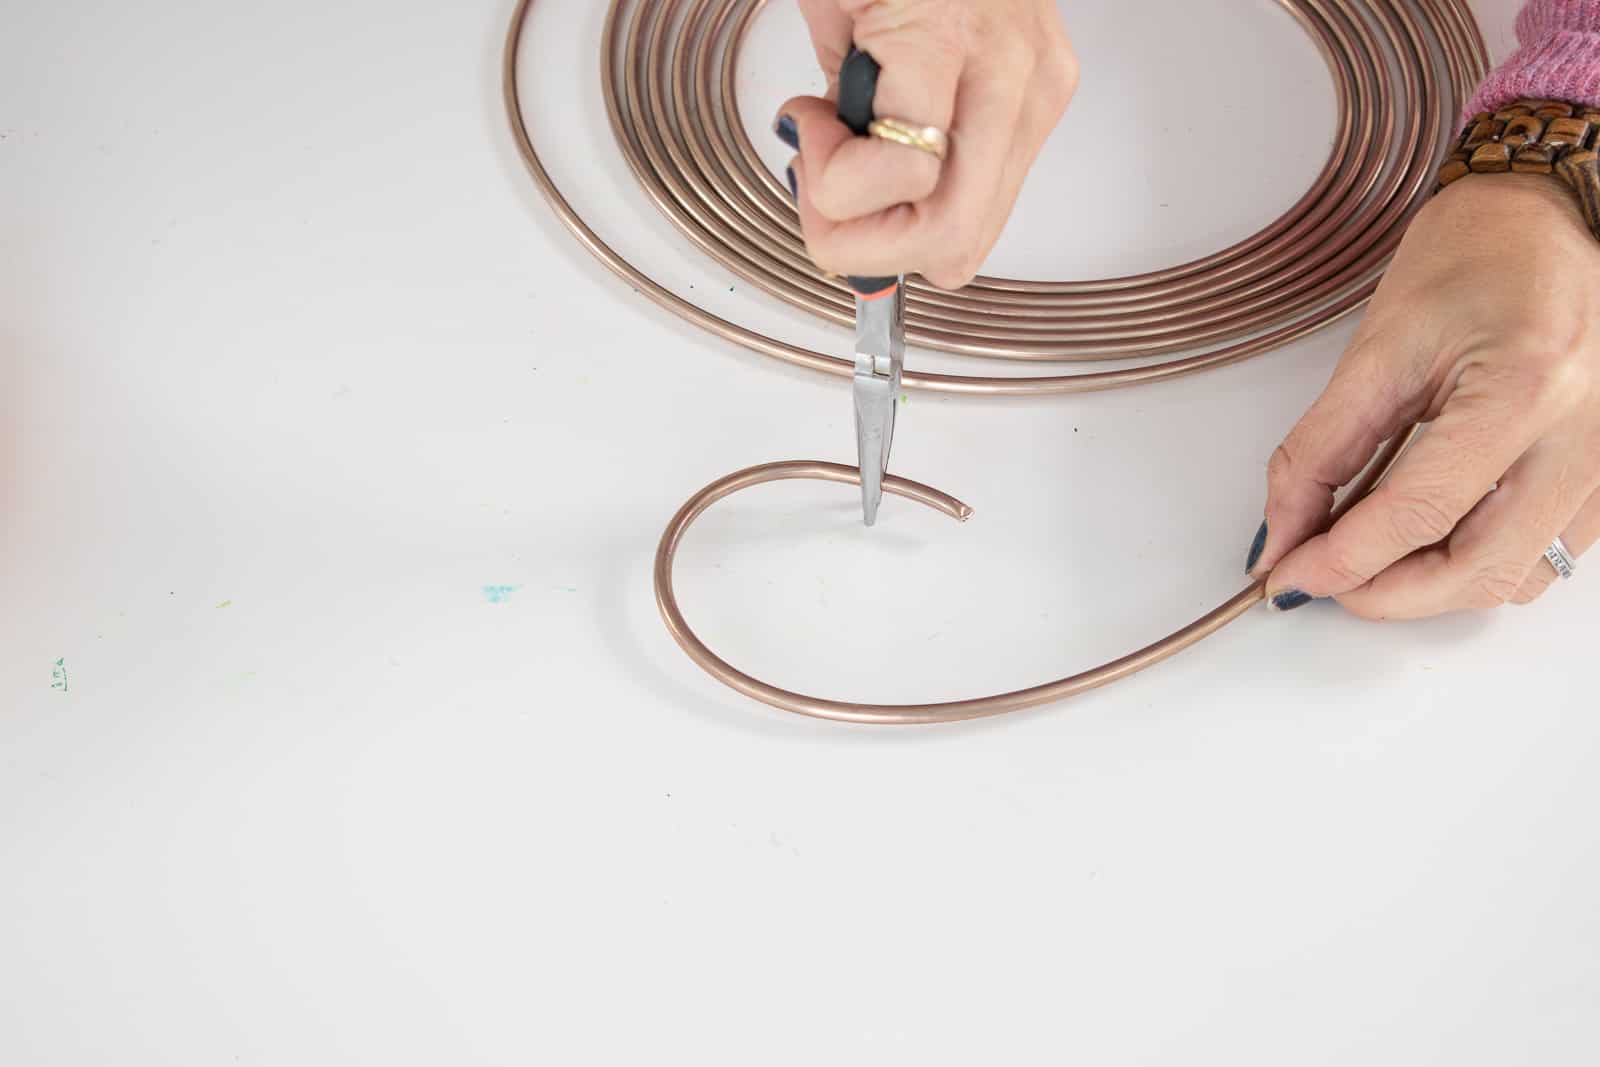
To cut the copper, all you need to do is pinch down with the sharp part of the needle-nose pliers in order to crimp the pipe. Then you can simple bend it back and forth and it should snap easily.

crimp copper to break crimp copper to break

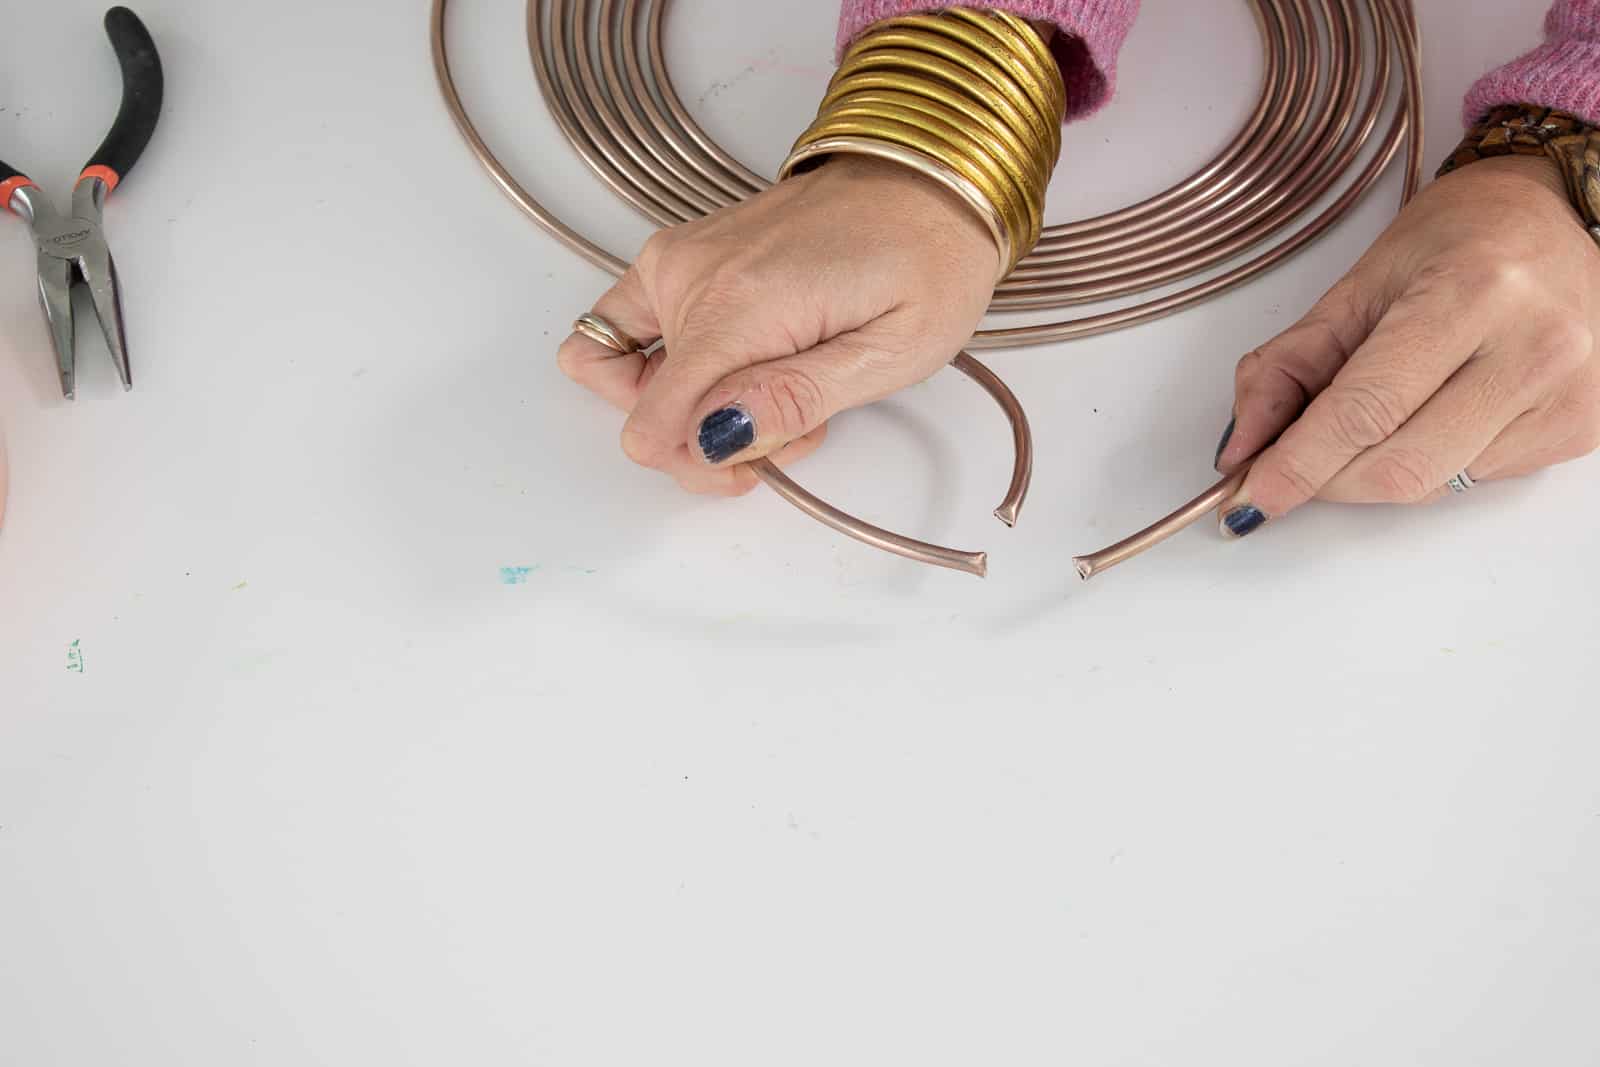
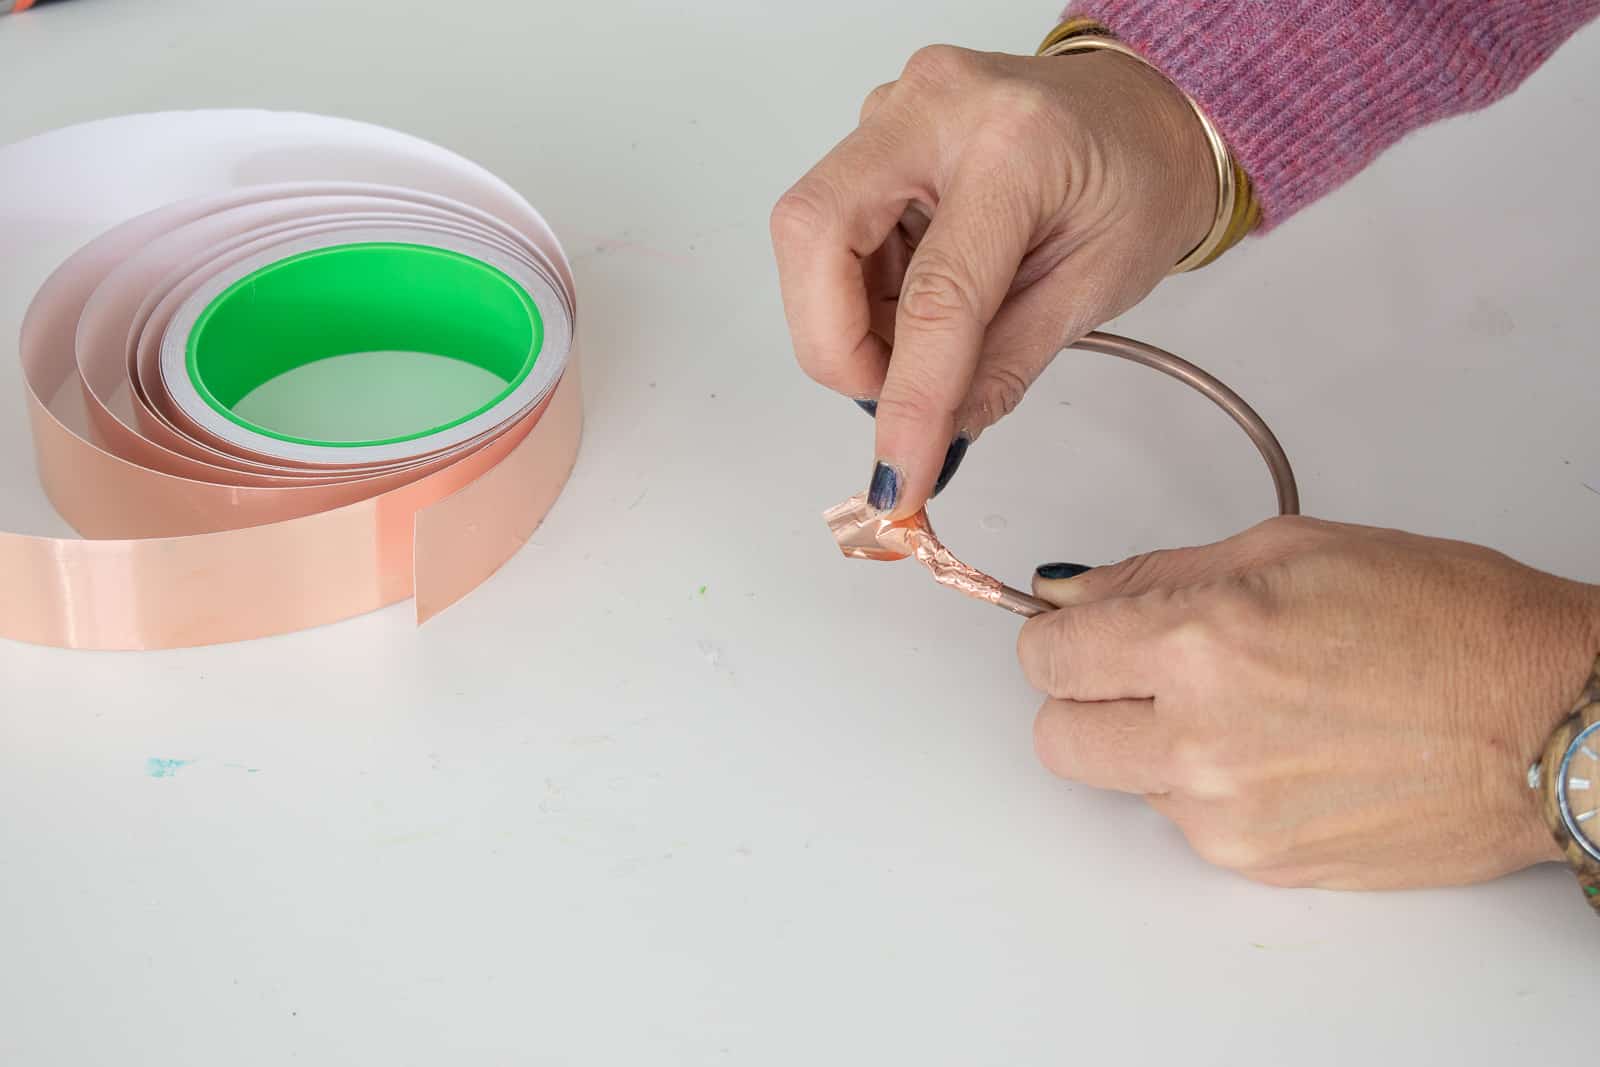
Step 2. Tape the ends

With the copper pipe tape, tape the two pipe ends together. The tape isn’t flexible so it will wrinkle a bit as you wrap around the round pipe. Note: My copper pipe tarnished a bit once it was exposed to the elements so the tape ended up being a bit shinier than the round ornament itself. I suspect you could use an alternate tape if you wanted, but I still like how the copper tape is close-ish to the color of the pipe.

tape the ends of the copper circle together

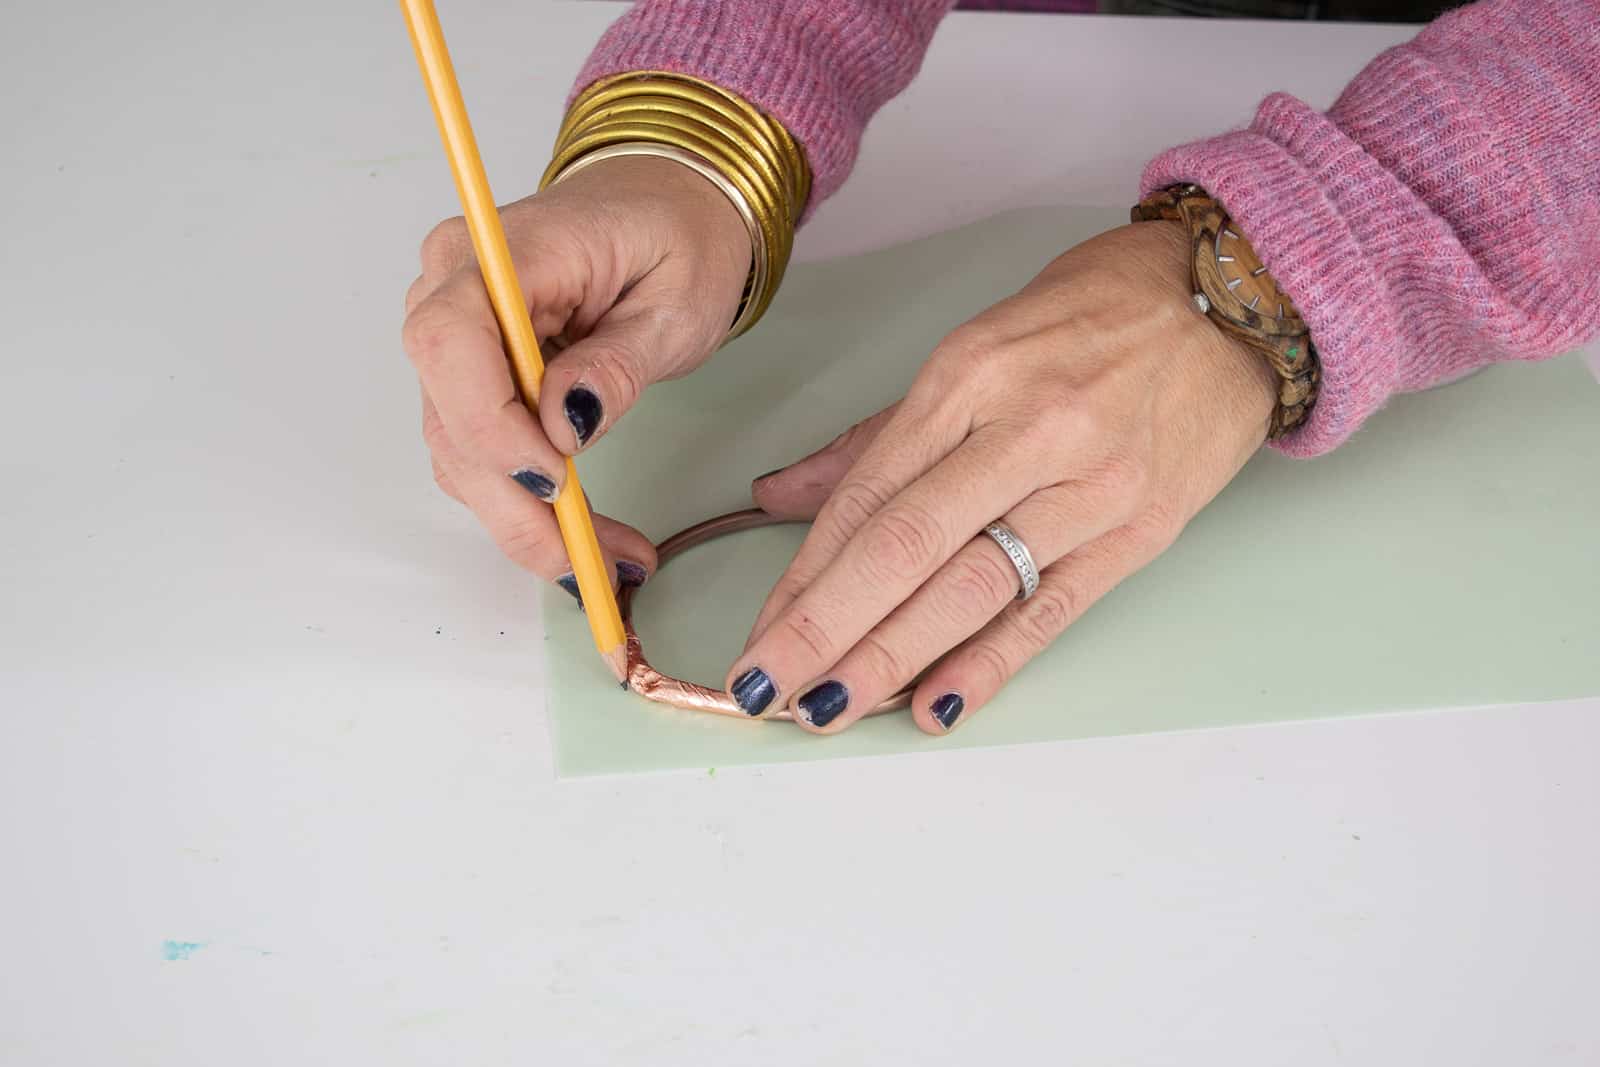
Step 3. Trace and cut your vellum

Because each ornament has a unique shape, you need to trace and cut one and a time.

trace and cut the vellum

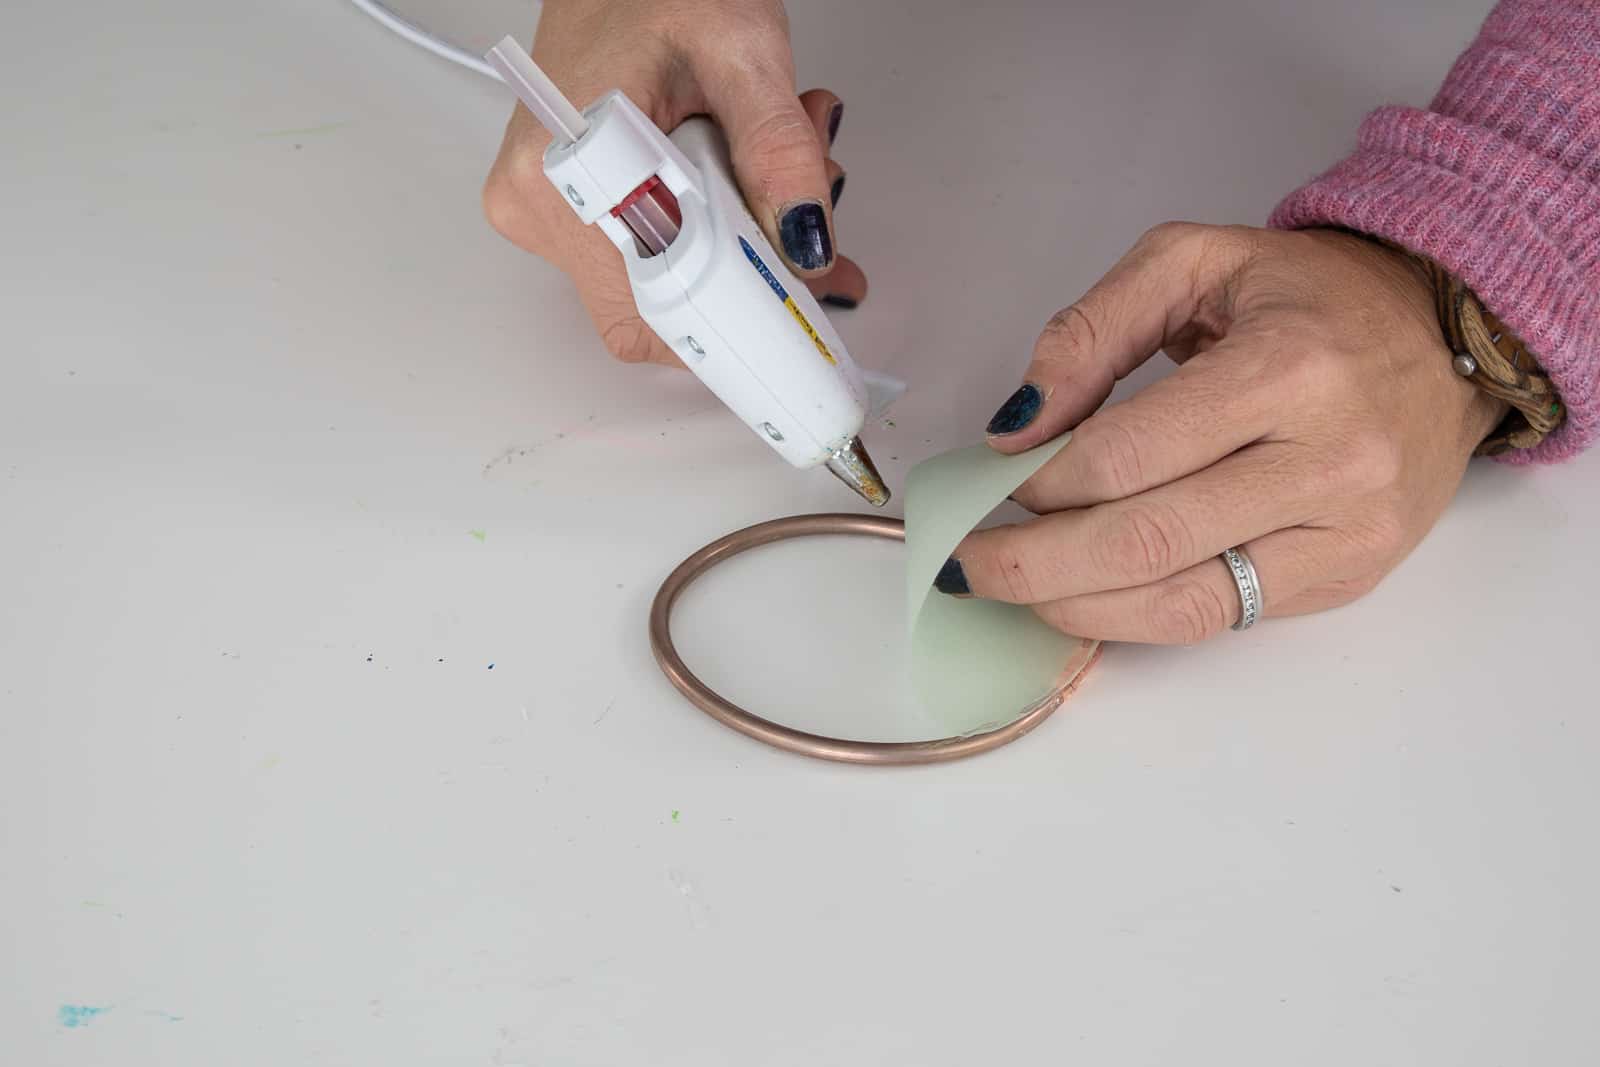
Step 4. Glue vellum onto copper pipe

I found it was easier for me to use my hot glue gun to adhere 1/2 the vellum onto the ornament and then fold the vellum back to glue the other half.

glue the vellum onto copper circle

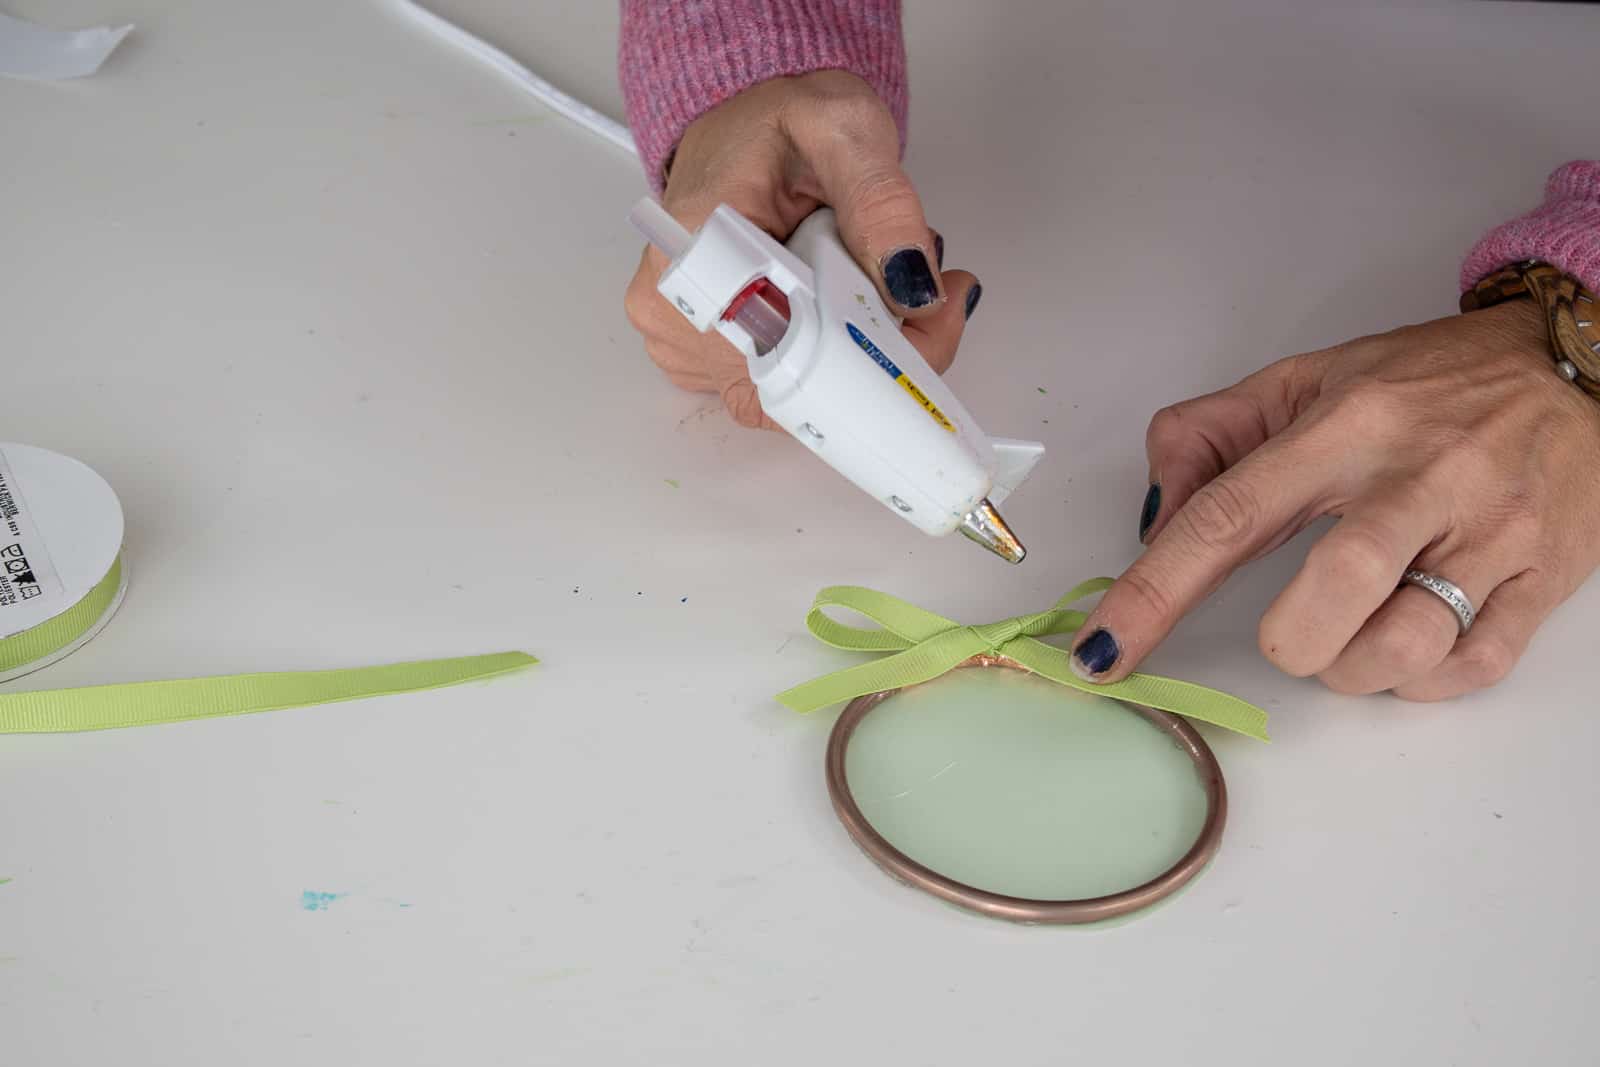
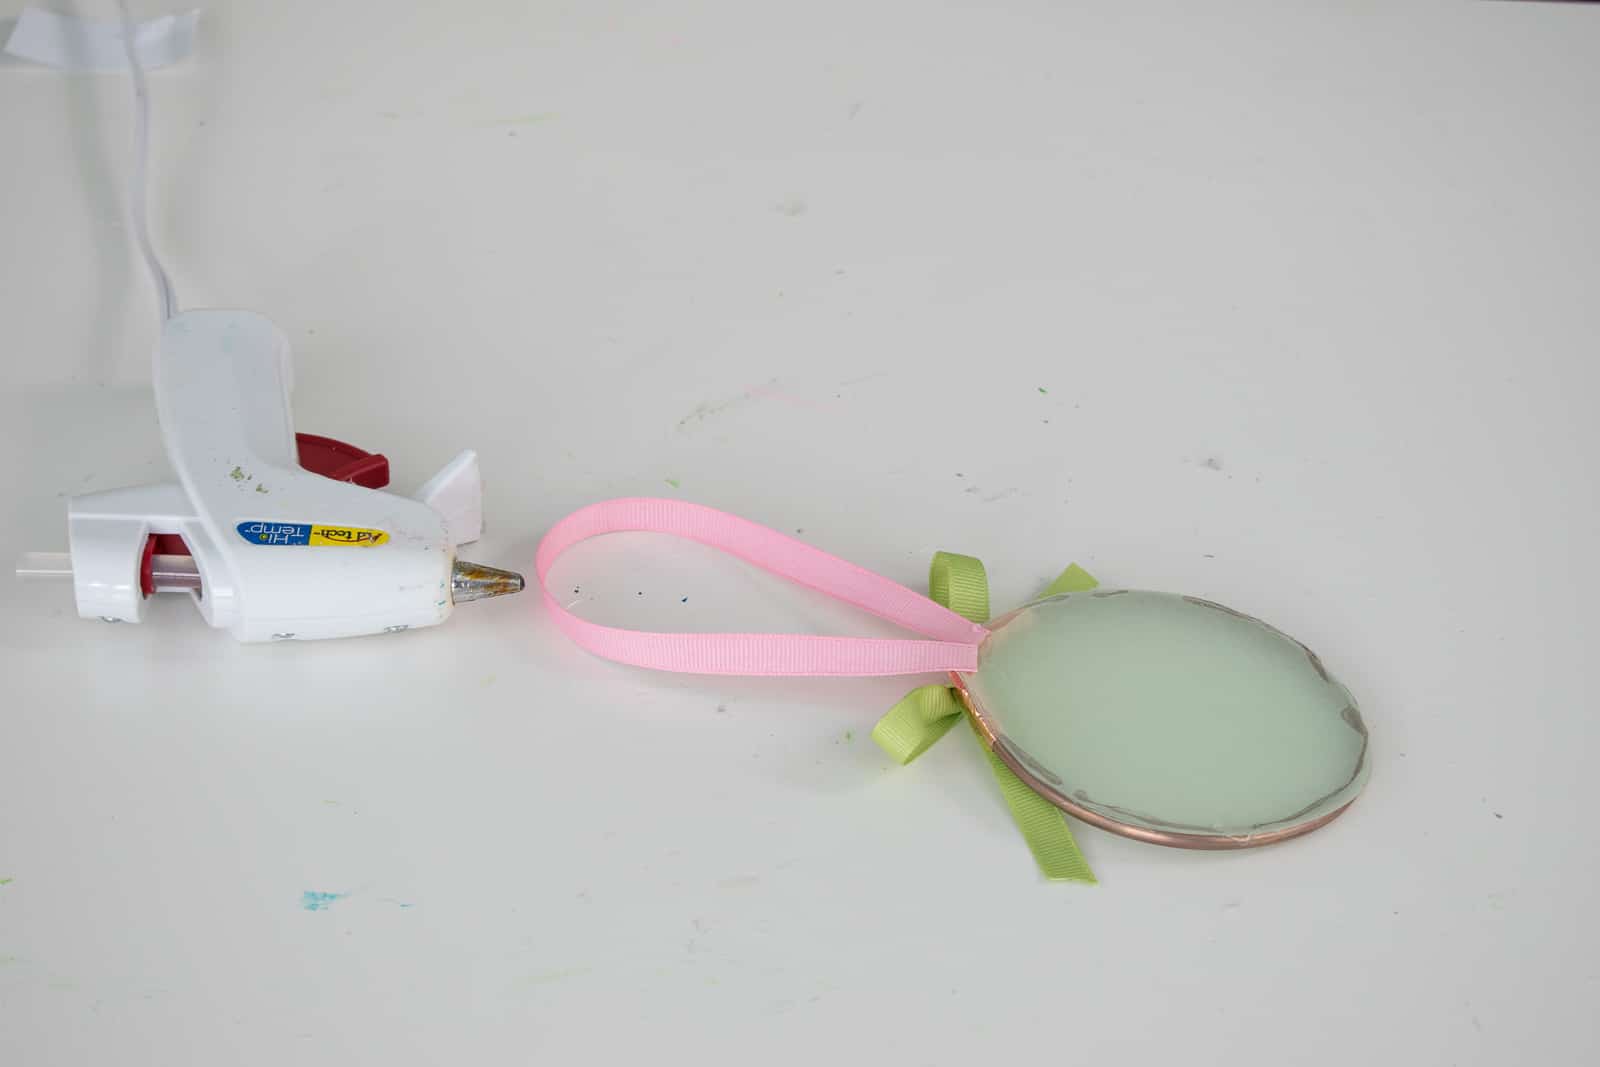
Step 5. Add bow and hanging loop

Because the copper tape was more obvious than I expected, I tied a bow with a piece of colorful ribbon an glued this onto the ornament to cover the copper tape a bit. I actually love the result so I’ll call this a happy accident. I finished each ornament with another ribbon loop being careful not to dangle the ends of the ribbon into the middle of the ornament because you can see through the vellum.

glue ribbon bow and add loop glue ribbon bow and add loop

Materials

  • Copper Pipe (Note: Check your local hardware store as you may be able to buy less copper than this whole roll… it would obviously be cheaper that way!)
  • Copper tape
  • Colored vellum
  • ribbon

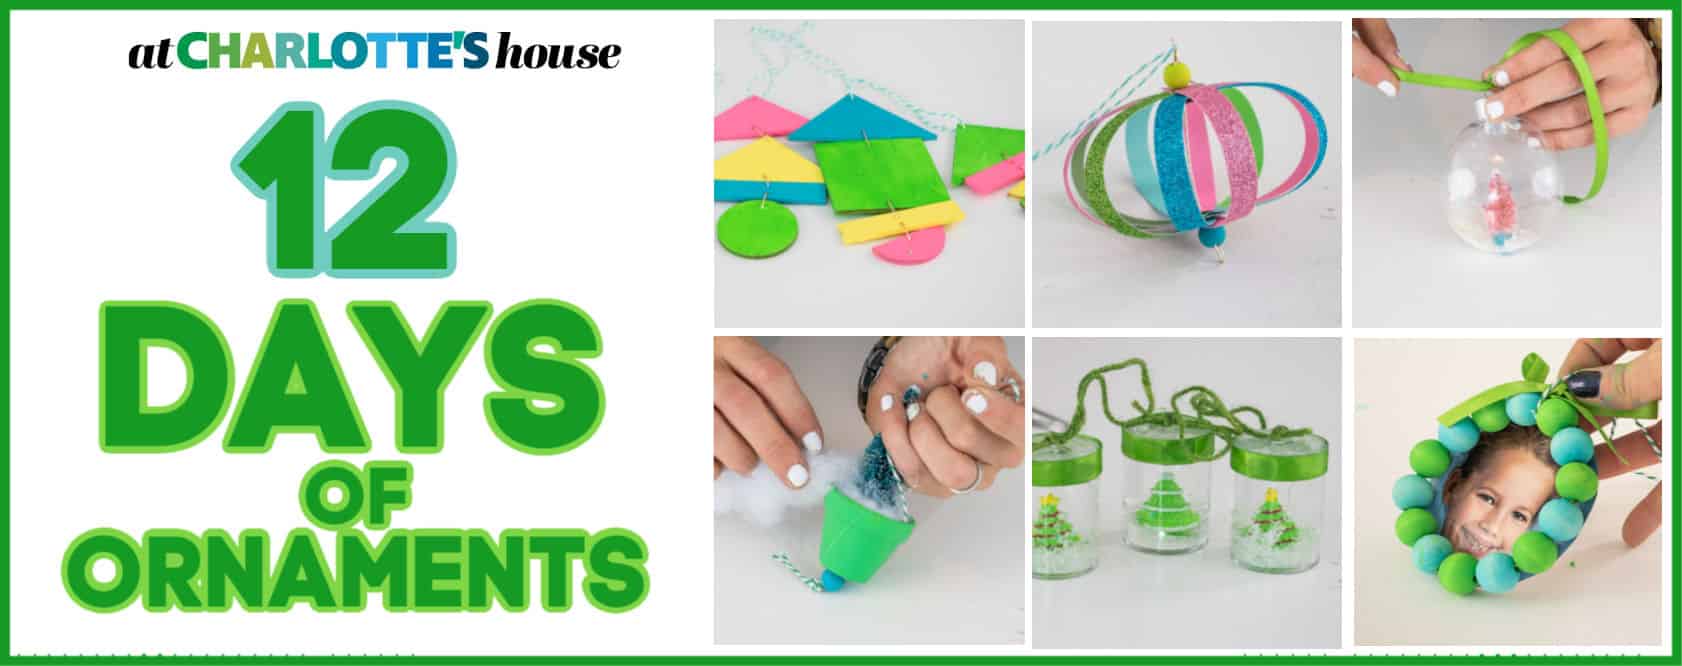
If you want to get caught up on other ornaments I’ve posted so far, click the image below!

pin this image to pinterest

XO Charlotte

2 Comments · 12 Days of Ornaments, Christmas

Comments

  1. Tina says

    December 2, 2019 at 10:35 pm

    these are so beautiful!!

    Reply
    • Charlotte Smith says

      December 4, 2019 at 9:32 pm

      Thank you so much, Tina!! xx

      Reply

Leave a Reply Cancel reply

Your email address will not be published. Required fields are marked *

*It's not you, it's me... don't mind the CAPS LOCK!
  • Email
  • Facebook
  • Instagram
  • Pinterest
  • Twitter
  • YouTube

SEARCH

Lover of color, wrangler of chaos, thrifter of all the things.

Hi, I'm Charlotte! I'm fixing up our 100 year old house and artfully hoarding armchairs in the garage. I love color. I love flea markets. I love a little mess. My days are spent writing, painting, sanding, laughing and negotiating with our 5 kids. You can read more about us here
amazon-shop

SUBSCRIBE

Sign up for my newsletter and get access to my super duper secret and exclusive FB Group... I'll answer questions, share tips, post funny memes. It'll be awesome. (If you're not on FB- hi Dad- I'll still answer any design or thrifting questions... email me!)

Recent Posts

Frozen 2 Craft Projects

Frozen 2 Craft Projects

Kids Gift Guide 2019

Kids Gift Guide 2019

Christmas Present Upholstered Ottoman

Christmas Present Upholstered Ottoman

Children’s Christmas Playhouse Makeover

Children’s Christmas Playhouse Makeover

ach-popular-posts
ach-house-tour

WHAT TO WATCH

AS SEEN ON

rr-logo-1 sidebar-as-seen-on-2 sidebar-as-seen-on-1-1 bh-sidebar-1 design-sponge-1 houzz-sidebar-1 mass-appeal fmf-sidebar-1

COPYRIGHT & USE POLICY

All images and text shared on this site are the property of At Charlotte's House unless stated otherwise... and I'm SO thrilled that you're here visiting. I'm delighted for you to Pin or Stumble or Share or Tweet to your hearts delight providing all links are directly to "At Charlotte's House" (not "source" or "photo credit", etc.). If you are a blog or an individual and would like to mention a post of mine please only use a SINGLE image and link back to my original post. I invite brands to contact me directly for image-use terms. Do not alter, crop, edit or add/ remove watermarks from my images. I do not accept guest posts of any kind at this time. If you have any questions, please contact me. For more information, see my full disclosure and privacy policy.

@atcharlotteshouse

No images found!
Try some other hashtag or username

Copyright © 2019 · Simply Pro Theme by Bloom Blog Shop.