
Easy Rolling Crate Storage
Psssst… this post *might* contain affiliate links: see my disclosure here.
Once a month I circle the wagons and join forces with kindred spirits… lovers of the hunt… my thrifty style team! As you know… you don’t have to look very far over here to put your finger on something thrifted… I love the idea of giving an object new life. Also… I’m cheap. (See ALL my flea market scores here.) Today I’m sharing a project I actually did YEARS ago for the blog, but my pictures suck and I wanted a chance at redemption. (Scroll to the end for the link to the original post… I’m making you work for it! Also… I included a source list.)
Thrifty Crate Storage
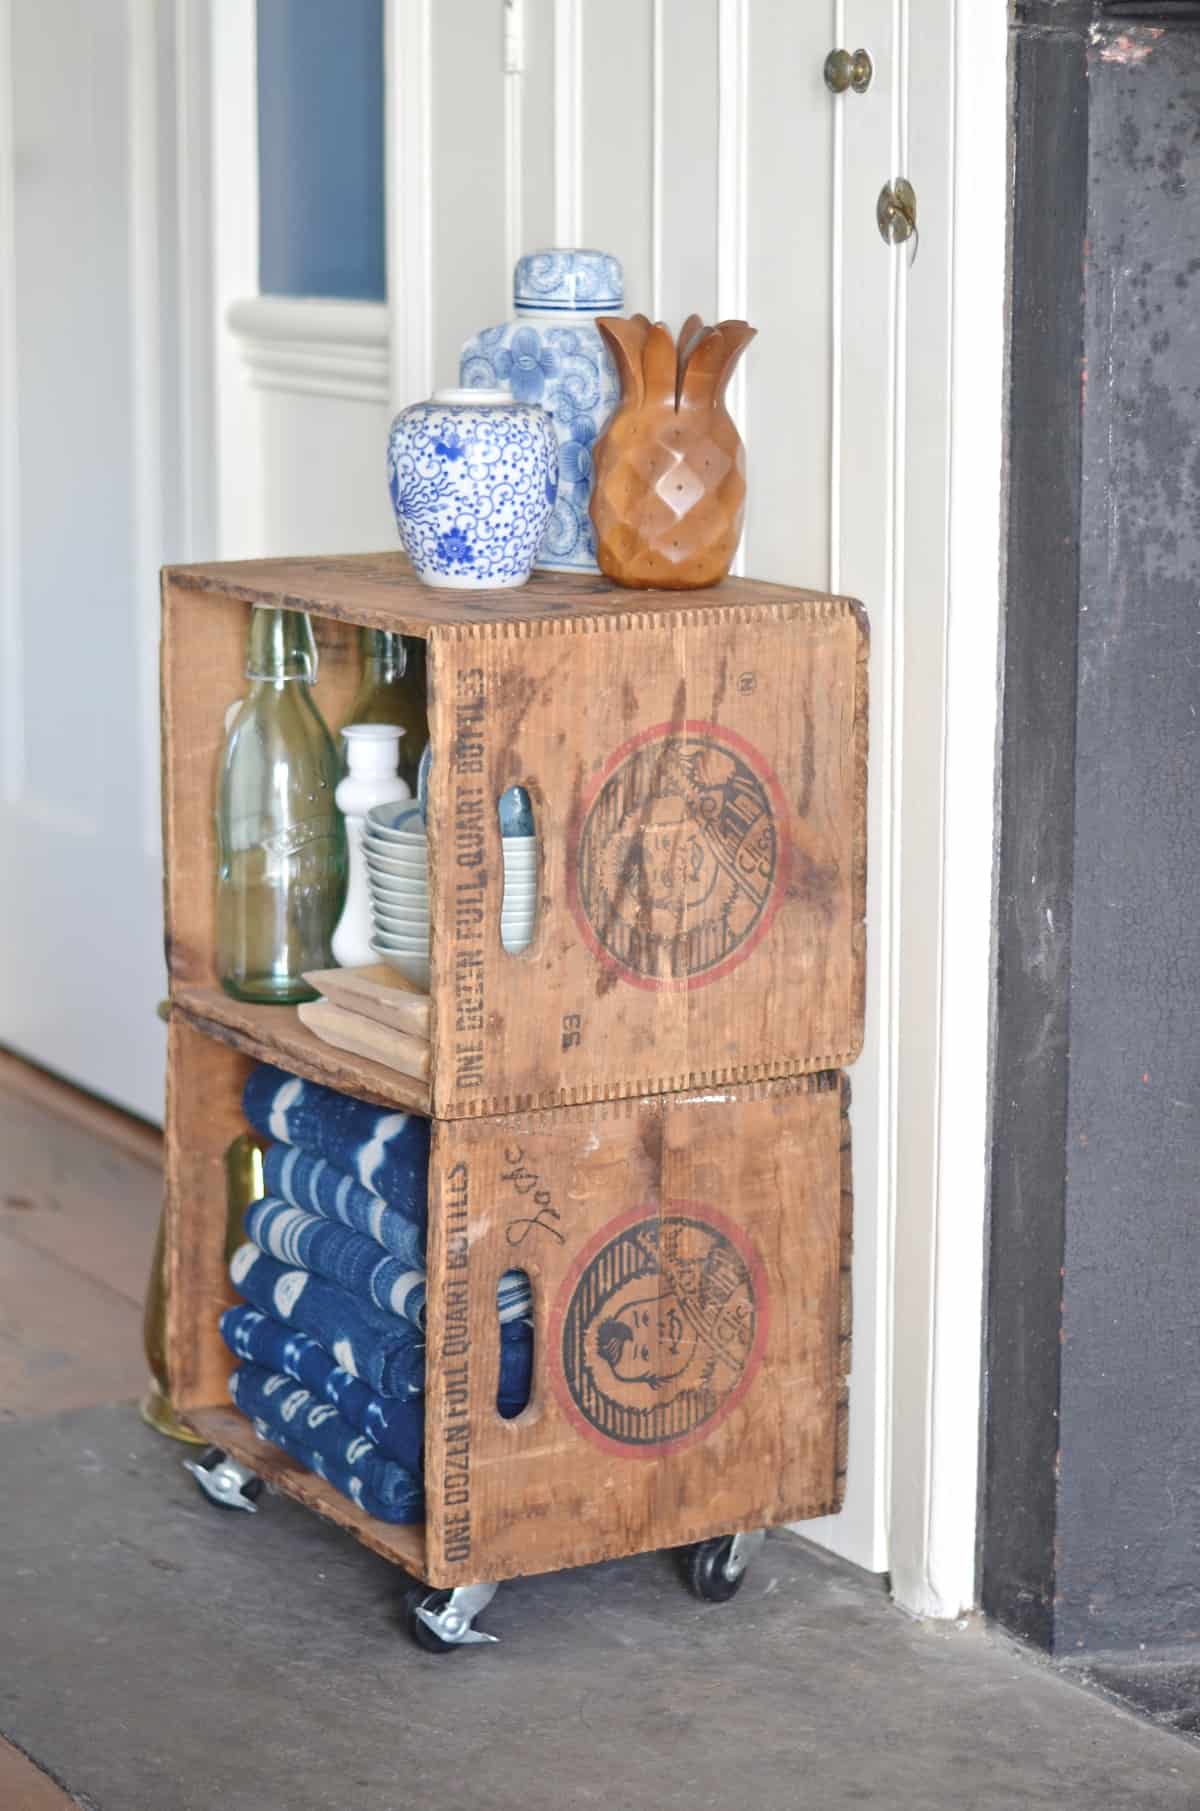
This makeover is so simple that I don’t even NEED those process shots. Promise. I also love that this rolling crate storage suits all different types of decor. My style is anything but farmhouse, but these crates would DEFinitely fit into any sort of Fixer Upper style. Likewise… I also think they work in an eclectic retro mix like I tend to gravitate towards.
Shop my favorites!
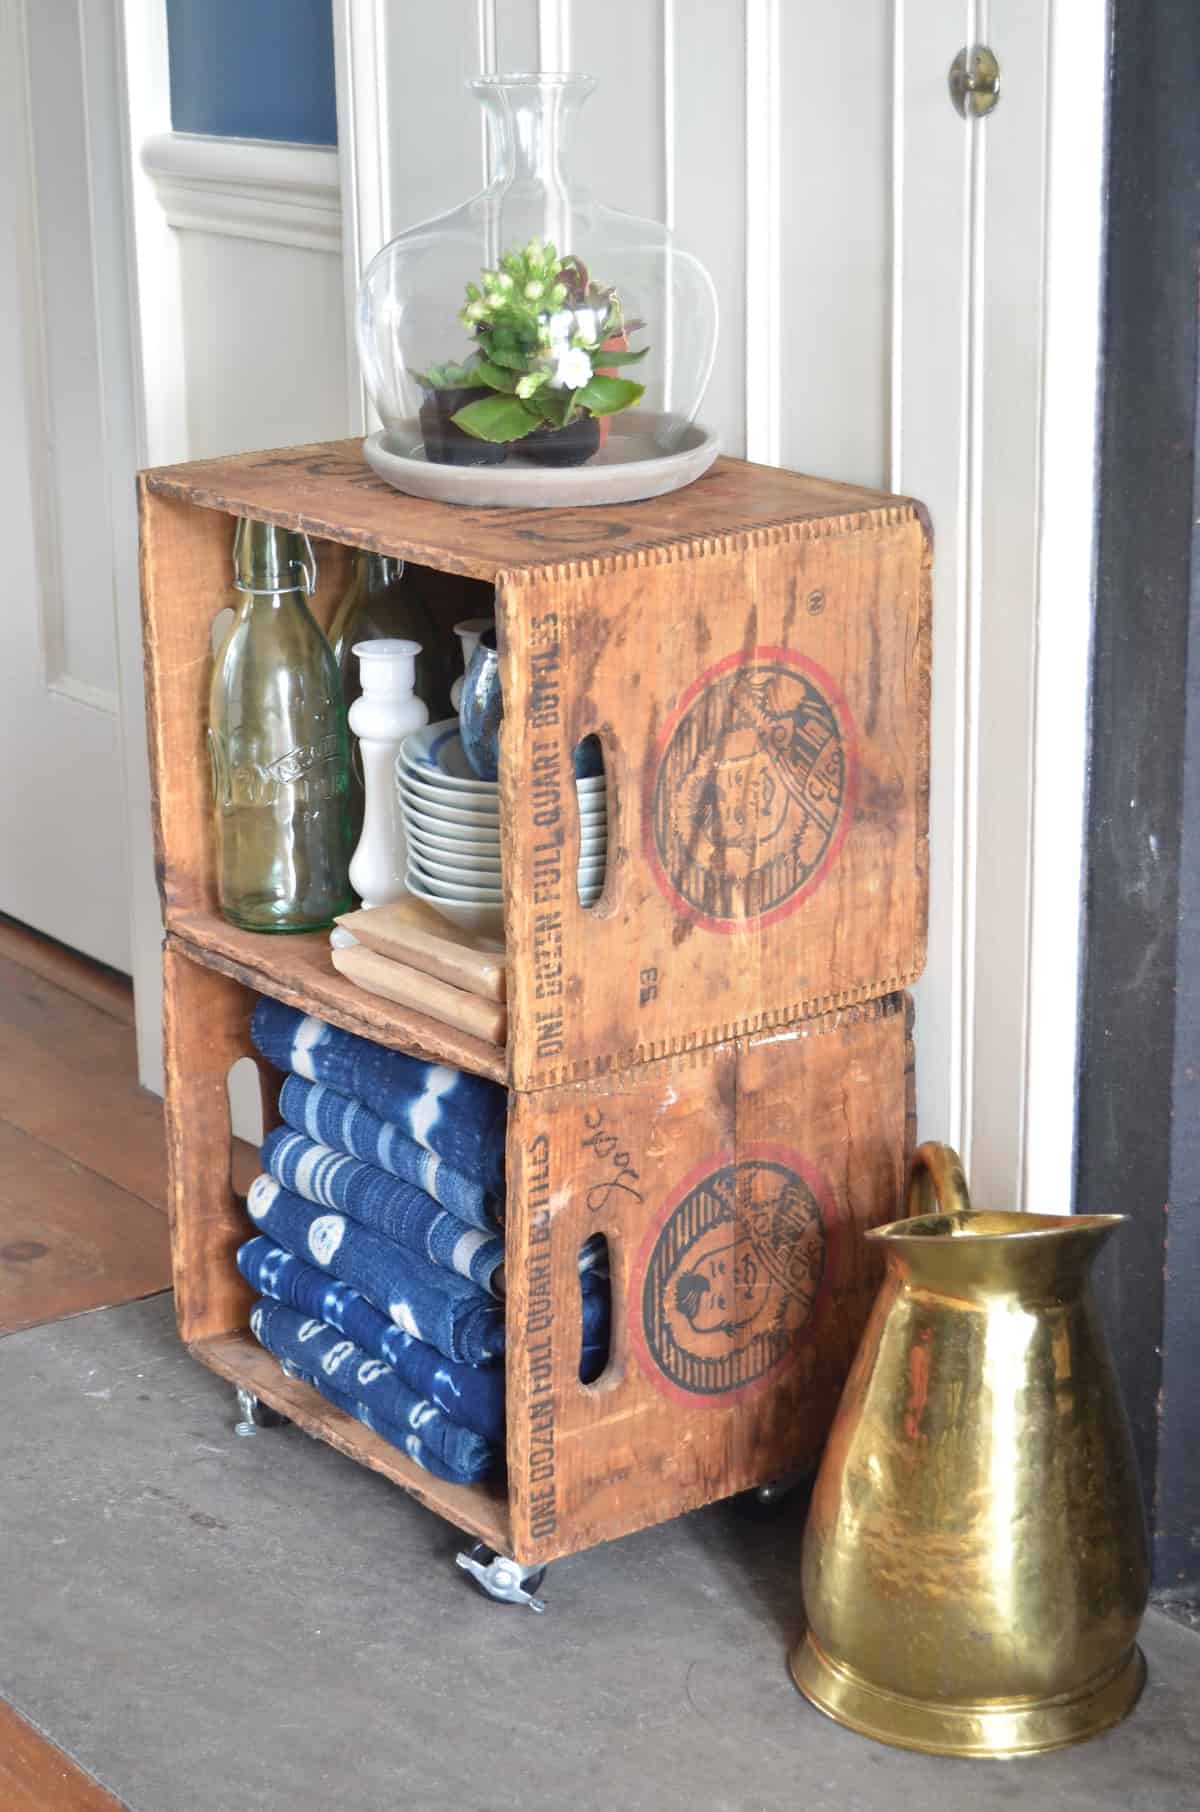
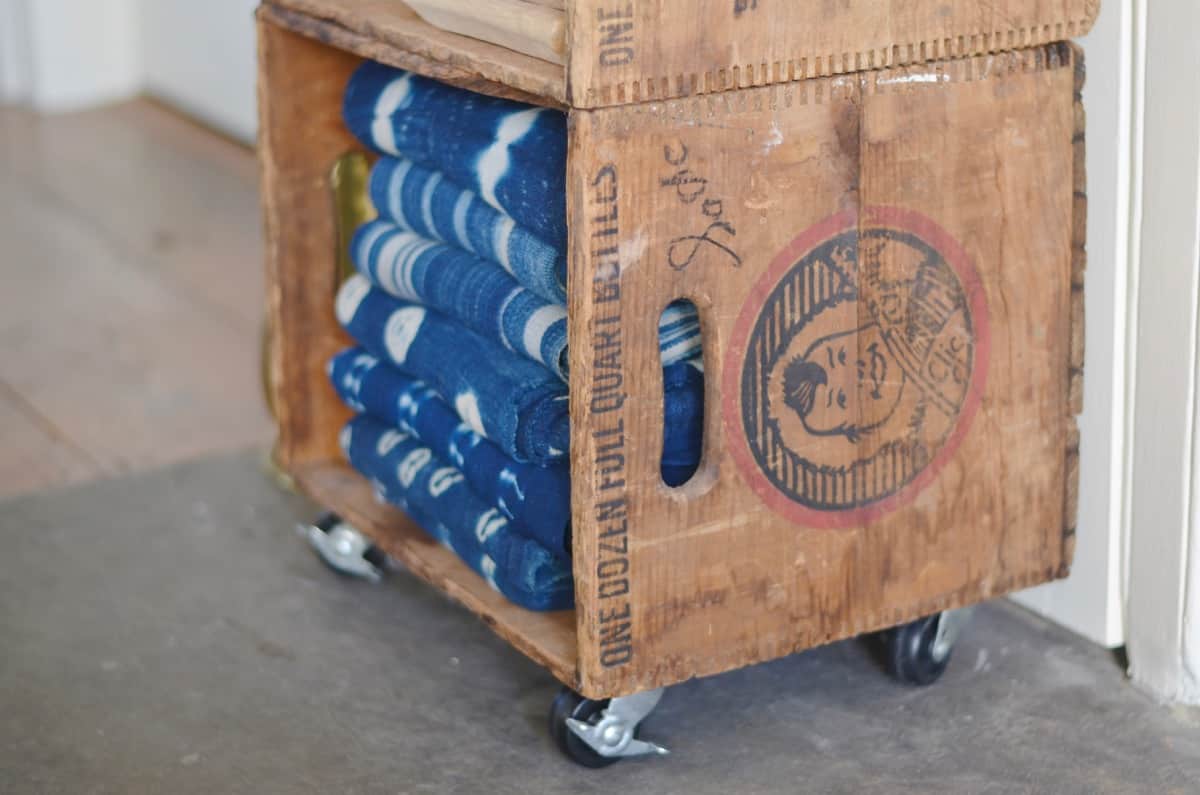
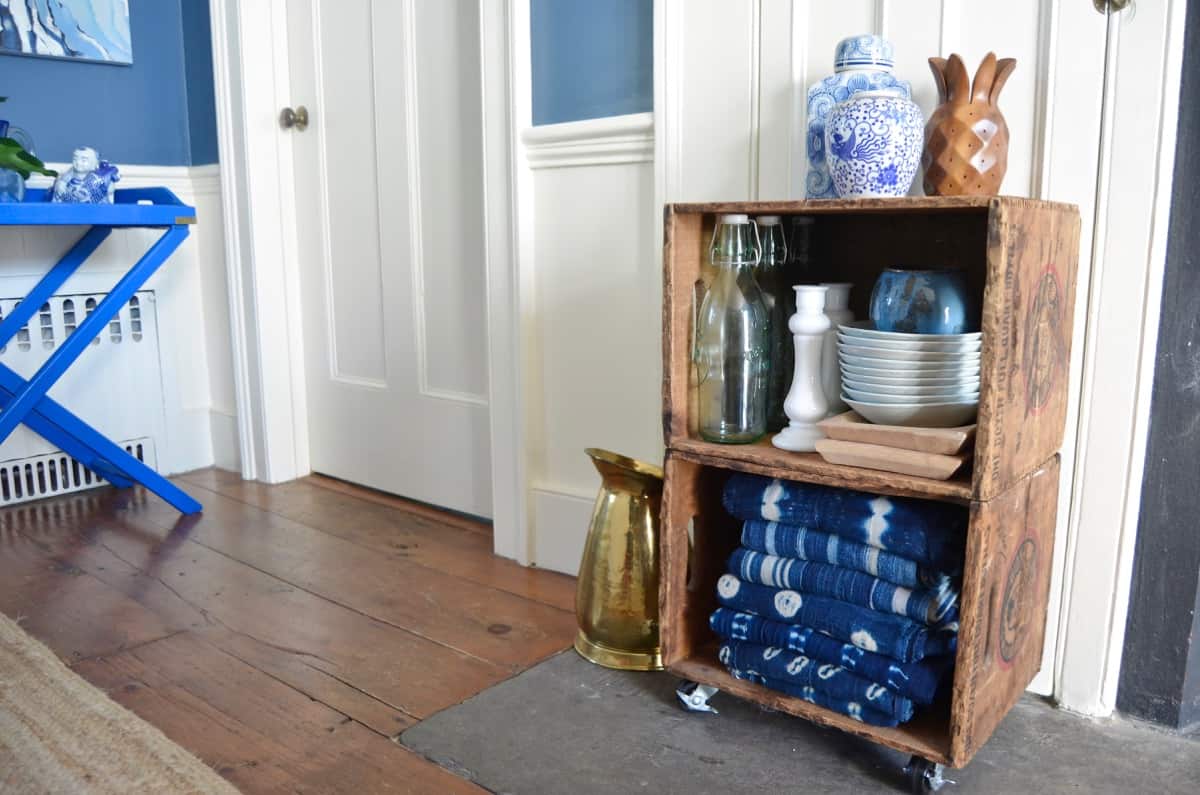
I found these matching crates at the flea market. They’re super beat up.. it’s pretty easy to find ones in much nicer shape… it’s entirely an aesthetic choice. Drill 4 small holes through BOTH crates at all four corners. Use a machine screw (with a flat tip) and a nut to secure the two crates together.
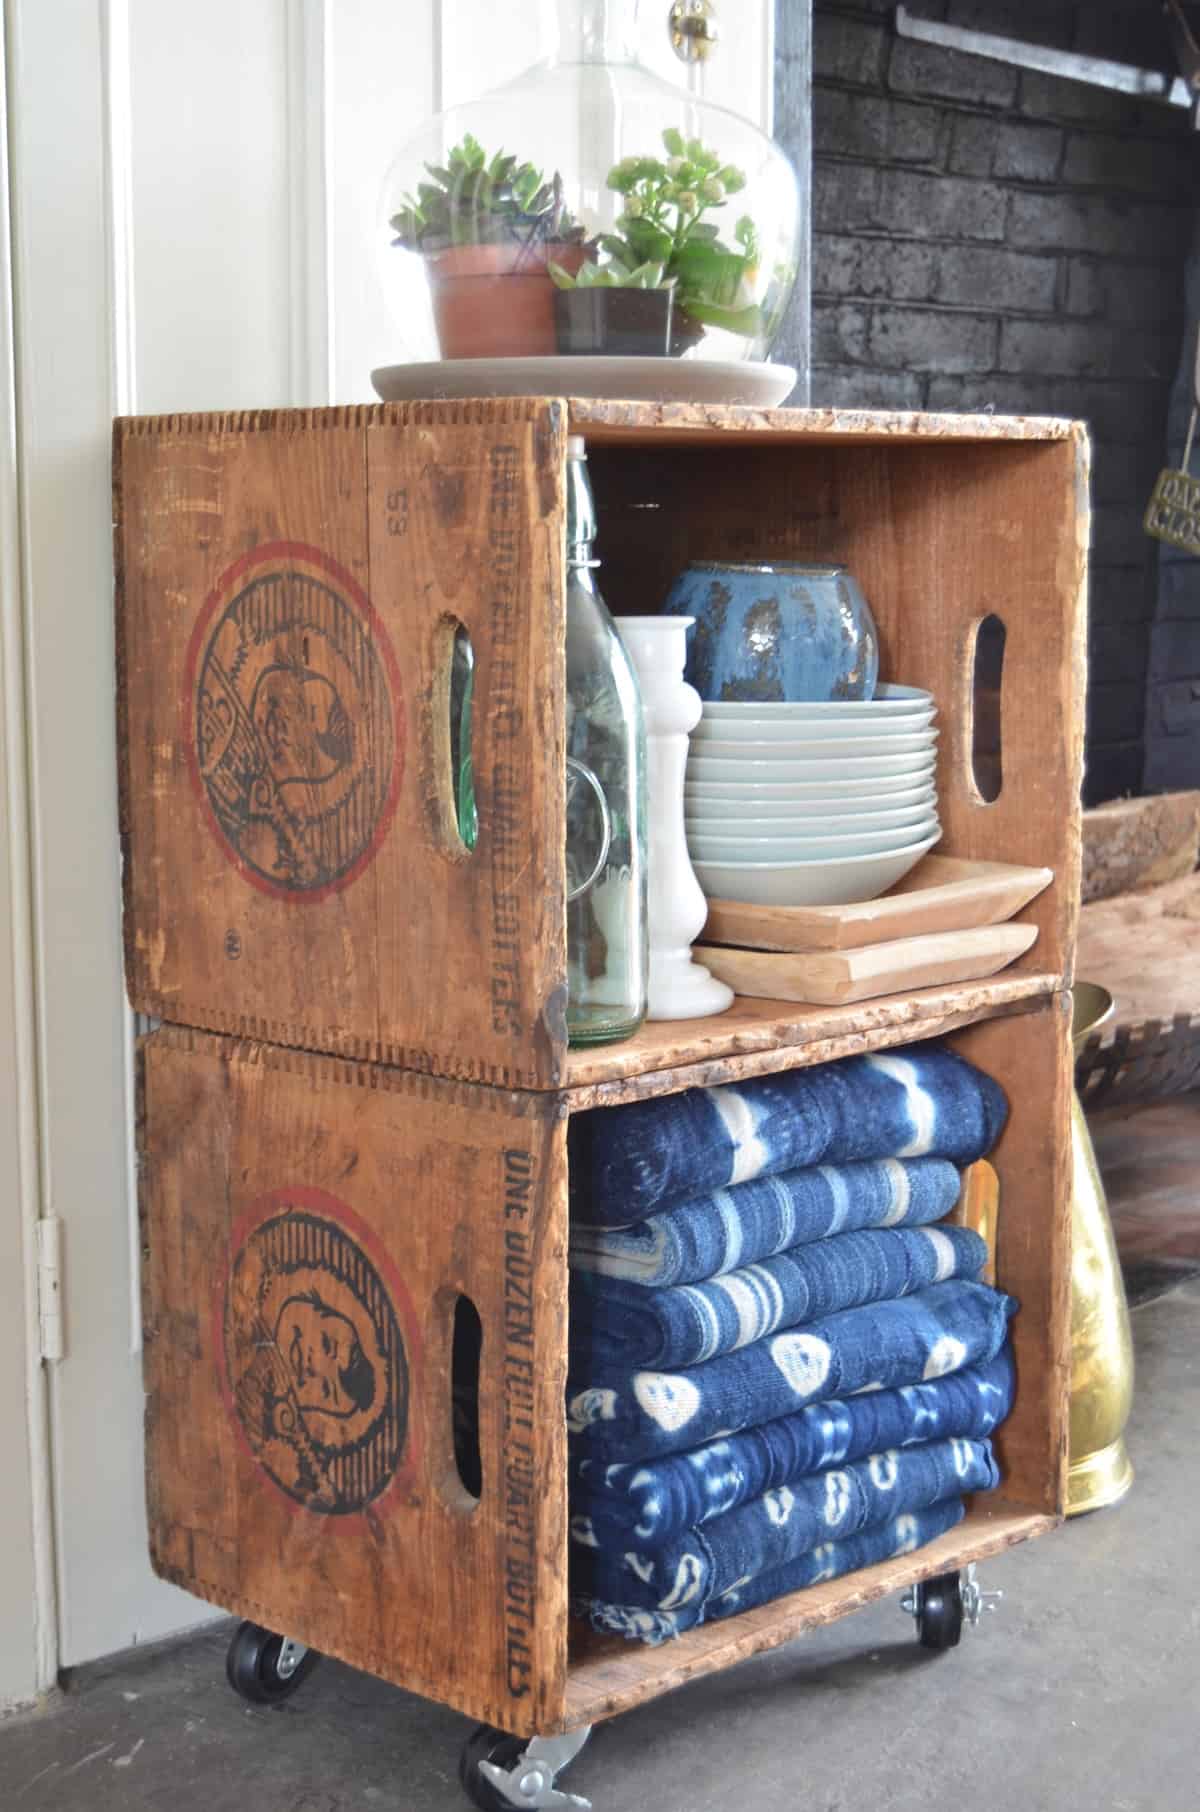
To dress the crates up a bit and give them more of a ‘furniture’ look, I added casters to bring them off of the ground. If you don’t want moving storage, then just go for 2-inch feet.
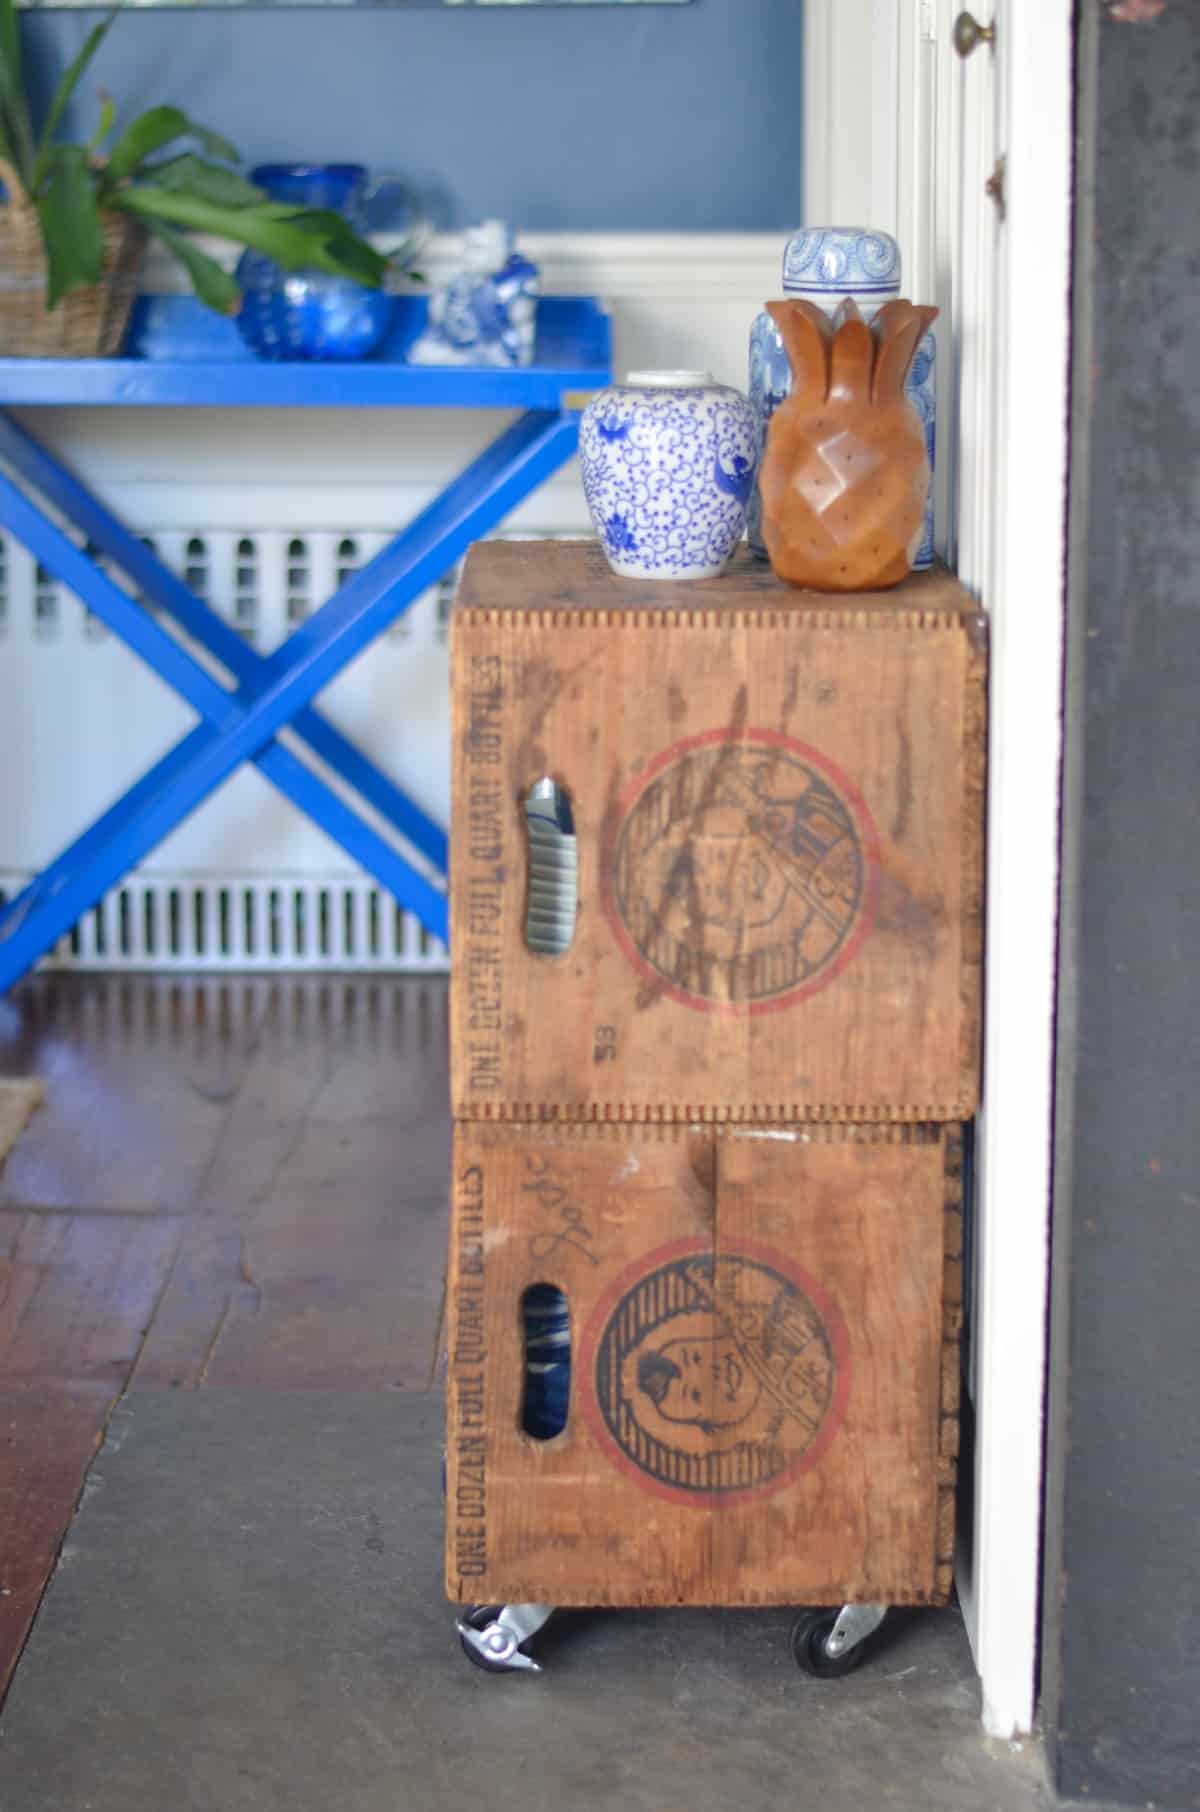
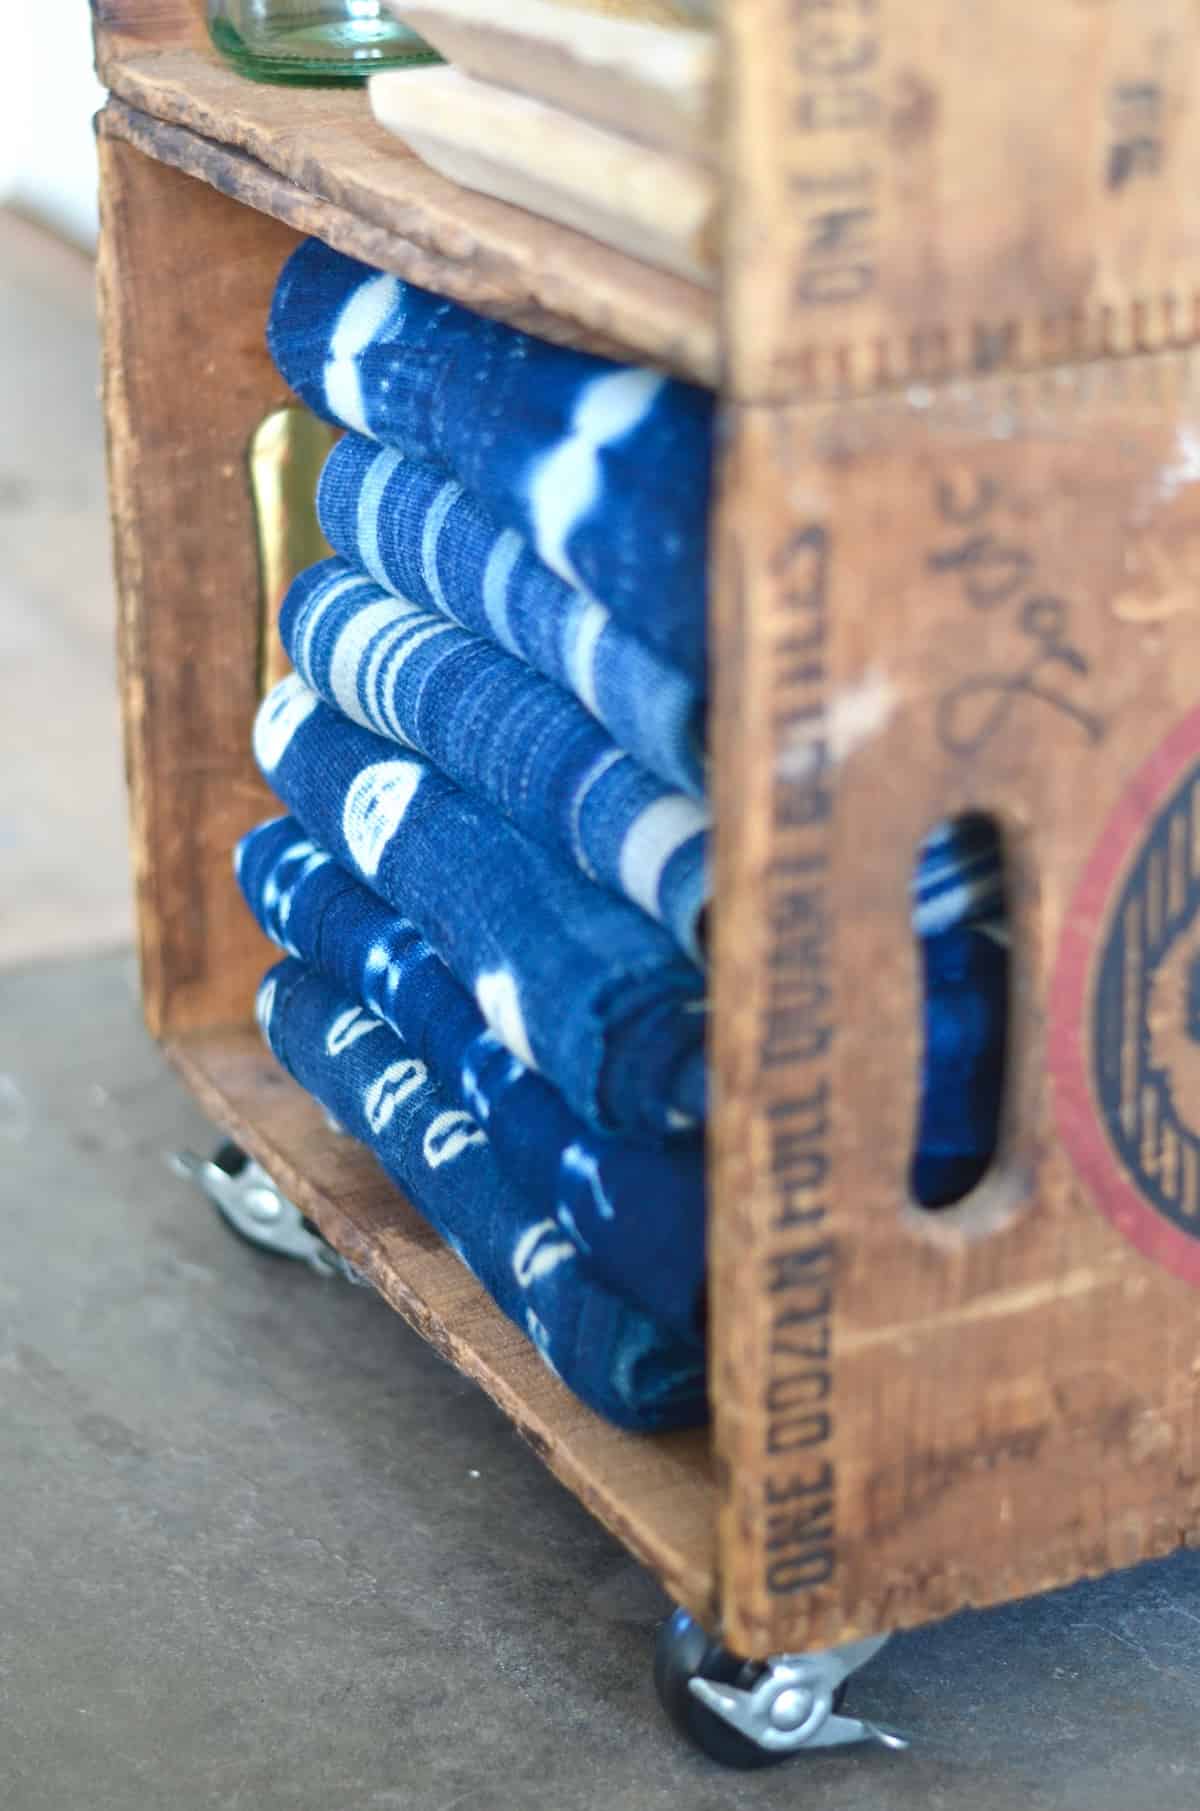
In our old house, I had these off in the corner of the kitchen to store extra drinks… in this house they’re in the dining room to hold whatever. I’ve often considered looking for a third crate to build it a little higher!
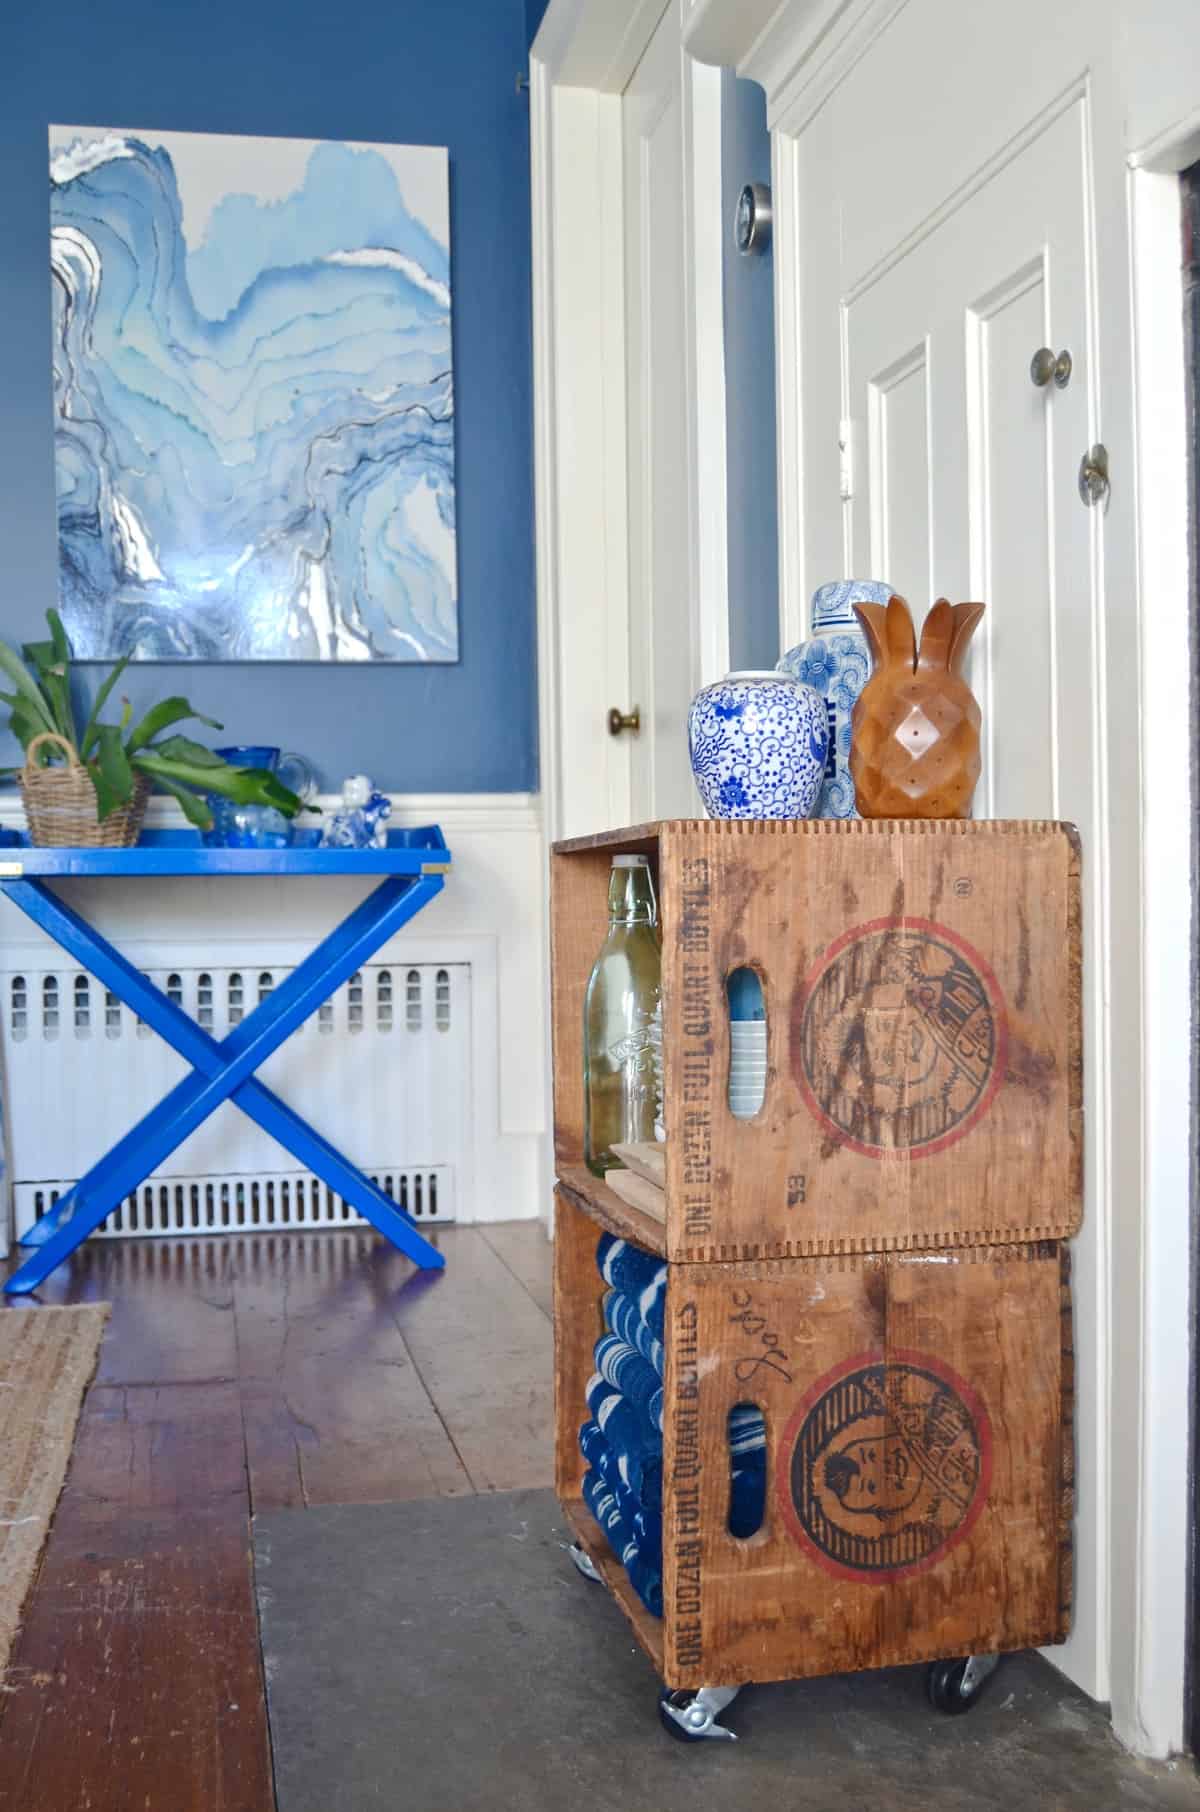
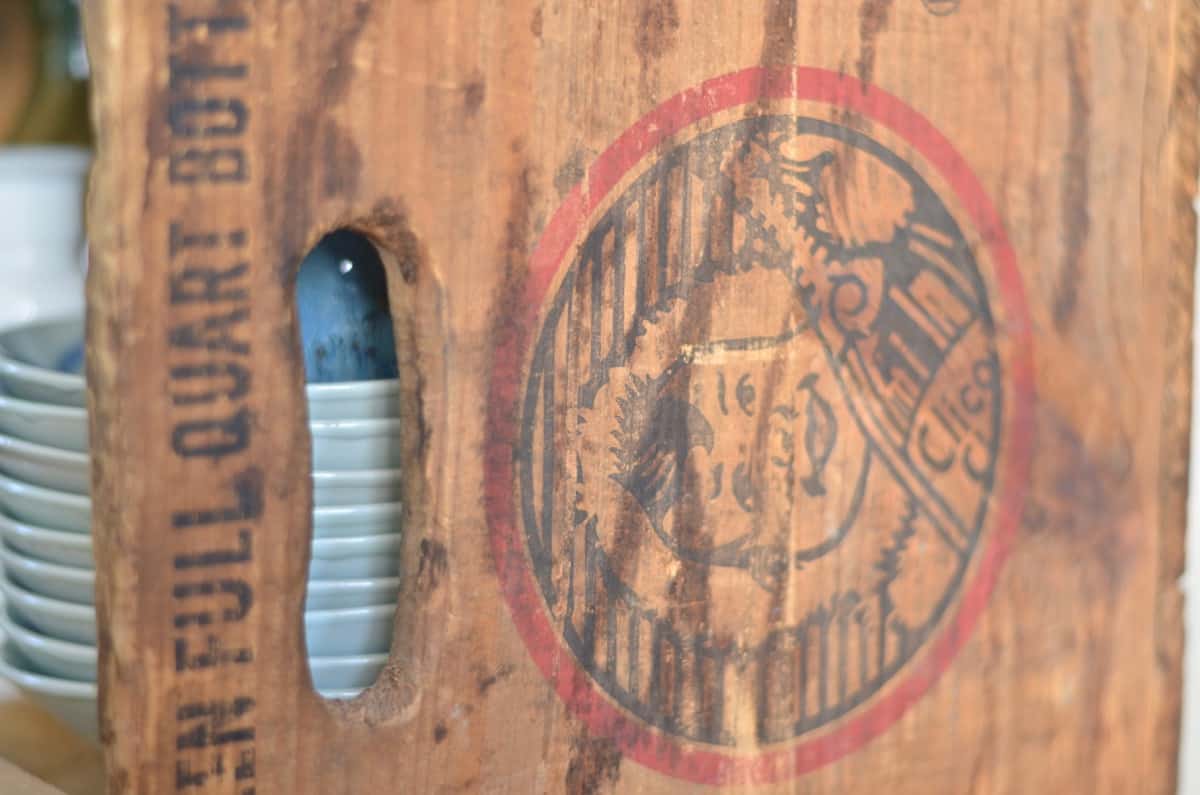
So that’s my thrifty style project for the week. Nothing ‘new’ but certainly something that’s served me well for the $20 I spent on it! Also.. I love the graphic on the side of the crates; seems fitting for a family of 7!
As promised… here’s the link to my first post. I will be asking you ALL to sign confidentiality agreements… do not tell people. And… to reward you for that little bit of awful, here’s a source list! Note: I linked to the screws and nuts I used, but you only need 4… so go to your local hardware store for here! (Affiliate links for your shopping convenience.)
Supplies:
• Thrifted Wooden Crates
• Drill
• Pan head machine screws: 6 or 8 (long enough to go through the sides of both crates and the nut)
• Nuts
• Casters
• Optional: Restore A Finish (I keep meaning to go back and clean up these crates…)
Now see what everyone else has been up to in their gorgeous thrifty homes! And check out my other thrifty style posts here.
 Loading InLinkz ...
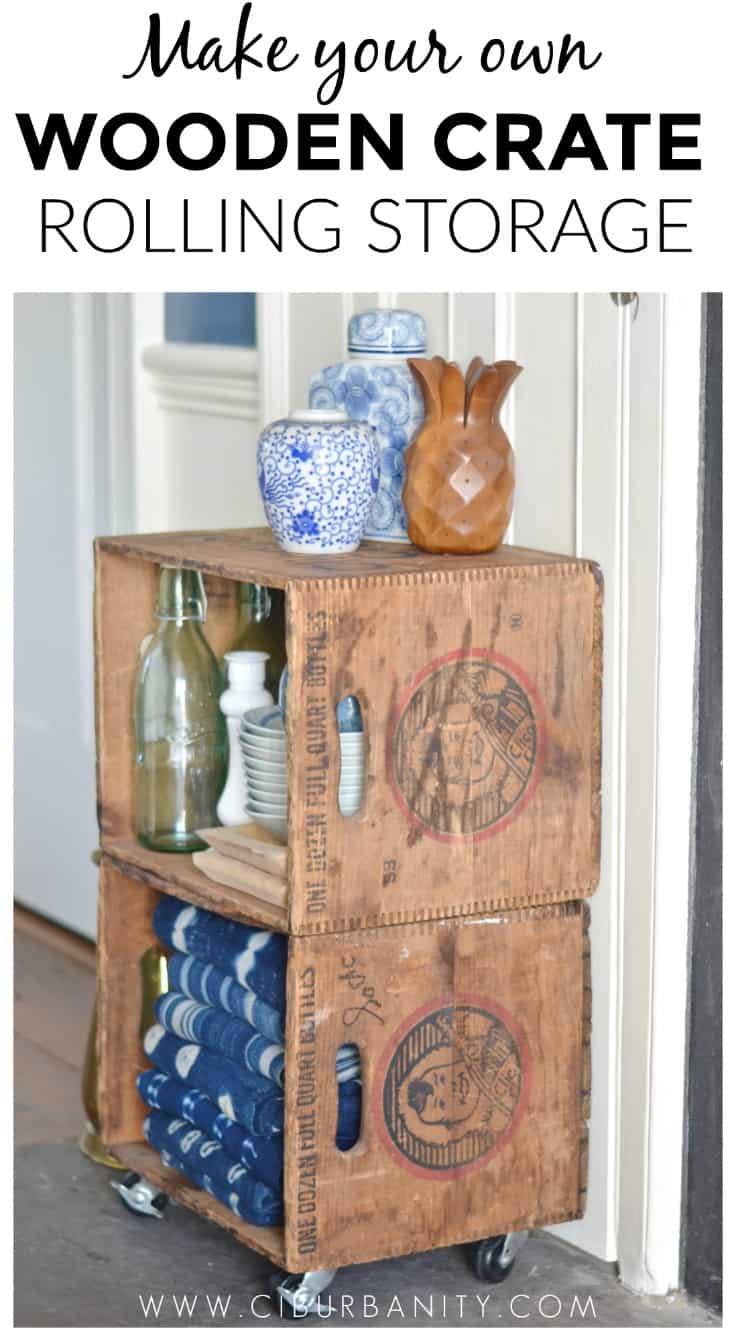

That is so fantastic Charlotte! Great find and great idea!
Super cute! I love the idea of adding casters.
Um, I want to crawl in there and ride around. I bet the kids do, too? Love these, Charlotte!