
Cute No-Sew Mermaid Costume
Psssst… this post *might* contain affiliate links: see my disclosure here.
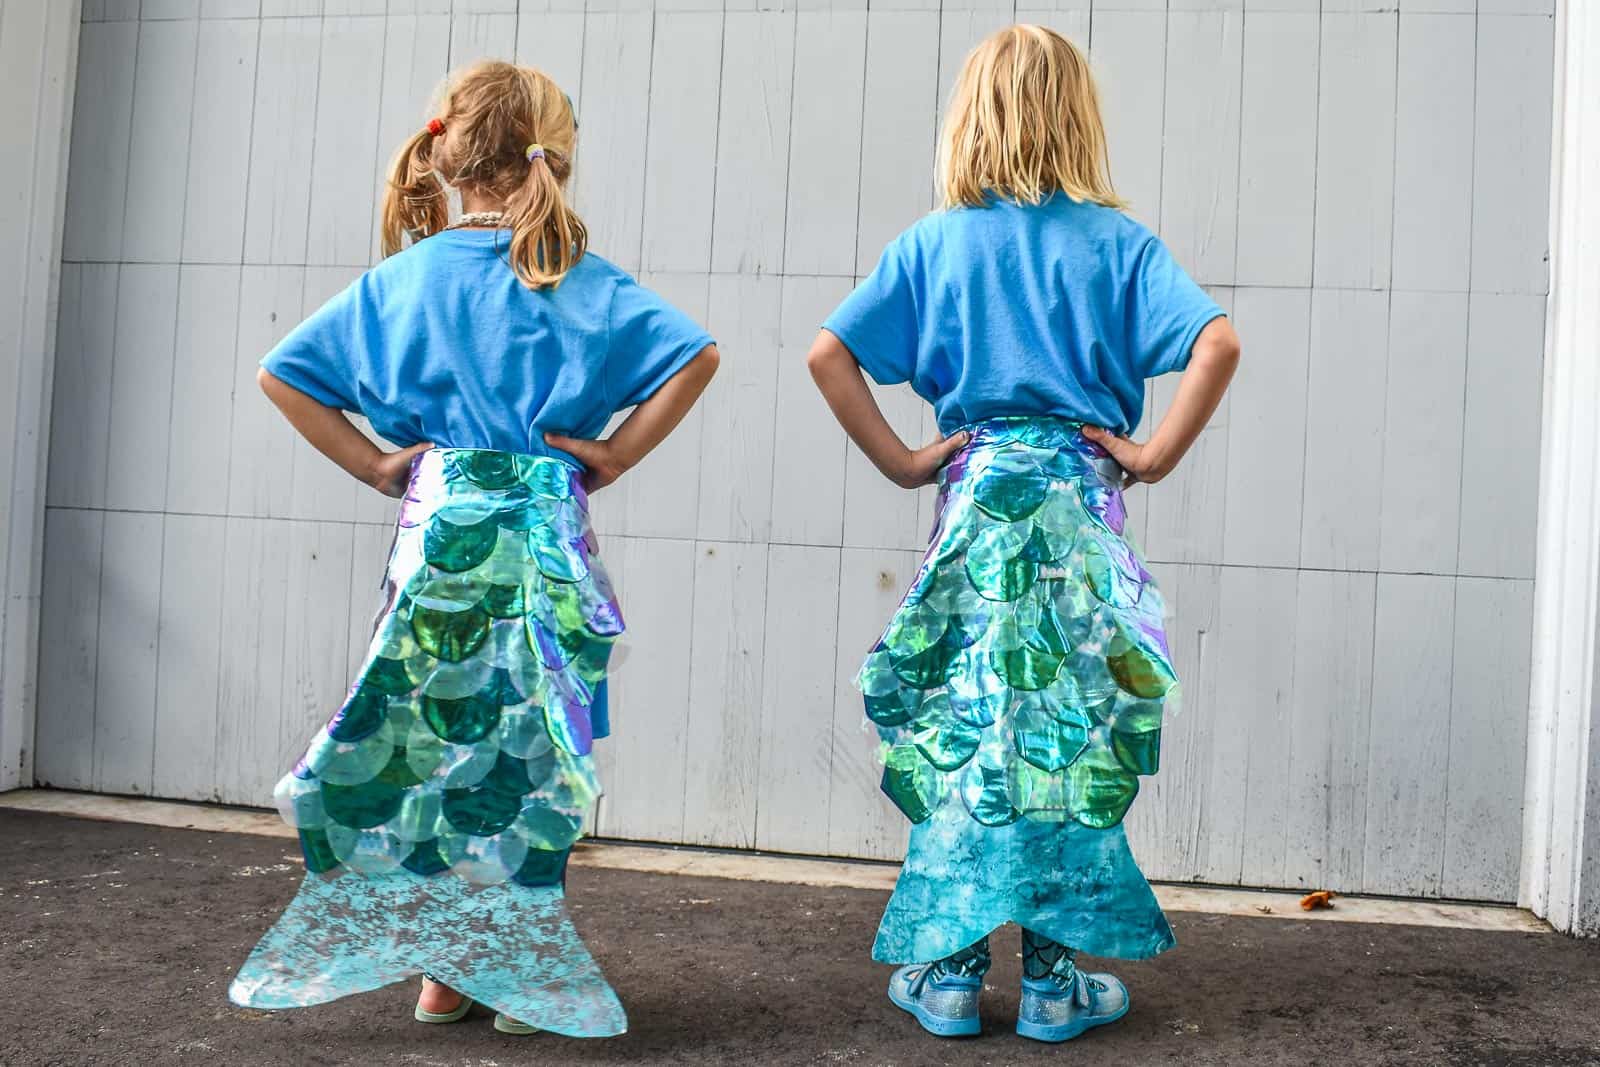
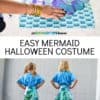
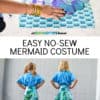
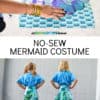
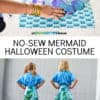
Easy No Sew Mermaid Costume
We made these cute mermaid tails and mermaid t-shirts … no sewing required!
I know it’s a running joke that as a DIYer we tend to make things that take 2x as long and cost 2x as much when we could just buy it. Guilty as charged. But, today I’m sharing a NO SEW mermaid costume. Truthfully I’m not sure it IS more expensive than buying one, but regardless… there’s something so fun about handmade Halloween costumes to me and I will always aim for the DIY if I can!
Shop my favorites!
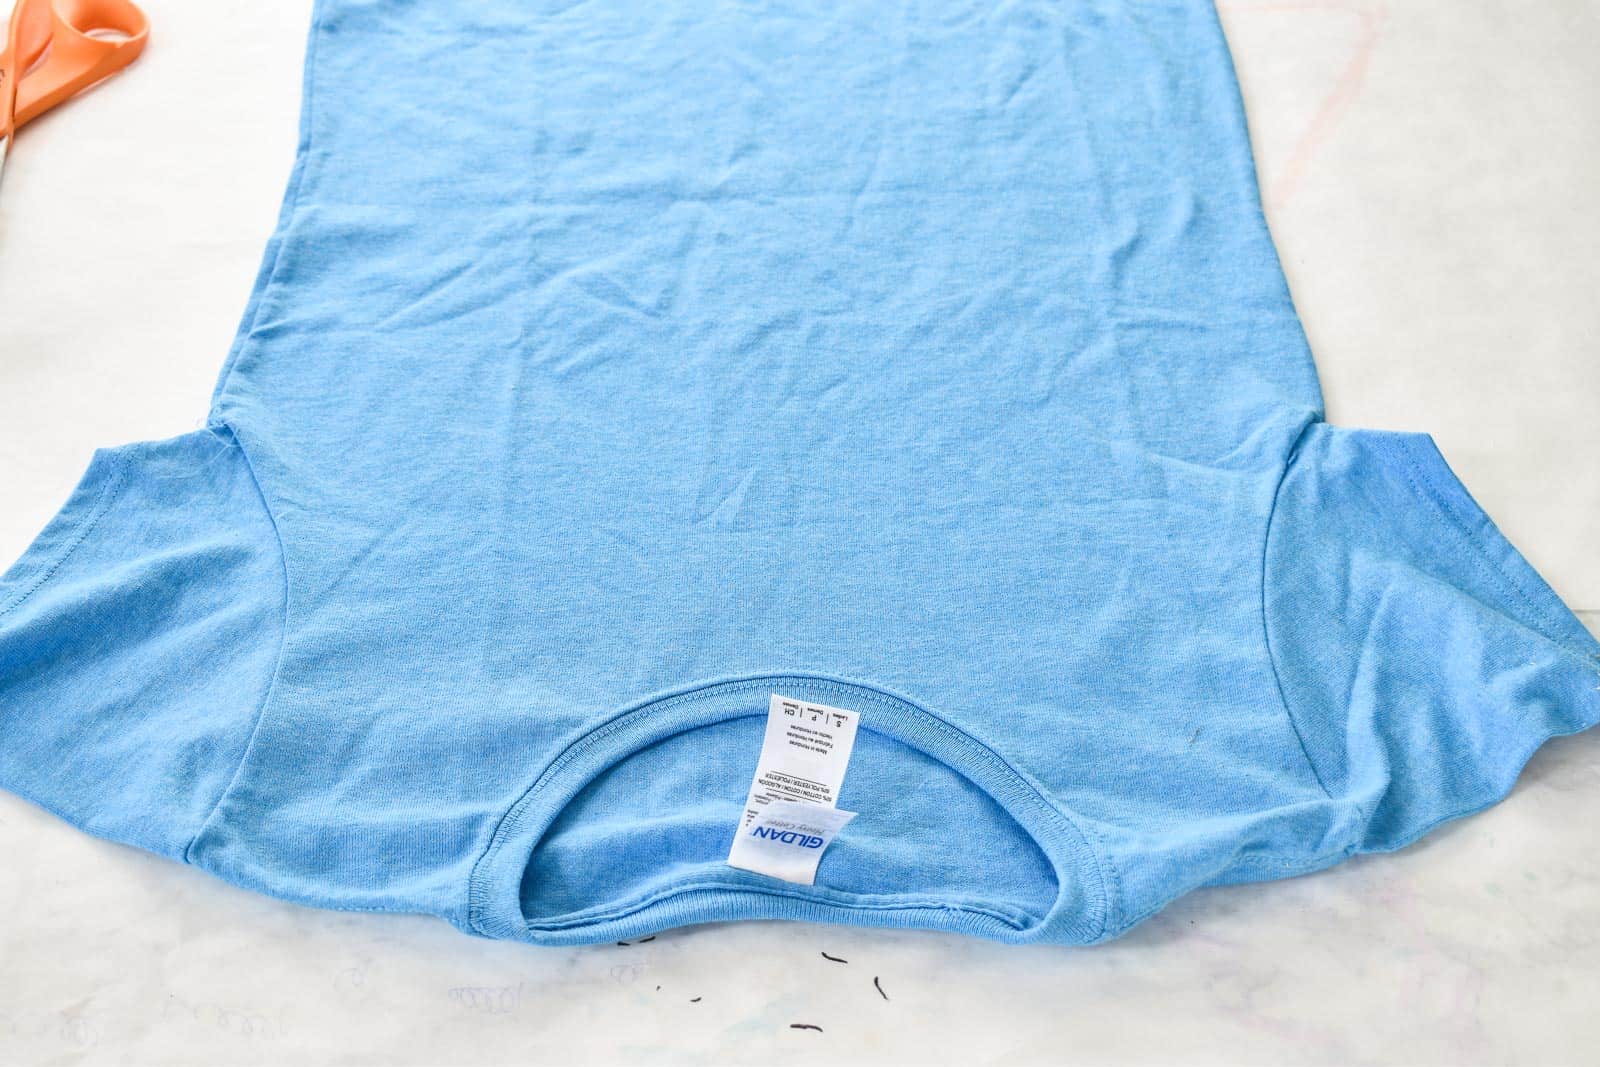
I always try to make Halloween costumes that can fit OVER a coat. In Connecticut, it can be pretty chilly on October 30 and it’s such a shame to me that a fun costume will be covered. The base of this costume is a $3 cotton t-shirt onto which I’ll add a mermaid tail and any other mermaid details I can think of.
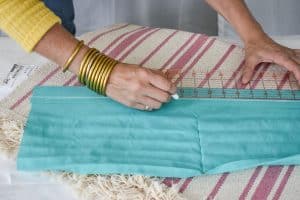
Step 1. Prep the Mermaid Tail
I used two pieces of simple cotton fabric that I’d picked out because of the pattern. Line up your fabric with the t-shirt and make sure the ‘tail’ is as wide as the t-shirt. Measure your child so that the tail is about as high as your child’s waist minus about 10 inches for the fin unless you want it longer in which case it will drag. Cut out the tail from two pieces of fabric (again… minus the fin). Place the back of the two tail pieces together (right side of the fabric facing out) and use this hem tape (affiliate) to go around the perimeter and adhere the two pieces of fabric together. This makes the tail a bit sturdier and also means you have the pretty side of the fabric facing out on both sides.
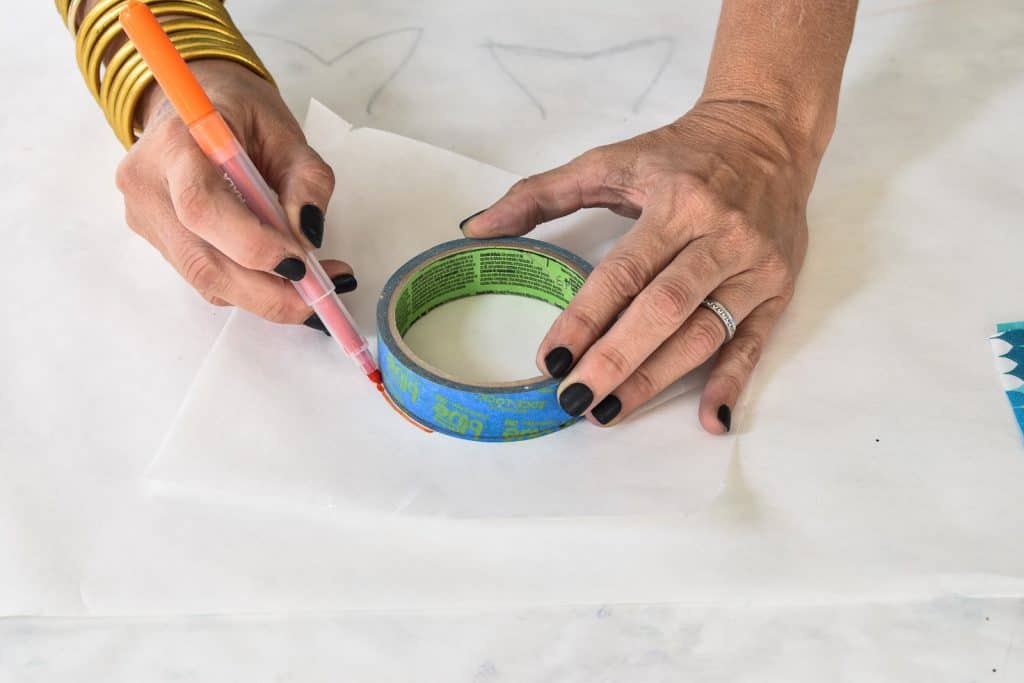
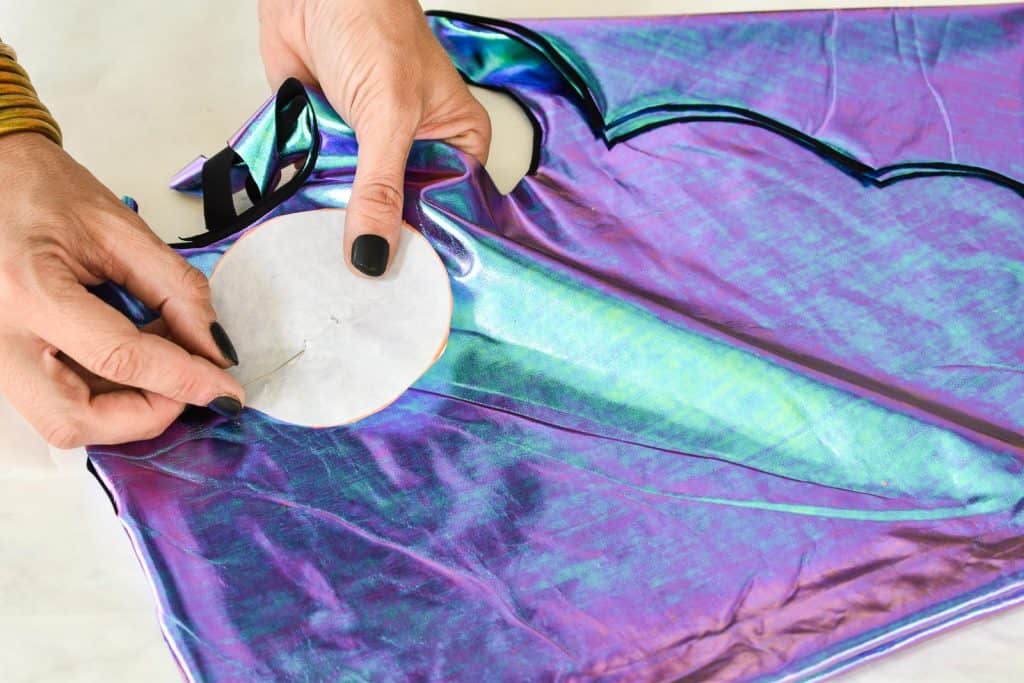
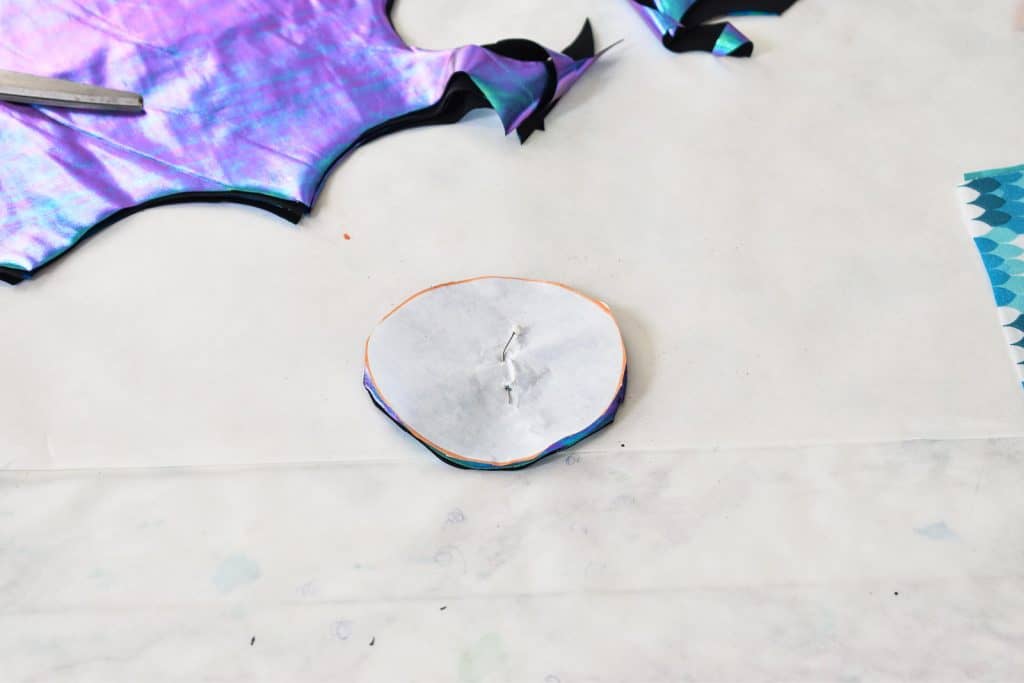
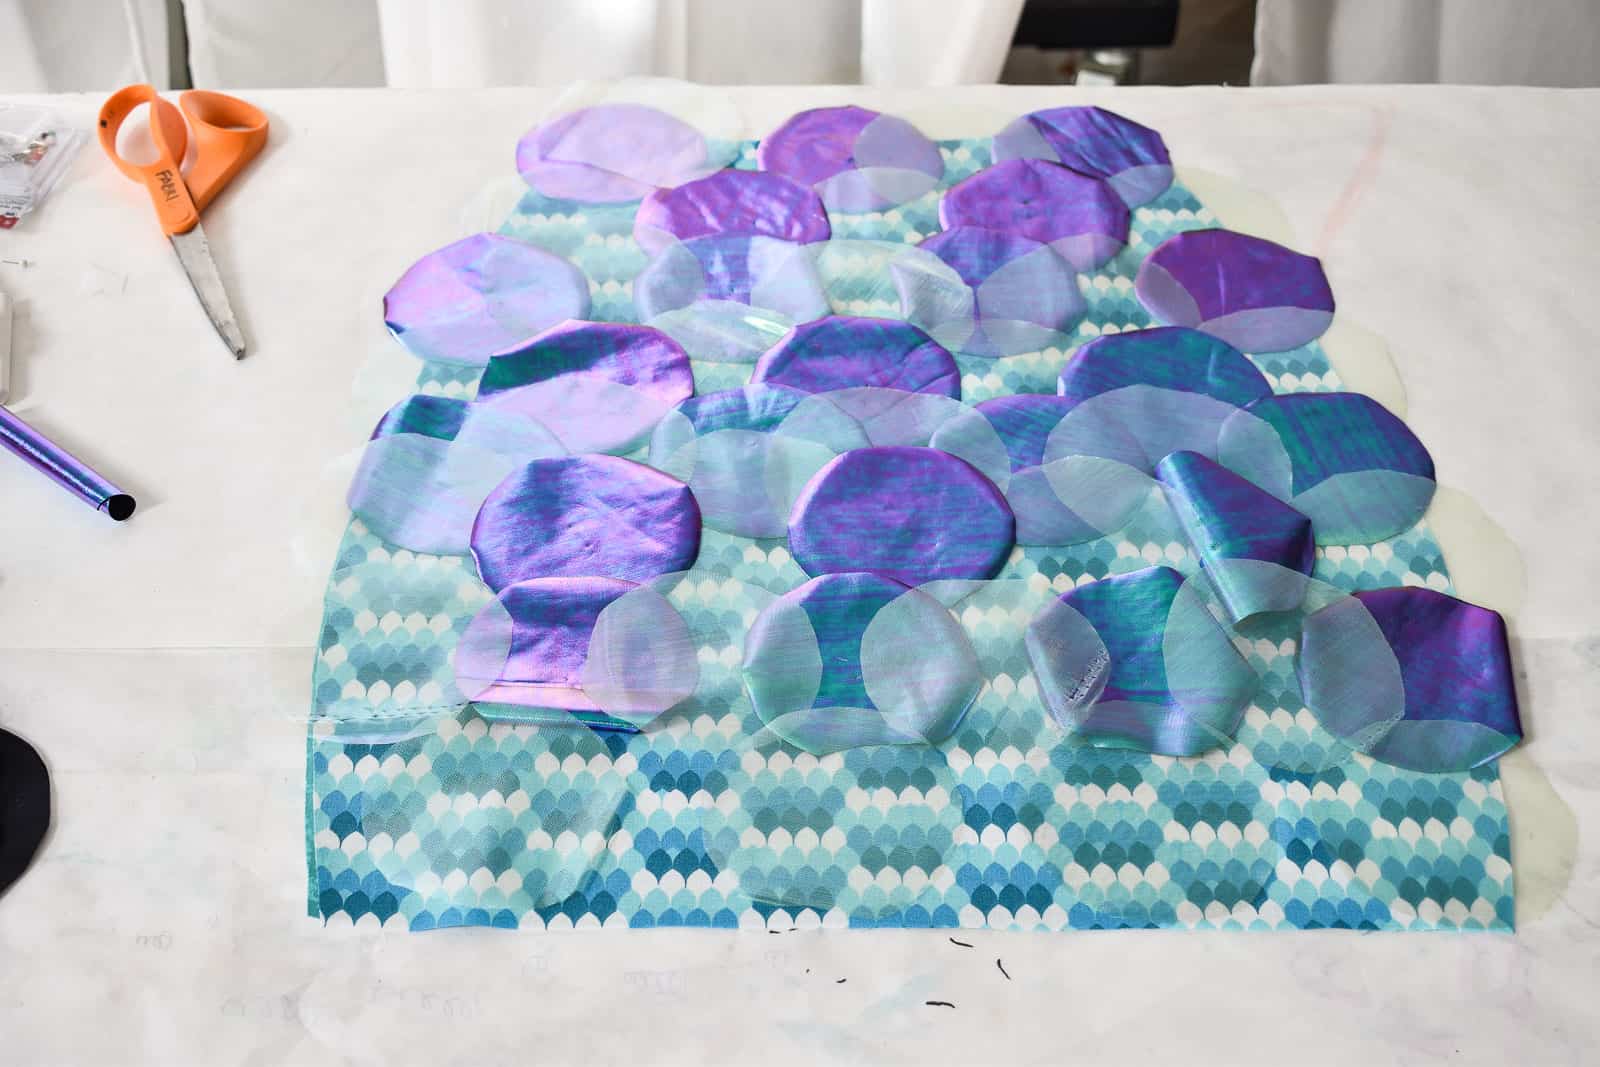
Using whatever sparkling metallic fabrics you can get your hands on, cut out circles. My circle’s about 4” but you can obviously make them whatever size you want. The smaller the circle, the more you’ll need and the longer it will take! I kept my fabric folded, pinned the template in place, and then cut through multiple layers at once!
Step 2. Make the Mermaid Tail
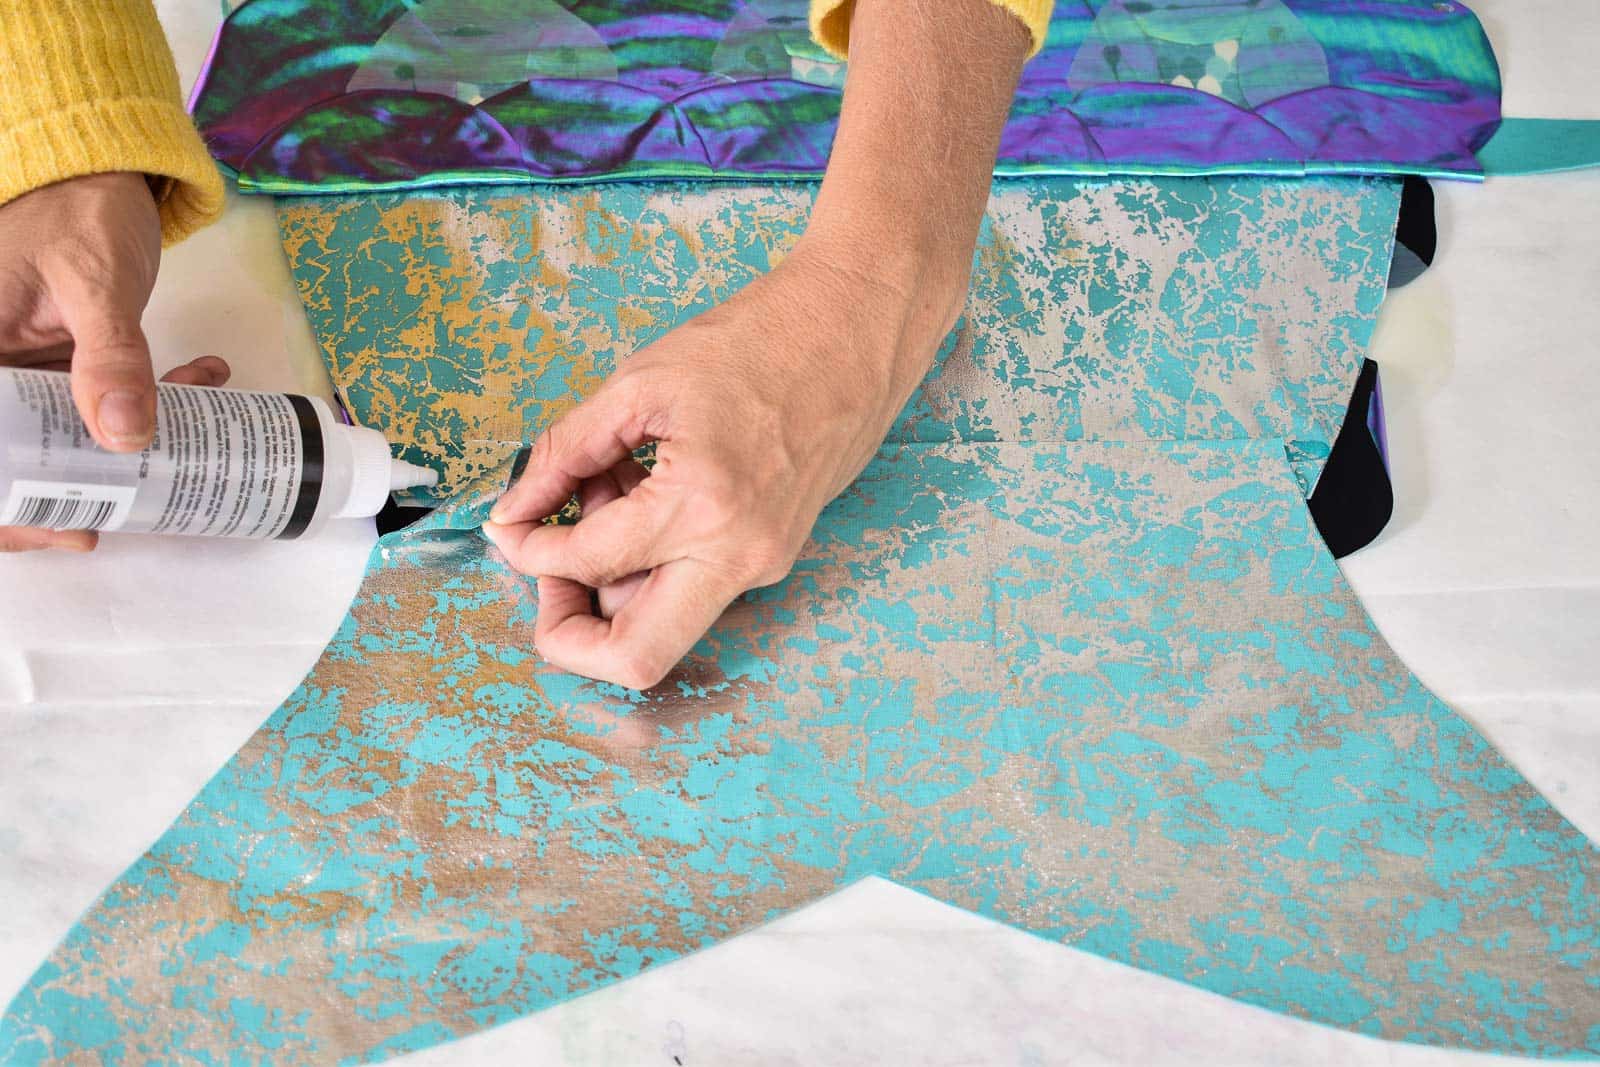
With clear fabric glue, start at the bottom of the tail and adhere one row of circles. I alternated between my two fabrics and overlapped the edges slightly.
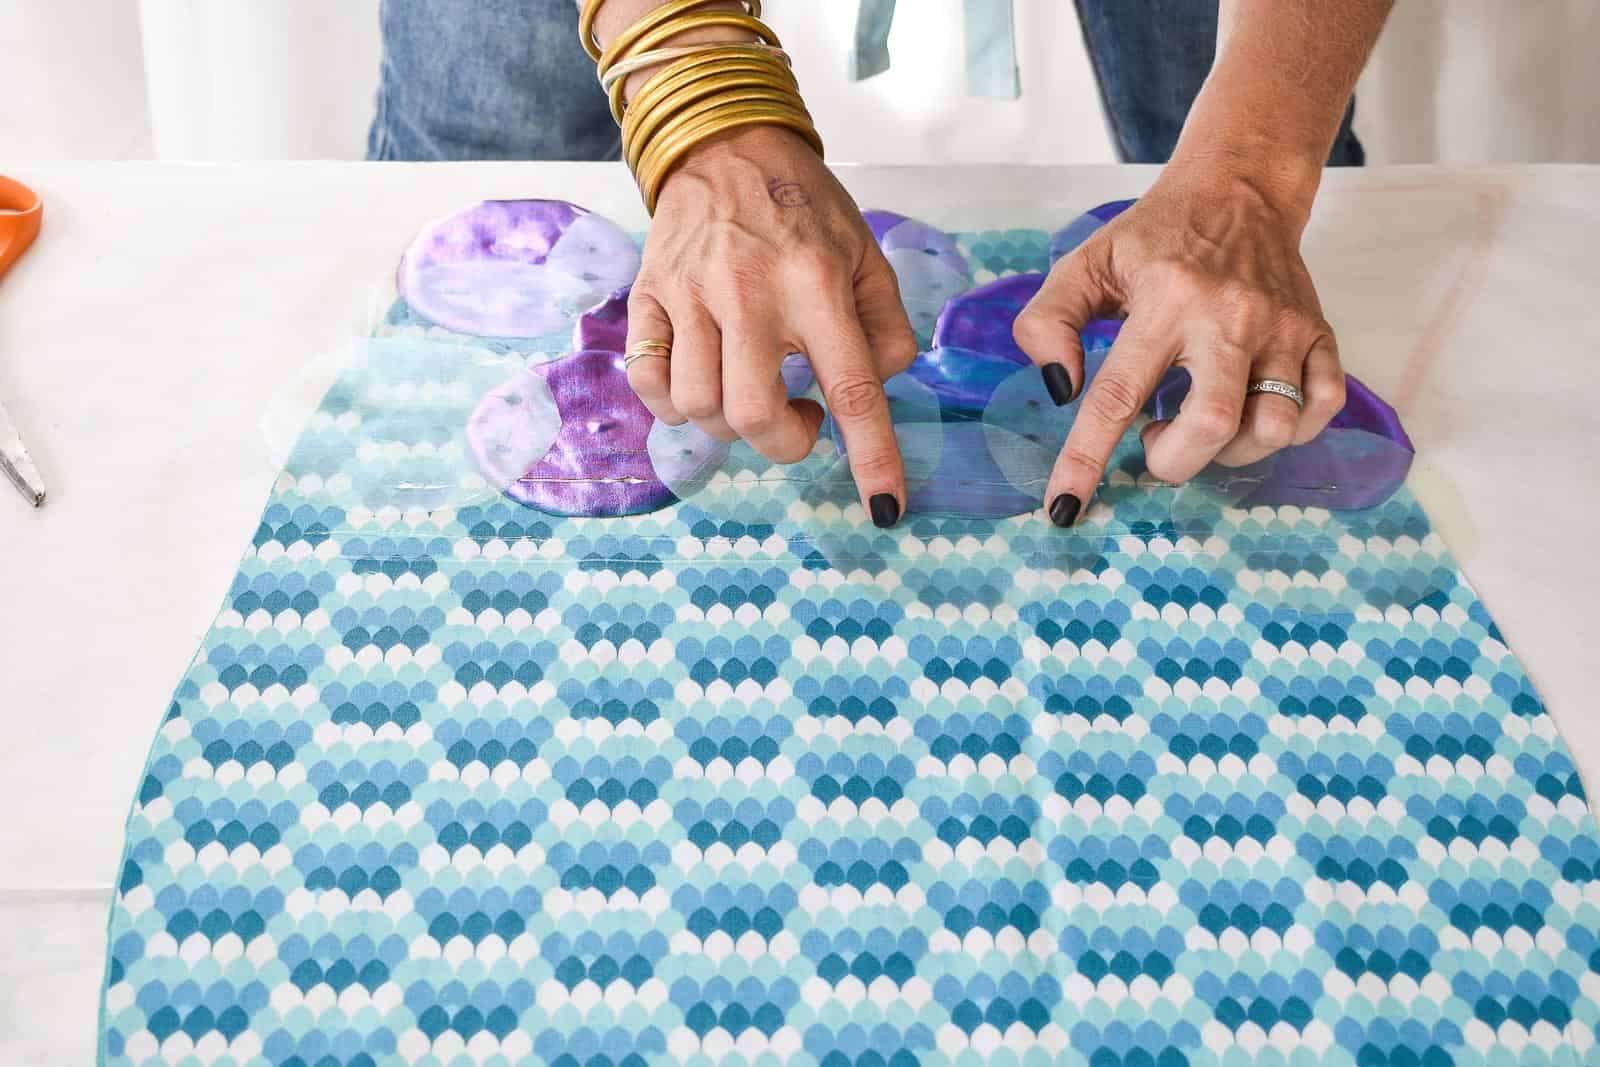
Move on to the second row, and repeat this step overlapping the second row ½ way over the first row. This will make the “scales” pattern. Note: I purchased something to prevent my fabric from fraying, but honestly, I’m not sure if I’m going to use it! Wanted to mention in case you choose a fabric that unravels.
Leave to dry.
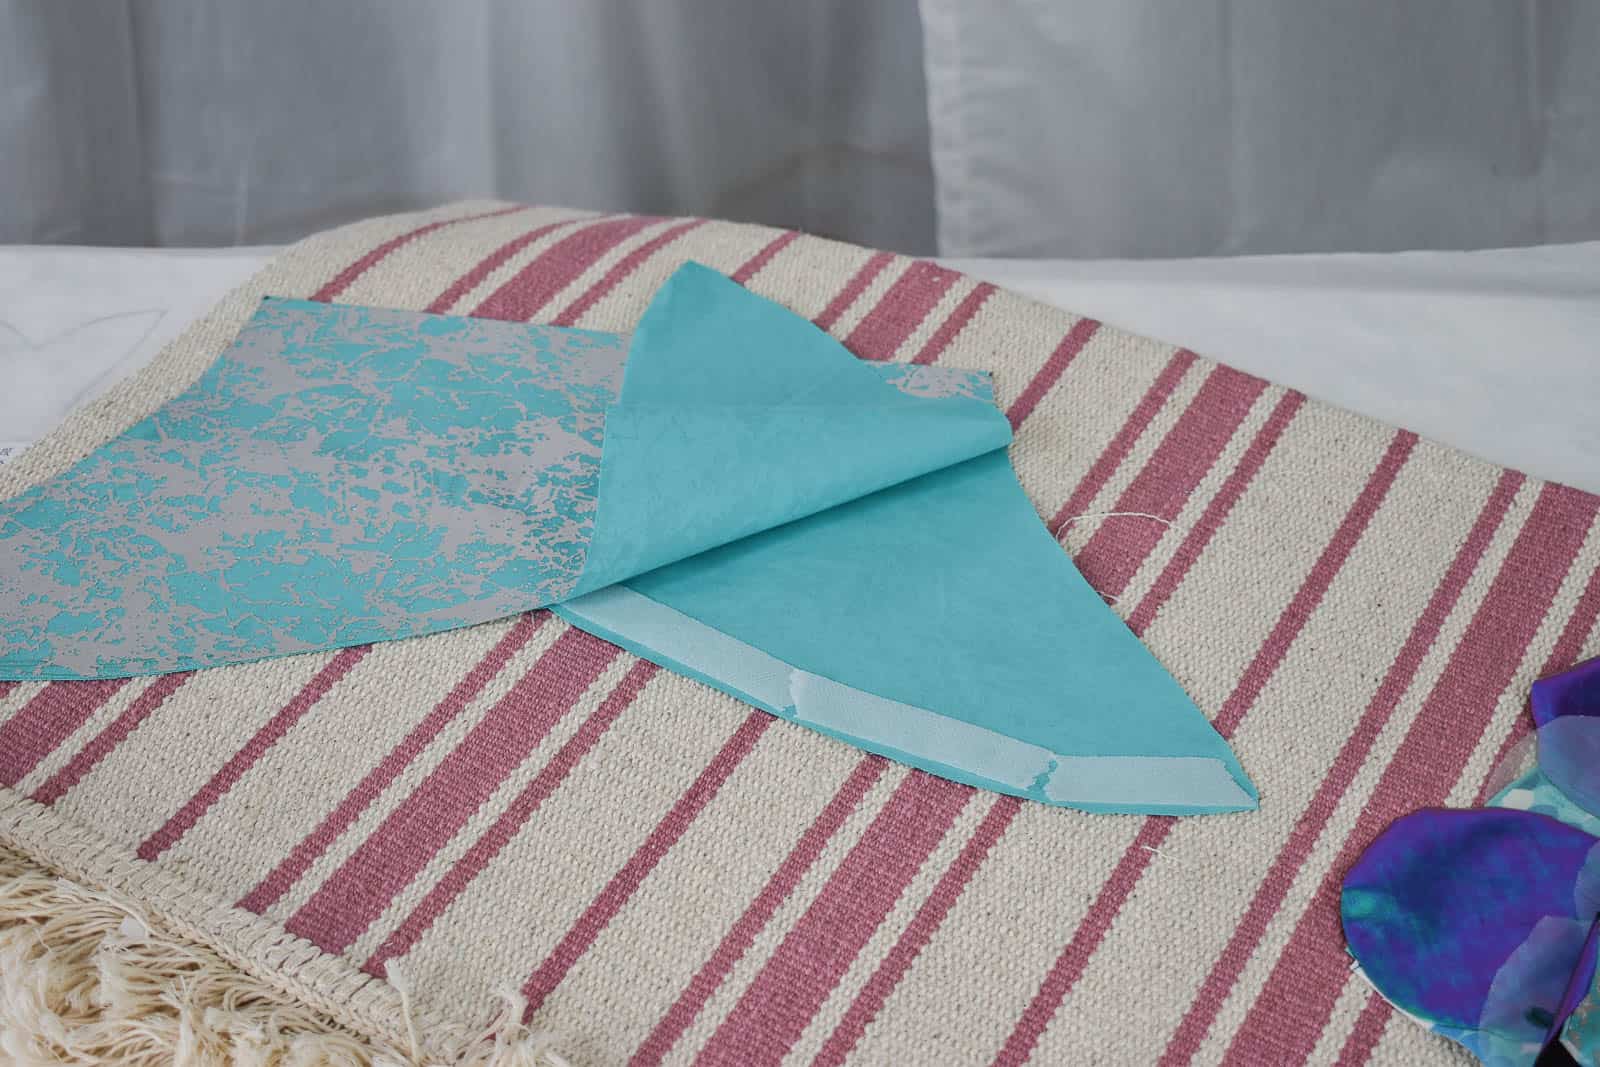
Step 3. Make the Mermaid fin
I used a third fabric for the fin just because. I made sure that the top of the fin was the same width as the bottom of the tail, and then I cut out two fin pieces and adhered them to each other with hem tape just as I’d done for the tail. Again, the hem tape adds a little more stability so the edges will hopefully hold their shape and keep from curling over.
Optional: go back over the fin with some of your fabric paint to add sparkles or other details!
Step 4. Attach the fin to the tail
Using the fabric glue, attach the fin to the underside of the tail. Let dry!
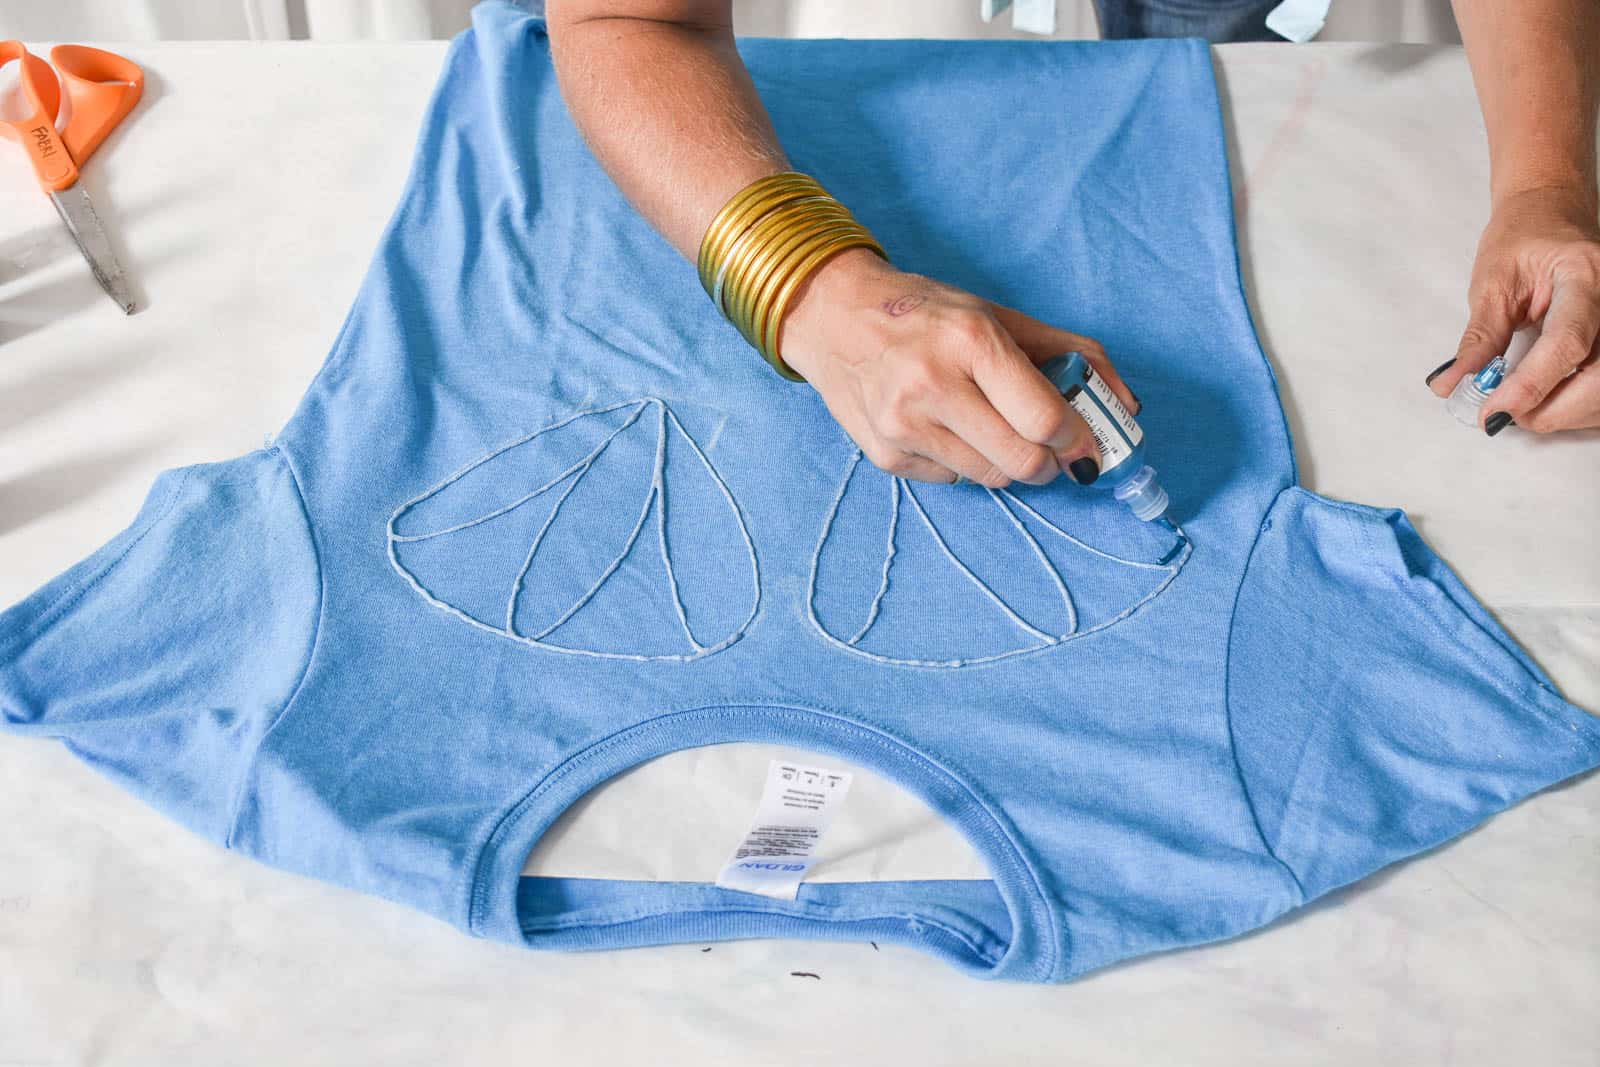
Step 5. Embellish the T-shirt
For the t-shirt, I wanted to add ‘shells’. I thought about finding some actual shells and gluing them in place, but then I realized that puffy fabric paint might be more fun, so I cut out and traced two shells and had fun filling them in with my paint.
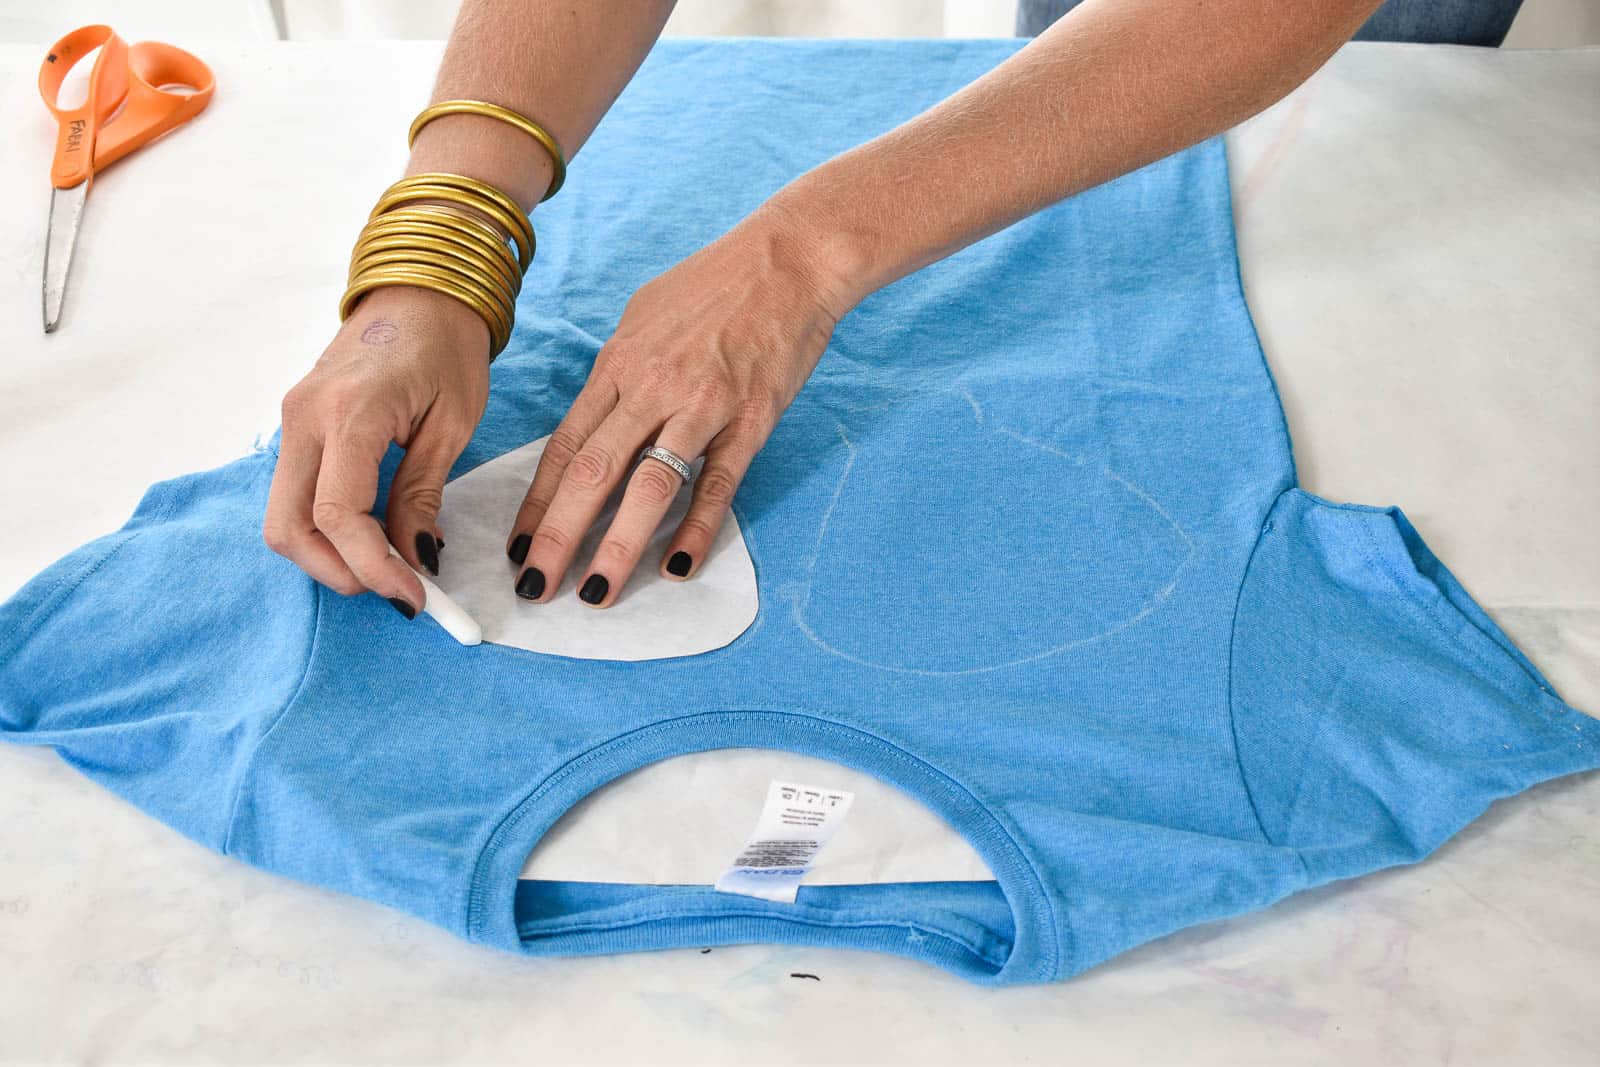
There are lots of other details you could add to the shirts… seaweed, starfish, jewels… I kept it simple!
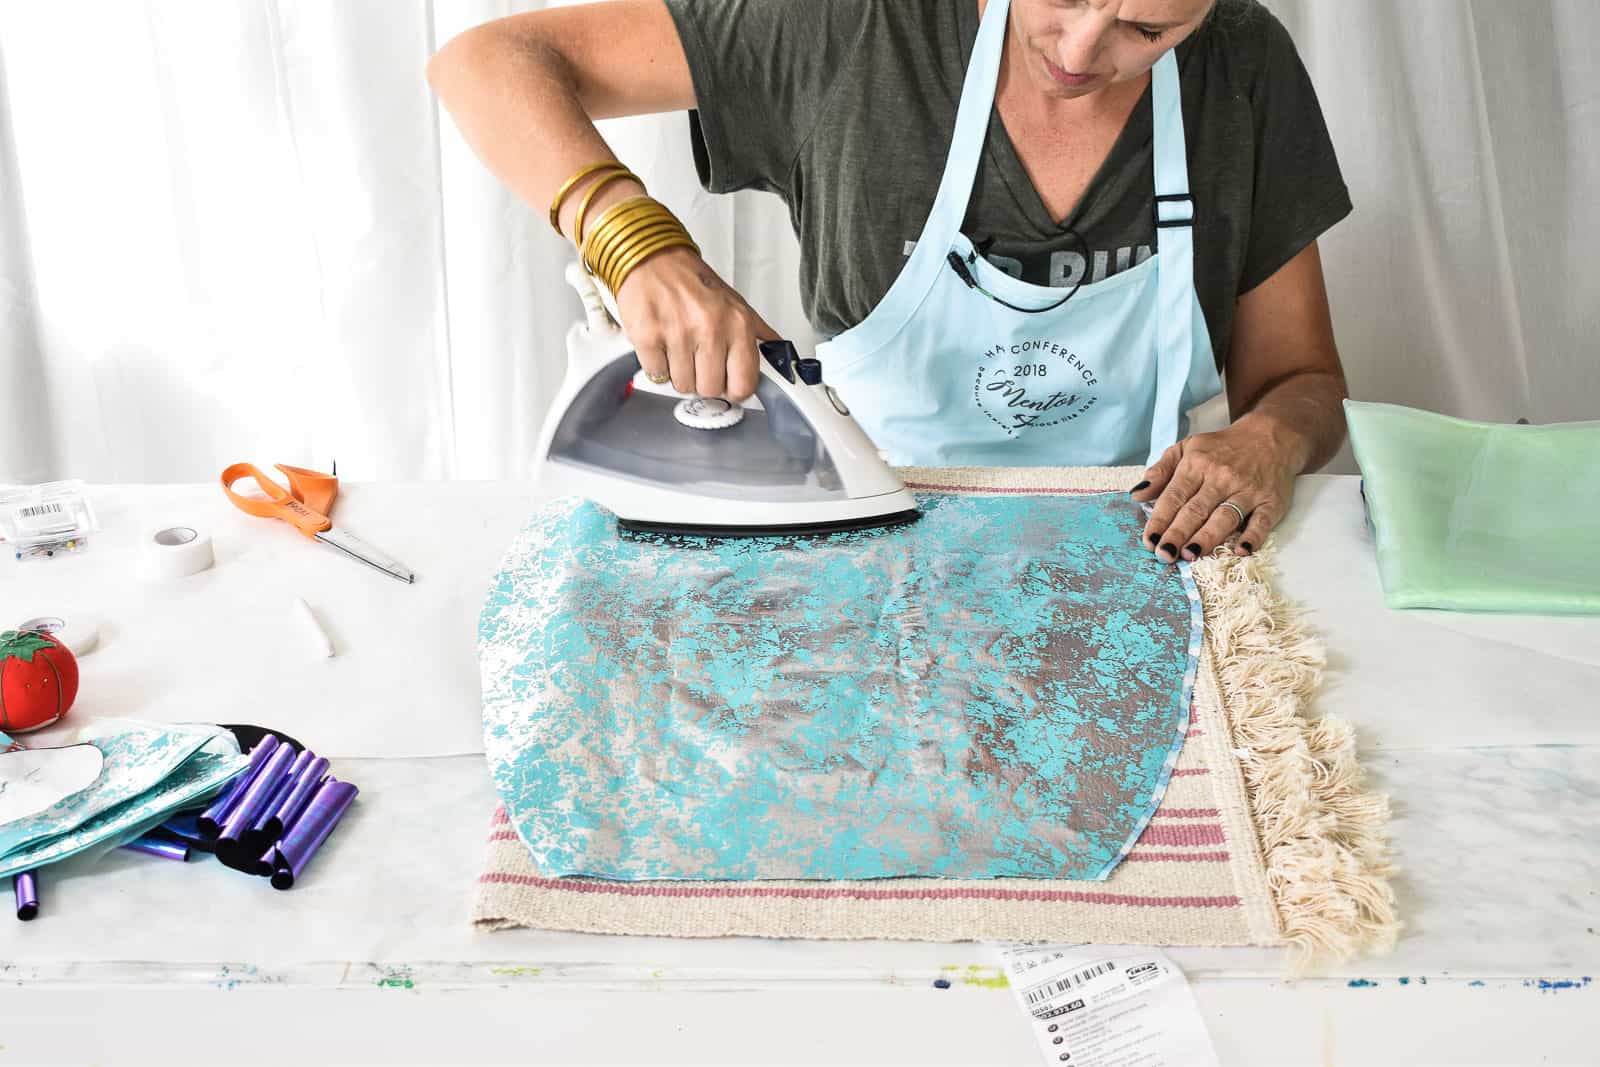
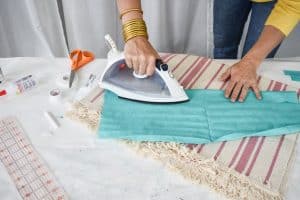
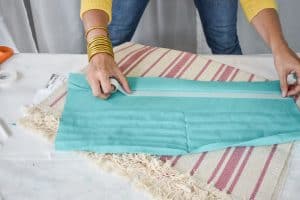
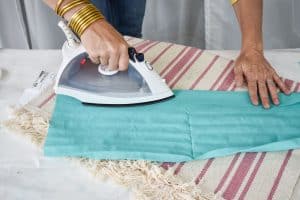
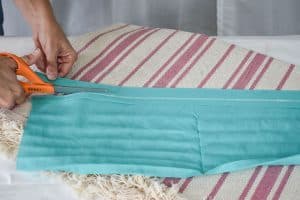
Step 6. Make sash
When I was looking around on Pinterest for inspiration, I saw one mermaid costume where the tail just tied around the child’s waist and thought that would be perfect for this! So I had to make a sash. I’m a numnut so I didn’t have any fabric long enough for a single sash… I made two shorter sashes for each mermaid tail but a single one would make more sense in my opinion! To make the sash, fold over the fabric about an inch and iron a crease. Then add a strip of hem tape and iron the folded fabric together. Finally, Draw a straight line just wider than the hem tape and cut.
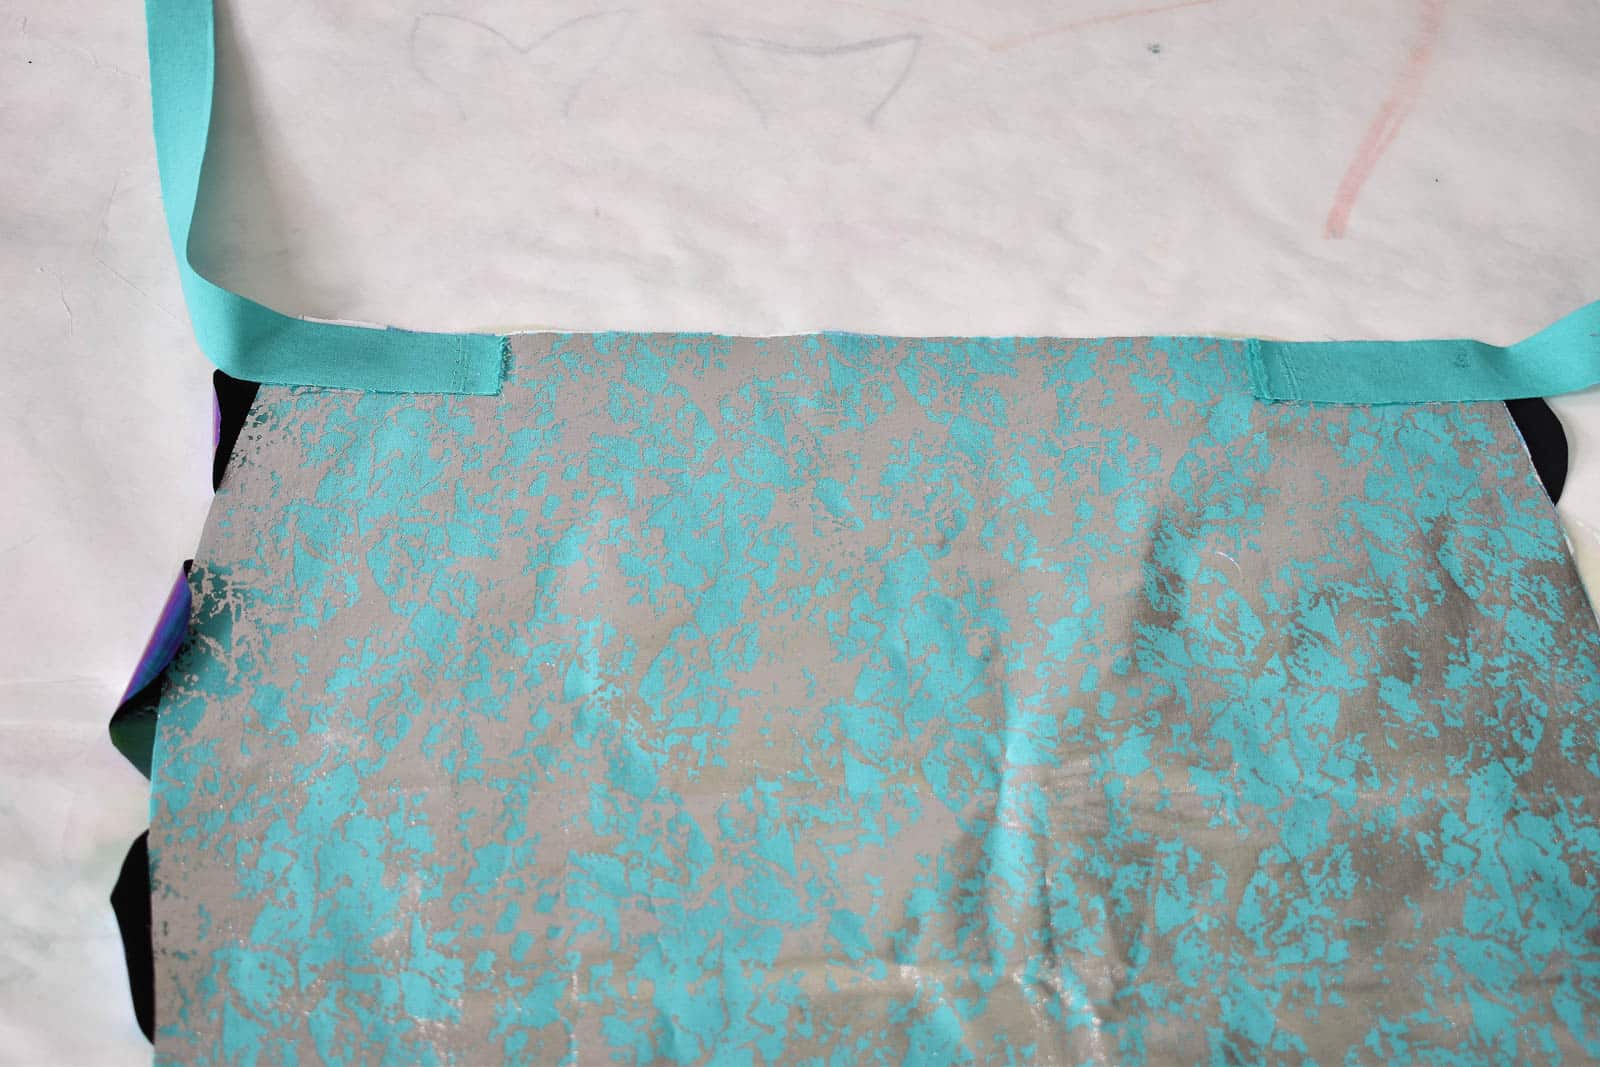
Step 7. Attach the tail to the shirt
Using my fabric glue again, I attached a sash to the top of the mermaid tail and… I’m done!
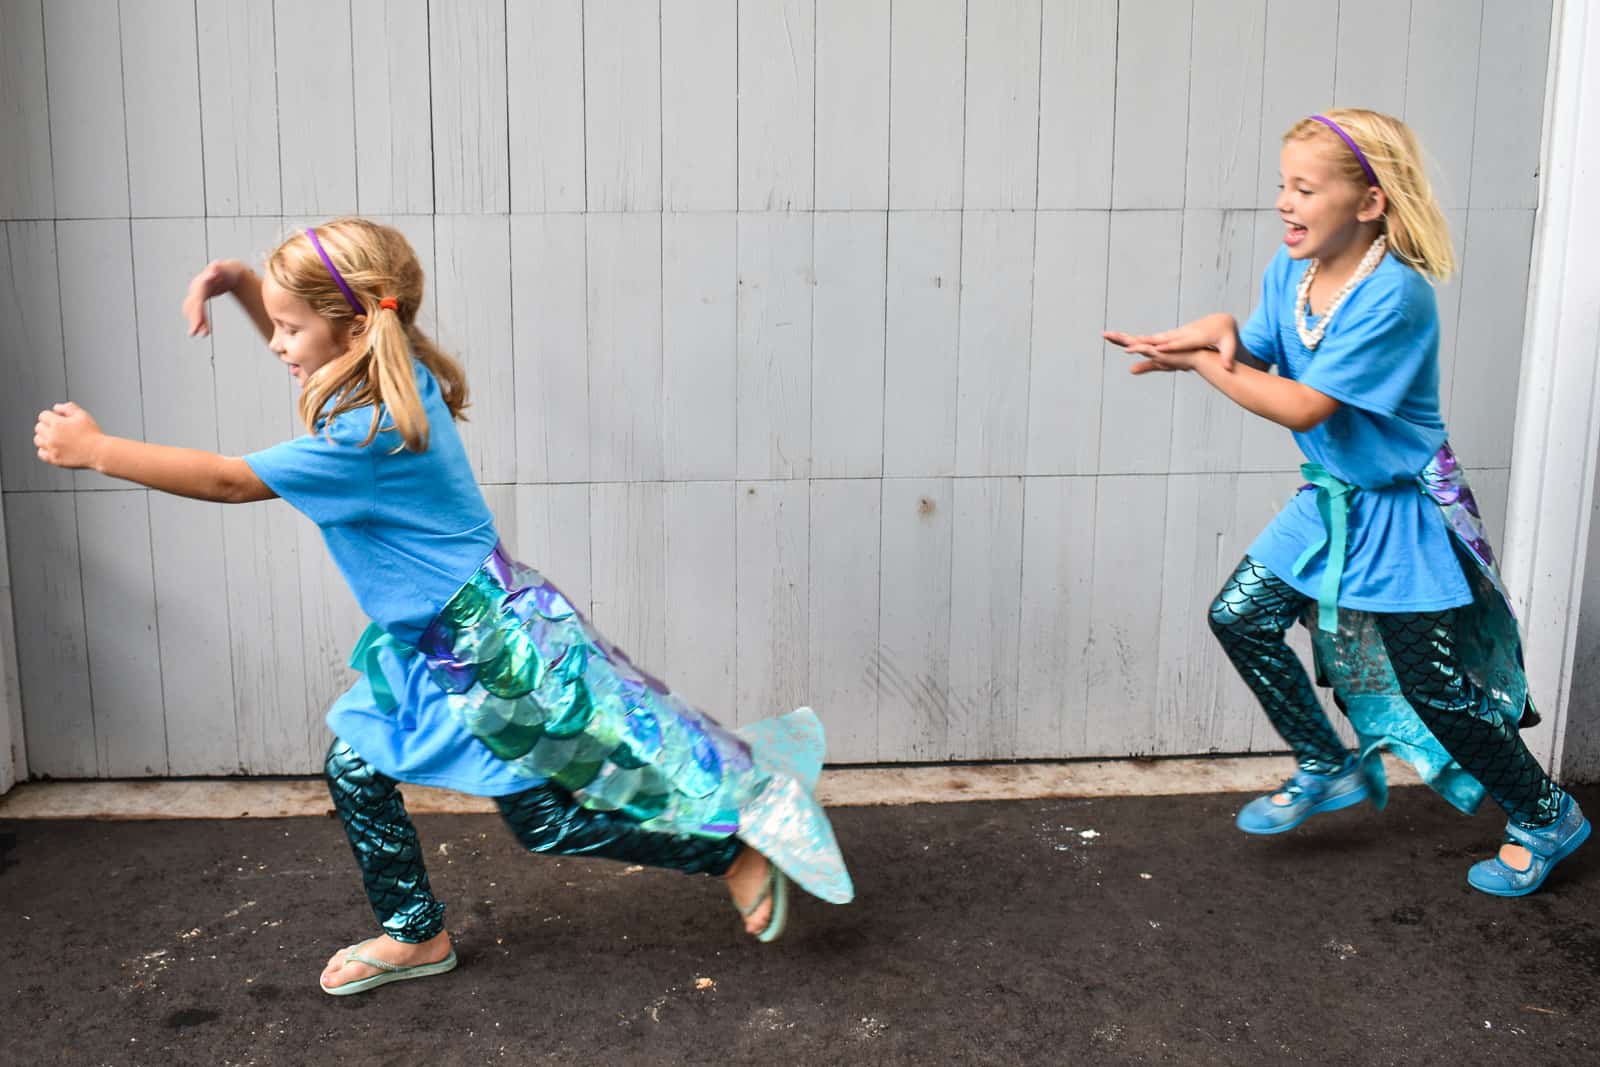
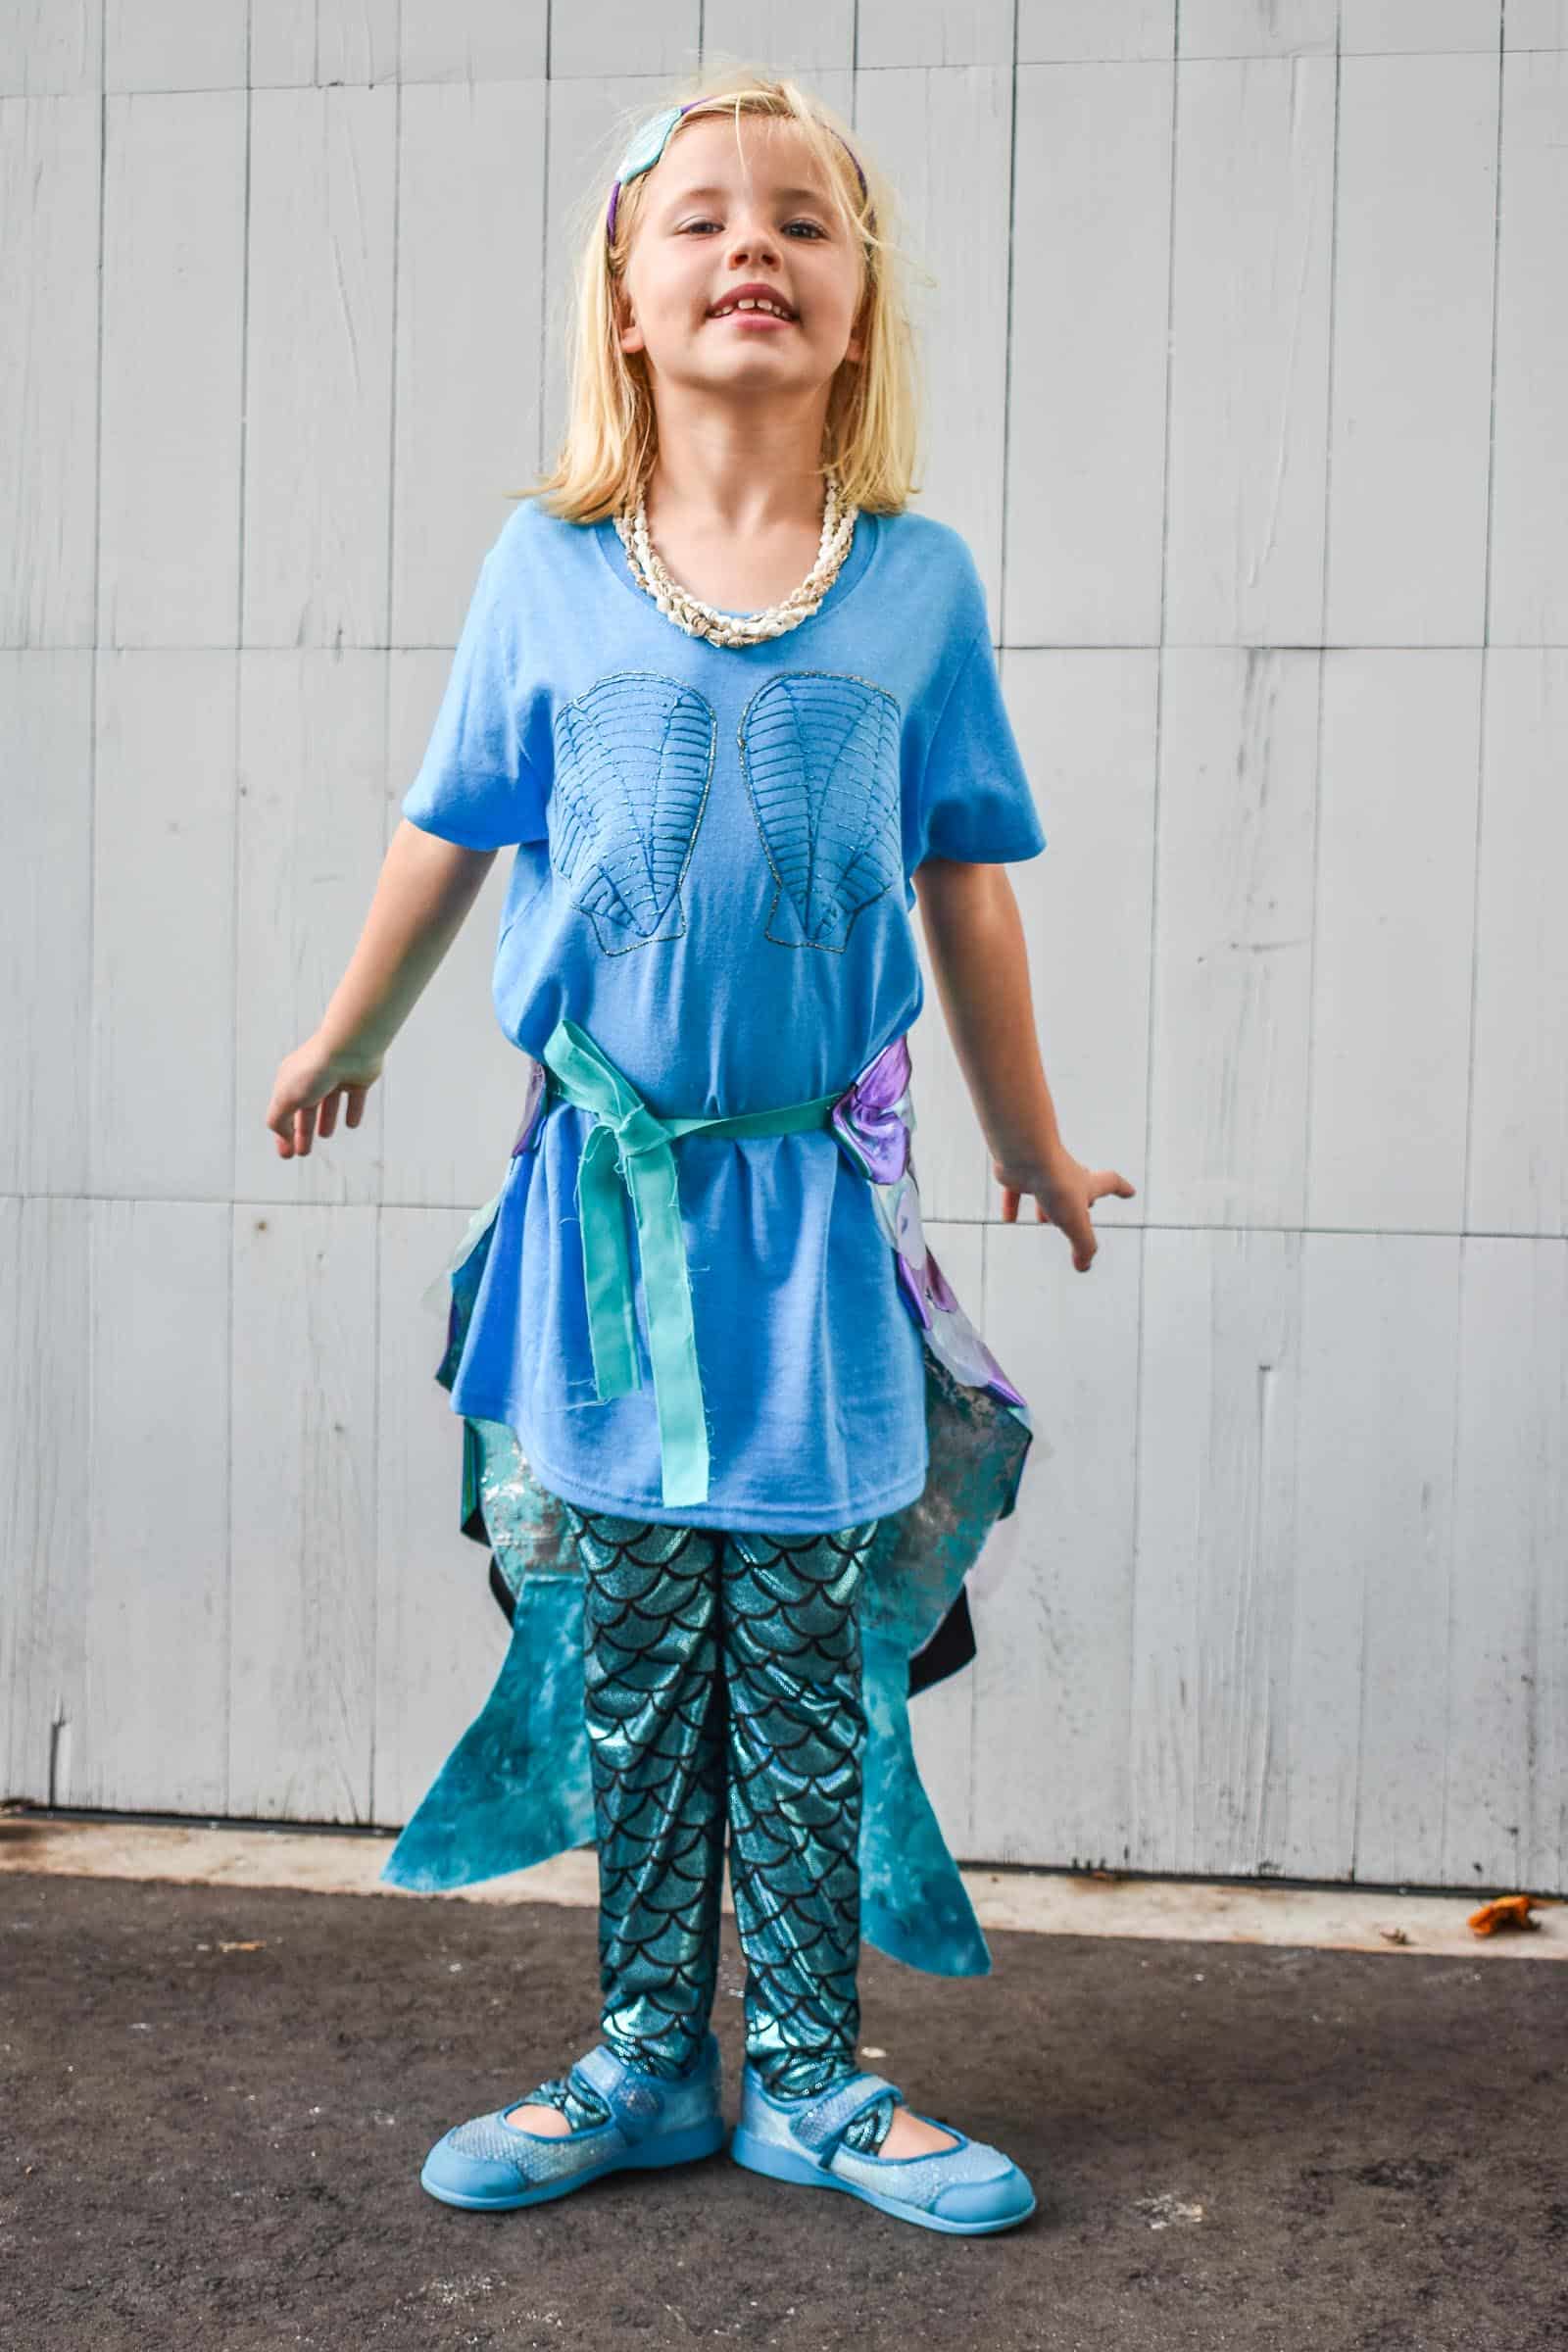
The girls LOVE their costumes. I paired them with these adorable leggings (affiliate) to complete the outfit and I can’t wait for Halloween! I love that these can be worn over a coat if the weather is cold and I love that I didn’t have to TOUCH my sewing machine!
FYI, this is Martha’s mermaid pose!
Materials
And… y’all know I love to share a video tutorial so here ya go! I love it when you hop over to YouTube and subscribed to my channel! Thanks so much for all of you who leave me comments over there too!


Don’t Miss Out
Become An Insider!
Signup for exclusive tips, and tricks from Charlotte’s House!
Let’s chat!
I love comments from you, so feel free to leave your thoughts and ideas below! And don’t forget to follow me on Instagram for even more!