
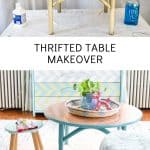
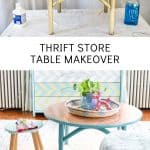
Thrifted Coffee Table Makeover
Psssst… this post *might* contain affiliate links: see my disclosure here.
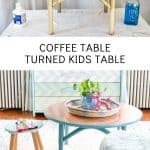
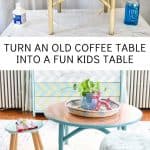
Boring Coffee Table Turned Cheerful Kids Table
Disclosure: I’m partnering with HomeRight on this fun furniture flip… they make these makeovers very easy!
I love crafting and room reveals and tablescapes but I will never get tired of fun thrifted furniture makeovers! Walking through the Restore or a flea market and finding and old dingy piece of furniture to reimagine and refurbish… that’s my favorite!
Shop my favorites!
How To Update an Old Table
Step 1. Find a Piece of Furniture
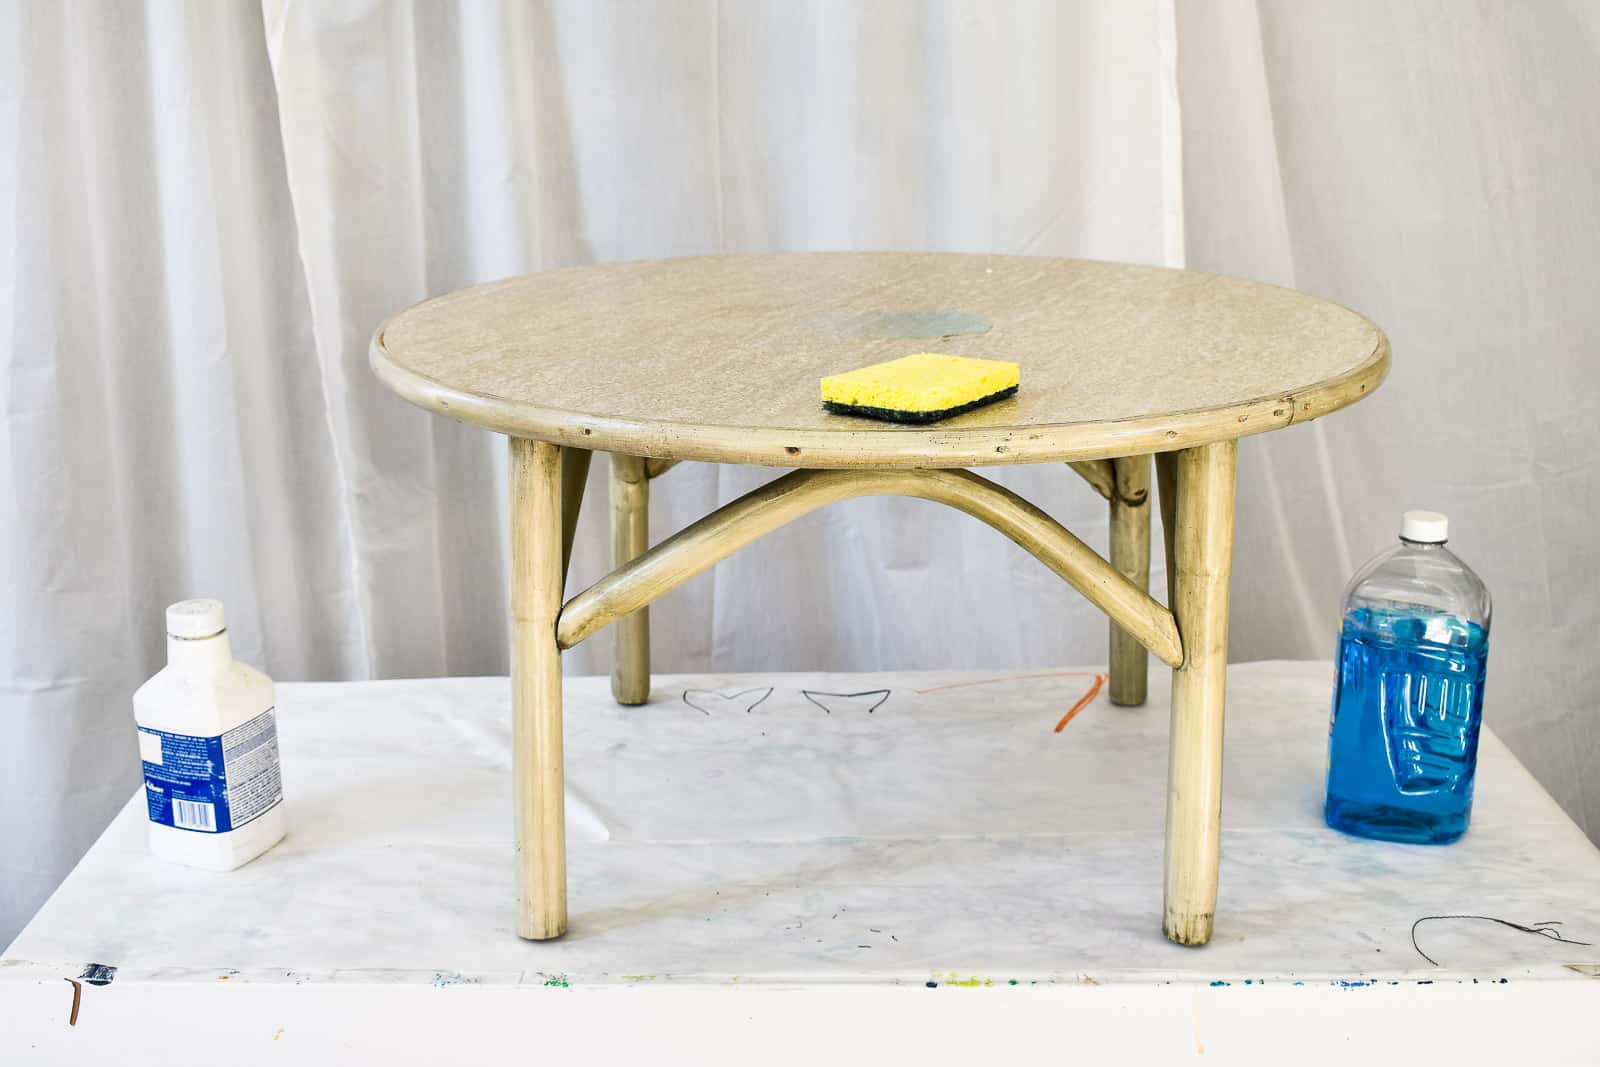
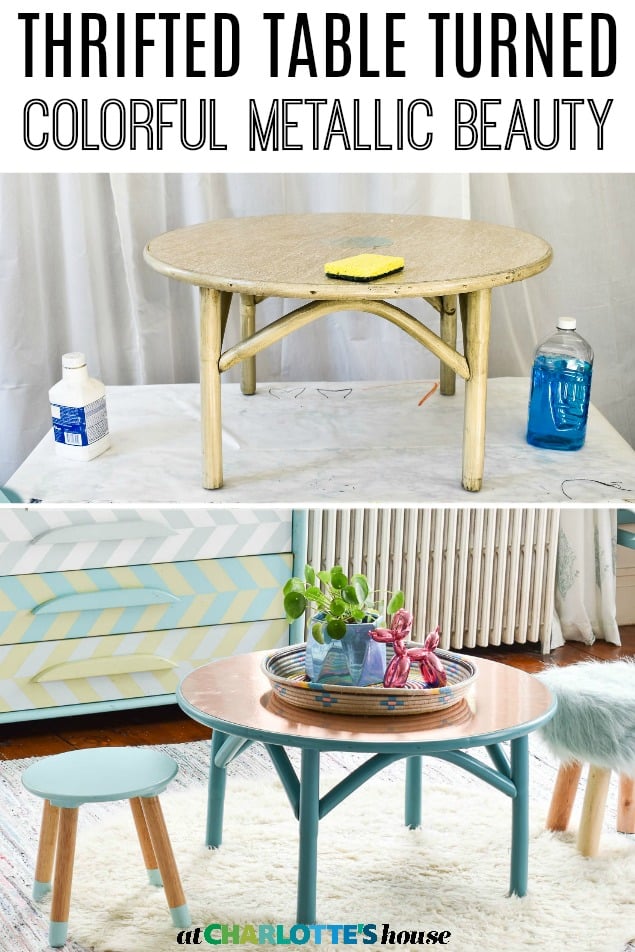
This table was $10 and 50% off at the Restore… So yeah. A whole $5. Here’s what I loved: the shape and the size and the material. Incidentally, when I’m looking to buy furniture to flip, here’s what I look for: sturdy pieces, paintable materials (i.e. wood/ rattan) and style. This old rattan table with the ugly laminate top had all of that!
Step 2. Prep, Prep and Prep Some More
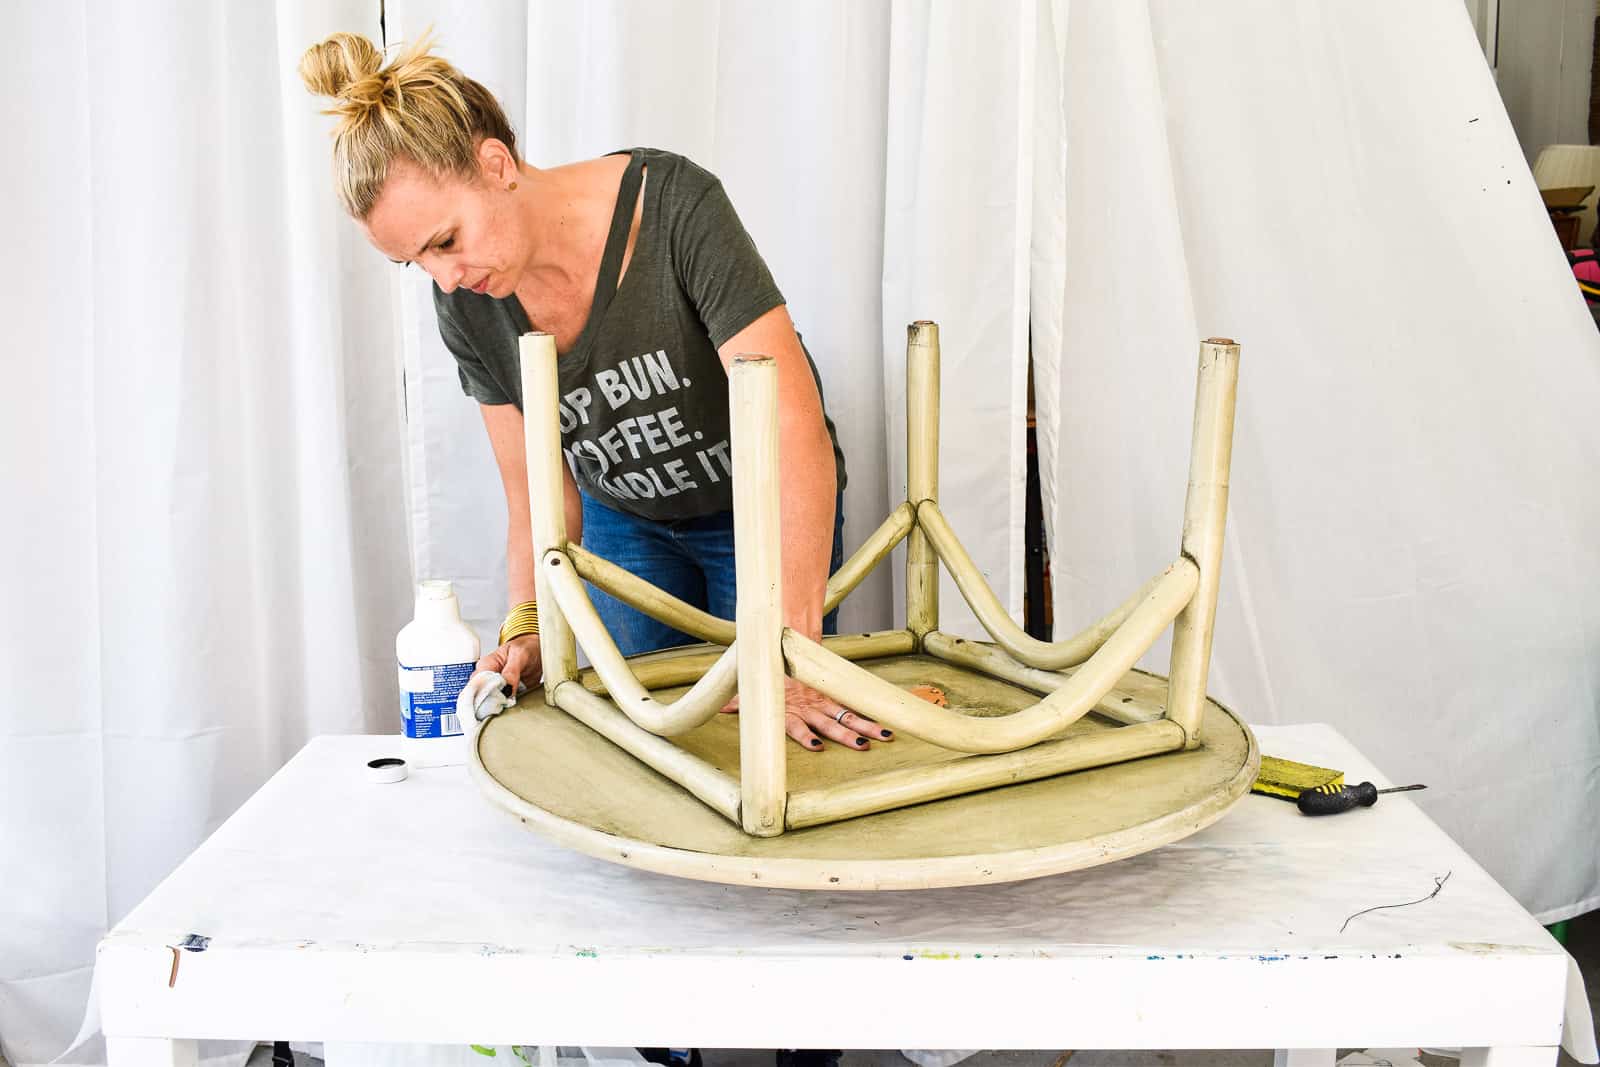
Because this table had so many rounded edges, I used liquid deglosser on an old rag and then primer. For the table top, I scrubbed it clean and made sure to scrape off any debris or residue. I’m using the HomeRight Turn Table for this project and it made my life sooooo much easier. Starting from the cleaning!
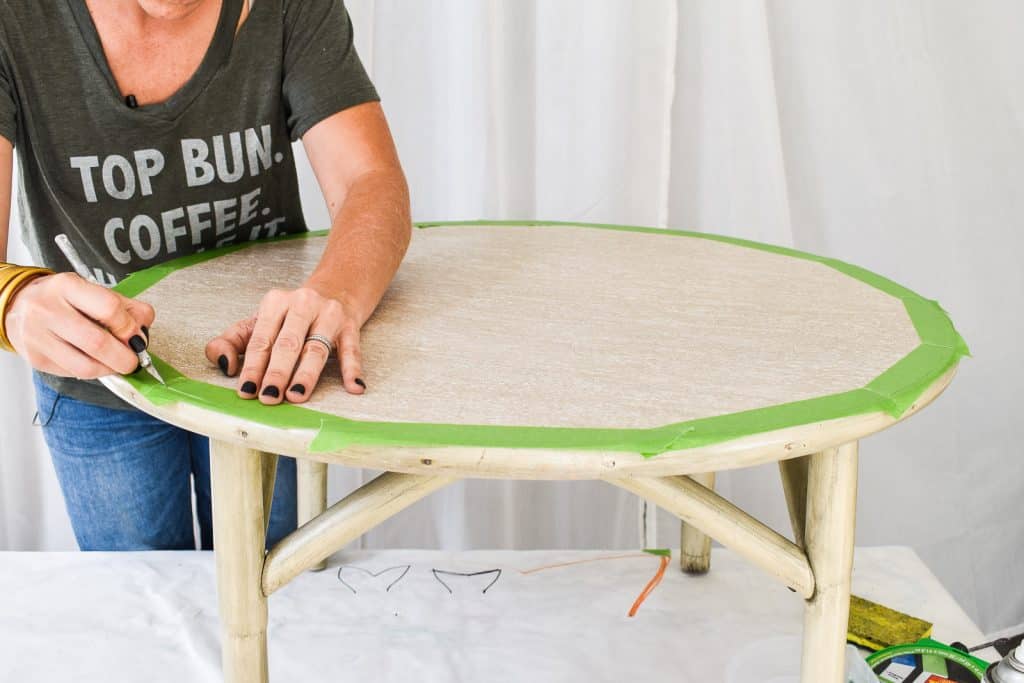
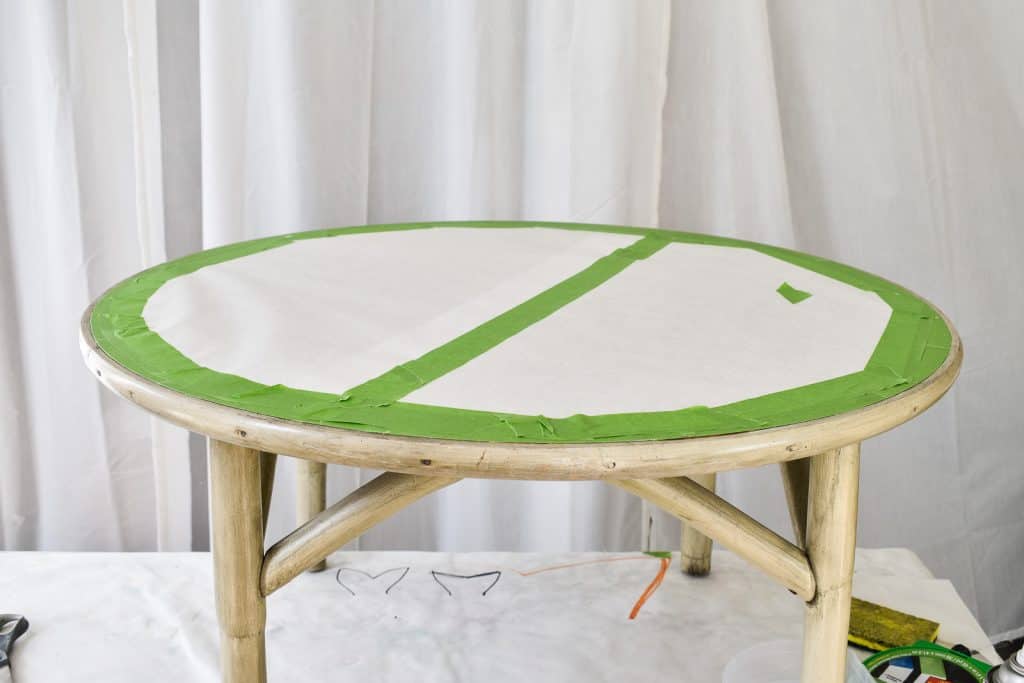
To save myself some time after painting, I taped off the top to protect from overspray. I went around the edge with painter’s tape, then filled in the middle with paper. It was super easy to trim the tape with an x-acto knife for a smooth straight edge.
Step 3. Prime
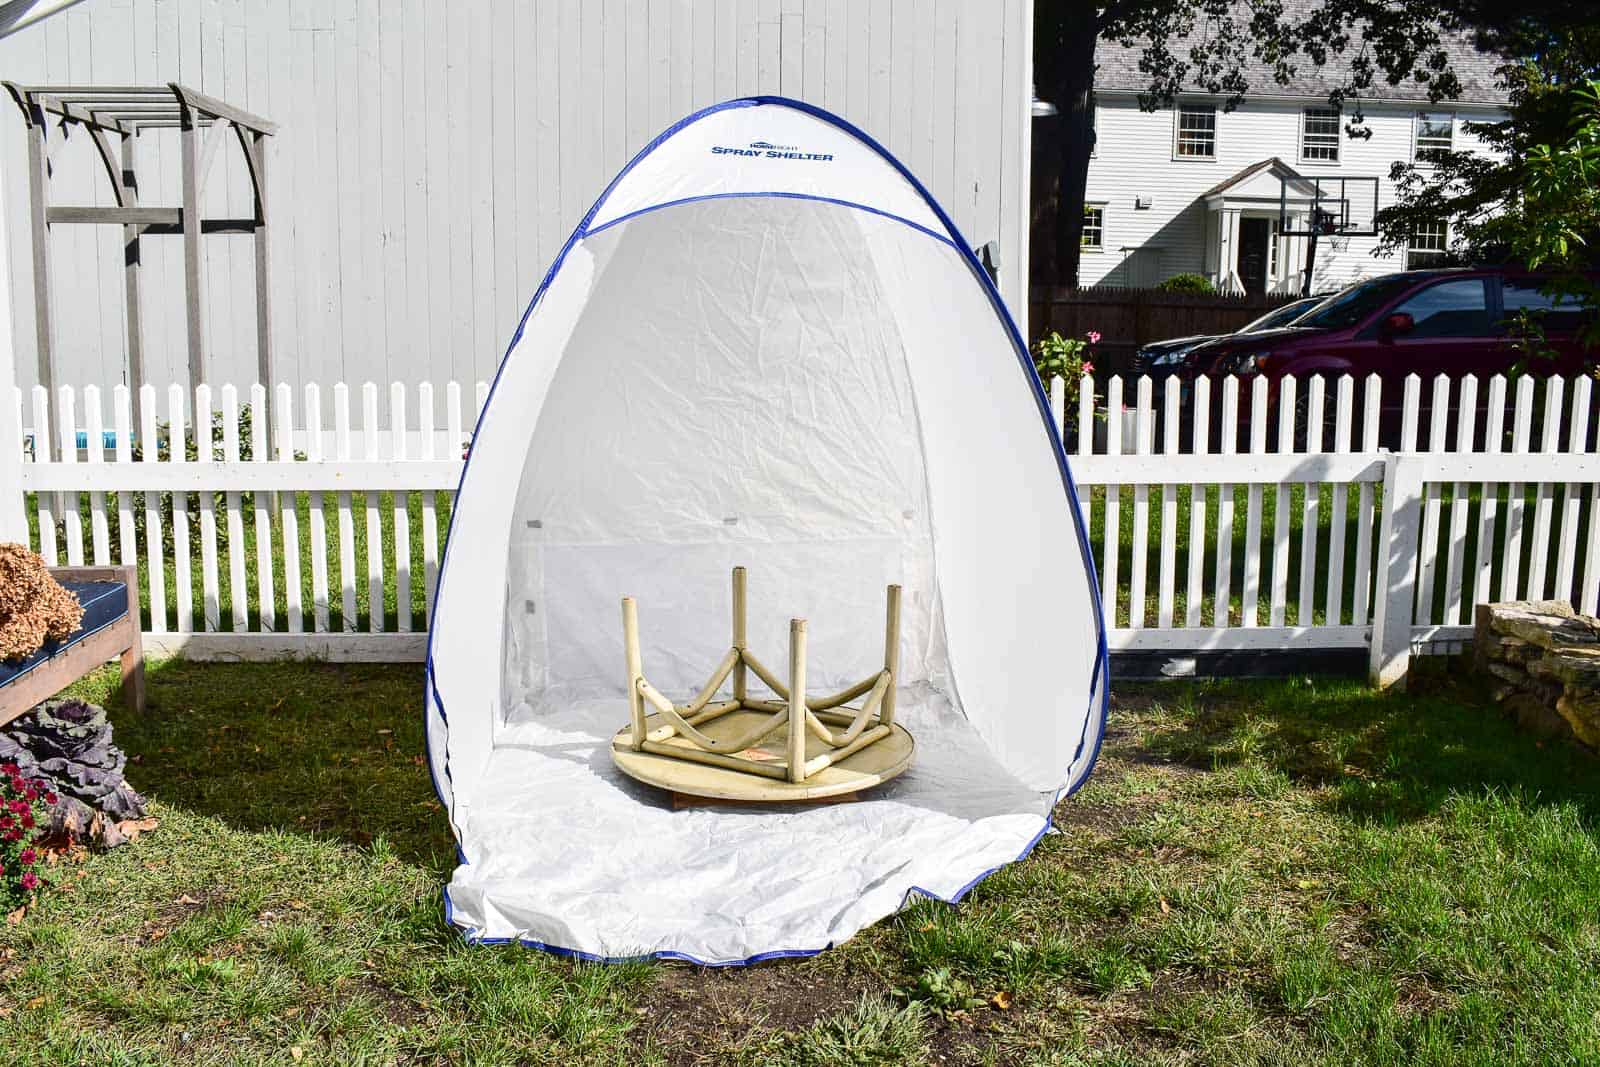
I set up my medium spray shelter (which p.s. is the DIY furniture painter’s DREAM) and gave the table a couple light coats of spray primer.
Step 4. Paint
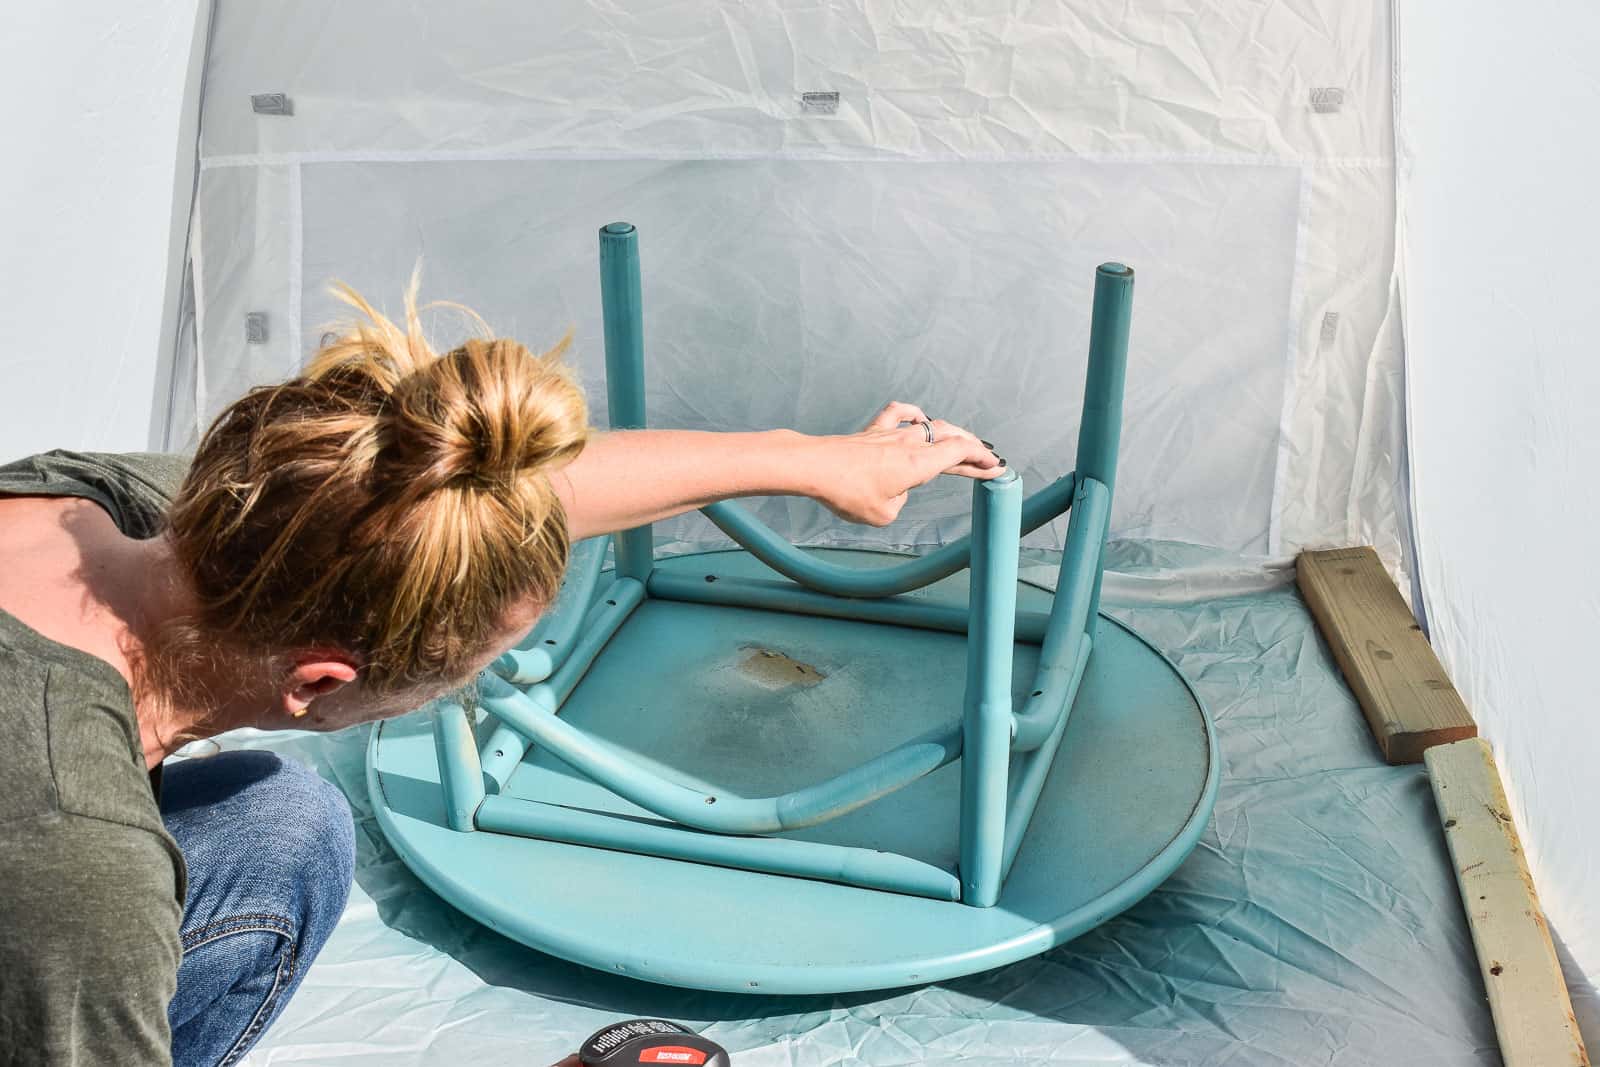
Using the turn table, I was able to slowly rotate the table and get to every nook and cranny without scraping or scuffing it trying to lug it around inside the spray shelter.
Step 5. Makeover the Top
The top of this table is an adhesive laminate so I knew I would never be able to paint it. But I also knew that one of my favorite furniture hacks would work perfectly on a laminate top: CONTACT PAPER!

Typically with contact paper, you need to line up the straight edge, but because my table was round, I didn’t have to worry too much about this alignment! When putting down contact paper, I make sure that I remove just a little bit of the backing at a time, and sloooooowly smooth out the contact paper as I go. If you get to the end and have a few stubborn bubbles, grab your x-acto knife and pierce the bubble ever so slightly to release the trapped air; you should be able to smooth out the vinyl once the air has been released.

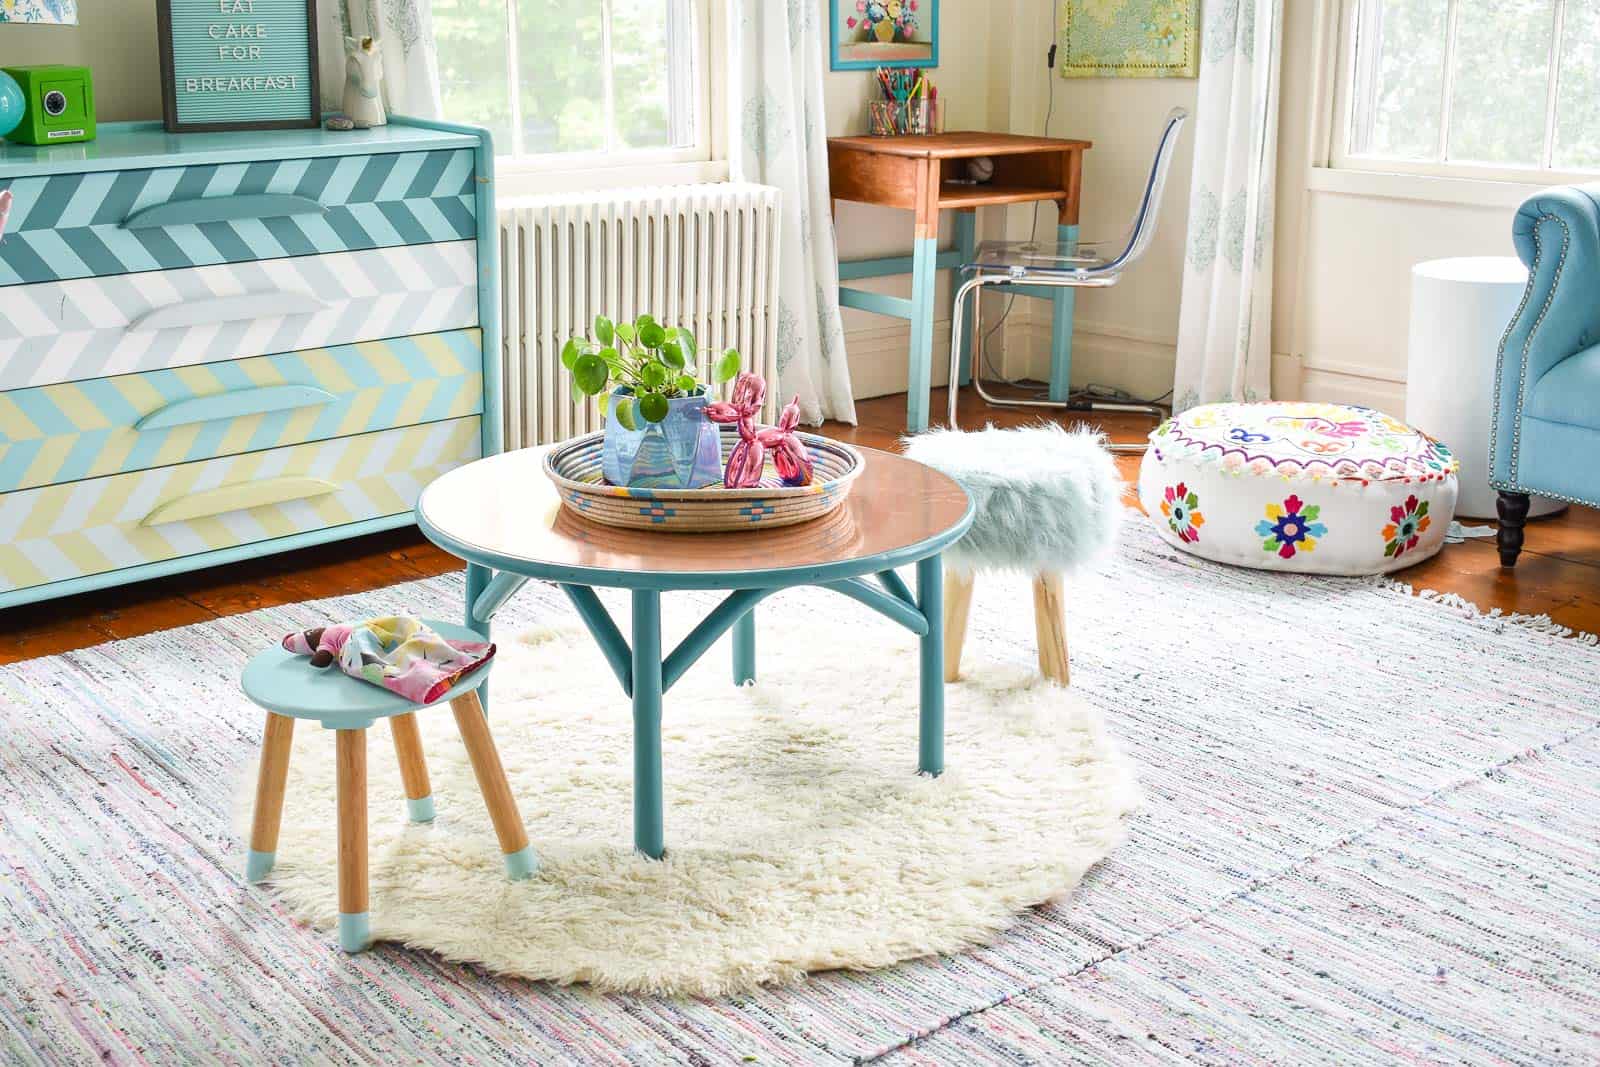
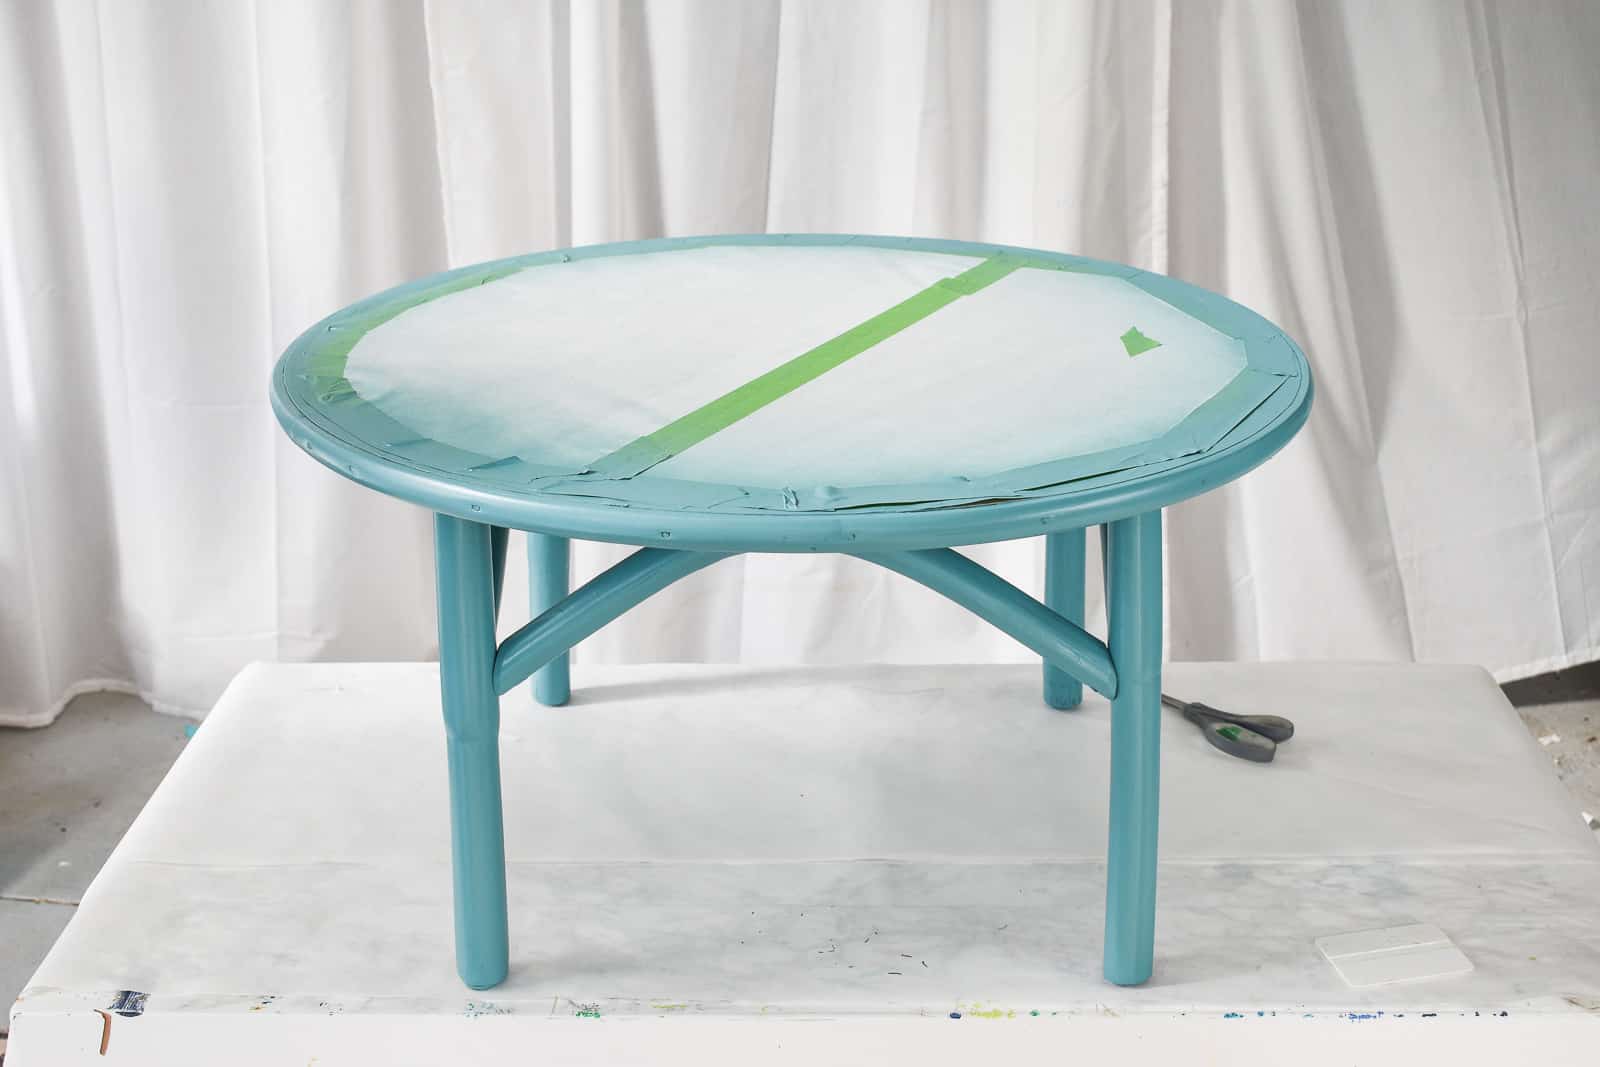
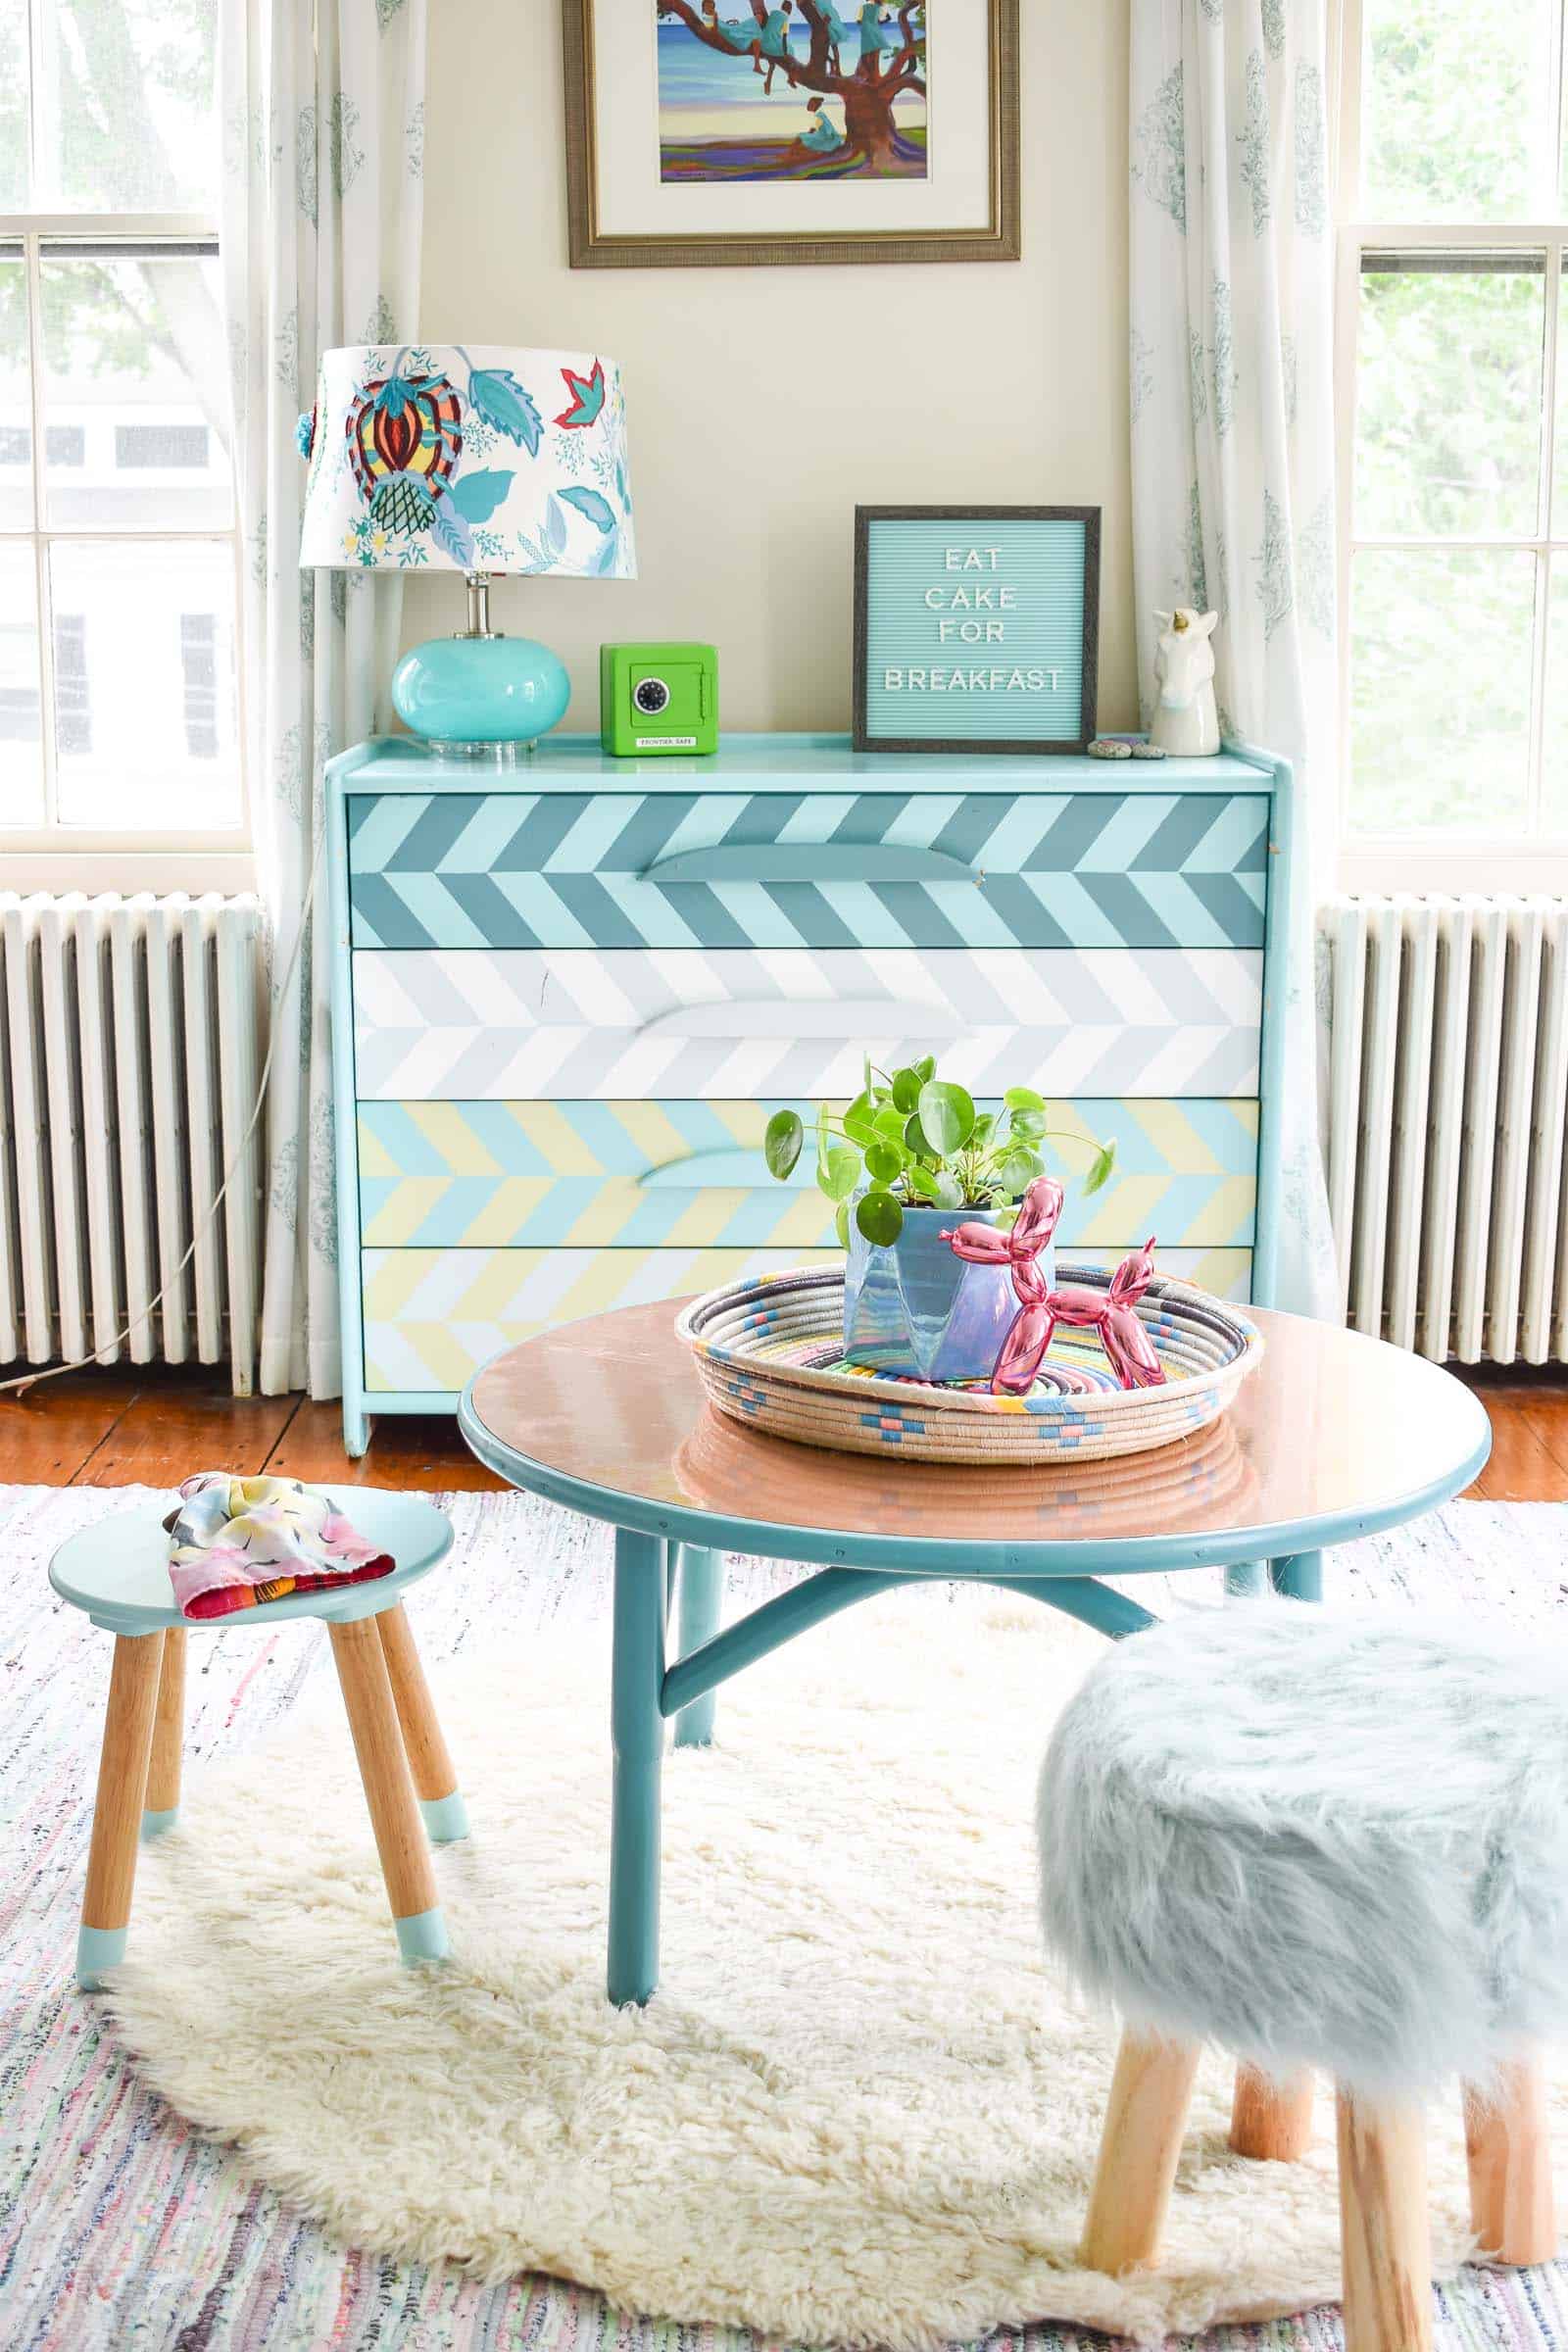
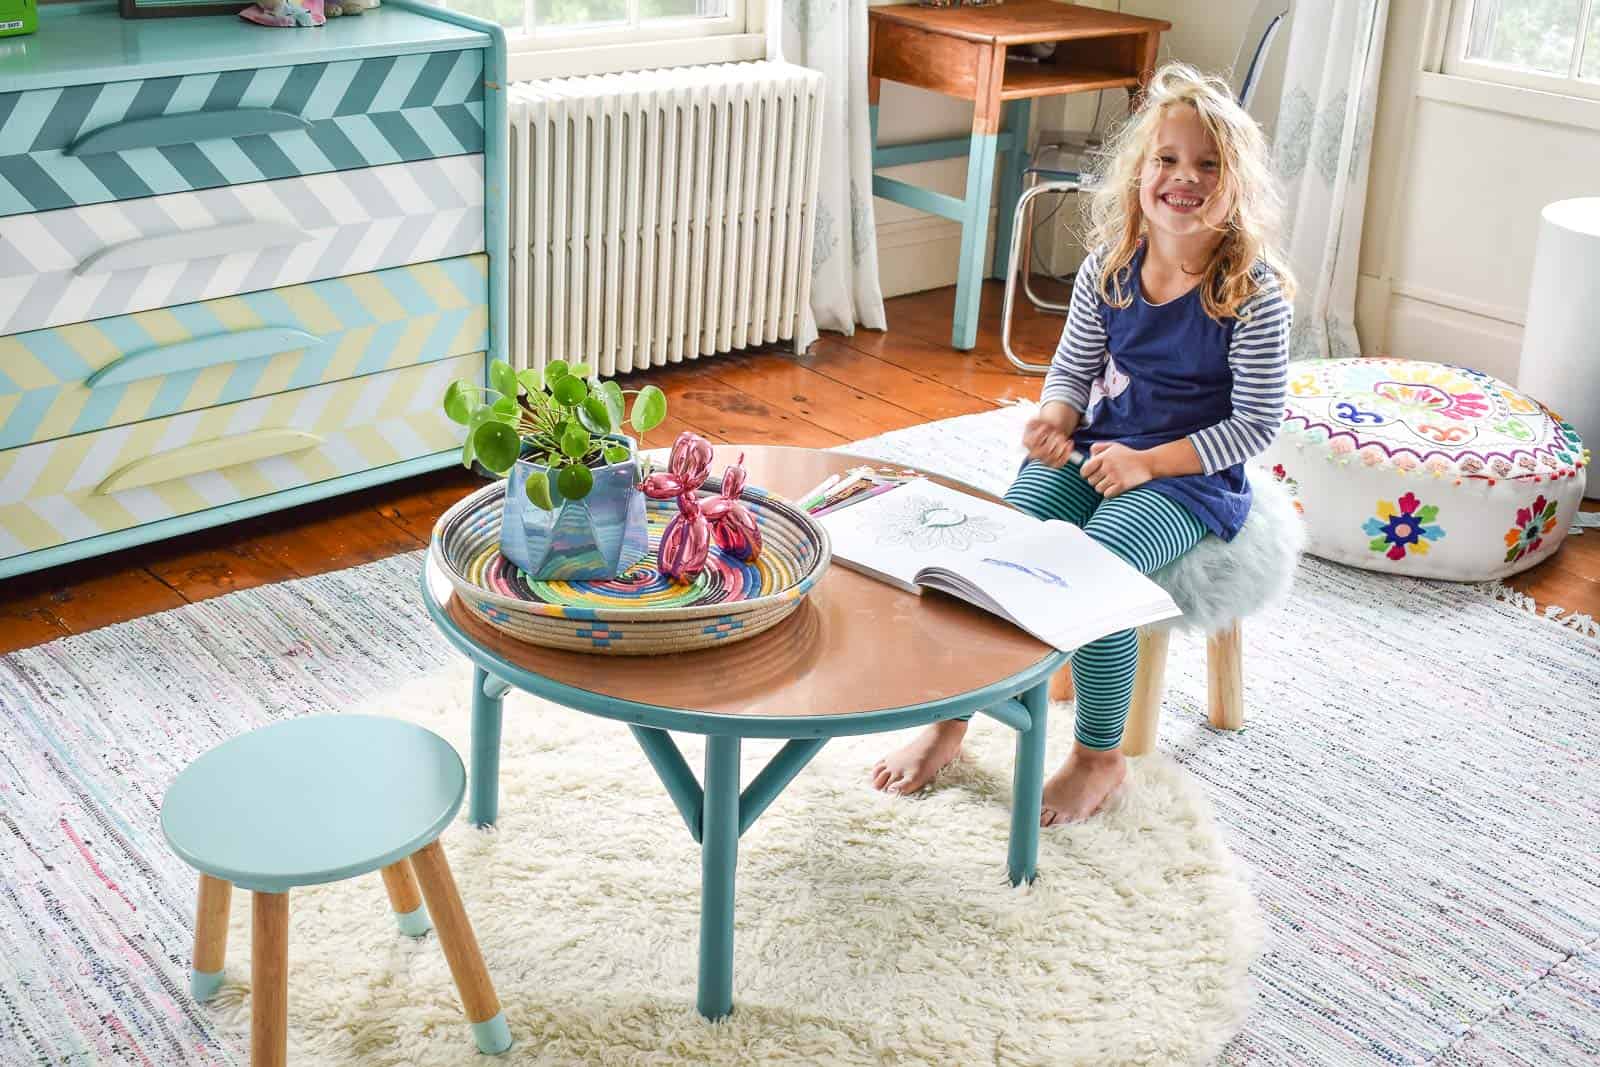
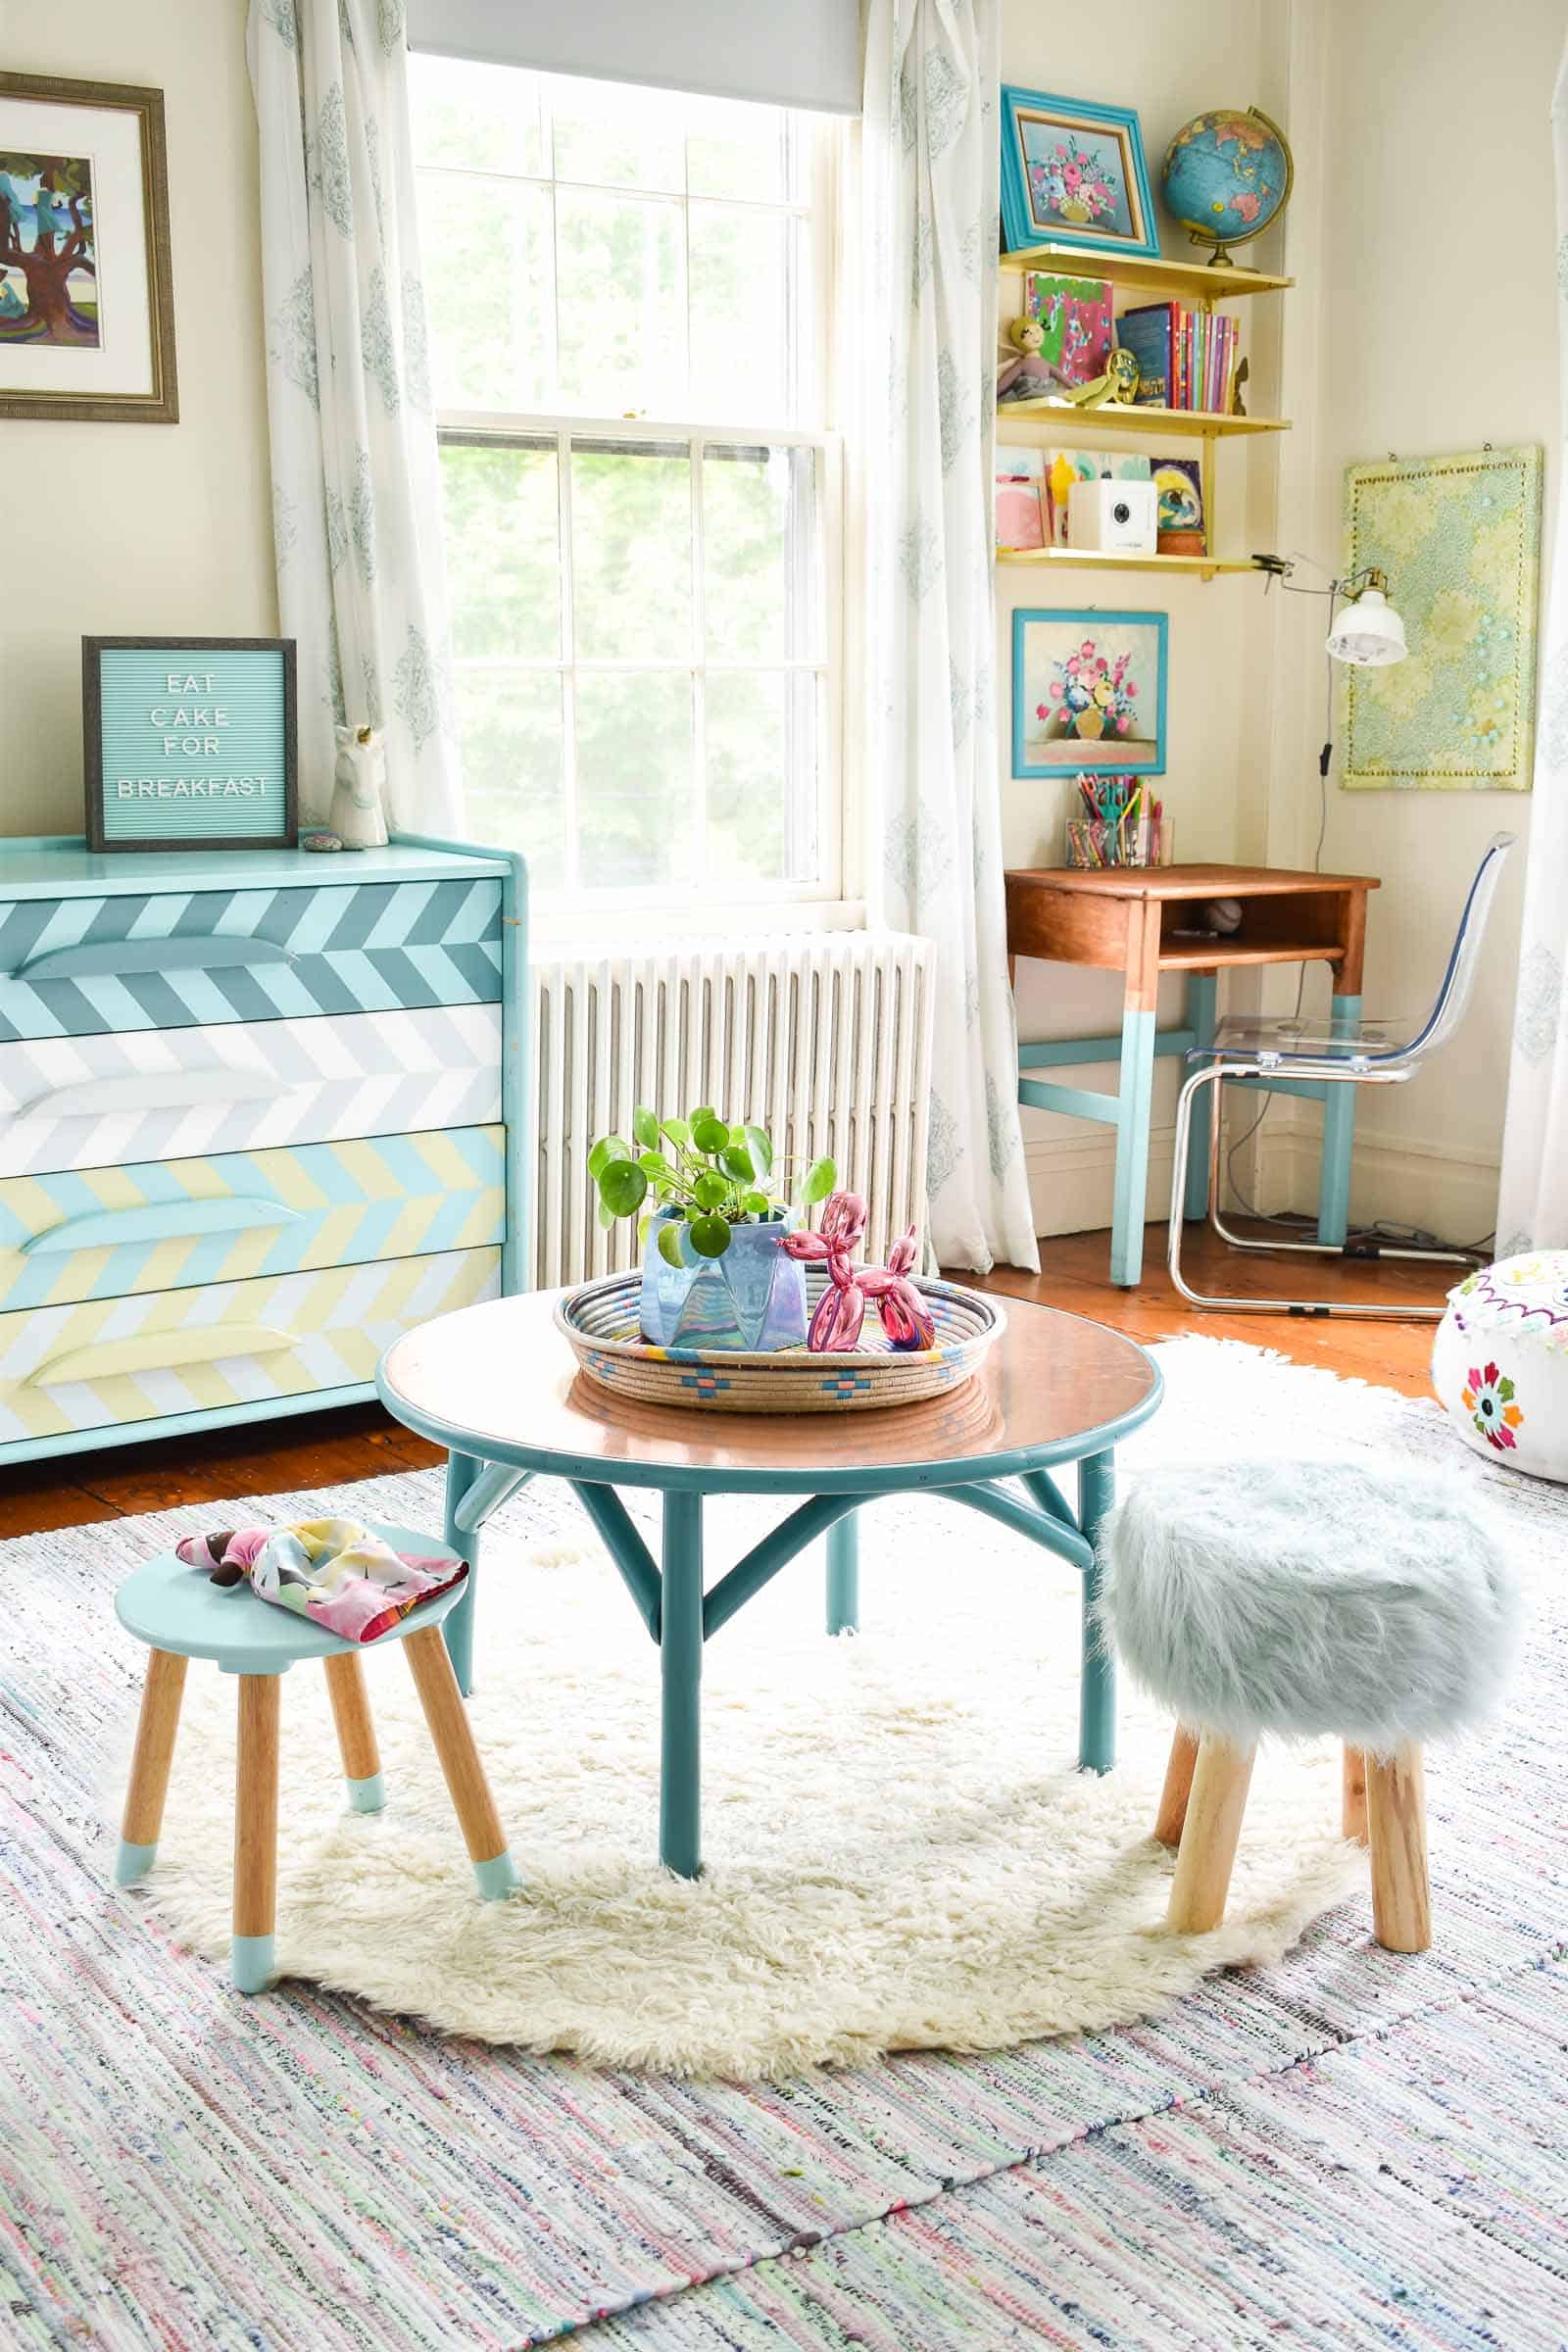
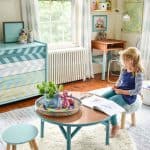
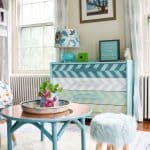
The girls LOVE having this little table in their room. I picked up 3 little stools from Homegoods so a pack of them can be in there working on drawings or stickers or legoes. The stools are a little high for the table, but the girls wouldn’t let me bring them back so there they stay. I love how the metallic contact paper looks on the table and the blue base is so much prettier than the grungy gray rattan that was there before.
Thanks to HomeRight for making this furniture flip such a breeze! Again, I used their turn table and their medium spray shelter (affiliates) to get the job done.
Make sure you watch the video below to see how easy the spray shelter is to assemble and to get a sense of how simple this makeover ultimately was!


LOVE this idea! Where can i find the metallic contact paper that you used to surface the top?
Hi Laurie! If you check out the post, I linked to one metallic contact paper on Amazon! Here are a few more here: https://amzn.to/2PPKPZ3 Good luck!
Love the TABLE but most interested in the dresser. Absolutely gorgeous!!! Do you have a post about doing that? Would love to see a tutorial.
Yes! It was a bit of a comedy of errors! 🙂 https://atcharlotteshouse.com/the-everything-but-the-kitchen-sink-dresser/