
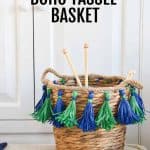
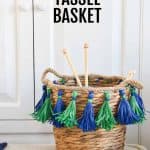
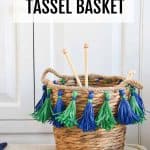
DIY Boho Tassel Basket
Psssst… this post *might* contain affiliate links: see my disclosure here.
Make Your Own Tassel Basket

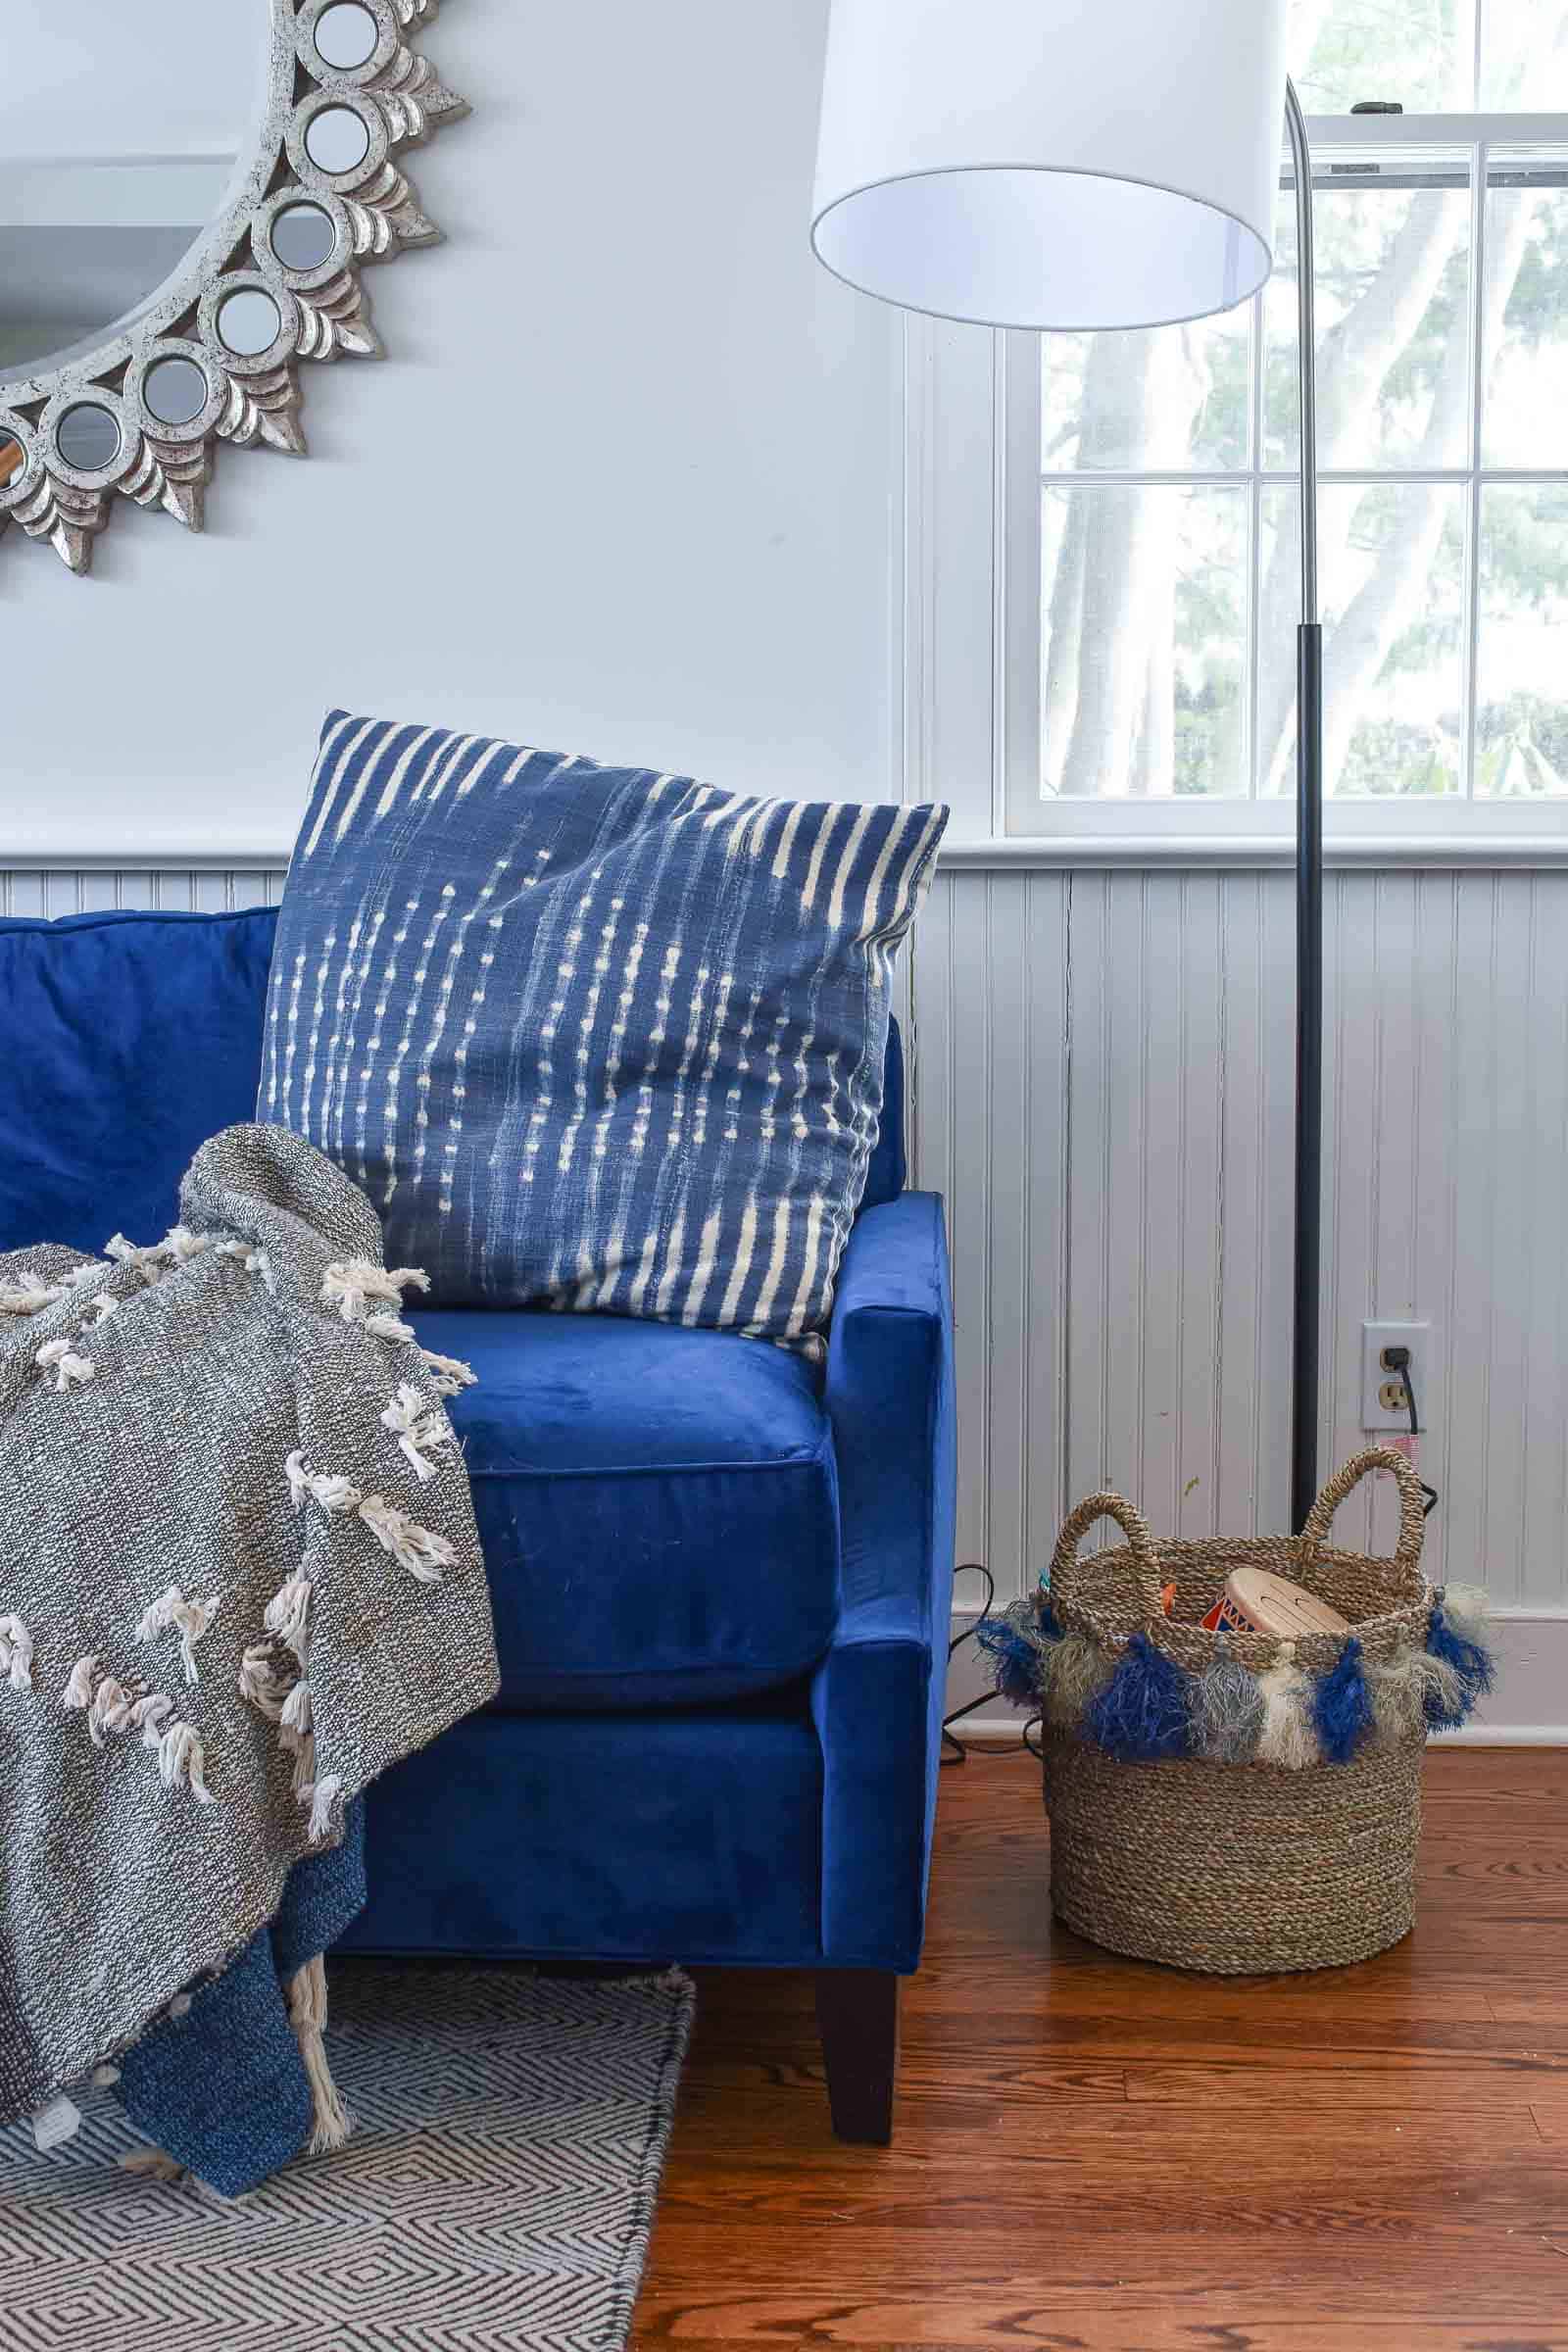
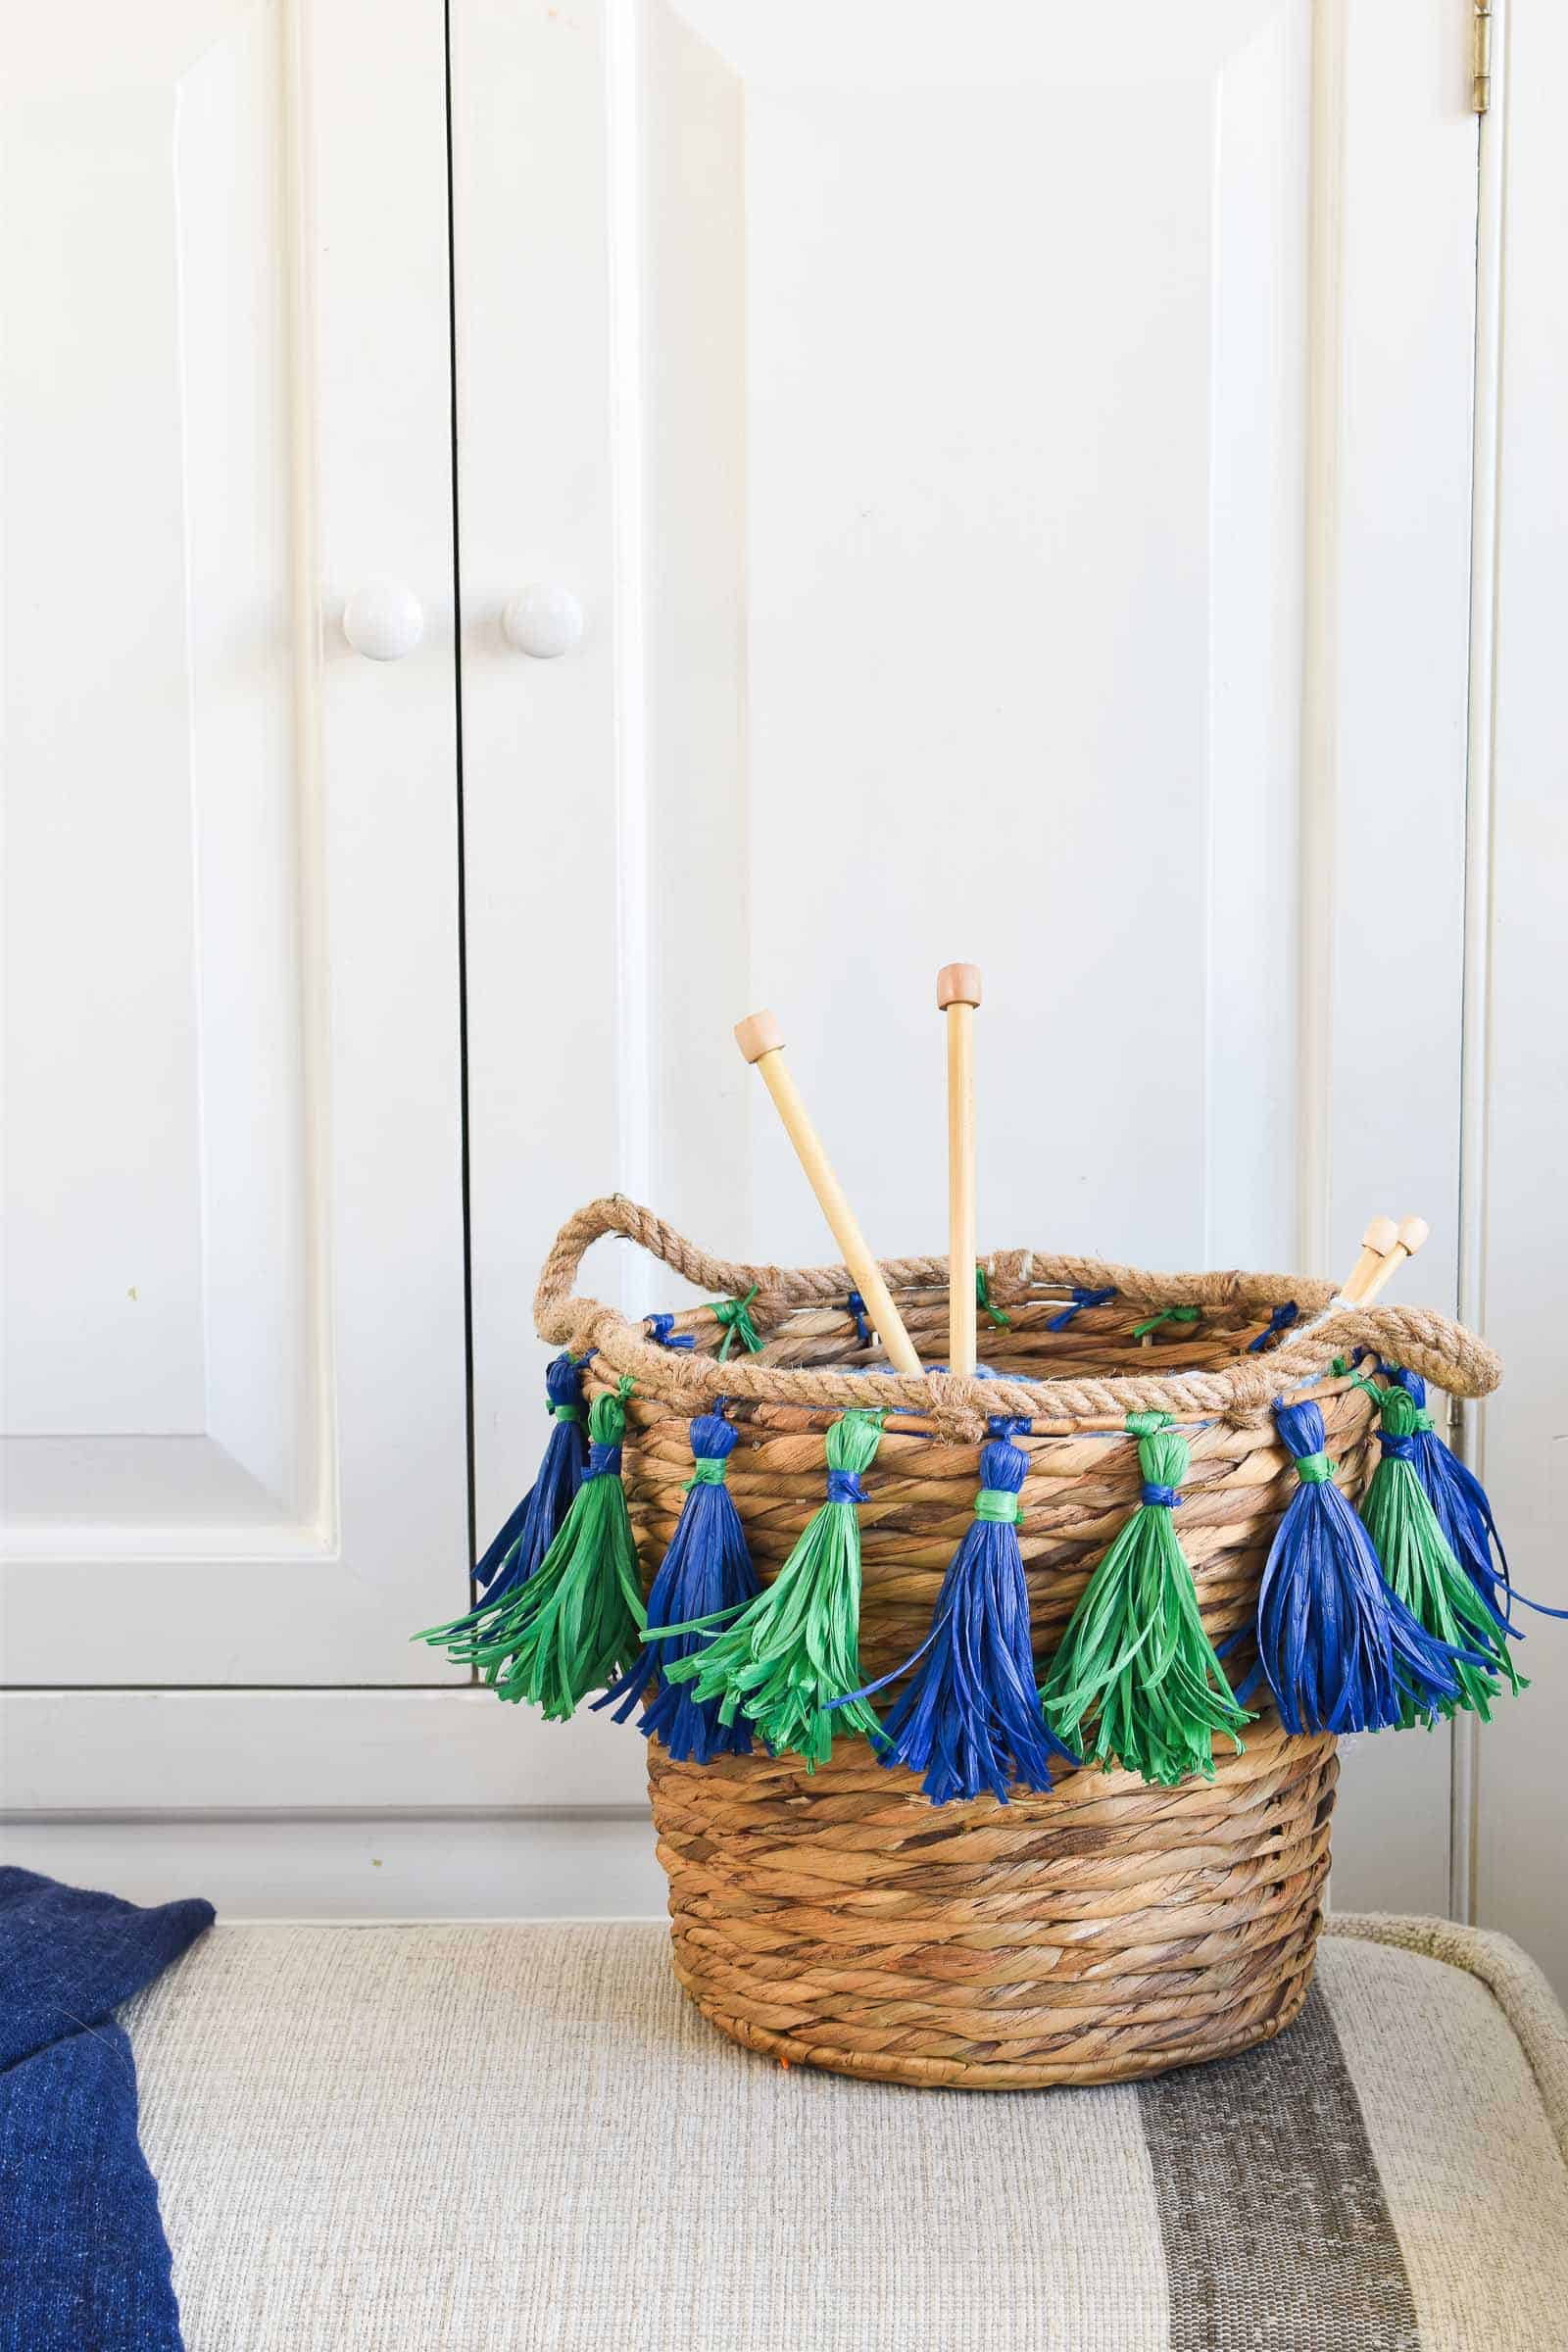
There’s one thing you should know about kids… their crap has a migratory pattern of their own. Things move from the playroom to the girls room to the bathroom to the family room to the kitchen table. Every night before bed, I return the obvious things to their home and then once a quarter, I have to really baton down the hatches and bring things *really* back to their rightful homes. Until all the things can click their heels and go home, I grabbed a pretty tasseled basket (shown below) for our family room. I don’t want to encourage too many toys to end up here, but it happens.
Shop my favorites!
I loved that tassel basket so much that I decided I could *EASILY* DIY my own. This was one of those projects that actually wasn’t any cheaper, but it was super easy and it meant that I could get exactly the colors that I wanted. (Materials list at the end of the post!)

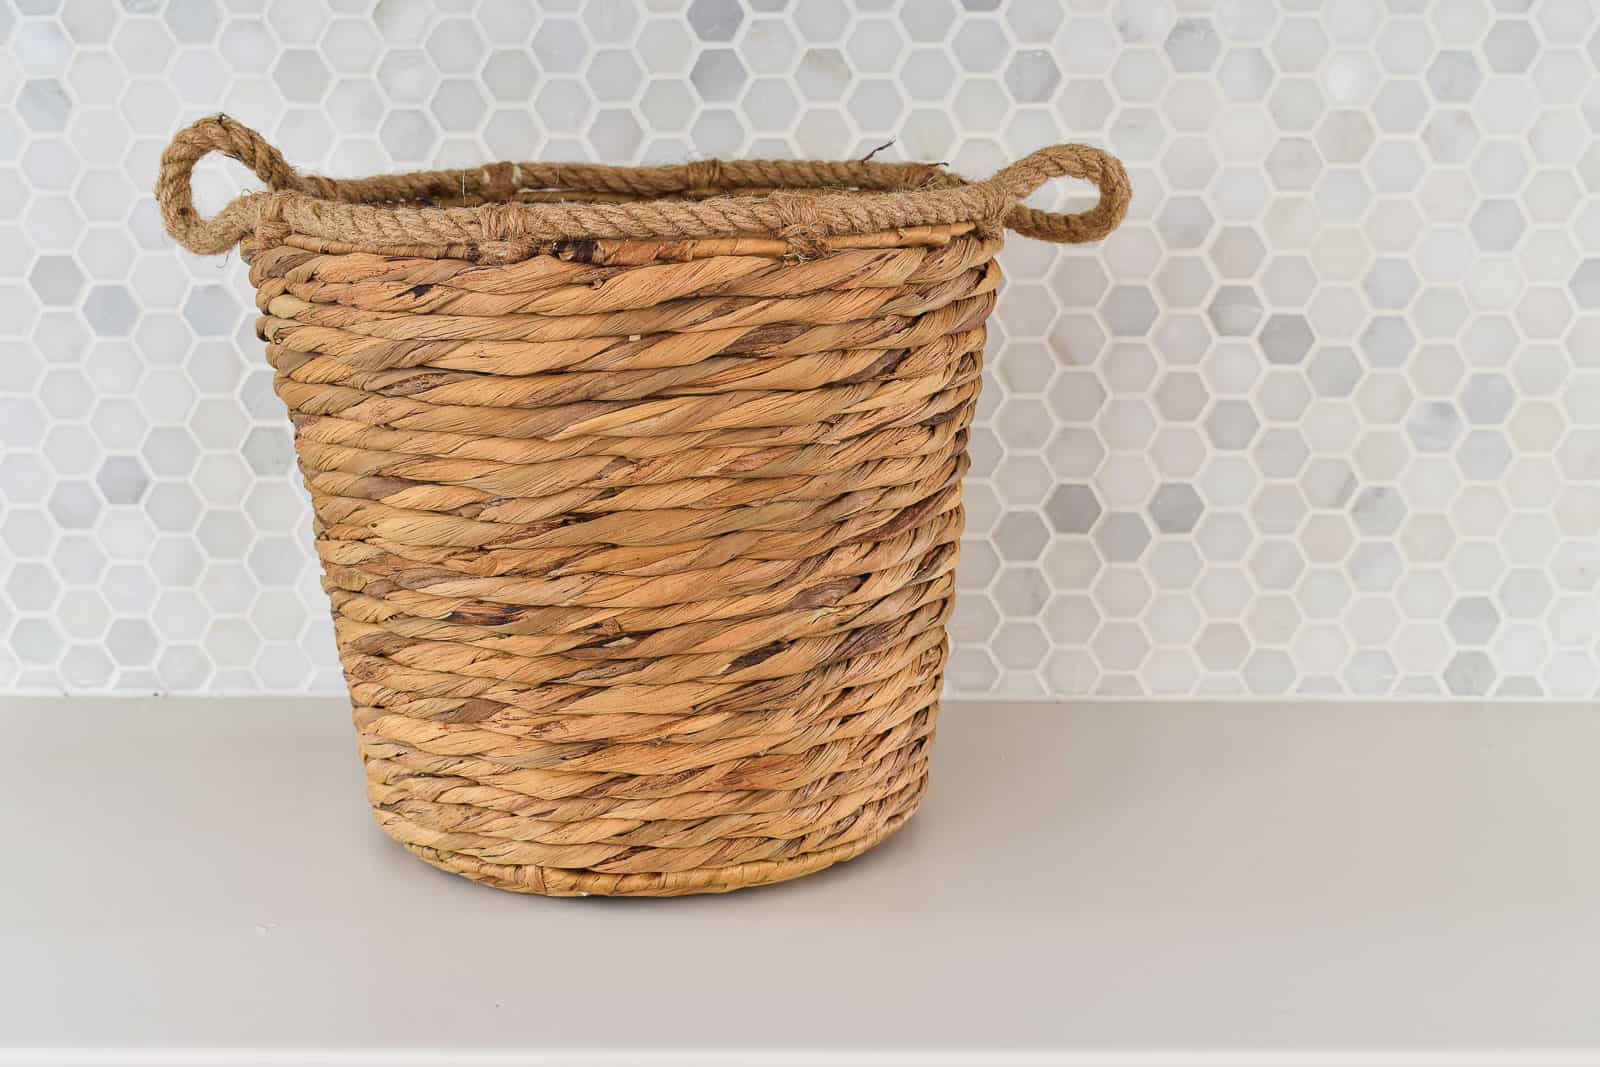
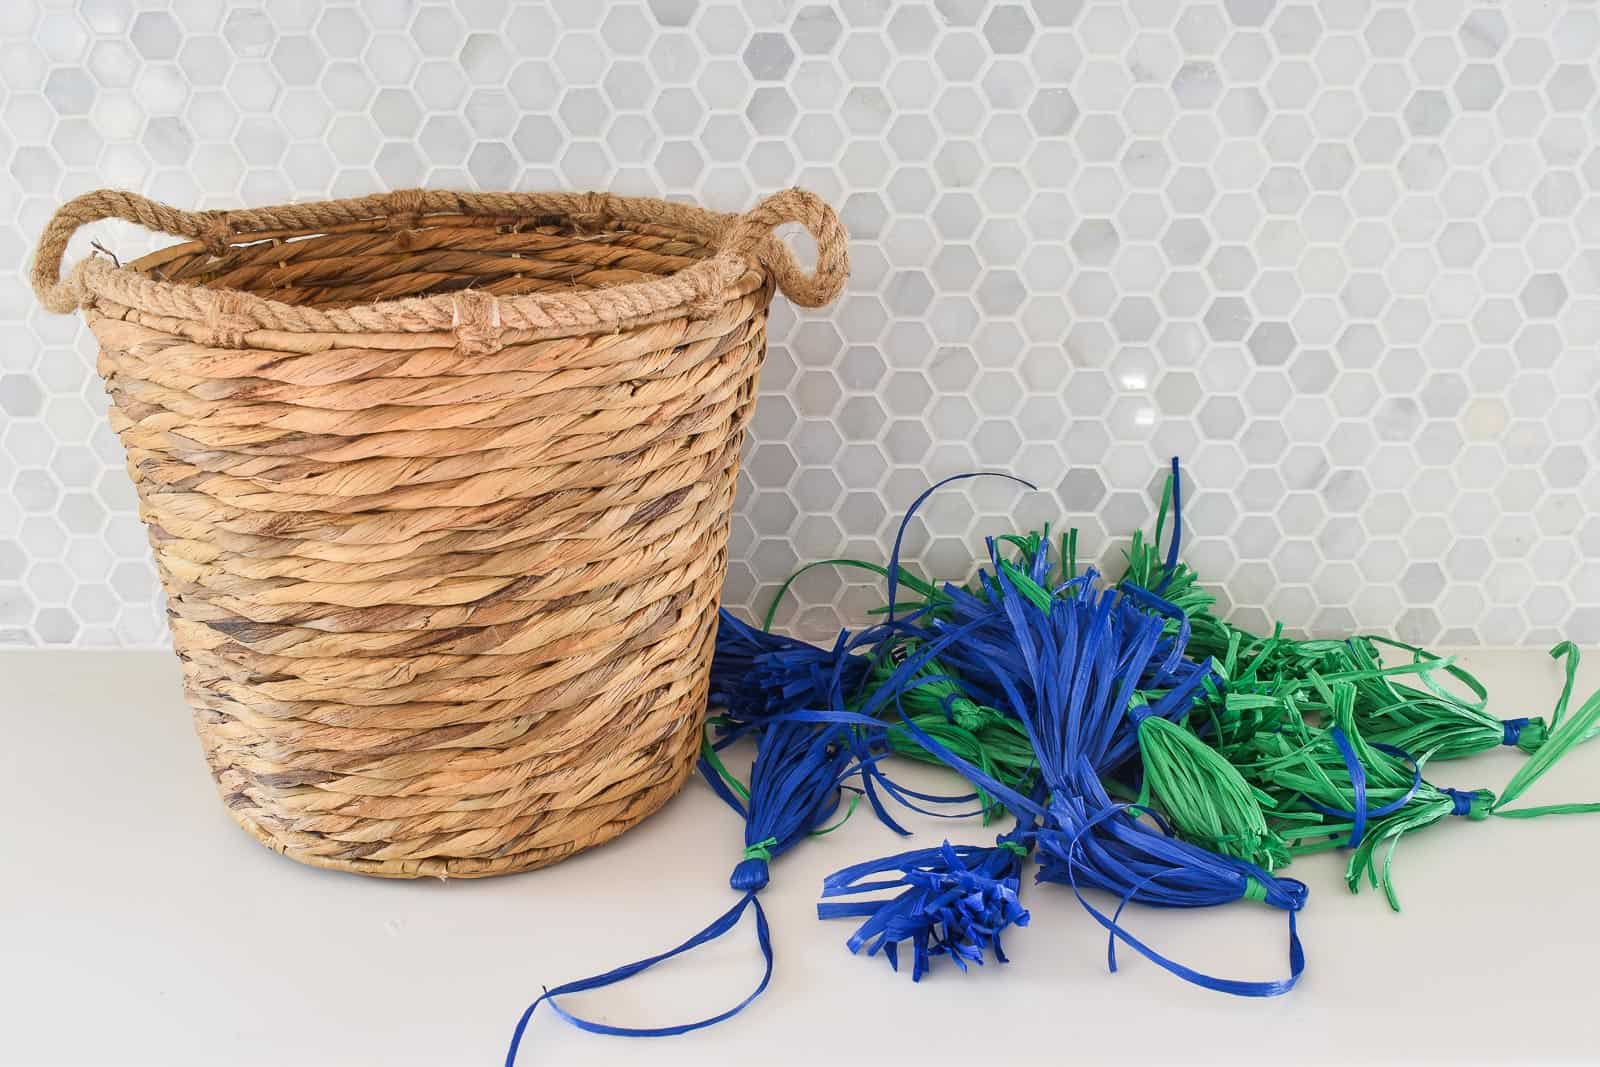
Step 1. Basket
I found an $8 basket at Homegoods that was perfect. It was round… it had nice little handles… super similar to my inspiration basket.
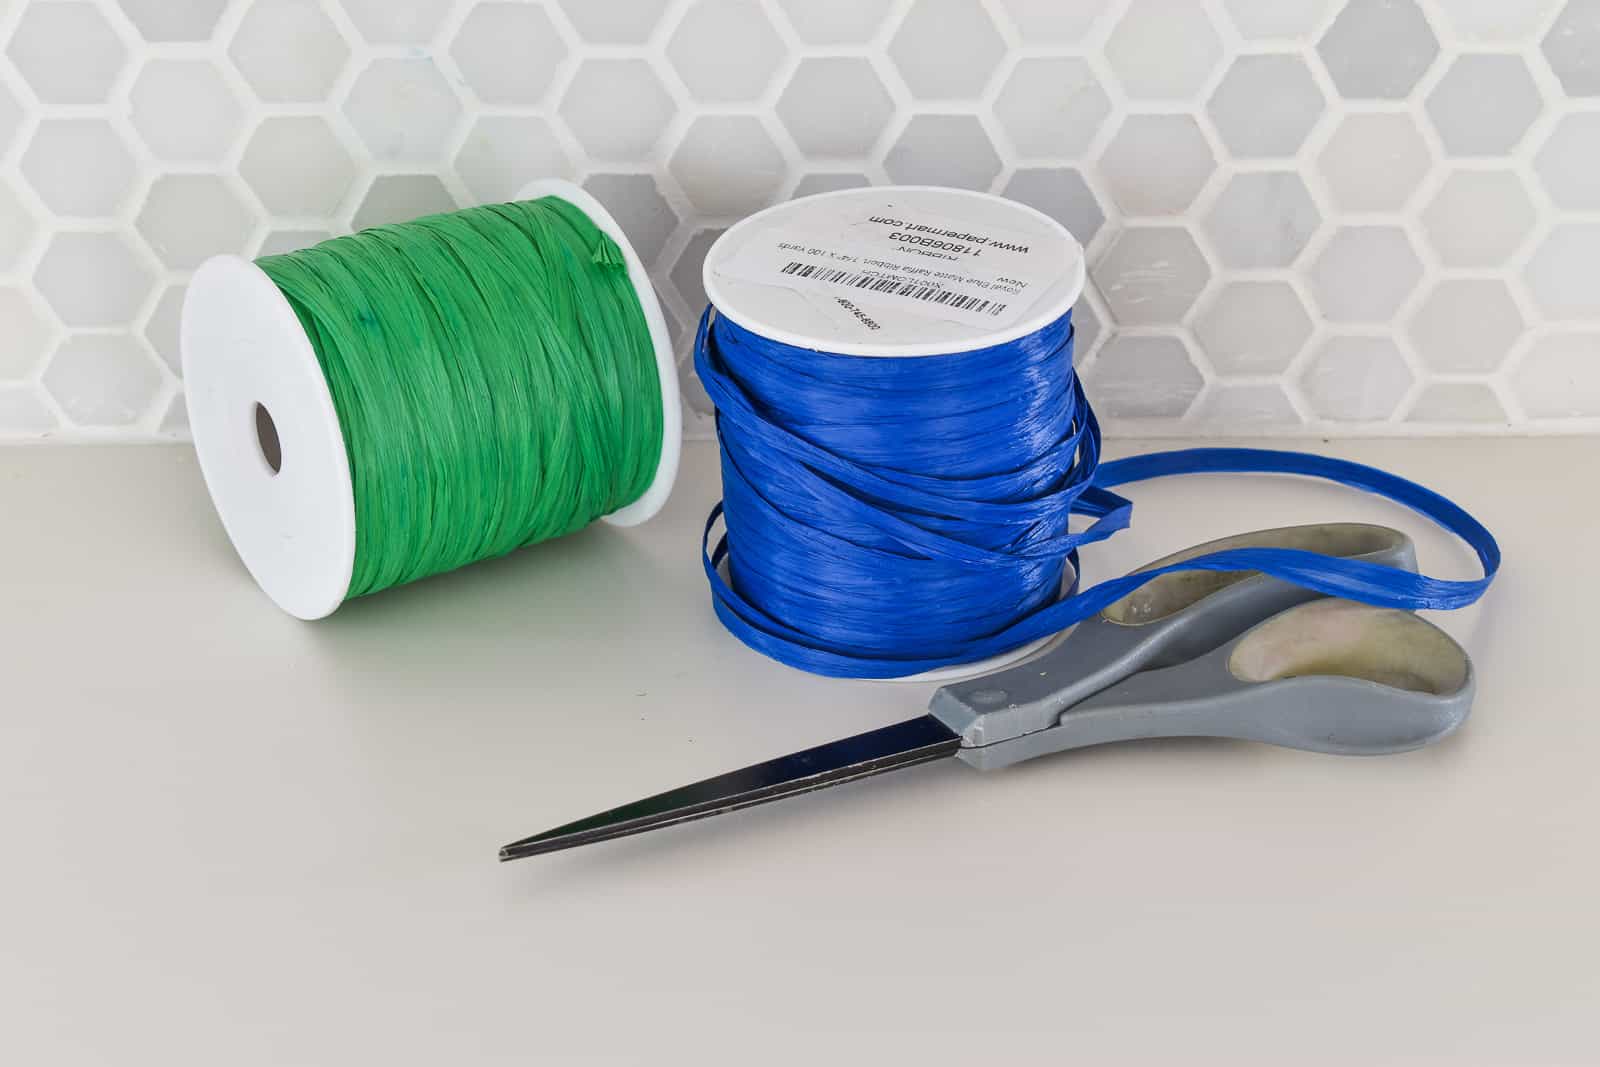
Step 2. Raffia
I ordered these ones (affiliate) from Amazon and used the entire roll of both of them. You could make skinnier tassels and you wouldn’t use as many, but honestly I like the heft of the ones I made so wouldn’t go much smaller.
Step 3. Make the Tassels
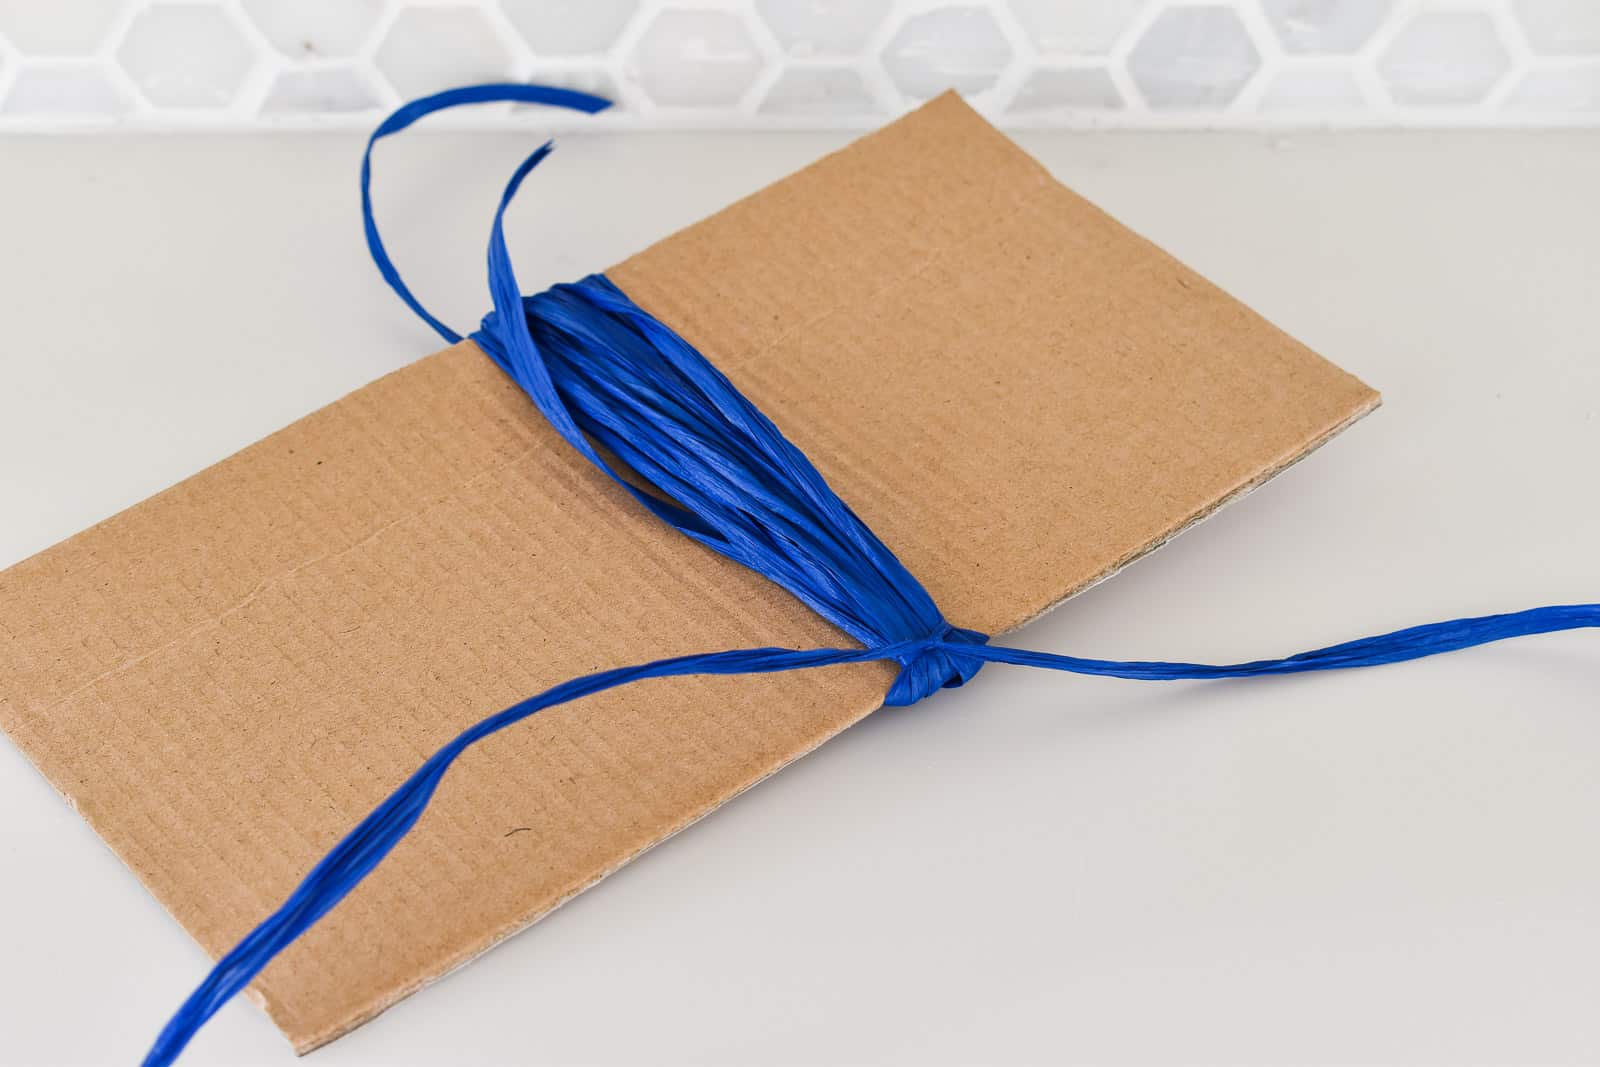
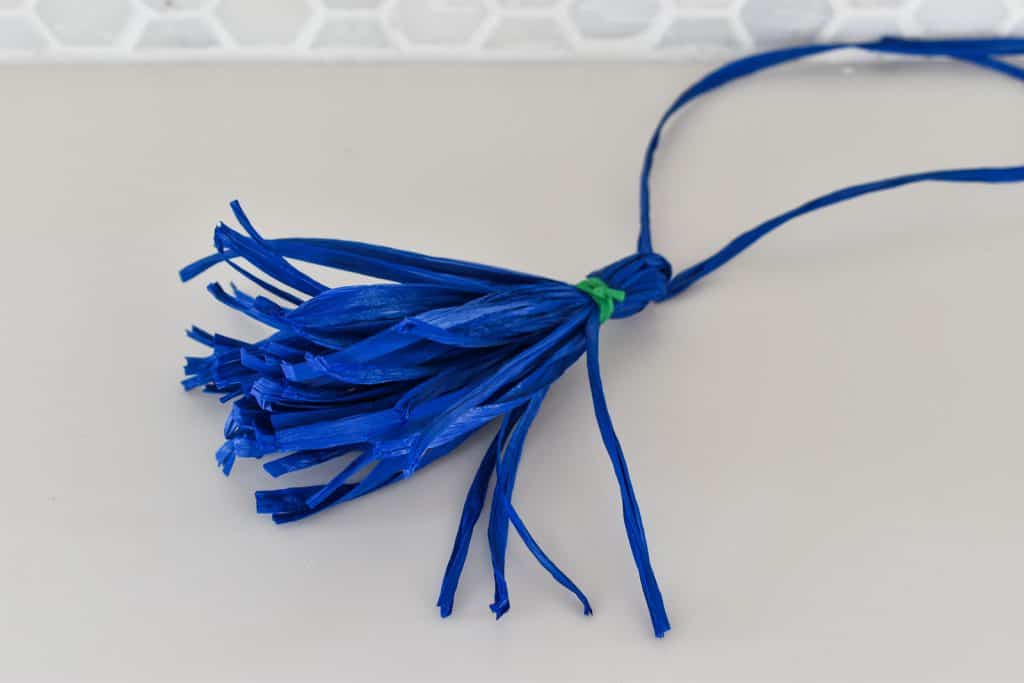
Tassels are SUPER easy to make. I figured out how long I wanted mine to be and cut out a piece of cardboard that was the same length. Grab your raffia and start wrapping. For my tassels, I wrapped my raffia around the cardboard 30 times.
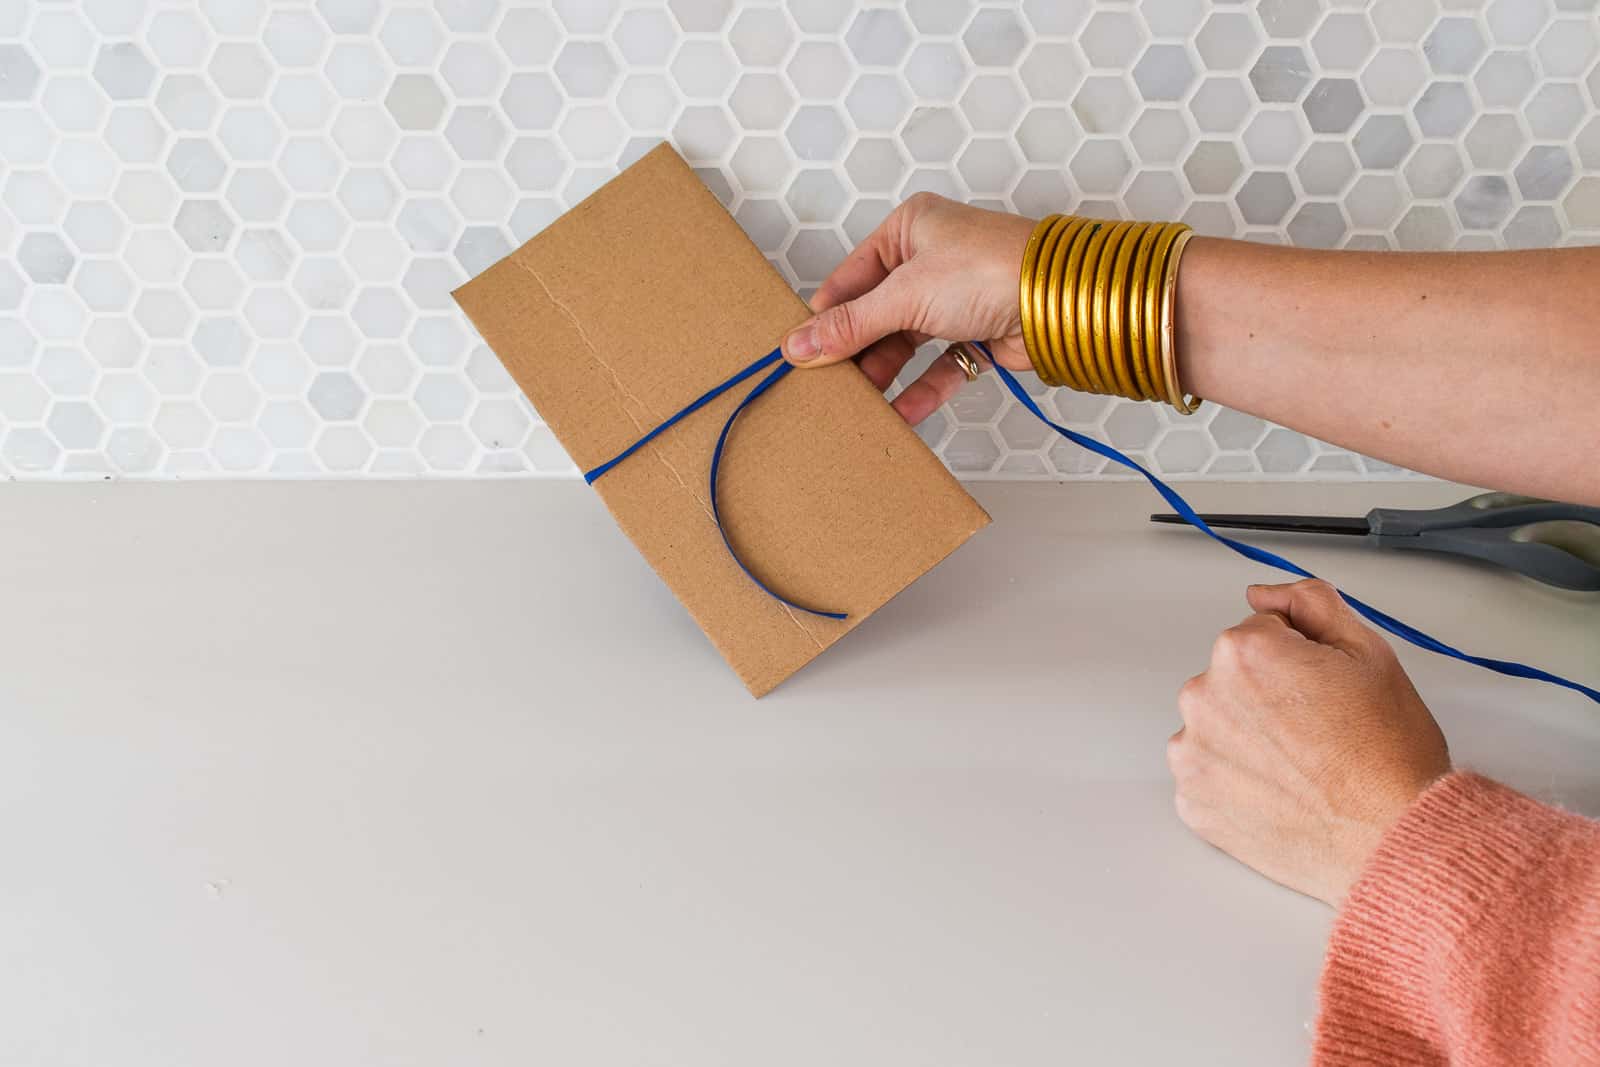
Cut a short length of raffia, thread it under the wrapped raffia and tie a tight knot around the raffia as close to the top as you can. Do not trim the ends… you will use the excess to tie the tassel onto your basket.
Slide the raffia off of the cardboard. (Because you’d tied the raffia together, the loops should stay together in one clump.)
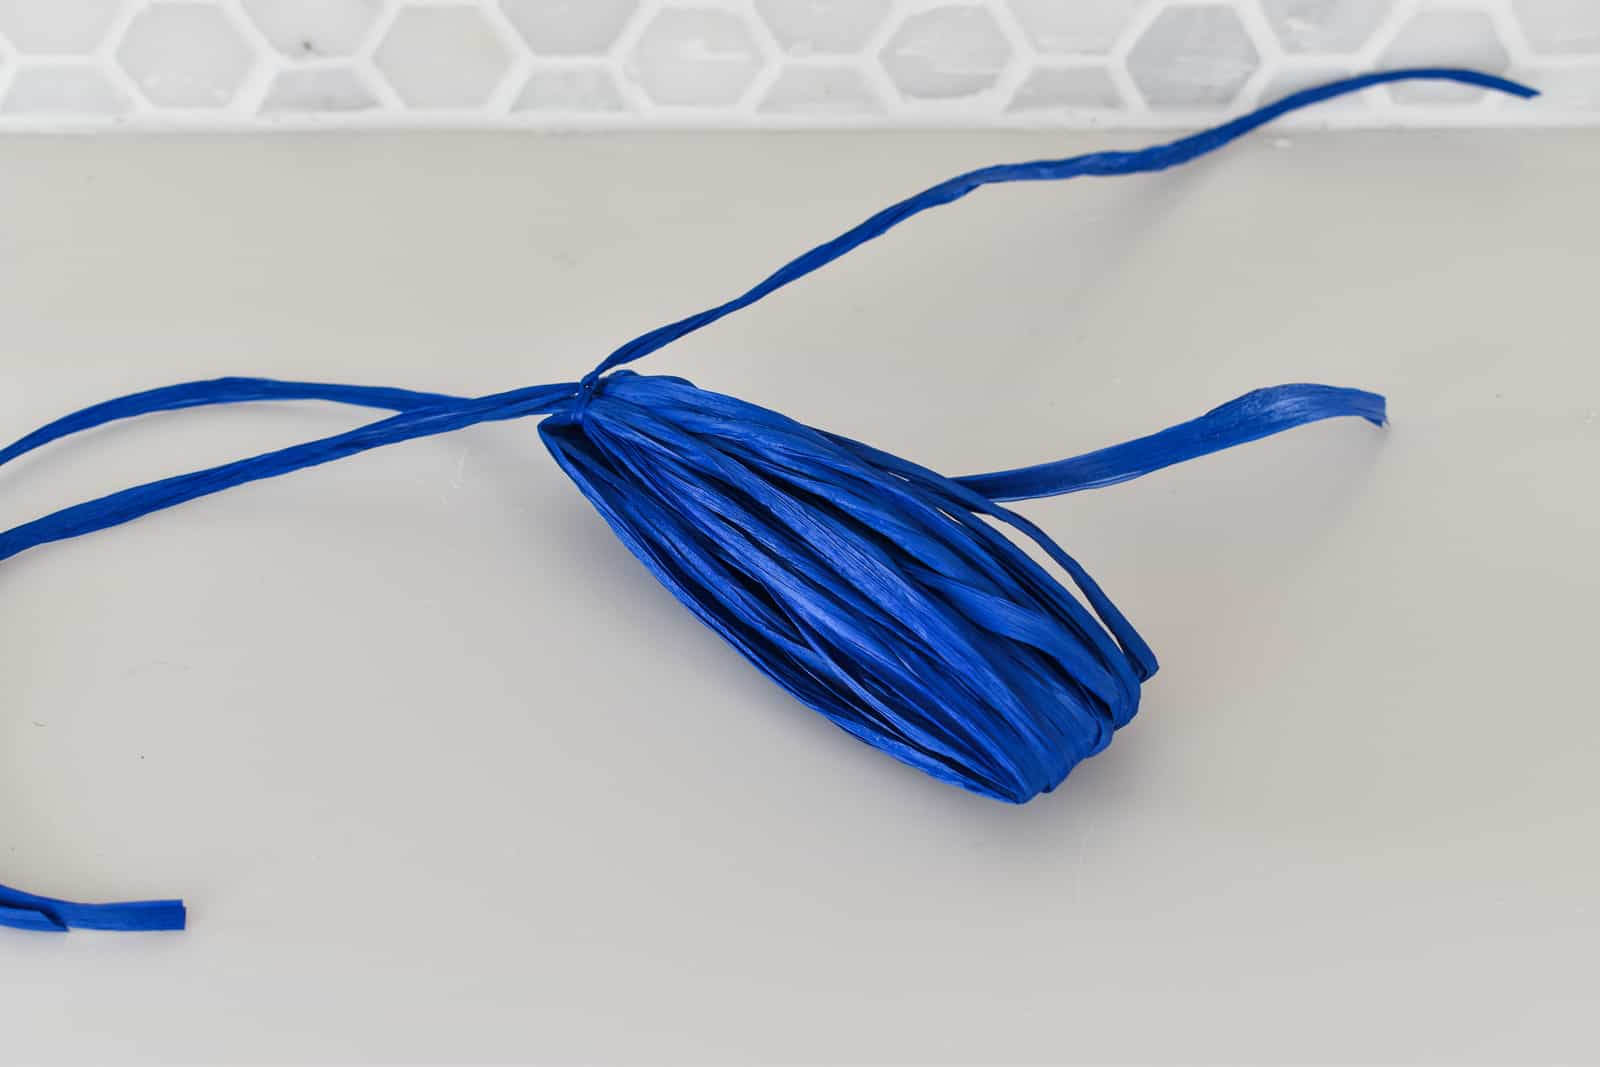
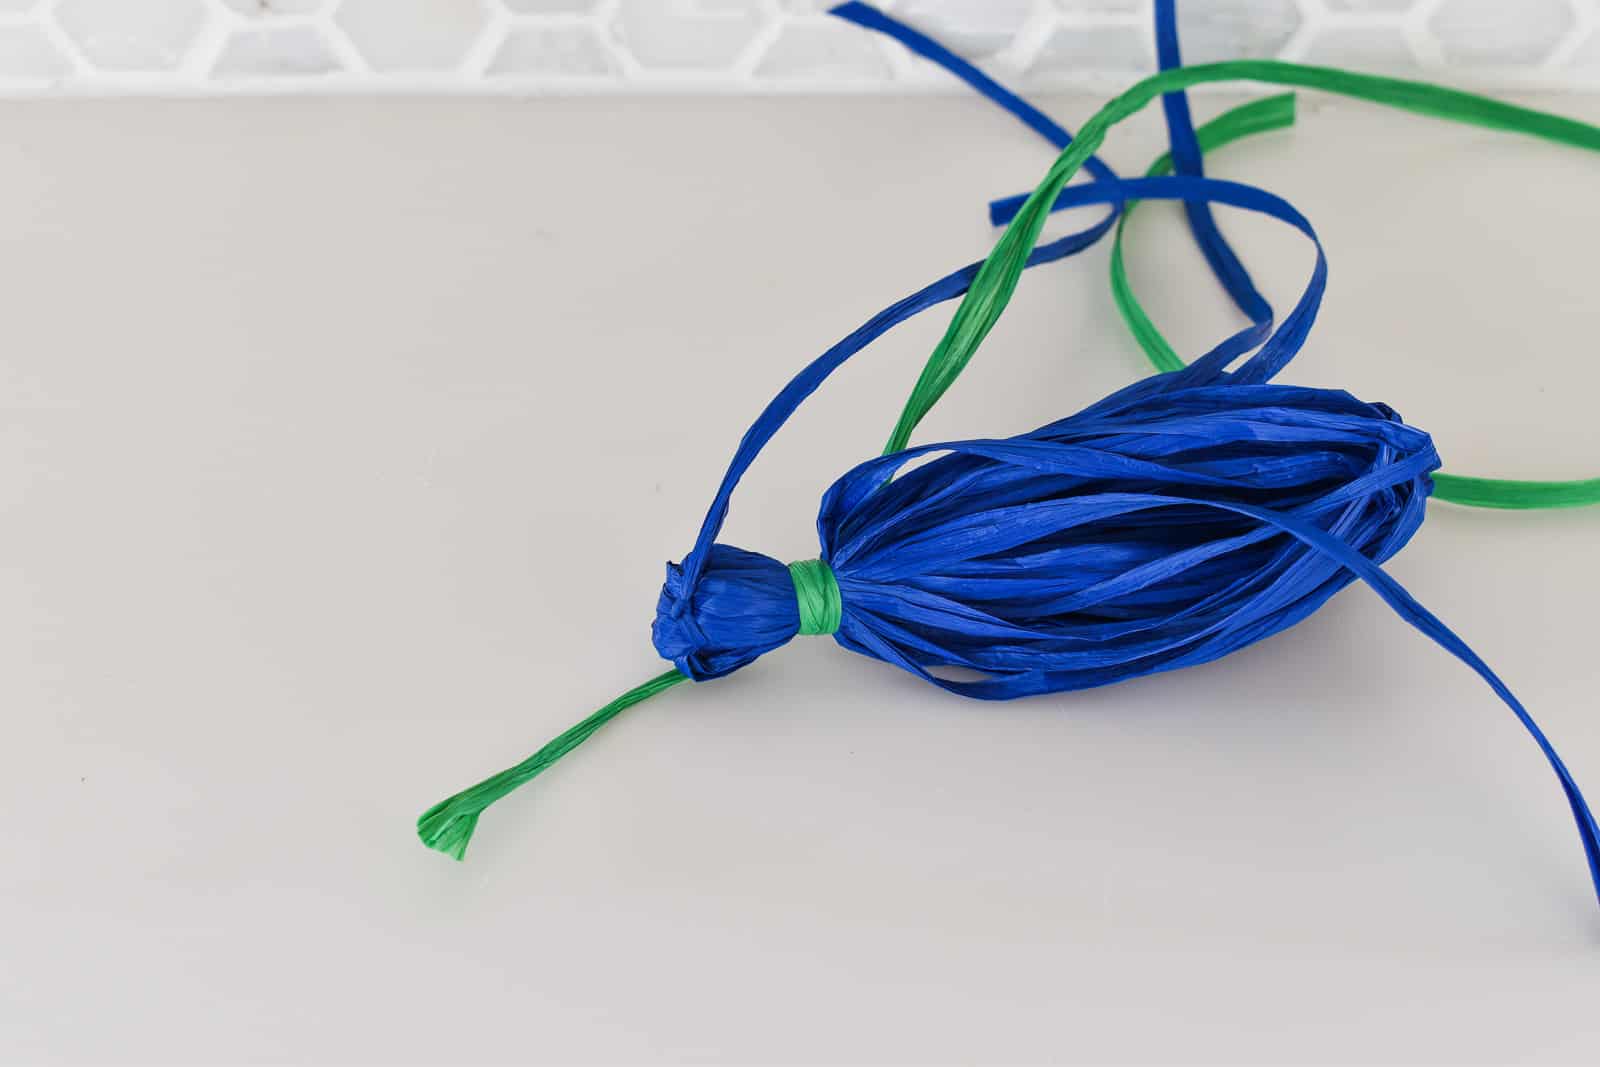
Cut 24 inches of raffia (either the same color or a contrasting color depending upon your preference) and wrap this around the entire clump of raffia about 3/4″ from the end where you tied your first knot. Tie the ends off and trim the excess.
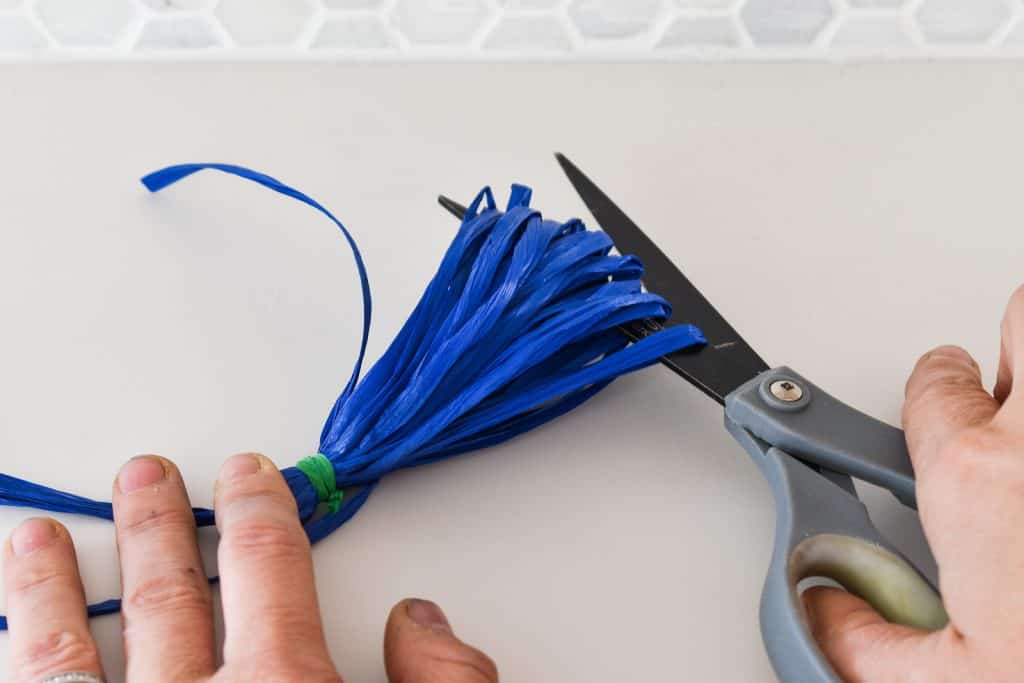
With sharp scissors, cut the raffia loops opposite from your wrapped end to make the tassel. You’ve just made tassel #1.
My basket required about 20 tassels of each color (2 full rolls of my raffia). If you have a larger basket you can either make more tassels OR… make smaller shorter tassels to stretch your two rolls of raffia.
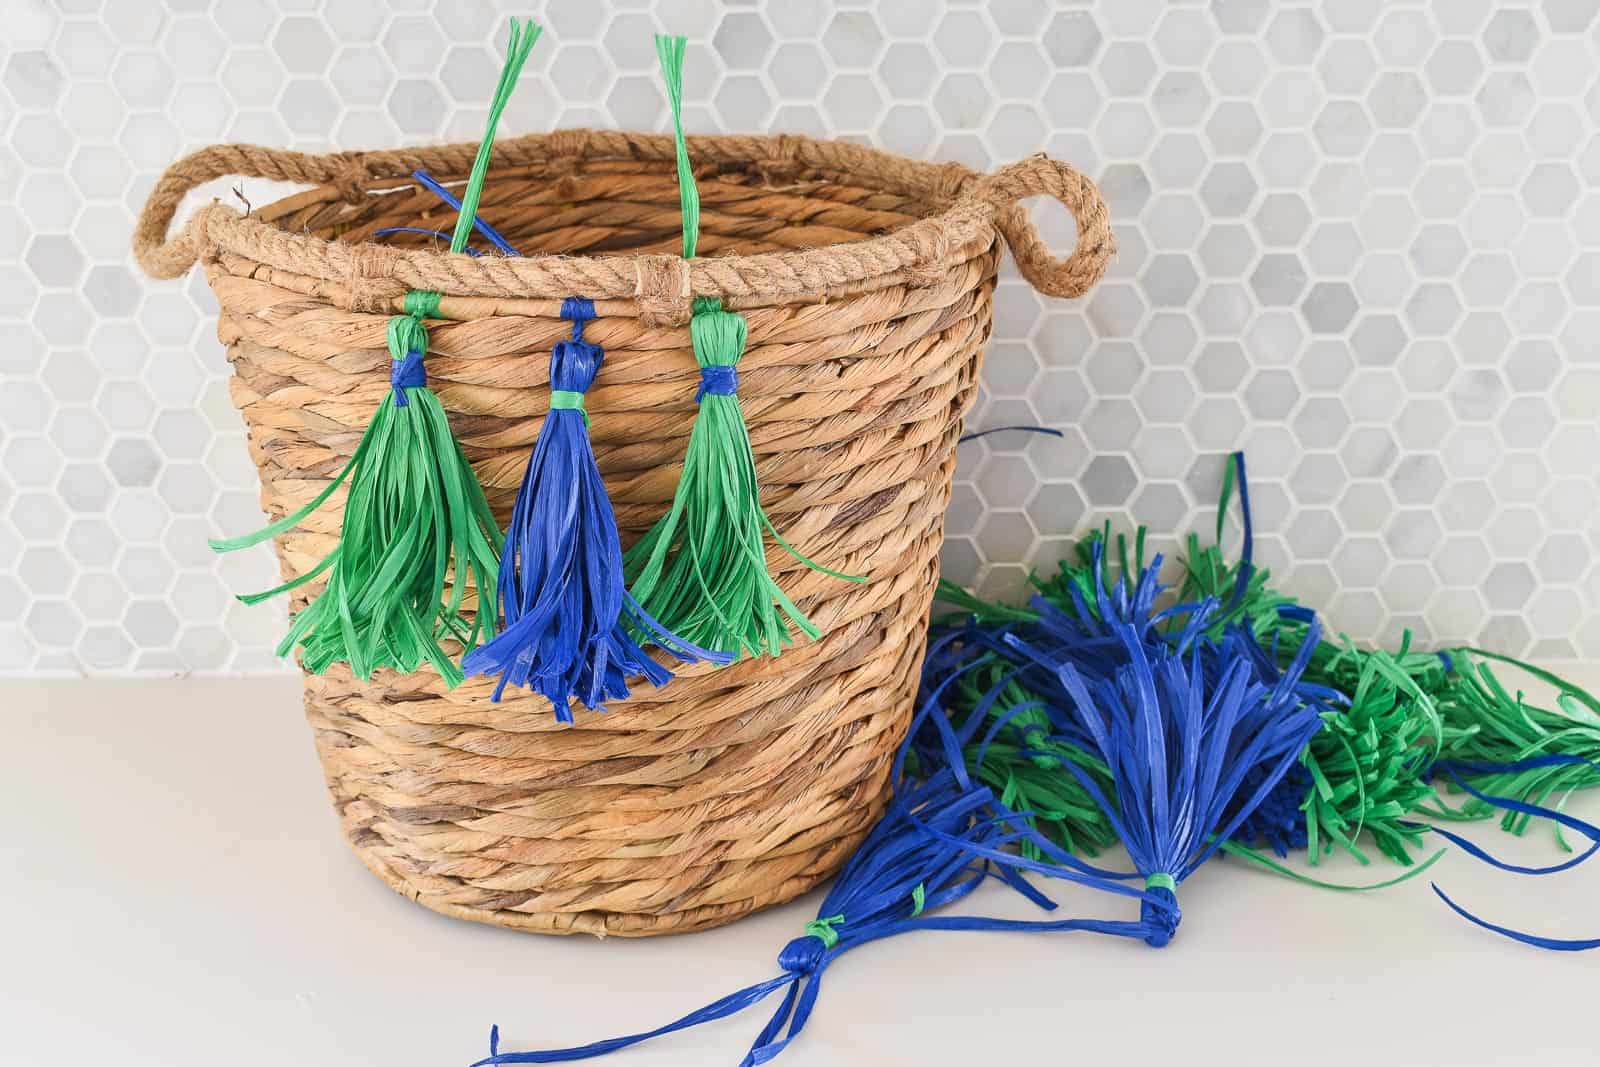
Step 4. Attach Tassels to Basket
Remember those loose ends you left behind when you tied that first knot on the tassel? Now’s the time for those to shine. I was able to thread one end of one tail of raffia through the top row of my basket. I wrapped it around the top row a few times and repeated in the opposite direction with the other tail, before tying these two together to secure the tassel. Repeat for alllll the remaining tassels.

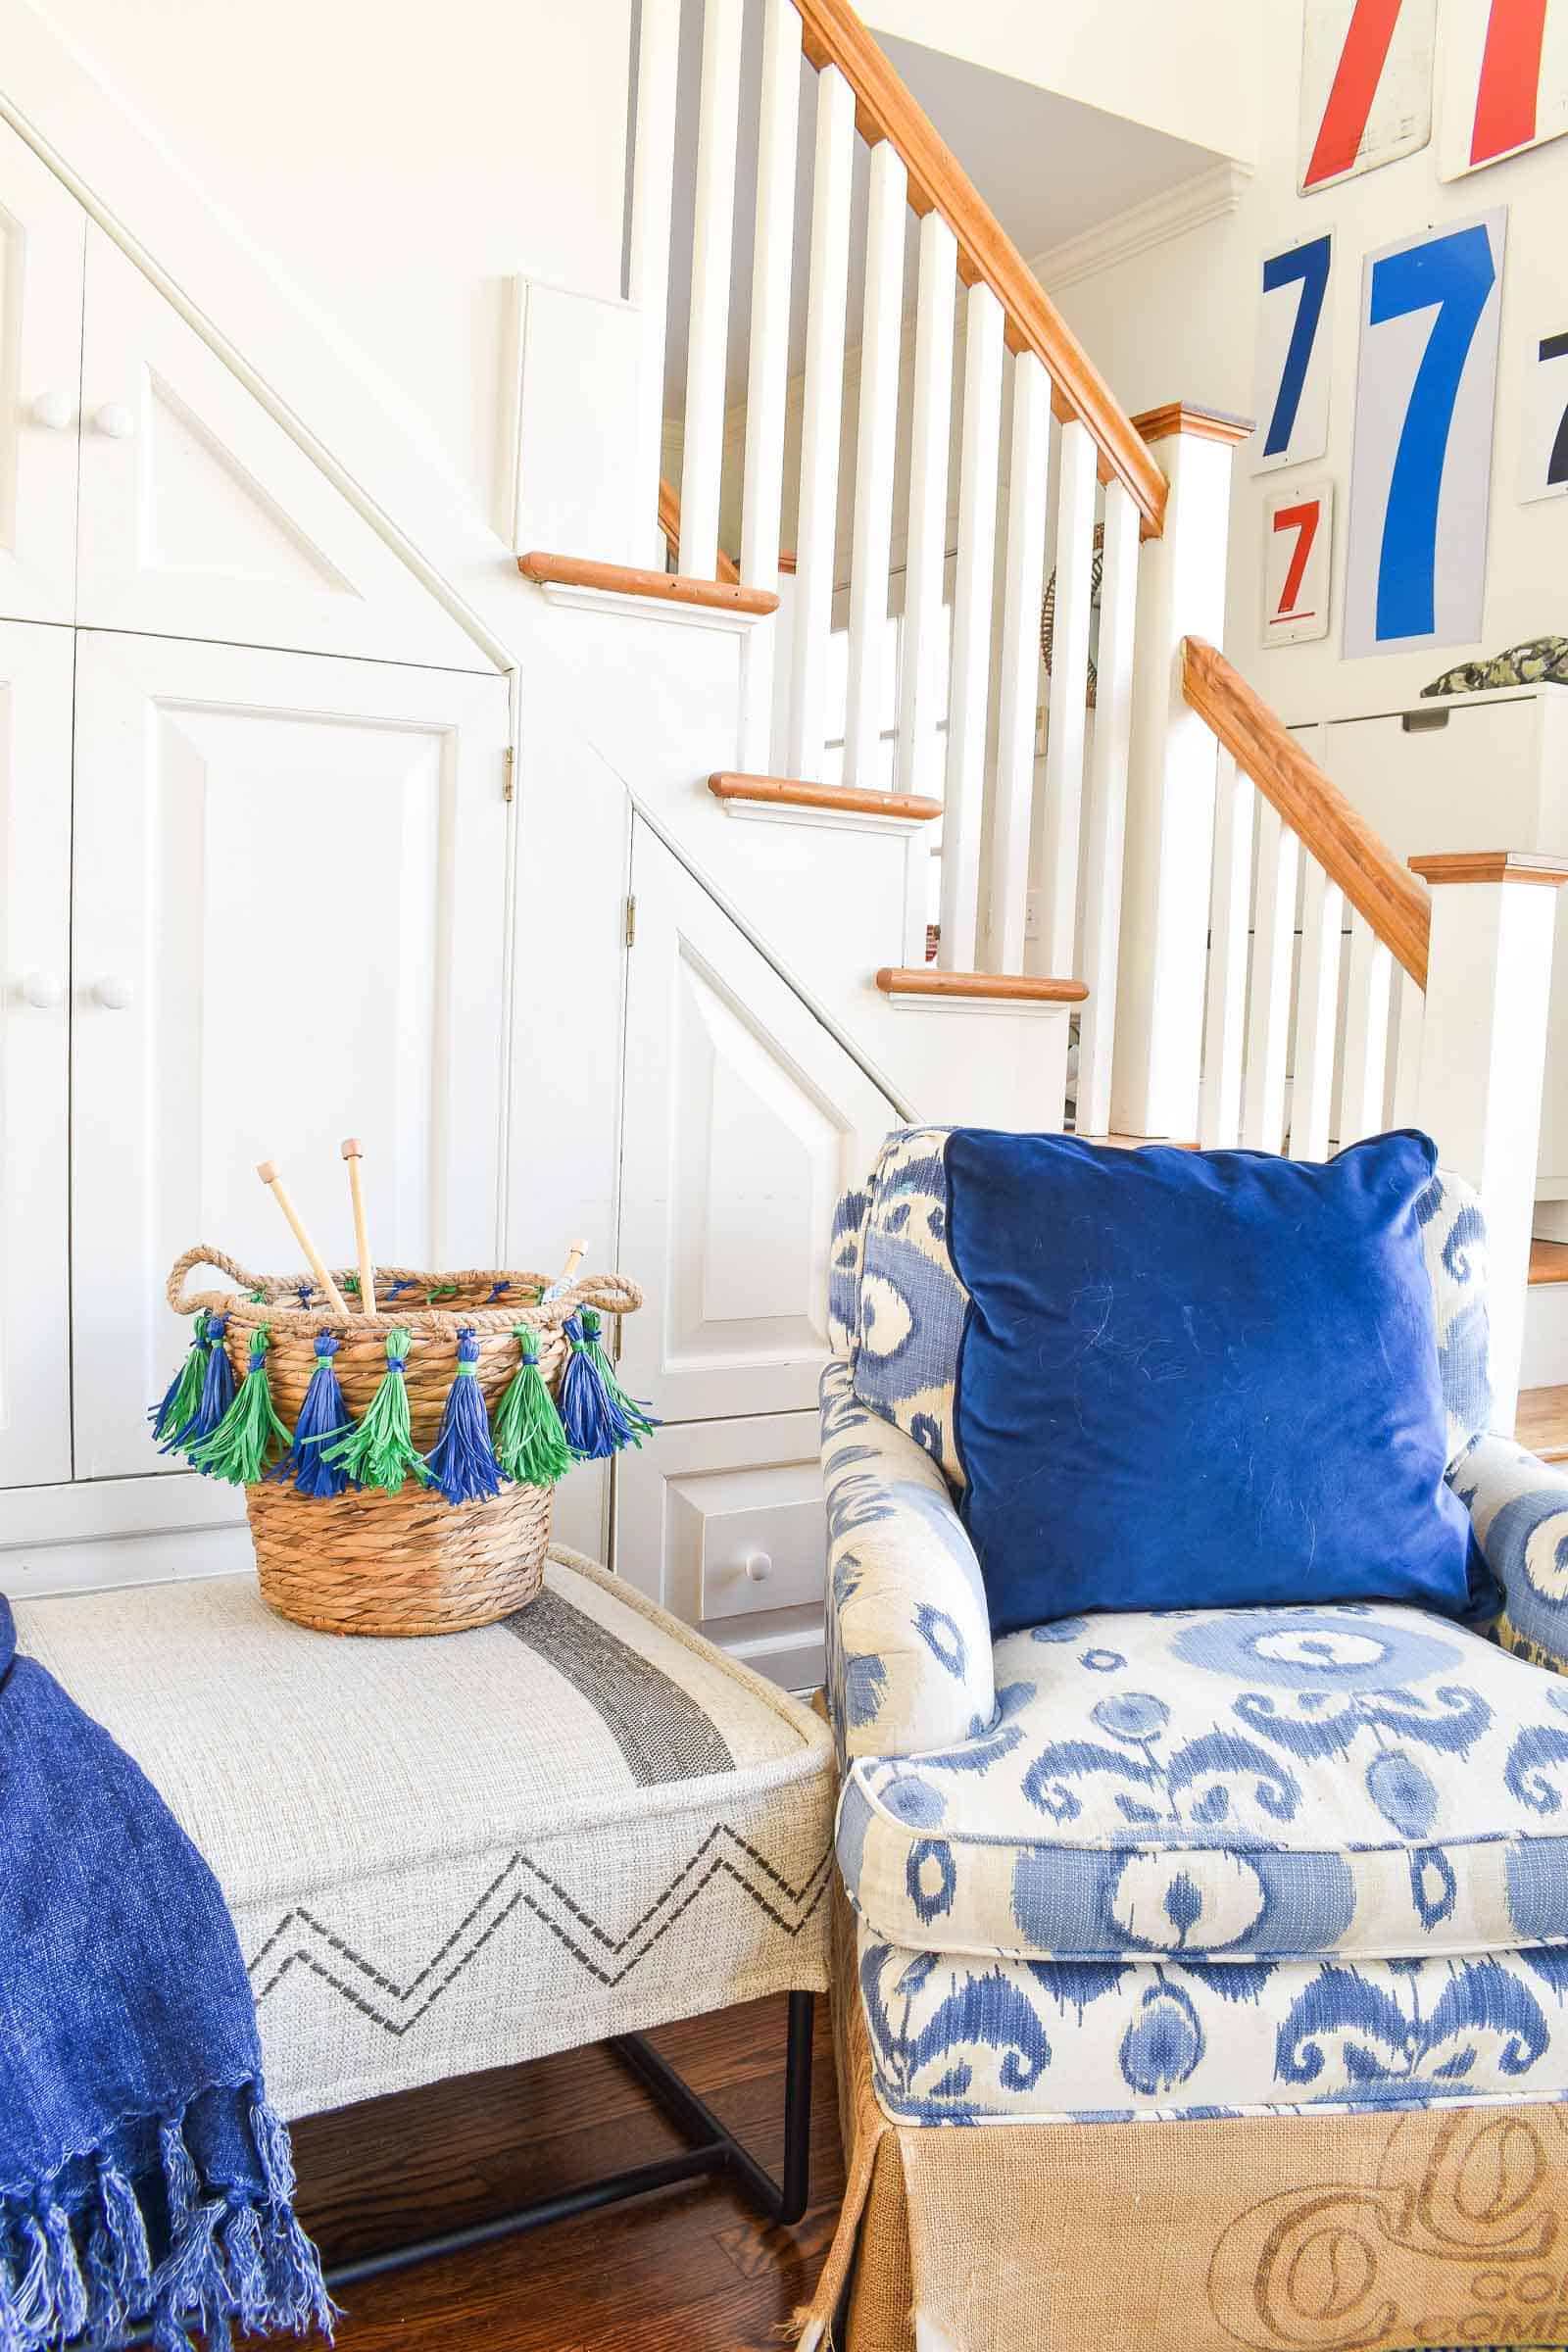
I mentioned on my Instagram stories, but when my mom came to visit a couple of weeks ago, she taught the kids to knit, so this new tassel basket helps wrangle all the balls of yarn that they are officially not using anymore since she’s gone home.
Materials
(Affiliate links included for your convenience.)


Don’t Miss Out
Become An Insider!
Signup for exclusive tips, and tricks from Charlotte’s House!
Let’s chat!
I love comments from you, so feel free to leave your thoughts and ideas below! And don’t forget to follow me on Instagram for even more!