DIY Brass Coffee Table
Psssst… this post *might* contain affiliate links: see my disclosure here.
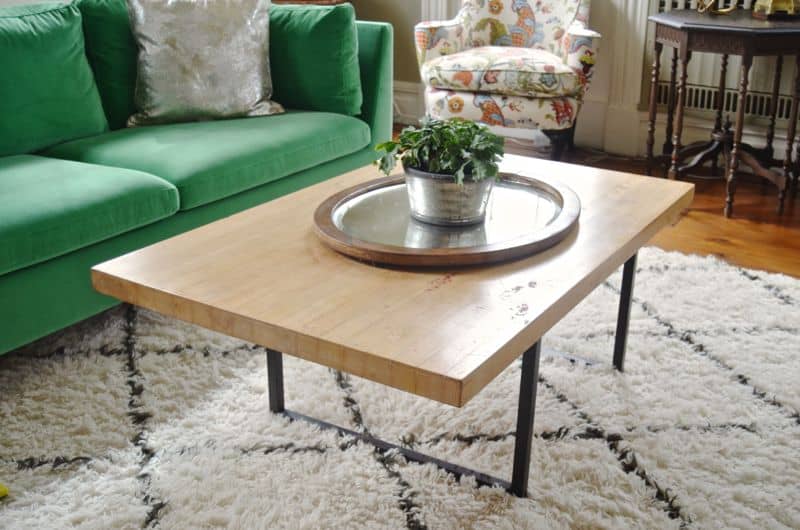
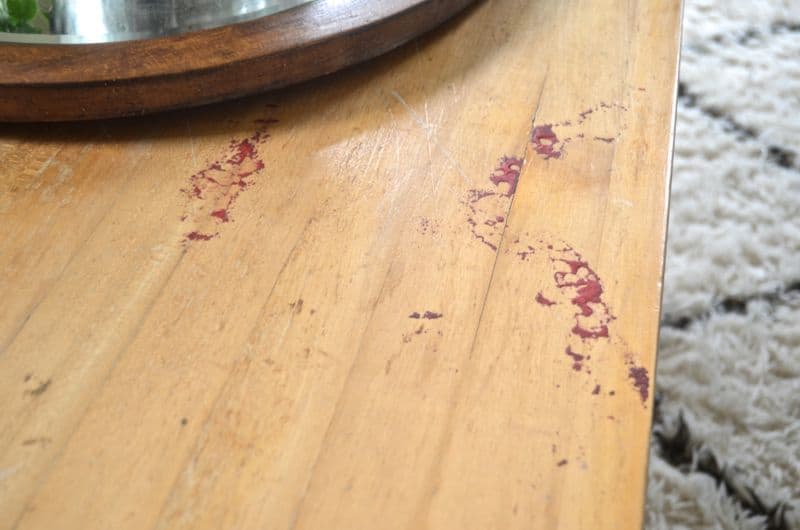
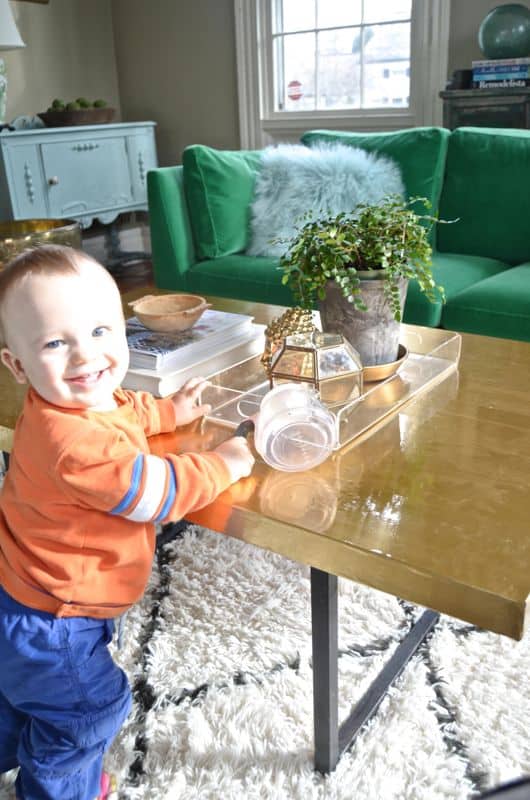
Wanna know how to bring out the crazy in any DIY blogger? Schedule a photo shoot! Today I have a photographer coming to the house (stay tuned for details) which obviously meant I had to tackle 17 random projects that had never been a problem until now. Case in point… the coffee table in the living room. It’s sturdy and simple and I love it. But… if I’m being honest, it’s a little worse for wear. Nothing a hint of photo editing couldn’t take care of, but seeing something as an outsider will make a girl’s soul wiggy. I always figured I’d paint the table one day, but could never decide what color.
Make your own brass coffee table
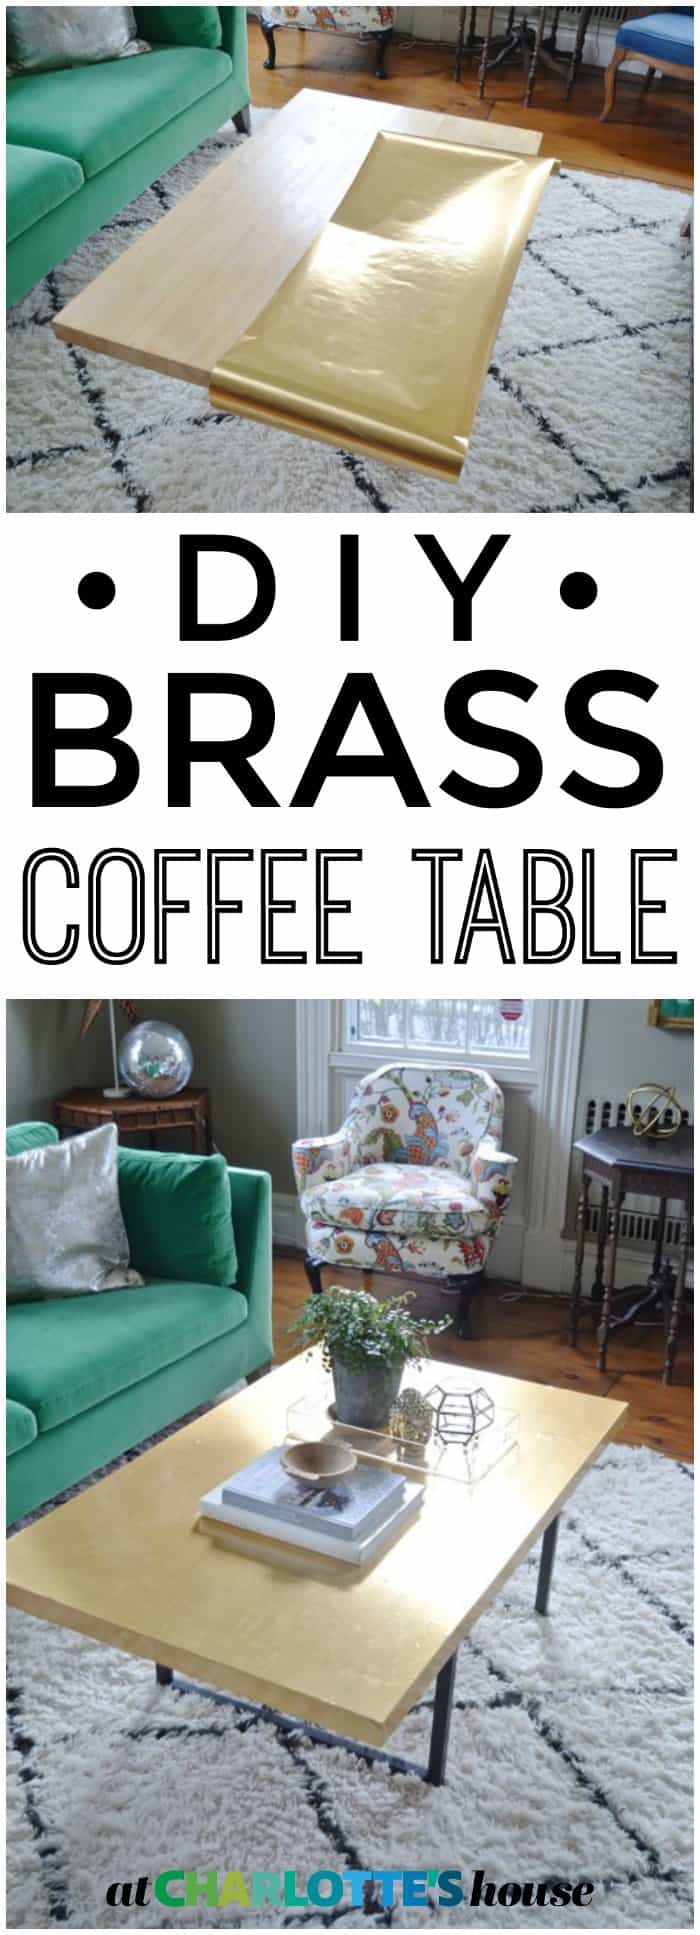
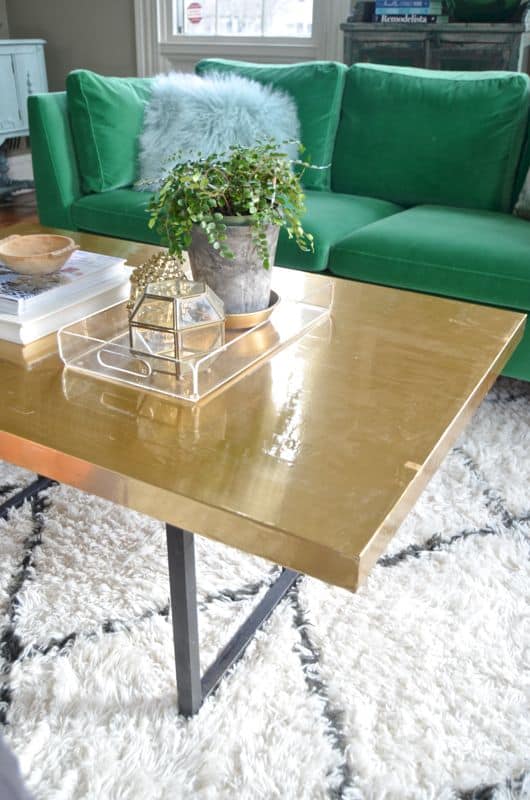
In the last few months, I’ve developed a love affair for contact paper. Yep… the same stuff our moms wrapped the kitchen shelves with. I used it here to make a missing piece of our buffet look like marble. And here to give a $20 file cabinet a big time facelift. Looking at this coffee table in the room, I realized that a brass topped table would actually be amazing and work well with the picture frames and other accessories. Pretty sure a brass table topper would be well out of my budget, but… know what kind of finish you can buy with contact paper? Aged brass for the win, folks.
Shop my favorites!
I made a video so you could see how quick and easy it was (step by step instructions follow if you prefer to read!)
https://youtu.be/mlhtF7Kj4hI
Step 1: Clean Your Coffee Table
Scrub the surface of your table with white vinegar.
Step 2: Scrape or sand the Surface
Contact paper tends to magnify any surface imperfections so scrape any bits of debris that may be stuck to the surface.
Step 3: Measure and trim the Contact paper
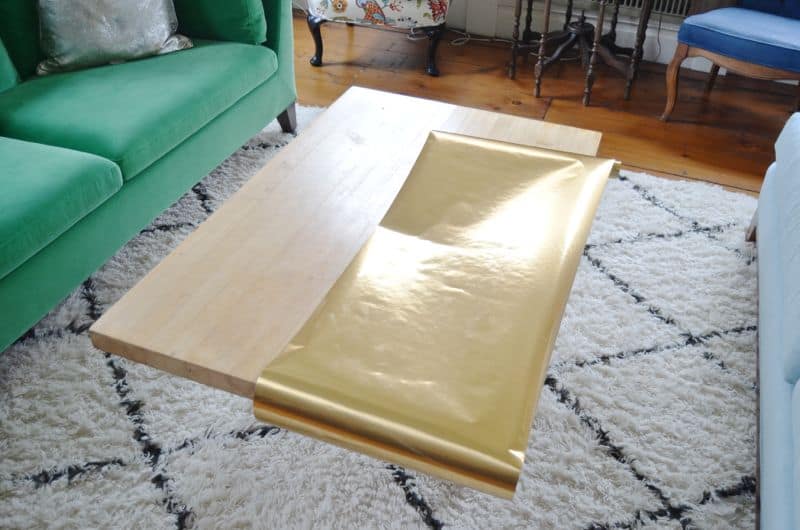
Unroll your contact paper (do NOT remove the backing yet) and trim to size. My edges are going to be wrapped underneath the table, but use a ruler and exacto knife if any edges will be exposed.
Step 4: Remove backing and smooth
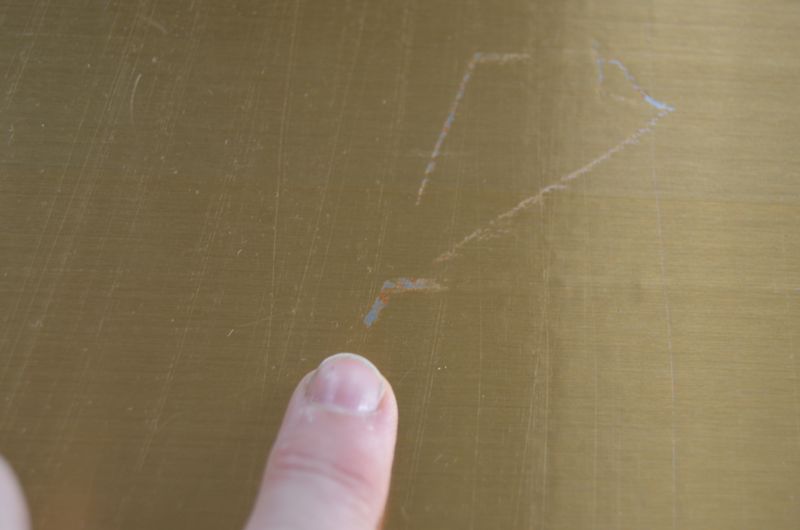
Remove a few inches of backing to start and make sure the contact paper is aligned with the edge of the table. Use a flat edge and press down the contact paper slowly smoothing out any wrinkles and air bubbles. Work from the middle and gently pull the bubbles out towards the edge of the contact paper to release the trapped air. NOTE: The brass metallic paper I used was slightly different to work with than other styles I’ve used… when scratched too hard, the brass surface could actually scrape off a bit.
Step 5: Trim corners
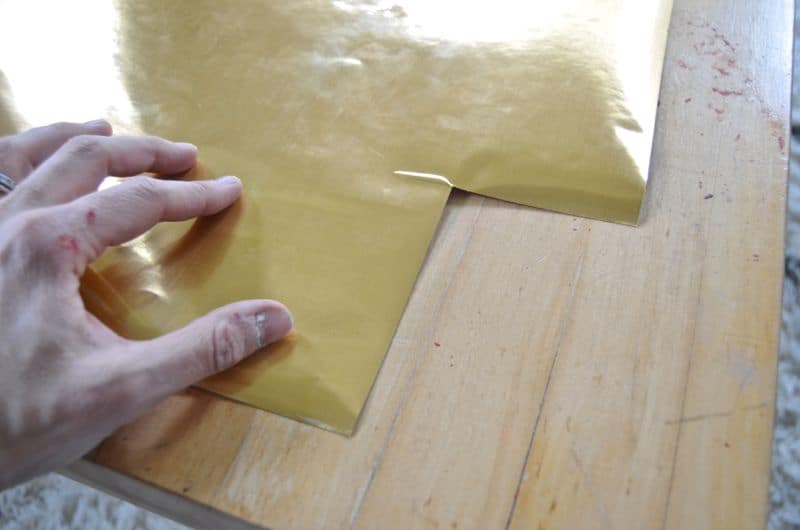
For the corners, cut an inverse square to remove the excess contact paper and allow you to ‘wrap’ around each edge.
Materials List
(Affiliate links included for your convenience.)
- Brass Contact Paper
- Scissors
- Sponge and vinegar
- Scraper
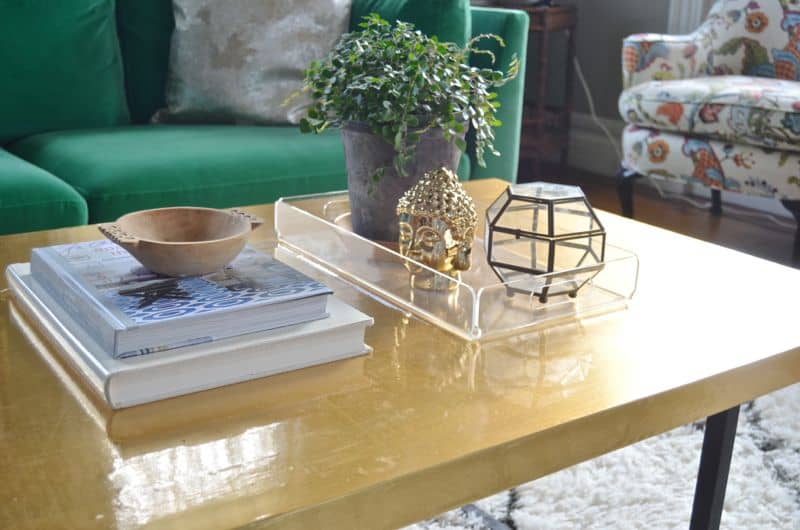


As someone who once hung a chandelier in her bathrobe half an hour before her housewarming party let me say that I feel your pain. It’s not crazy – it’s motivation! Love this project and your table looks great. The brass looks amazing next to your gorgeous green sofa.
Amazing!! SO funny! A magic eraser takes snot off the walls. Ask me how I know. 😉
You just rocked my world with this DIY! Here I am still rocking my marble contact paper while there is brass-like contact paper floating around….I need some ASAP!
Dude… it’s SO good! Like I said, you have to be a little careful or you can scrape the brass off a bit, but it’s totally legit looking!
Love this SO much… I had no idea it was a DIY!!!
🙂 Hoping it holds up! It was such an easy project!
This is seriously so brilliant! I had no idea brass-look contact paper existed – you just changed my life! Ahhh!!!!
Me neither! Game changer. It’s a little thinner than the regular contact paper but has a great look!
Brilliant. Simply Brilliant.
Super cool, right? Thank goodness for Amazon. 🙂
I totally heart this look! Love it! And you’re so right… Nothing like a photoshoot to whip you right into shape! Must. Finish. Everything. 🙂
Ha! I had one hilarious comment that she was changing lightbulbs in her bathrobe minutes before a dinner party. SO TRUE!
That is AMAZING! Thanks to you I’ve now got Brass Contact Paper on it’s way! I don’t even know what I’ll use it for but it’s just too good not to own. Thanks!!
HAHA! I also have a roll of COPPER contact paper. Just sayin’…. it’s addictive. 🙂
How do the seams look? That is my only concern with tackling projects with contact paper. Love the look!!! Copper?!? <3 Oh My!
Yes… They also have COPPER! Can you believe it! And the seam on this one is right down the middle… so if you didn’t notice then it’s pretty good. 🙂 Obviously you need to be careful but the alignment, but the metallic contact paper is super thin so it makes the seams easier to blend.
I would have never thought to use contact paper for this! I’ve been using it for other upcycling projects but this takes the cake! I made this https://www.homeyou.com/project-of-the-week-diy-copper-bar-cart-in-simple-steps with spray paint but I think I might try contact paper with my next project, it will be less messy!
So cute! For something like that you’d have to do spray paint, but the paper has the metallic sheen that spray paint sometimes is missing!