DIY Capiz Shell Frame
Psssst… this post *might* contain affiliate links: see my disclosure here.
Looking back at the last 4 months on this blog, I need to apologize for post bombing you with big shiny room reveals and neglecting the fun and crafty tutorial type posts! In some circumstances, I felt like you didn’t need to see (again!) how I sewed curtains or painted a dresser. In others… I just got so excited to finish the room that projects were done at night or so quickly that I forgot to take pictures! But… I’m trying to slow down enough to share the specifics with you because I know as a blog reader, THAT’s what I enjoy… How did you actually make this thing that I love! Well, today… back to the crafts!
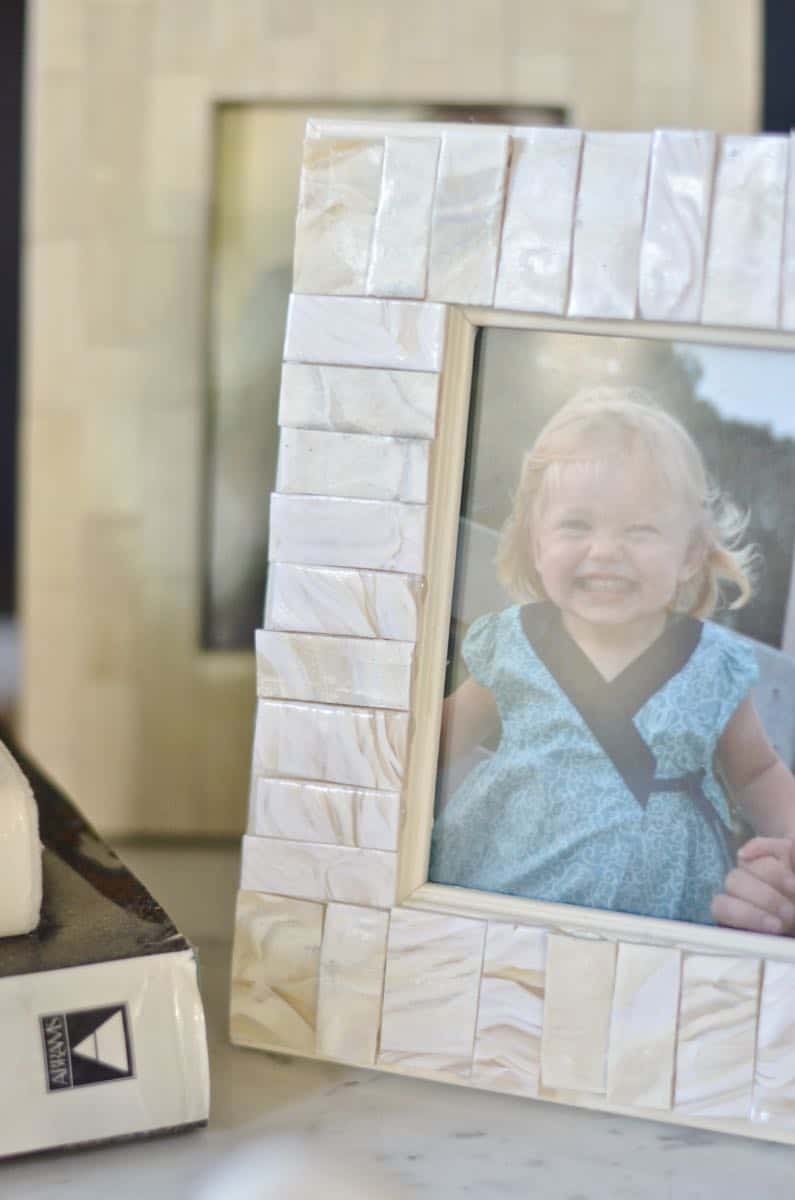
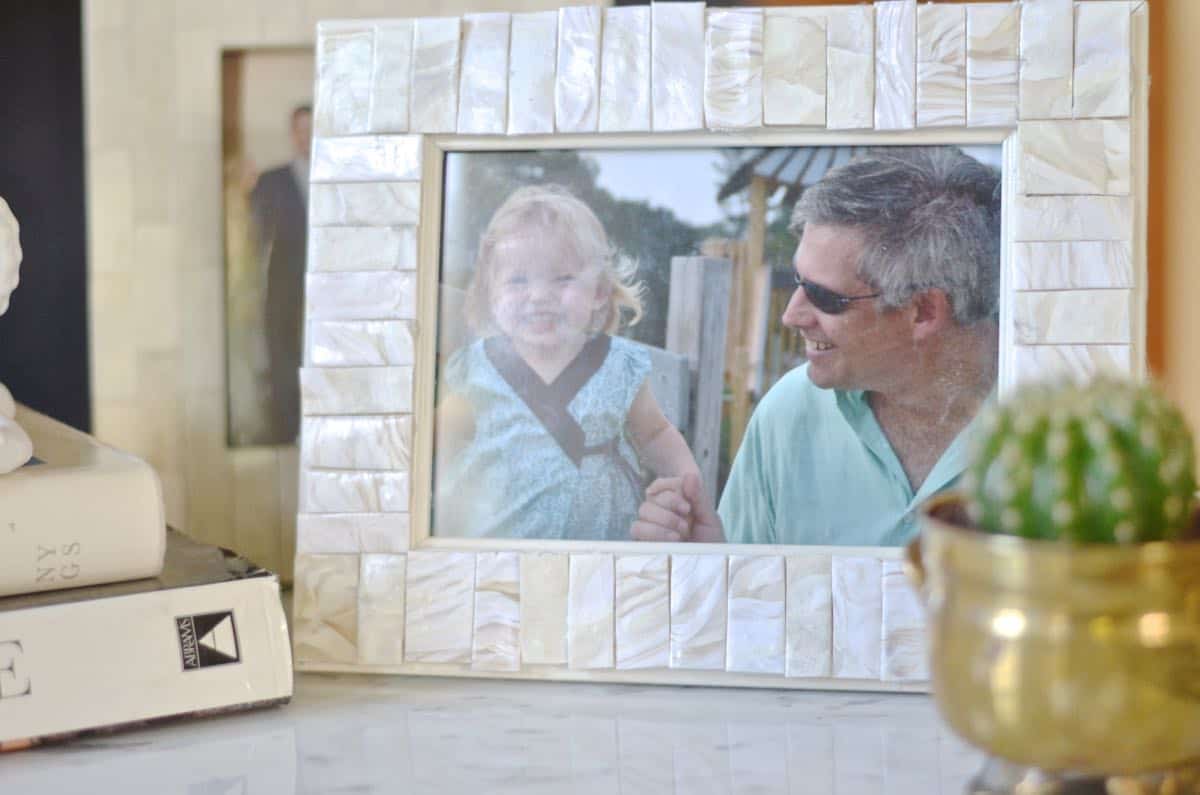
DIY Imitation Capiz Shell Frame
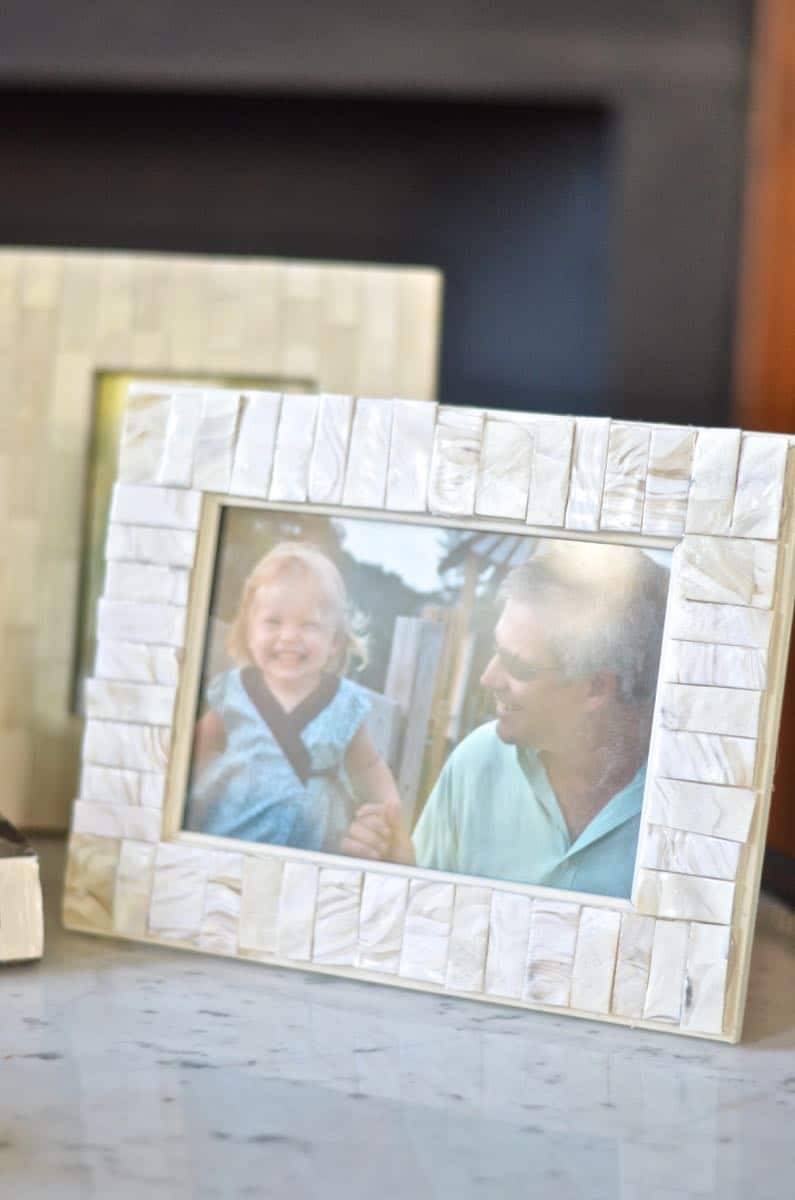
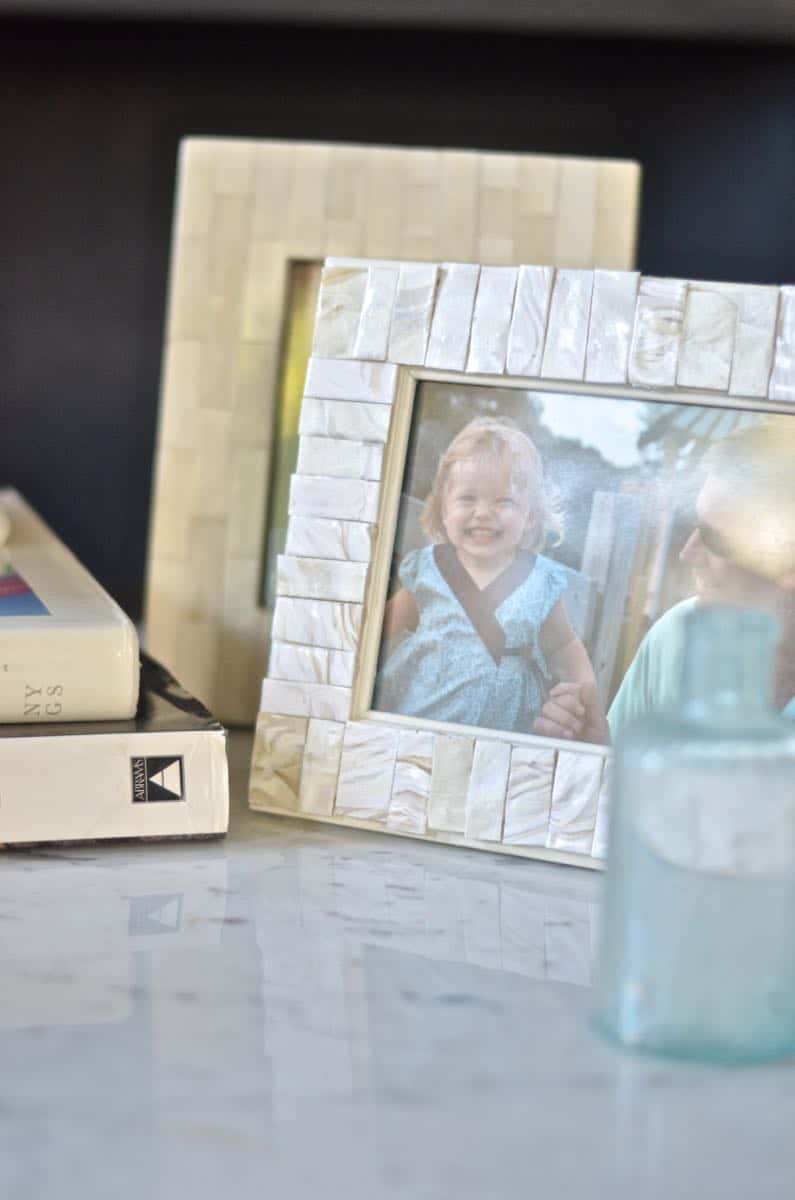
In the spirit of good ol’ crafty fun, today’s post is about a Knock Off. You know those sweet capiz shell frames that look like mother of pearl? We have a trio from our wedding registry and more recently I noticed them as a fun gallery wall on a little known website, Young House Love… (Material list at the end of the post.)
Shop my favorites!
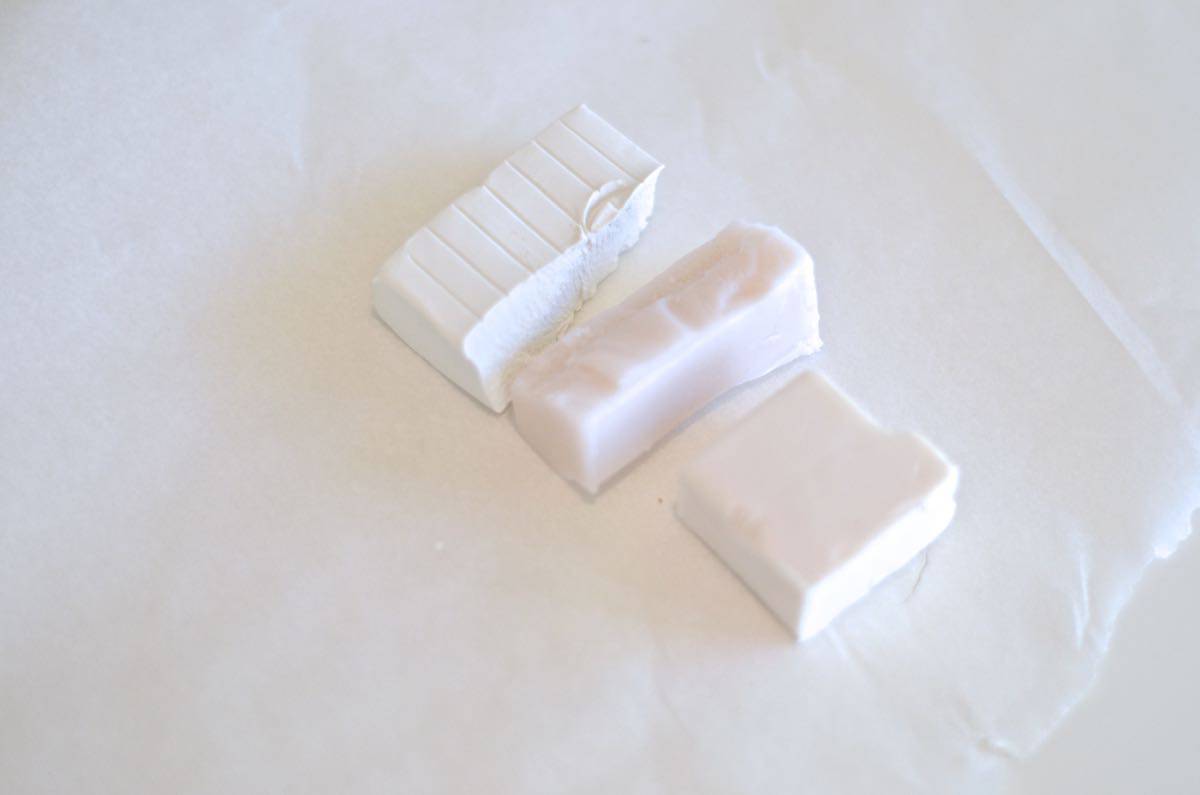
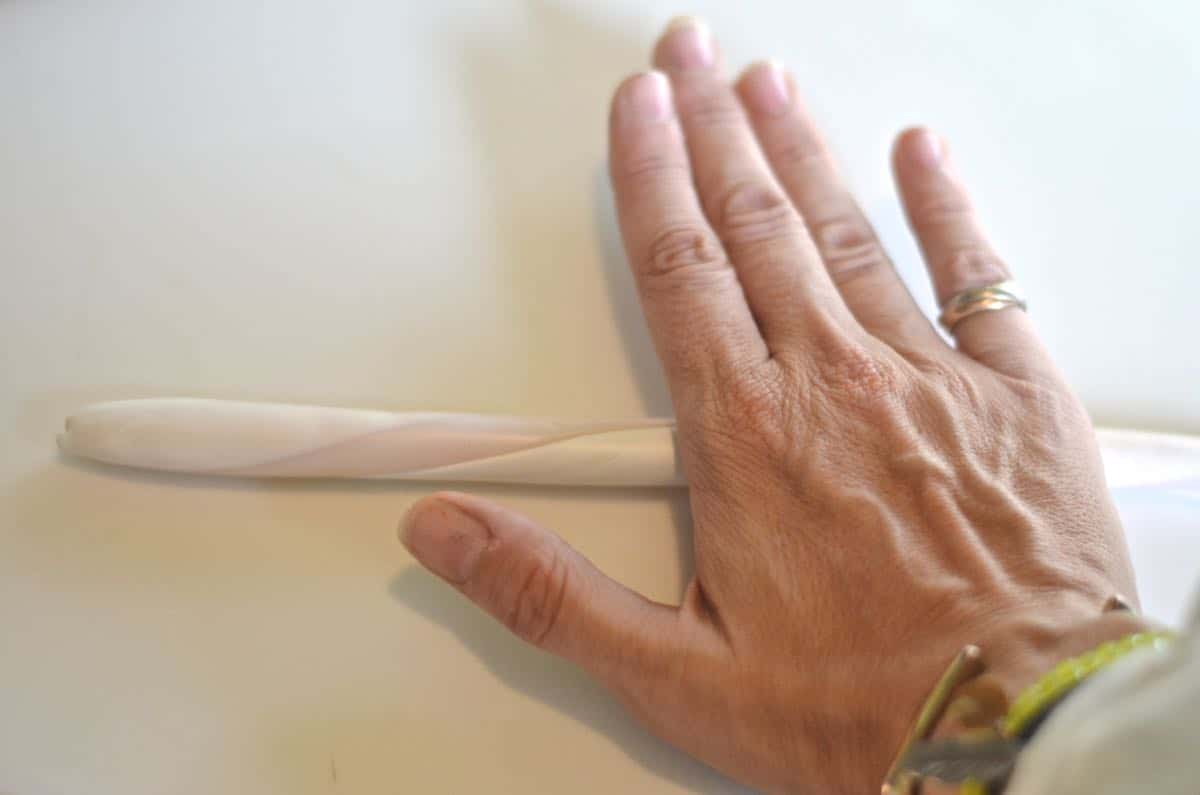
Step 1. Mold modeling clay
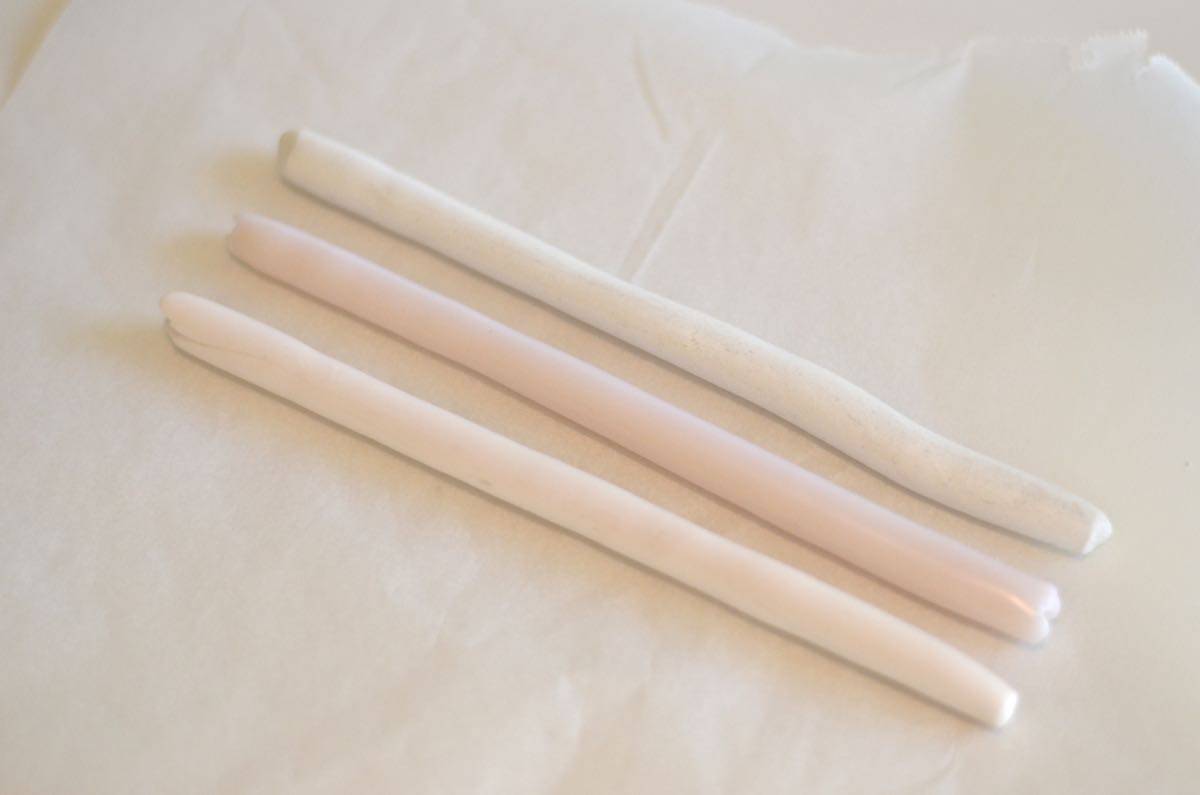
Take 3 even wads of Sculpey and roll each one into a long snake.
Step 2. Roll Clay into log
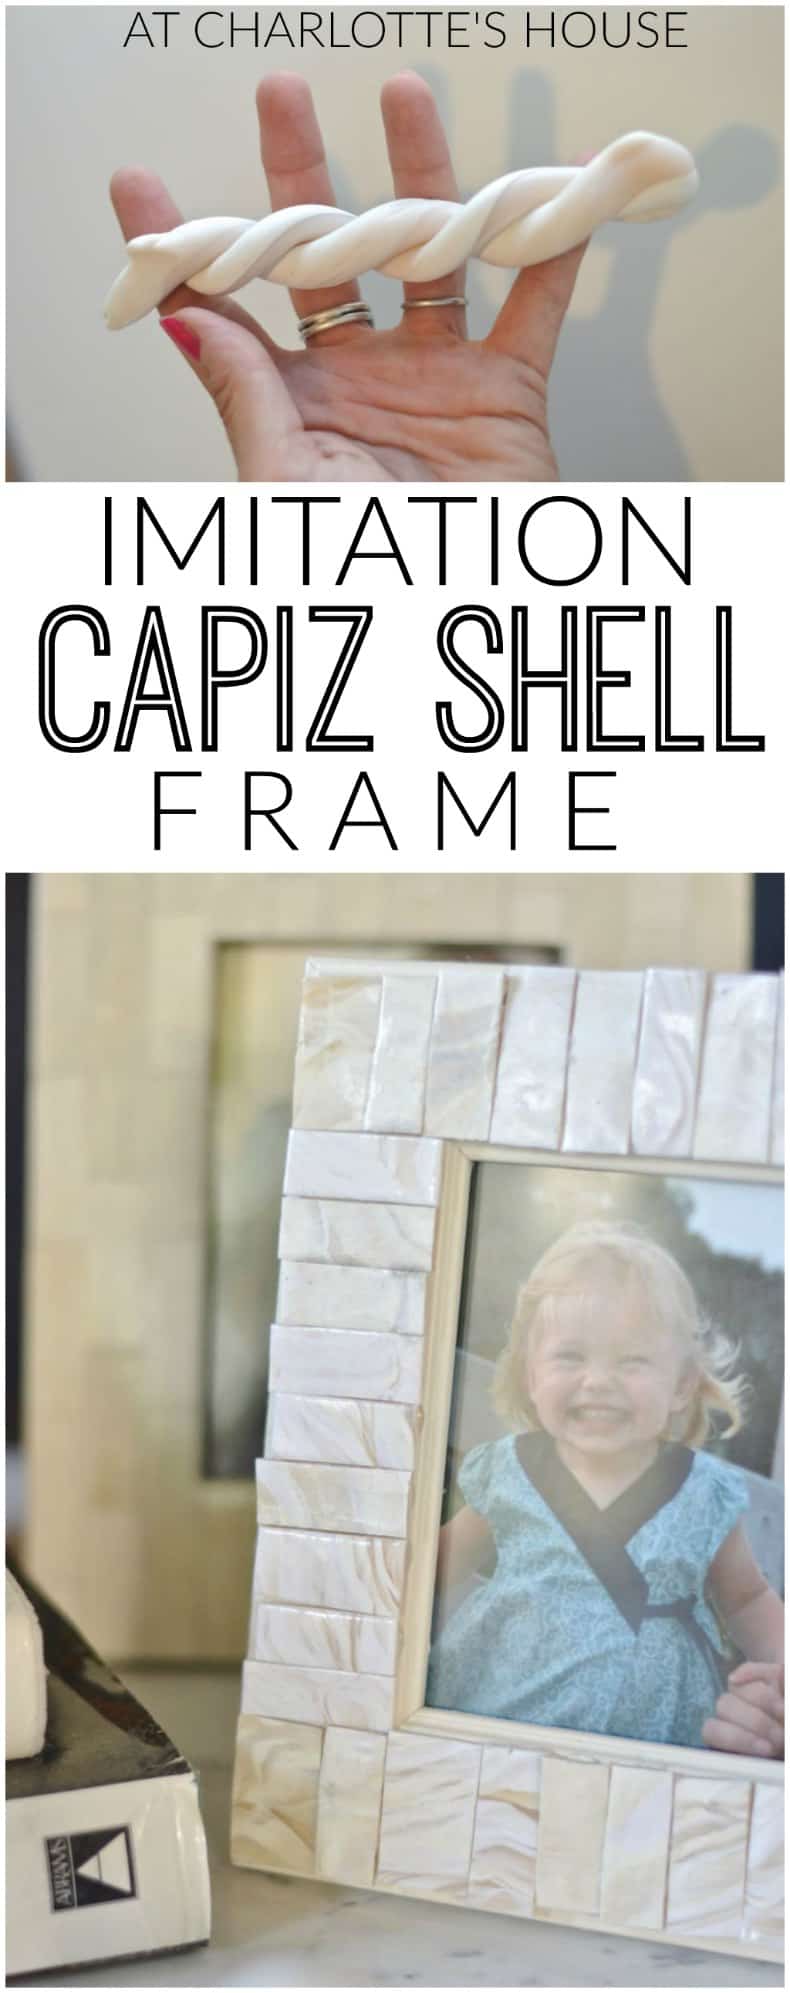
Put your three snakes together and roll them into one long log.
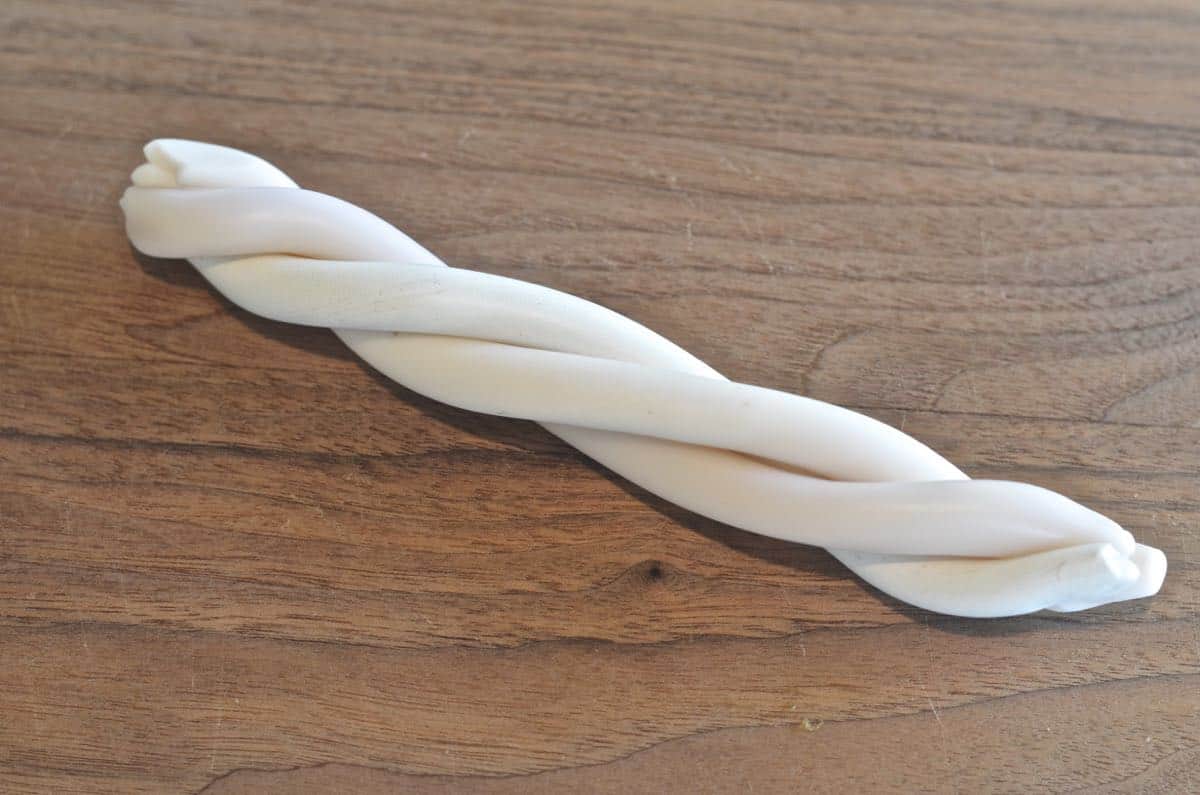
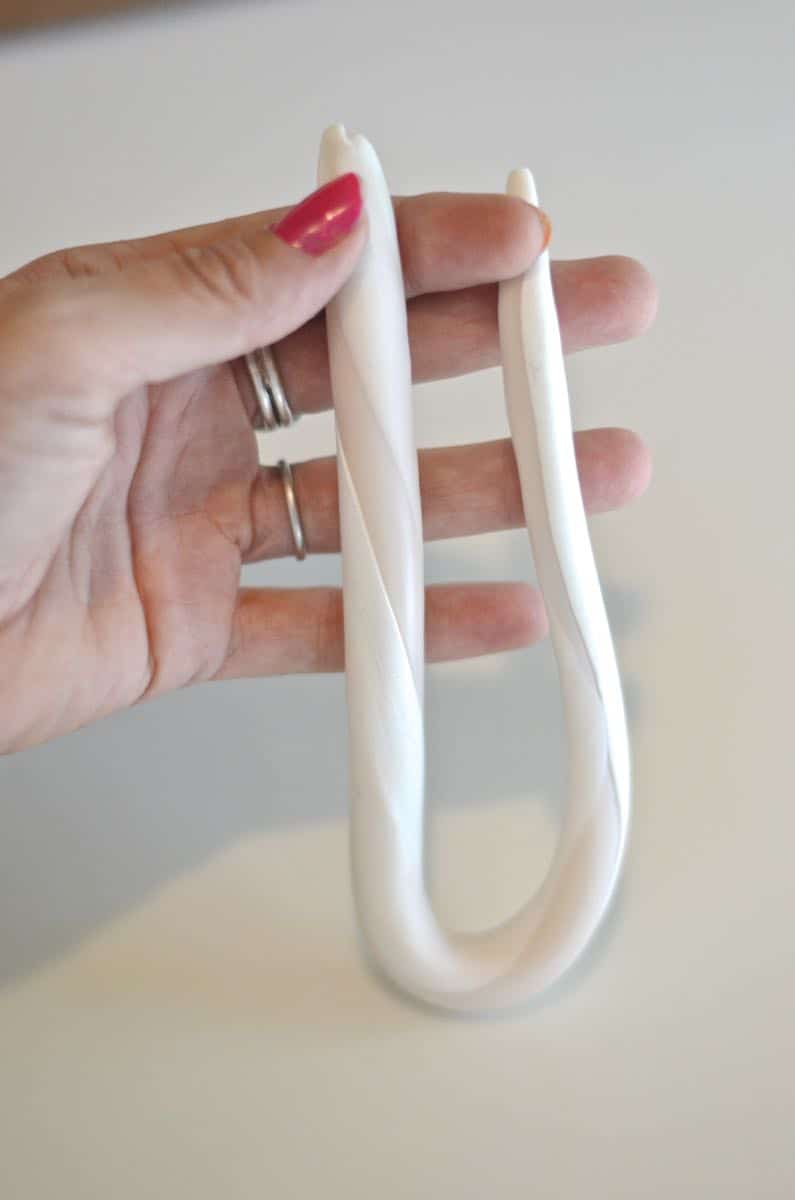
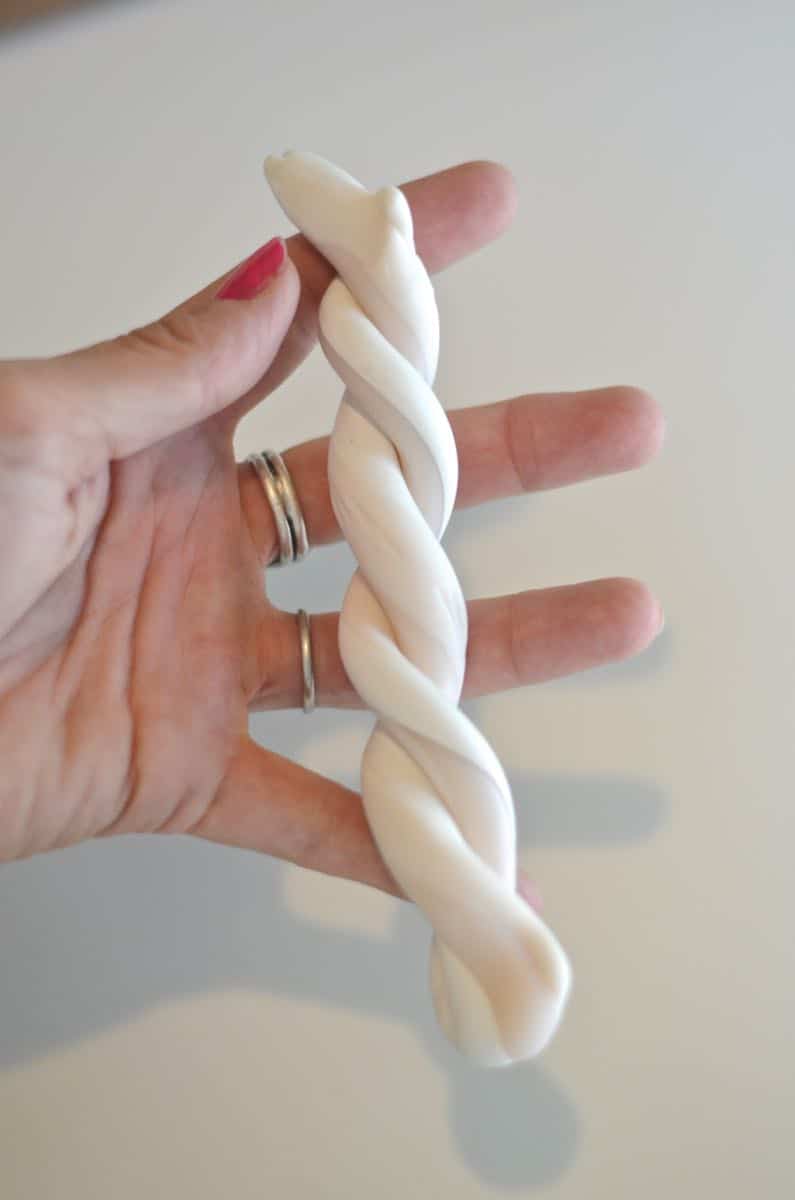
Step 3. Fold, Twist and Repeat
Fold your log in half, twist the two halves around each other and roll it into a long log. Repeat this process 3 or 4 times.
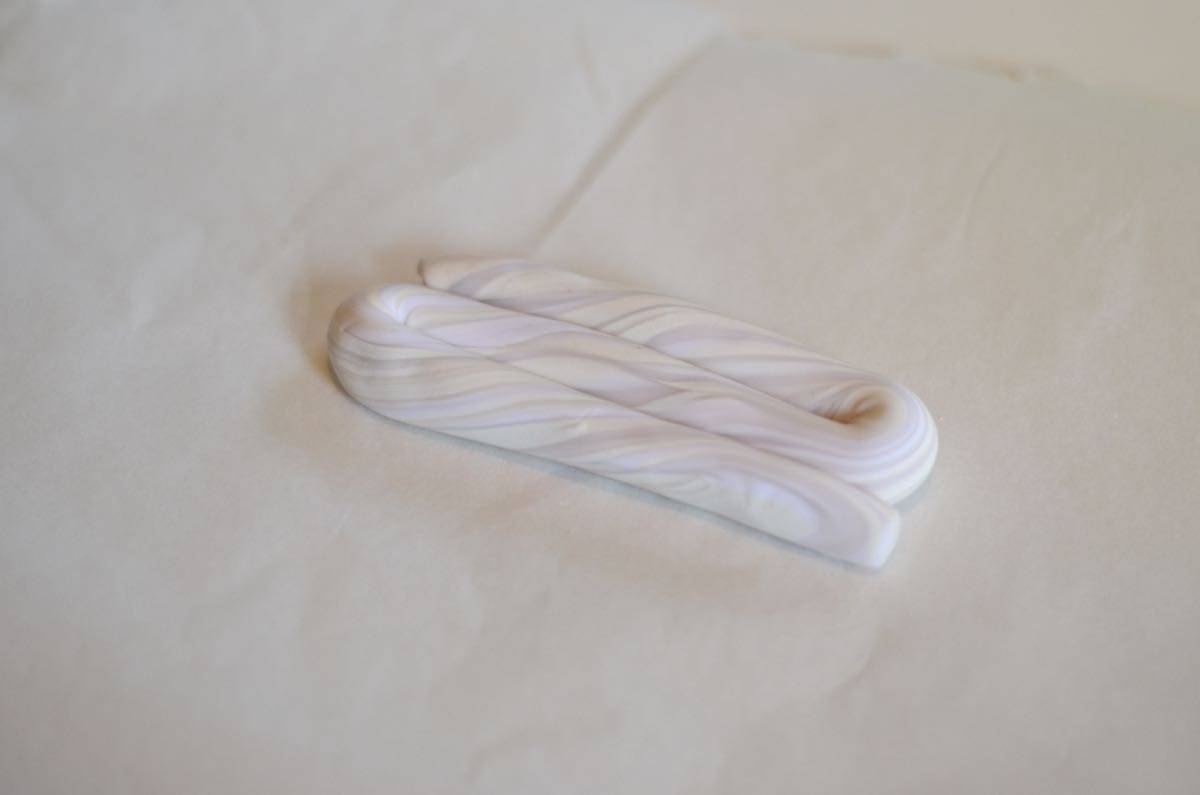
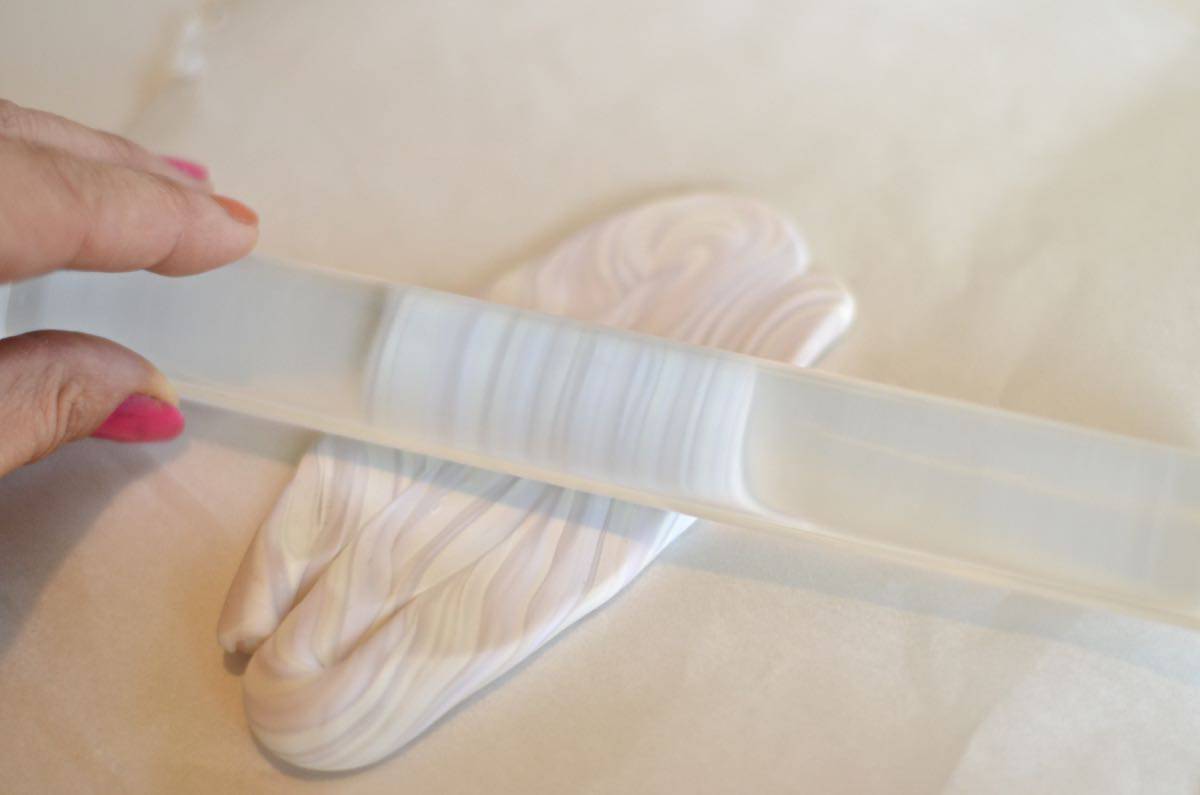
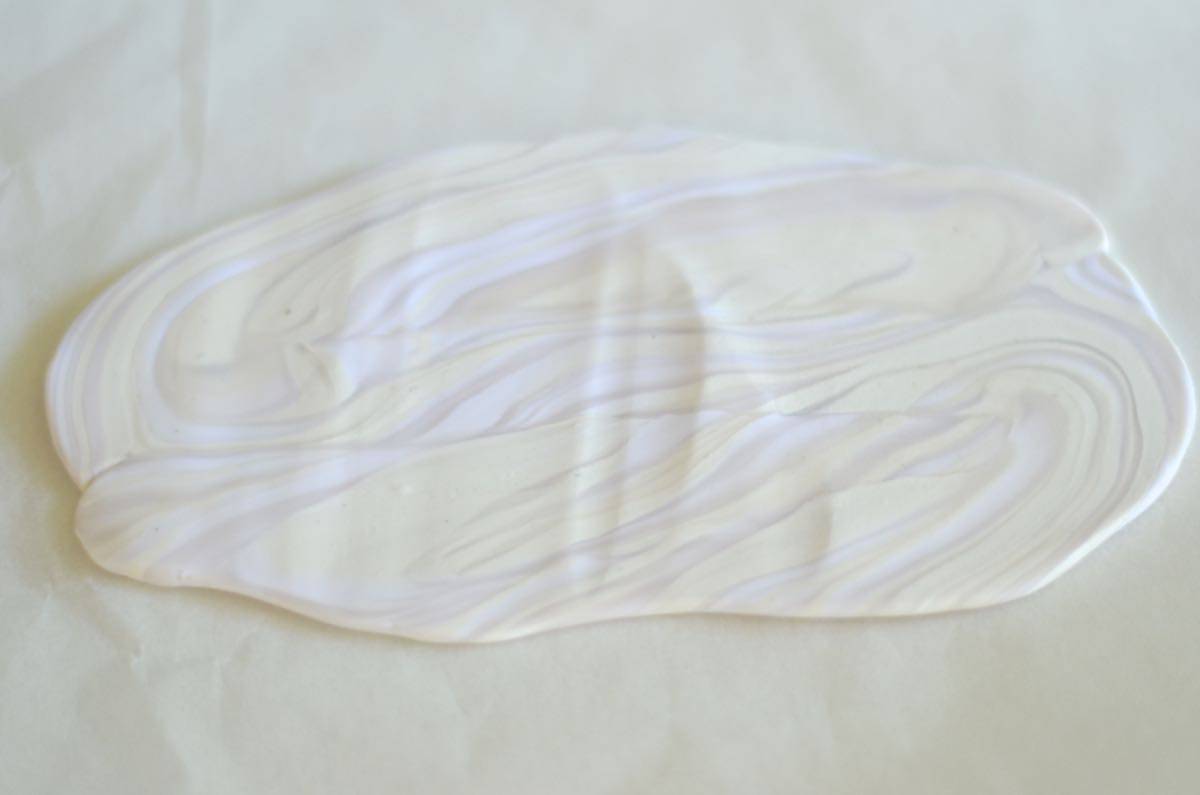
Step 4. Fold into an S Shape and Roll Out
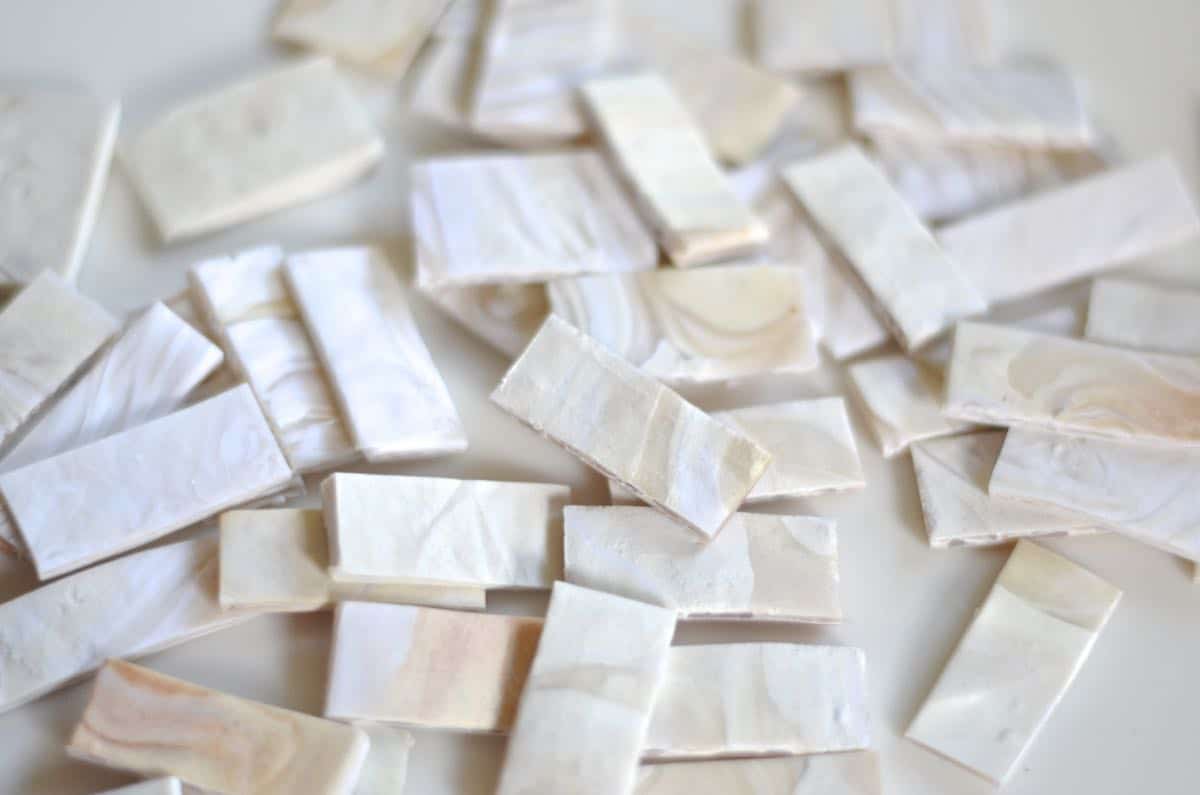
Take your long log and fold it together into a “S” shape. With your rolling pin or a smooth bottle, roll out your Sculpey until it’s 2-5 mm thick.
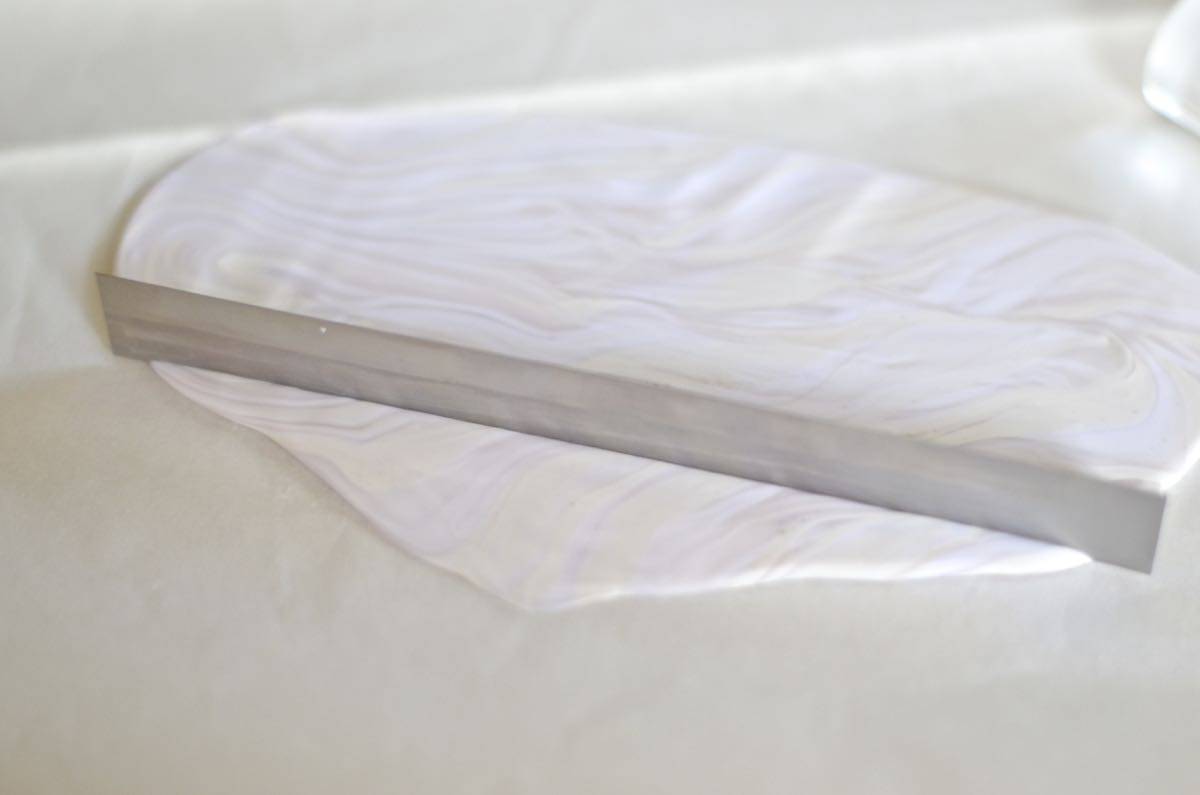
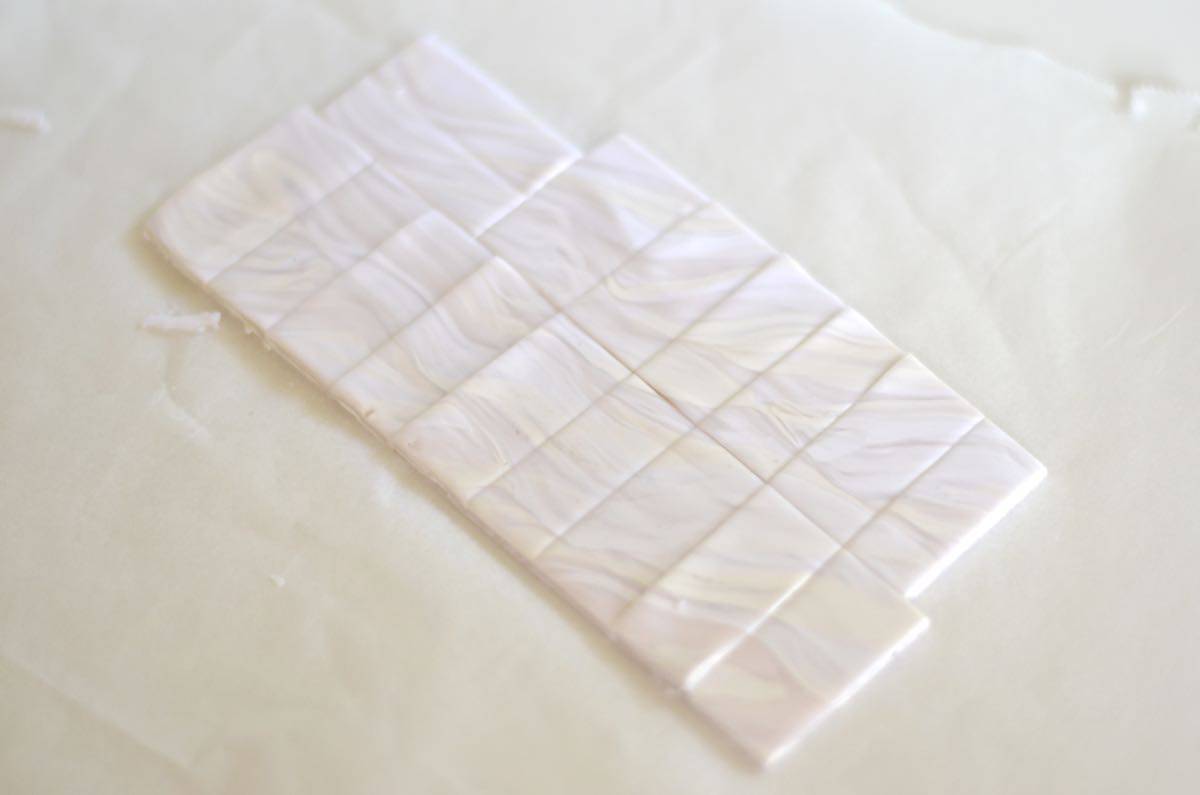
Step 5. Cut Clay
Using a straight edge and your sharp edge, cut rectangles out of your sculpey wide enough to cover the picture frame.
Step 6. Bake
Follow the directions on your Sculpey package which are typically to bake your clay for 10-20 minutes at 275 degrees.
Step 7. Paint the Frame
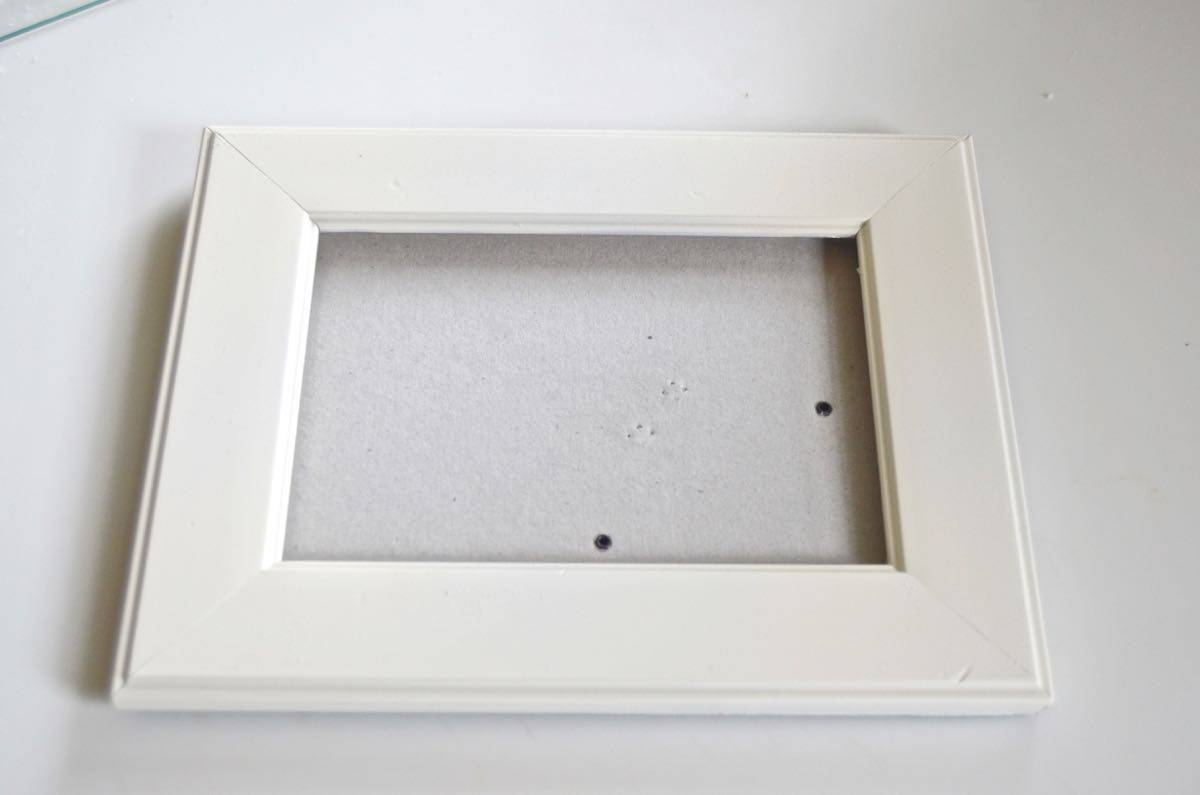
Spray paint your frame off white and let it dry.
Step 8. Glue Tiles onto Frame
Glue your Sculpey onto the frame using a hot glue gun or epoxy. I happened to have some glossy clear spray lacquer that I used as a top coat, but I don’t think it’s necessary.
This is one of those projects that is fun and easy and cool! Now that I know how similar these Sculpey tiles look to a real Capiz shell frame, I’m excited to try something a little bigger… perhaps a mirror or a tray or even a table top? I’m not a Sculpey expert, but I suspect there’s a fun way to cut the Sculpey into circles and play around with different patterns also.
Materials for DIY Capiz Shell Frame
- (Affiliate links included for your convenience):
– 1 thrift store frame with a flat border
– Off-white paint (I used Rust-Oleum Heirloom White)
– 1 block Pearl Sculpey
– 1 block Translucent Sculpey
– 1 block White Sculpey(a different brand is shown, but any polymer clay will work!)
– hot glue gun/ epoxy
– sharp knife/ exacto knife
– Optional: Sculpey Rolling Pin



Thank you for posting this! I have a chair seat reupholstering that I haven’t posted because I figured EVERYONE has seen how to recover a chair seat! Now I can get those pics off my SD card and put them to use. xx
But have YOU posted a seat reupholstery project? I would say go for it if you don’t have anything on your blog like that! I’ve certainly got some redundancy on my blog, but… at some point, no mas! xx
How do you think of this stuff??? I wish I still lived in CT… I’d come to your house and make you be my friend. 🙂
Ha! Done and done! And I don’t know. This one I had the idea and then googled how to make marbled Sculpey. 🙂
Now I know what to STRONGLY suggest to the 11YO son to make for his Grandmother’s Christmas gift! Handmade but not baby…yeah!
Yes! That would be SO cute! They’d probably do a better job than I did. 🙂
I love sculpey projects! this looks beautiful!
You’re my Sculpey guru… 🙂
Um, I had never heard of Sculpey before. Mind blown.
HAHAHA! You’re welcome. It’s a DIY staple. Google all the stuff you can make with it and call me in a year when you’re done. 🙂
Both! I love both little crafty posts and room reveal posts. Painting posts, too, & family posts – my kids are not small any more, and I have to get kid fixes vicariously. ?
Thanks for the feedback, Jennifer!!
This is great! Love the marbled look.
Thanks so much, Marni!!