The Everything-But-the-Kitchen-Sink Dresser
Psssst… this post *might* contain affiliate links: see my disclosure here.
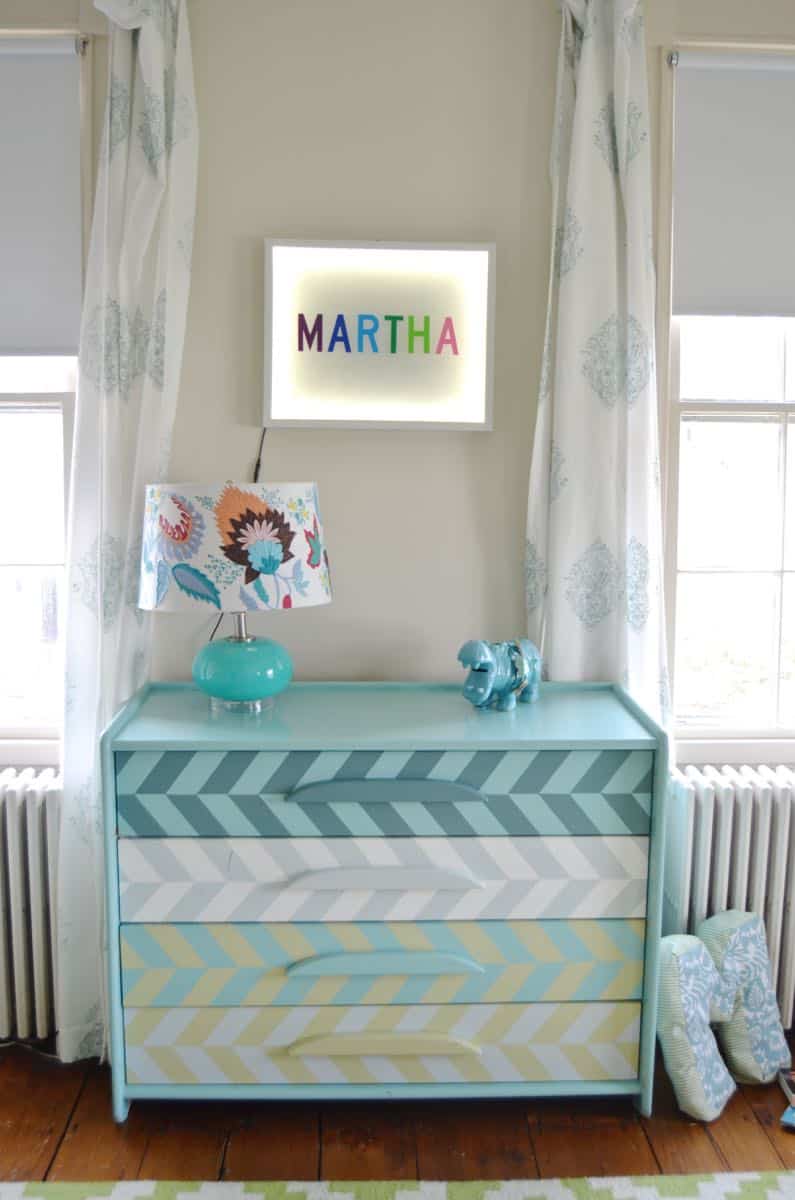
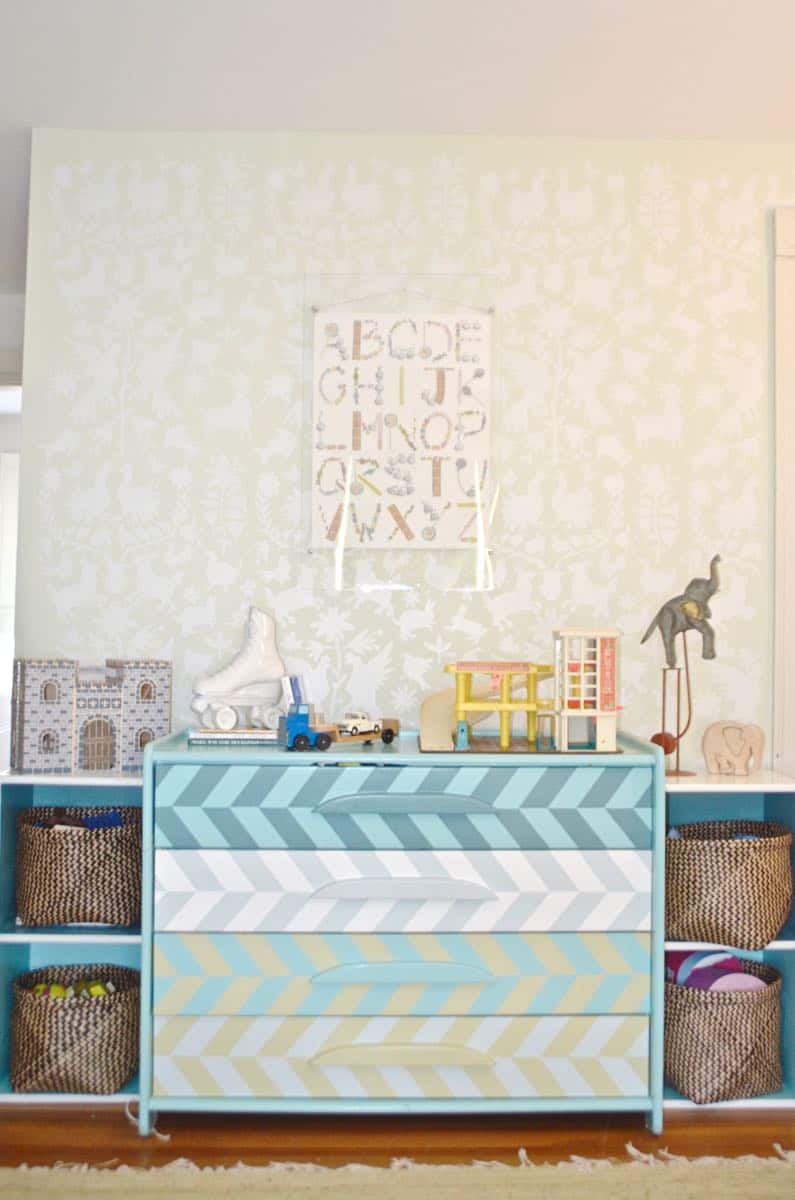
My problem with DIY is that I can’t make up my mind. Which means sometimes, just sometimes, I get a little carried away. I fear this repainted striped herringbone dresser for the kids room is that sort of a thing.
How to Paint Herringbone Stripes on an Old Dresser
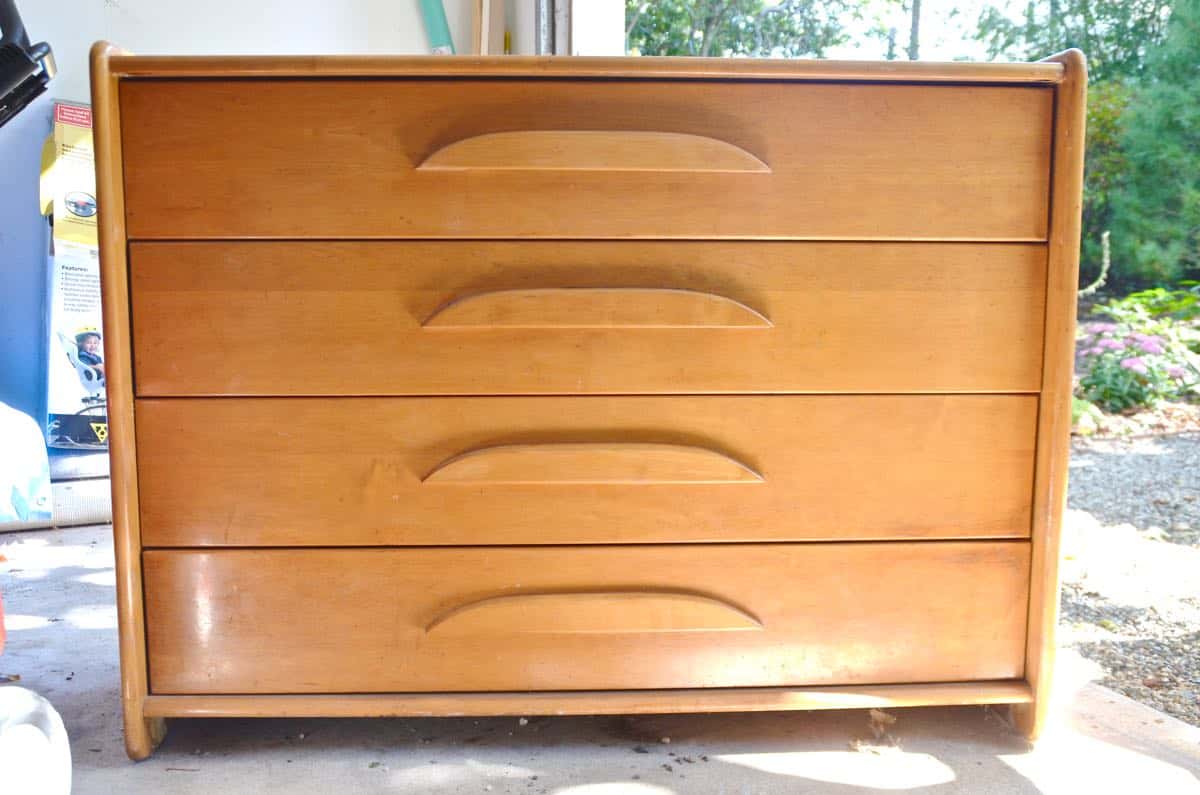
The story of this potentially ill-fated dresser starts a couple of months ago when I was once again trying to shove the kids clothes into their previous dresser. Clearly we needed more space so who to turn to? Craig, natch. I landed on this bad boy.
Shop my favorites!
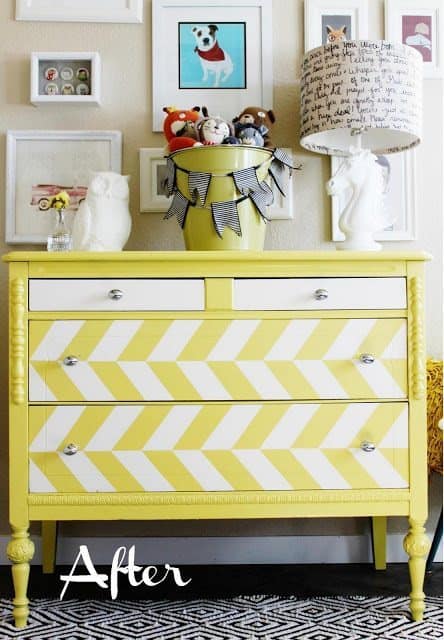
I liked the clean lines. It was solid wood. High enough to act as a changing table, but not so high to be a safety hazard for our jump-happy 3-year-old. And simple enough to easily repaint. On my forays into Pinterest and other design sites, there were lots of color gradient dressers like this one, that I really liked. But my dresser only had four drawers and I was worried that the gradient thing might not come across with so few drawers. I was also worried that the gradient drawers would be too many stripes with the striped wall and the striped rug. Sooooo, I looked into a chevron-ish option. I love a chevron, but I feel like they’re a fad and I’ve overdone them already… But this dresser from A Little Glass Box had an interesting take on the chevron- a herringbone.
This is where my little DIY dresser got away from me. I couldn’t decide. So I incorporated both the gradient and the herringbone. Which was probably a mistake, but we’re going to live with it.
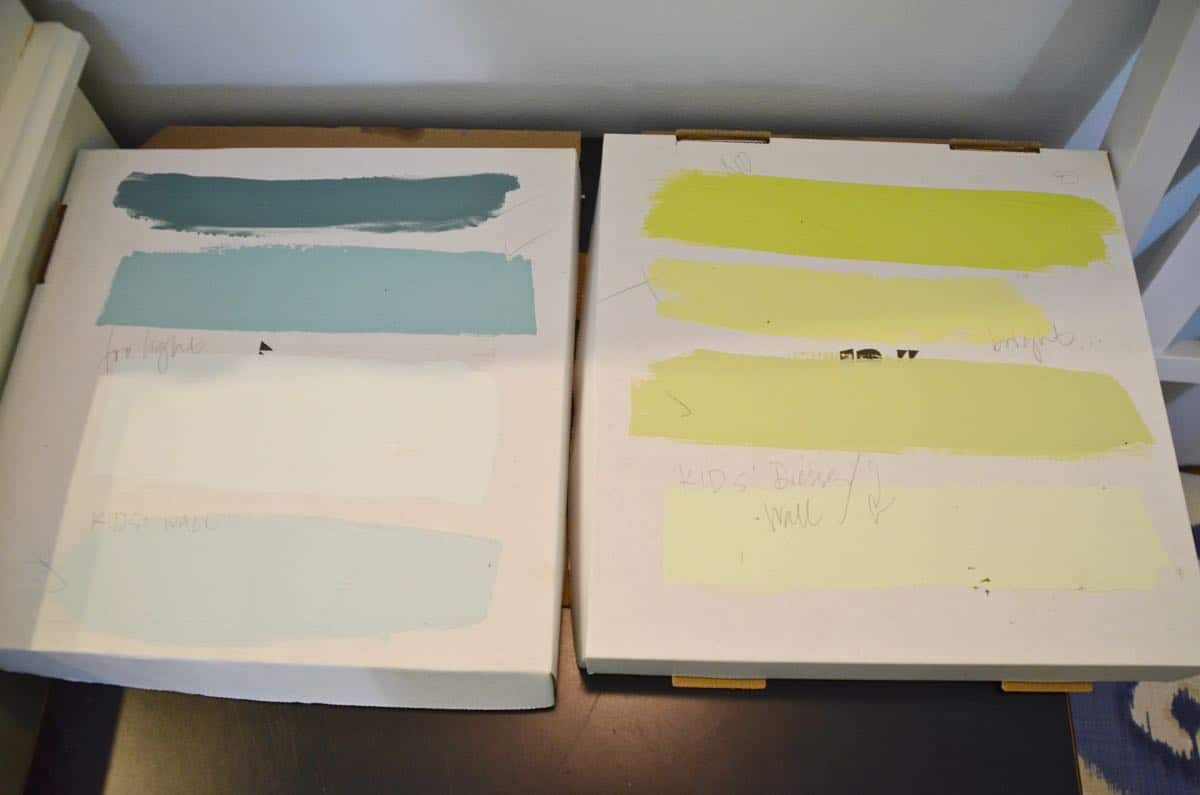
First I made a palette with the various paint swatches I had on hand to see which ones worked with the fabric in the kids’ room, the wall stripes, and the carpet. I narrowed my color options down to three that worked and decided to use some white as well to tie in the bed frames/ wall.
I wanted the top drawer to have the lightest color combination and then work my way down so the darker pairing was on the bottom drawer. Emphasis on wanted. More on this later.
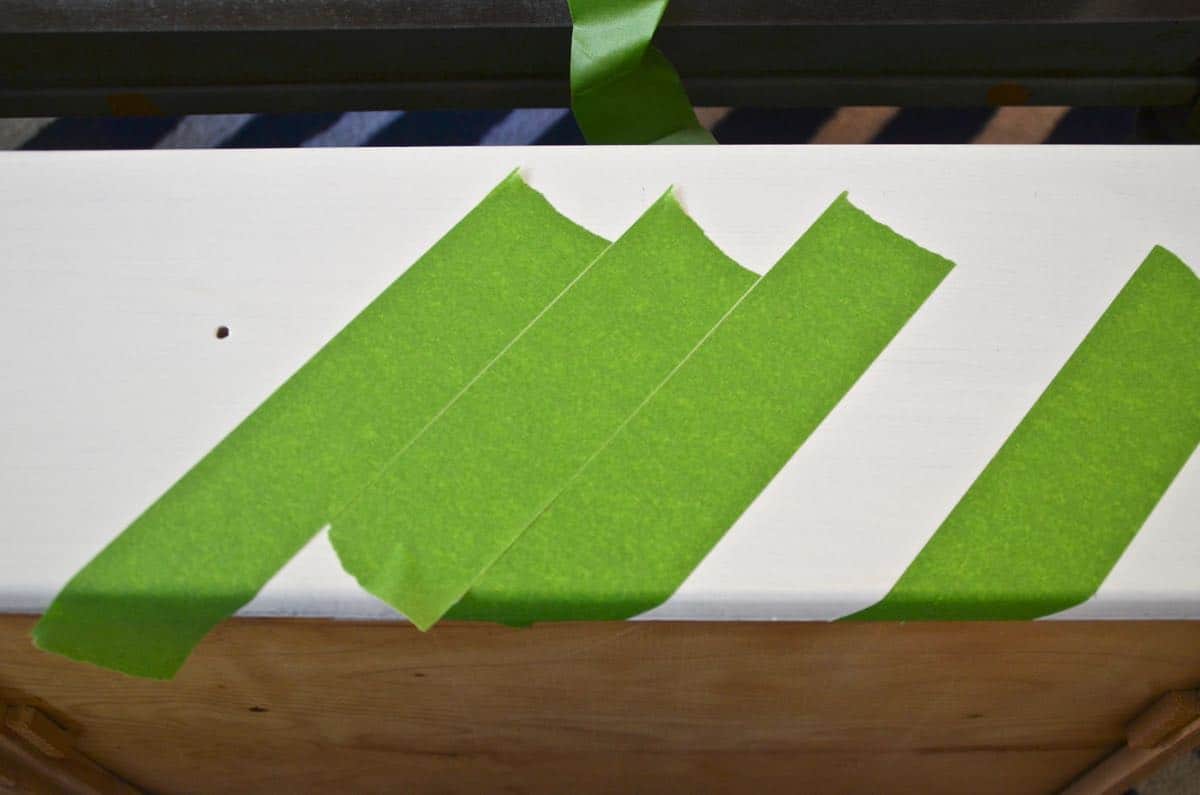
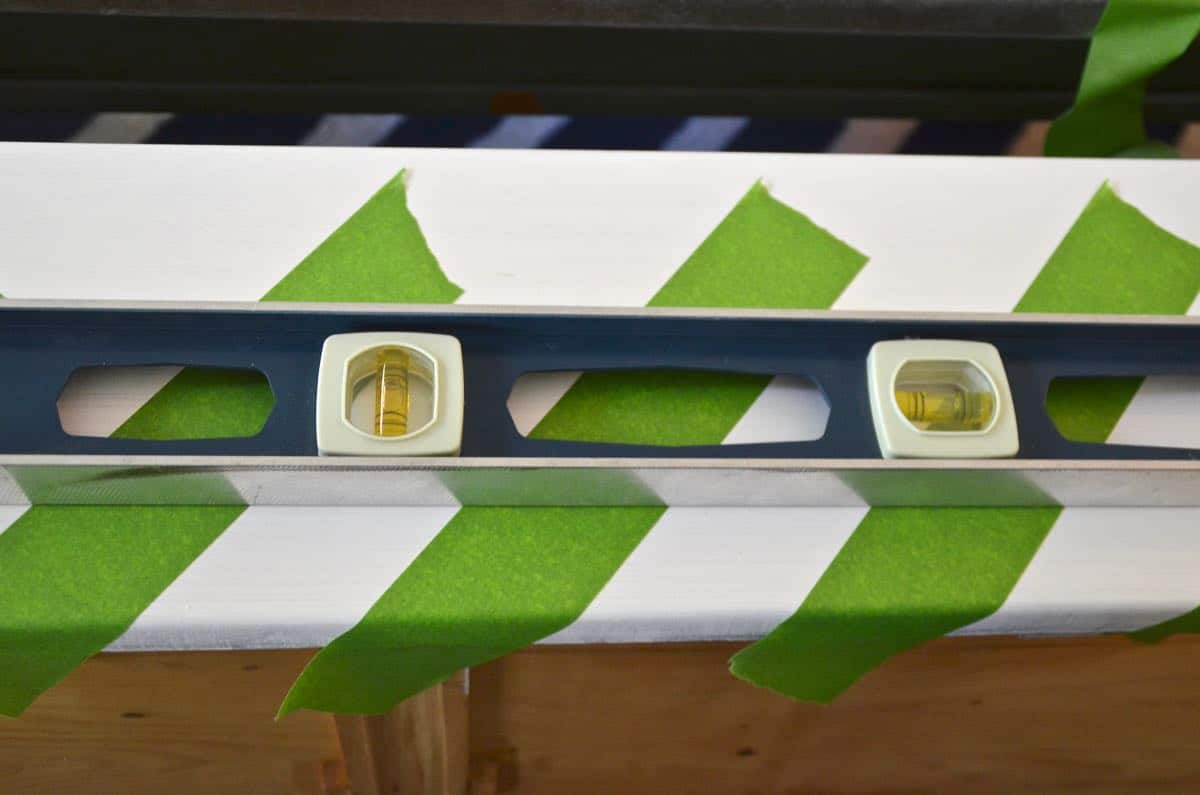
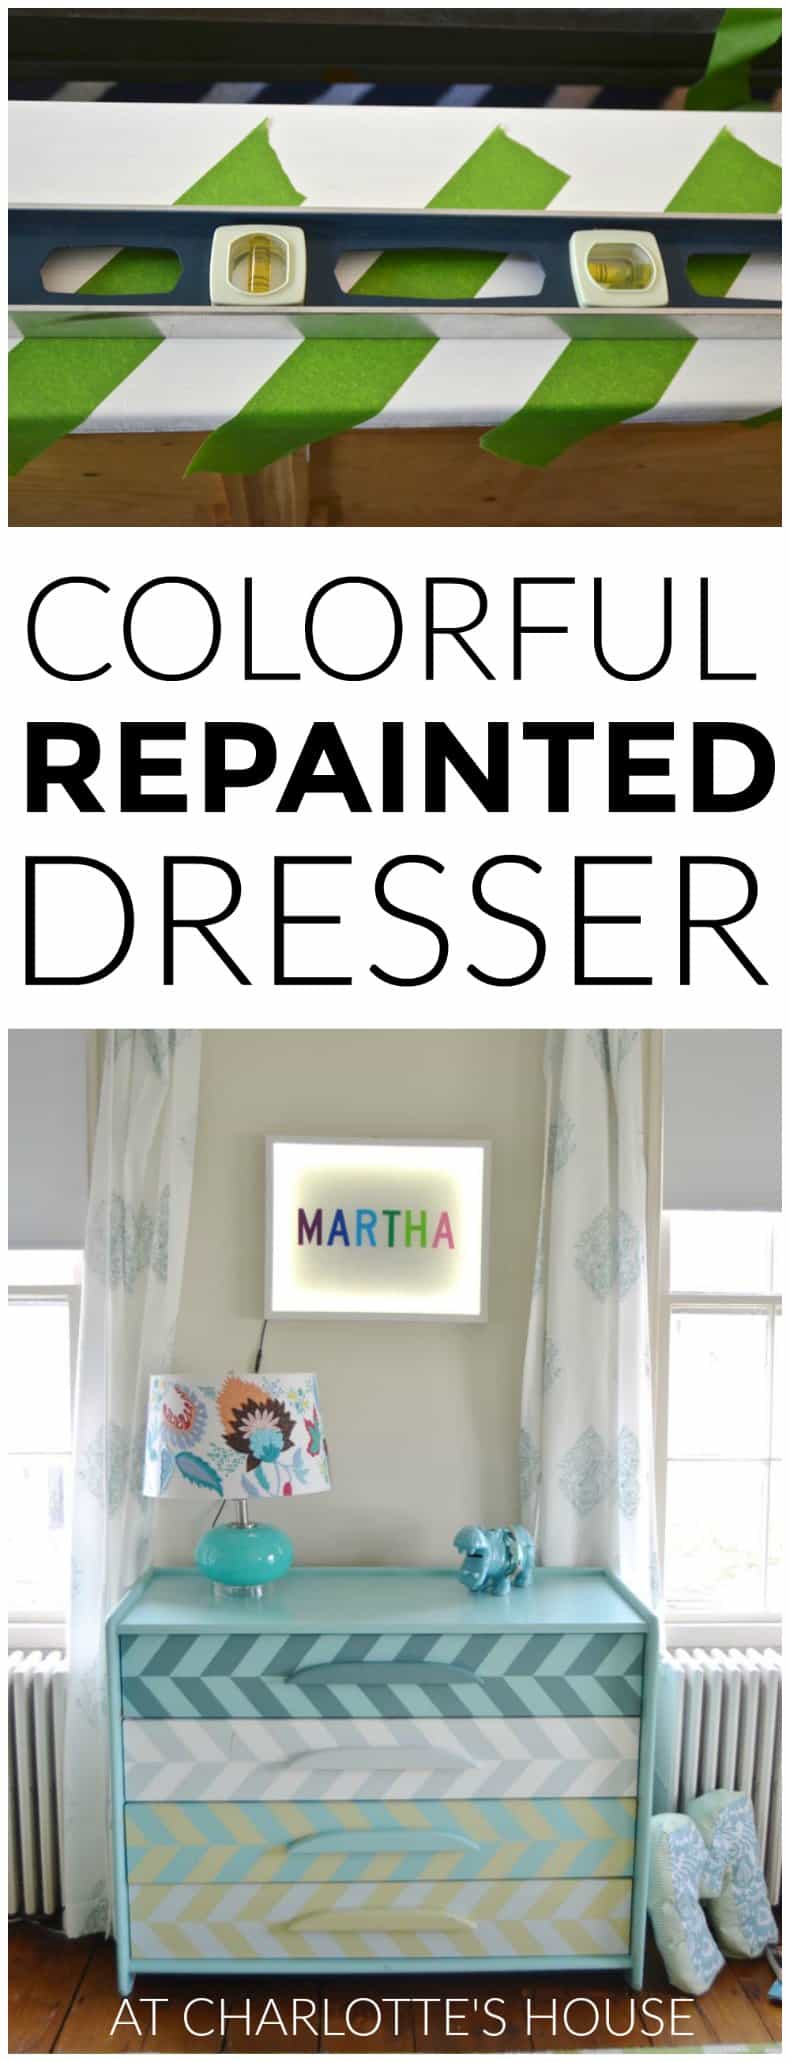
Taping off the drawers was easier than it would have been for a chevron pattern, so that was a pleasant surprise. I started by marking the middle of each drawer. From this midline, I made my herringbone pattern at a right angle with each stripe the width of my painters tape.
Rather than have to cut each piece of tape, I painted each half of the drawer separately. Bare with me. For the top half of the drawer, I taped off diagonal stripes and taped off the midline. Then I painted. When dry, I removed the tape, and taped off the bottom half of each drawer face with the diagonal going in the opposite direction, and I painted these stripes to alternate with the top half of the drawer. Phew.
I repeated this step for each drawer but used my varying color pattern on each one. This is where I hit a little glitch. I had measured each drawer front to see whether they had a particular order in the dresser and each drawer was the same height. Which I took to mean each drawer was the same. Nope. My convoluted herringbone/ gradient pattern is now officially out of whack. I wanted the top drawer to be on the bottom, the aqua and green drawer to be next, the light blue and green to be third and the white and light blue to be on the top.
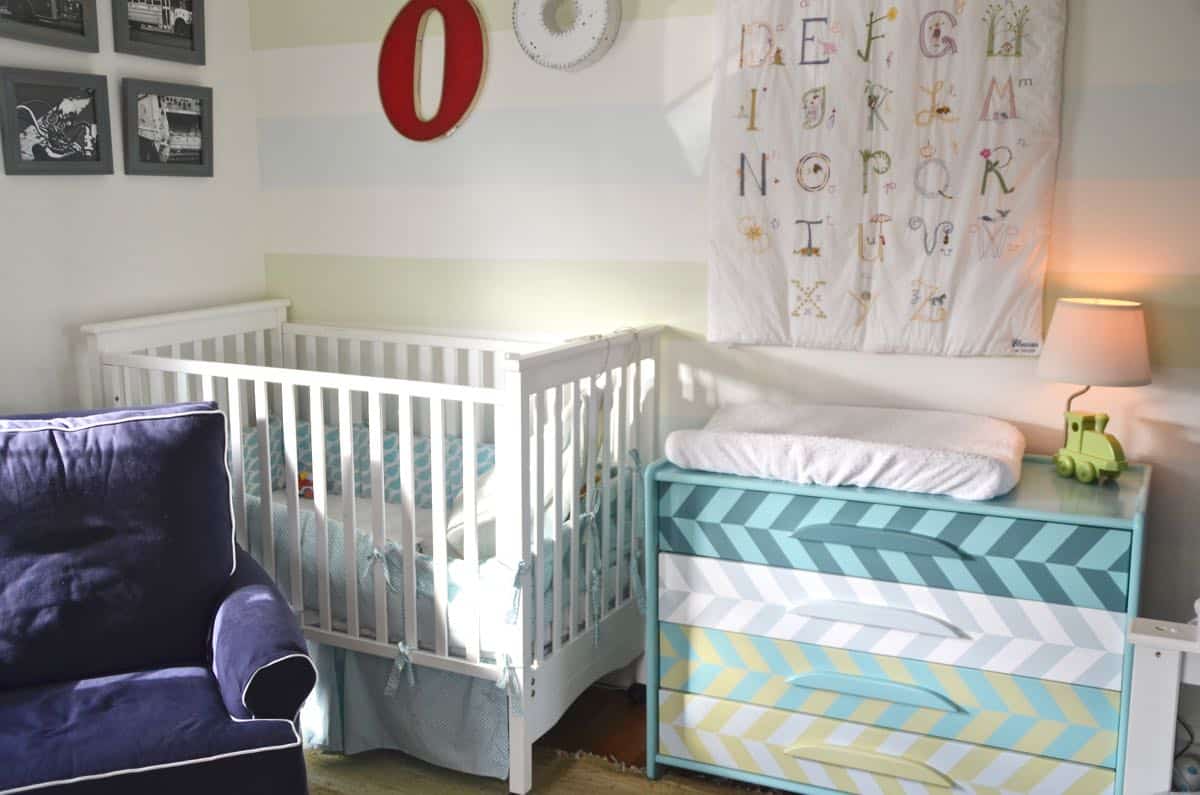
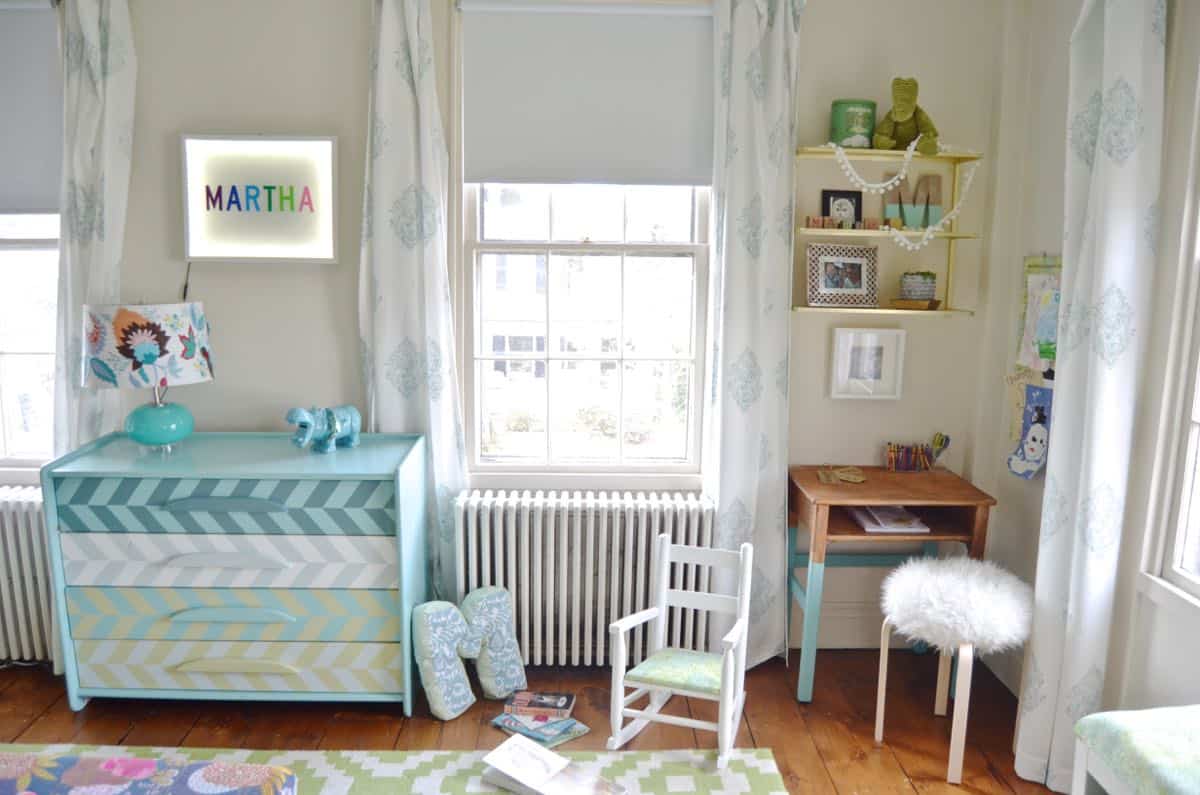
Here’s how it looks in the room. Sometimes I think it’s a somewhat cool. And most times I think it’s too much. The kids don’t care, though.
And next time I go to plan a painting project, I will remember this dresser and how I painted it with everything but the kitchen sink.
Update: See this dresser featured on Apartment Therapy!



I think it’s adorable! You did a great job too – that’s a tough pattern to keep going in the right direction. Love the colors too.
You did a great job! That is a hard pattern to keep headed in the right direction. Love the colors.
Thanks!! I learn a little something with each project! 🙂
I have the same dresser! There’s a tall 6-drawer version which I have as well. The shorter one is at my parents’ house. Mine is in much rougher shape than yours, though I would prefer to refinish it rather than paint it (just my personal taste for this particular item of mine, have def painted other furniture). Love your after, it’s super cute! If you decide to repaint it at some point or need to move, a good trick is to use a pencil to number the bottom of the drawers as you take them out. My dad taught me that one when I moved mine up to Boston. 🙂
That’s so funny! I really liked the lines and look of the dresser before, but was definitely eye-ing it for the kids so wanted to add some color. I was SO irritated with myself about the drawers… I will remember your dad’s trick as that would have saved me lots of frustration with this makeover! Thanks for stopping by!
Hmm my whole comment didn’t post, sorry if it ends up posting twice. I was also going to say, if you wanted to repaint it or need to move it with the drawers out, a good tip is to number the bottom of the drawers in pencil as you remove them. My dad taught me that one when I moved my doppelgaenger dresser up to Boston.
It came through eventually! 🙂 Thanks for the tip… definitely a lesson learned for me!
What fun dresser! I am dying to give a face lift to my old dresser, but am affraid that it’s going to be more work than I am ready to take on. Did you have to sand/refinish your dresser before painting it? Thank you!
Hi Sibel, Thanks!. I definitely sanded the dresser to remove any grit and to give the paint something to ‘grab onto’. I used a paint with primer. It’s chipped off in a few places near the drawers where it gets really beat up, but everywhere else is in great shape. Hope this help! xo Charlotte
I absolutely love the ABC’s wall hanging above your adorably re-done dresser.. Mind sharing where it’s from?
Thanks!
Thanks, Kailey! My mother-in-law gave it to me when Eleanor was born… I have no idea where she got it! I’m so sorry. (But I agree… it’s the best!)