
How to Make an Oversized Christmas Snow Globe
Psssst… this post *might* contain affiliate links: see my disclosure here.
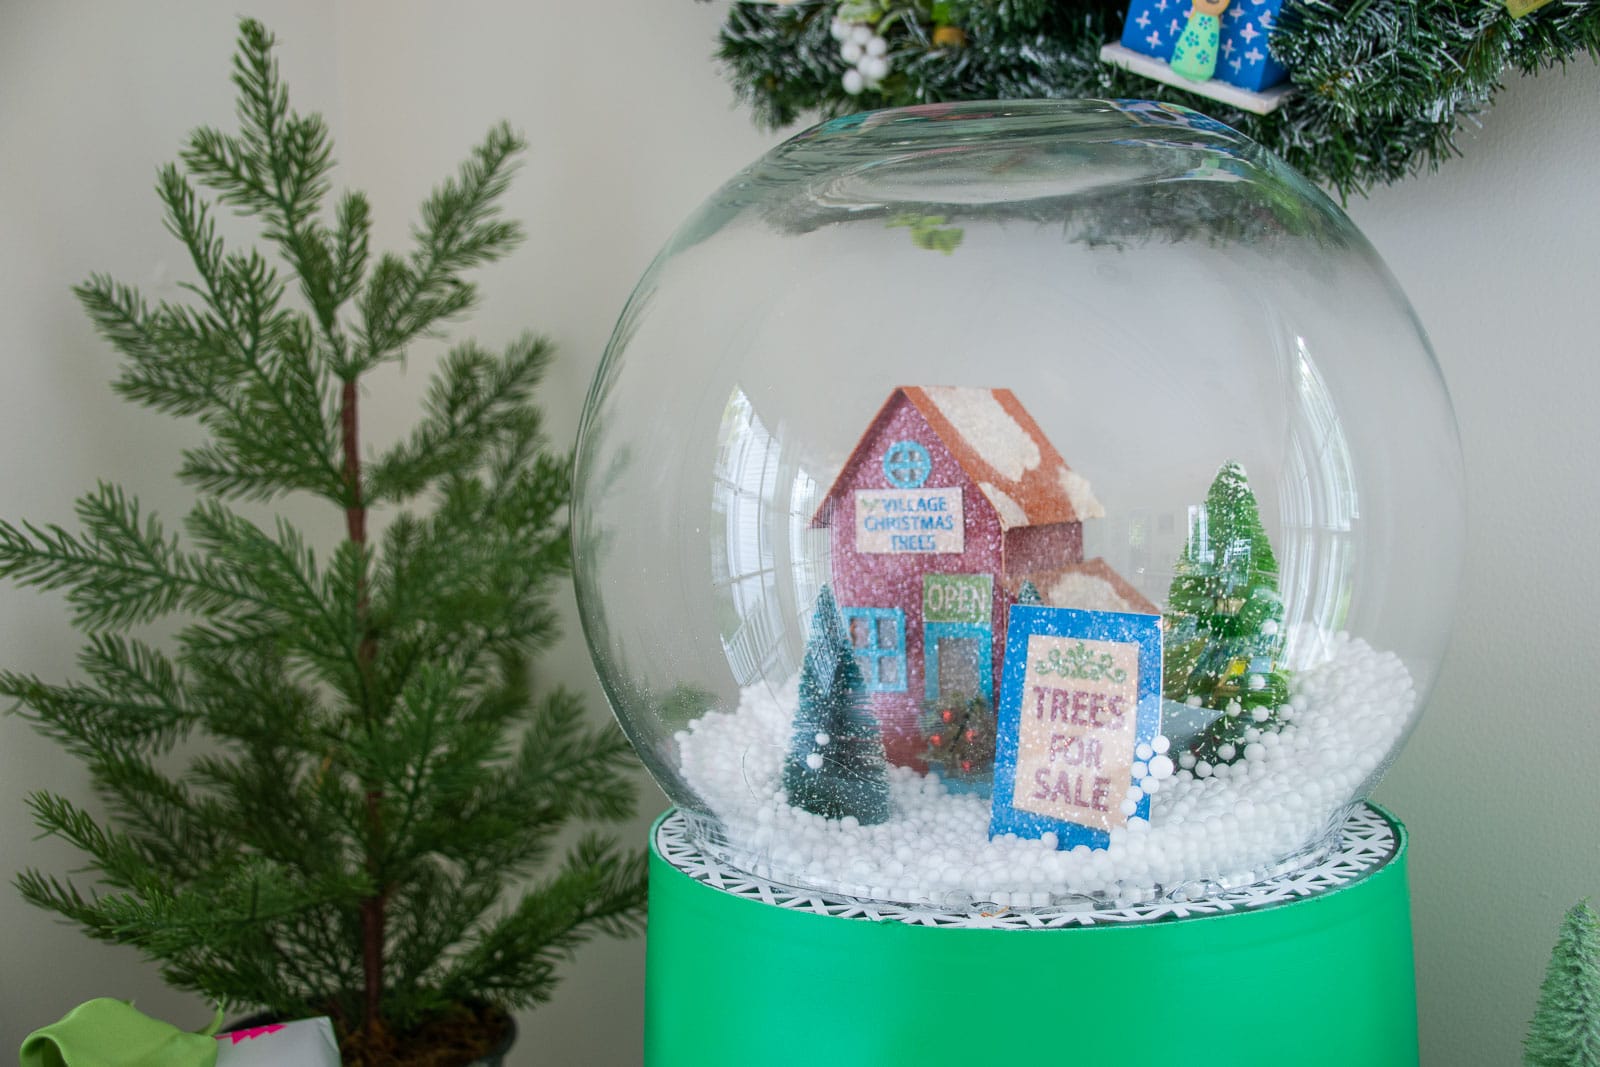
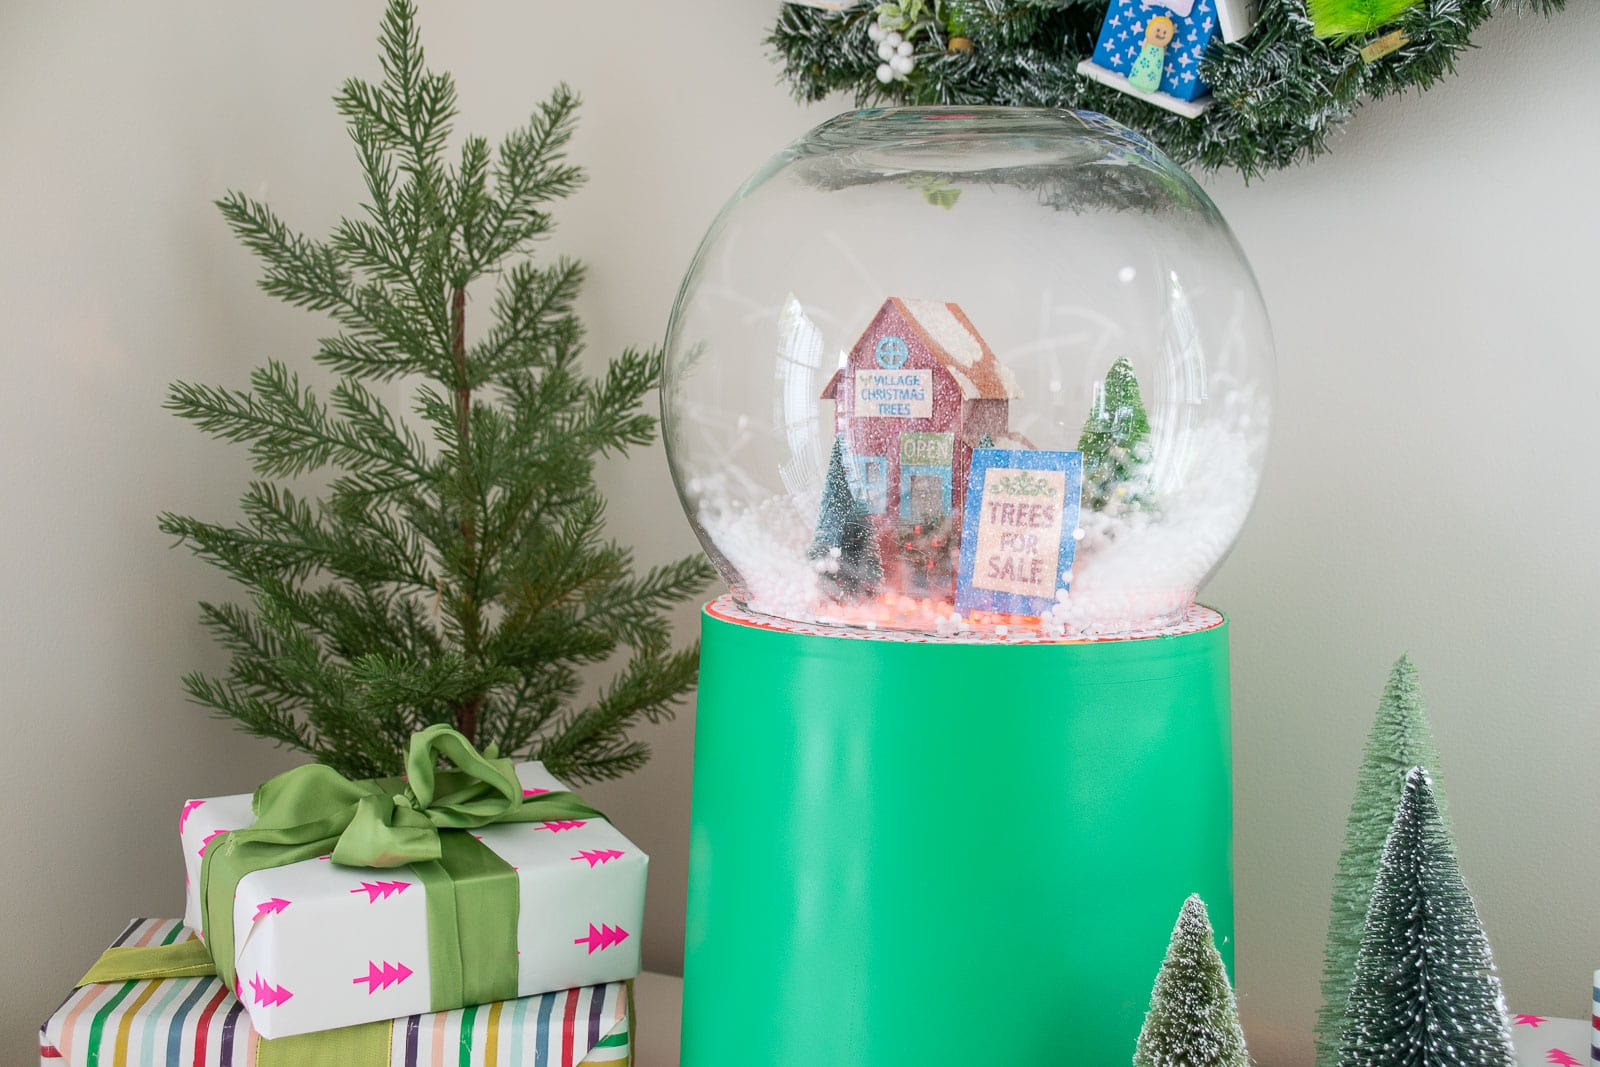
DIY Giant Christmas Snow Globe
See how easy it is to make this oversized working snow globe for the holidays!
Disclosure: I’m partnering with The Home Depot and their DIY On-Trend Workshops, inspired by Pinterest, to share this post with you.
Shop my favorites!
Last fall, my friend Sam (DIY Huntress) and I had the “pinch me” opportunity of working together and competing on an HGTV Holiday Craft show called Holiday Crafter’s Gone Wild. One of the projects we made was this oversized working snow globe. I’ve been counting down until this season when I could make a tutorial for you guys and today’s the day!! Materials are pretty simple, but everything is linked in the list at the end of the post.
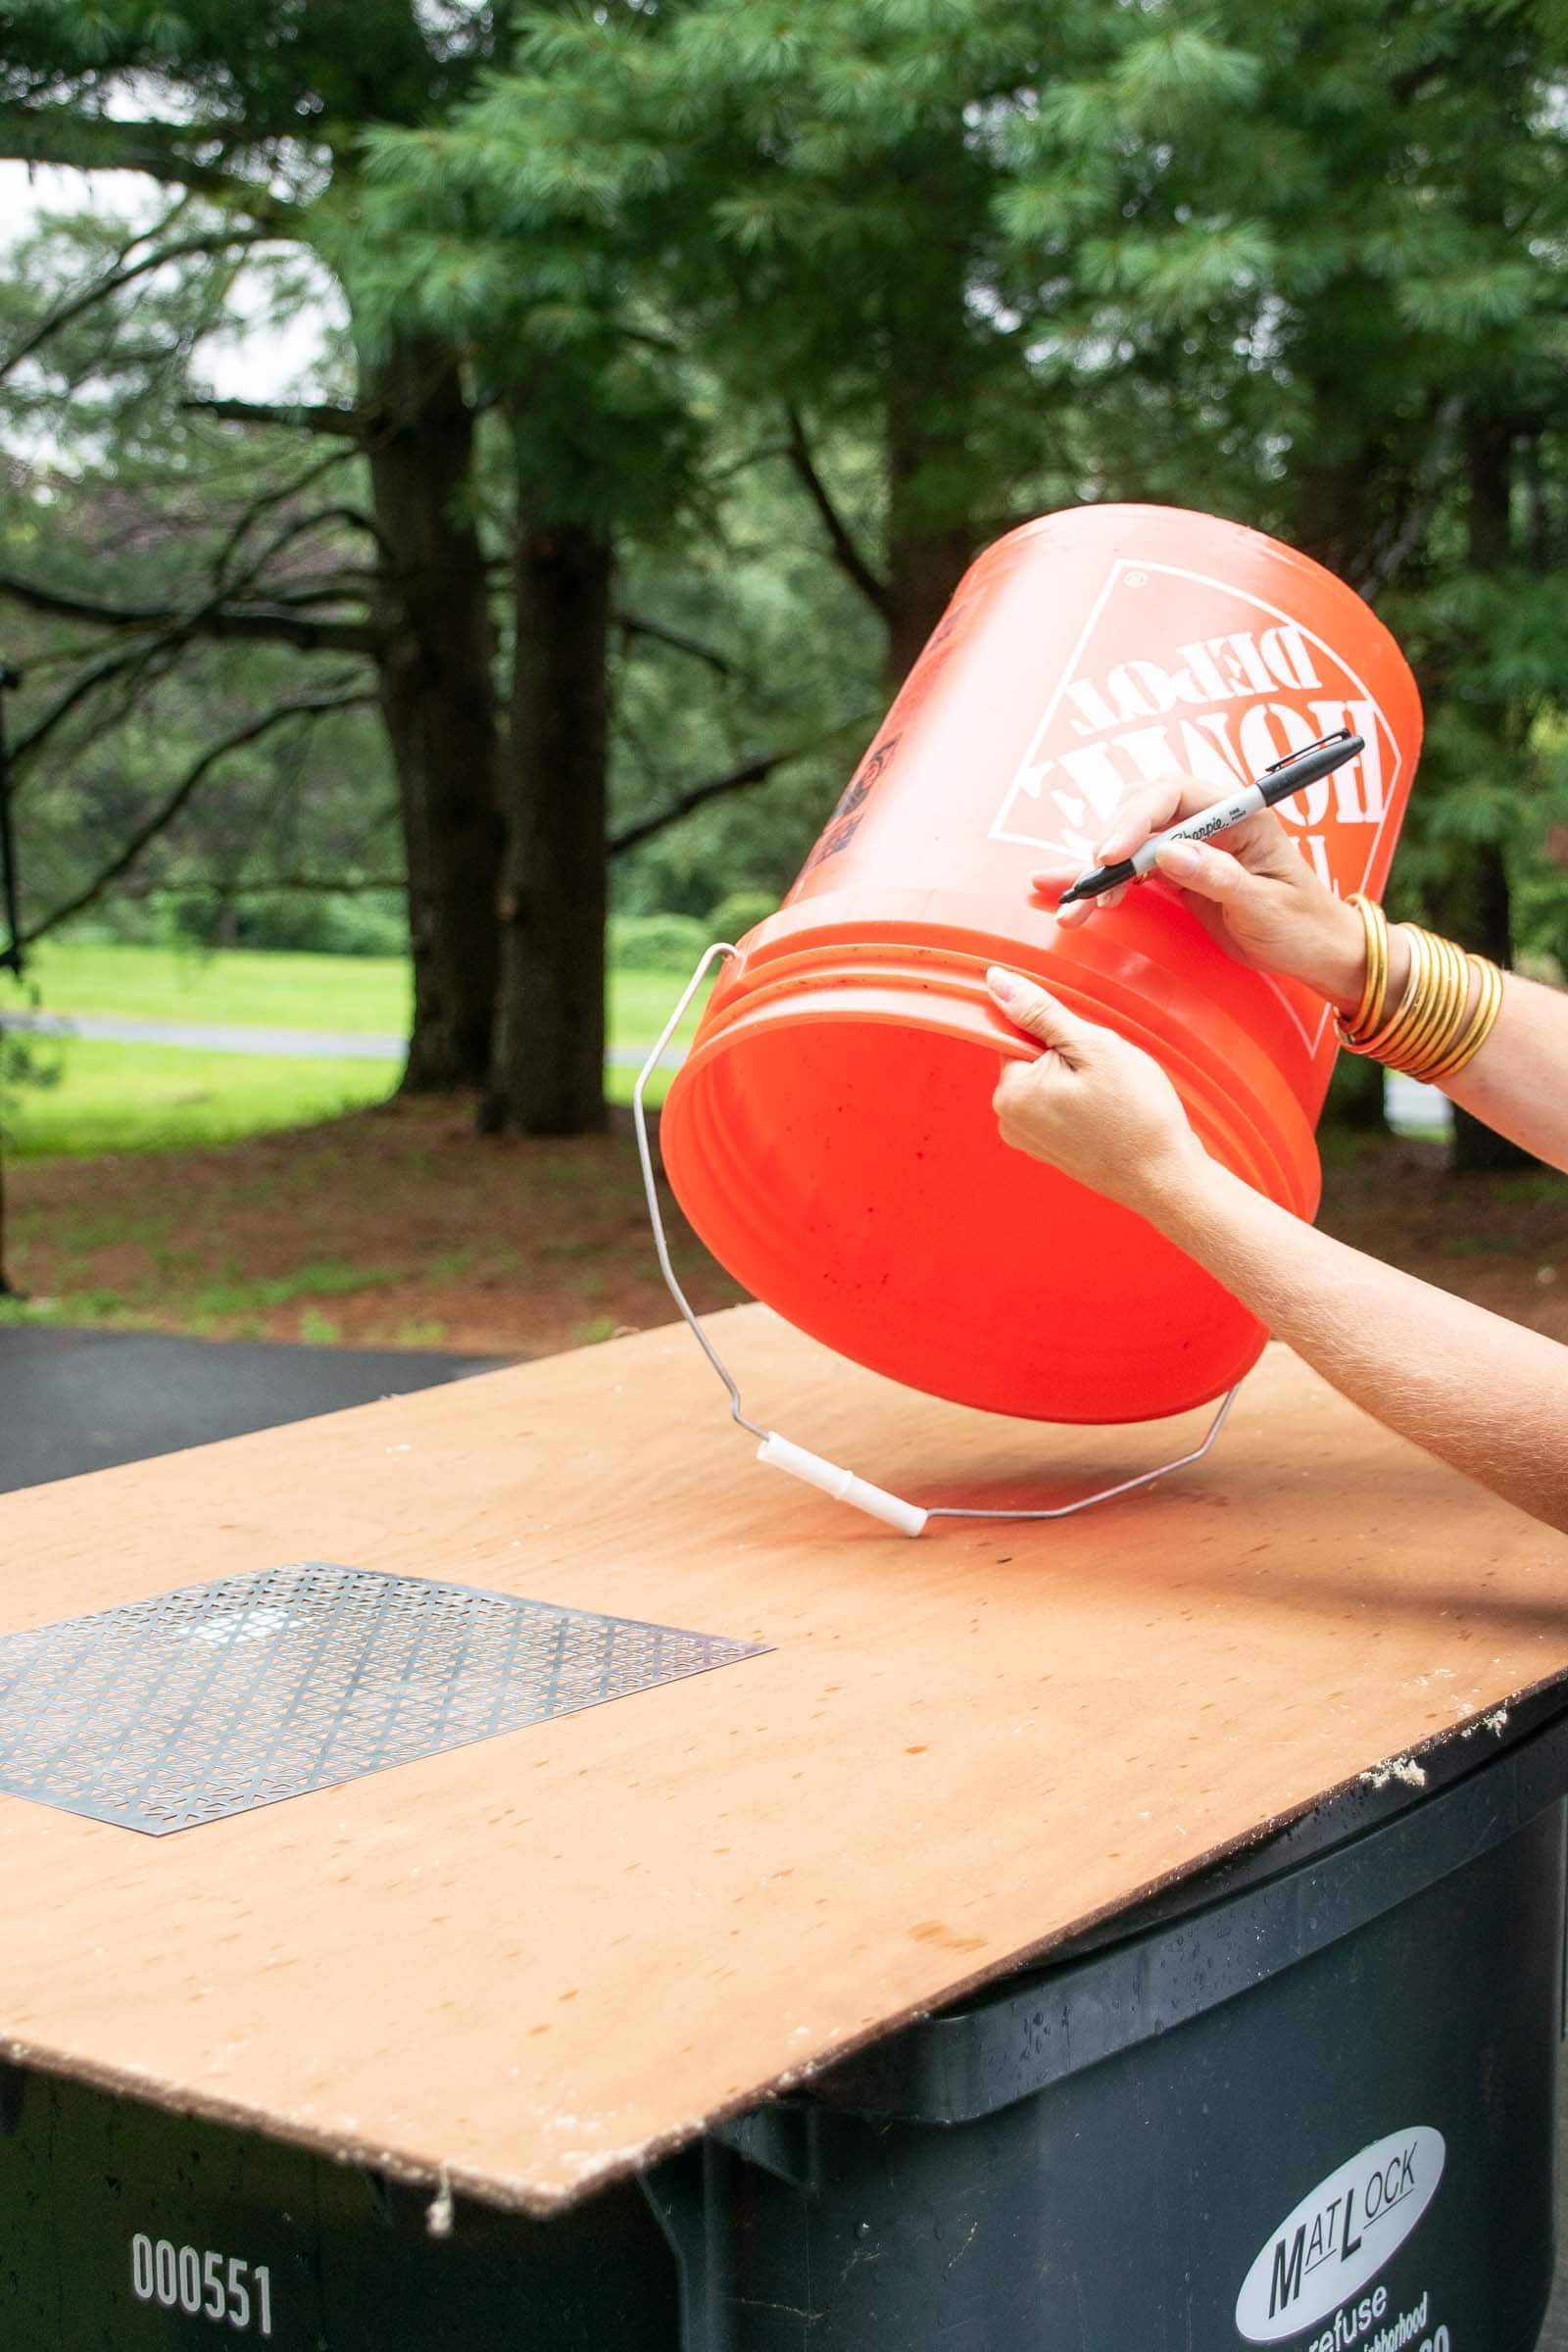
Step 1. Cut down your bucket
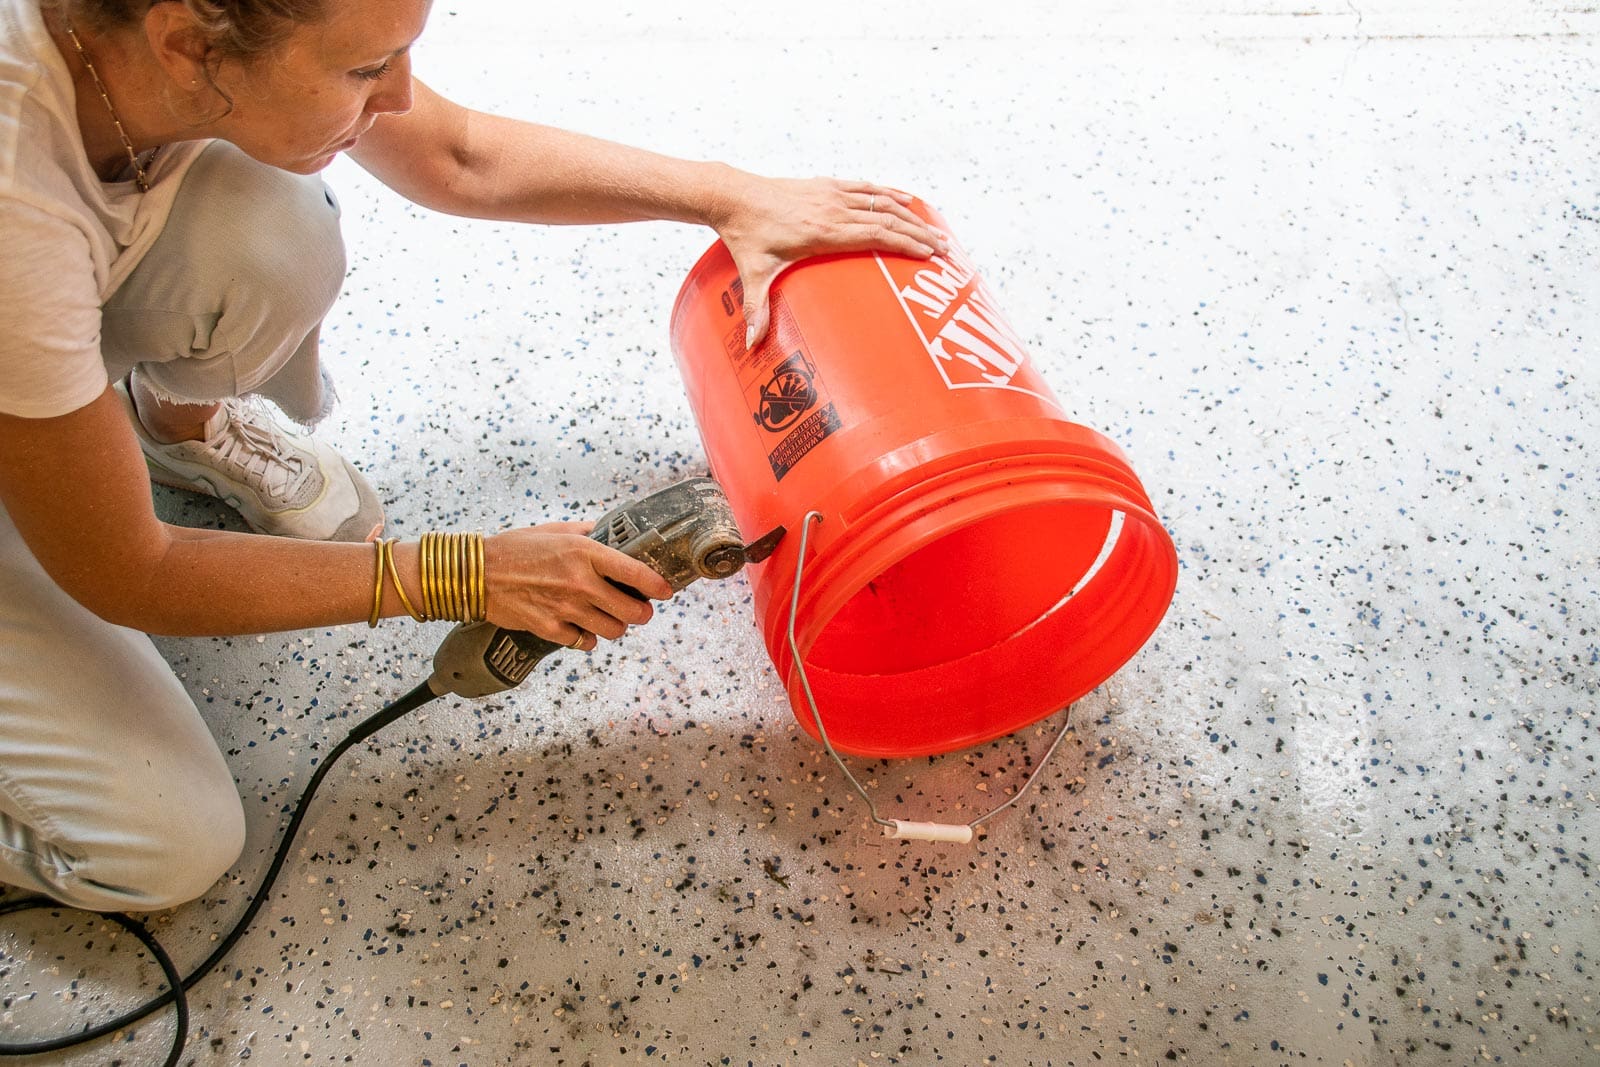
Make sure the bottom of the bucket you’re working with fits your glass bowl before cutting it apart. I’m using a basic Home Depot bucket here, but used a slightly smaller paint bucket for the one we created for the show. I used my Dremel Multimax to cut the bottom edge off the the bucket. I marked it with a Sharpie first.
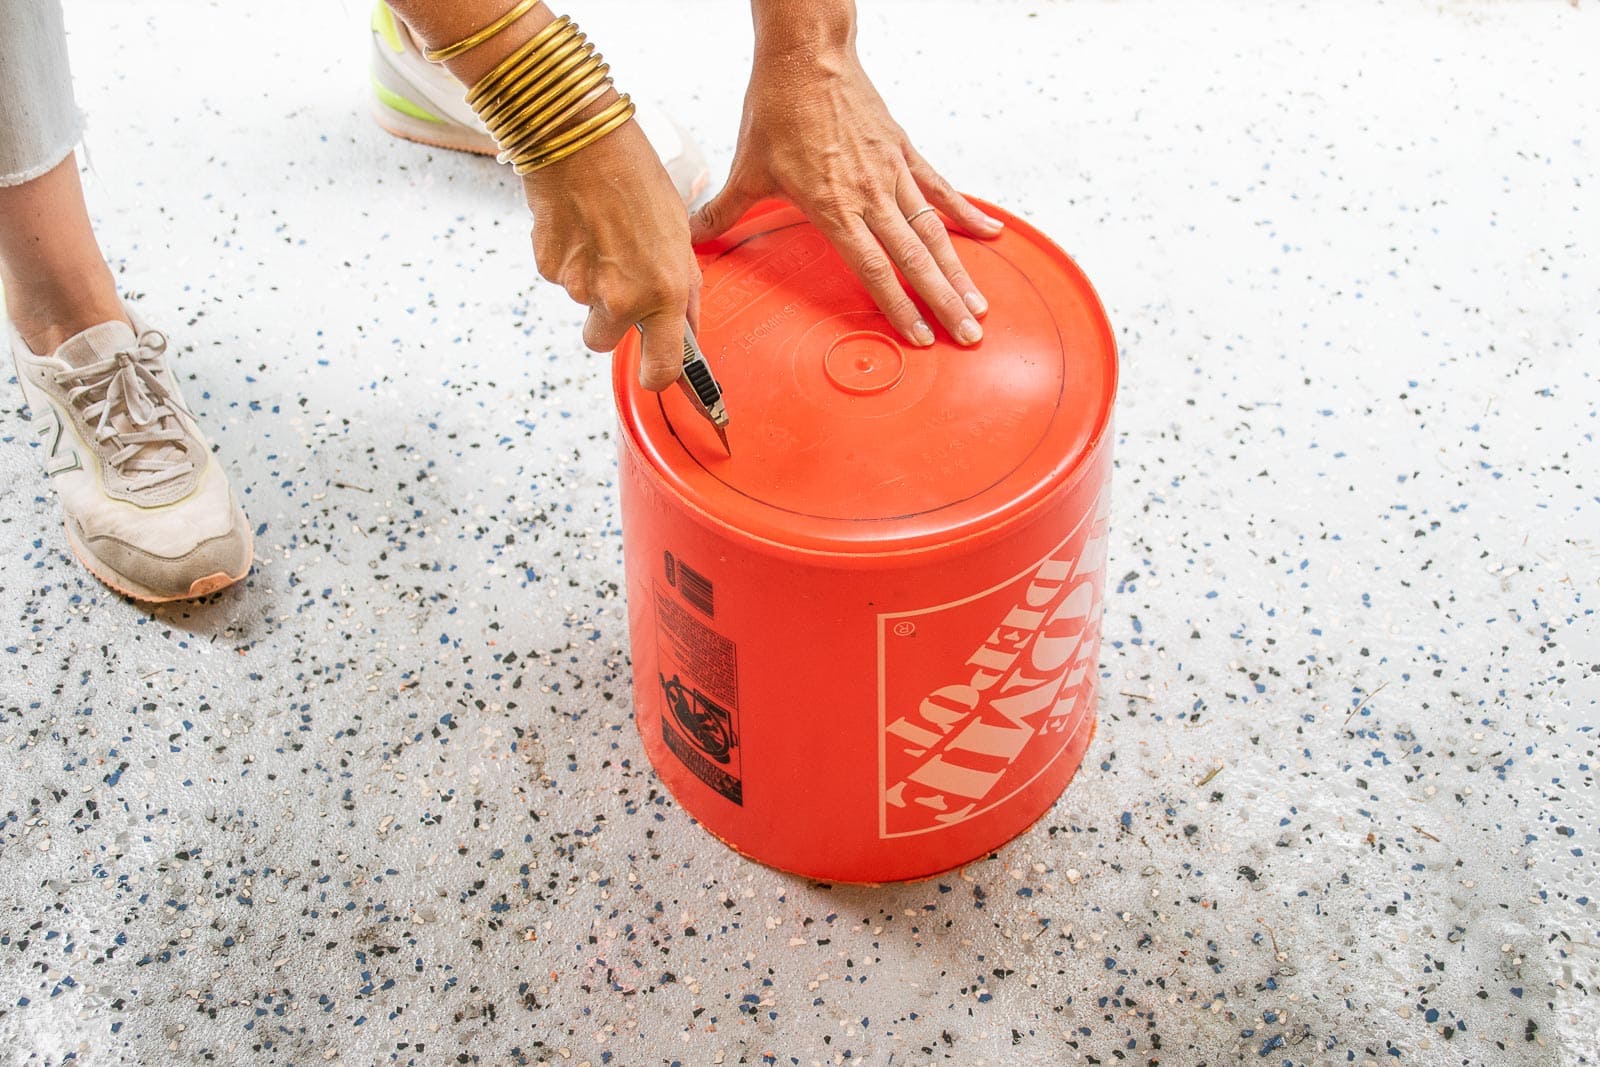
Trace the opening of the glass bowl onto the bottom of the bucket and then cut out a circle about 1 inch smaller than the bowl opening. I used a utility knife to cut the circle.
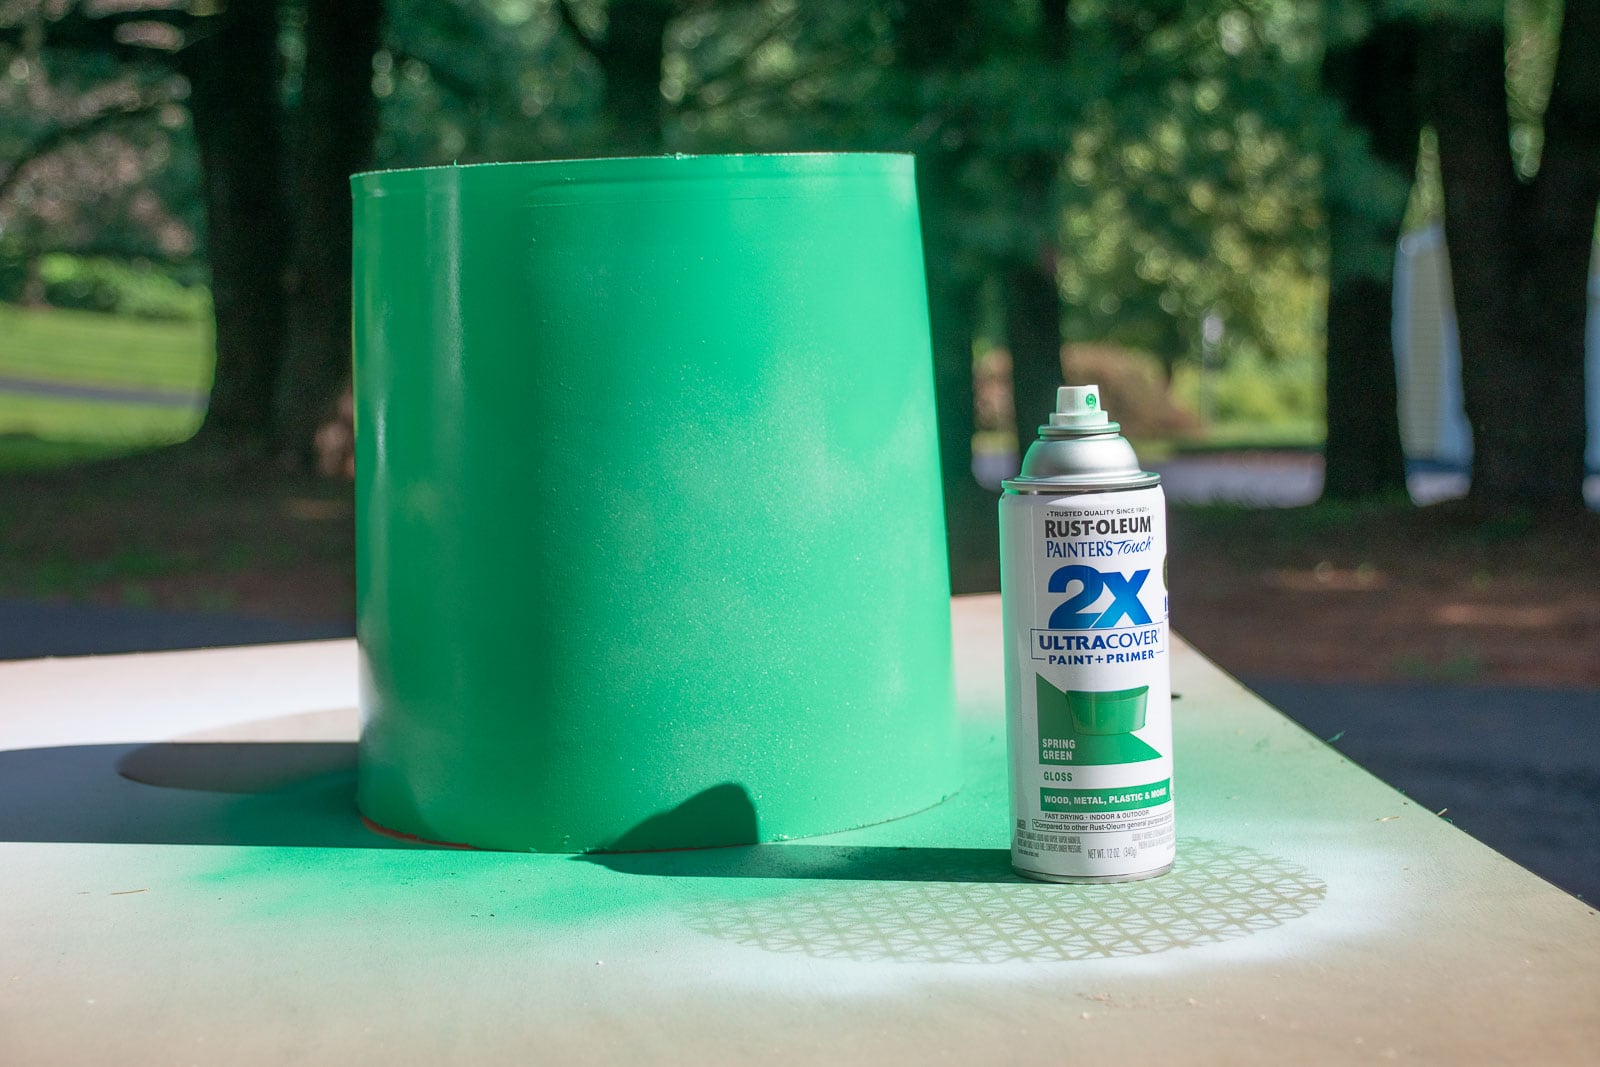
Step 2. Spray Paint the Bucket
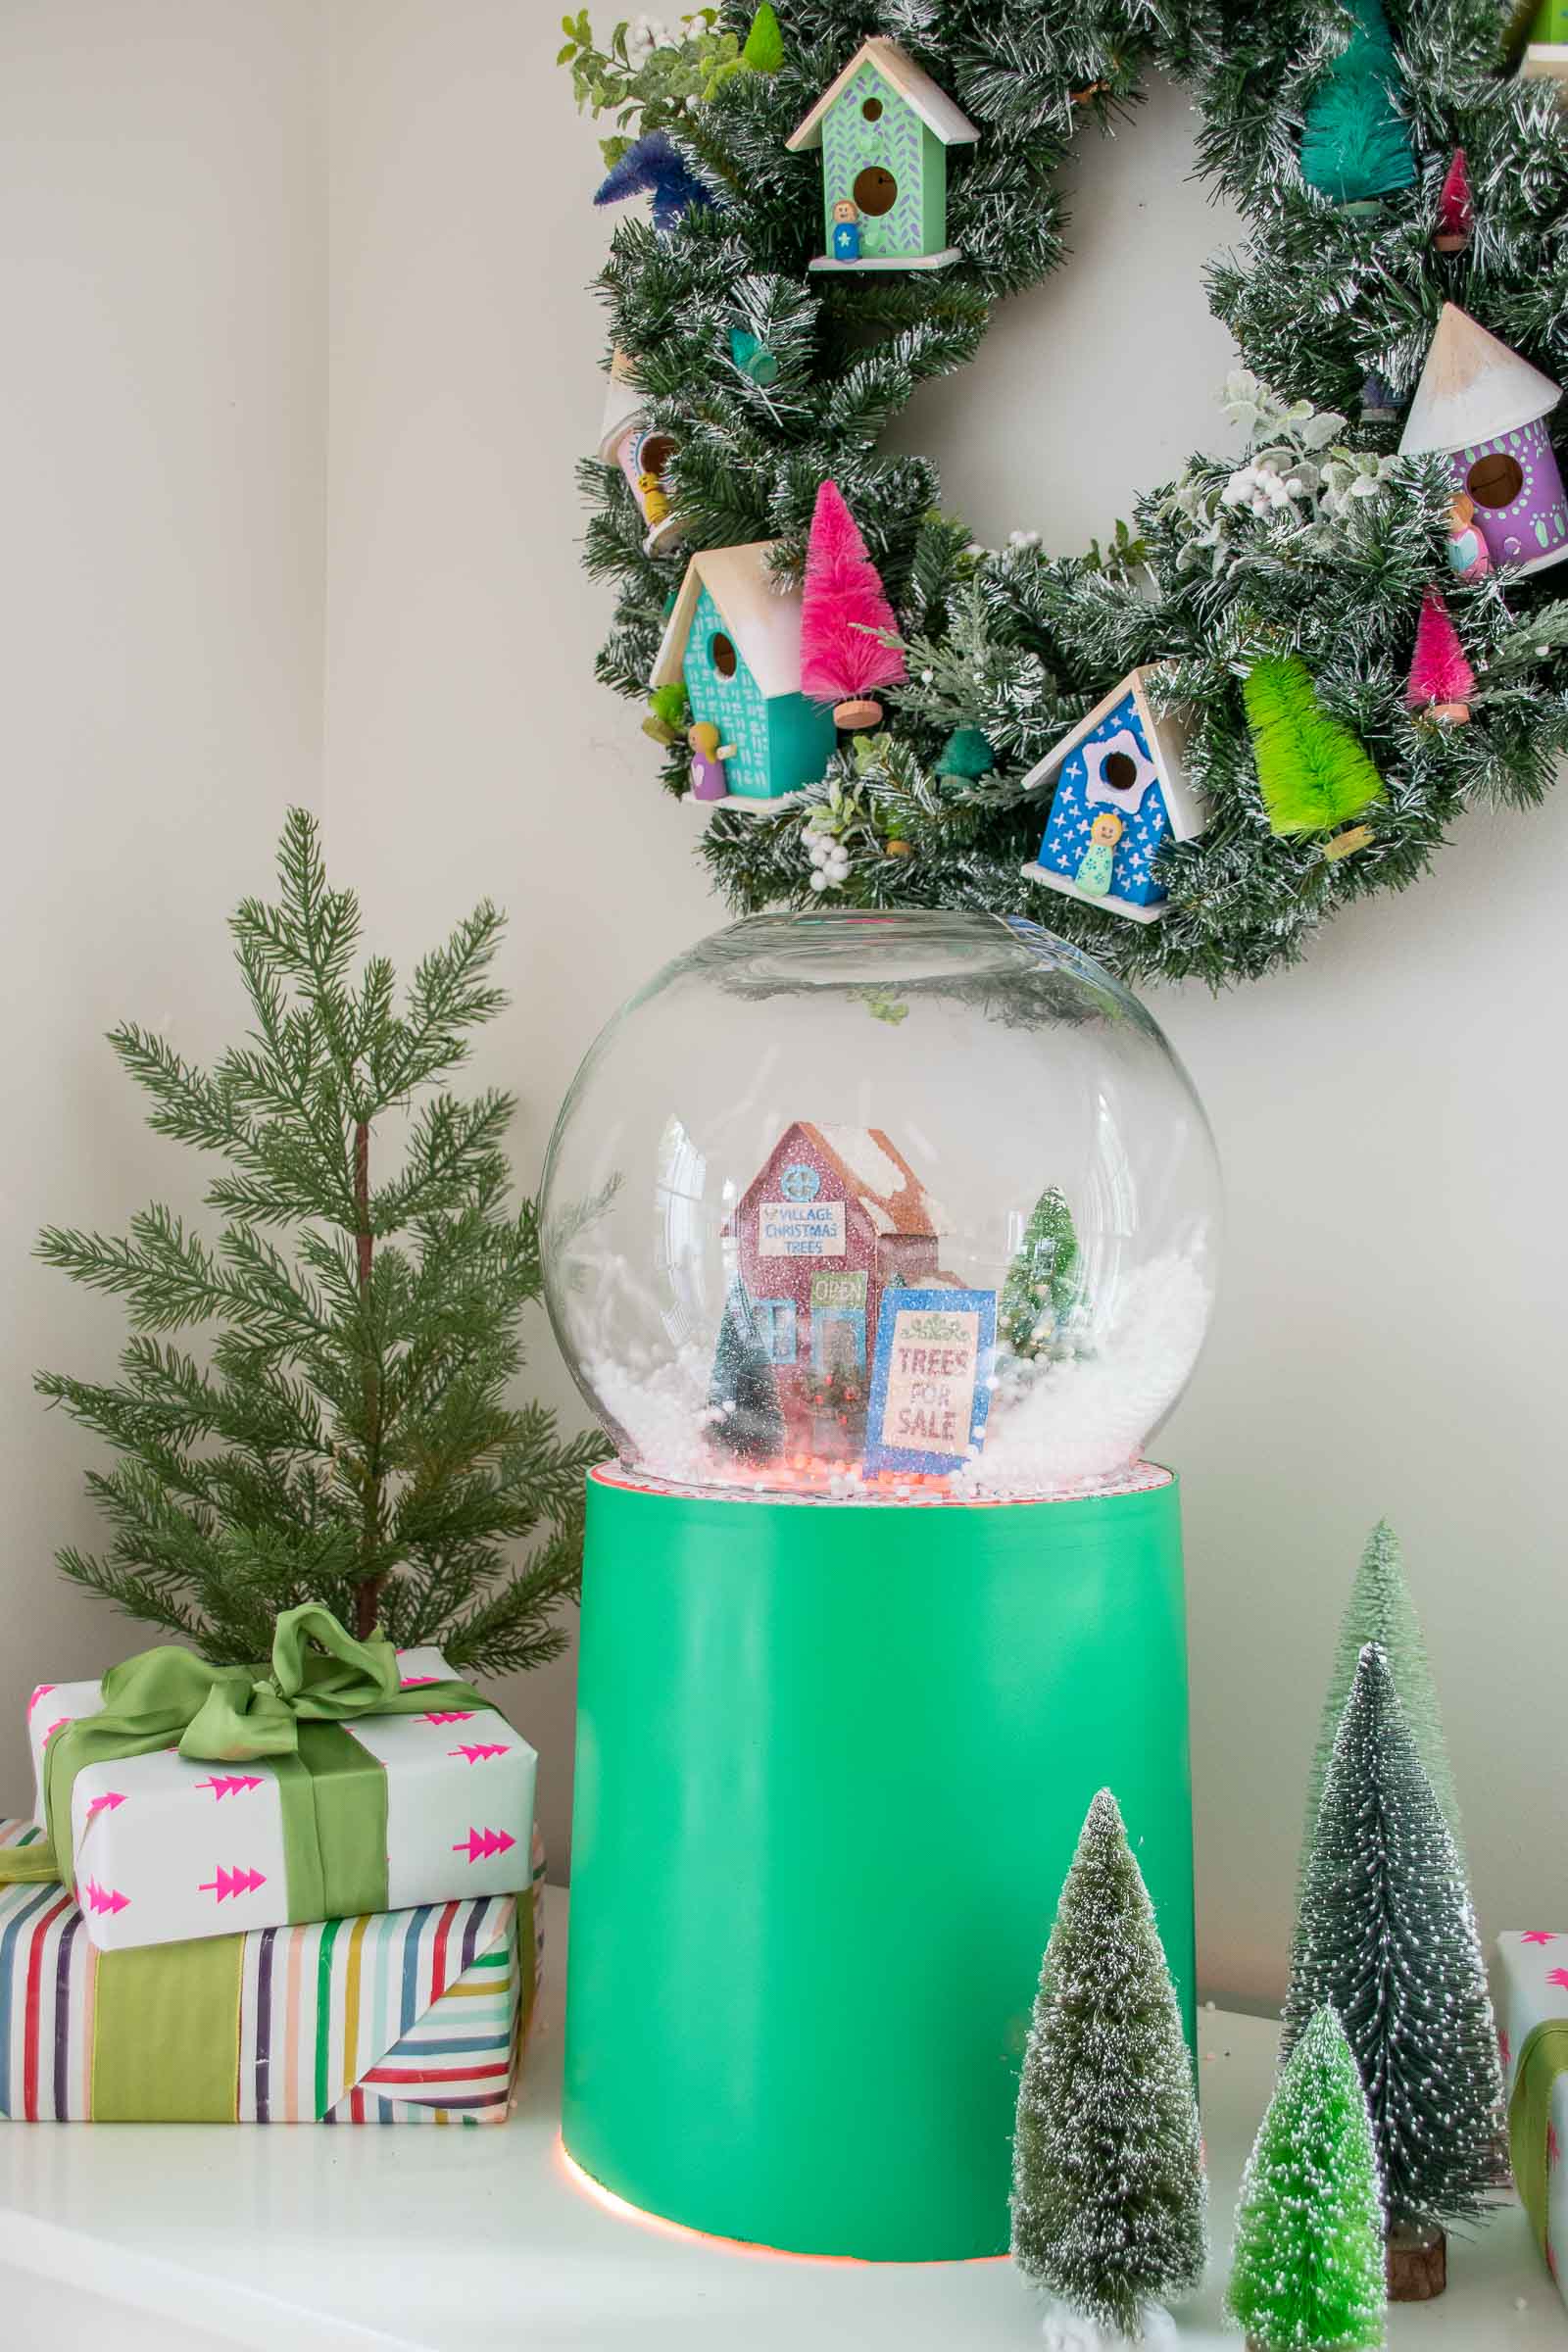
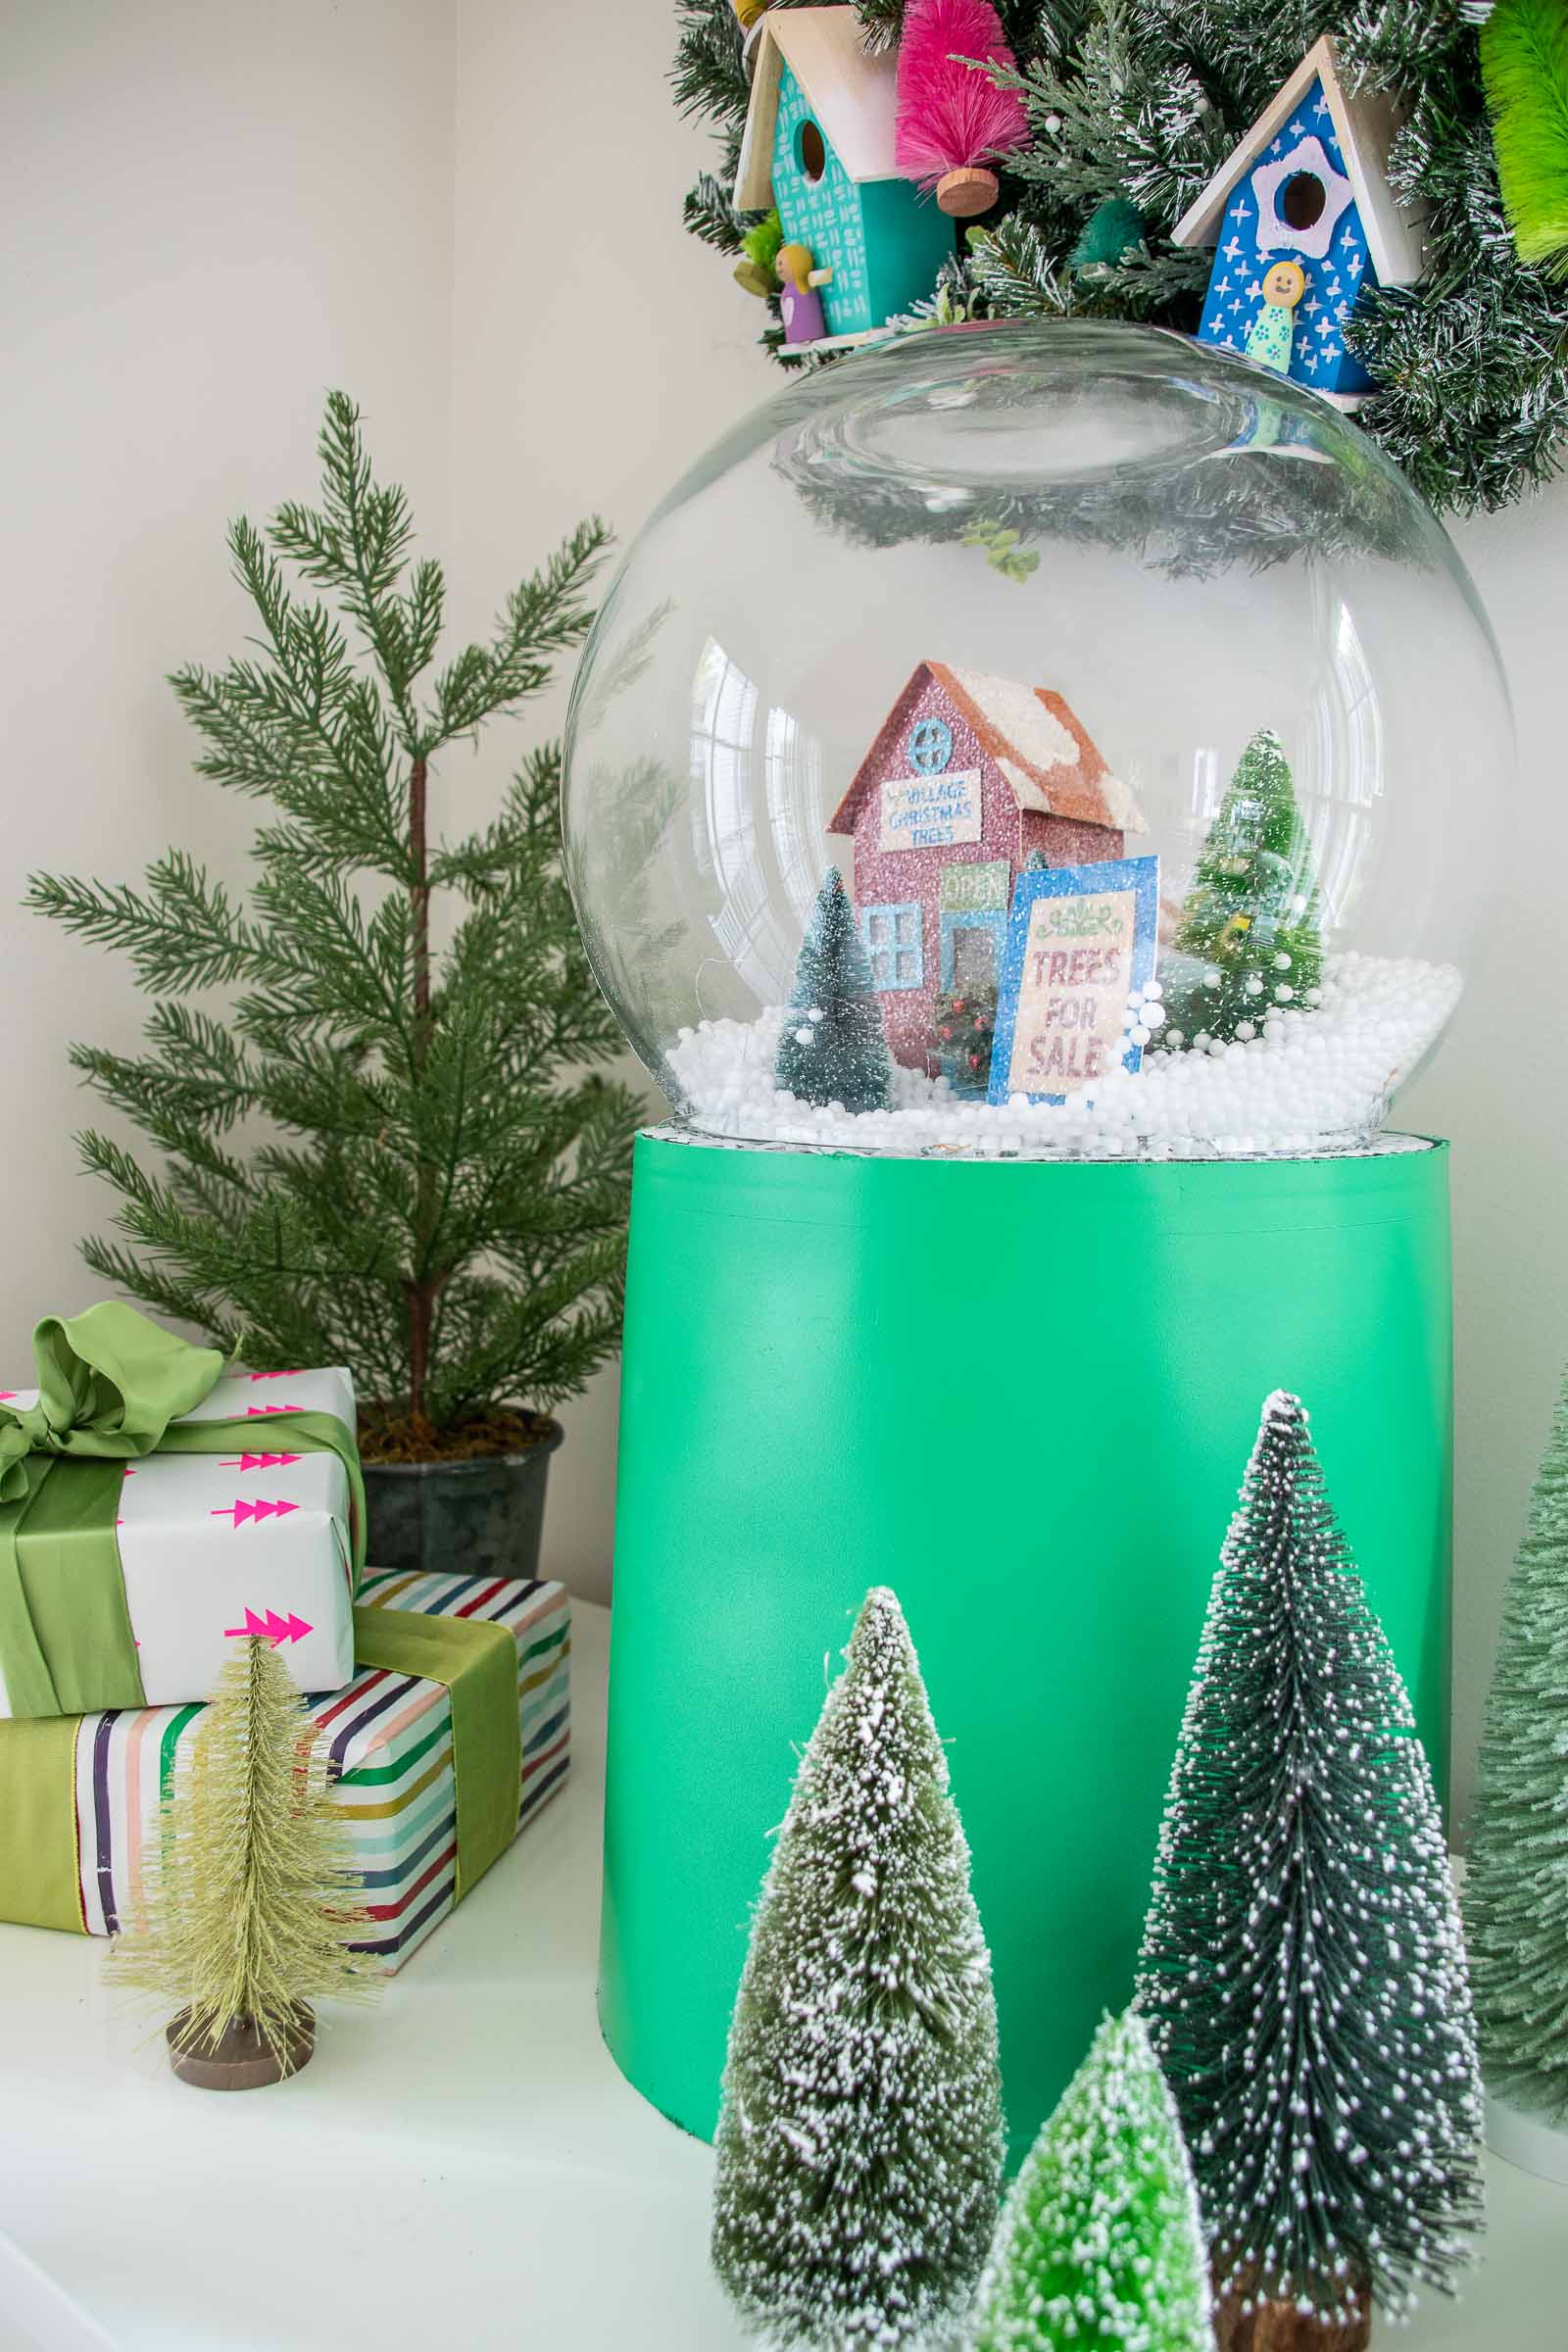
I gave the bucket a light sanding, cleaned it well and primed it first. Once the primer was set up, I gave it a coat of spray paint in my favorite green. (Obviously any color works… I like RustOleum’s 2x paint for painting plastic like this.)
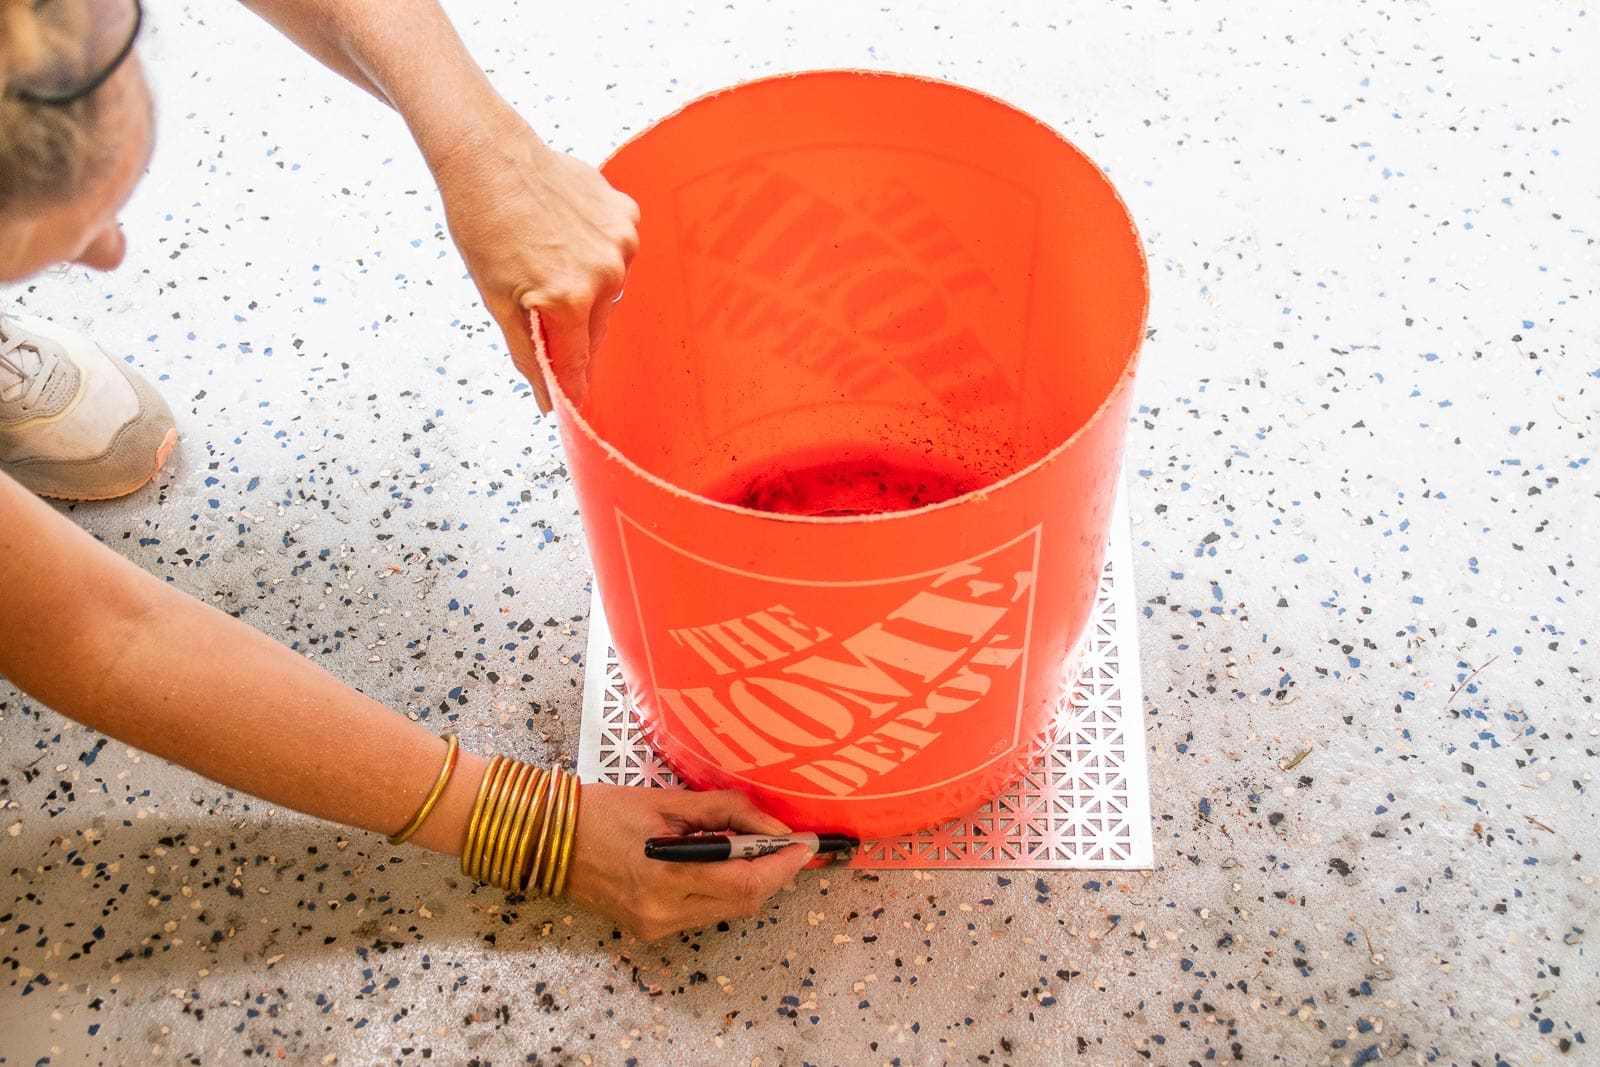
Step 3. Trace and cut out screen
I’m using a metal screen, technically called an aluminum mill sheet. You need something that will support the decorative items you choose for inside the snow globe but also have mesh/ screen small enough that the “snow” doesn’t fall through. I.e. a screen you’d use for a window would be small enough to keep the snow from falling through, but wouldn’t be strong enough to support the decorative items. This radiator ‘mesh’ fit the bill for my snow globe but you might find something else also! Flip the bucket over and trace it onto the screen.
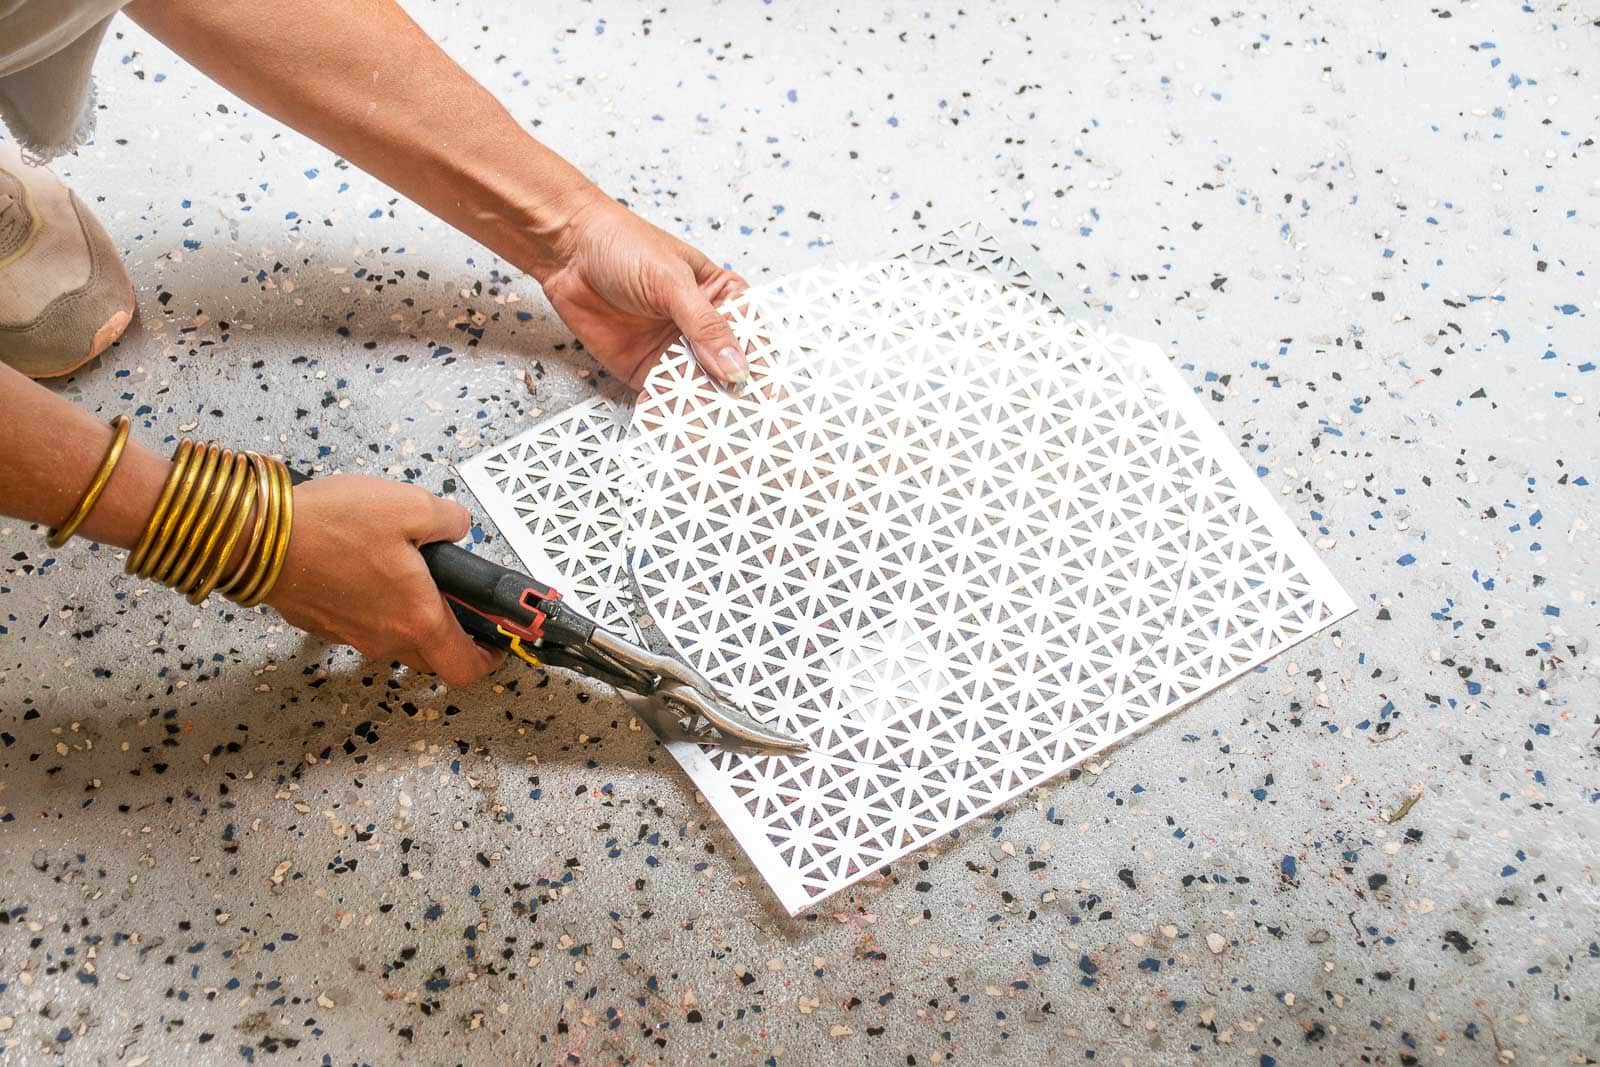
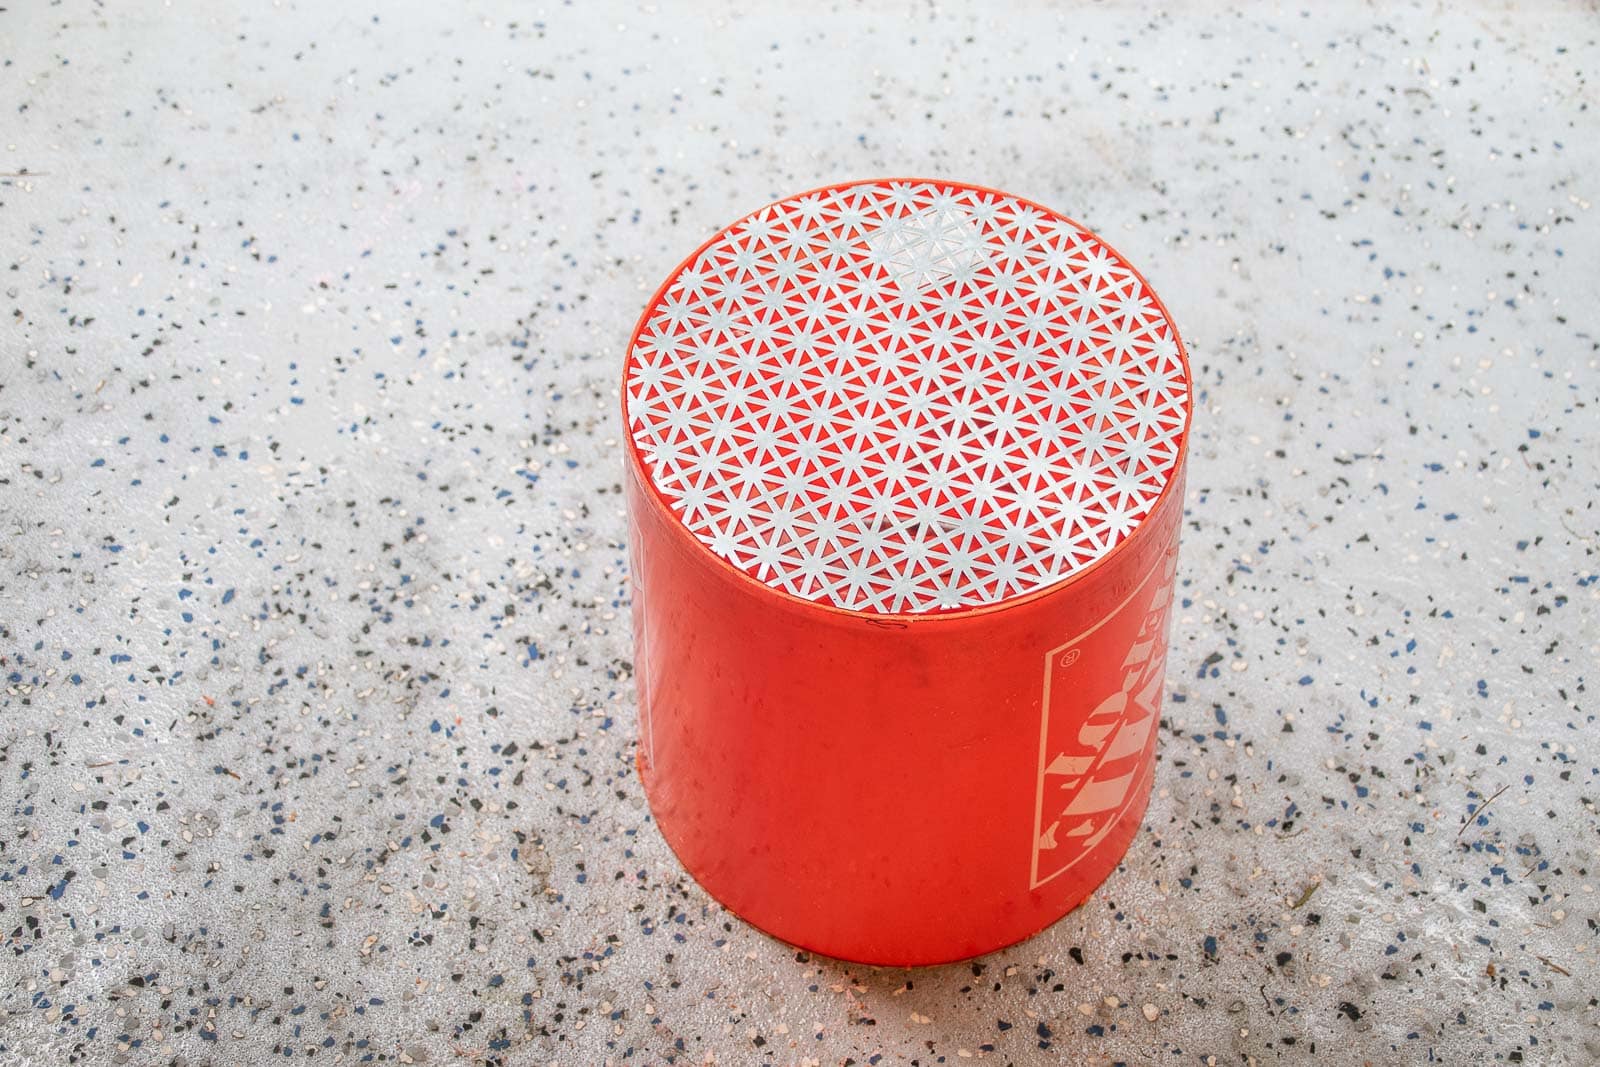
With tin snips, cut the circle out of the screen. You want it to fit right inside the lip of the bottom of the bucket. I spray painted my screen white so it would blend in with the snow a bit more, but this is personal preference.
Step 4. Glue the Inside of the Snow Globe in place
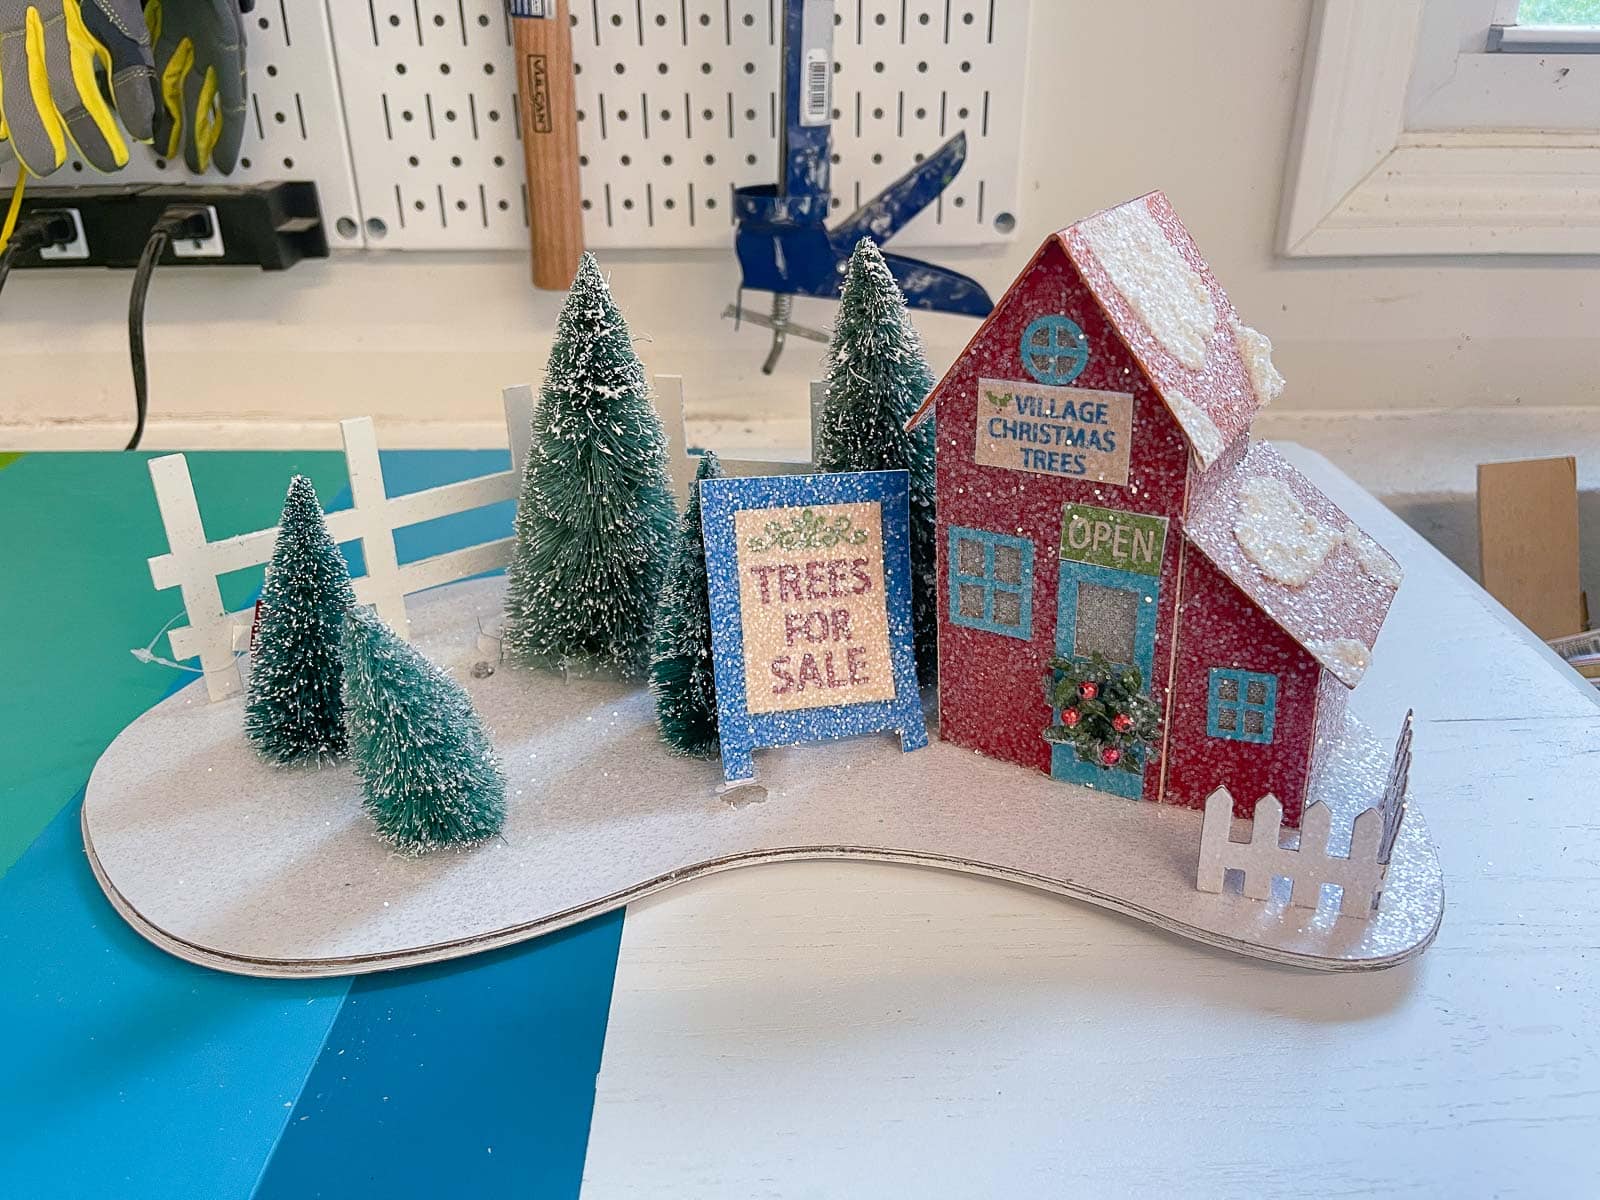
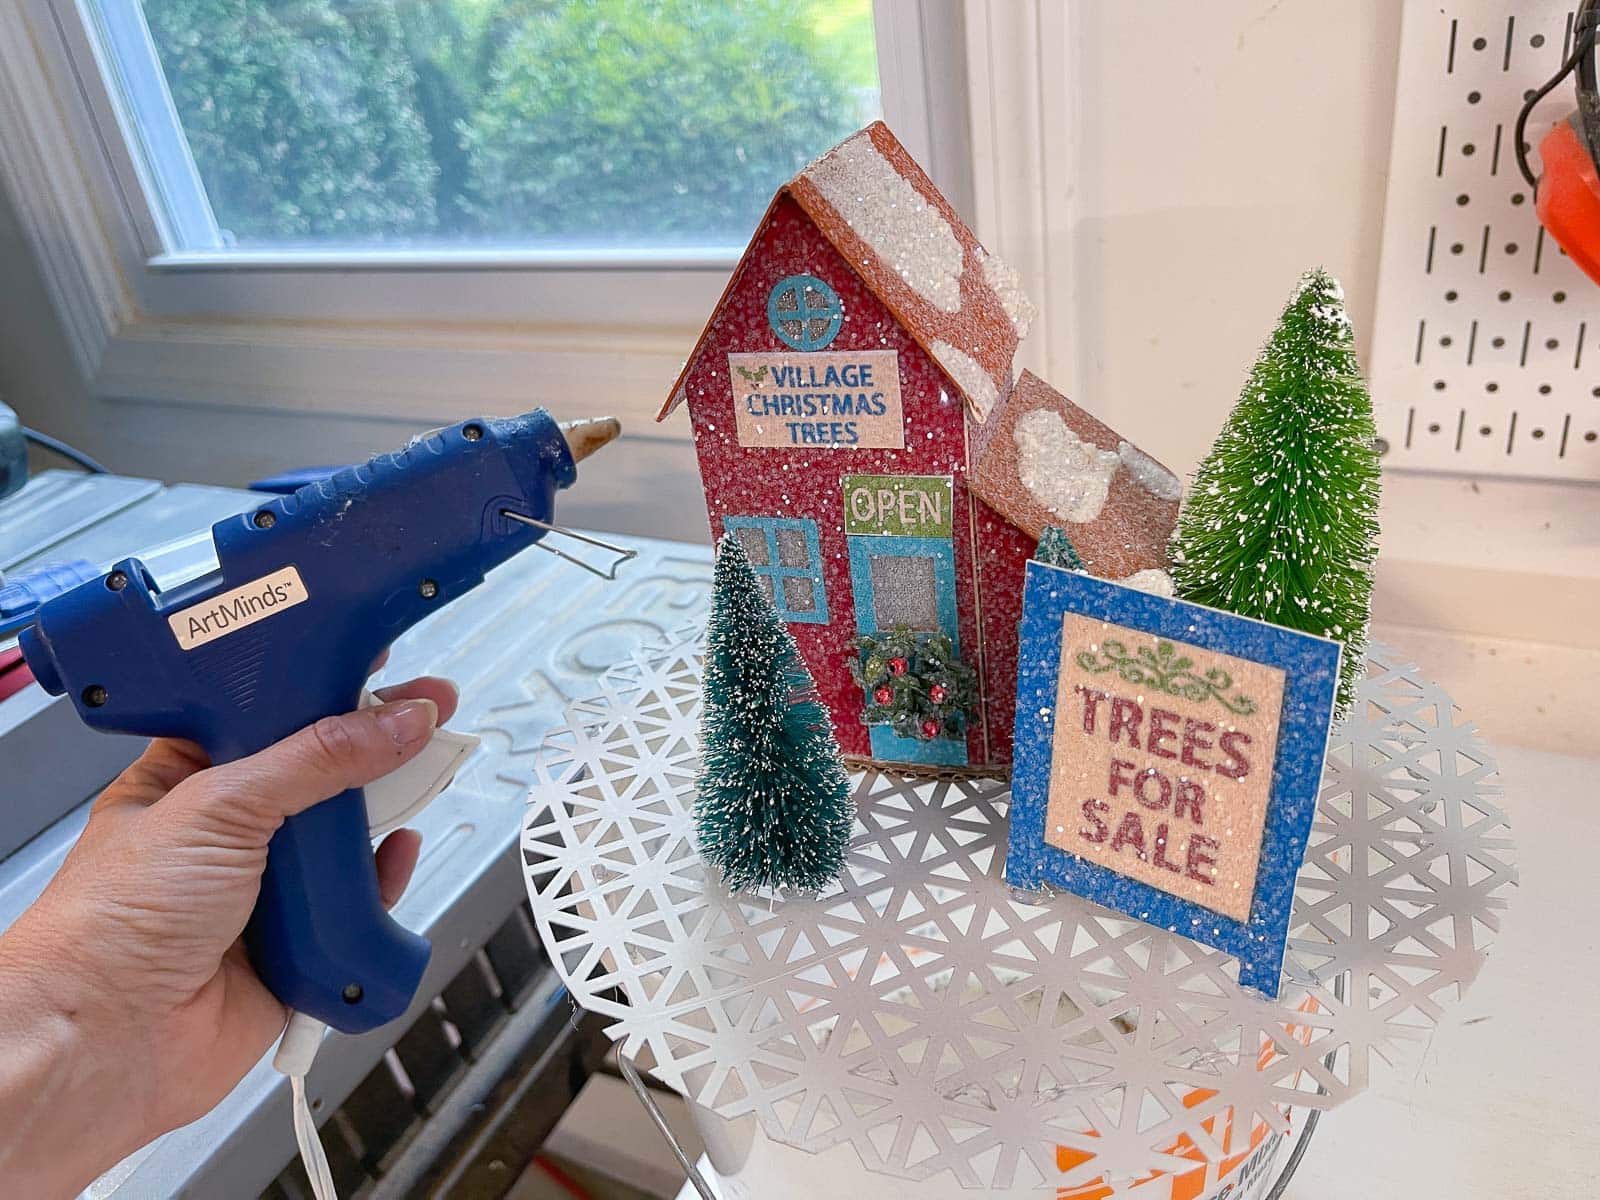
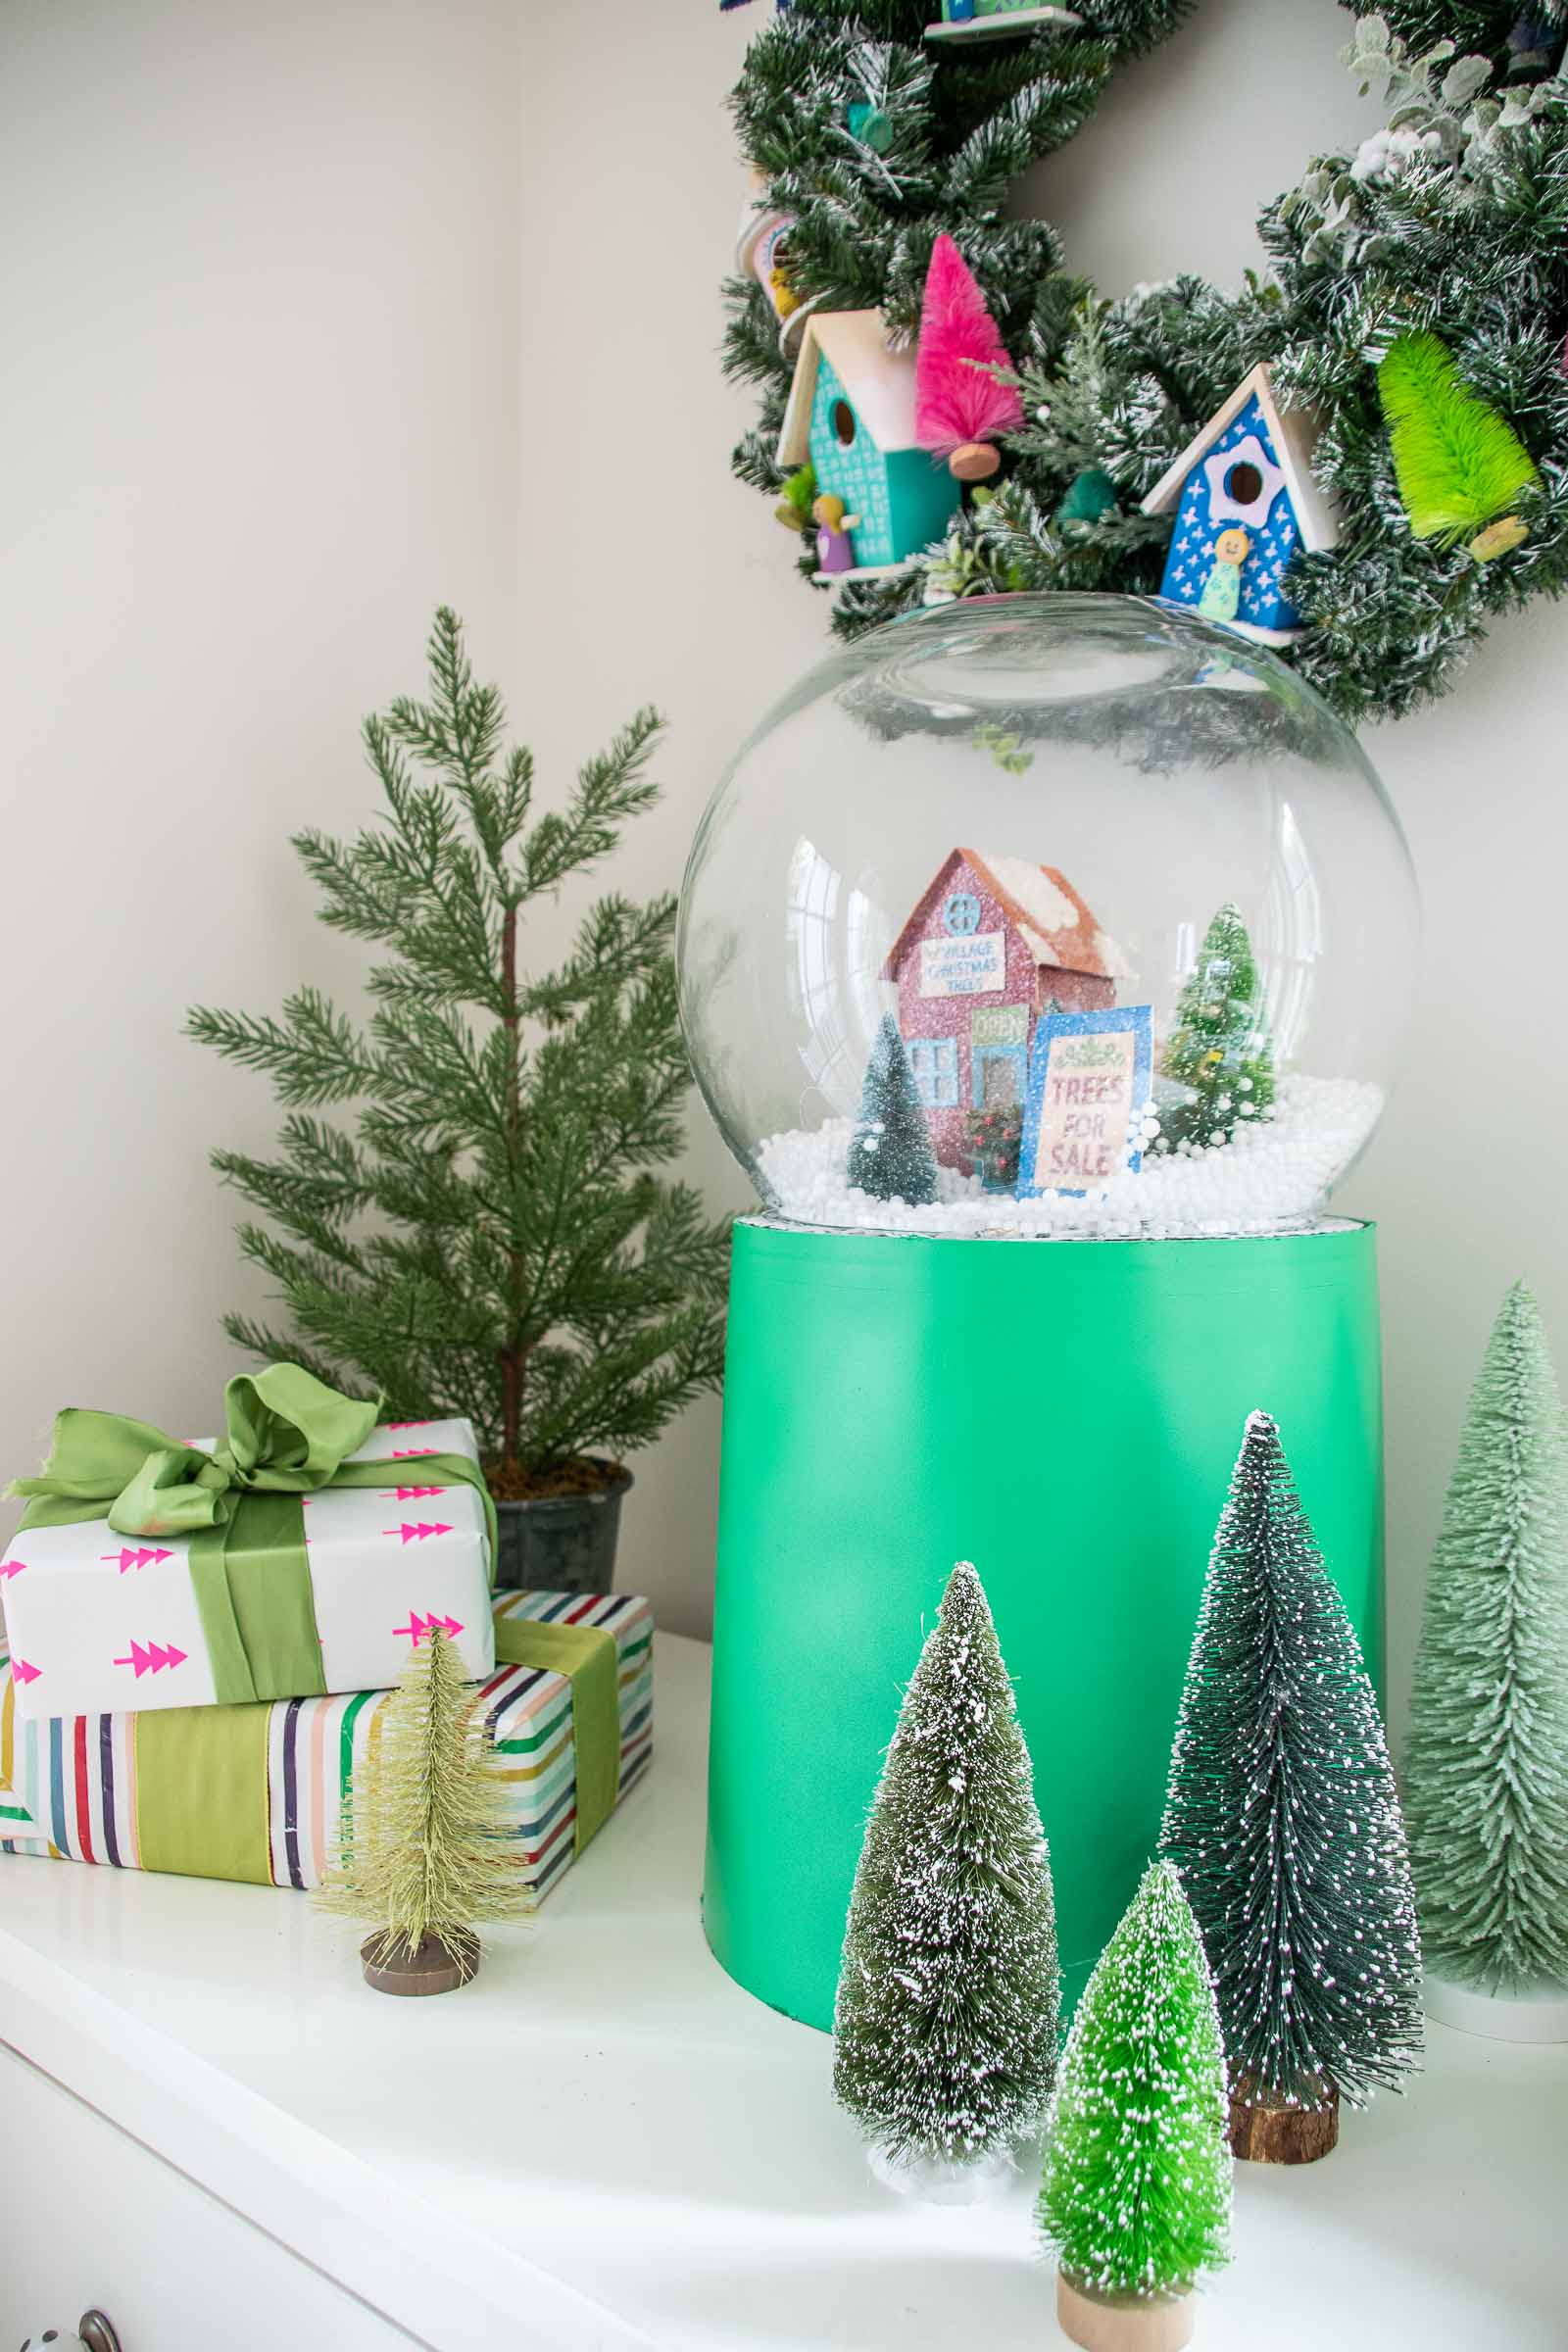
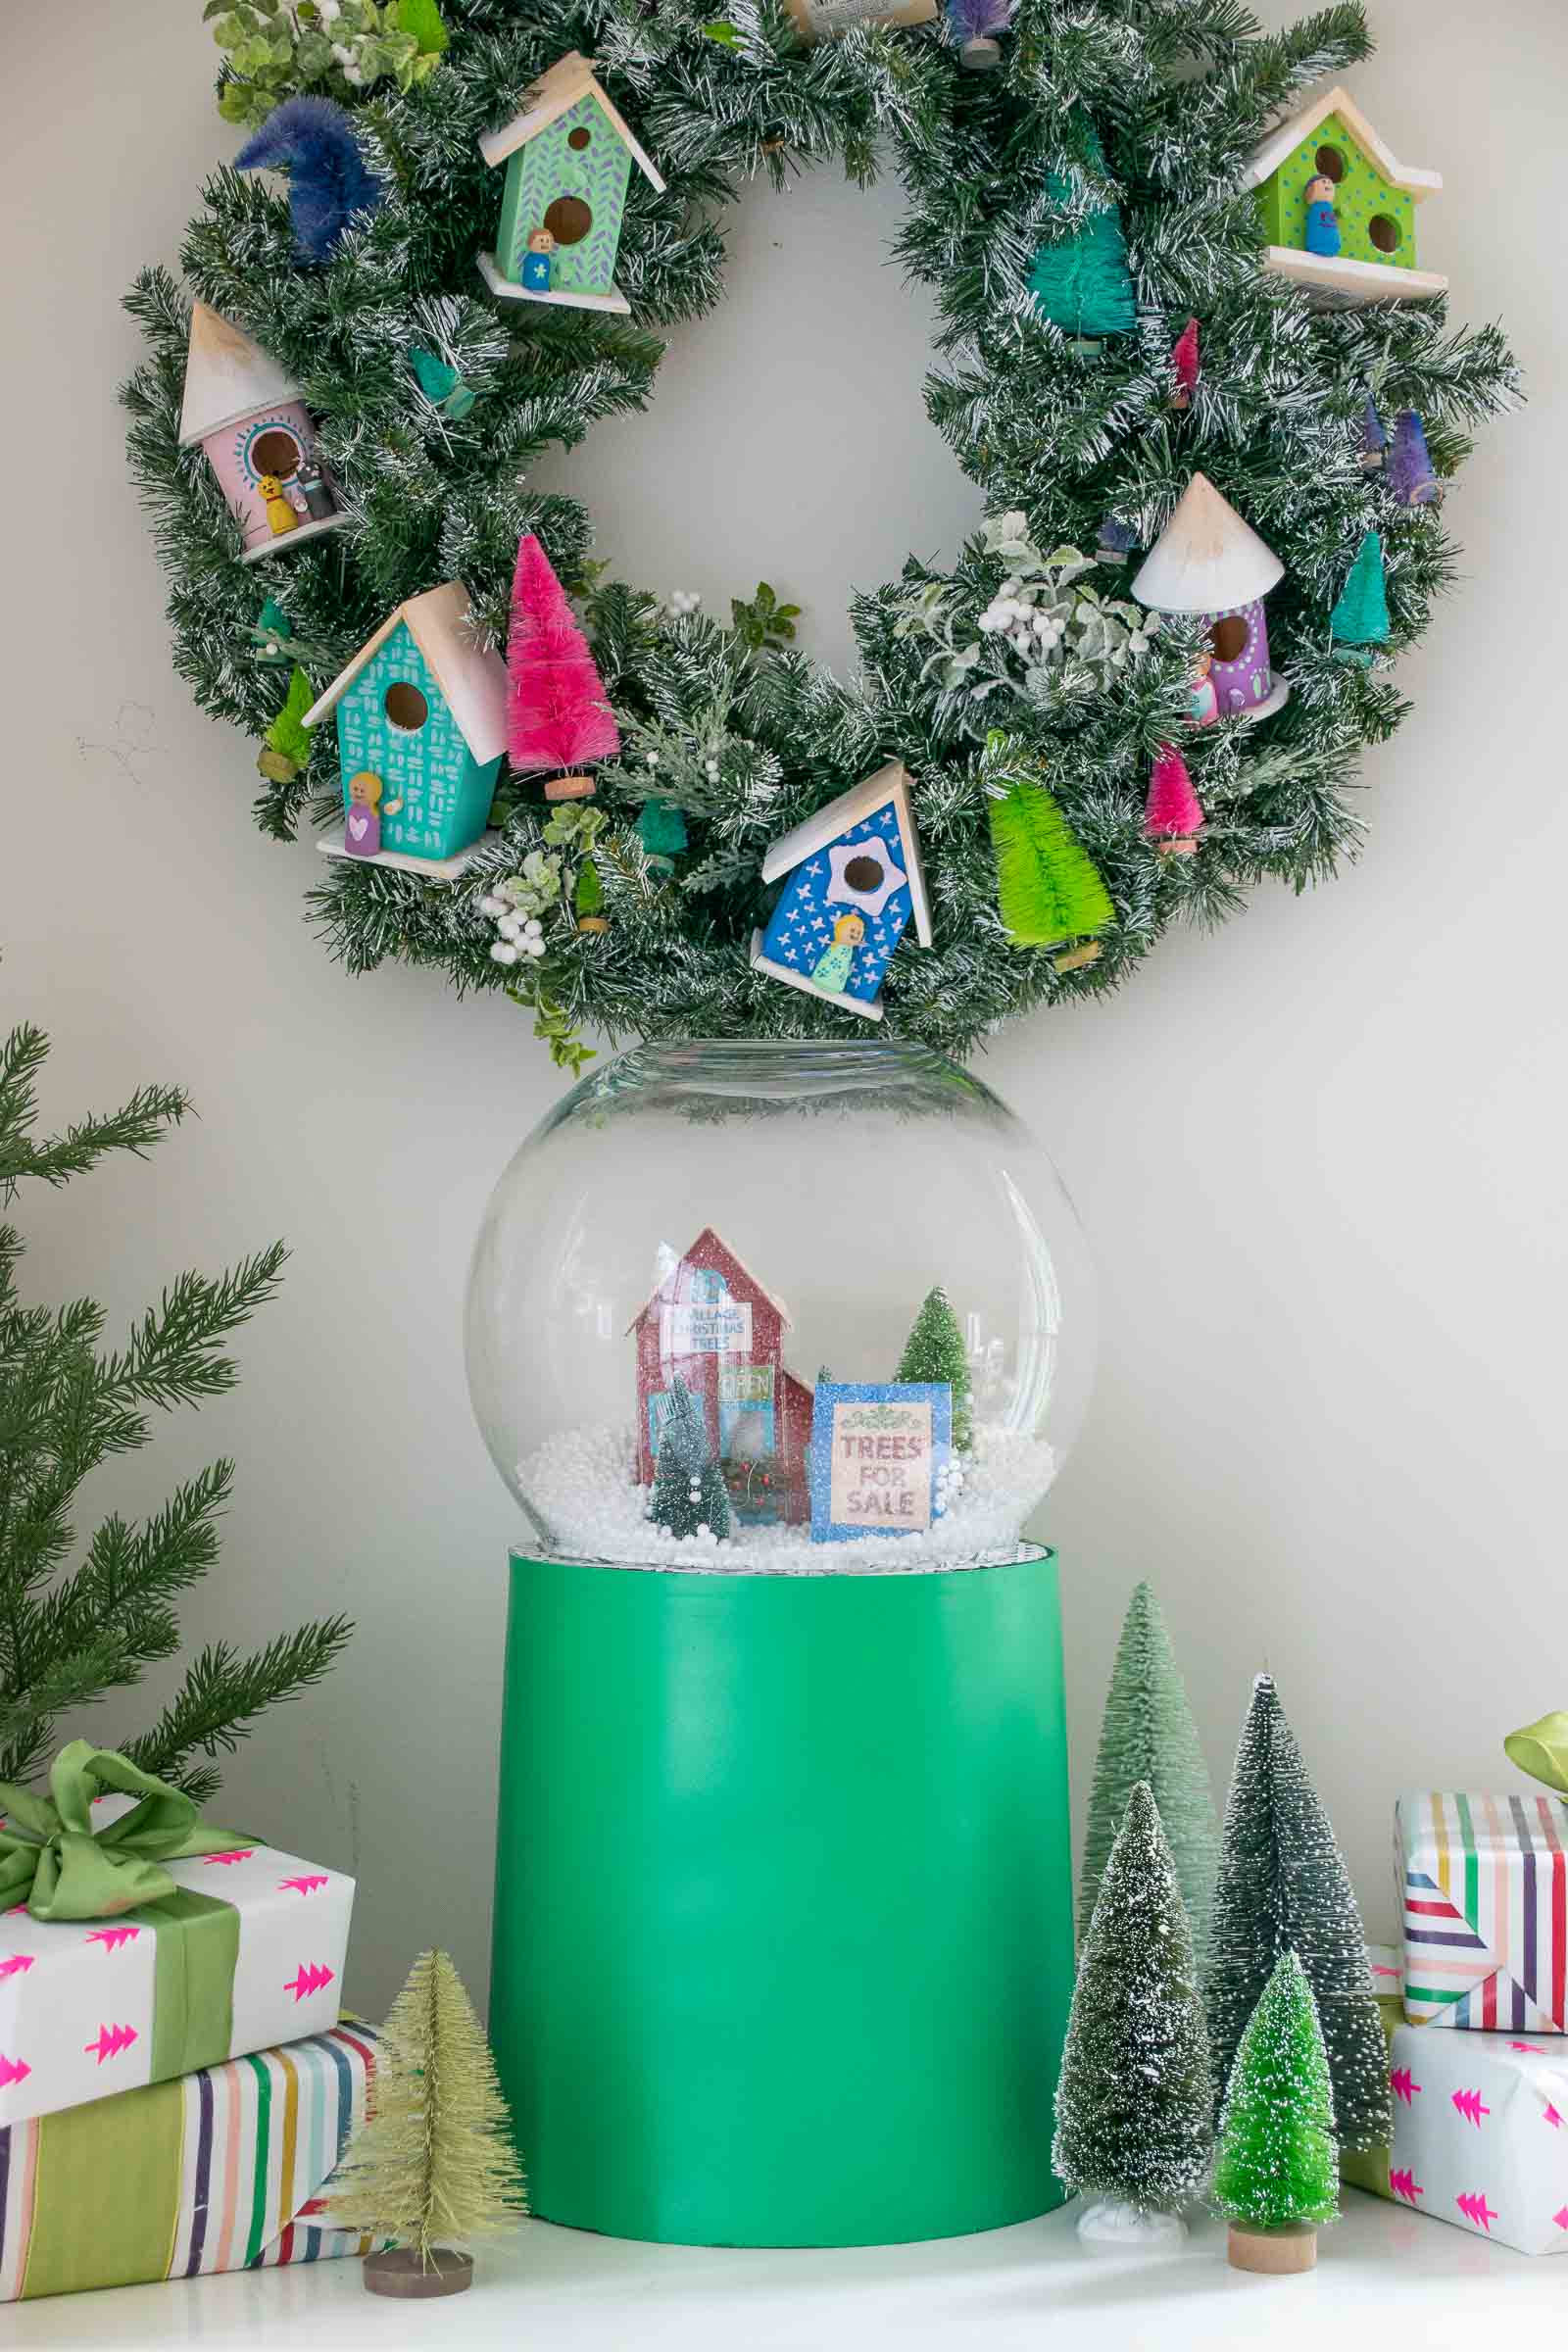
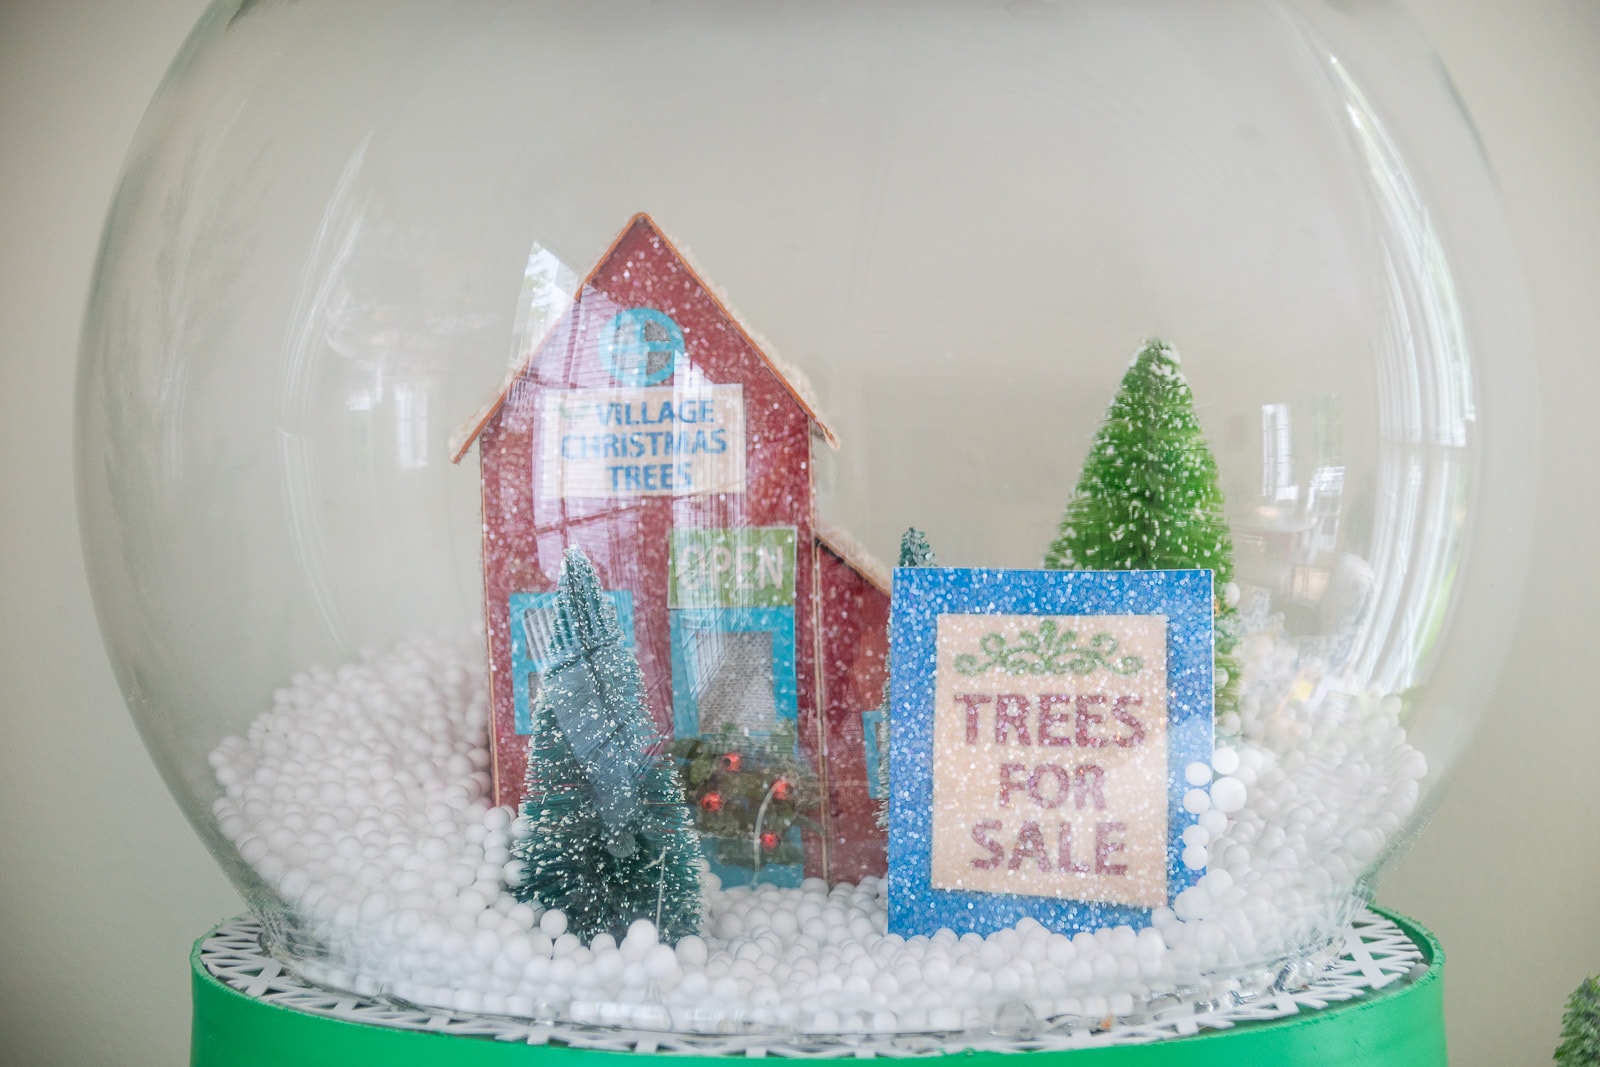
I decided to deconstruct this Christmas display from Home Depot. I love the house and the sign and the trees, but it was obviously too big to fit inside the glass bowl. Once I’d pulled everything off the base it came with, I glued the pieces onto the metal screen. Tip: Make sure the screen isn’t resting on a flat surface as the hot glue will drip through and adhere the screen to the work surface. Ask me how I know….
Step 5. Assemble the snow globe
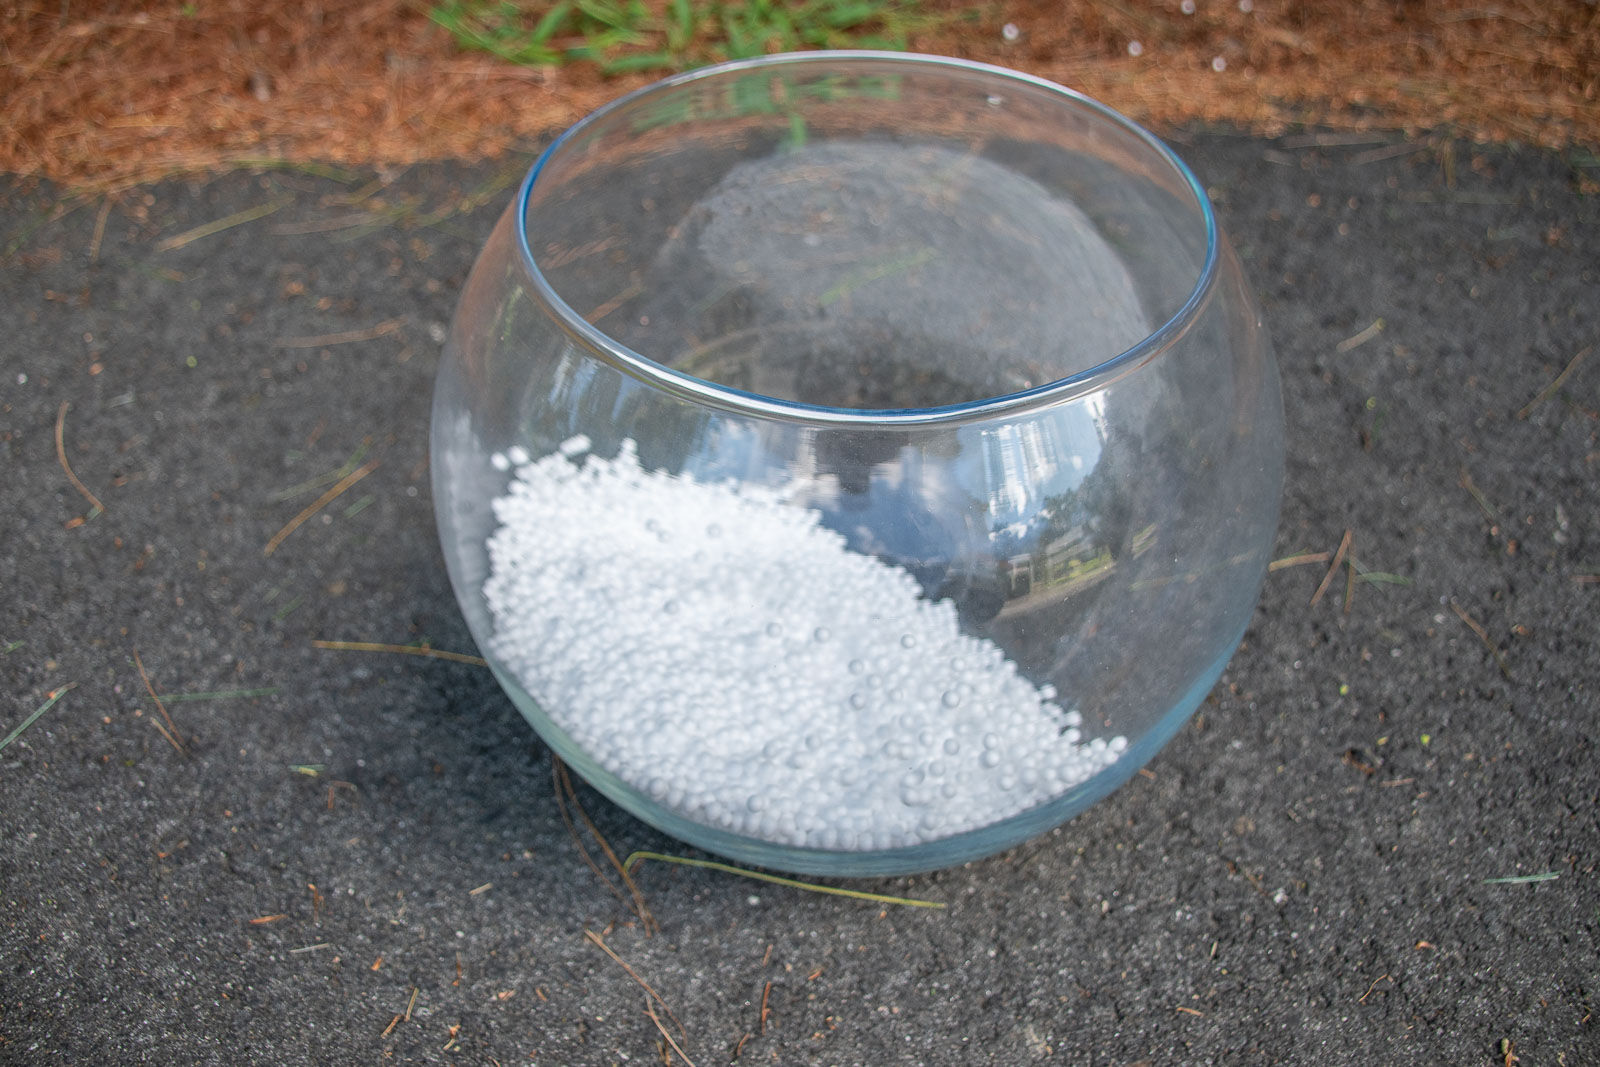
The easiest way I’ve found to assemble the snow globe is to first fill the bowl with fake snow. I’m using bean bag fill because I had some on hand, but other fake snow products like this should work.
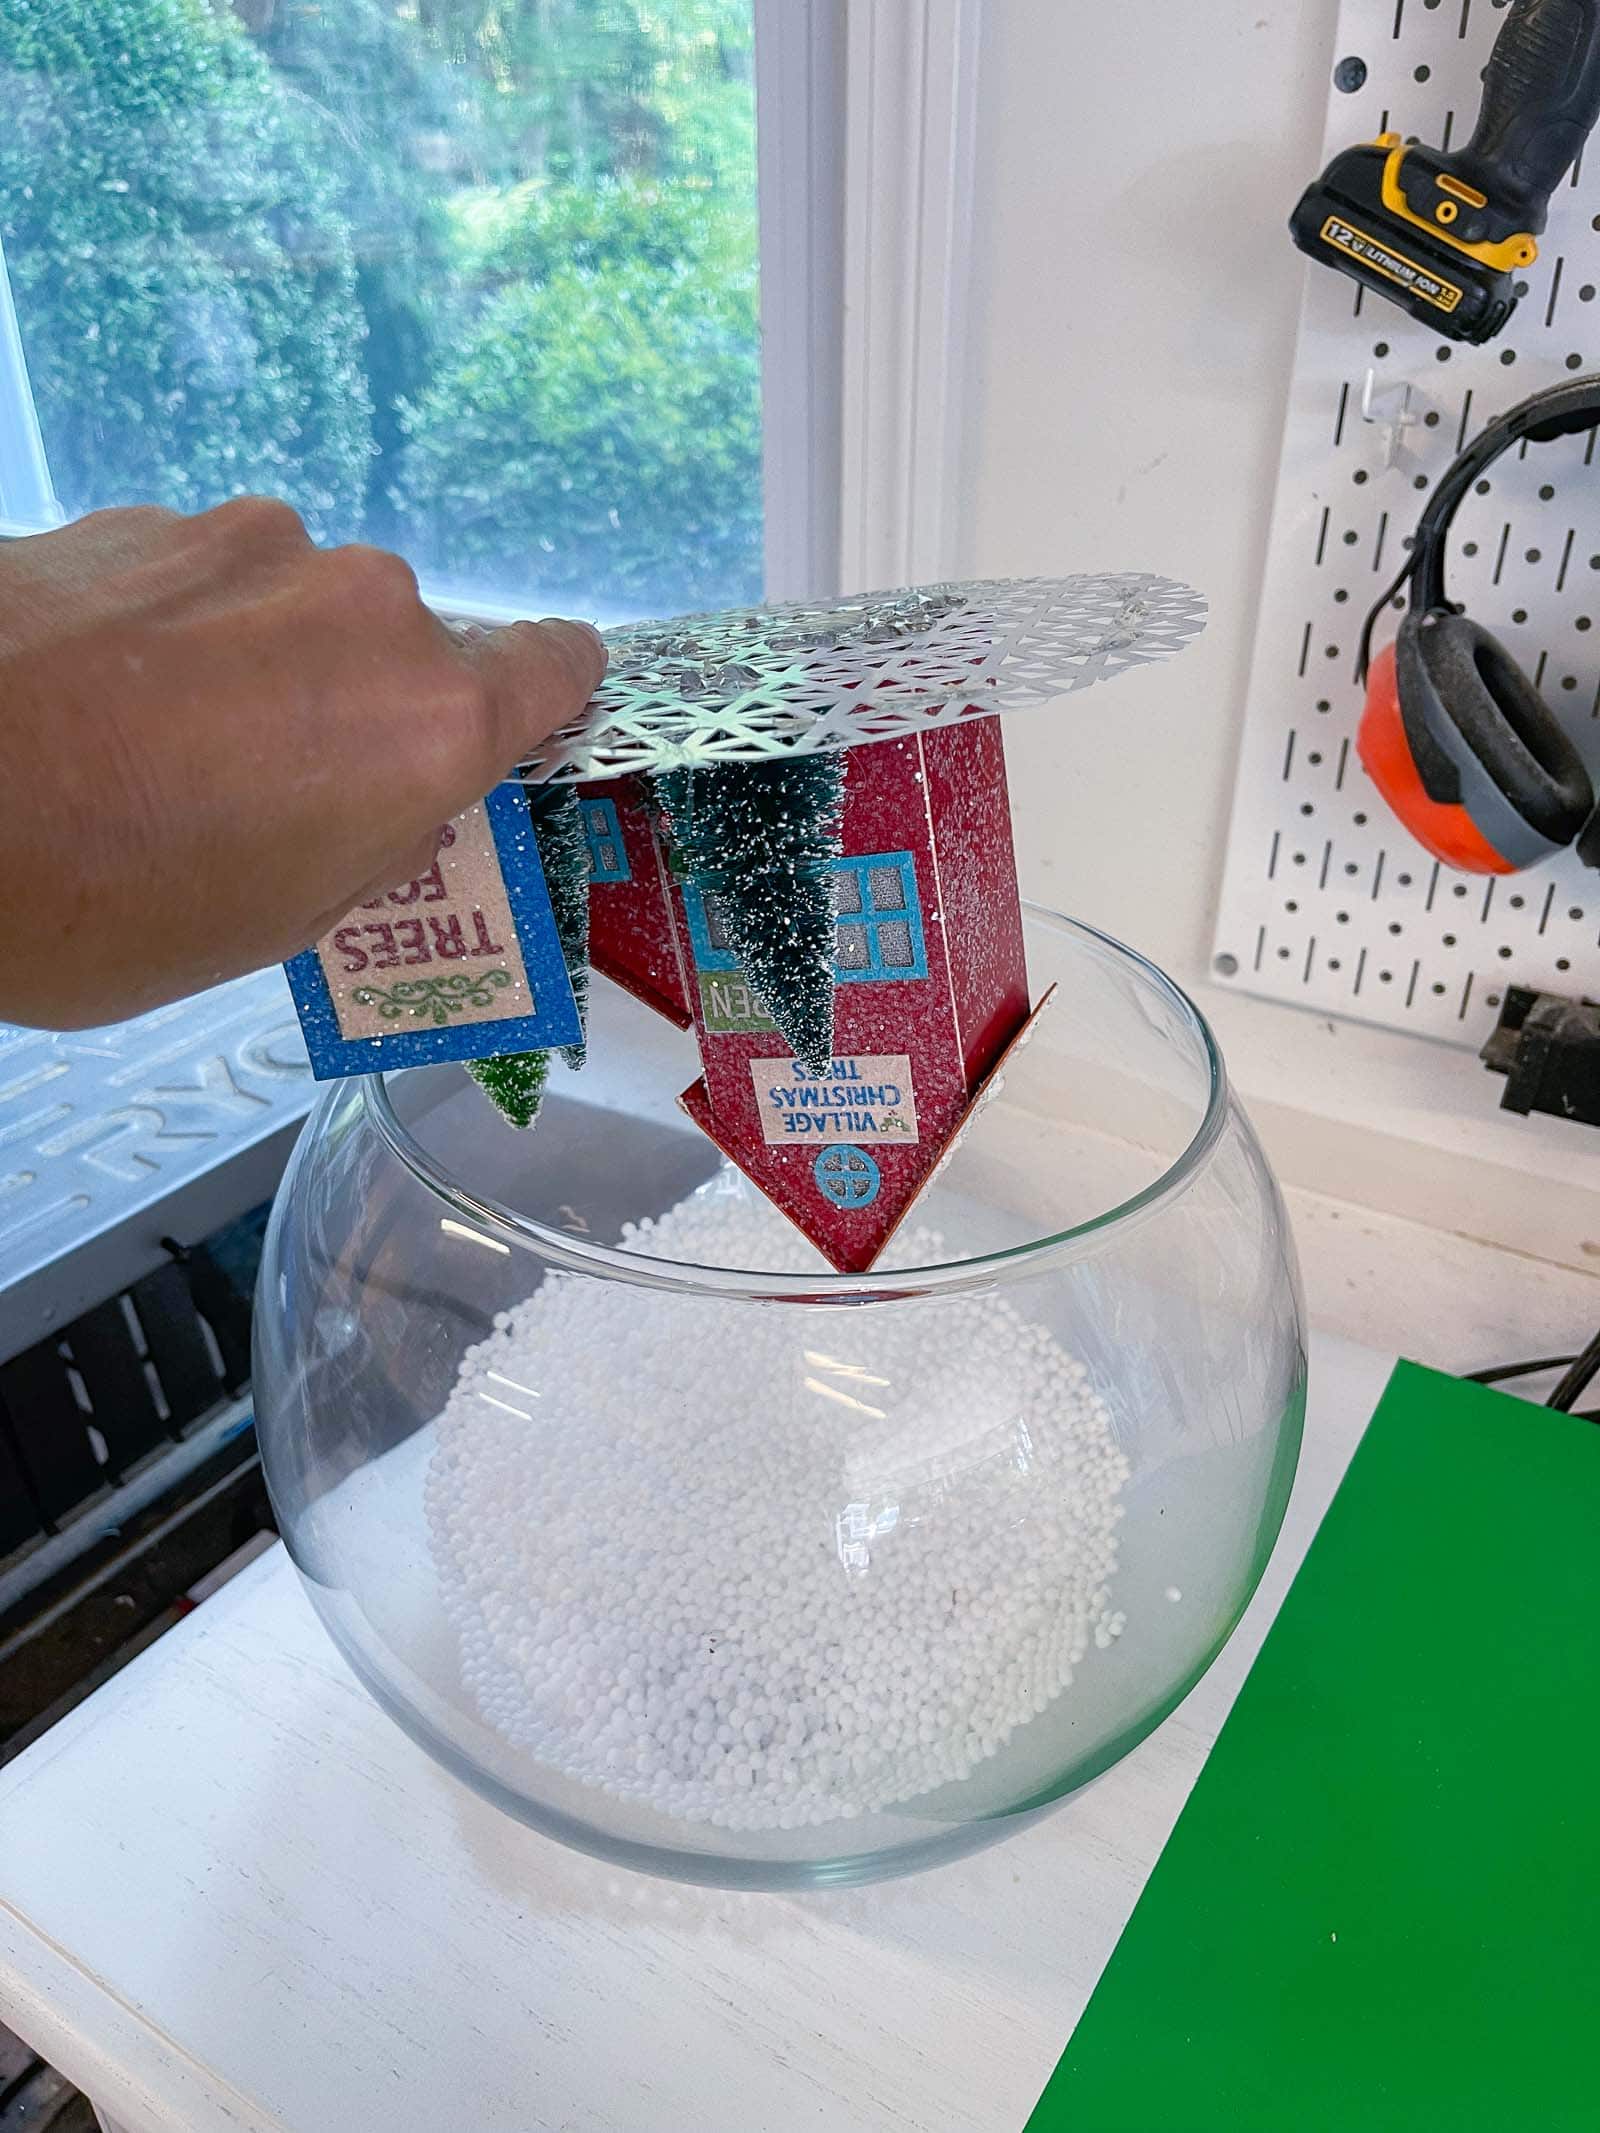
Next you’re going to invert the screen so that your Christmas decor is inside the bowl and glue it in place around the rim of the glass bowl. The glass bowl can move separately from the base.
Step 6. How to Make the Snow Globe Work!
Finding a fan that’s strong enough to blow air THROUGH the screen is the hardest part. For this one, I initially tried a table fan since it was small enough to fit under the bucket, but it wasn’t powerful enough. Rather than experiment with lots of other options, I repurposed a small fan that was in one of our inflatable yard decorations. I was able to deattach it from the inflatable by unscrewing it from the fabric so I can reuse the yard decor anytime I want. Place the fan inside the bucket, underneath the snow globe, and adjust the setting so it’s blowing up through the screen into the punch bowl. I linked to a fan in the supply list below, but note that reusing one you have is obviously more cost effective. Haha. (For the TV show, I connected a hair dryer to a PVC pipe so that works too. For that one, I had to cut a hole in the side of the bucket for the pipe to fit through, and I had to use an elbow joint to direct the air up into the snow globe.)
It’s hard to capture the movement of the snow globe in these photos, but I’ll share a video reel to Instagram too so head over there to see how it looks in person. Super fun!!
Materials for DIY Snow Globe
- Bucket
- Glass Punch Bowl
- Small Christmas Decoration
- Hot Glue Gun
- Spray Primer
- Spray Paint
- Metal “screen”
- Tin Snips
- Fan
- Fake Snow
- Dremel MultiMax
- Utility Knife

Charlotte this Turned ouT so great! love how creatIve thIs project is. I Am always inspired by your abIlity to think outside of the box!
Thanks, Kate!! This one was fun!! xx