
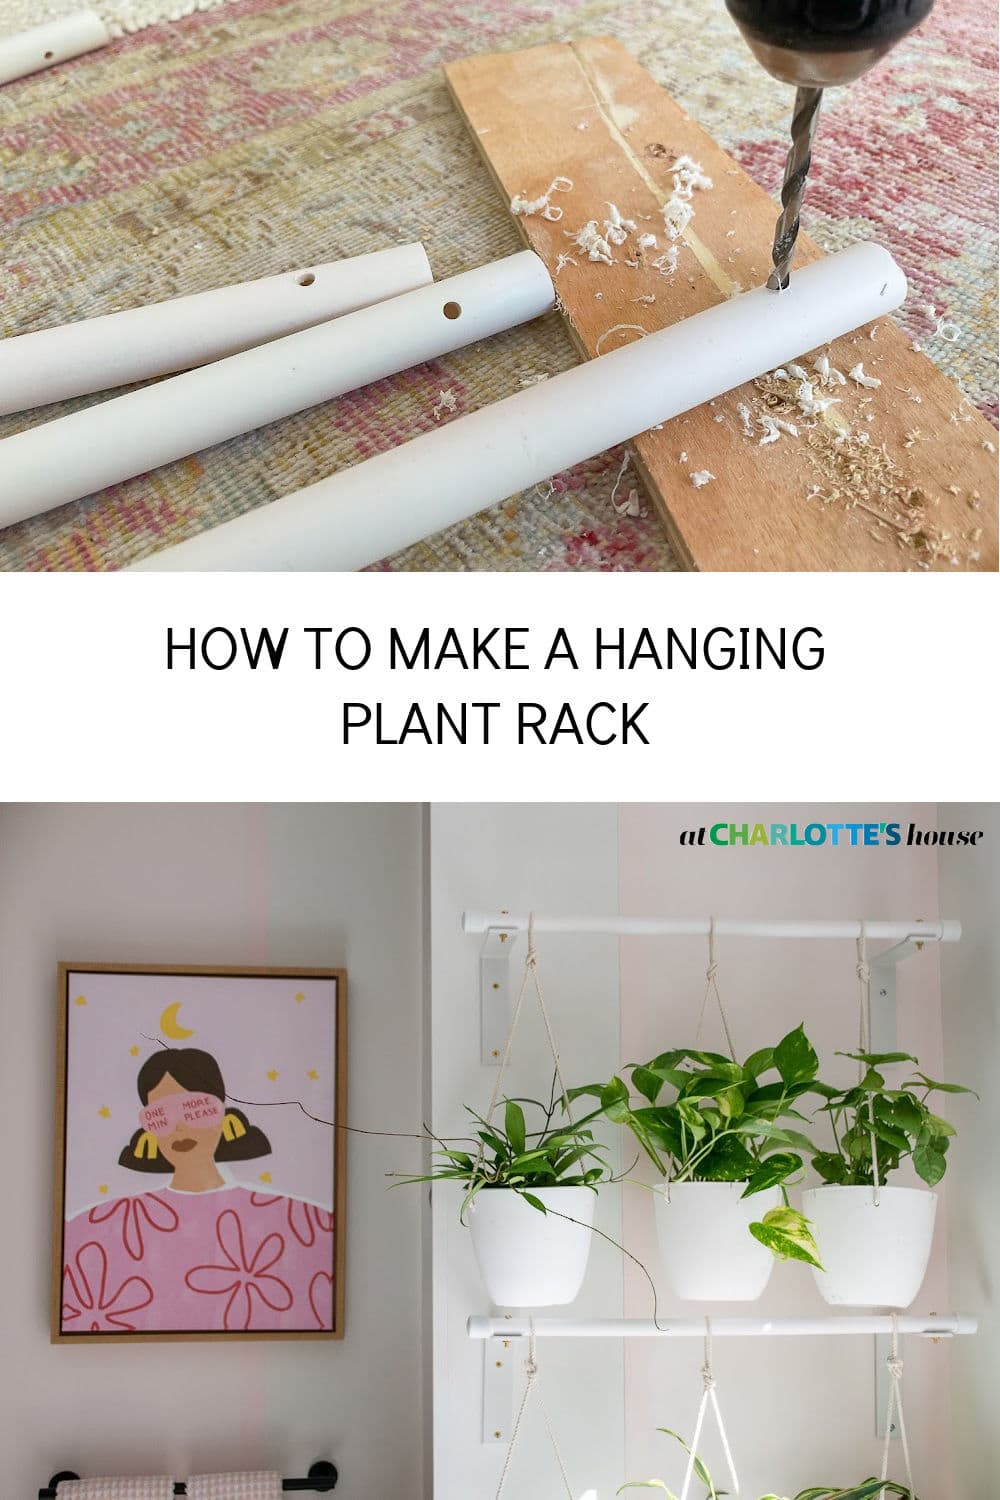
DIY Hanging Plant Wall
Psssst… this post *might* contain affiliate links: see my disclosure here.
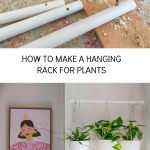
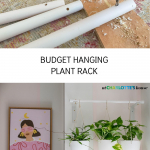
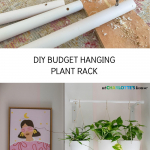
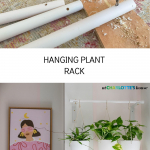
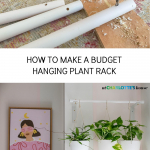
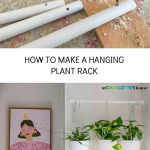
How to Make Budget Friendly Hanging Plant Rack
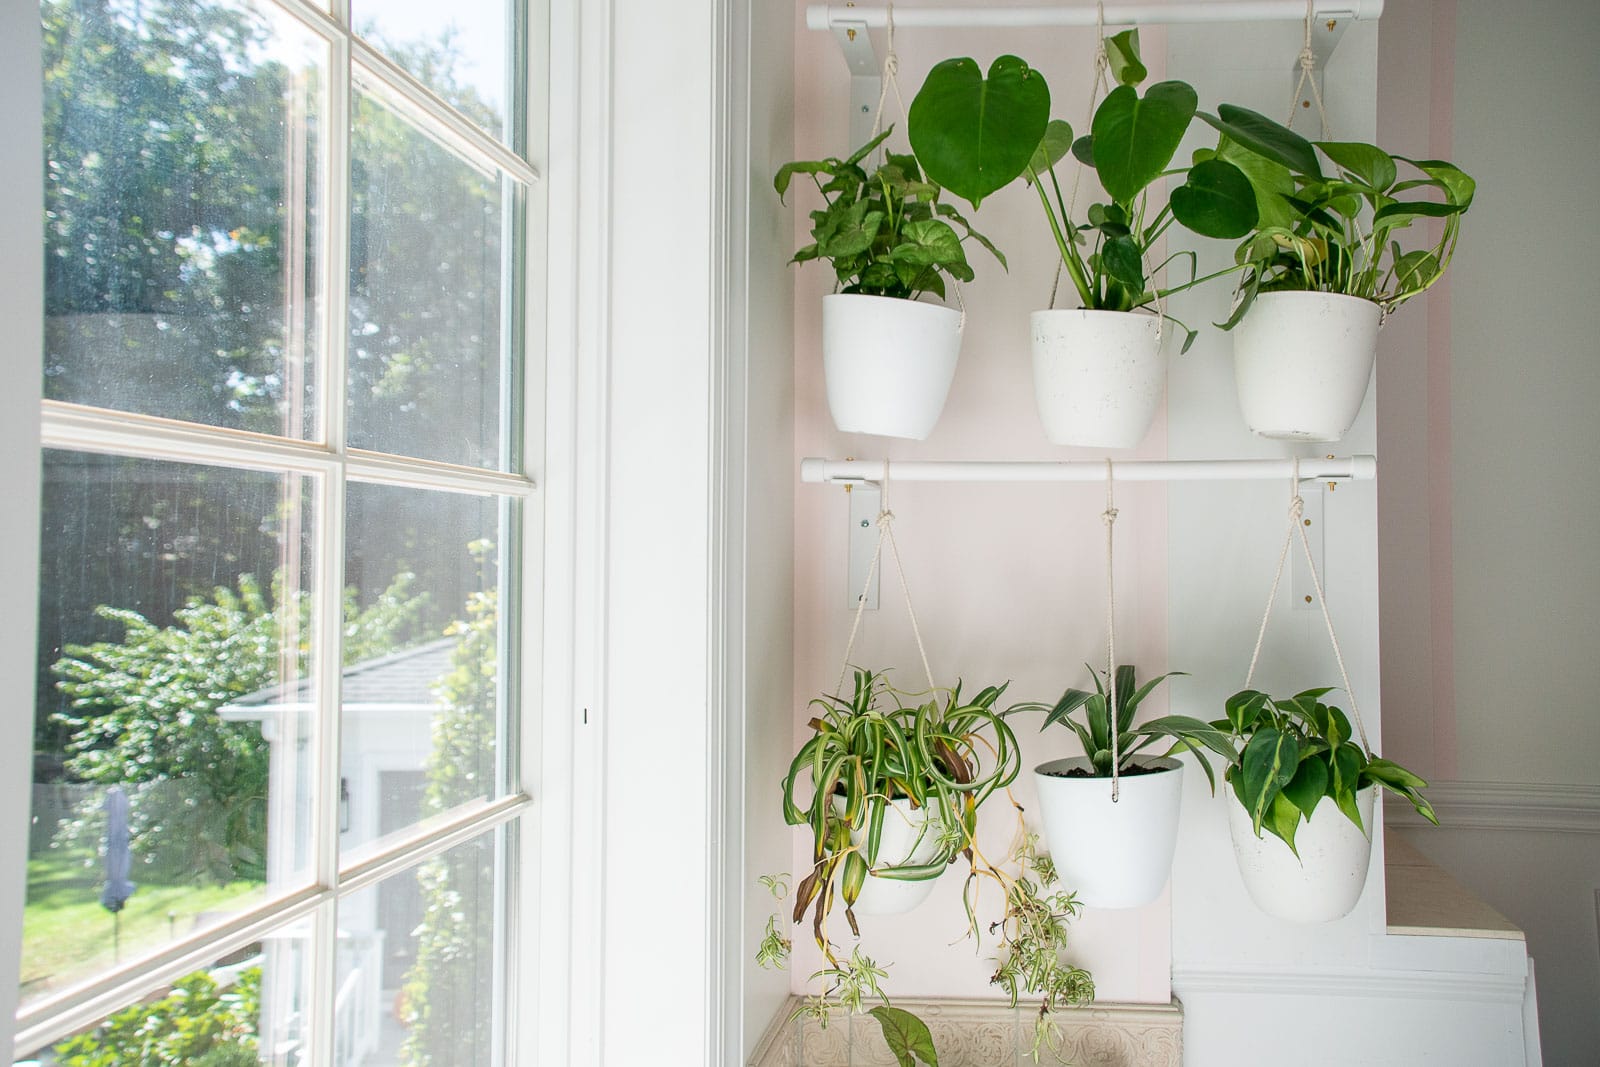
I made these hanging plant racks for our bathroom so there can be a living plant wall.
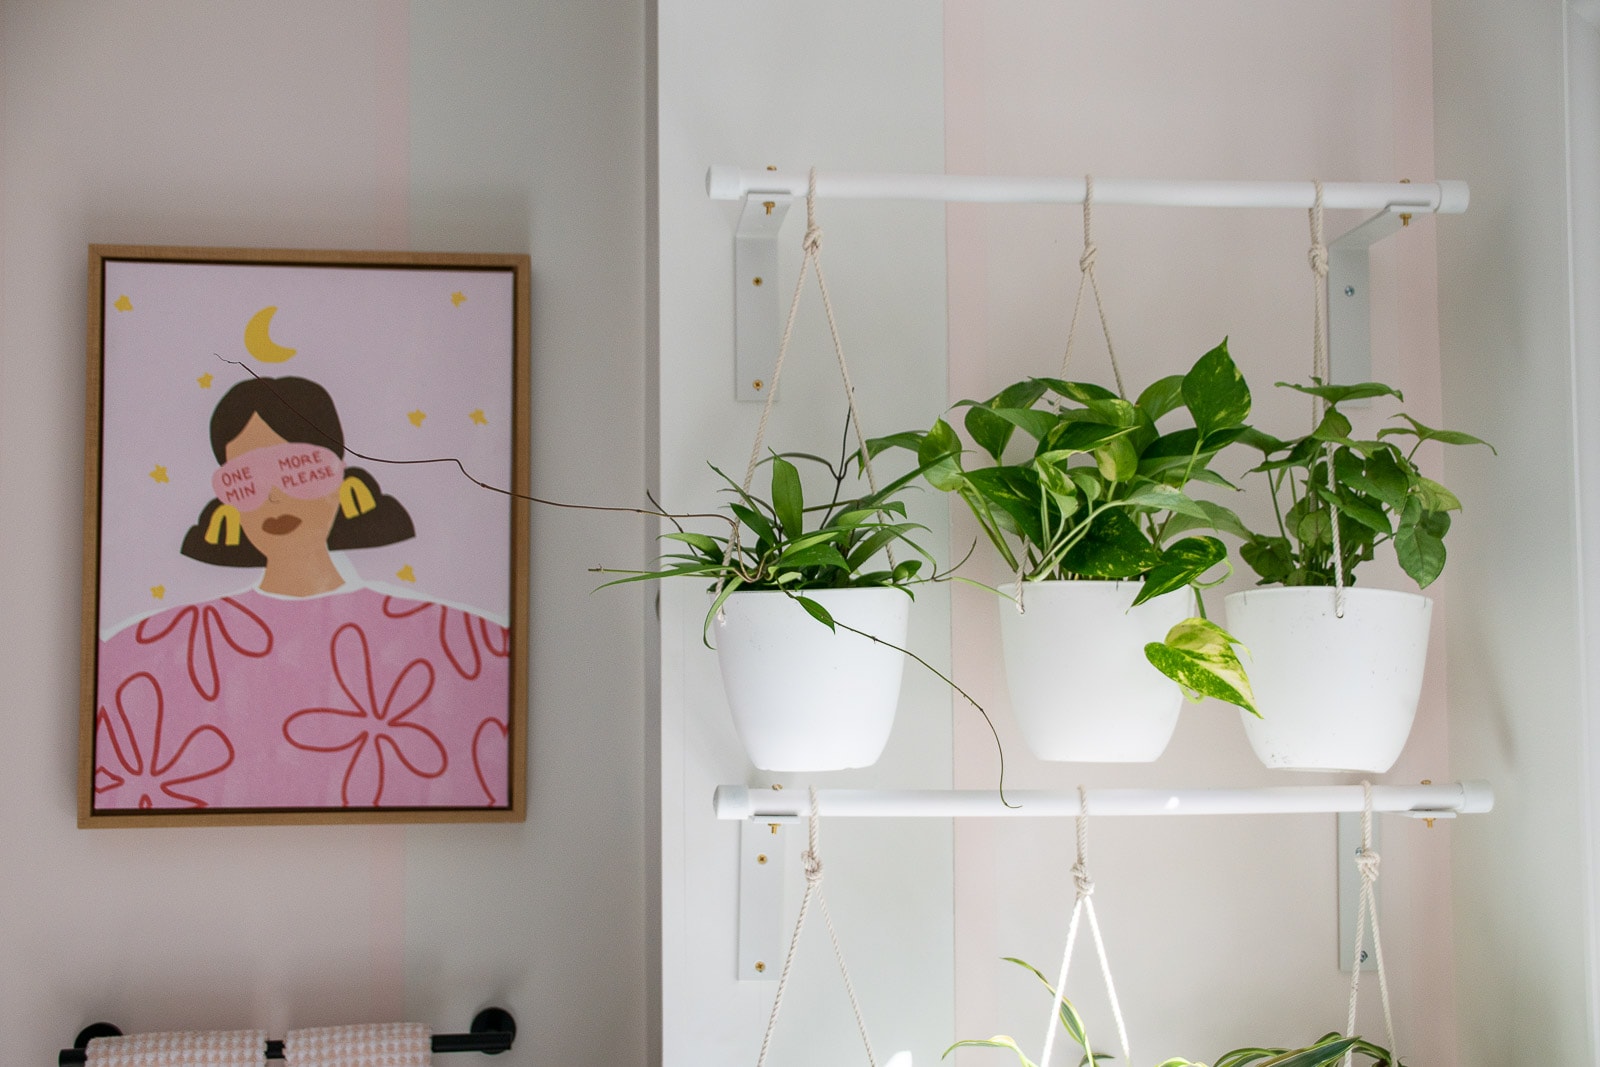
Our bathroom has a big sunny window and is naturally an amazing place for plants! For a while, I had some of my bigger plants in the bathtub. Certainly, that can work but I didn’t want to commit the bathtub to my fiddle leaf figs as a permanent solution. There happen to be two walls on either side of the bathtub screaming for some attention. Rather than leave the plants in the tub, I wanted to bring them up onto the walls! I started by looking on Amazon for some sort of hanging plant rack and there just weren’t any that were quite right so… DIY it was.
Shop my favorites!

Materials:
- White L Brackets
- 3/4″ PVC Pipe with end caps
- Plastic White pots
- Cotton rope
- Assorted Plants
- Potting soil
- Acetone
- Spray primer
- Machine screw and nut
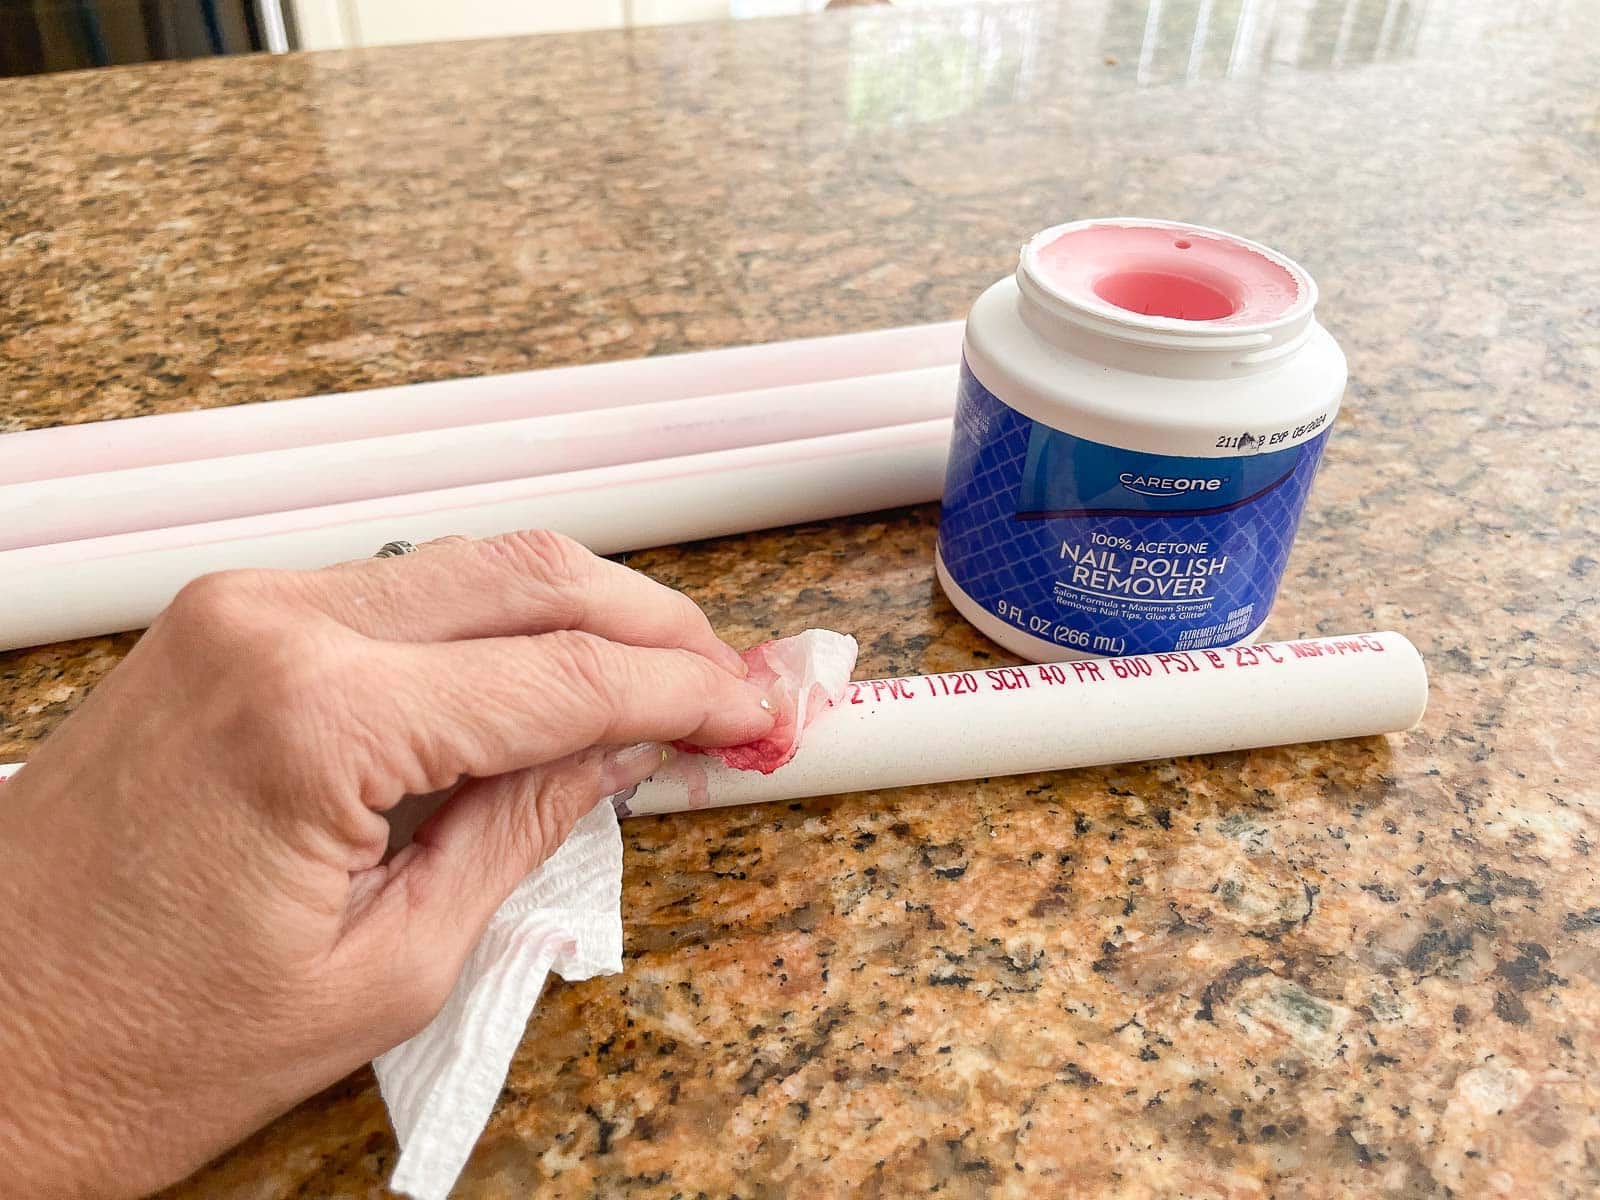
Step 1. Prep the PVC pipes
To remove the red label and prep the pipe for priming, I rubbed it down with acetone first. This is a good idea when painting PVC as it removes the shiny outer layer and creates a better surface for painting. I gave it a coat of primer and left it at that.
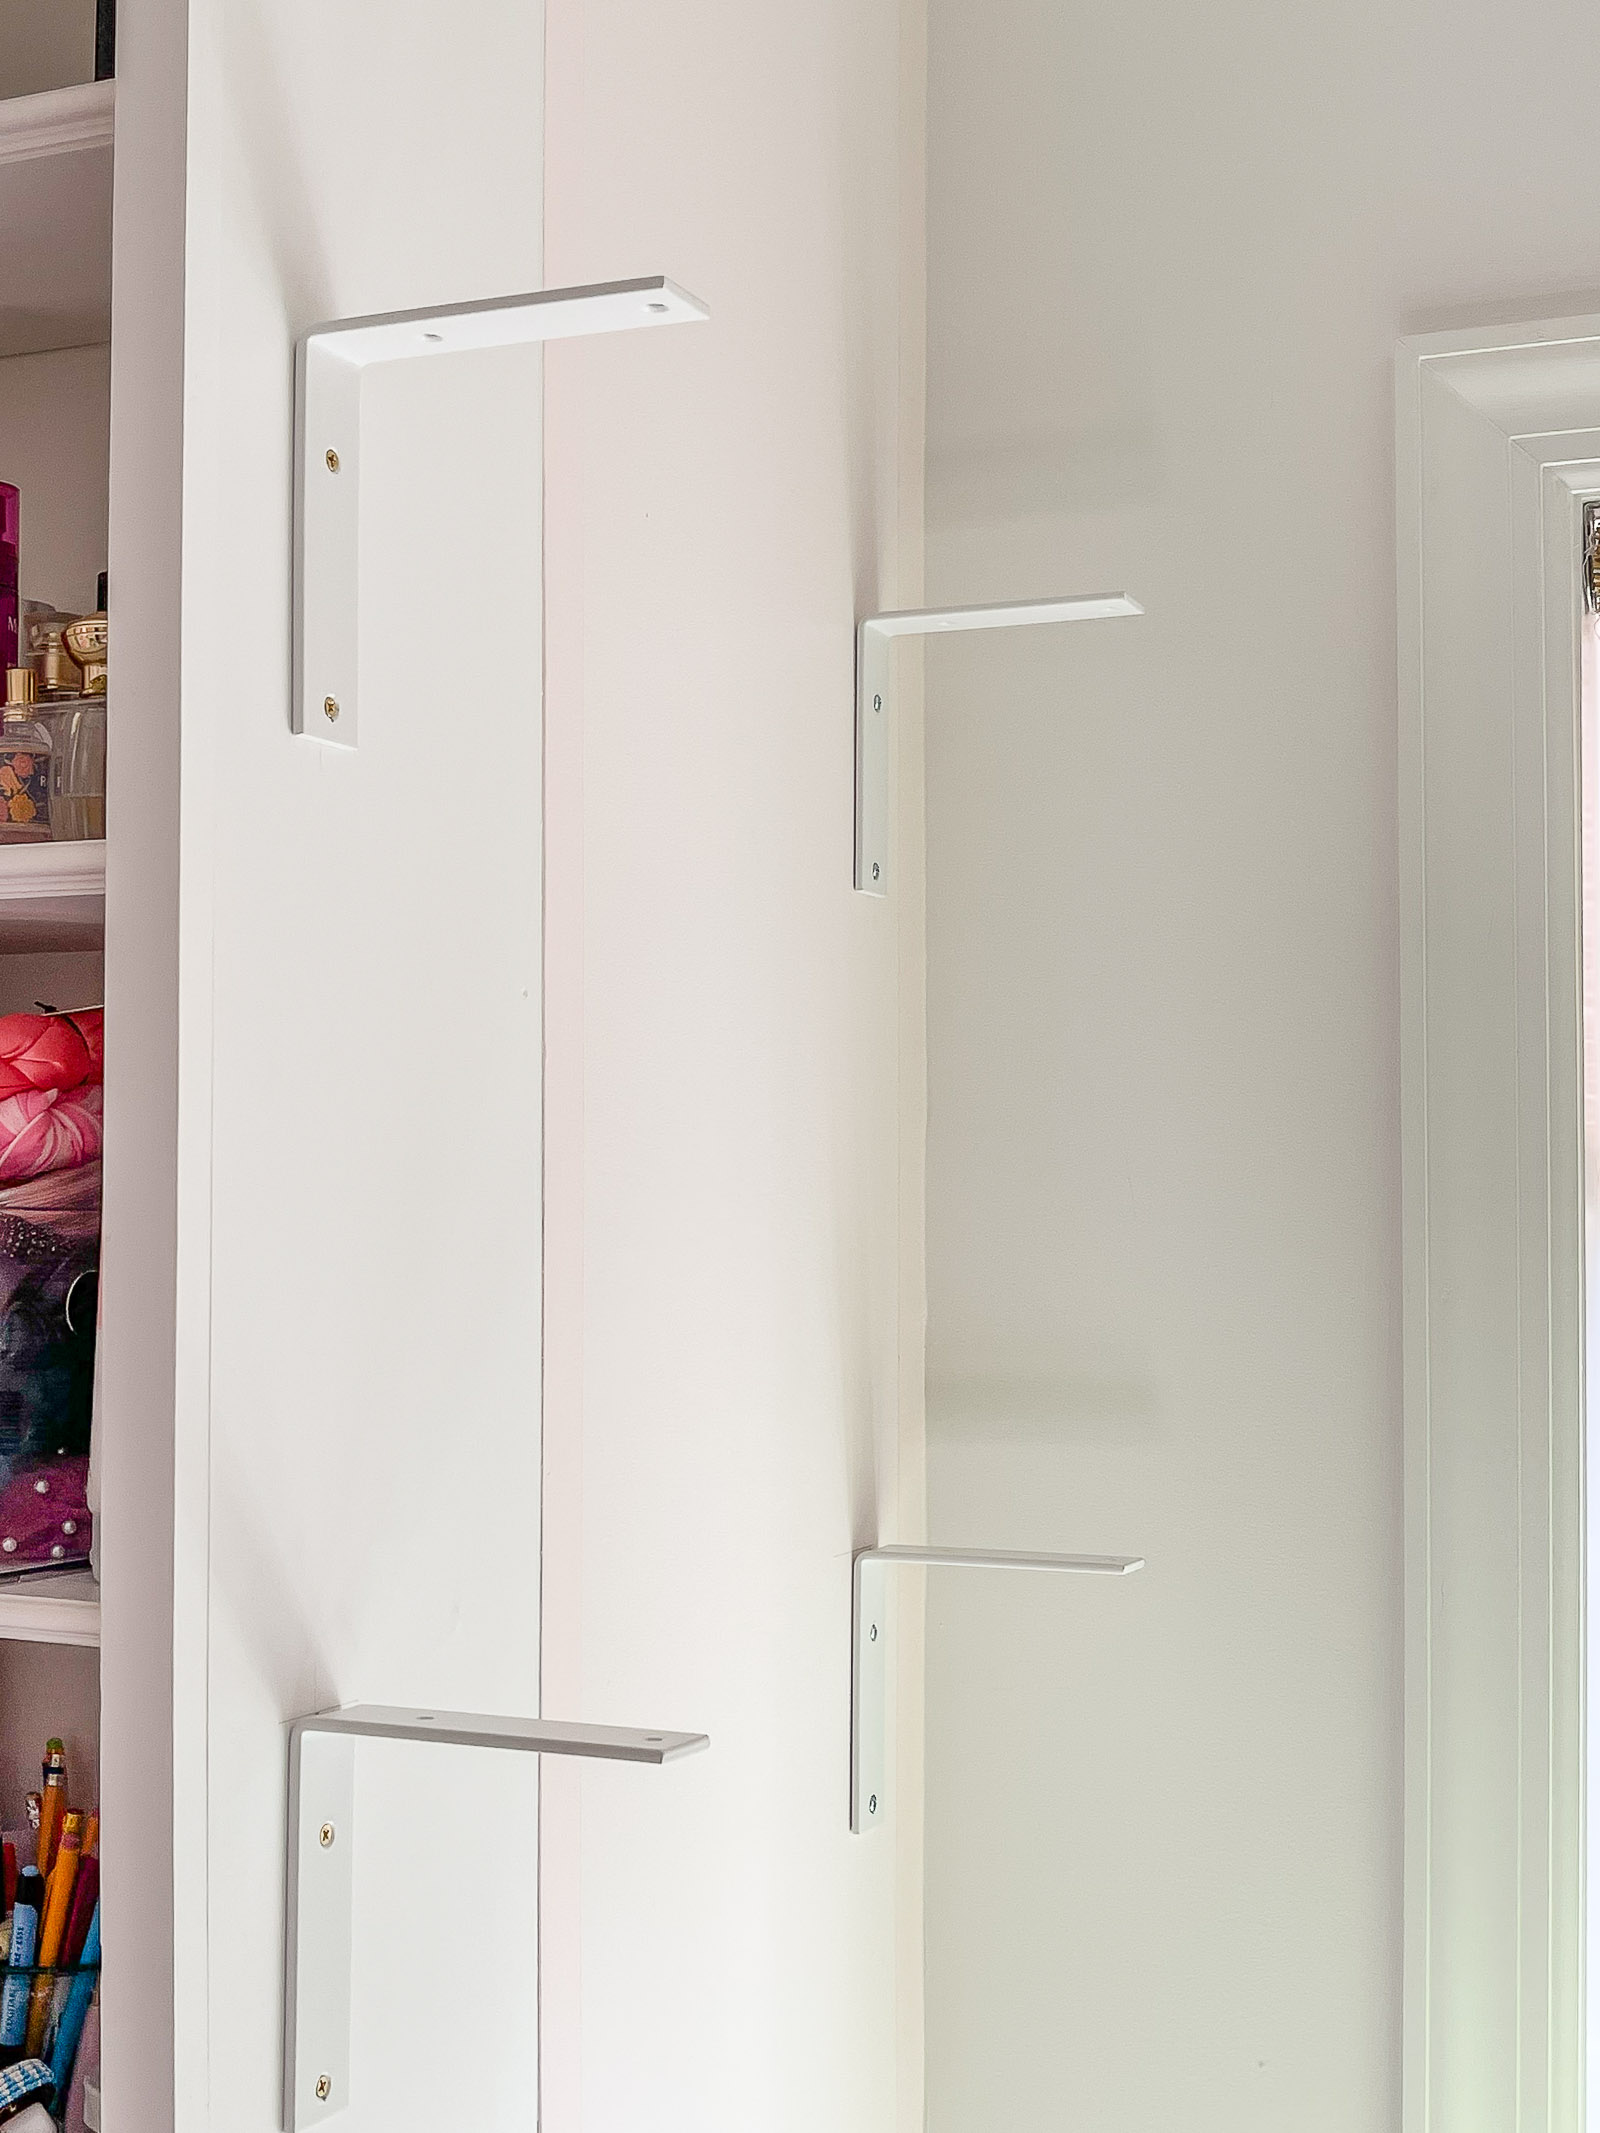
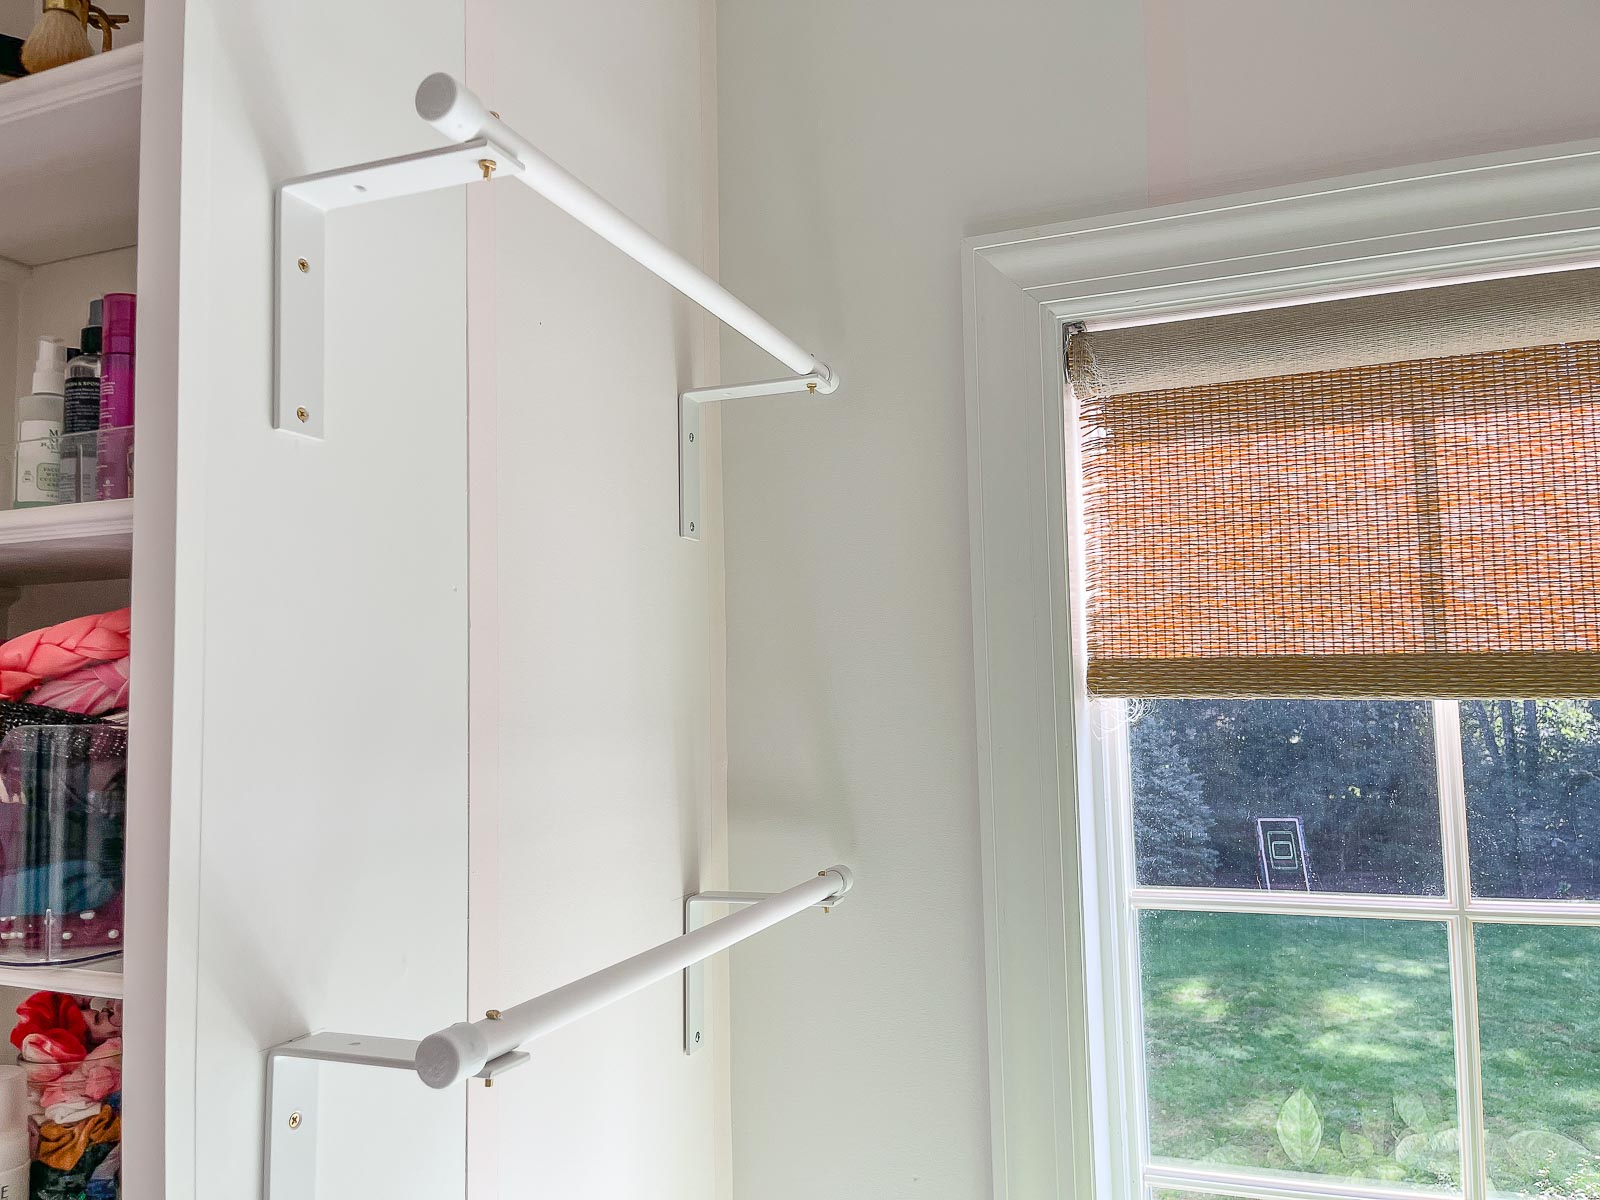
Step 2. Mount the L Brackets
I had to use anchors for one side of my L brackets and hit a stud with the other side.
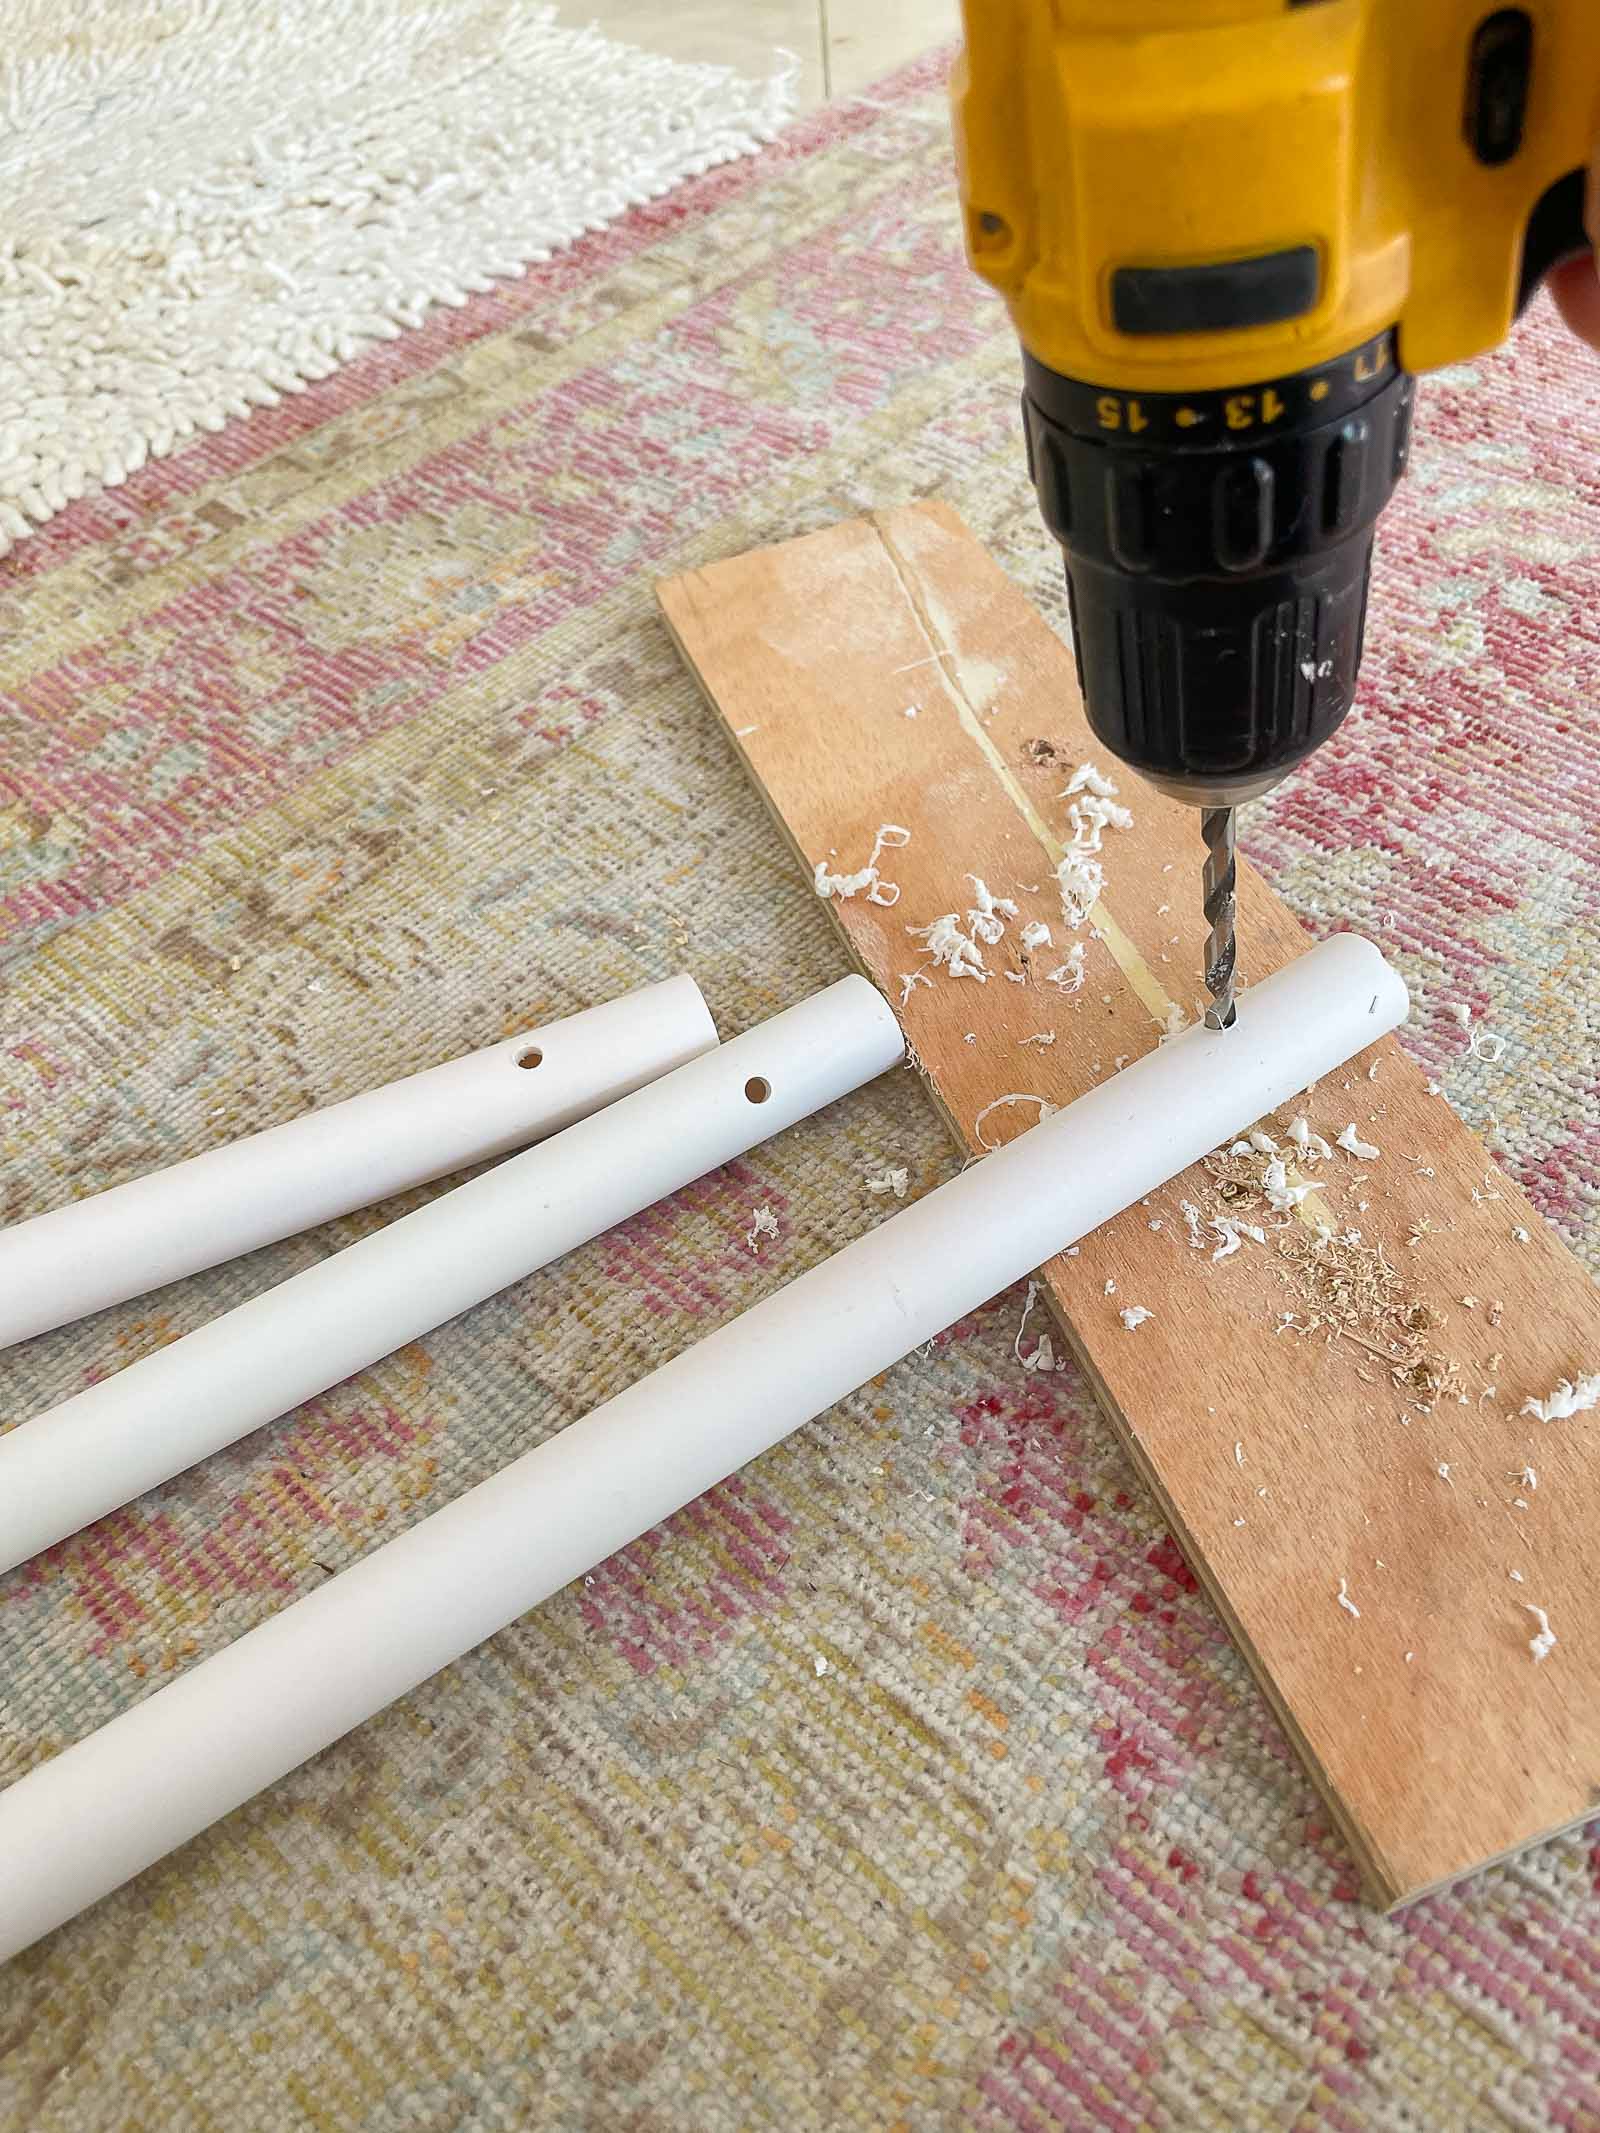
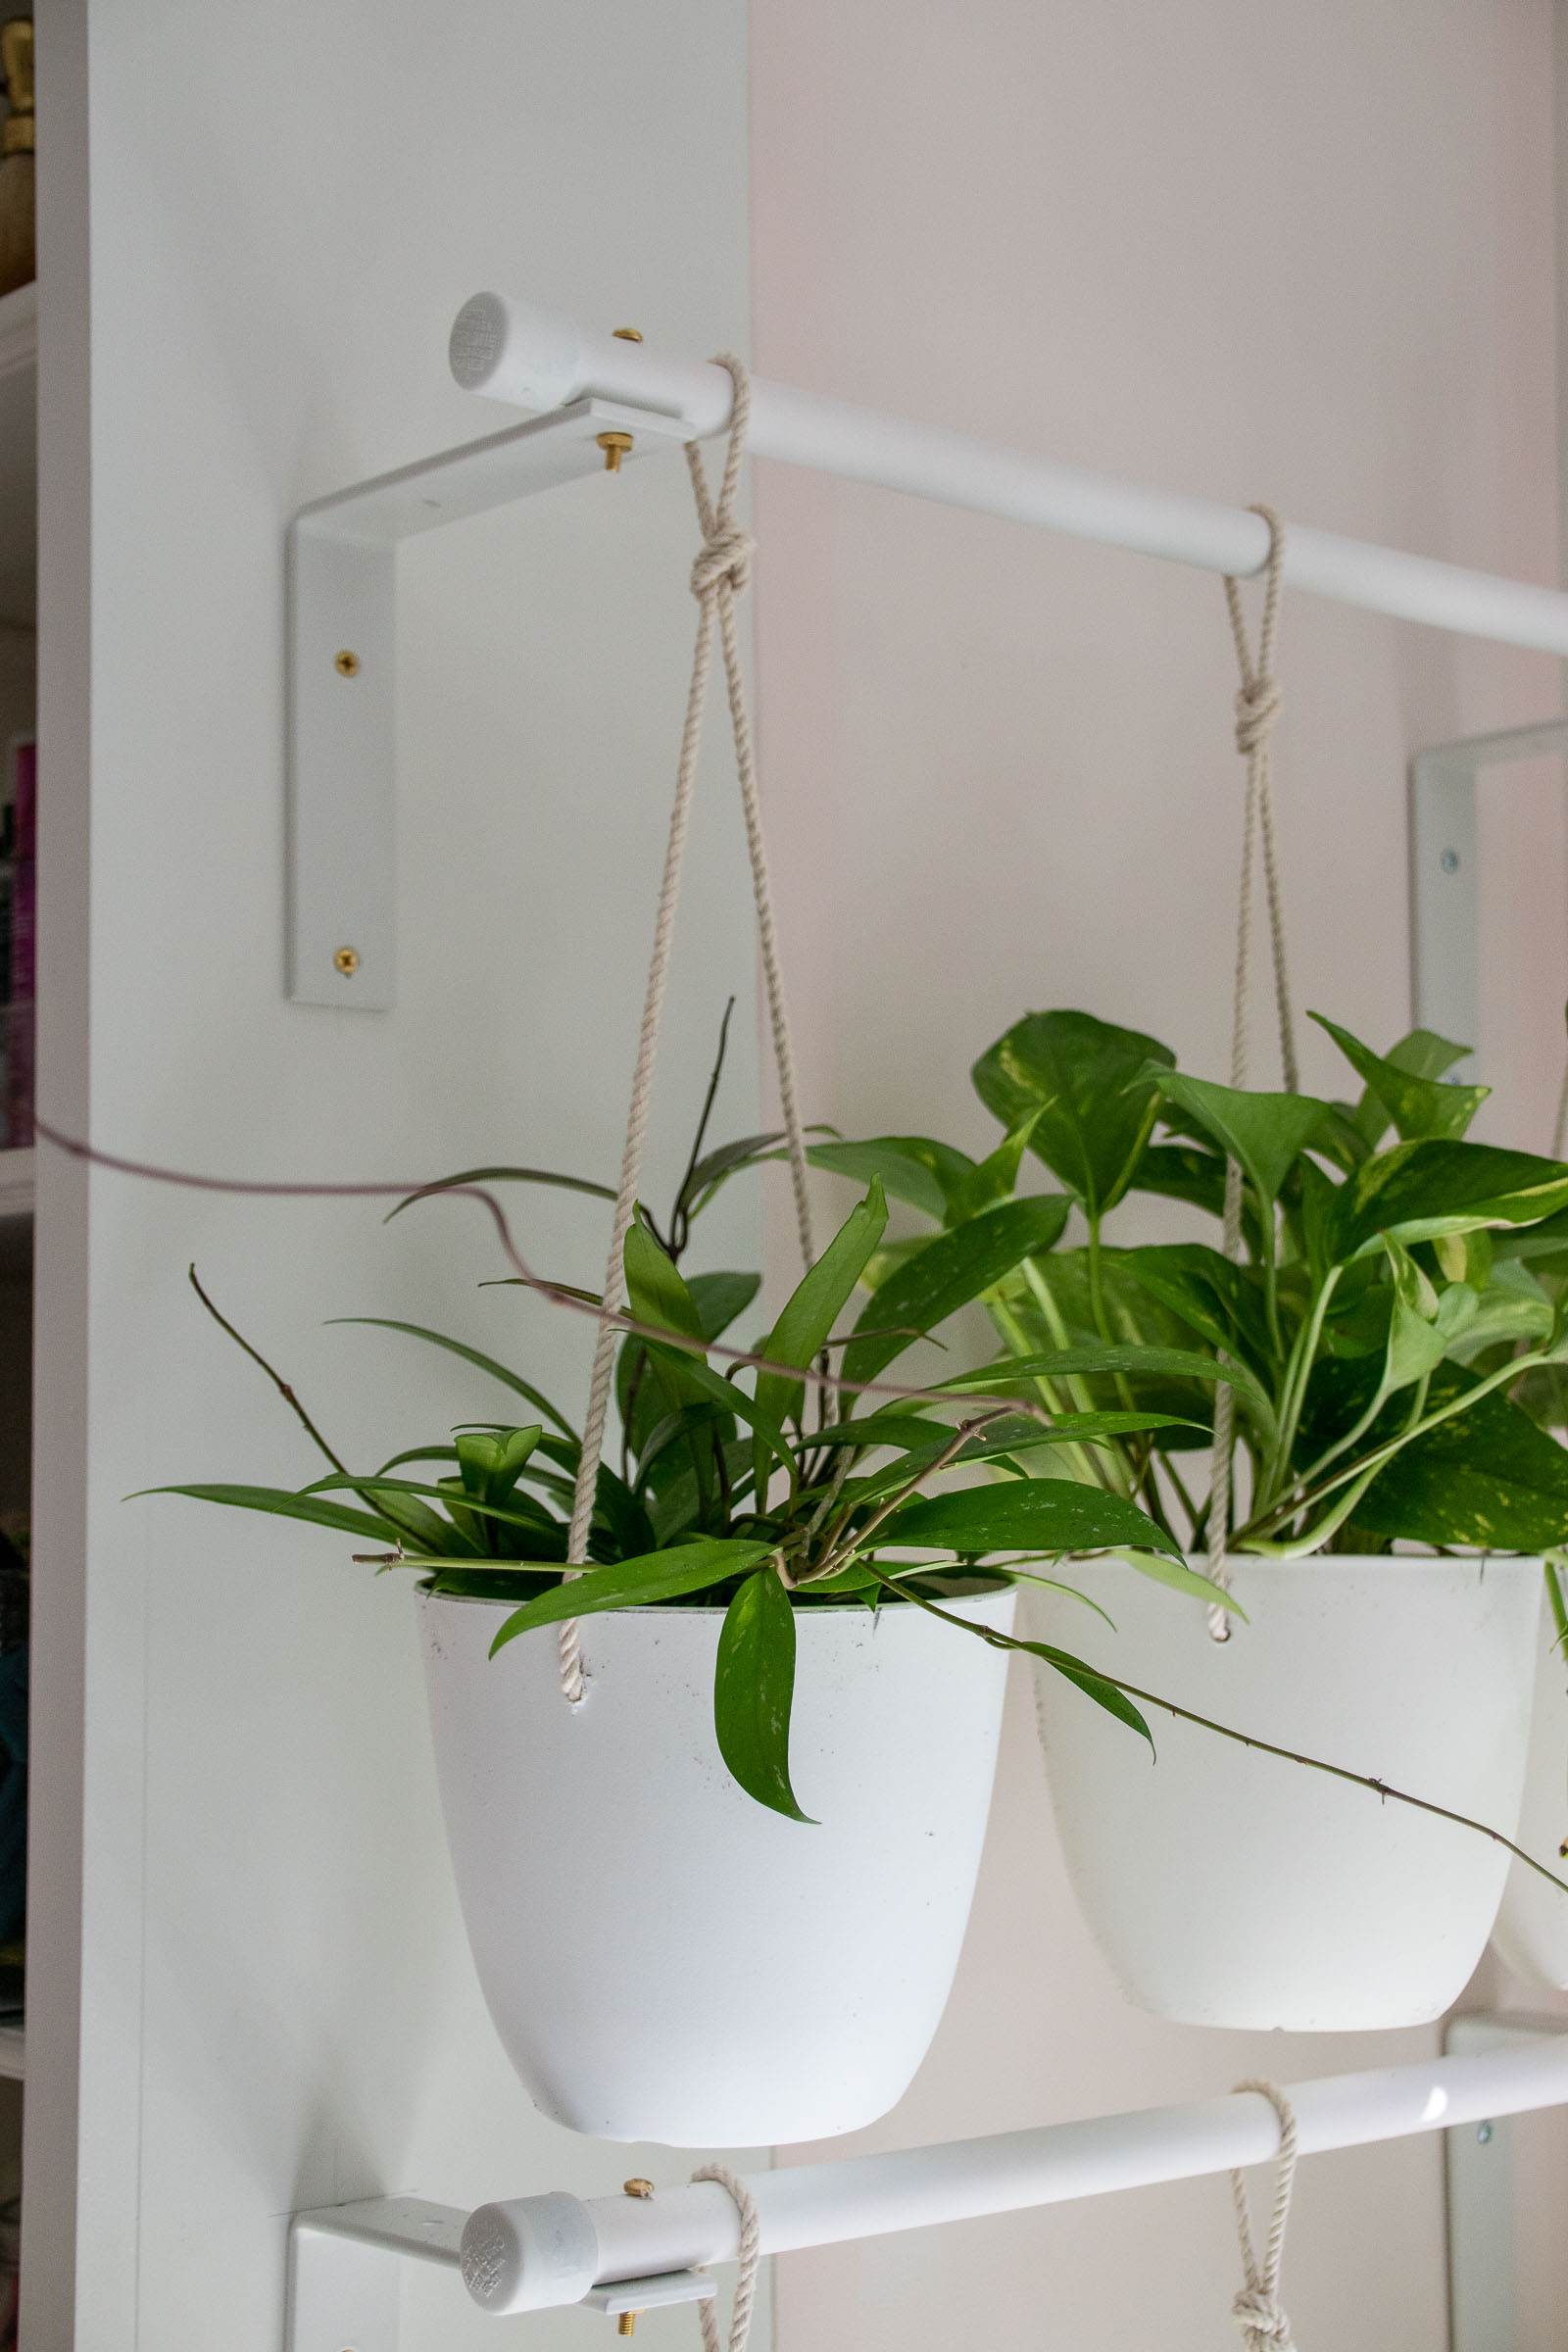
Step 3. Drill Holes in Pipes
To install the PVC pipes, I marked where they would sit on the L brackets and drilled a hole through each pipe. Use drill bit just larger than the machine screw/ nut. (I used a #10-32 x 1 1/2 machine screws and nuts.) The screw will go through the PVC pipe and the L bracket and the nut will hold it in place below.
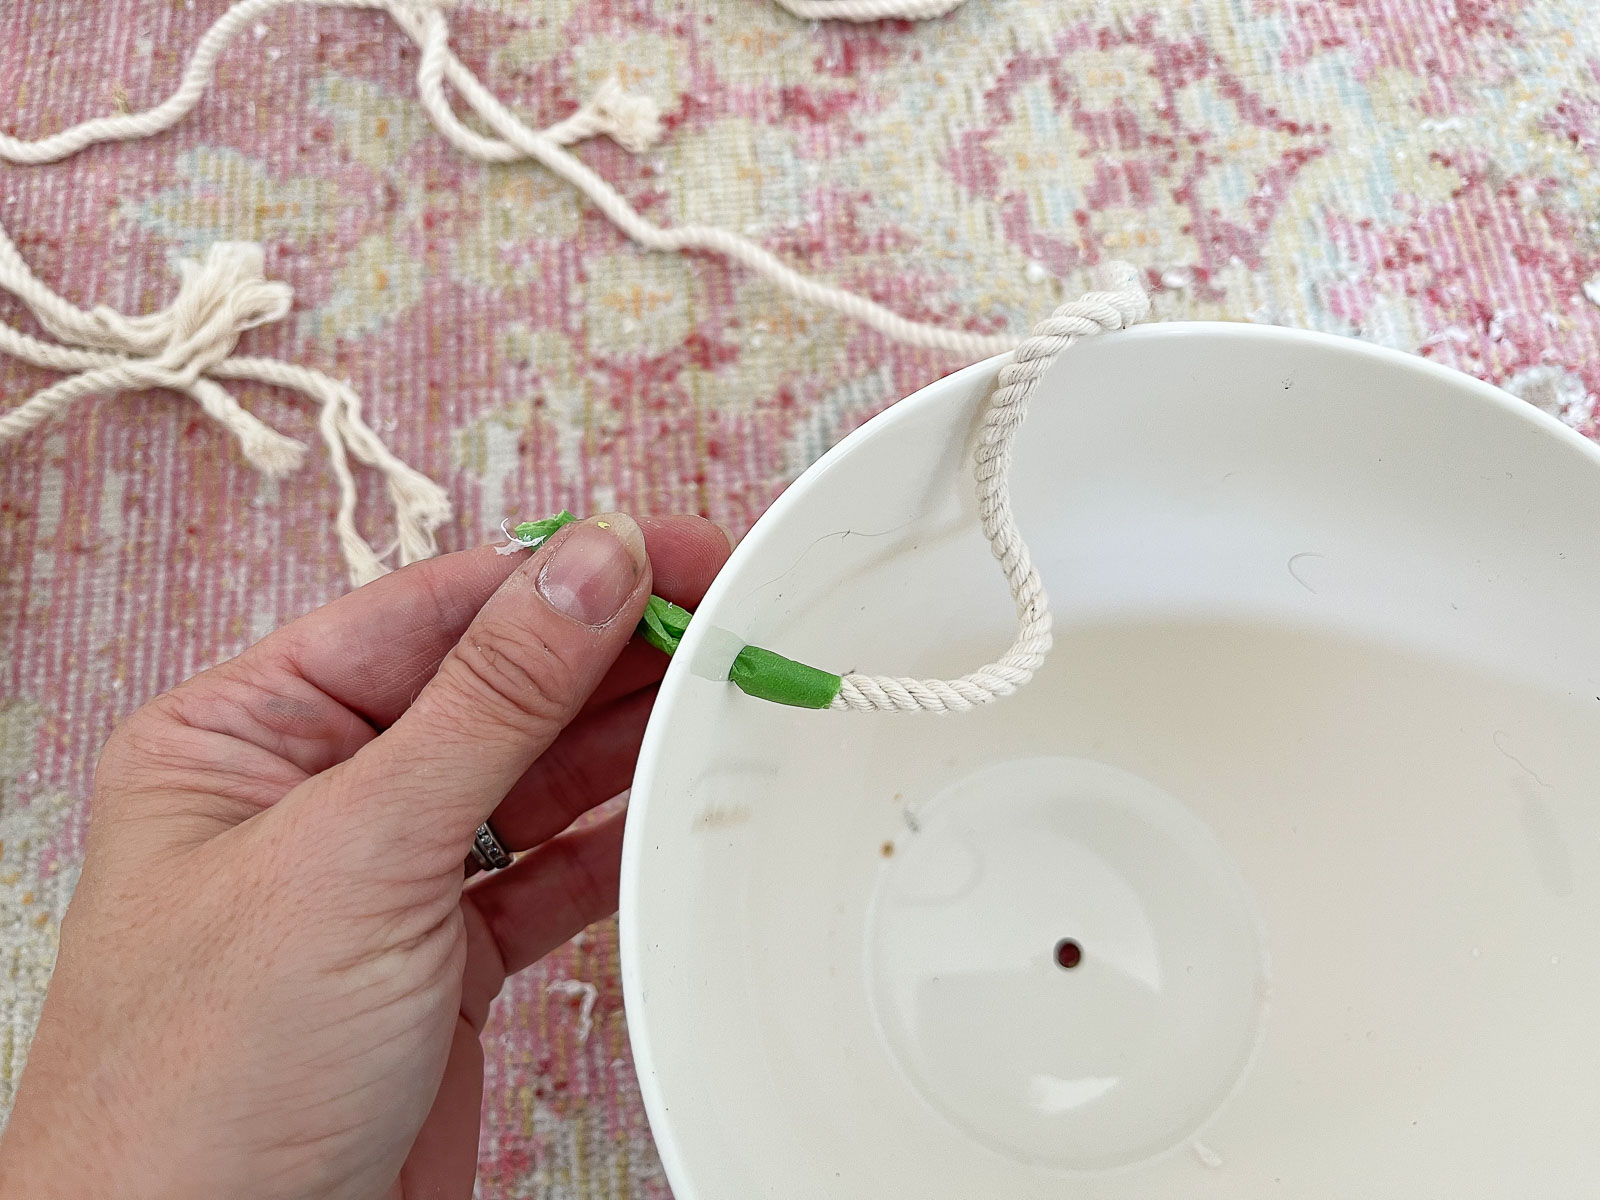
Step 4. Prep the Pots
I traced the circumference of a pot on paper, cut it out and folded it in half to determine where to drill holes for the hanging rope. I wrapped a piece of painters tape around the end of the rope to thread it through the hole and then tied them off with knots.
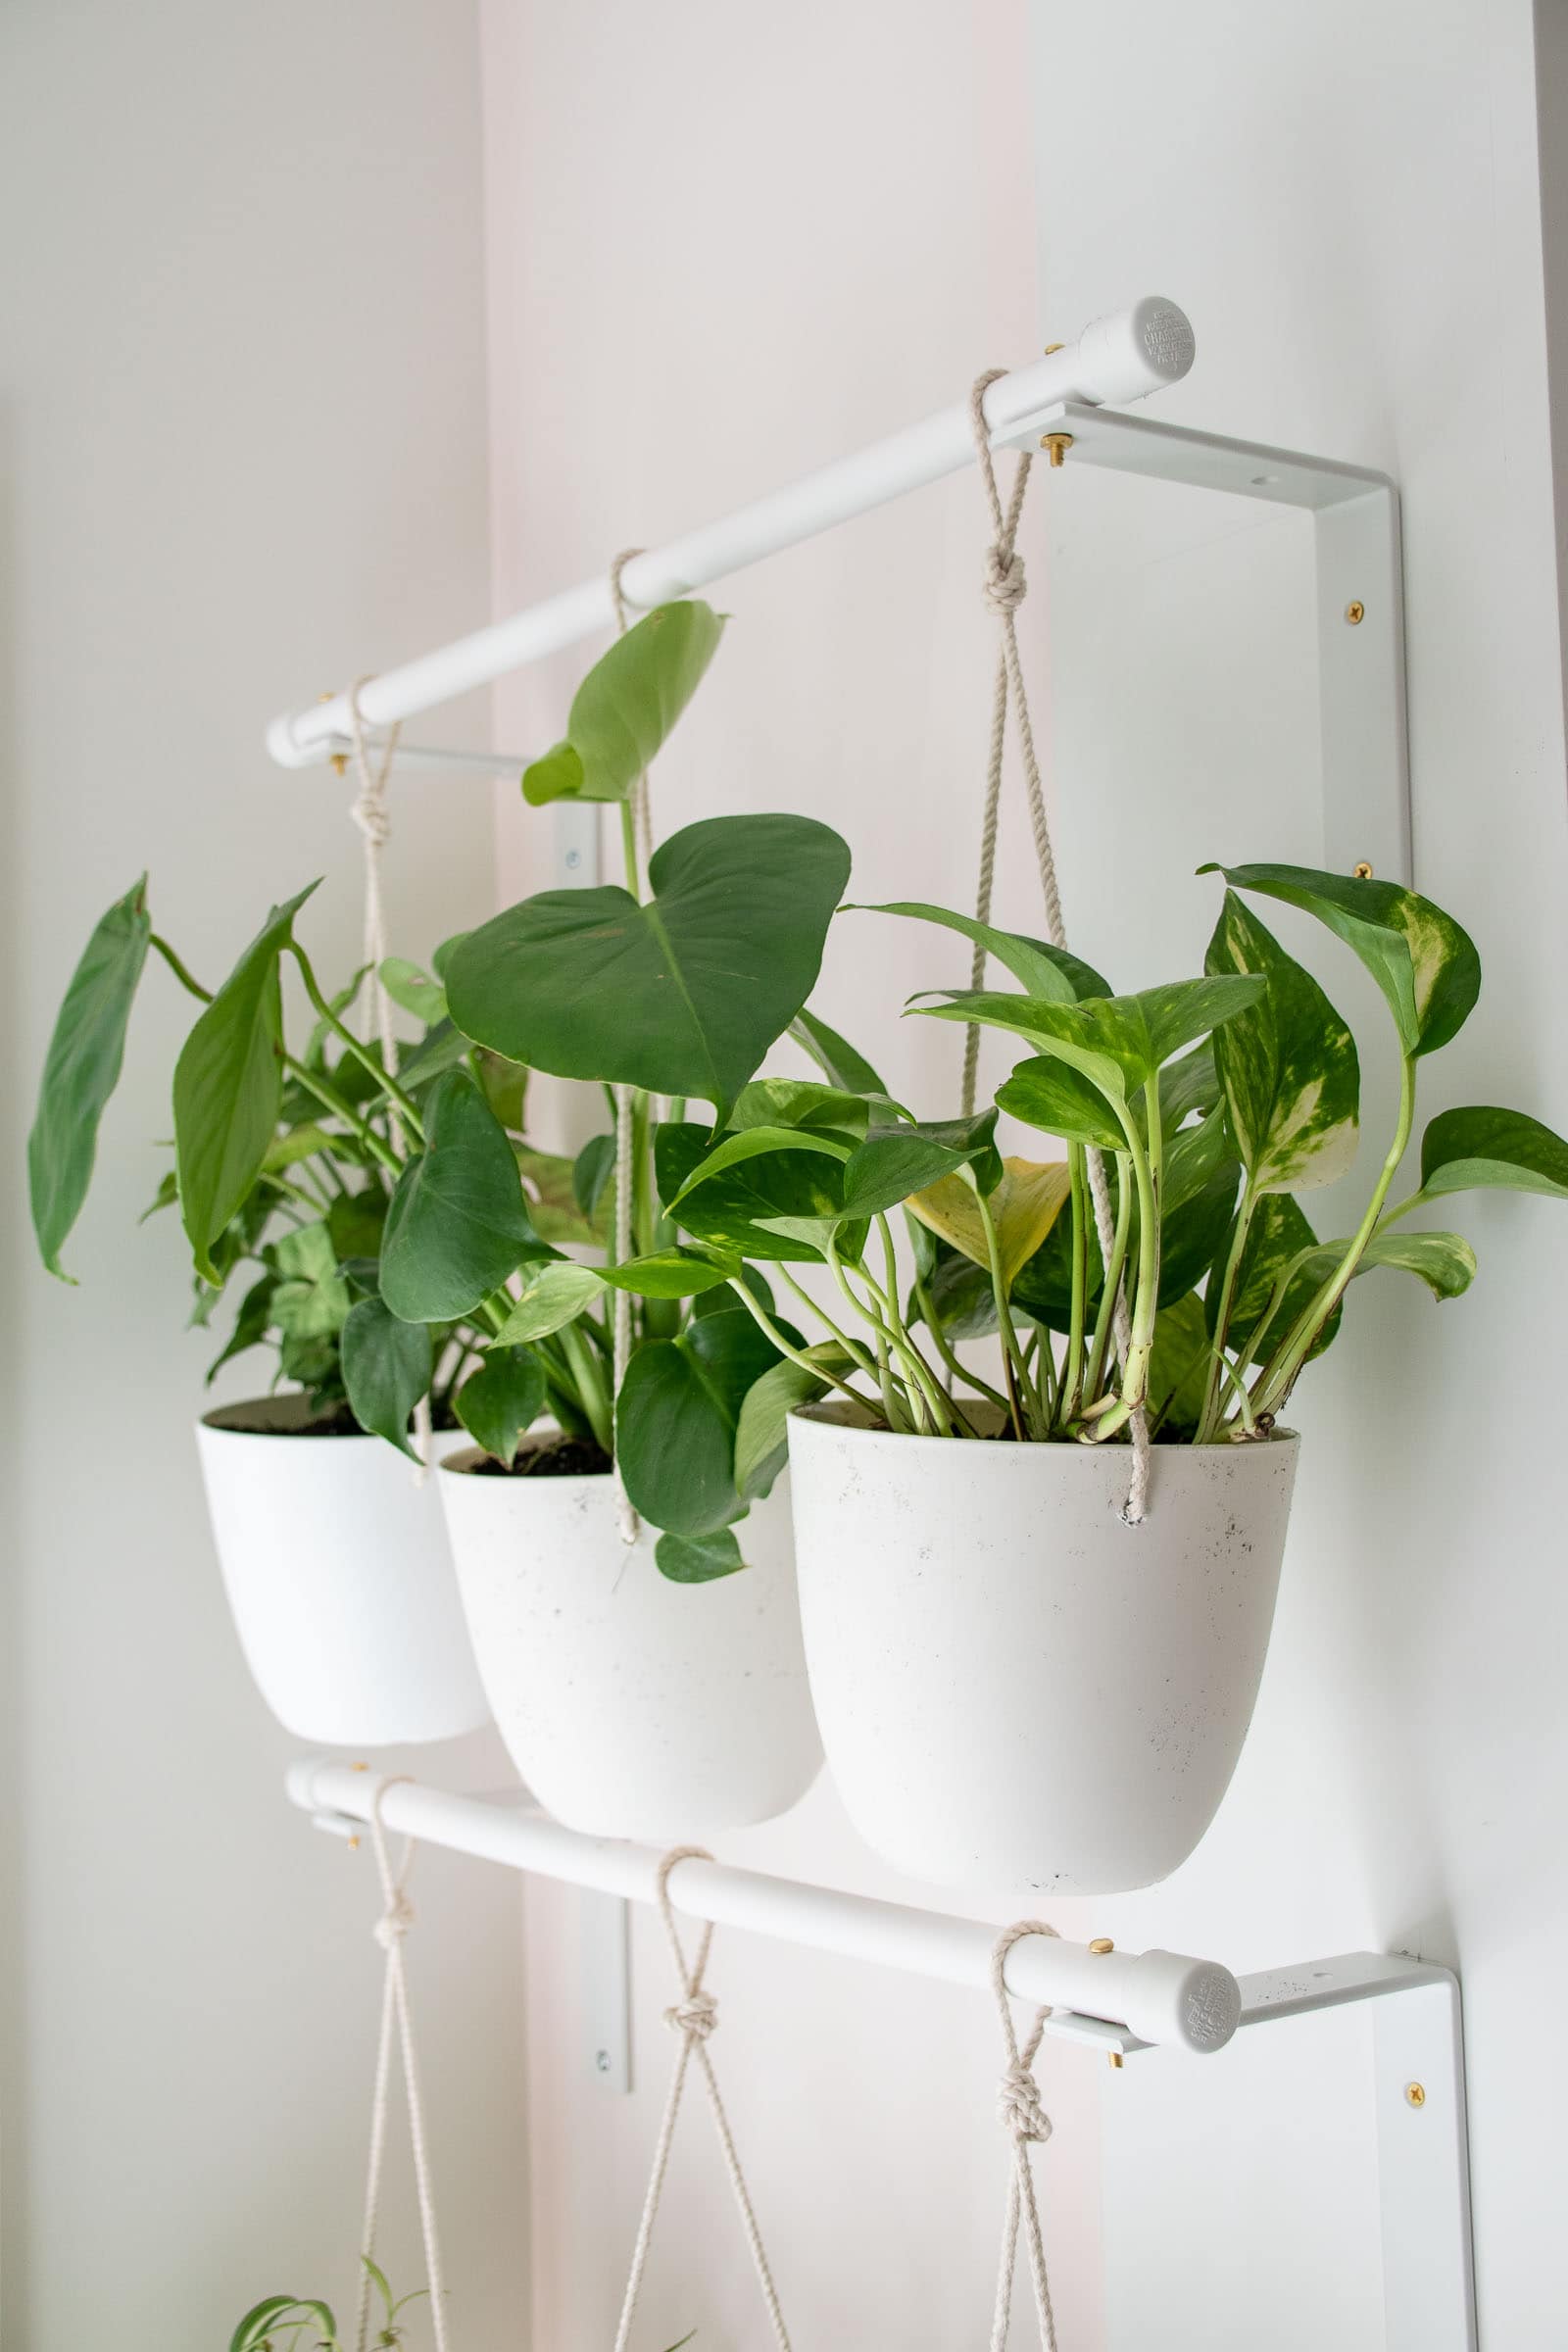
Step 5. Plant Your Plants
I picked up assorted plants that would enjoy bright light and would grow and eventually spill over the sides and drape down over the pots. I planted them in regular potting soil. The pots I’m using have drainage holes. If not, I would have drilled a few holes in the bottom. Because they’re hanging over the bathtub, I don’t worry about the occasional water dripping out.
Step 6. Hang the Plants
I unscrewed one side of the PVC pipe and slide the pots onto each pipe. I had to adjust a couple of the to make sure they hung at the same height, but there’s no reason you couldn’t stagger the pots for a more eclectic look!
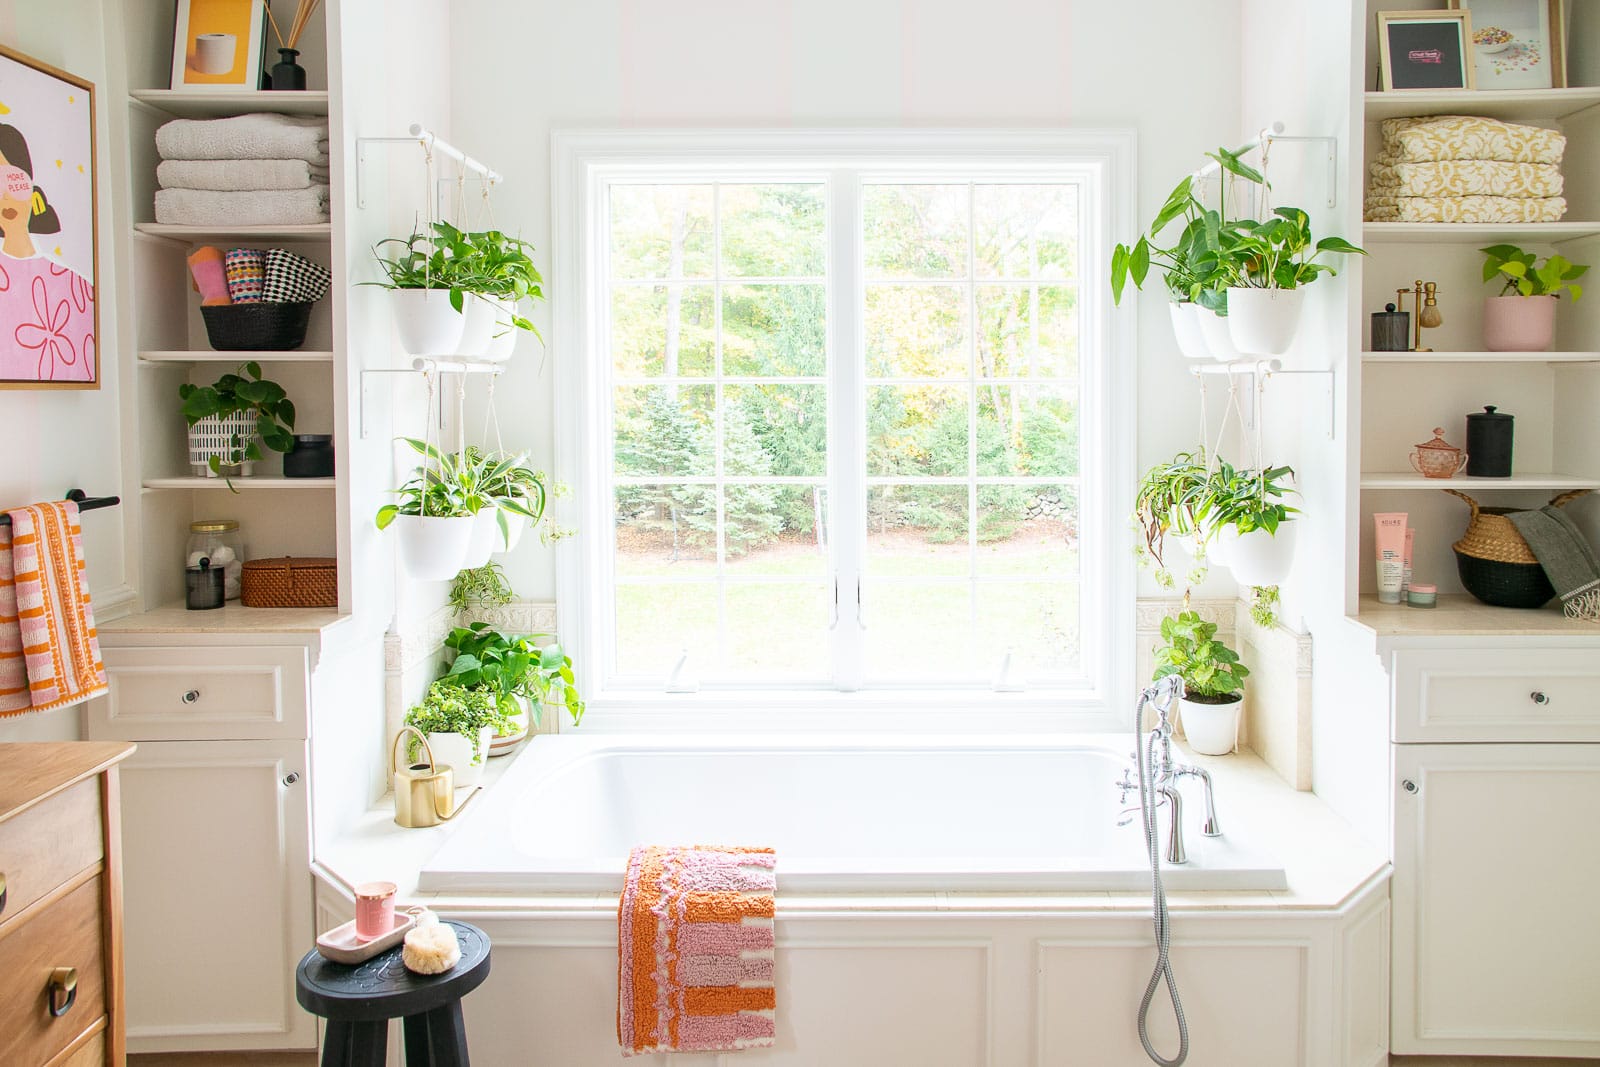
So far, all the plants are happy and still alive and because they’re in the bathroom I can’t ignore them and they get watered! Huzzah!
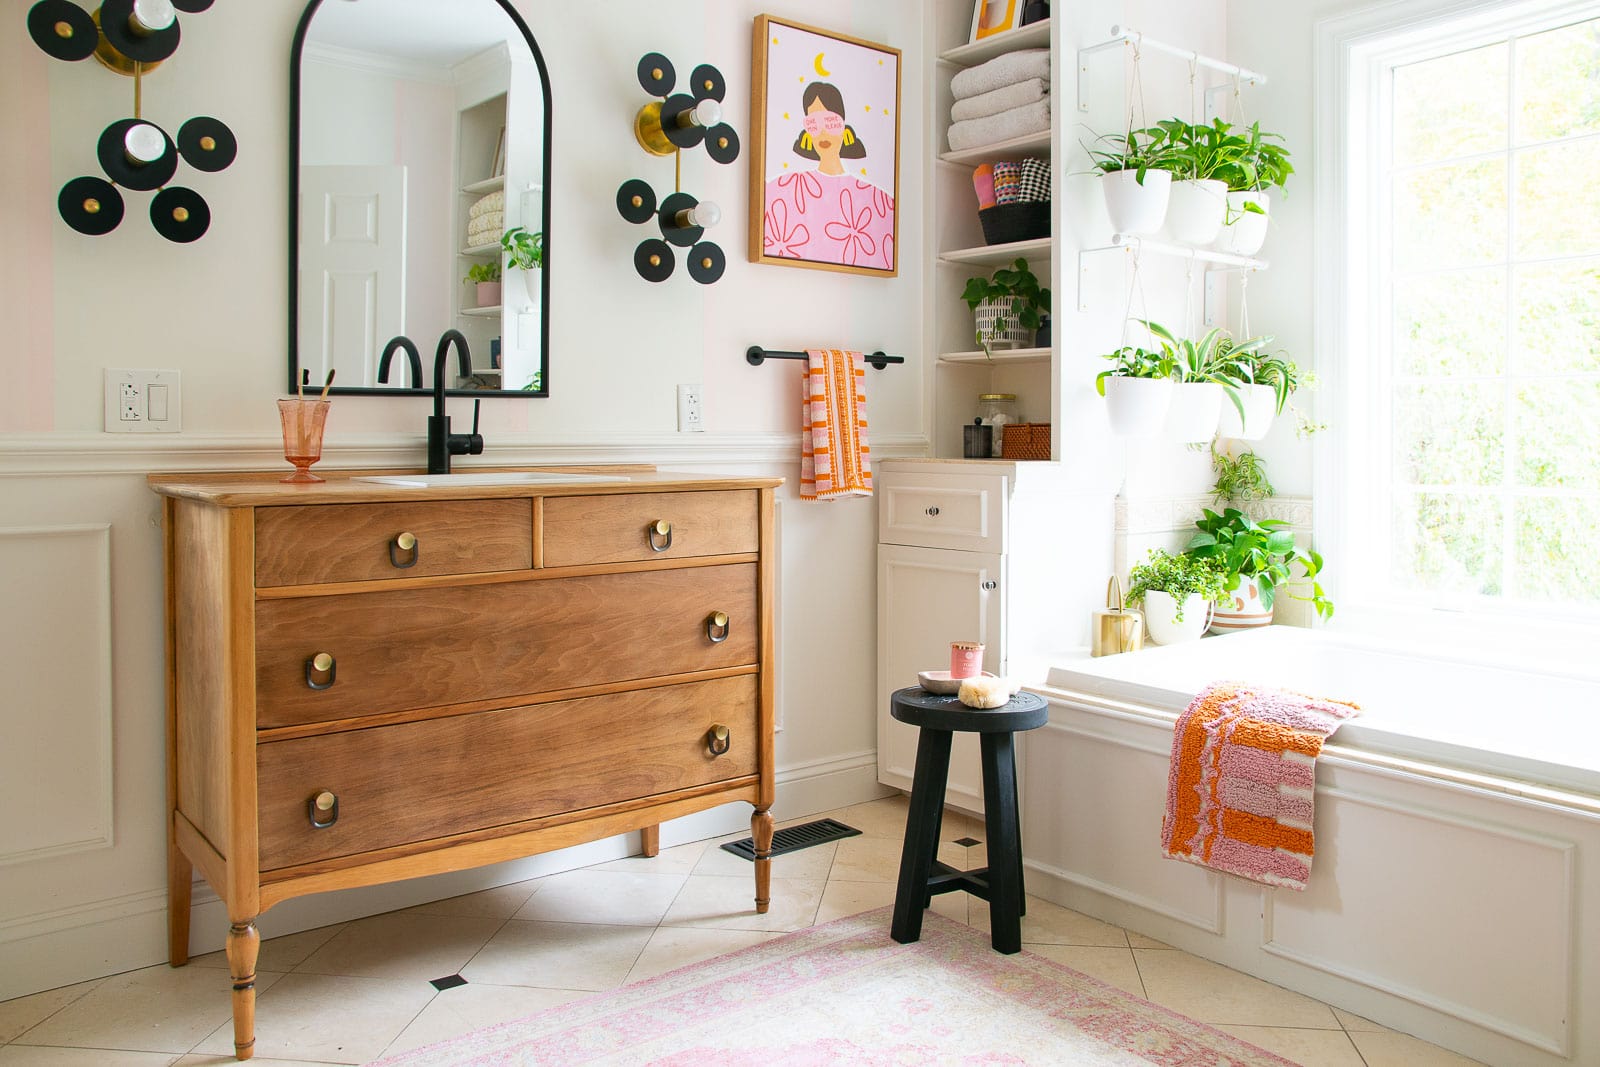


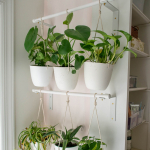


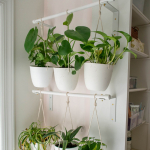


I love the bright green against the light backdrop and the whole inside connected to the outside joy; clever idea and well-executed!
Thank you! I love that too! Plants always add such warmth to a space without feeling too cluttered, in my opinion!
So cute!!
Now can you tell me aboUt how you’re watering them so i can include that in my materials list!
I picked up a cute brass watering can and give them a quick drink every week or so!