
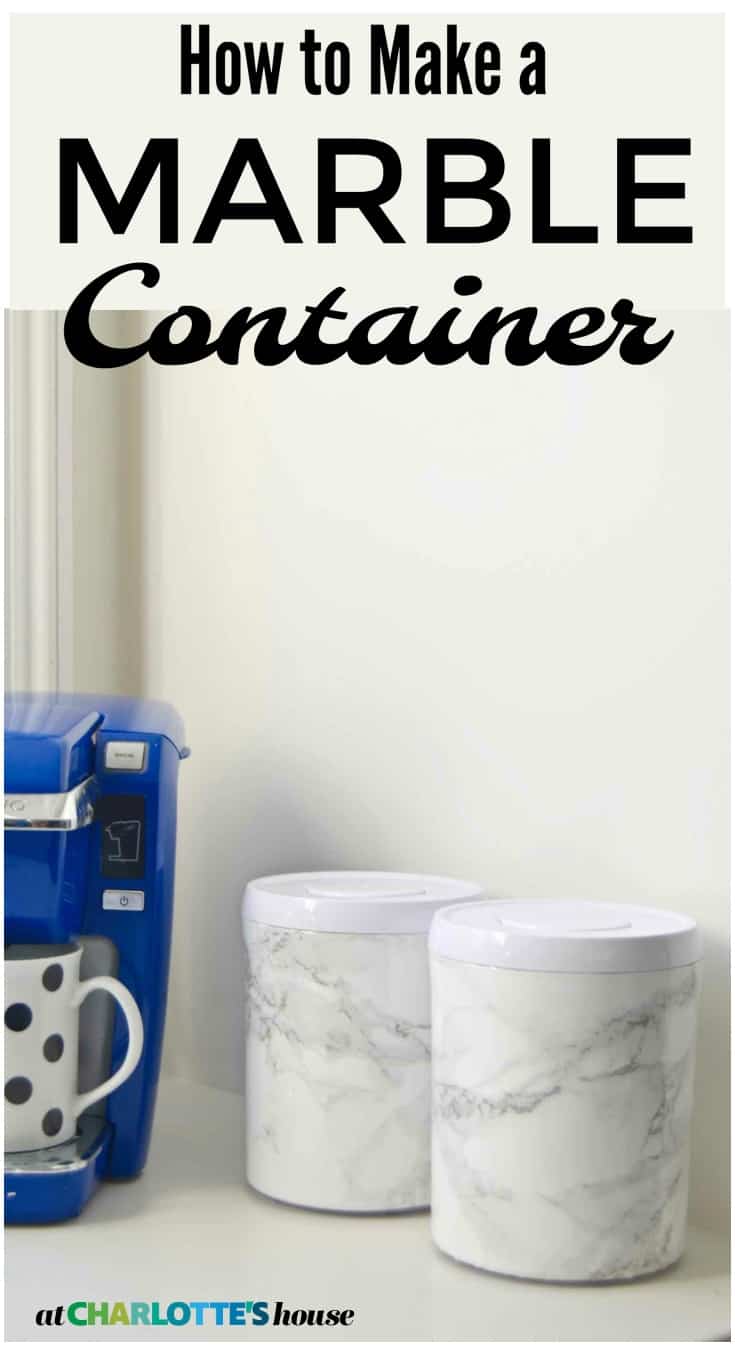
DIY Marble Storage Container
Psssst… this post *might* contain affiliate links: see my disclosure here.
DIY Marble Canister
Sometimes necessity leads to genius hacks that will change your life and bring happiness to the universe. Or… at the very least… make you think, ‘huh… that’s cool!’ This is one of those projects! I’ve mentioned it on my Instagram stories, but when we were at the beach for a week this summer, our painter came in a worked some magic in the kitchen! I haven’t officially posted about the painted cabinets, but I have a new-found obsession with decluttering and cleaning up the space! Enter… DIY marble storage containers.
Shop my favorites!
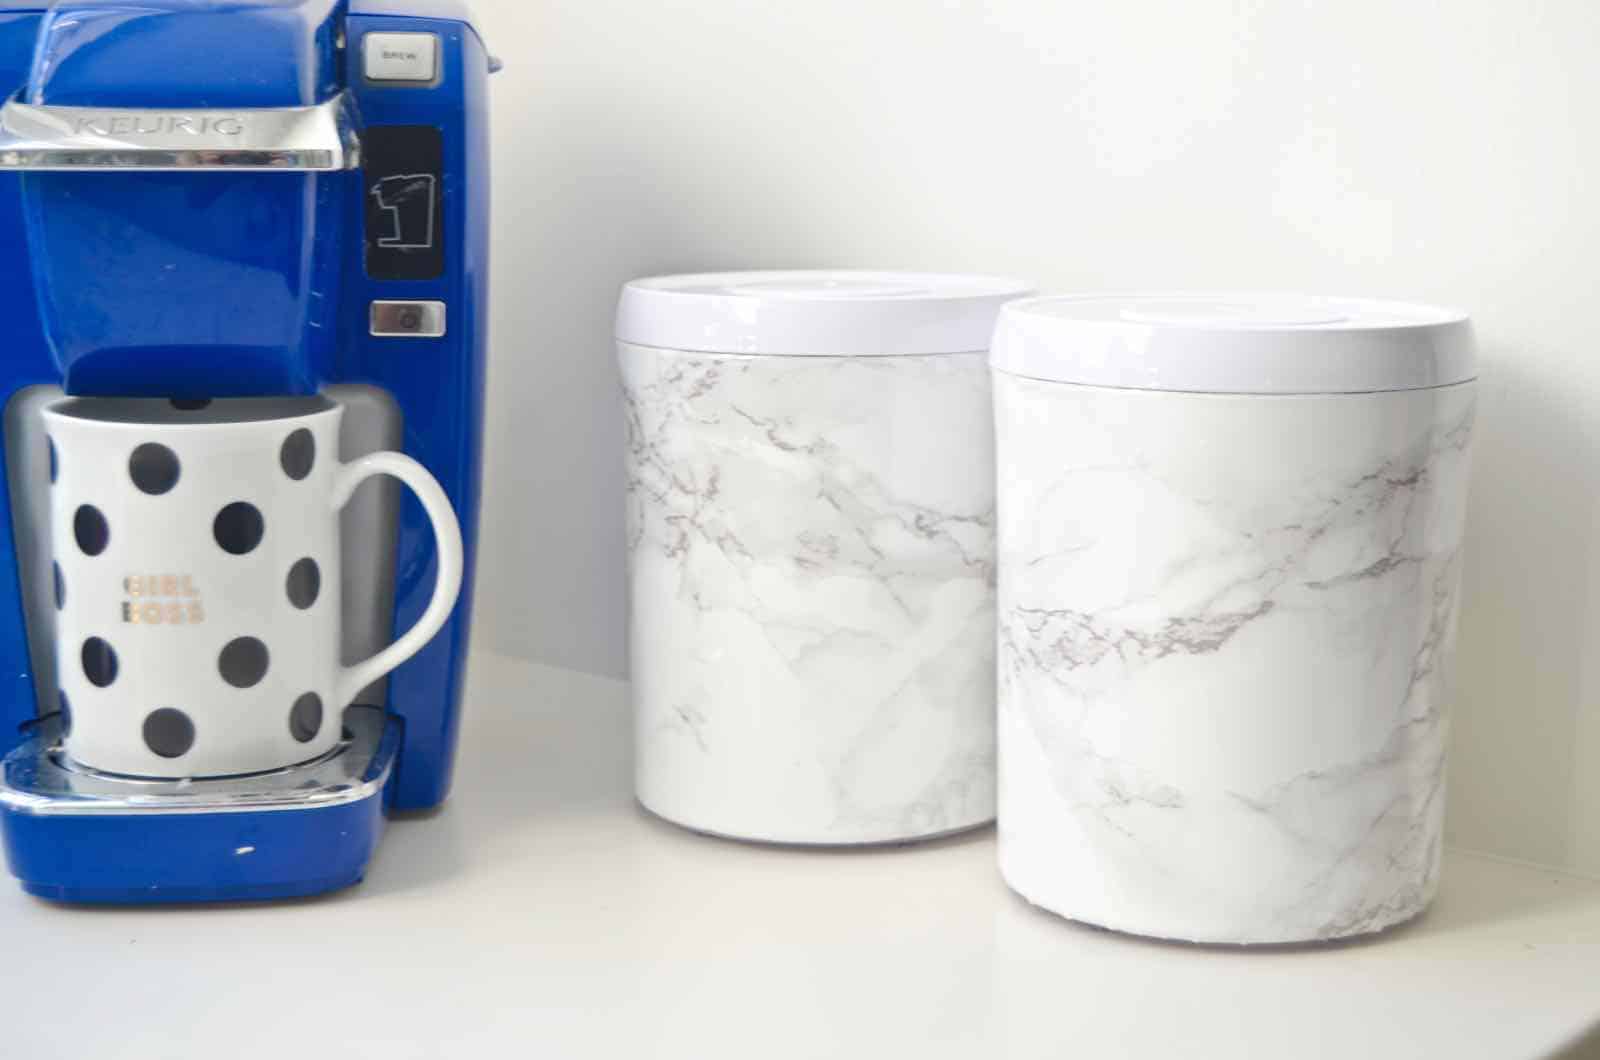
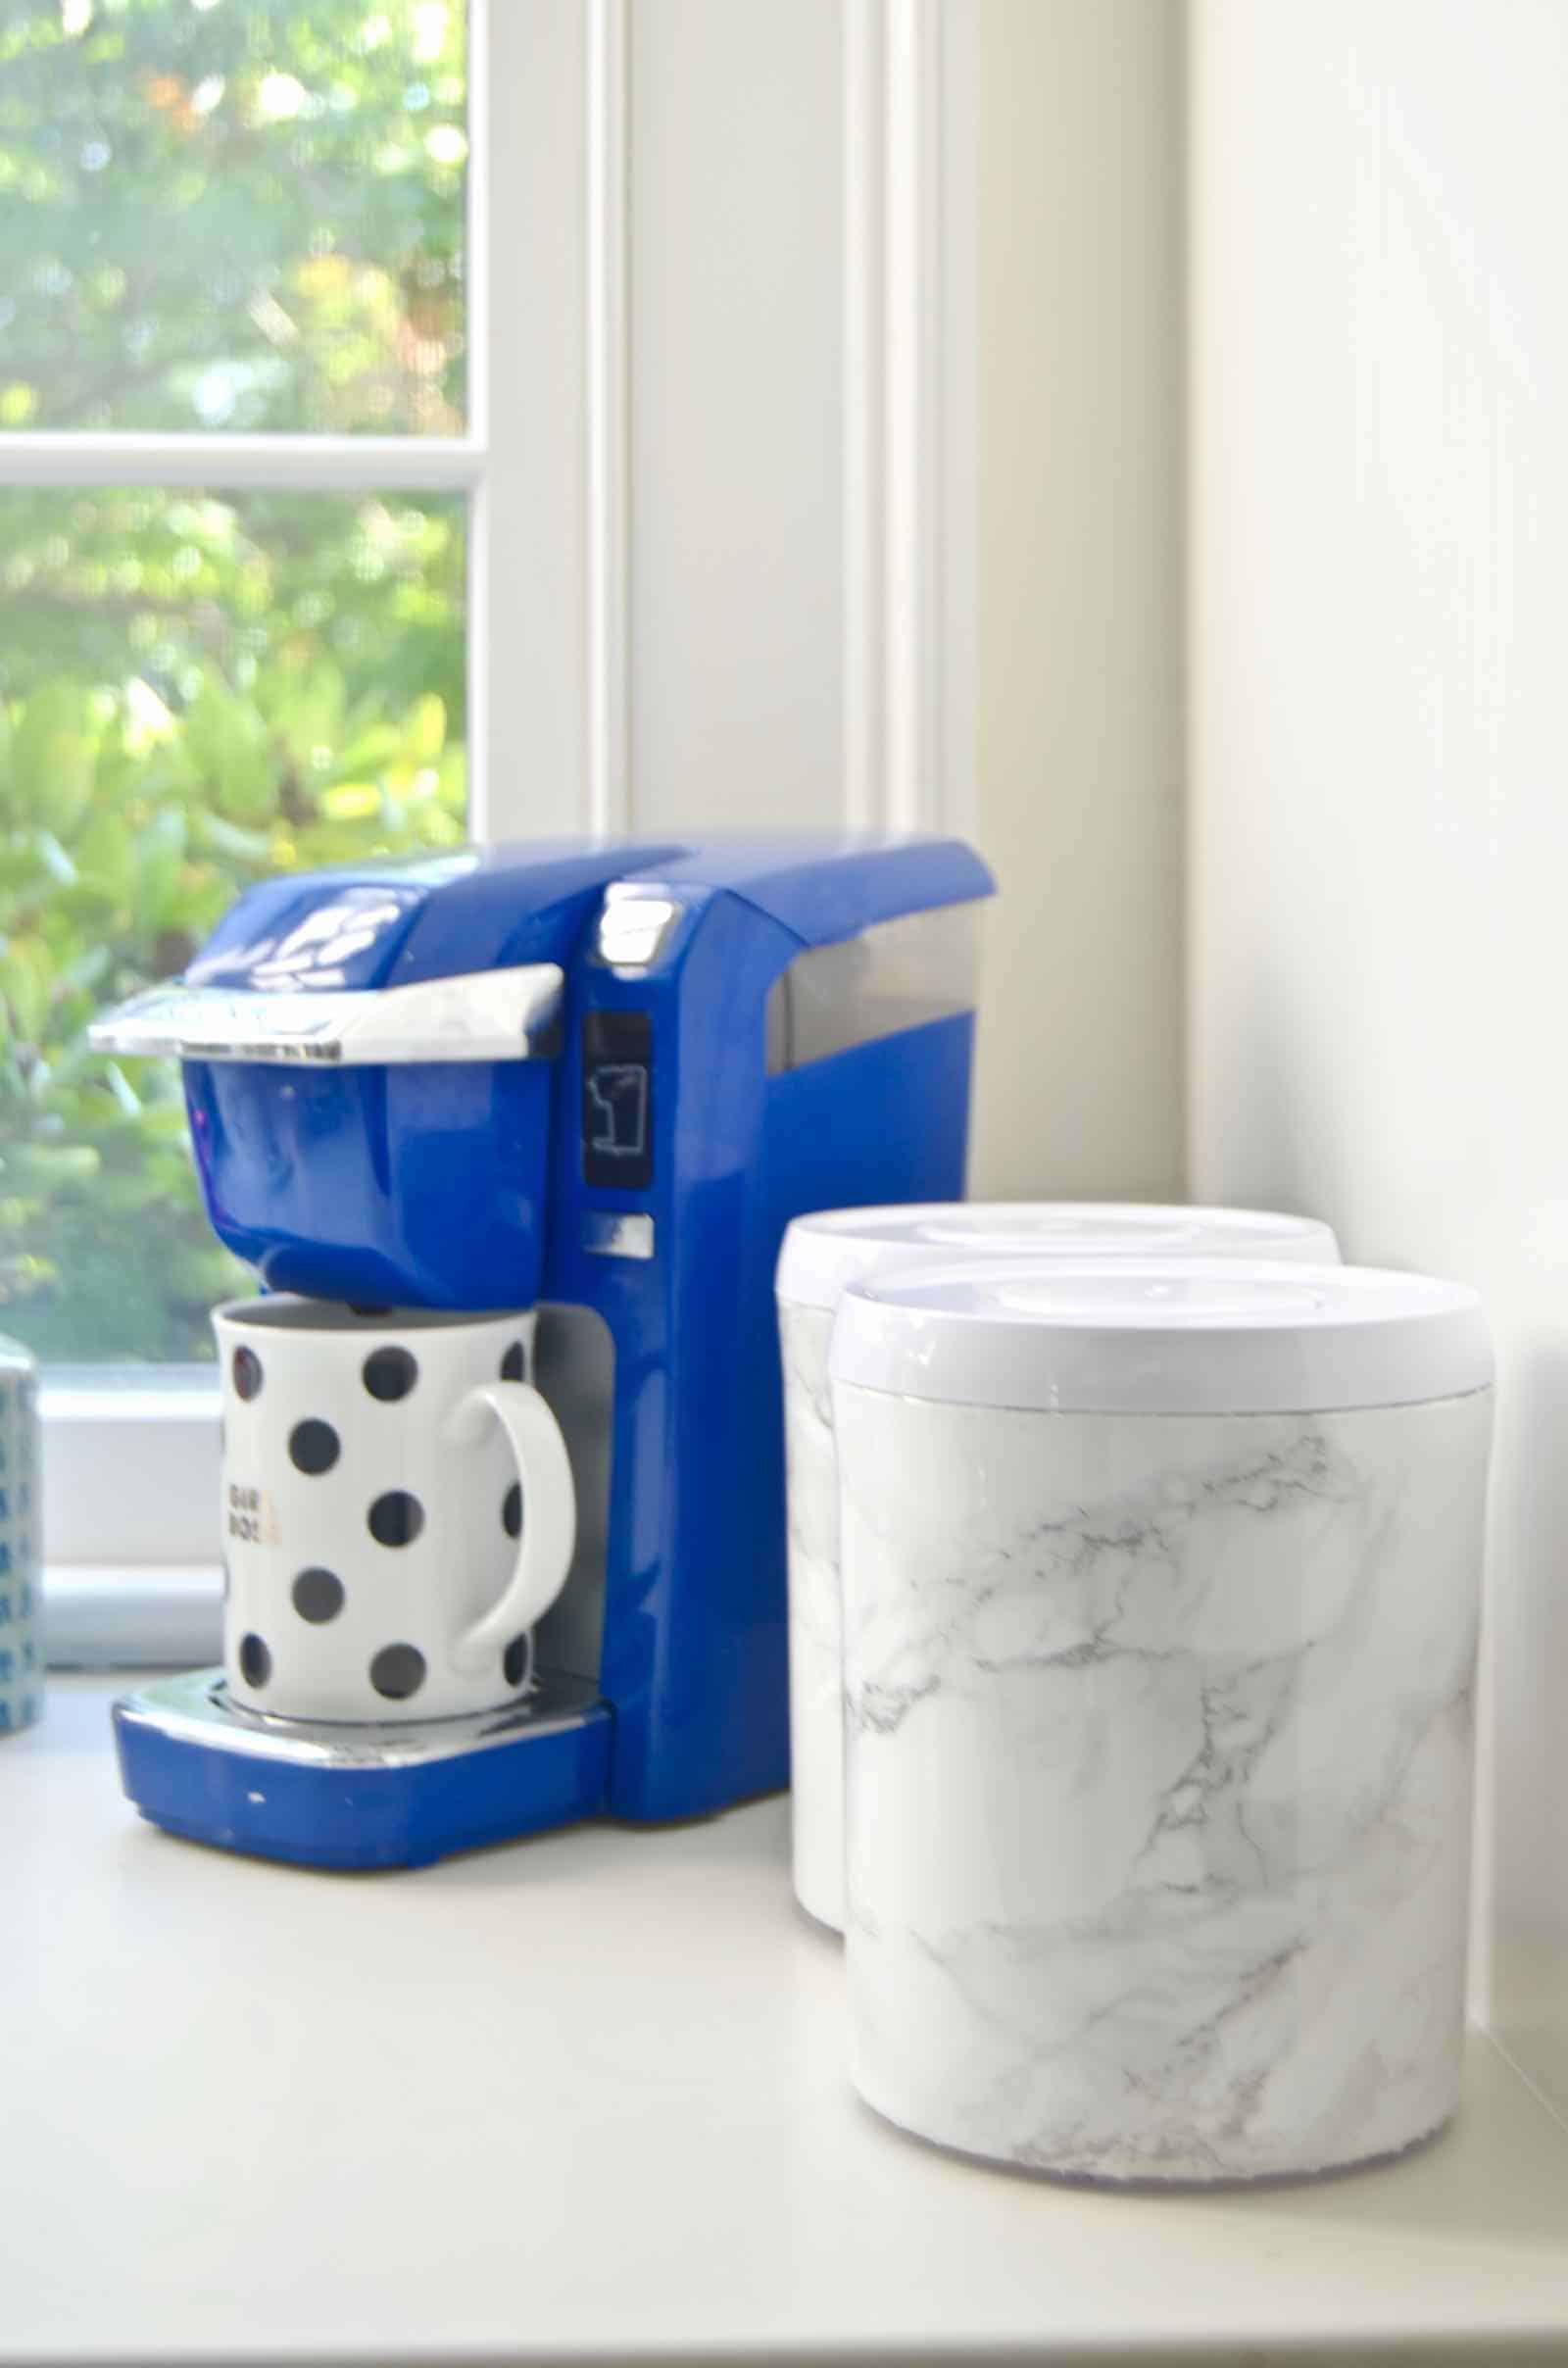
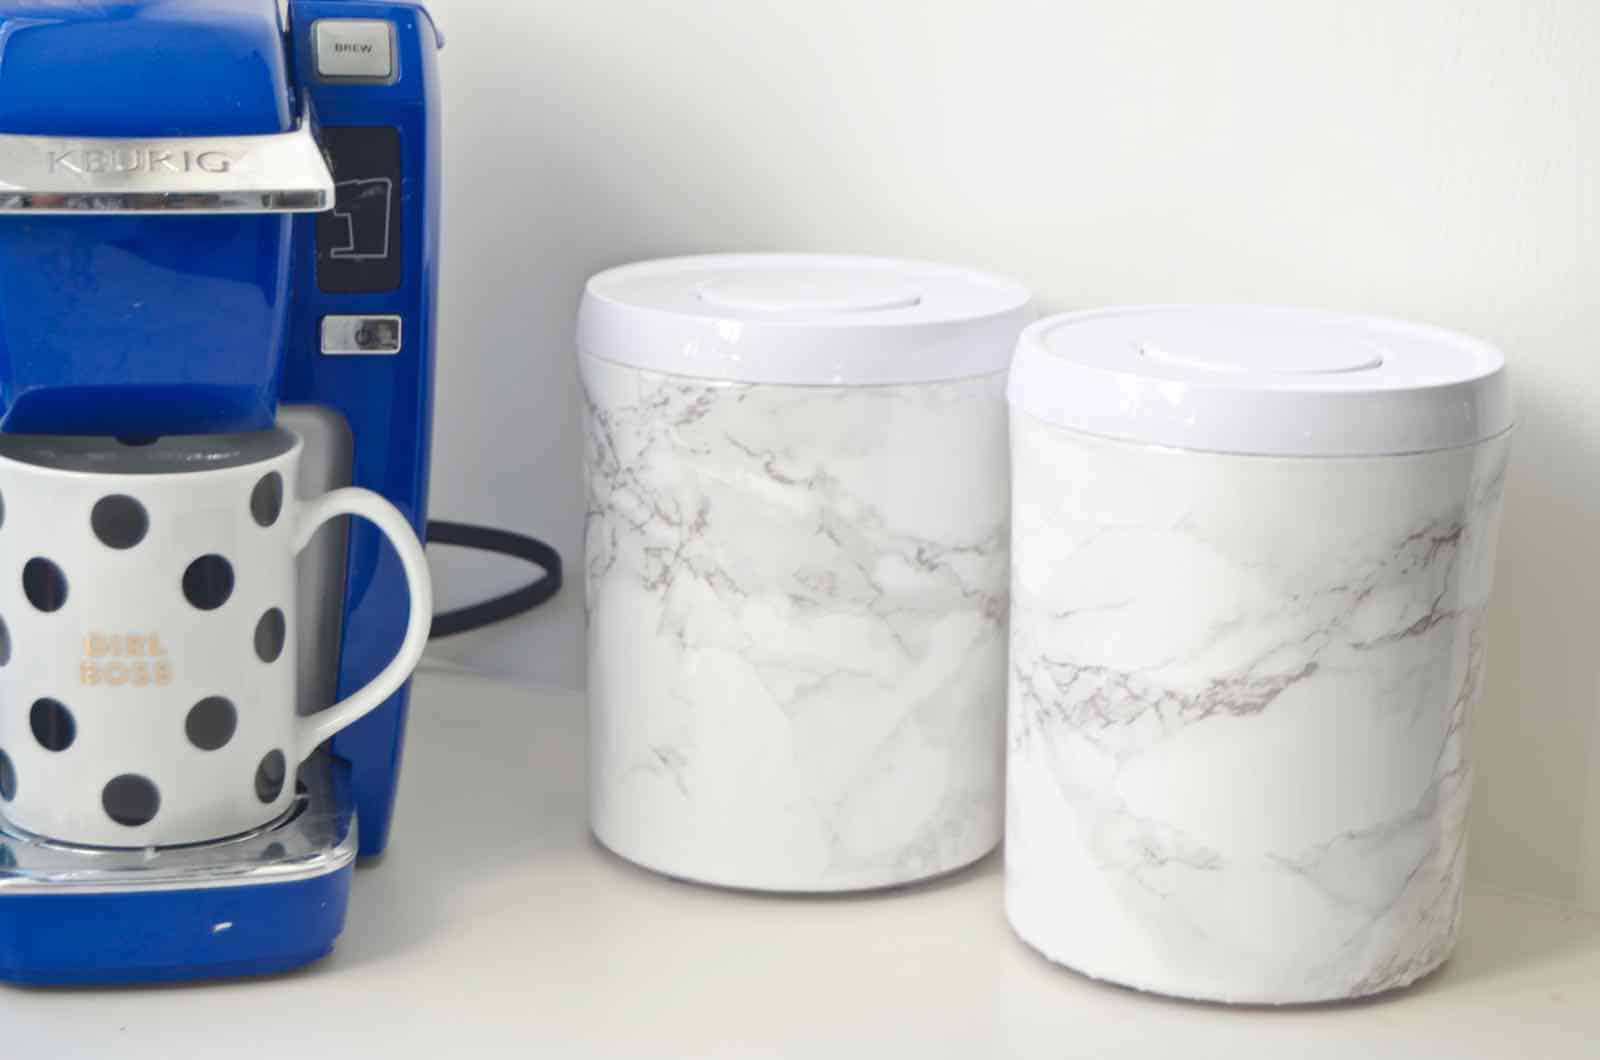
One of the things that lives on the counter is our coffee maker. I use a single serve Keurig which means I also have a canister of coffee grounds and a canister of my reusable pods. (Full supply list at the end of this post!) My old canisters were beat up and ugly so I was on the hunt for new bright white ones! After a few weeks, I hadn’t found anything but I DID find these:
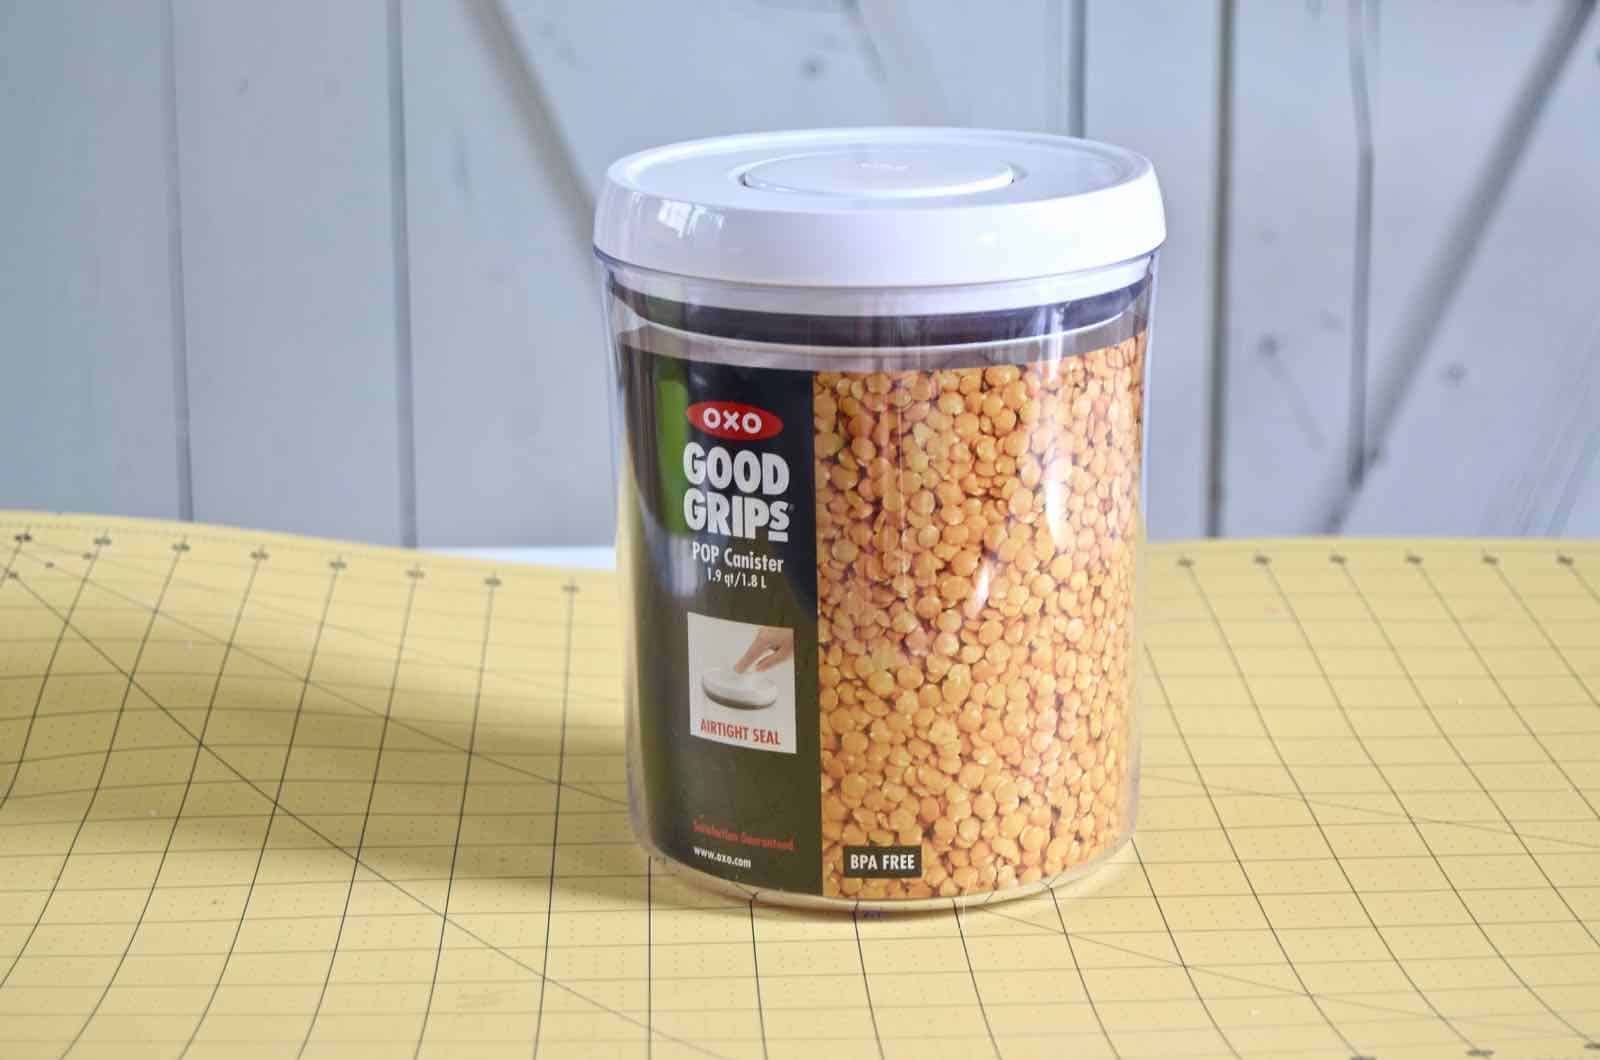
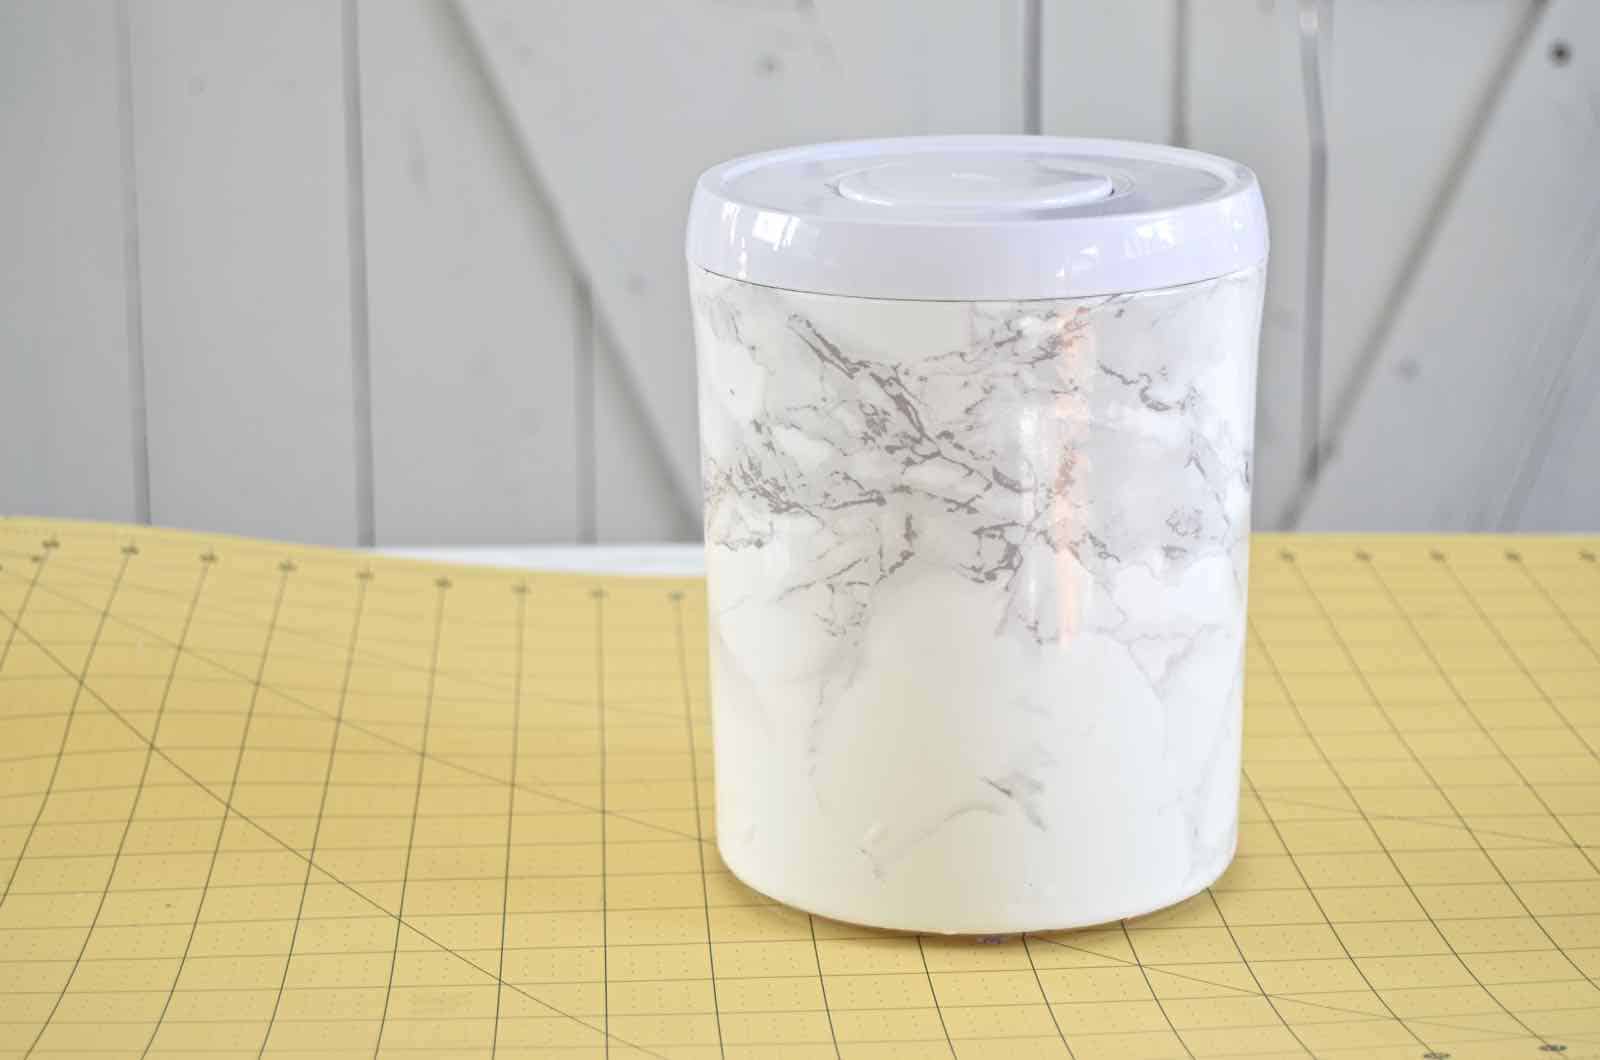
The shape was perfect, the size was perfect, but there was one problem: Google tells me I’m not meant to store coffee in a clear container. What’s a girl to do. DIY something fabulous, mais oui! Say hello to my favorite furniture hack material ever: marble contact paper!
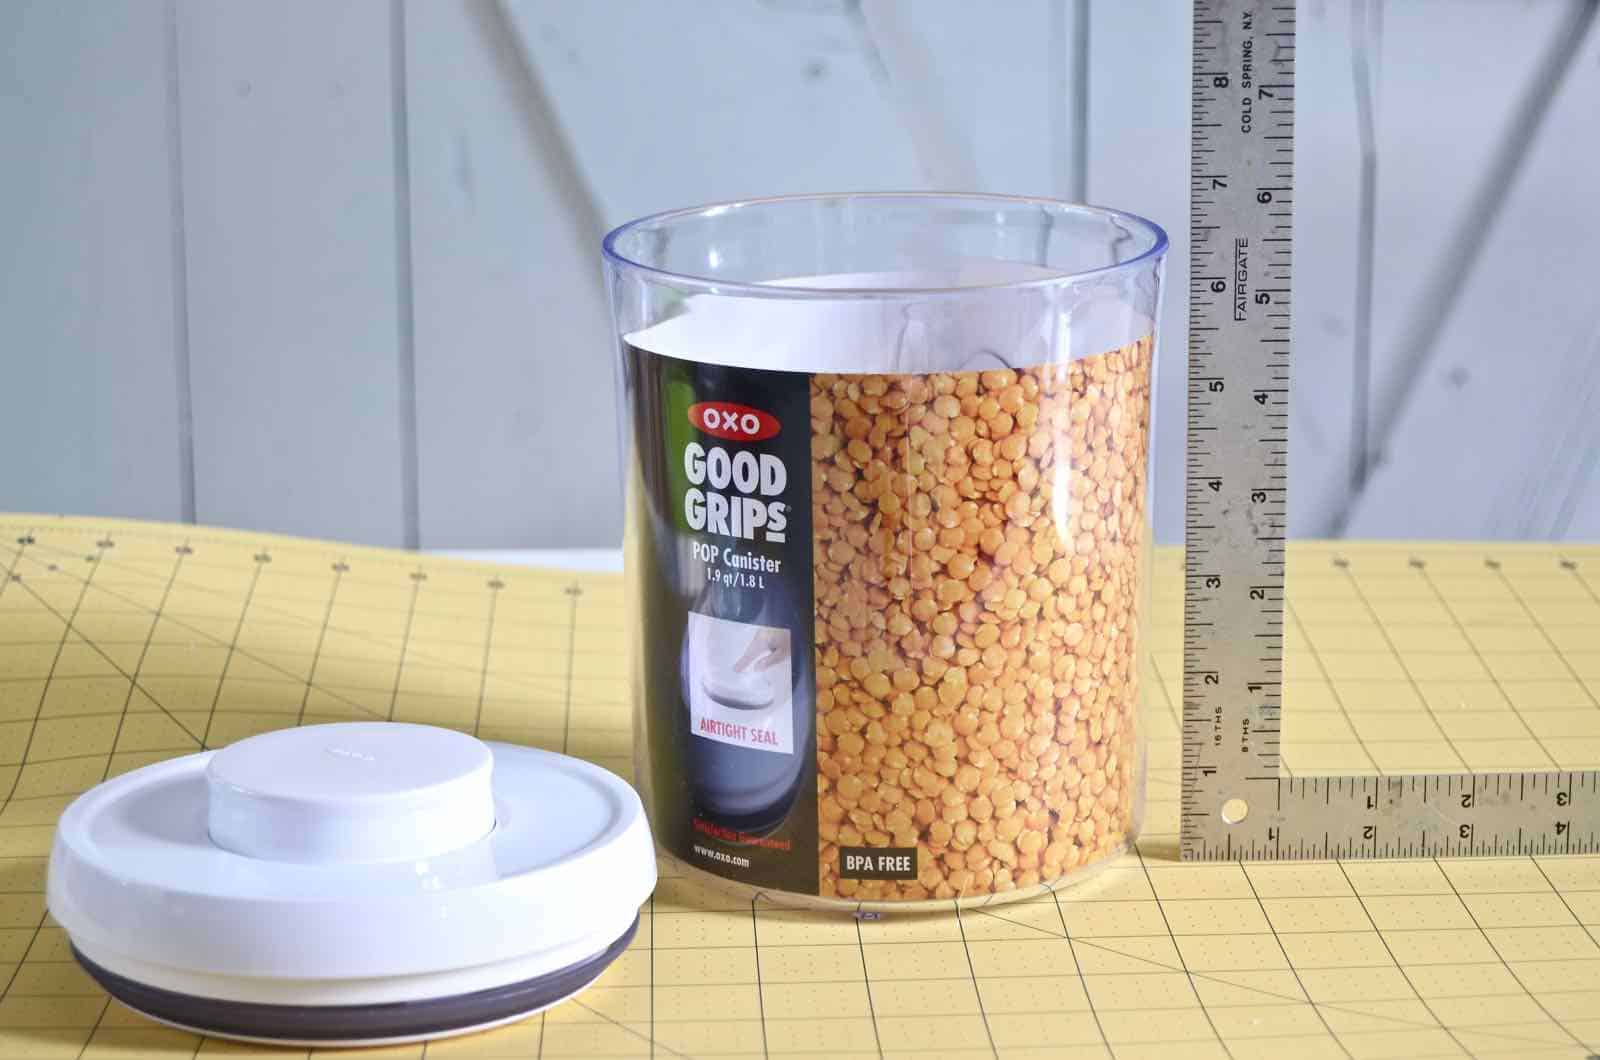
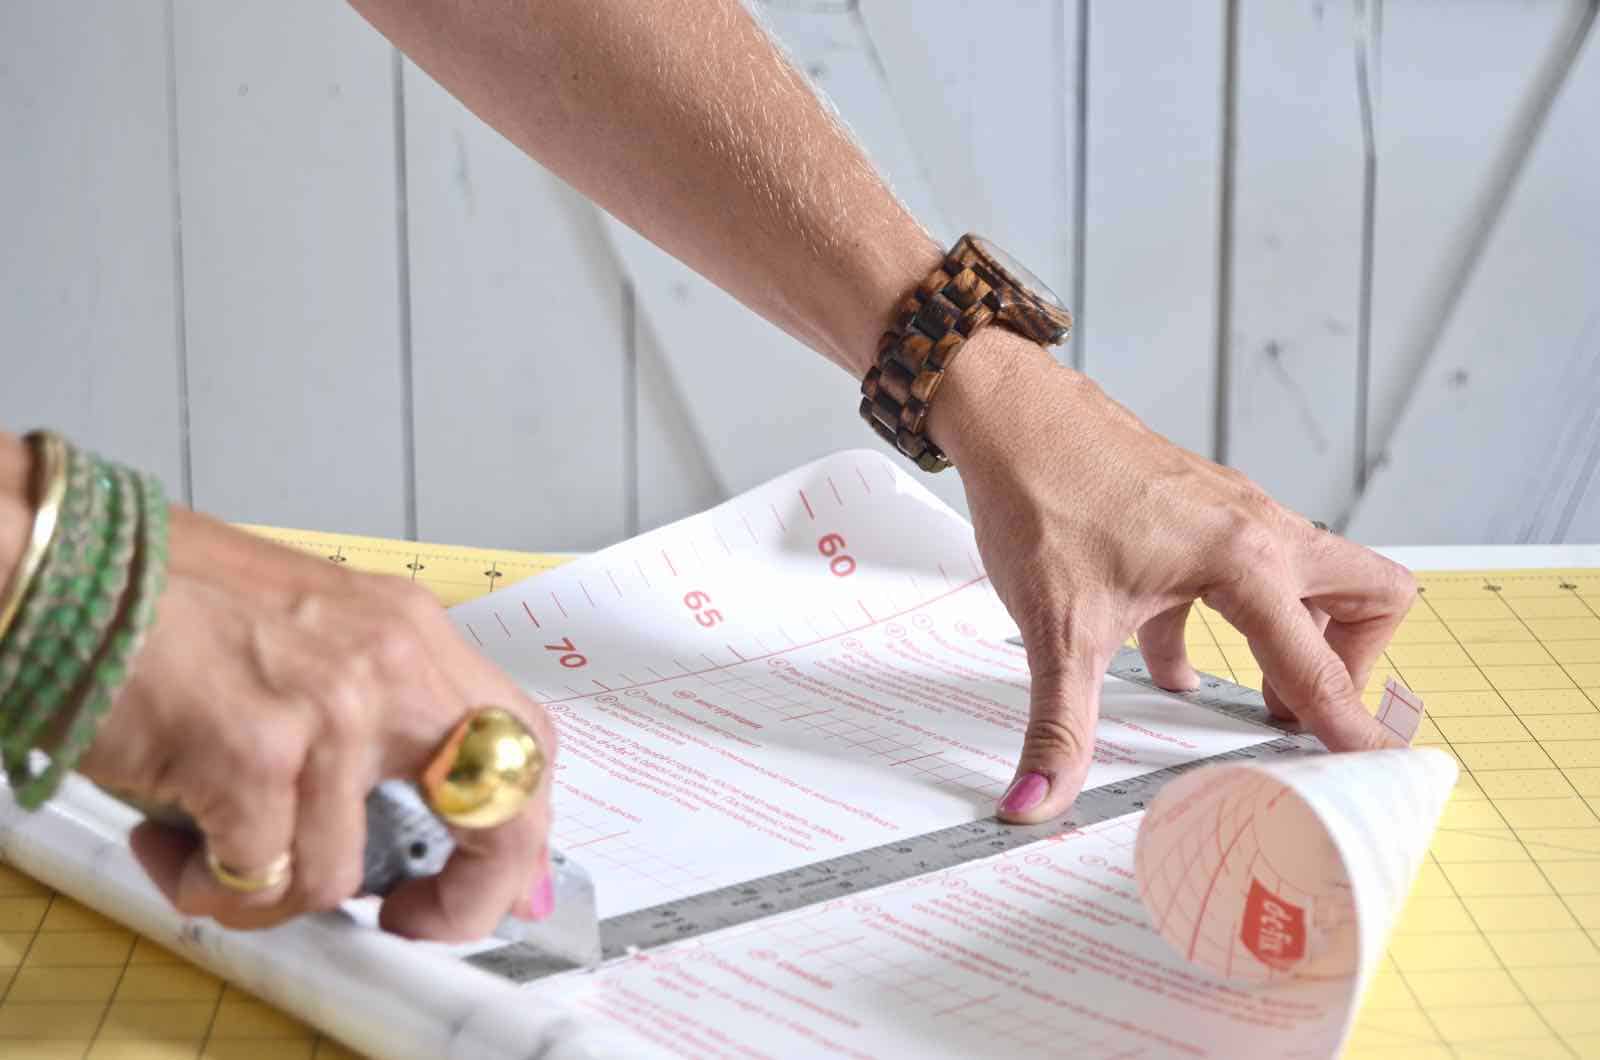
Step 1. Measure contact paper
My canister isn’t a *perfect* cylinder so I made sure to give myself some extra room on either end. The canister was 6 inches tall, so I cut my contact paper 8 inches wide.
Step 2. Cut contact paper
I know most contact paper has a grid on the back and for this you could just use scissors because you’ll go back and trim the ends. (Normally, I use a straight edge and a sharp blade for a perfect cut line.)
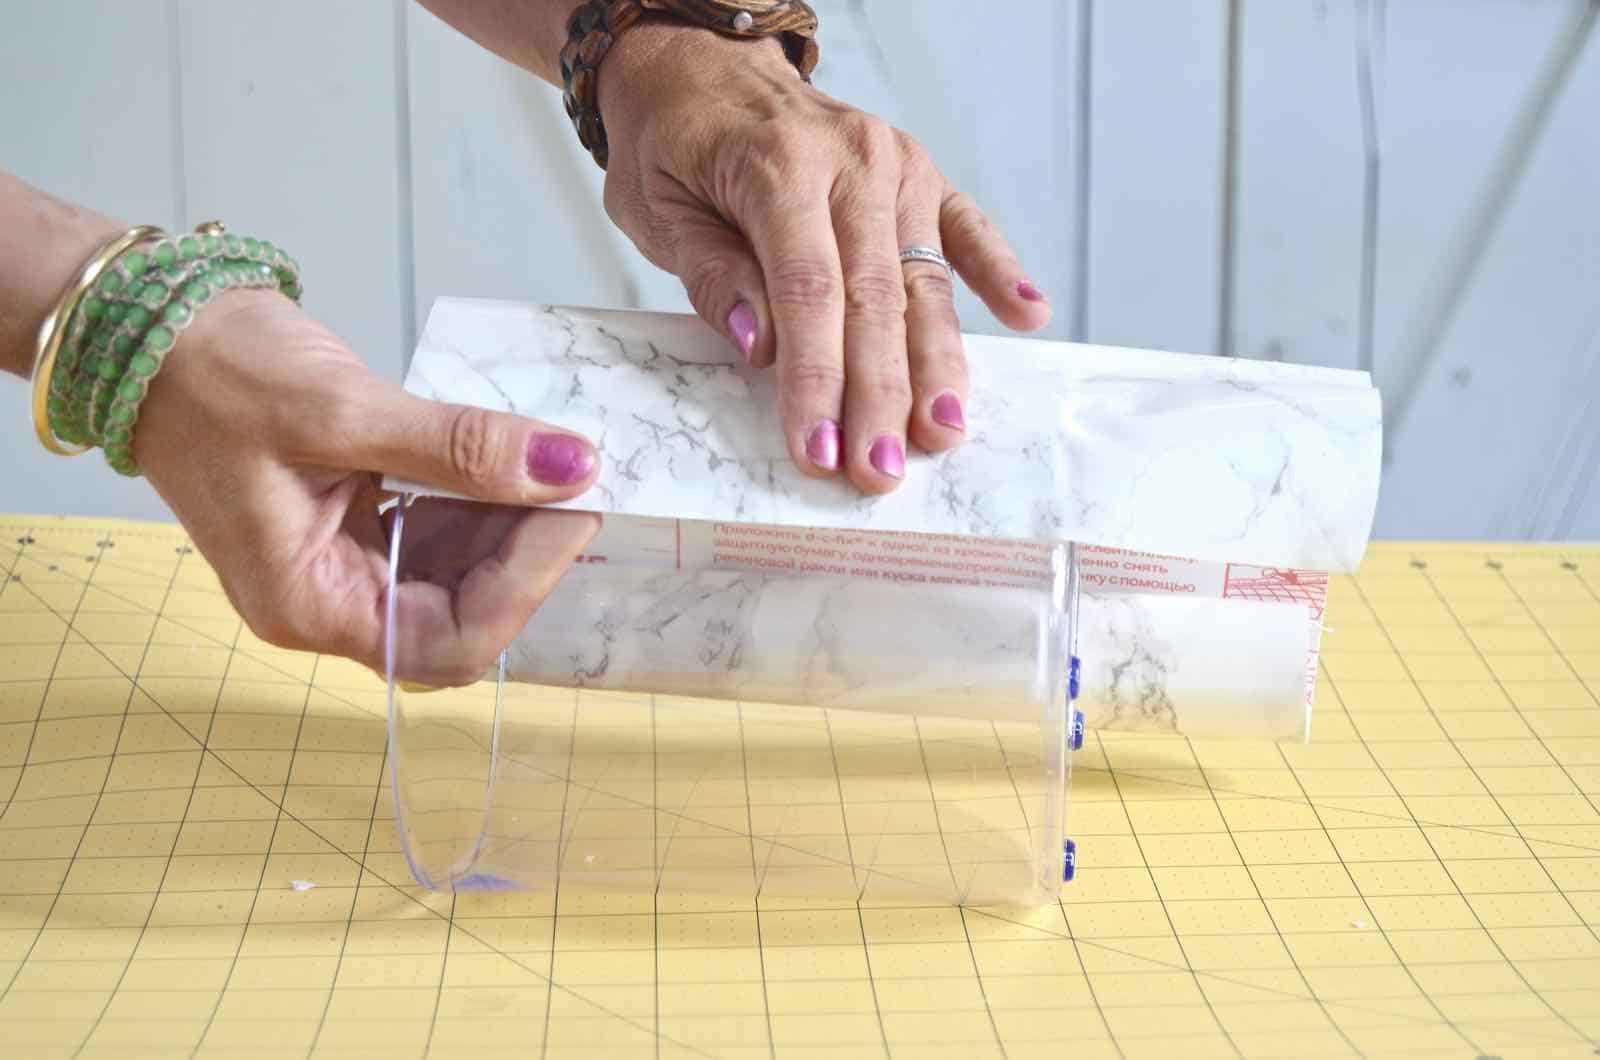
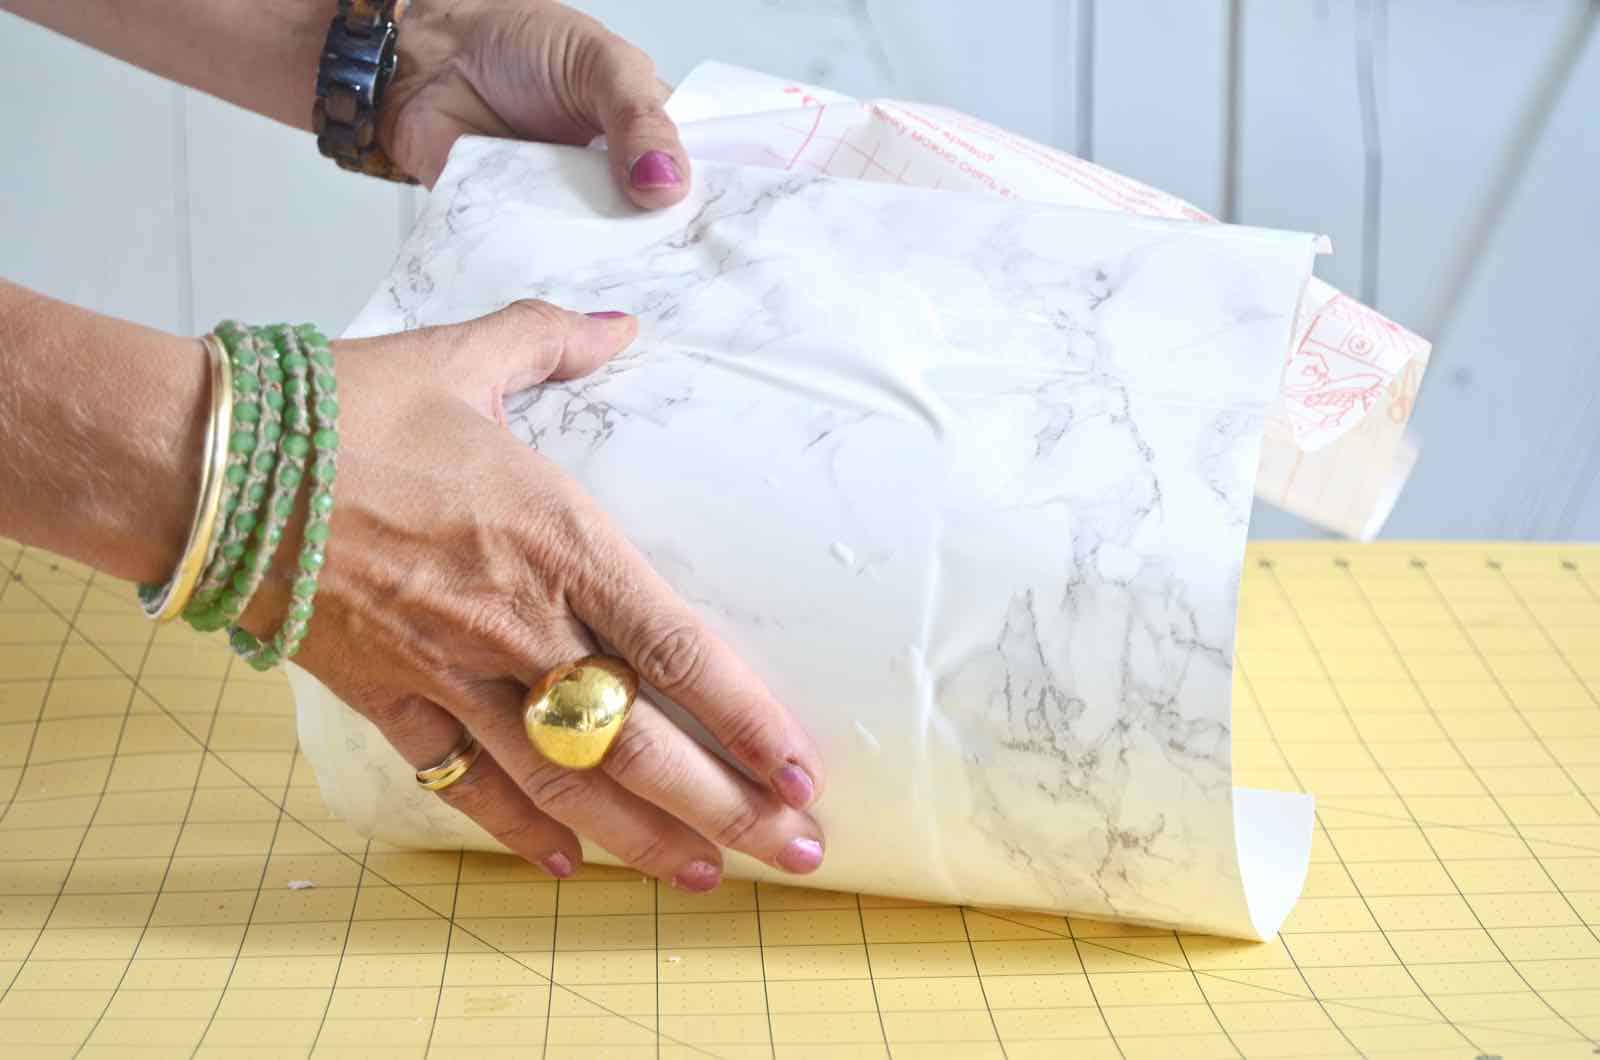
Step 3. Stick on contact paper
Pull back 2 inches of the backing paper from the end of the contact paper and center the container. Slowly smooth out the contact paper moving from the middle to the edges in order to ‘pull’ any air bubbles out from under. Contact paper is pretty forgiving, so it should be easy to unstick and re-adhere as needed. (If you end up with any trapper air bubbles, make a small incision with your utility knife, and the air can release.)
Step 4. Trim top and bottom edges
Using a SHARP blade, slowly hold the blade level with the top edge and trim the excess contact paper. If the blade is sharp, you should be able to get a straight line. Repeat on the bottom of the container, making sure to again hold your blade against the bottom of the container in order to achieve a smooth, straight cut.
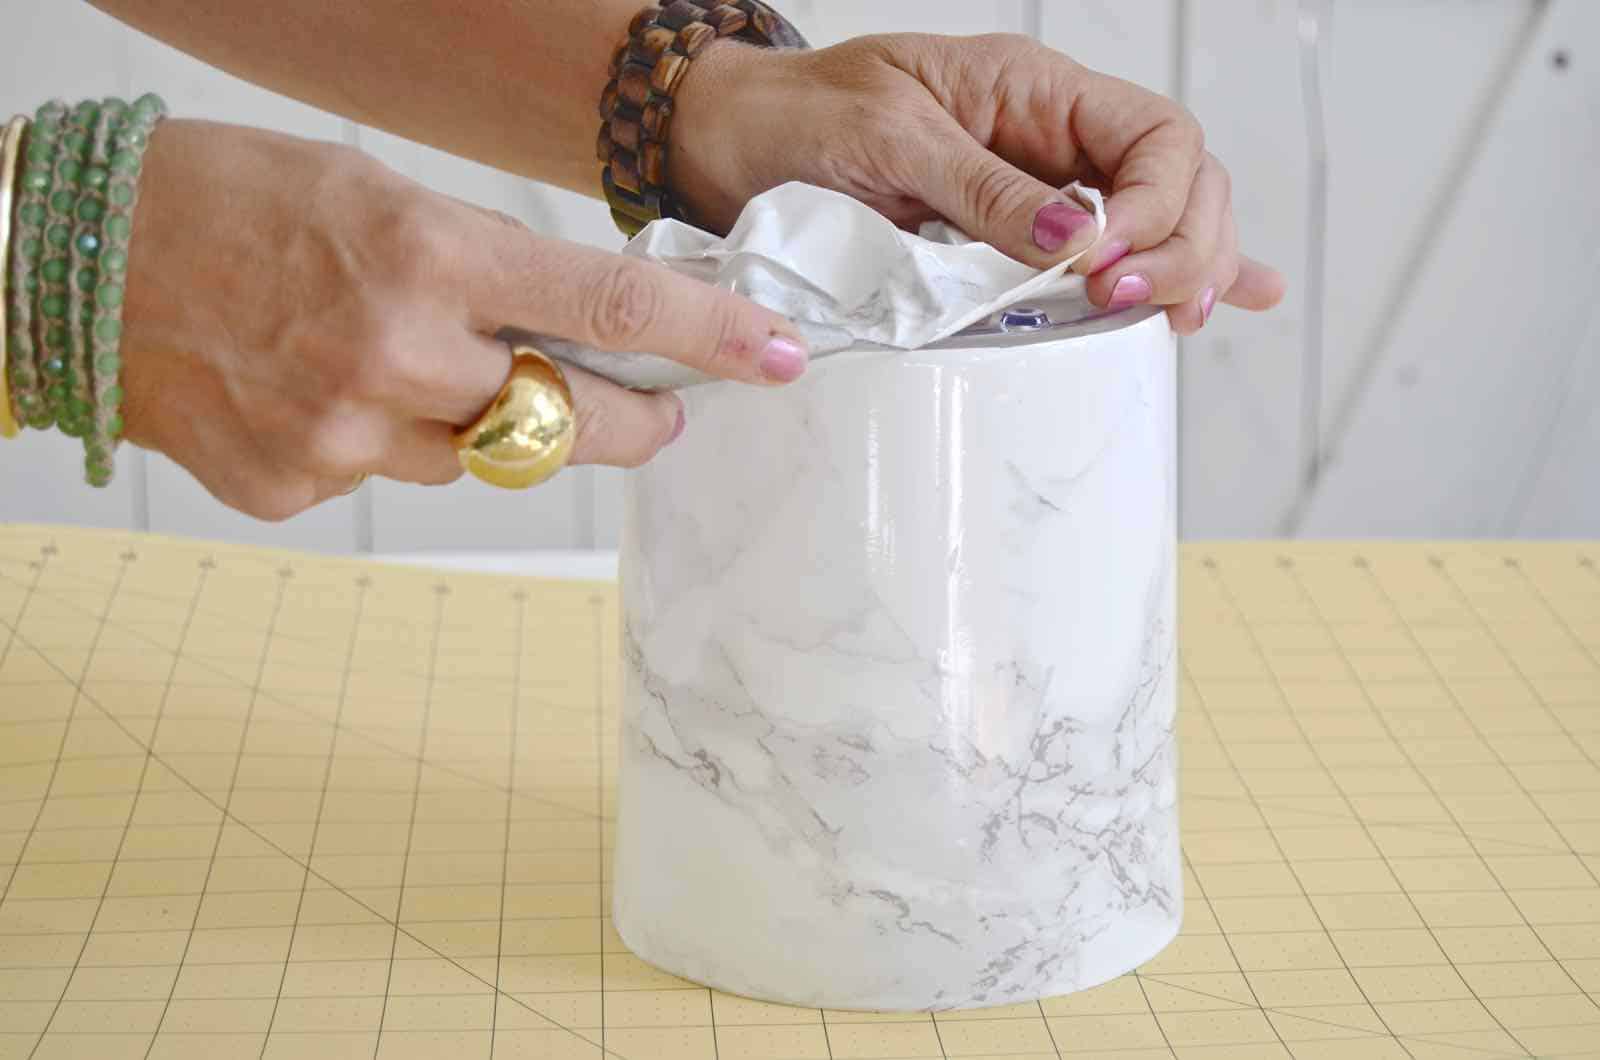
That’s it! You now have two marble containers for $8 a piece!
Marble Container Supplies
- (Affiliate links included for your convenience.)
- Marble Contact Paper
- Plastic Container (I found mine at Homegoods, so they were only $8 a piece!)
- Utility Knife
- Also mentioned: Single Serve Keurig Coffee Maker, reusable Keurig pods
If it’s easier to watch a video tutorial… here ya go!


Don’t Miss Out
Become An Insider!
Signup for exclusive tips, and tricks from Charlotte’s House!
Let’s chat!
I love comments from you, so feel free to leave your thoughts and ideas below! And don’t forget to follow me on Instagram for even more!