
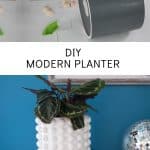
DIY Modern Planter
Psssst… this post *might* contain affiliate links: see my disclosure here.
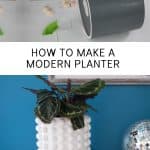
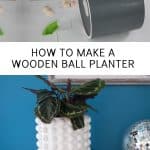
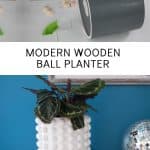
How to Make a Modern Wooden Ball Planter
I made this DIY modern planter for under $20- quick and easy DIY!
Coming into our second full year in the rental and I’m realizing that the bigger projects are just harder to execute without losing our security deposit. I’ve reworked every room in the house essentially and have some plans, but…. I also have lots of smaller projects like this one in mind. On one hand I LOVE the small projects because they’re easier to share, cheaper to execute and… I get to watch you guys make them!
Shop my favorites!
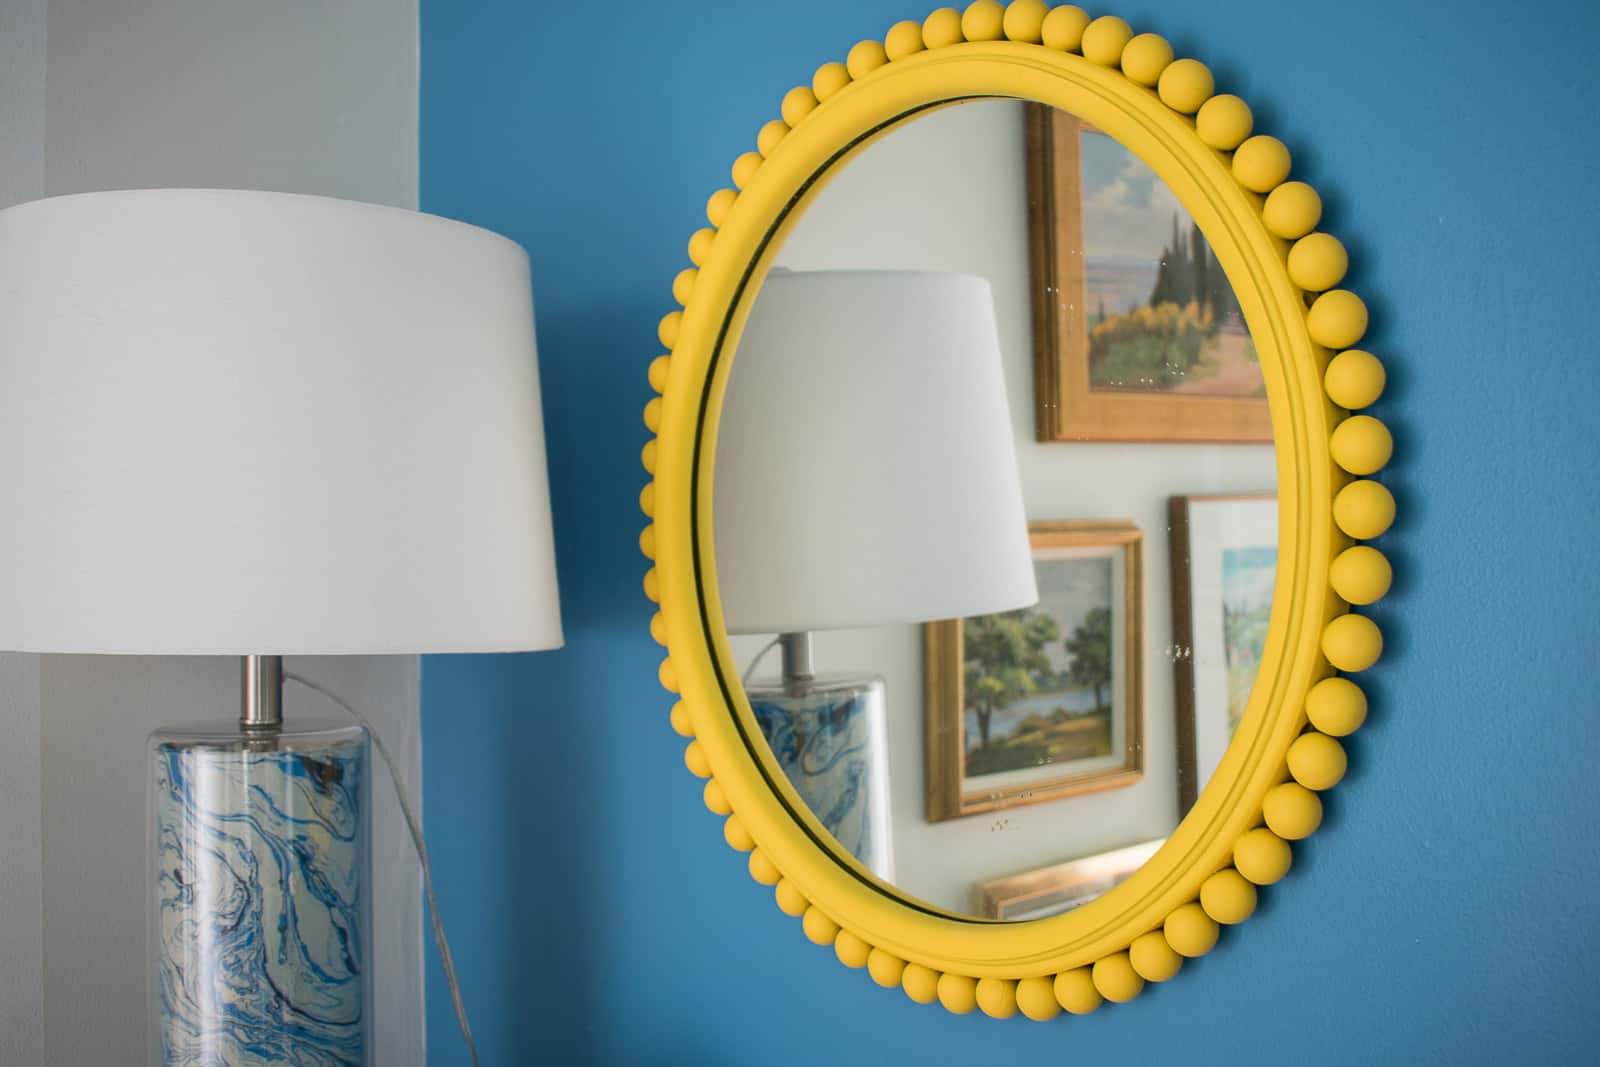
This modern ball vase checks all my boxes: √ easy √ quick √ cheap. I’ve had the idea in my brain for a while but wasn’t quite sure how to execute it until, doy… I searched on Amazon. I’ve used wooden balls before on the mirror above and Louisa’s doll clothes closet. They’re great but I wanted something with a little less depth for the planter. I definitely looked into cutting the wooden balls in half, but- shockingly- it was really hard (like it required jigs and special saws and stuff). Guess what Amazon sells? Yeah… 1/2 wooden balls.
Step 1. Choose the Right Planter
I lucked out and found a pot on clearance and it worked perfectly. What I realized was important was that I found one that was perfectly cylindrical. Straight sides… no curves or angles. I also lucked out in finding something that was already intended for plants so it’s water tight and all that jazz.

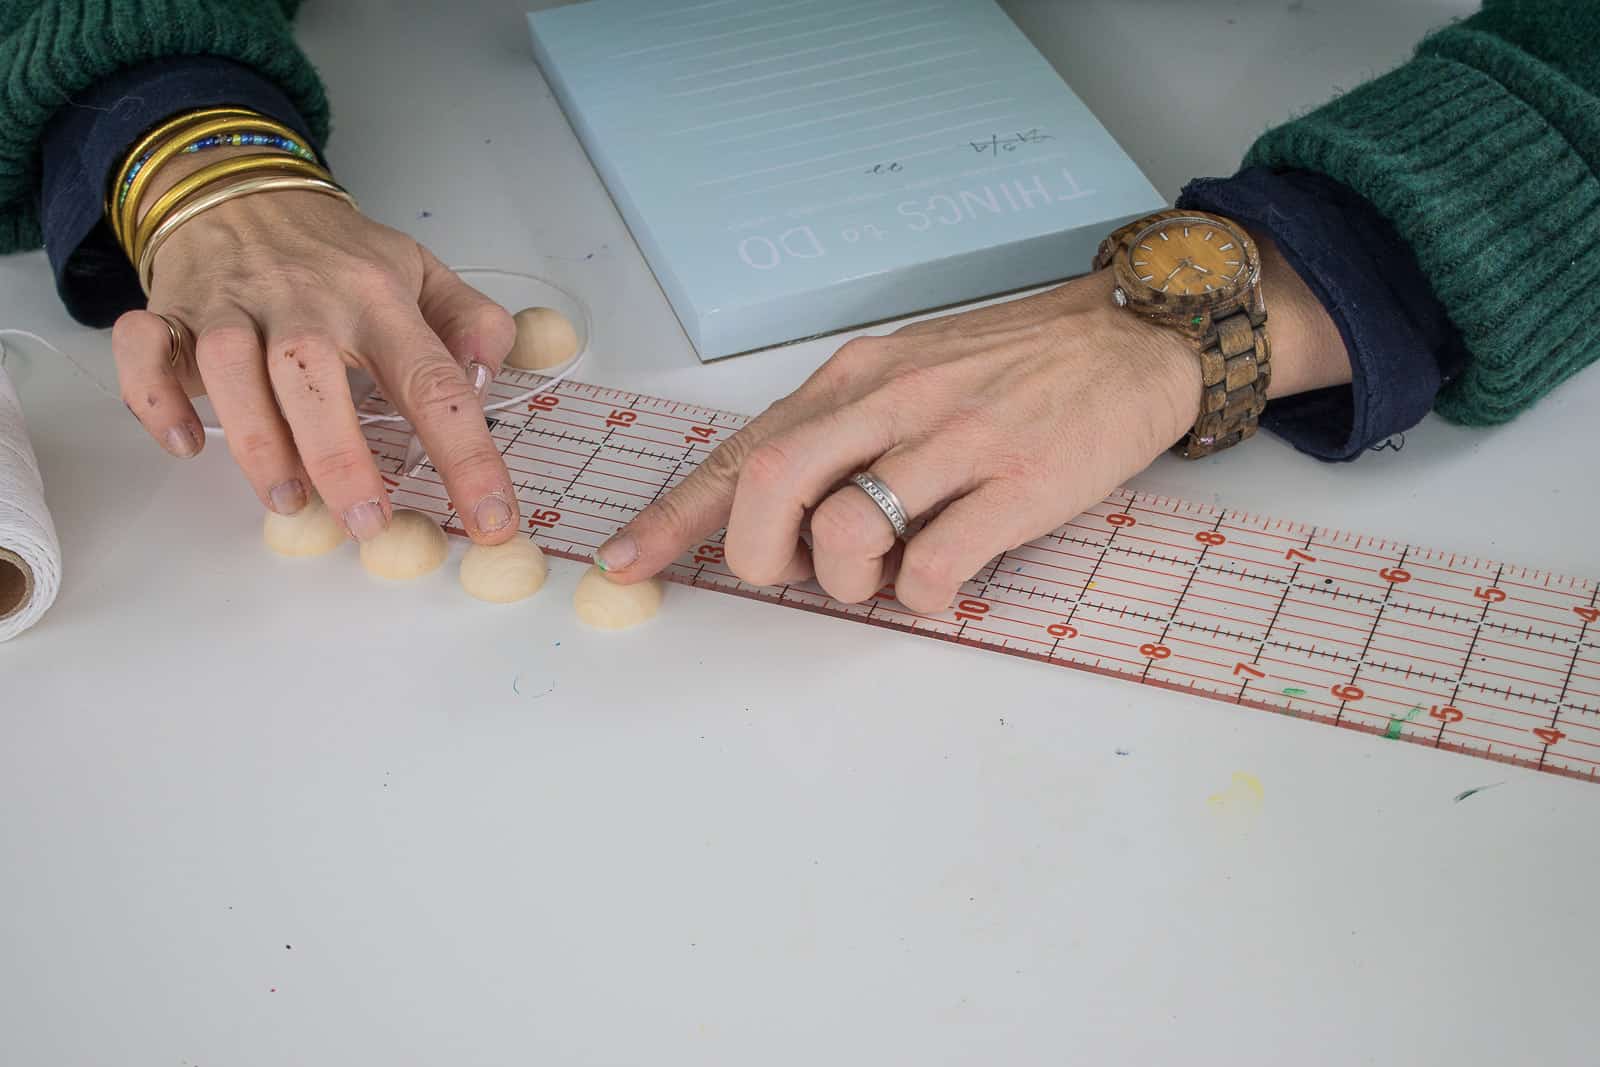
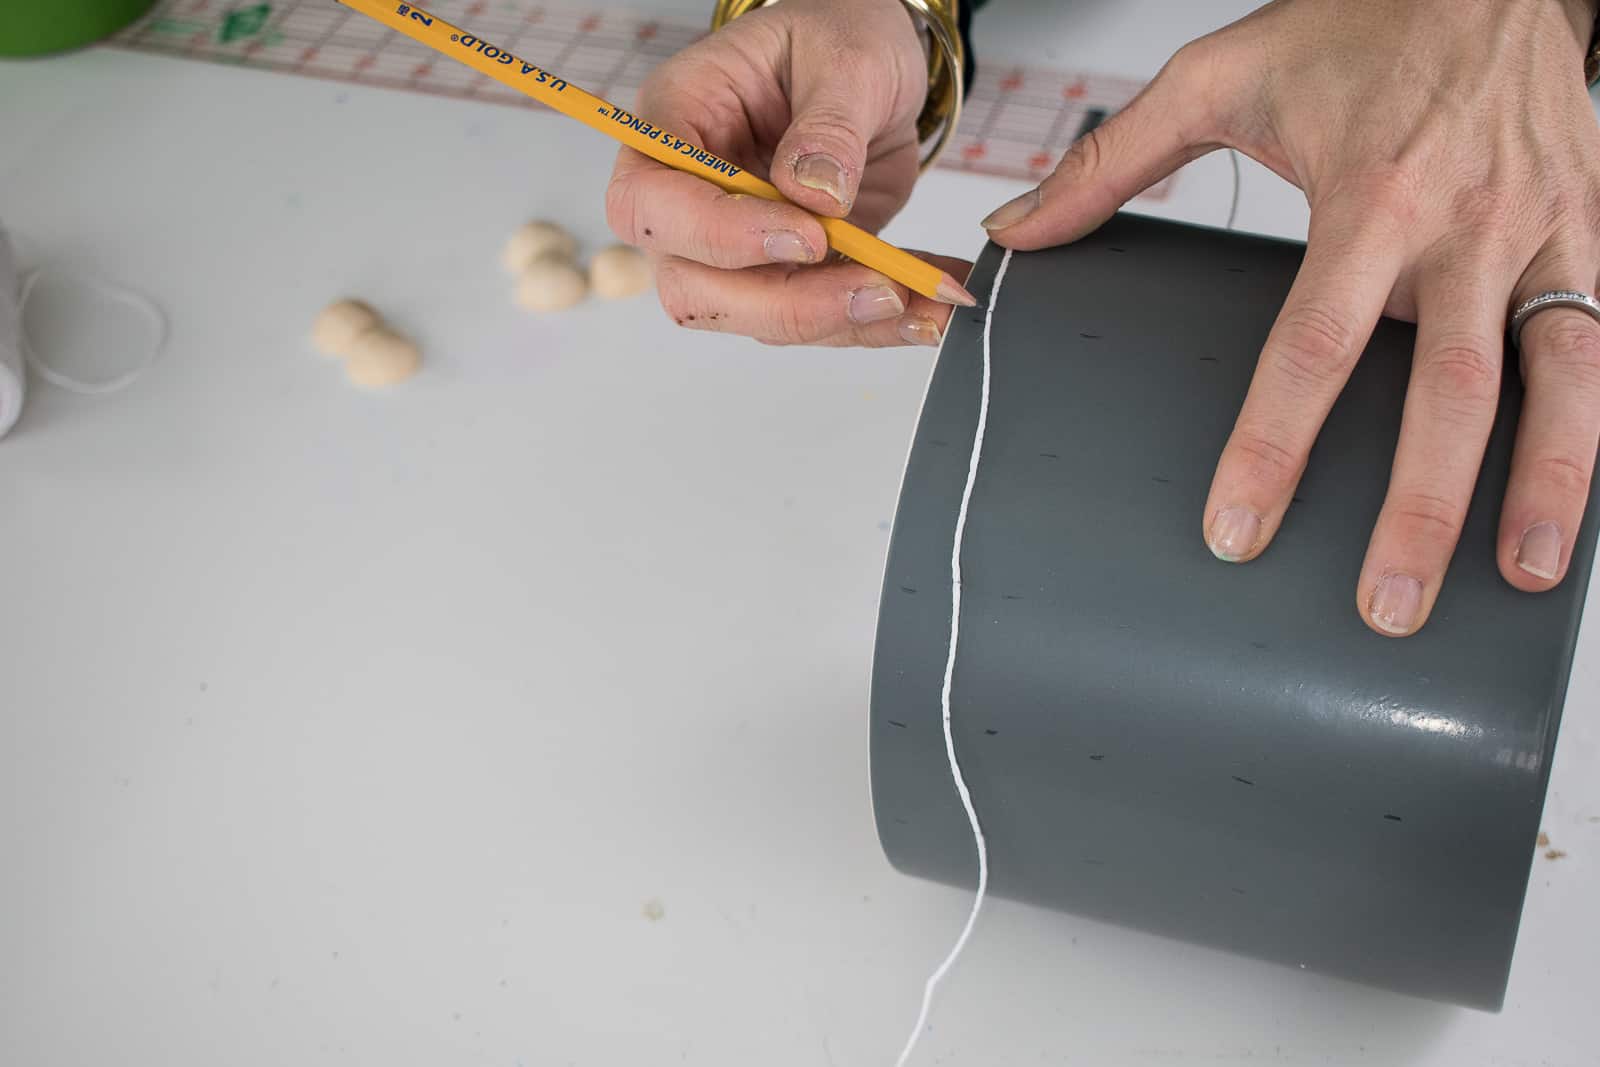
Step 2. Measure for Even Ball Placement
I wanted my wooden balls to be evenly spaced not only around the planter but also up and down (so both the columns and the rows would line up). To measure the circumference of the planter, I wrapped a string around the pot. Then it became simple math to figure out how far apart to place the beads. I used a ruler to measure the spacing for the beads in each row.
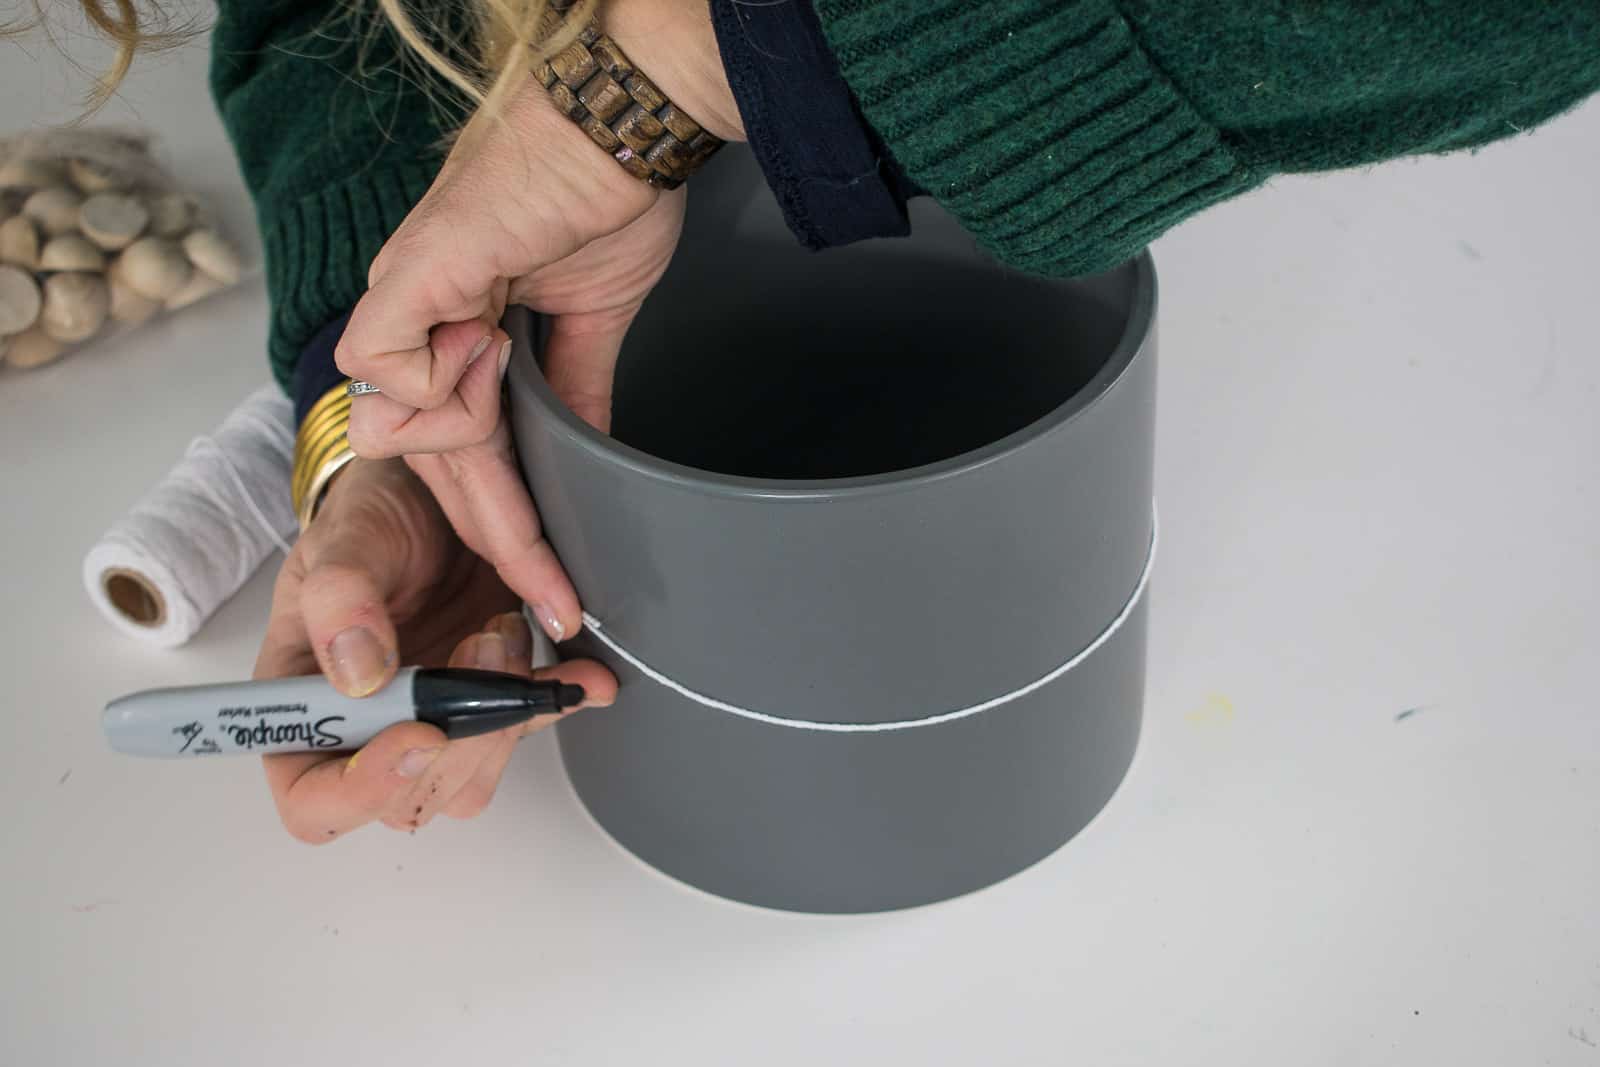
Once I knew my measurements, I wrapped the string around the planter and marked each column. Then I simple moved the string down to the next row and repeated the process.
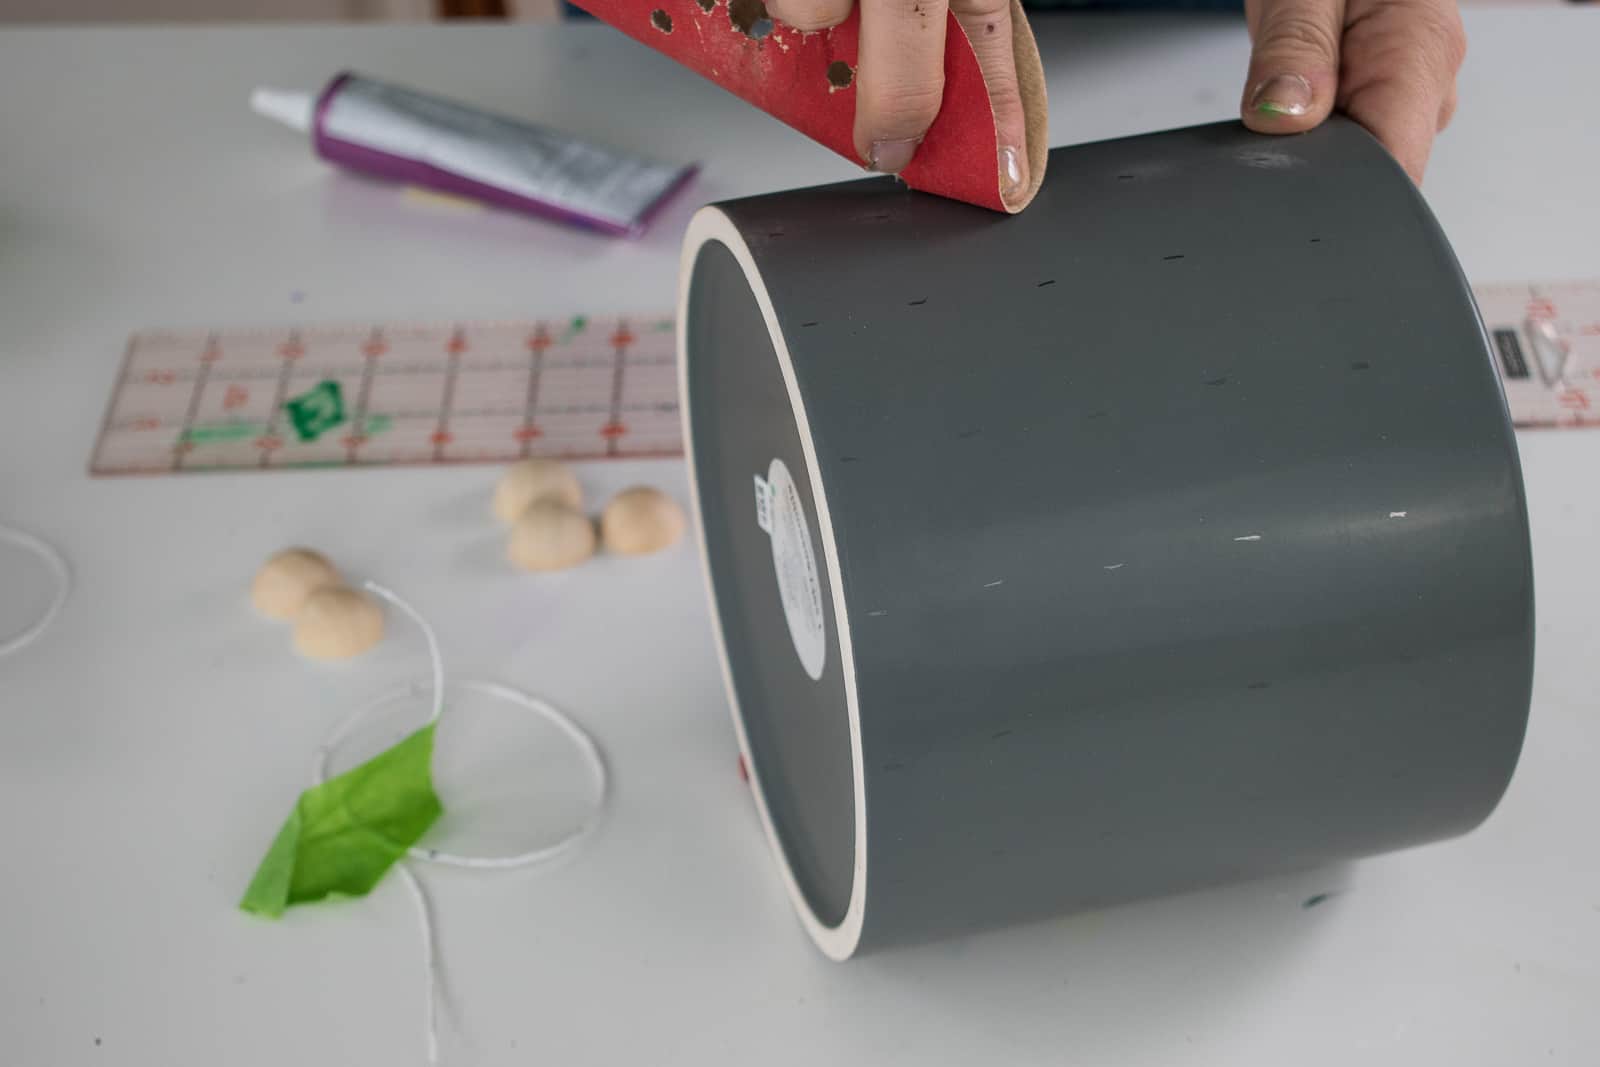
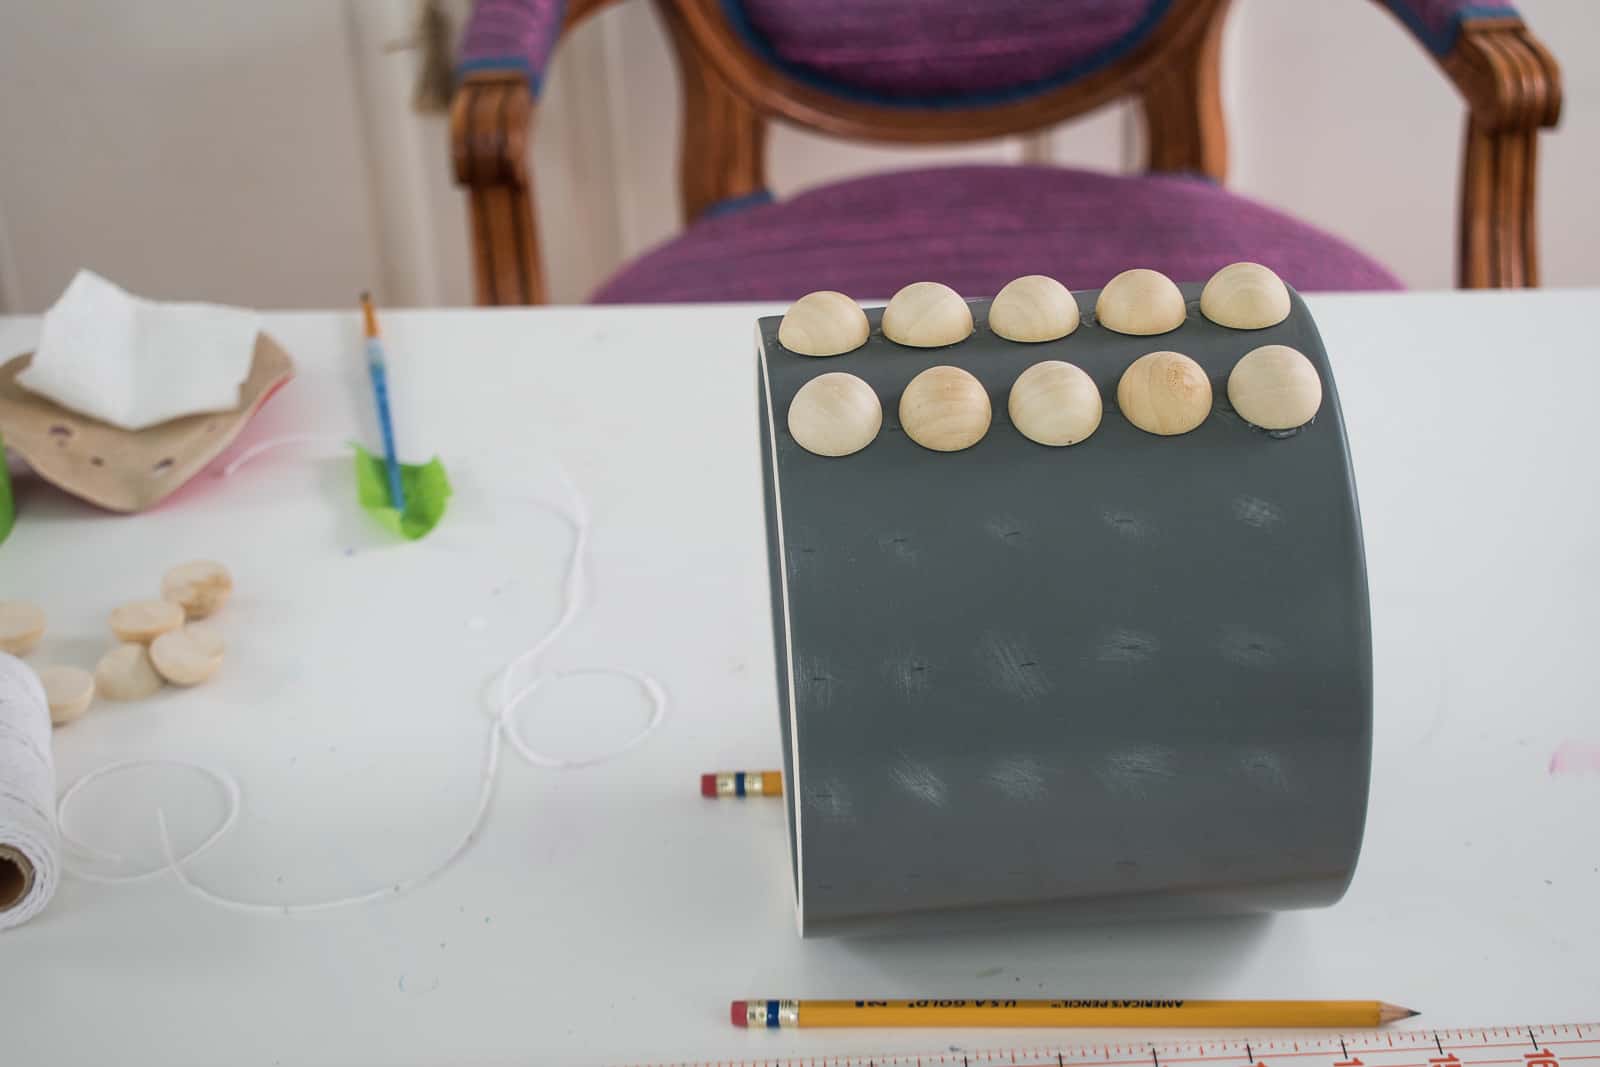
Step 3. Glue the Wooden Half Balls onto the Planter
To give the balls something to ‘grab,’ I roughed up the planter with sandpaper where I’d planned on gluing each wooden ball. Then I attached the balls with my favorite quick dry super glue. Working one column at a time with the planter on its side, I made sure that the balls were dry before resting the planter on them to glue subsequent columns.
Step 4. Paint!
I brought the planter outside to my garage and gave it a coat of flat white spray paint. Any color would obviously work, but I love the modern simplicity of the white.
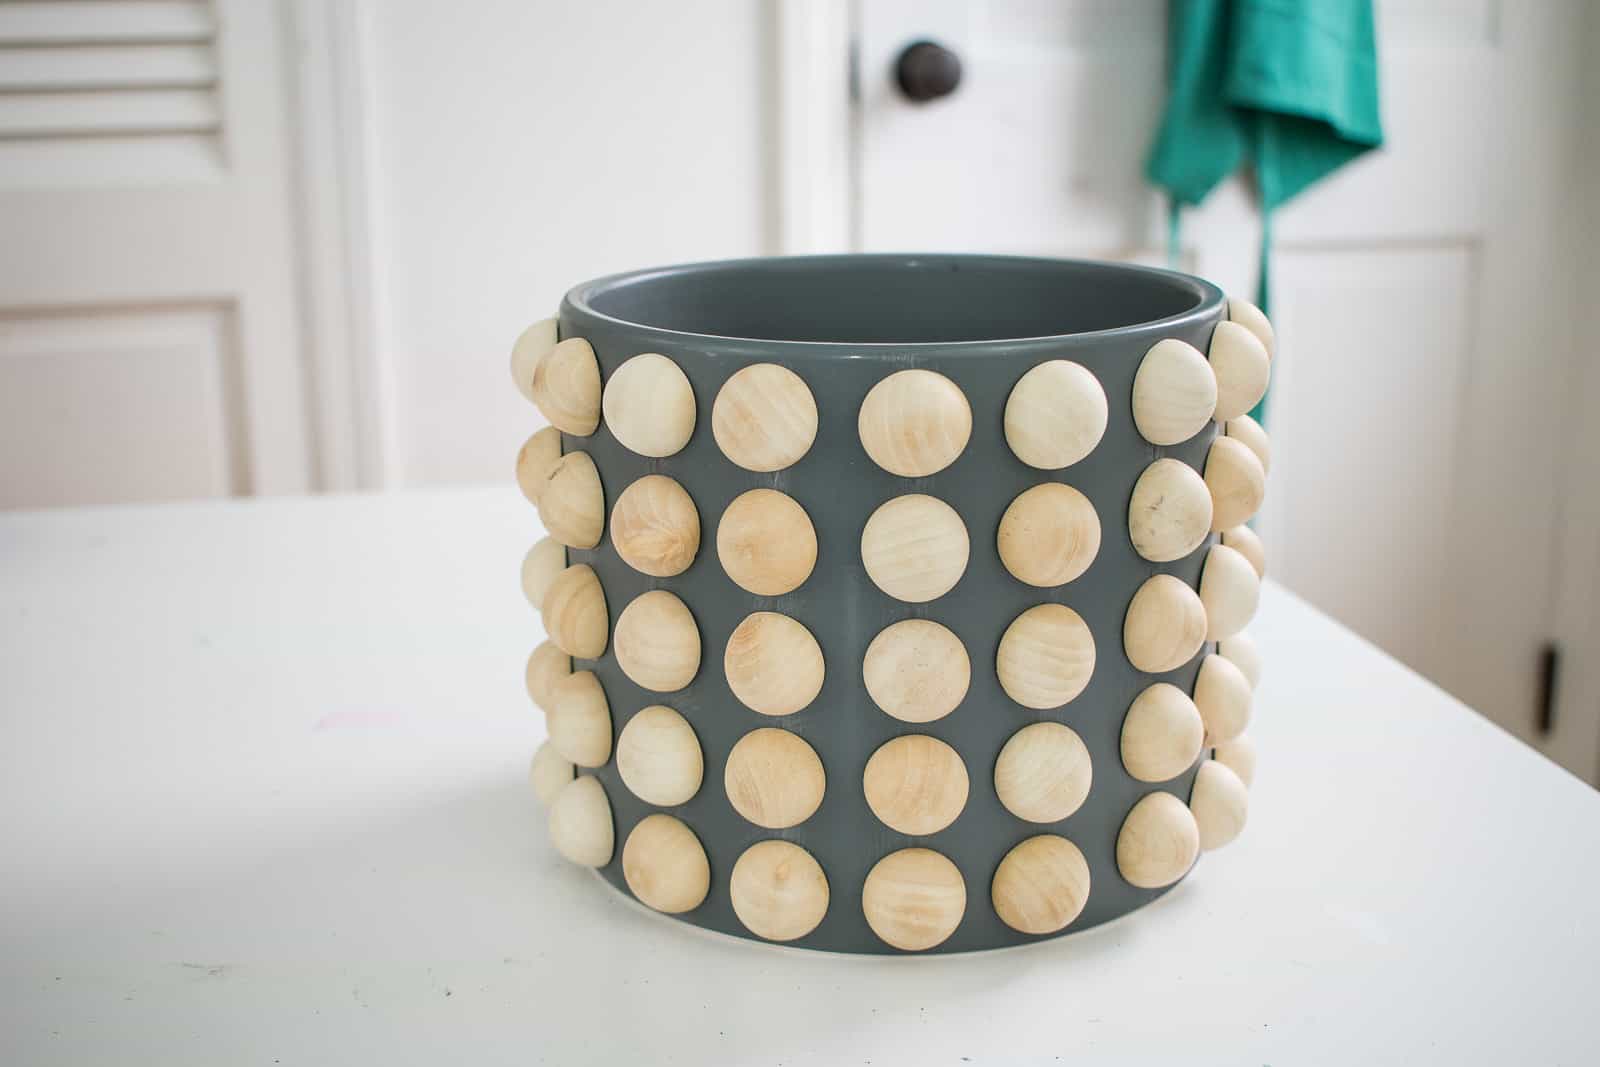
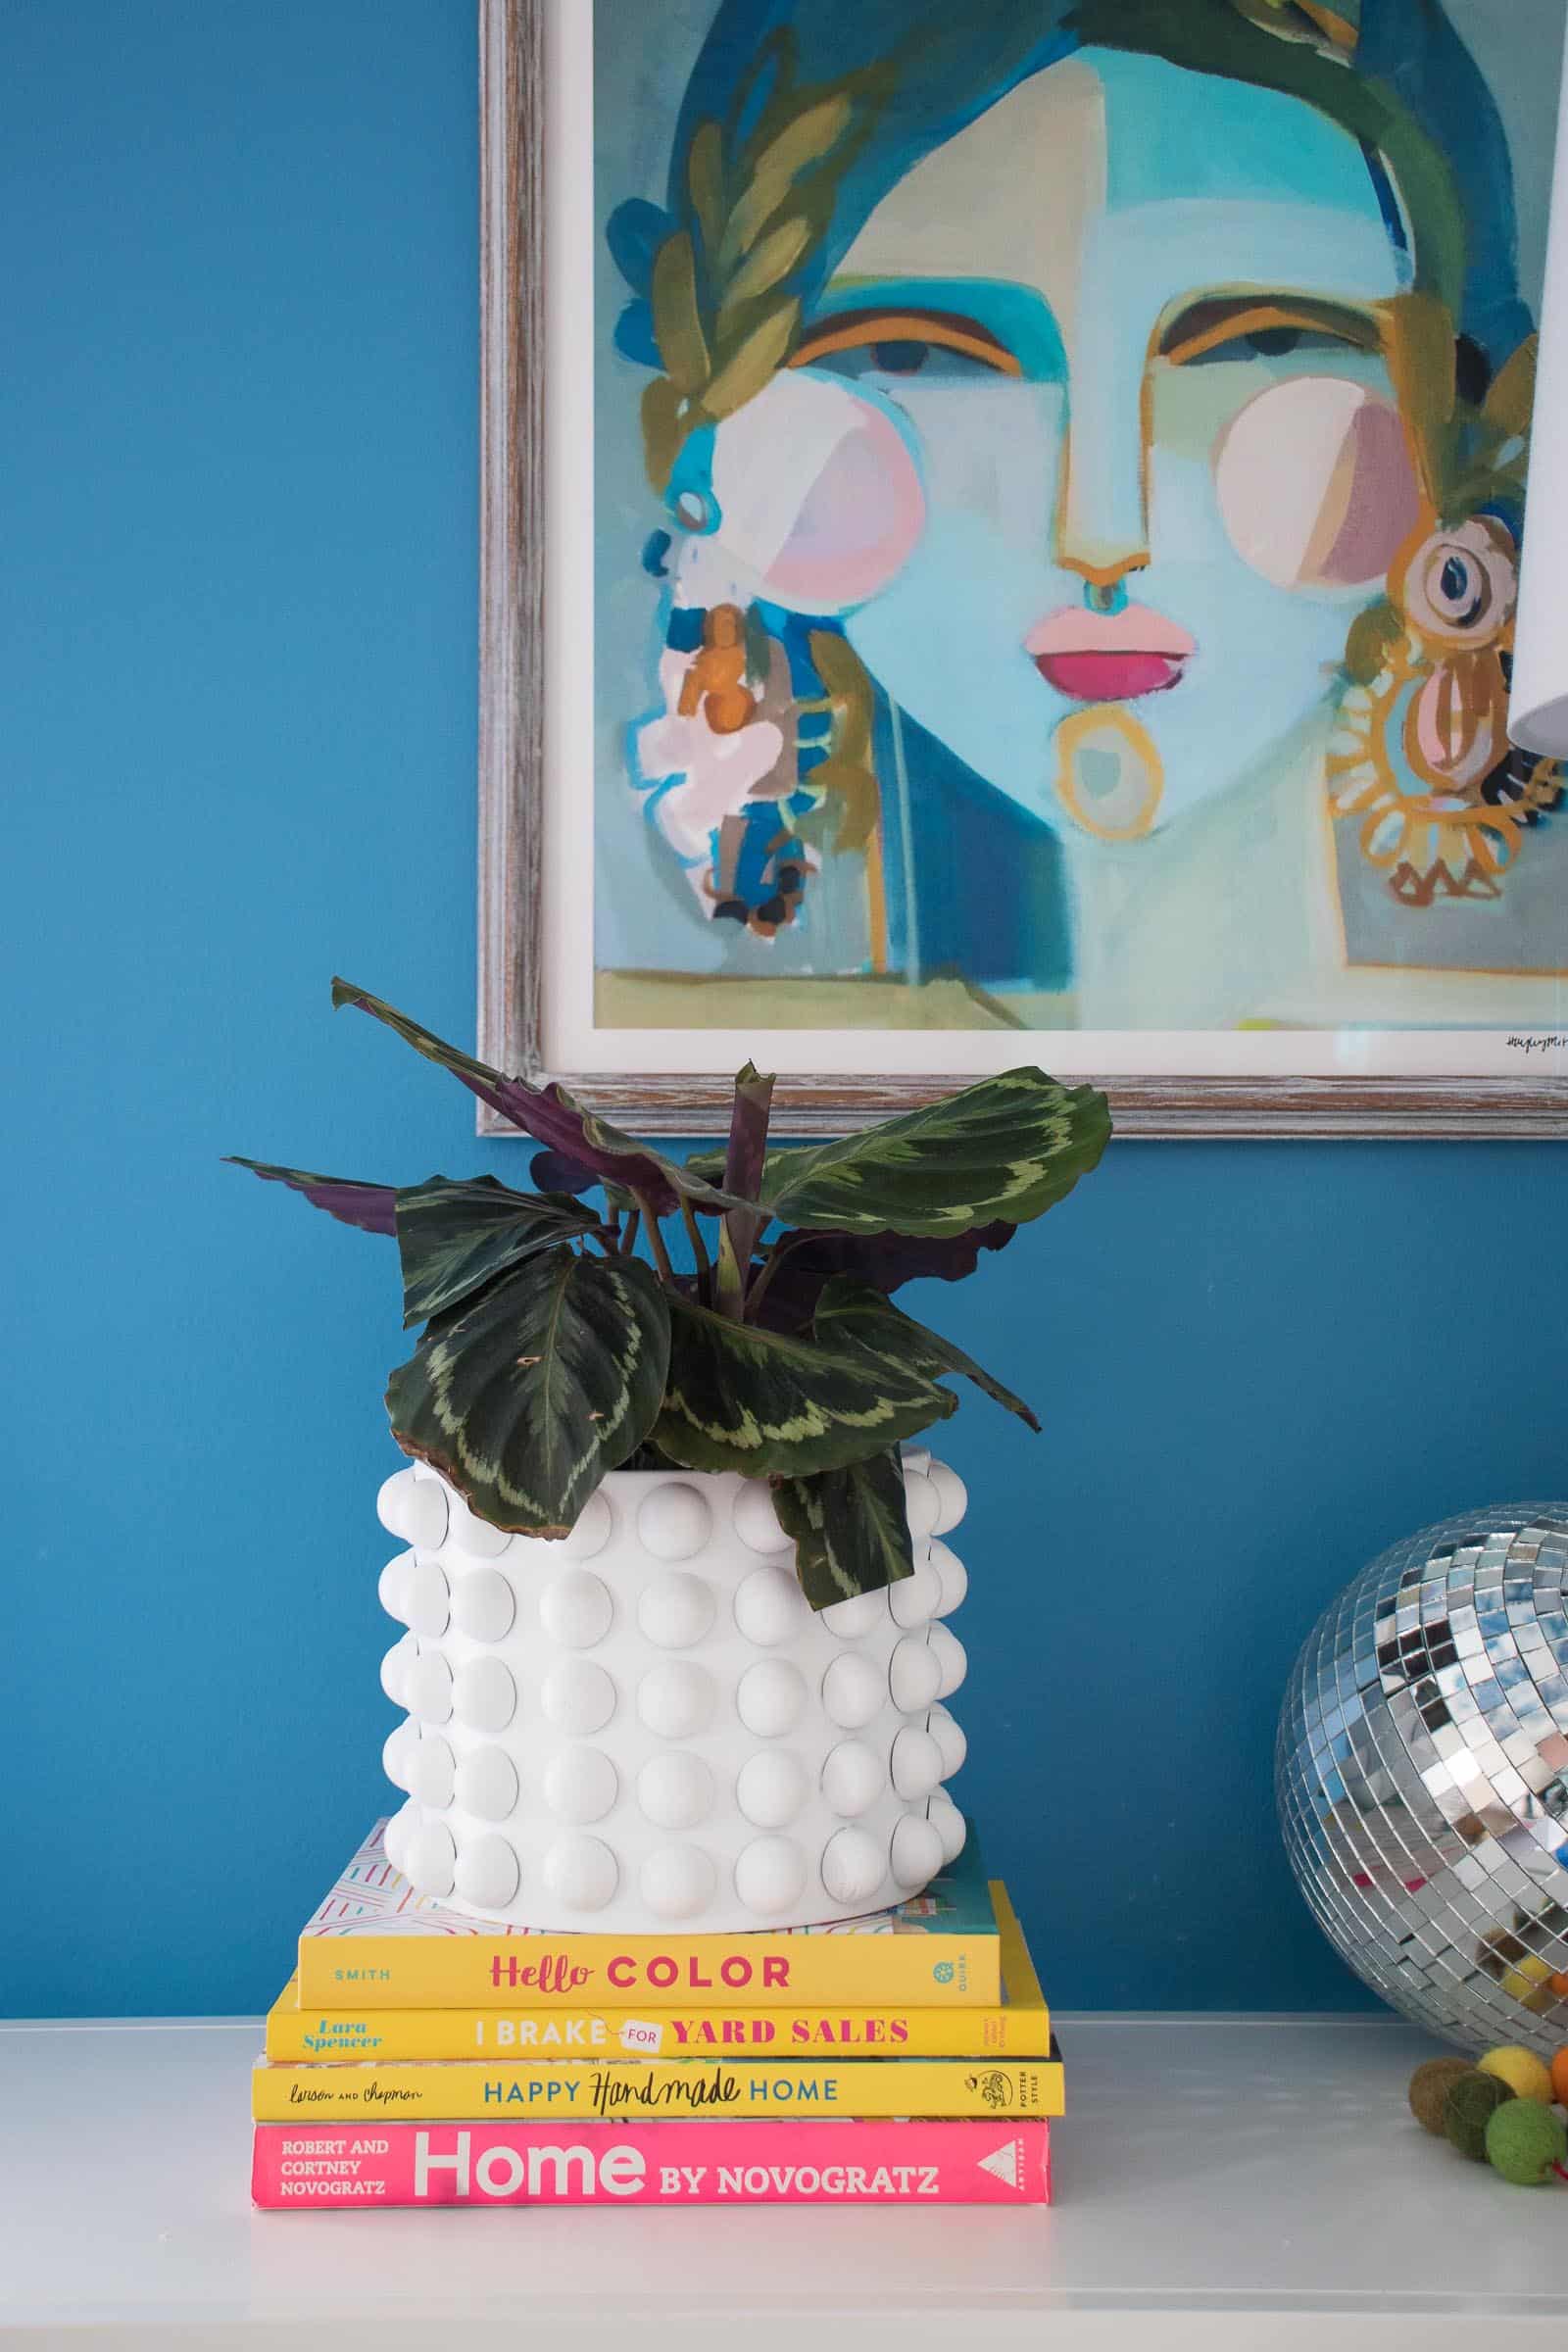
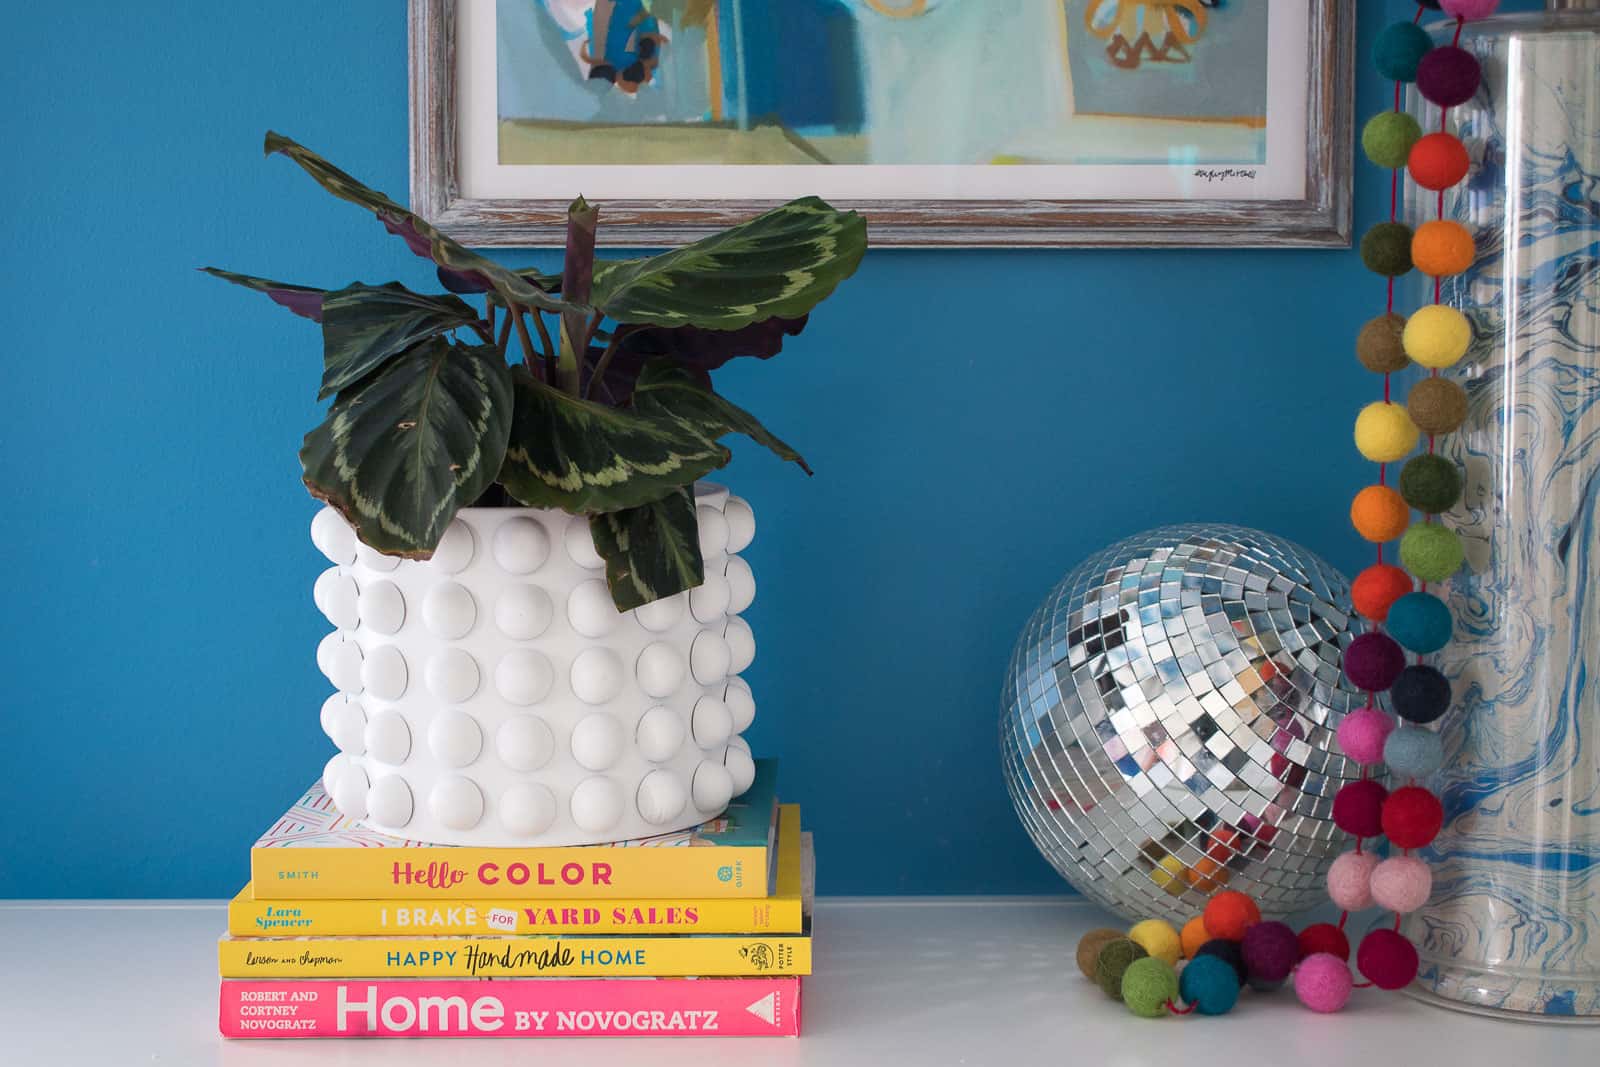
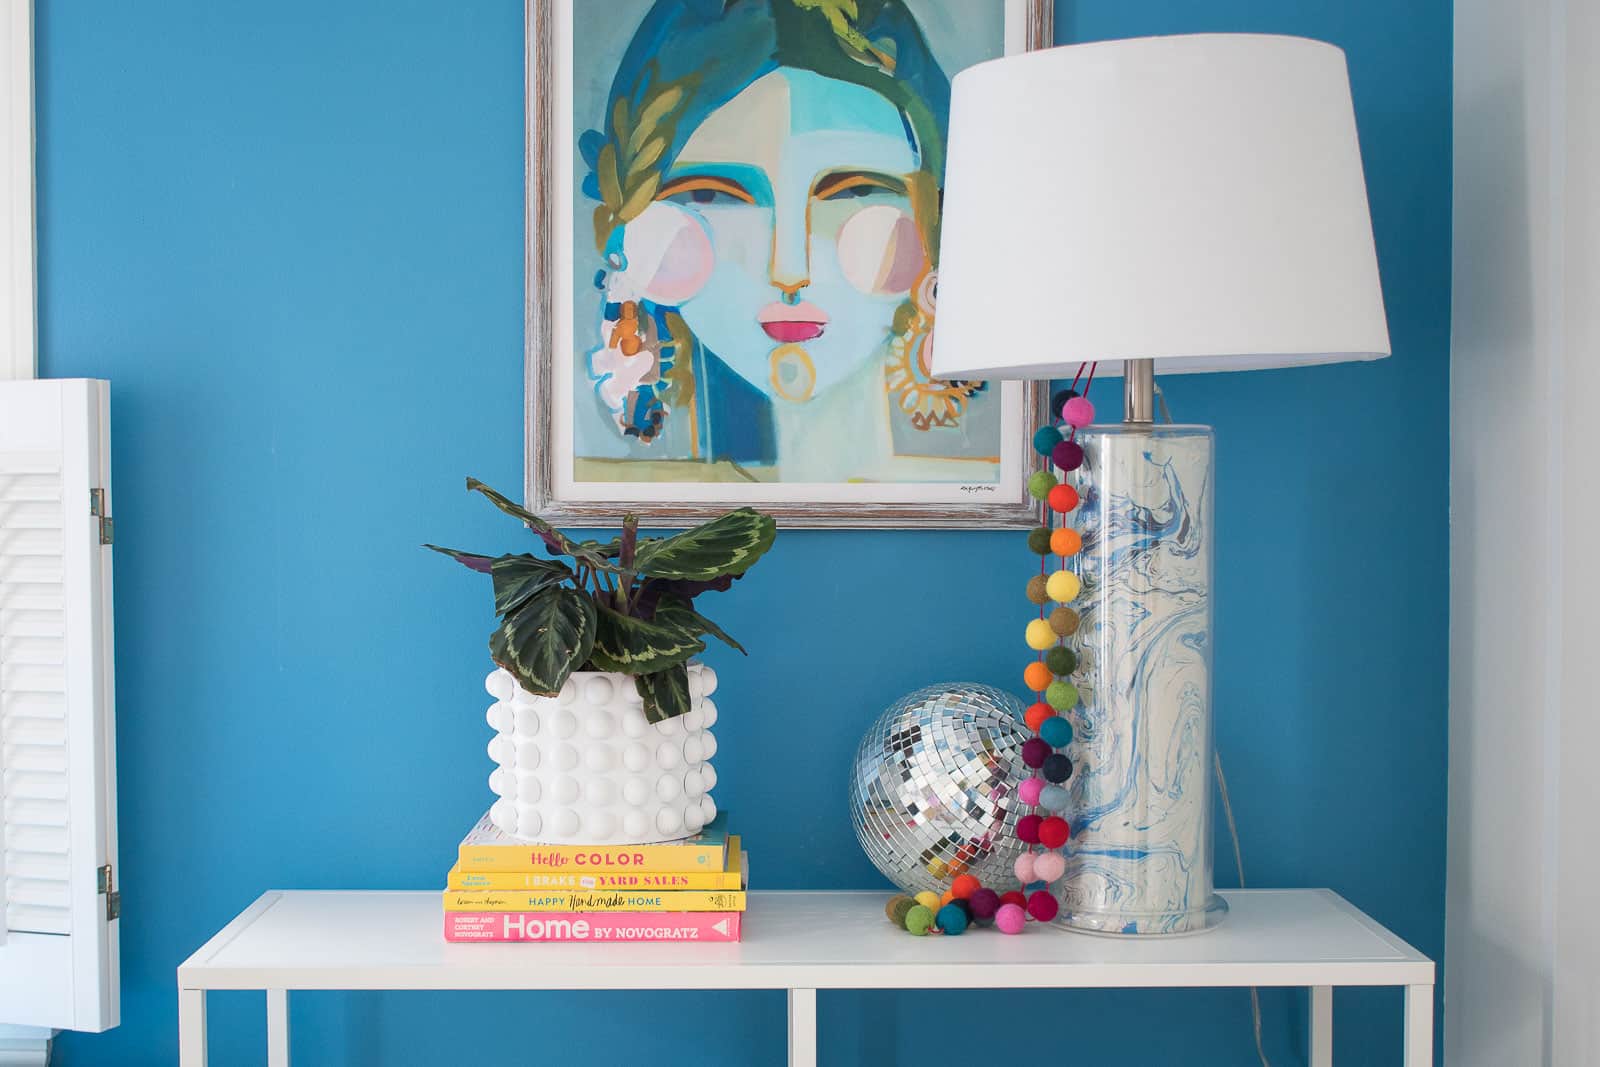
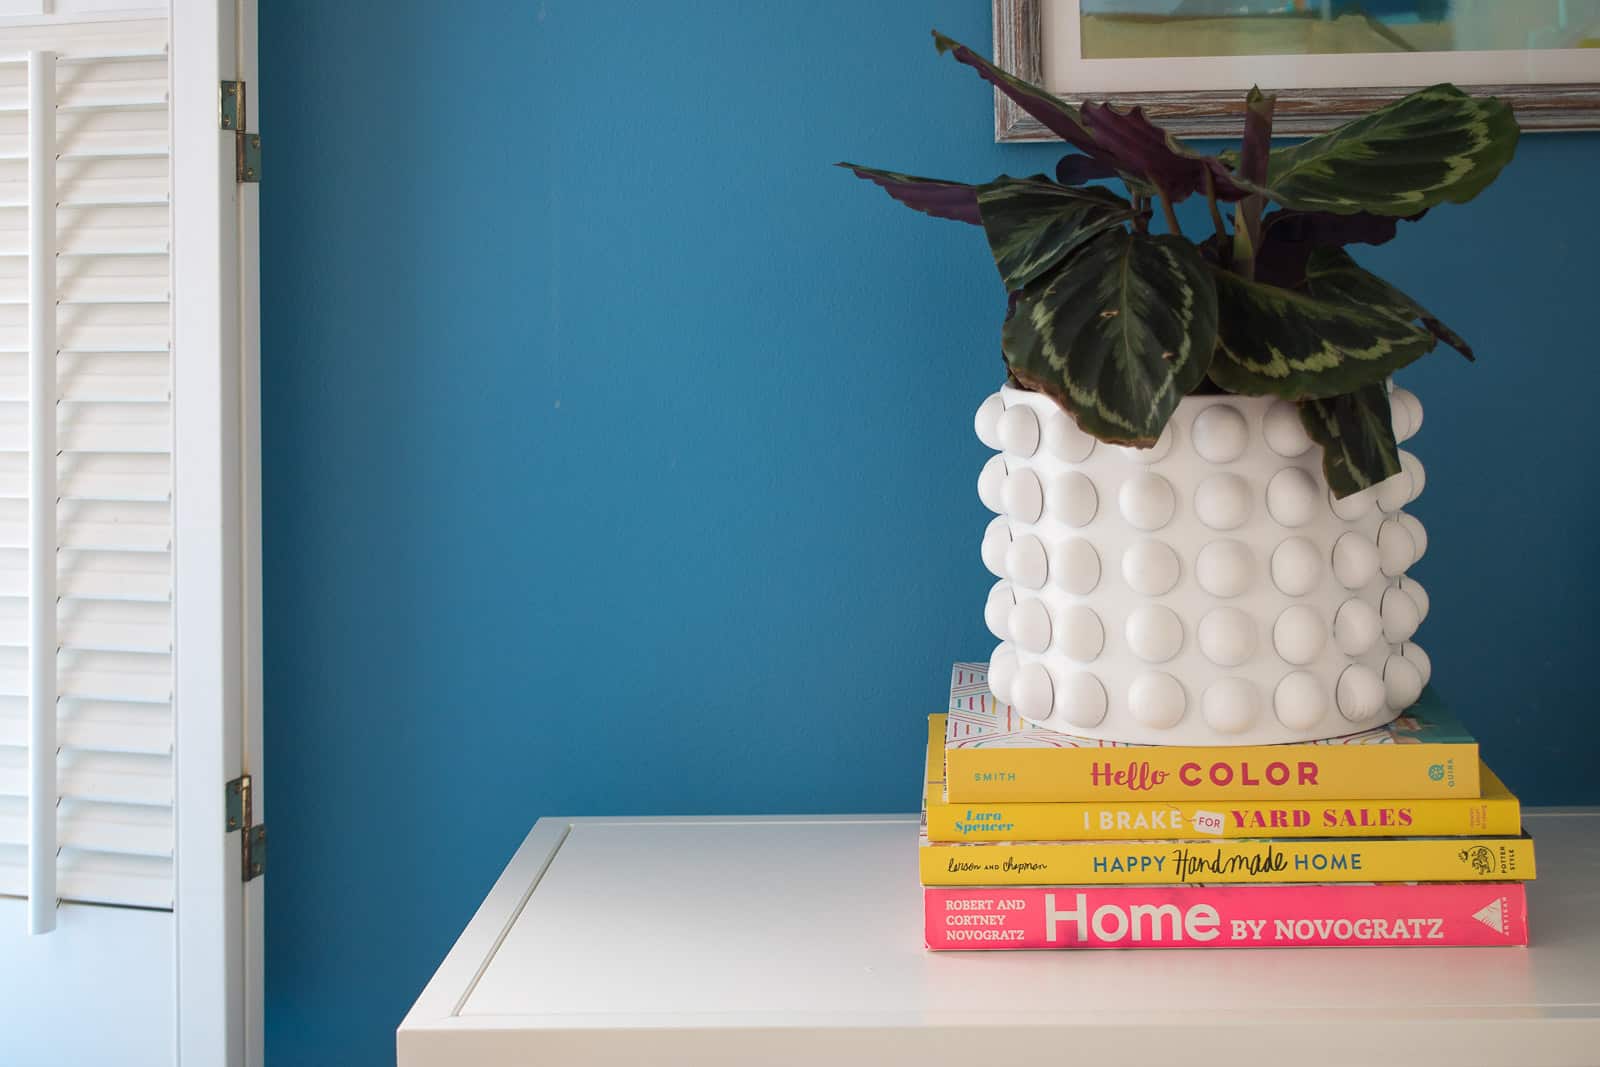
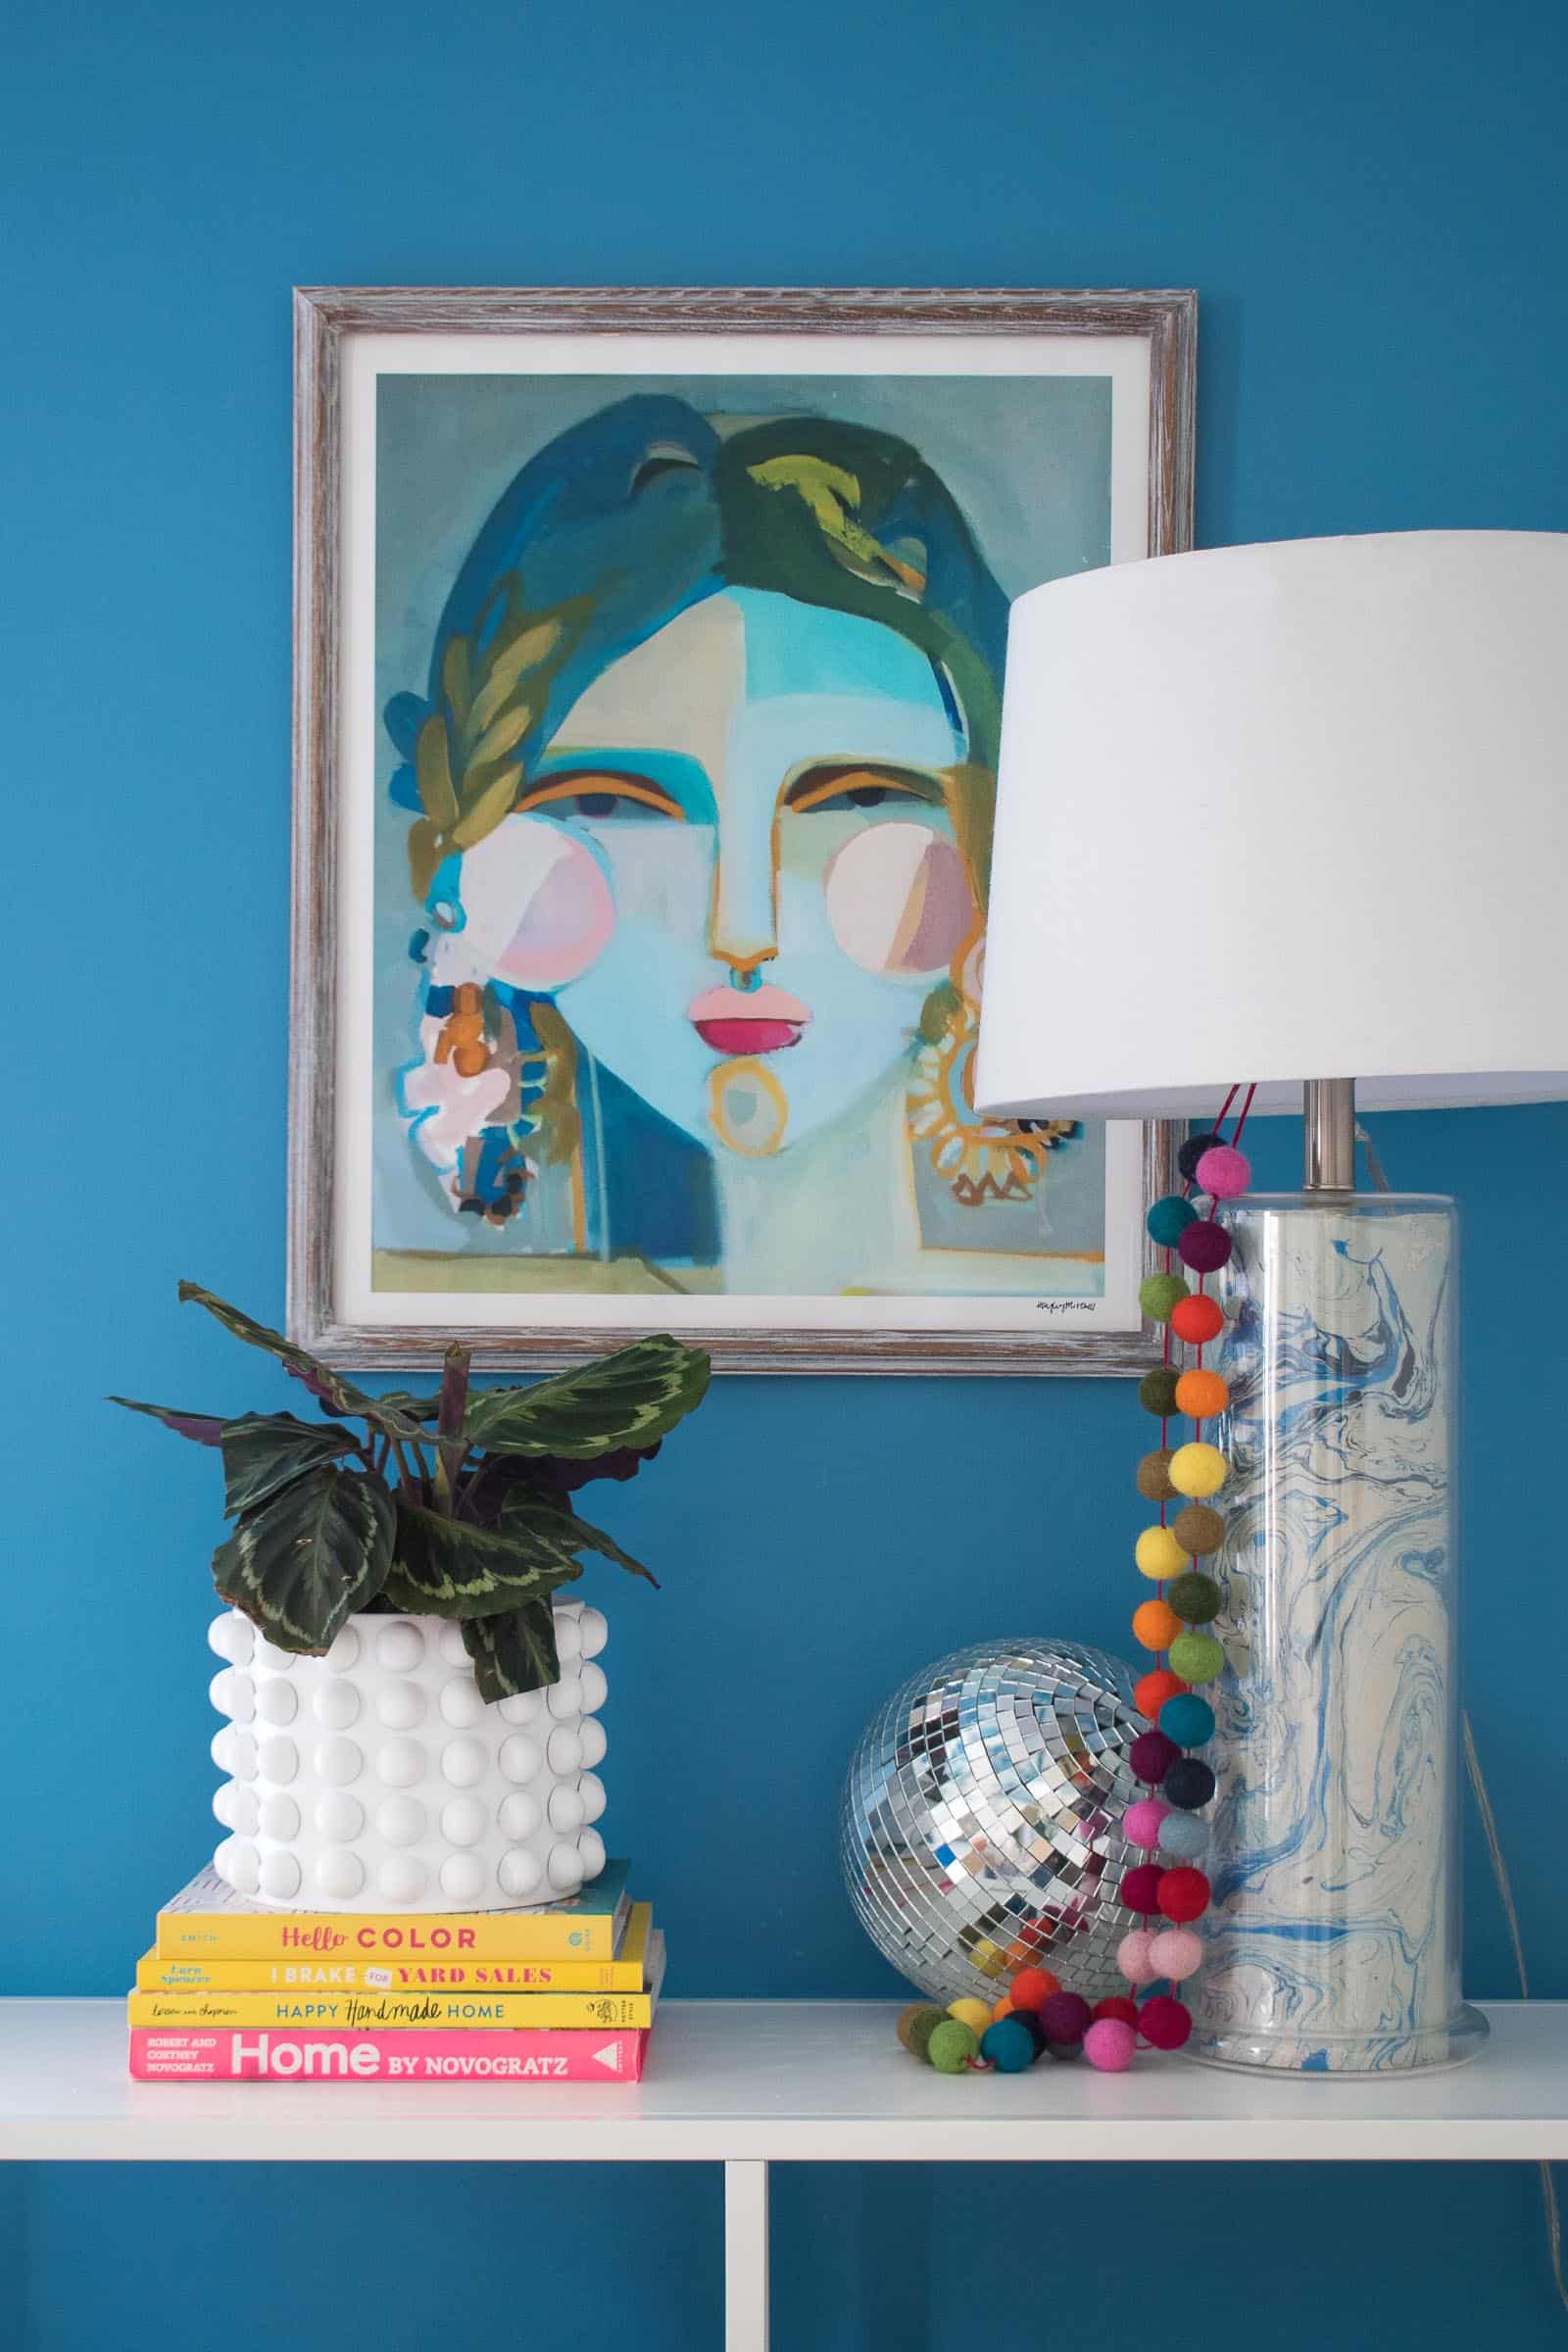
Step 5. Add a plant and… you’re done.
I love love love how this came together. You may get lucky and find something similar at Homegoods or TJMaxx, but I’ve also seen the same style for much much much more! For $20 and the pride of having made this yo’ self, I’d say it’s totally worth it!
Modern Planter Materials:


I love this. Im going to Do this project with a tissue box Cover. I have plain wooden ones from michaels and have been thinking how to paint them. Thank you for this fun idea!