DIY Roller Shade
Psssst… this post *might* contain affiliate links: see my disclosure here.
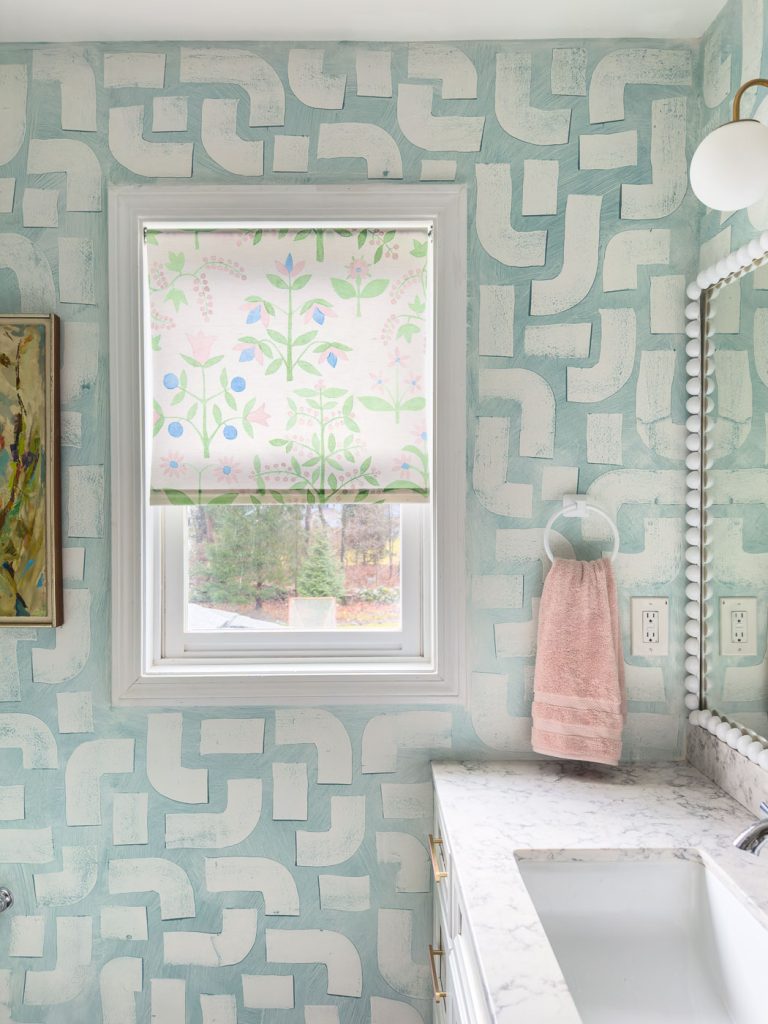
I was able to use a few feet of fabric and some iron on vinyl to make my own roller shade for the girls shared bathroom window.
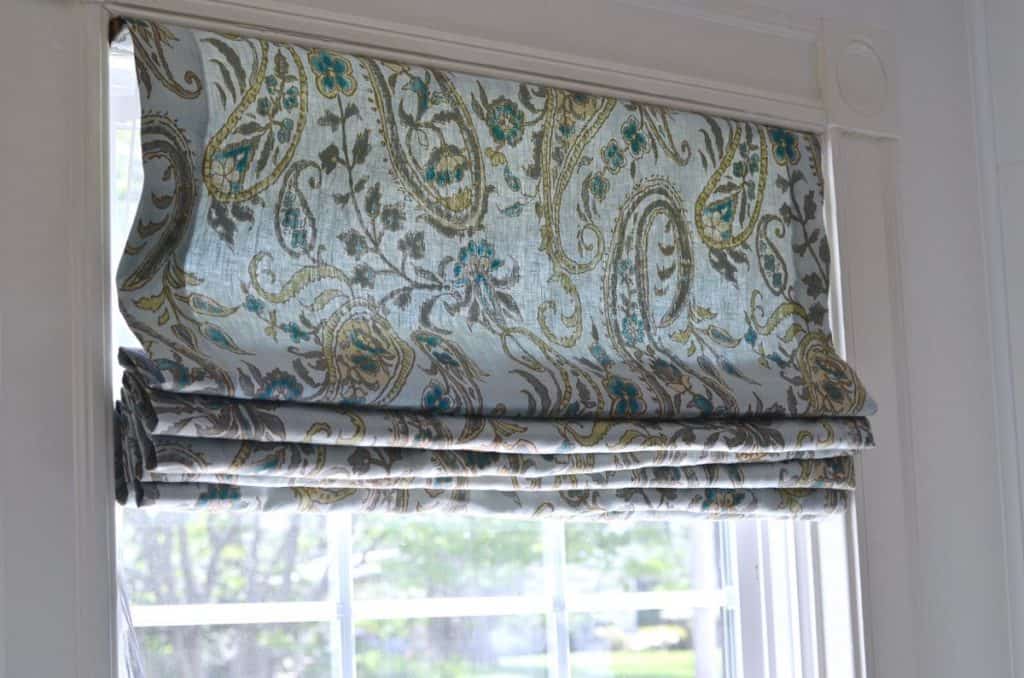
Story time: One of the first projects I ever made was a Roman shade. I found some fabric at the flea market that I was in love with and used a few tutorials I found online to make my own, relatively simple, Roman shade. The internet liked it, so I made a few more. They’re not hard…. but they’re not as easy as this roller shade was. Also… no sewing required for the roller shade! See my second Roman shade here. And then one more that I made here. Why so many? Lots of kids… lots of rooms!
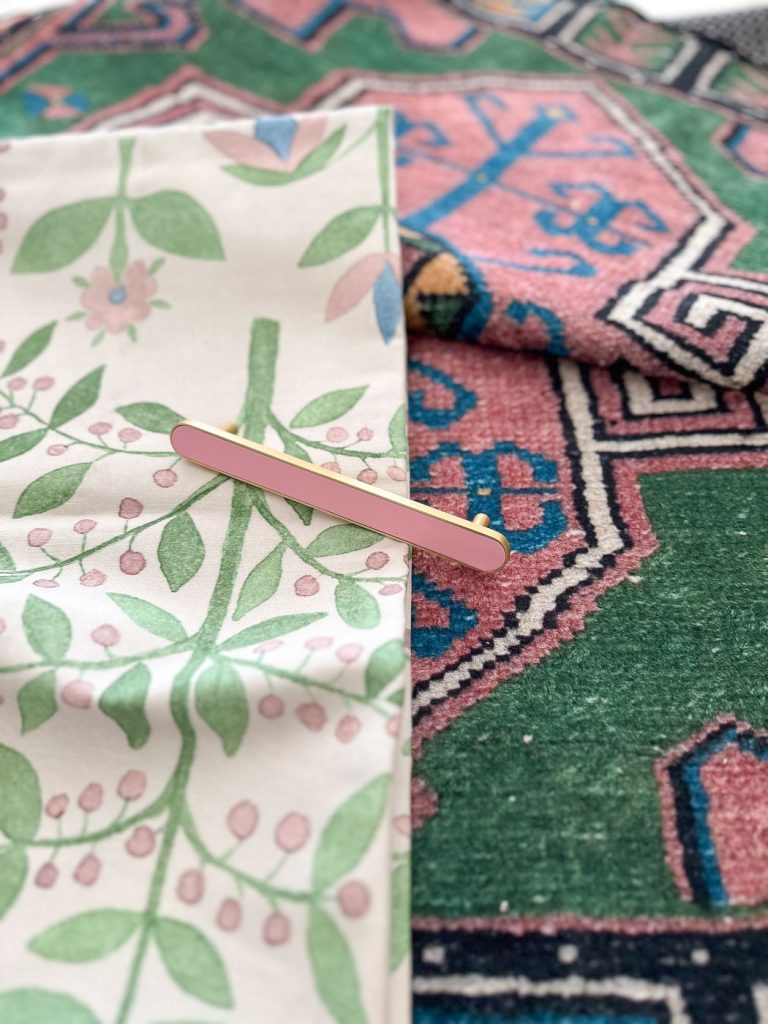
For the girls bathroom makeover and one of the things that needed to be changed was… the cheesy (broken) roller shade. I bought some fabric thinking I could actually make another set of Roman shades for this window but then I wondered how hard it would be to make a roller shade. Spoiler: Not very.
Shop my favorites!
Step 1. Iron on the Vinyl
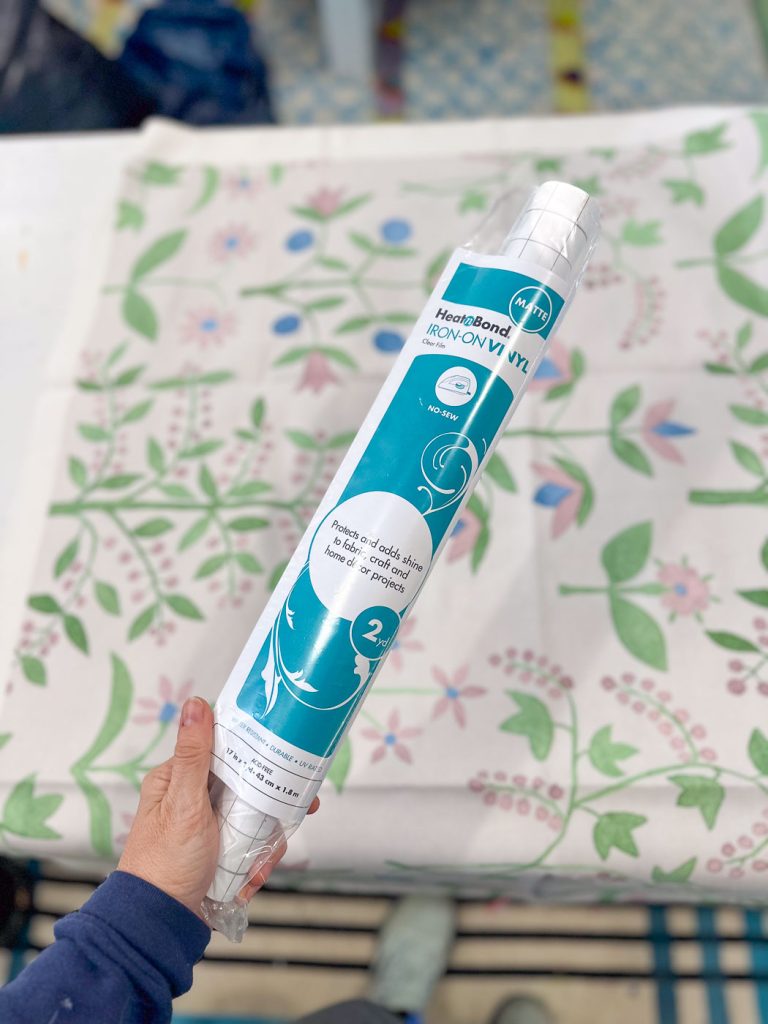
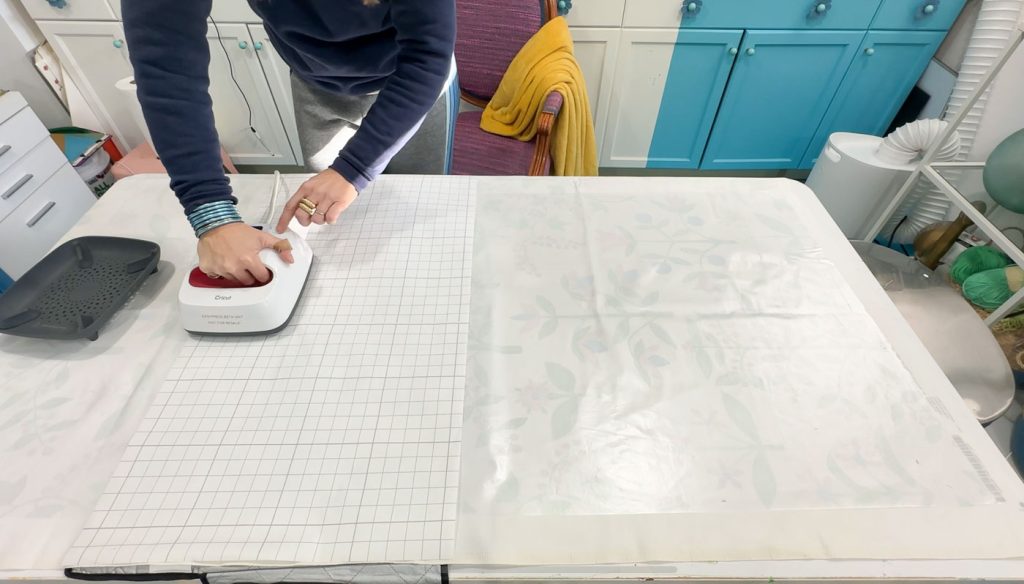
My fabric is a basic linen cotton canvas from Spoonflower, but I suspect a slightly lighter weight fabric would be even better. I’m using this iron-on vinyl and found it very easy to work with… I started by ironing my fabric and then unrolled the vinyl onto the back of the fabric. (Most people use this vinyl to protect their fabric so it would go on the front, but for this, I opted for the back in case it made the fabric look funny.)
Once the vinyl is unrolled onto the fabric, I smoothed it in place (it’s a tiny bit sticky so it will hold) and then followed the directions on the package and ironed the vinyl for 8-seconds at silk/ wool setting (280 degrees on my heat press). It’s *ESSENTIAL* that you cover the vinyl with the paper backing that it came on originally… if your iron/ heat press touches the vinyl, it will melt it.
Step 2. Cut Fabric to Size
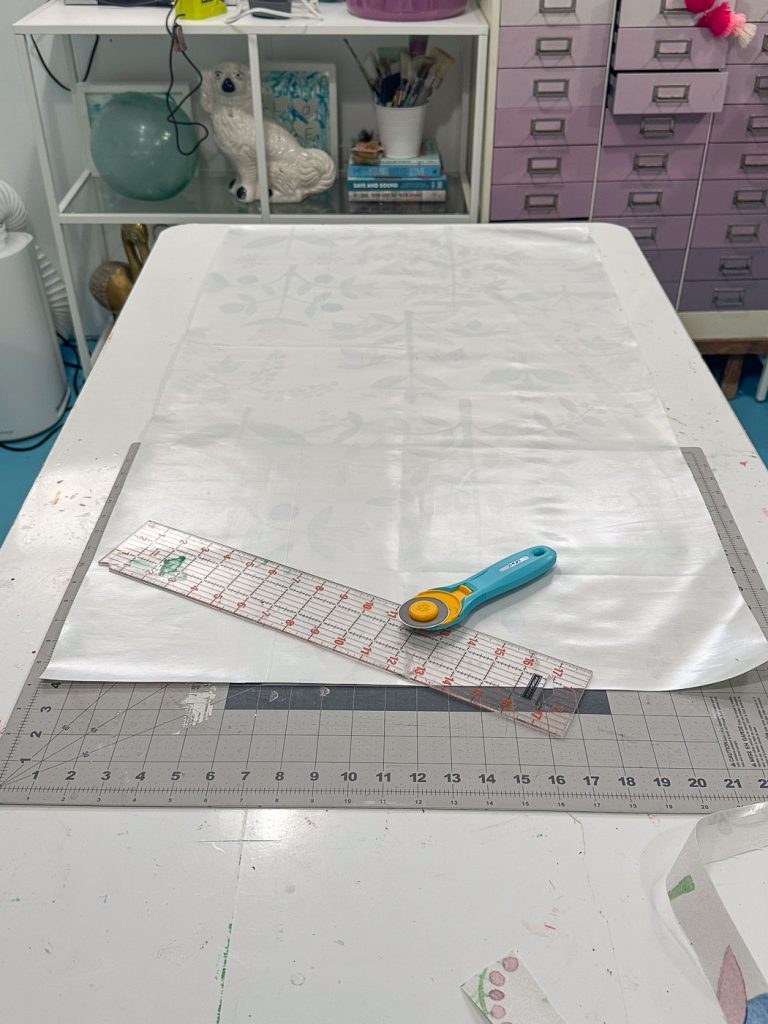
I cut this shade about 1/2″ smaller than the window itself. I was working backwards from the dimensions of the inside of the window to the length of the roller shade itself to, finally, what the width of the fabric shade should be. For this step it is mission critical that the shade is completely and totally straight and parallel. I used a straight edge, my cutting mat and a rotary cutter (materials list at the end of the post).
Step 3. Prepare the Shade
I bought a customizable roller shade on Amazon so I started by cutting that down to size. I removed the vinyl roller shade that came on that just by tearing it off. I’m reusing the plastic rod that slides into the end of the shade so the first thing I did was prep my fabric to make this rod pocket. I used this double sided hem tape to hem the bottom edge of the fabric, and then used the hem tape again to fold up the hemmed edge to make a pocket for the plastic rod.
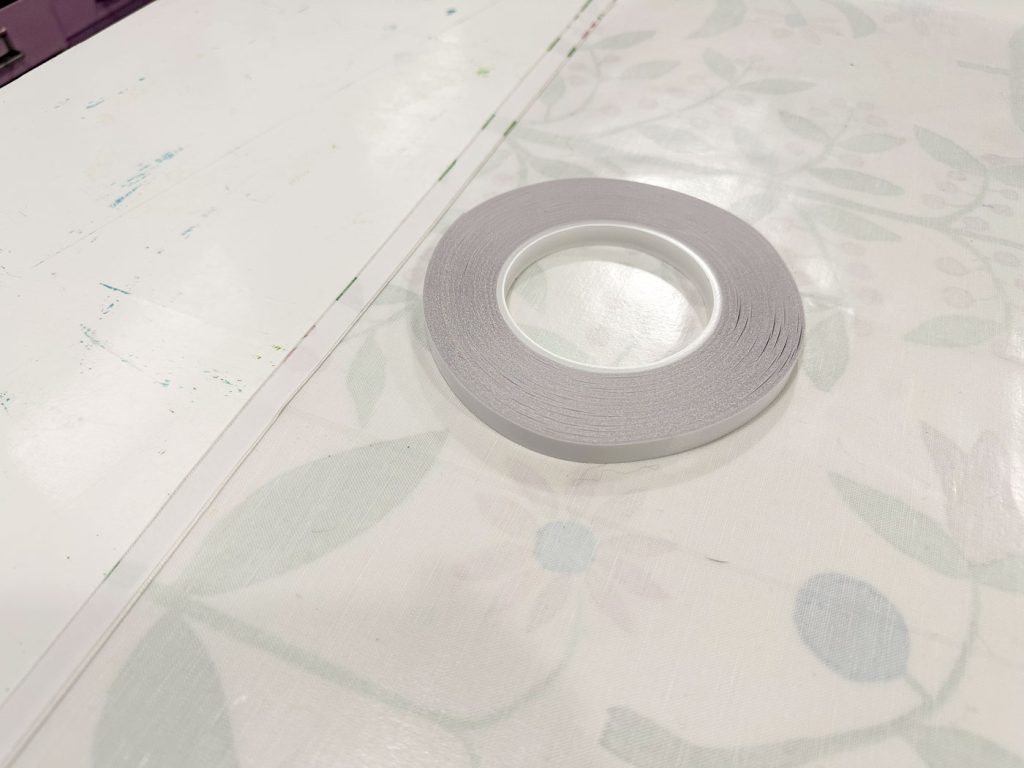
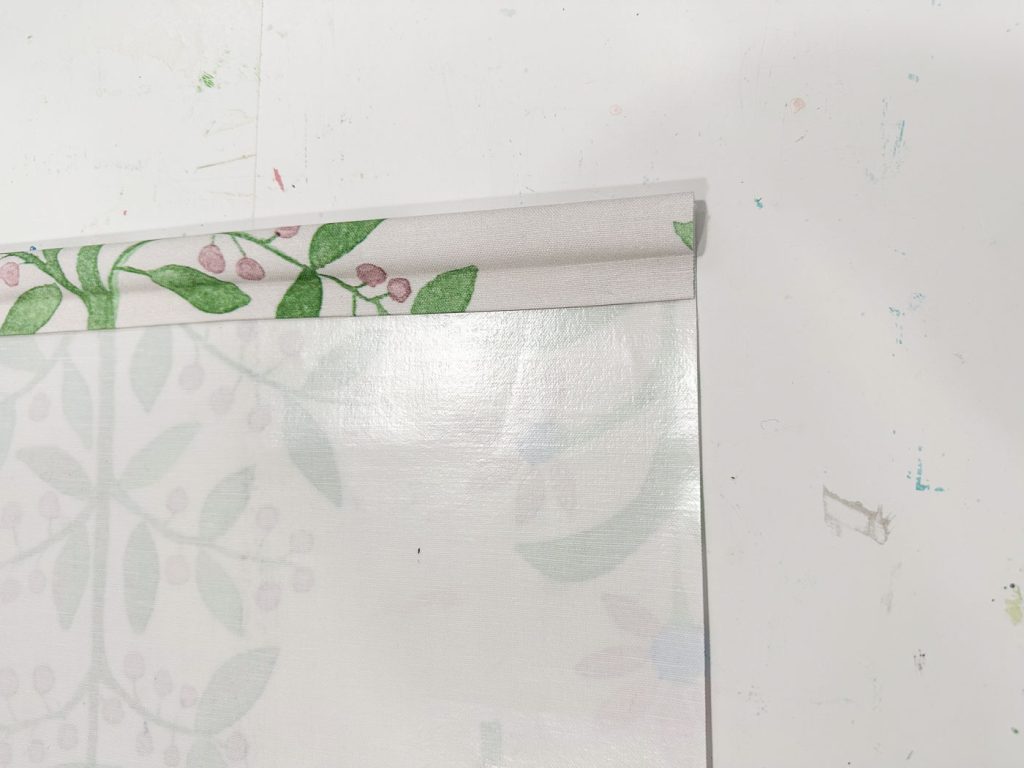
I also used the hem tape to attach the top of the shade to the bar. NOTE: the bar only spins in one directions so mount your shade accordingly. The first time I taped the shade in place, I had it on backwards so it didn’t work and I thought the shade was broken.
Step 4. Mount the Shade
I made my shade to be an inside mount so I actually just reused the hardware from the old shade. I did have to swap them because I wanted my shade to roll down the front of the shade and not down the back (like a roll of toilet paper… I wanted it to go over the roll, not under).
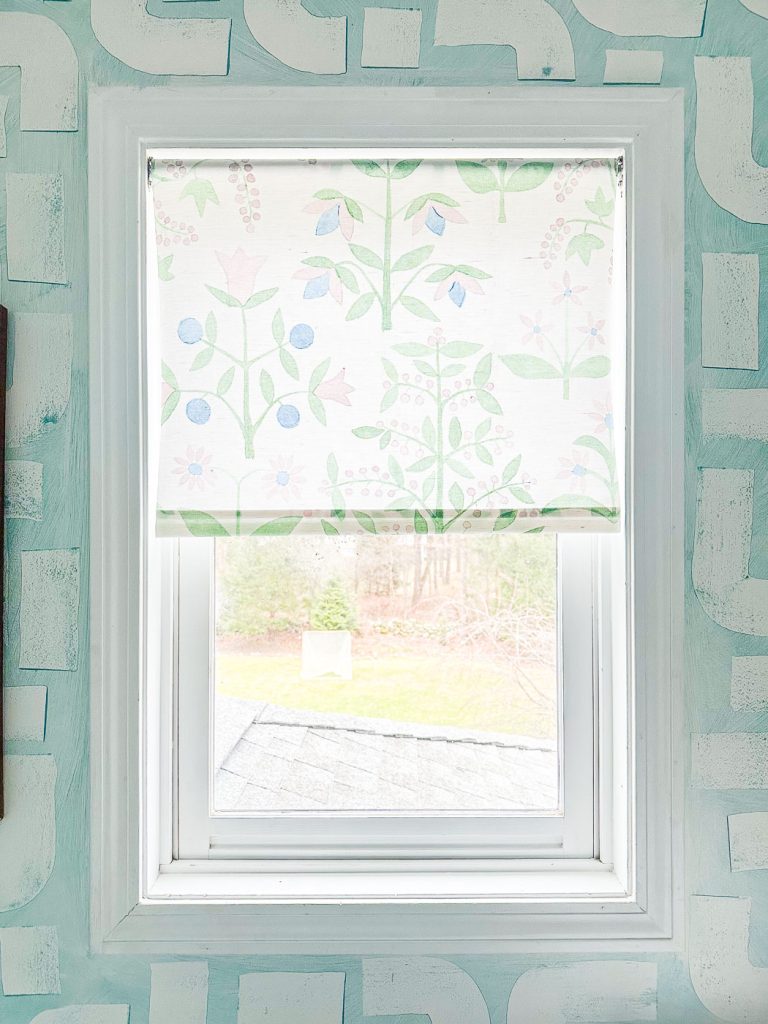
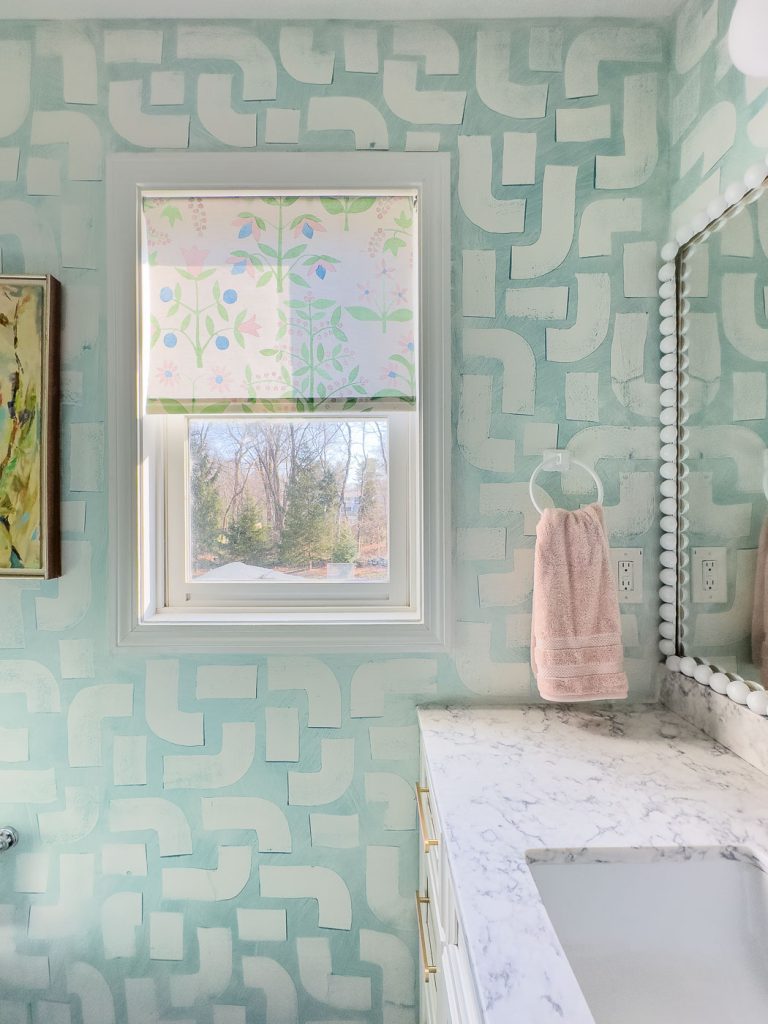
It’s almost impossible to photograph, but… it looks so cute and cost me under $50 once I factored in the fabric and the cost of the iron on vinyl. If you started with a vinyl fabric, that would cut out the iron on step obviously and might cost a little bit less!
Materials
- Iron-on Vinyl
- Rotary Cutter
- Cutting Mat
- Sewing Ruler
- Cricut EasyPress
- Customizable Roller Shade
- Hem Tape


Don’t Miss Out
Become An Insider!
Signup for exclusive tips, and tricks from Charlotte’s House!
Let’s chat!
I love comments from you, so feel free to leave your thoughts and ideas below! And don’t forget to follow me on Instagram for even more!