
Veni, Vidi, Vici… Roman Shades
Psssst… this post *might* contain affiliate links: see my disclosure here.
How to Sew Roman Shades
Translation: I Came, I Saw, I Conquered… Roman Shades. (Although conquered is a relative term here…) Anyhoo, here’s what the kids room looked like when we did our walk through a few years ago.
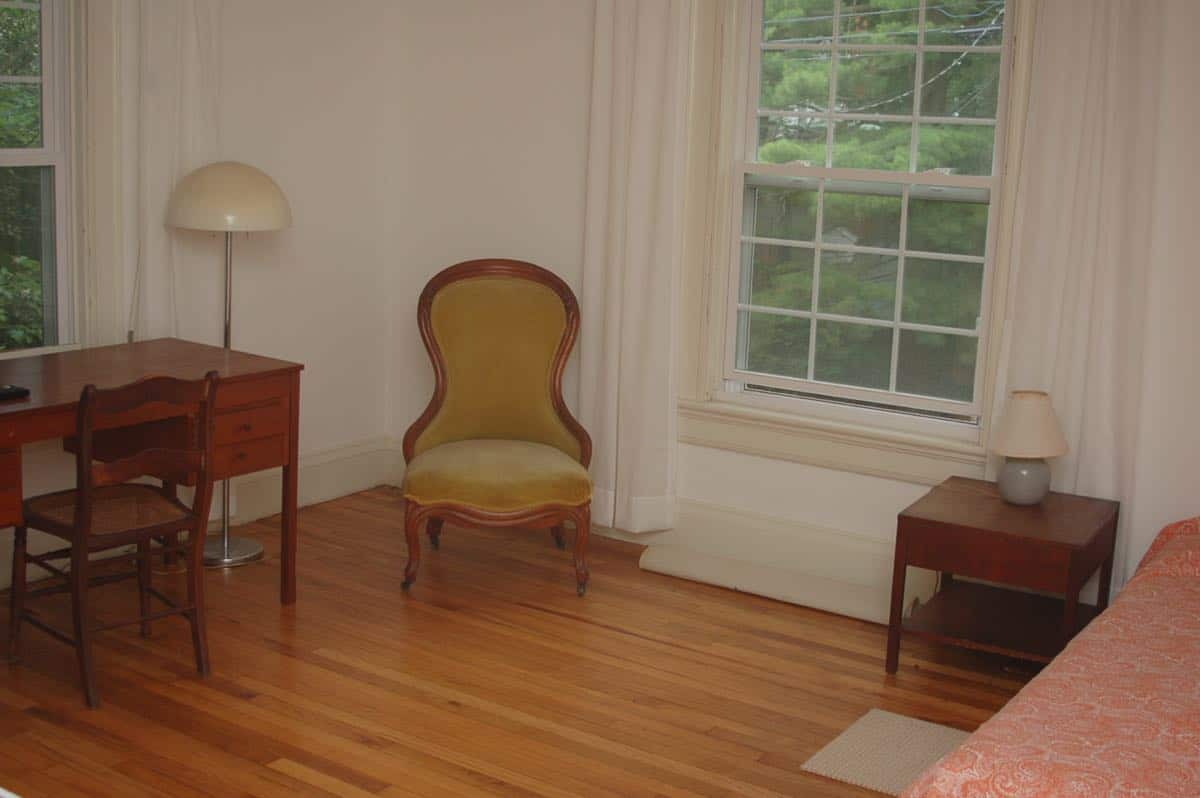
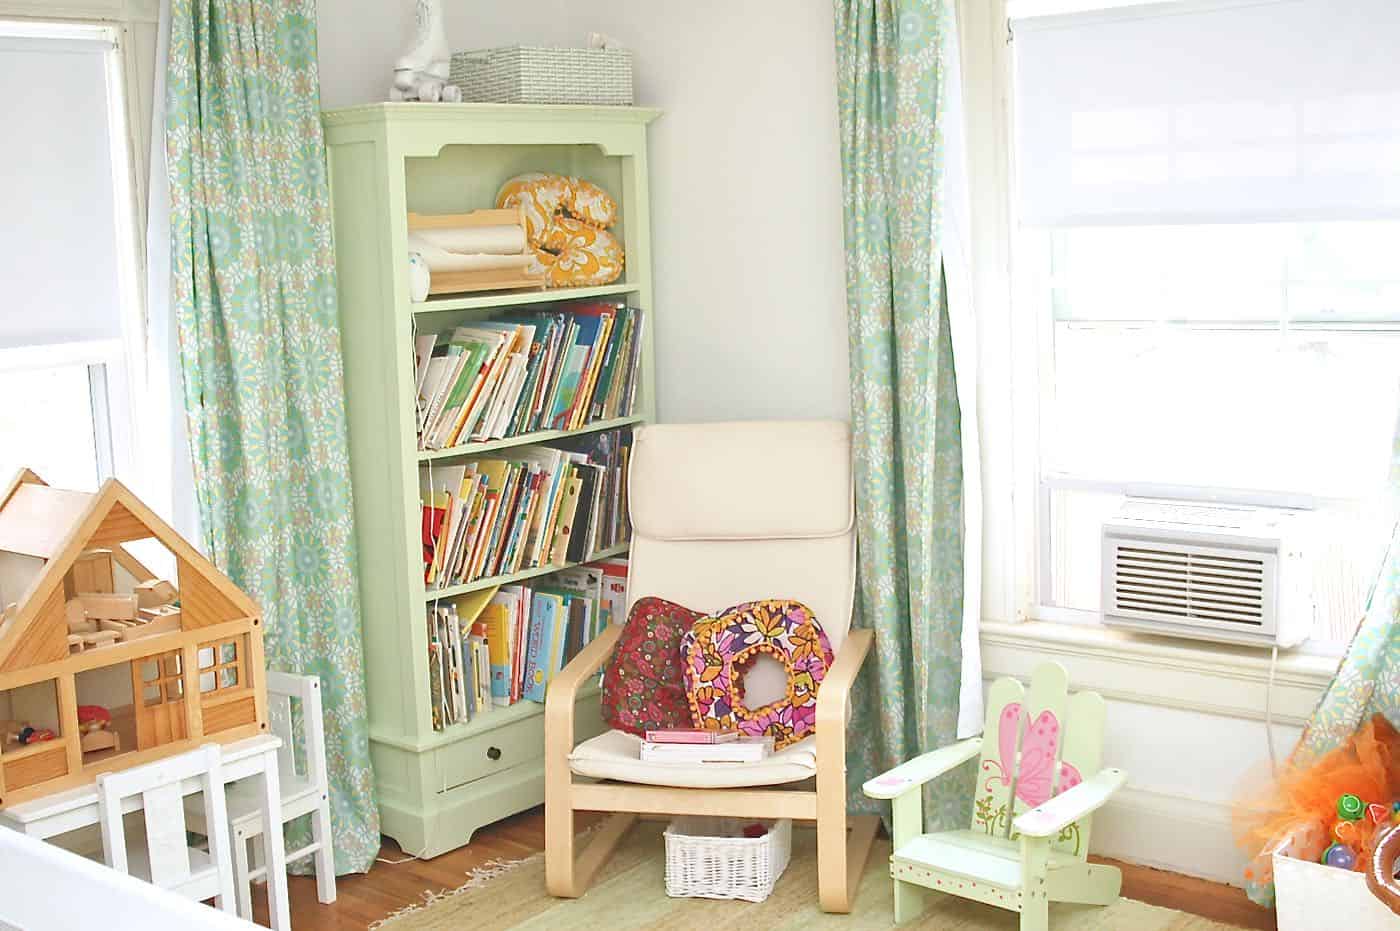
Beautiful simple moldings, and lots of light coming in. Read: problematic during nap time. As we’ve used the house more and more, the window treatments have evolved. Black out curtains were a must and I experimented with various inexpensive ways to dress those up: sheer green curtains, plain navy panels, and most recently, sheets from Homegoods (affiliate links). These pictures are from a while ago, but you get the idea.
Shop my favorites!
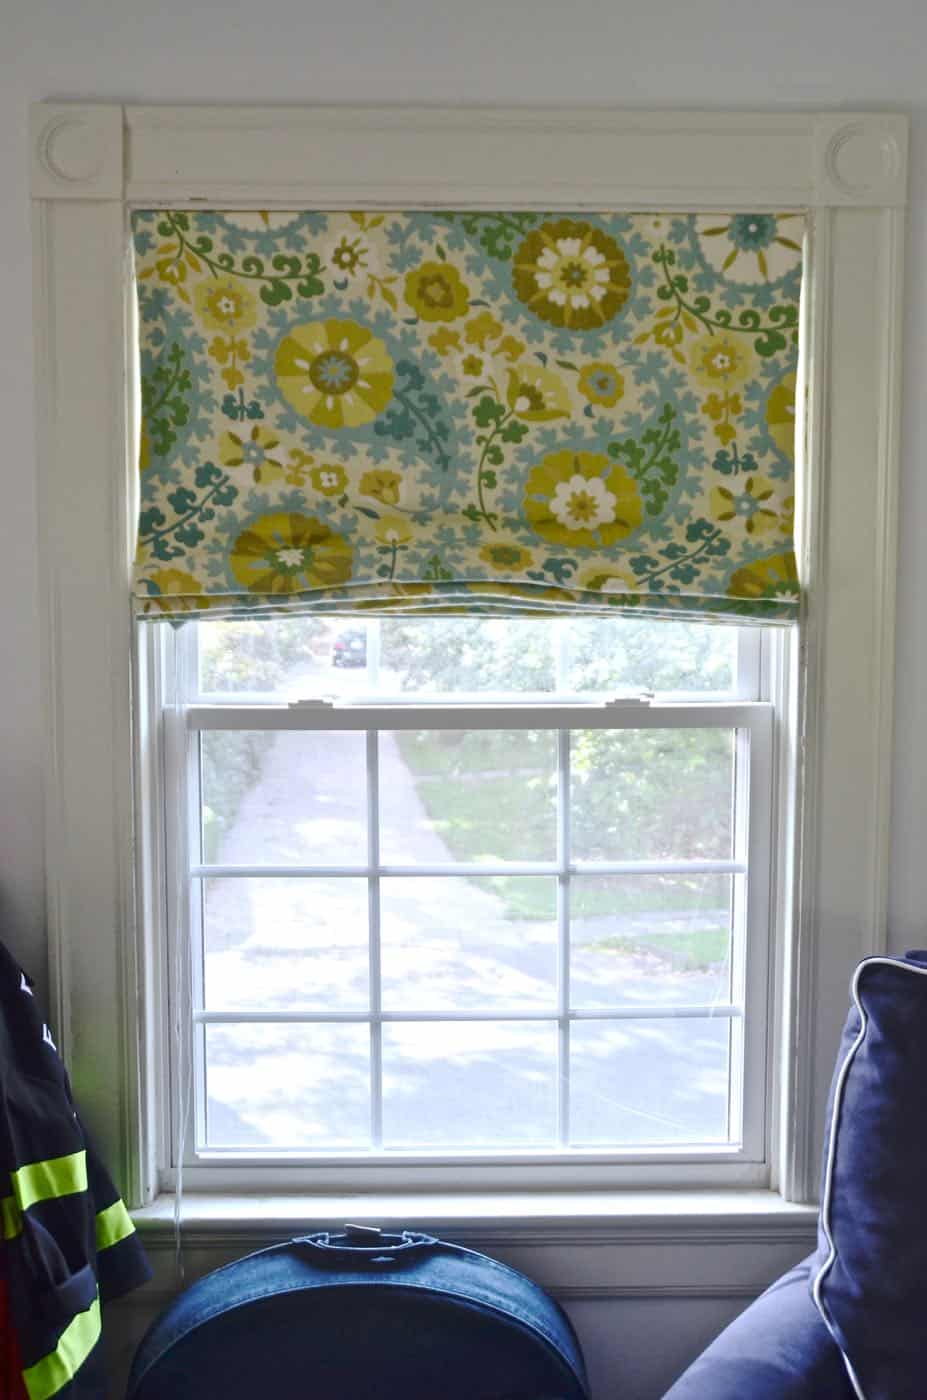
In a room without much wall area, I wanted to free up some visual space and make the windows less fussy. Roman shades seemed like the answer. Interior mounts meant we could see the moldings. (Interior mounts are when the shades hang within the window well; exterior mount is when you mount the shade above the window and it hangs down in front of the moldings.)
DIY Roman Shades with Black Out Lining
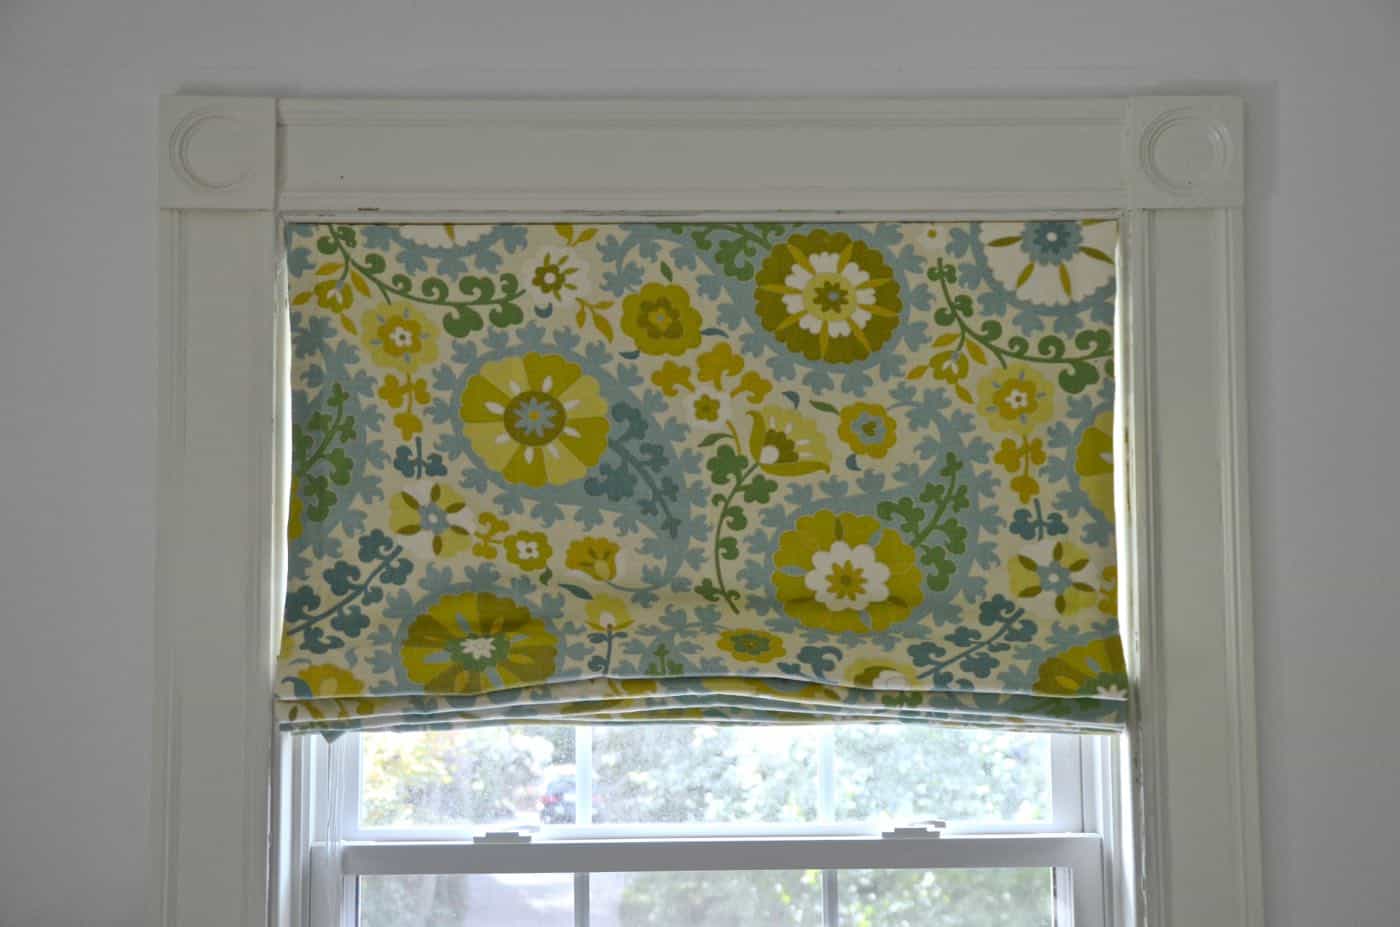
When Eleanor was born, my mom gave us a Roman shade for her nursery and when I looked at it carefully, there actually didn’t appear to be too much complexity to the thing. A DIY project was born. The trickiest part of decorating for me is that I’m often doing things piecemeal so I’m matching the new things to the existing things. It seems like it would be easier if I had an empty room and could buy everything at once to work together! I found this amazing fabric on sale to tie in all of the random colors going on in the room: bright blue, antique-y blue, bright green… I also bought some black out fabric since we wanted the room to stay as dark as possible.
I’m no expert so this probably won’t act as a step-by-step guide as well as it might, but here’s what I did. (I used our existing shade for the design and googled around a bit to answer any other questions I had.)
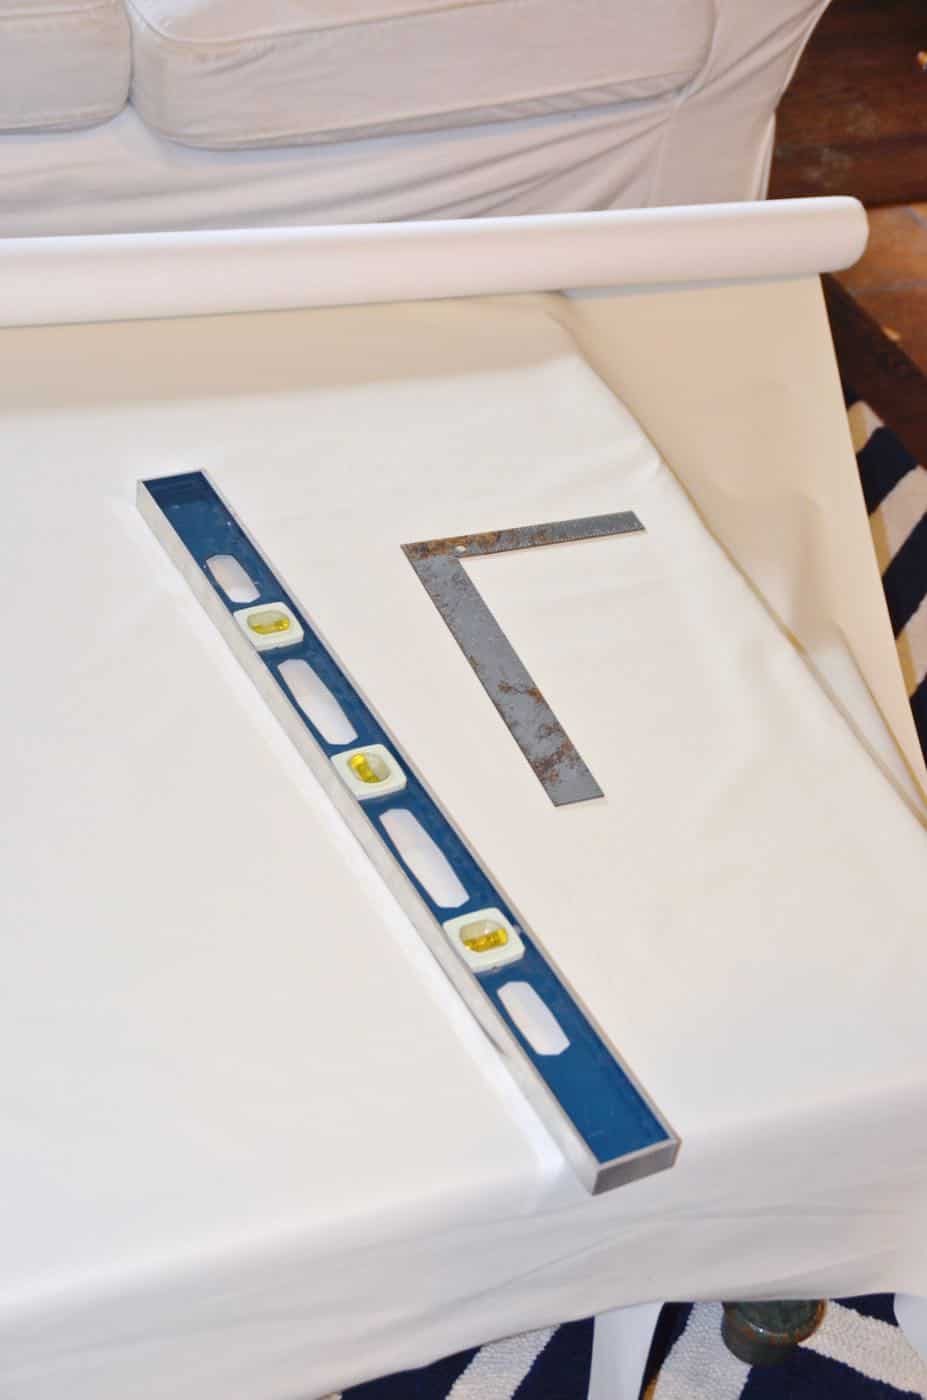
Step 1. Measure the window.
Measure it a lot. I knew we wanted inside mounts so I obviously measured the inside dimensions. I sketched it all out so I could visualize what I was actually going to do with the fabric.
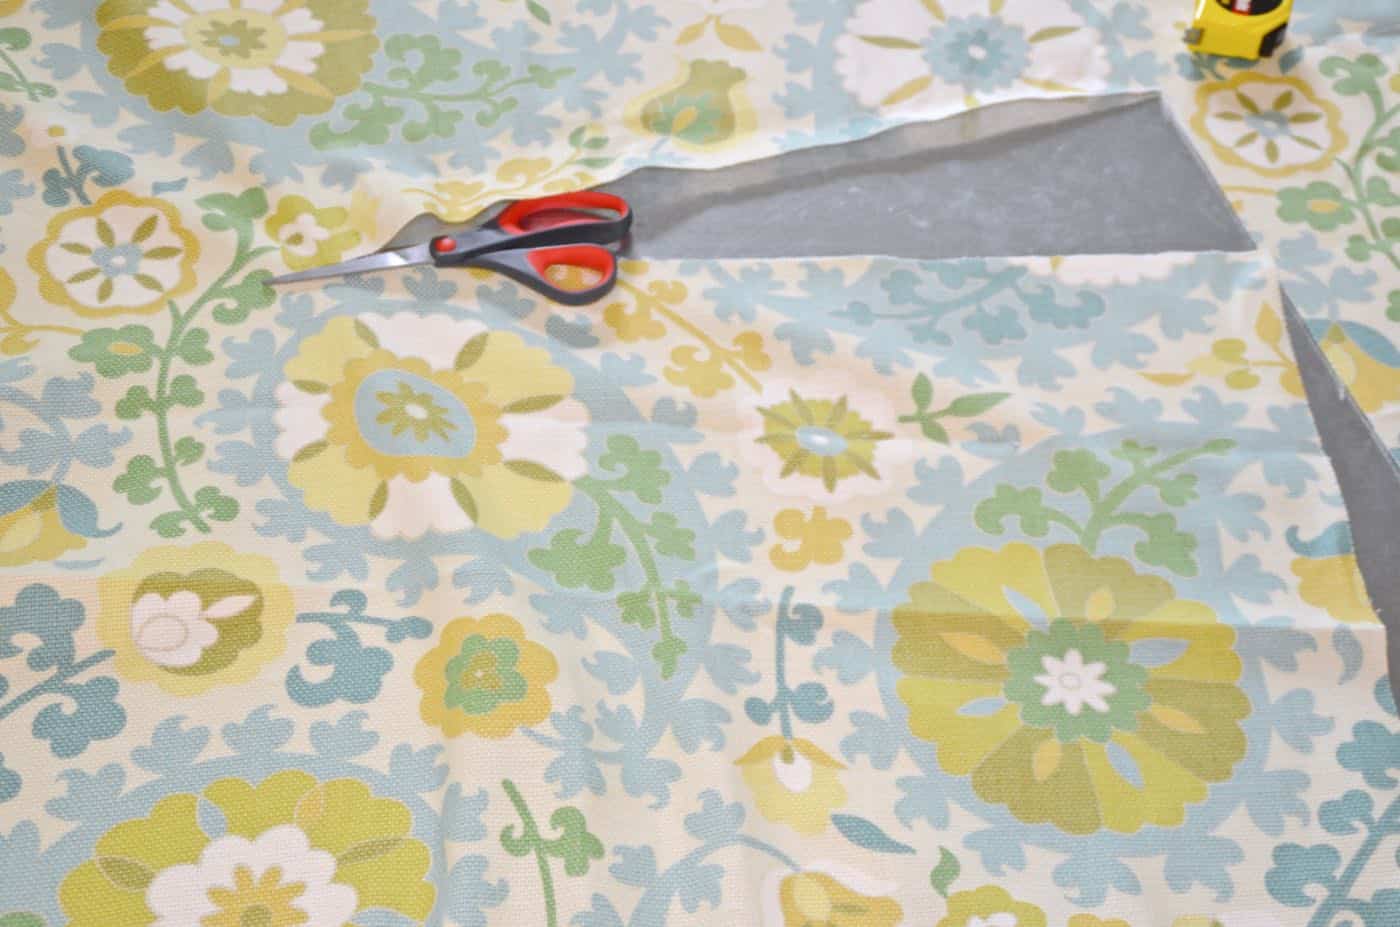
Step 2. Cut your fabric.
These shades were infinitely more complicated because I had to deal with black out fabric… without that, I’d say this is a VERY easy project for anyone with a sewing machine. Honest. I cut my black out fabric to the exact dimension of the shade and then the printed fabric larger; reason being, I didn’t want to be hemming the heavy black out fabric and figured I would wrap the hem of the printed fabric over the uncut black out fabric’s edges (picture it like wrapping the black out fabric like a present with the printed fabric).
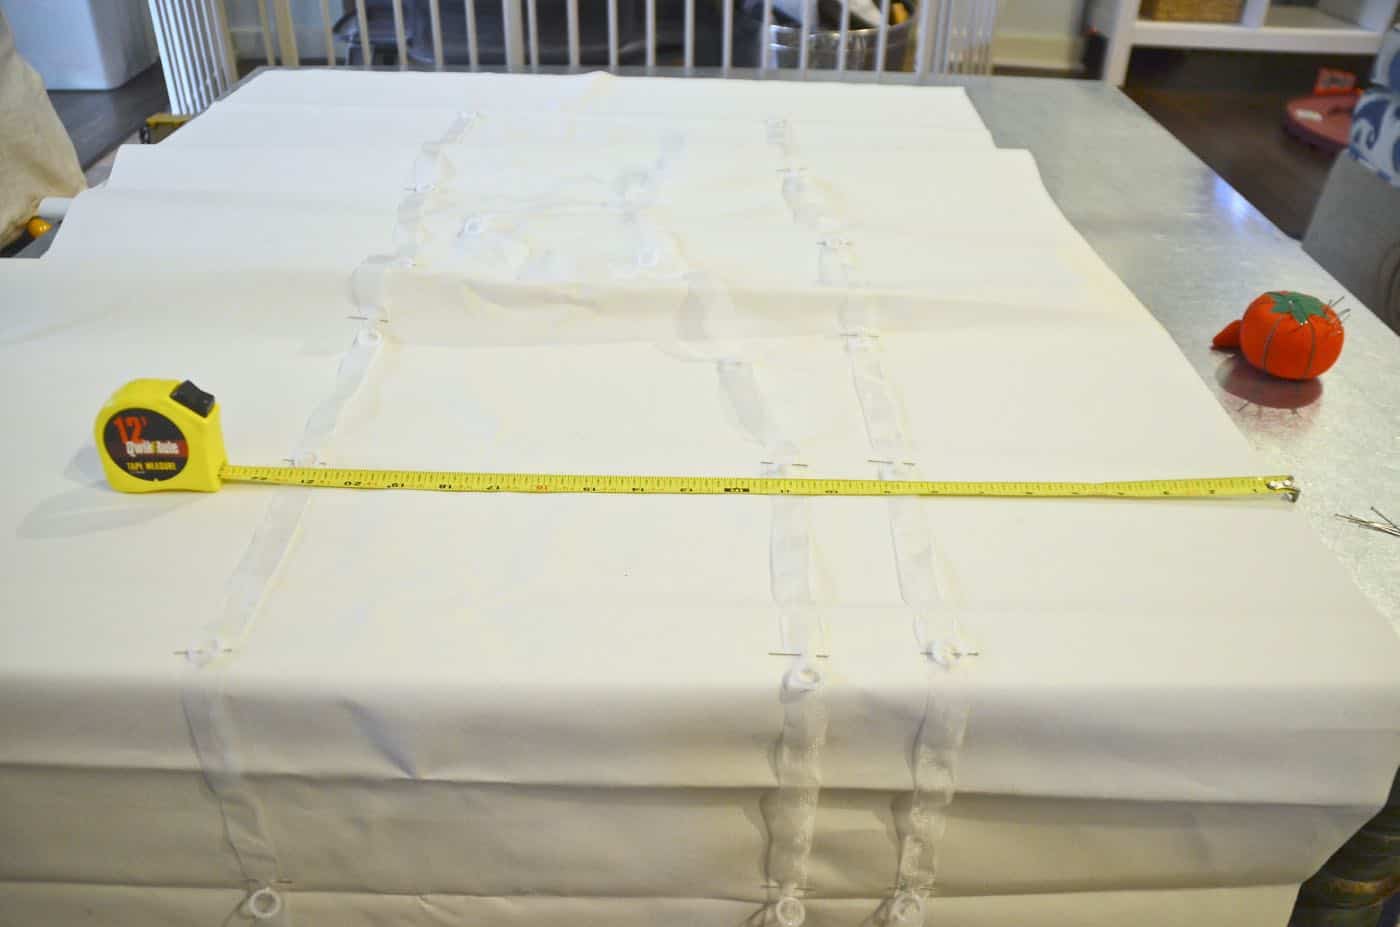
Step 3. Attach your plastic rings (affiliate).
I bought plastic rings that came premeasured on a tape. I didn’t want my shades to have a sewing line up and down them, but it was nice to have the rings all premeasured so I just needed to pin them on and sew the actual rings. The single rings work just as well… you just have to measure.
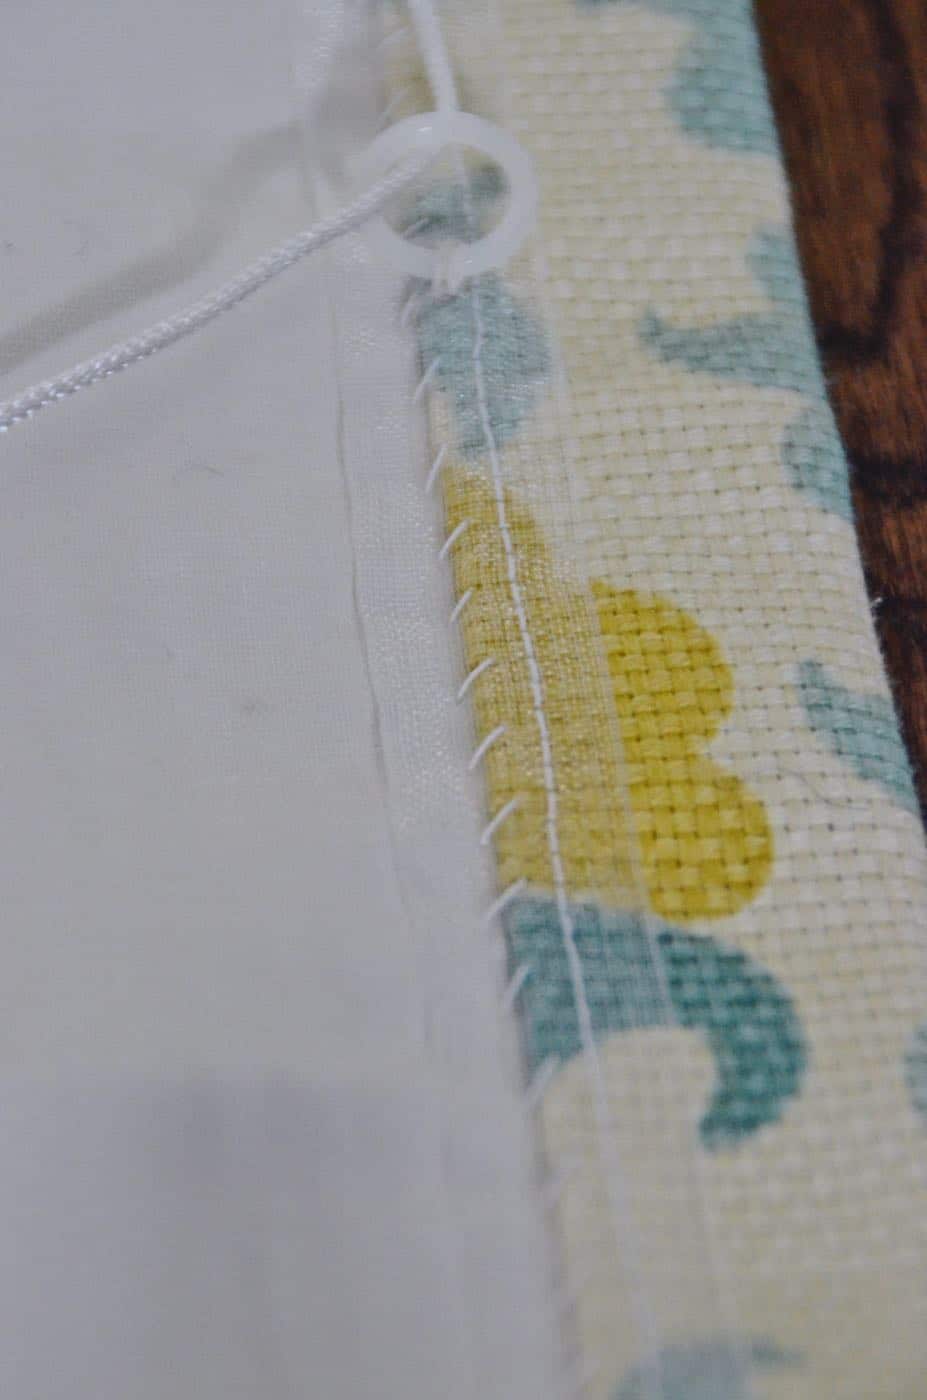
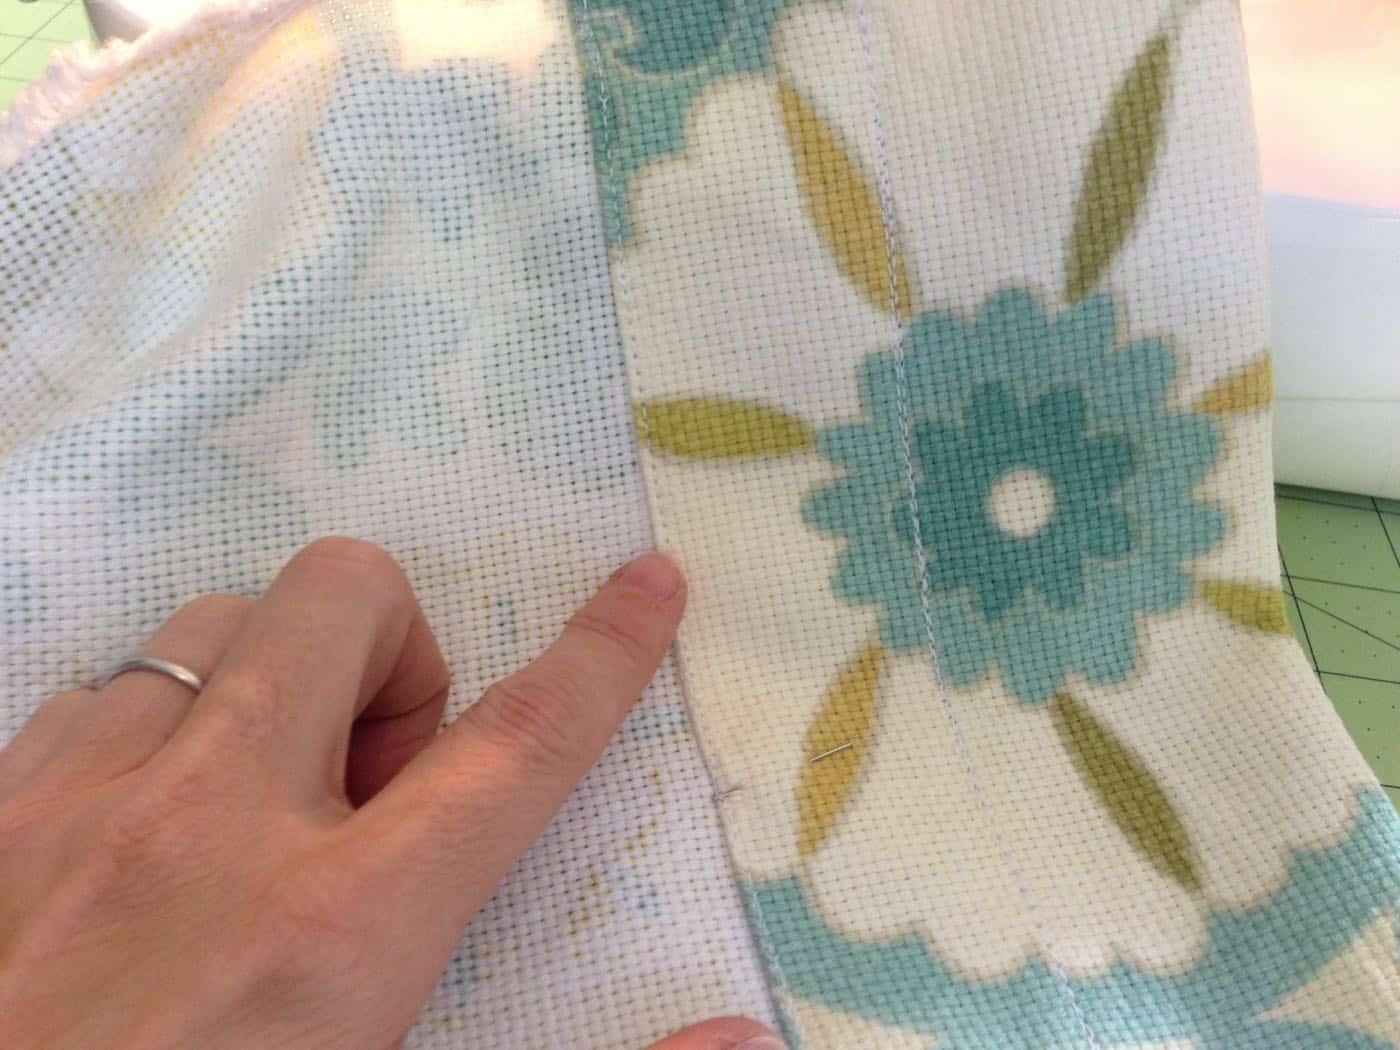
Step 4. Hem the sides.
I had to think this through a bit. First I hemmed the sides by folding over the printed fabric and pinning. I hand sewed this seam so I wouldn’t have a hem line running up either side of the curtain. (This is very similar to the lined curtains I made for our dining room.)
Step 5. Hem bottom.
The shade I was copying had a dowel rod sewn into the bottom seam to weigh down the shade, so I did the same thing. (They make shade weights to sew into the bottom hem which would work too.) I remeasured the width of my window to be double safe, and cut my dowel rod to size. Then, I folded over the bottom edge of my curtain 1″, pinned and sewed. This is where I inserted my dowel rod. But… I liked the way the shade I was copying had a 2″ flap below the dowel to hang over the lower edge of the window. So I folded up the bottom edge again so the dowel rod was sitting 2″ above the bottom folded edge of the shade. I sewed this in place on either side of the dowel rod pocket.
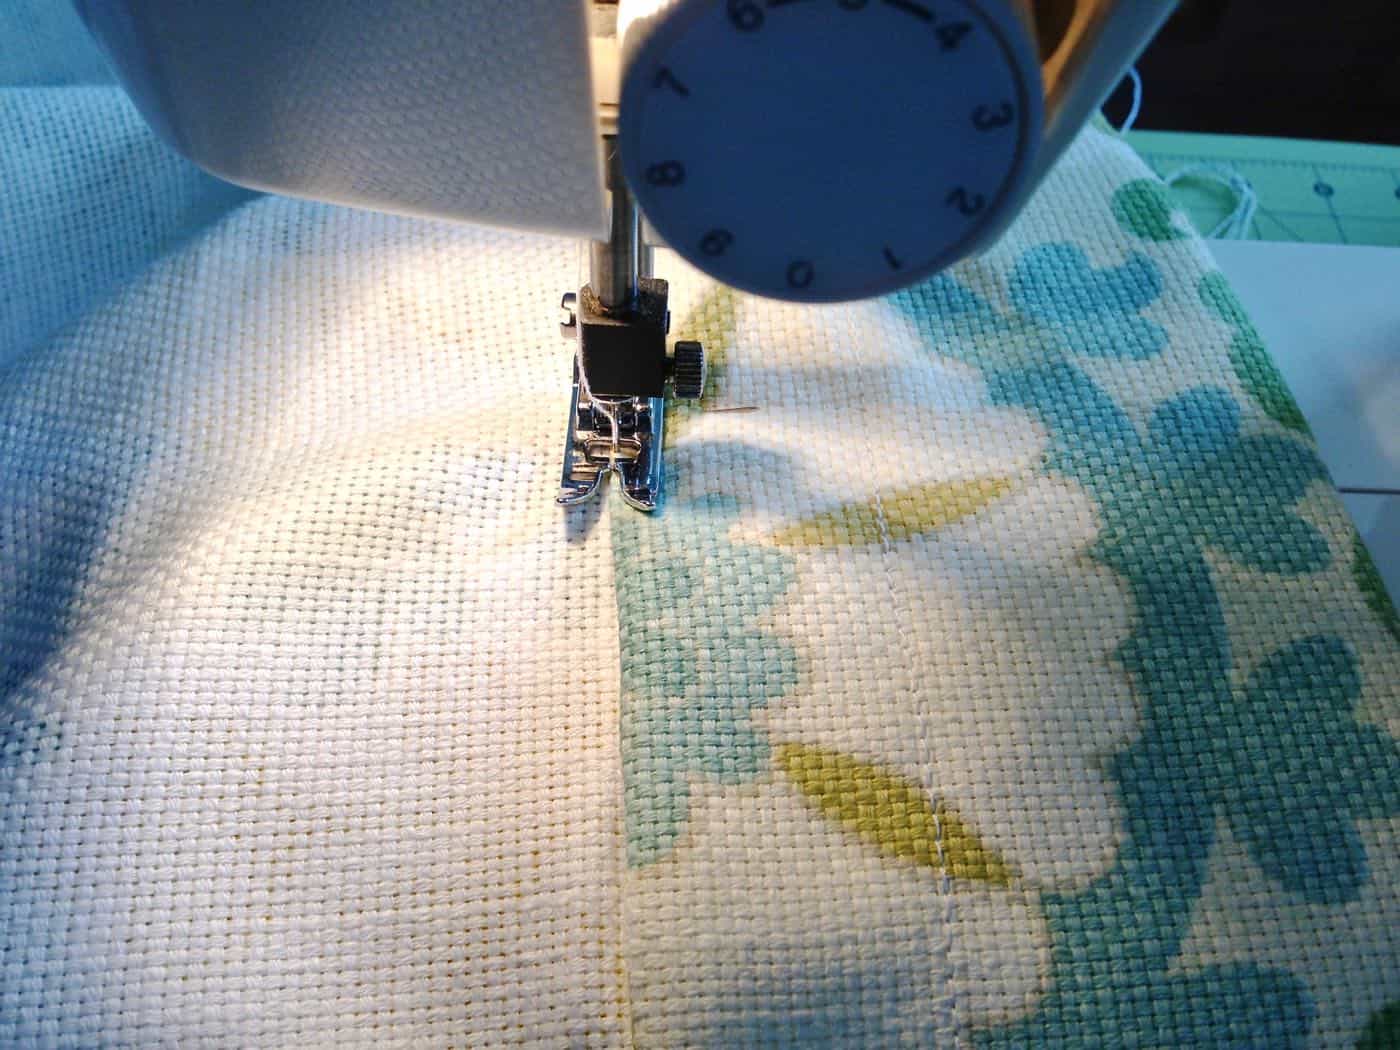
 TIP: A zipper foot was helpful on this project for both sewing in the dowel and when sewing the rings on. This is a low shank foot but you can search for a high shank one as well depending upon what machine you have.
Okay, so I know this is sounding WAY complicated but it really wasn’t. Just imagine I sewed a long rectangle of fabric but folded over and sewed the side edges to keep it clean, and hemmed the bottom edge allowing for a dowel to sit a couple of inches above the bottom edge. Here’s the basic layout of each shade:
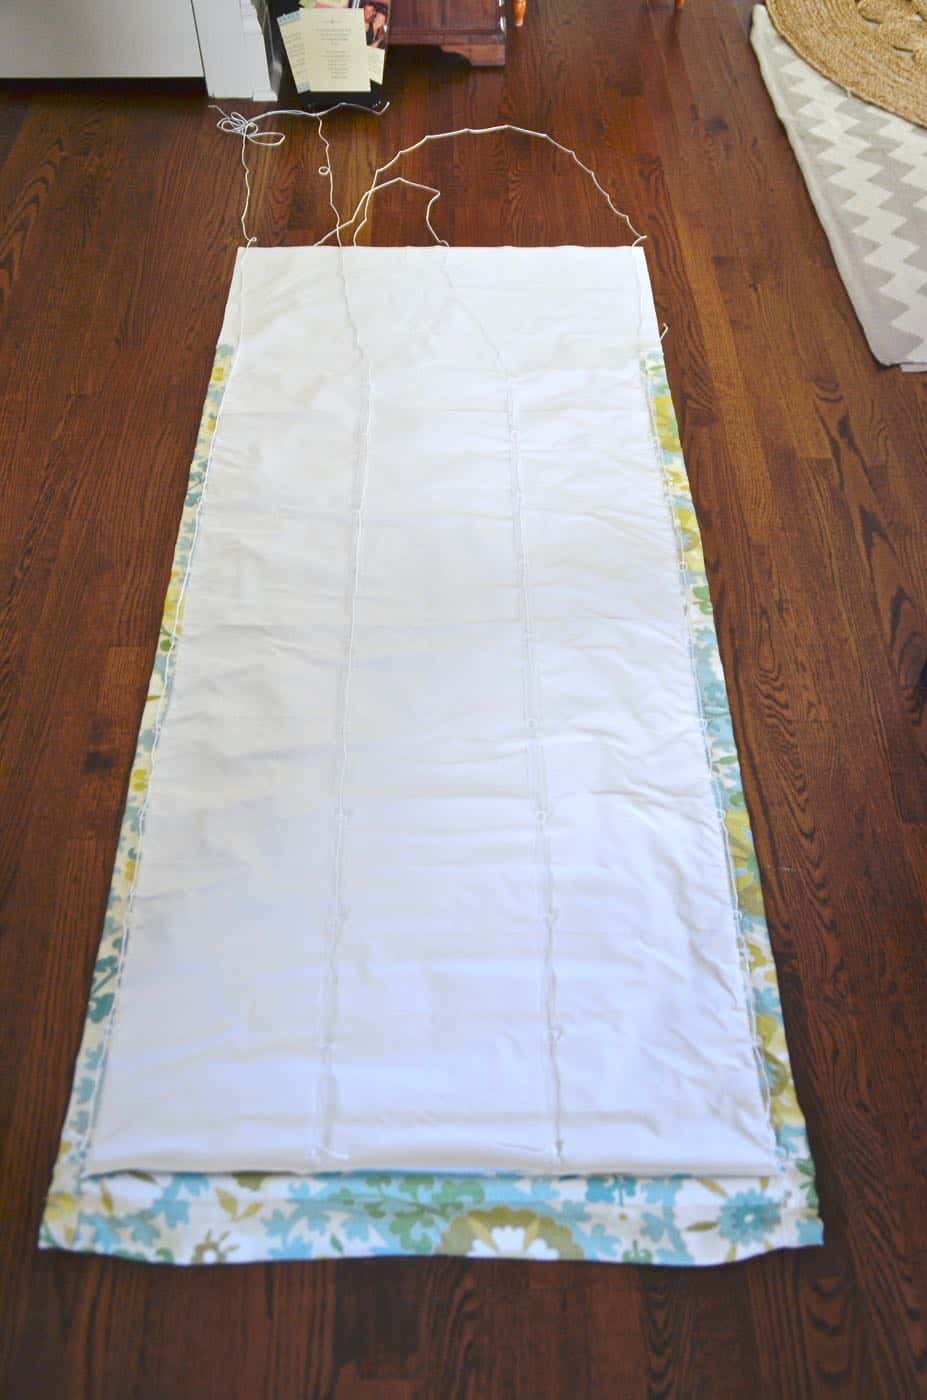
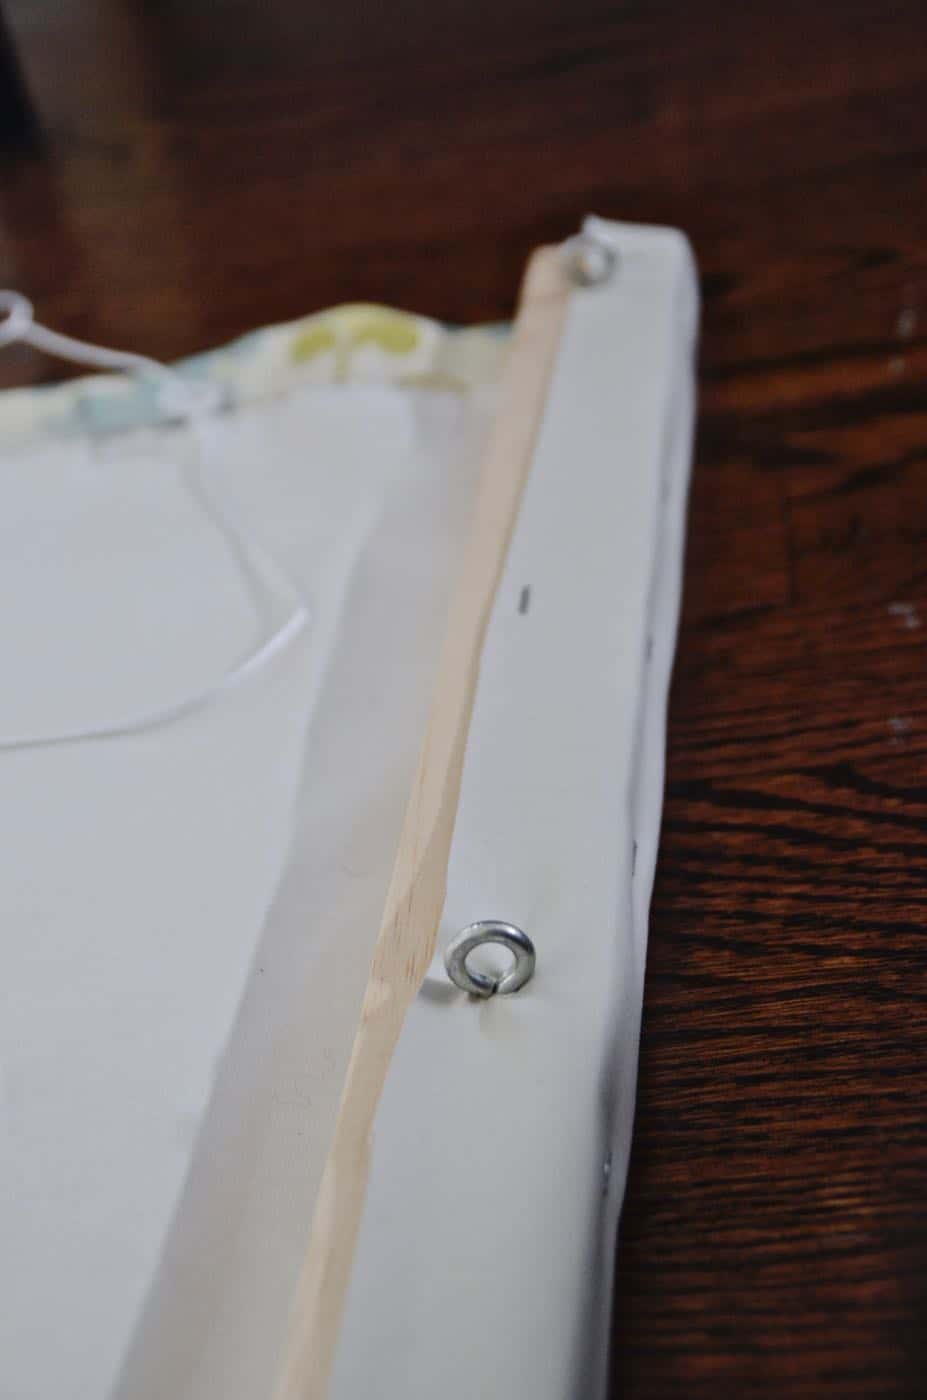
Step 6. Attach your blind to the wood
(I used a 1 x 2, but anything that is the same depth as your window well will work… you just don’t want your board sticking out over the edge of the window.) Now that I had a completed blind, I measured the window (again). I wanted the dowel (not the bottom edge of the curtain) to sit on the window sill so that was the length I allowed for my shade. I wrapped the excess fabric around the length of 1 x 2 and attached with my staple gun. Screw eyelets into the board in line with your plastic rings.
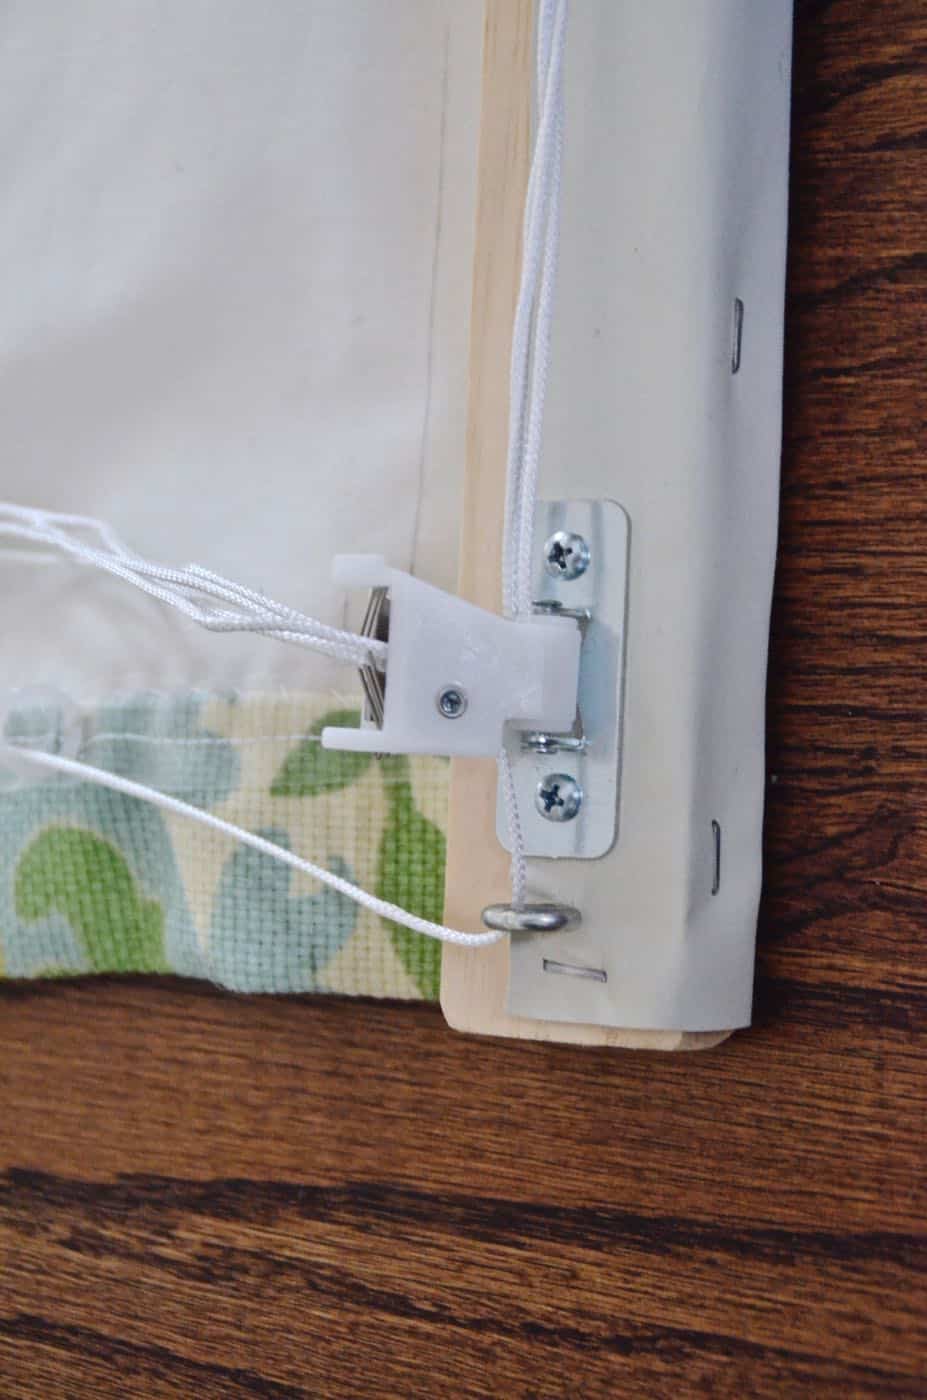
Step 7. Finishing touches.
Your lowest plastic ring should be right above the dowel; tie off your cord here and string it up through the rings, and over through all the eyelets. Repeat with each line of plastic rings. You’ll need a pulley of sorts for the cords to run through and allow you to actual open and close the shade. I used this one with a lock so I didn’t have to worry about using a cleat to tie off the cords. Thread the cord through the pulley/ cord lock and trim to clean up. I tie the ends into a knot and put a little plastic cap over them.
Step 8. Attach the shade.
Drill up through the board of the shade and into your window frame to attach.


Warning: these are dangerous as kids play around the cords hanging down and get caught in them… I have attached cleats to both windows and never allow the cord to hang down low where the children can reach them
Other Notes:
-I didn’t use battens. Some roman shades have plastic strips of stiffening material along each fold.
-I did a lot more hand sewing than normal because of the black out fabric: I didn’t want a seam line to poke holes and let strips of light through… I know a small detail and insignificant amount of light, but still.
-Because of the black out material, I couldn’t do any iron-on fusing, etc since I was worried it would melt… I’m SURE that would have made this easier.
I LOVE the way these changed the room and made it look not only more polished, but also bigger without all that excess fabric on two walls. The material is on the heavy side so it doesn’t always fold right up nice and neat when I raise the shades, but who am I kidding… I’m THRILLED with how they came out. I’m already measuring other windows in the house…

Again, I am exhausted just reading this! Nap time without Roman blackout shades.
This is probably a dumb question…but do you only need one pully LOCK thing per roman blind. I’m about to head to the STORE tomorrow to get fabric to make these roman shades. I love your pattern and appreciate how well you explain everything. Would you have a printer friendly tutorial?
Hi there! Not dumb! Yes! Just one pully per shade! And that’s a great idea about the print friendly tutorial! I don’t… but maybe I should add!
Thanks!
COULD YOU PUT A SIMPLE “MATERIALS LIST” HERE IN THE COMMENTS SO WE DON’T MISS ANYTHING? tHANKS
Hi there! I added a simple materials list to the end of the post so it’s all in one place.