
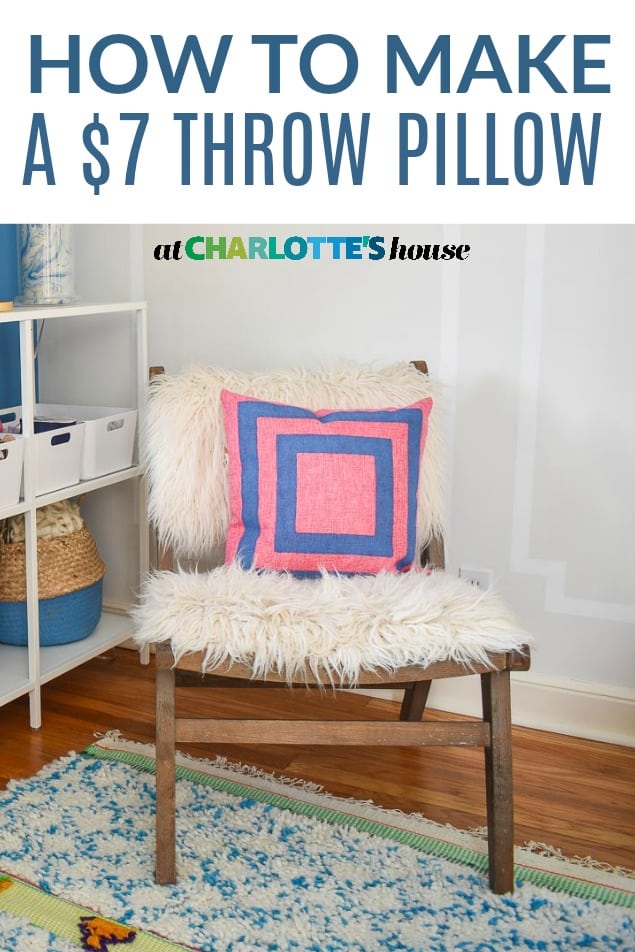
DIY Stenciled Throw Pillow
Psssst… this post *might* contain affiliate links: see my disclosure here.
How to make Graphic Stenciled DIY Throw Pillows
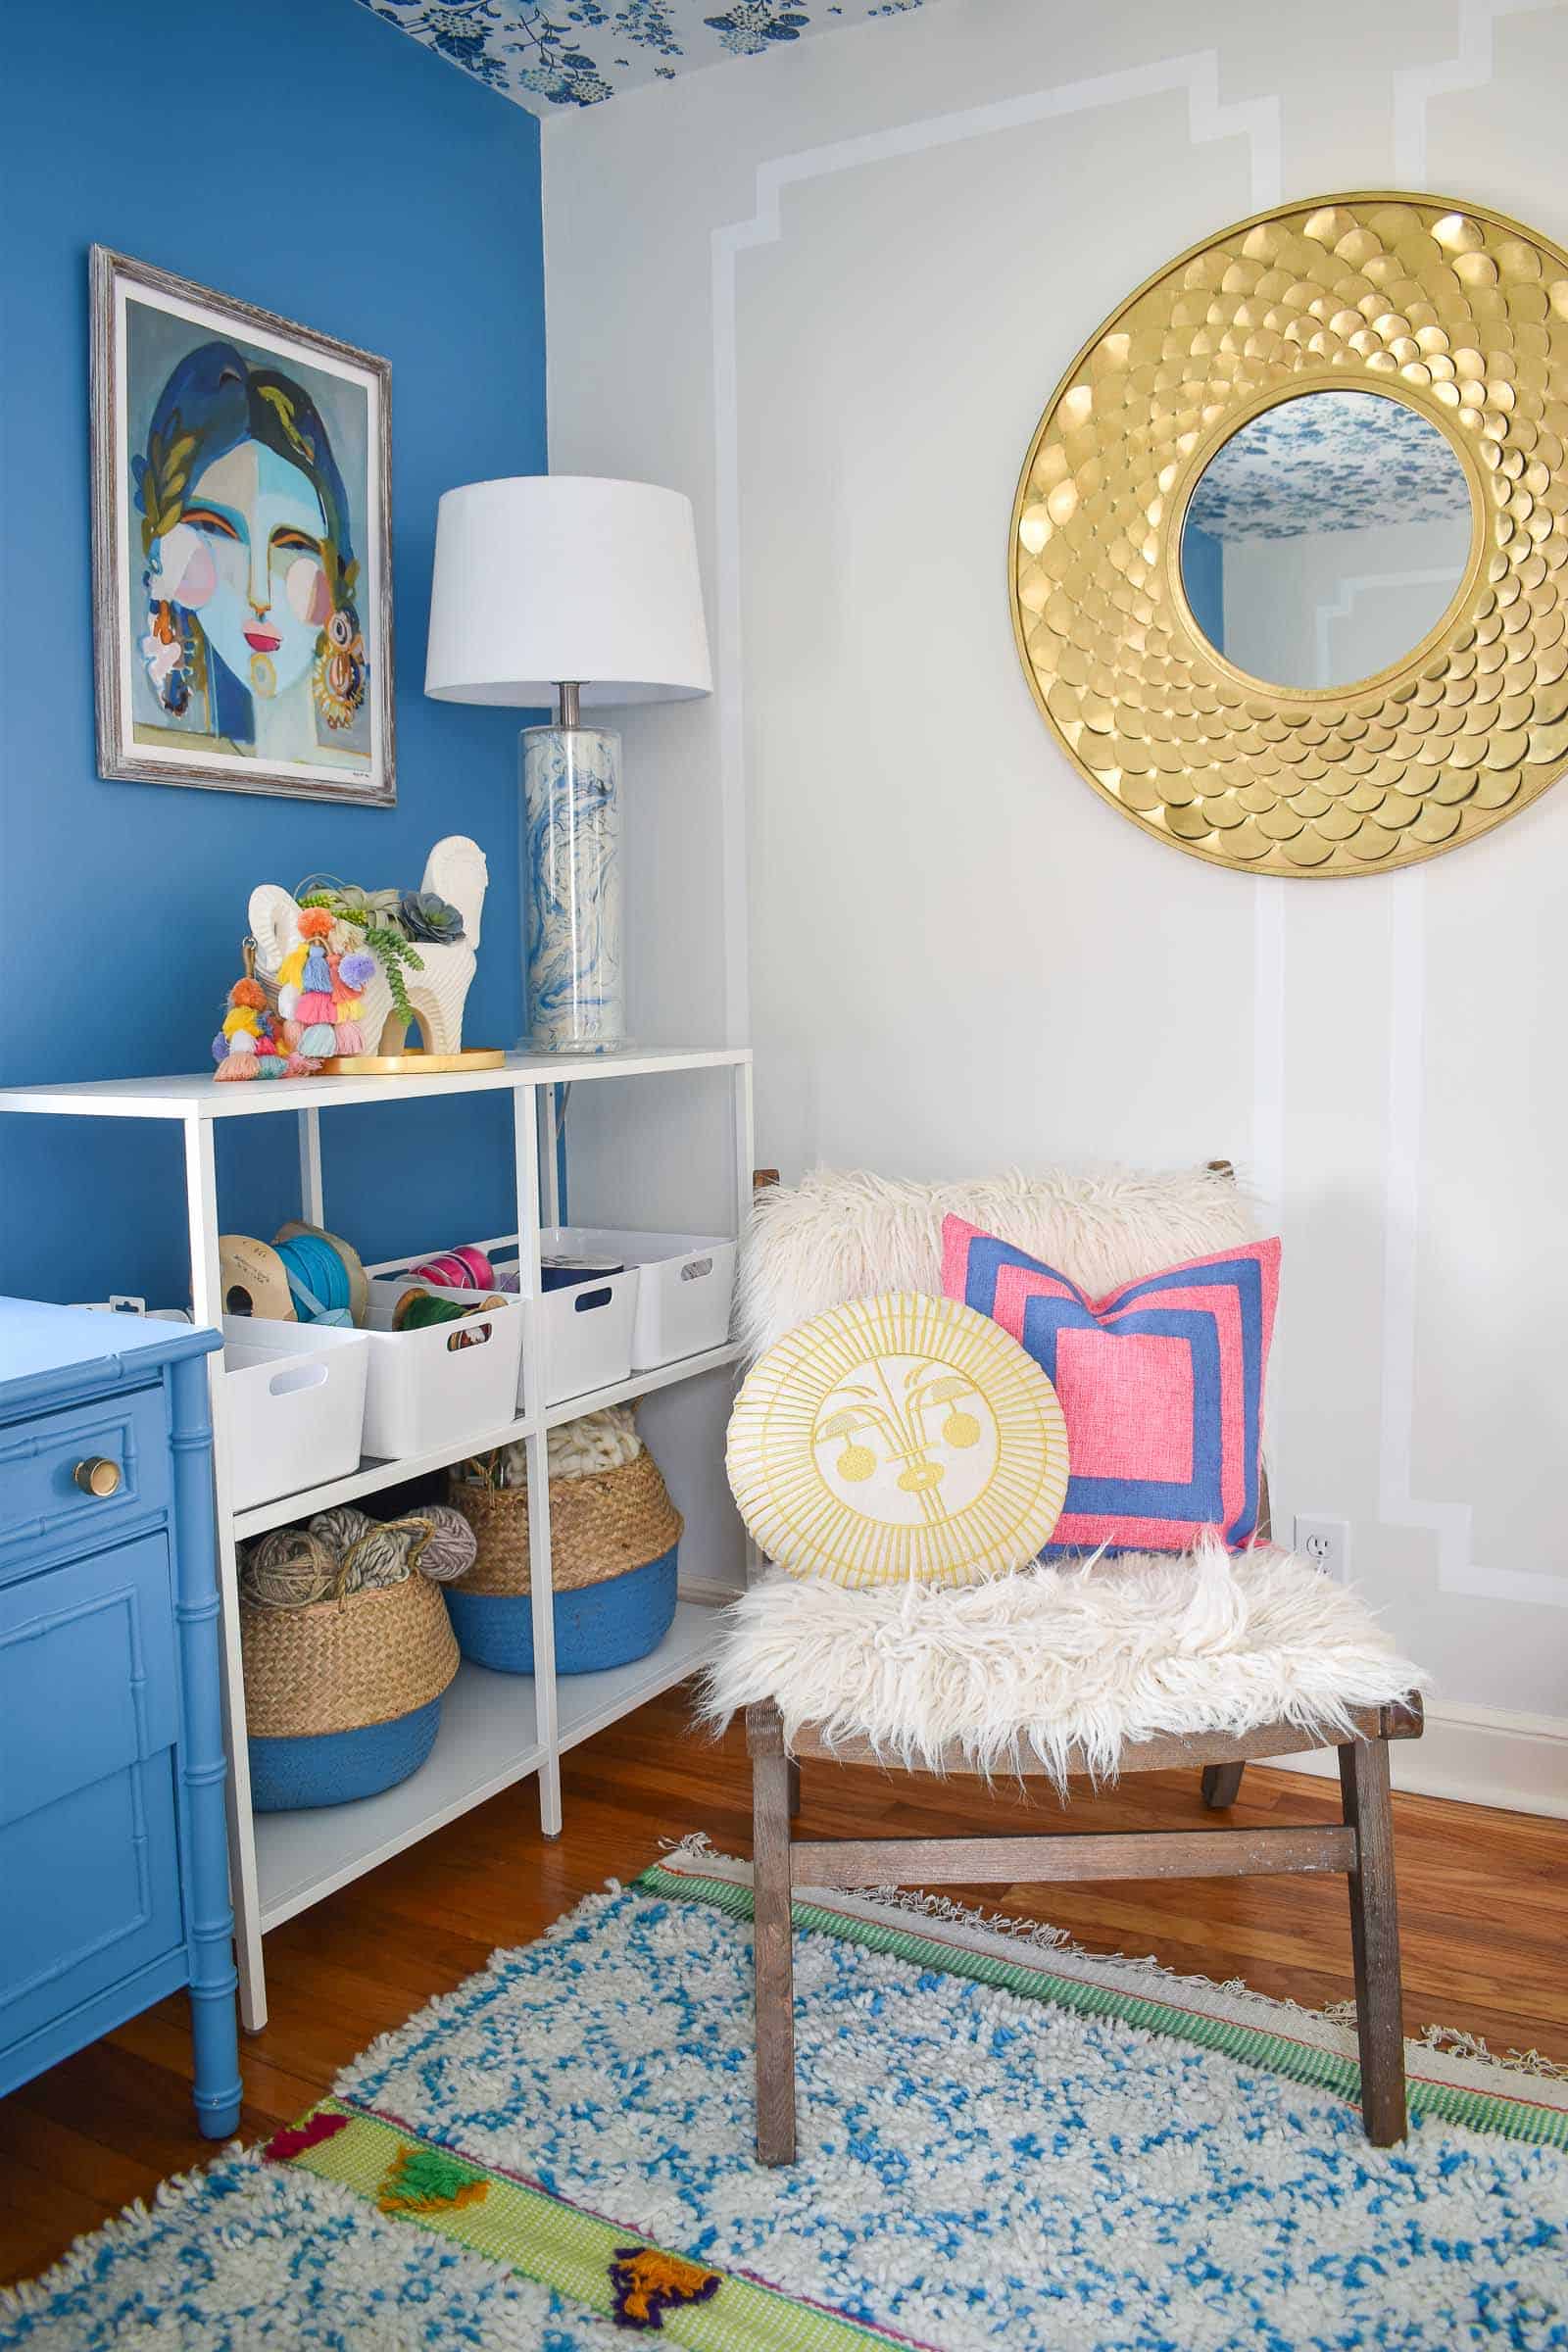
I needed a throw pillow for my new office and couldn’t find quite the right one at the store. Budget was tight so… I made one of my own with painters tape and paint!
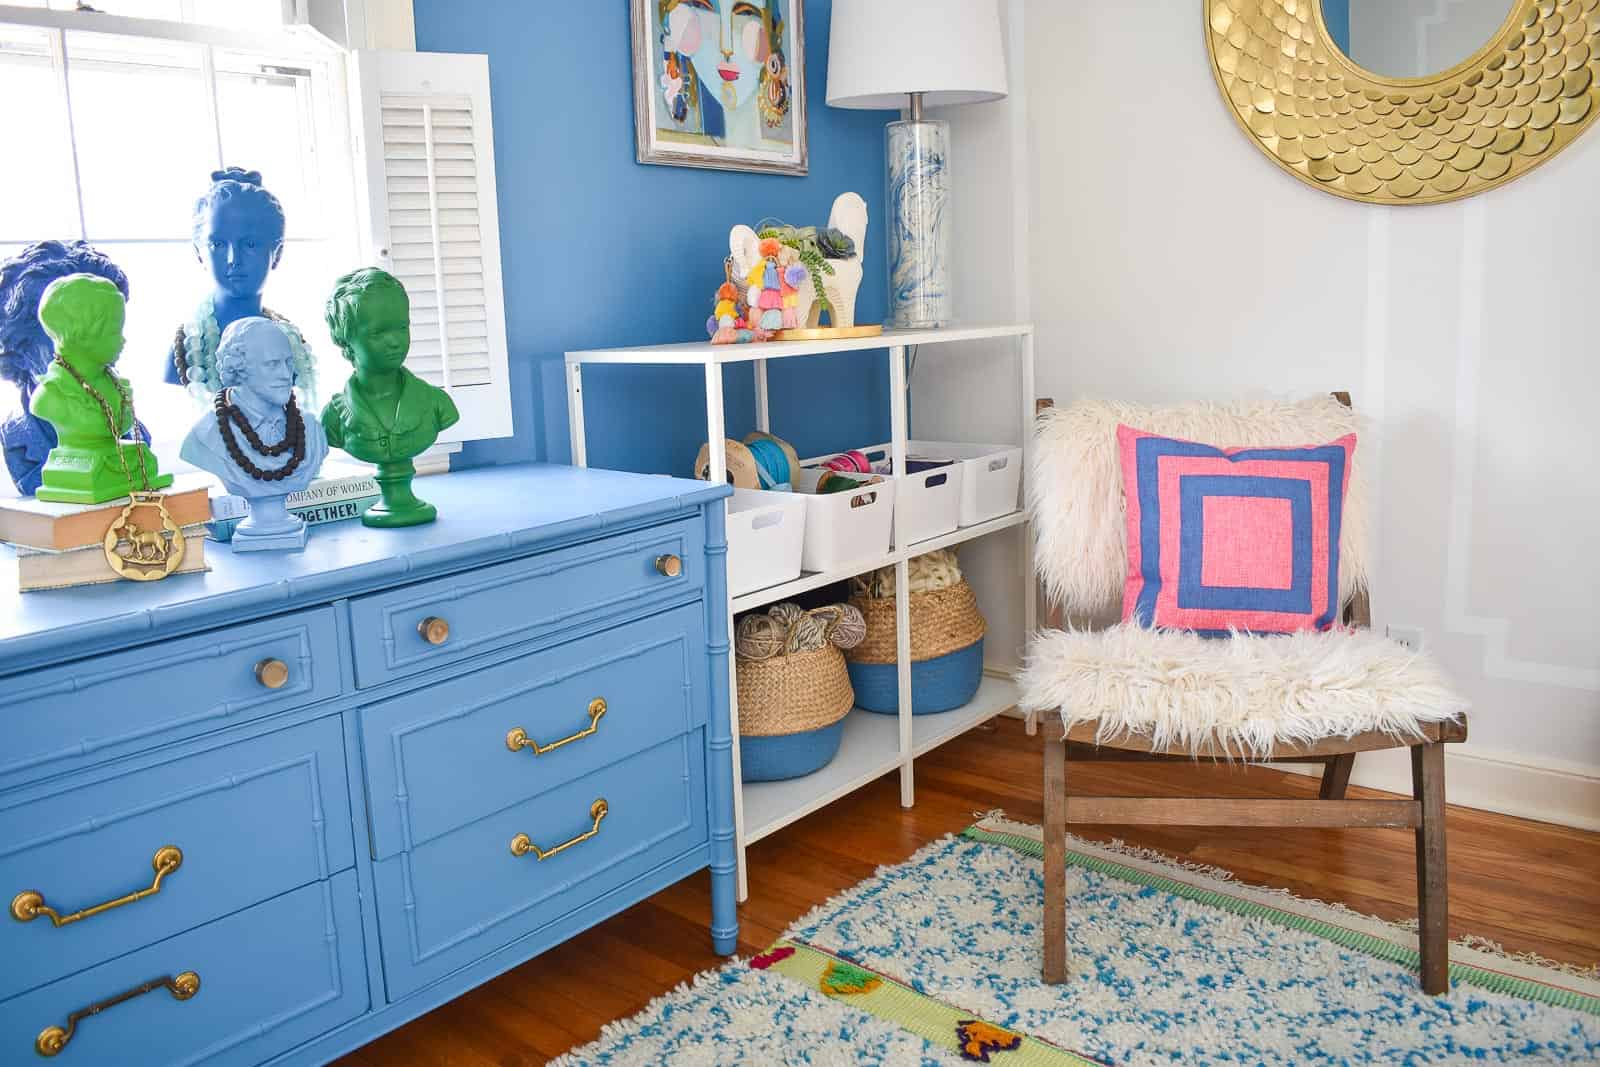
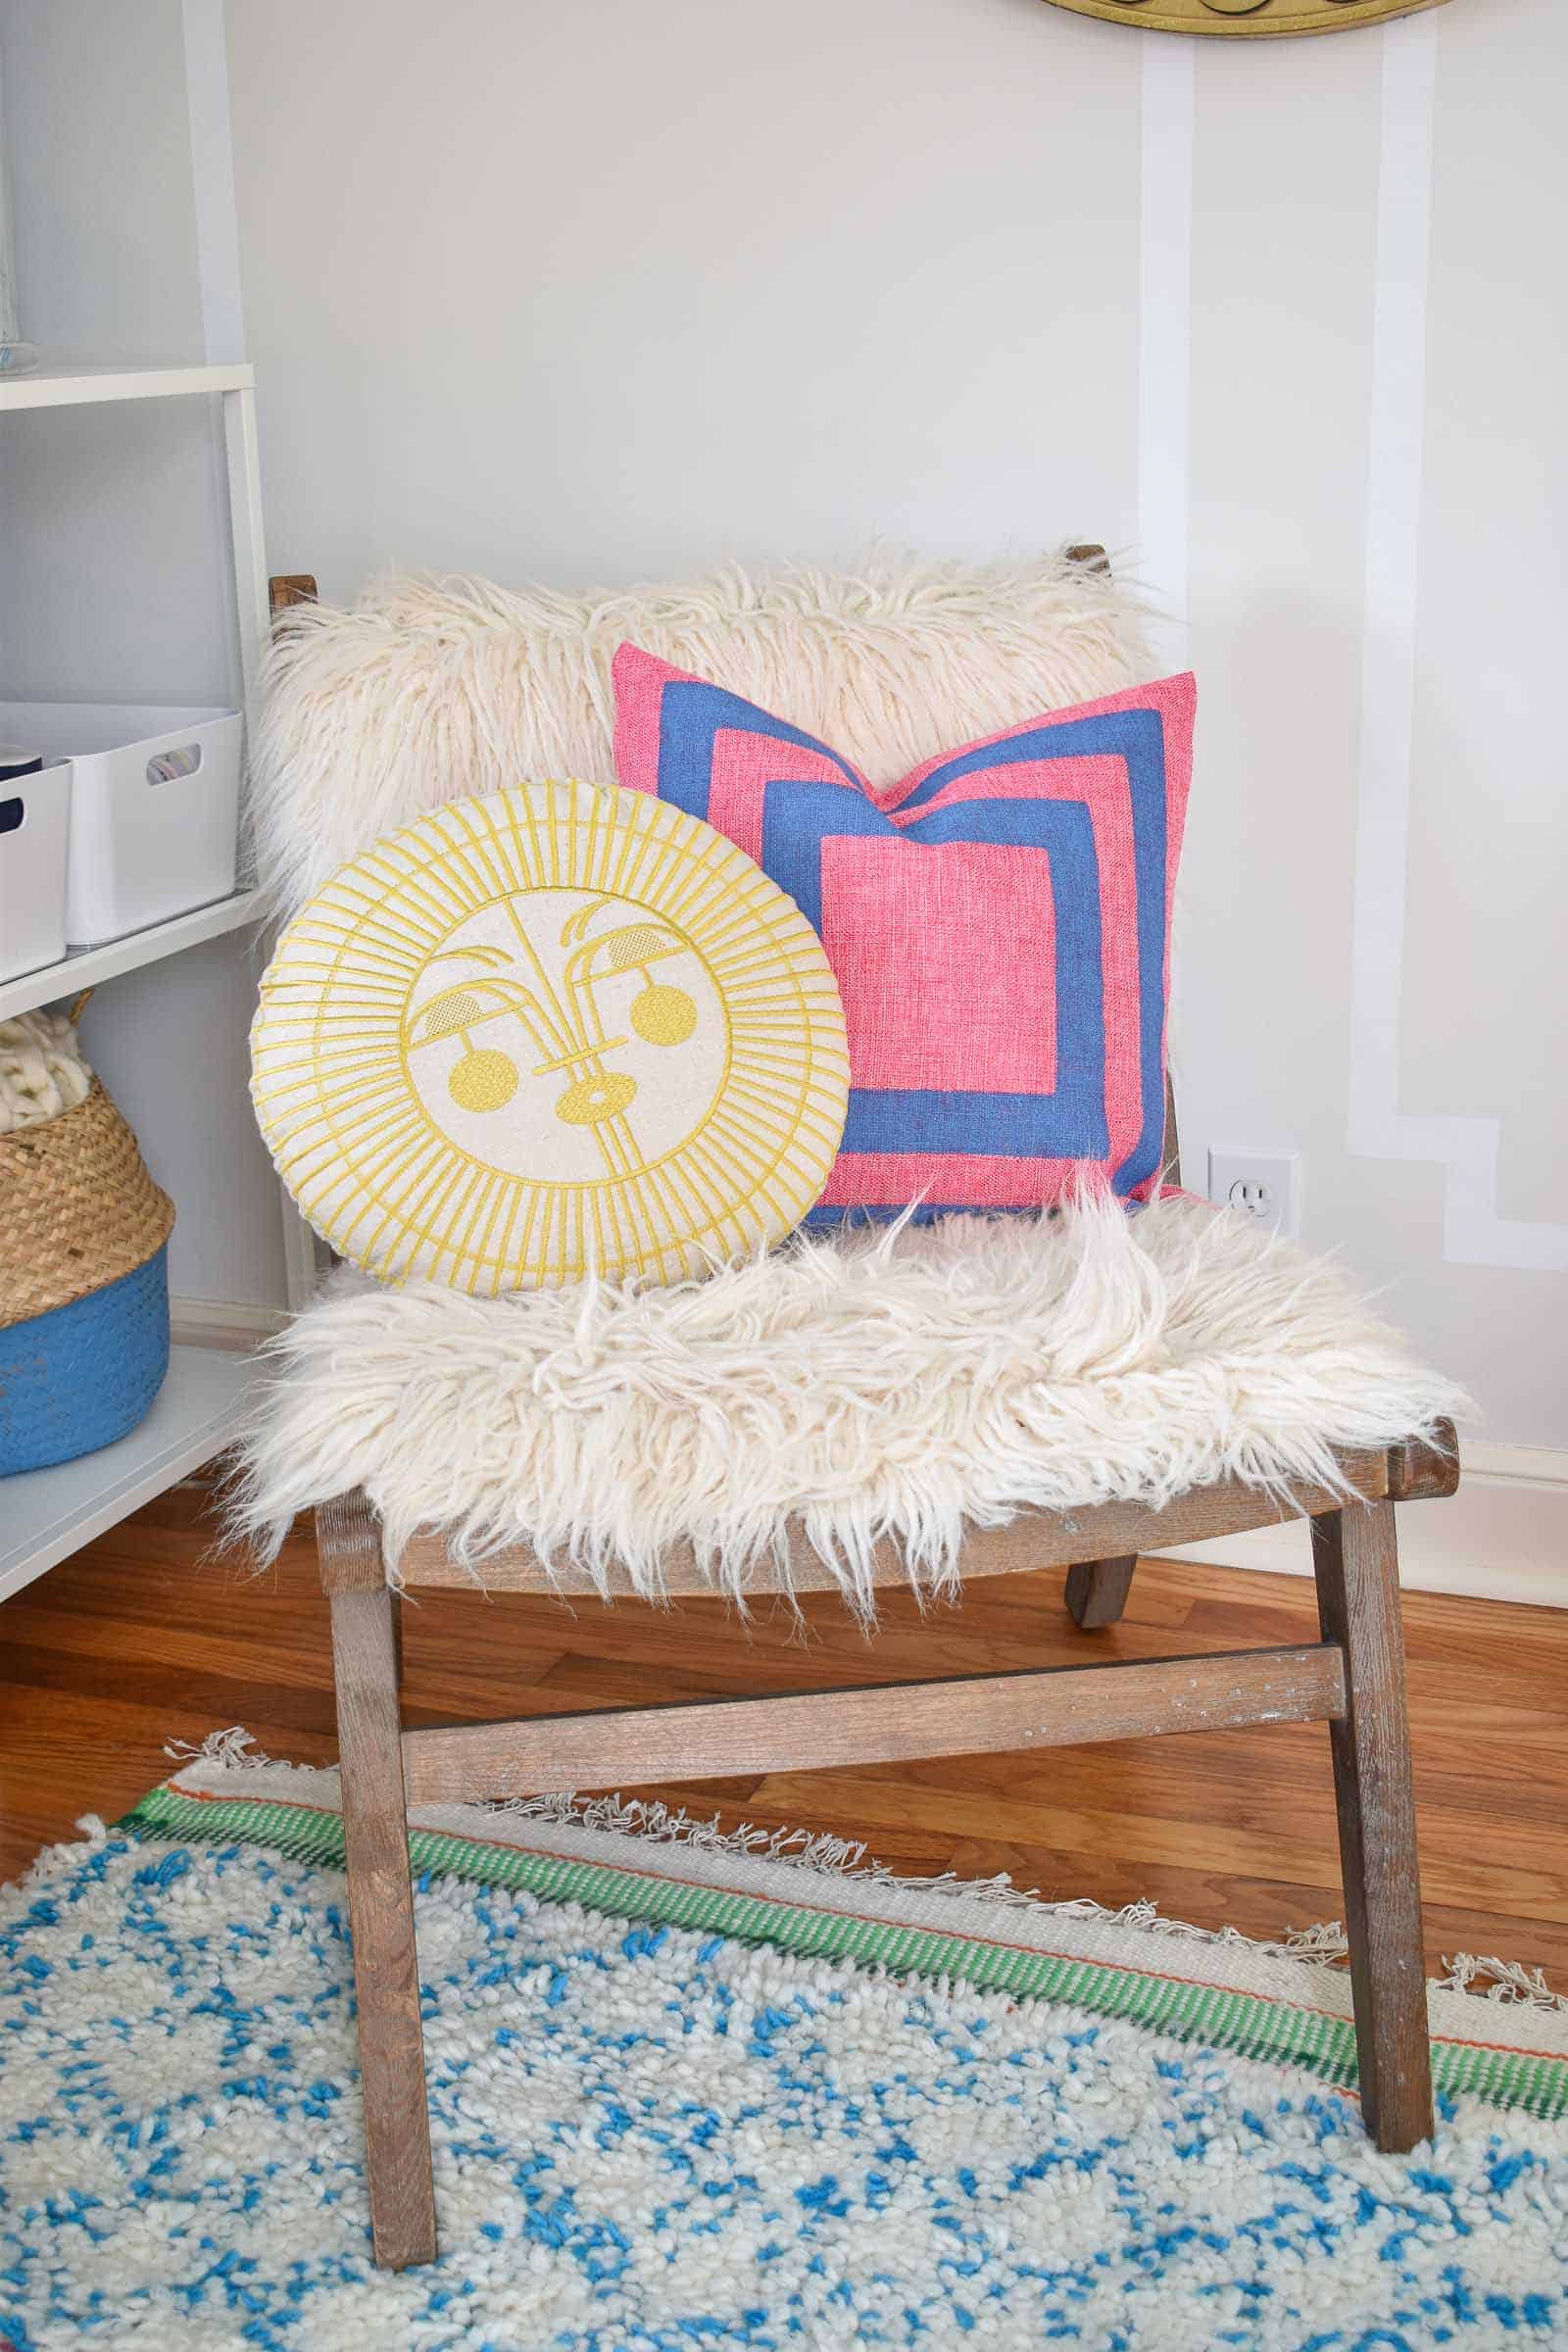
You all have been THE SWEETEST about the Paintover Challenge and my office makeover… and this little side project was one of the last things I made! I wanted a throw pillow for my flokati chair and I didn’t have any in my stash that felt quite right. I was looking for something that had one of the bright colors in the rug, but also a bit of pattern so it didn’t feel like a big blob of color on the chair. After ducking in and out of Homegoods and Marshalls and TJMaxx half a dozen times… I gave up and decided to make my own. You guys! IT’S SO EASY!!!
Shop my favorites!
Make Your Own DIY Throw Pillow
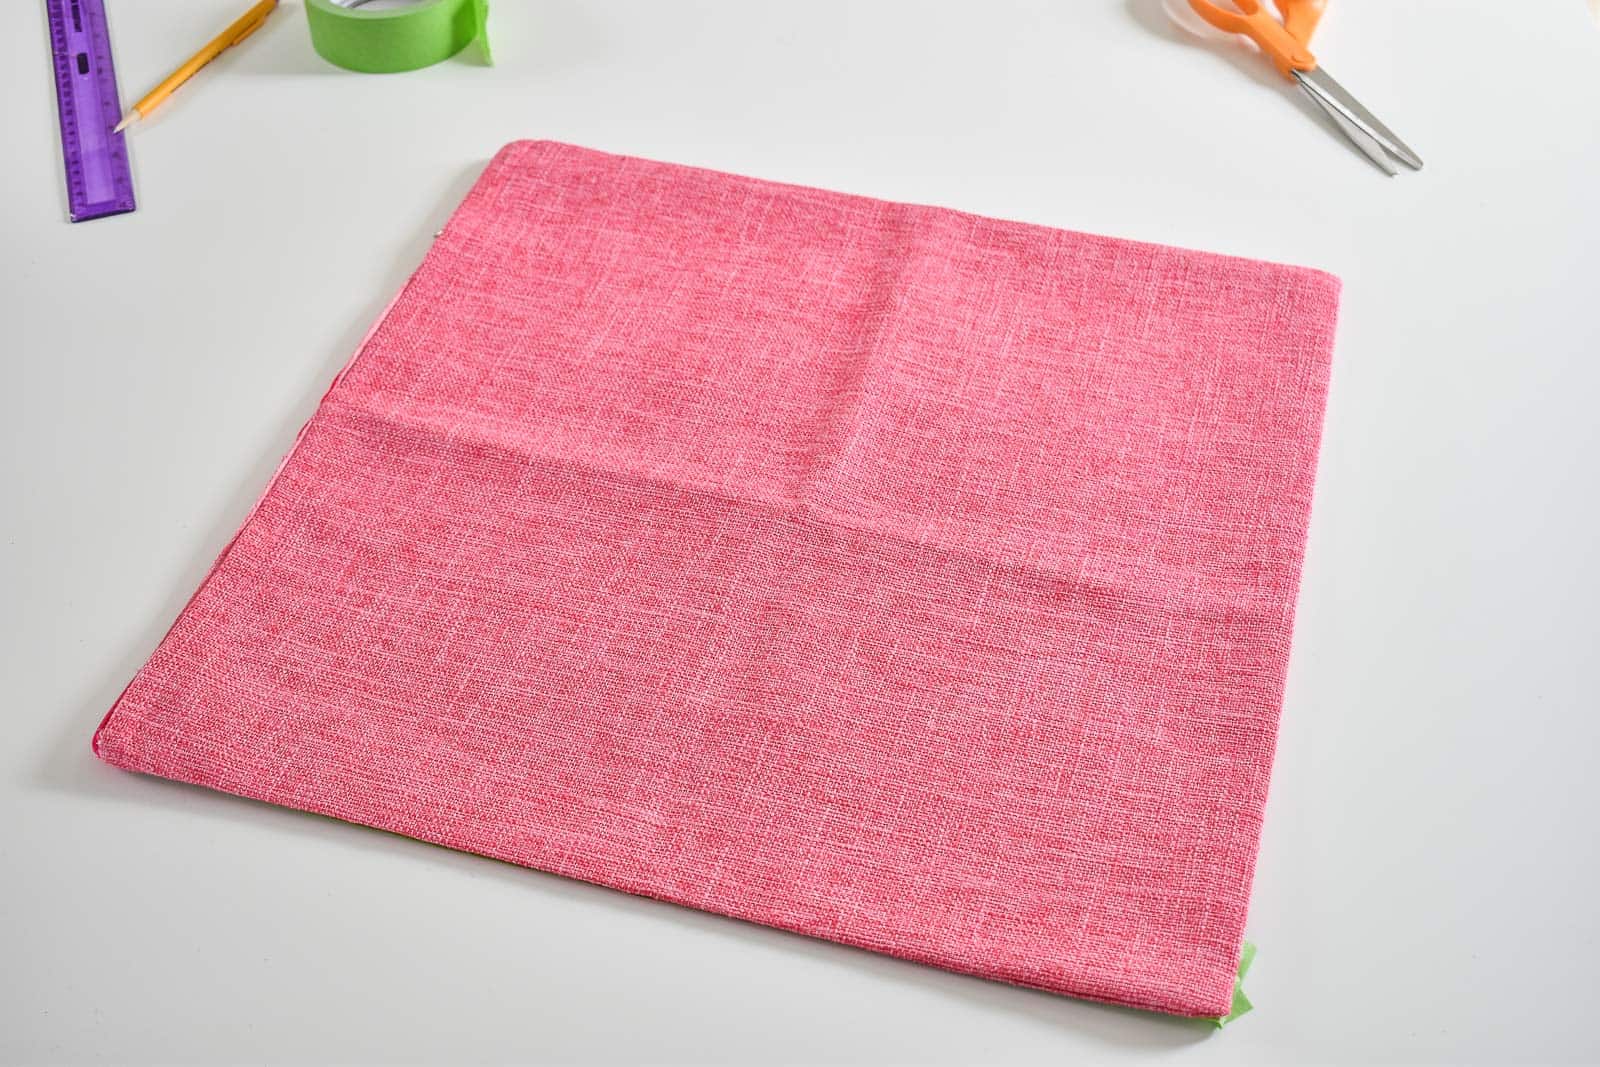
I ordered this pillow (affiliate) from Amazon for $7, It says “linen” but I’m not so sure. I love the texture and the color, but it’s not the softest. Fine for an office accessory but probably a little stiff for a bed, fyi.
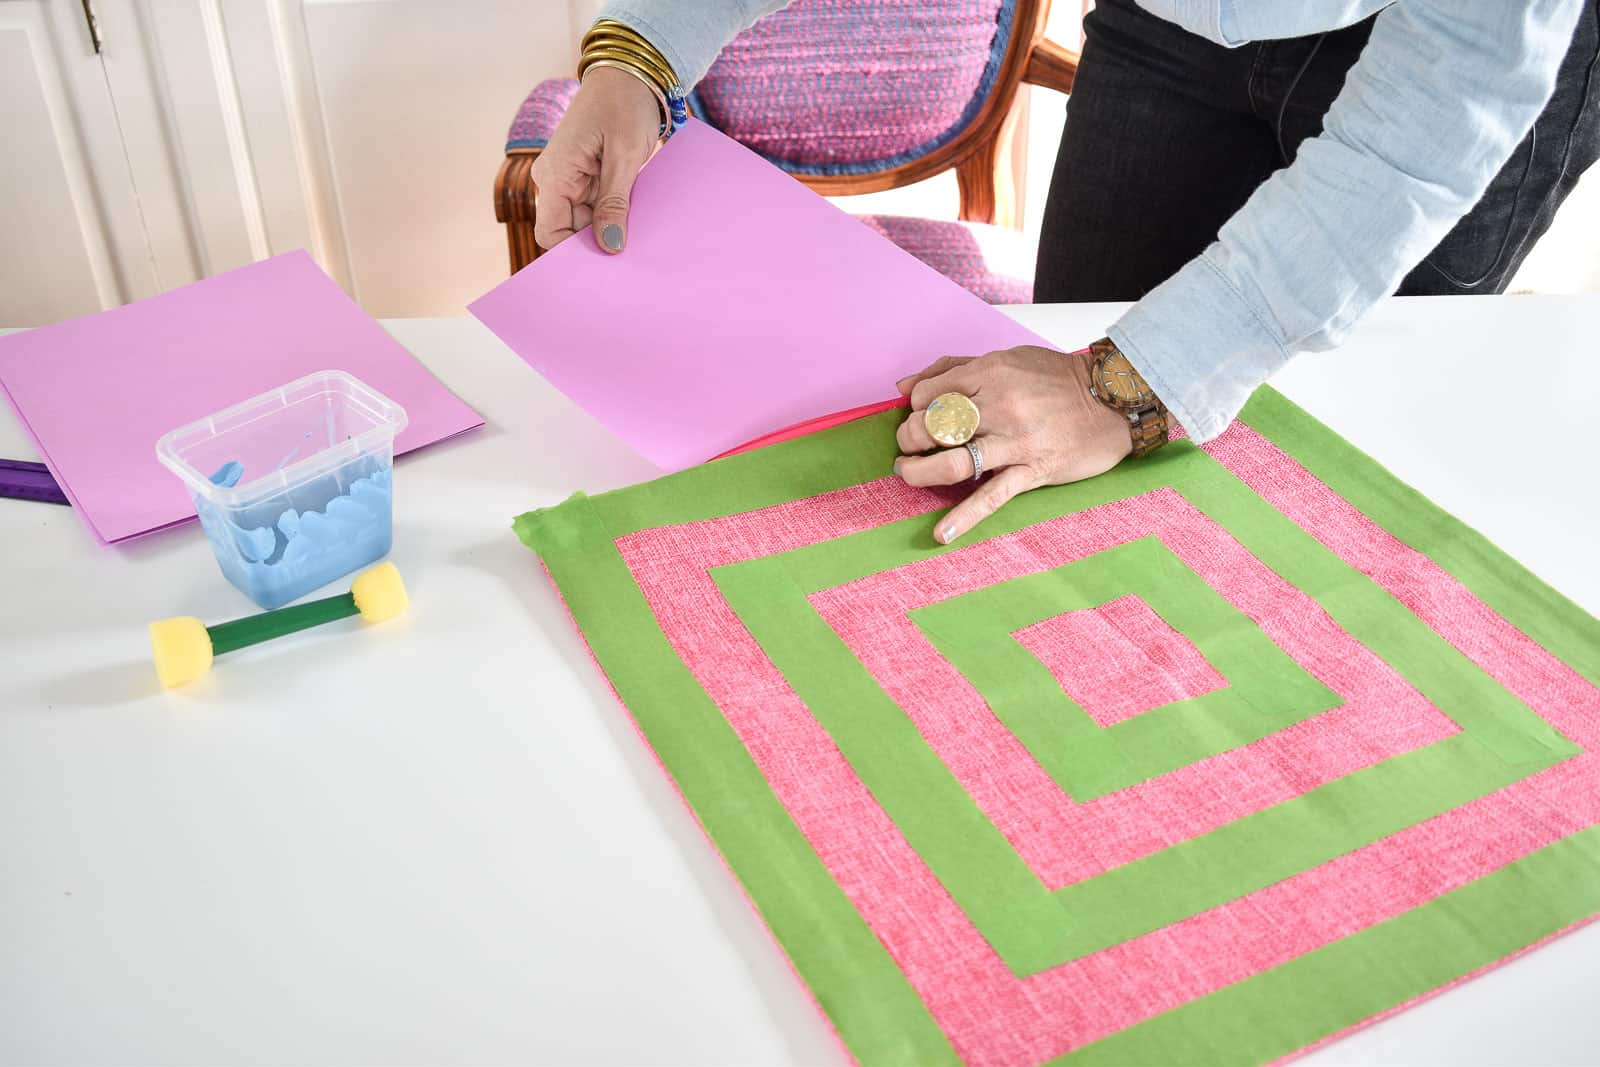
To tape off the pattern, I’m using Frogtape (natch)… after doing the Paintover Challenge I won’t use any other tape… I used this stuff on SO many surfaces and without exception I had perfect results. I always try to use the width of the tape to my advantage so for this pattern, I made concentric squares using the tape as my guide… just means no ruler or measuring required. You could really make some fun geometric patterns with this method using different colors of paint too!
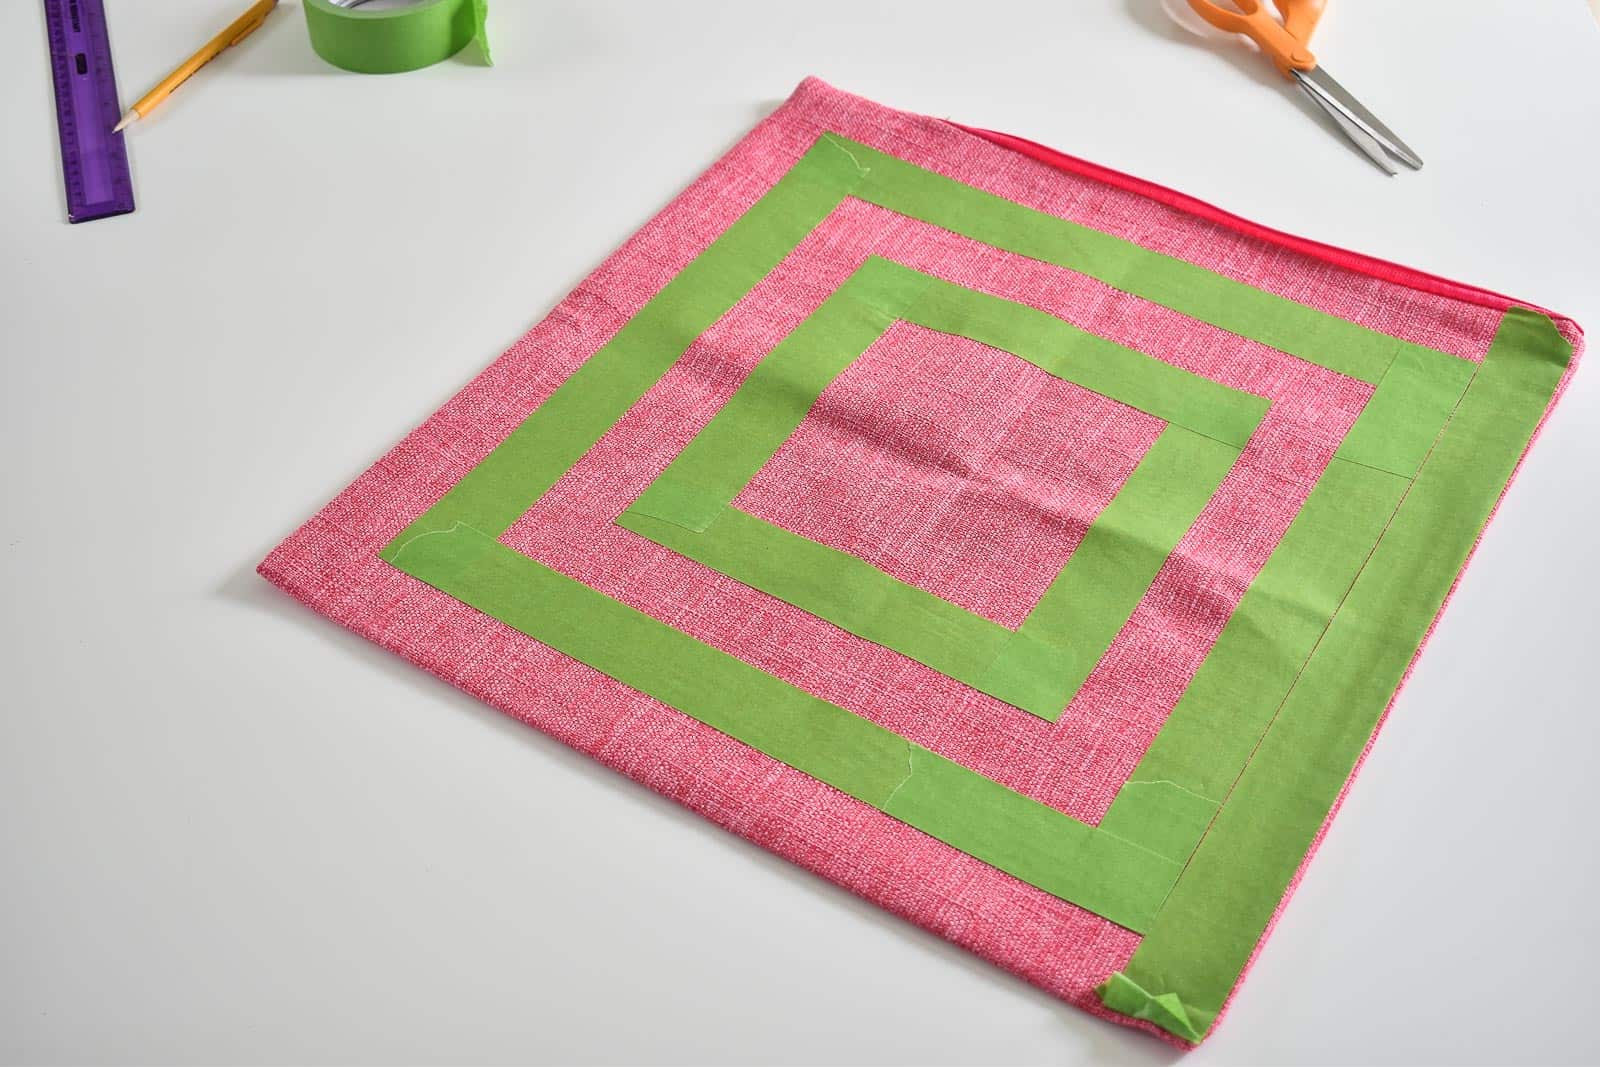
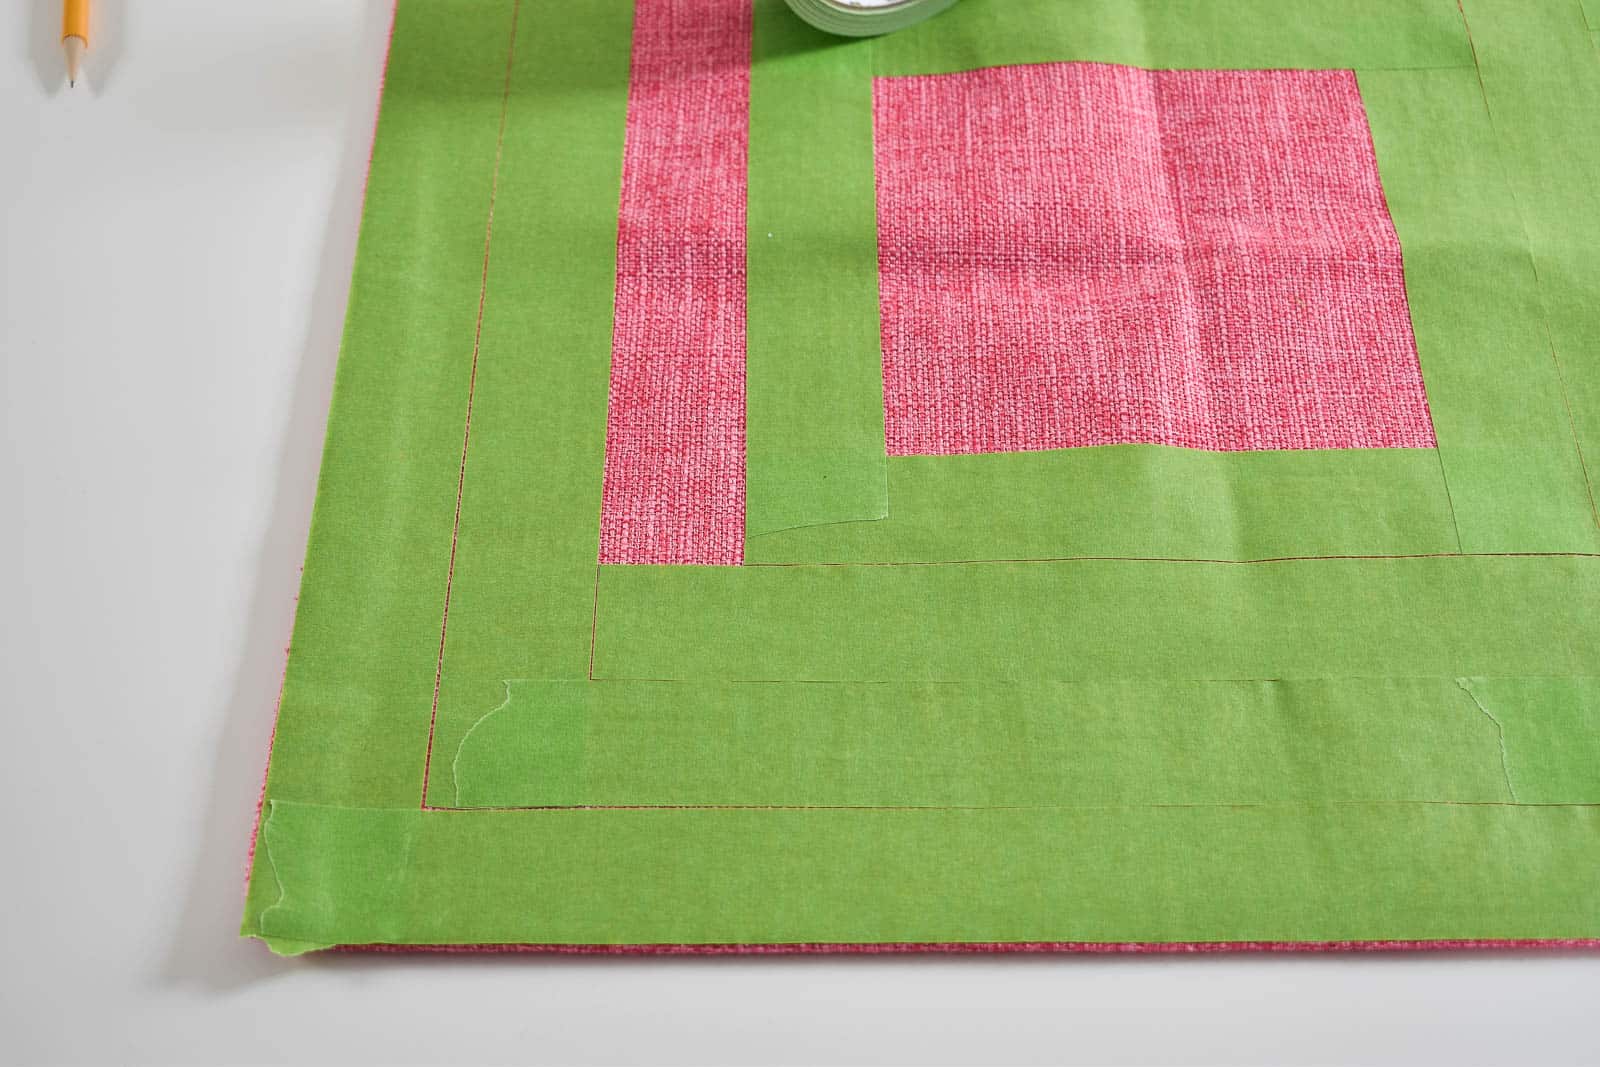
For the corners, I trim the tape to a bit of a point and then eyeball the right angle (you could also use a straight edge to be totally precise.) Before painting, go over the tape edges just to make sure they’re adhered as best you can.
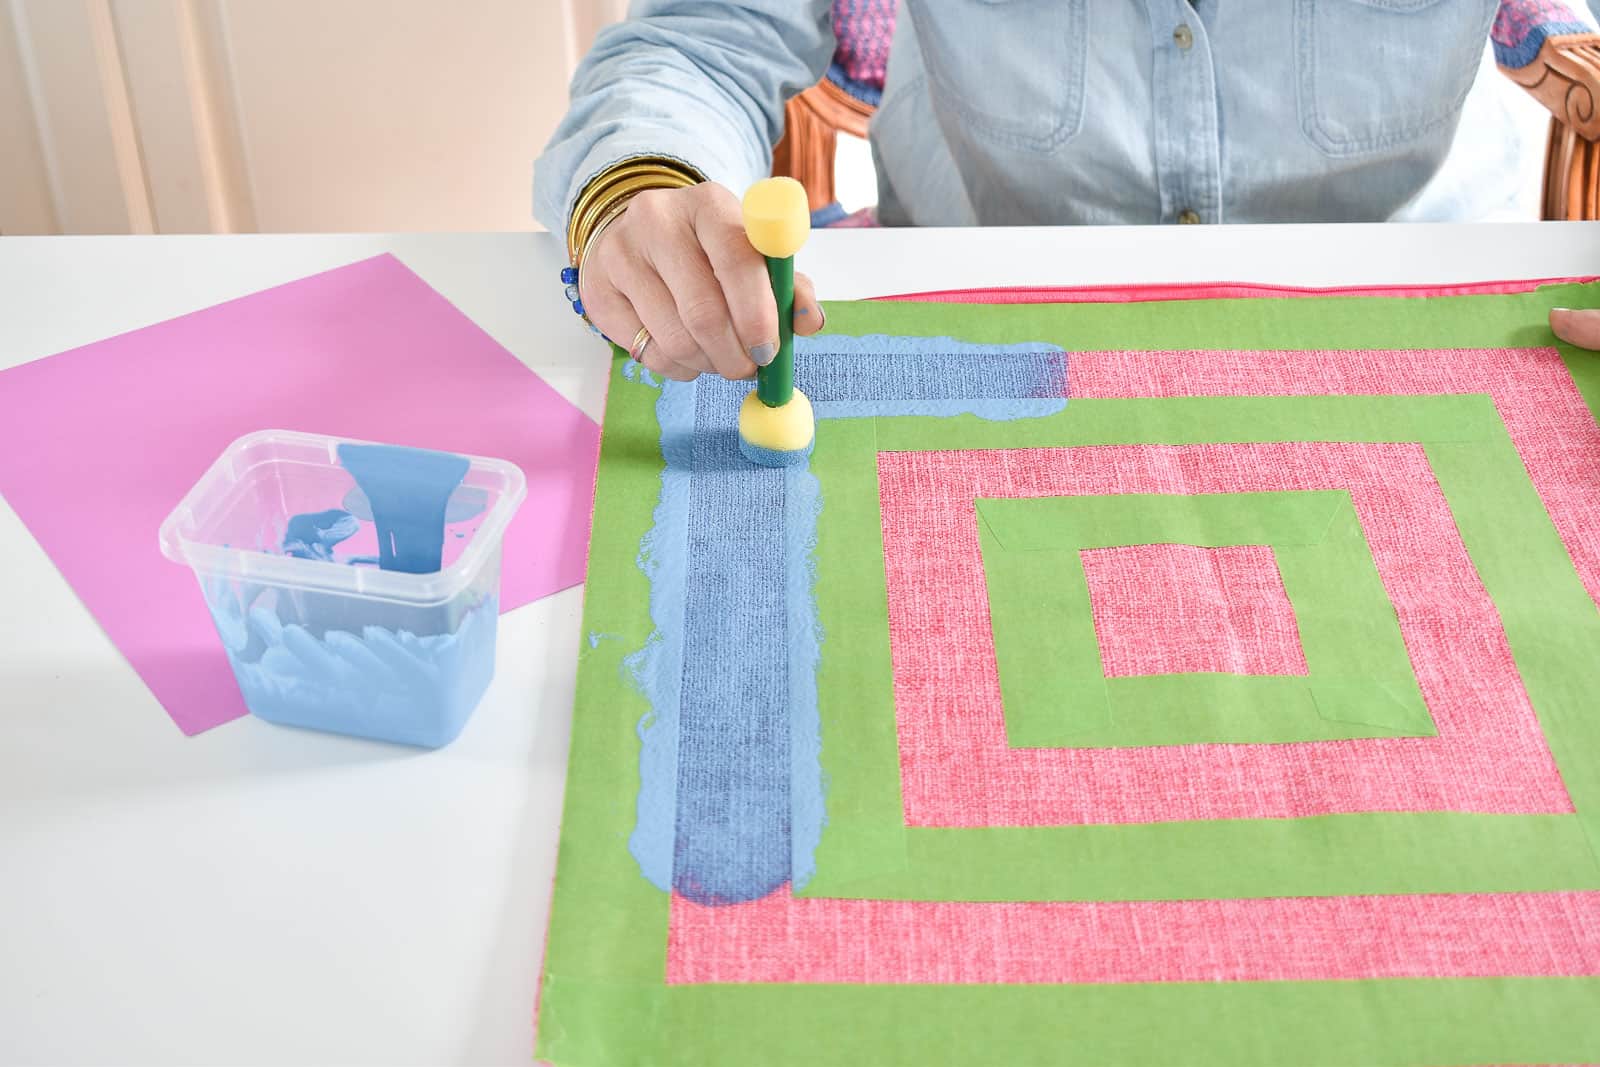
Make sure you stick something inside the pillow to prevent the paint from bleeding through onto the back of the pillow.
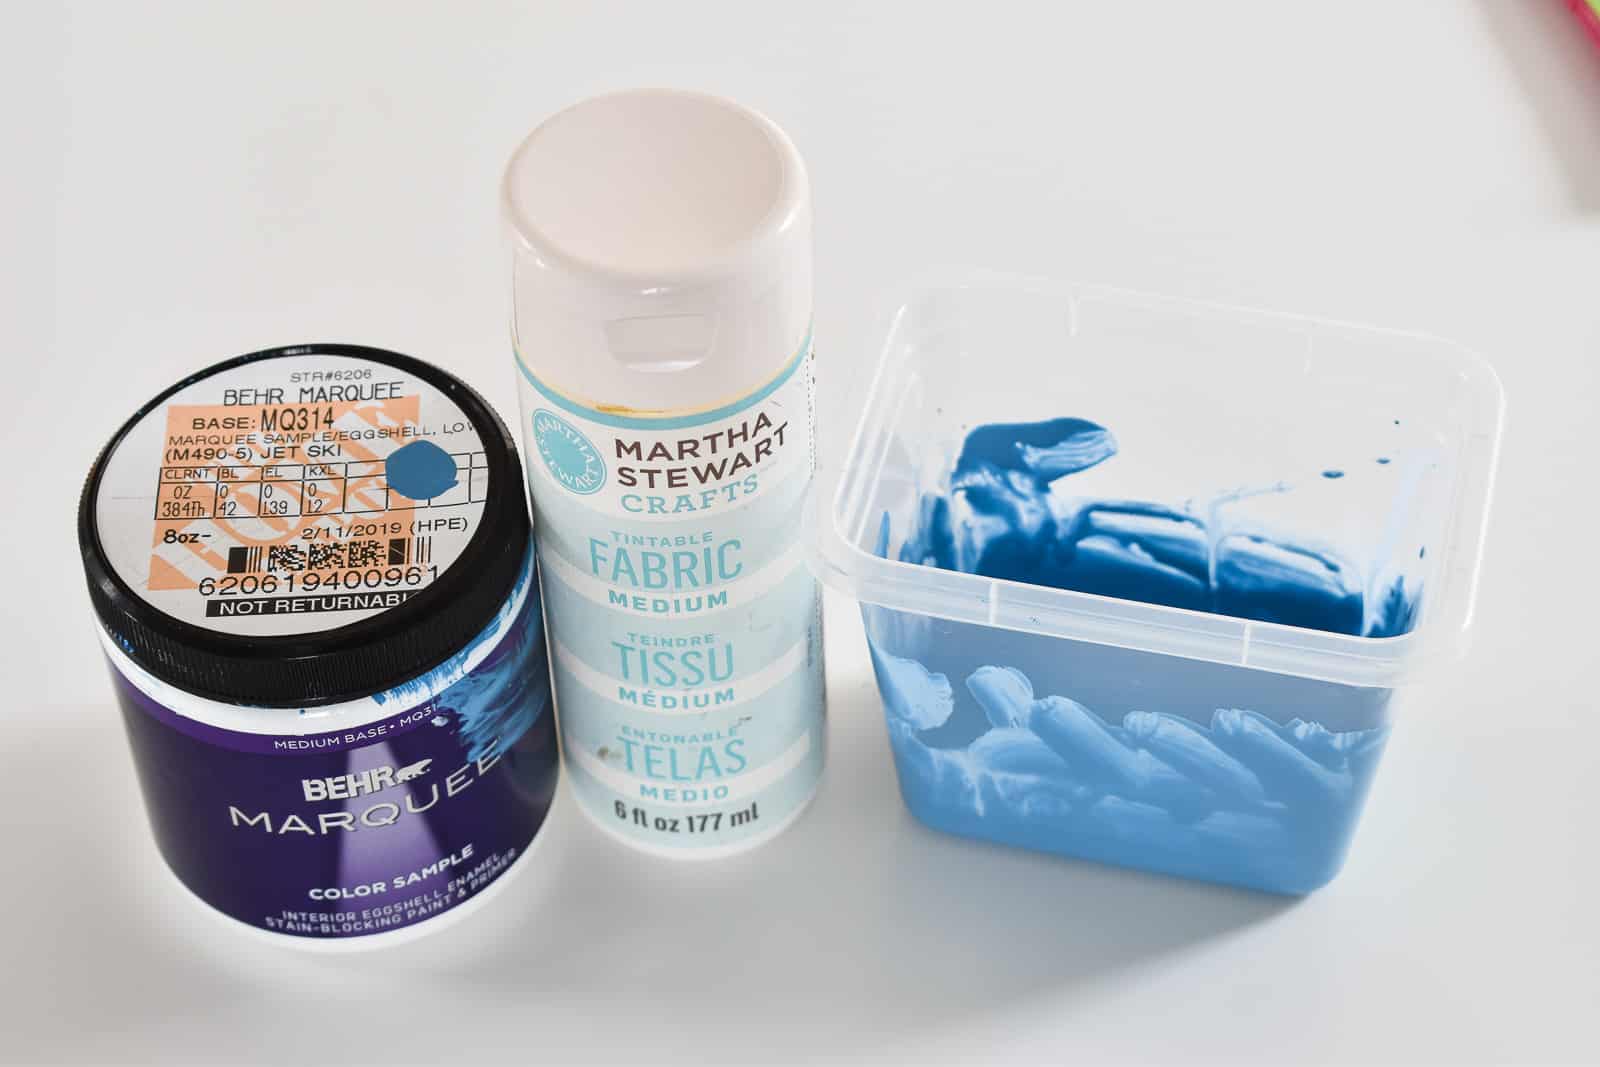
Paint. Guys… I’m using the SAME paint that I used on the wall… plain ol’ interior latex paint. I did mix it with a bit of fabric medium so that it would be a bit softer and less ‘crispy’.
I’m using this type of sponge for stenciling. I like it because it doesn’t hold too much paint to be messy and it’s really easy to stencil down onto the surface without paint seeping under the tape. Whenever you’re stenciling anything make sure you have an extra sheet of paper or a paper plate to get rid of the excess paint before beginning to stencil. Less paint is always better with a stencil…
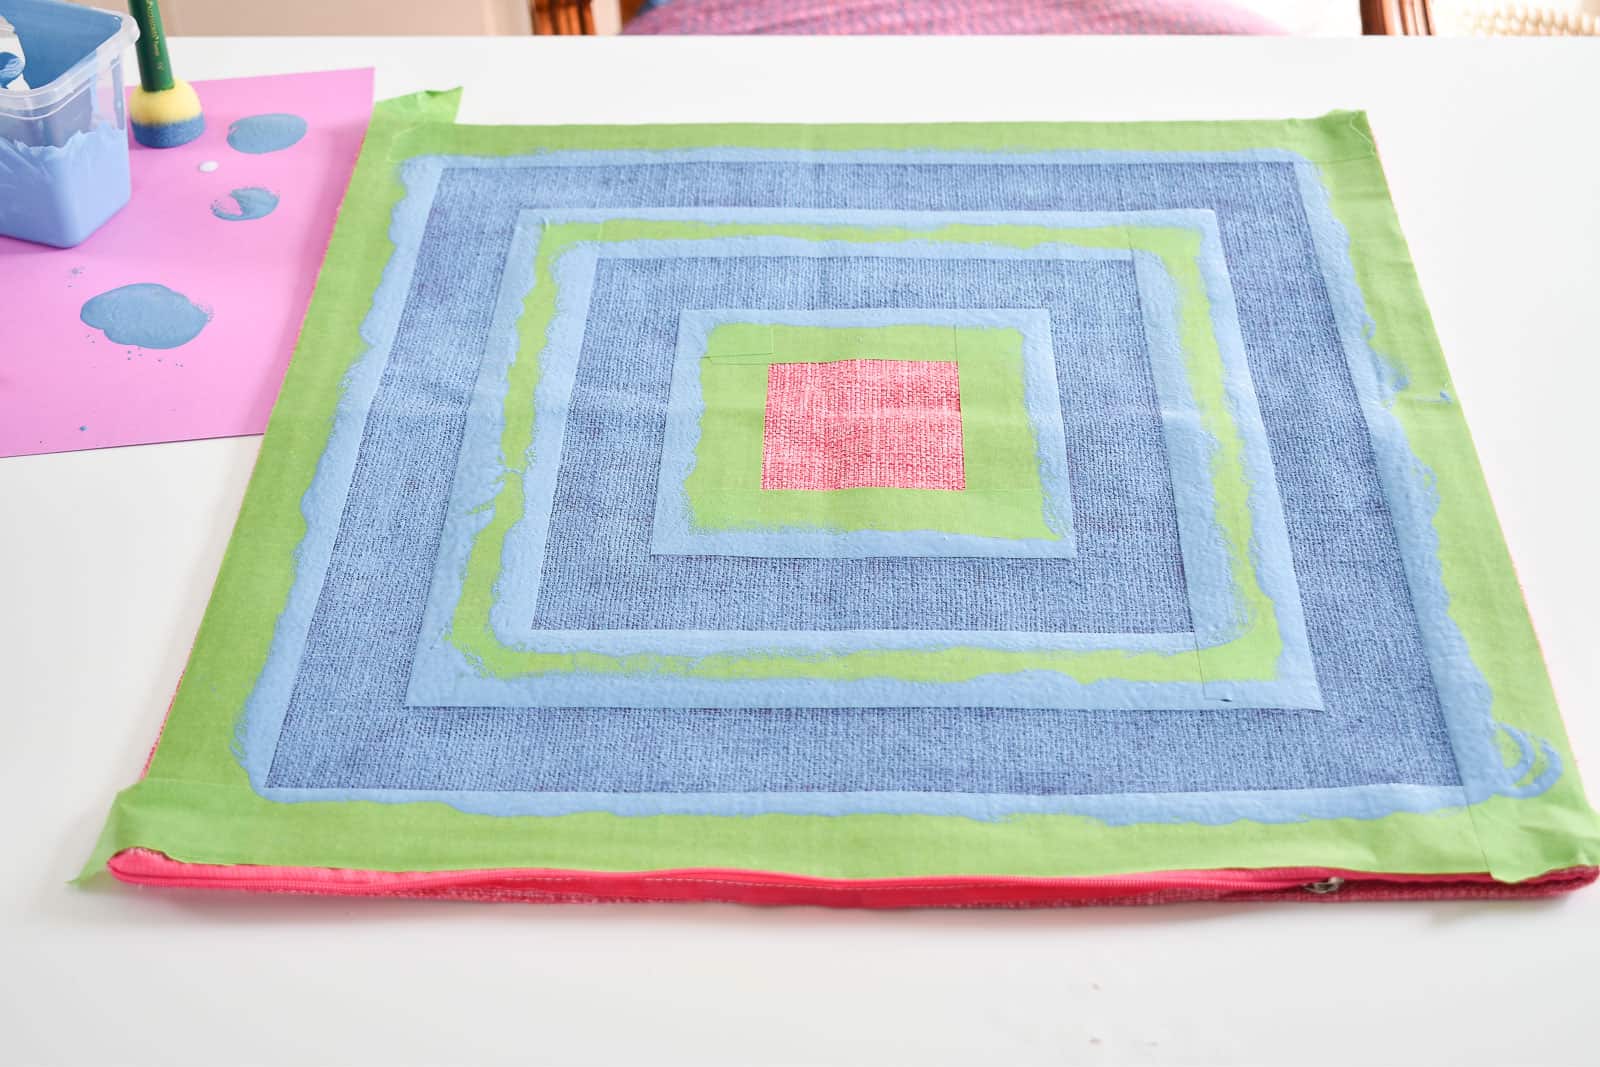
I left the pillow to dry for an hour or so, and then carefully removed the tape.
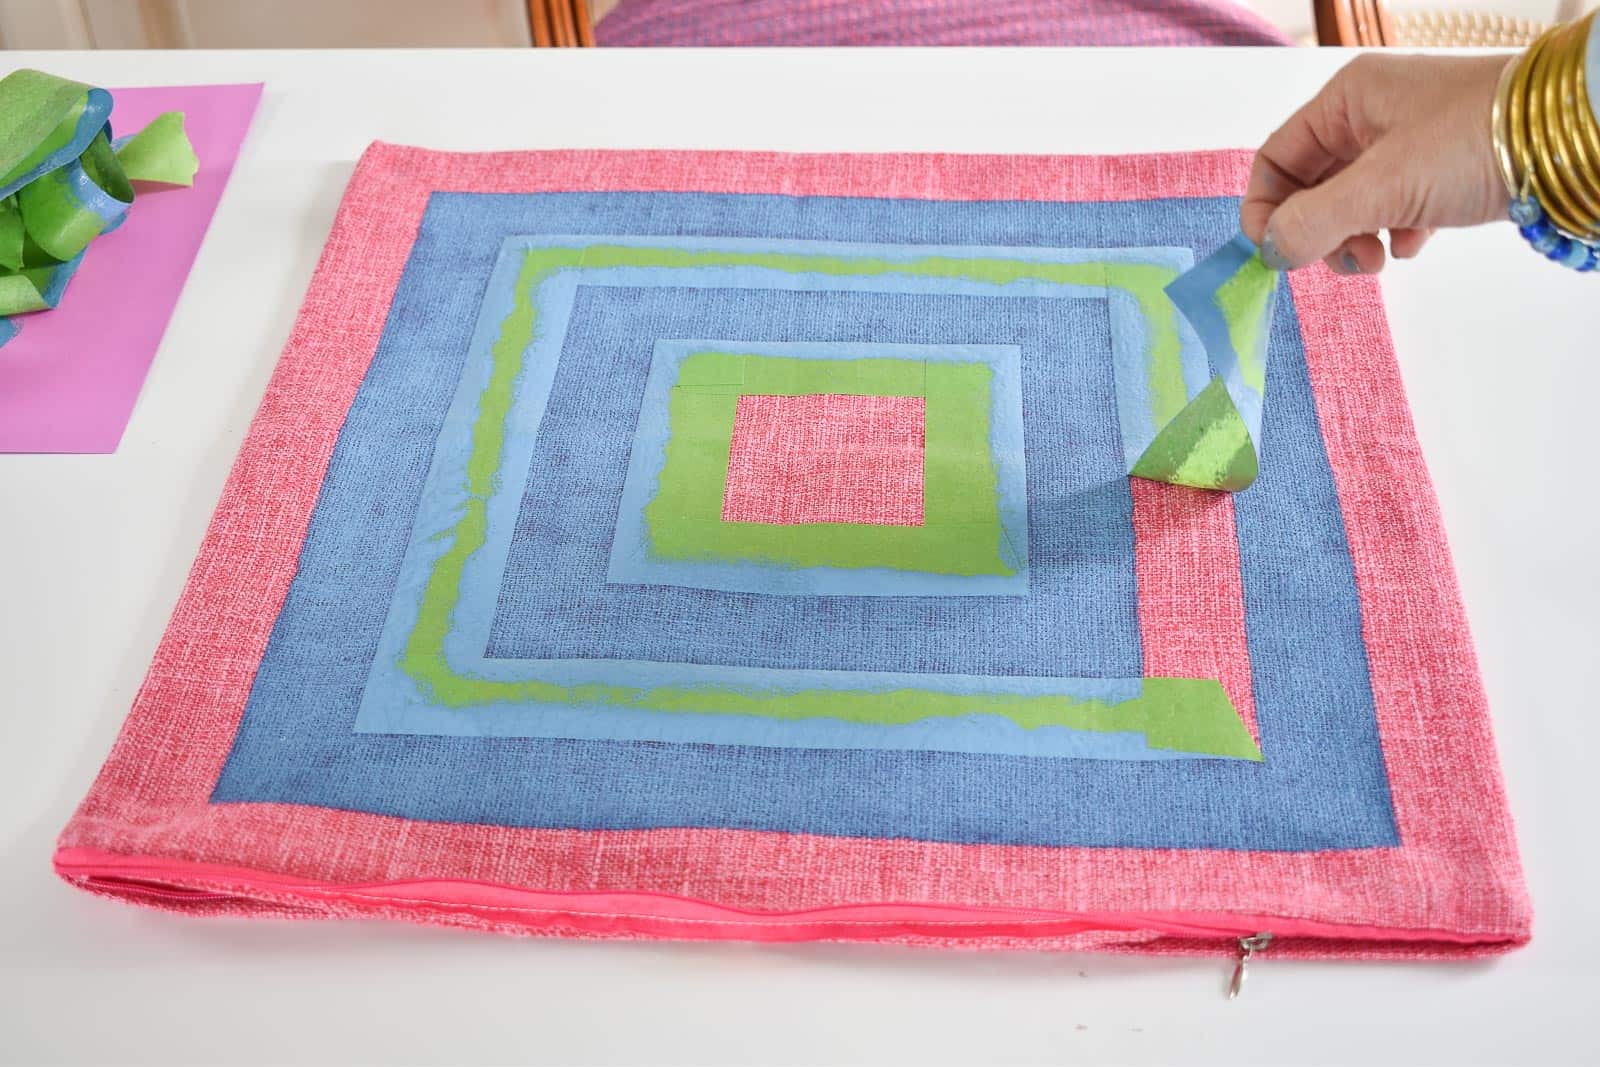
It looks so so so good. Lines are perfect, and because it’s the same paint, the color matches perfectly. It’s a bit of pattern, but nice and graphic so it doesn’t compete with the rest of the space! If you’re doing the math… the pillow cost me $7 and I had the rest of these supplies so… $7 accessory to round out my office makeover. Doesn’t get much cheaper than that!!
REMINDER: VOTING IS STILL OPEN FOR THE PAINTOVER CHALLENGE. TO SUPPORT MY OFFICE MAKEOVER (and help me win $10,000 for charity):
VOTE HERE!


Don’t Miss Out
Become An Insider!
Signup for exclusive tips, and tricks from Charlotte’s House!
Let’s chat!
I love comments from you, so feel free to leave your thoughts and ideas below! And don’t forget to follow me on Instagram for even more!