
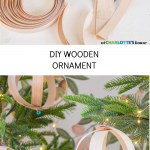
Easiest Wooden Christmas Ornaments
Psssst… this post *might* contain affiliate links: see my disclosure here.
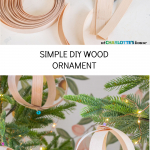
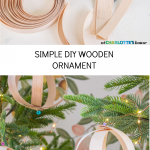
Simple DIY Edge Band Ornaments
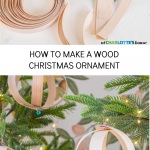
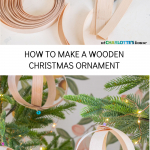
Learn how to make the easiest budget friendly wooden ornaments.
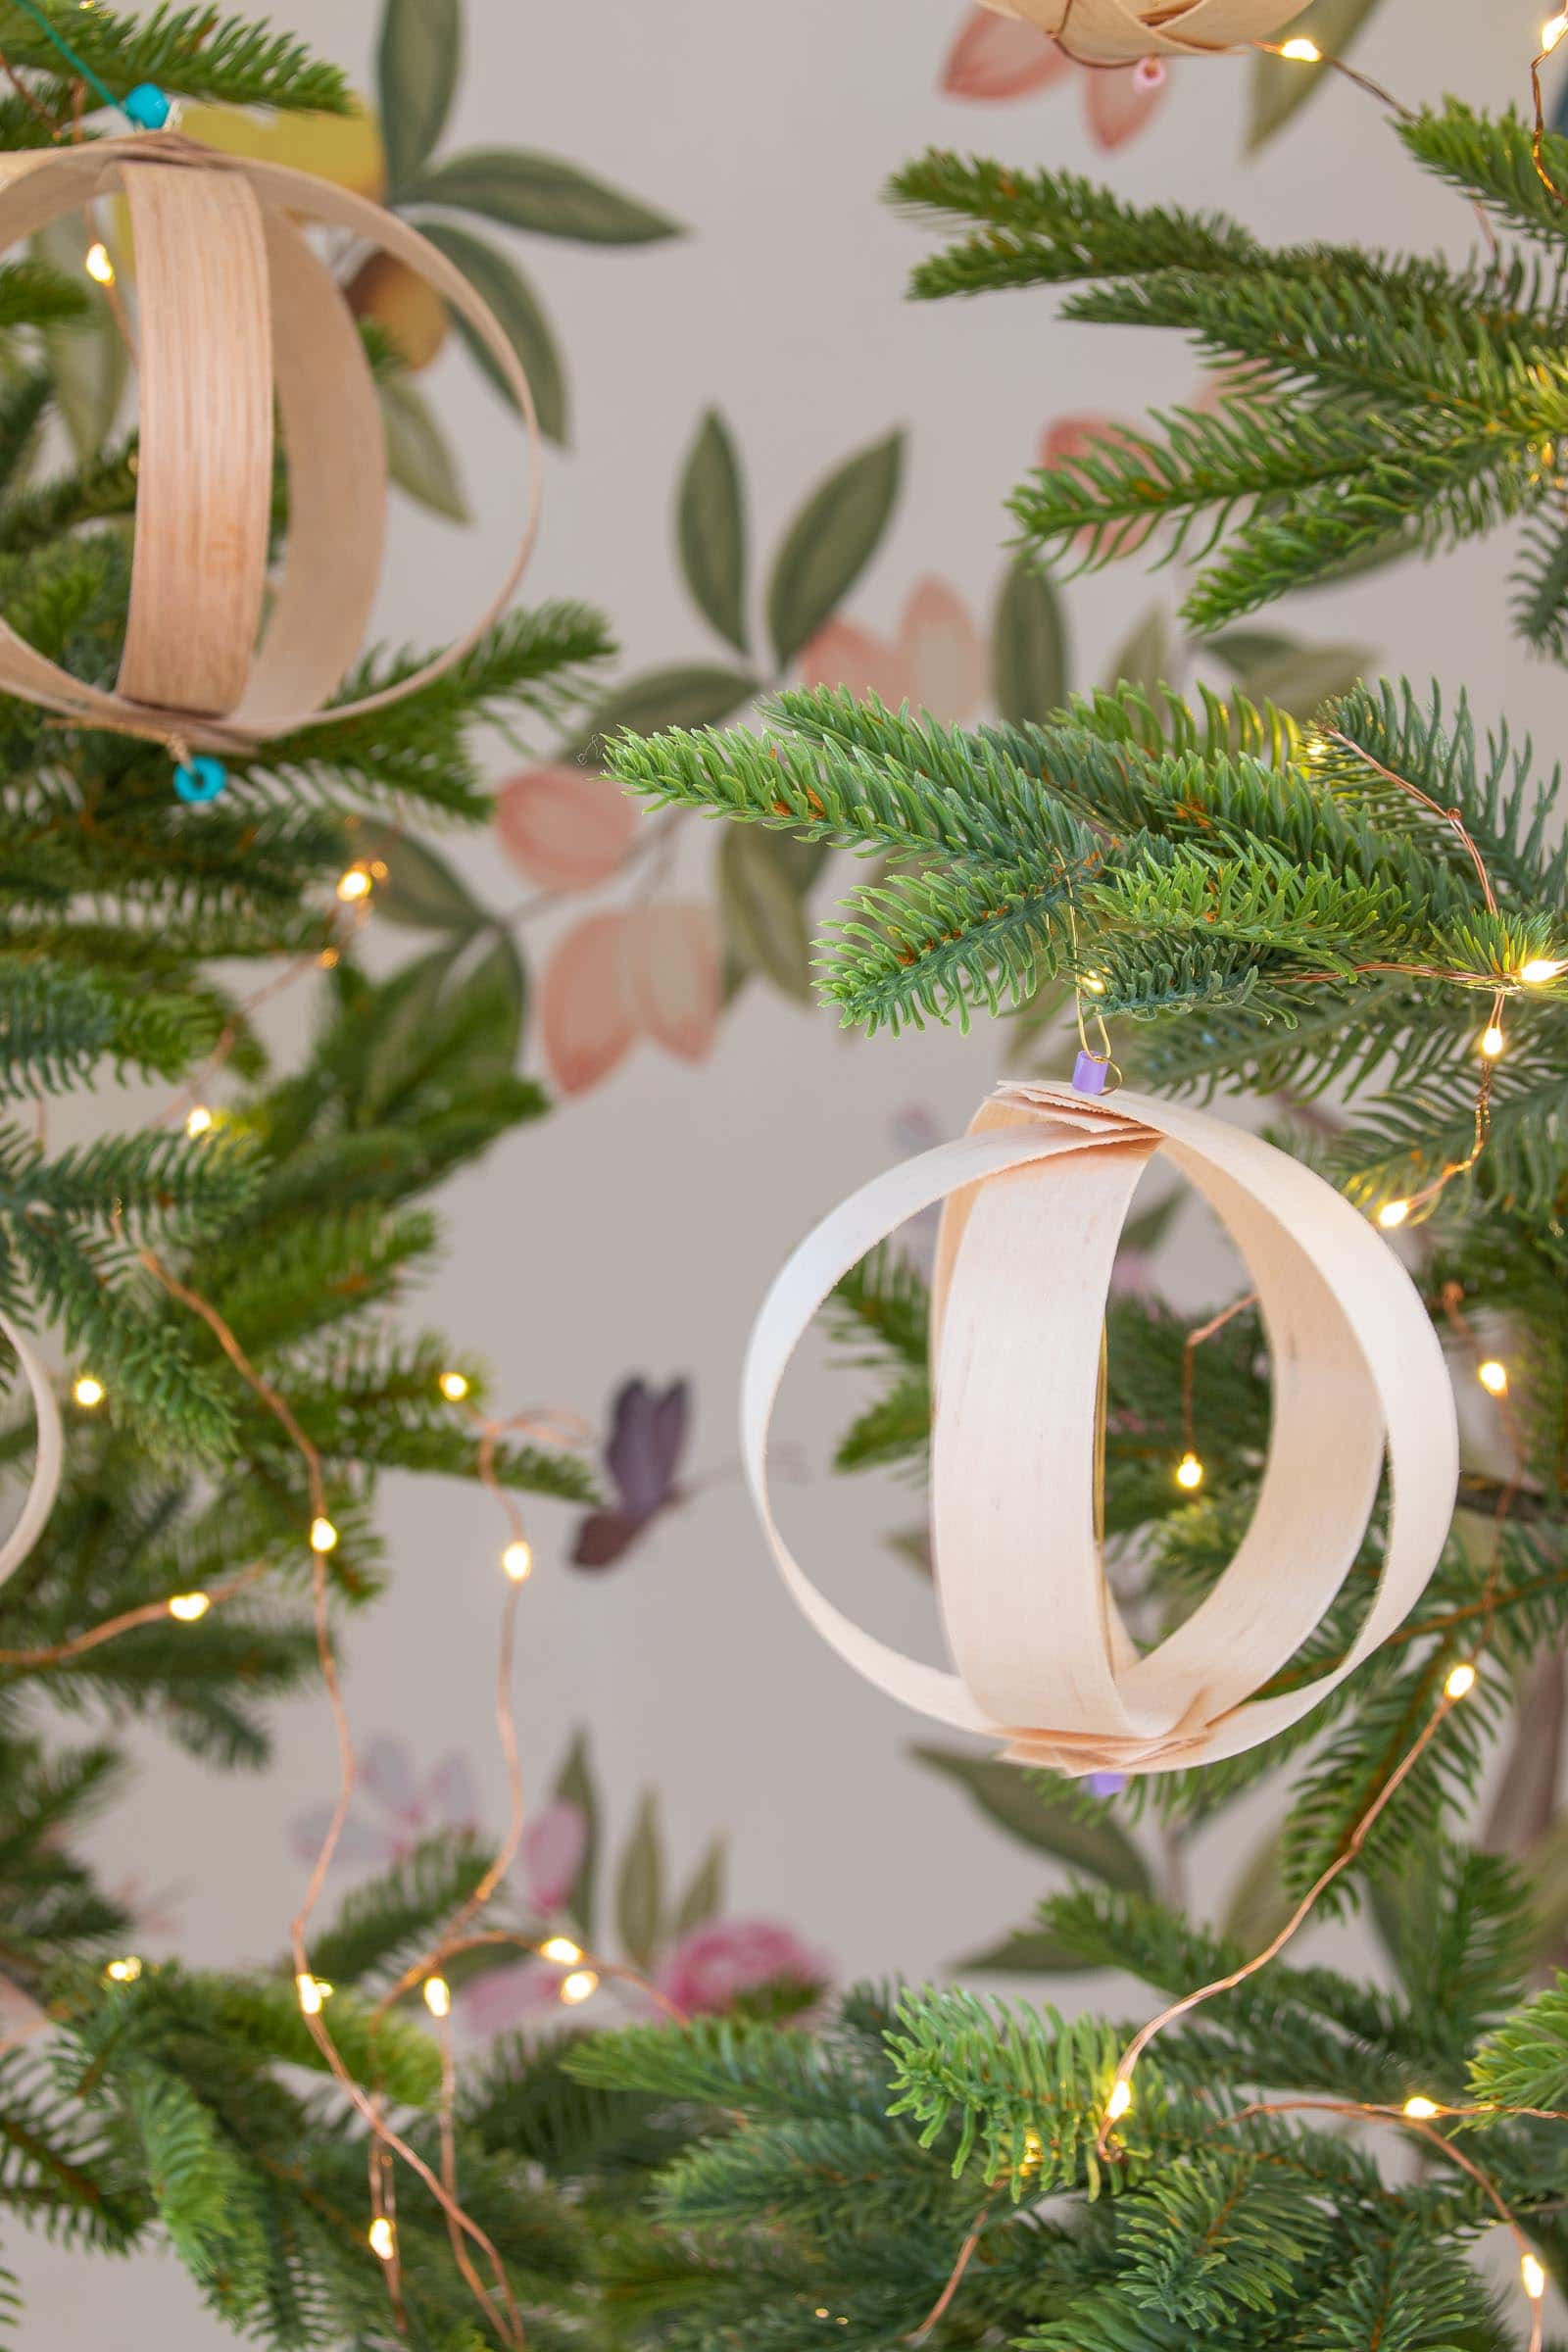
We made these wooden ornaments last year when were on HGTV Crafters Gone Wild and I’ve been eager to share the SIMPLE tutorial with you ever since! For under $10 and under 30 minutes you can make 10+ ornaments that match just about any decor in my opinion!!
Shop my favorites!
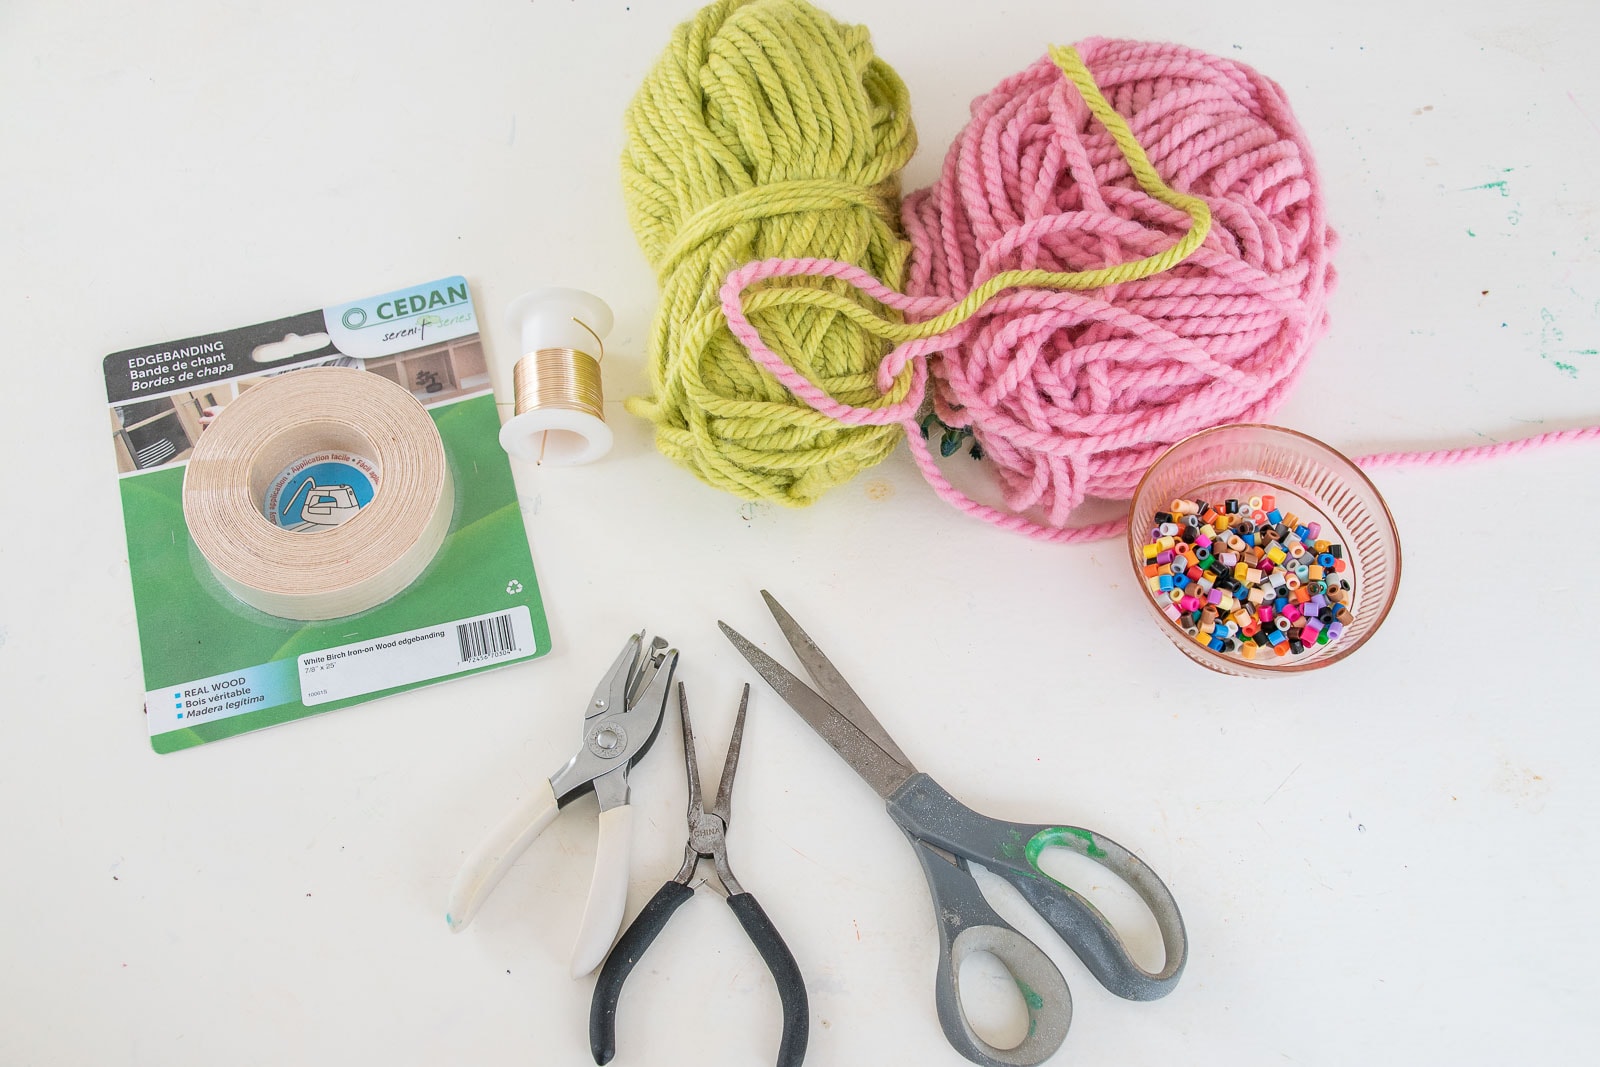
Wooden Ornament Materials:
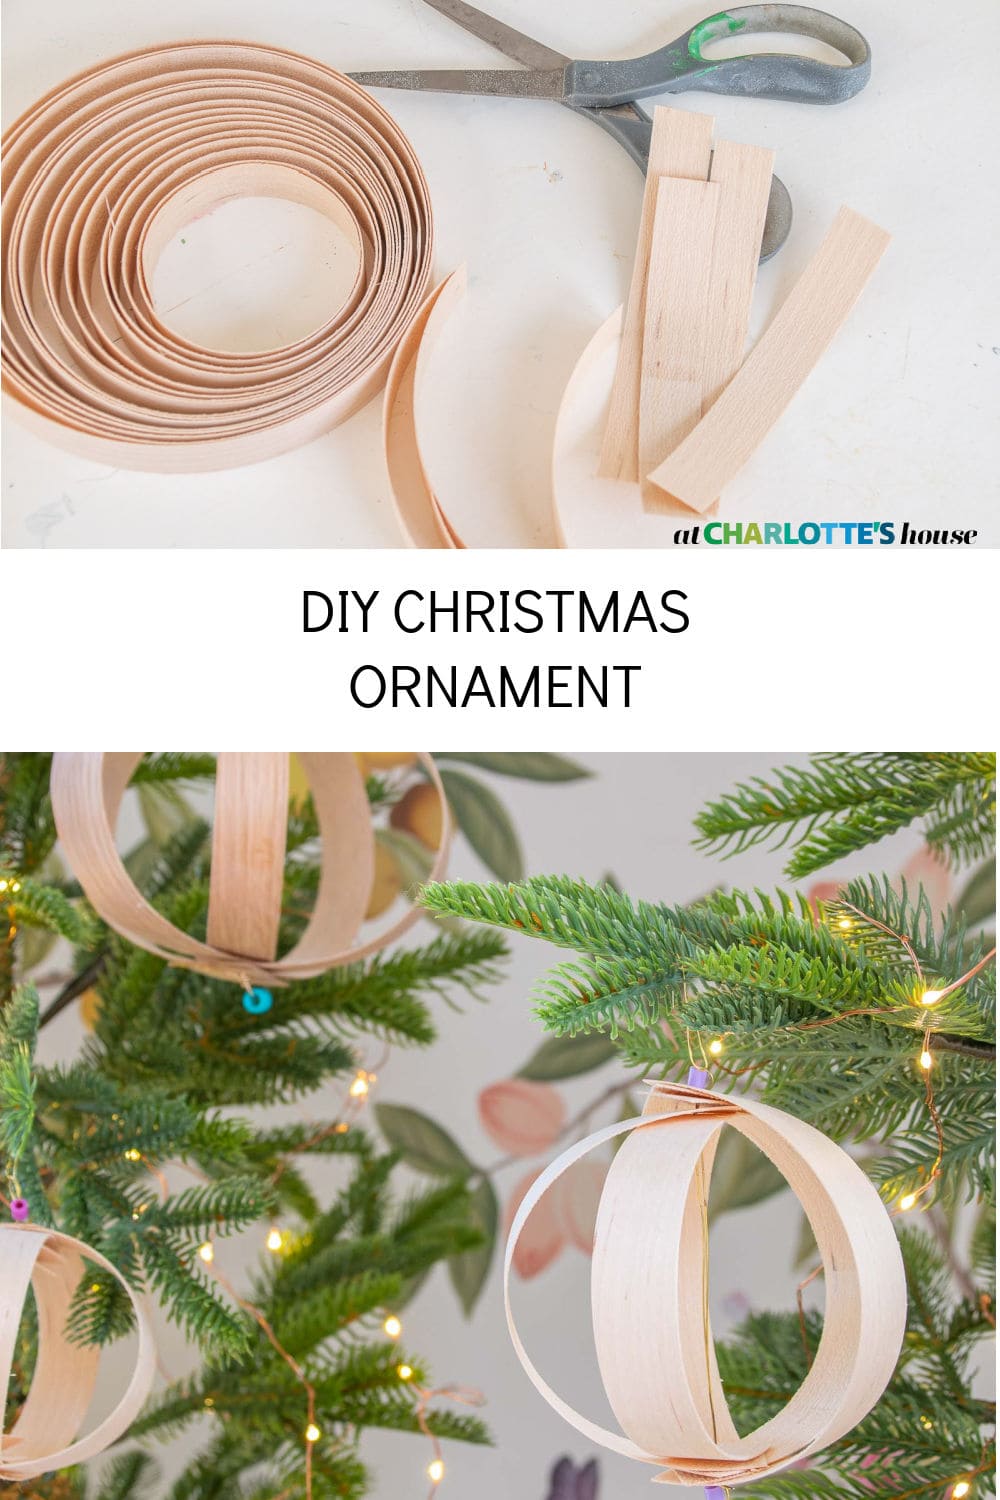
- Edge Banding
- Hole punch
- Thin floral wire
- Beads
- Optional: Yarn for a tassel
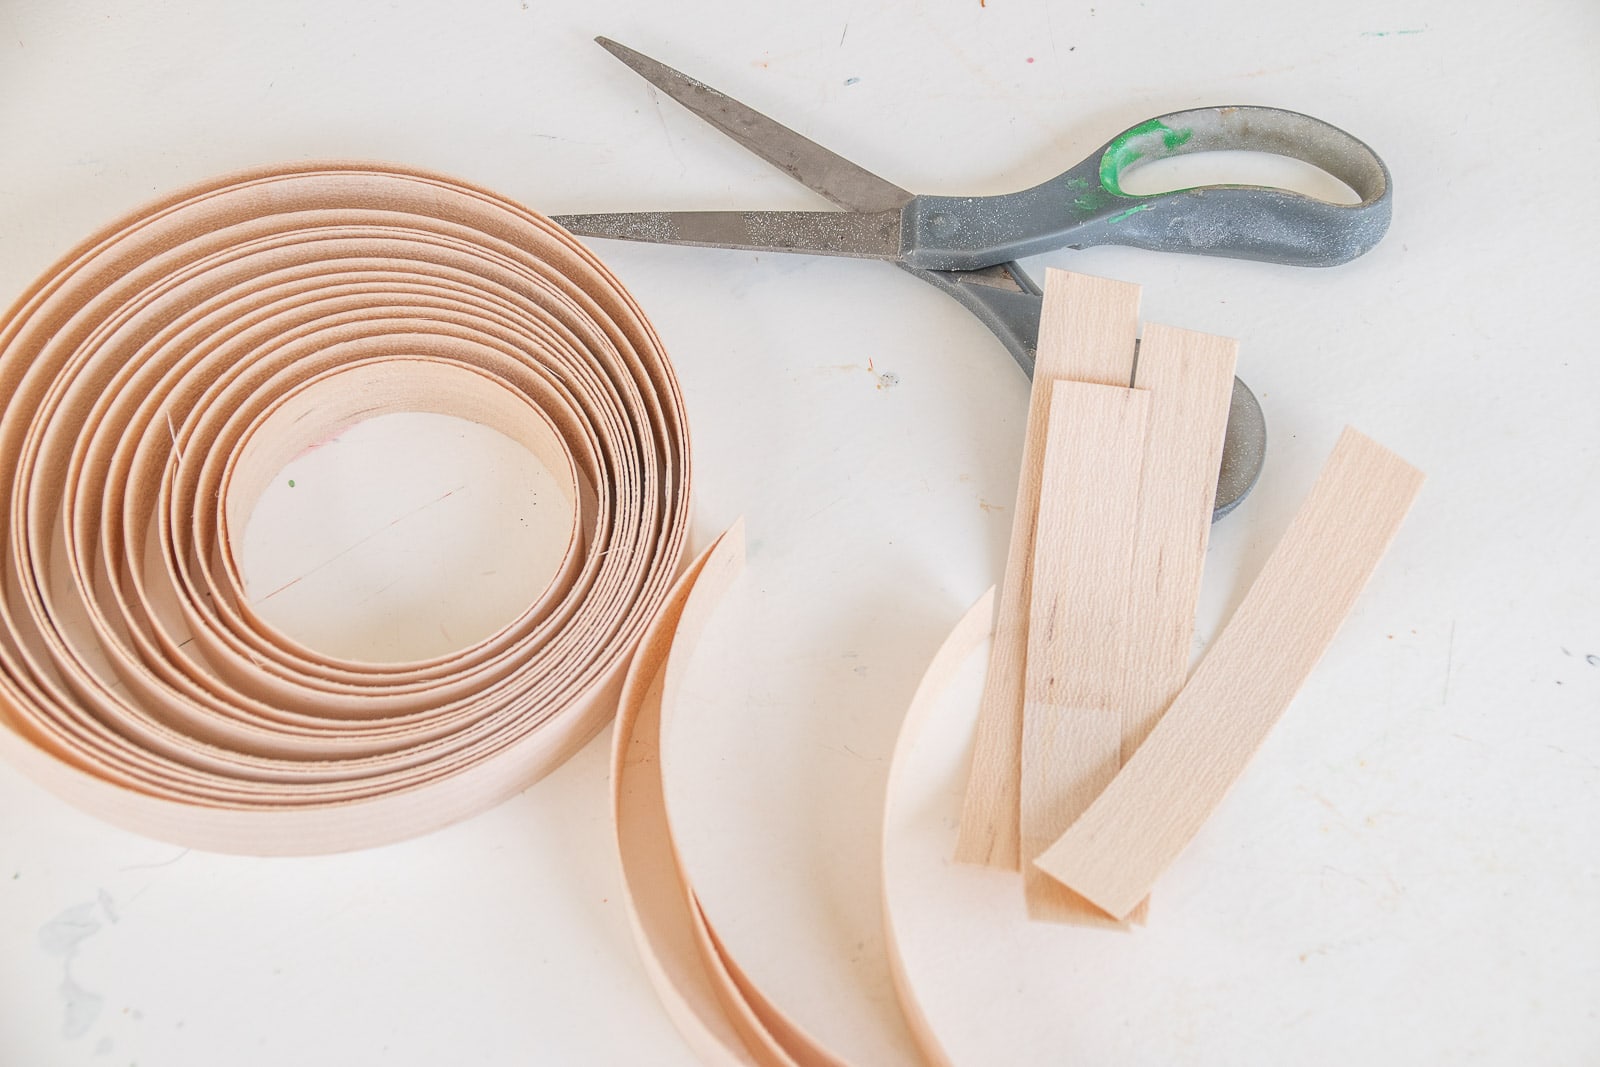
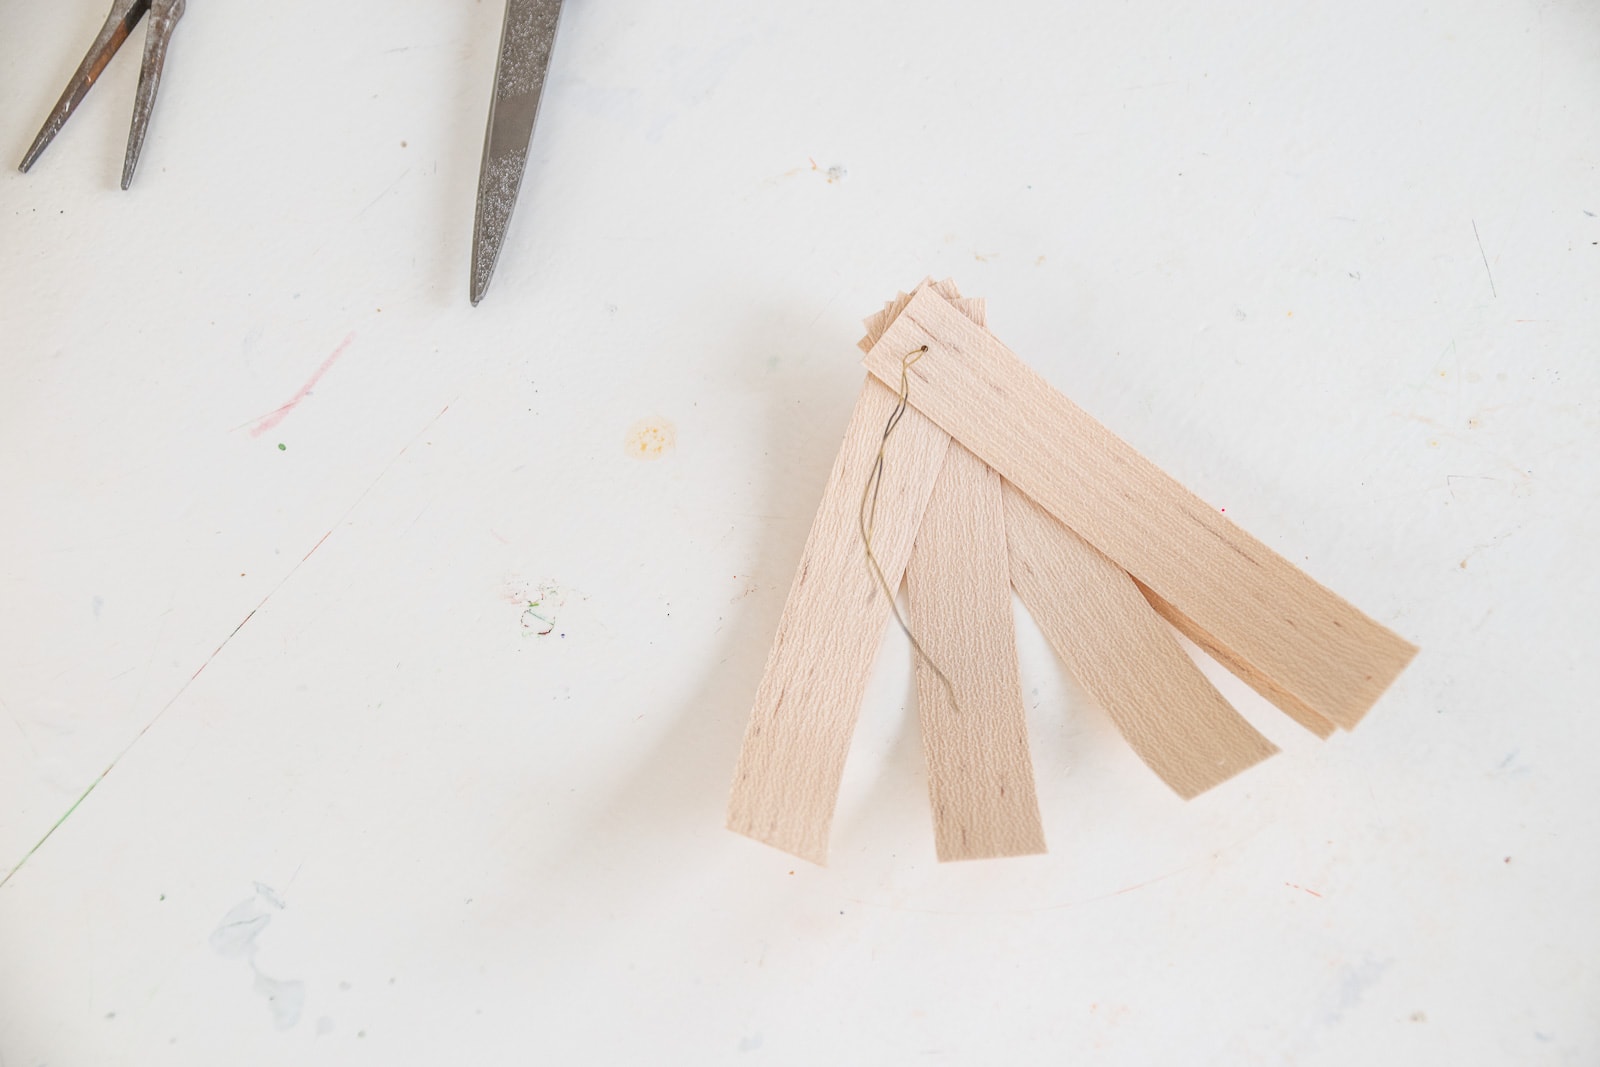
Step 1. Cut the Edge Banding
I cut mine to 6-inches long and used 5 stripes per ornament. Note: You can *also* cut them to 12-inches long and use 3 strips. Both will look similar. Using 5 strips will use less edge banding, but using the 3 longer stripes will hold the round shape a tiny bit better.
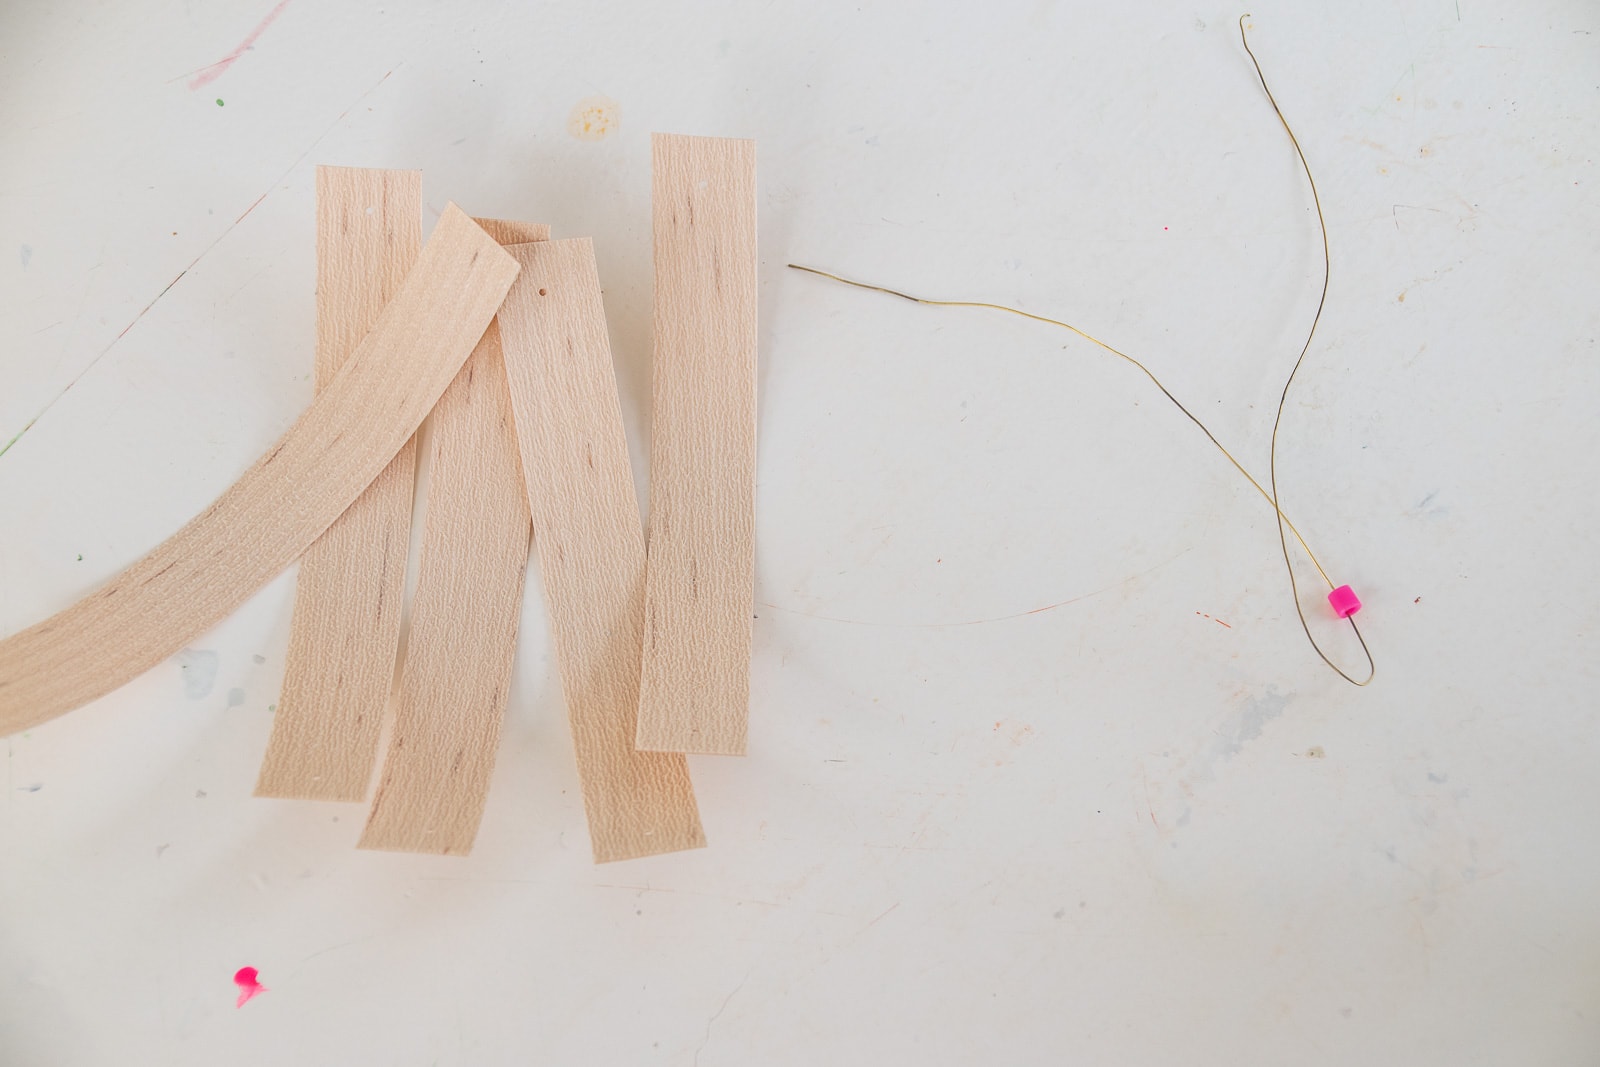
Step 2. Prep the wire
Cut a length of wire to about 15 inches long and string a bead onto it. With the bead in the middle, fold the wire in half and twist it a couple times around the bead to ‘lock’ it in place.
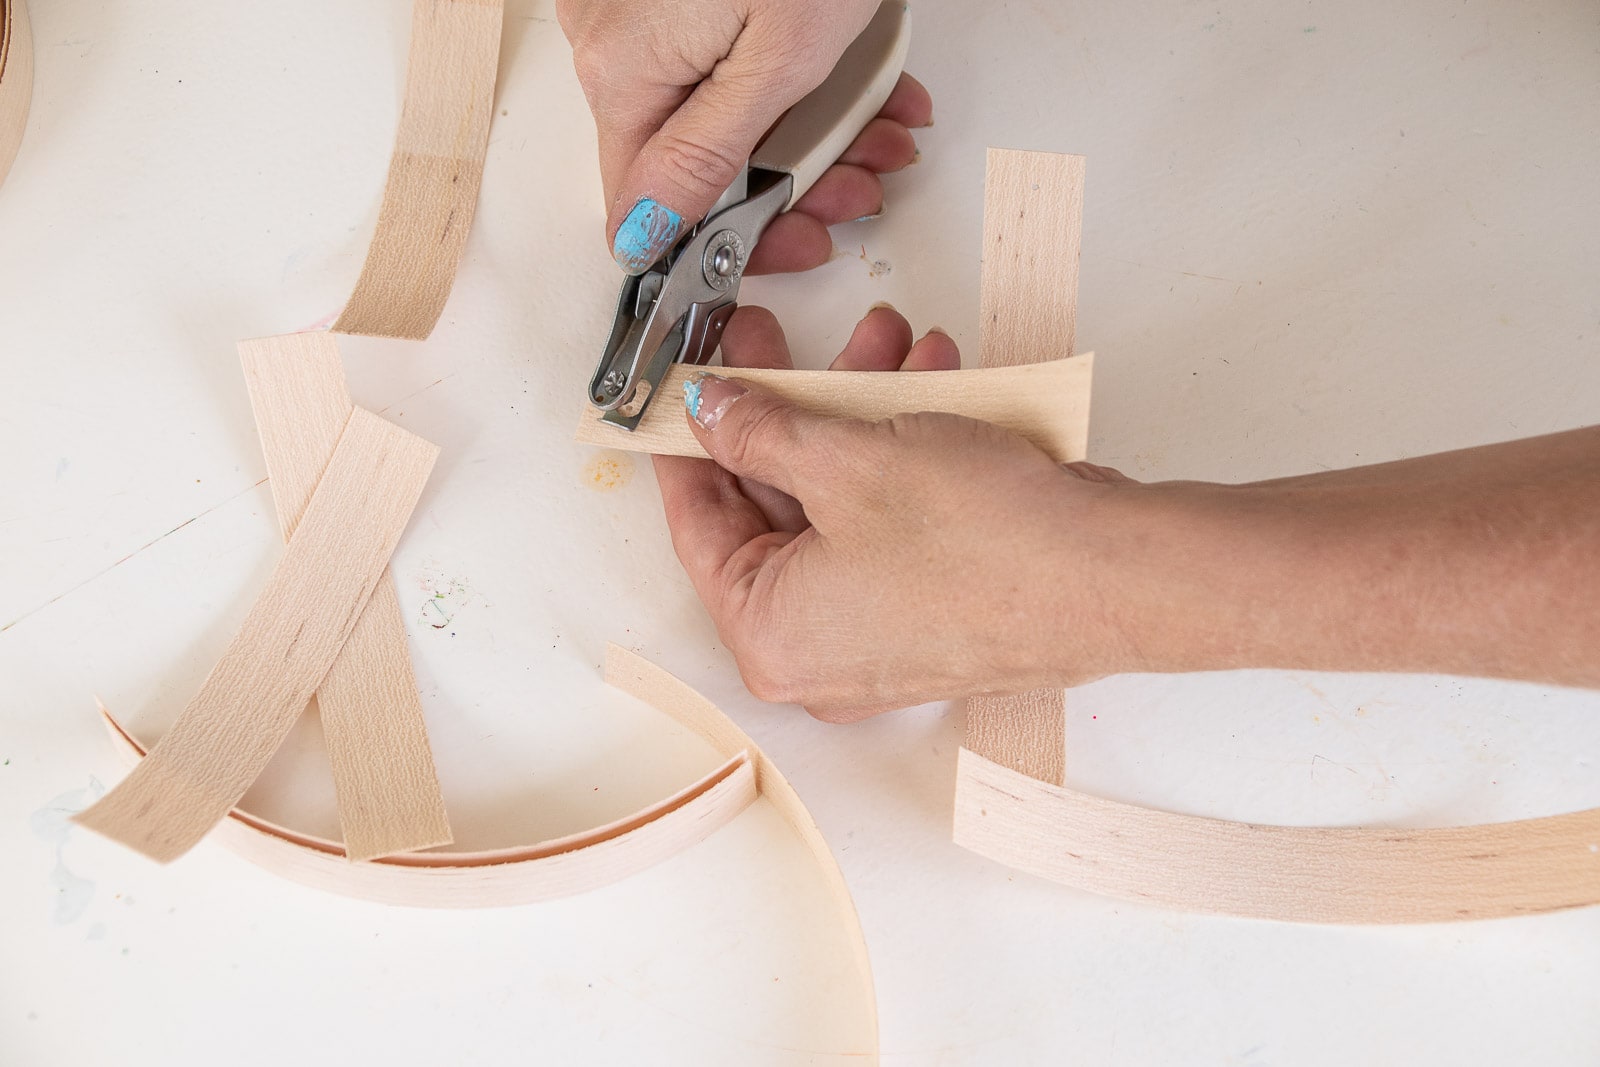
Step 5. Punch Holes in Edge Banding
Using a small craft punch, poke holes in either end of the edge band. (If you’re using the longer strips, then also punch a hole in the middle.) DM me for manicure tips. 😉
Step 4. String the Edge Banding
String the two ends of the wire through the end of the edge bad. Repeat with four more strips so you have 5 strips total strung onto the wire. The bead will act as a ‘knot’ to keep the edge band from falling off the end of the wire. (If you’re using the longer strips, then you old need 3 strips and you should string the wire through the middle hole.)
String the other end of the edge banding onto your wire. (If using the longer strips, then string both ends onto the wire.)
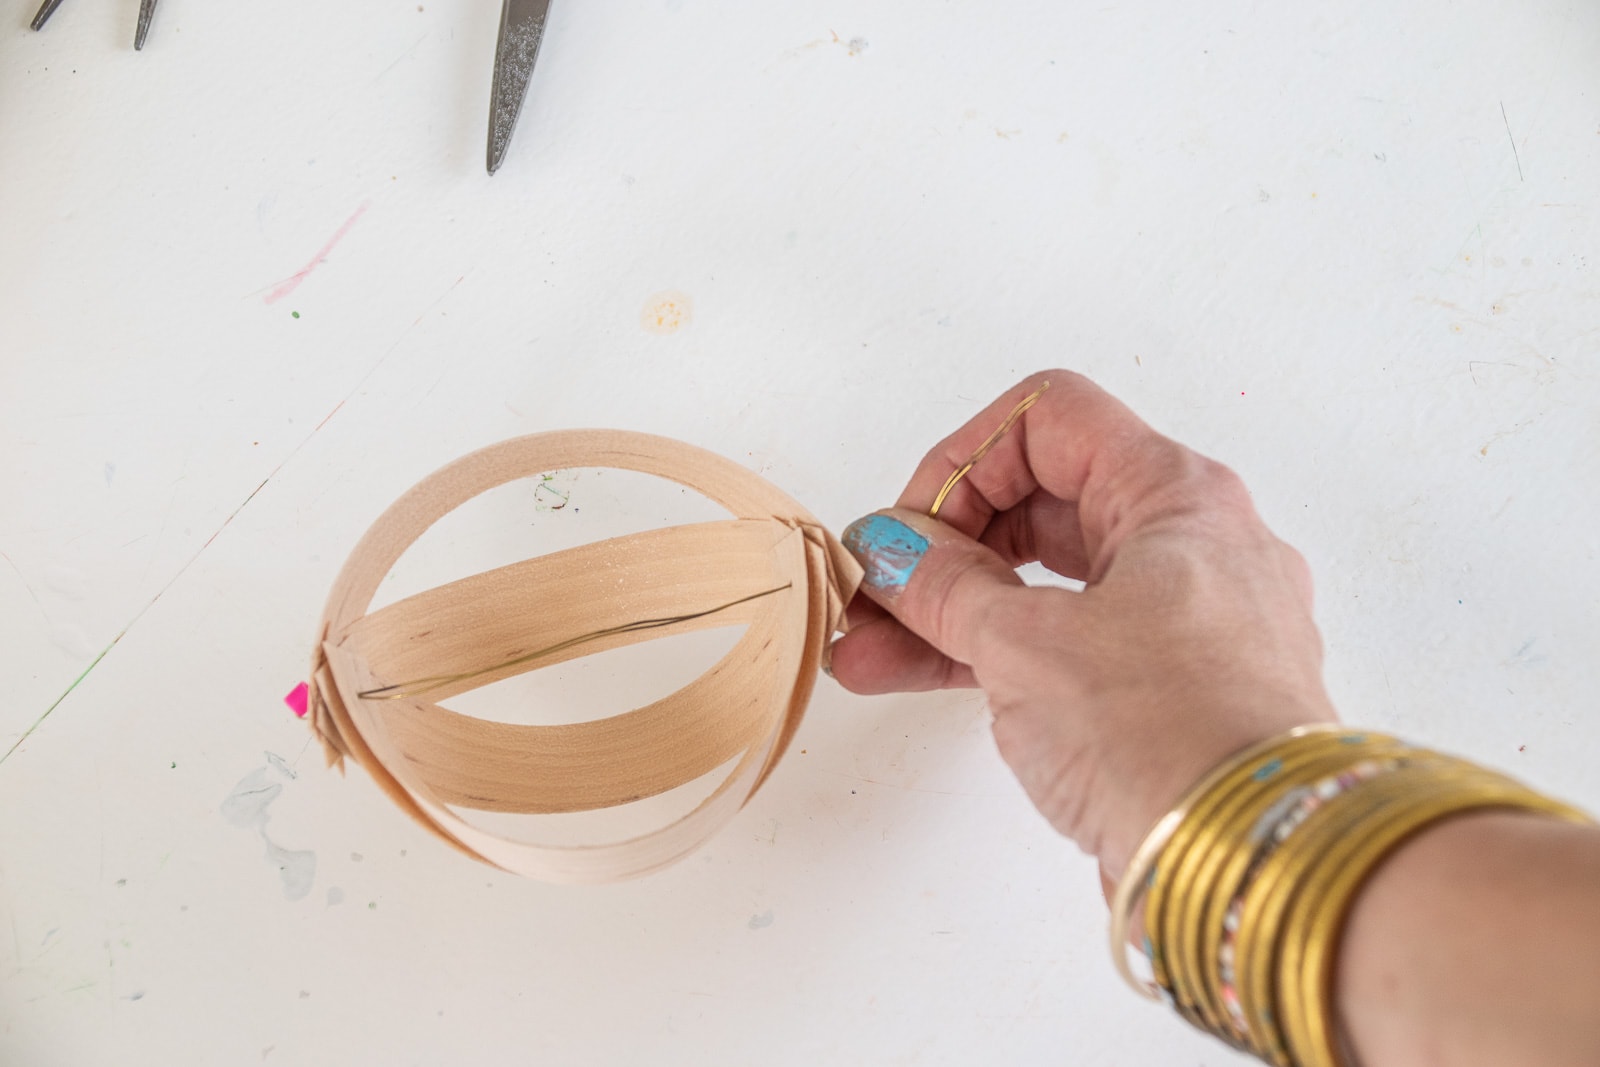
Step 5. Secure Edge Band
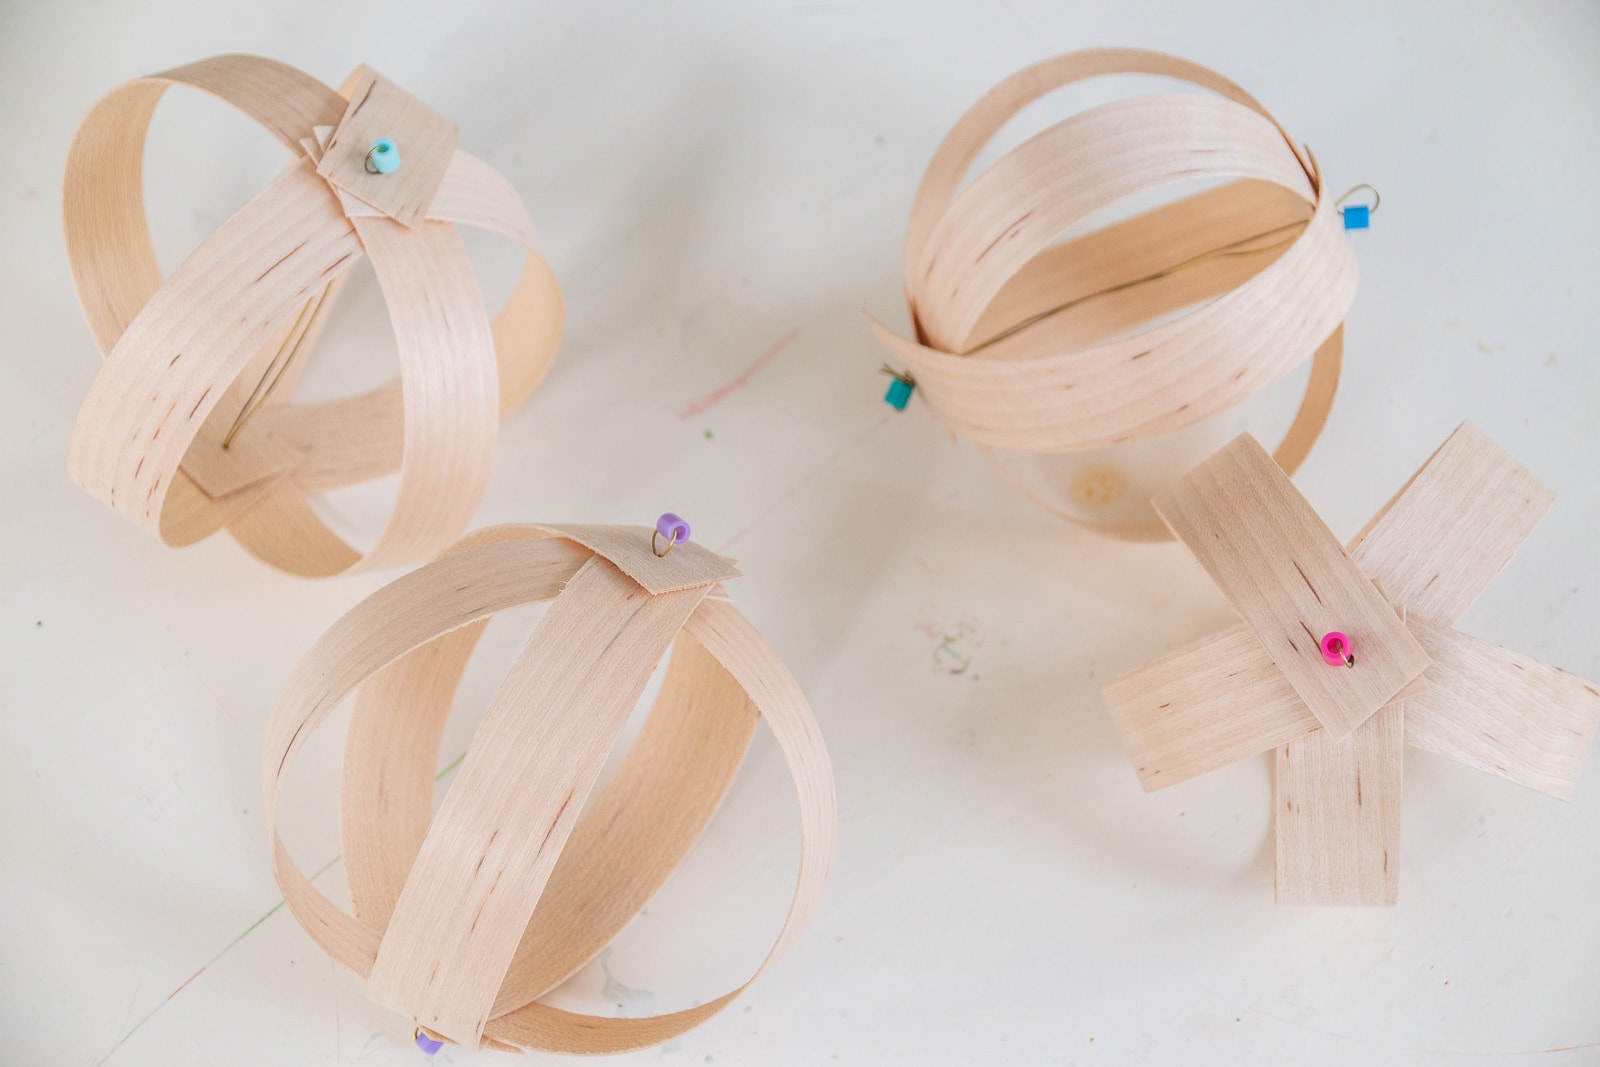
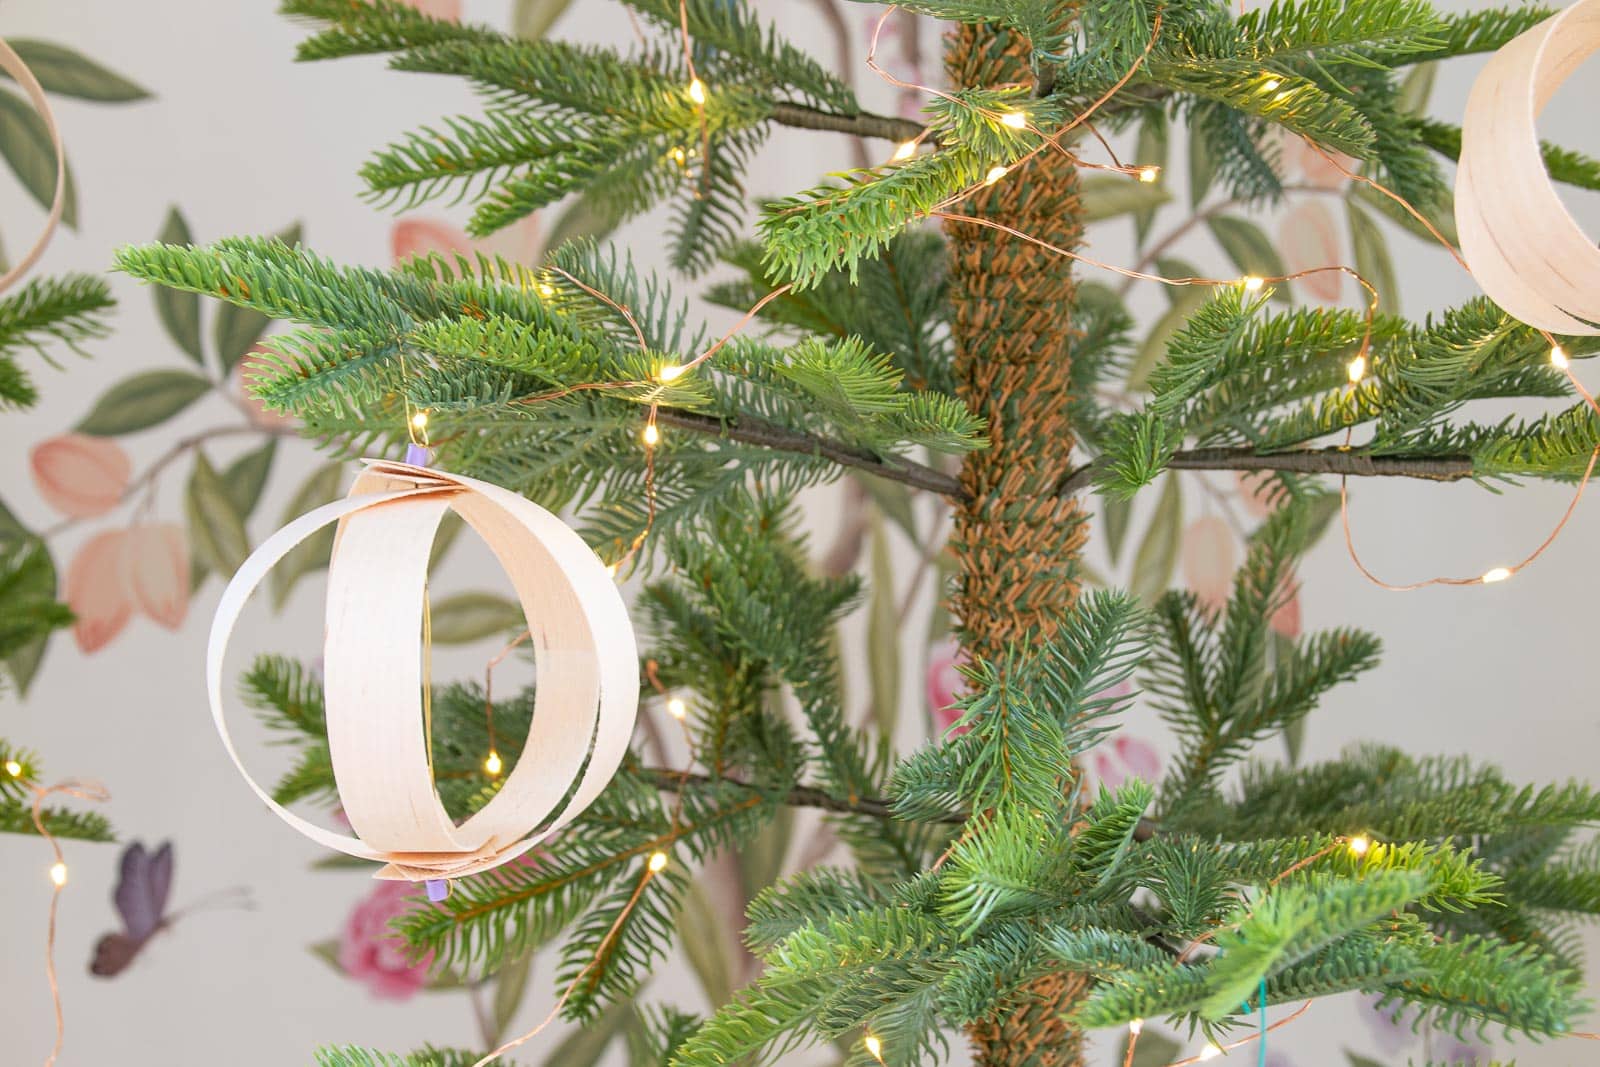
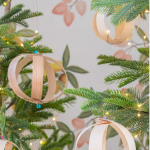
Pull the edge band down towards the end of the wire until you have the desired shape. Pulling them down less will form an oval/ egg shape. Pulling them down more will make a rounder orb. String a bead onto the wire and wrap the wire around the bead to secure.
Step 6. Optional: Tassels
For our ornaments on the show, we added a tassel to the bottom of each circle. I have a simple tassel tutorial here.
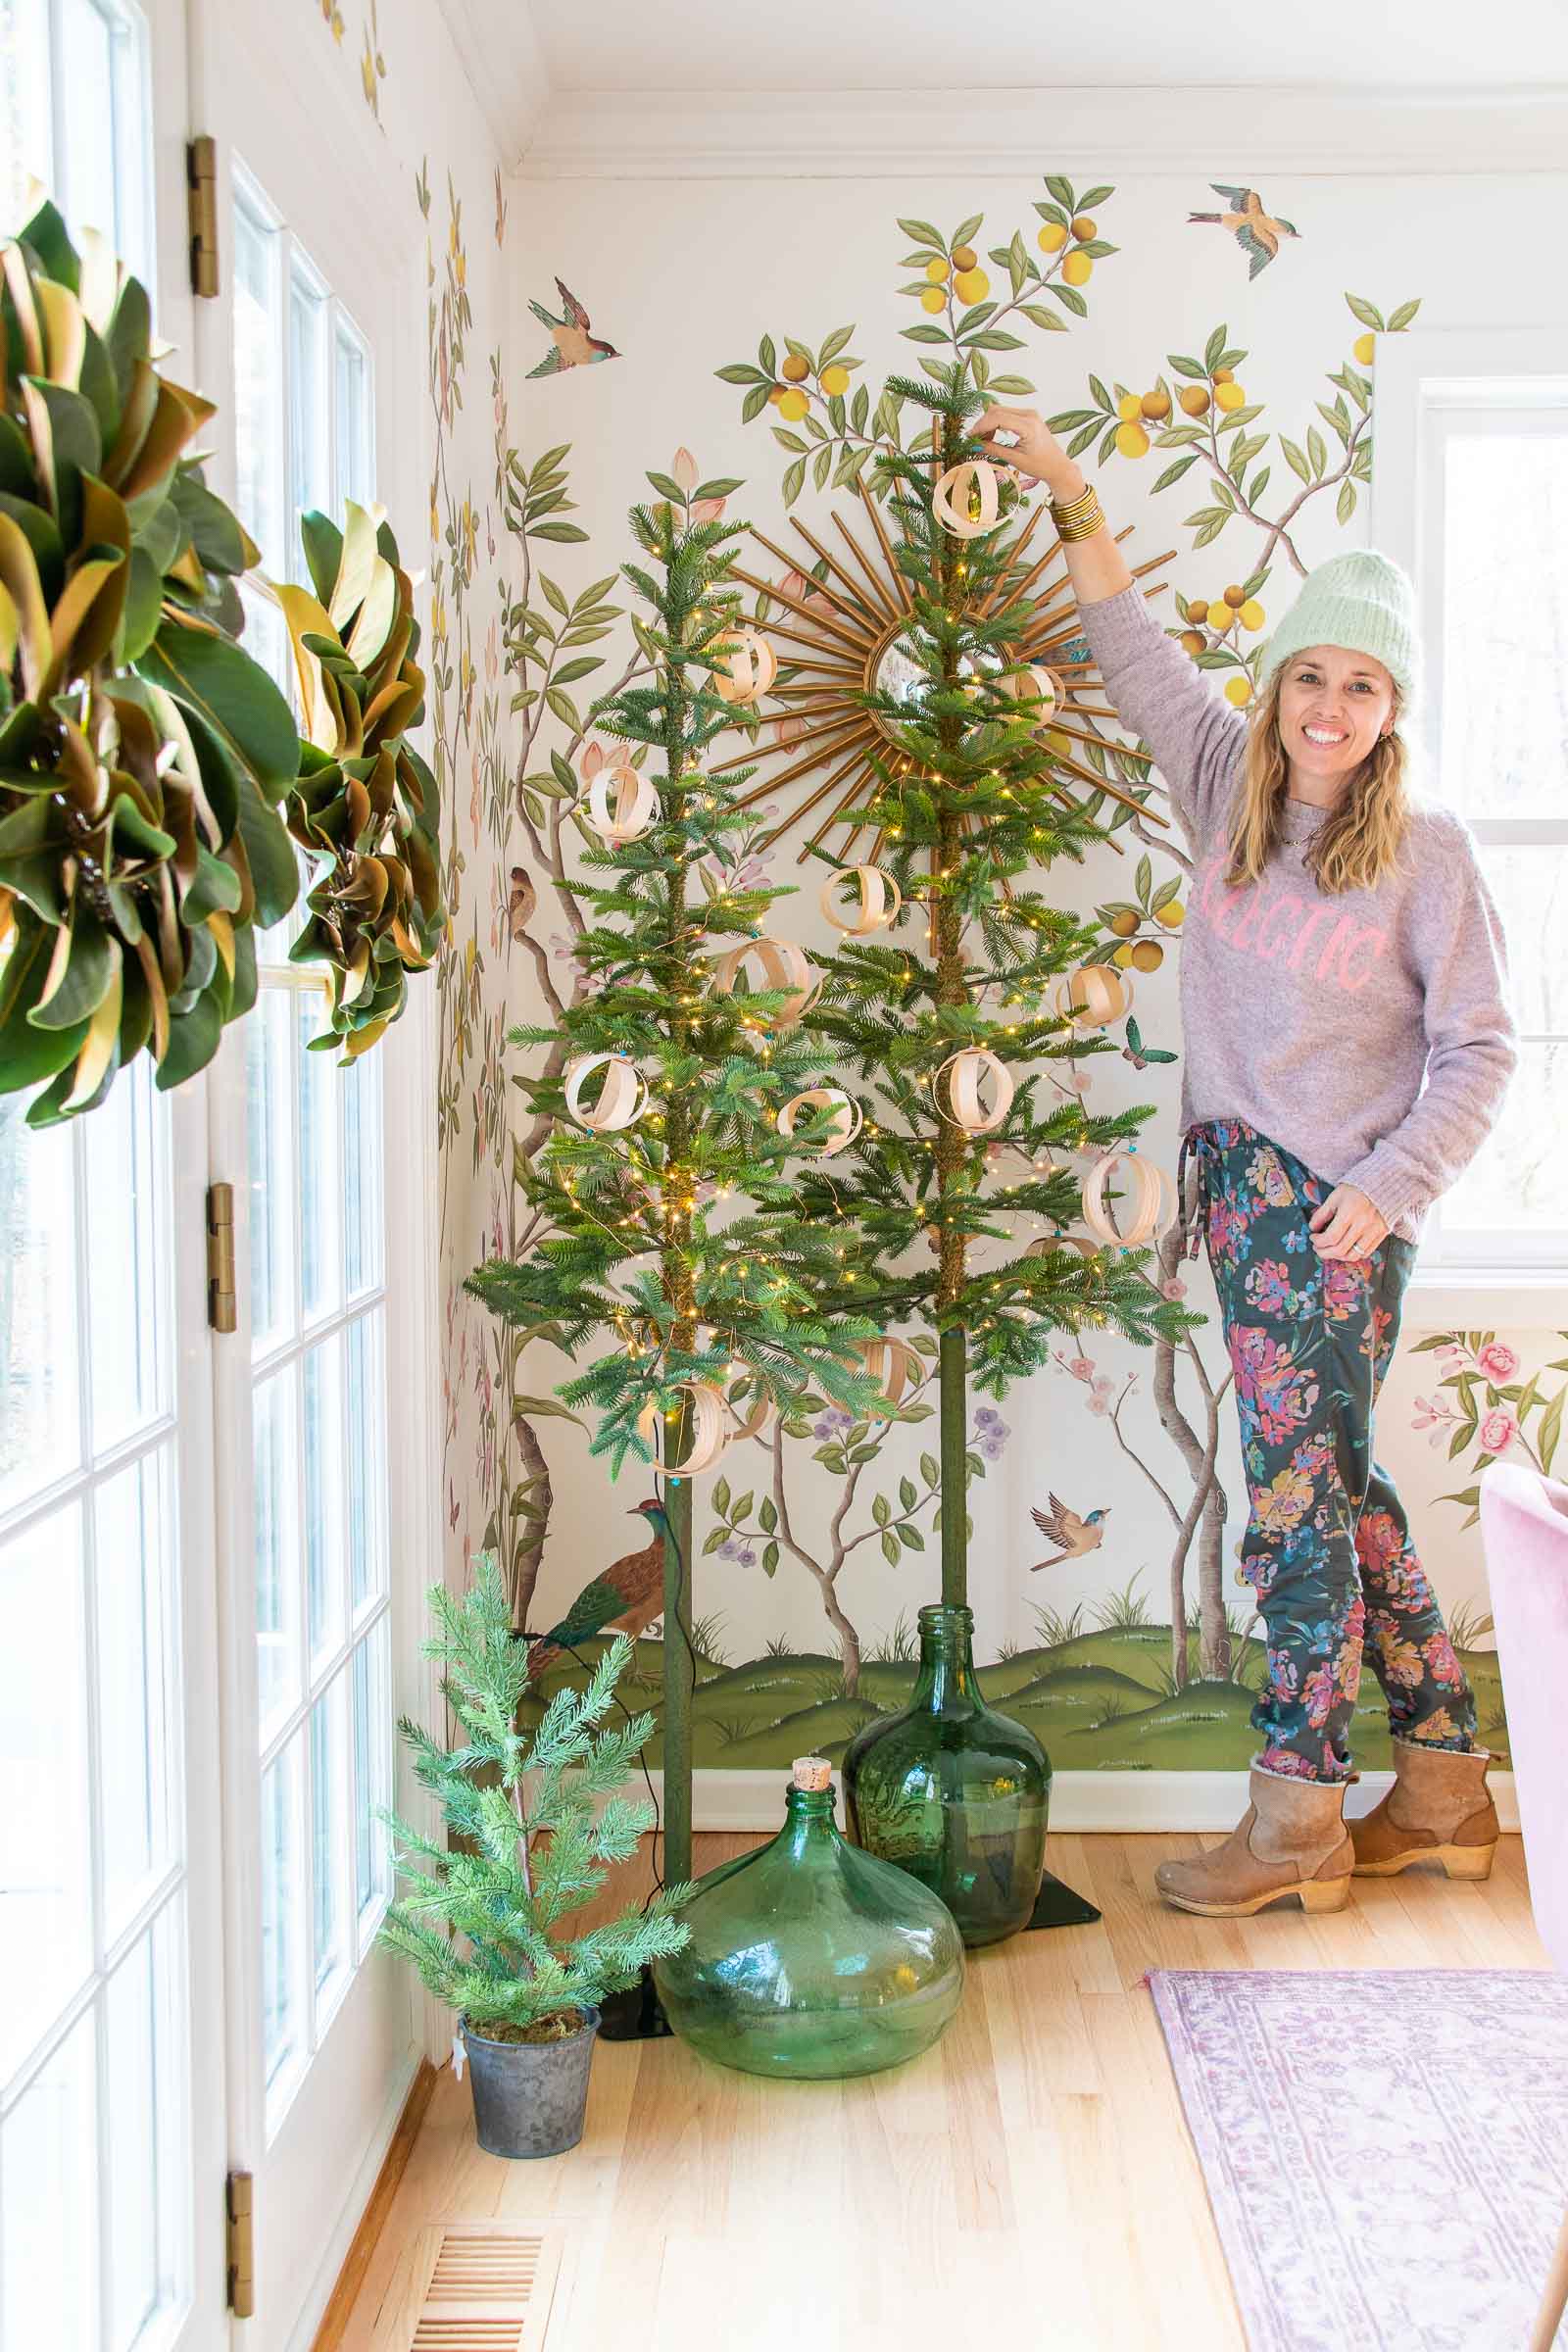
I hung these on those skinny trees in our dining room and I actually love how the neutral wood tones look in this space. The dining room already has a lot of color so no need for big bright ornaments!


Don’t Miss Out
Become An Insider!
Signup for exclusive tips, and tricks from Charlotte’s House!
Let’s chat!
I love comments from you, so feel free to leave your thoughts and ideas below! And don’t forget to follow me on Instagram for even more!