Flea Market Mirror Makeover
Psssst… this post *might* contain affiliate links: see my disclosure here.
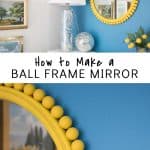
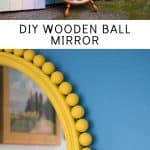
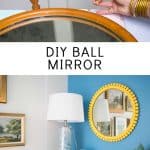
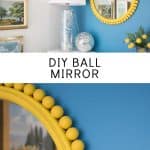
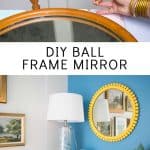
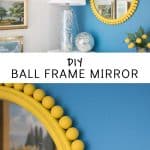
DIY Wooden Ball Mirror
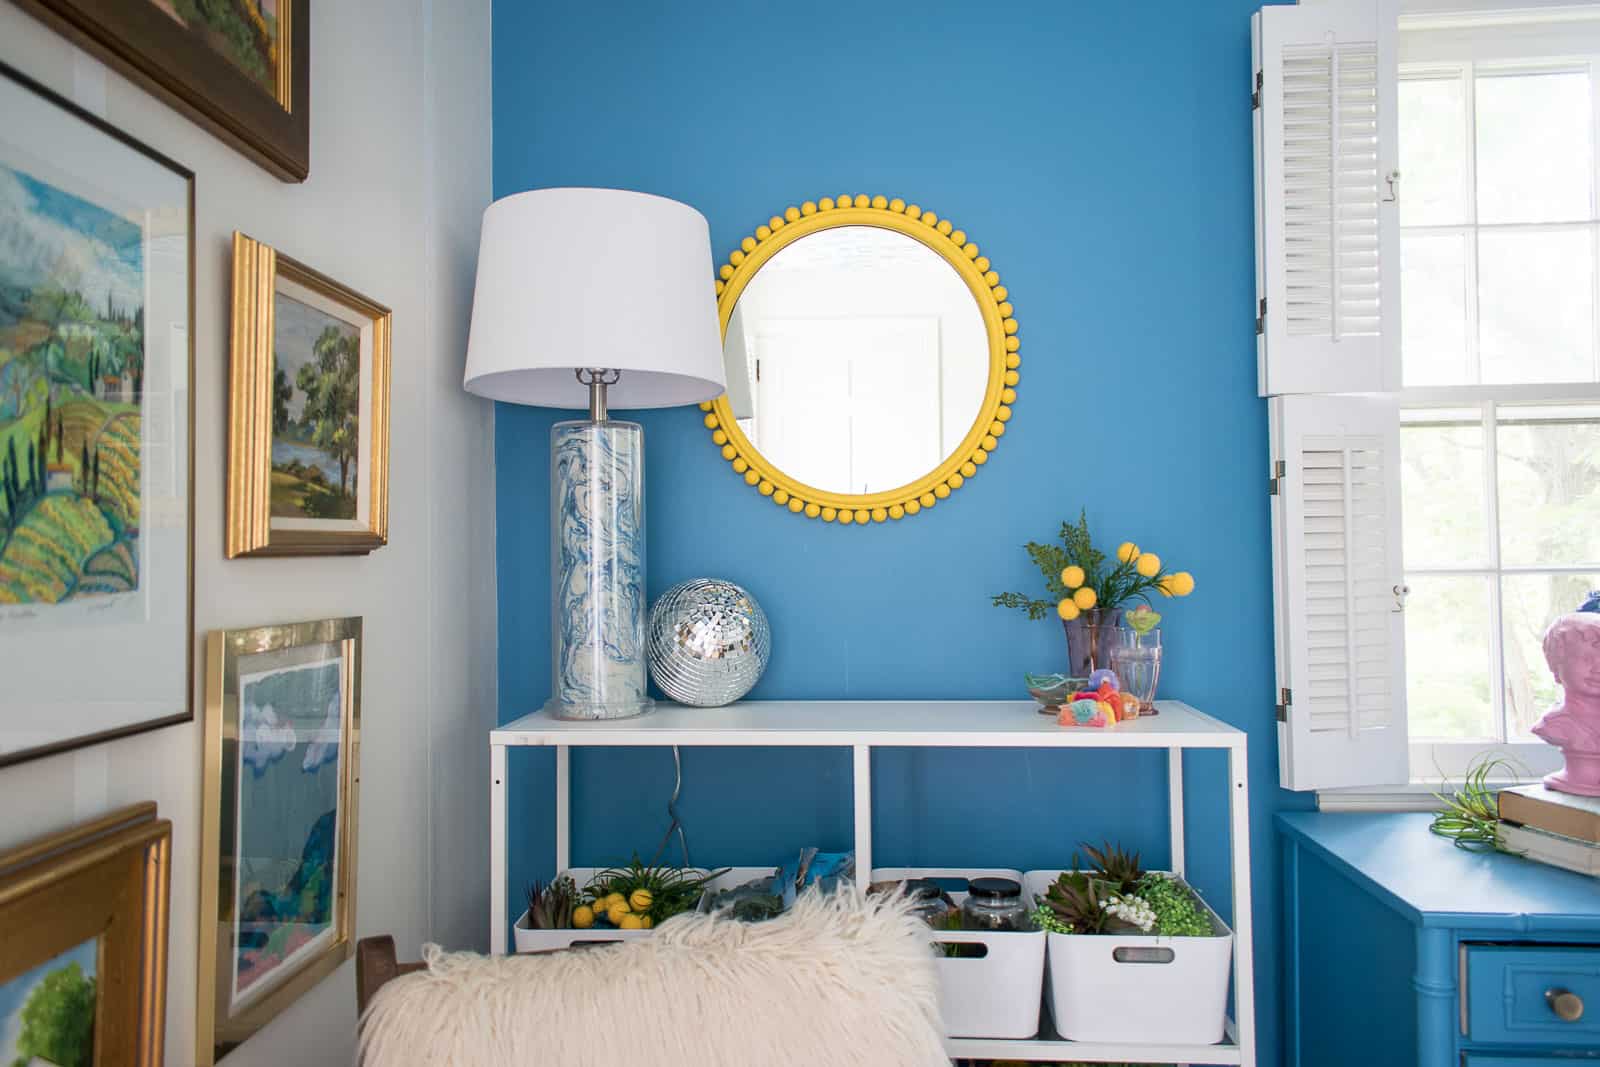
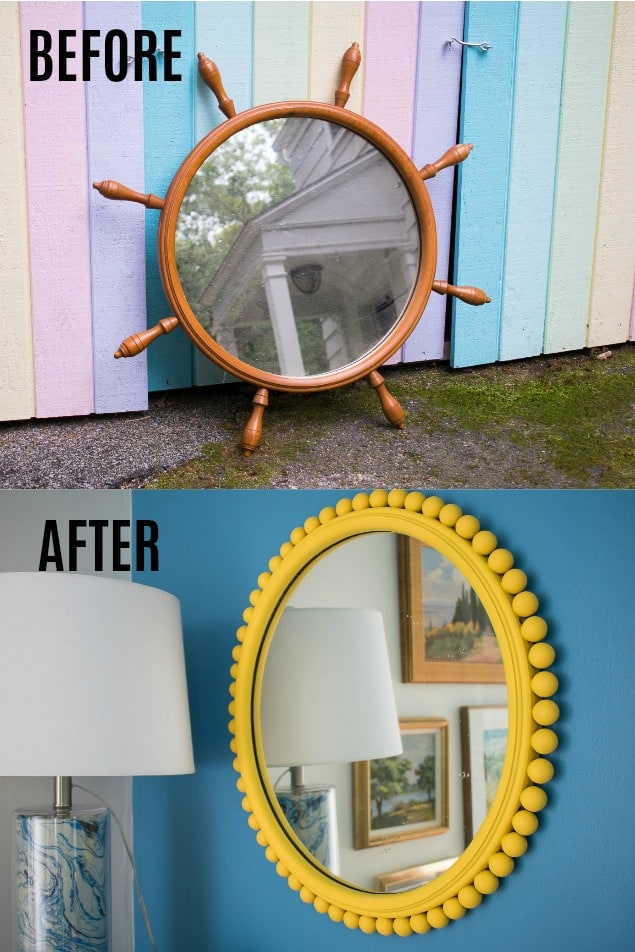
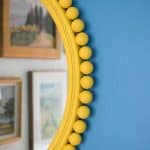
I turned a dated nautical mirror into a chic and colorful modern piece of decor.
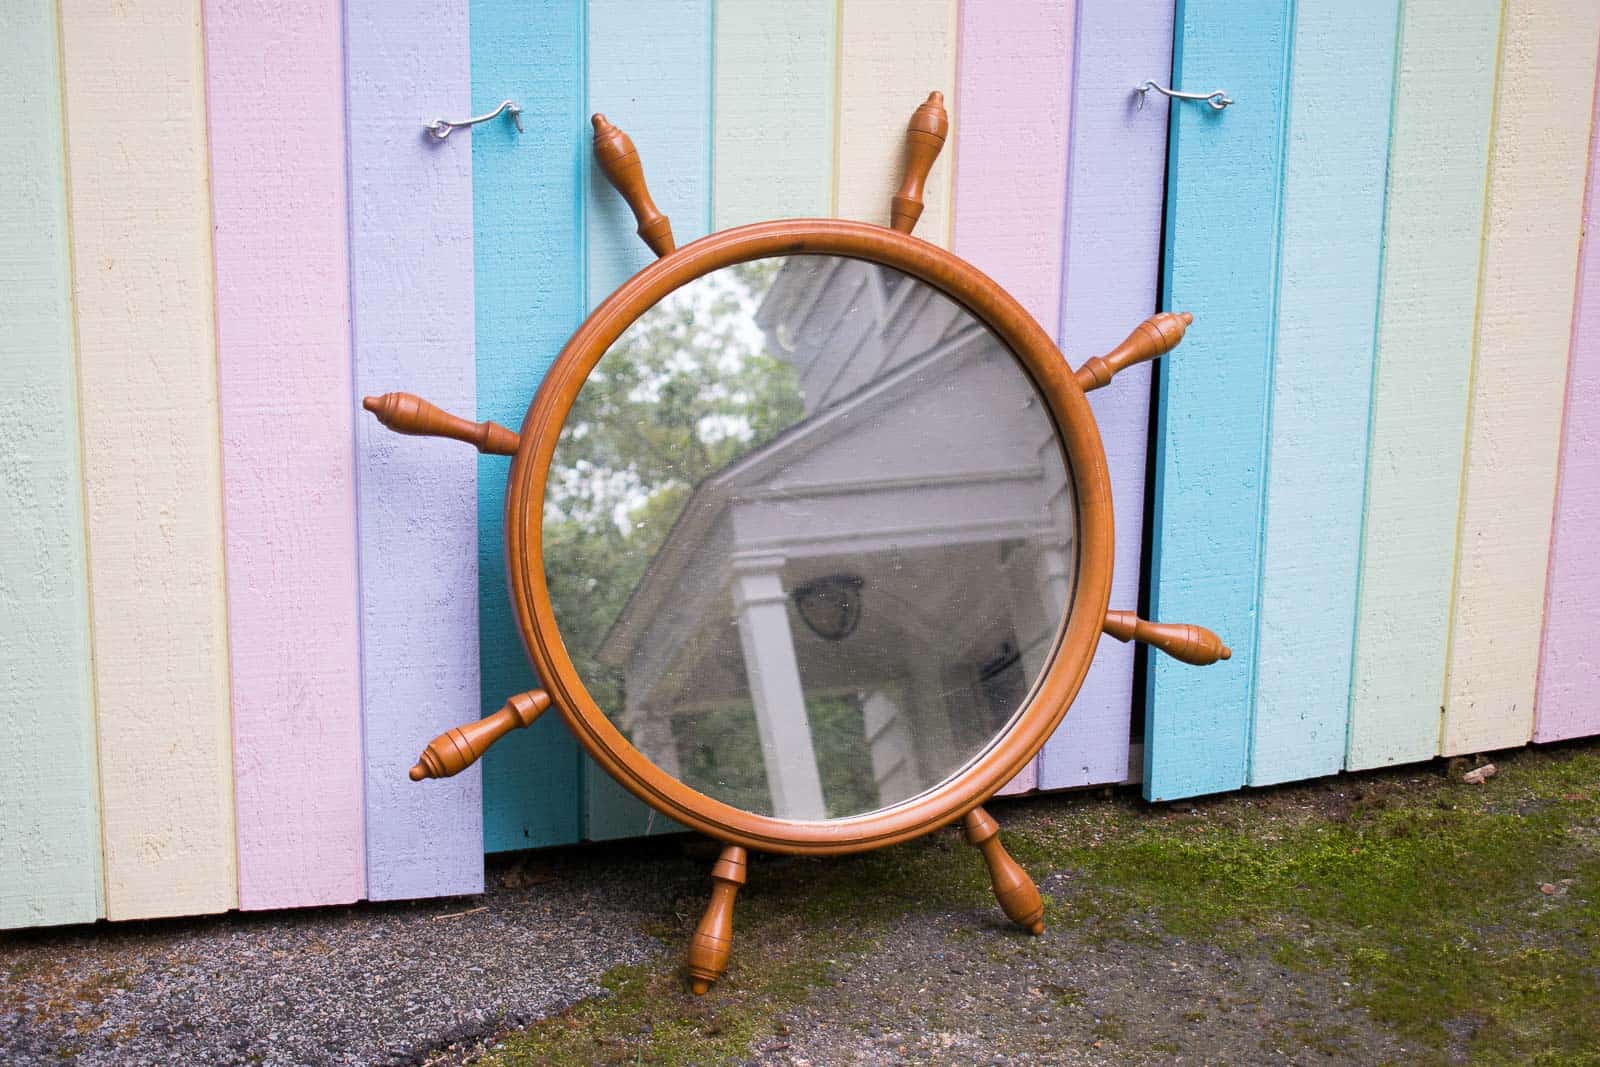
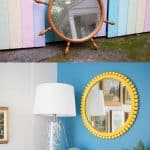
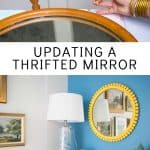
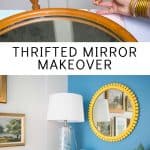
You all know one of my happy places is the Sunday flea market. Second is any thrift store honestly. So imagine my DELIGHT when my friend Amanda from Love Renovations asked me to join them in a thrift store challenge. Um… I’m ALL IN. I can’t wait to see what the other members of this challenge are sharing so make sure you click the links at the end of this post to go see what they transformed! Let’s start with my before: this nautical mirror. (If this looks familiar… then you may be remembering a similar mirror I transformed for the One Room Challenge years ago.)
Shop my favorites!
Step 1: Remove the Spindles
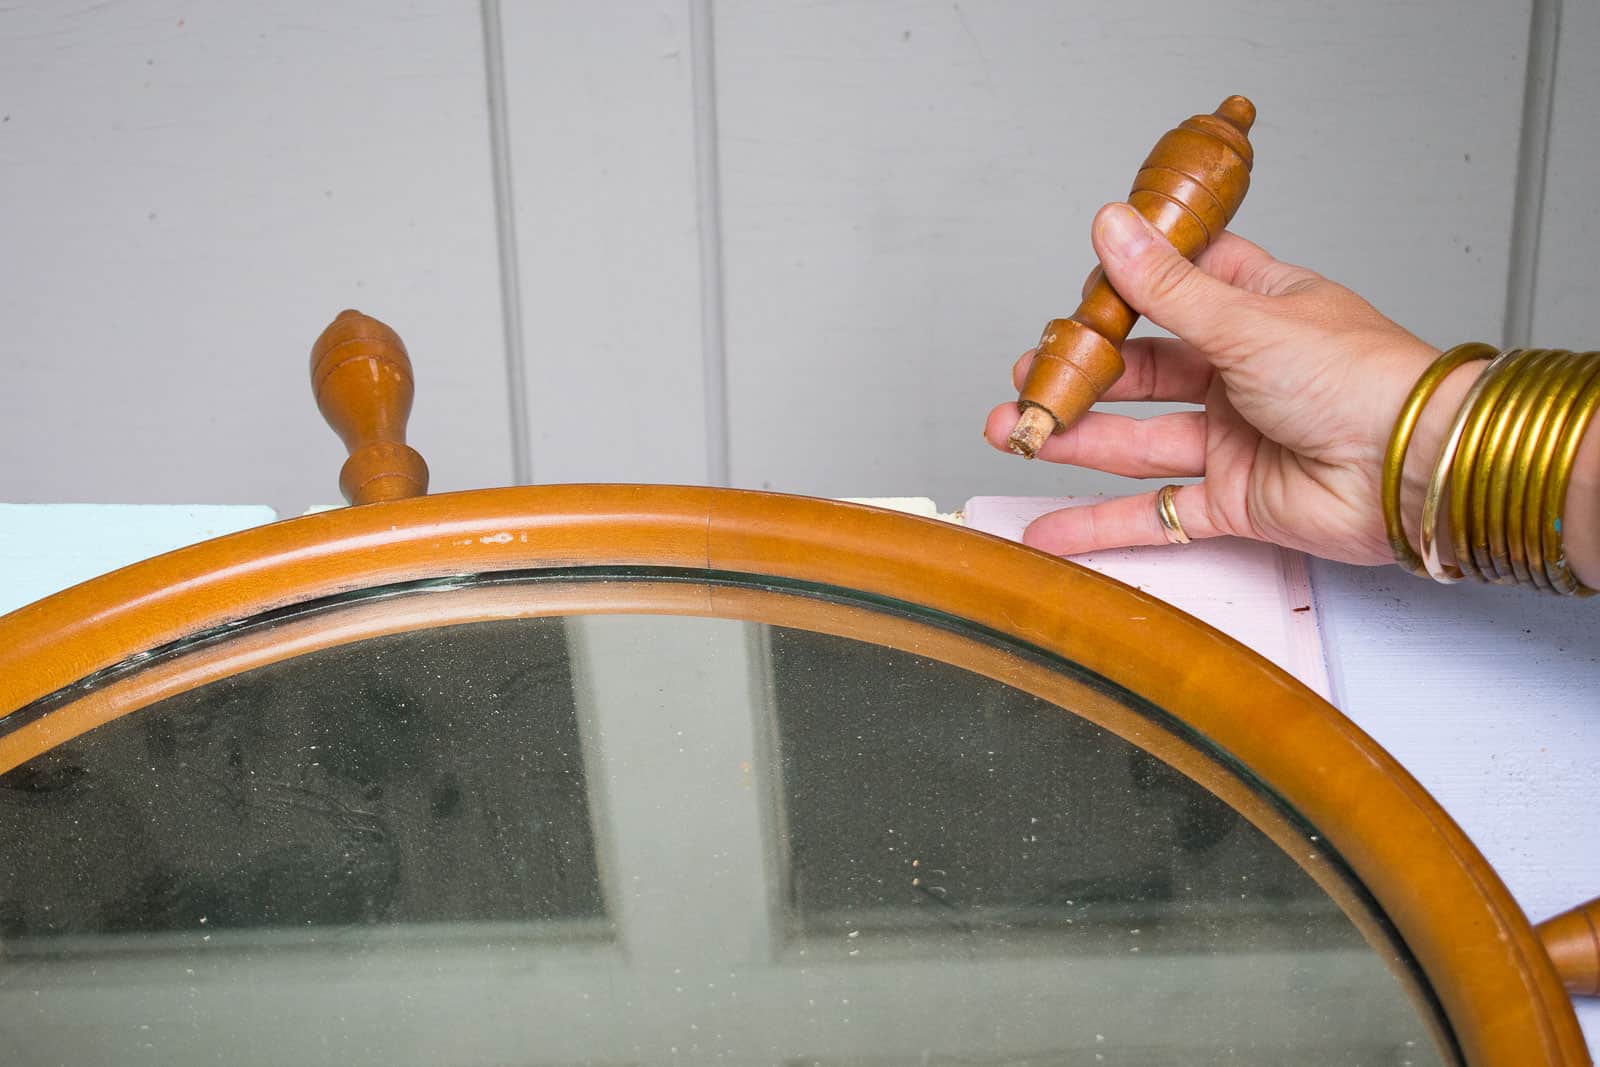
I bought this mirror because I loved the round shape. What I did NOT love were those spindle handle things. Nautical is not so much my vibe. Most of them actually twisted right off because the glue was loose so the dowels pulled right out.
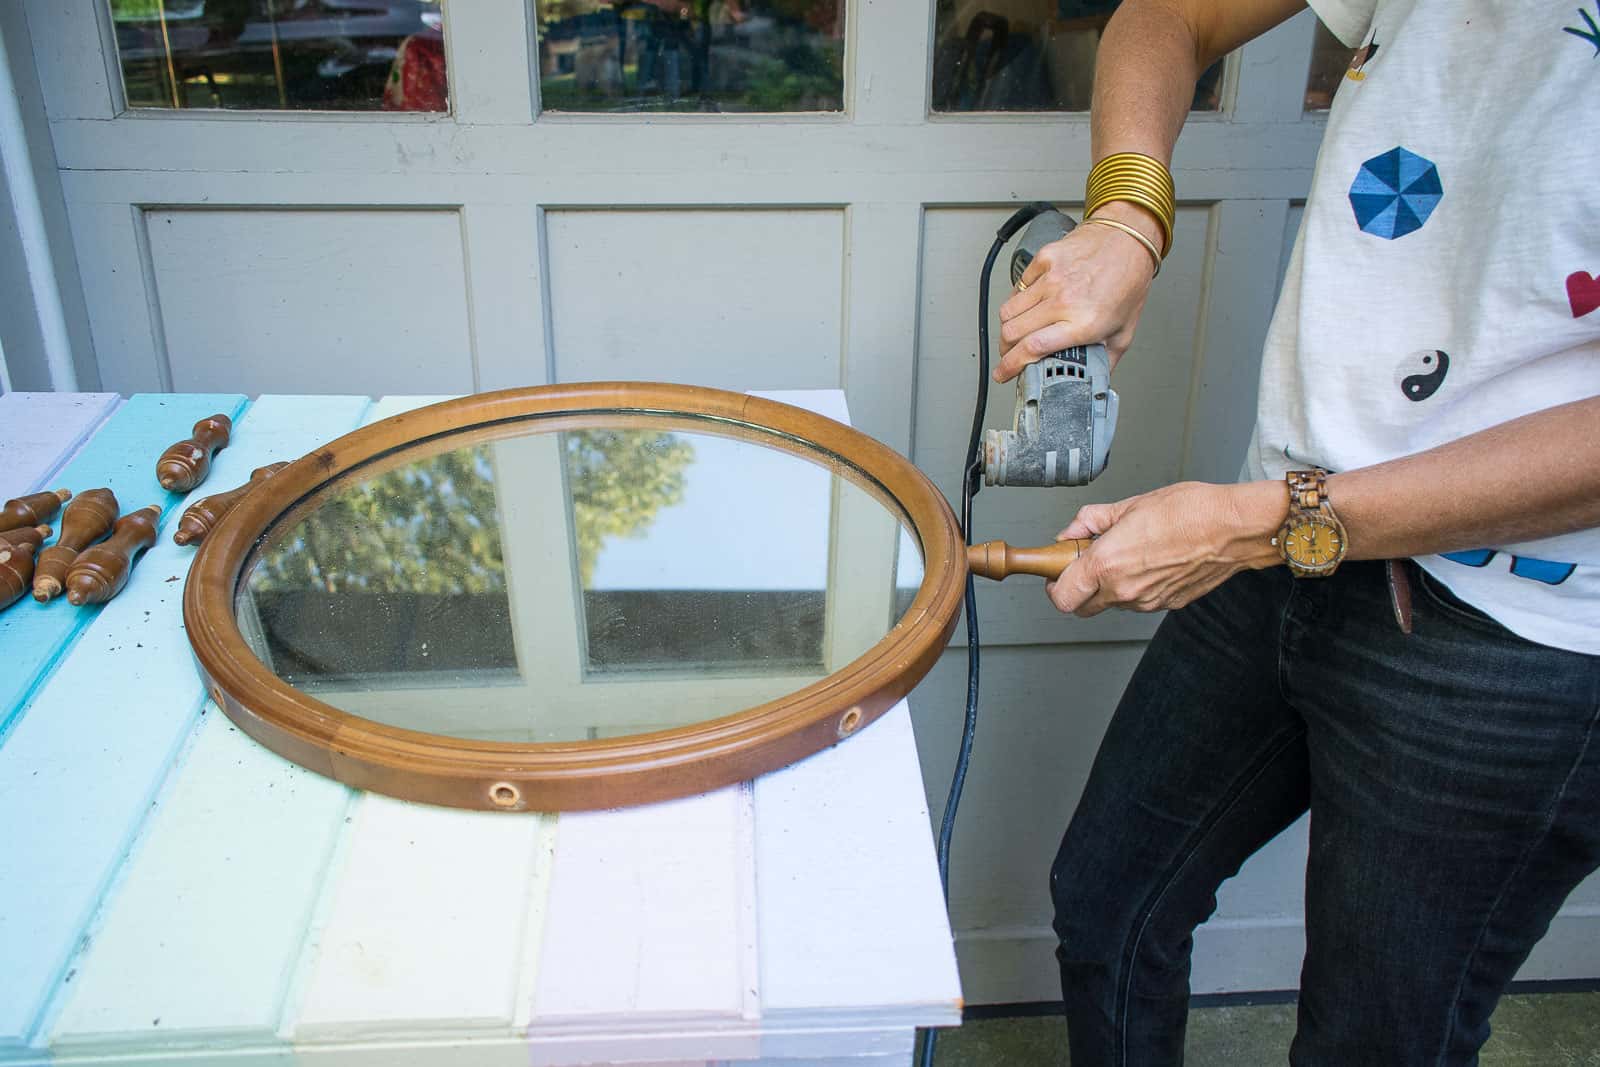
A few of them were still stuck tight so I pulled out my Dremel Multi Max and cut right through them.
Step 2: Sand the edge of the frame
Once the spindles are removed, sand the edge of the frame to remove any sheen or finish. My mirror had a light stain so I went ahead and sanded down to raw wood. I was feeling lazy so I skipped sanding the front of the mirror, but best practice would certainly be to sand down the whole thing. Do as I say… not as I do. (I also need to mention that I didn’t even bother to fill in the holes left by the spindles… I should have. You can’t really see them because the balls cover them, but still… #lazy.)
Step 3. Balls. All the Wooden Balls.
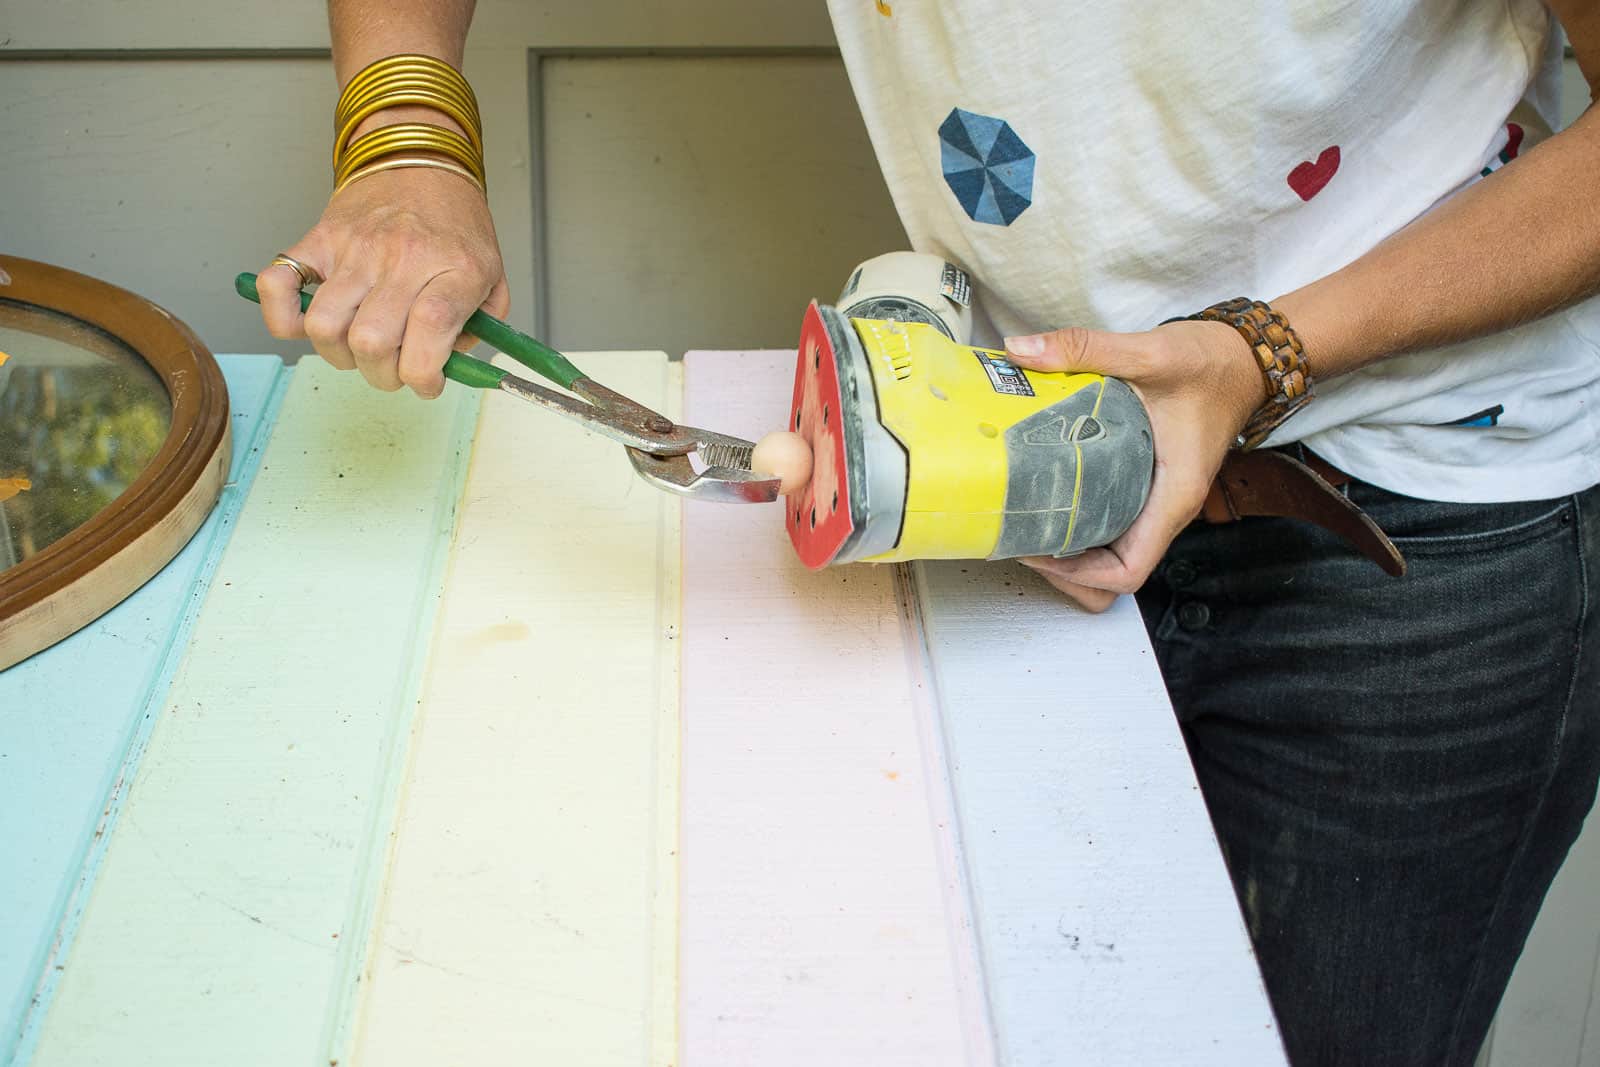
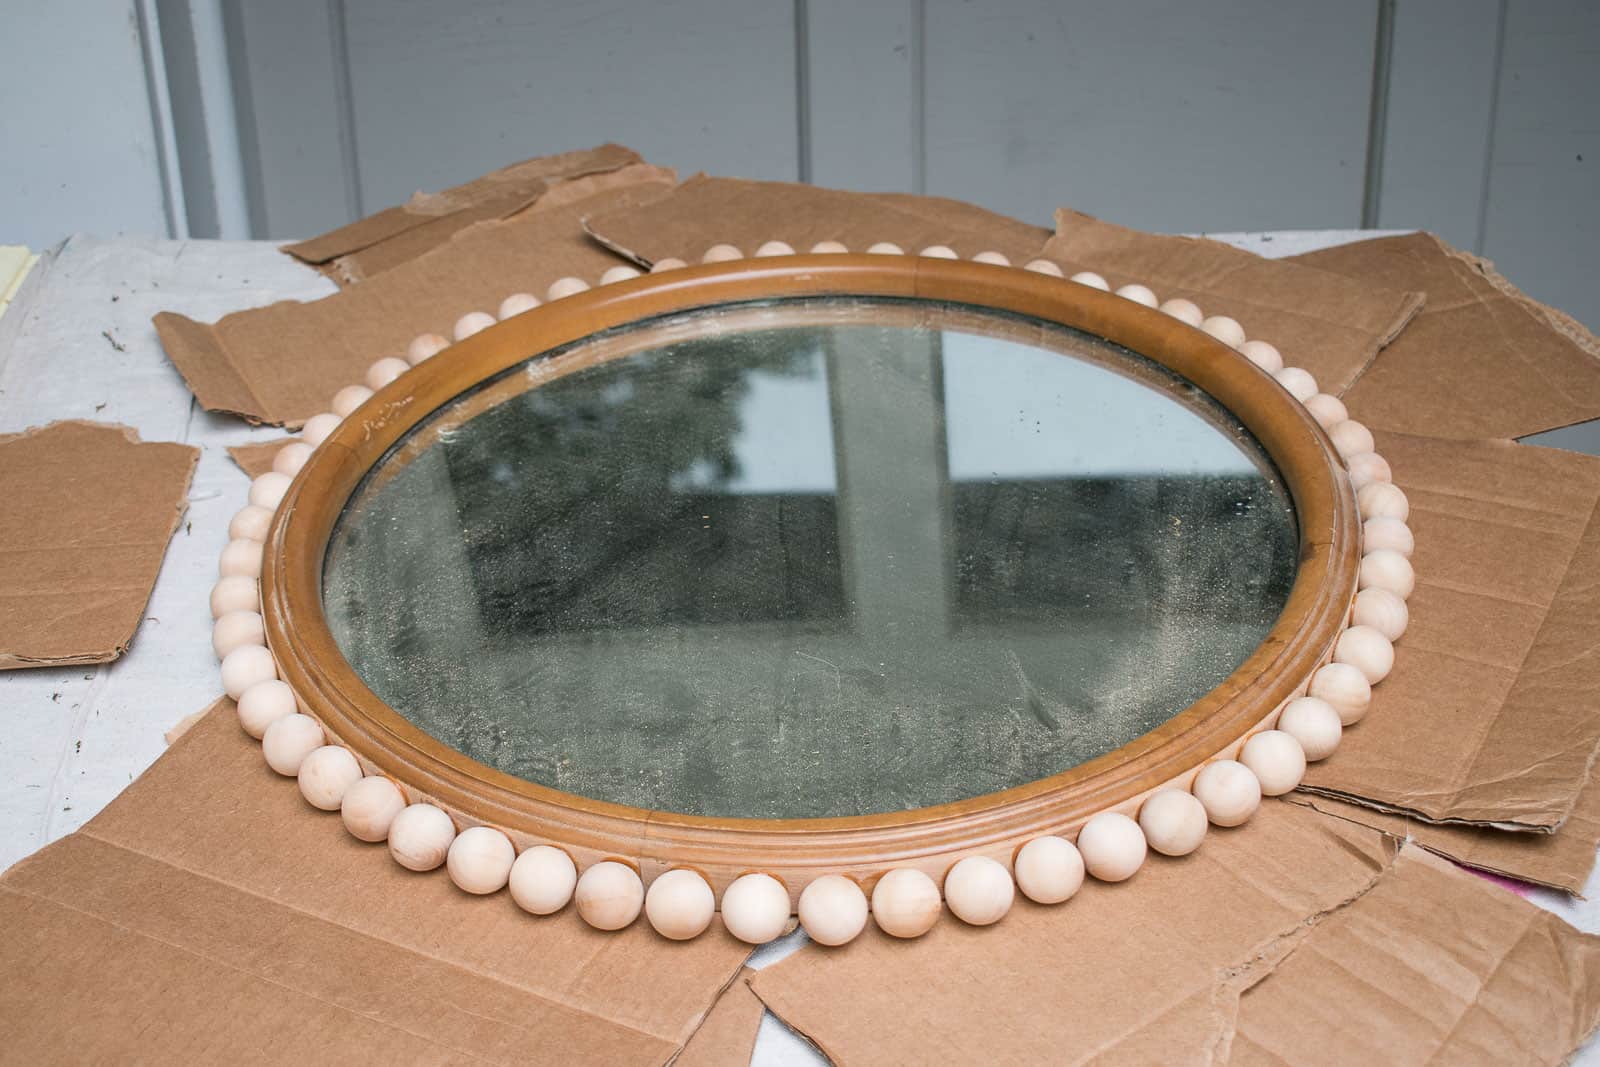
These 1″ wooden balls are my secret weapon. I ordered them off of Amazon and chose ones that had the same diameter as the depth of the mirror. I didn’t want the balls hanging out in front of the mirror and I knew if they hung off the back, it wouldn’t hang flush. Firmly holding each ball with a pair of pliers, I held each one against my sander to create one flat facet on each ball.
Step 4. Glue the Balls Onto the Mirror
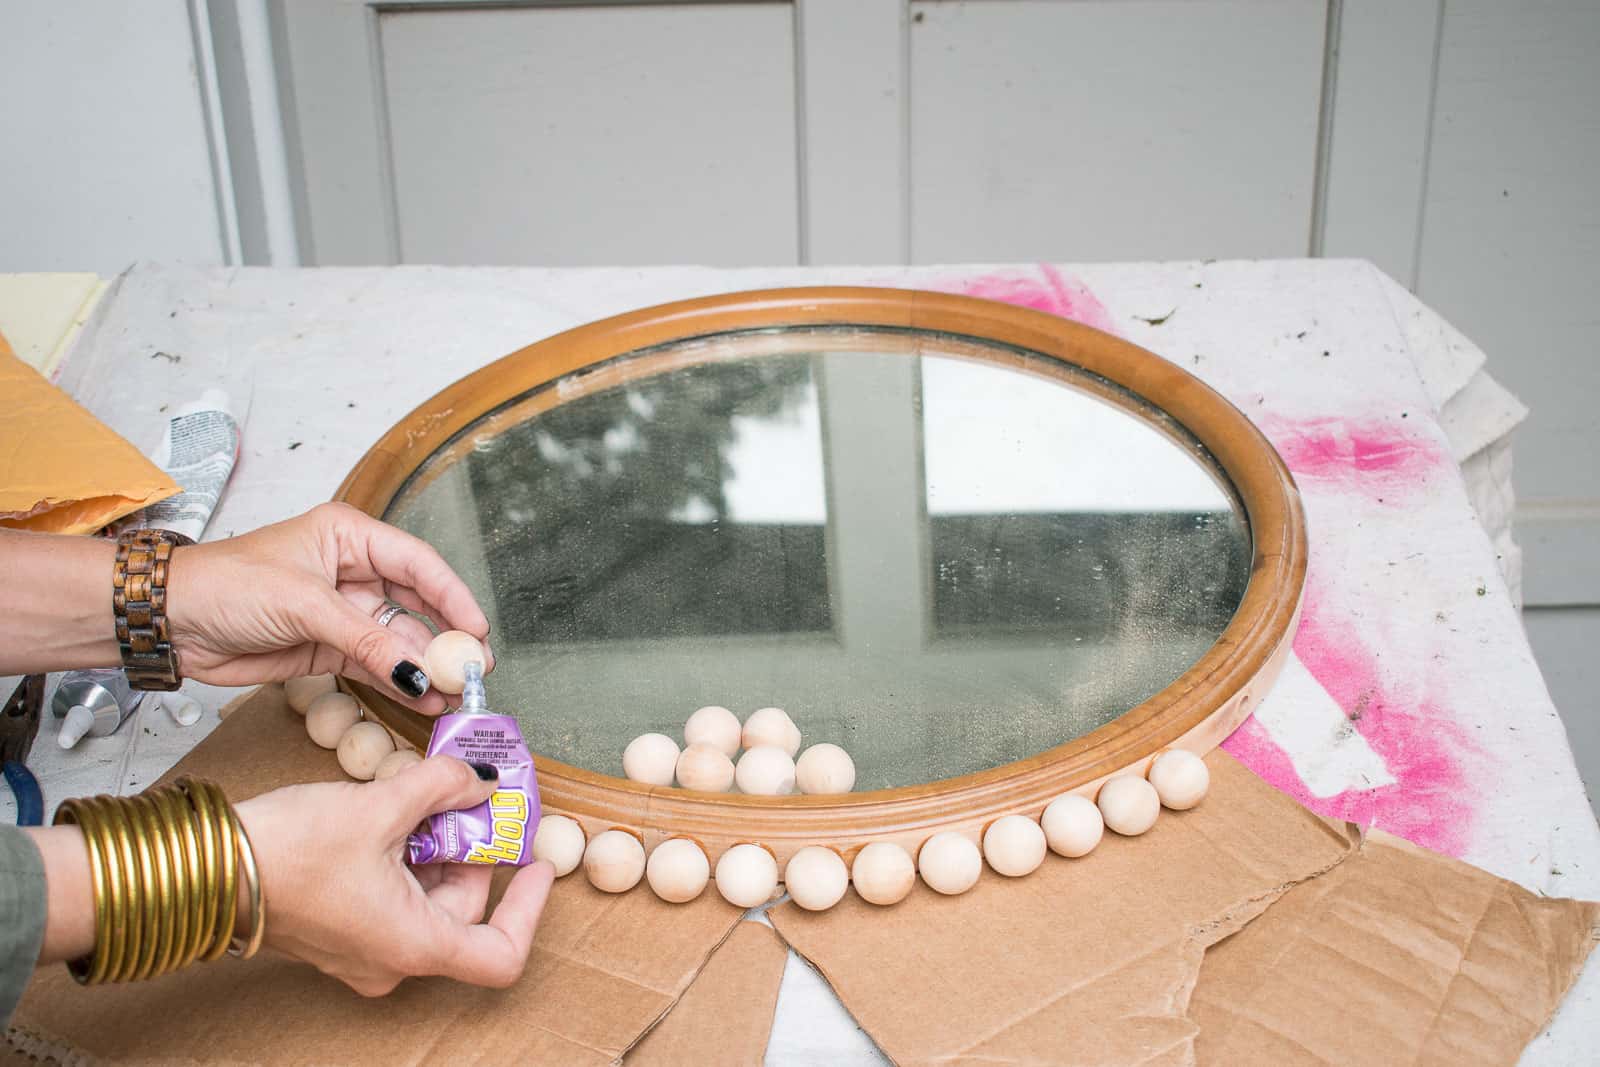
I had some of this clear Quick Hold glue on hand and it worked perfectly! This project is SO much easier if you work with a glue that sets up fast! Because my wooden balls were the same diameter as the frame depth, they could actually rest on the same surface as the mirror once I’d glued them. I used cardboard to prop them up slightly in a few places.
Step 5. Spray Paint the Mirror
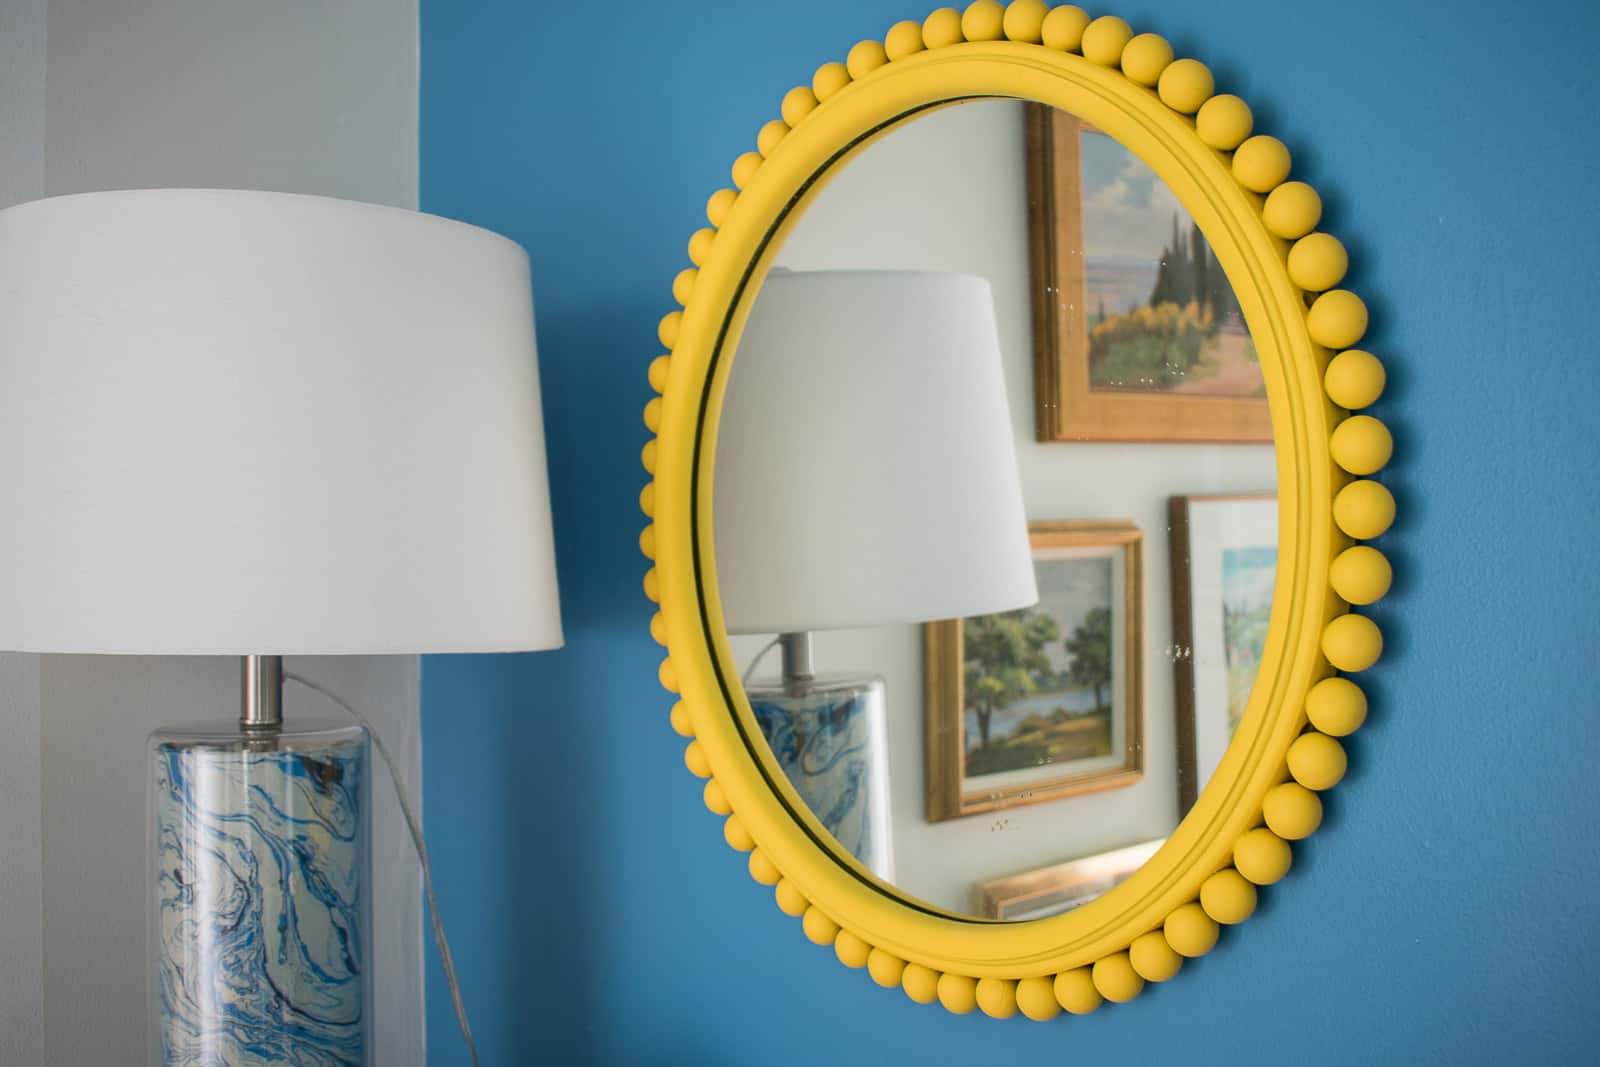
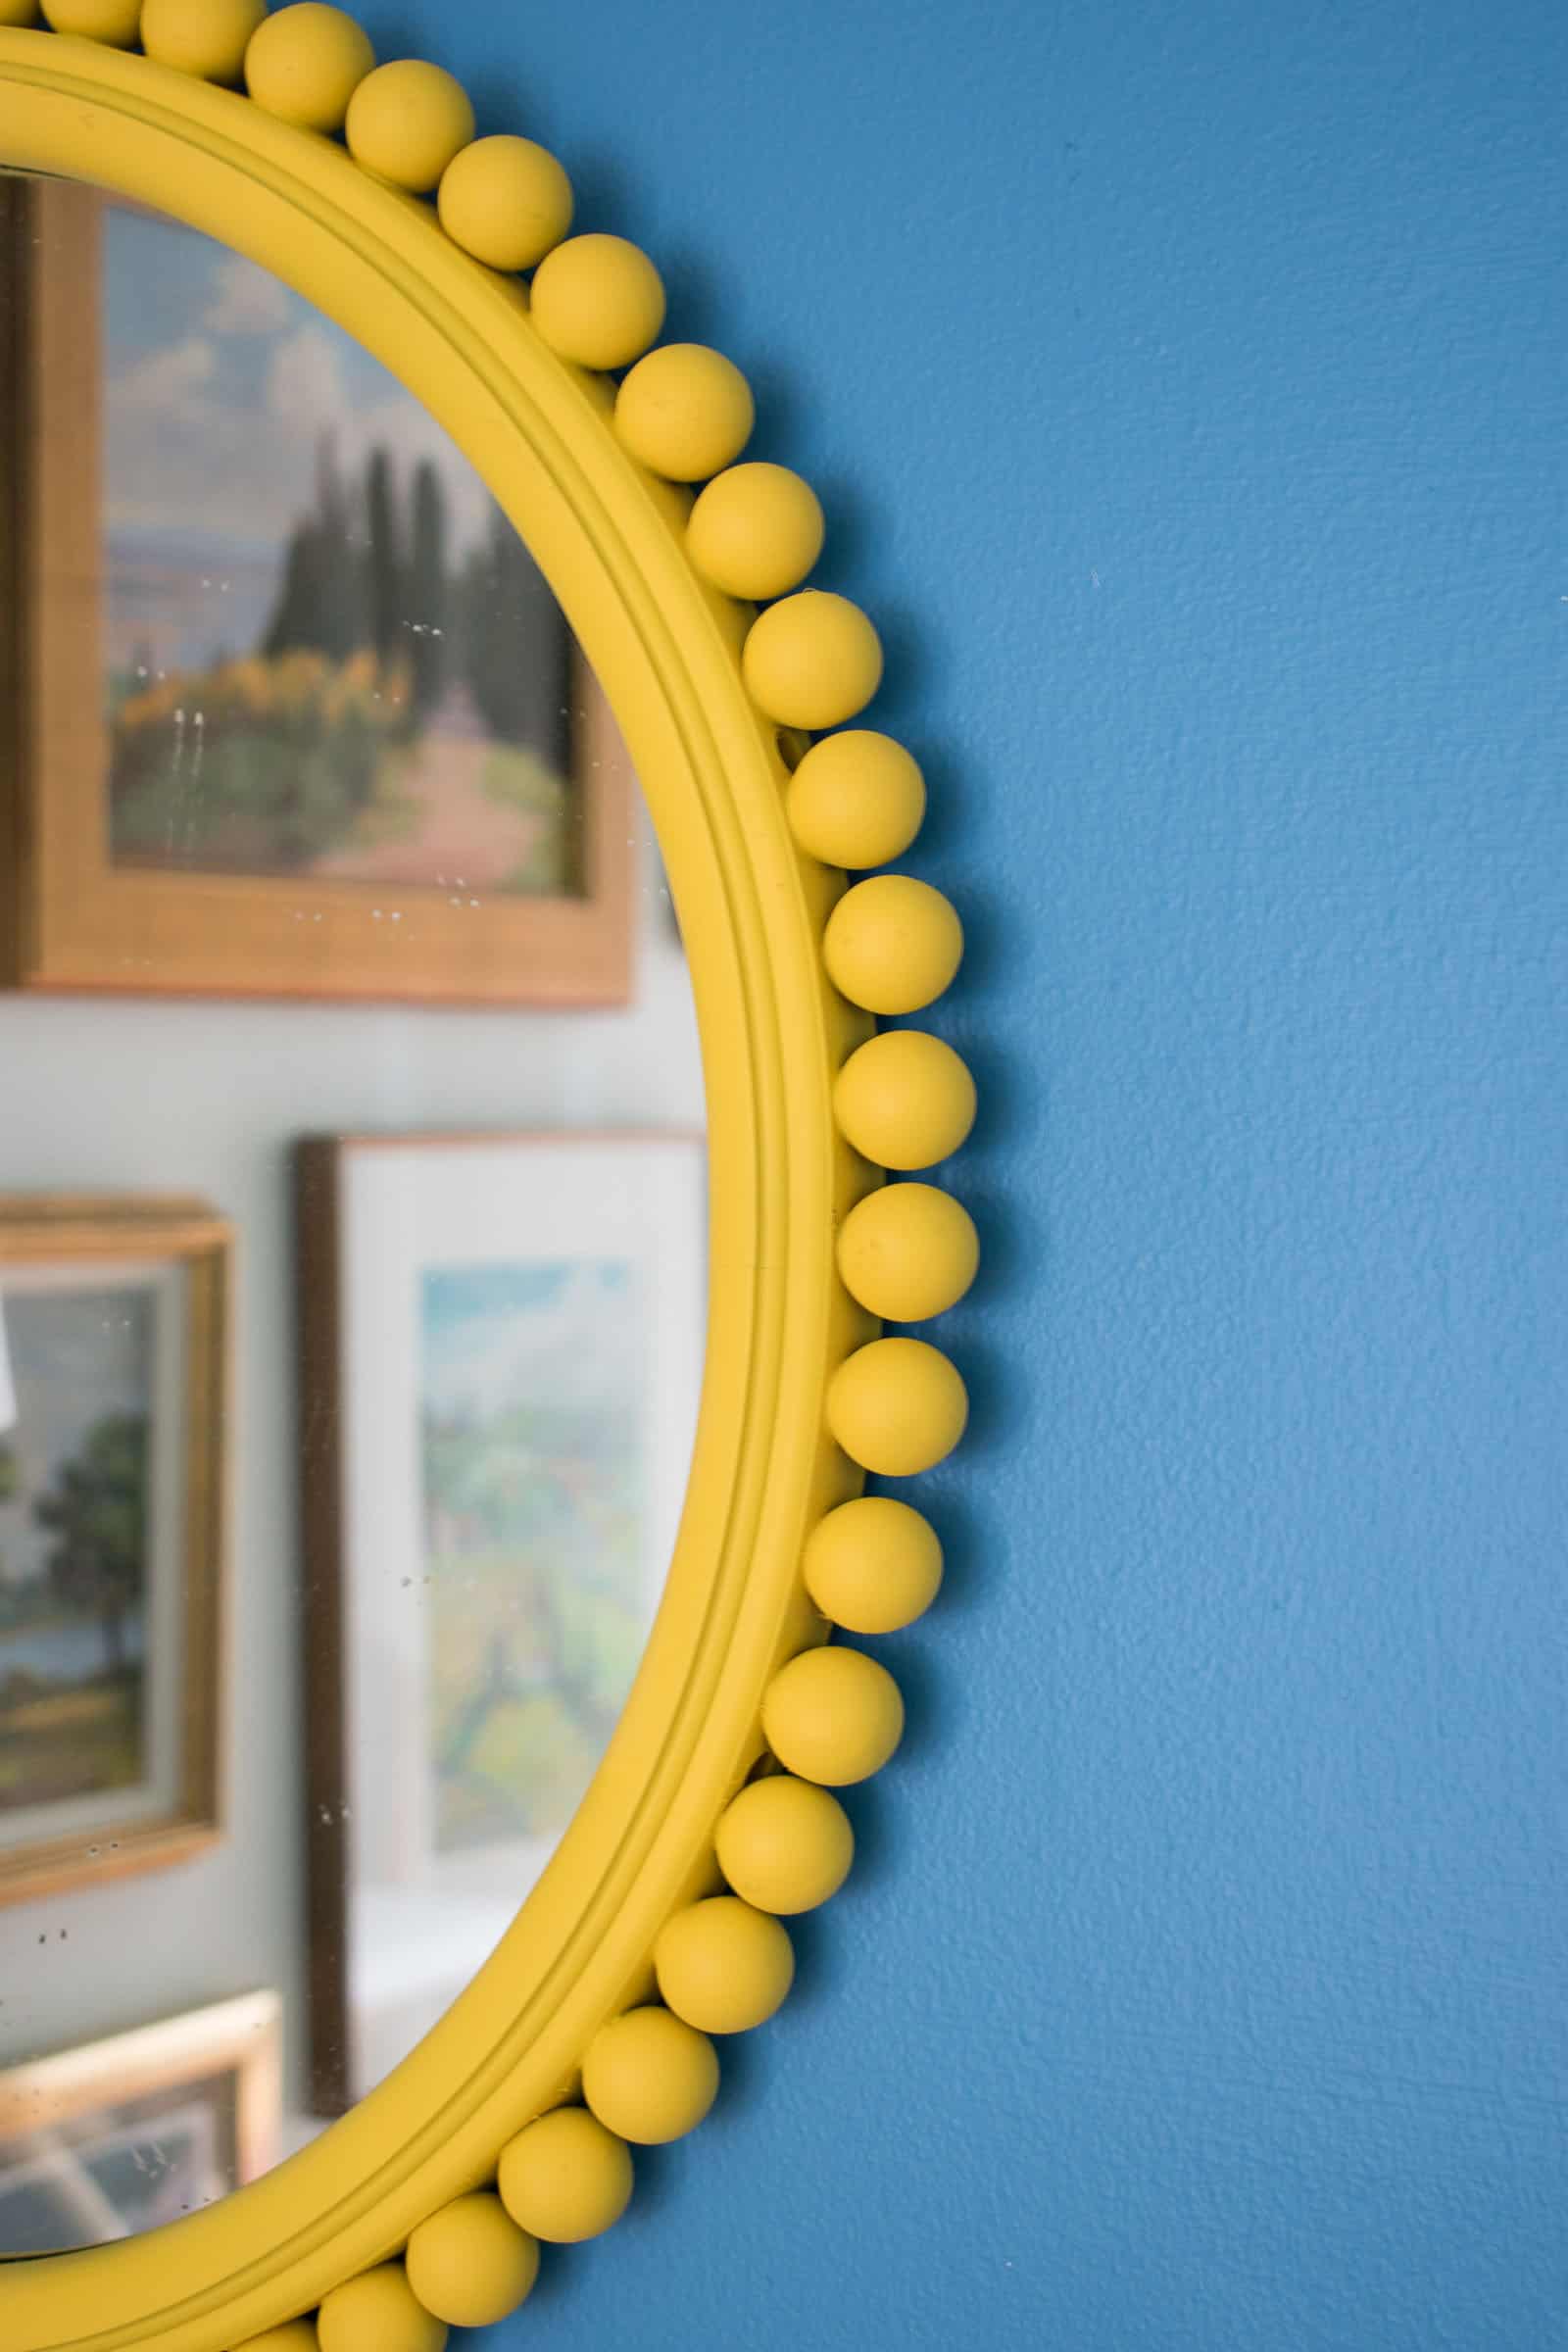
I taped off the surrounding areas and gave the mirror some light even coats of spray paint. I let the paint sit for a few hours and carefully turned the mirror over so I could paint the back of the wooden balls.
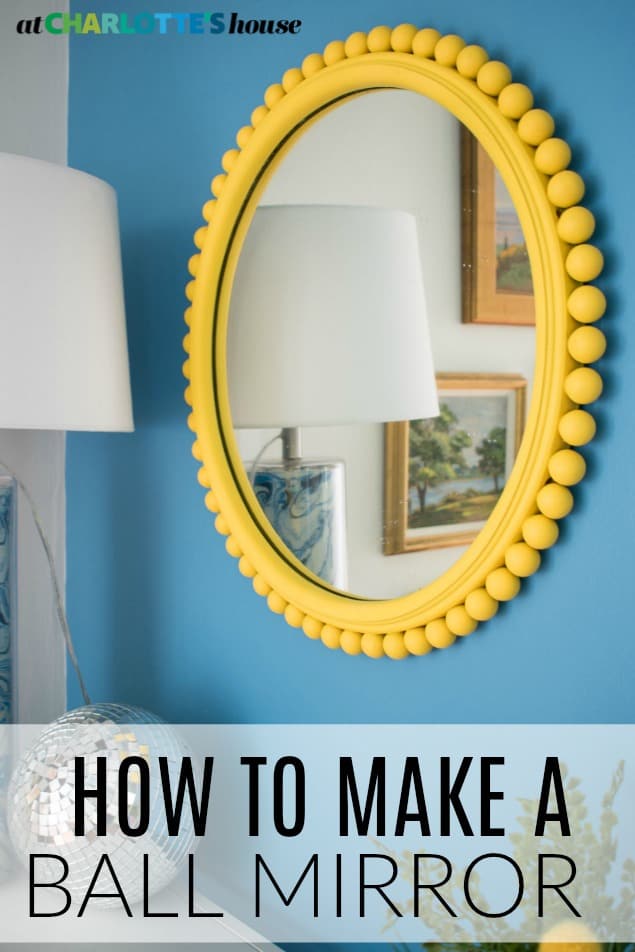
I’ve already forgotten how much I paid for the mirror, but I’d guess the whole project came in under $25 which is a pretty good deal for such a fun and whimsical new mirror!
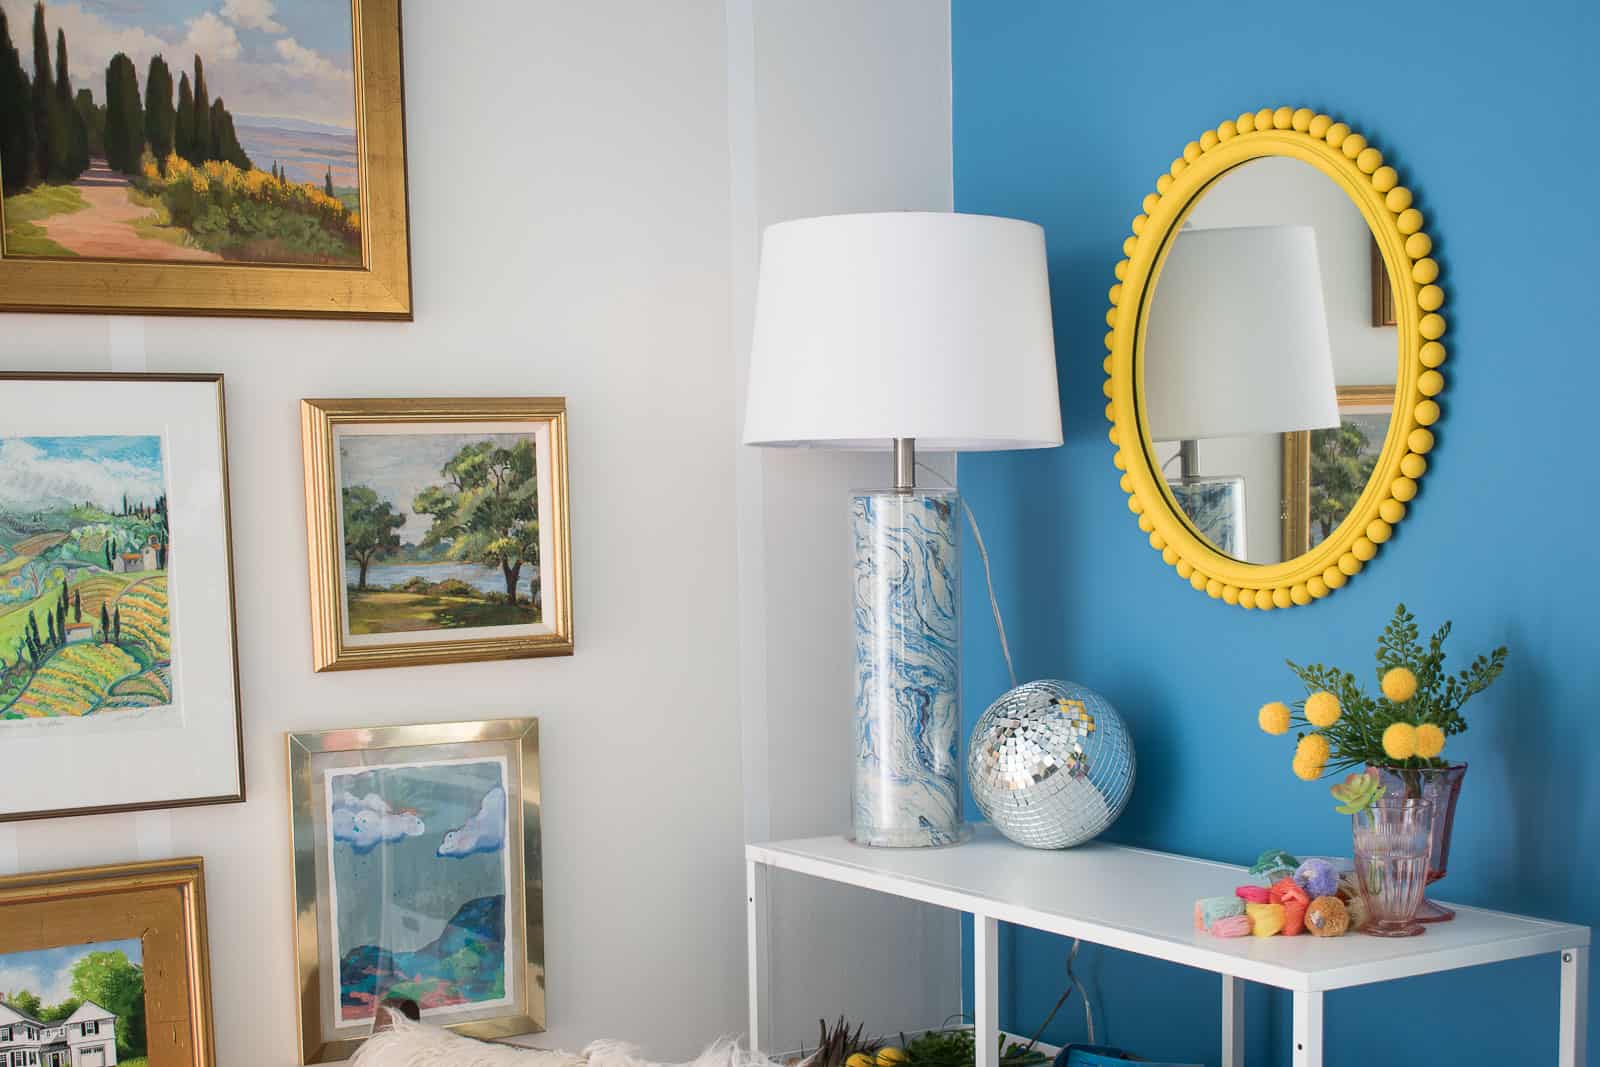
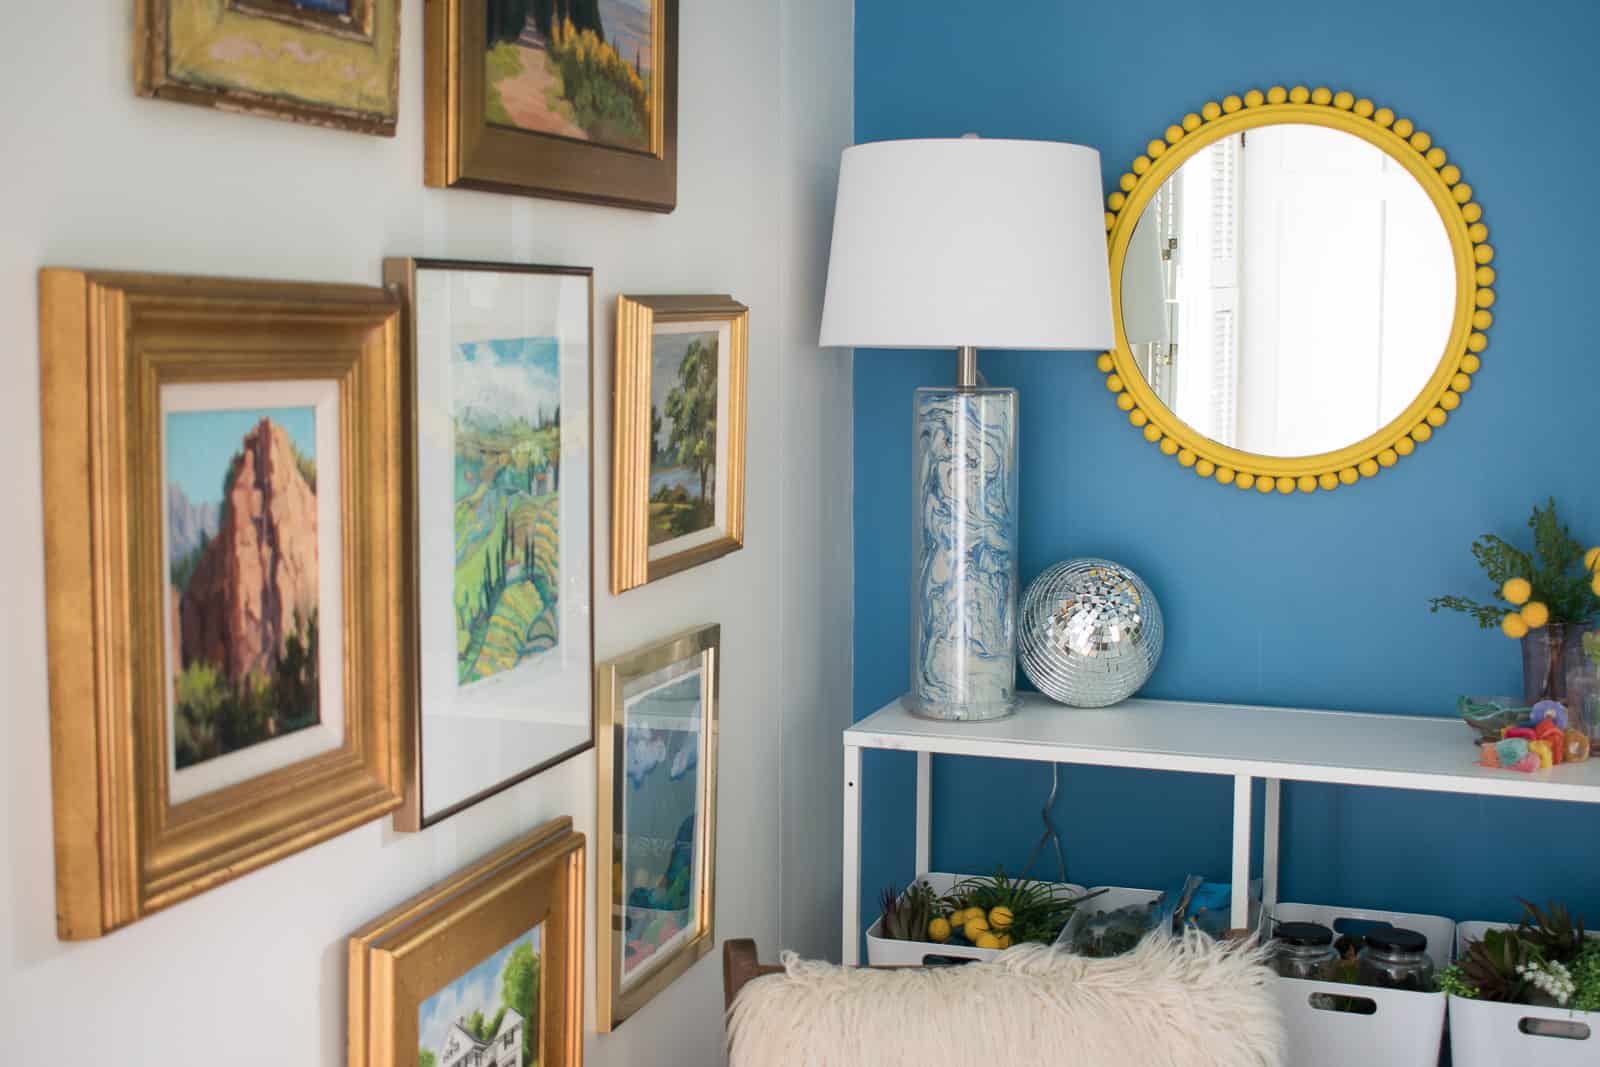
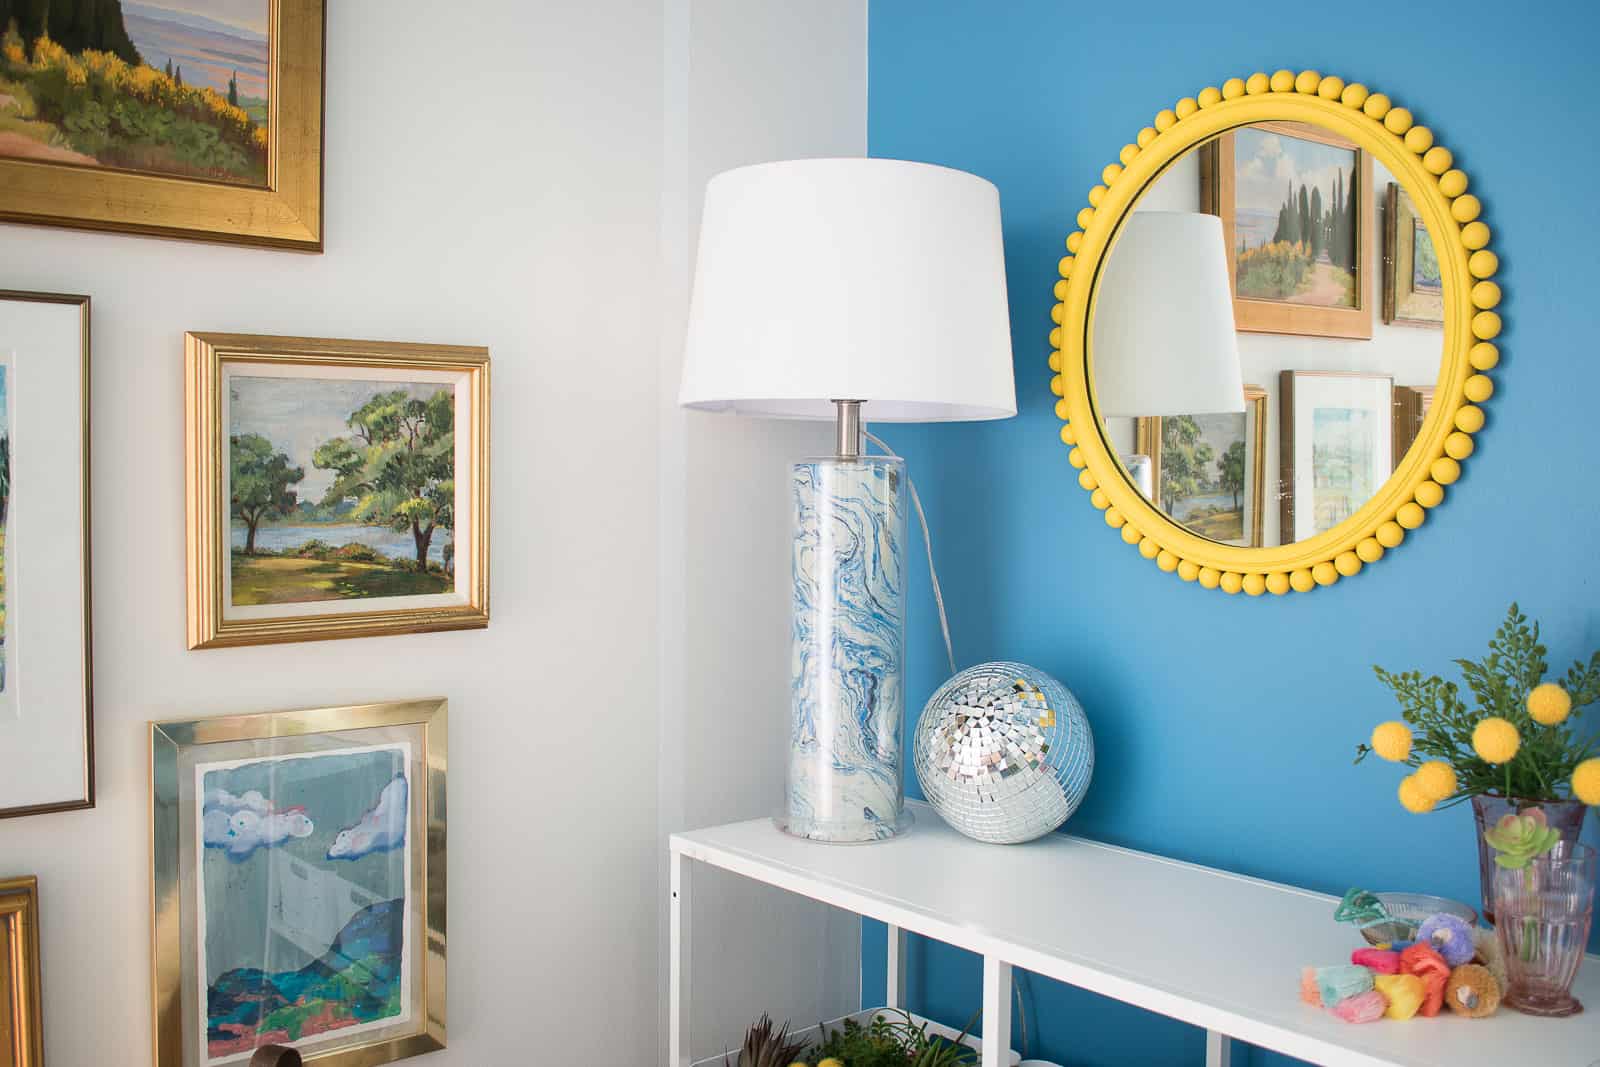
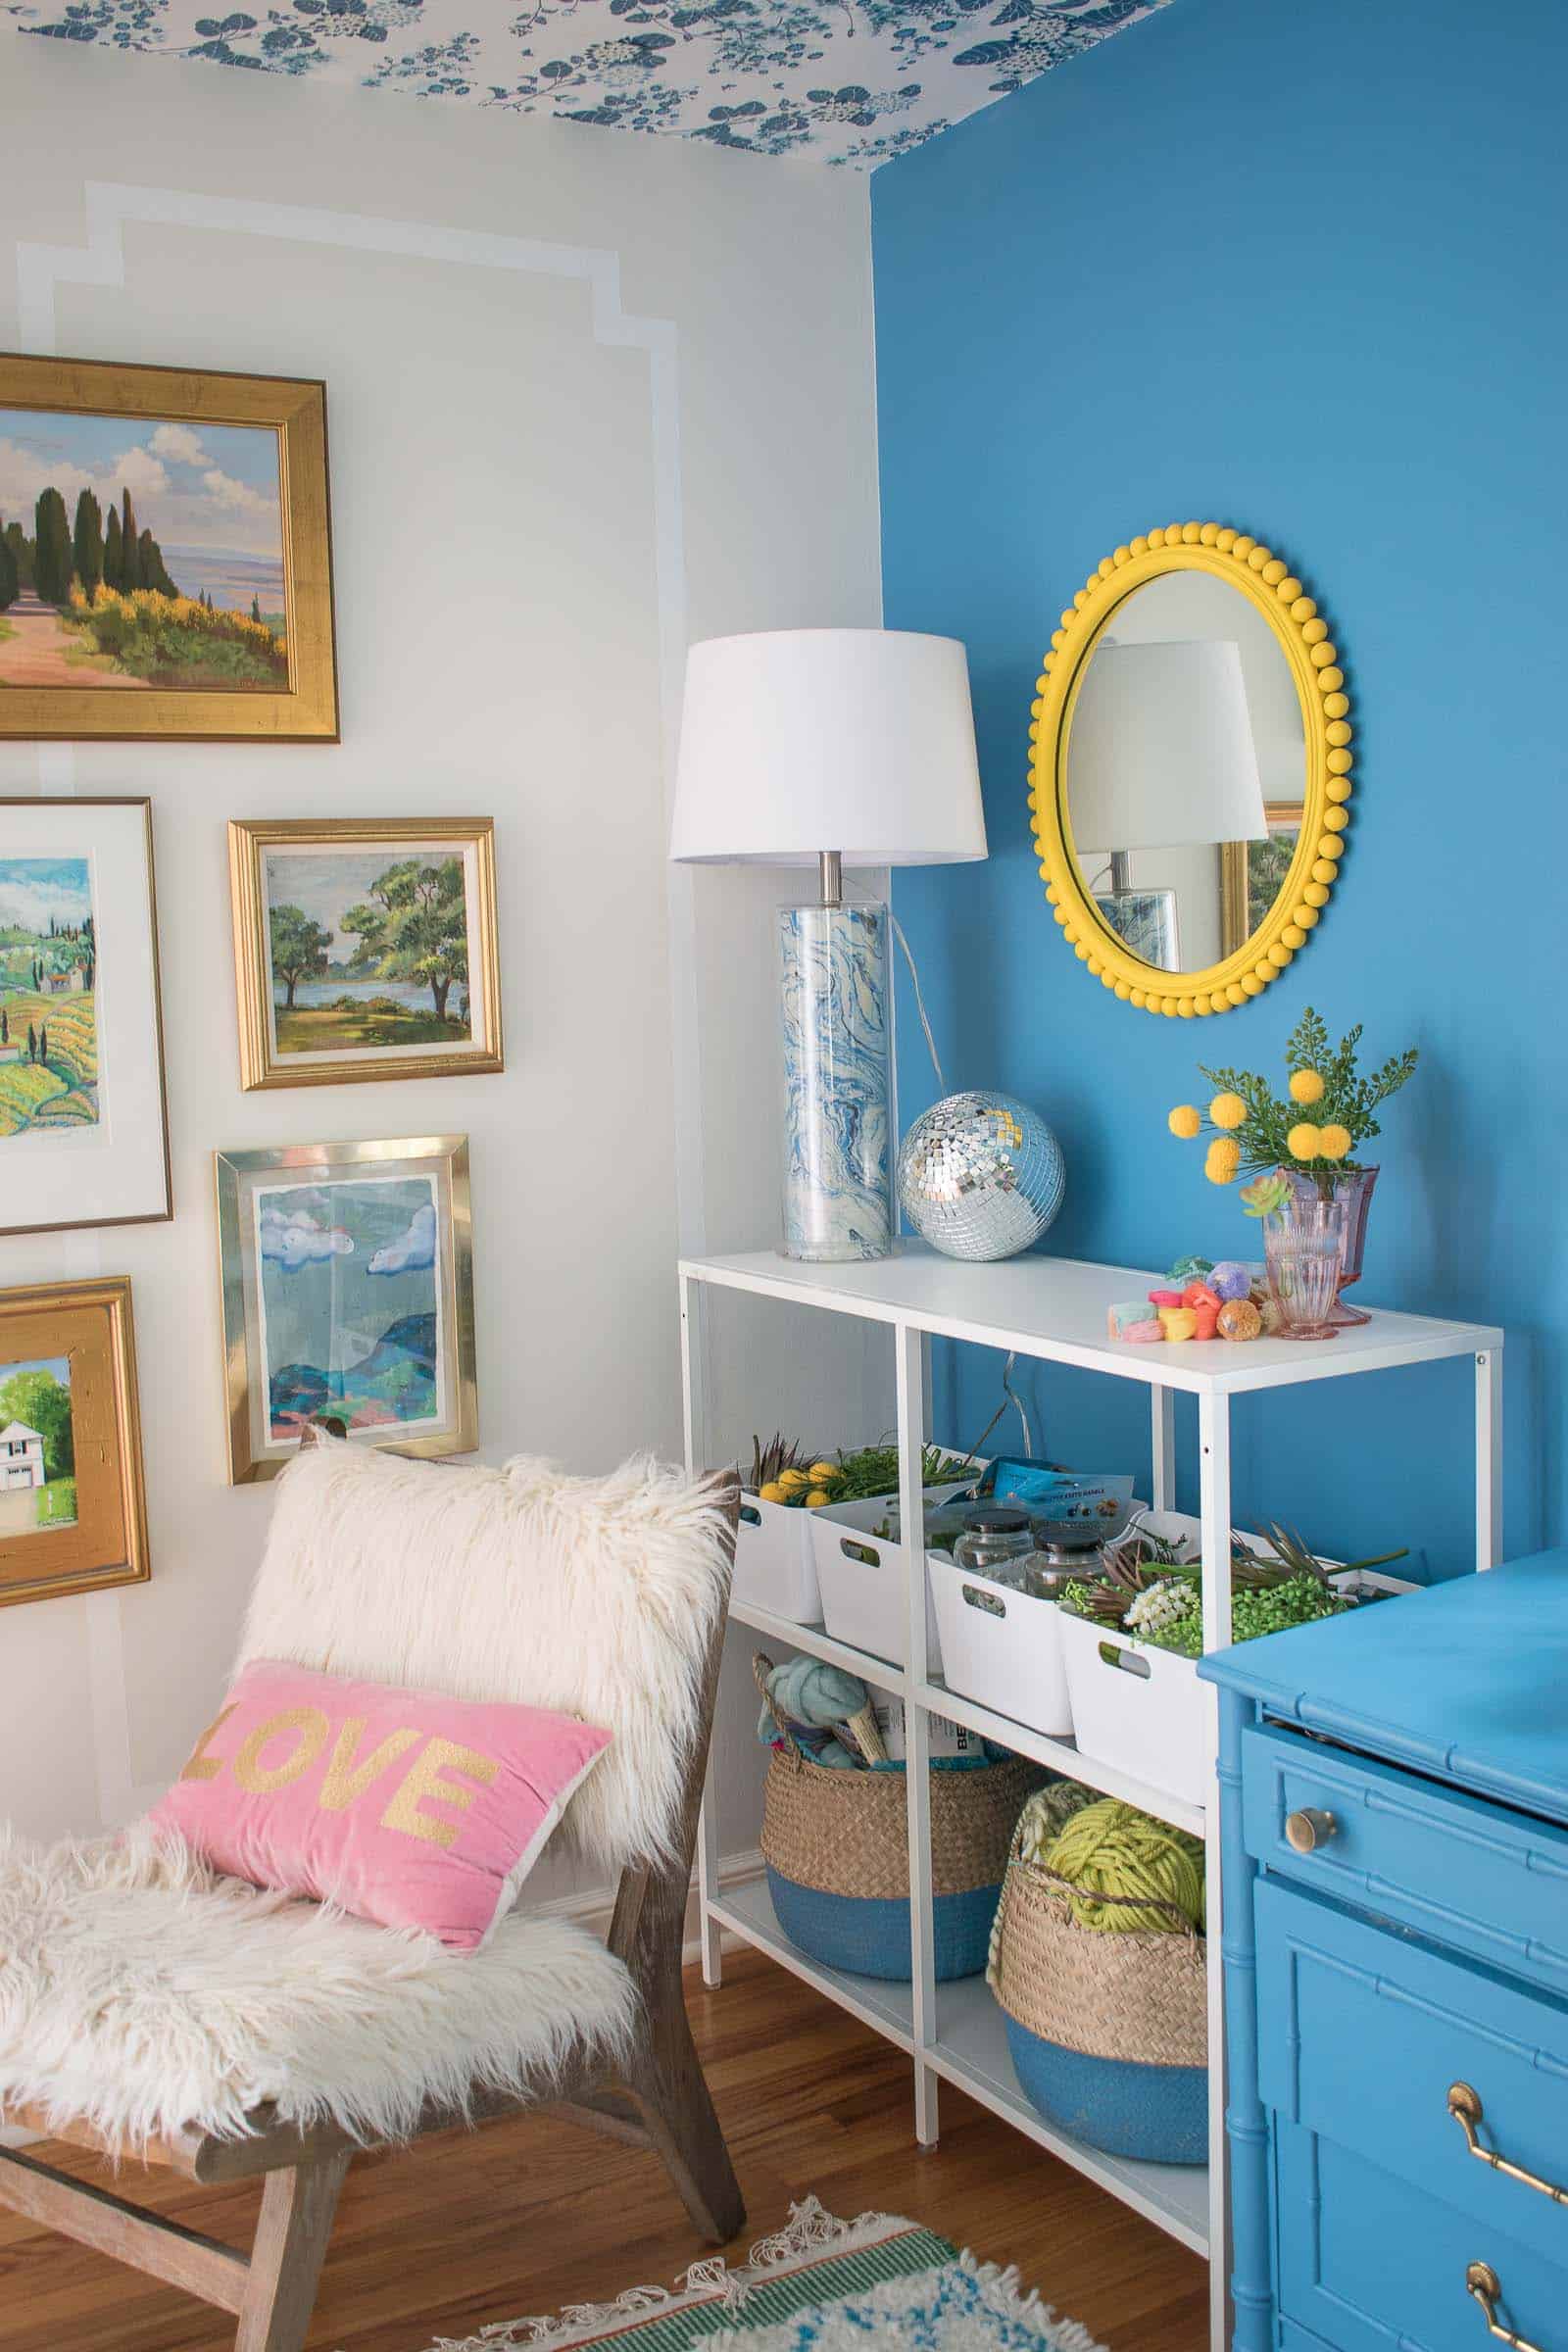
I don’t think I’ll keep it in my office, but I loved how it looks against the blue walls. I have a fun project coming up in October so I’m thinking it *may* work in there. If not… no question I’ll find a spot for it!
SHOP FOR SUPPLIES:
If you enjoyed this… then you’re DEFinitely going to love what everyone else did with their thrift scores! Make sure you check out all these talented ladies!








It turned out so cute! What a smart idea – I love the color you chose, too!
Thanks for organizing! I LOVE this kind of challenge! xx
this is so fun, charlotte! i thought it was pom pom trim at first from the image but this is so much cooler! (and less dusty. 😉 )
Haha! Pompoms could be SUPER fun but yeah… I suppose you’re right about the dust. 🙂
Looks so much better, great redo
Thanks so much! I love how it turned out!
I love this! You are so creative and inspiring!
Thanks, Melissa! YOu’re far too kind! xx
Love this so much!
THanks, Toni! I’m so happy with how it turned out!
This p roject is amazing!! I love it and love the color you chose!
Thank you Meg! I loved this challenge!
This is so cute!!!
Thank you my friend! Hope you had a safe trip. How do you like my punctual response?
I hOnestly couldn’t even imagine how you would “cute up” an old ugly mirroR. I am blown away!! This Is so super cute!! Genius idea!
Haha! Thank you! I love how big a change it is!!
Crying! THis is so cute, it turned out so well, Charlotte!
THANK YOU, friend!!! I love thrift store challenges! xx