
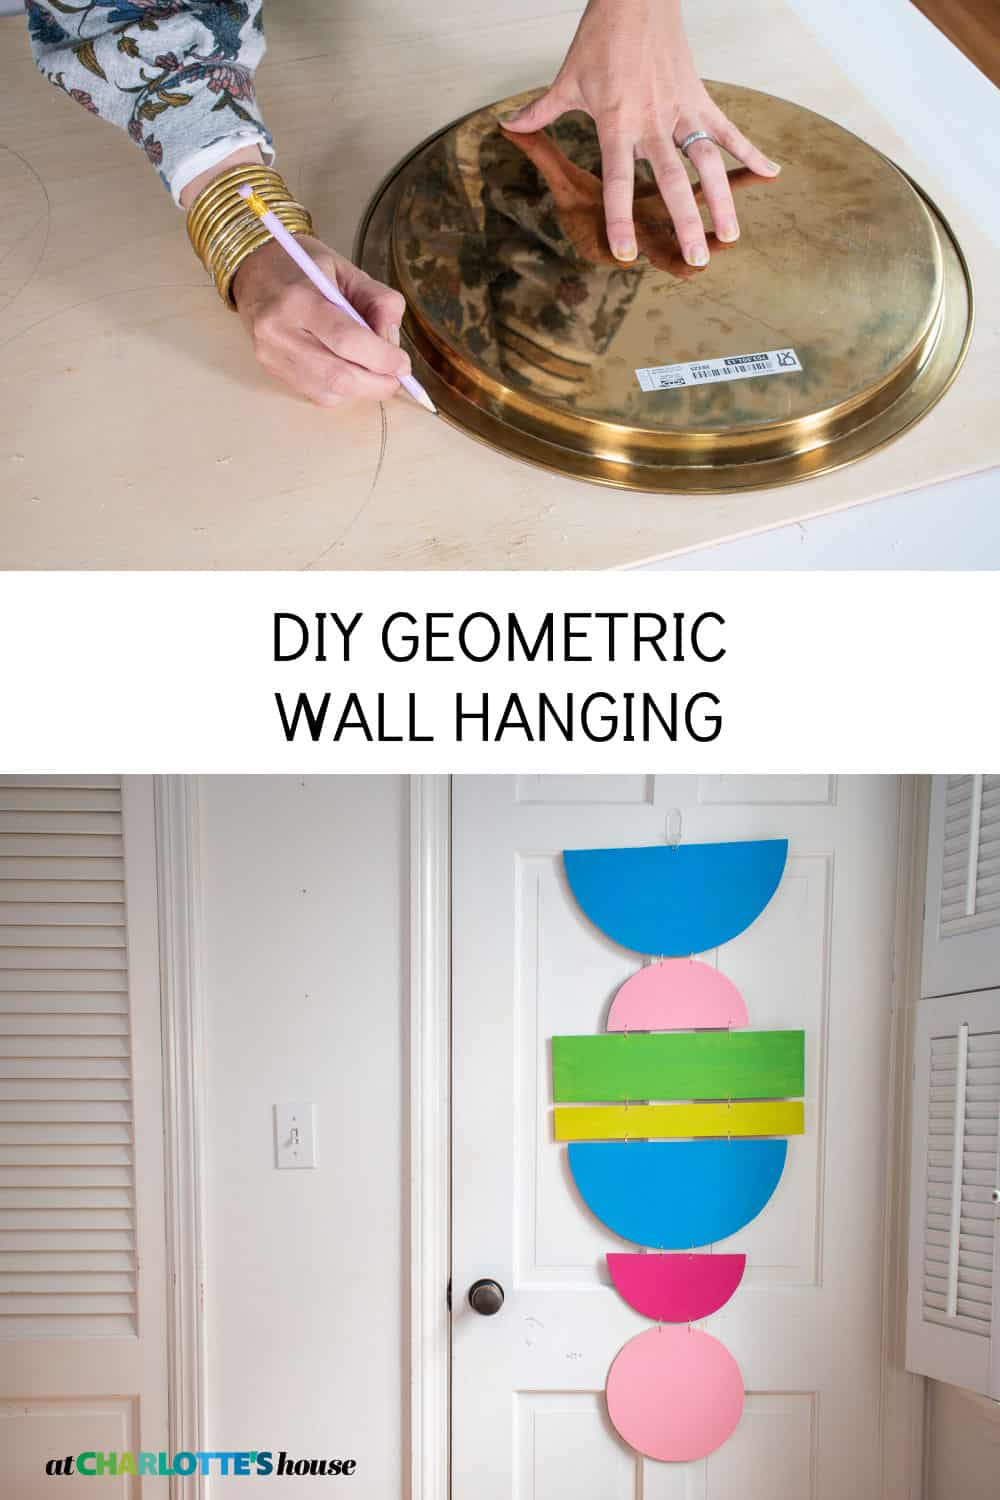
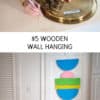
Geometric Wall Hanging
Psssst… this post *might* contain affiliate links: see my disclosure here.
Easy Budget Wall Hanging
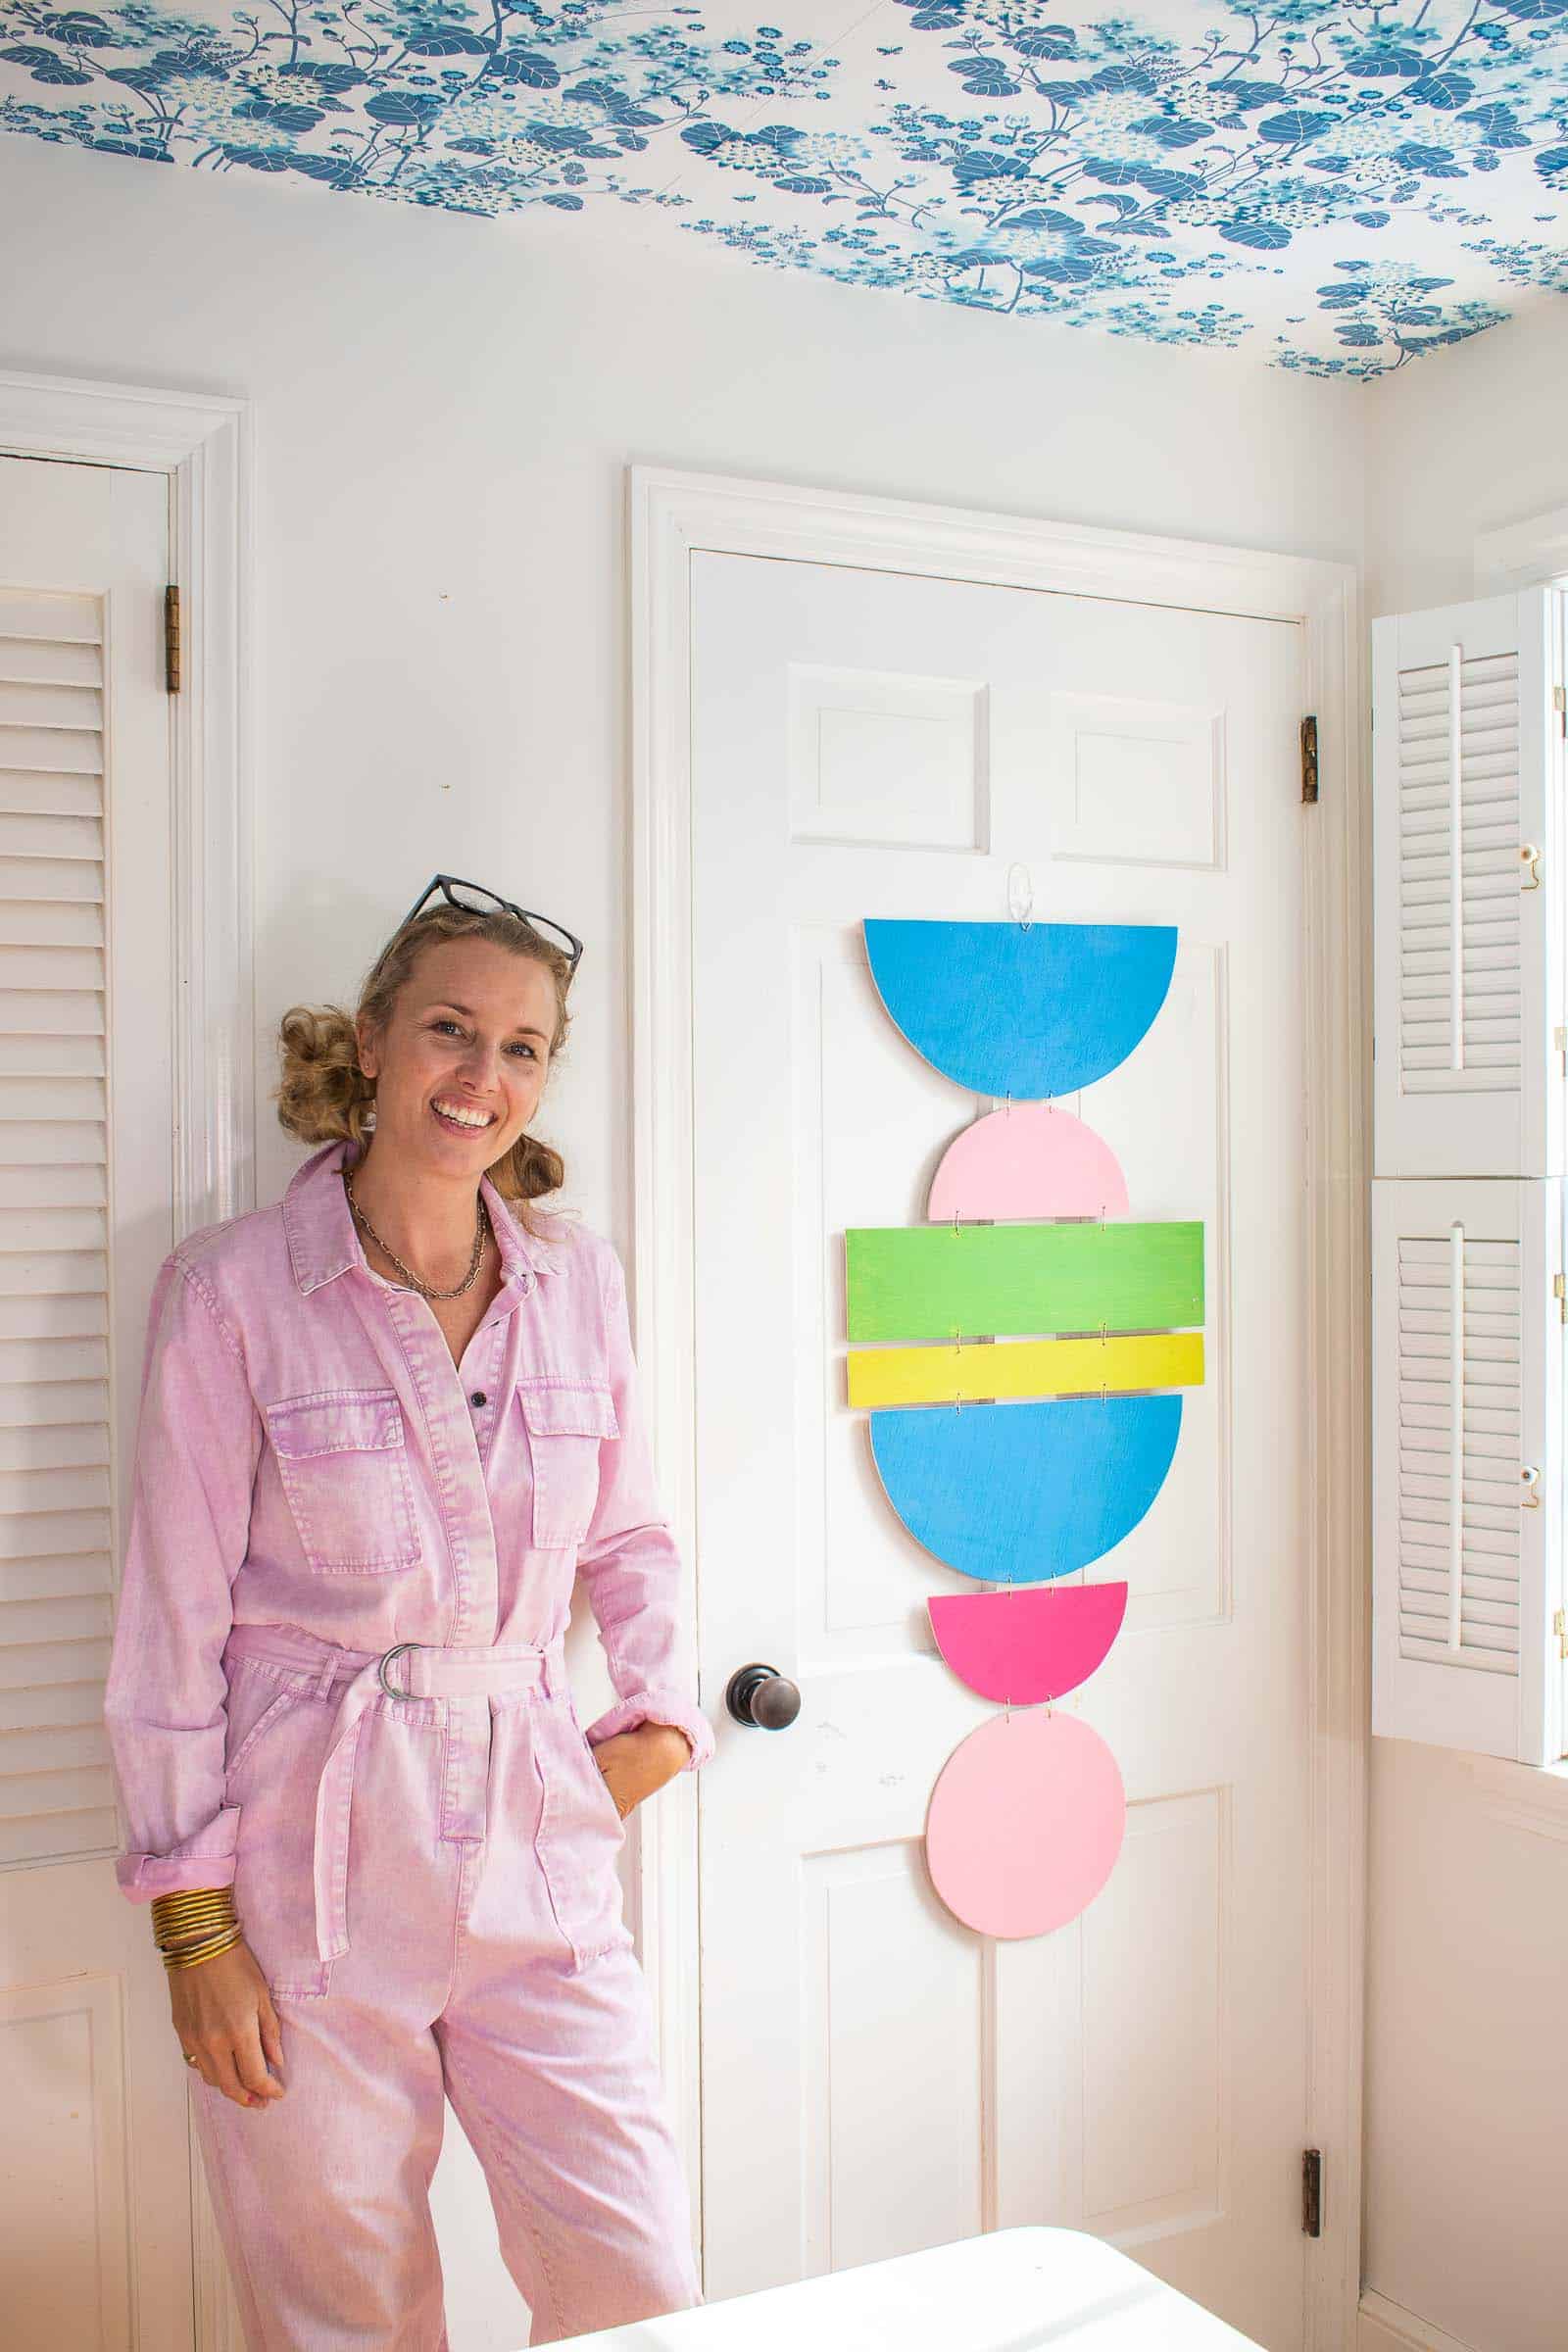
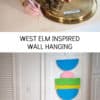
This DIY geometric wall hanging is a fun pop of graphic color in my office.
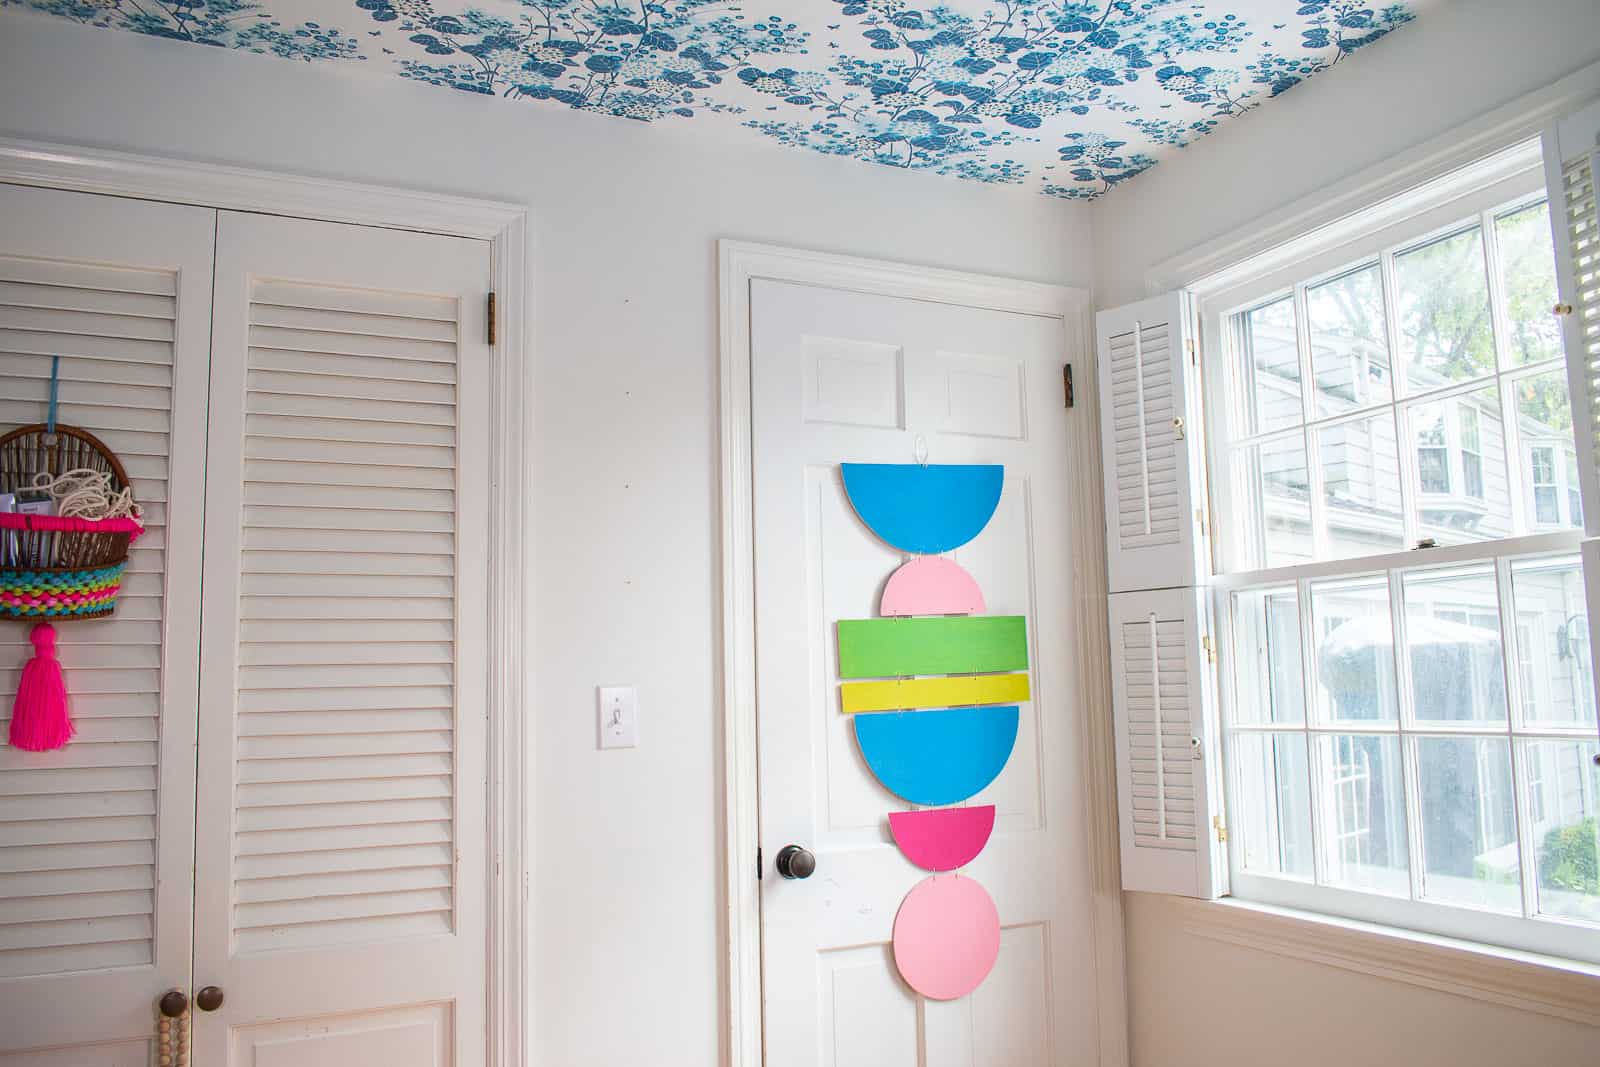
Some days I just need to make something. It helps quiet the noise in my head and for 90 minutes, I can just enjoy the art of creating. This geometric wall hanging cost $5 and looks similar to ones I’ve seen on West Elm or CB2. As with all of my projects, keep in mind that you can use any colors you like to make this wall art best fit your decor! There’s a full materials list at the end of this post if you have any questions.
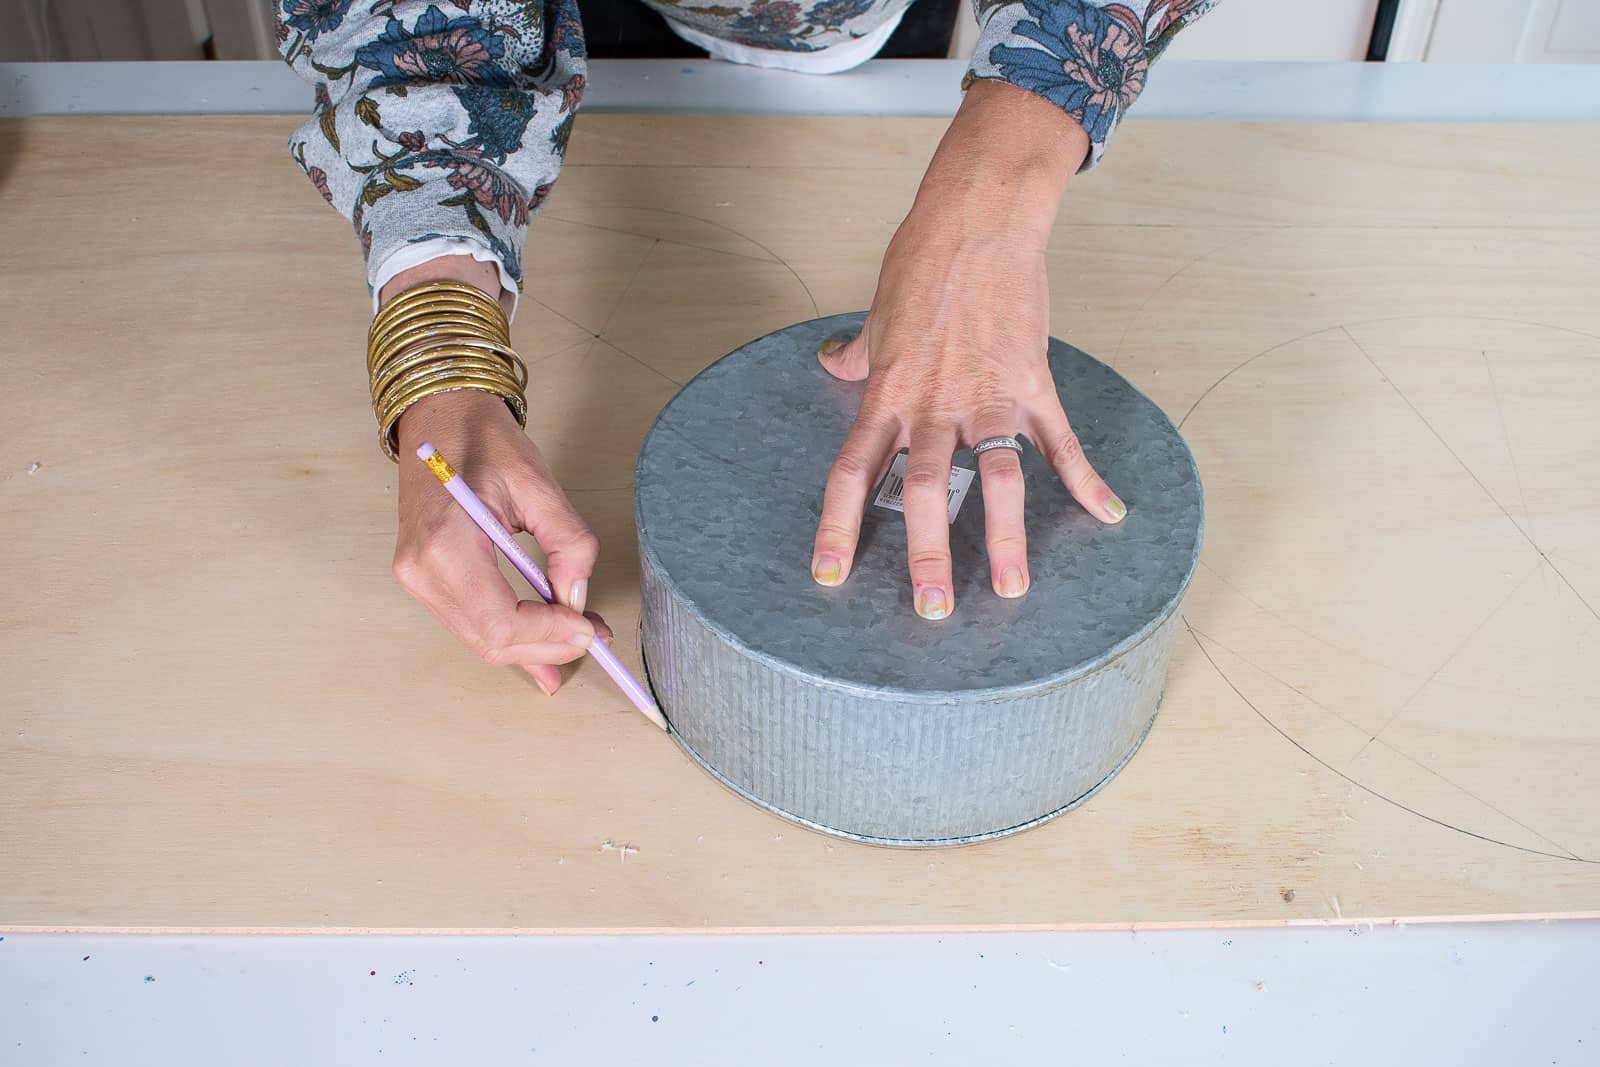
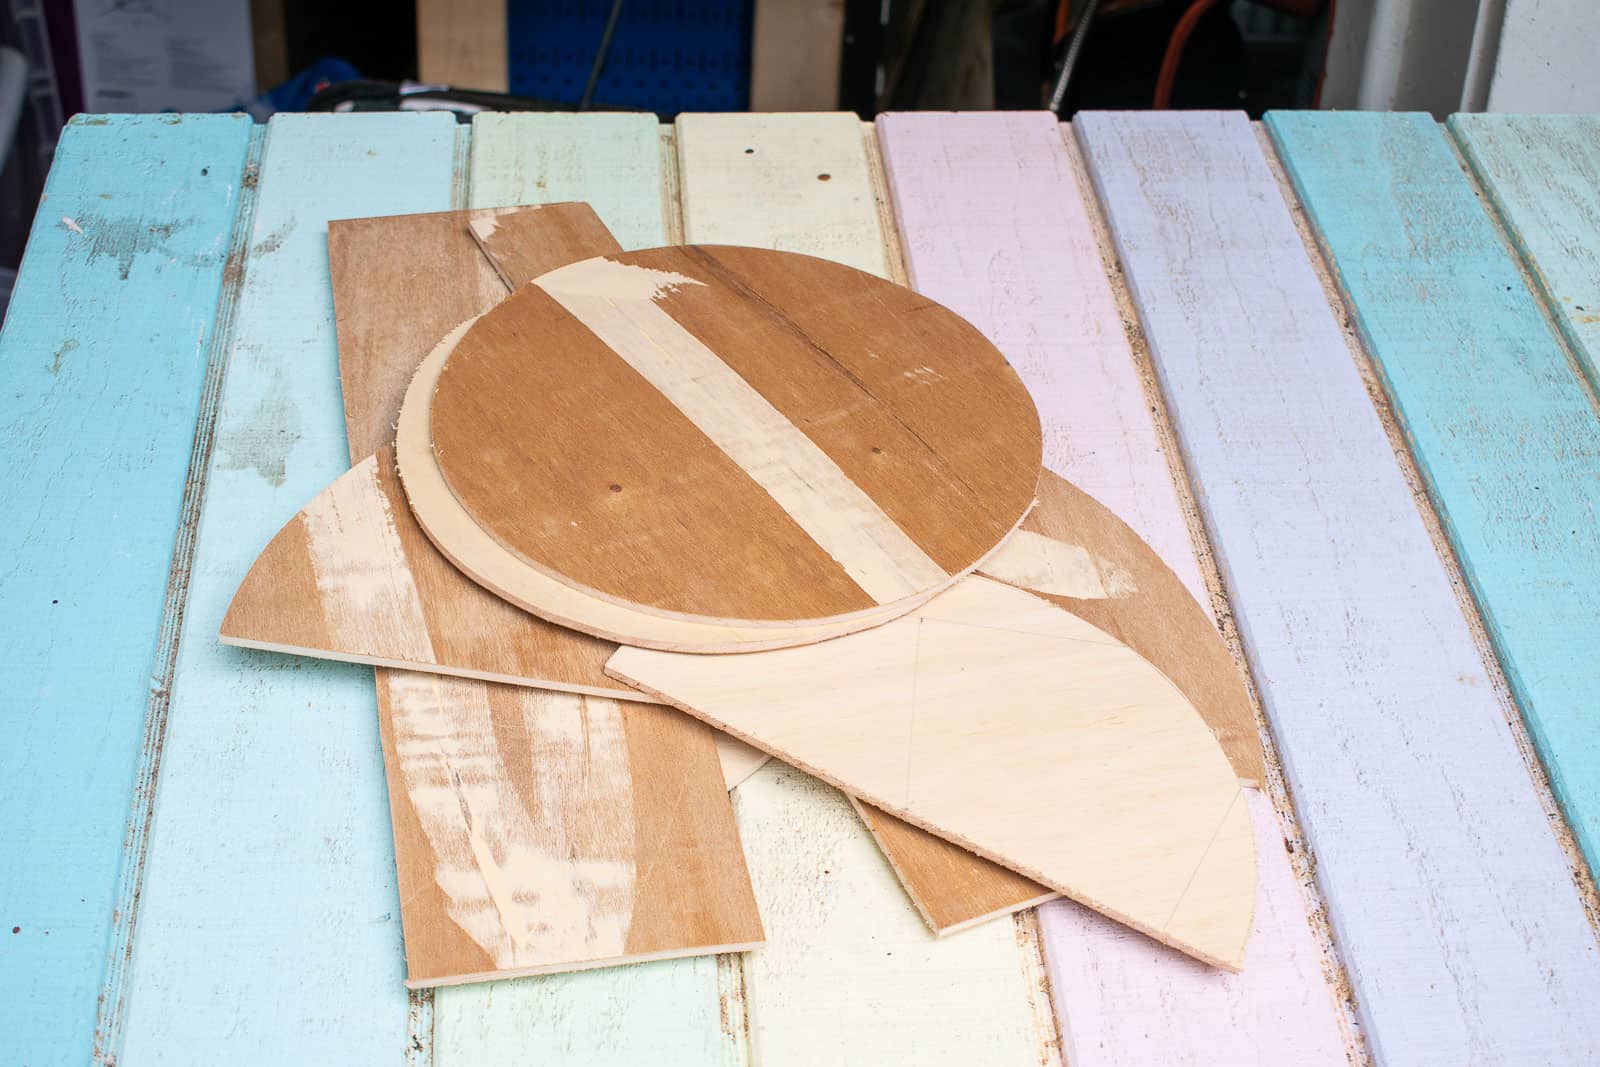
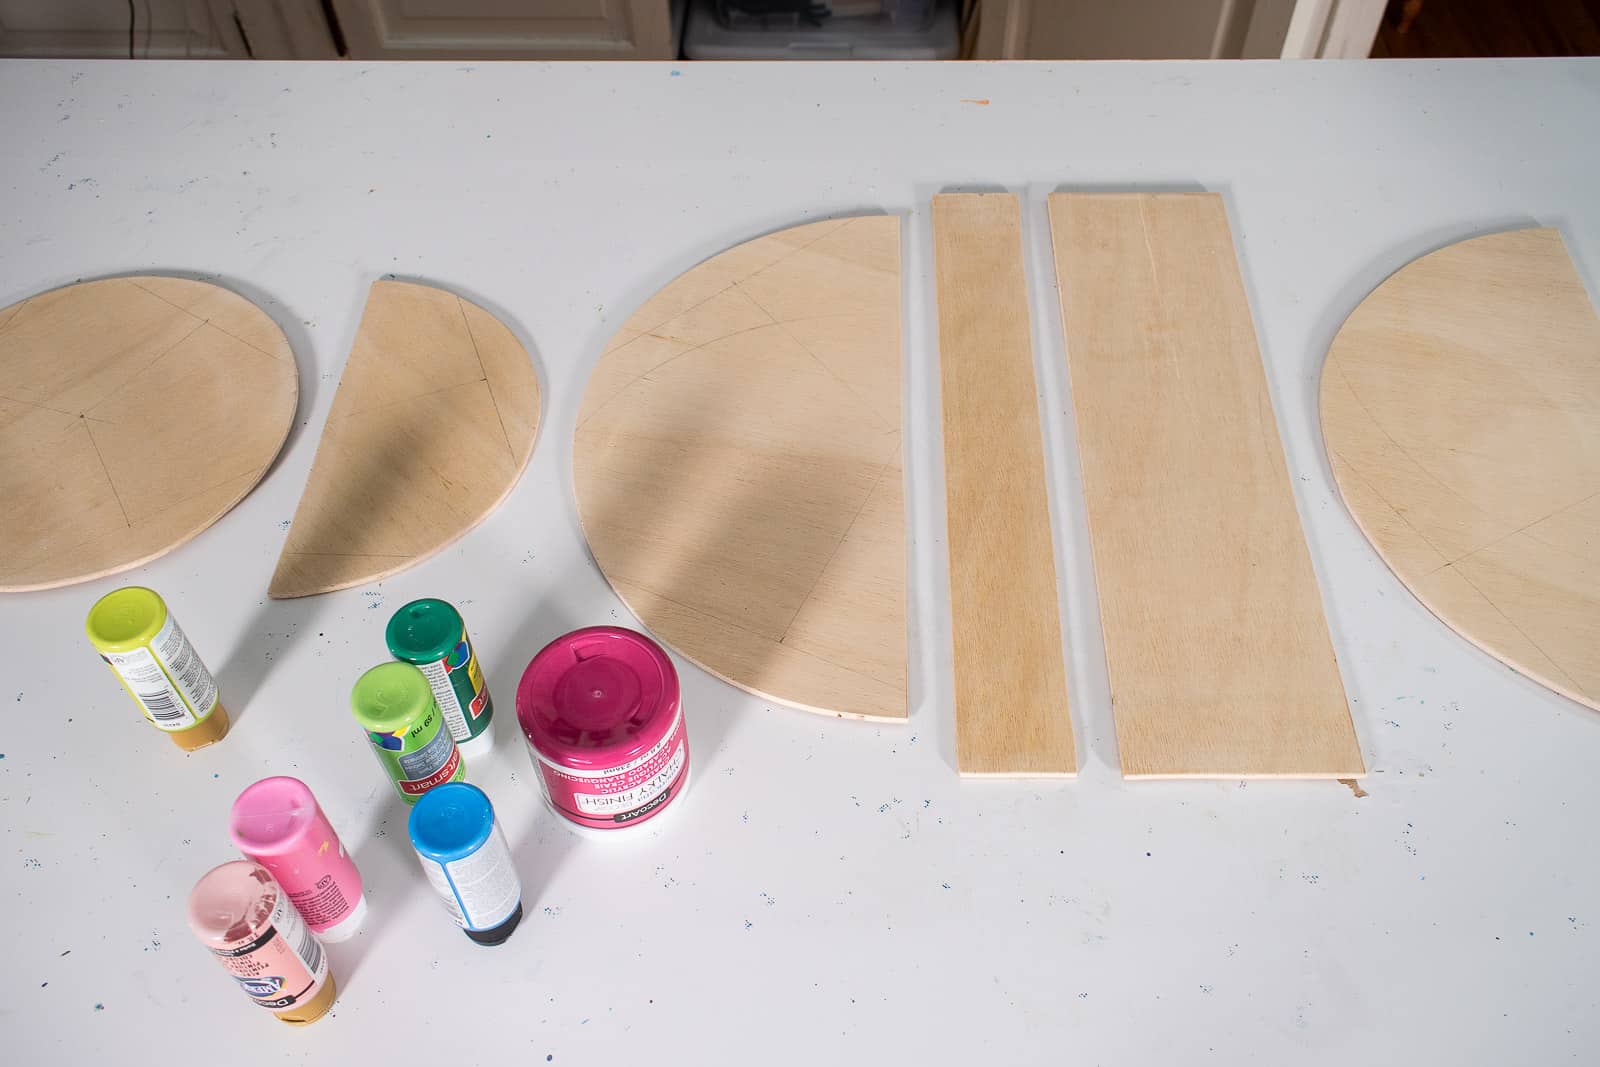
Step 1. Trace the Shapes
I traced a few different shapes onto my hardwood: two circles and then a couple of long skinny rectangles. I wanted some of the circles to be semi circles, so I had to find the center point.
Shop my favorites!
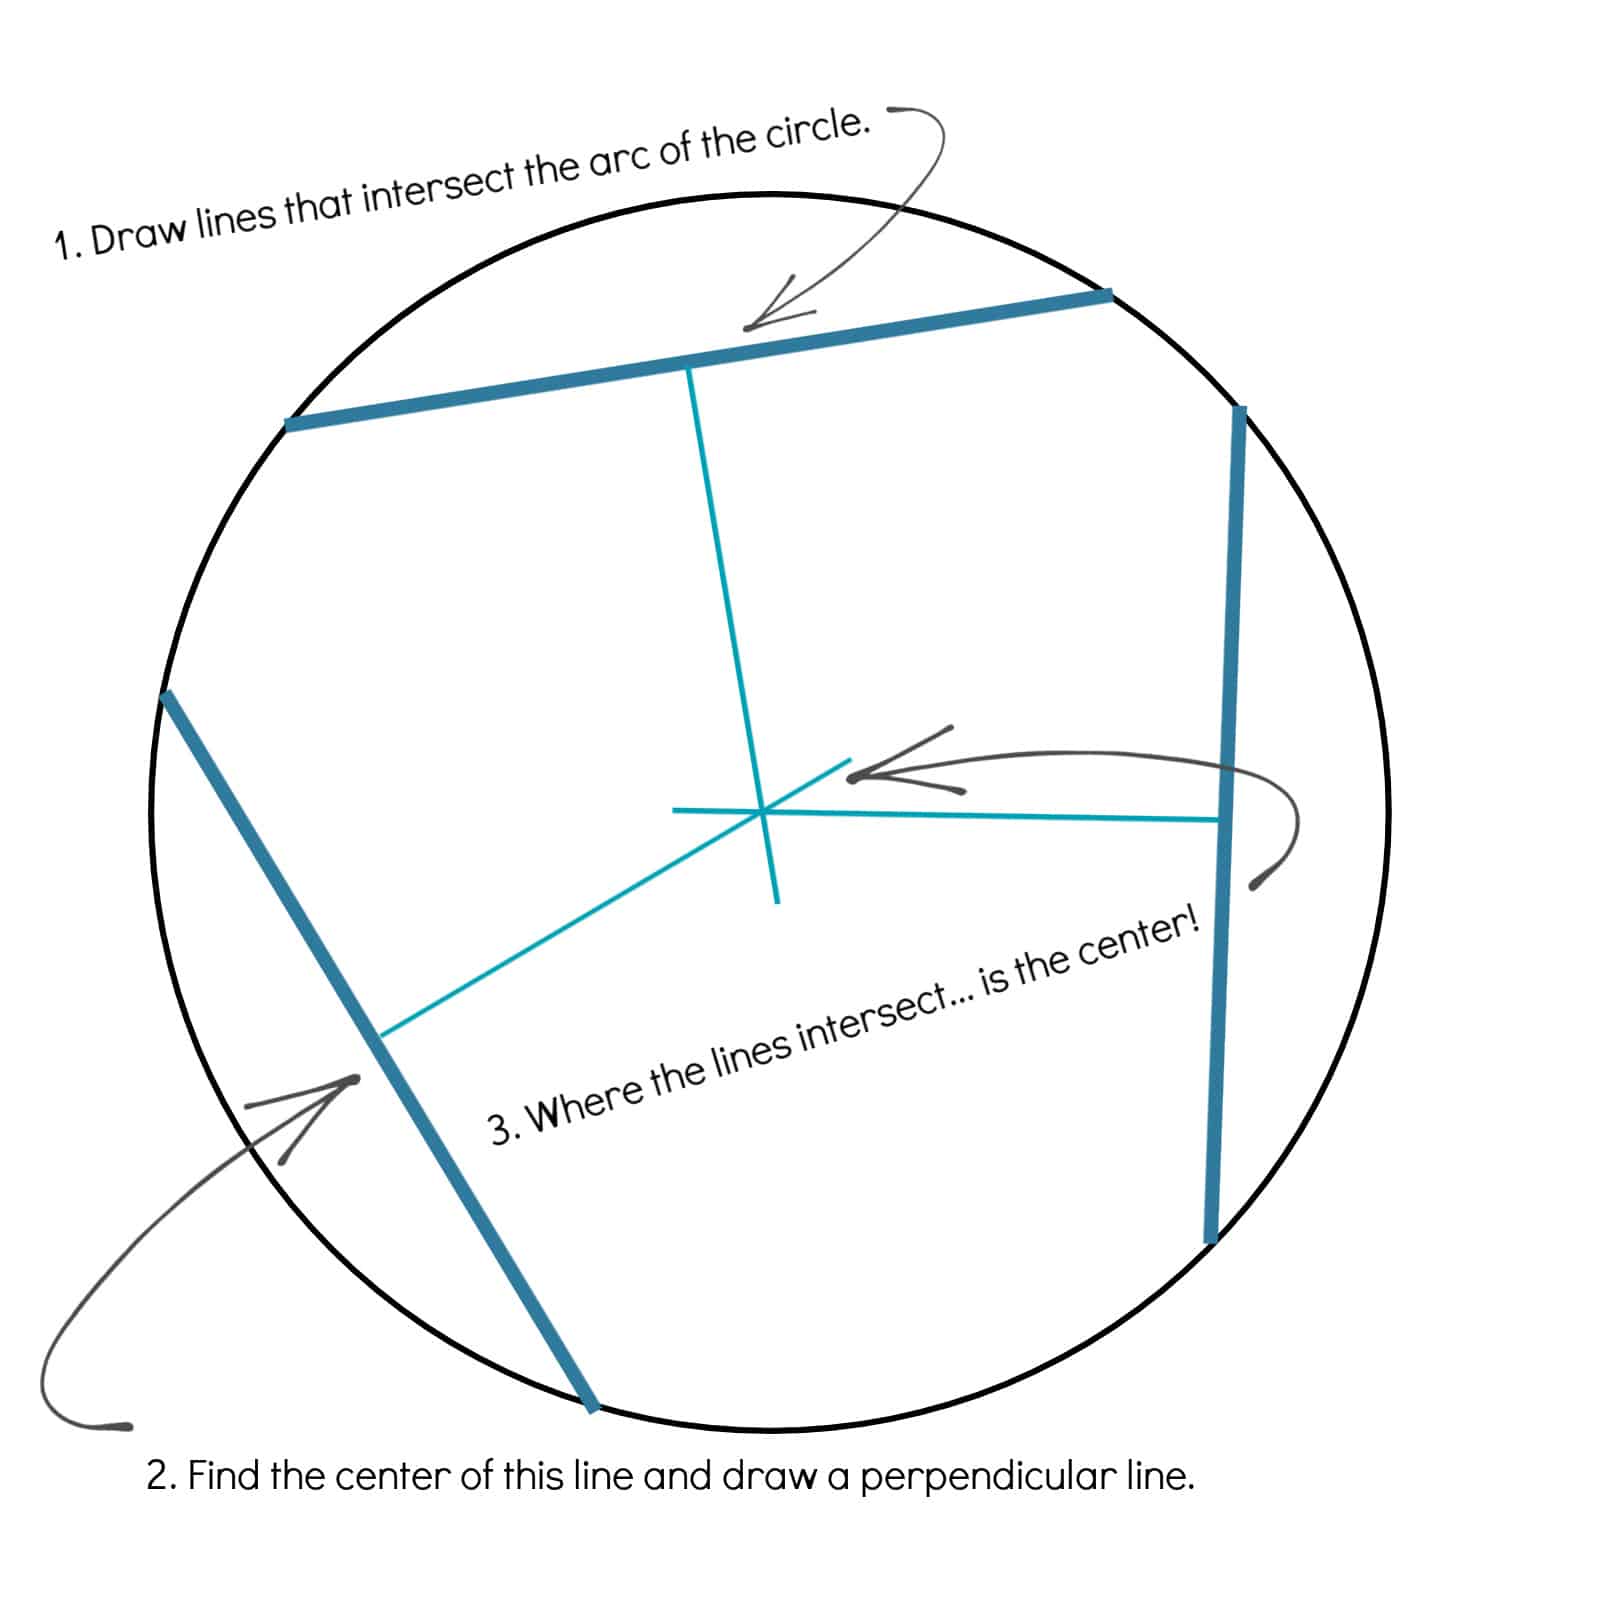
Tip: To find the center of a circle, draw a few straight lines that intersect the arc of the circle. Find the halfway point of these lines and draw a perpendicular line towards the middle of the circle. Where these lines intersect is the center of the circle.
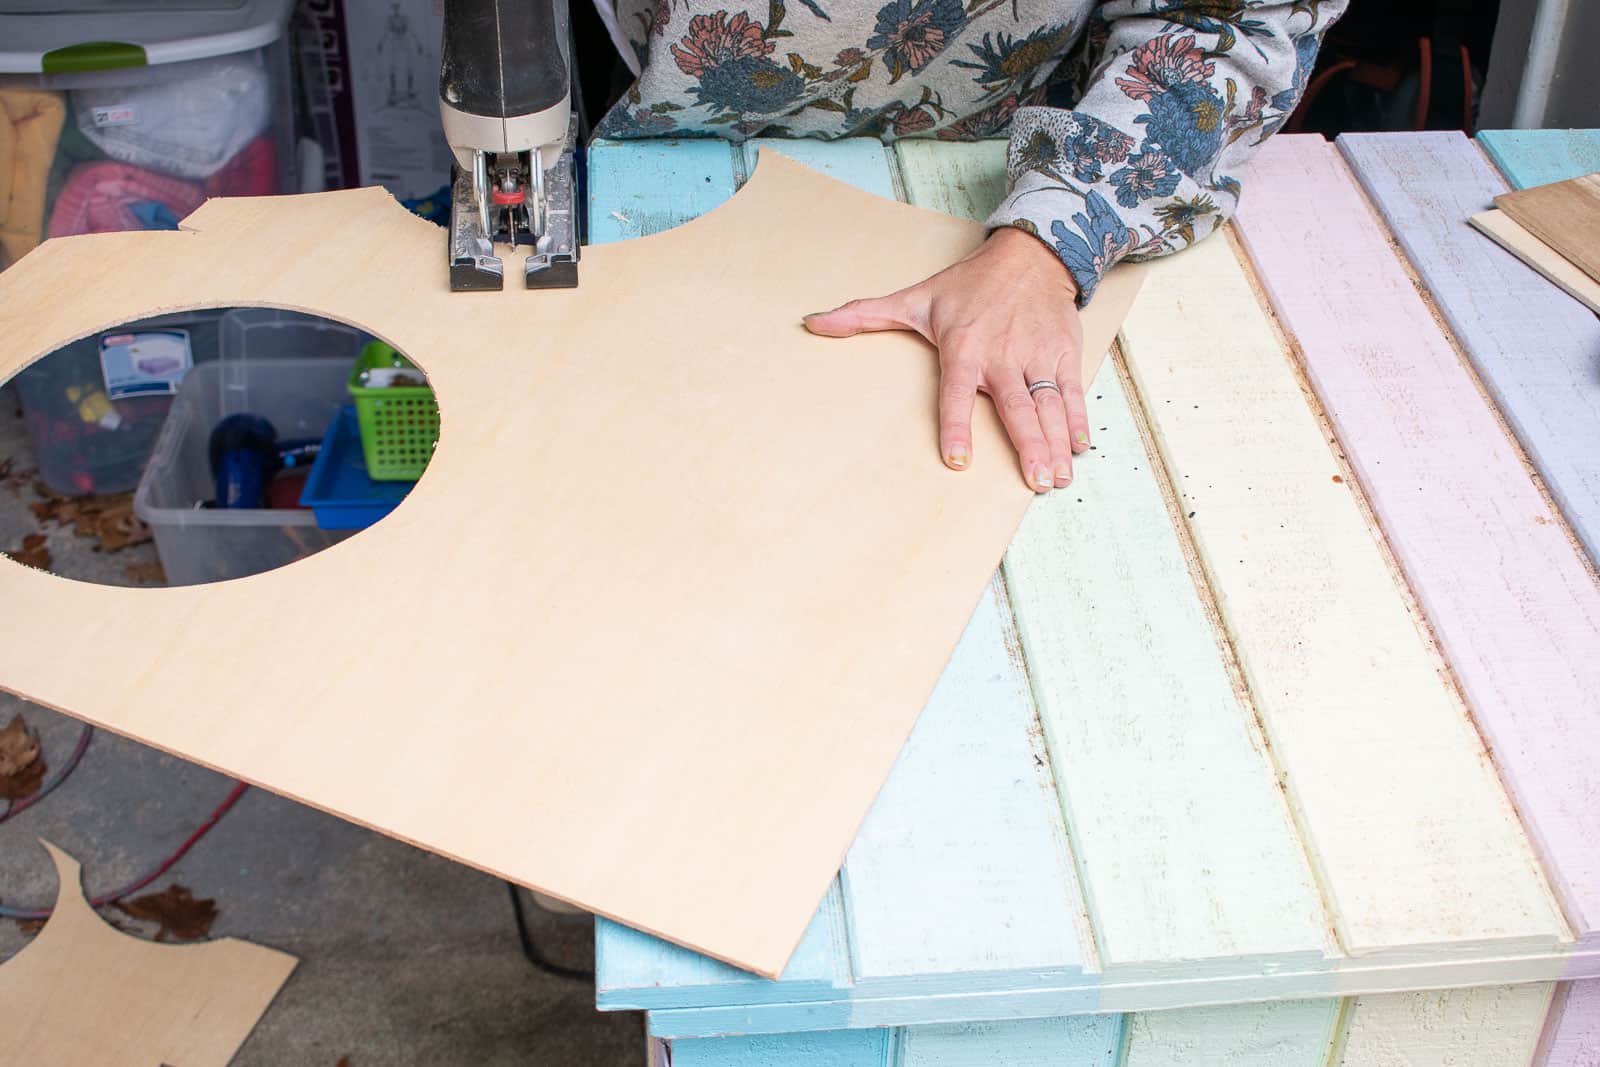
Step 2. Cut Out the Shapes
Using a jigsaw, cut out each of the shapes you’ve traced. Choose a blade intended for cutting soft wood to avoid tear out.
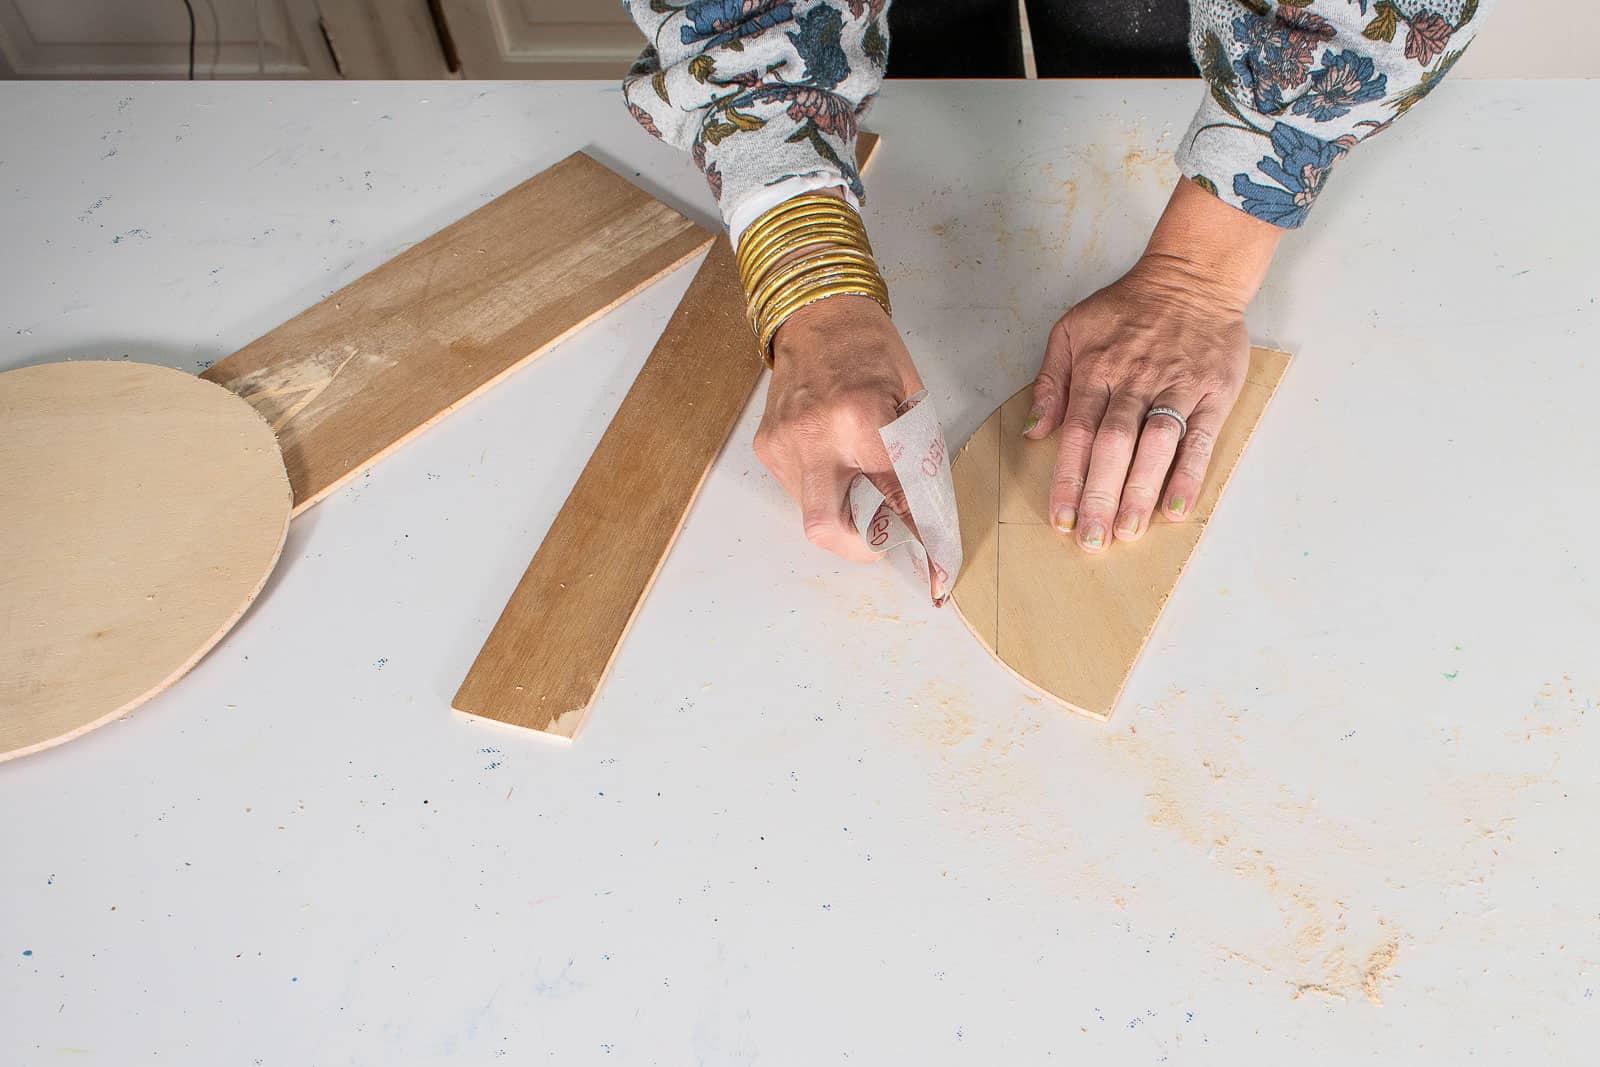
Step 3. Sand Each Shape
With fine grit sandpaper, sand the edges of each shape smooth.
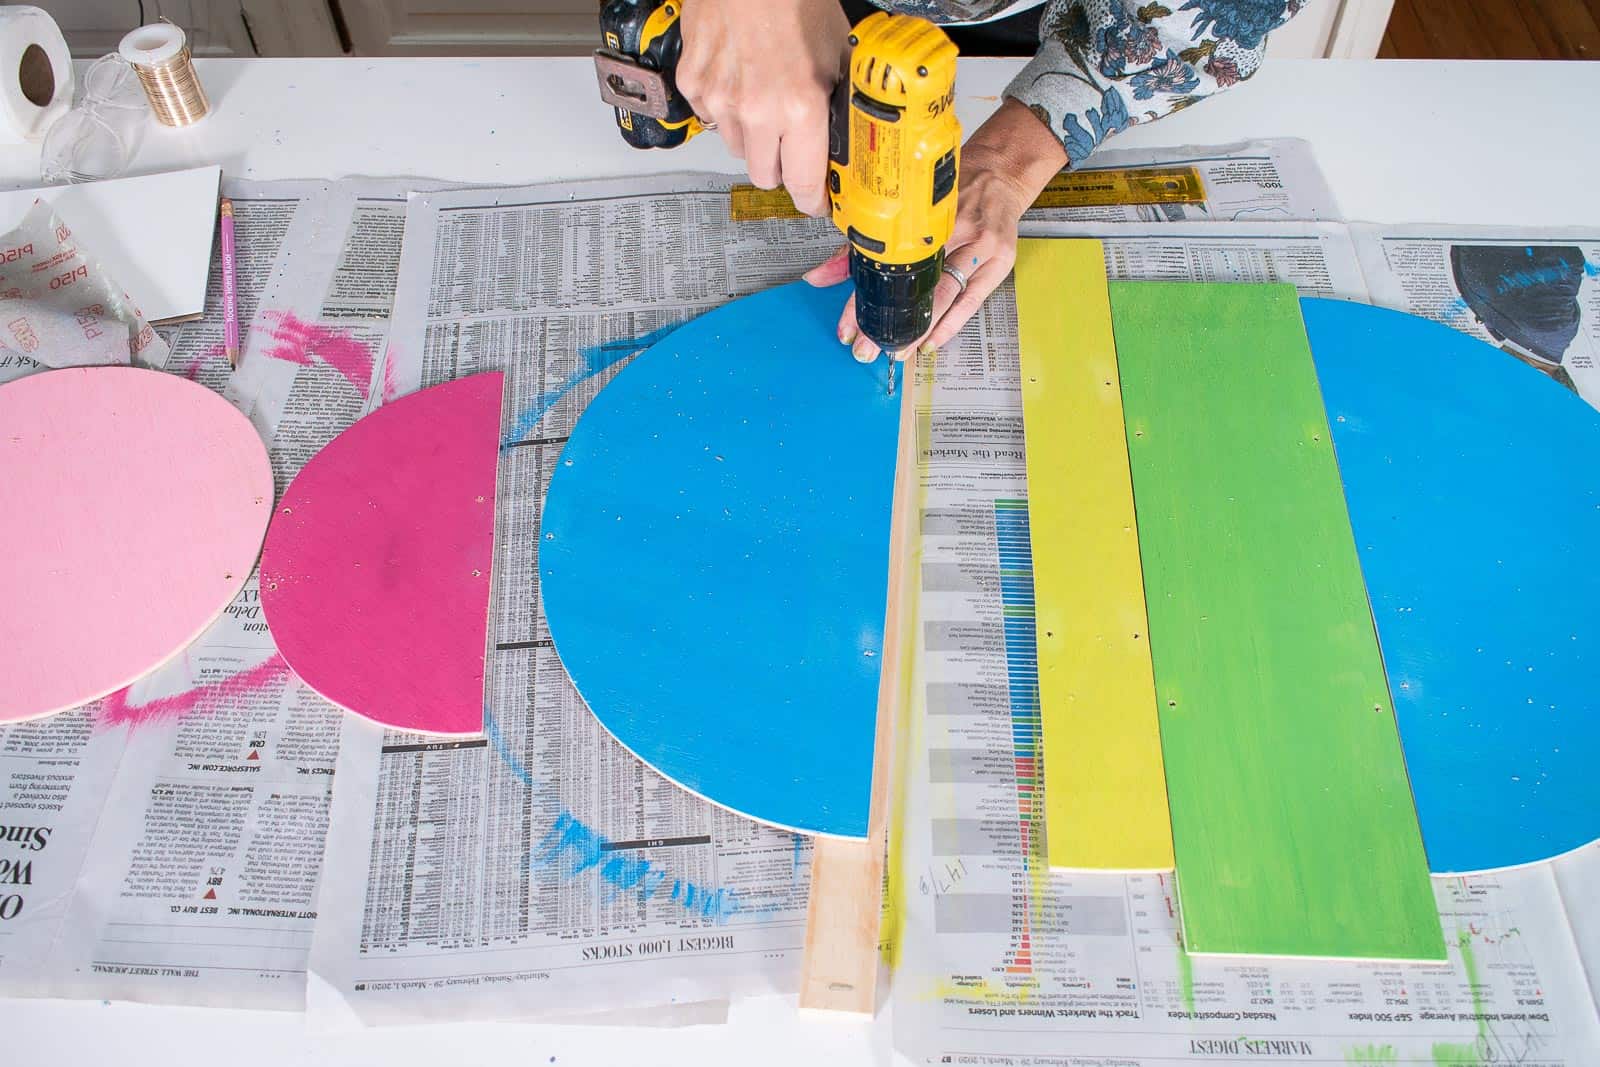
Step 4. Drill Holes*
*Note: I painted my shapes first which was a mistake. There *will* be some tear out from the drill that you’ll want to sand so… any paint will be ruined. So drill first. Paint second.
I’m using a 1/8-inch drill bit which was plenty big enough. I drilled two holes on each shape to ensure that everything would hang straight. Measure carefully to make sure the holes in each shape are centered and aligned!
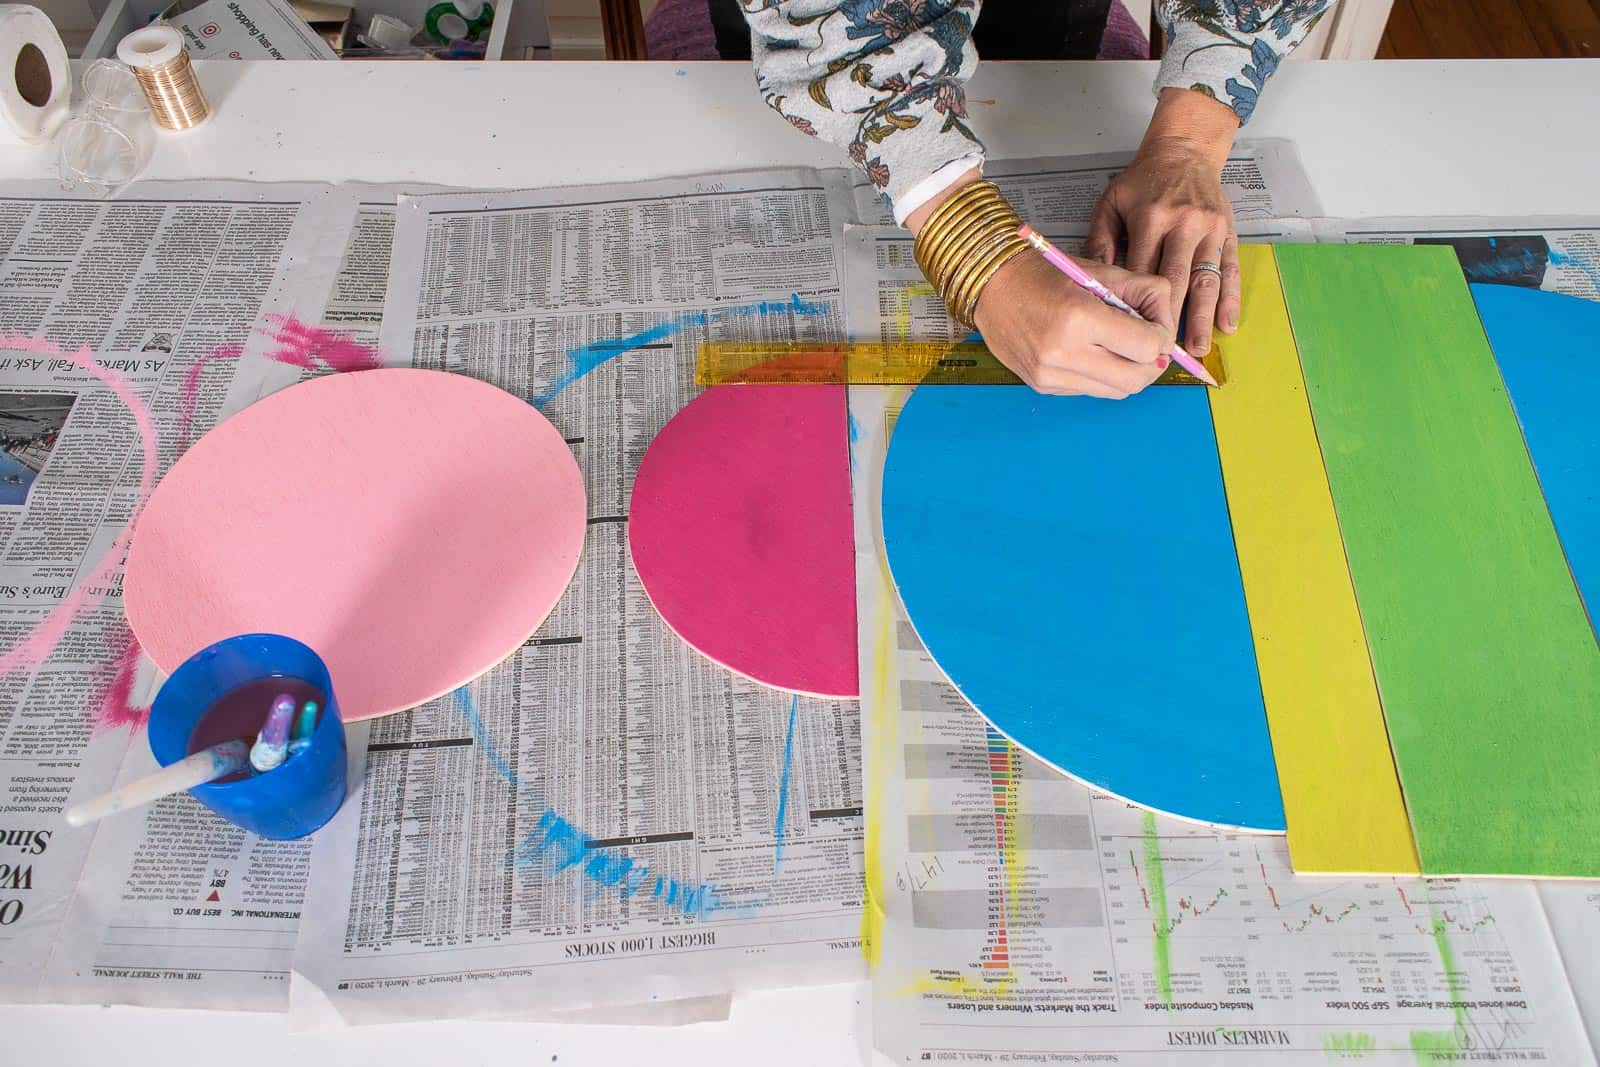
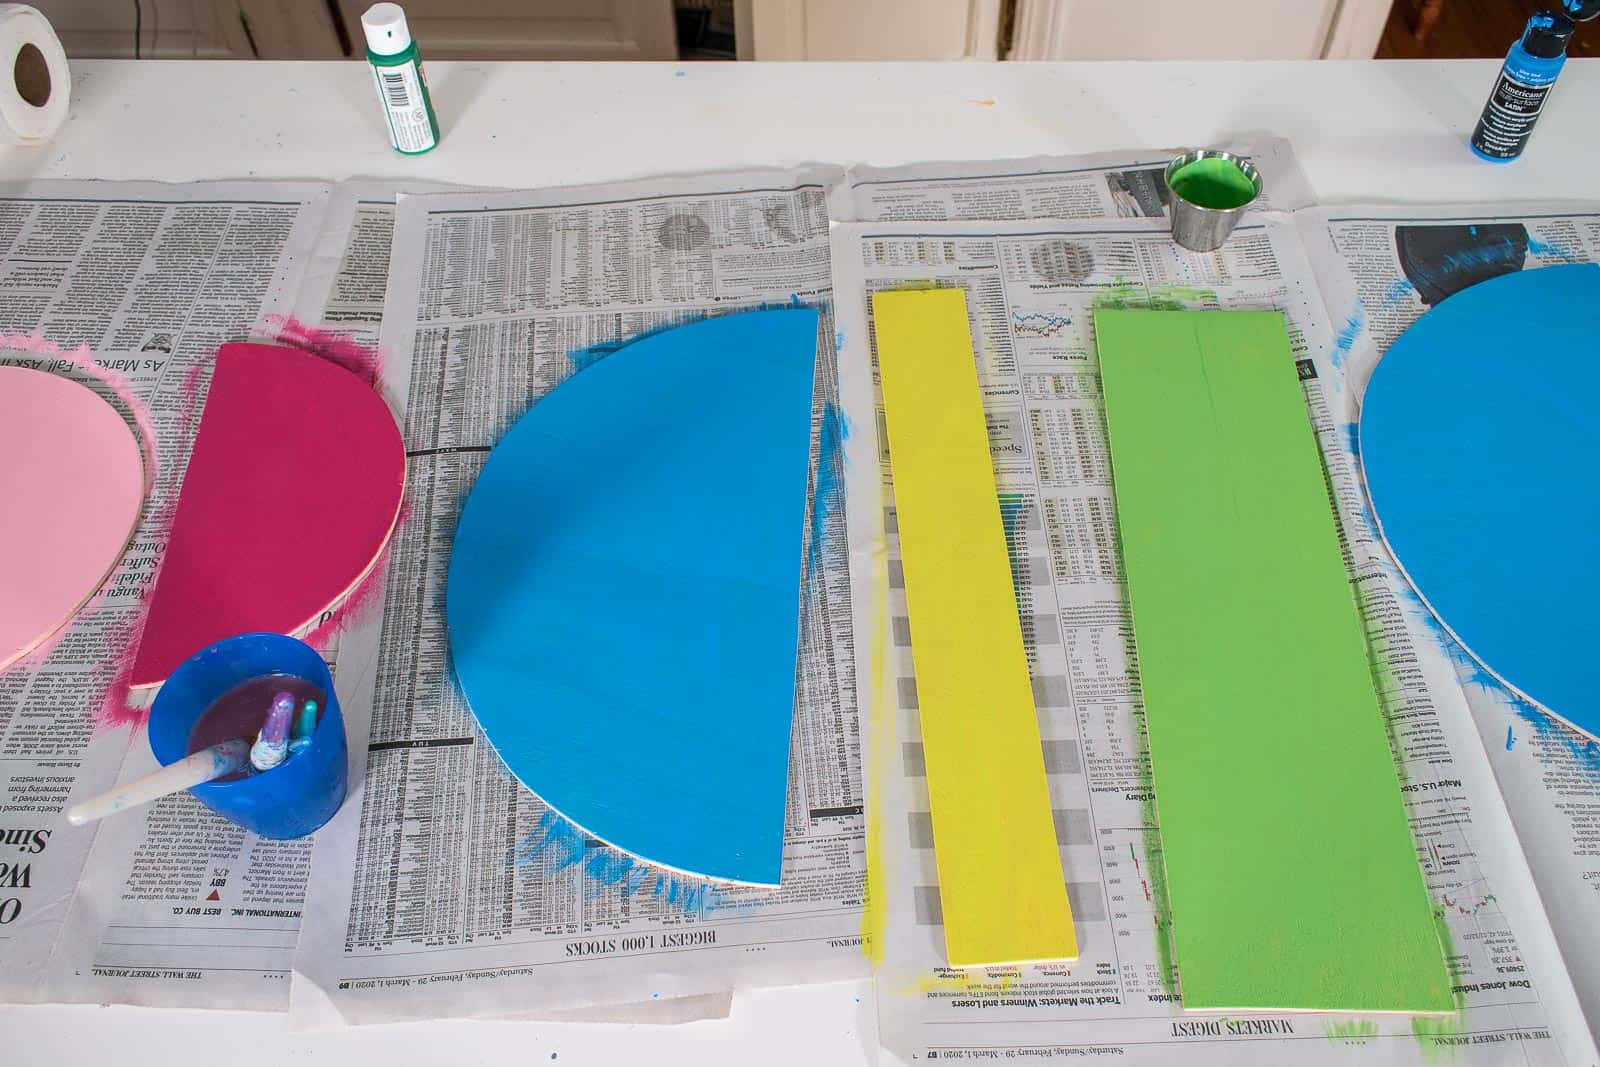
Step 5. Paint the Shapes
The rug in my office was my color inspo but there are examples online of a more neutral color pallet if you don’t want something quite as bright and bold as mine! I used basic craft paint and diluted the paint the tiniest bit to help it absorb into the wood a bit more easily.
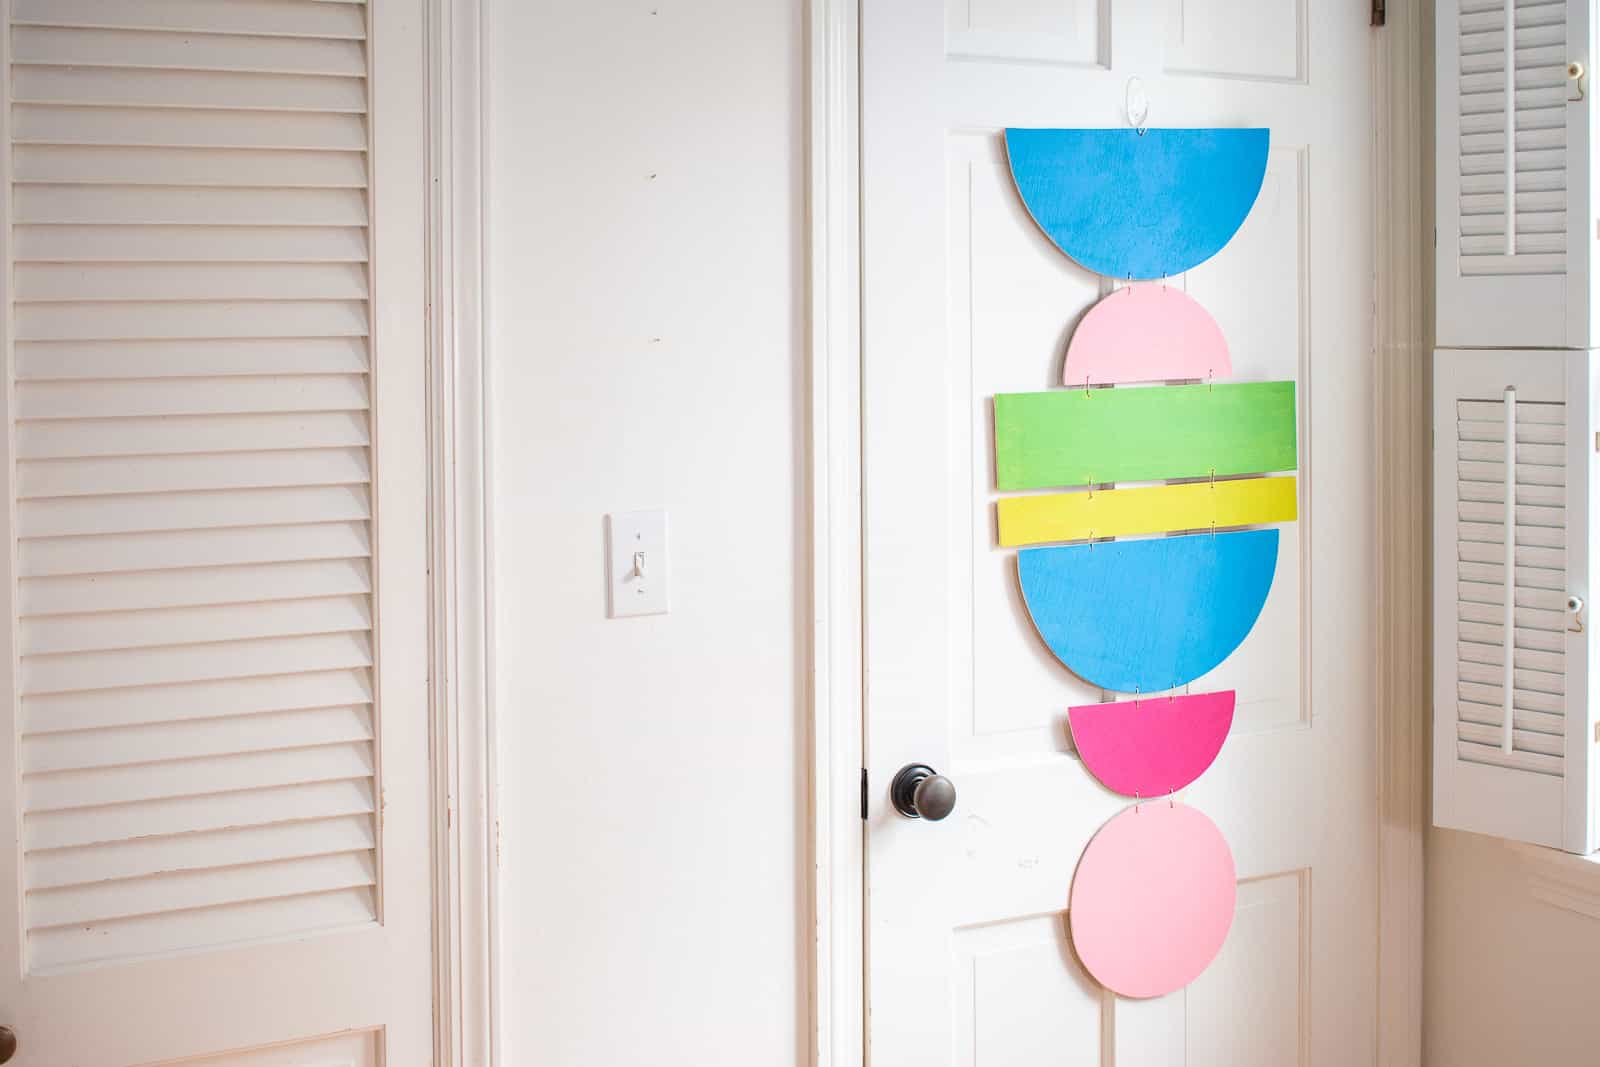
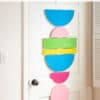
Step 6. Wire Together the Shapes
With wire cutters, I cut an 18 gauge wire into 2 inch lengths. I started by threading the wire through a hole in the wooden shape and folding it over on the backside. To connect the two shapes, thread the wire through the holes in the next shape (make sure the shape is level) and fold the wire.
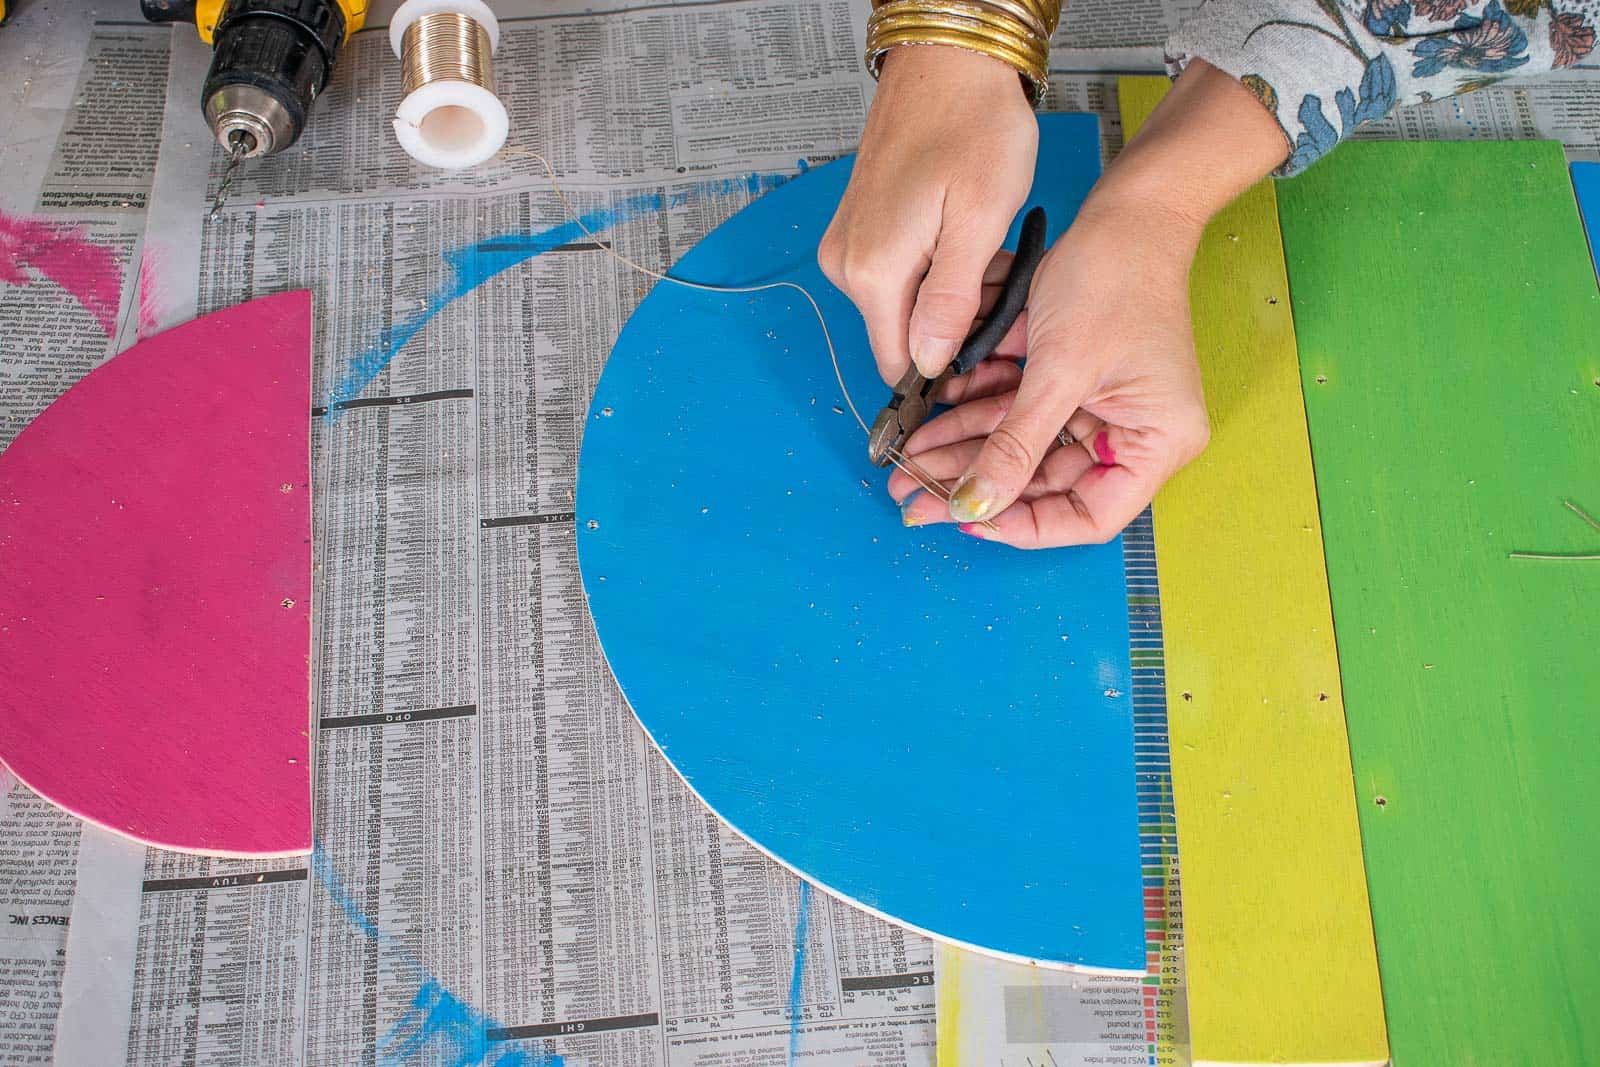
I made a single loop of wire and looped it through the top shape for hanging.
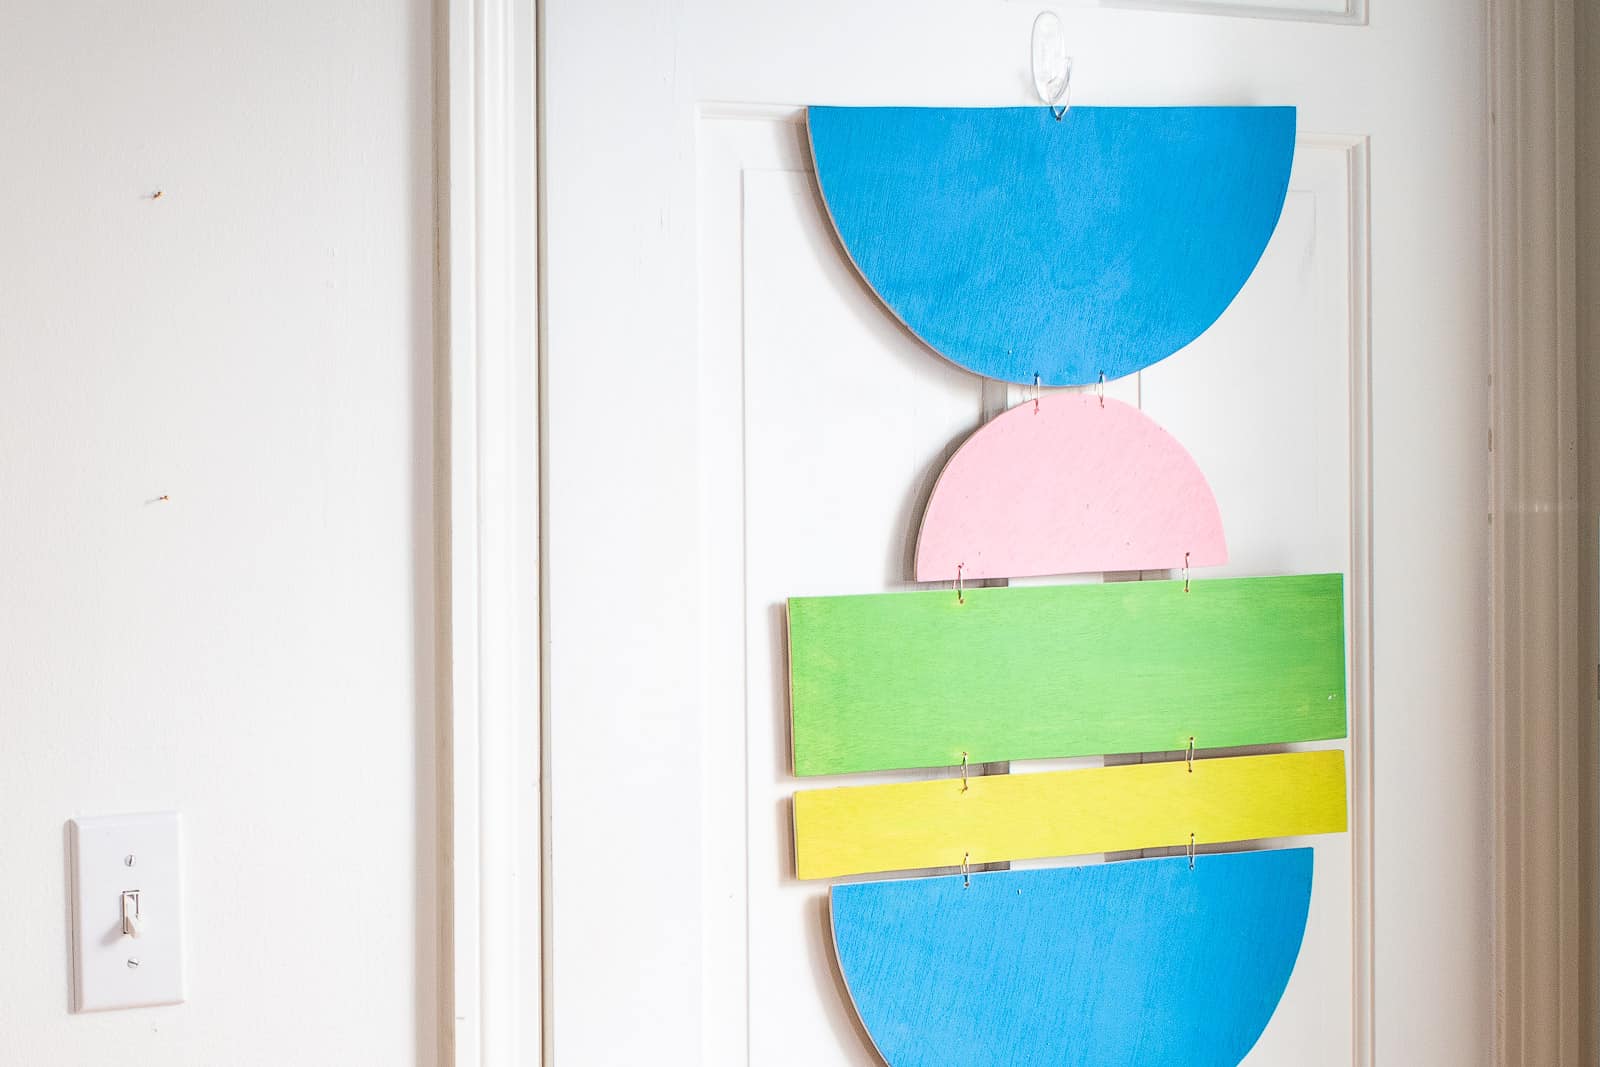
Obviously I used circles, rectangles and semi circles for my wall hanging, but you could trace and cut ANY shapes! Arcs… squares… diamonds…. you choose. This wall hanging is super light weight and portable but it adds the perfect bit of dimension and color to my office!
Materials
To see more of my DIY Wall Art Ideas, CLICK HERE!


Don’t Miss Out
Become An Insider!
Signup for exclusive tips, and tricks from Charlotte’s House!
Let’s chat!
I love comments from you, so feel free to leave your thoughts and ideas below! And don’t forget to follow me on Instagram for even more!