Guest Room REVEAL
Psssst… this post *might* contain affiliate links: see my disclosure here.
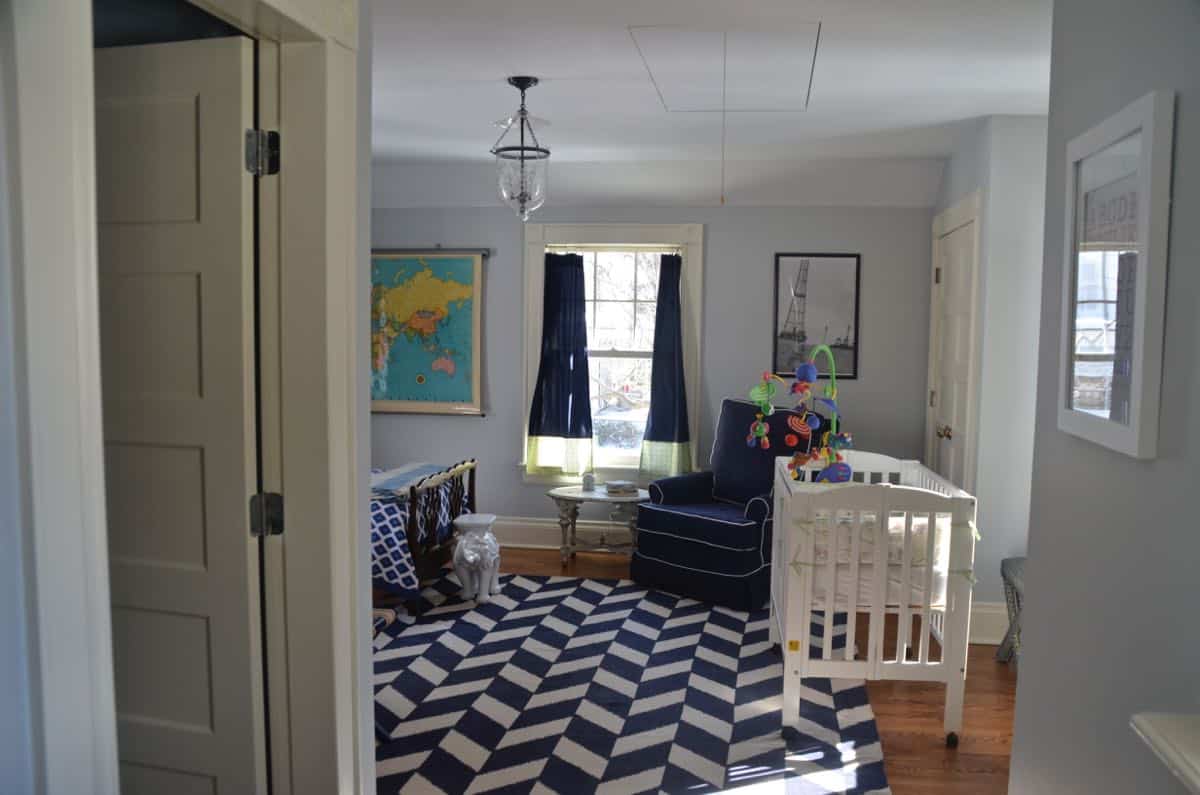
This post is crackalackin, y’all. (Yes, we’ve watched Madagascar 3 times this past week…) Get comfortable, because this might be a long one. After 8 months of construction and disarray, the new guest room is- bum bada bum- FINISHED!!!!!!! (Too many exclamation points?) We added a bedroom/ bathroom/ laundry room over our garage and plan to use it as a guest room/ nursery for the near future. Eventually it will be one of the kids’ rooms, but until then… Louisa’s crib is in there but she bunks with us in her pack and play whenever we have guests. Enough of the preamble, ready for the tour?
Shop my favorites!
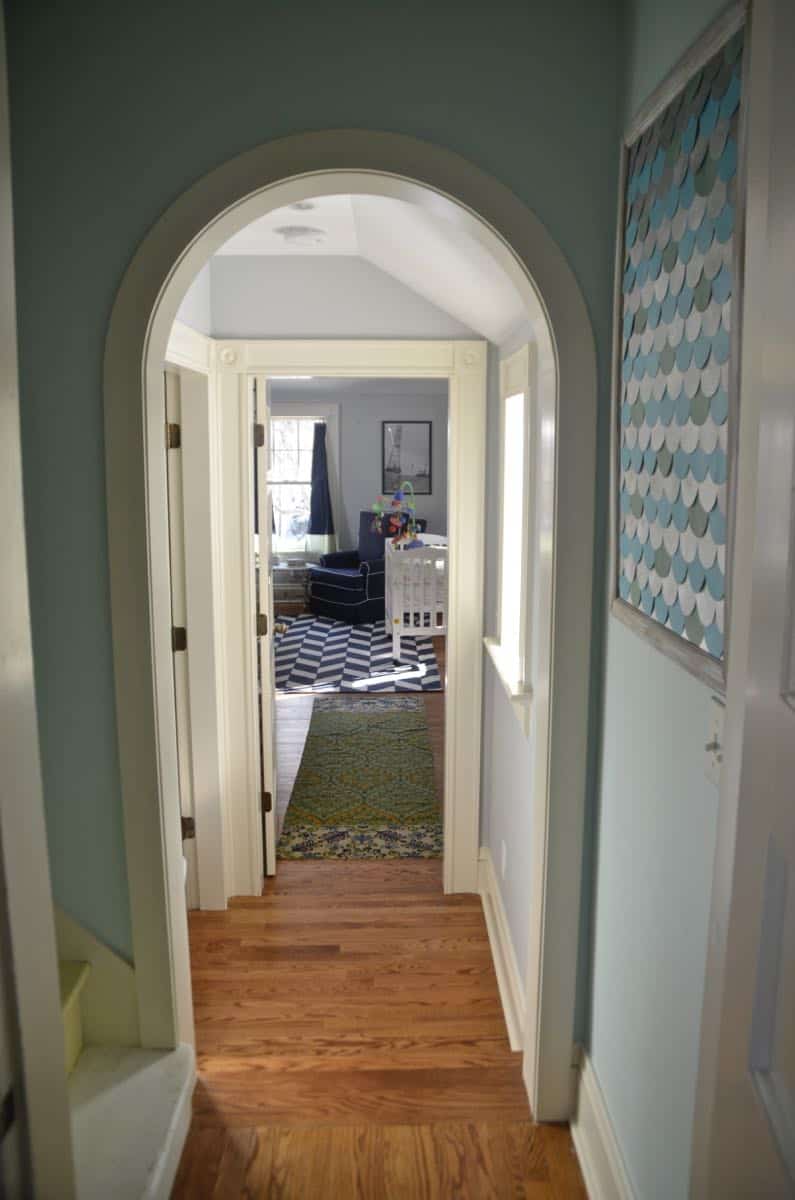
We created this amazing arched door at the foot of the playroom stairs that takes you down the hallway leading into the new room. The first door on the left is the laundry room, but I’ll show you that later (a few more little projects lined up for it). The second door is the new bathroom, and then it opens up into the bright and cheery new room!
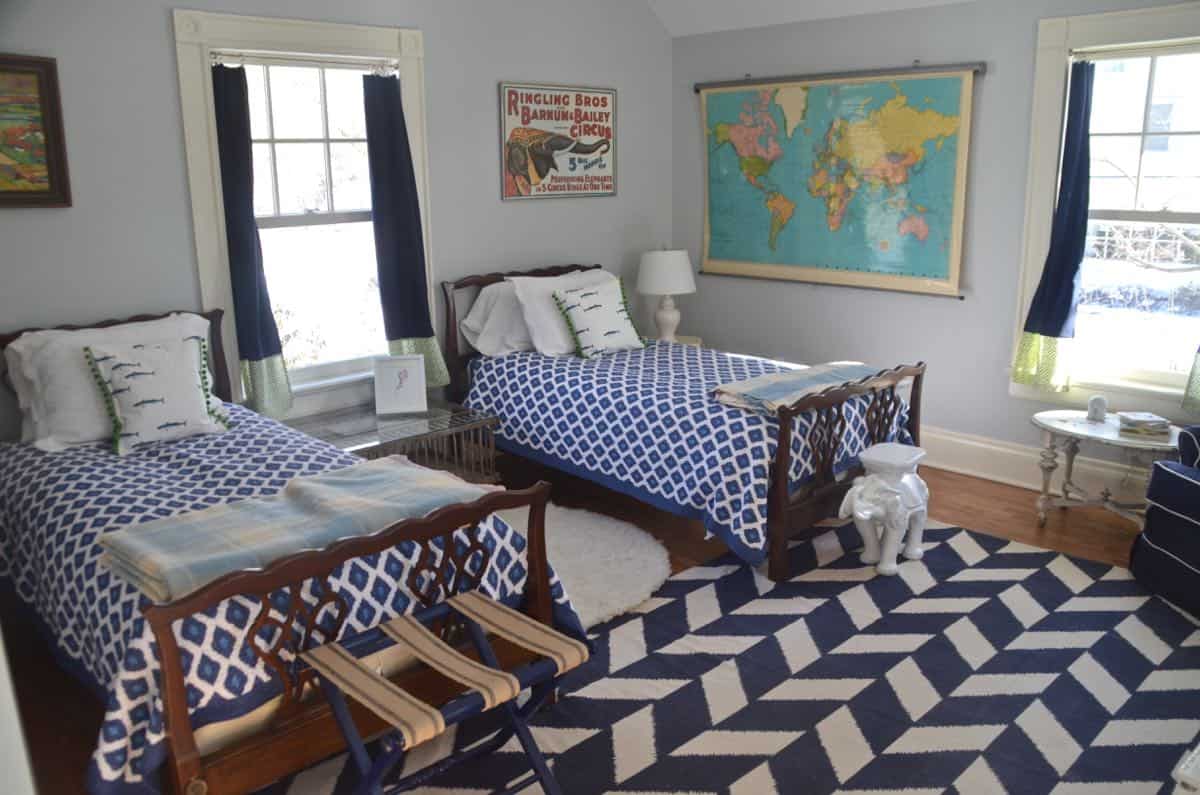
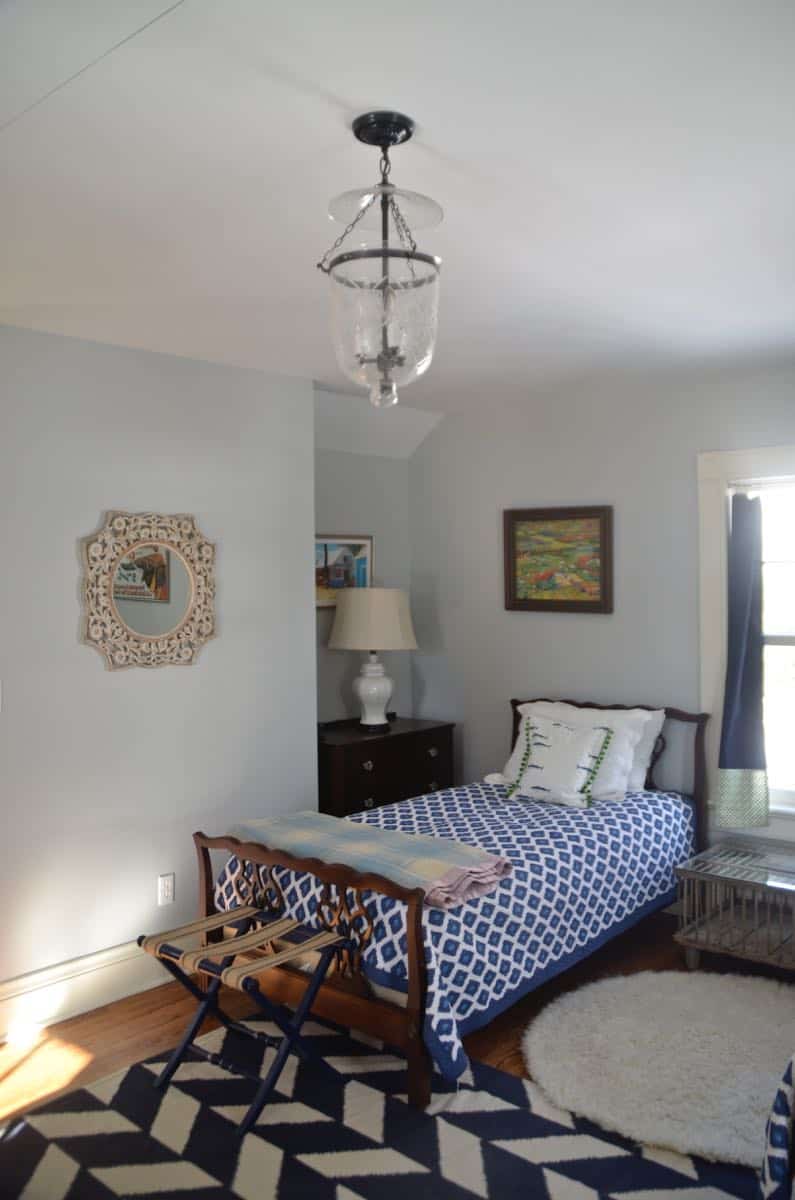
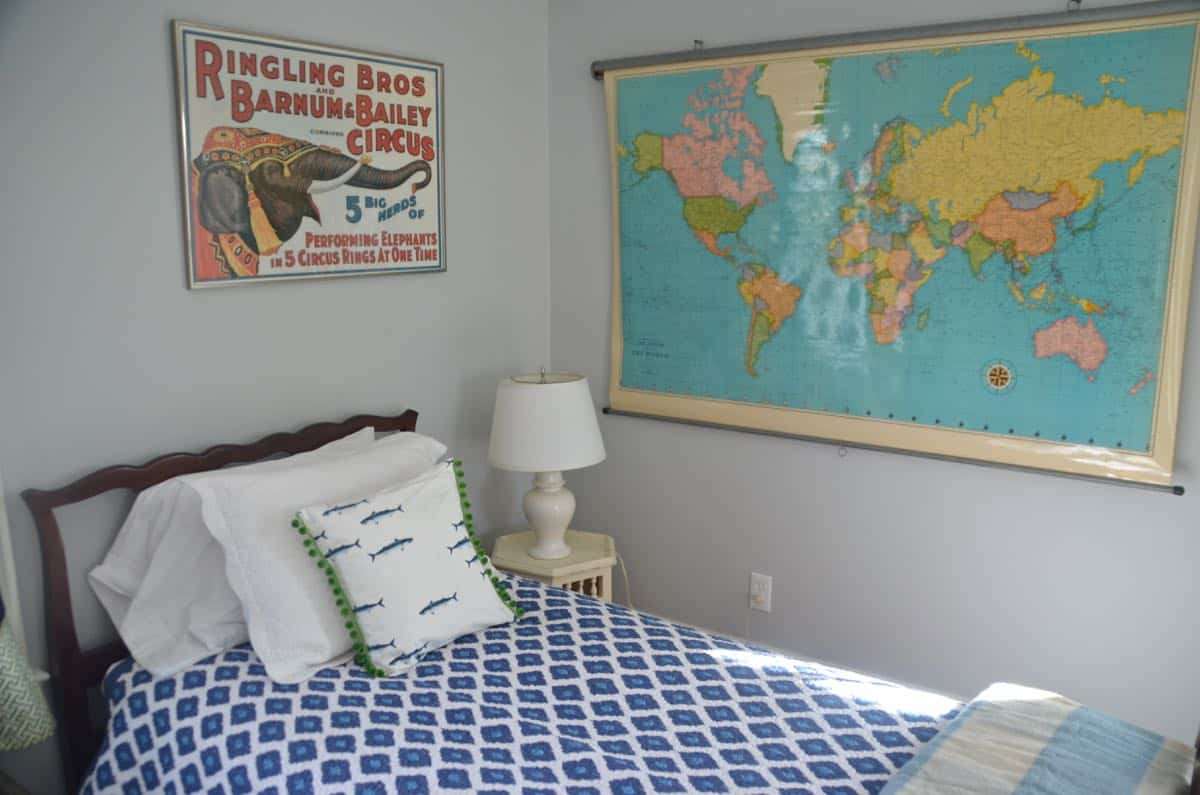
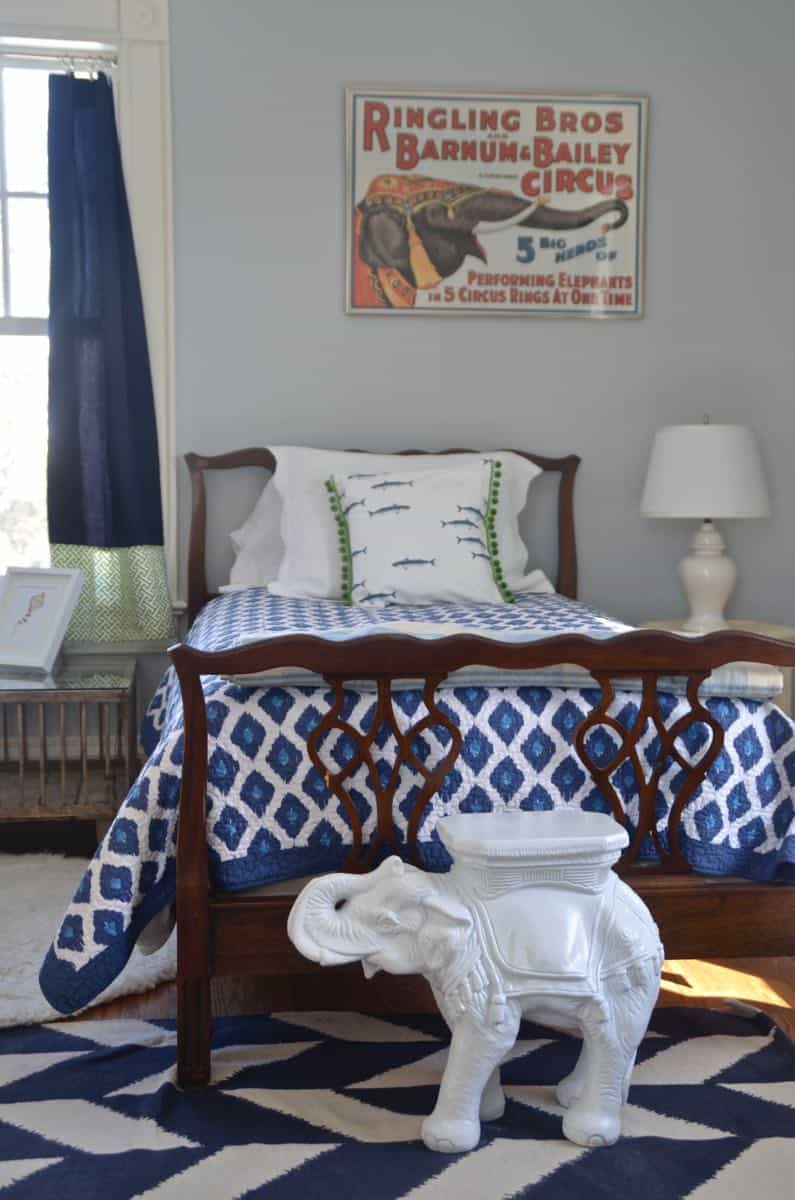
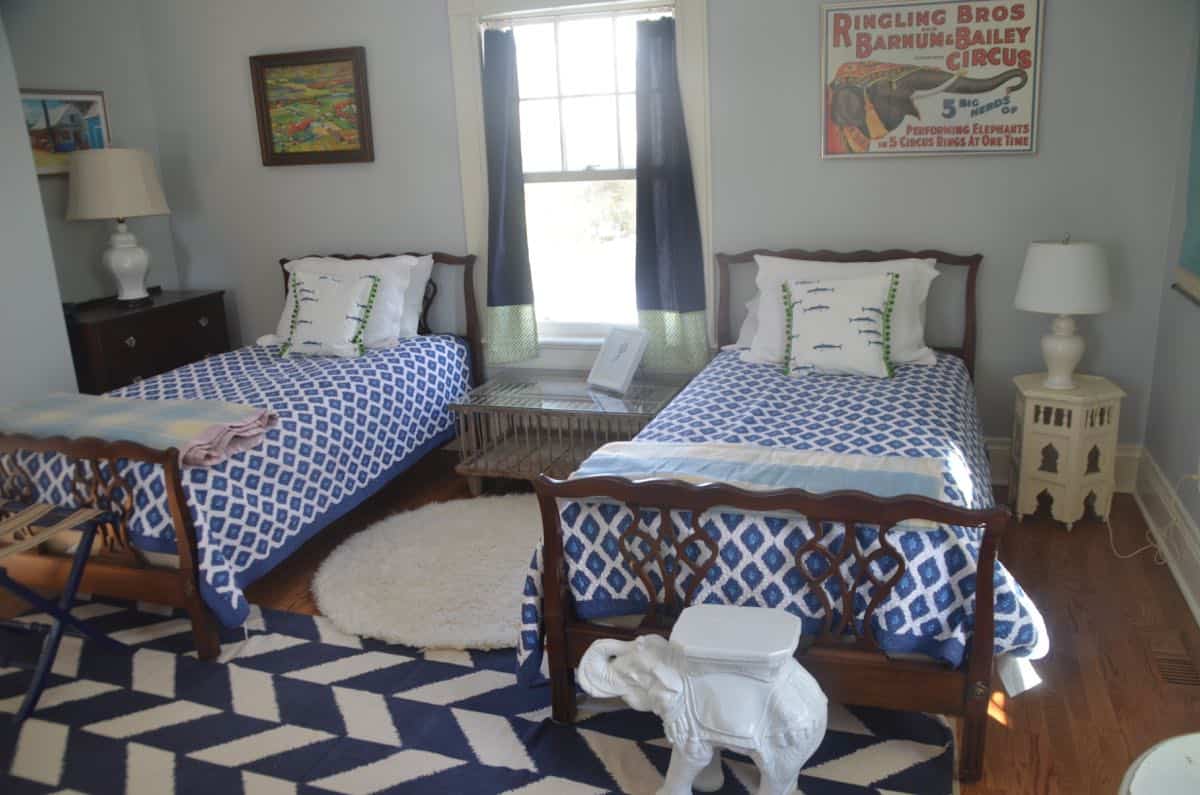
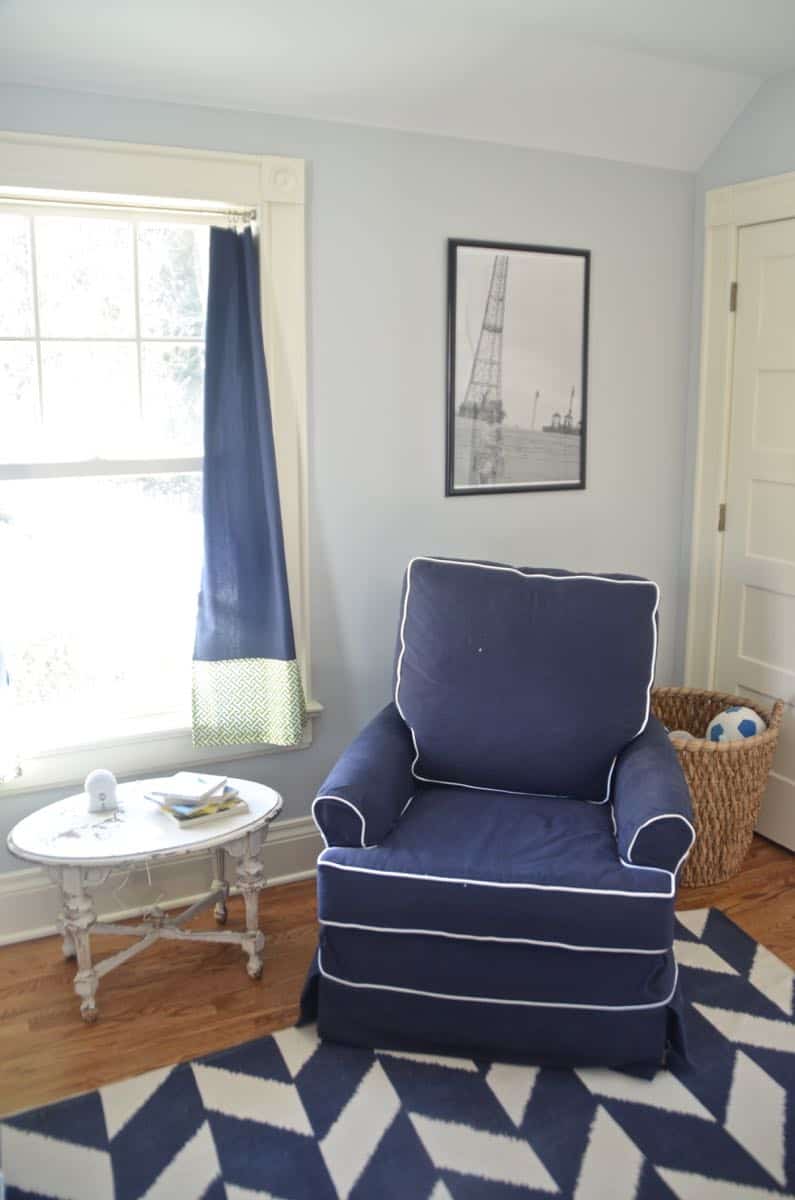
The twin beds (an early Craigslist purchase) were brought down from Martha’s room, and the large blue chair used to be in Eleanor and Oliver’s shared room. The bedding came from Homegoods and was sort of the spring board for the rest of the room.
The little buffet in the niche has been in our garage forever, but it was a Craigslist purchase and I just swapped out the knobs.
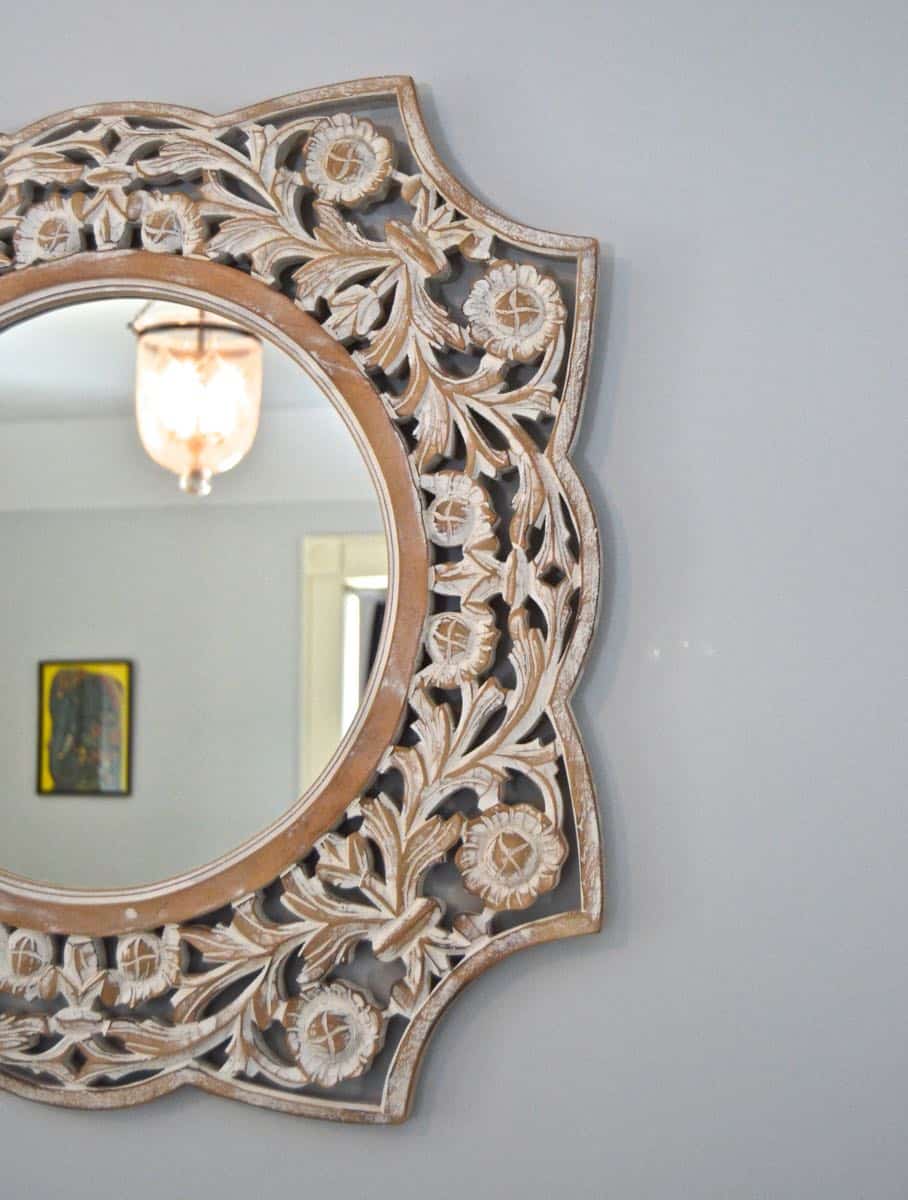
The mirror is from Homegoods and might be a little small for the wall, but it’s a nice balance to three large windows.
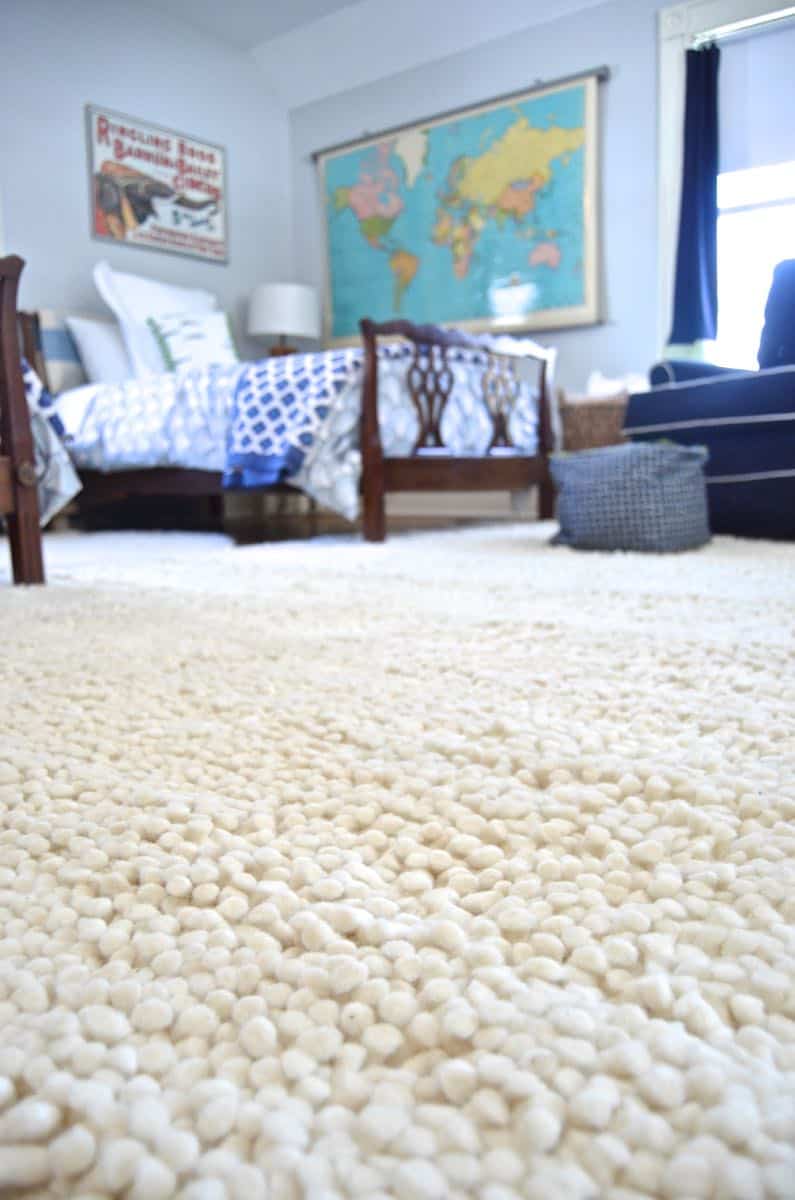
Most of the artwork was found at the flea market: circus print, map, painting over the bed and the painting in the hallway. The painting over the bed is a flat panel, but I found a wooden frame that fit perfectly. The photo over the sideboard came from a vendor in Playa del Carmen a few years ago… I finally got it framed at JoAnns when they had a 60% off sale!
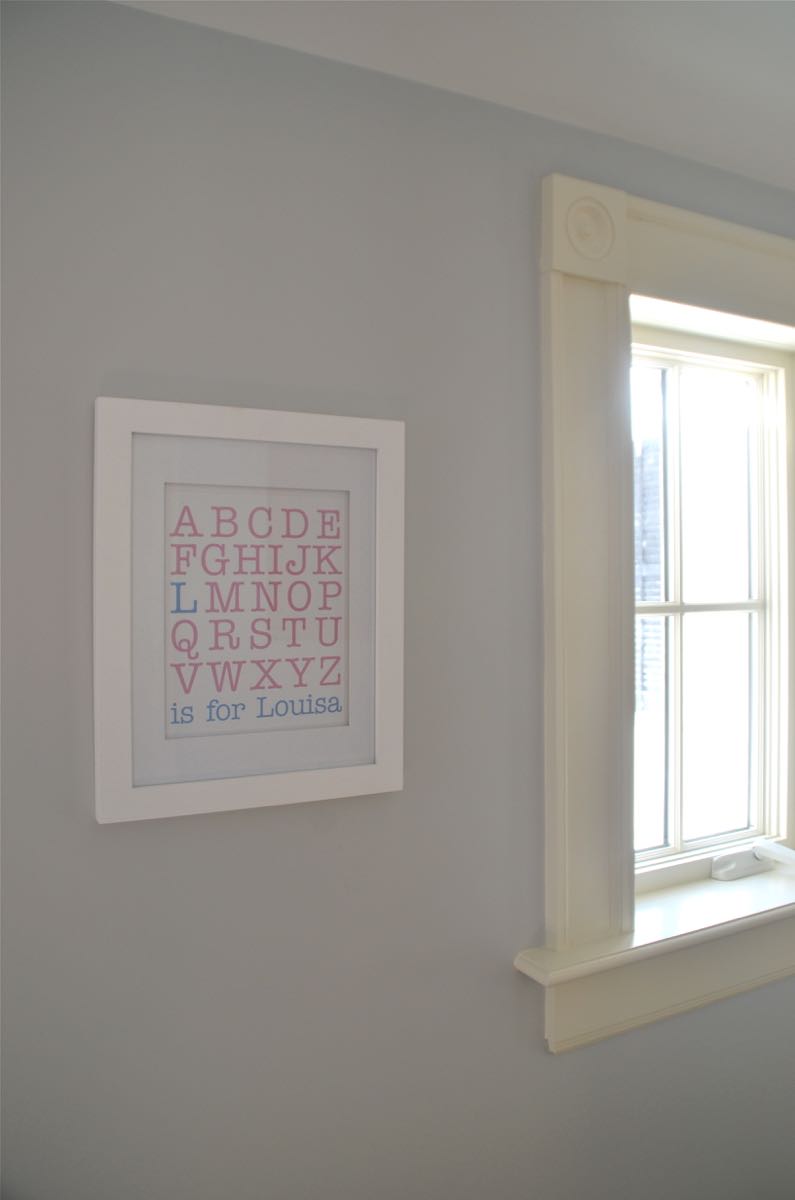
This adorable picture was a baby gift for Louisa.
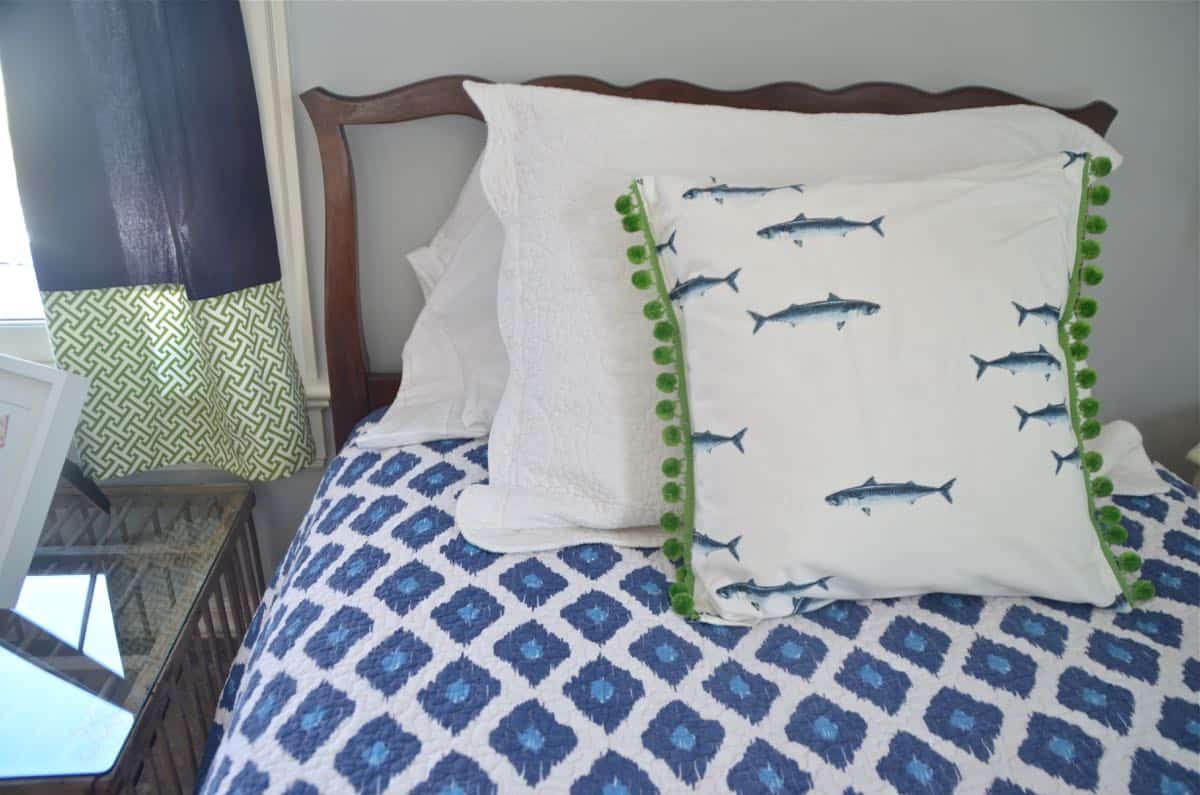
I’m in LOVE with these simple throw pillows. I found a table runner at Ikea (it’s not online, but I’ll update this post if it shows up!), cut it in half, added some fringe and using a tip from Mandi, grabbed some clearance pillows at Homegoods to pillage for the down inserts!
Vintage wool blankets are kinda my weakness, and I found these two at an estate sale a while ago… finally they have a home!
The round flokati one was purchased from Overstock (affiliate) when they were having a sale this summer. And I ultimately added this incredible plush shag rug when I saw it at TJ Maxx.
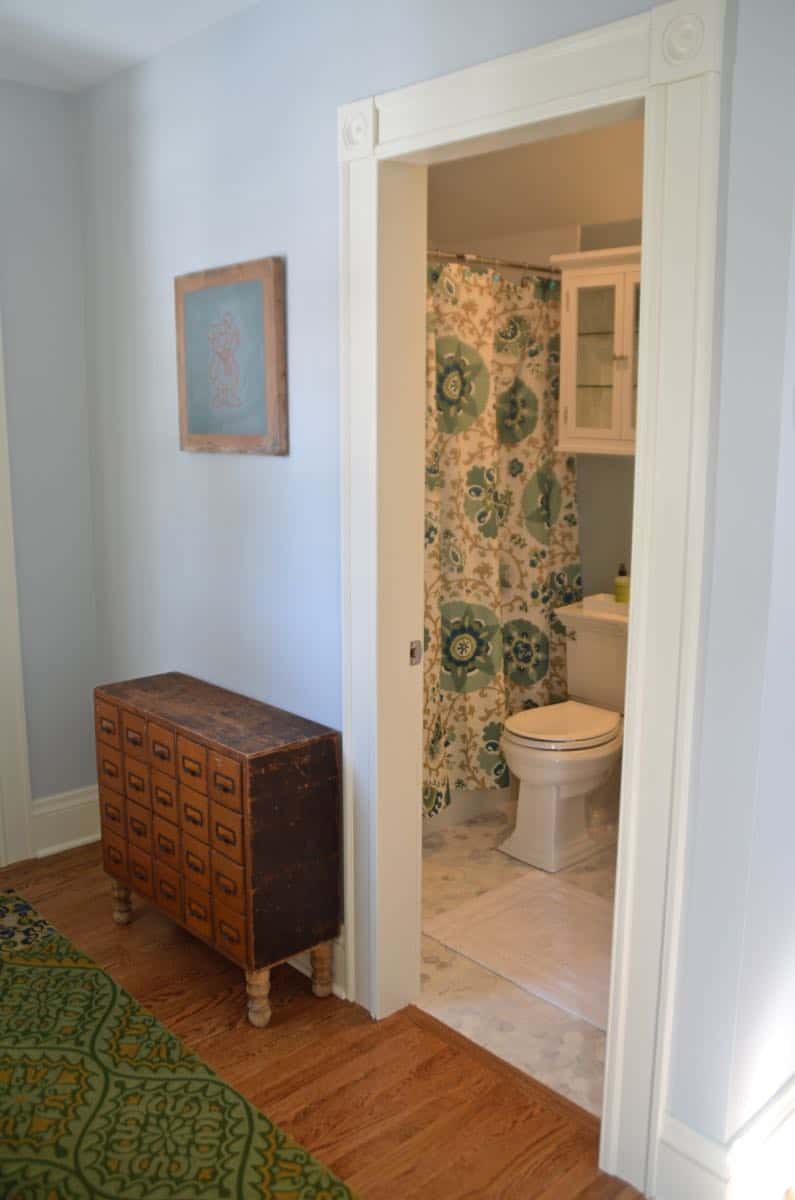
The library catalog used to live downstairs, but I moved it up here to save it from the many little hands opening and closing its drawers. The artwork hanging above is actually an old screen print frame and the logo happened to have our last name, Smith, on it!
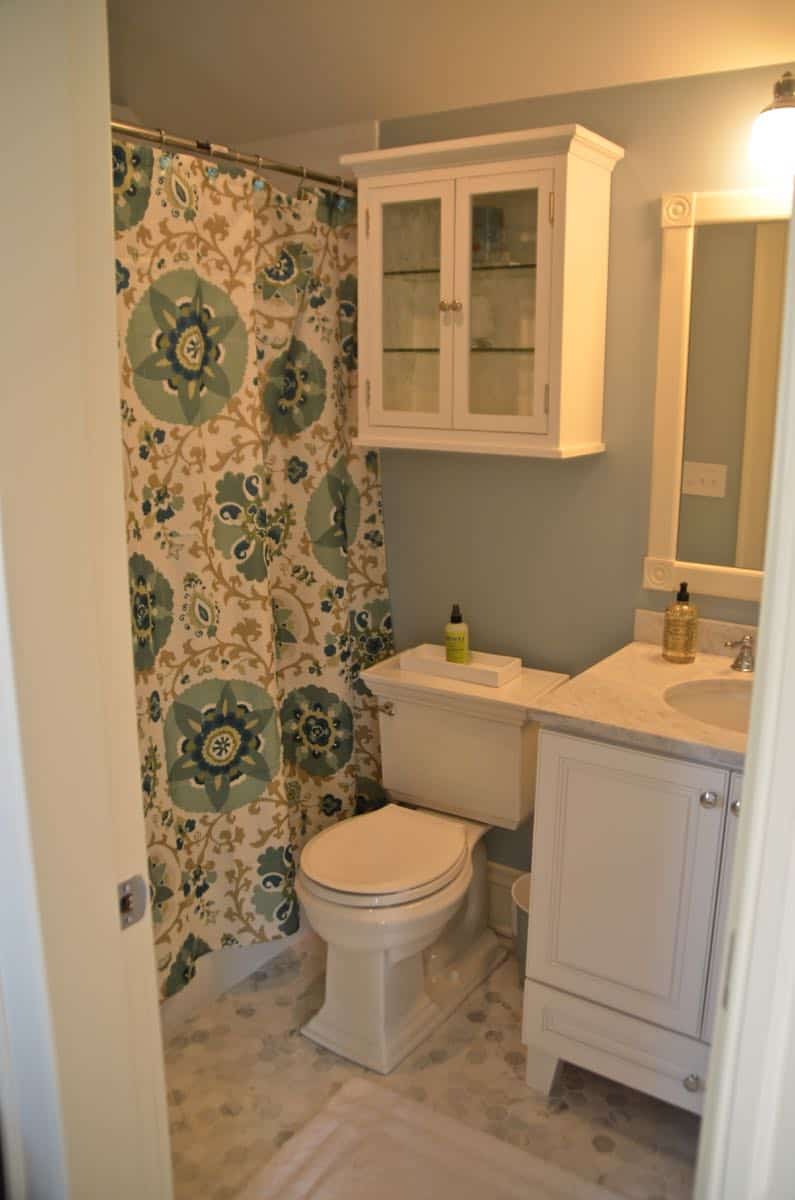
I used a 2″ carrera marble hex for the bathroom floor and then simple white subway tiles for the shower surround. I wanted to keep the foundation simple in here and then let the walls and the linens jazz it up; makes it much easier to change down the line. The medicine cabinet is this one from Restoration Hardware. (Maybe the biggest splurge in the whole space!)
This simple side table was another flea market score that I fully intended to repaint, but once I’d sanded off all the old chipping paint, I loved the patina left behind. The off-white is the perfect color for this room so I just left it as is.
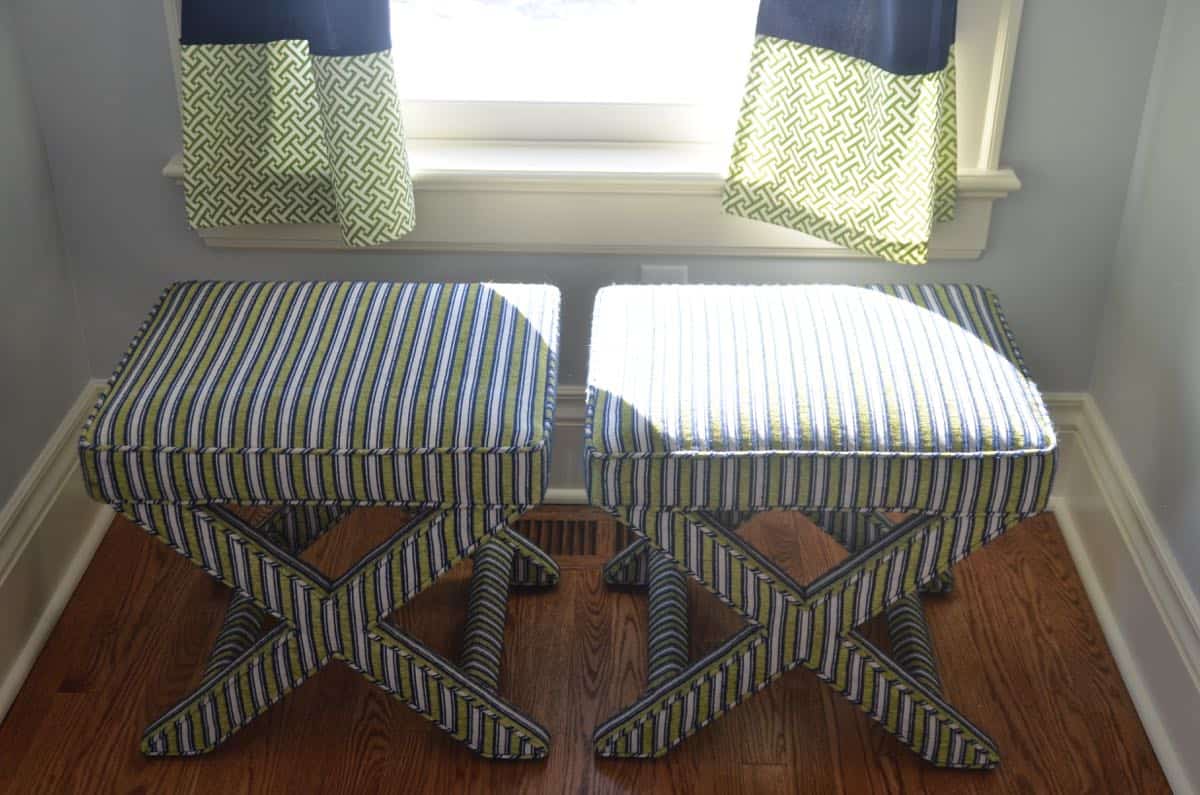
This pair of sweet benches were a gift from the design gods. They fit the little window nook between the closets perfectly. When I saw them at the flea market I couldn’t even keep a straight face for bargaining… the seller could have asked for any price and I probably would have ponied up. (As it was, they were $150 for the pair!)
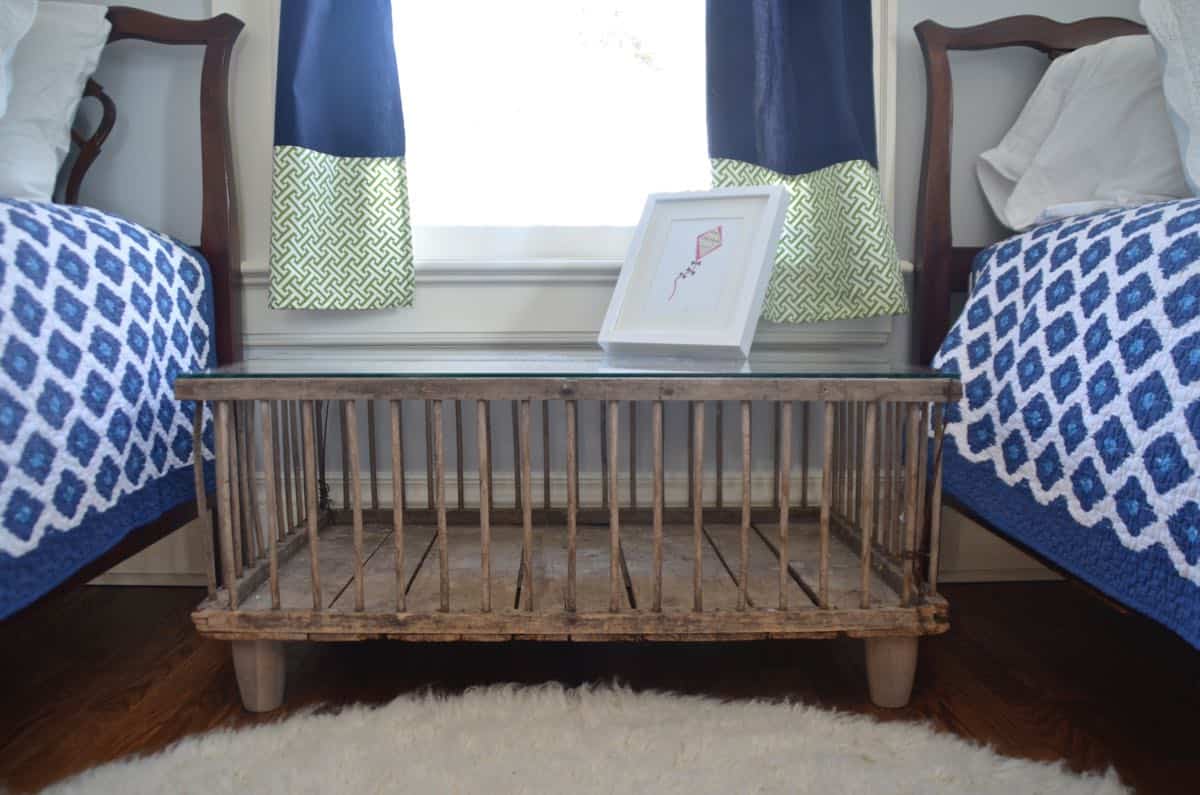
The table between the beds? An old chicken coop. I scraped and scrubbed the inside and then screwed on some legs from Home Depot. I stained the legs quickly with my favorite vinegar/ steel wool concoction and had a piece of glass cut for the top with nice rounded “nickel” corners. (I love learning fancy terms when I do these projects.)
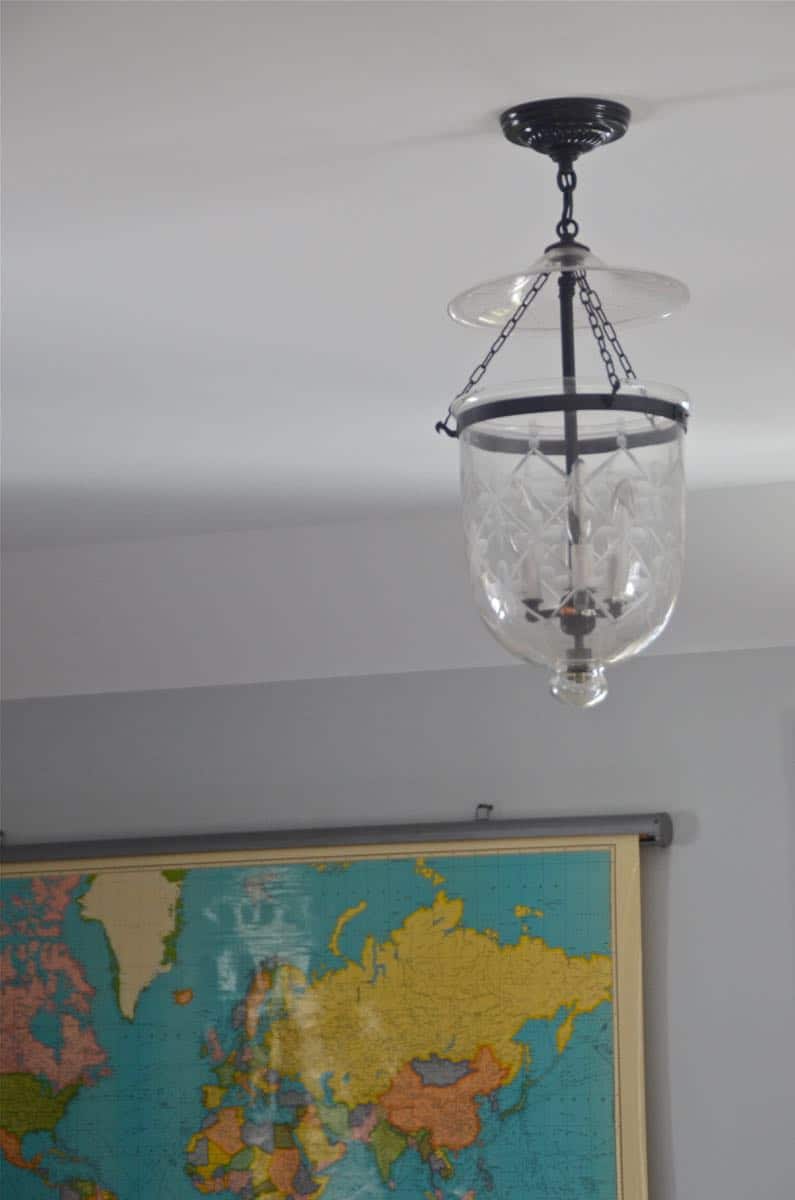
Our pendant light from the den was moved upstairs so that there was enough clearance for someone taller than 6 feet. If we want, this is wired for a ceiling fan, but we figure we’ll get through the summer and see how the space feels before worrying too much about that.
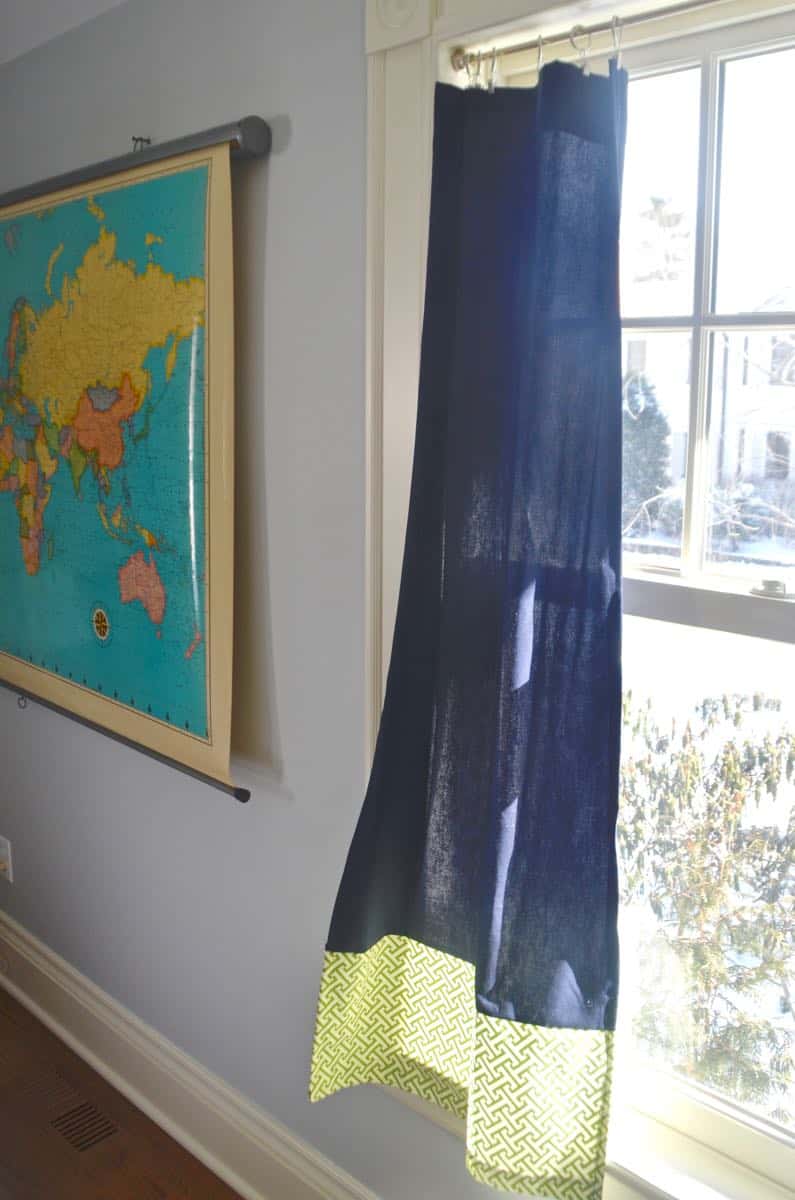
I love how much wonderful sunlight this room gets, but it needed some window treatments as a result! I was planning on making some simple white roman shades with a greek key ribbon detail, but sewing three roman shades was more than I could stomach. I sewed these super simple panels by combining the old navy curtains from the kids’ room with this fun green fabric. I couldn’t bear to cover the beautiful window moldings, so I made the curtains inset instead of the more traditional floor length.
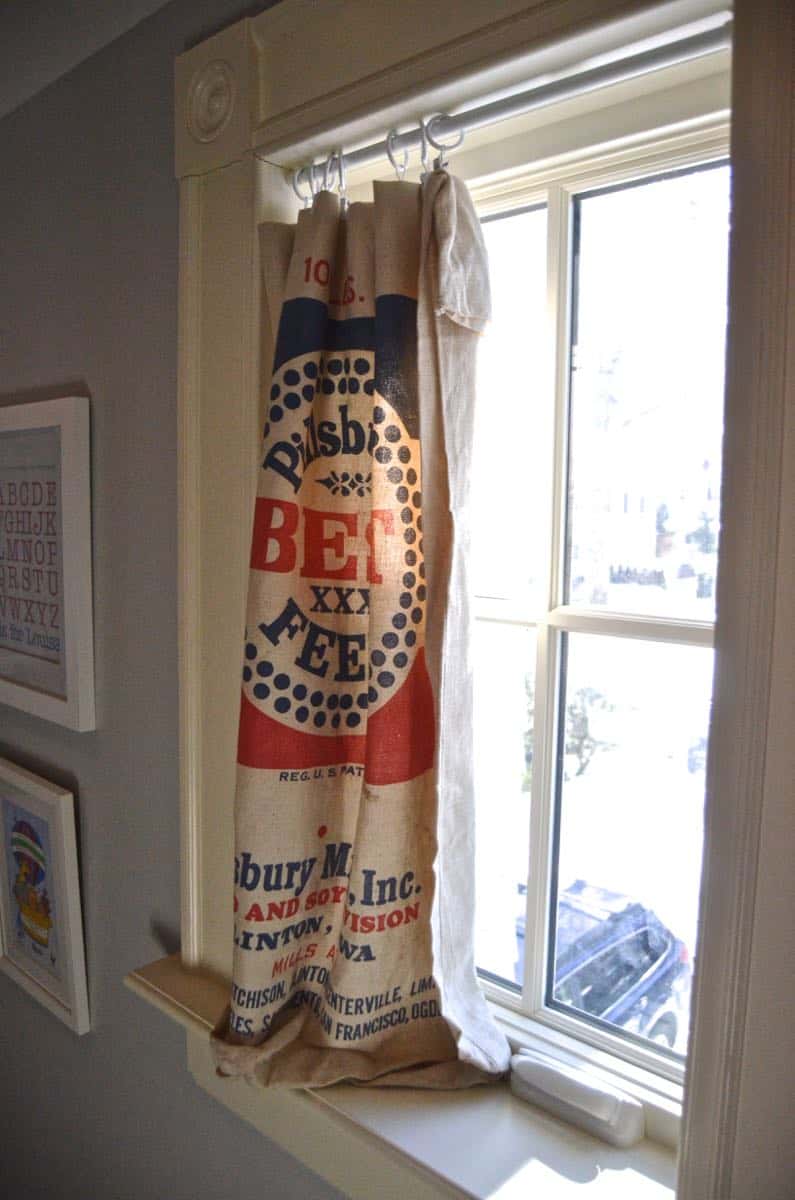
And… these curtains are old flour sacks I grabbed at Brimfield when I was there shooting Flea Market Flip.
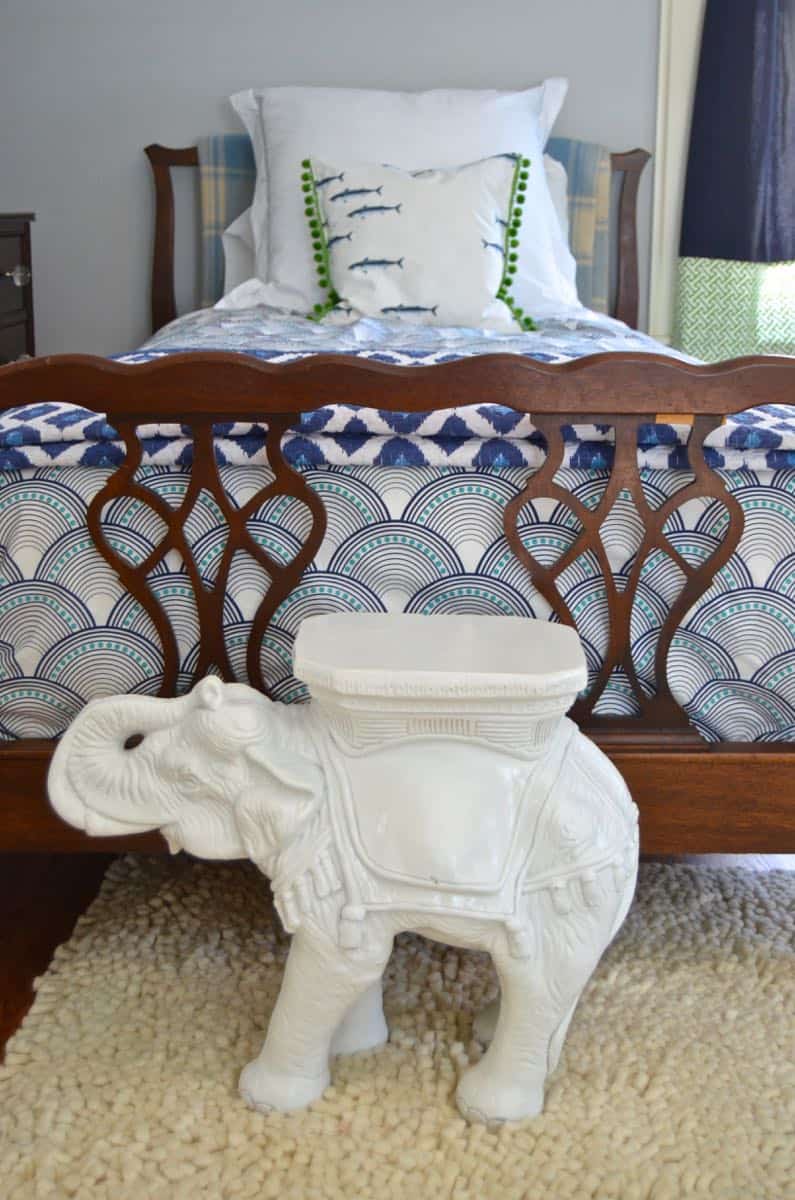
Elephants are kinda my jam, and this poor fella was a dismal off white when I bought it… a little spa treatment with some spray paint and he’s as good as new!
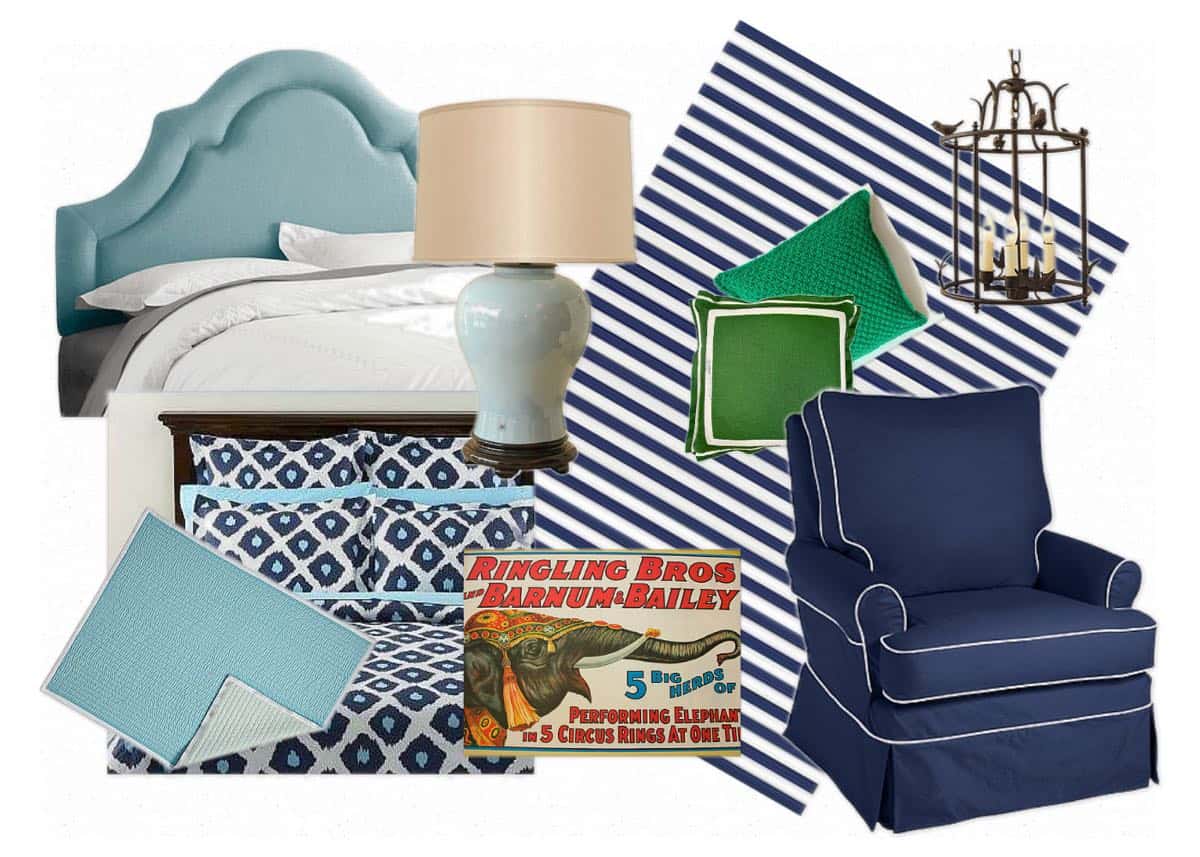
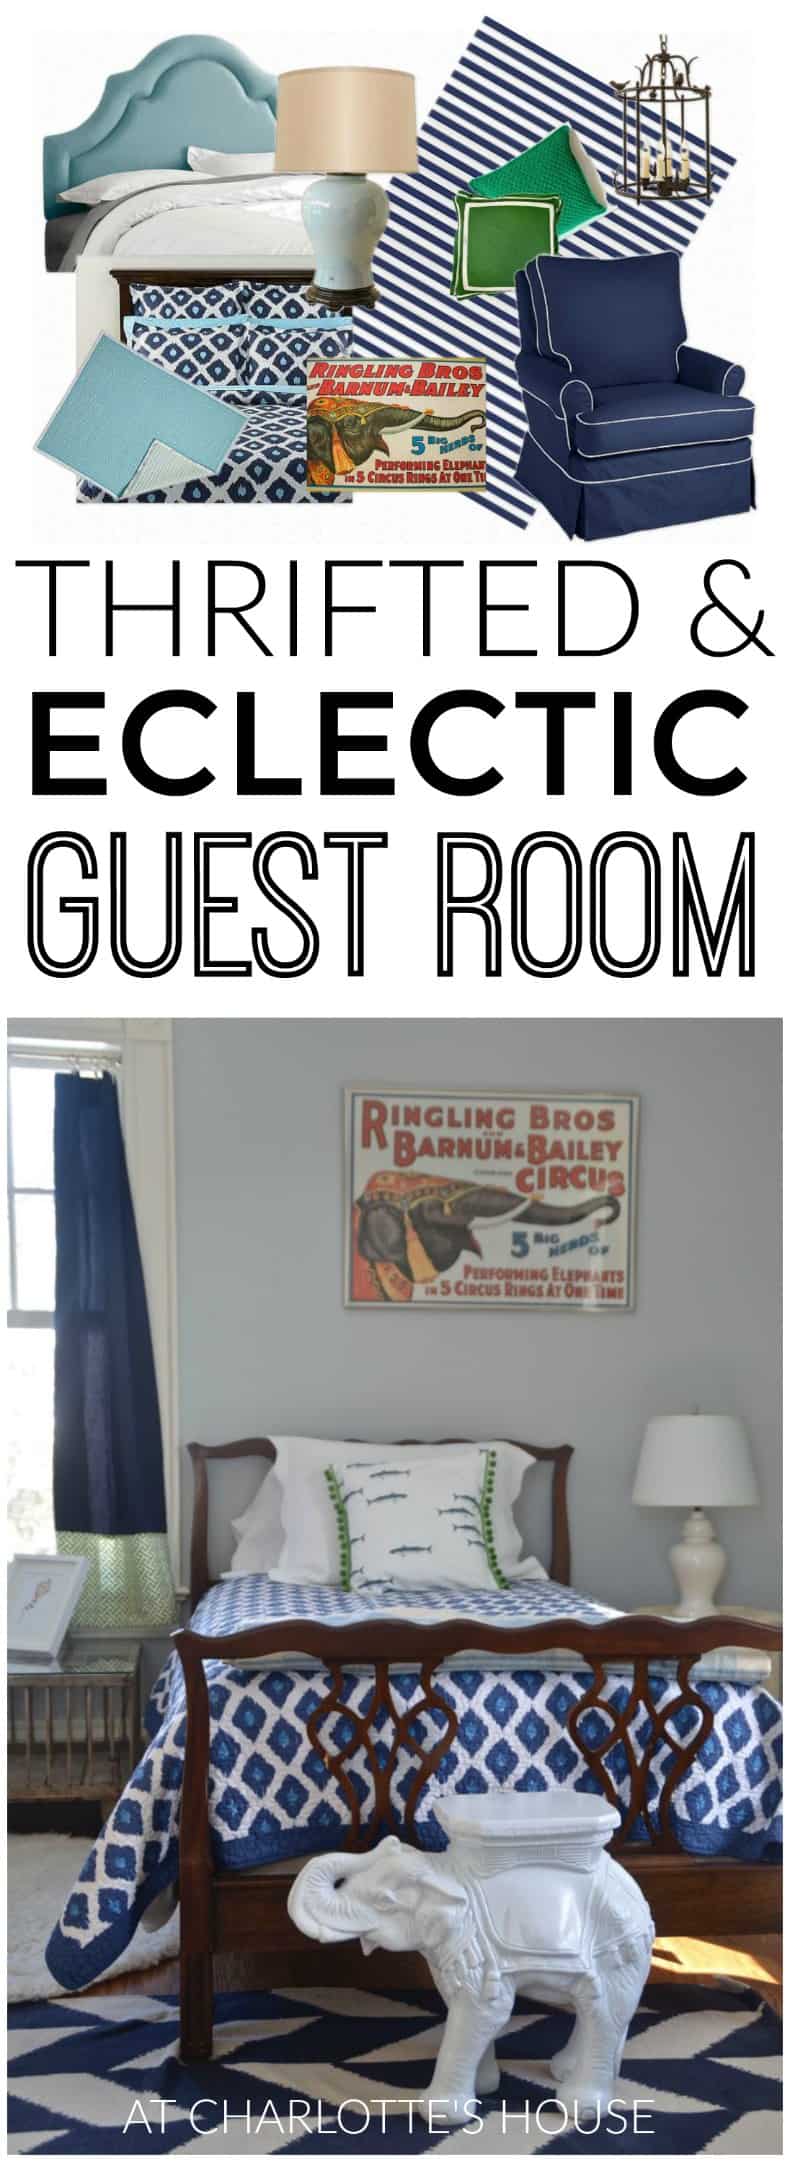
If you remember, this was my original design board for the room. I don’t have as much of the turquoise as I’d planned, but I love the way the patterns and the little hits of green came together. Just about everything is a flea market, thrift store or Craigslist find and the only things we needed to buy were the rugs, the bedding, the medicine cabinet and the mirror!
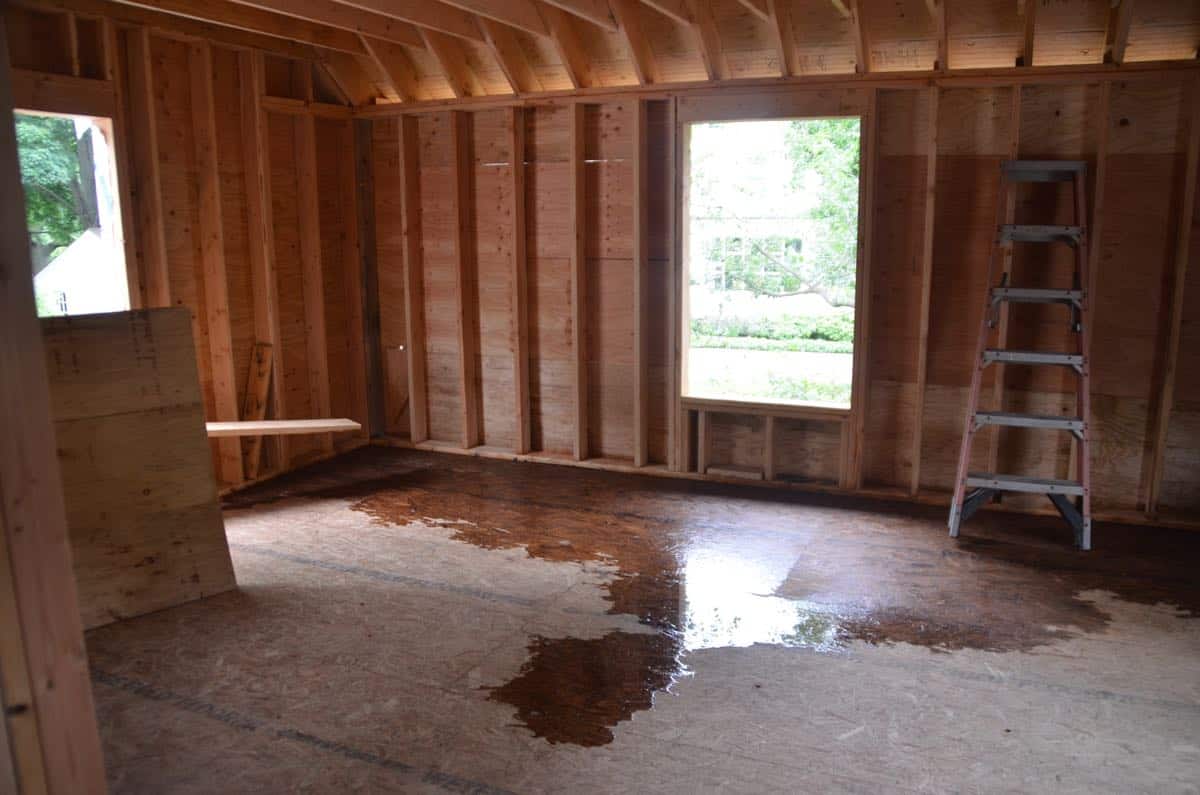
How’s this for fun: check out the before and afters from the space. Amazing what a little drywall and some furniture will do.
So can I get an A-men?! I’m sure we’ll make some tweeks and add some elements here and there, but for the time being, that’s a wrap, folks! Come on over… we have a room all ready for you!
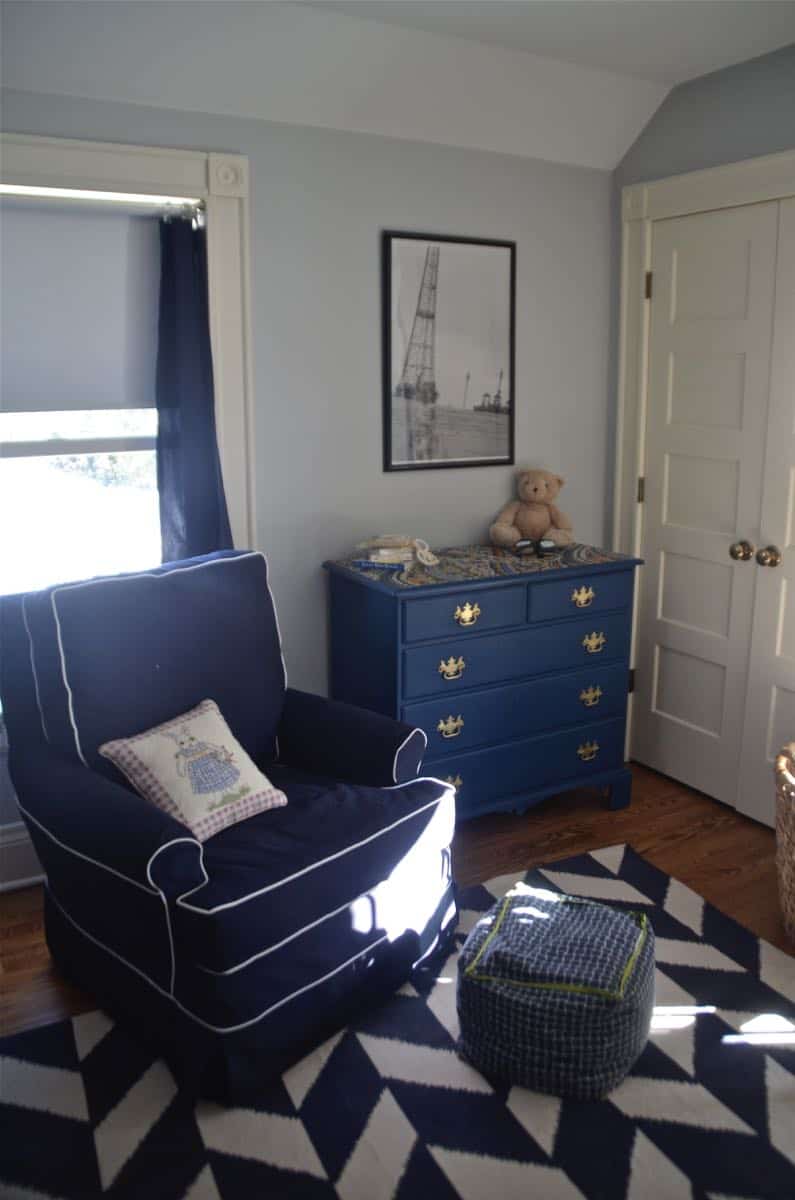
Update: Tweek #1. I spiffed up this $40 Craiglist dresser to make a changing table for Louisa. While she’s itty bitty, we have a simple changing table in our room with baskets for her clothes, but this is a more permanent (read: sturdier) place for all her diapering needs. Chalk paint, a fun fabric topper and polishing the dingy knobs was all this beauty needed to go from ‘gah’ to glam.




Wow–again, I might add! What a tremendous overhaul–and so livable and inviting. Enjoy!
Thanks, Paul! It’s the sunniest room in the house! Watch out Westport Historic Society.
I love it! Navy blue my favorite color. I cannot wait to come stay in that room with Louisa!
Me too these days!!! Come come come!
I love EVERYTHING about this room Charlotte!!! You know I’m going to come and steal that map, right?! Wonderful job pulling it all together. The flooring in the bathroom is to die for as well. Great job!!!!
If there’s anyone who’s close enough for such a heist, its you, Melody!
One word: love!
What a great transformation!
Come visit!
OHMYGOSH. I mean, you had me at vintage wool blankets. (so glad to have met someone else obsessed with collecting vintage textiles!) The tile floor in the bathroom looks wonderful, the chicken cage table is genius, and the pair of green striped stools…
GAH! they’re so good. No wonder you couldn’t contain yourself when you were bargaining!
What a fabulous, slowly collected feel this room has.
kudos!
Laurie
We need to talk! I have some chenille bedspreads that I’m just sitting on waiting for the perfect project! (I think I saw Sarah Richardson make pillows out of one and I’ve been hoarding ever since!) Thanks for the love! This is (literally) the first room I’ve been able to makeover from scratch and it was SO much different than the other rooms which were sort of cobbled together… I could get used to this! 🙂
this gets my vote
That’s the one I chose! I liked that it had other projects to show within the room. 🙂
Such an inviting room for ALL ages, so tasteful. Lucky Louisa.
LOVE this so much! the bedding is amazing- love the fish! fabulous job!
stopping by from CWTS!
Thanks, Cassie! I’ve been perusing everyone’s links from CWTS too! So many great ideas!