
How to Make a Lush Evergreen Garland
Psssst… this post *might* contain affiliate links: see my disclosure here.
Make Your Own Christmas Garland (For Free!)
I gathered evergreens from our woods and wired them together to make my own holiday garland!
Disclosure: This post is sponsored by STIHL and one of my faves, their battery powered pole saw.
Shop my favorites!
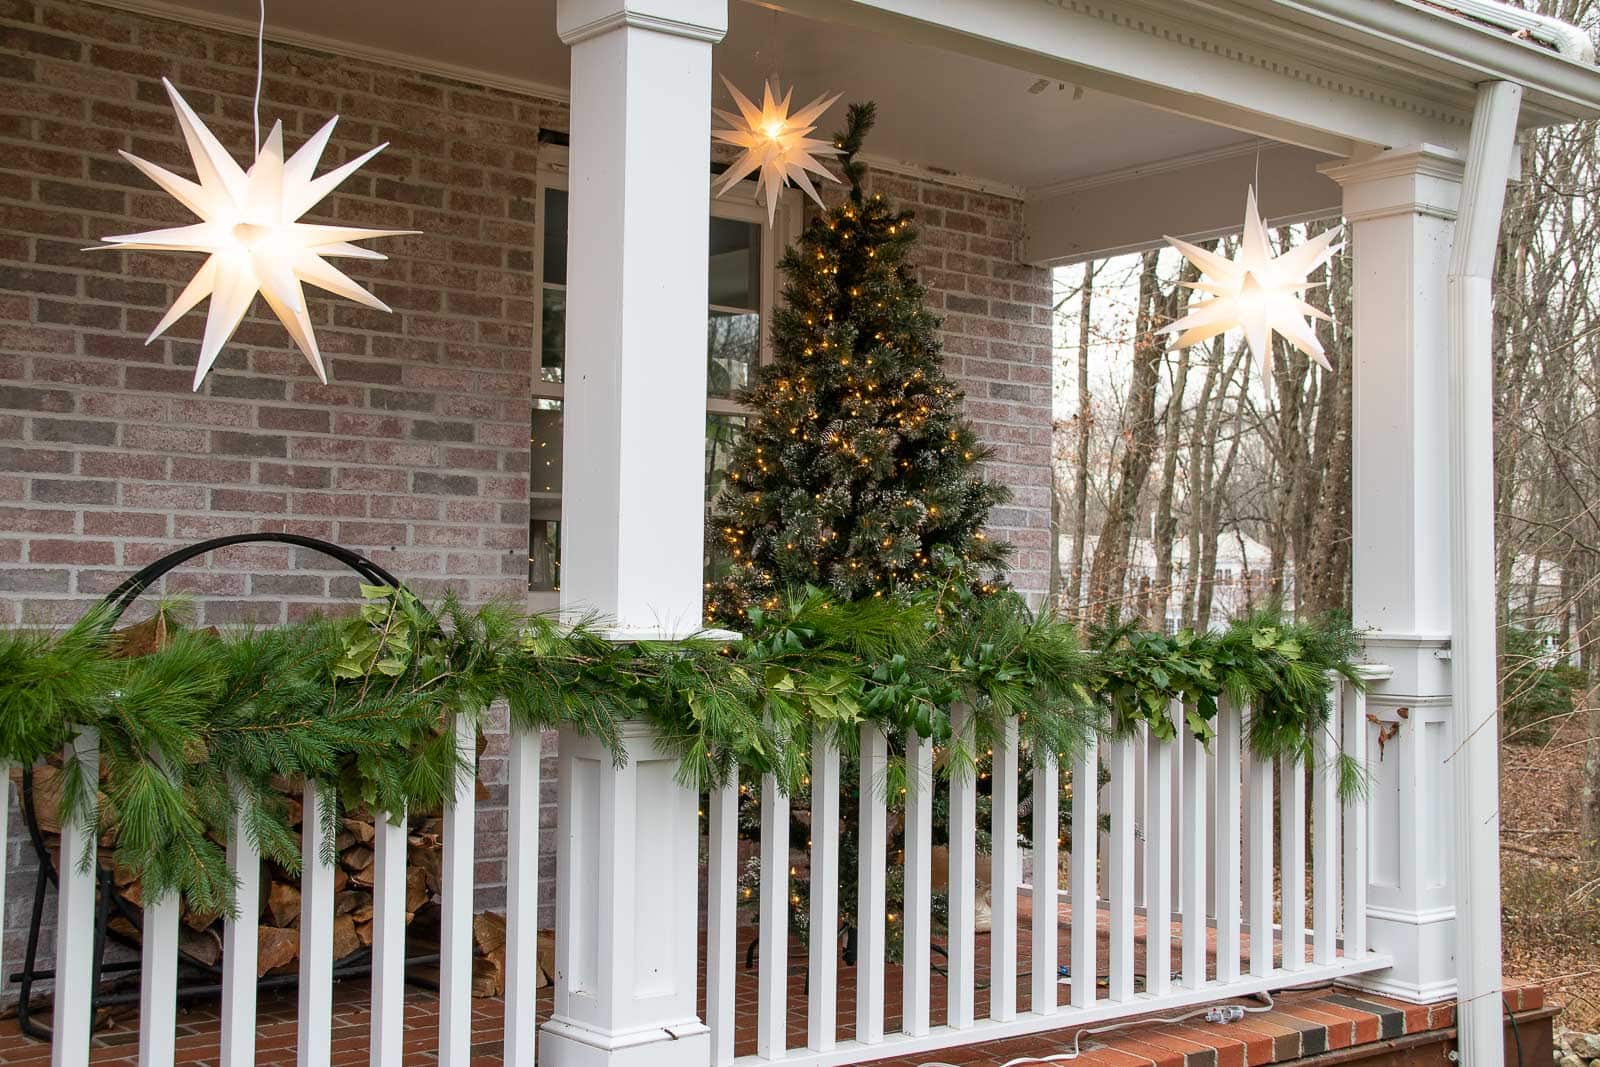
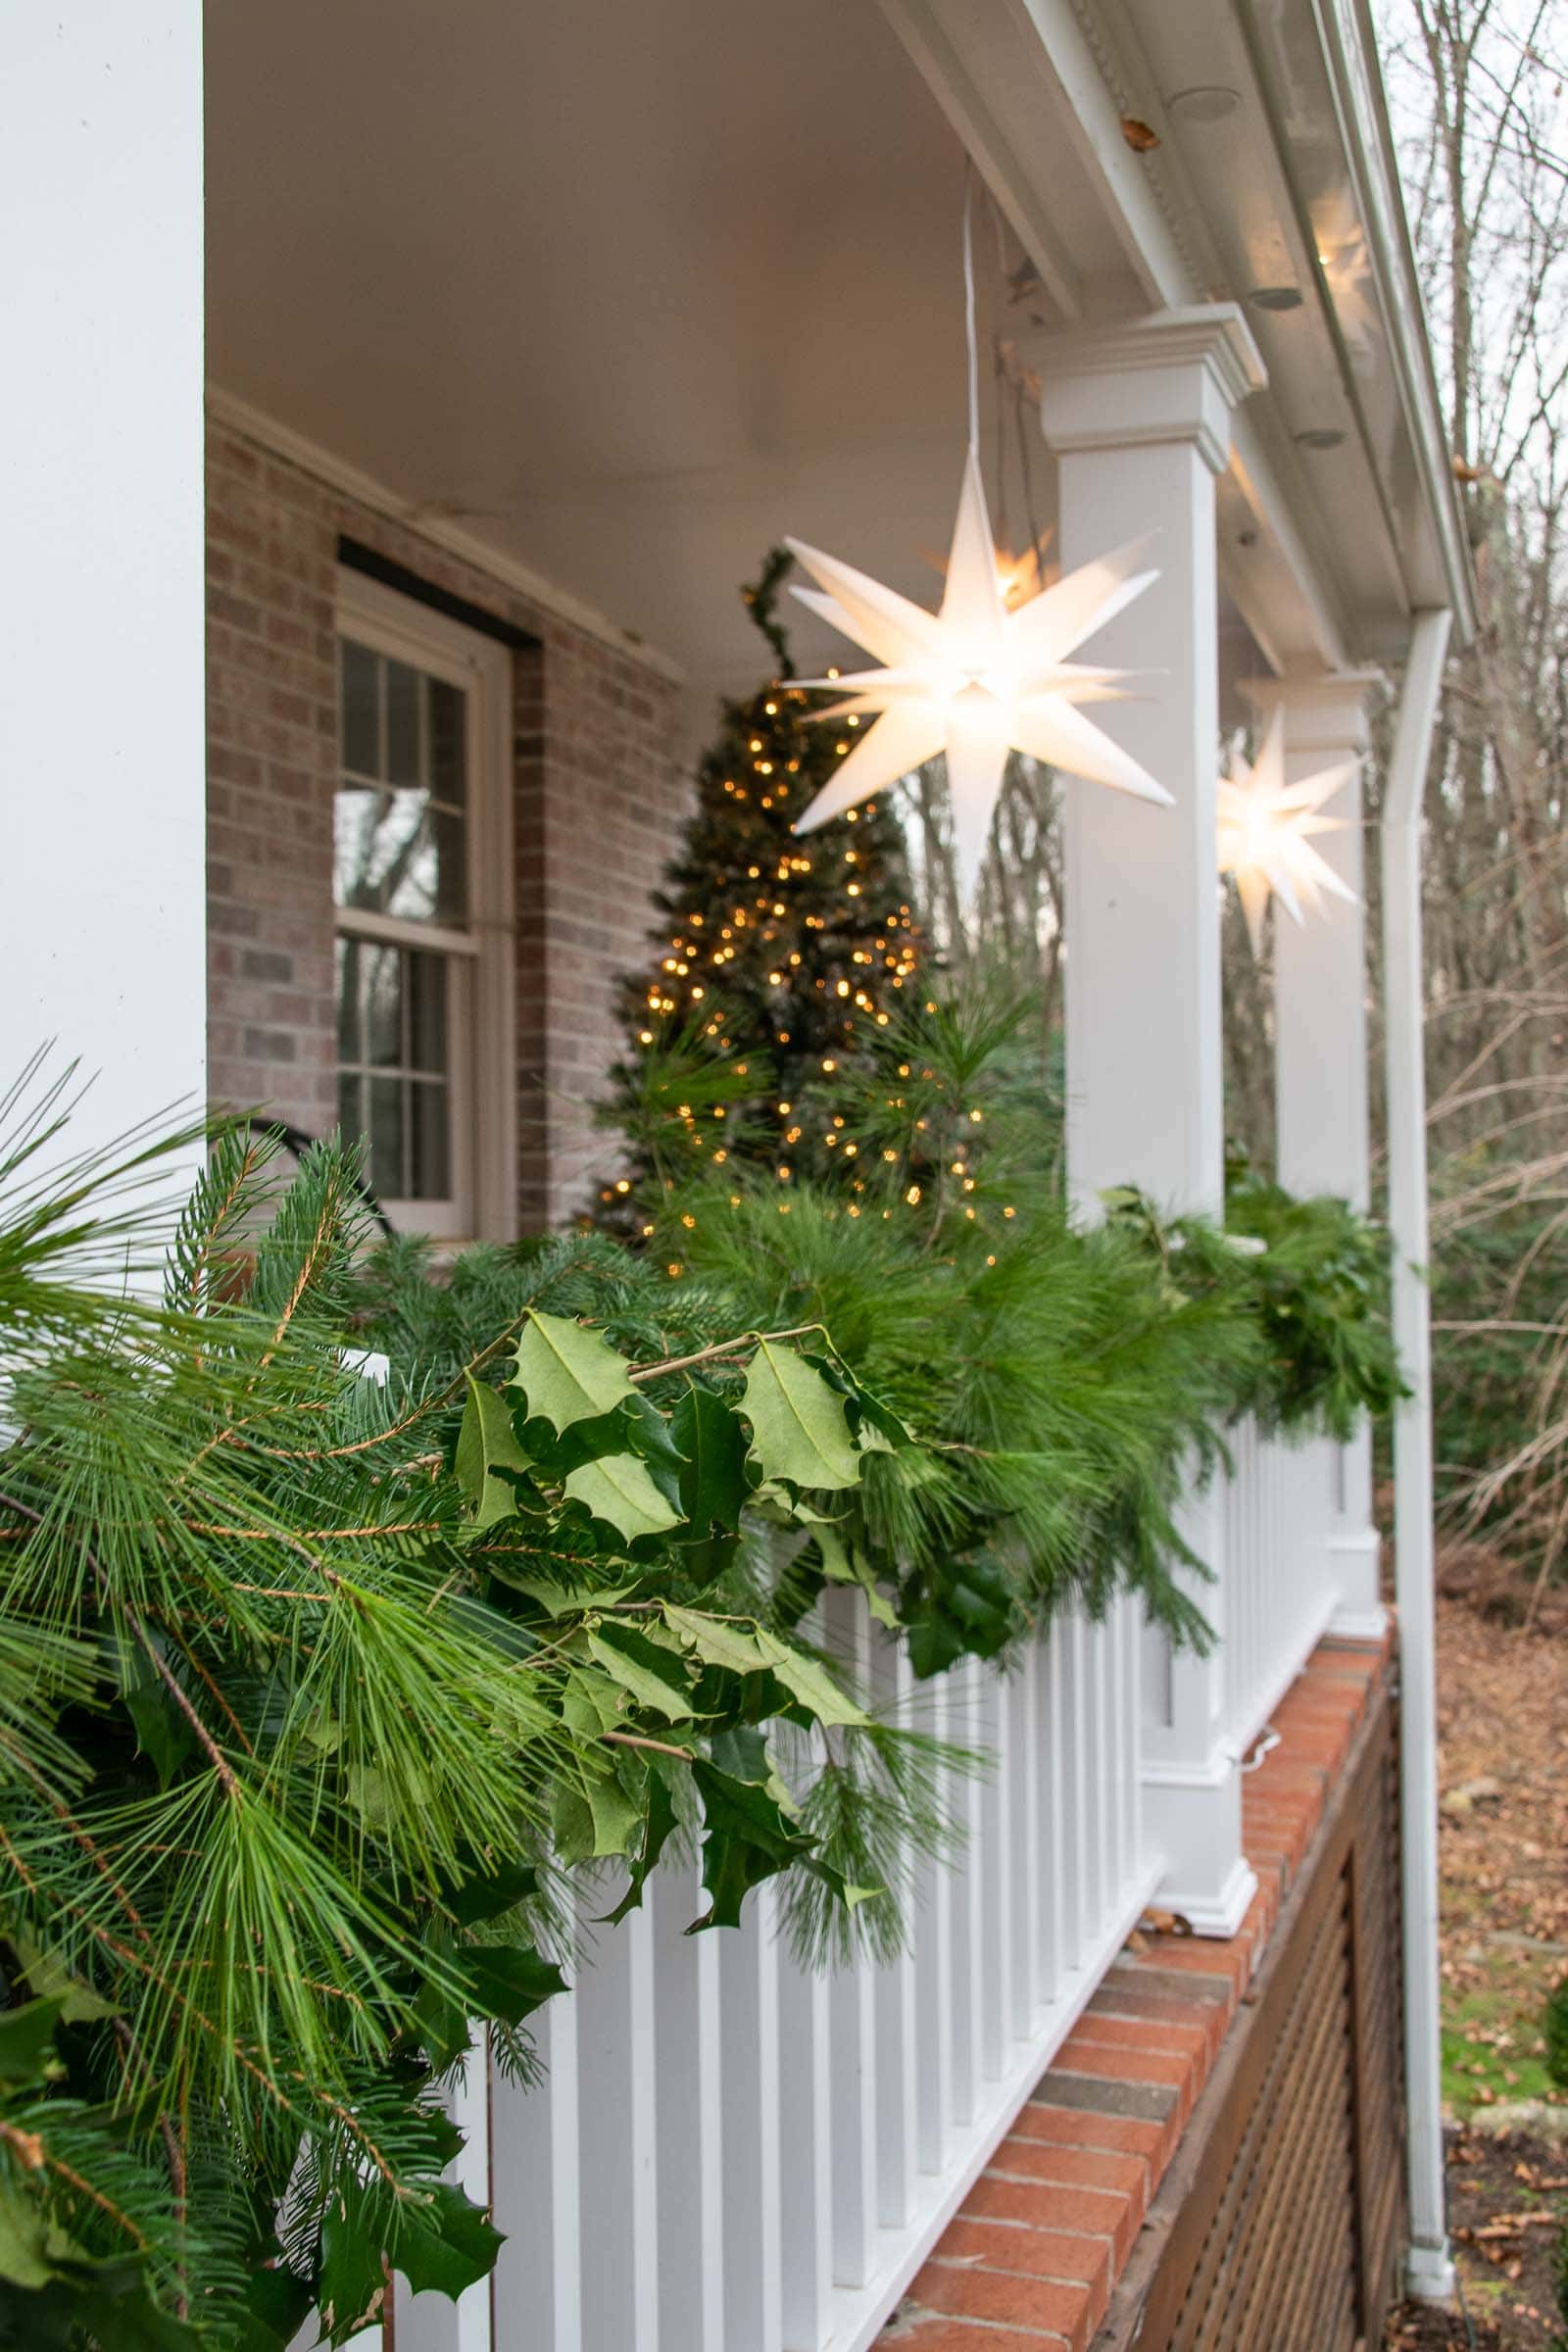
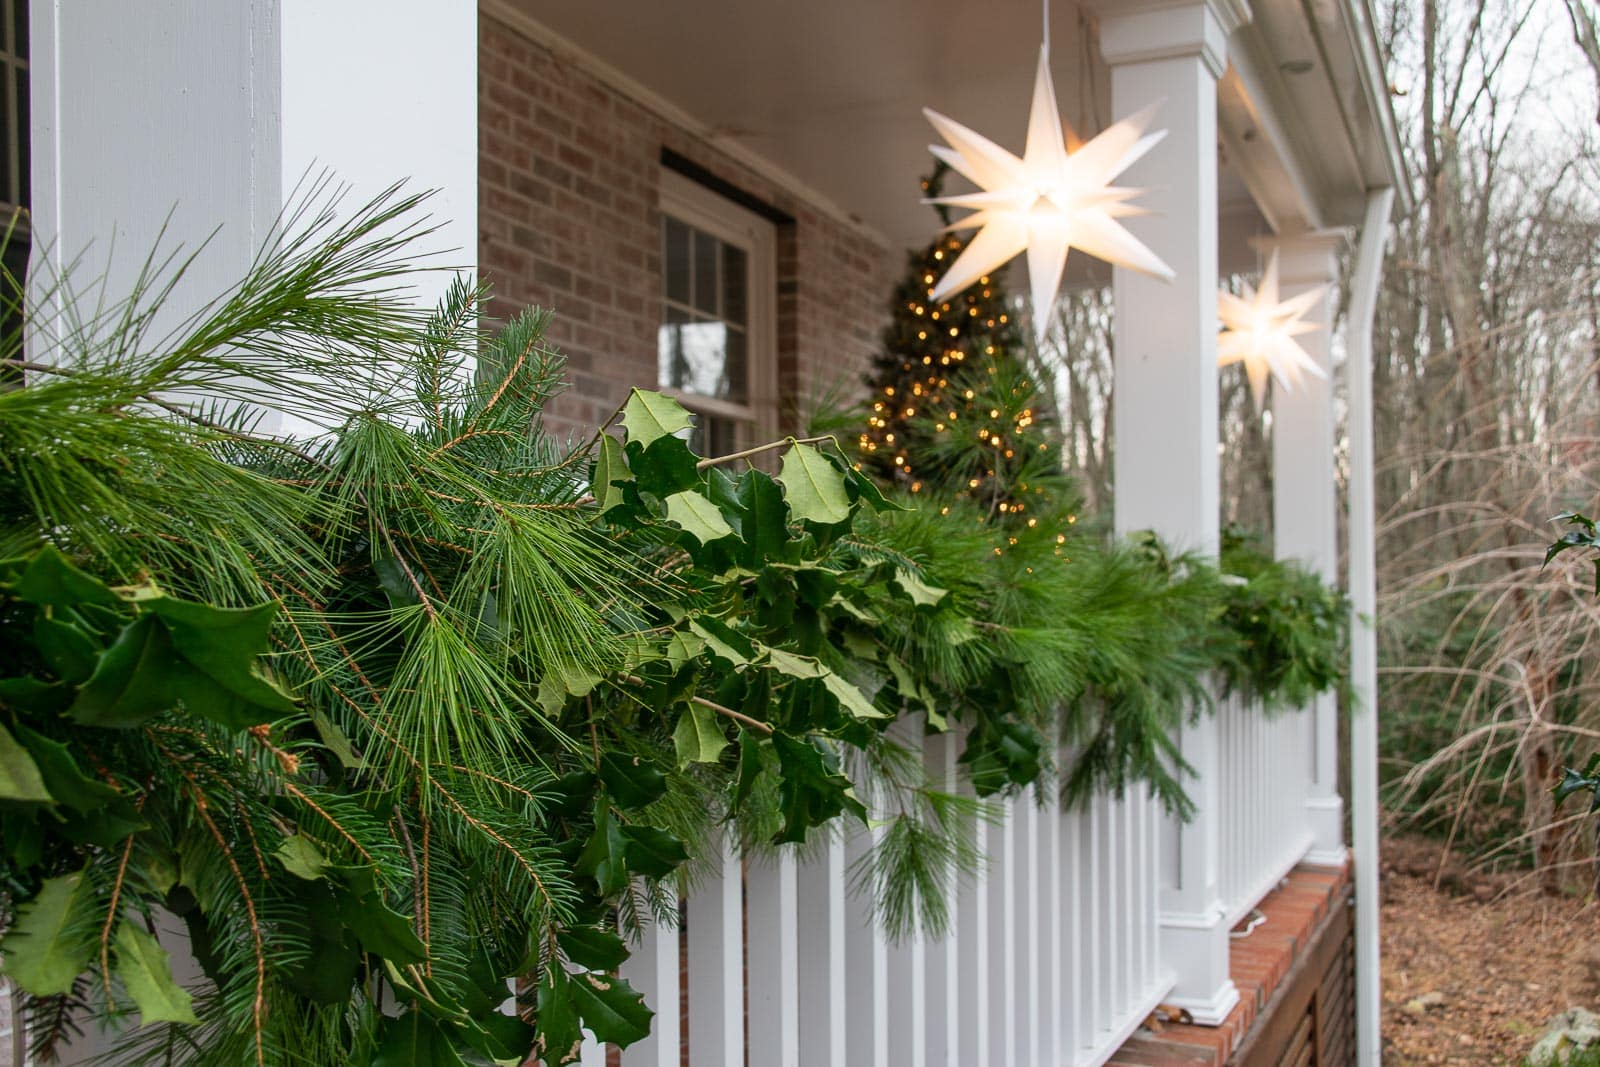
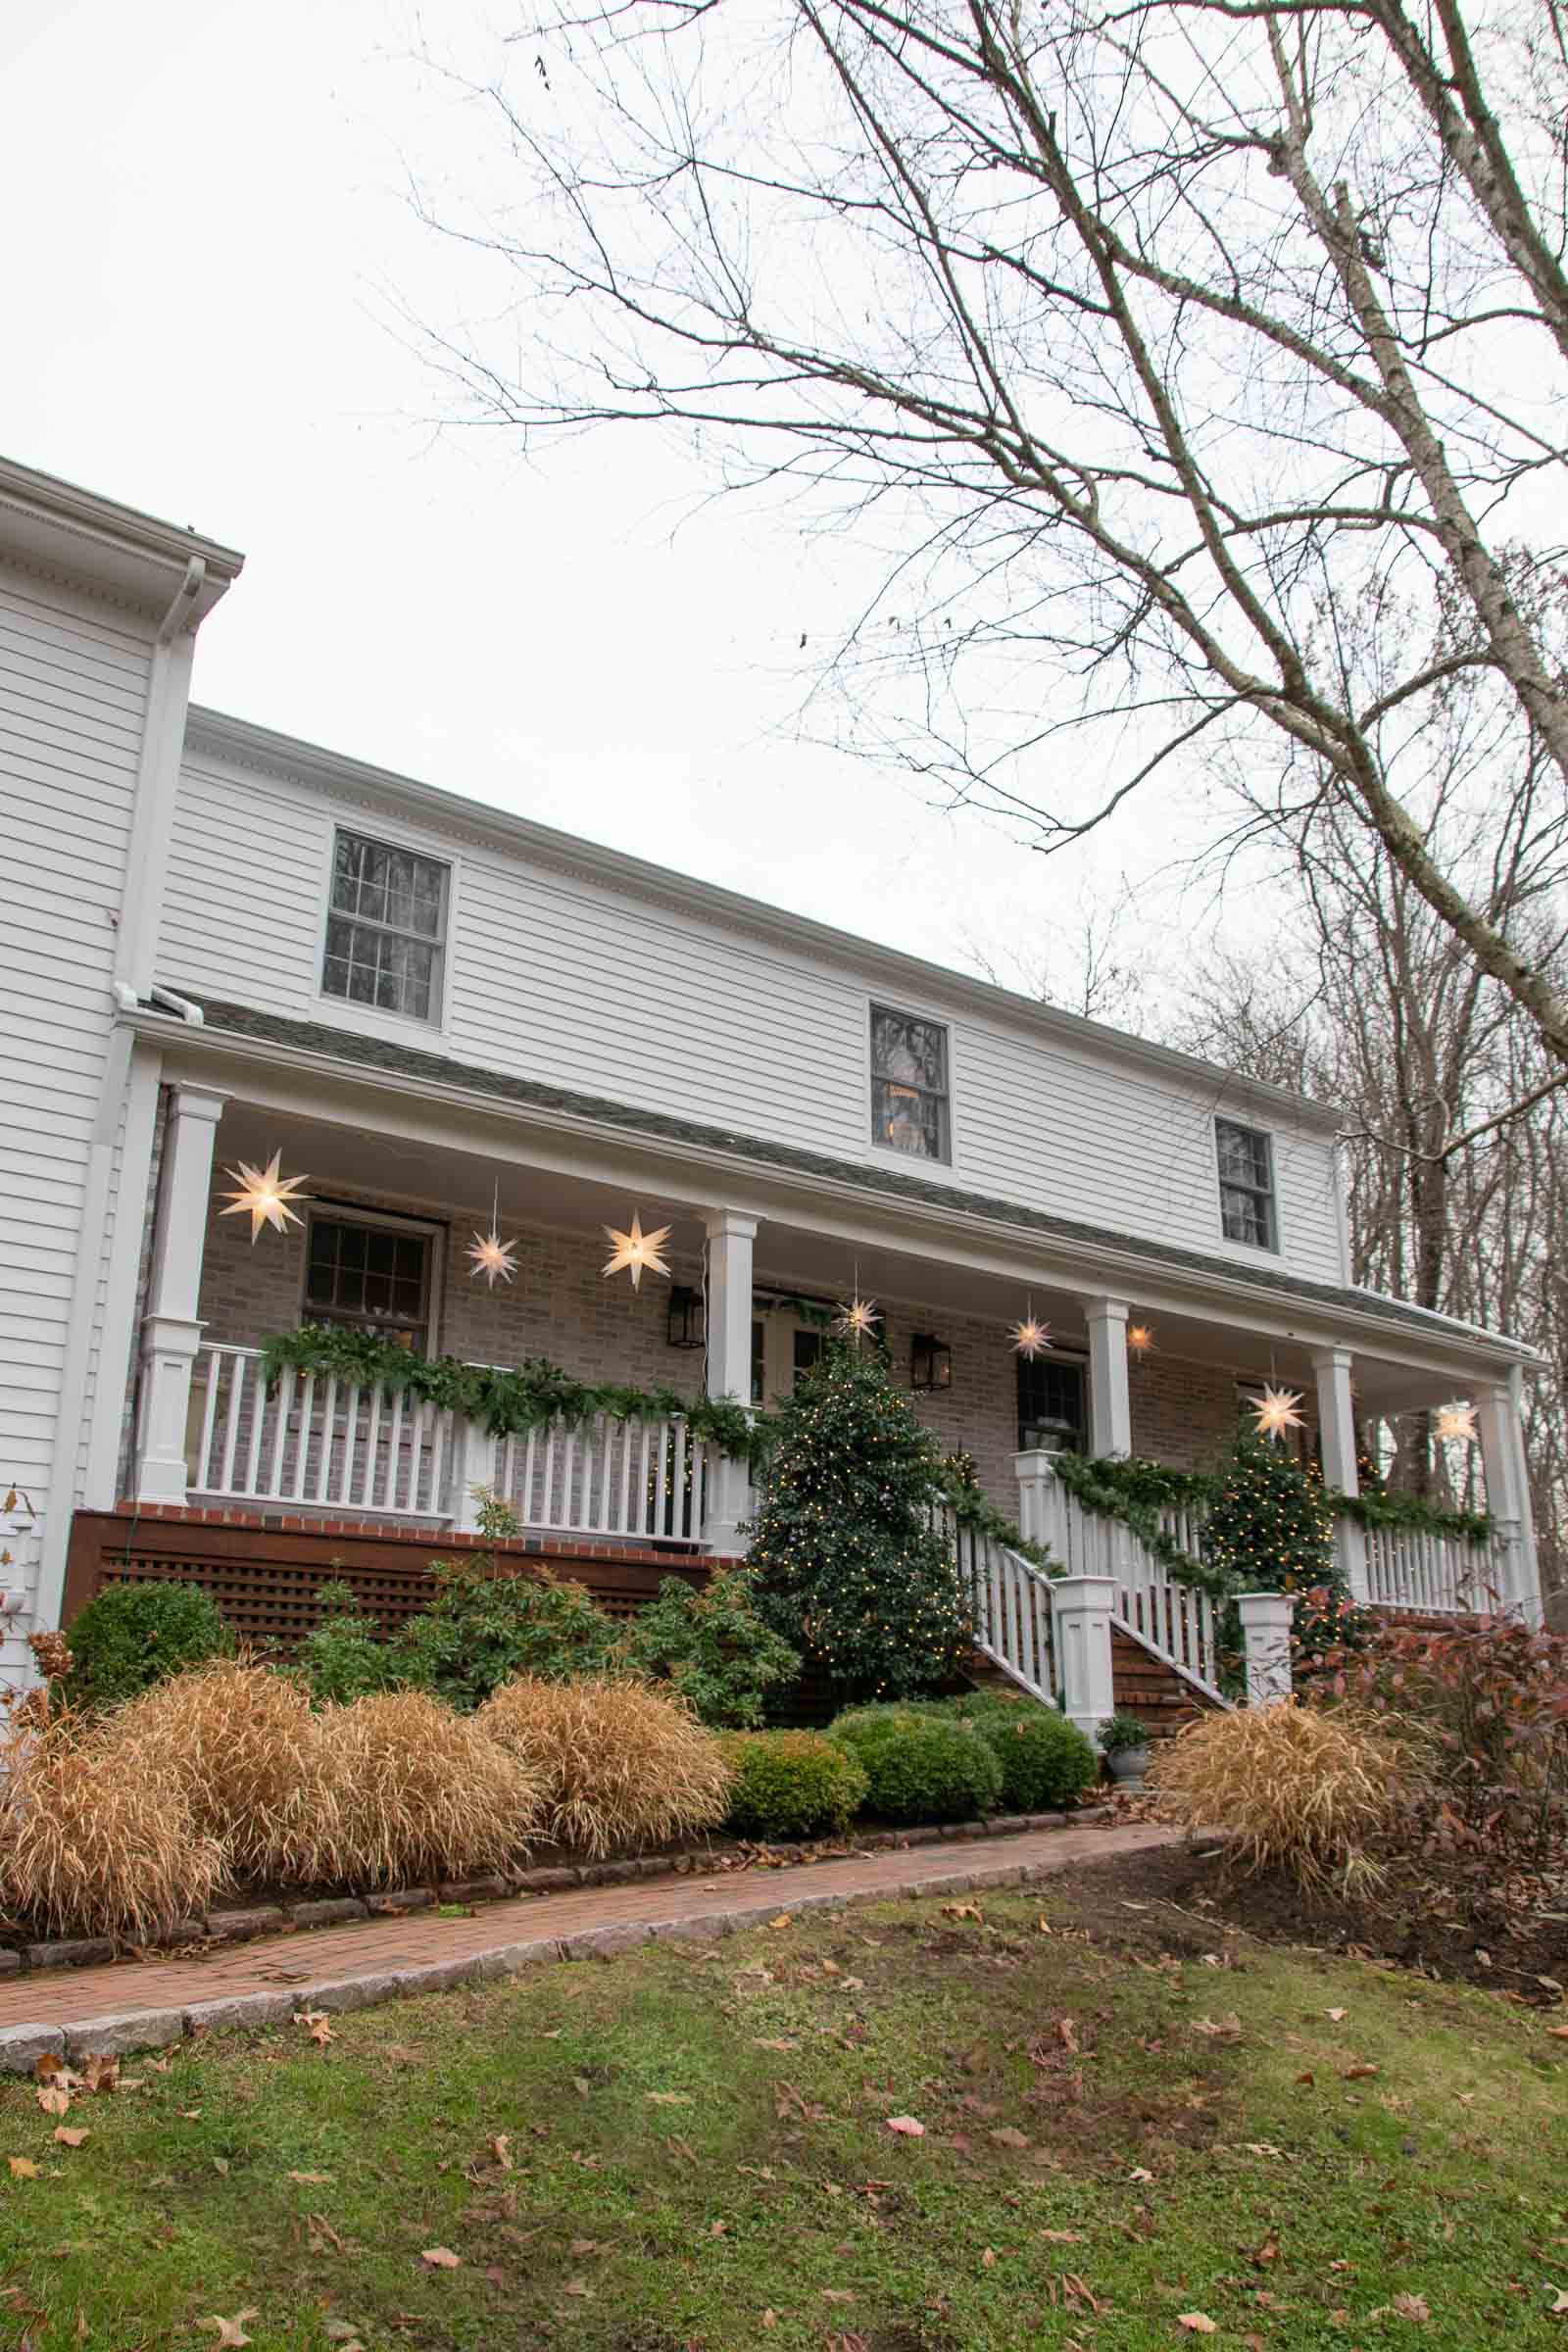
I don’t know why I haven’t done this sooner because it couldn’t have been easier, it looks amazing and (burying the lead) it was FREE!!! Like free free. The front of our house now has the most lovely lush garland on the front porch and I couldn’t be happier with the finished results. I’m still trying to decide if I should add lights or bows or something… there’s a LOT of lighting already, but bows could be cute. Let me know if you have an opinion!
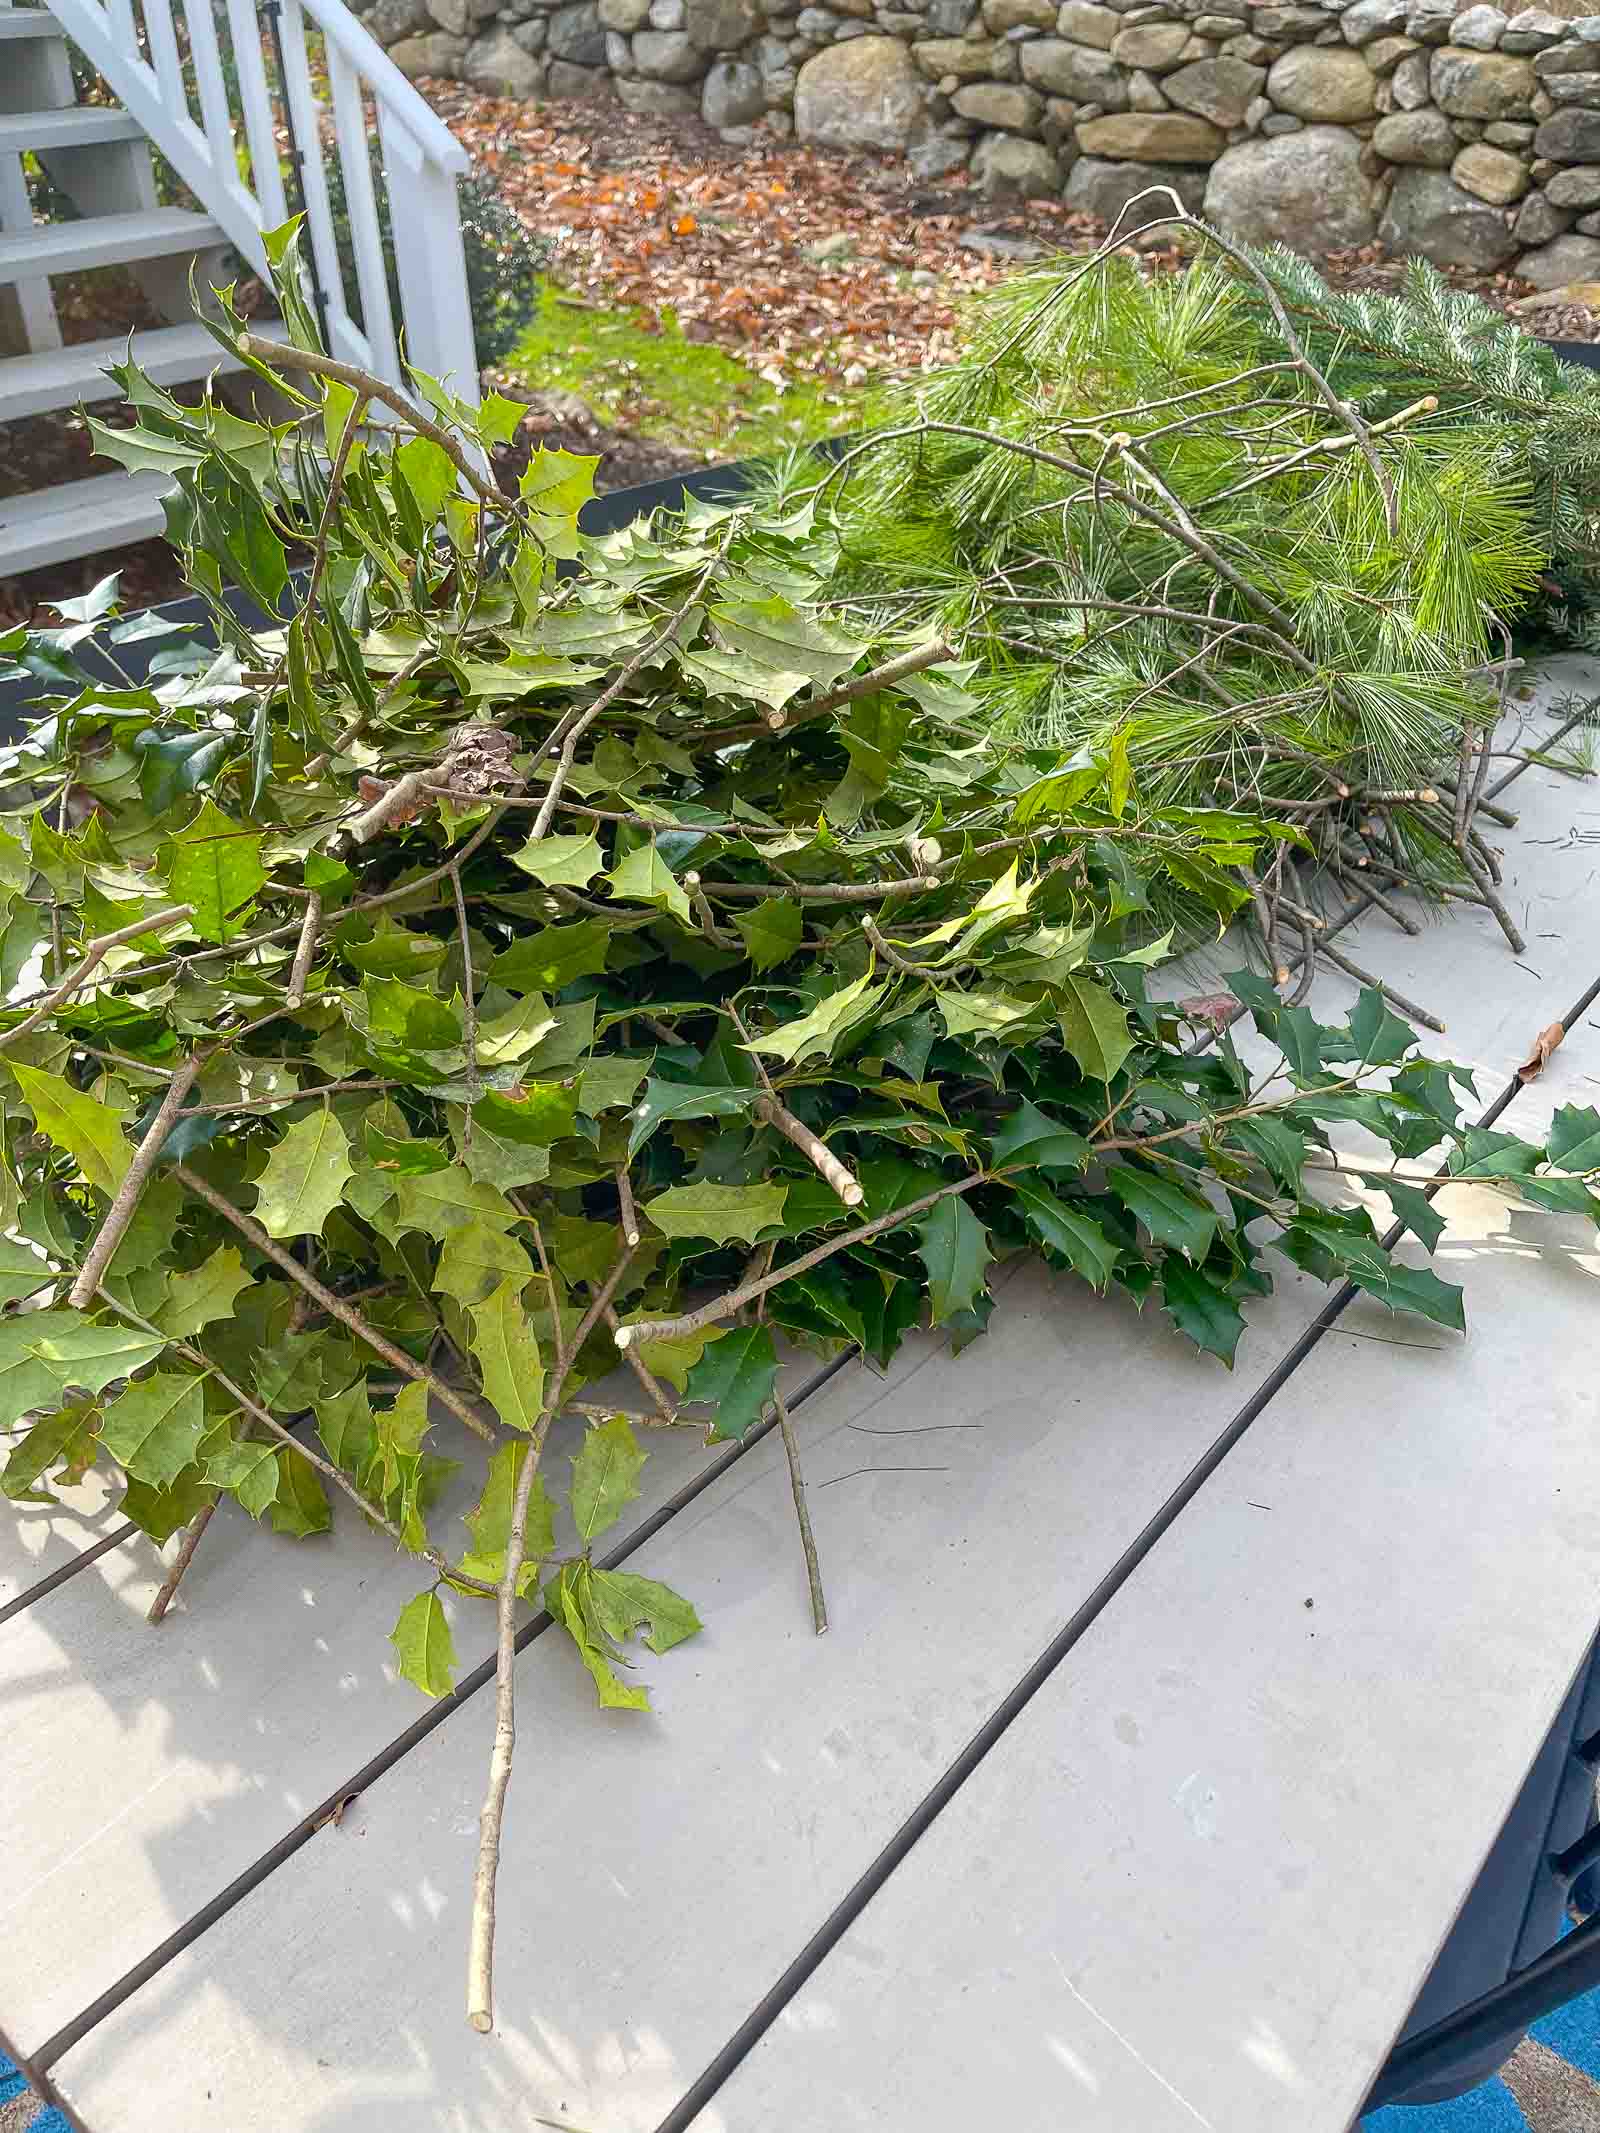
Step 1. Cut greenery
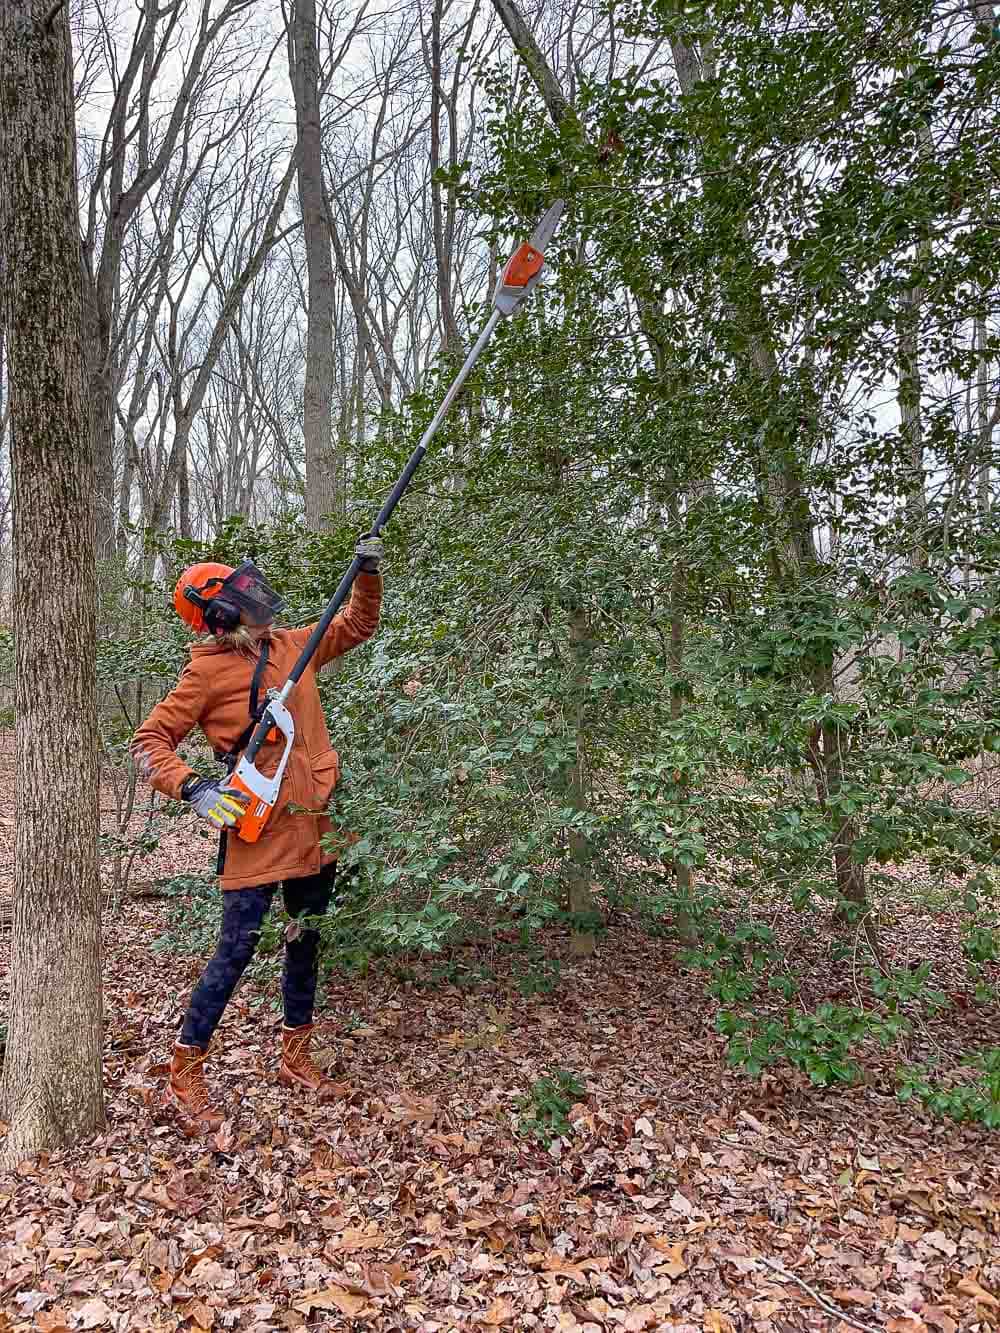
I’m using this battery powered STIHL pole pruner and like all of my STIHL power tools, I love this one because it’s VERY easy for a woman to use. I rarely gender tools like this, but lots of times power tools are quite simply… heavy. Which can make them feel a little unwieldy or scary for a smaller person to use. I’m pretty strong, but I’m also 5’7″ and will never be the same size as a man so feeling comfortable and ‘in charge’ of a power tool is really important to me. Whenever you’re working with power tools you need to don the proper safety apparel (helmet, gloves, safety googles, ear protection) but the actual mechanics of this pole saw are easy peasy. I grabbed a wheelbarrow and went walking around our property to cut limbs from the various evergreen trees we have in our woods: holly trees and two varieties of pine trees. I trimmed medium branches and brought them back to assemble.

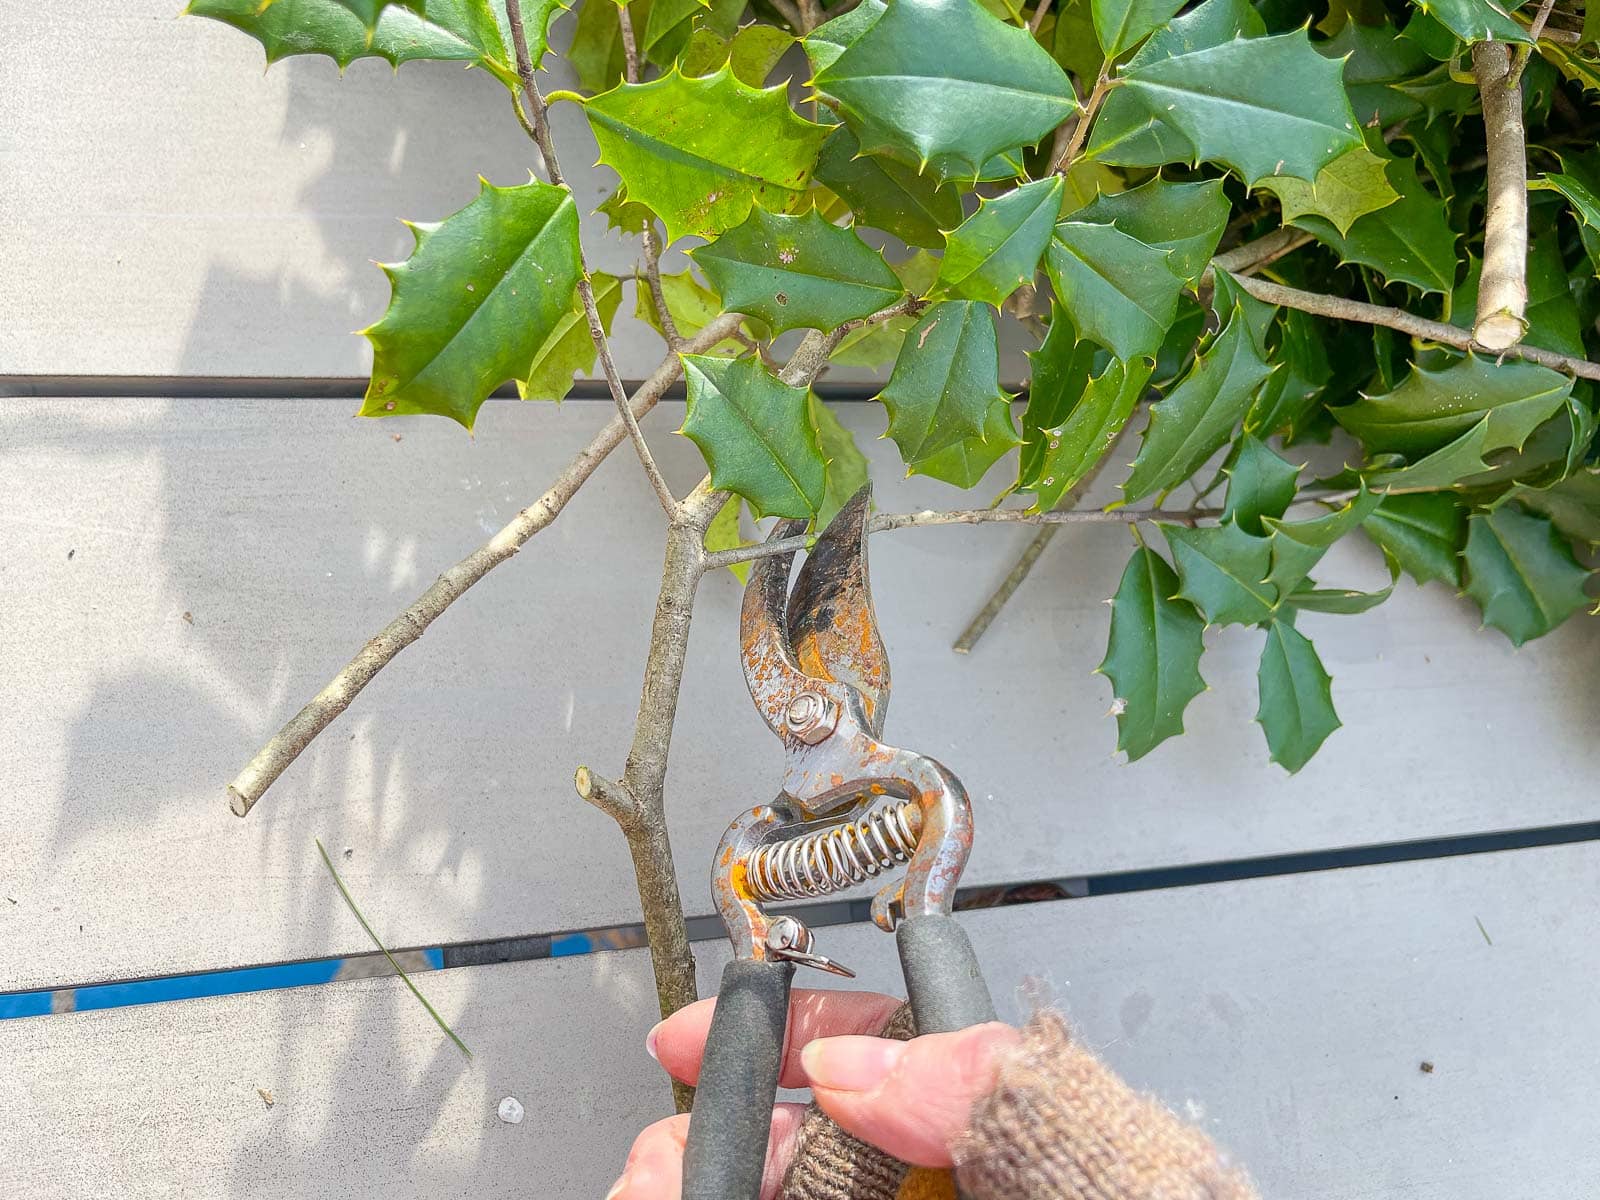
Step 2. Trim the greenery
With clippers, I cut the the medium branches into smaller pieces. I wanted twigs roughly the size of a pencil but as full with needles and greenery as possible. I separated these into three piles for each variety of tree.
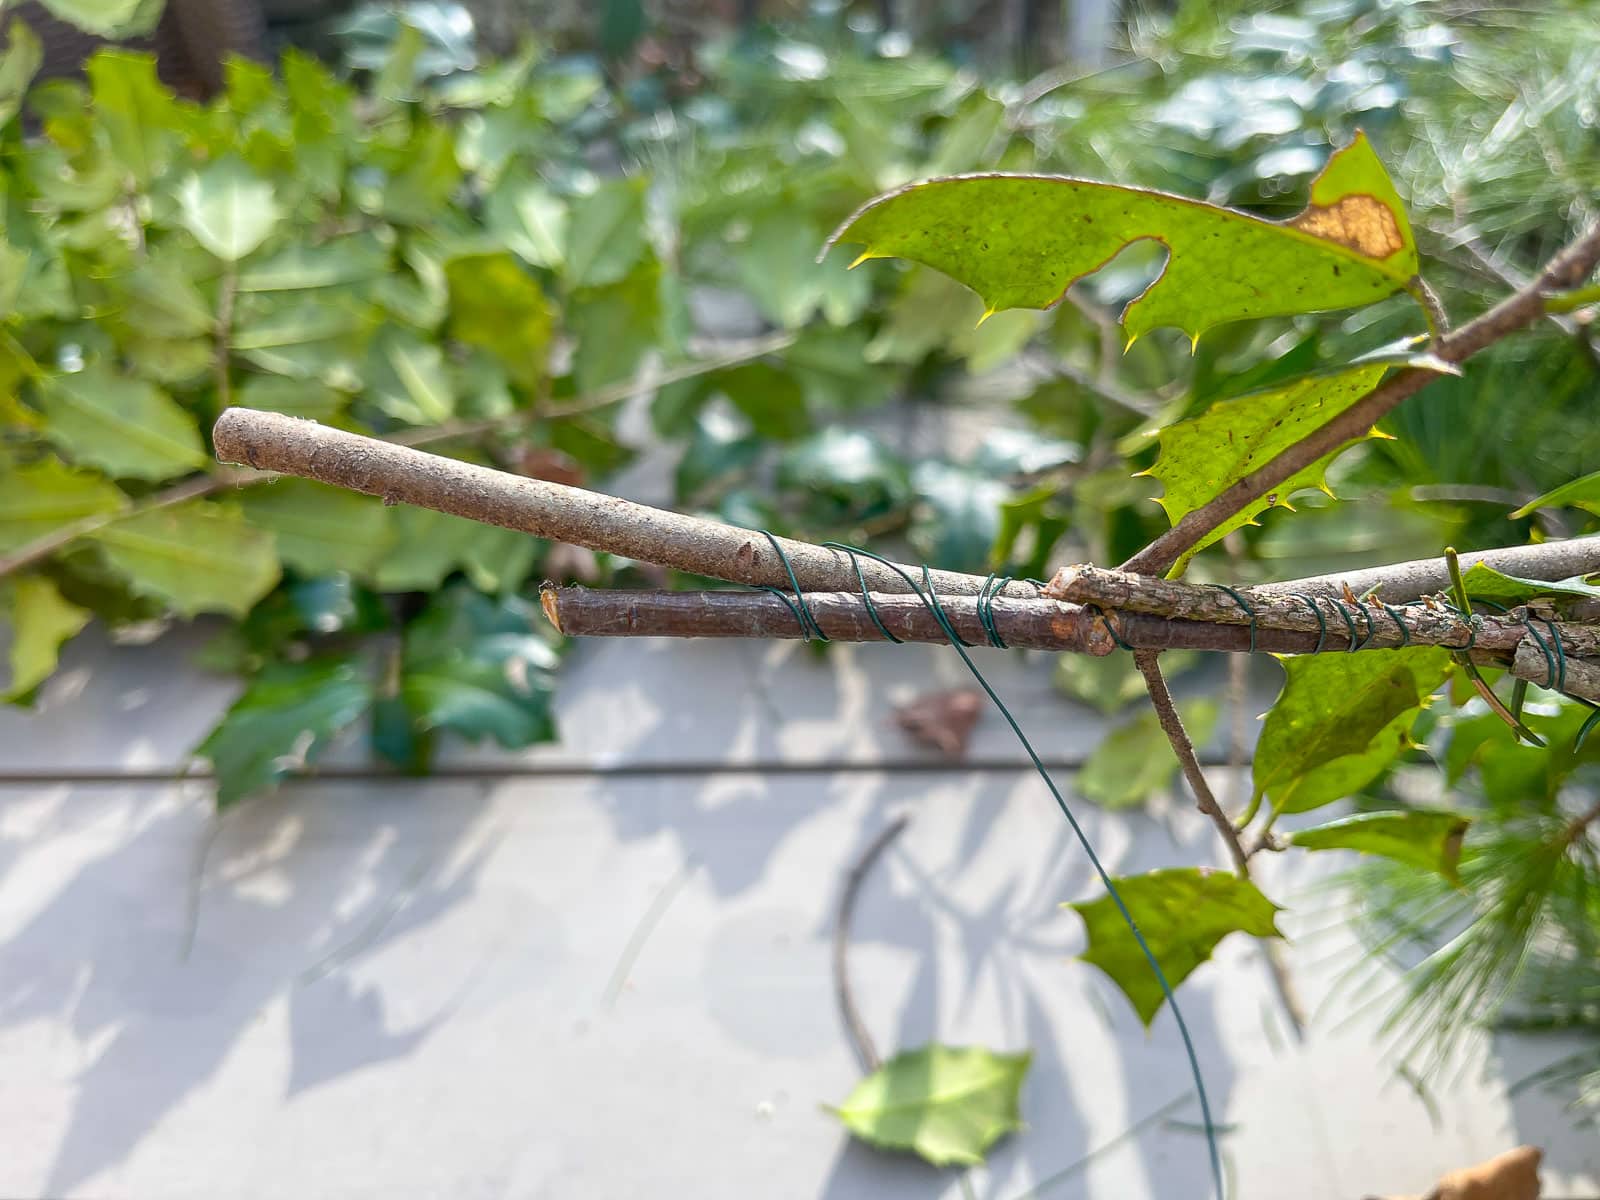
Step 3. Assemble the garland
I’m working with a role of very thin green floral wire so it’s super easy to work with. I started by using separate lengths of wire as I added a twig, but that was pretty cumbersome, so where I landed was simply wrapping the wire straight from the spool around the various plants. So one continuous piece of wire. I overlapped the stems of each plant with one staggered about an inch and wrapped them together. Then I added another twig, staggered back another inch or so and continued wrapping. Essentially I wrapped all the twigs together as tightly as I could and gradually added new twigs on the end and kept wrapping.
After the first garland, I realized that there were a few places where the garland was coming loose so I went back and reinforced accordingly. Because the twigs were long and a bit top heavy, some of the larger twigs were pulling lose so I went back and wrapped individual pieces of wire around the garland every 18 inches or so to reinforce and keep the greenery a little more compact. I like the size of this garland, but working with smaller cuts of evergreen would probably save you from this last step, but it would also take longer to assemble because of the size.

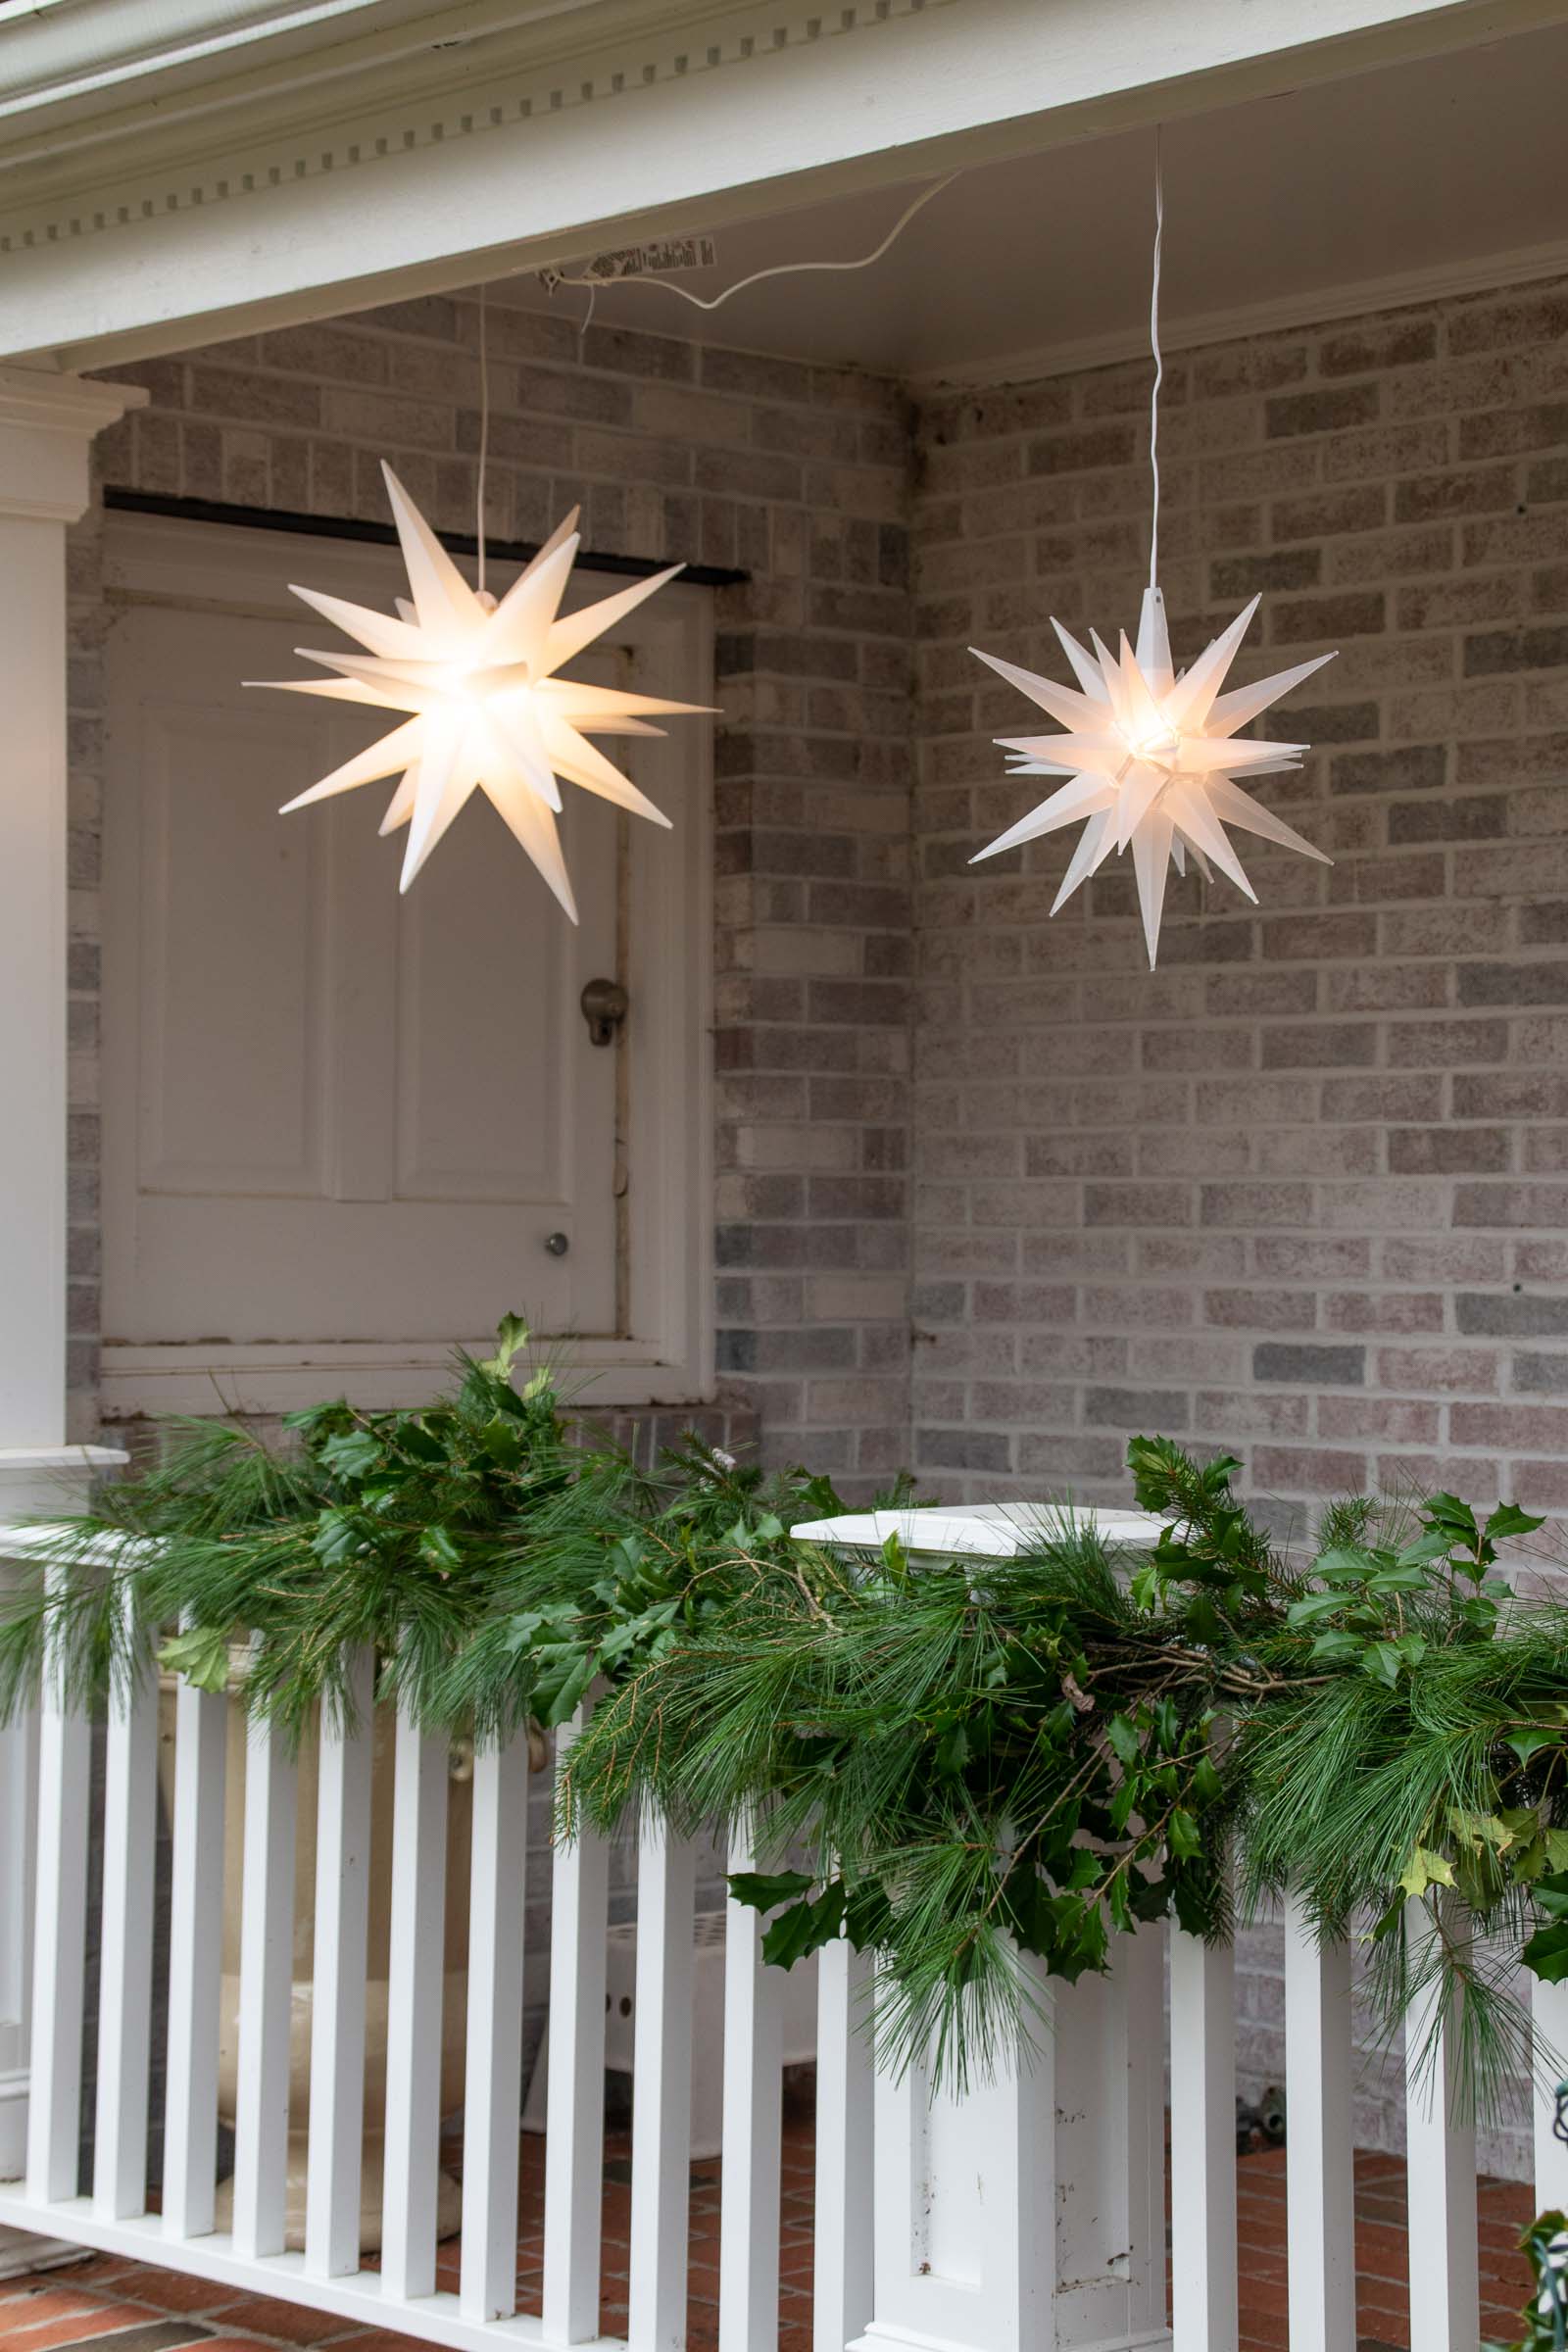
Step 4. Hang
To hang the garland, I wrapped wire around the garland every 2 feet or so to attach it to our front porch railing. If I choose to go back and add lights or bows, I’ll wire those around the garland separately.
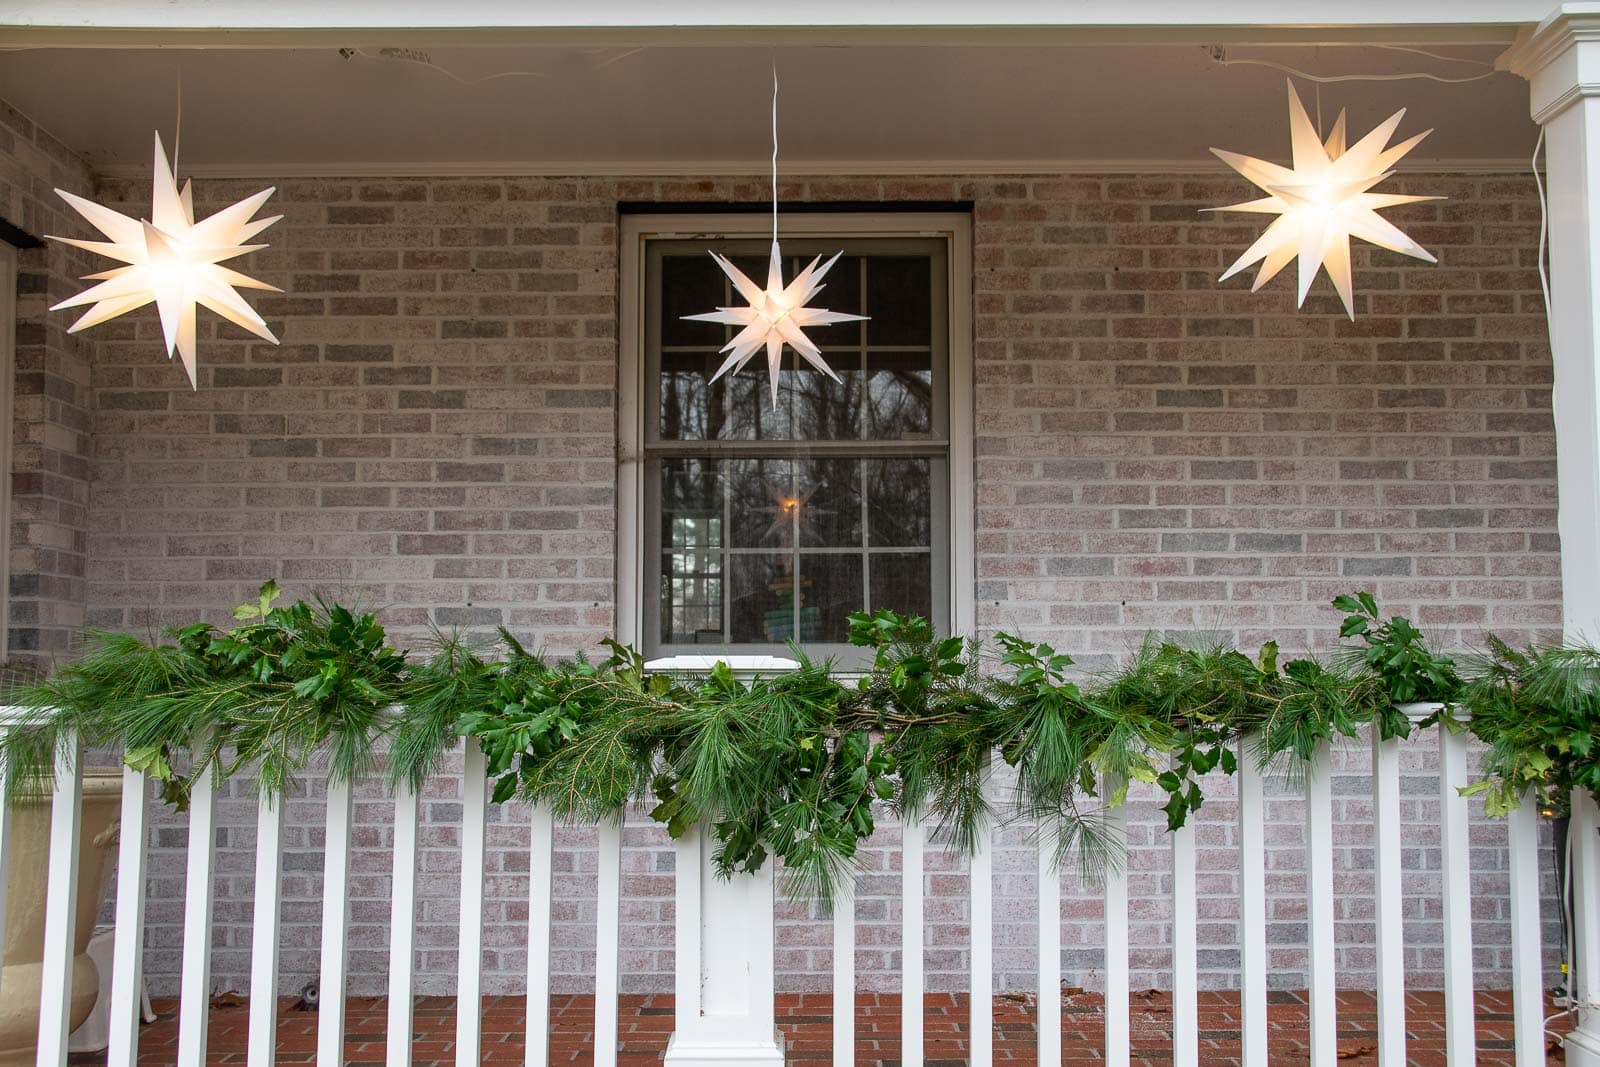
I’m so happy I found a way to use my pole pruner for the holidays since it’s one of my favorite tools in my garage. Not shown but a STAPLE in my clean up arsenal is also my battery powered STIHL blower. I used this to clean up the leaves from the front porch earlier this week, but also used it to clean up my work area were there were holly leaves and pine needles all over. I’ve said it before and I’ll say it again… why didn’t I think of this project sooner!!! When I think of the money I’ve spent on garlands JUST like this… Oye. No more. DIY garlands for me from now on!
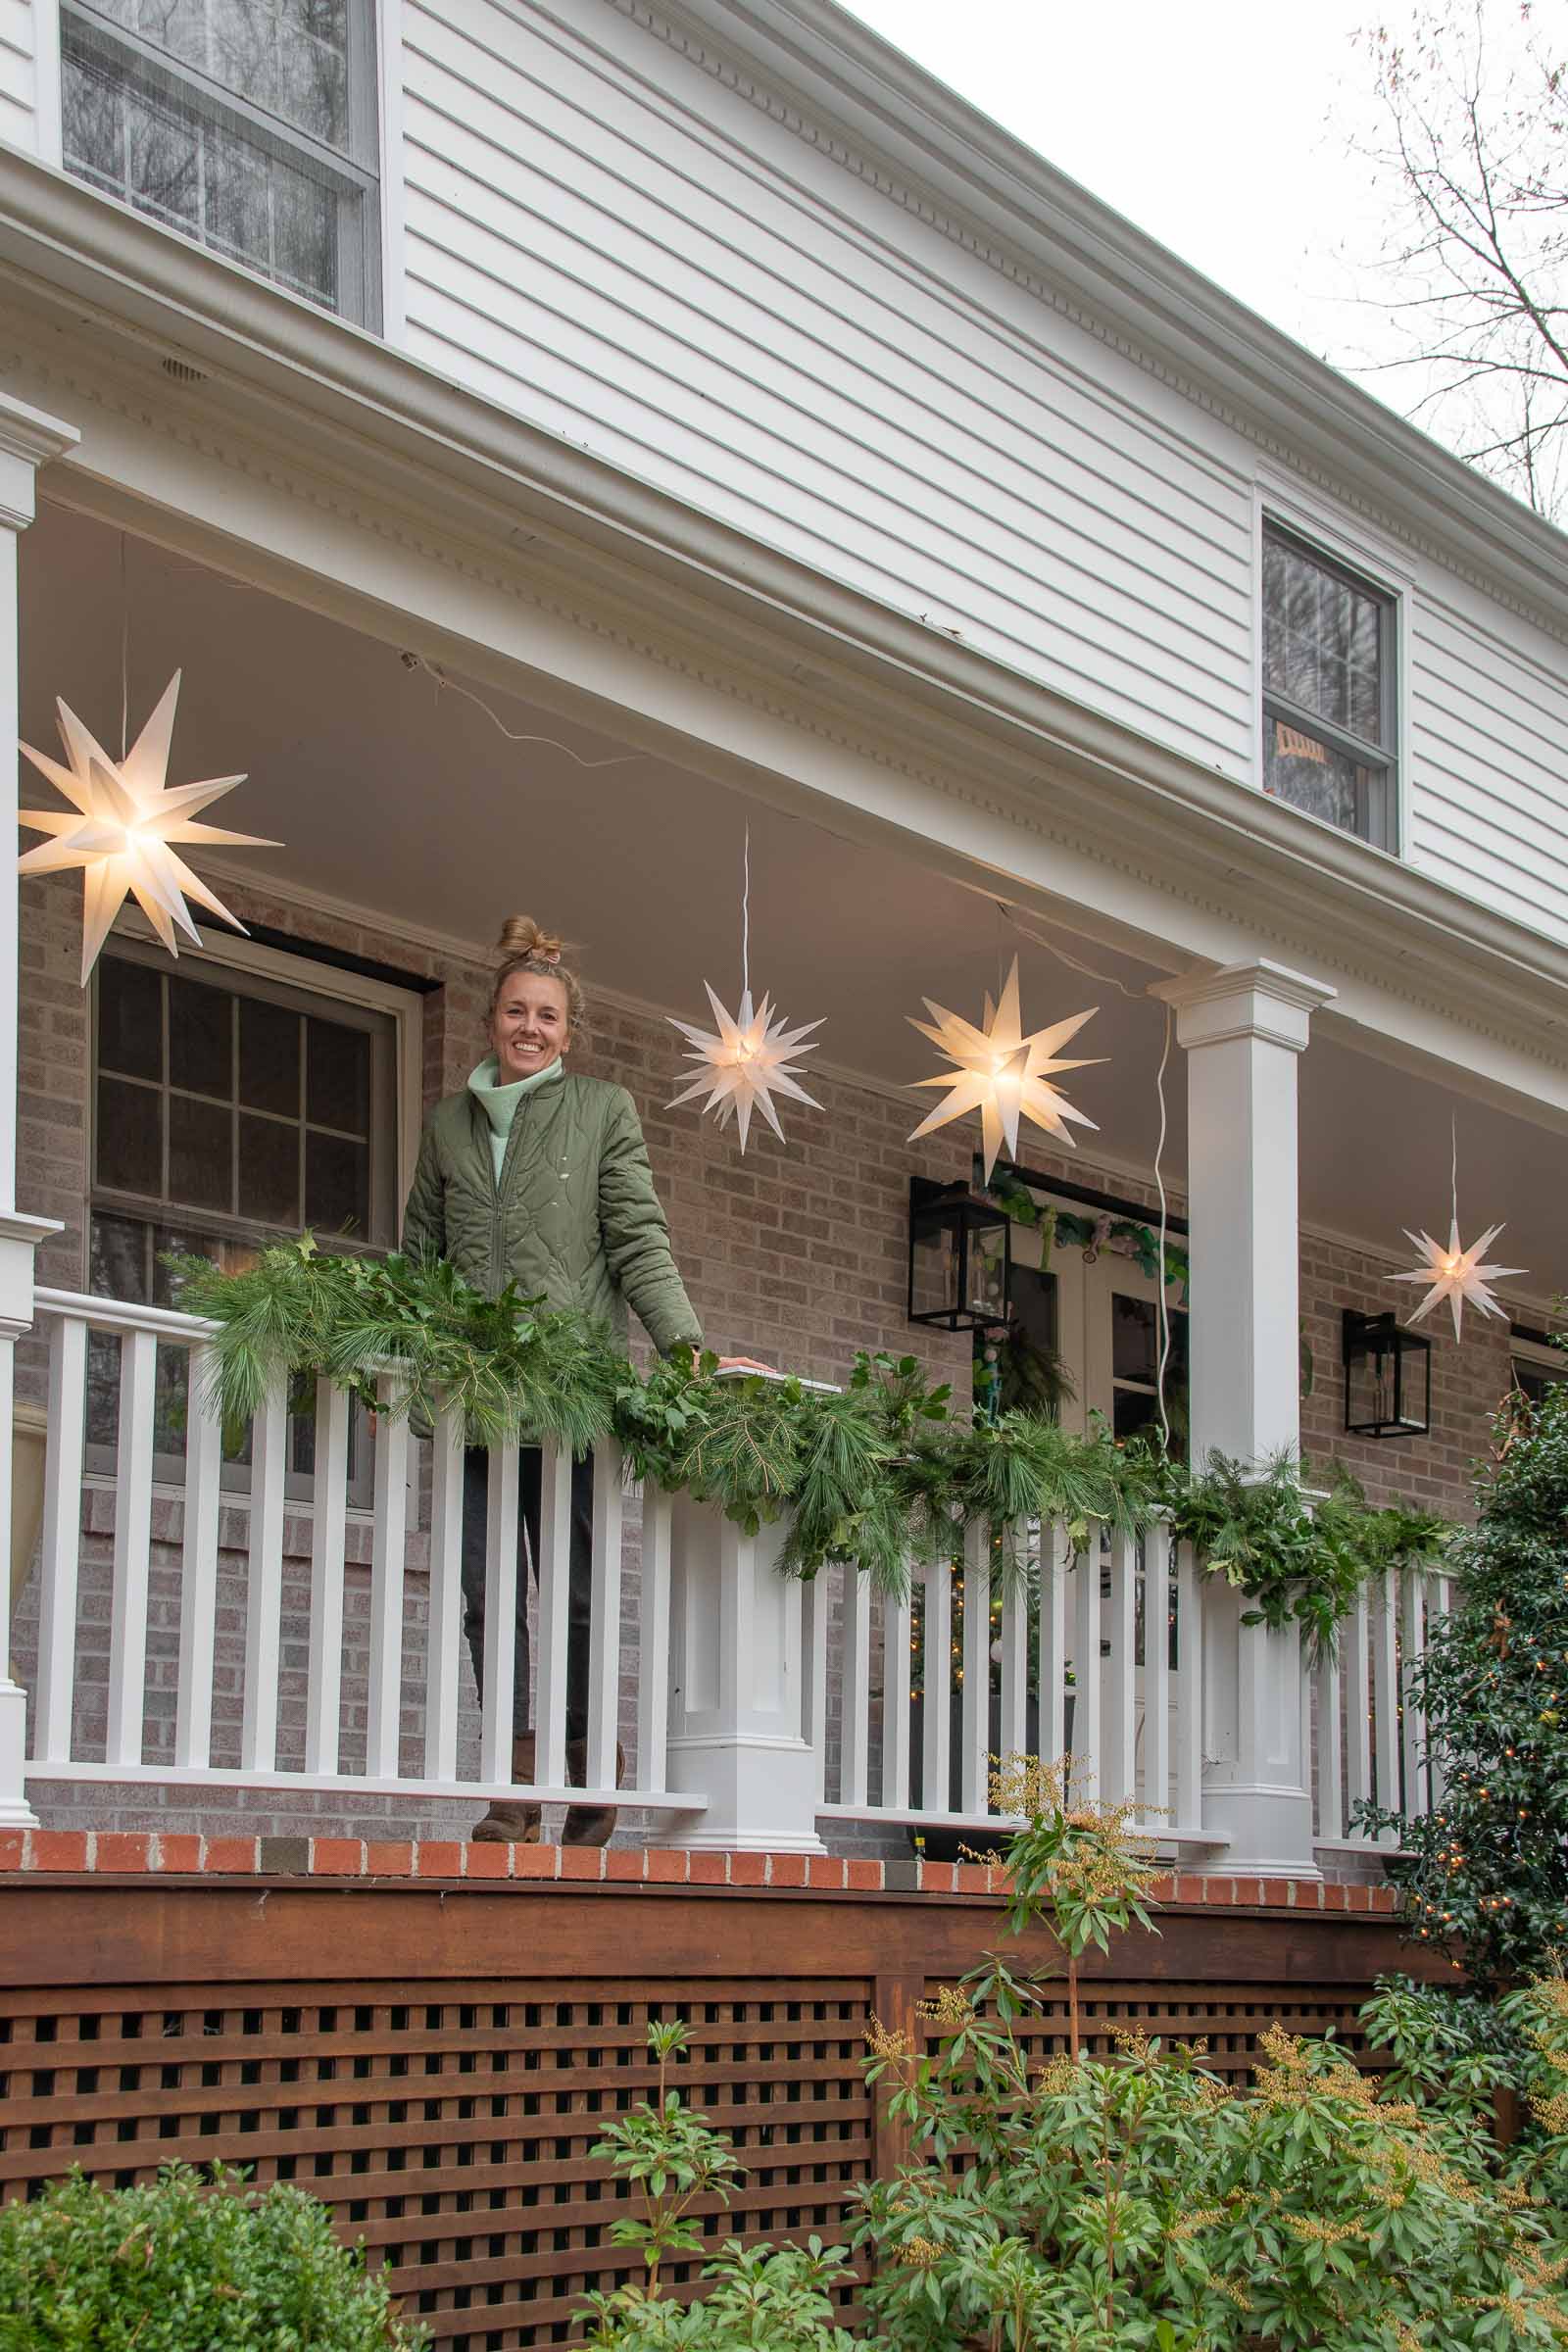
Last but not least… I described this in my stories, but I wanted to grab a self portrait from the porch, but that requires me to set the self timer down on the front walkway and then RUN up onto the porch. Let’s just say I took MANY photos and this was the *only* one that worked out. Haha!

Don’t Miss Out
Become An Insider!
Signup for exclusive tips, and tricks from Charlotte’s House!
Let’s chat!
I love comments from you, so feel free to leave your thoughts and ideas below! And don’t forget to follow me on Instagram for even more!